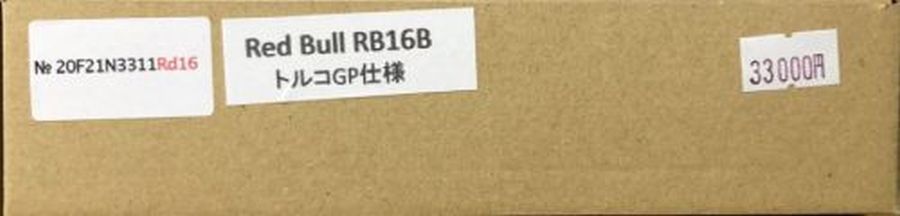
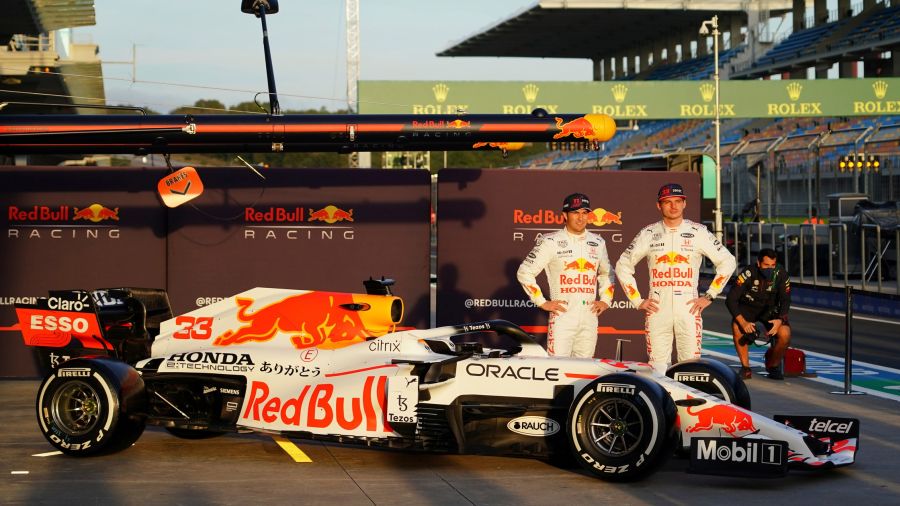
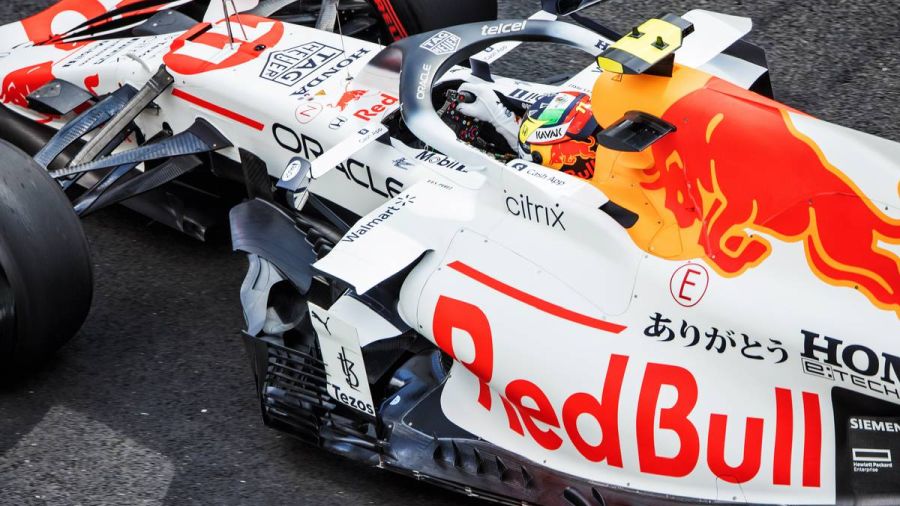
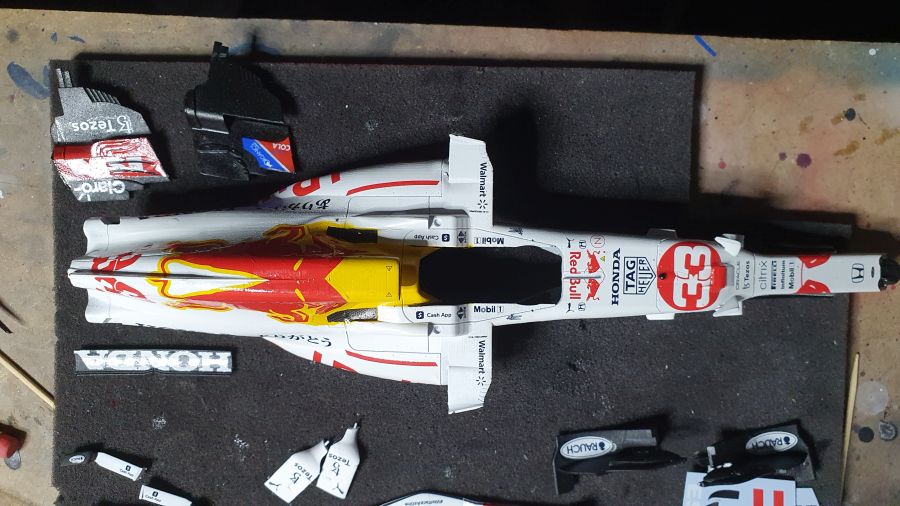
Maar weer even een switch naar een F1 auto. Deze keer de Red Bull RB16B van de Grand Prix van Turkije. De bekende witte versie ter ere van Honda. Als Nederlander maak ik de versie van Max Verstappen. De kit is merkloos, maar het box nummer lijkt op dat van New Scratch / New Clutch / Wing Models (20F21N3311Rd16). Dezelfde kit is dus onder verschillende merken uitgebracht. Alles is weer 3D-geprint. Op een paar etched delen na.
Now let's switch to another F1 car. This time the Red Bull RB16B from the GP of Turkey. The well known white version to honor Honda. Being Dutch i will make the Max Verstappen version. The kit is a no brand, but the box number looks like the ones on New Scratch / New Clutch / Wing Models (20F21N3311Rd16). So the same kit was sold from several brands. Everything has been 3D printed. Besides some etched parts.
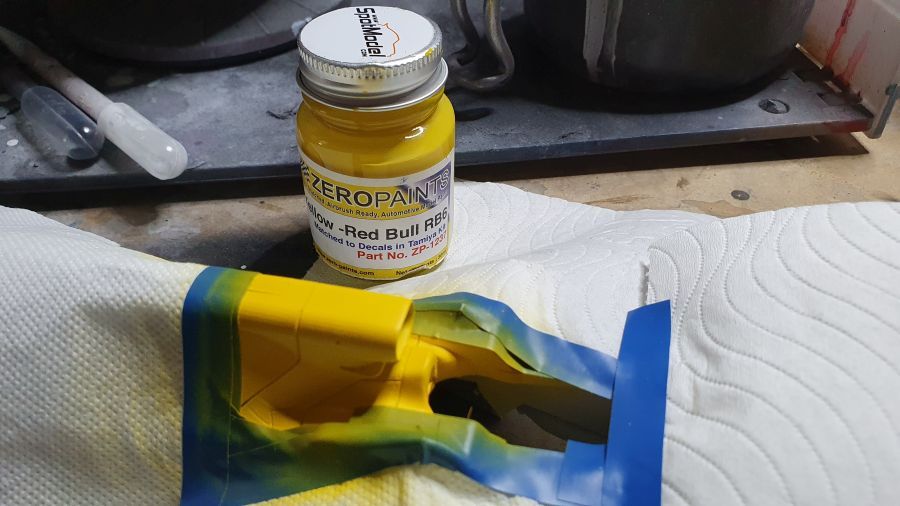
Twee sets decals. Eén met geel rond de stieren en een zonder. Daarvoor is een sjabloon bijgesloten om het geel te spuiten.
Two sets of decals. One with yellow around the bulls and one without. That one has a template included to paint the yellow.

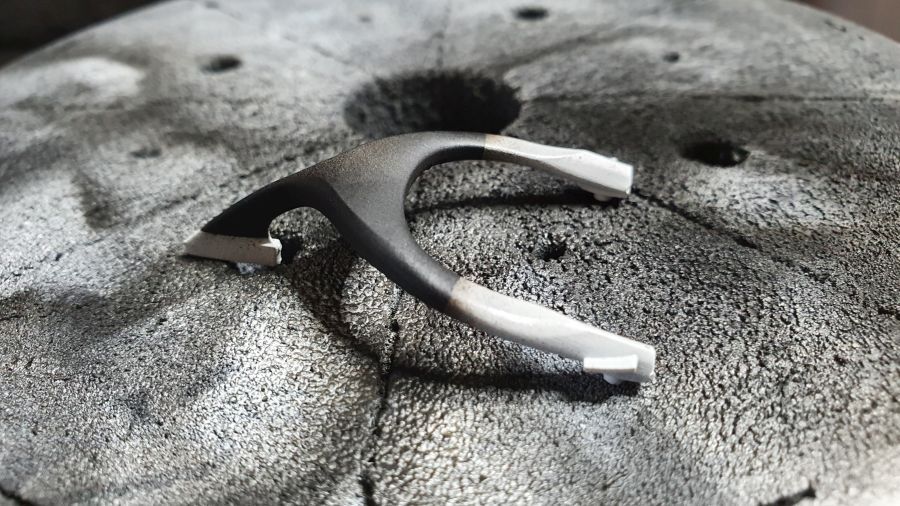
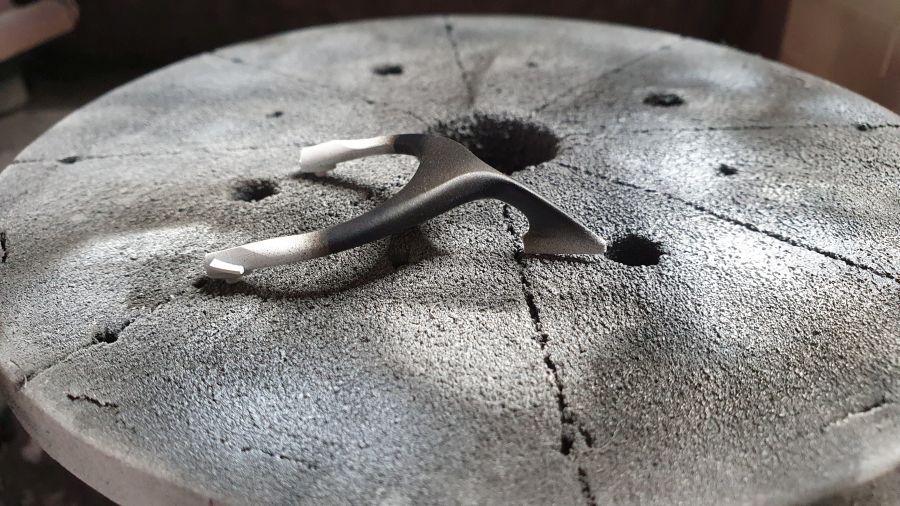
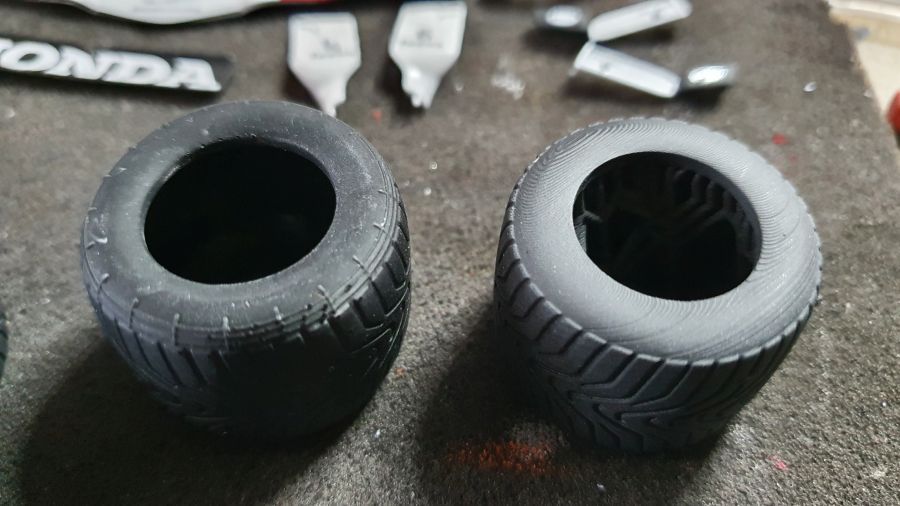
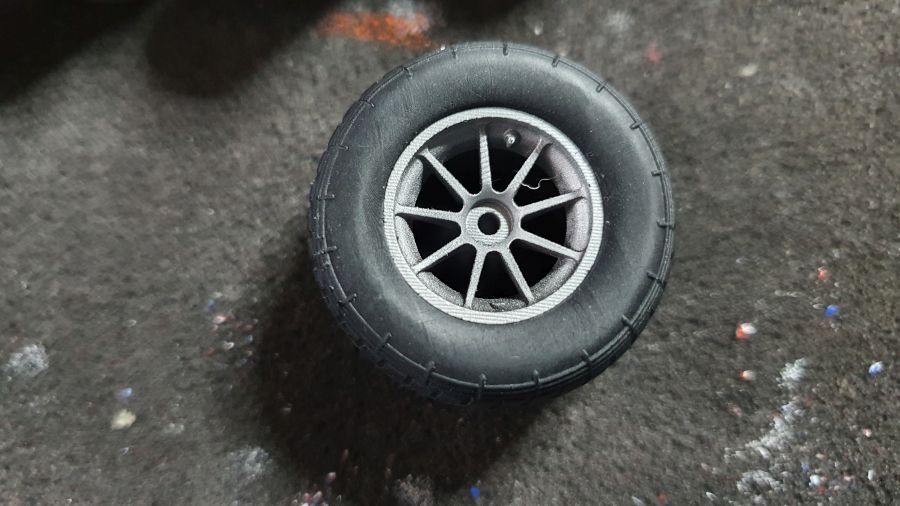
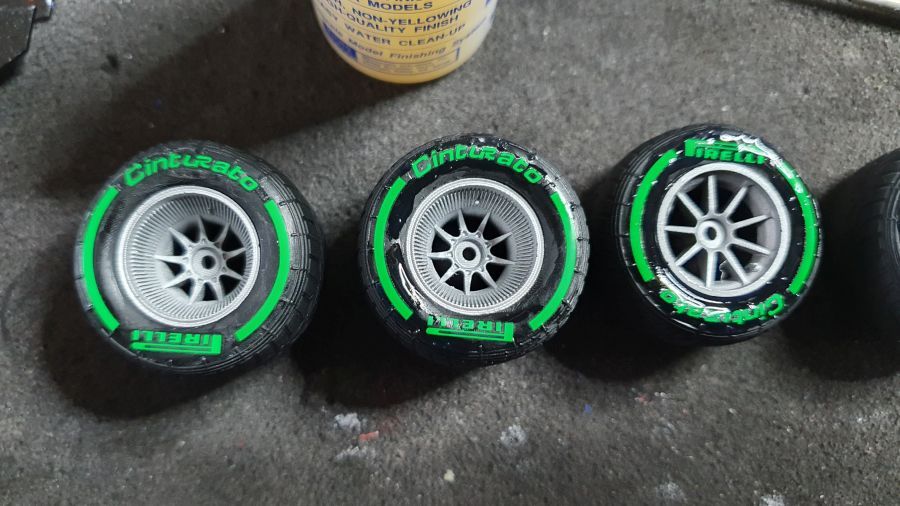
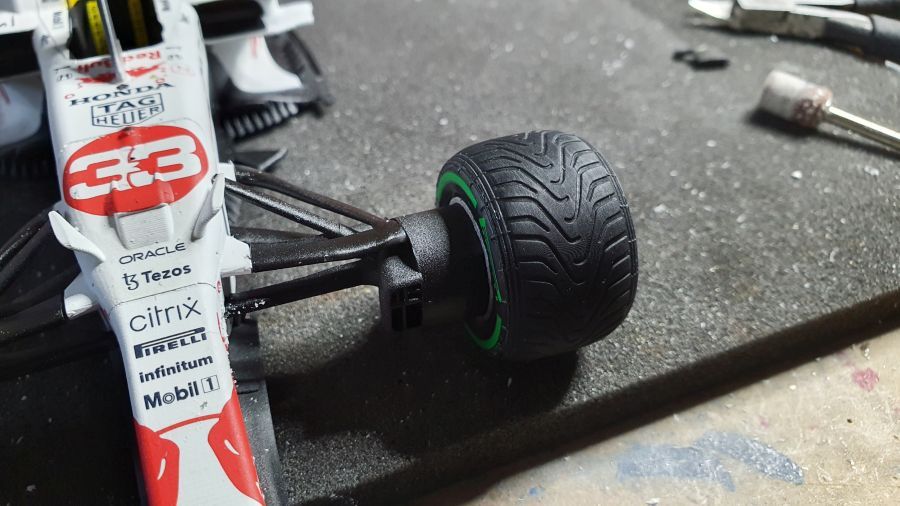
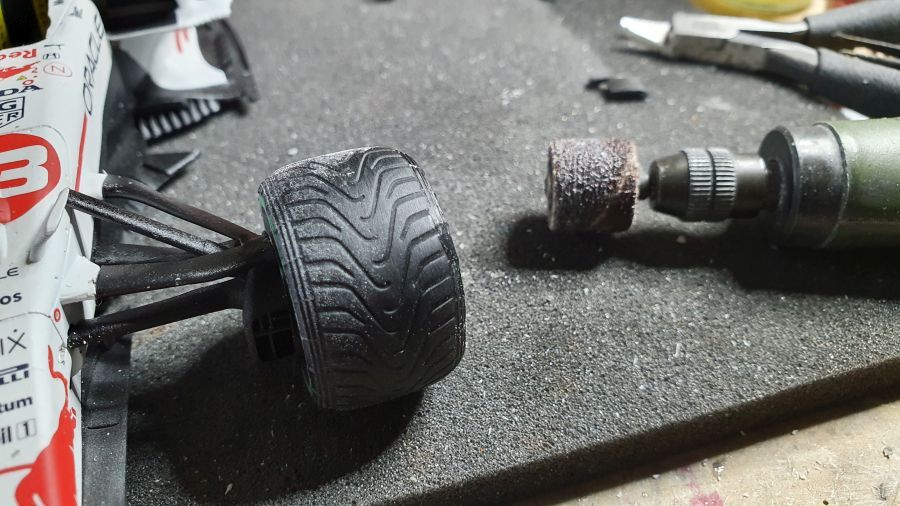
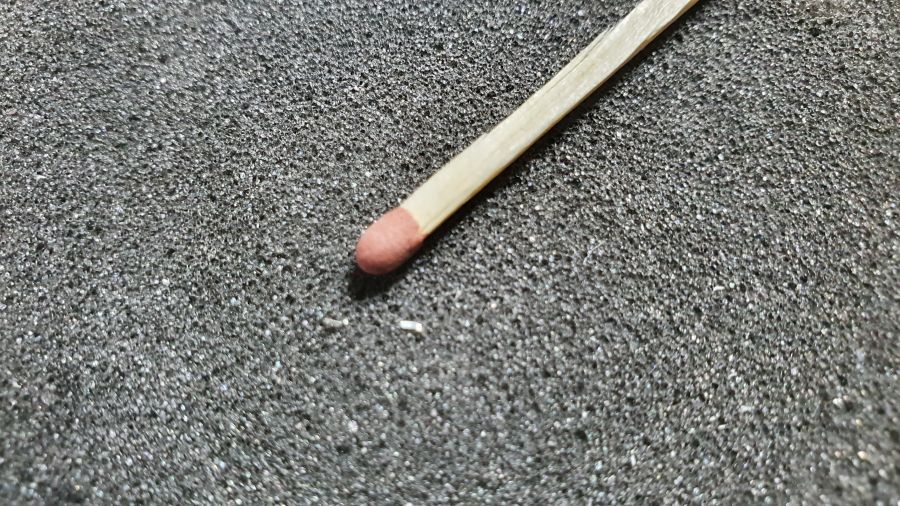
Hier ben ik heel blij mee. Goede vriend Thomas doneerde een paar door hem geproduceerde intermediates. Veel en veel beter dan die van de kit. Oordeel zelf. Voor mij een perfecte upgrade die ik iedereen kan adviseren.
With this i am very happy. Good friend Thomas donated a few intermediates which he produces. Much and much better than those of the kit. Judge it yourself. To me a perfect upgrade which i can advise to everyone.
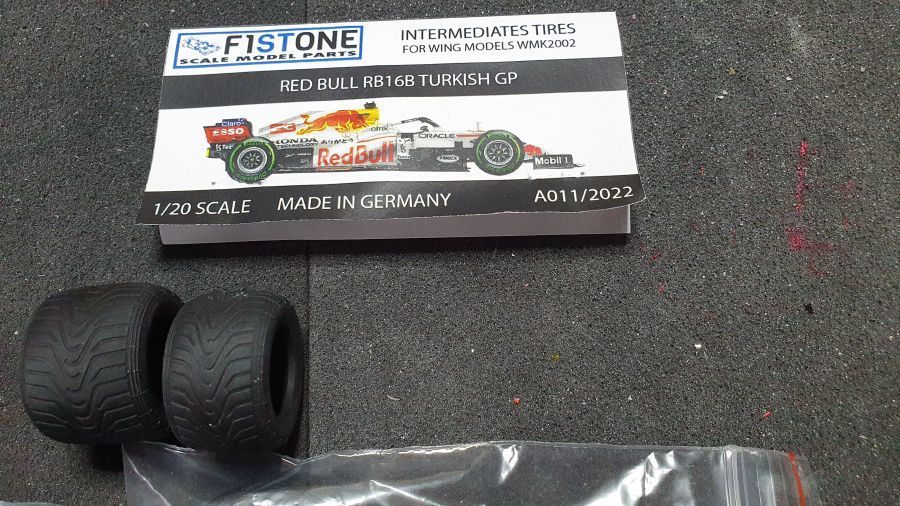
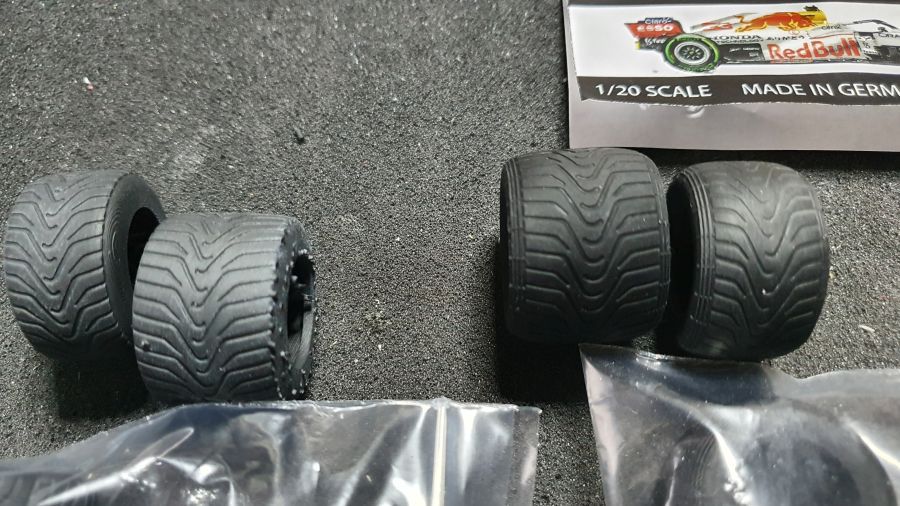
Kijk eens naar de veel beter afgewerkte randen. Die missen totaal op de kit banden.
Look at those well done edges. They are missing totally on the kit's tires.
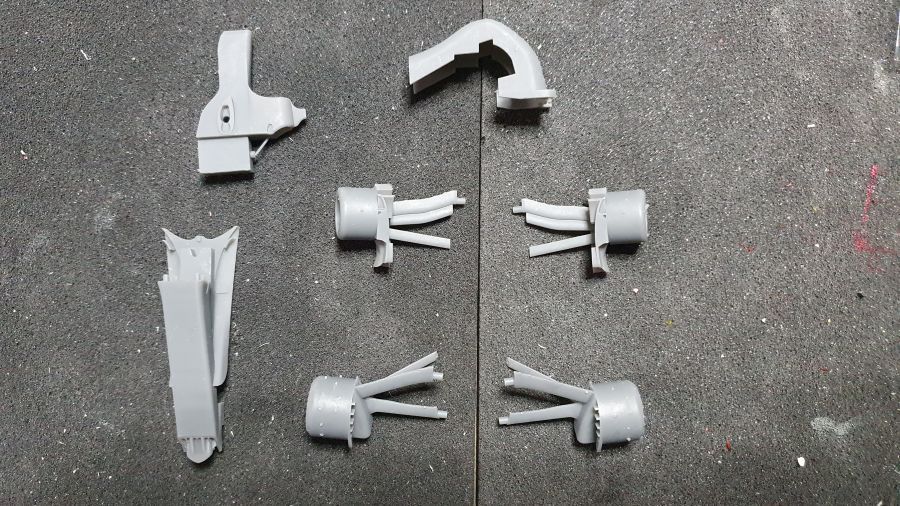
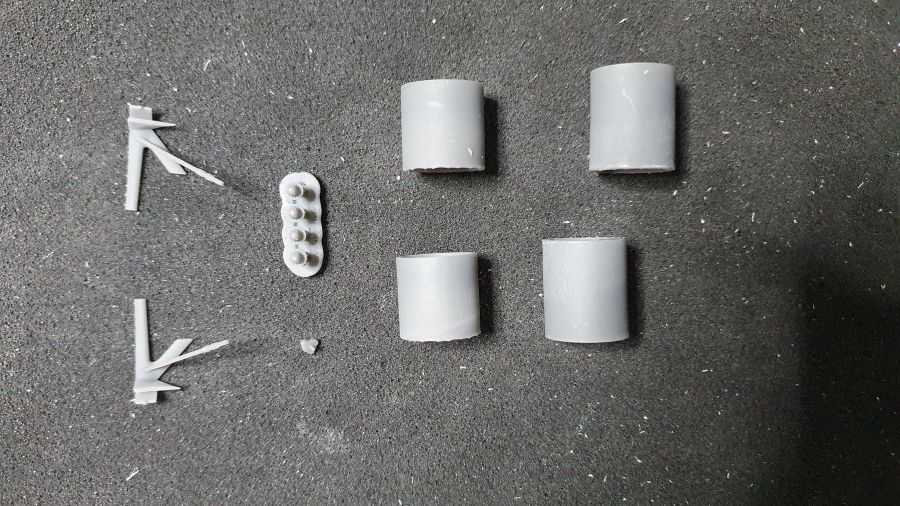
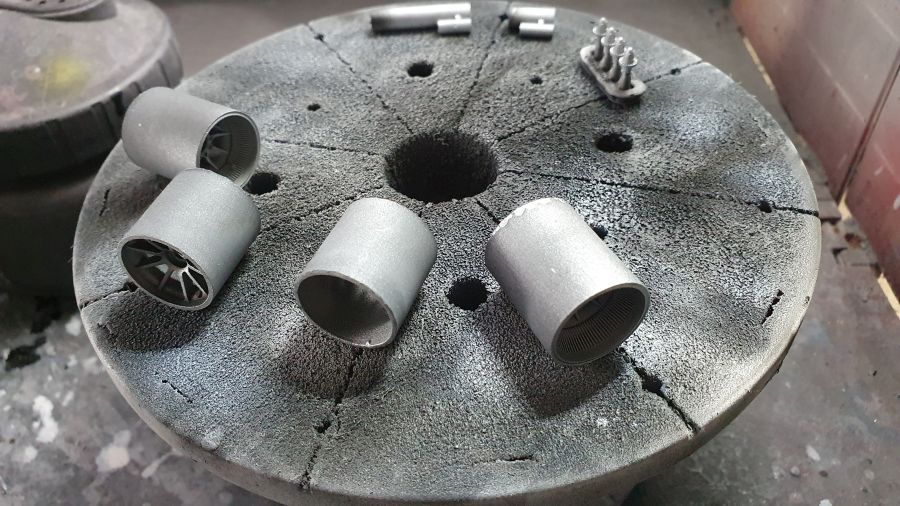
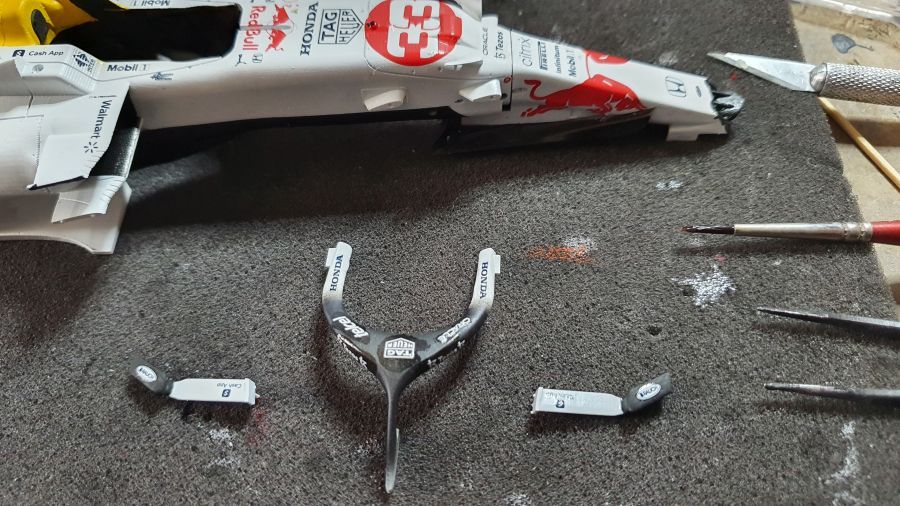
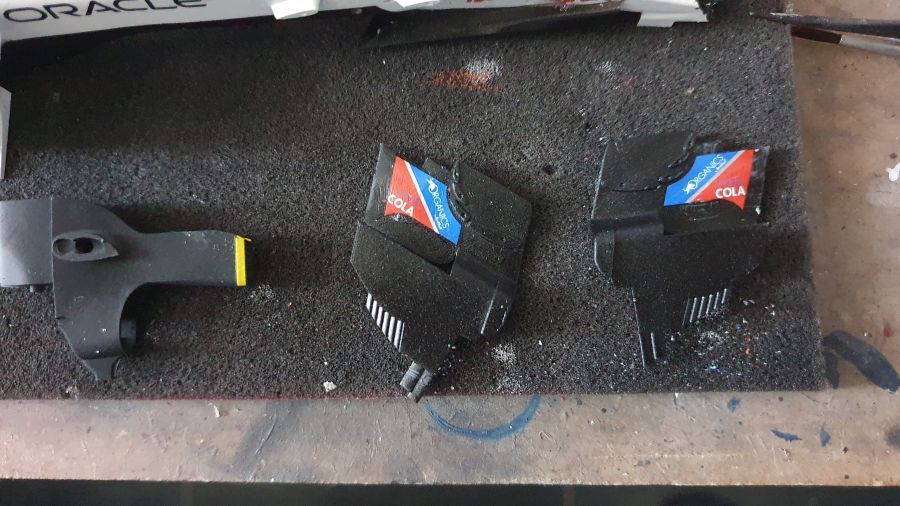
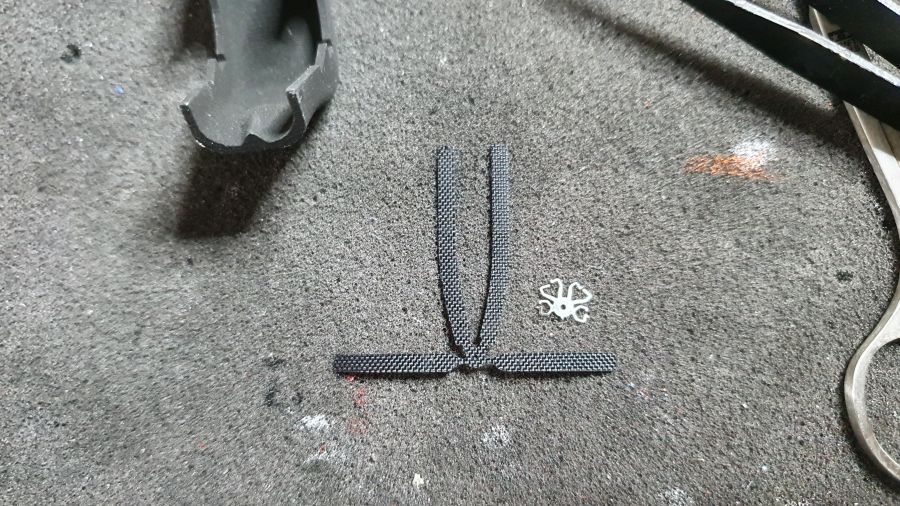
En Thomas leverde nog een paar uitlaten en onderdelen voor het stuur.
And Thomas donated some exhausts and parts for the steering wheel.
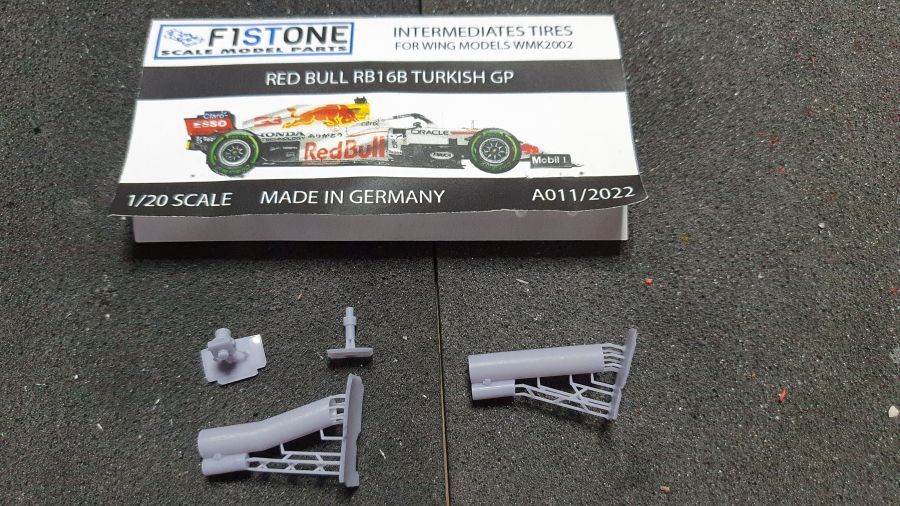
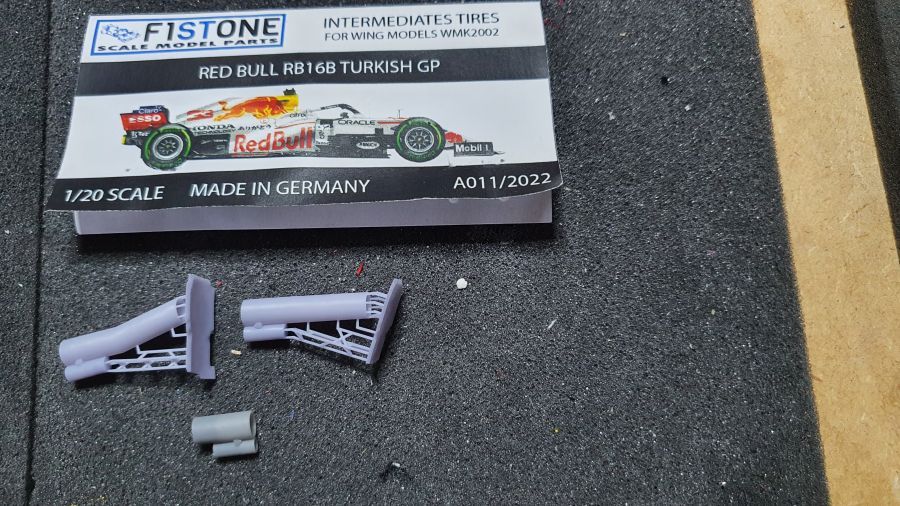
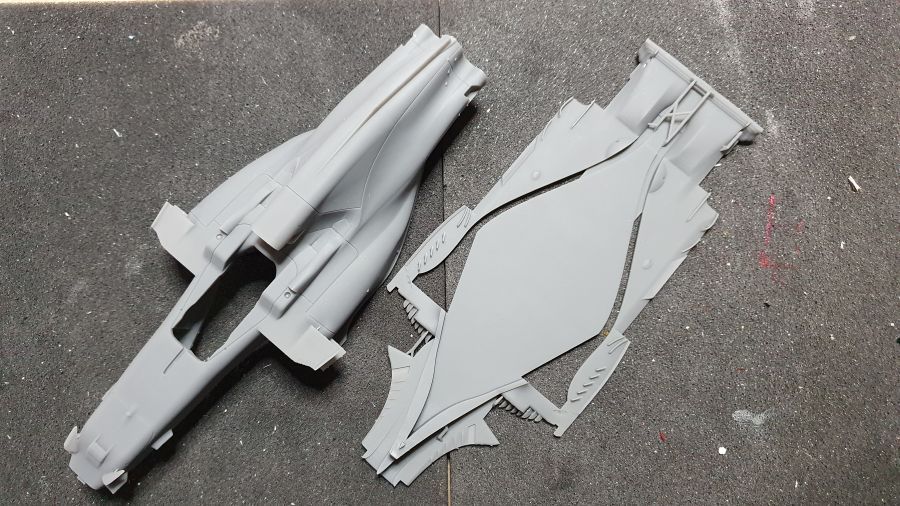
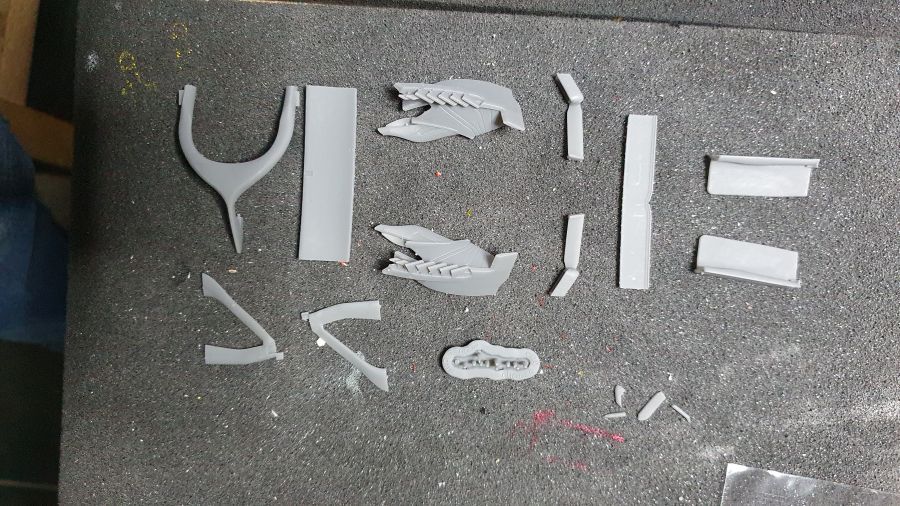
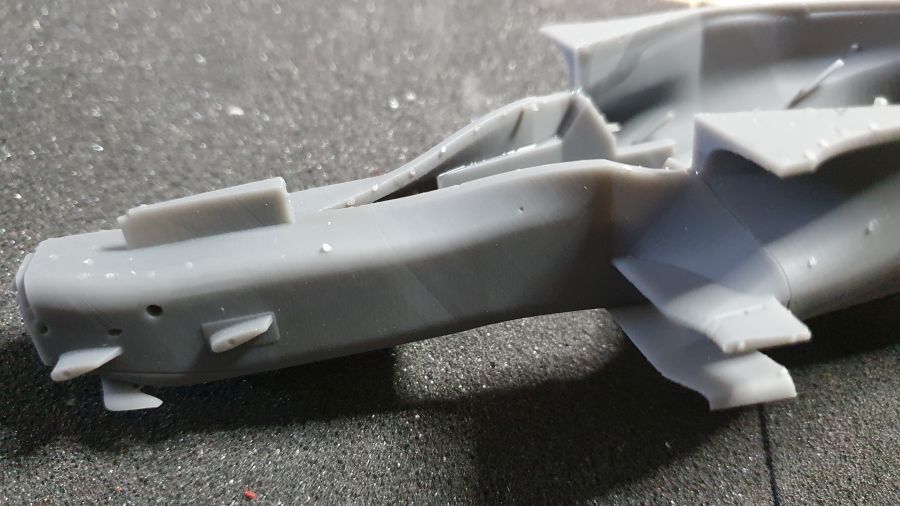
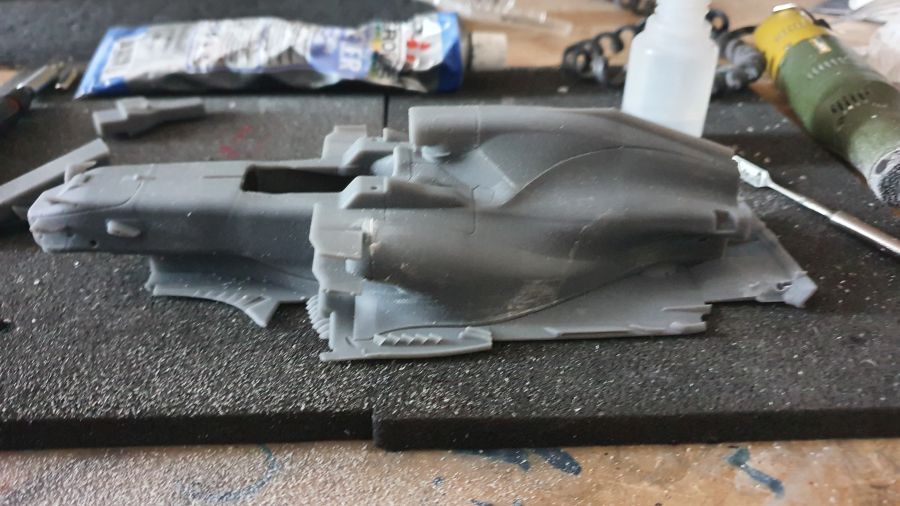
Alle onderdelen moeten worden ontdaan van de achterblijvende puntjes van de steunen van het 3D printen.
All parts need to be cleaned from the leftovers from the supports for 3D printing.
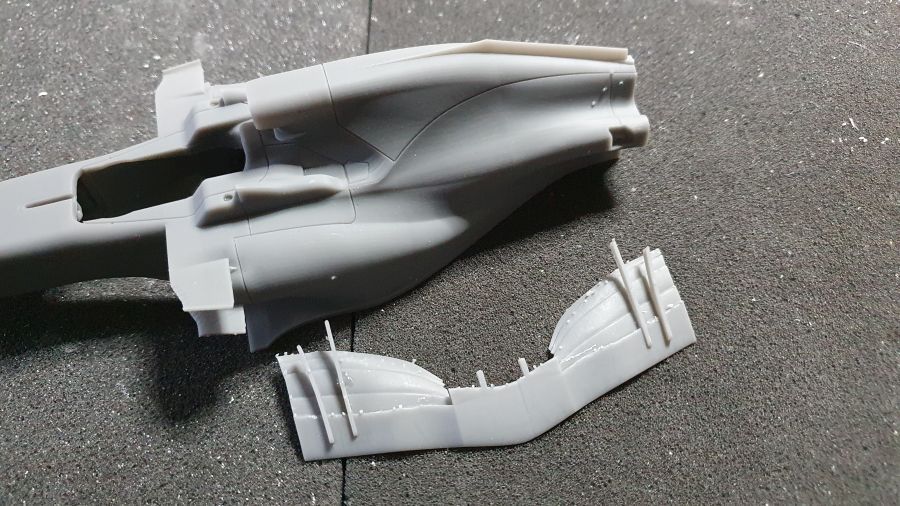
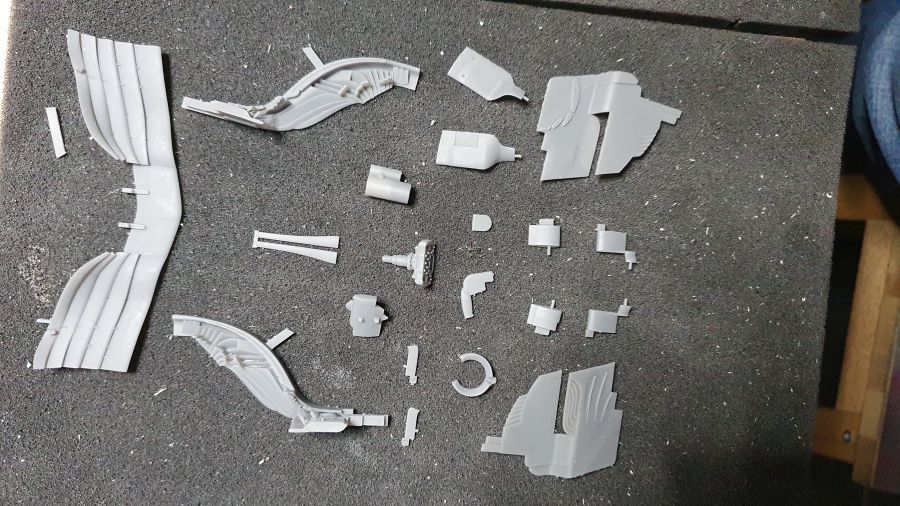
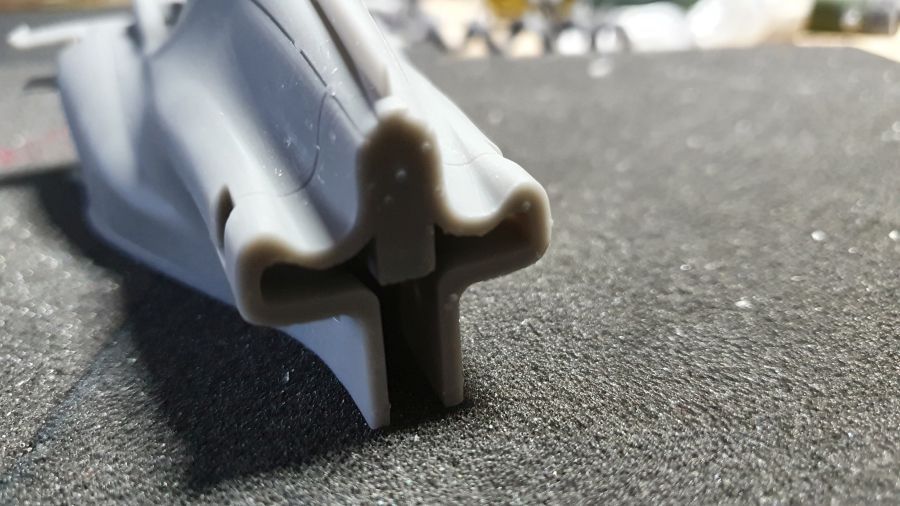
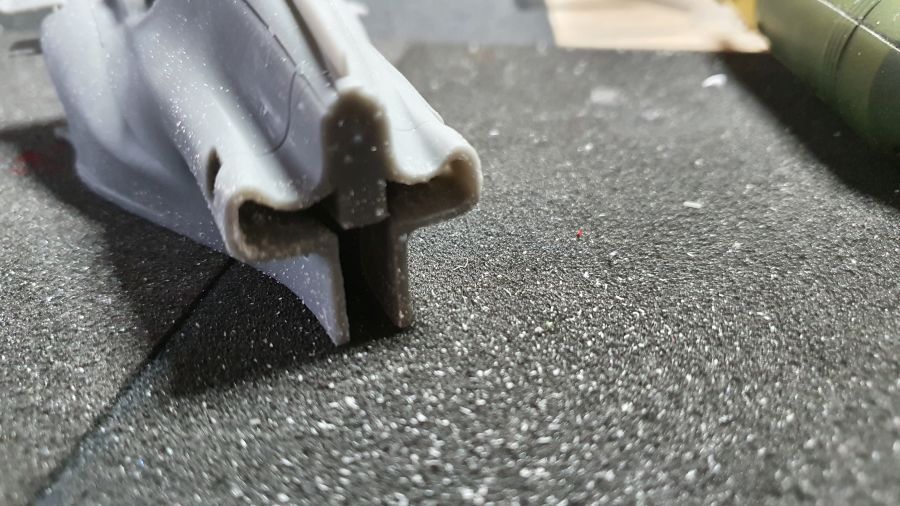
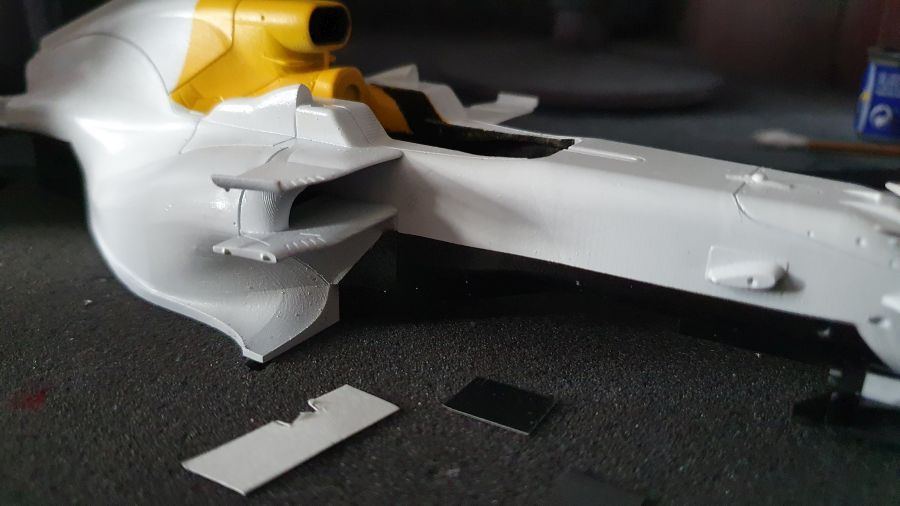
De wanden wat dunner maken aan de achterkant.
Thinning the walls at the rear.
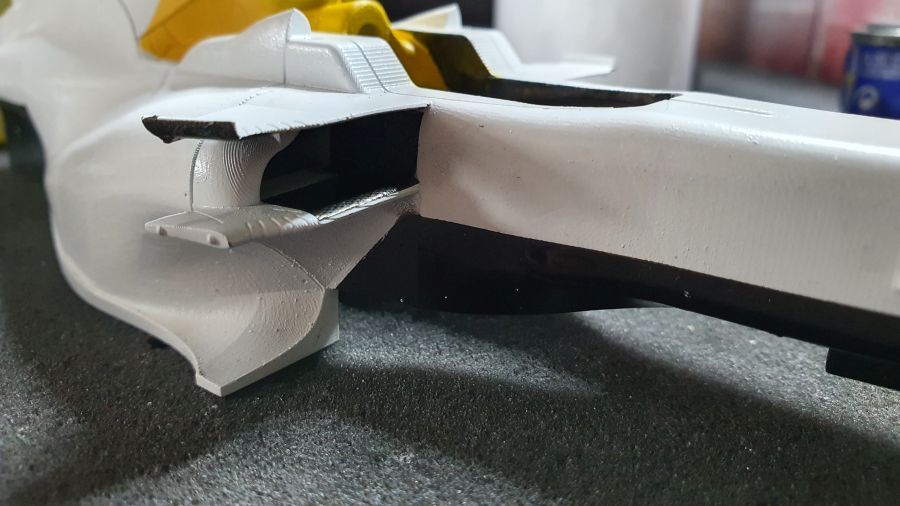
Even passen.
Test fit.
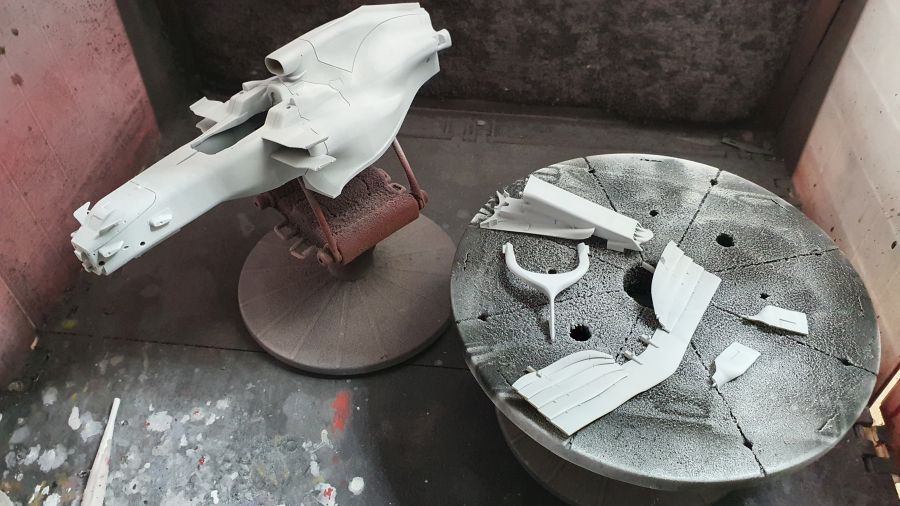
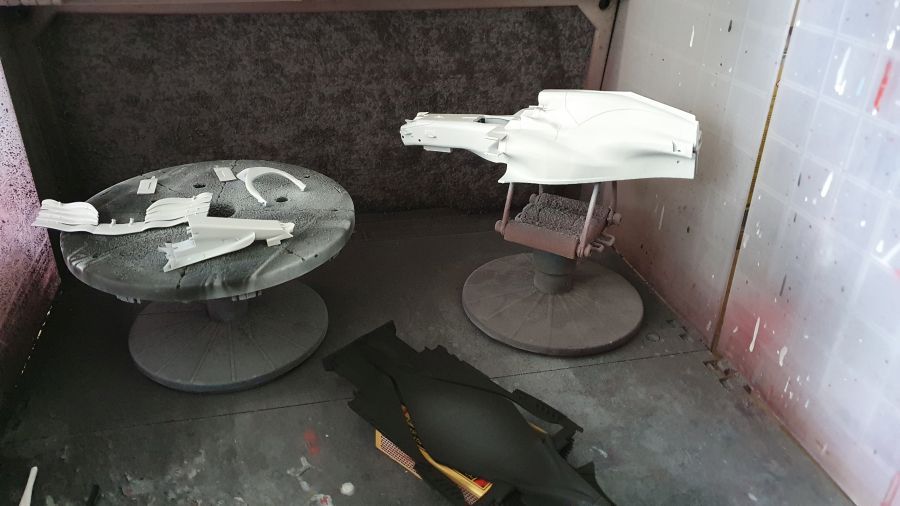
De eerste primer zit erop. Nog wat schuurwerk nodig.
The first primer is on. It needs more sanding.
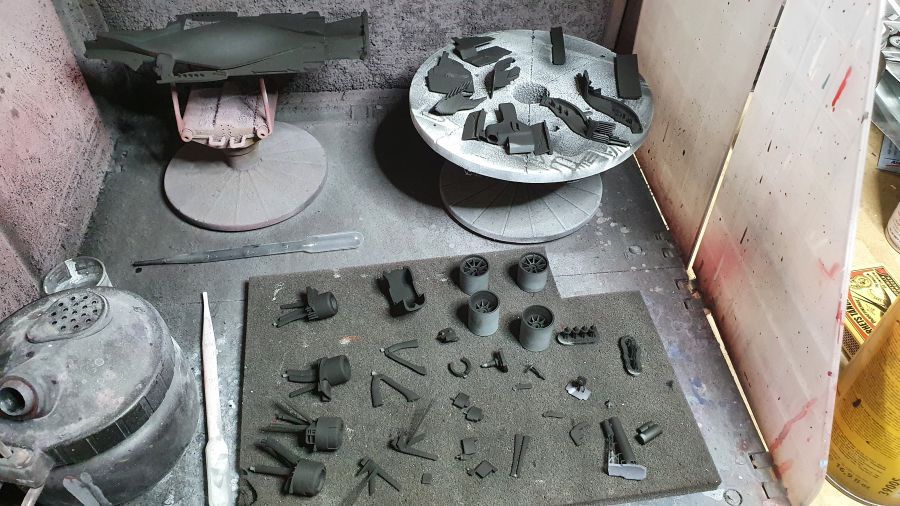
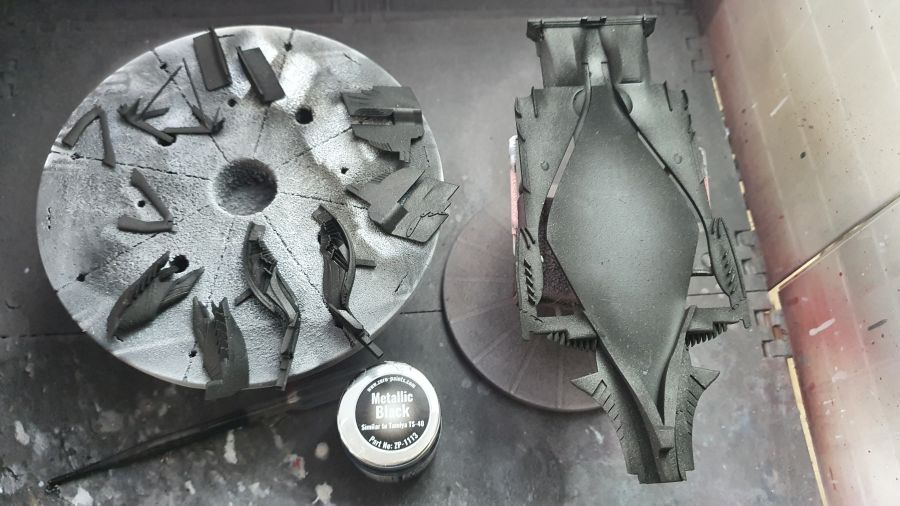
En zwart...
And black...
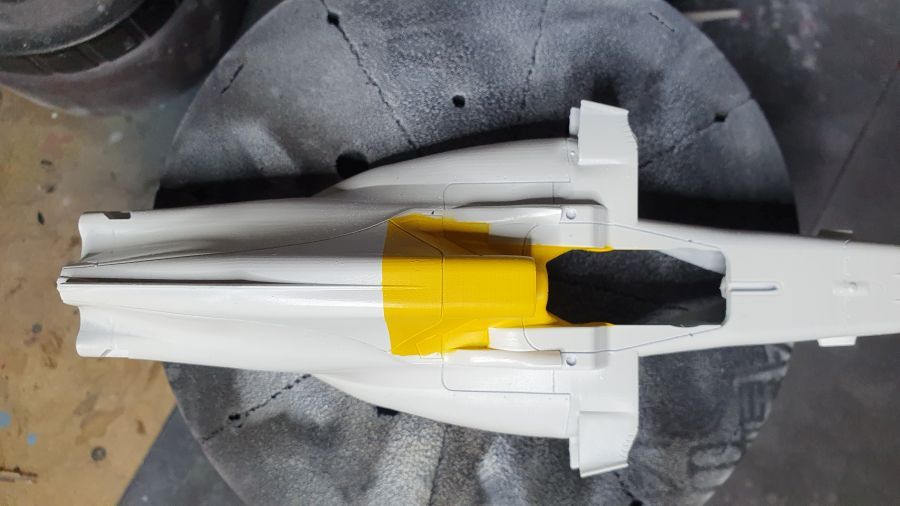
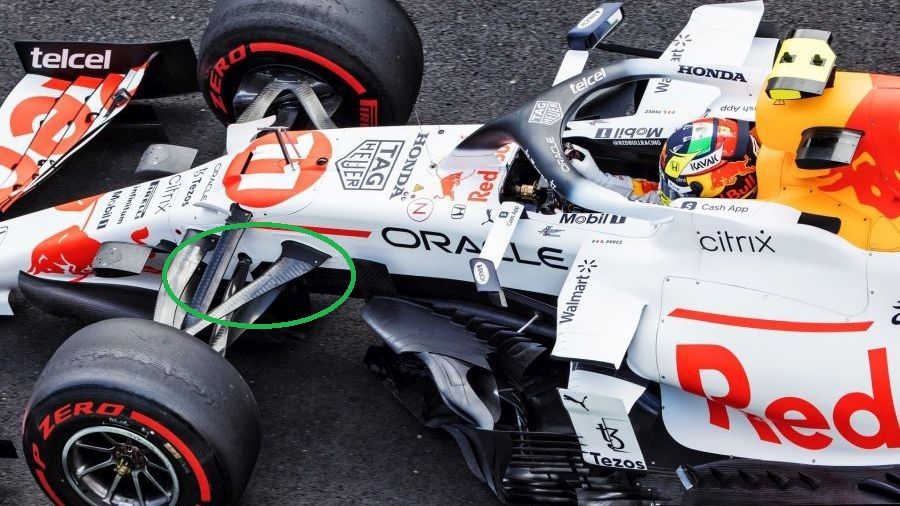
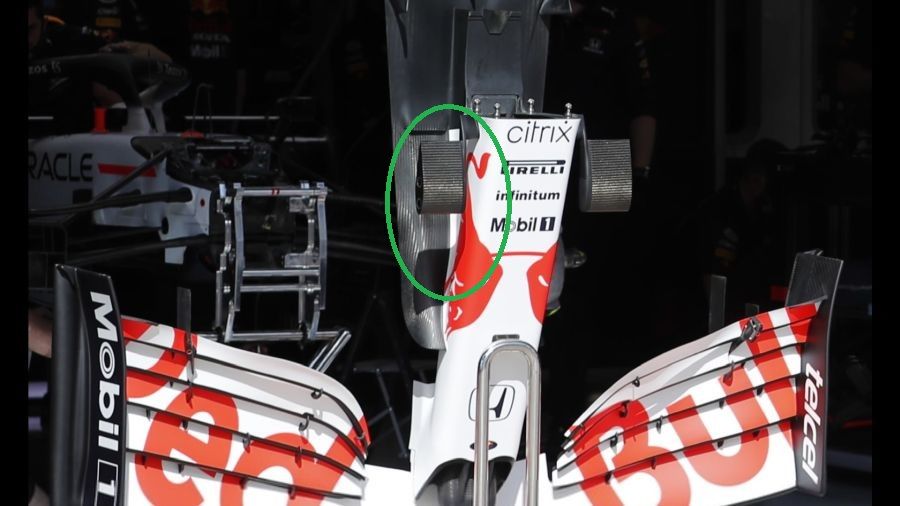
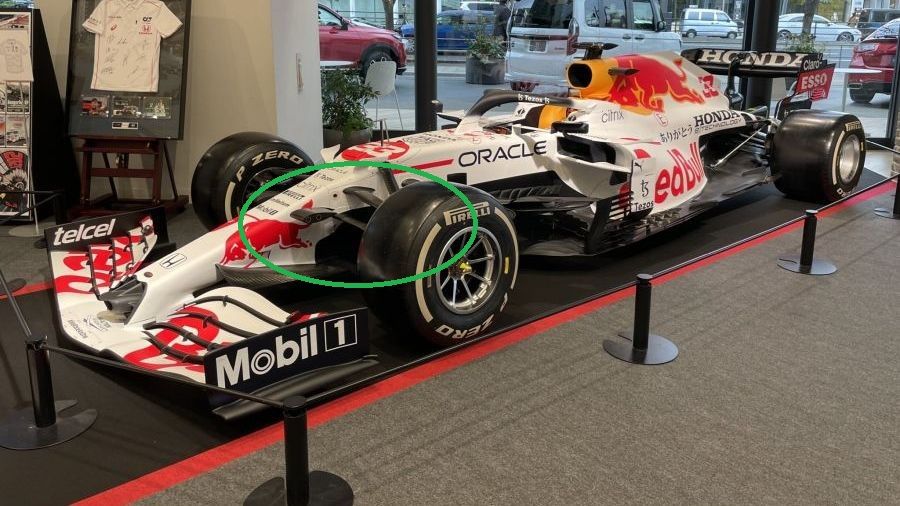
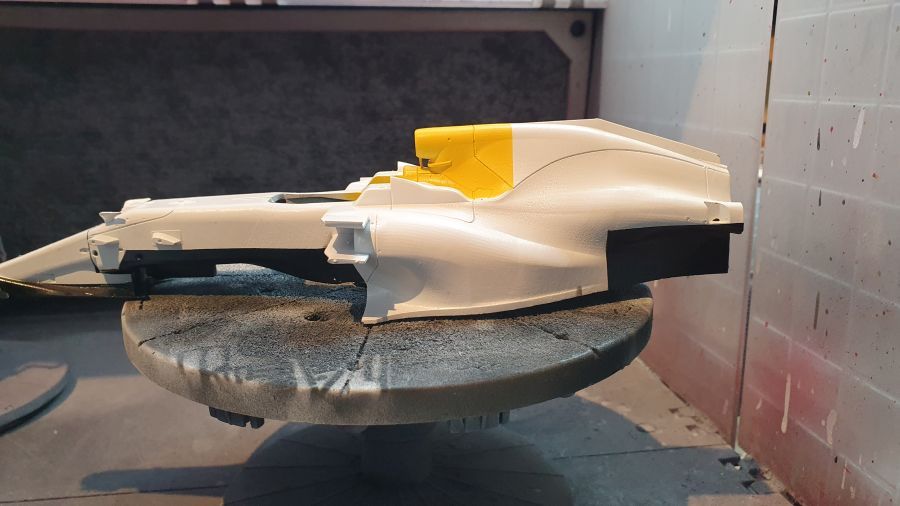
Even de airbox (geel) en de barge boards bestuderen.
Studying on the airbox (yellow) and the barge boards.
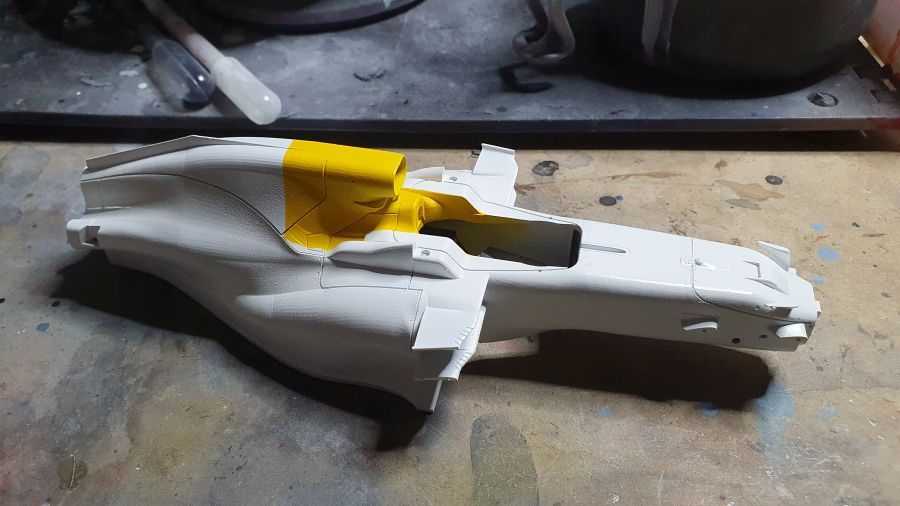
Zero Paints Gloss White ZP-3018 gespoten. Zal nog wat geschuurd moeten worden.
Zero Paints Gloss White ZP-3018 sprayed. It will need some sanding.
Dan 'arme mensen carbon'....
Then 'poor man's carbon'....
Dan door naar het geel.
To continue with the yellow.

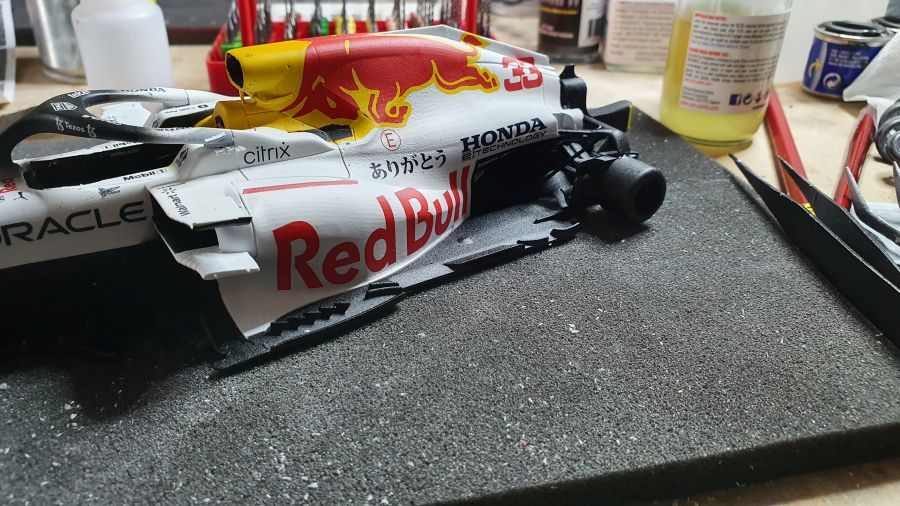
Ik spot wat verschillen in het zwart op de body.
I spot some differences in the black on the bodywork.
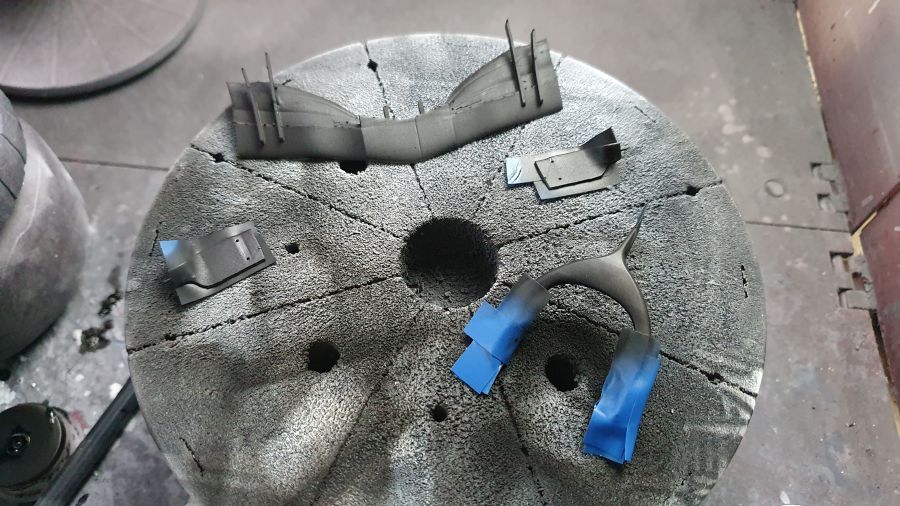
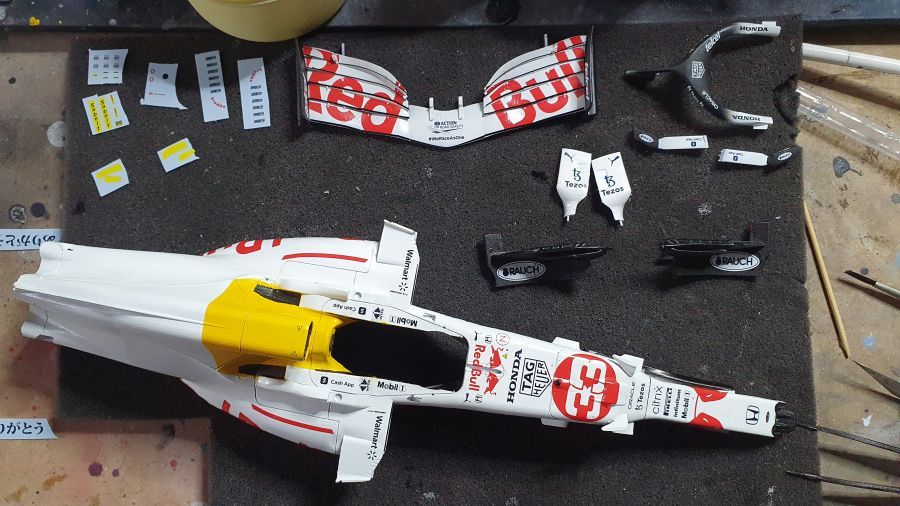
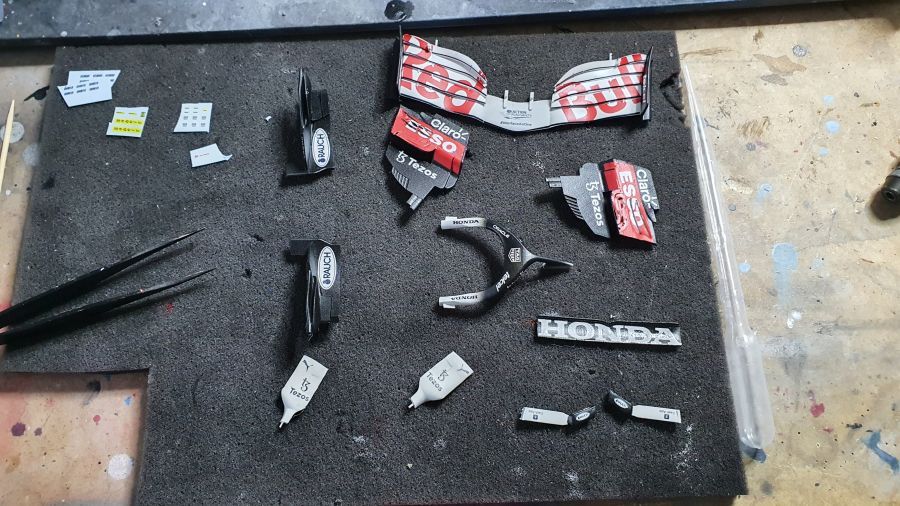
Nog wat multi-kleur onderdelen.
Some multi-color parts.

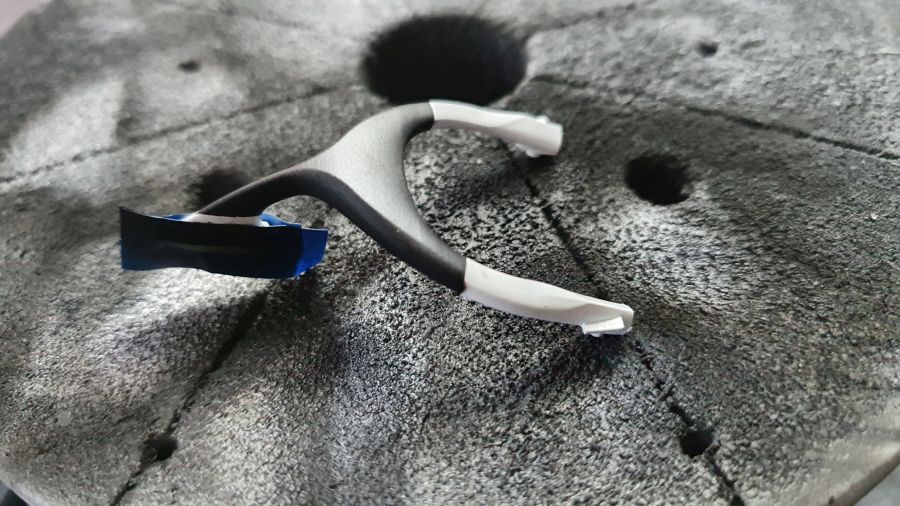
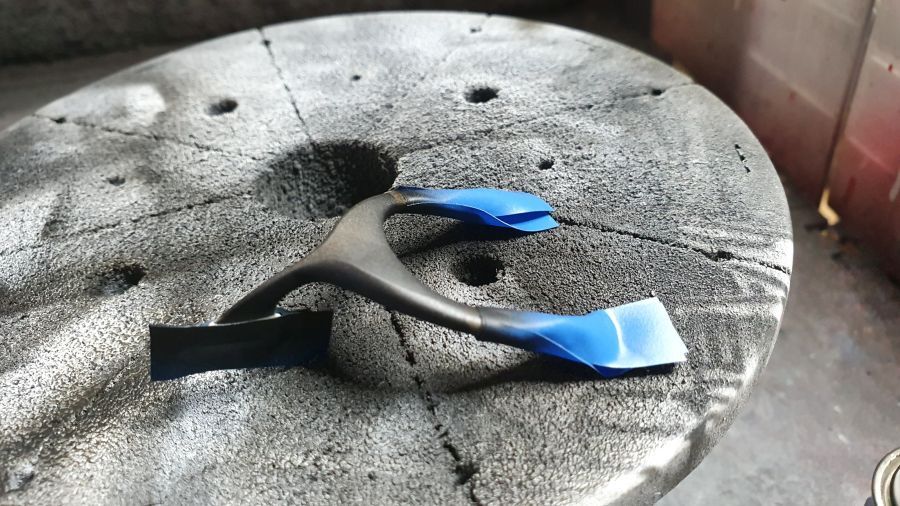
De halo krijgt extra aandacht in verband met het 'overspray effect'. Een paar keer opnieuw proberen, maar ik doe het er zo mee.
The halo gets some more attention regarding the 'overspray effect'. Some trial and error, but it will do now.
De velgen spuit ik met Gravity Colors GC-201 Alcoa Aluminium.
The rims are airbrushed with Gravity Colors GC-201 Alcoa Aluminium.
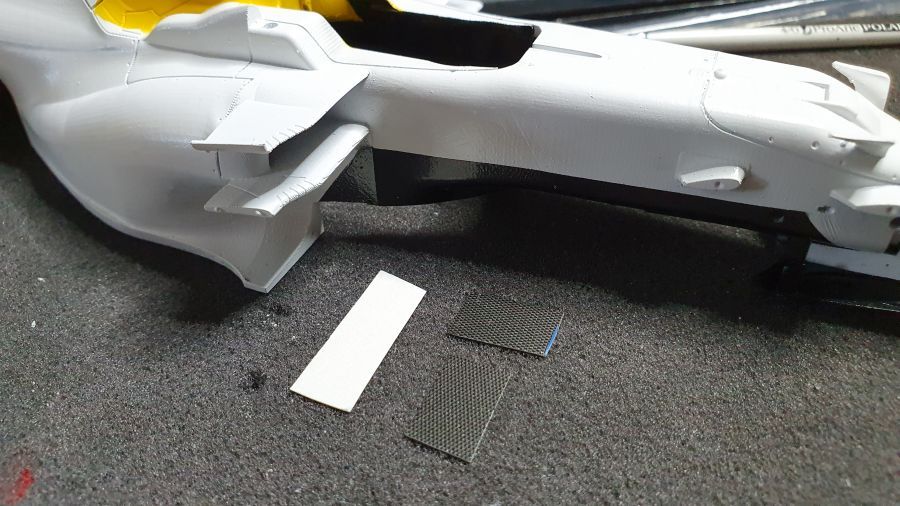
Wat carbon voor de sidepods.
Some carbon for the sidepods.
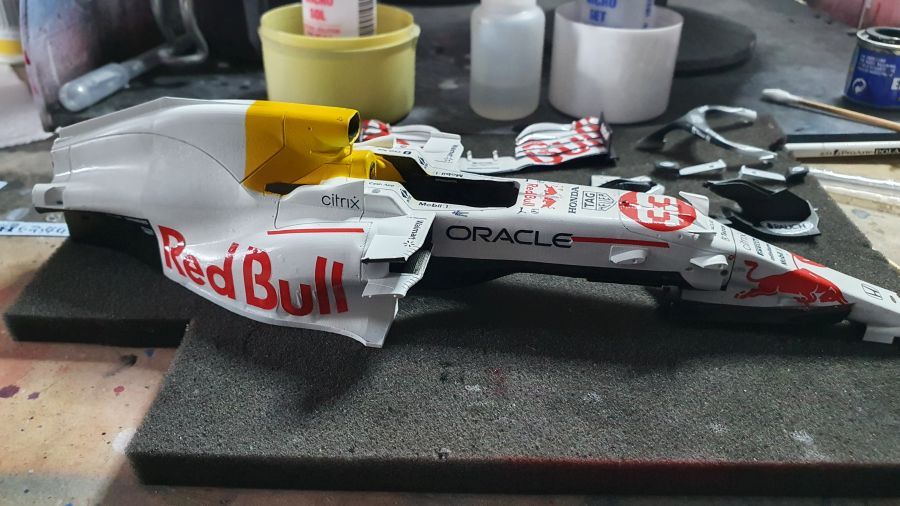
Begonnen met de decals.
Started with the decals.
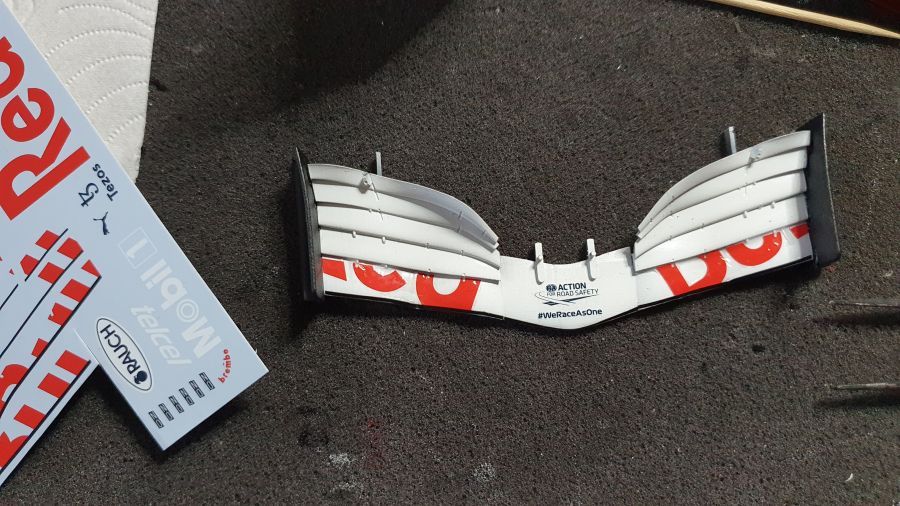
Halverwege...
Half way...
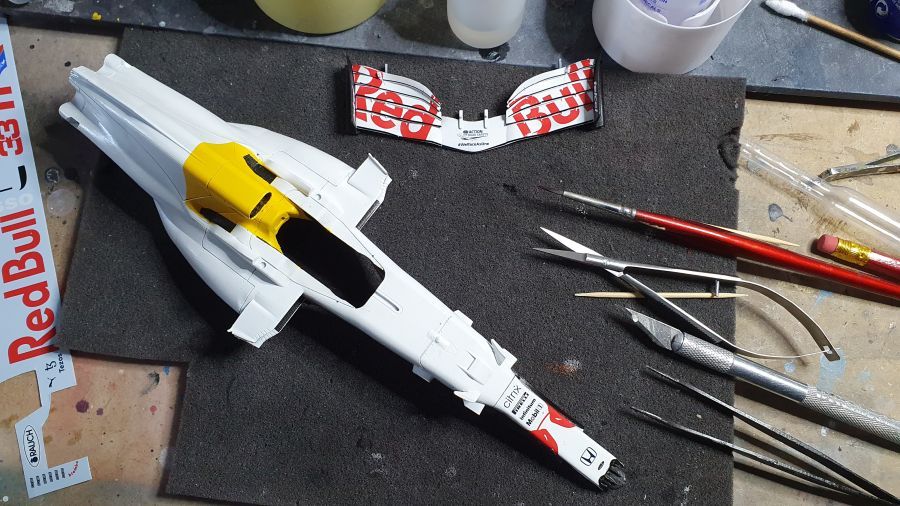
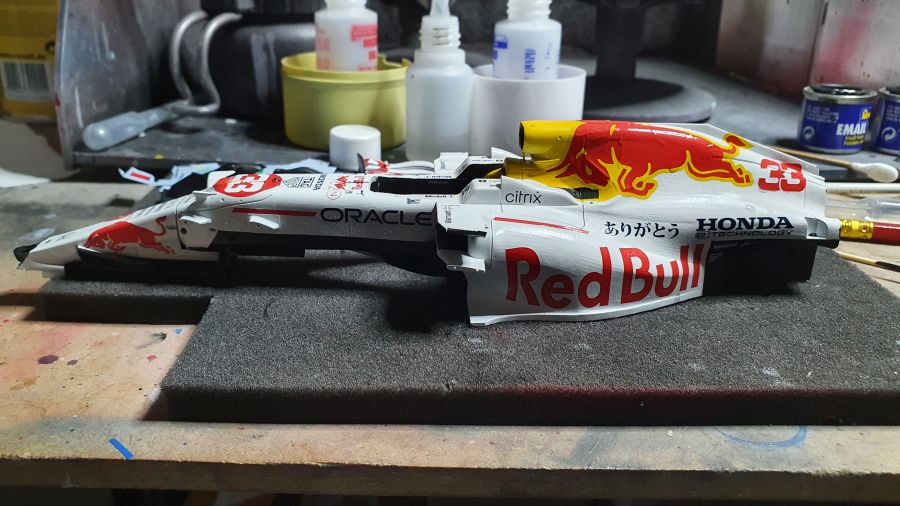
Alles geplaatst... nu laten drogen.
All added... now let it dry.
Ik heb een kleine fout gemaakt met de decals aan de binnenkant van de end plates. Gelukkig een 2e set decals, dus hierbij gecorrigeerd.
I made a small mistake with the decals on the inside of the end plates. Luckily a 2nd set of decals, so herewith corrected.
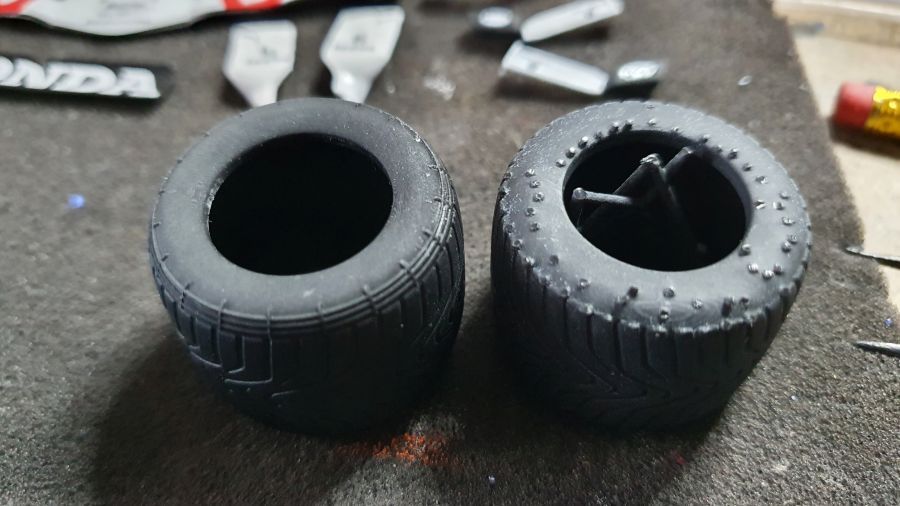
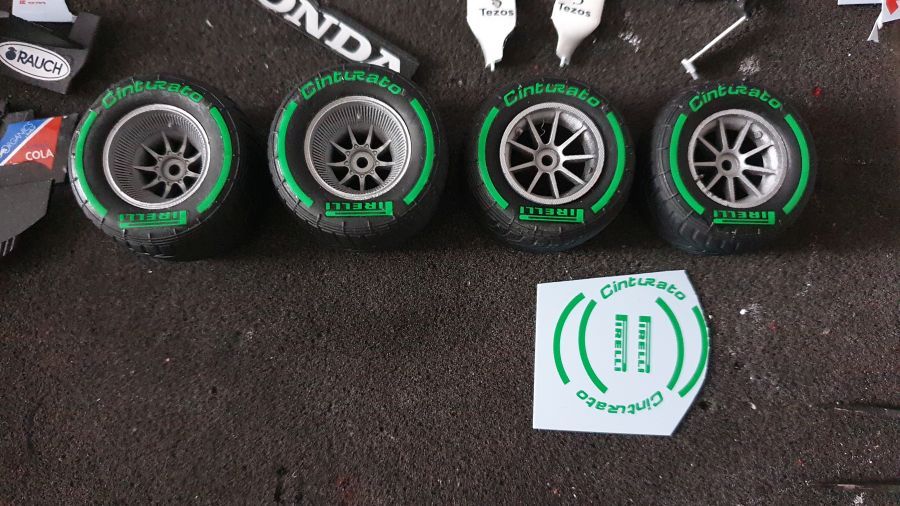
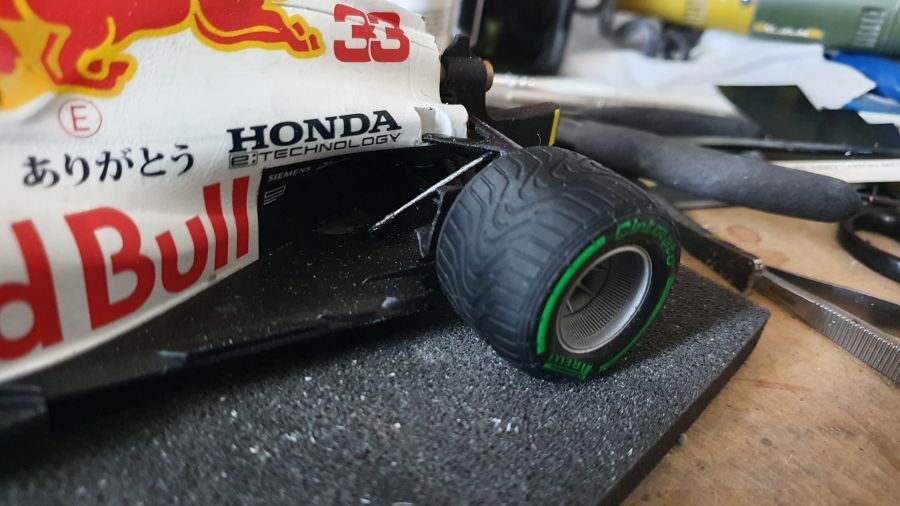
Door naar de banden en velgen. Zoals ik al aangaf, komen deze van Thomas (www.f1stone.com) (links). Ik ga die uiteraard gebruiken, ze zien er veel beter uit dan die van de kit (right). Veel meer detail aan de wangen. Klasse! En ze passen perfect op de velgen. Top werk van Thomas. Hij werkt ook aan 2 figuren voor de RB16B. Die heb ik uiteraard besteld.
On to the tires and the rims. As stated, these are from Thomas (www.f1stone.com) (left). Of course i will use these, they look much better than those from the kit (right). Much more detail to the sides. Superb! And the fit perfect to the rims. Top job from Thomas. He is also working on 2 figures for the RB16B. Of course i ordered those.
Ik prefereer deze decals boven de soort dat je omgekeerd moet aanbrengen en dan het papier nat moet maken. Ik vind dat je dit meer zuiver kan plaatsen.
I prefer these decals above the ones that you need to add on the downside and wet them to remove the paper. In my opinion you can add these much better to the designated space.
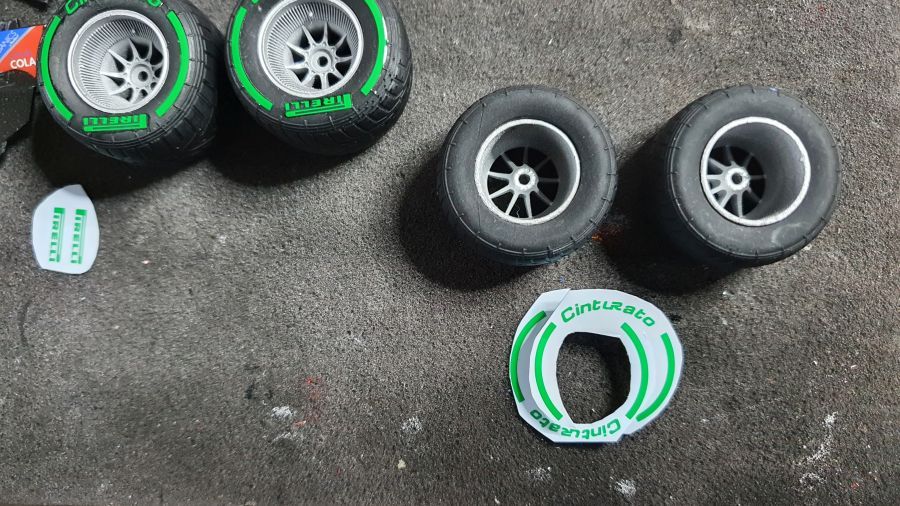
De voorbanden krijgen ook decals aan de binnenkant.
The front tires also get decals on the inside.
Ik lak ze af met Micro Flat.
Then i add Micro Flat.
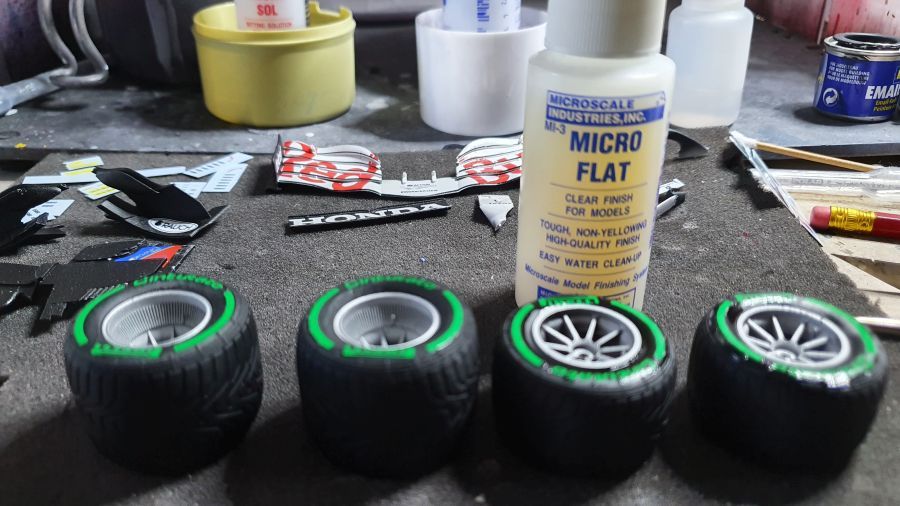
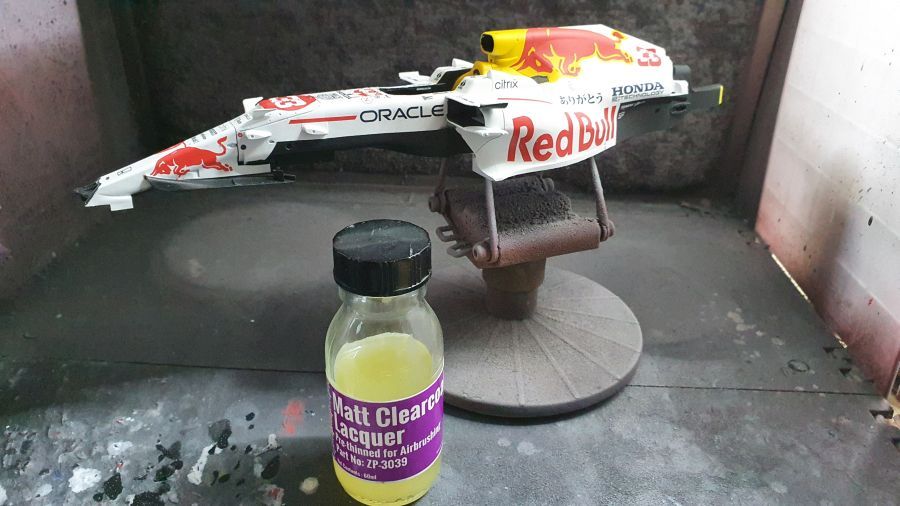
Ik twijfelde over de lak. Uiteindelijk heb ik voor mat gekozen.
I had doubts about the clear. Eventually i chose to use matt.
Dan naar de stoel...
On to the seat...

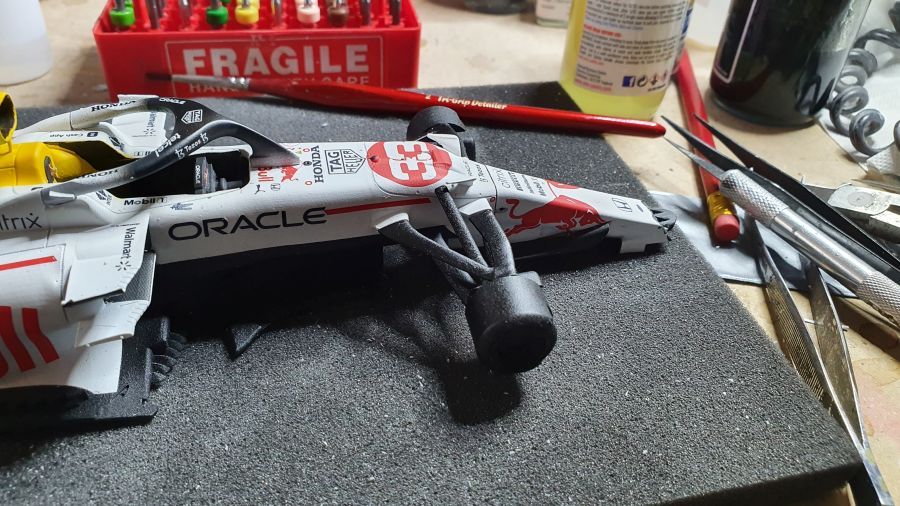
De wielophanging gaat erop..
The wheel suspension was added..
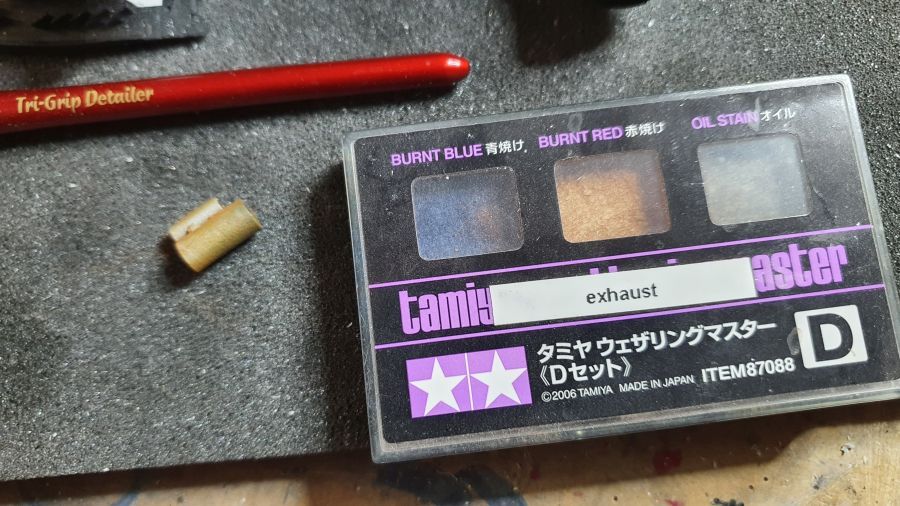
De uitlaat krijgt wat poeder...
The exhaust gets some powder...
De voorvelgen passen niet op de trommels. Daar had ik even op moeten letten. Oplossen was echter zo klaar. De achtervelgen zijn geen probleem.
The front rims do not fit the drums. I should have known this. Easy to solve though. The rears are no problem at all.
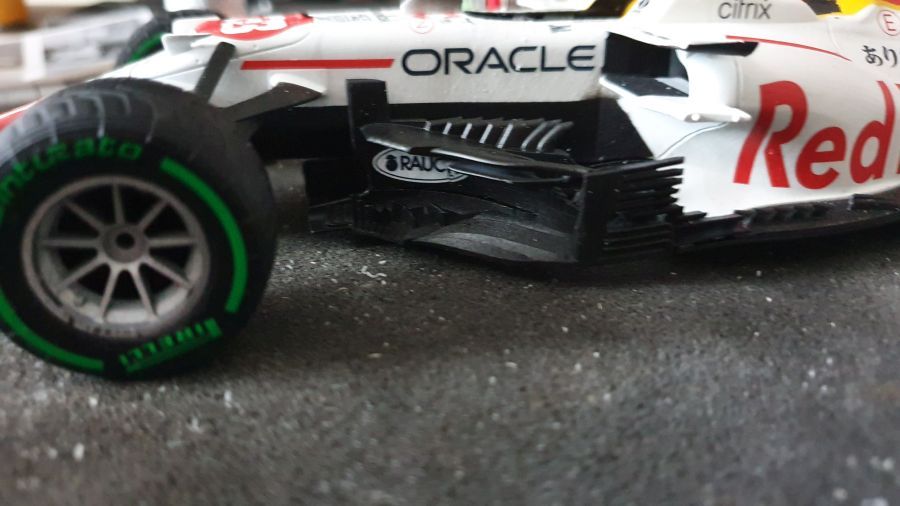
Barge boards toegevoegd.
Barge boards added.
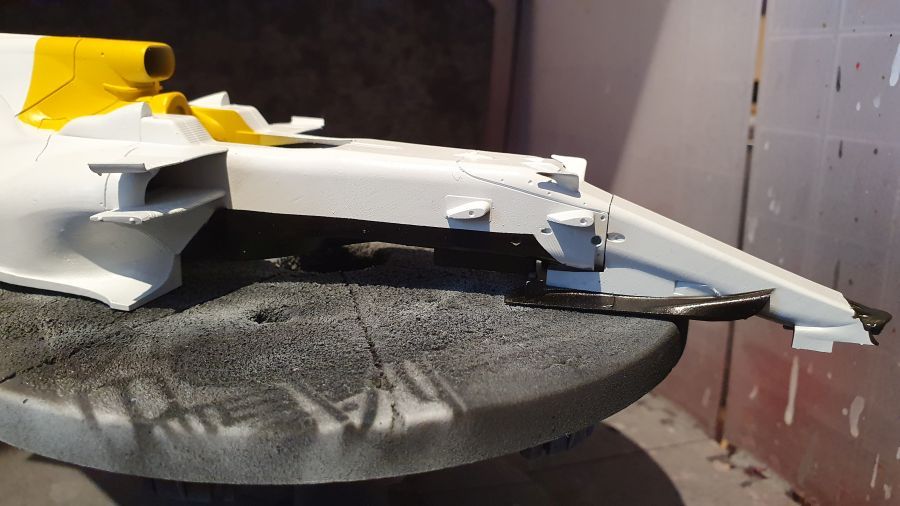
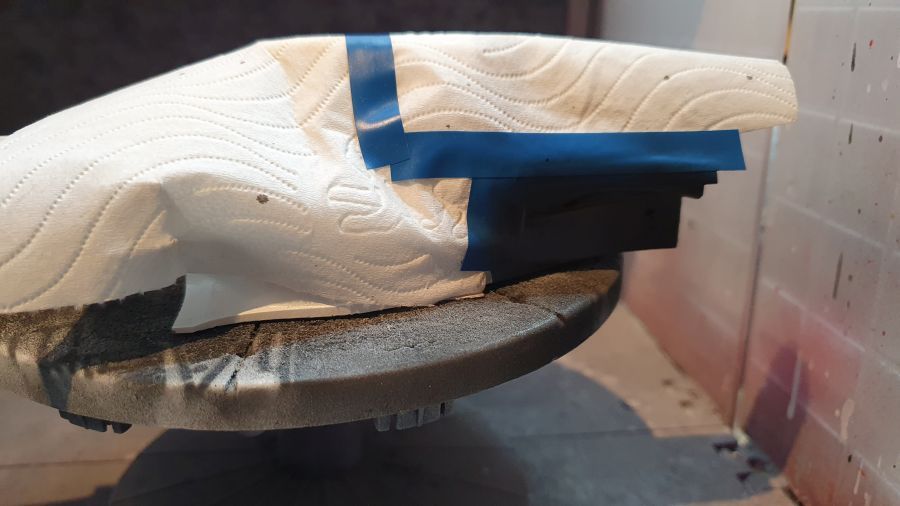
De achtervleugel moest ik licht bijslijpen om hem passend te maken.
I had to cut the rear wing a little to make it fit.
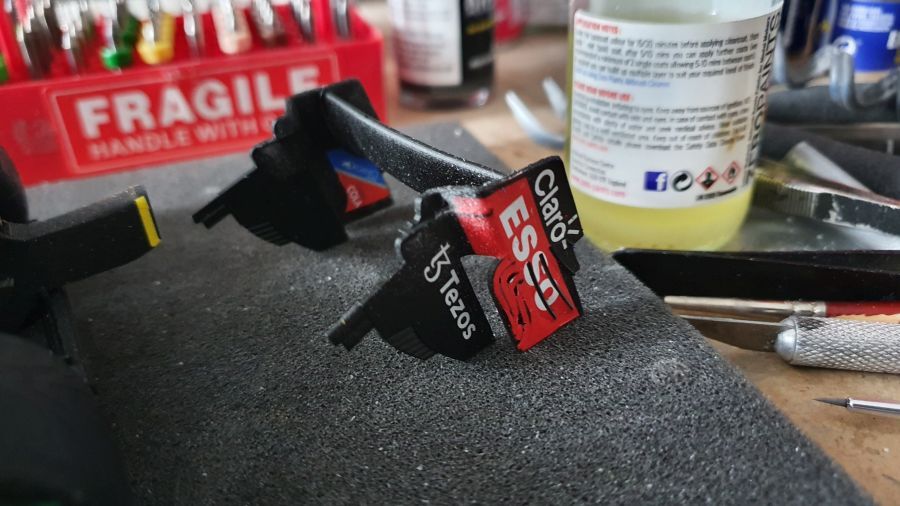
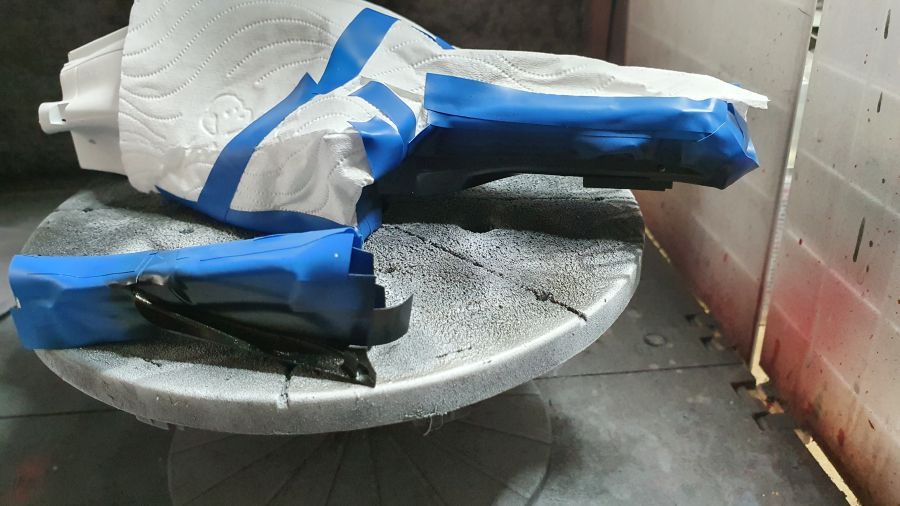
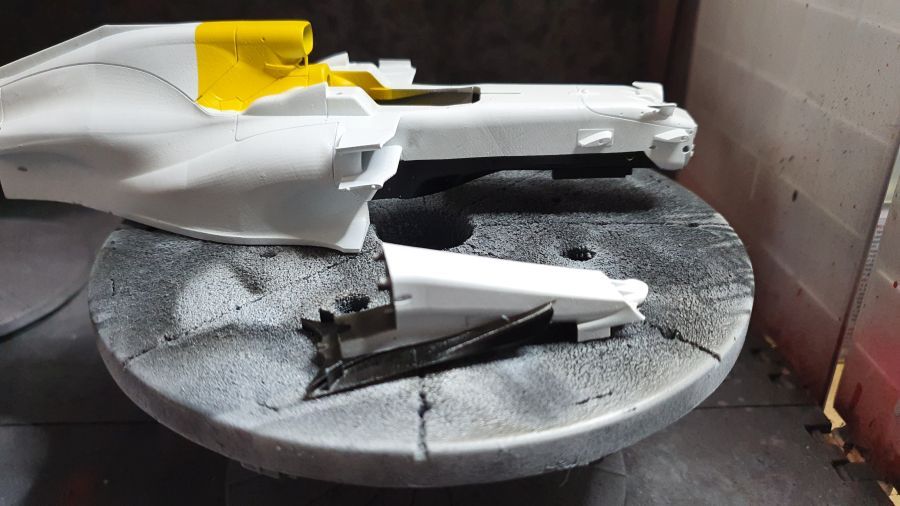
Dan slaat het 'noodlot' toe. De achtervleugel valt op de grond. Ik krijg hem niet meer echt goed in elkaar. In ieder geval een decal repareren. Valt nauwelijks op hoop ik.
Then 'disaster' strikes. The wing drops to the floor. I am having difficulties to put it together again. Anyway, a decal repair has to be done. Hardly visible i hope.
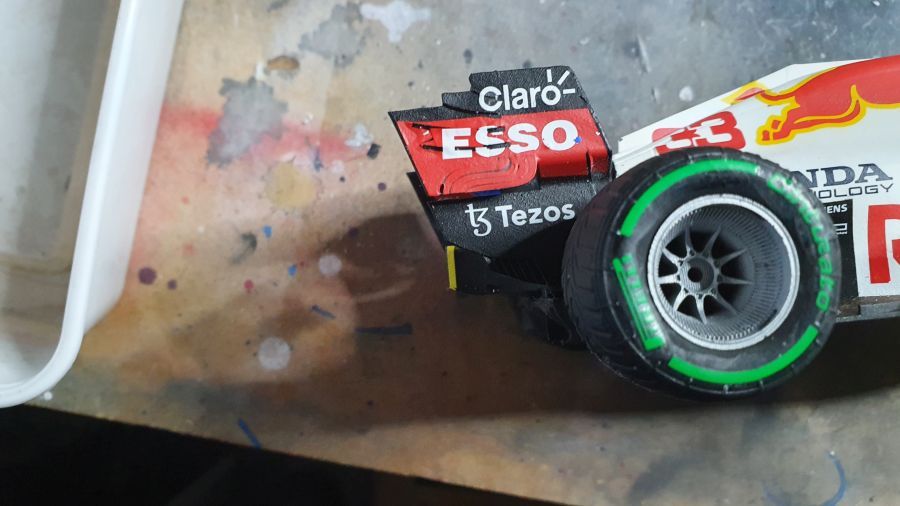
Na het oplossen van wat problemen zit de vleugel er eindelijk op. Niet helemaal wat ik zou willen, maar het is niet anders.
After solving some problems the wing is finally added. Not quite what i had in mind, but it is what it is.
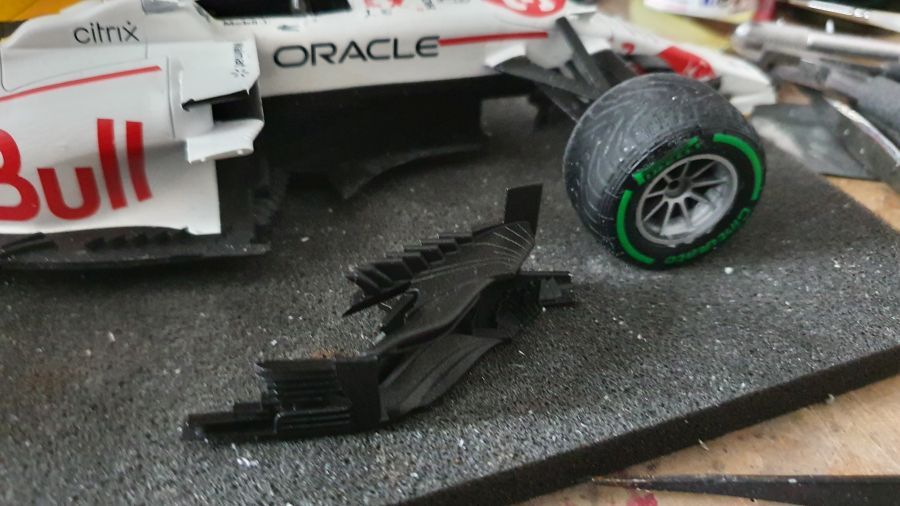
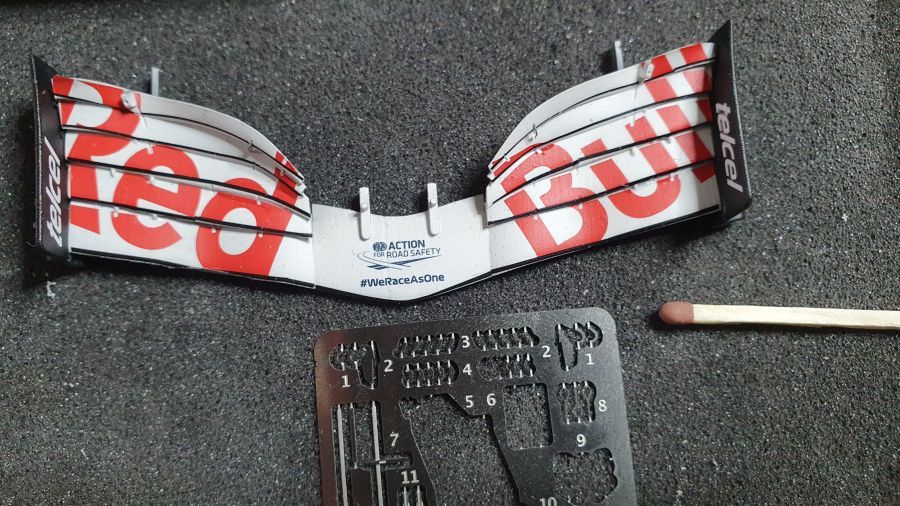
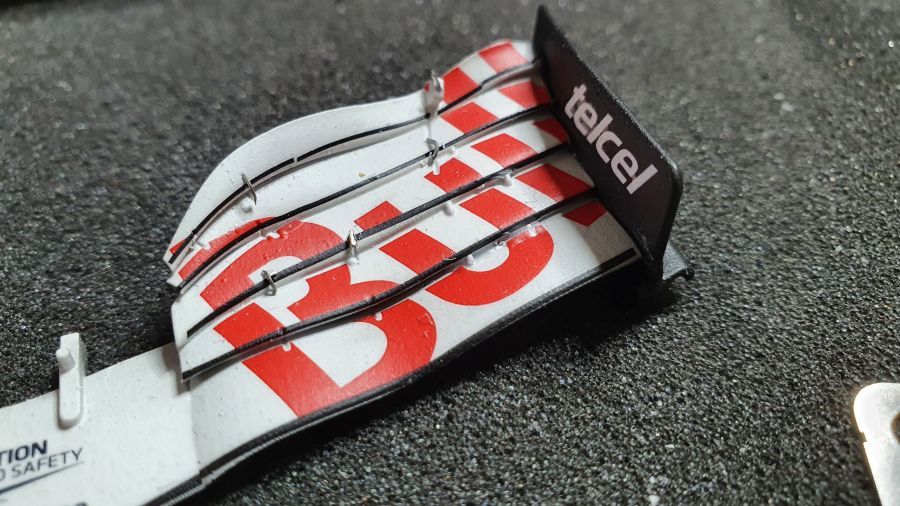
Door met de voorvleugel.
On to the front wing.
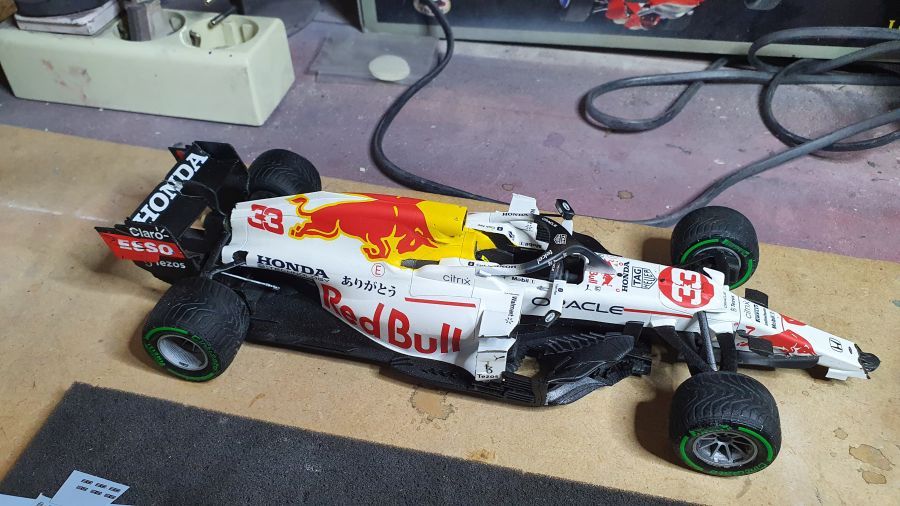
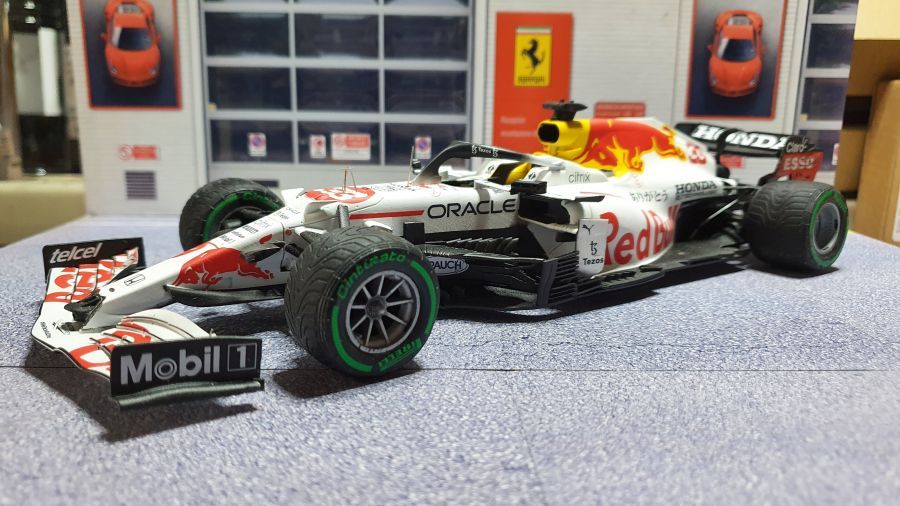
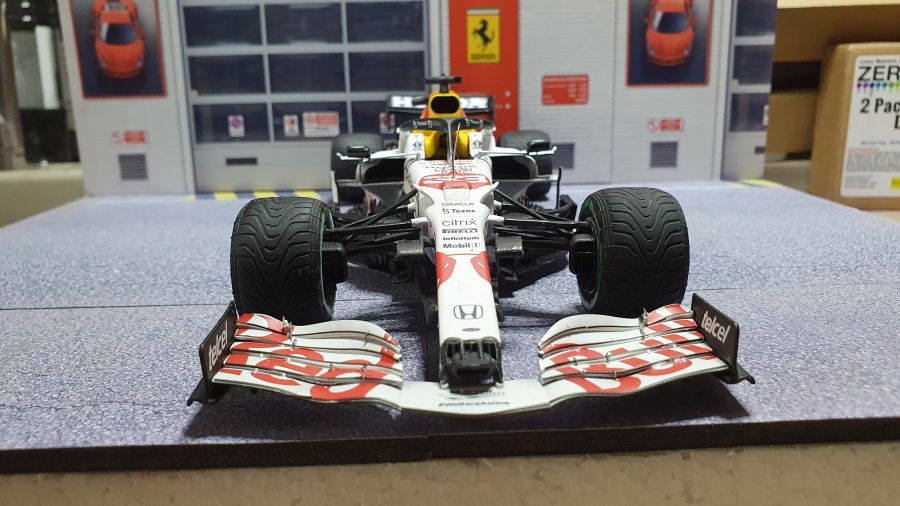
Dan na het plaatsen van veel kleine onderdelen (camera, antennes, enz.)...
Then after adding some small parts (camera, antenna's, etc.)...

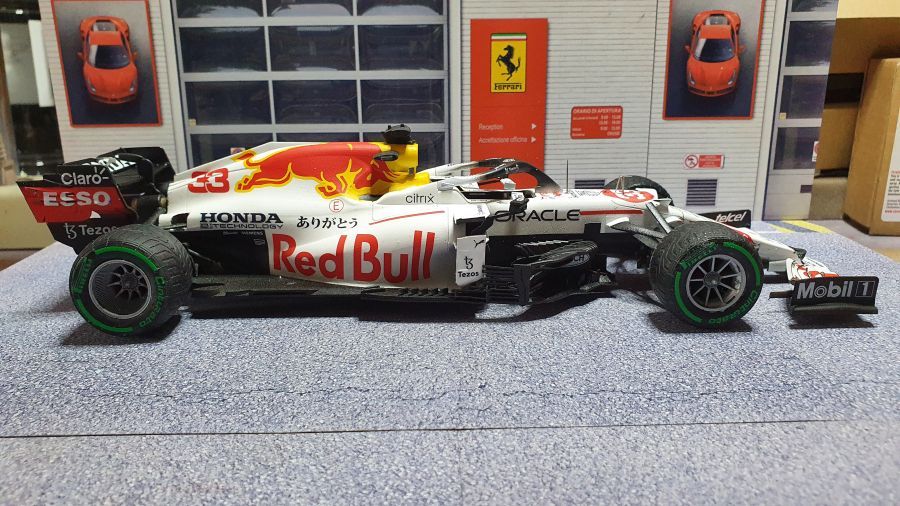
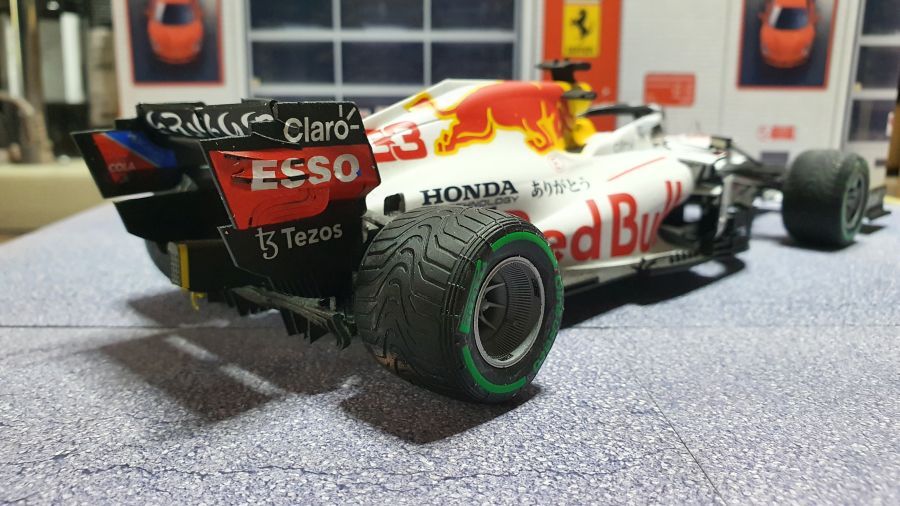
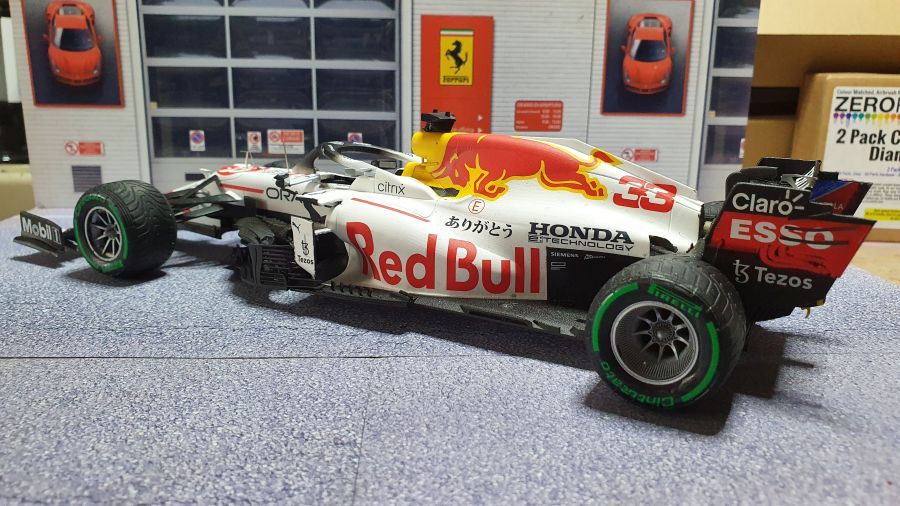

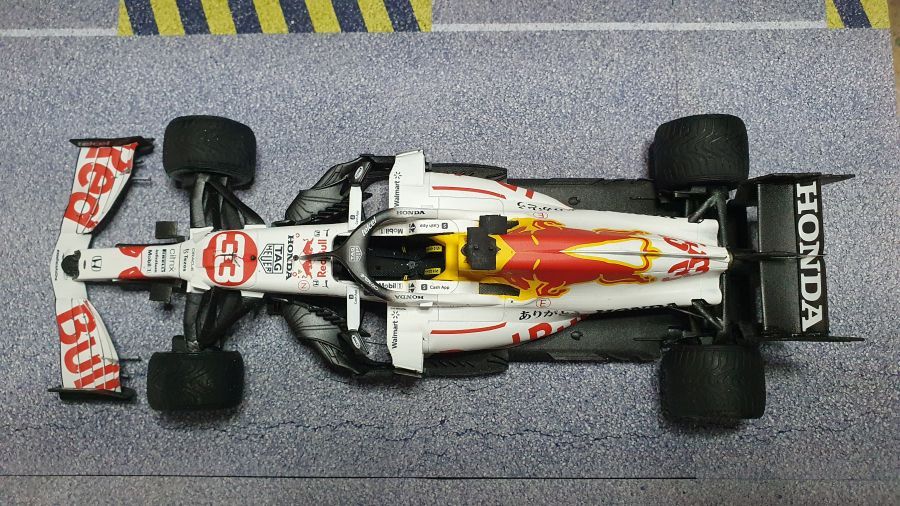
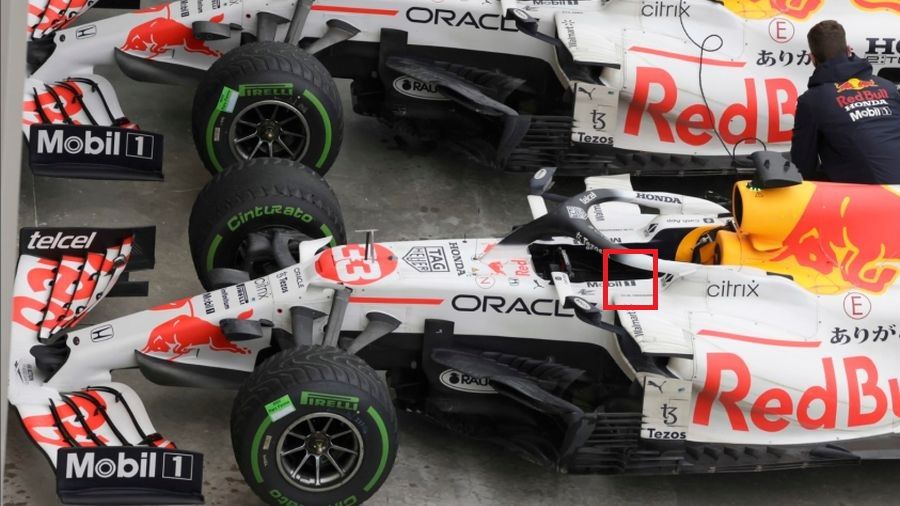
Over het algemeen geen problemen met deze kit. Ik moest wel wat werken aan de achtervleugel. Deze paste niet goed in combinatie met de achterwielophanging. Een klein beetje slijkwerk heeft het probleem opgelost. De decal (Mobil 1) is niet helemaal correct. Dit zou een zwart blokje met een witte 1 moeten zijn.
In general no problems with this kit. I had to do some adjustments to the rear wing. It didn't fit well in combination with the rear wheel suspension. Some small grinding solved it. The decal (Mobil 1) isn't quite correct. This should be a black square with a white 1.