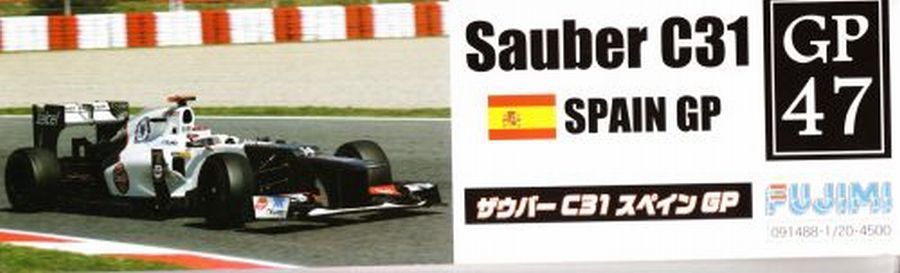
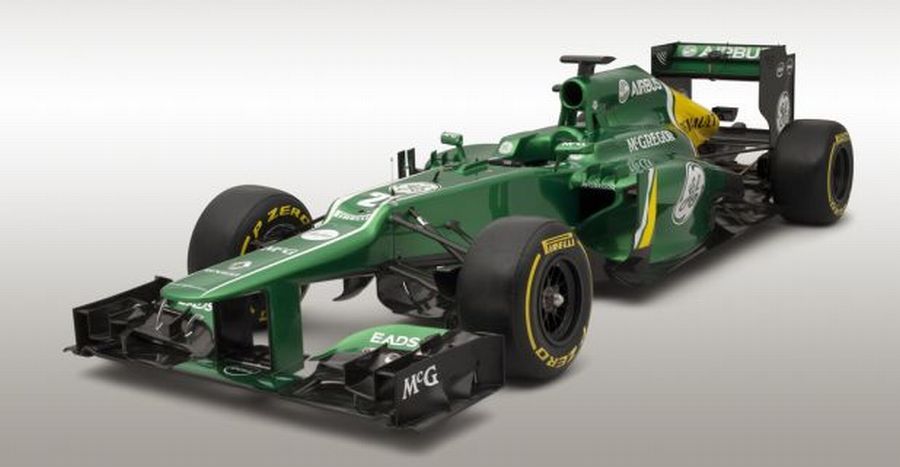
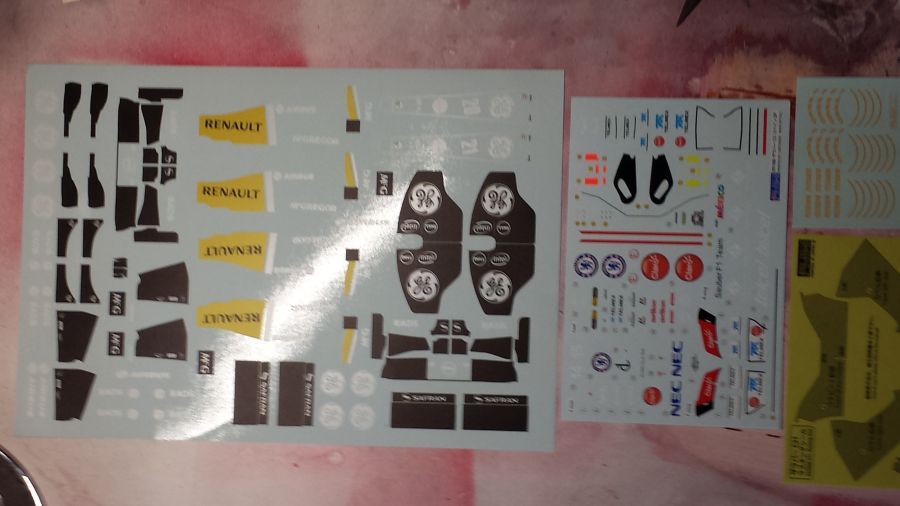
Ik heb besloten om de 2013 Caterham CT03 van Guido van der garde na te bouwen in schaal 1/20. De decals zijn inmiddels binnen. Als basis wil ik de Sauber C31 van Fujumi gaan gebruiken. Deze komt volgens mij het meest dicht in de buurt van de Caterham. Ik wil er niet teveel geld aan uitgeven, omdat het nooit zo gedetailleerd zal zijn. Daarom dus de Fujimi kit (kitnr 091488 GP47)als uitvalbasis. Dit project zal een beetje af en aan gaan.
I decided to build the 2013 Caterham CT03 from Guido van der Garde in scale 1/20. The required decals are already in. For this I will use the Sauber C31 from Fujimi. I think this is the closest to the Caterham. I do not want to spend too much money, as it will never be a detailed car. Therefor i used the Fujimi kit (kit no 091488 GP47) to start. This project will be paused at some times.
Hieronder de probleem punten welke aangepast moeten worden.
Below the points which cause a problem, thus need modification.

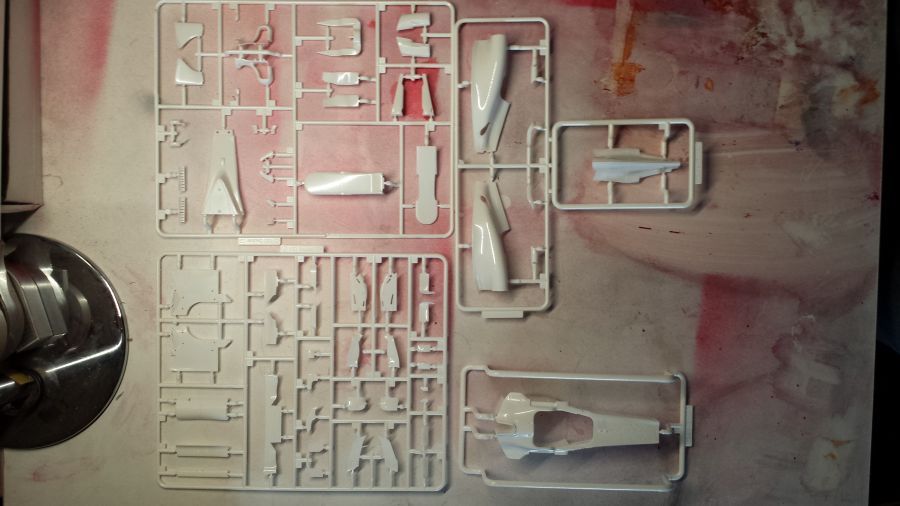
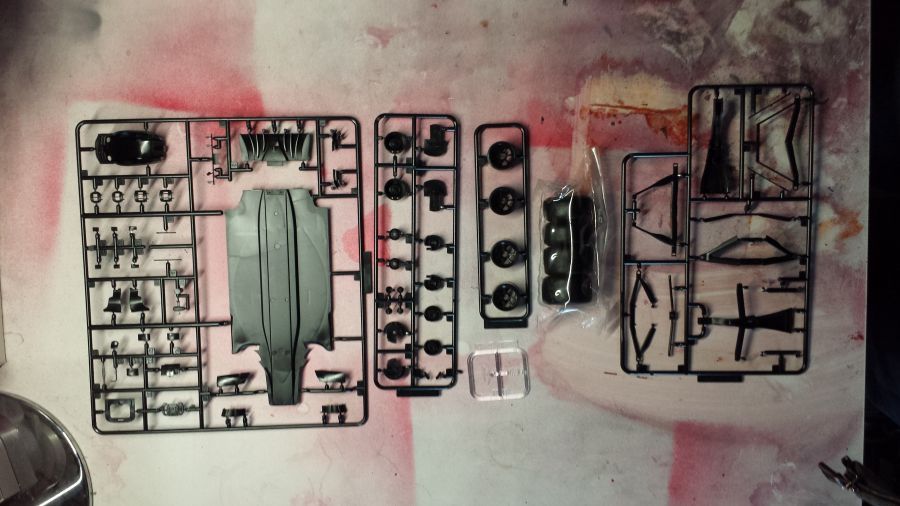
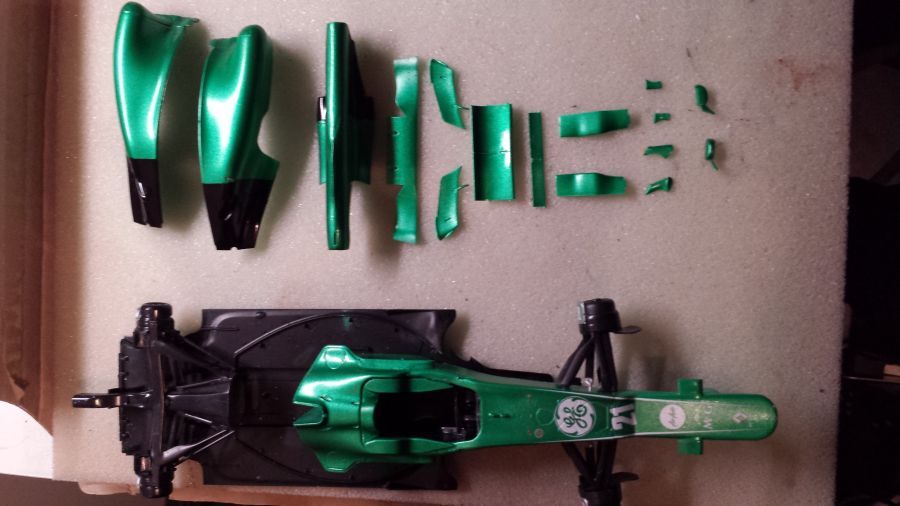
Hieronder de onderdelen van de kit en de extra´s.
Below the kit parts and the extras.
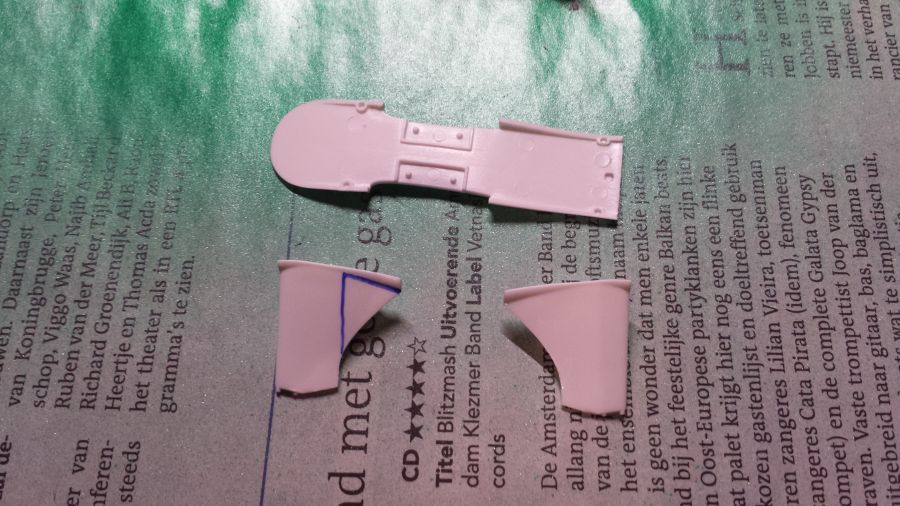
Van de steunen voor de voorvleugel moet een stukje afgezaagd worden en op maat gevijld.
The supports of the front wing need to be cut and filed with needle files.
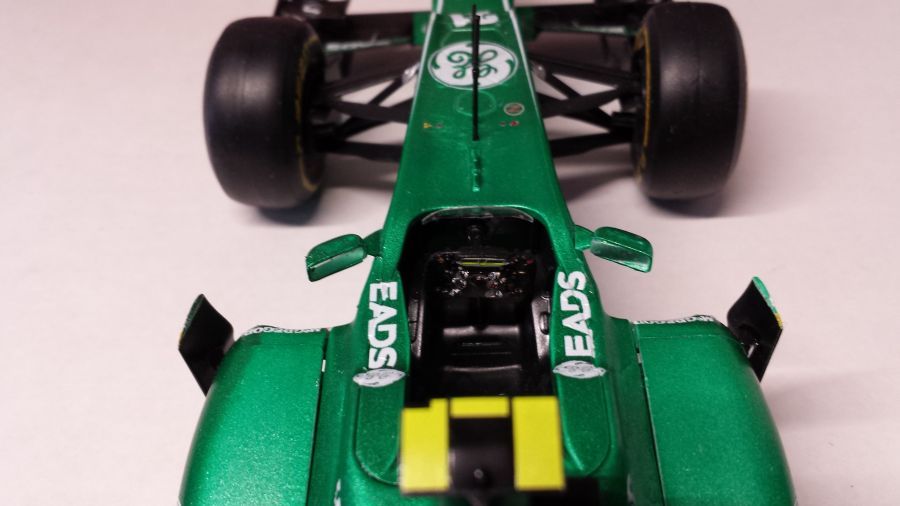
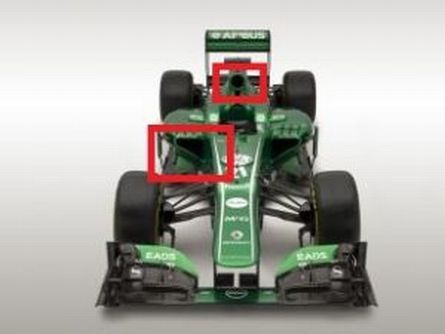
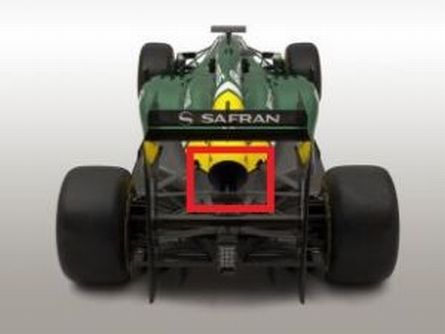
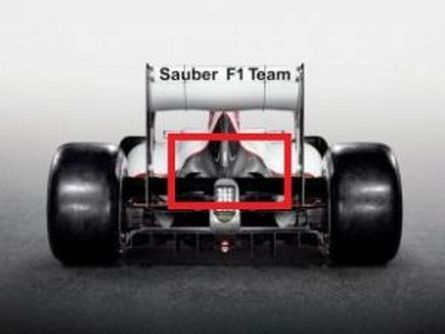
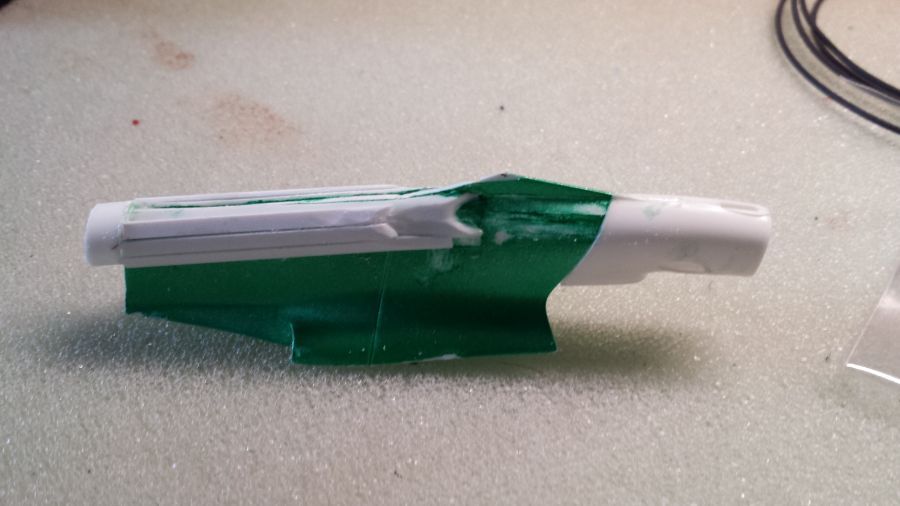
De luchtinlaat boven moet rond worden gemaakt. Hiervoor gebruik ik ronde buis van Evergreen. In dit geval van de maat 7,9 mm doorsnee.
The air intake should be made round. I will use Evergreen tube for it. In this case the size is 5/16".
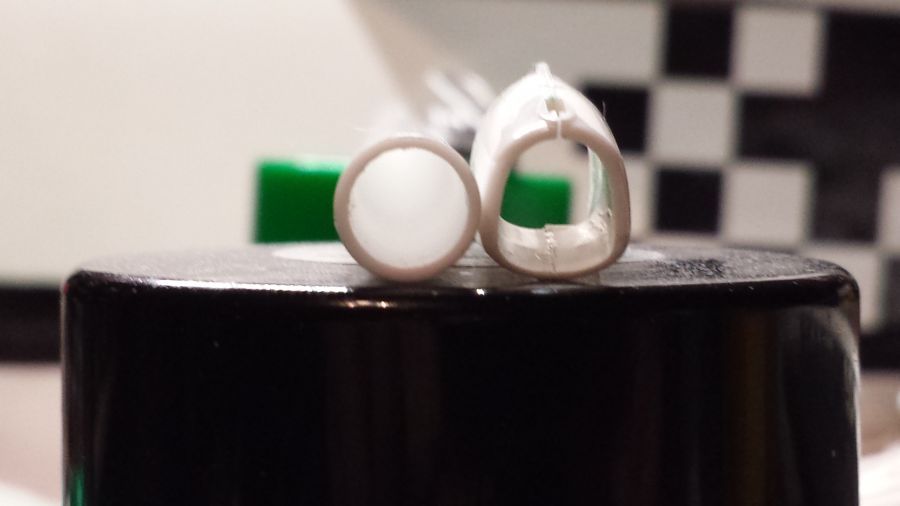
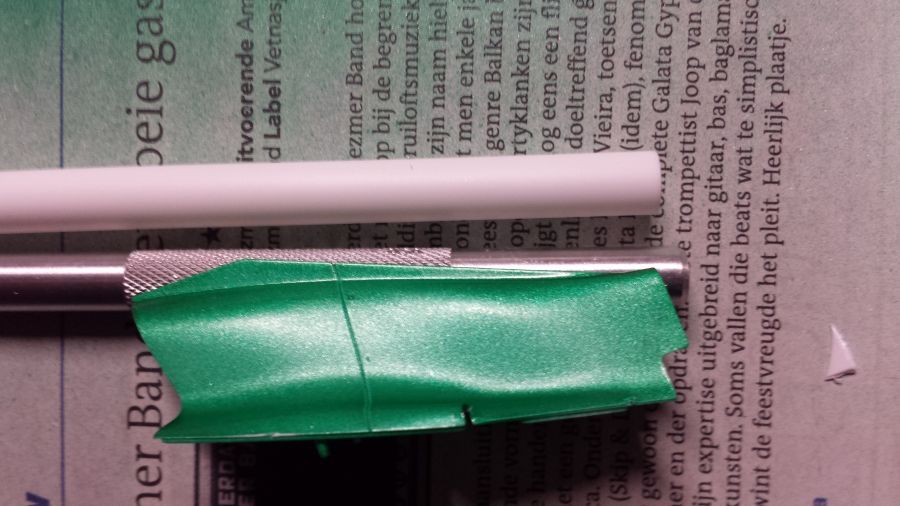
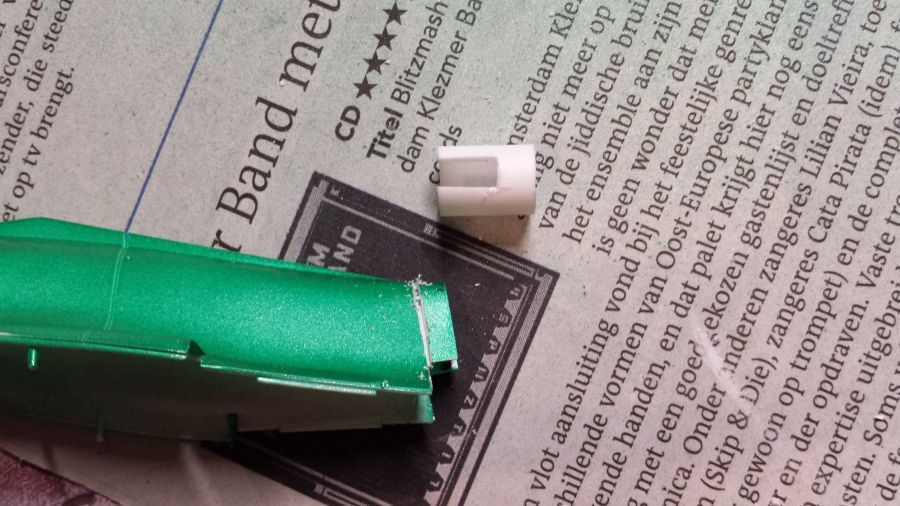
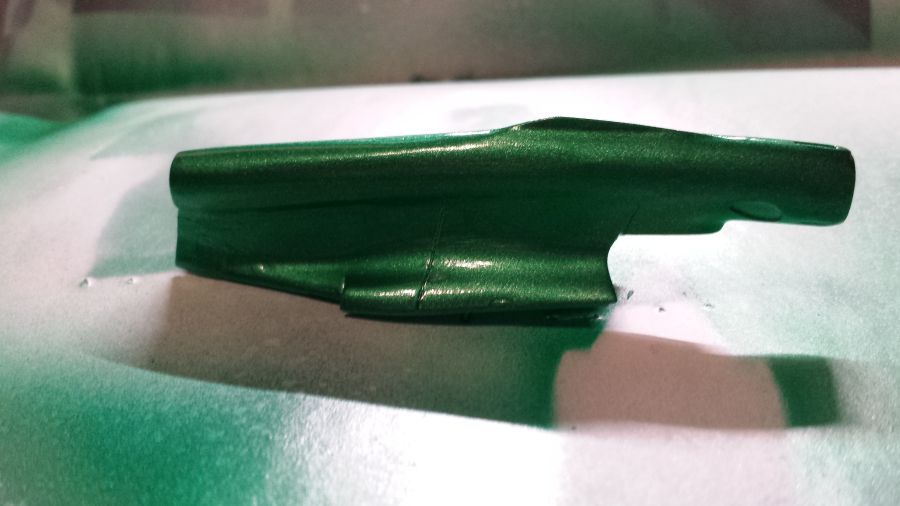
Ik gebruik dezelfde buis om de motorafdekking aan te passen. De buis ga ik in 2 delen monteren op de kap door er een stuk uit te zagen. Daarna vullen met putty en veel schuren.
I will use the same tube to adjust the engine cover. I will mount the tube in 2 pieces by cutting a part out of the tube. Then fill with putty and a lot of sanding.
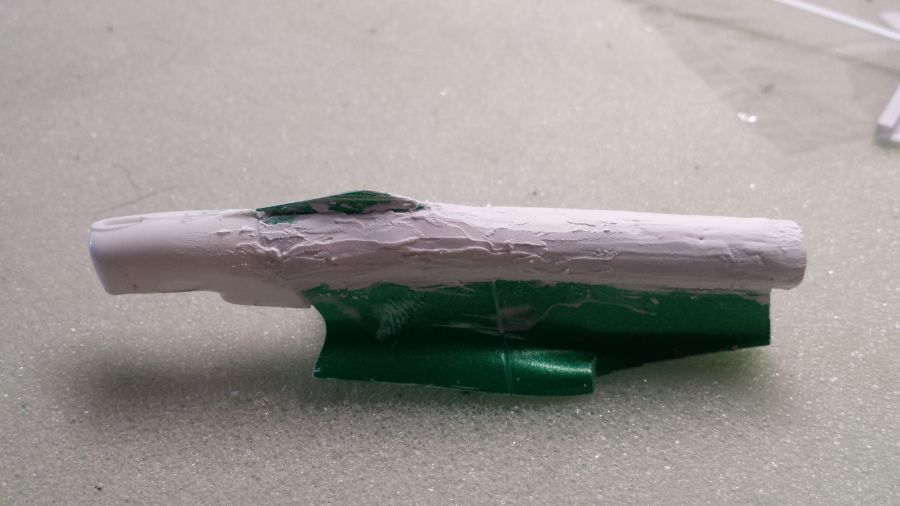
Na de 1e keer schuren komen de plekken tevoorschijn waar extra vuller nodig is. Ook het 'vinnetje' moet kleiner worden gemaakt.
After sanding for the 1st time, it shows where it needs more putty. Also the small fin needs to be smaller.
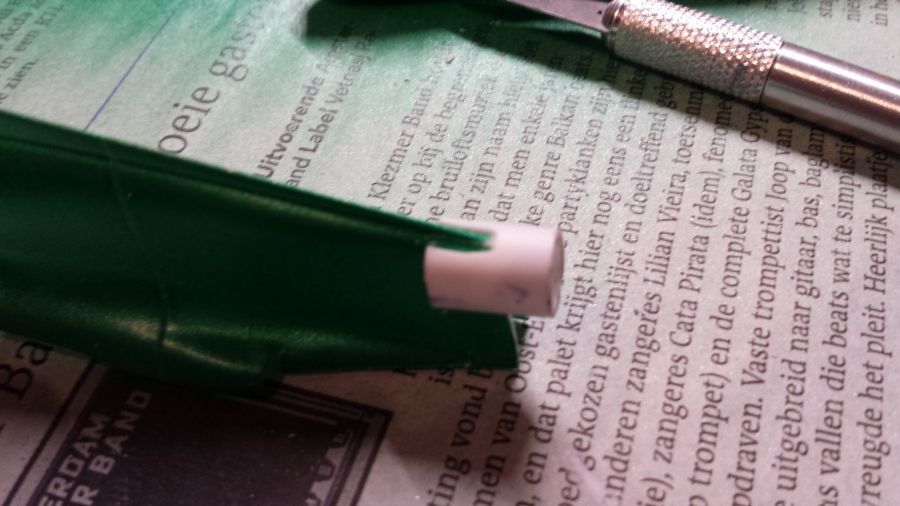
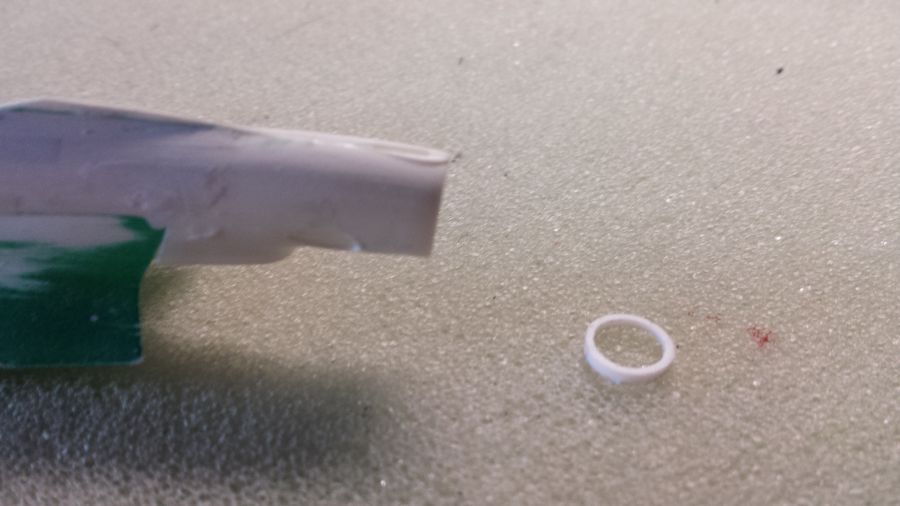
Aan de voorkant heb ik een klein stukje van de intake afgevijld. Hierop ga ik nu een klein stukje van de ronde buis plakken en weer afwerken met putty. Daarmee is de intake rond geworden.
At the front i have cut off a small piece of the intake. Now i will glue a small piece of round tube and finish it with putty. With this the intake has been made round.
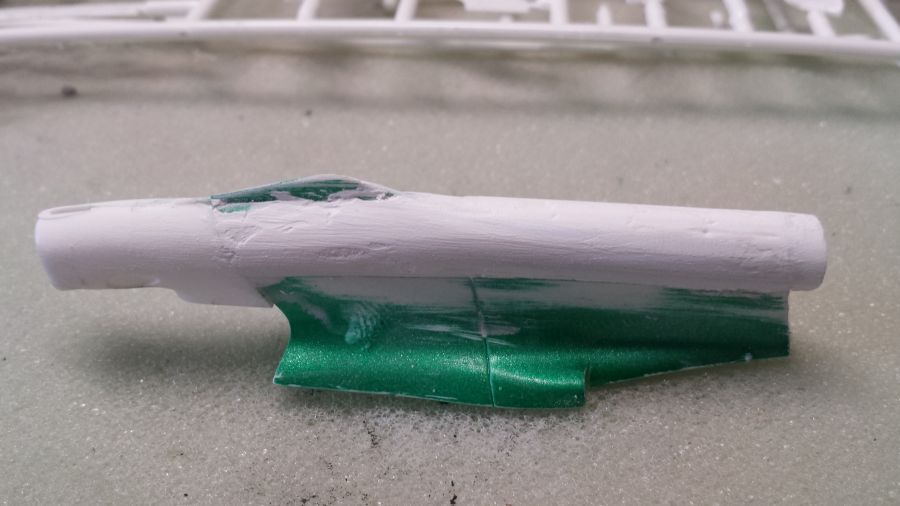
Daarna opnieuw in de grondverf en spuiten met Tamiya TS20.
After this the part is newly primed and sprayed with Tamiya TS20.
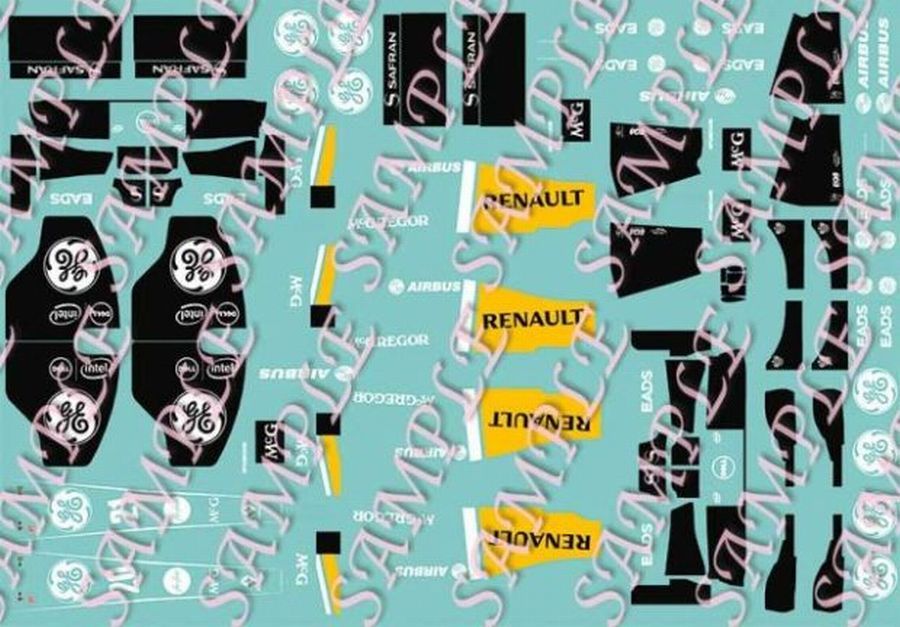
Een deel van de body is klaar voor de decals. De decals komen van Pattosplace. Tijdens het aanbrengen was mijn ervaring dat de decals niet echt lekker reageren op het gebruik van Micro Set / Micro Sol of Daco Decal Setting Strong. Het is net of ze niet echt zacht willen worden en daarna strak trekken tijdens het drogen. Op de een of andere manier blijft er altijd een rimpeltje achter.
A part of the body is ready for the decals. The decals come from Pattosplace. During decalling my experience was that the decals do not respond to the use of Micro Set / Micro Sol or Daco Decal Setting Strong like you would like to. It is like they do not get soft enough and then dry straight. One way or another there always seems a wrinkle to be left behind.
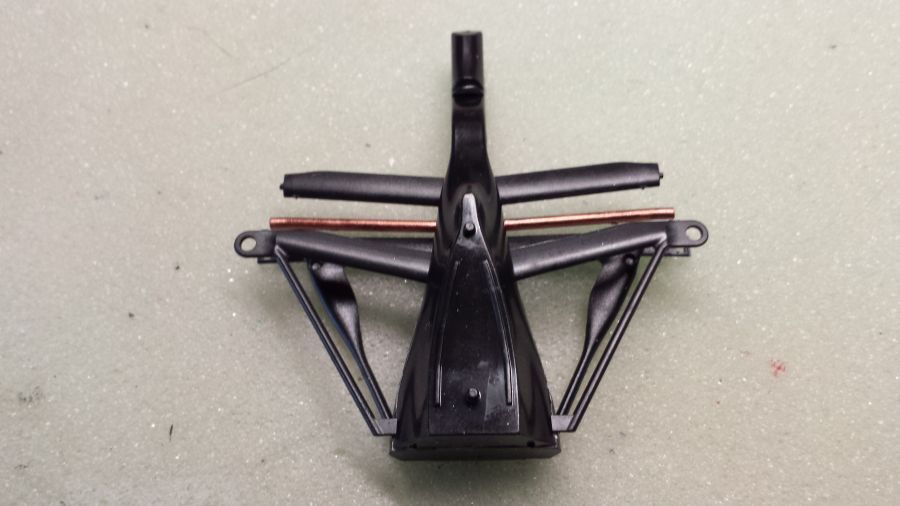
De achterwielophanging kan in elkaar. Fujimi levert bij deze kit geen gedetailleerde motor.
The rear wheel suspension can be put together. Fujimi does not deliver a detailed engine with this kit.

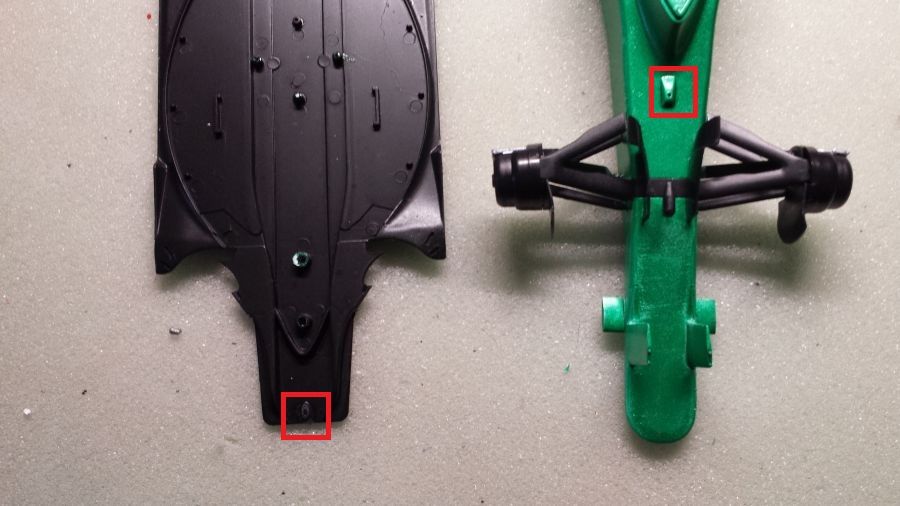
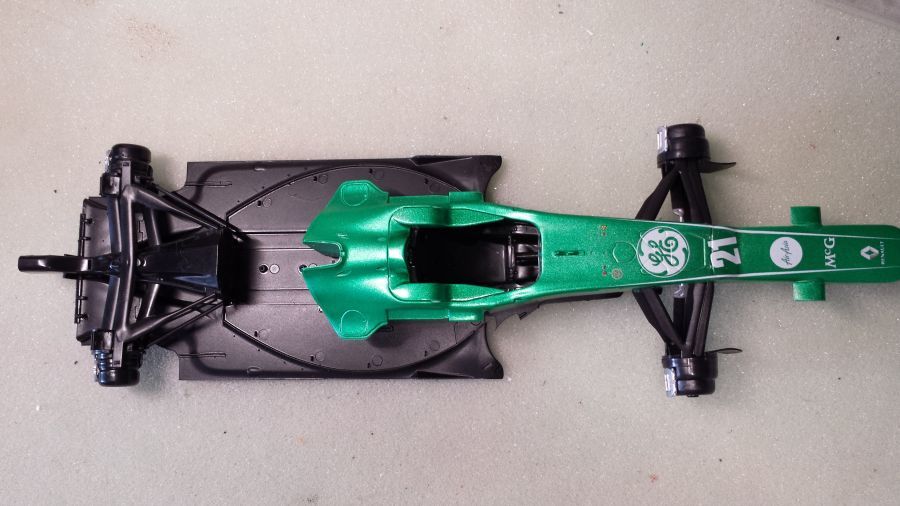
Ik ben in het proces vergeten een paar puntjes te verwijderen van de bodemplaat en de body. Ik moet het nu achteraf oplossen. Ook moet een deel van de onderkant zwart worden. Ik heb dit gemist in mijn studie vooraf. Dit gaat jou dus niet gebeuren.
In the proces i forgot to cut off a few points from the under tray and the body. Now i have to manage afterwards. Also a part of the underside of the body needs to be black. I probably missed this in my study upfront. This will not happen to you.
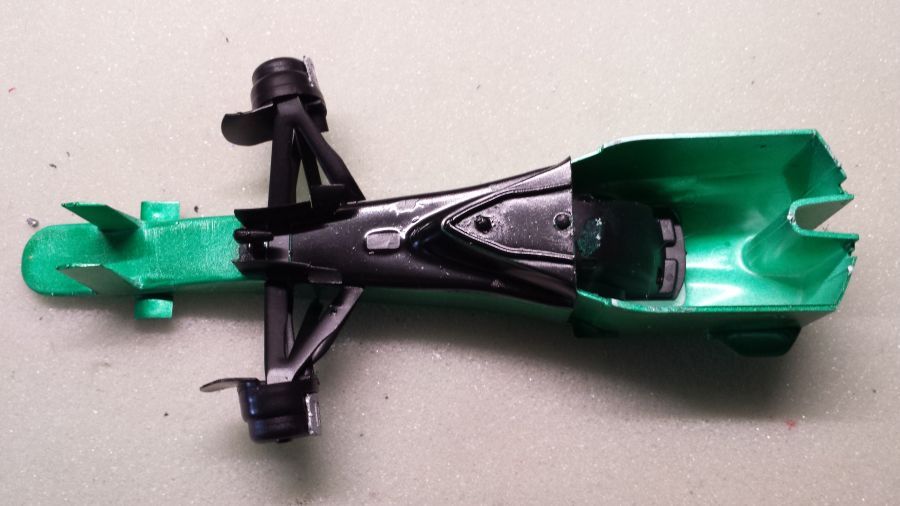
Het probleem is nu opgelost.
The problem is solved.
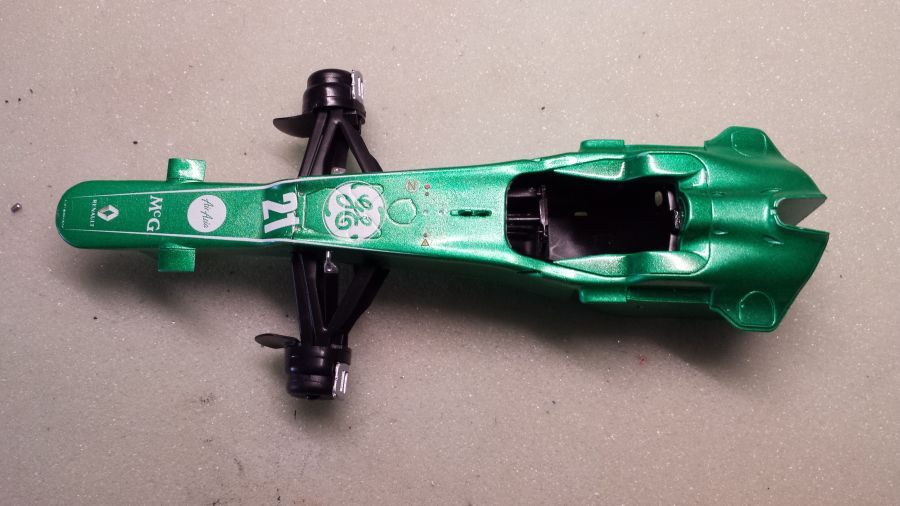
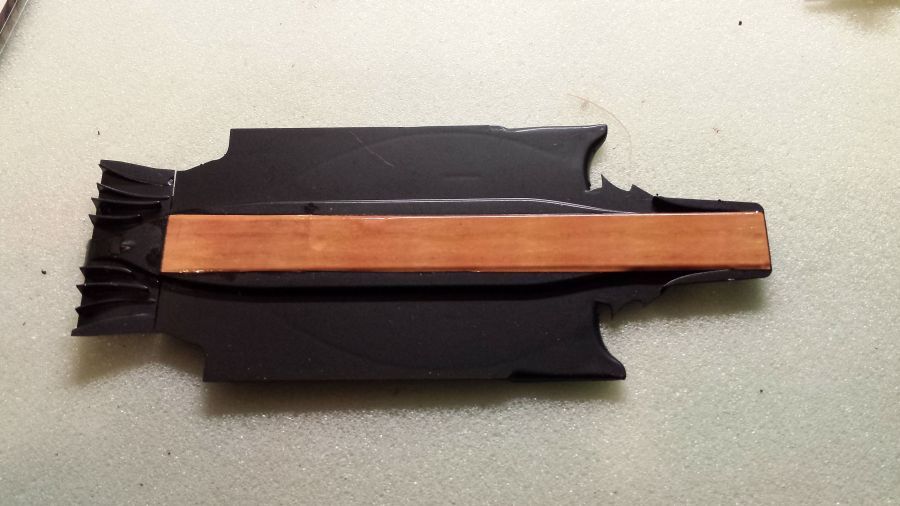
Daarna de plank aangebracht aan de bodemplaat. Hiervoor heb ik een decal gebruikt die ik ooit op Ebay heb gekocht.
Then the plank mounted to the under tray. I used a decal for this, which i once bought on Ebay.
Het eerste 'huwelijk'. Het ziet er een beetje raar uit, een auto zonder motor.
The first 'marriage'. It looks a bit funny, a car without an engine.
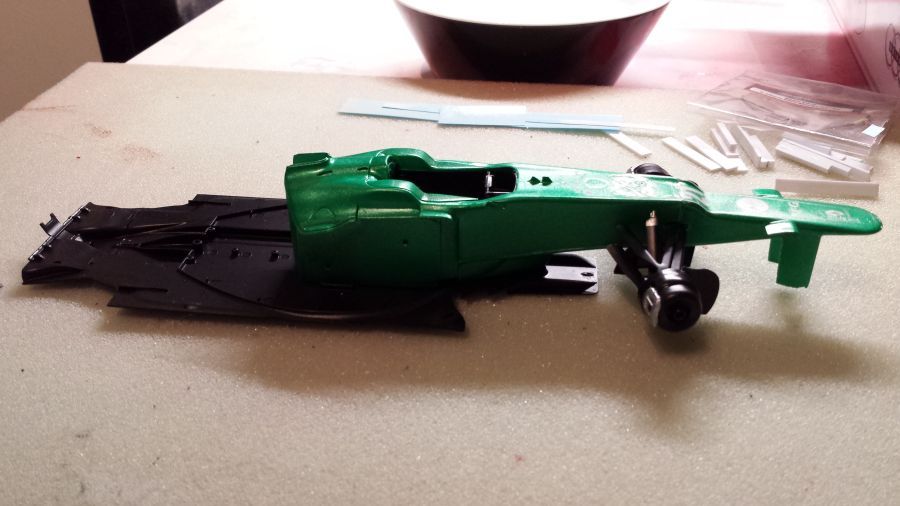
Test van het passen van de side pods.
Test fit of the side pods.
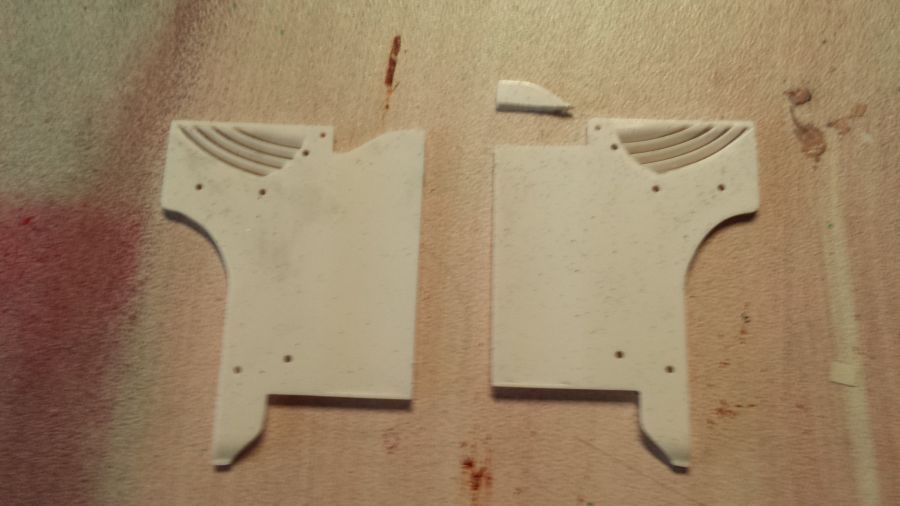
Deze gaten (rood) zitten niet op de Caterham. Opvullen dus. Deze paneellijnen (geel) zijn ook niet gelijk aan die van de Caterham. Ik heb geen tool om nieuwe lijnen te trekken. Daarom blijf ik daar vanaf en neem dus voor lief dat het model niet helemaal klopt.
These holes (red) do not exist on the Caterham. I will fill them. These panel lines (yellow) are not similar to those of the Caterham. I have no scribing tool. Therefor i will leave them as it is. I will take the inaccuracy for granted.

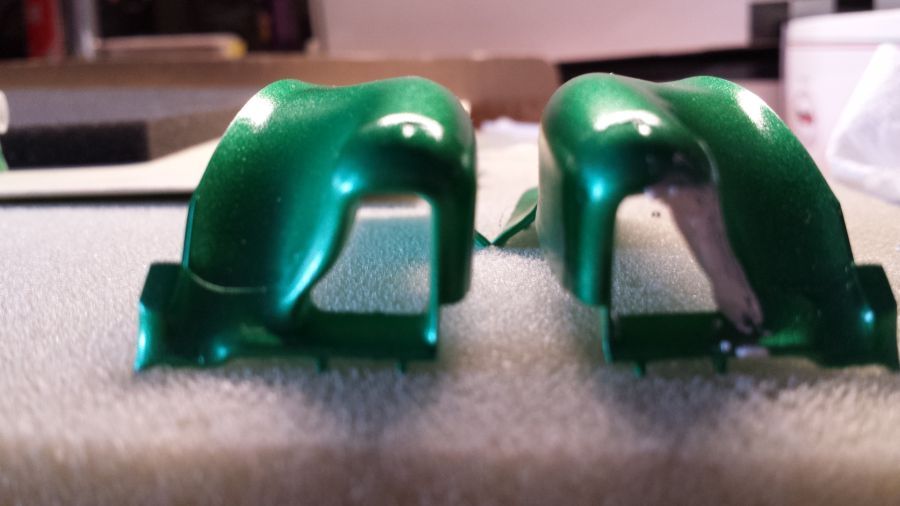
De inlaat van de sidepods moeten bijgewerkt worden.
The intakes of the sidepods need to be reshaped.
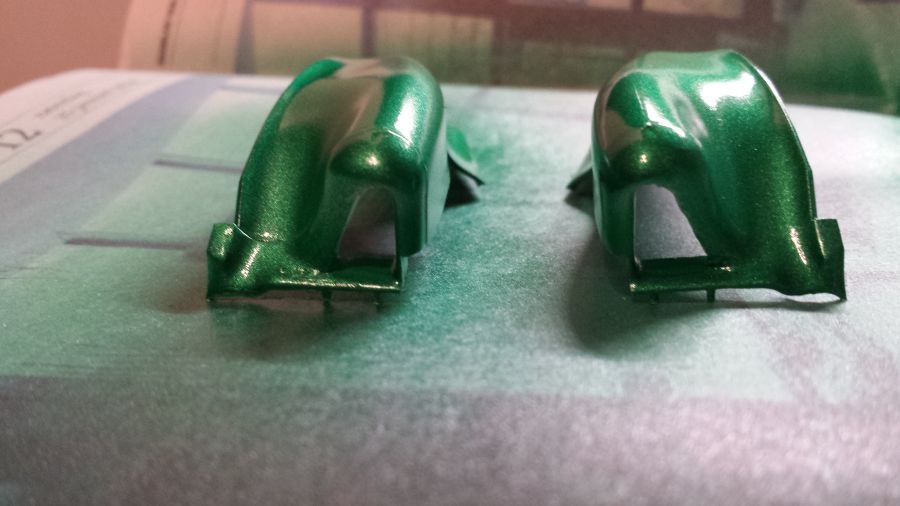
De ingangen zijn smaller gemaakt, de ronding aan de onderkant eruit gehaald door putty aan te brengen. Daarna opnieuw in de primer en gespoten met de Tamiya verf.
The intakes have been made smaller, the round sides have been straightened by applying putty. After this they have been newly primed and painted with the Tamiya paint.
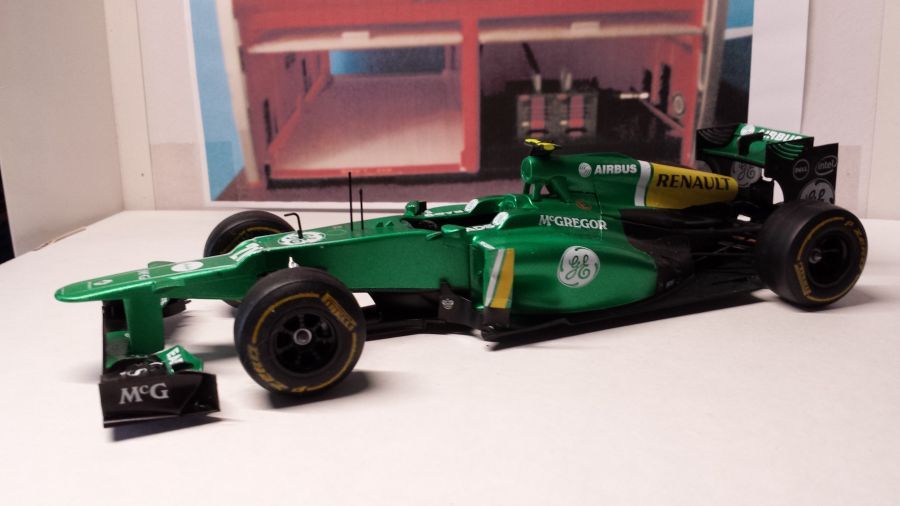
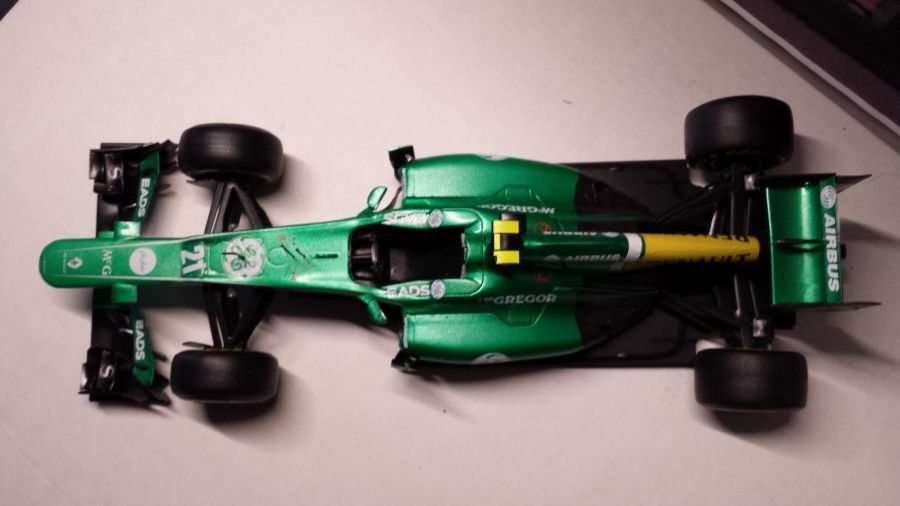
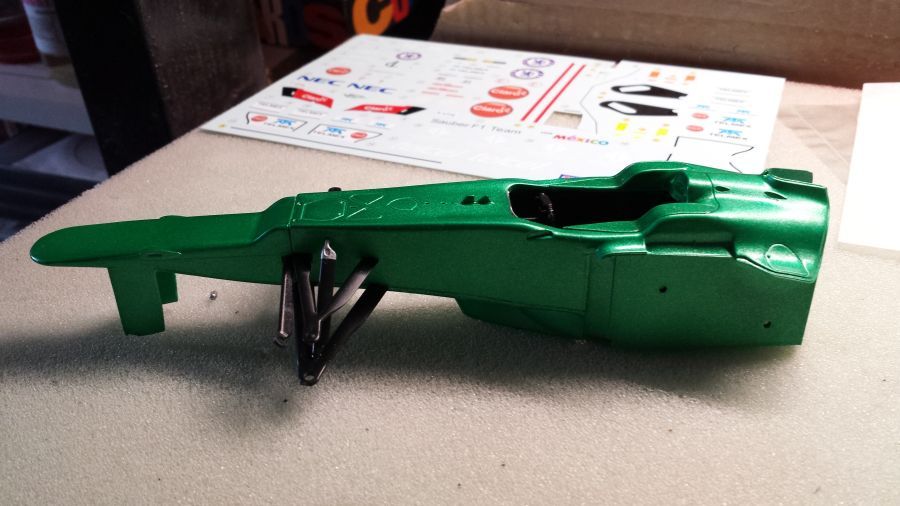
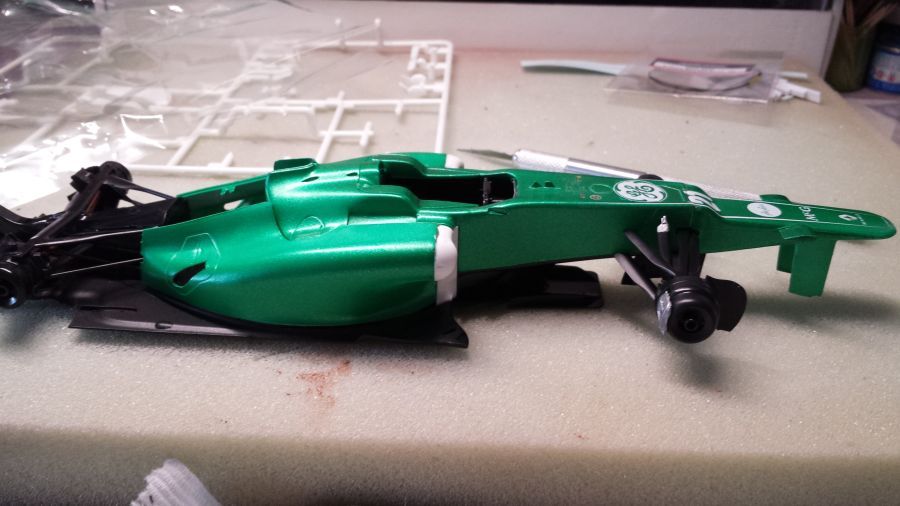
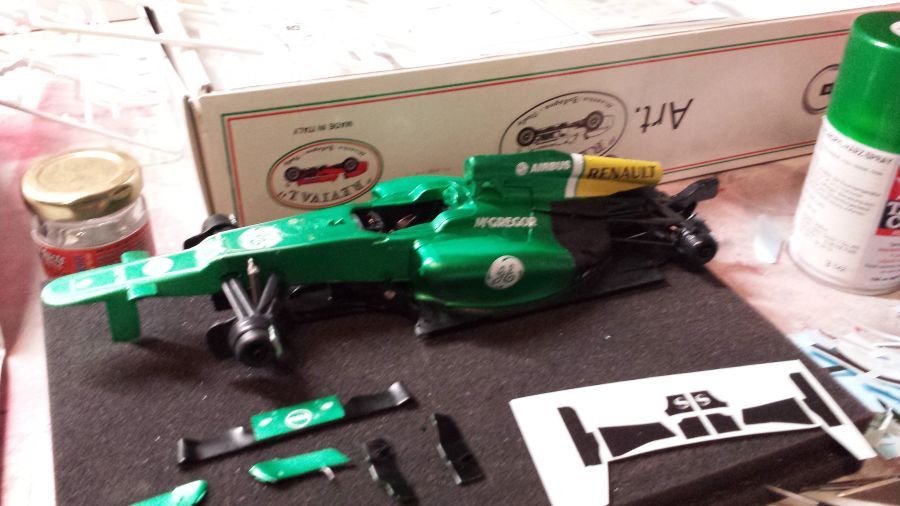
Alles is gespoten. Wat groen moet zijn is groen. Nu de decals en dan alles samenvoegen.
Everything has been painted. What needs to be green is green. Now the decals and combining all.
De motorkap past zeer slecht. Ik heb dat tot nu toe niet meegemaakt bij Fujimi kits, maar ik heb anderen daar ook al over horen klagen.
The engine cover has a poor fit. Until now i did not experience this with Fujimi kits, but i have heard other builders complaining about it also.
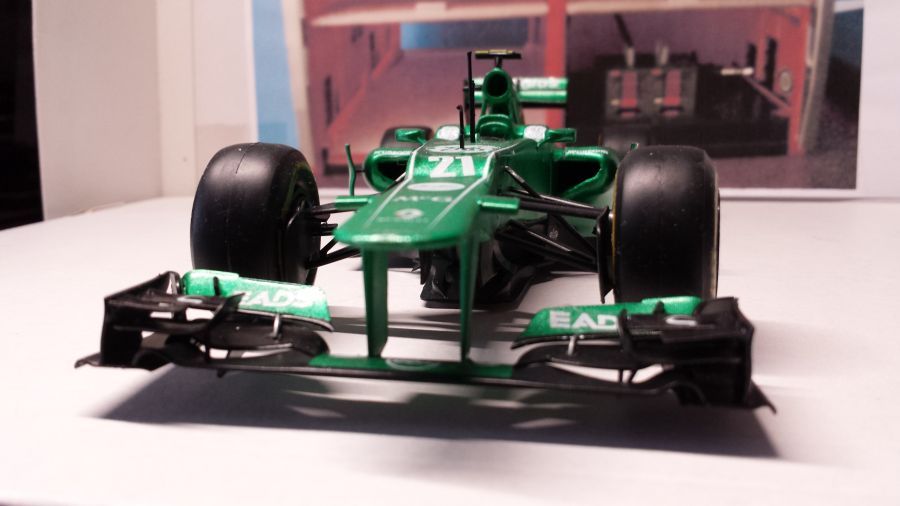
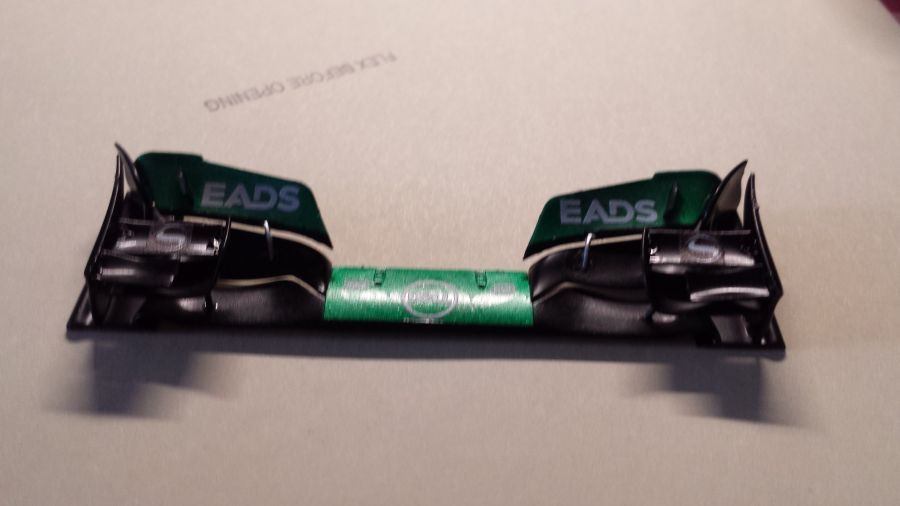
De voorvleugel heb ik niet gewijzigd. Dat is ook bijna niet te doen met alle rondingen.
I did not make changes to the front wing. I think it would no be do-able with all those curves.
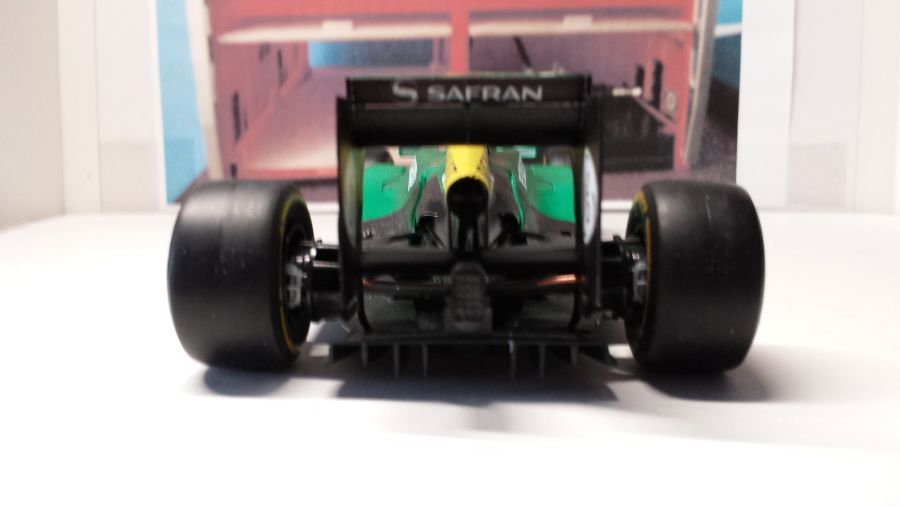
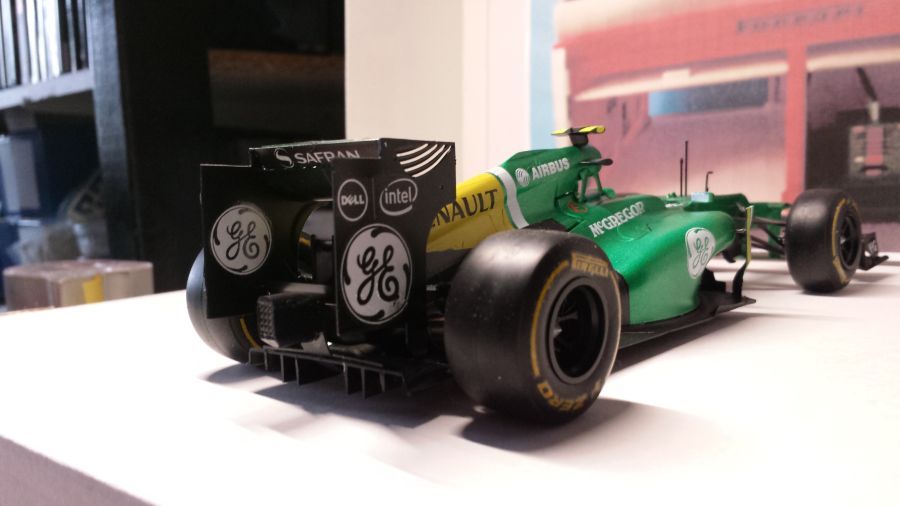
De achtervleugel ga ik iets wijzigen. Een stukje van de bovenkant wordt recht gemaakt. Ik besluit er verder niet teveel aan te doen. Het zou er denk ik niet mooier op worden.
I will change the rear wing only a bit. A piece on the top side needs to be flattened. I decide not to do more changes. I think i am unable to improve it.
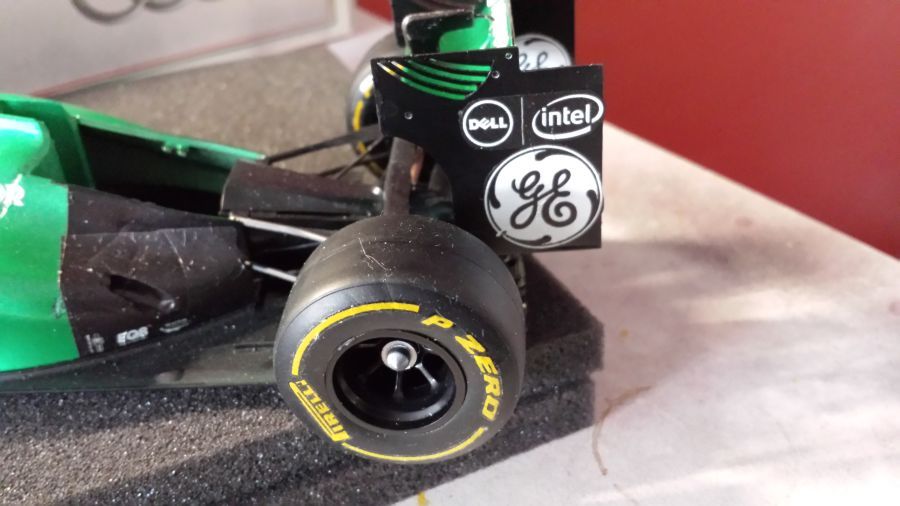
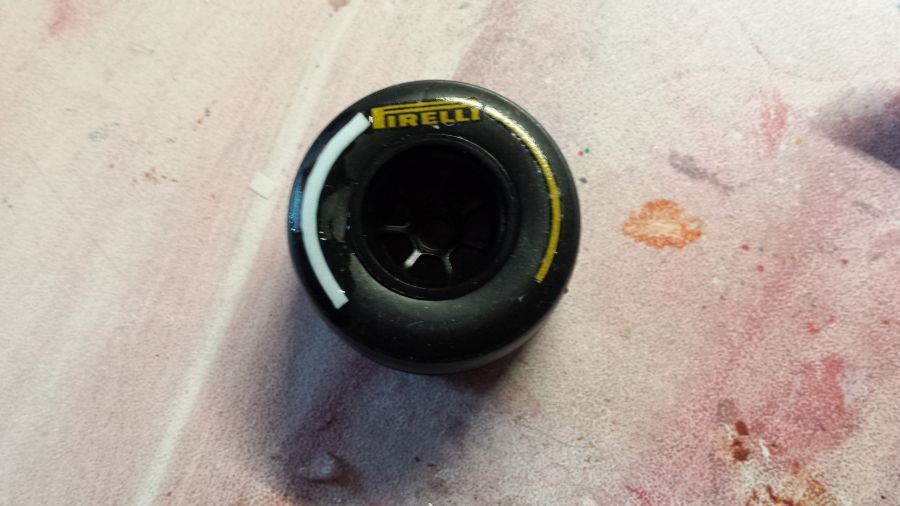
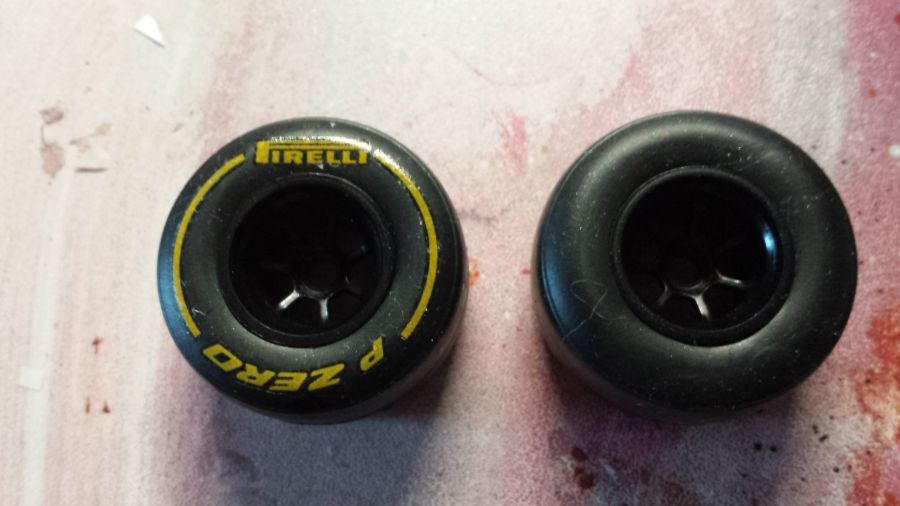
De banden worden voorzien van Pirelli decals. Deze decals bestaan uit 4 stukken. Het is dus zaak deze in een goede verdeling op de band aan te brengen. Om dit goed te kunnen beoordelen, knip ik ze heel strak langs de rand uit. Wanneer je de achterkant gaat bewerken, moet daar de Pirelli decal aangebracht worden op het punt waar aan de voorkant de P Zero decal zit.
The tires will get the Pirelli decals. These decals consist of 4 parts. You need to divide them usingthe space on the tire. To be able to do this, i will cut them close to the edge of the decal. When you decal the back side, the Pirelli decal should be applied to the spot where the P Zero decal has been applied on the front side.
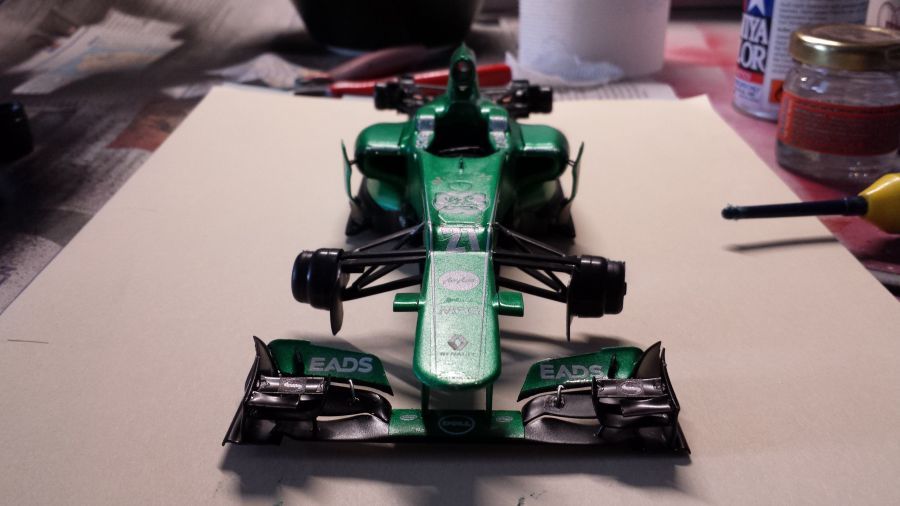
Hierna de banden bevestigen, spiegels en antennes erop en de laatste decals. Dan is hij klaar.
After this i will mount the tires, mirrors, antennas and some final decals. Then it's ready.