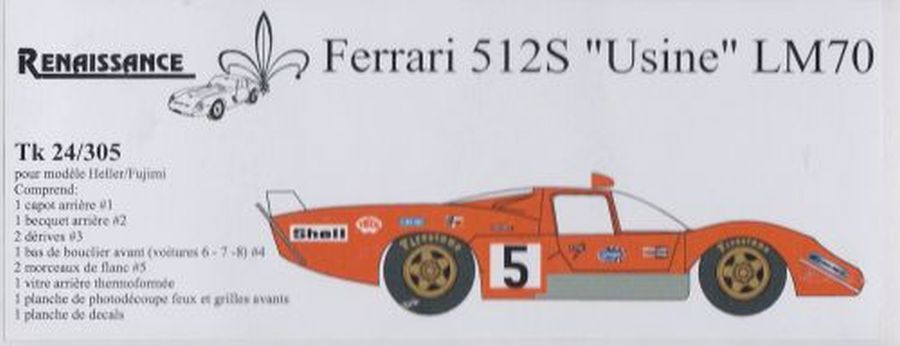
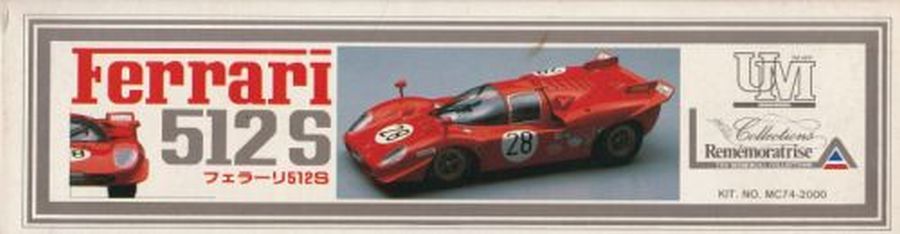
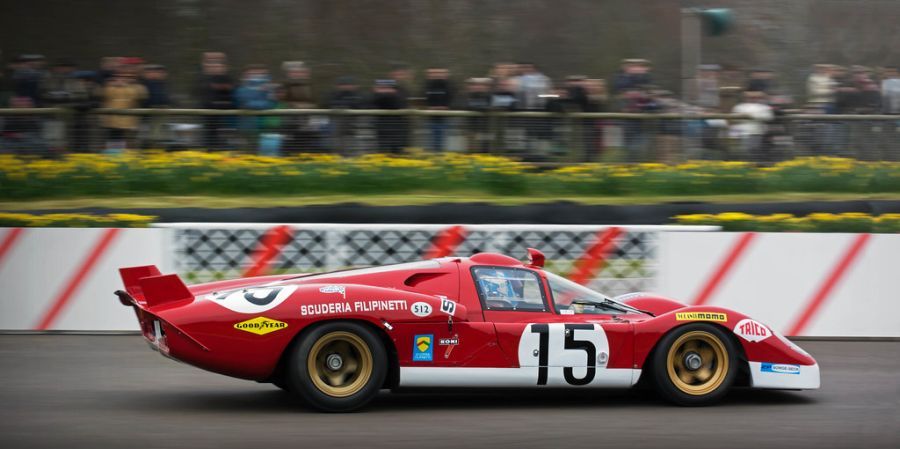
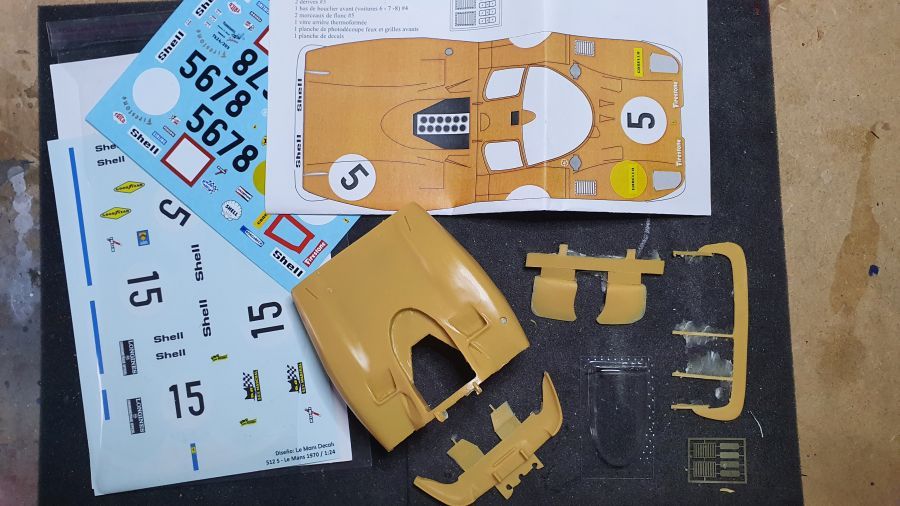
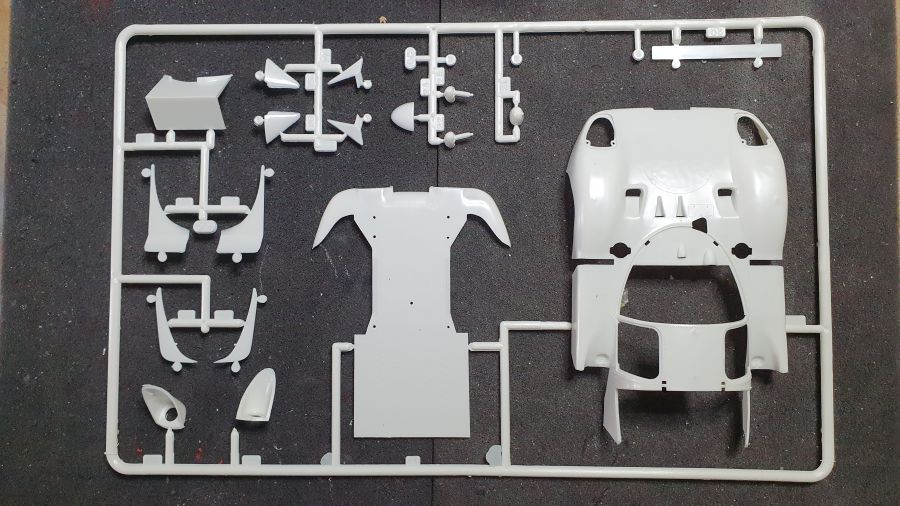
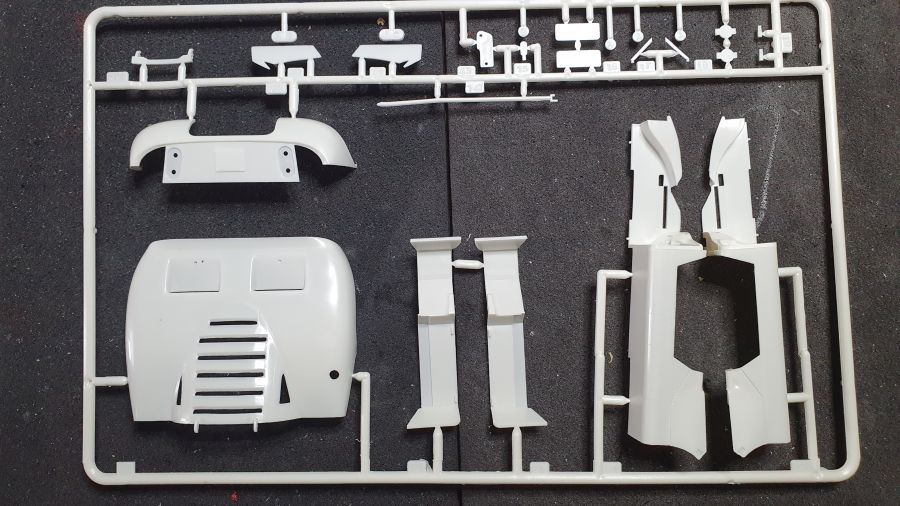
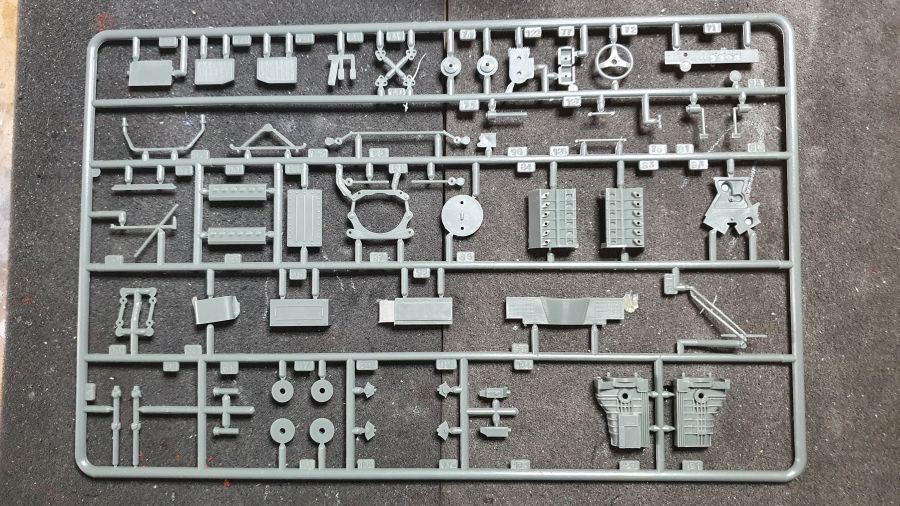
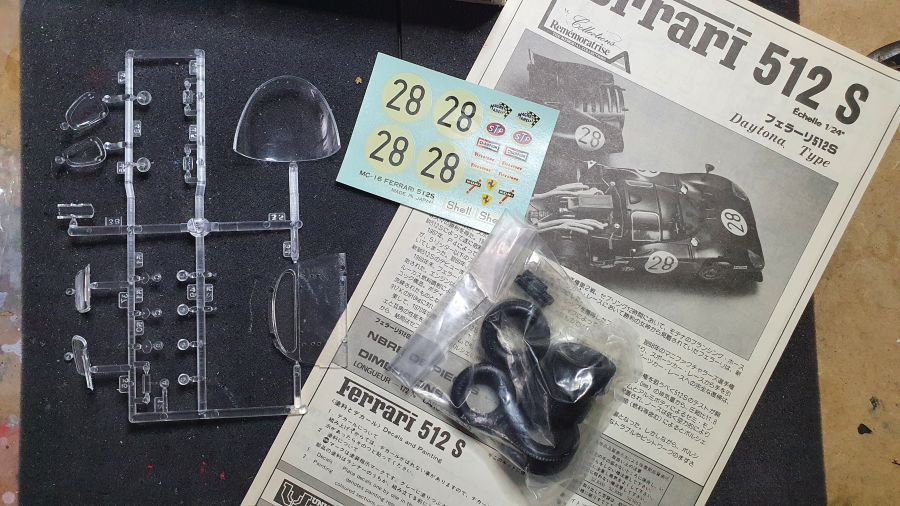
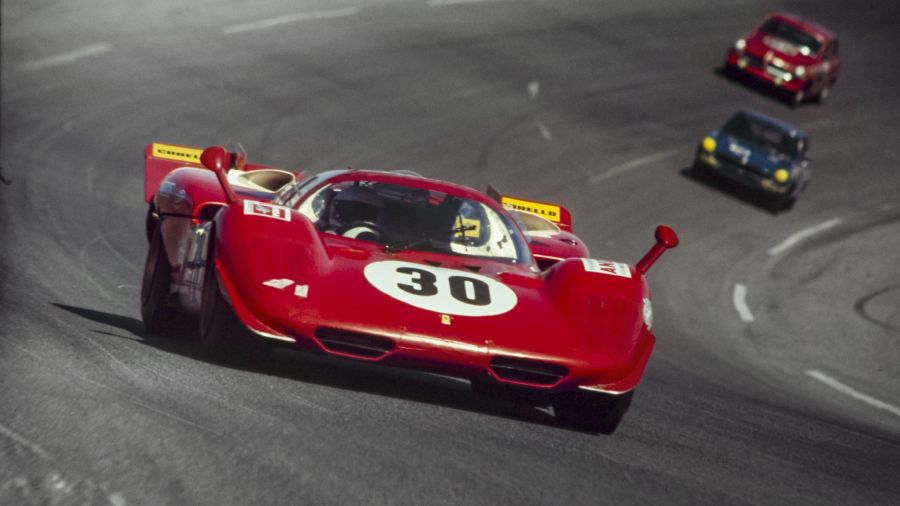
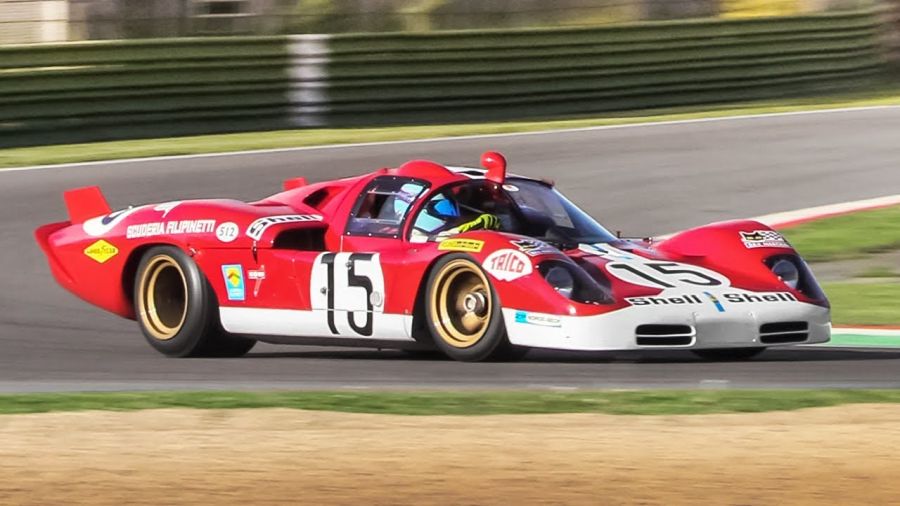
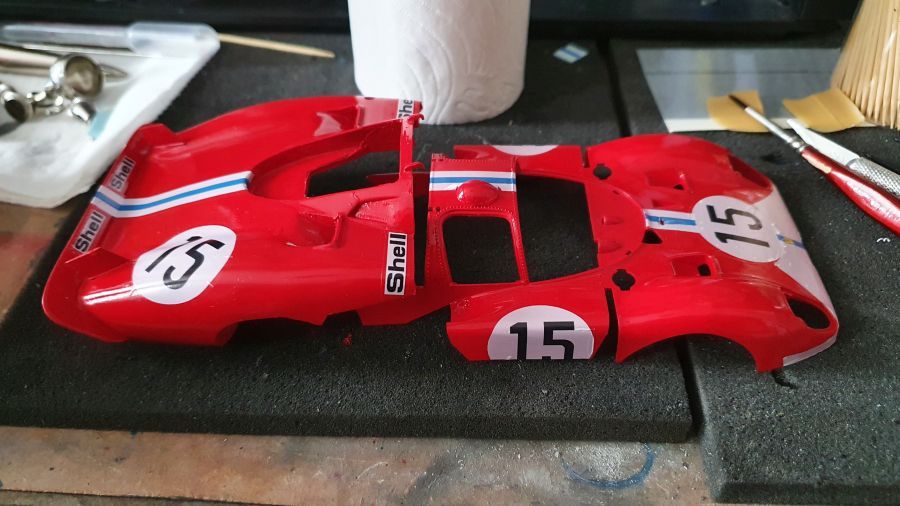
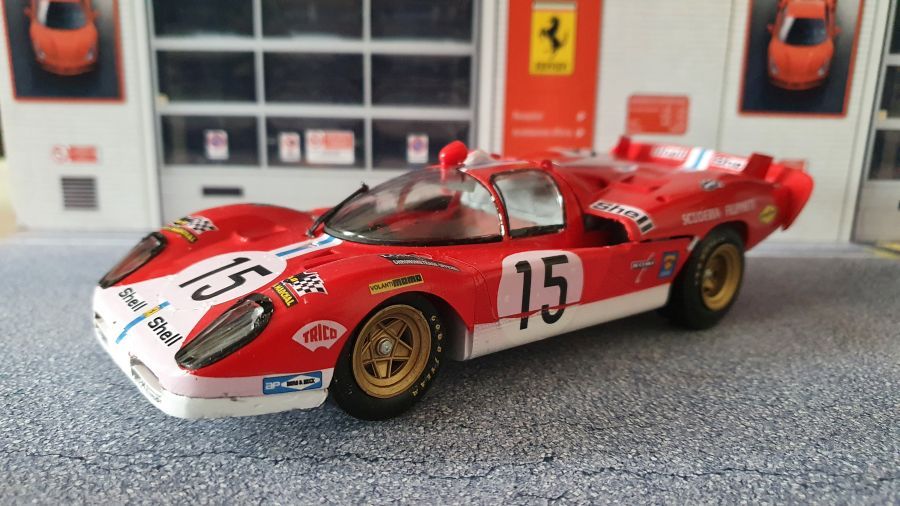
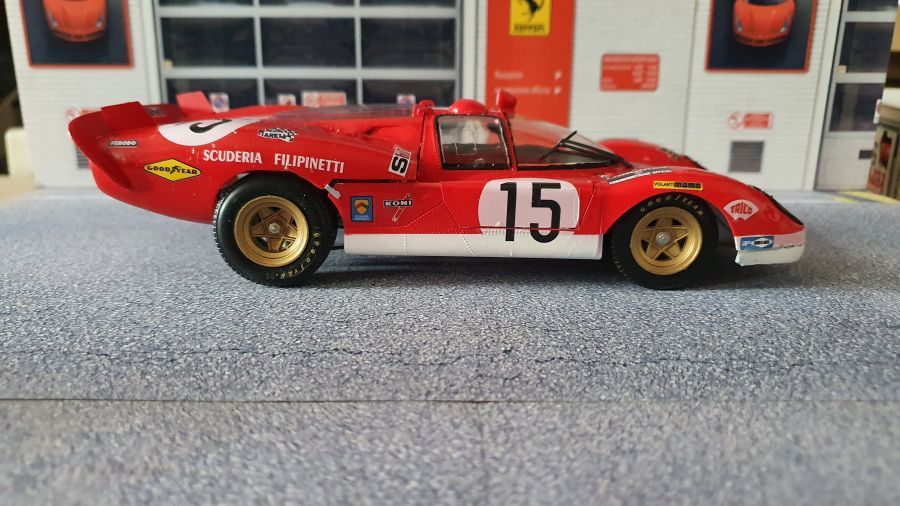
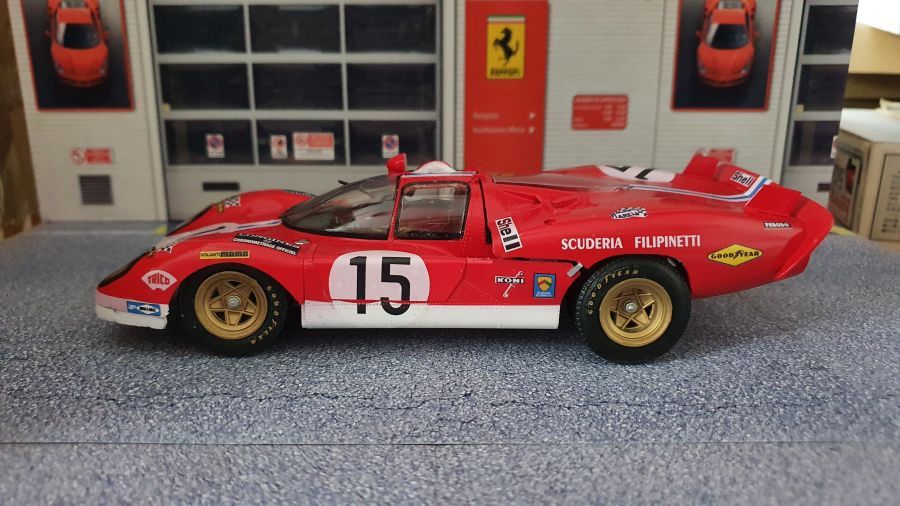
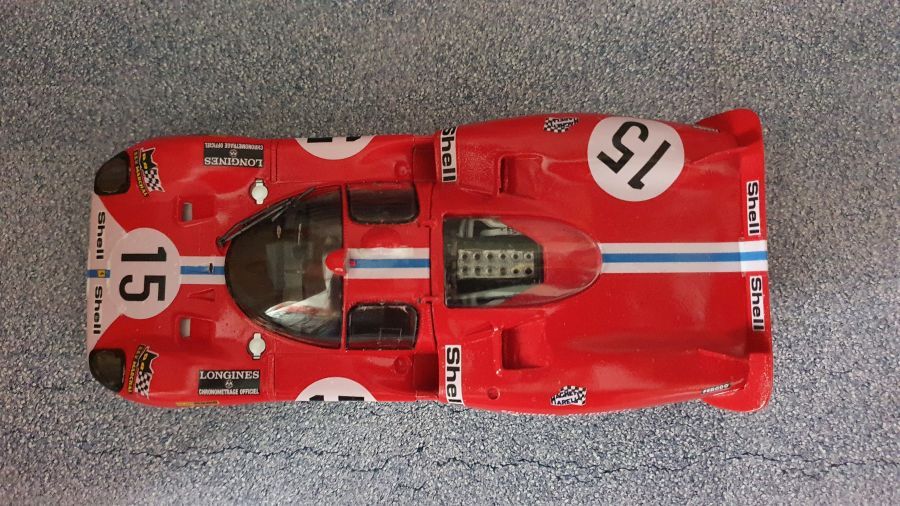
Nog maar een 'sportscar' van het bekende rode merk. Ik wil de 1970 Ferrari 512S Coda Lunga (Long Tail) maken van het team Scuderia Filipinetti. Deze versie deed mee aan de 24 Uur van Le Mans en werd bestuurd door Mike Parkes en Herbert Müller. Mike Parkes was een lange man, daarom werd het dak verhoogd. De kit van Union (Kit nr. MC16-1500) wordt gebruikt als donor. De conversie kit is van het merk Renaissance (kit nr. TK24/305). Dit is de conversie naar een Usine wagen. Ik heb apart de Filipinetti decals gekocht.
Another sports car of the famous red brand. I want to make the 1970 Ferrari 512S Coda Lunga (Long Tail) of the Scuderia Filipinetti team. This version participated in the 24 Hours of Le Mans and was driven by Mike Parkes and Herbert Müller. Mike Parkes was a tall man, that's why they raised the roof. The kit from Unium (Kit no. MC16-1500) is used as a donor. The conversion kit is from the brand Renaissance (Kit no. TK 24/305). This is a kit for a Usine car. I bought the Filipinetti decals separate.

Test
Testing
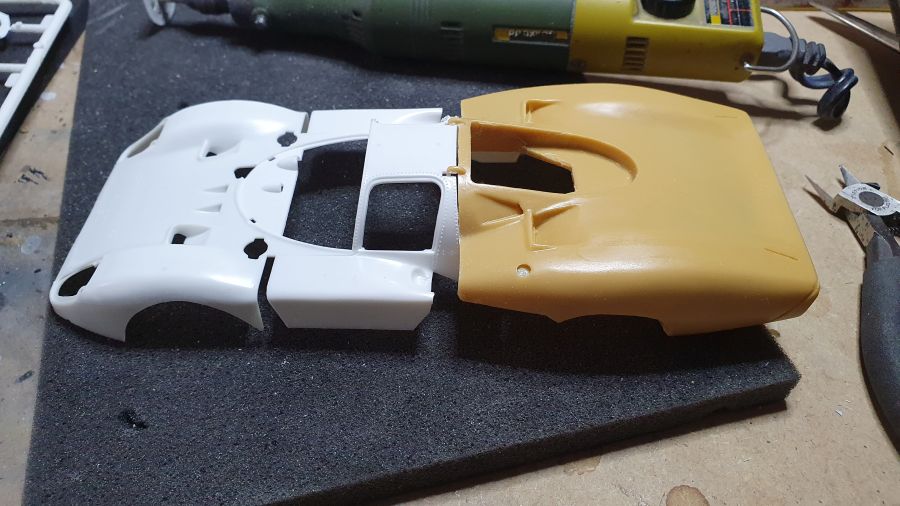
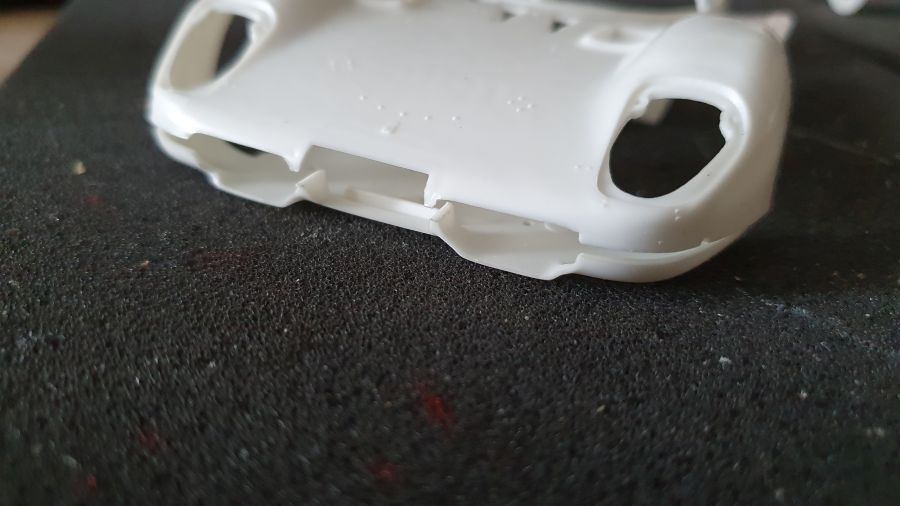
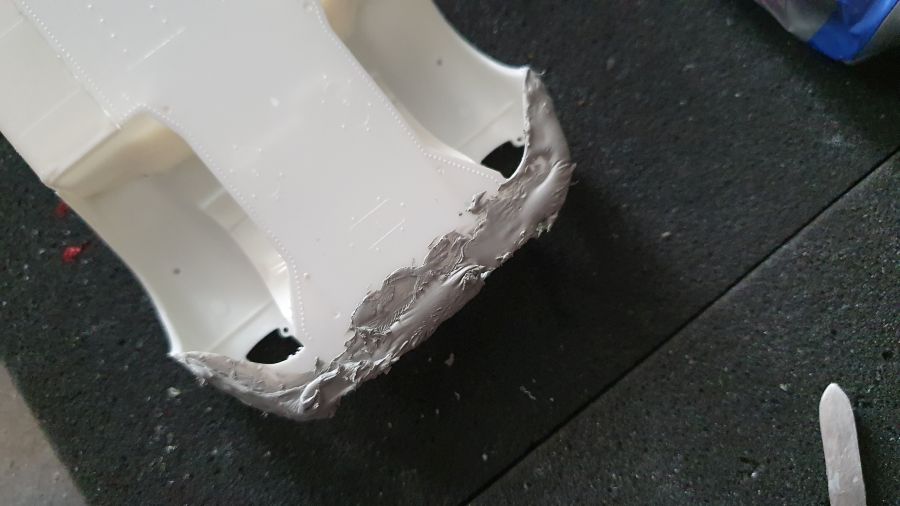
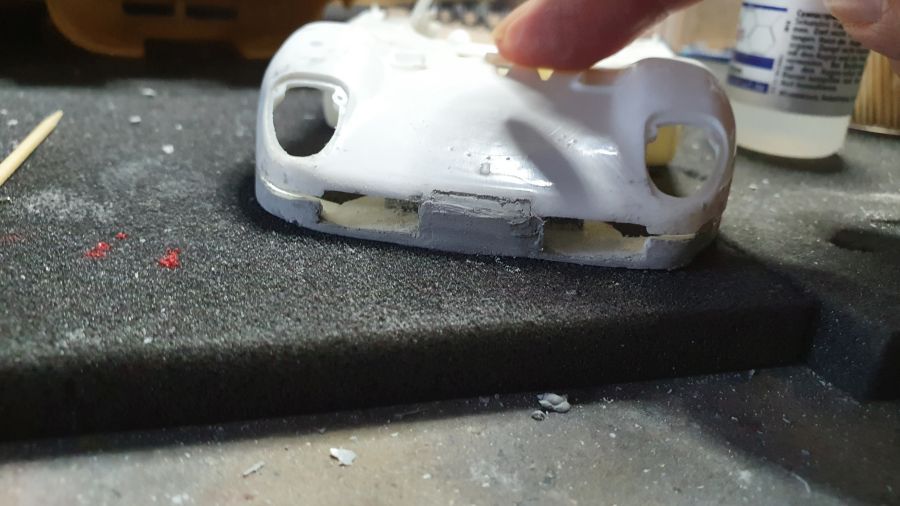
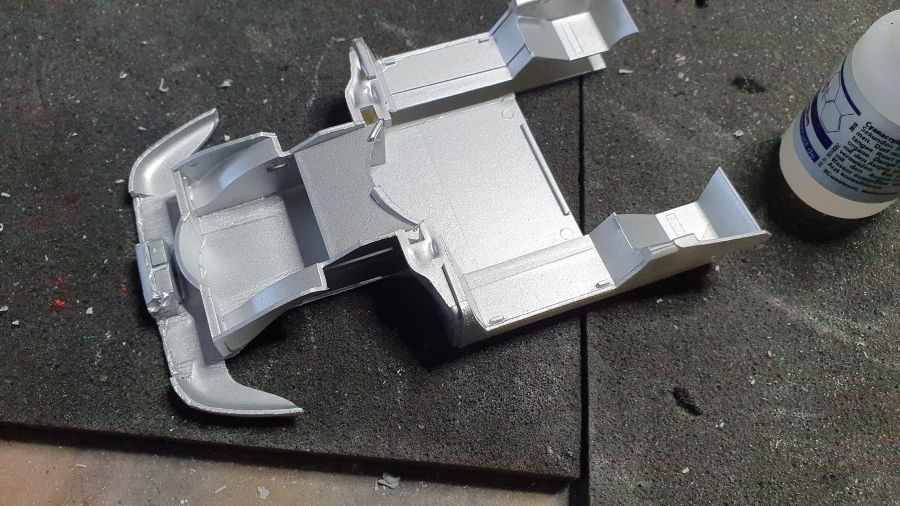
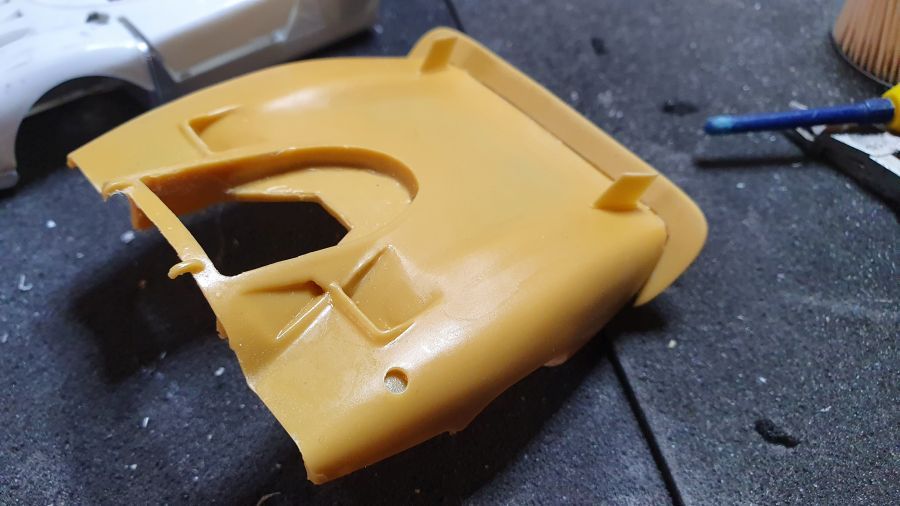
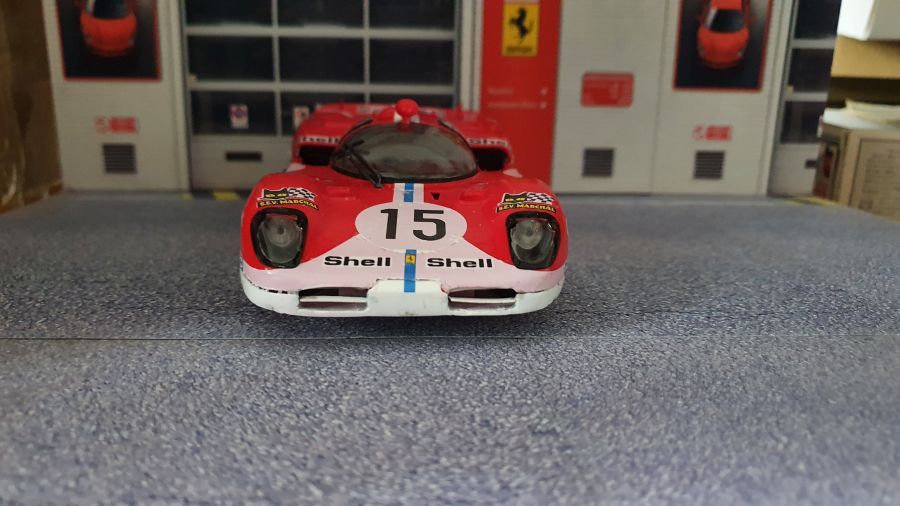
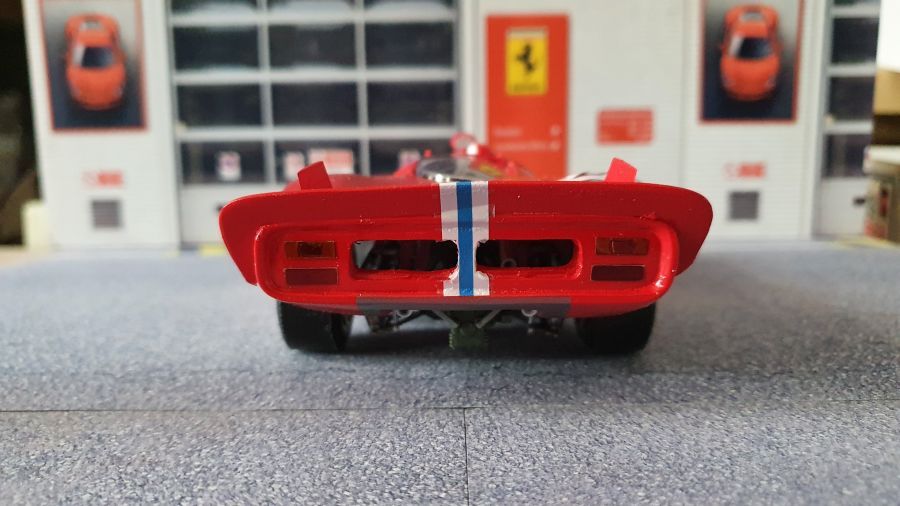
De neus moet gewijzigd. Op foto 1 de neus van de kit, op foto 2 hoe het moet worden. Niet gemakkelijk, werken met resin zou beter zijn.
The nose needs to be changed. On photo 1 de kit's nose, on photo 2 how it should be. Not easy, working on resin would be better.
Hier en daar heb ik de intakes al wat aangepast.
I made some changes to the intakes.
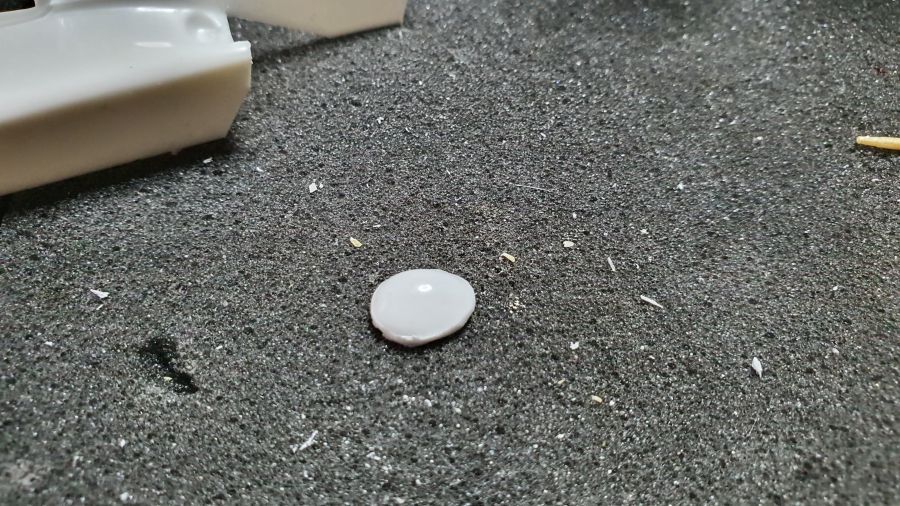
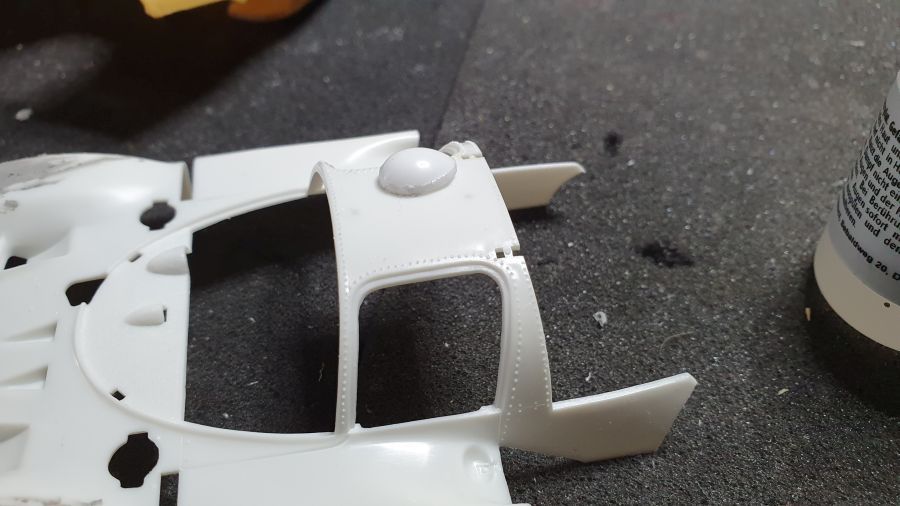
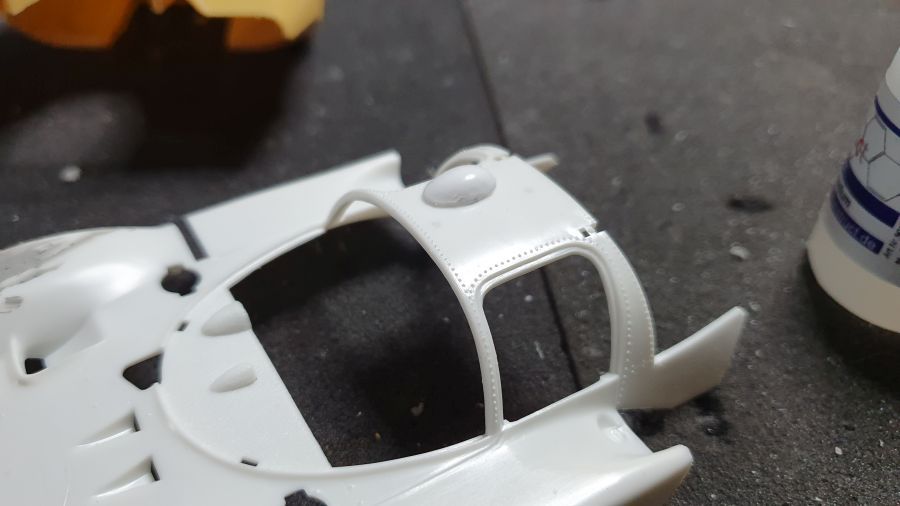
Ik vond in de rommeldoos een stukje van een Ferrari 312T2 dat voor de dak verhoging kan werken. Even wat slijpen.
I found in my scrap box a part of a Ferrari 312T2 that can be used for the raised roof. Some minor sanding.
Weer door naar de neus.
On to the nose again.
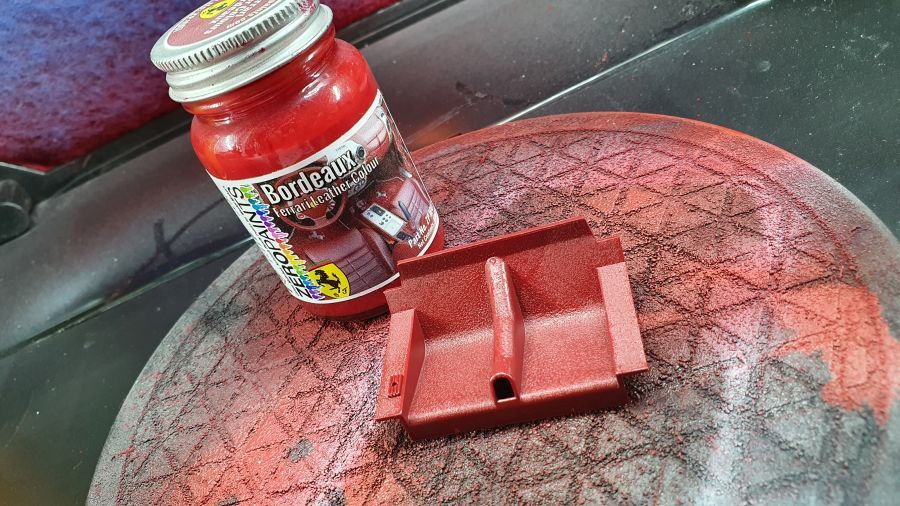
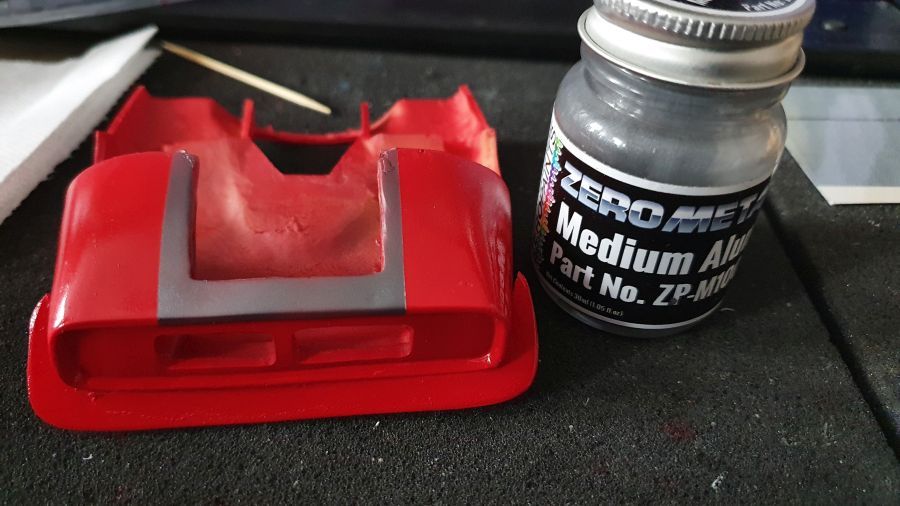
Aluminium gespoten.
Painted aluminium.
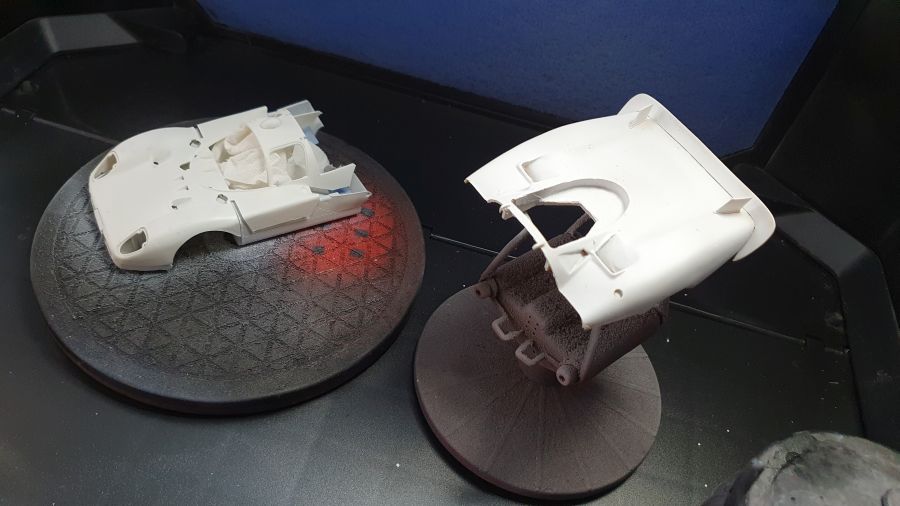
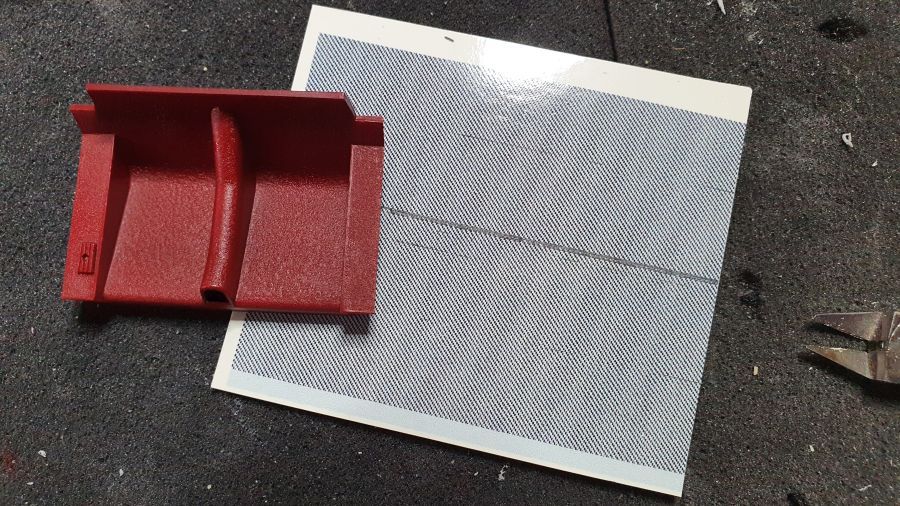
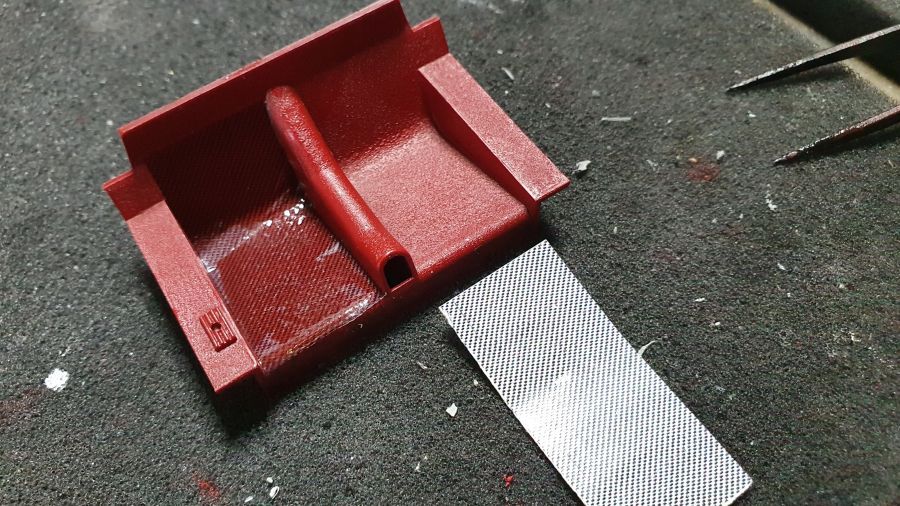
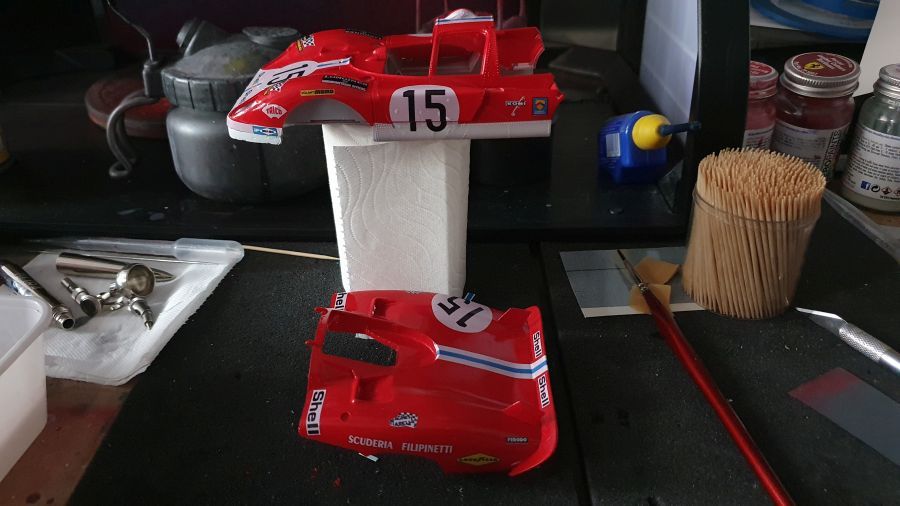
De motorkap klaar maken.
Completing the rear cover.
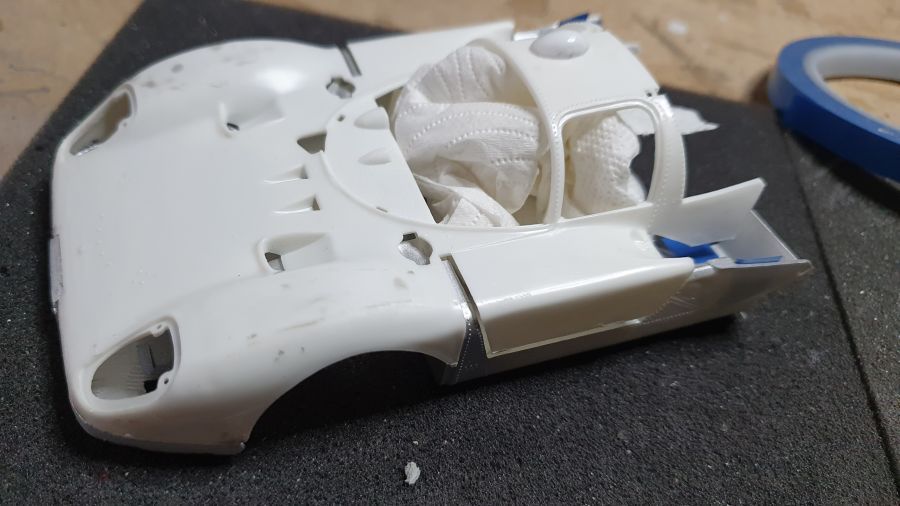
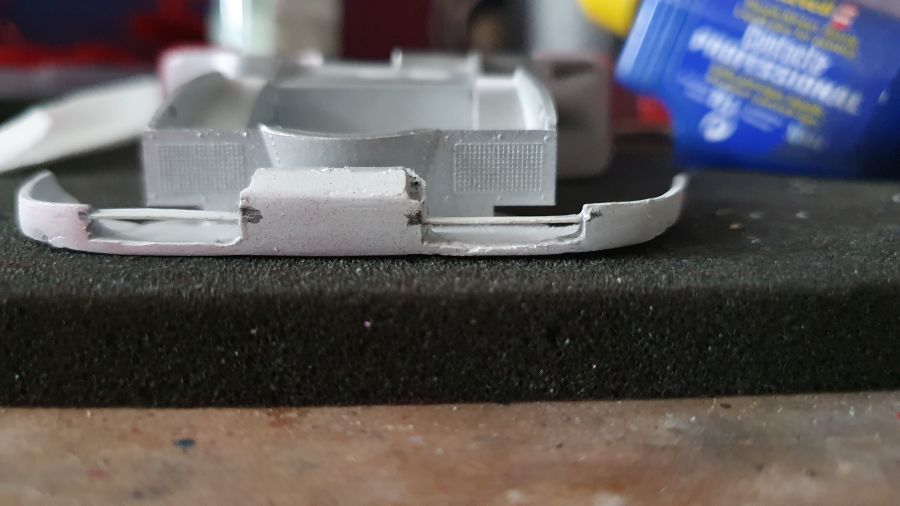
Afdekken voor de primer... en dan de witte primer erop.
Covering for the primer... and then adding white primer.

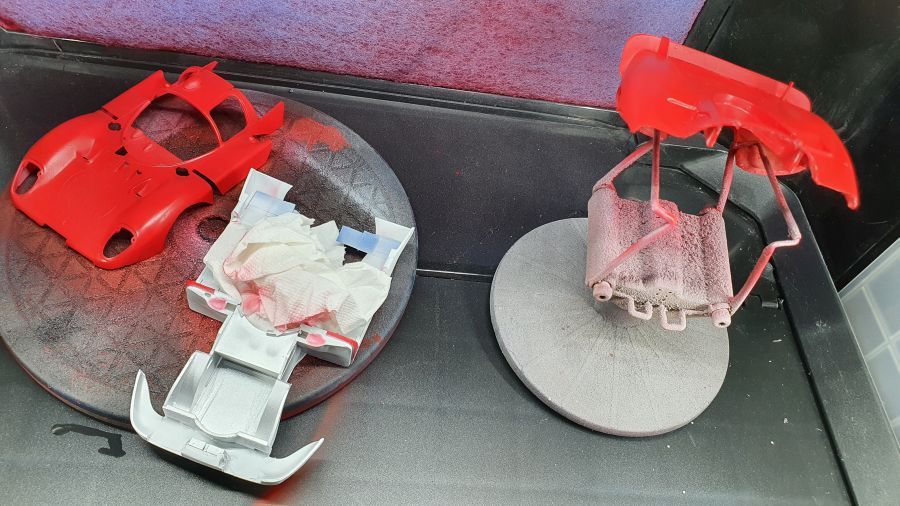
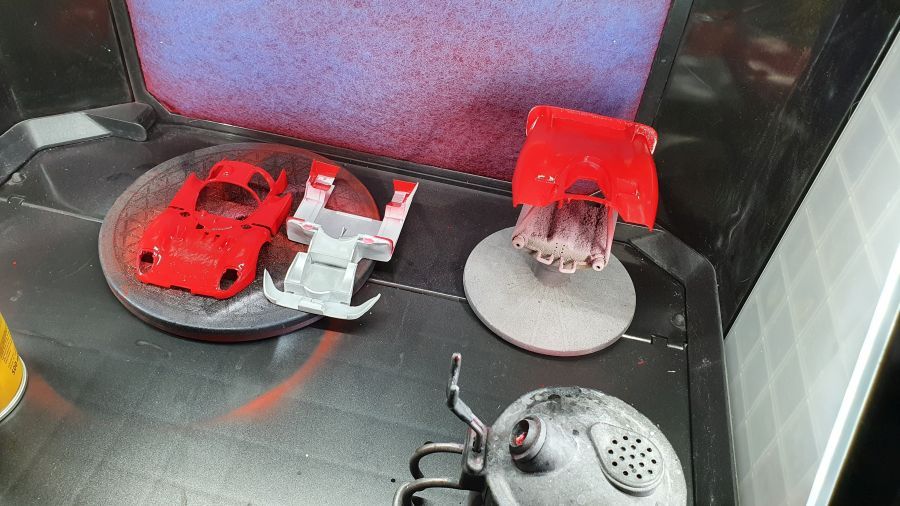
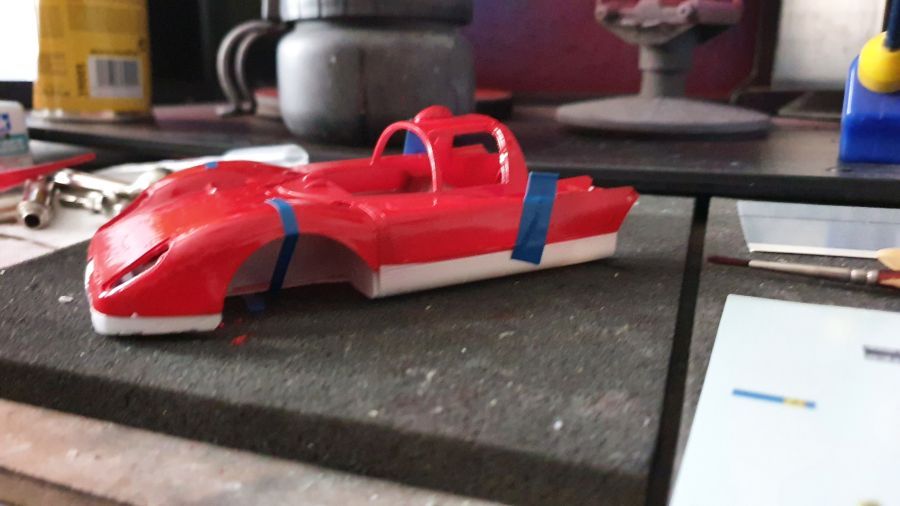
Door met het rood.
On to the red.
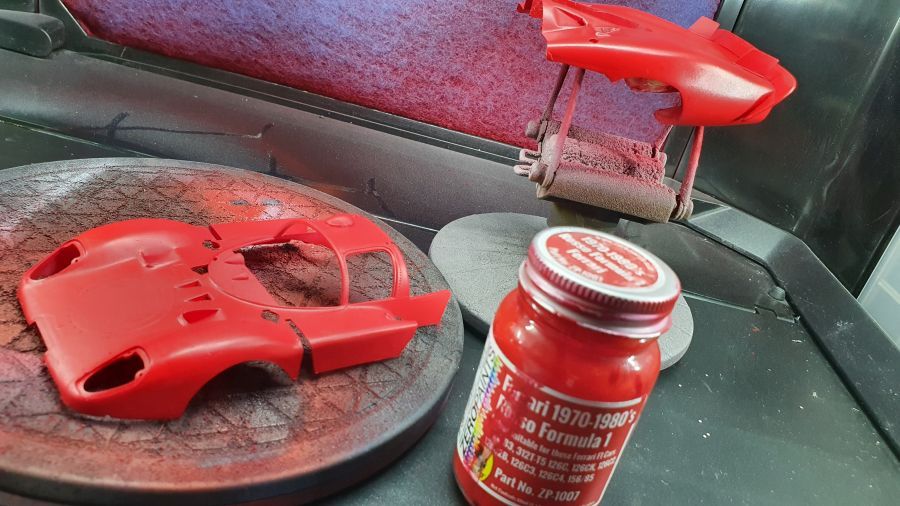
Dan de glanslak. Ik gebruik nu 2K omdat dat wat harder is. Waarschijnlijk spray ik na de decals met gewone glanslak. De jaren '70 auto's horen niet zo te glimmen.
Then the clear coat. I am now using 2K because it's a bit more protective. I will probably spray normal clear when the decals are on. A car from the 70's should have that much shine.
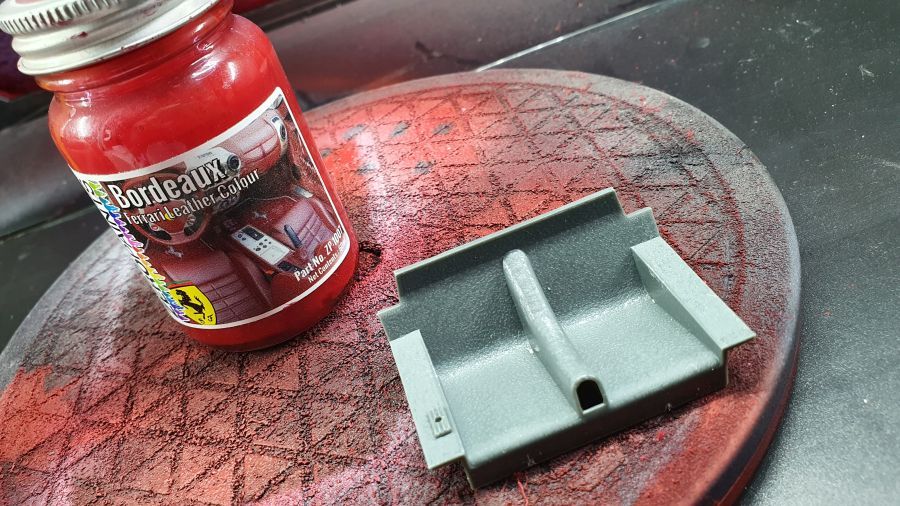
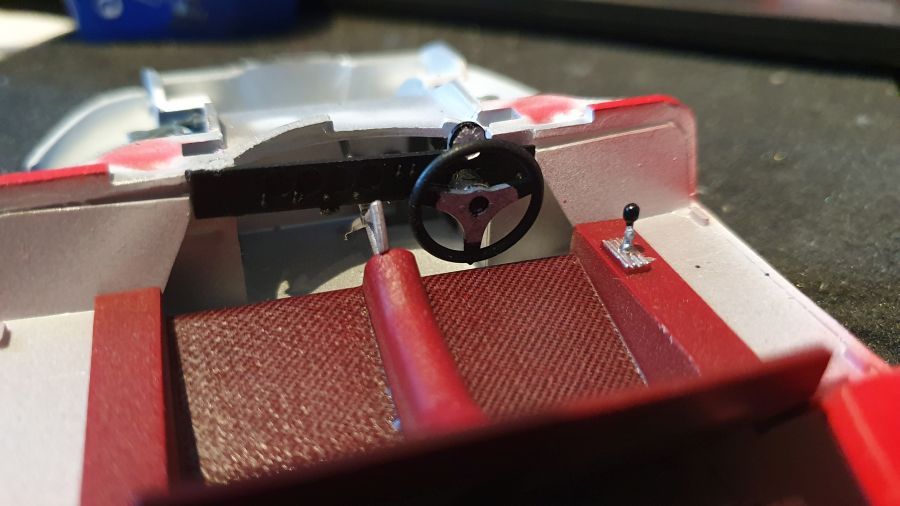
Door naar de stoel... Ik heb zelf een decal geprint om de textuur van de stof te krijgen.
On to the seat... I printed a decal myself to get the texture of the fabric.
Meer werk aan de neus en verfwerk.
More work to the nose and paint work.
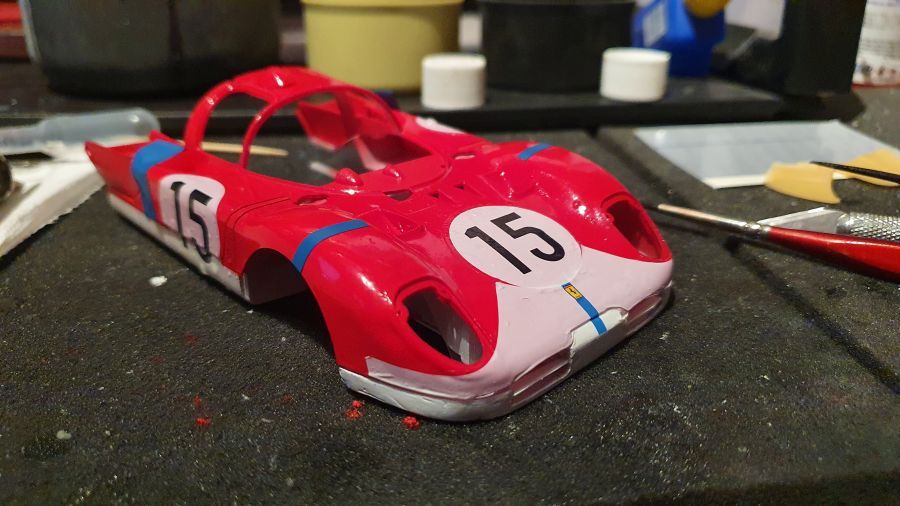
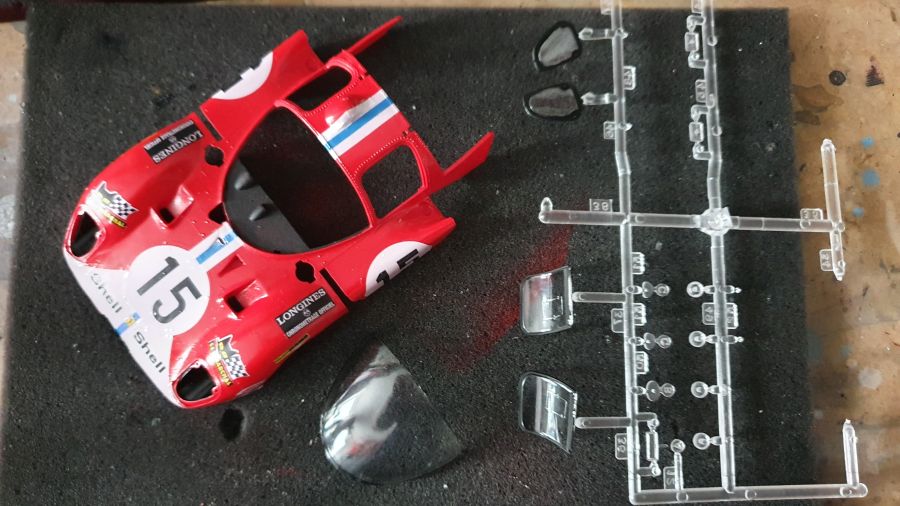
Tijd voor de decals. Helaas hebben ze op diverse plekken niet de juiste maat. En zijn ze wat doorzichtig.
Time for the decals. Unfortunately they are out of scale at several places. And they are a bit translucent.

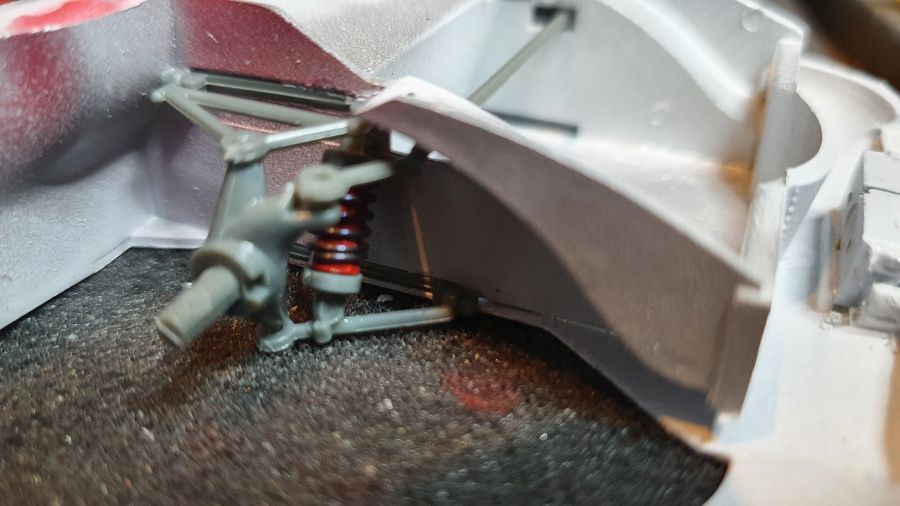
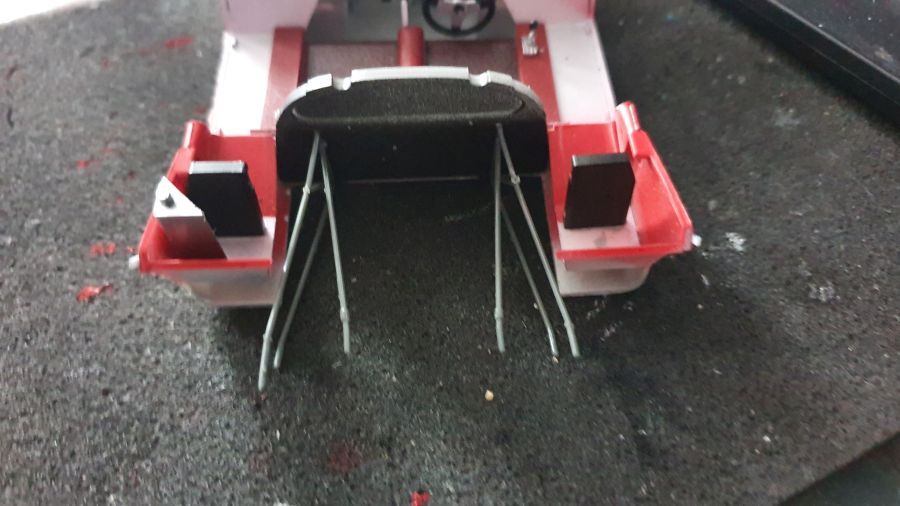
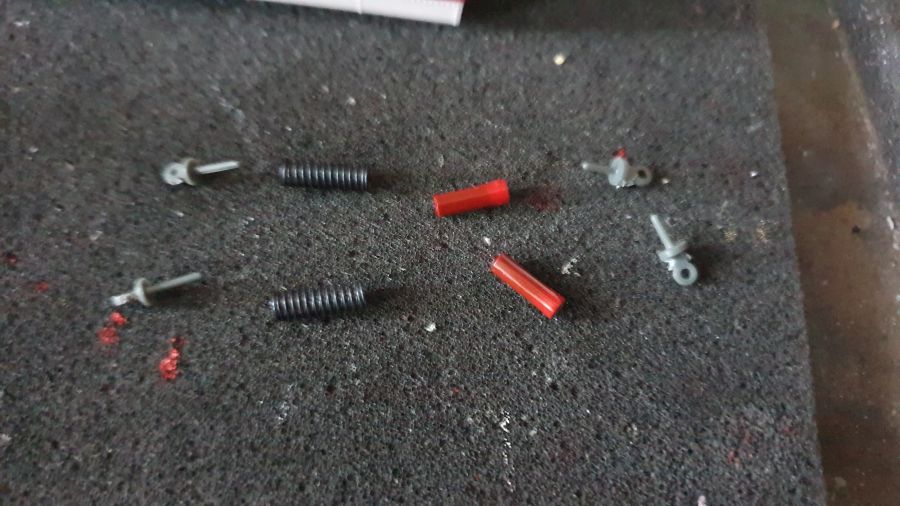
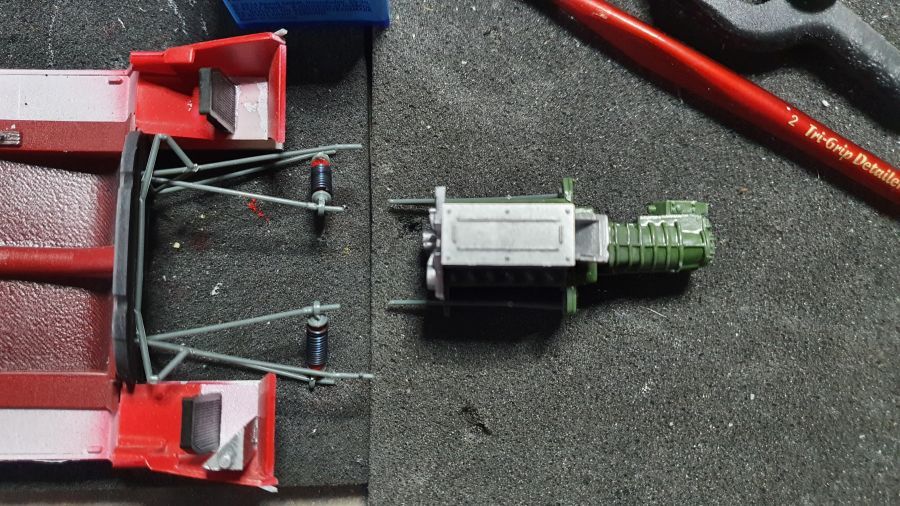
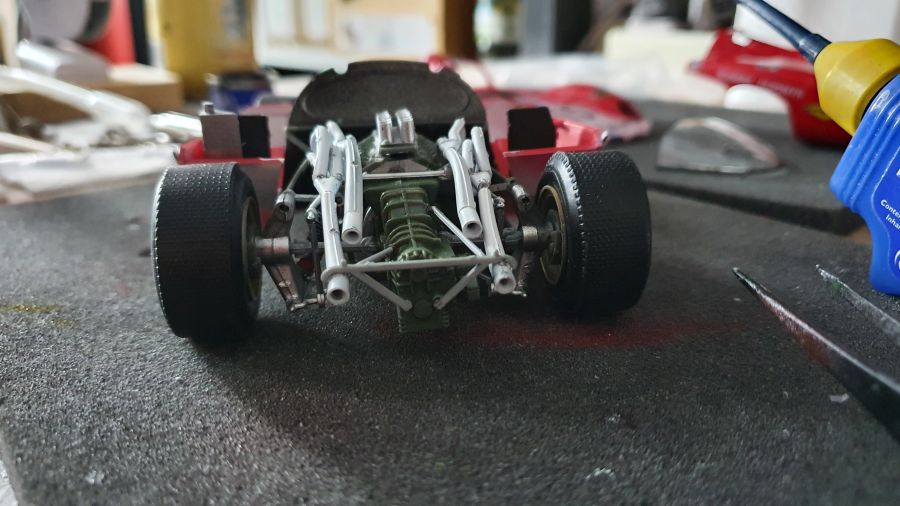
Dan de voorvering.
On to the front suspension.
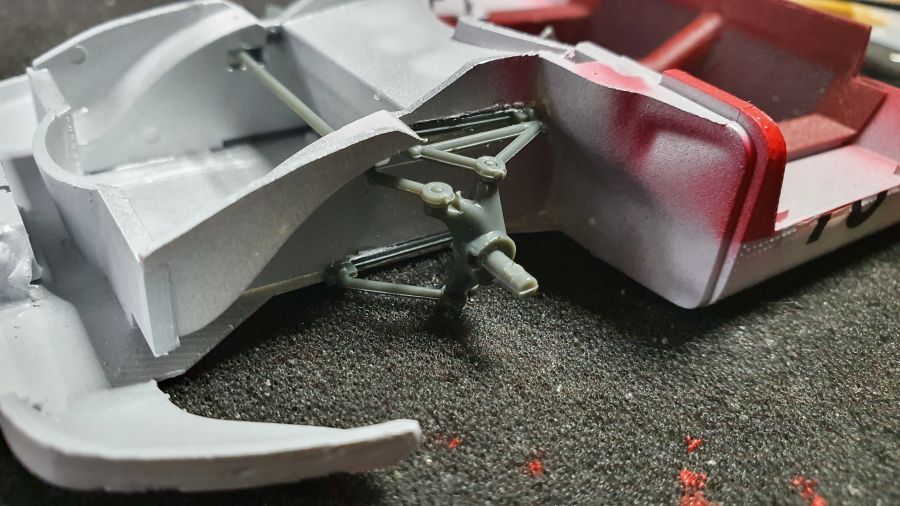
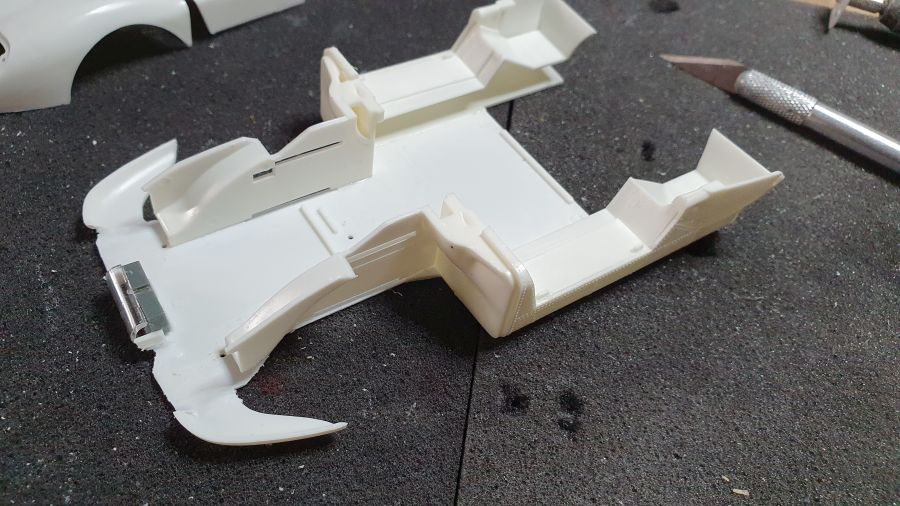
En een paar delen voor de binnenkant geplaatst.
And added a few parts for the inside.
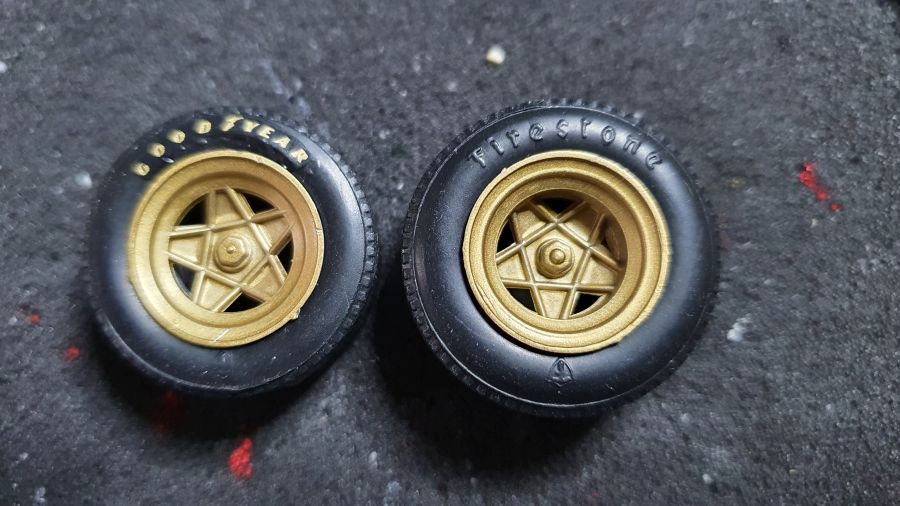
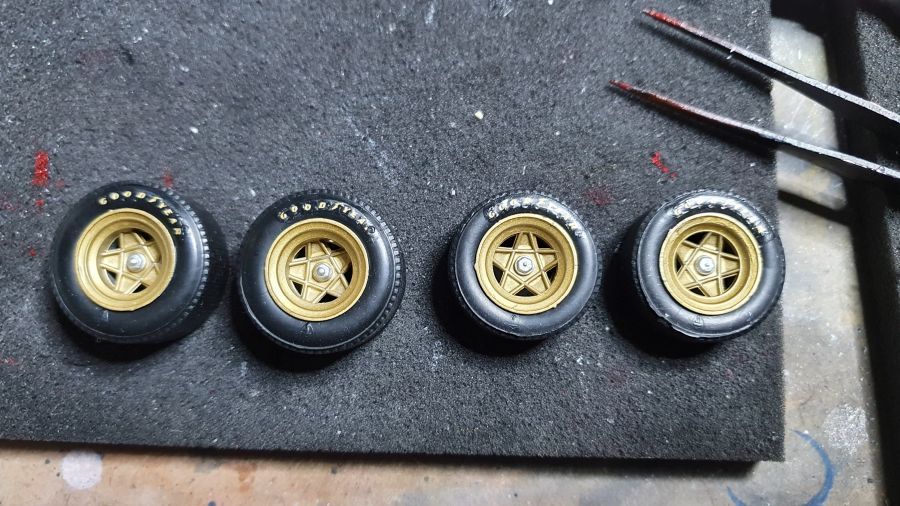
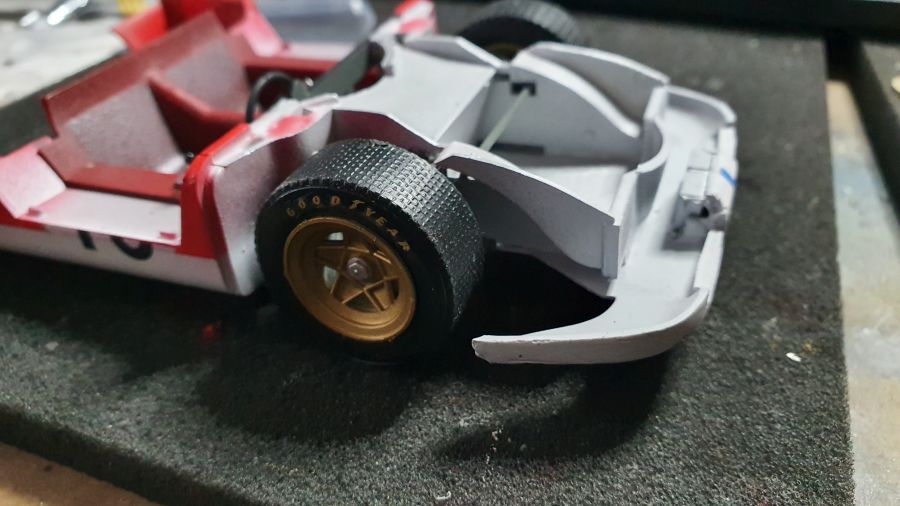
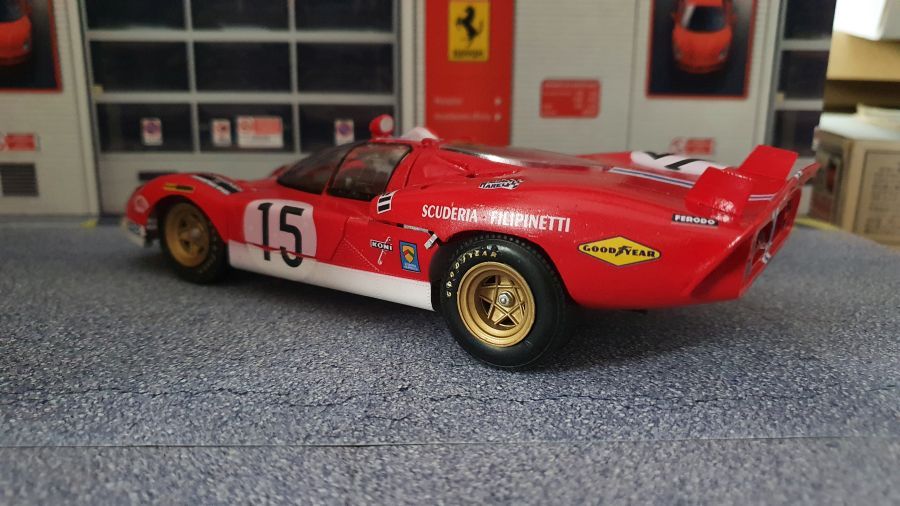
Dan de banden. Mijn Ferrari 512S #15 stond in 1970 op Goodyear banden. Gelukkig heb ik nog wat banden labels in mijn voorraad.
On to the tires. My Ferrari 512S #15 had Goodyear tires mounted in 1970. Luckily i have some tire labels in my stash.
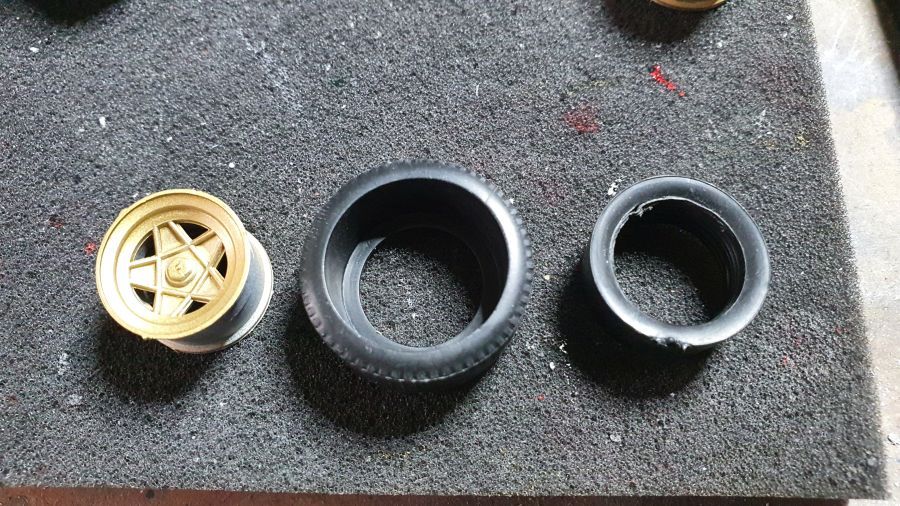
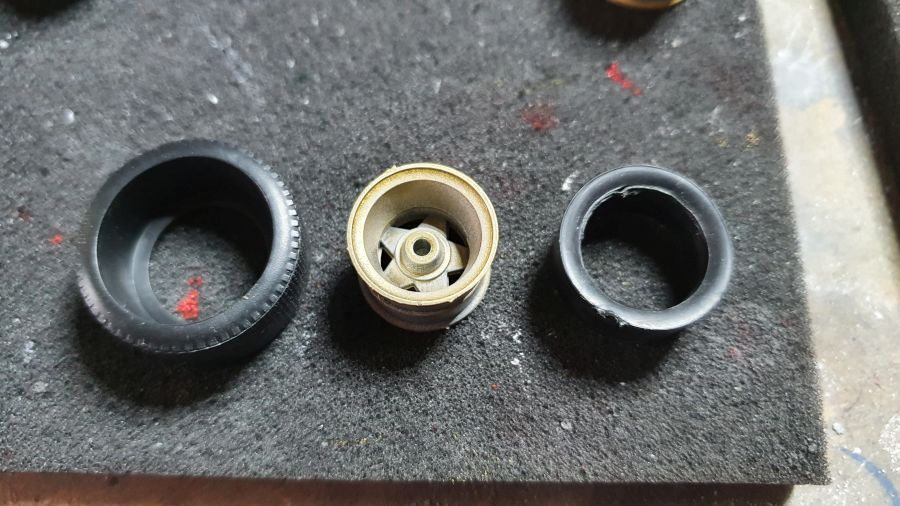
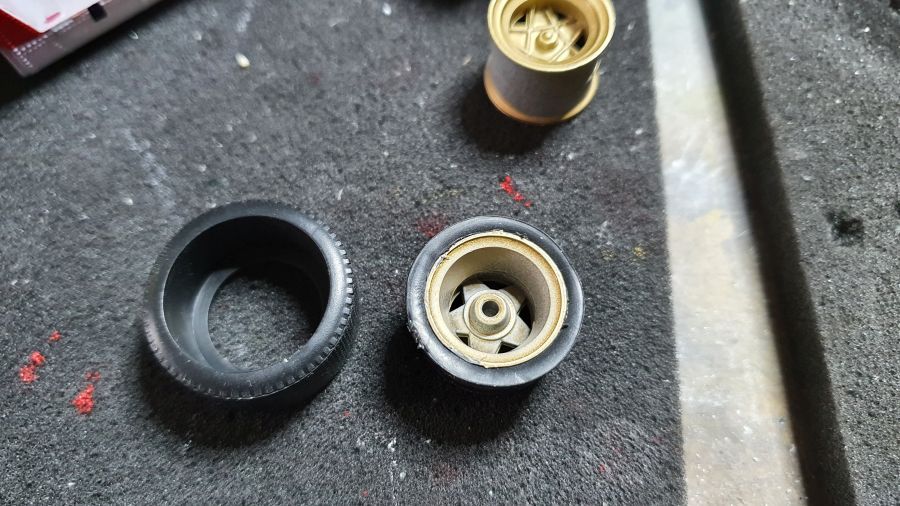
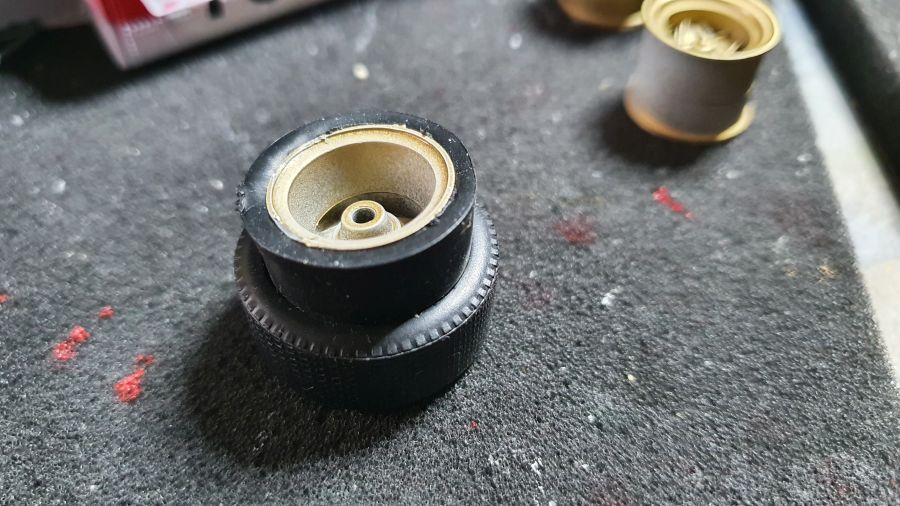
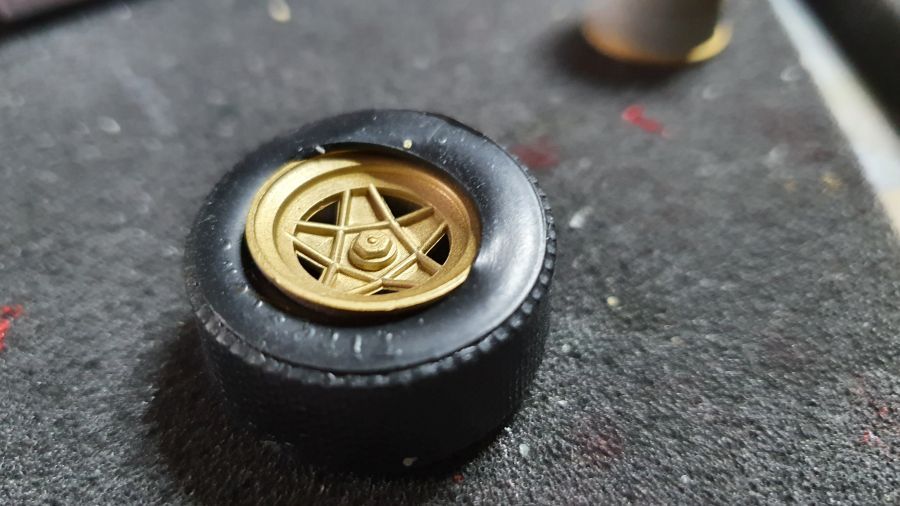
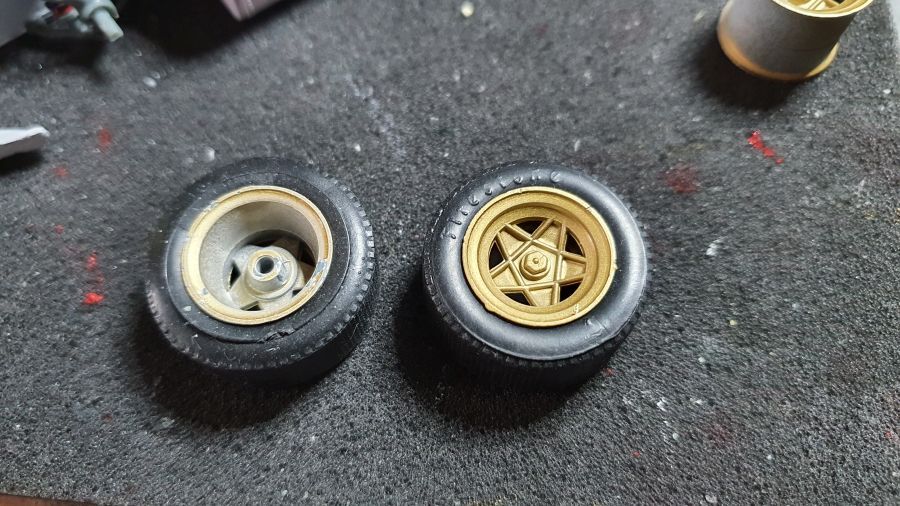
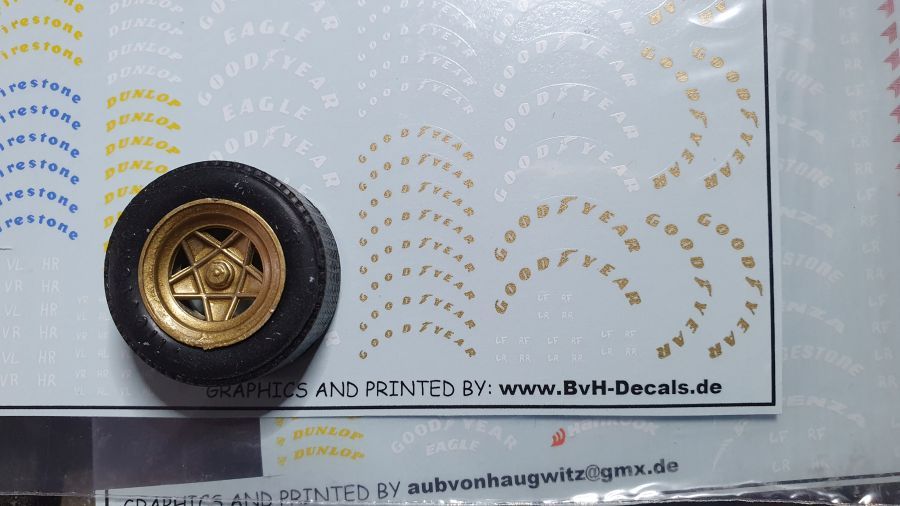
De Firestone print bedek ik met de Goodyear decals.
I am covering the Firestone print with the Goodyear decals.
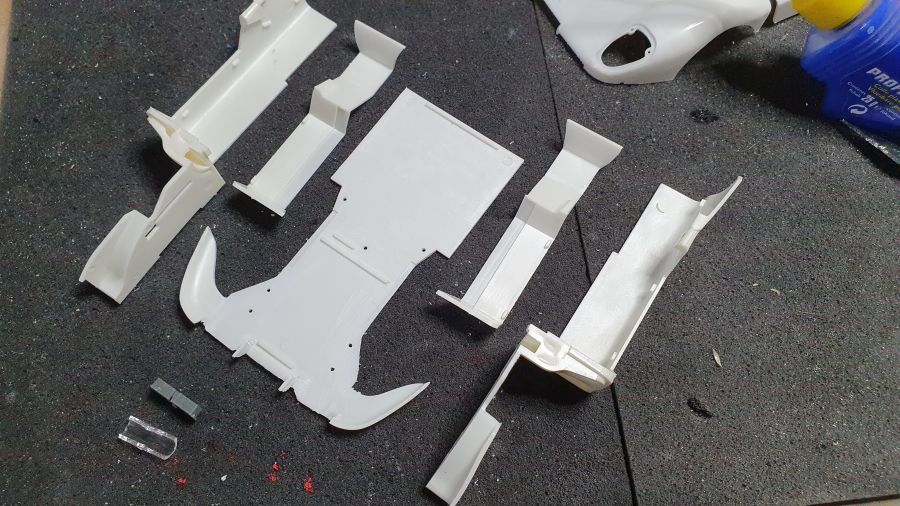
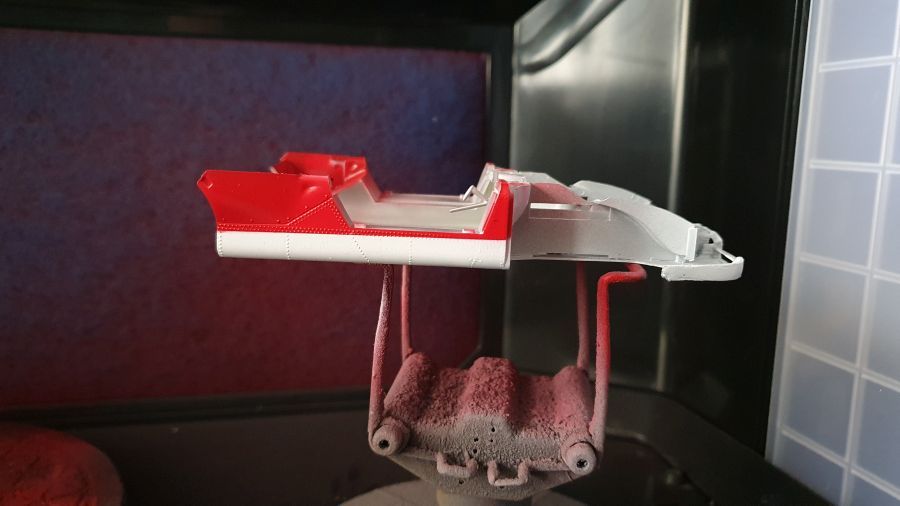
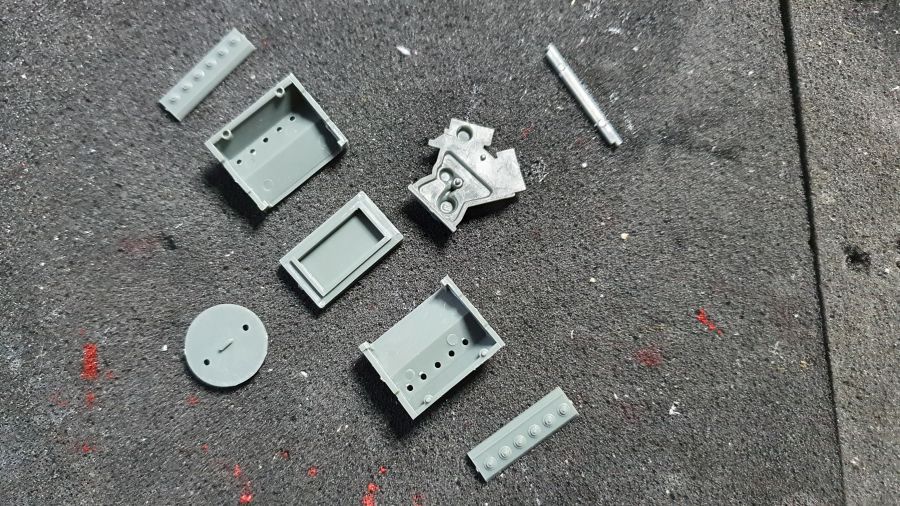
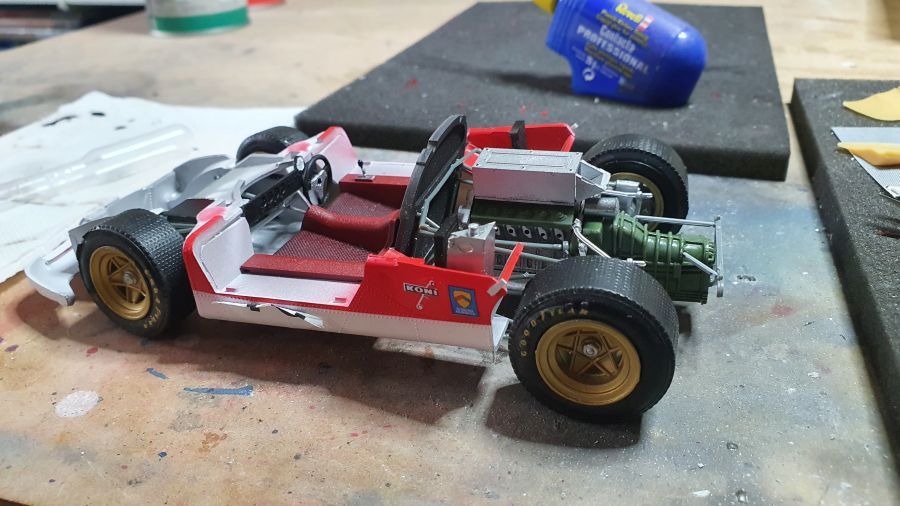
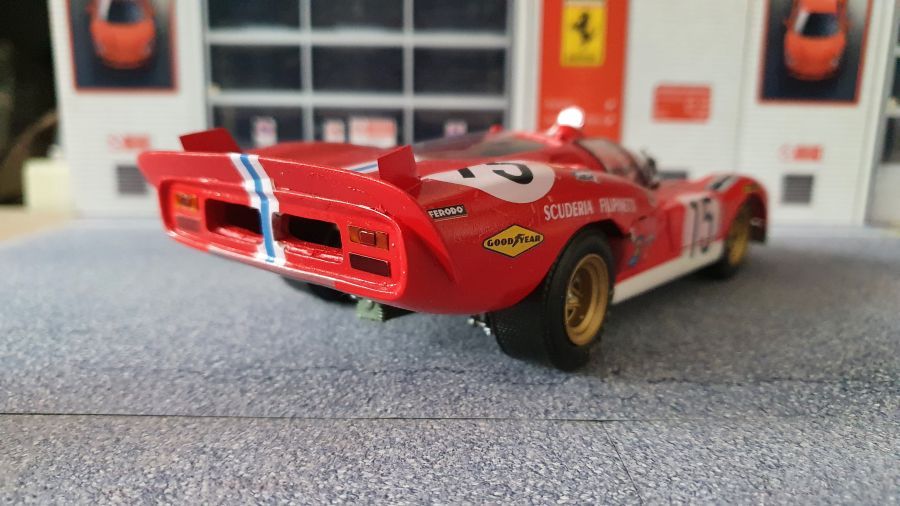
Dan naar de achterkant. De achterwand gaat erop en de eerste delen van het frame.
On to the backside. The fire wall is being added as well as the first parts of the frame.
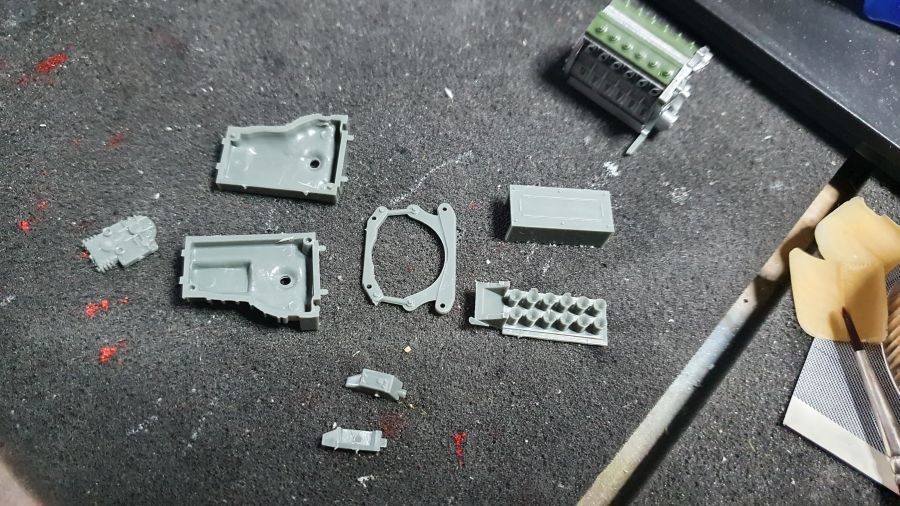
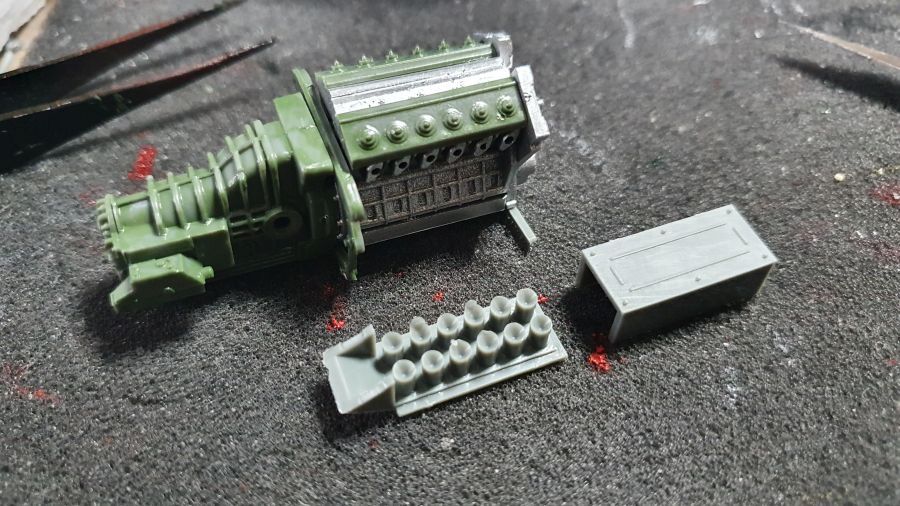
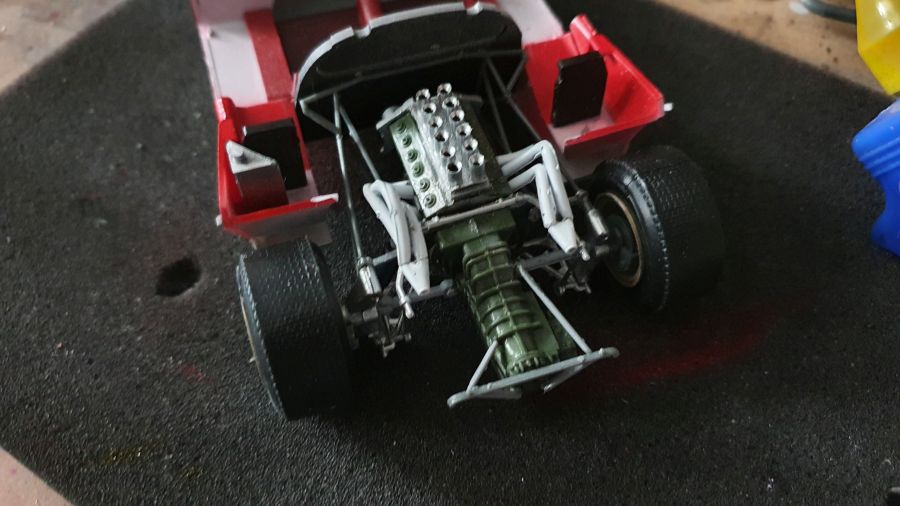
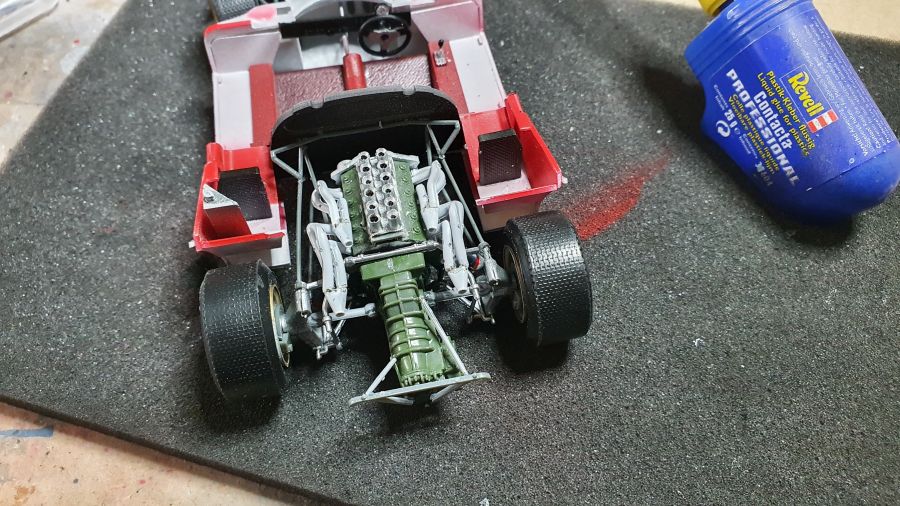
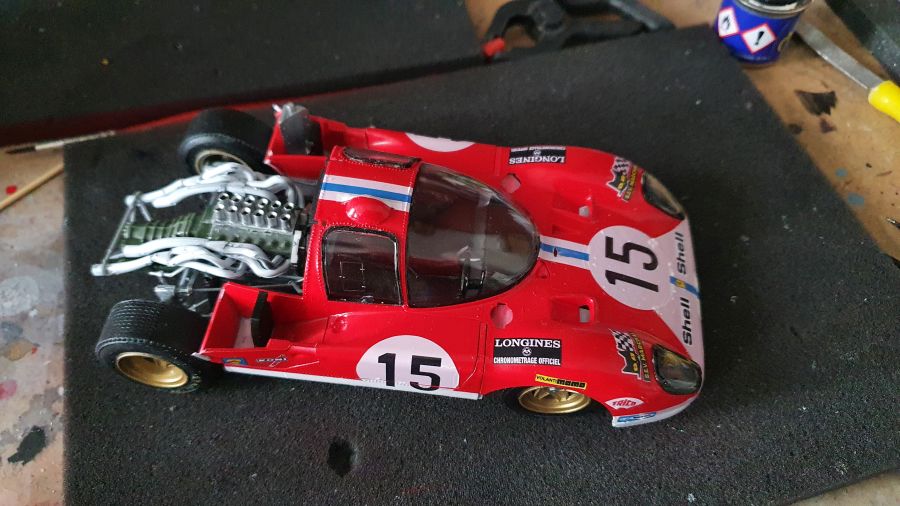
Dan de motor, versnellingsbak en de plaatsing.
Then the engine, the gear box and adding them.
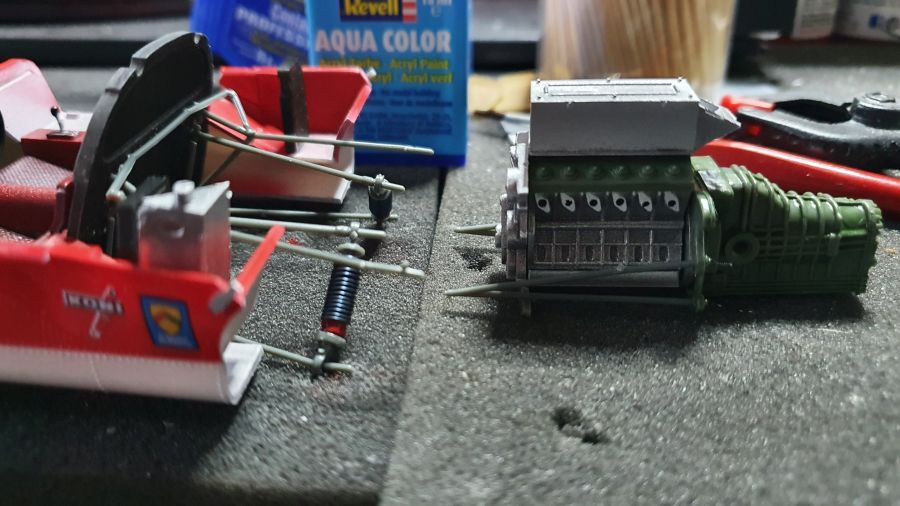
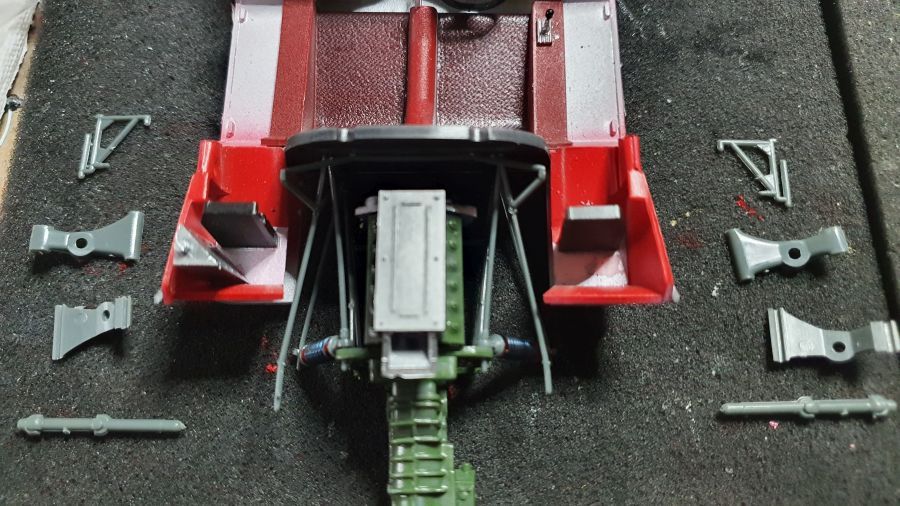
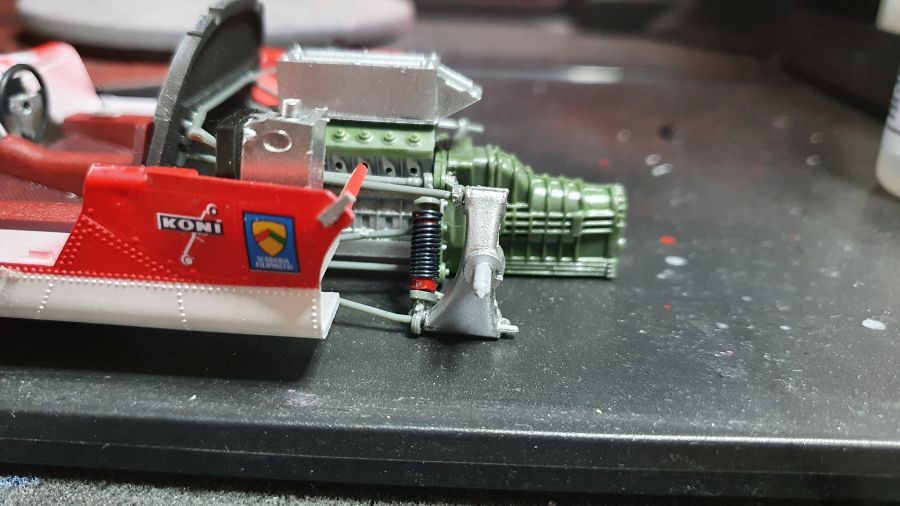
Op zijn 'voeten'.
On it's 'feet'.
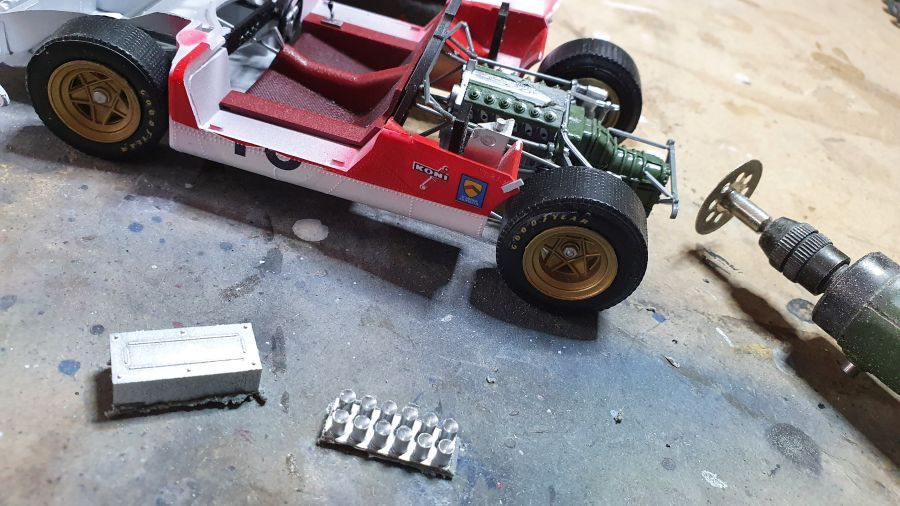
Ik denk dat ik een fout heb gemaakt met de motor. De box hoort er niet op volgens mij. Ik probeer het te herstellen.
I think i made a mistake with the engine. I think the box shouldn't be added. I'll try to change it.
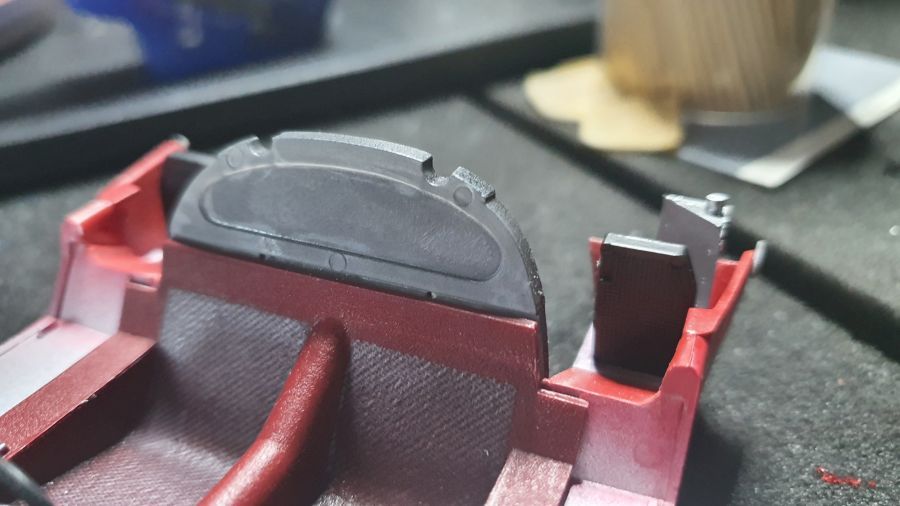
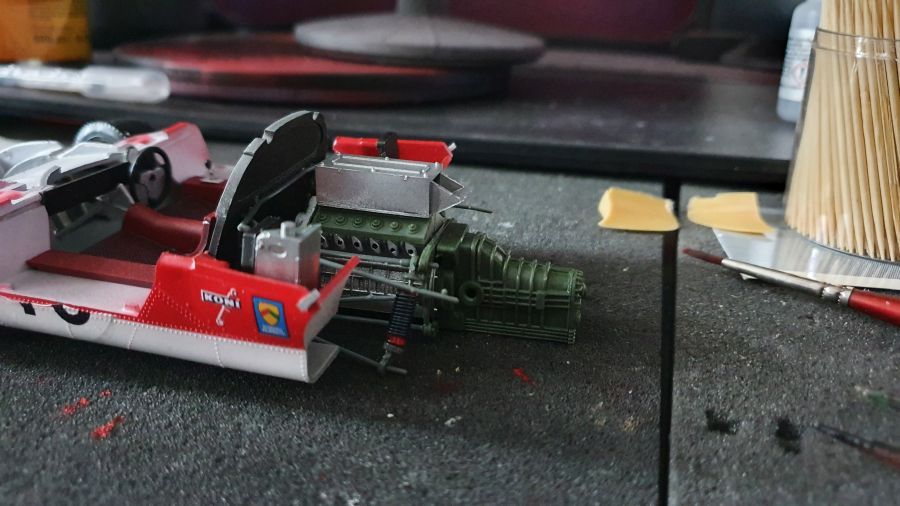
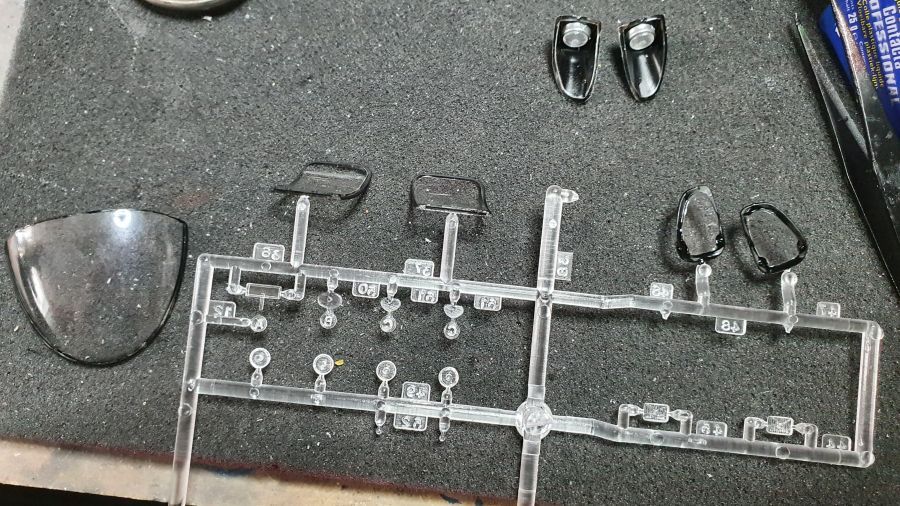
Het glas krijgt de rubber randjes.
The glass gets it's rubber edges.
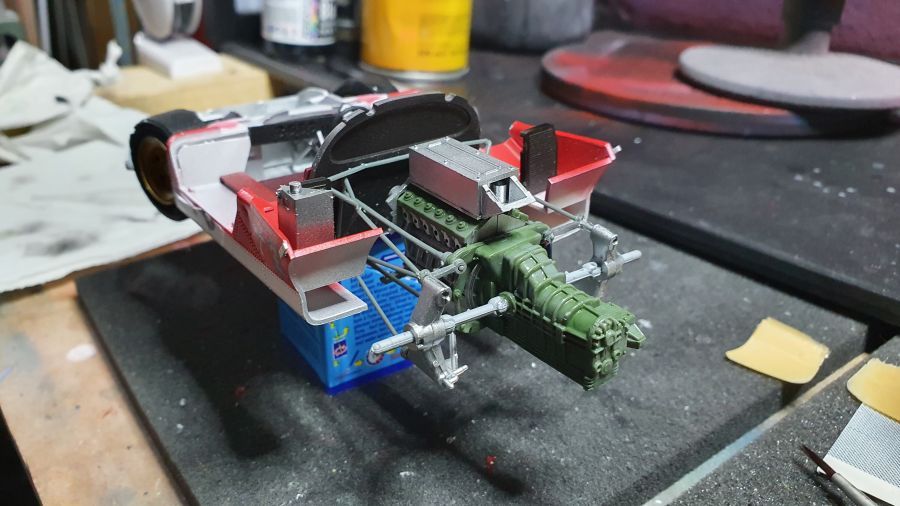
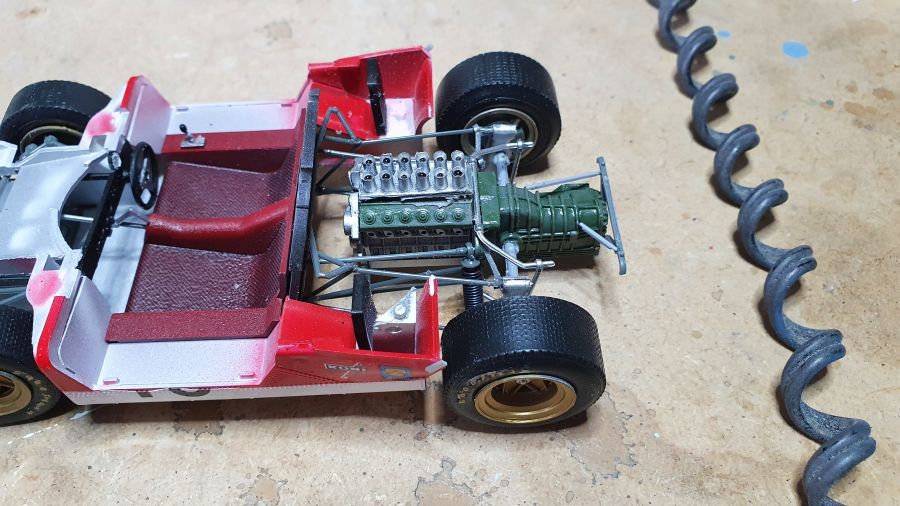
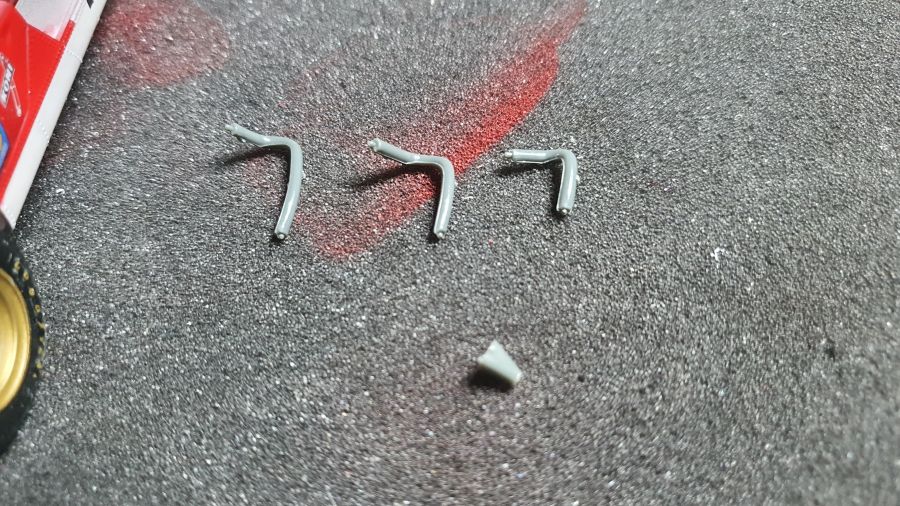
De uitlaten zijn straks volledig verborgen. Ik ga daar daarom niet veel tijd in investeren. Daarnaast zijn ze werkelijk een ramp om te plaatsen.
The exhausts will be fully covered later. So i will not invest time in these. Besides that, they are a pita to add them.
Dan het glas plaatsen...
Next is adding the glass...

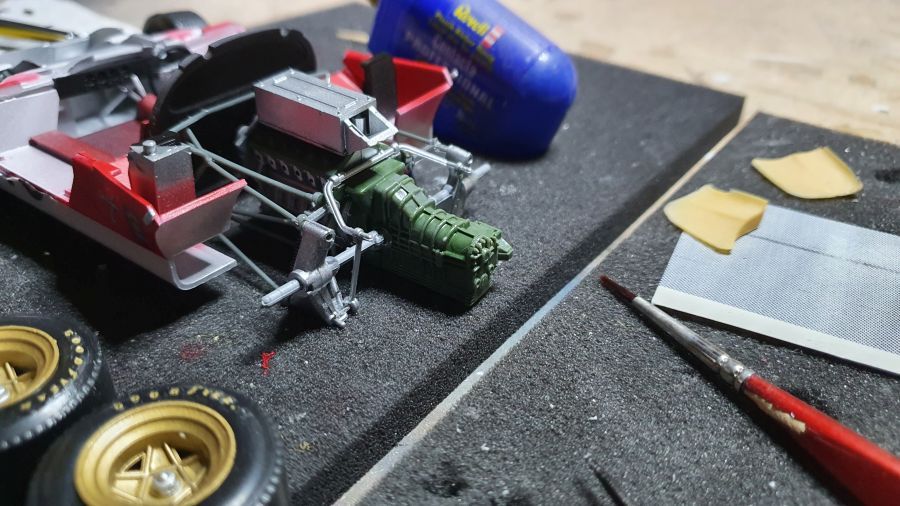
En het bodywerk gaat erop.
And the bodywork is being added.
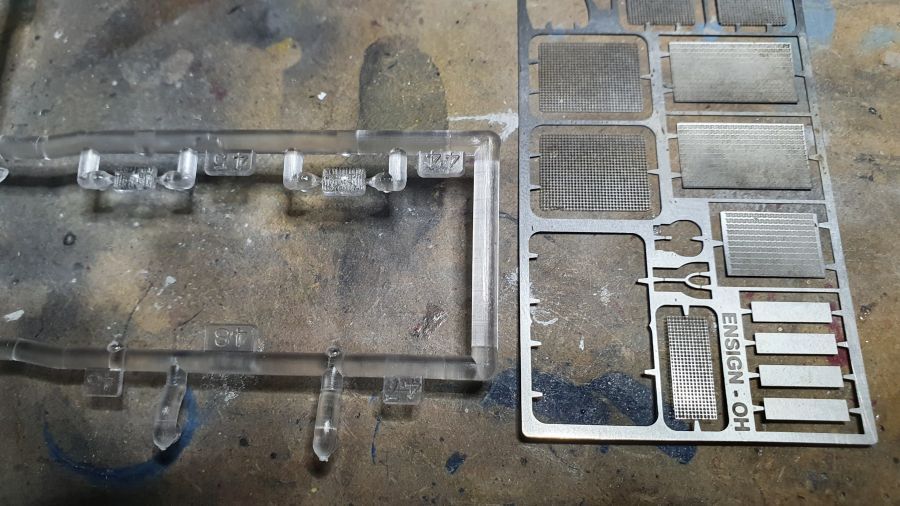
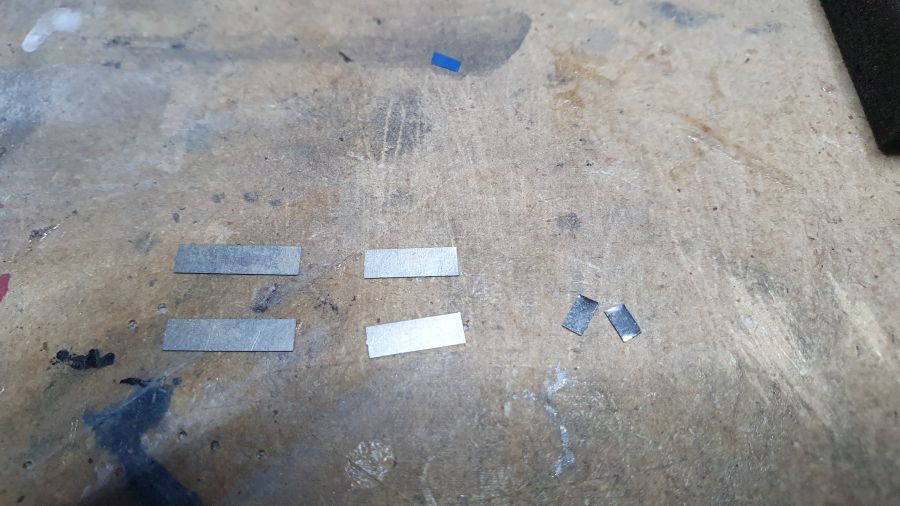
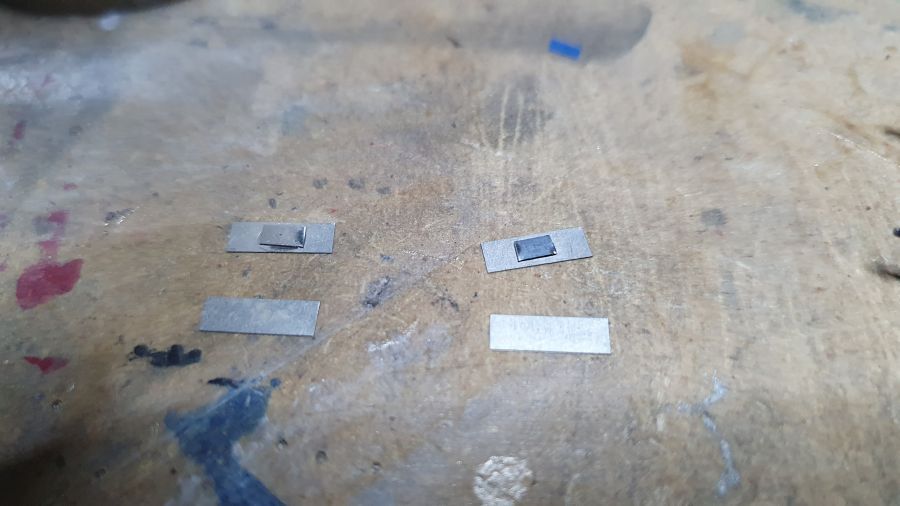
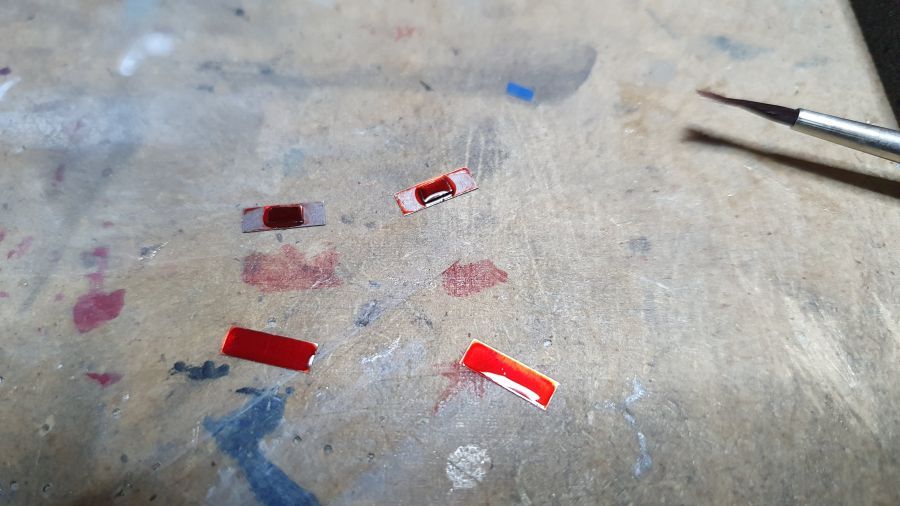
De achterlichten van de originele kit zijn net correct. De transkit heeft geen juiste bijgevoegd, dus ik ga improviseren met wat etched onderdelen uit de rommeldoos.
The rear lights from the original kit are not correct. The trans kit does not provide new ones, so i will improvise by using etched parts from the scrap box.

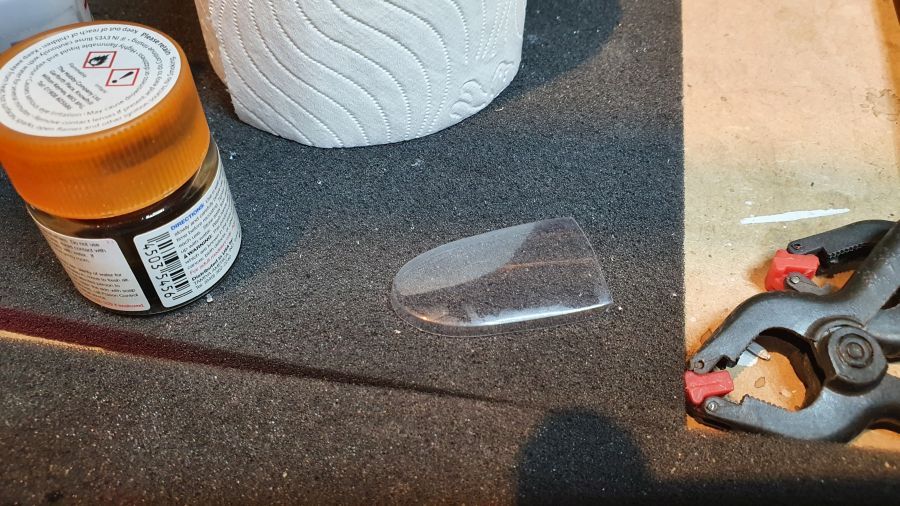
Nu laten drogen. Intussen knip ik het achterraam.
Now let it dry. In the meantime i am cutting the rear window.
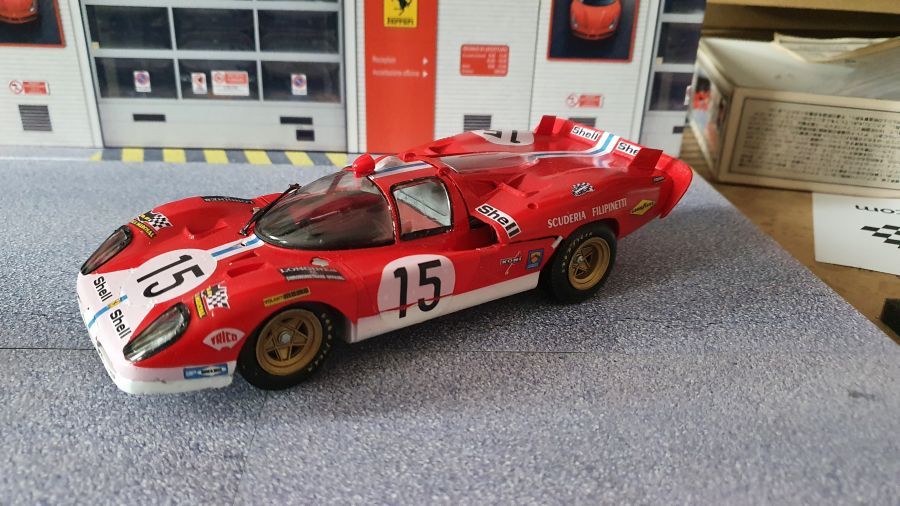
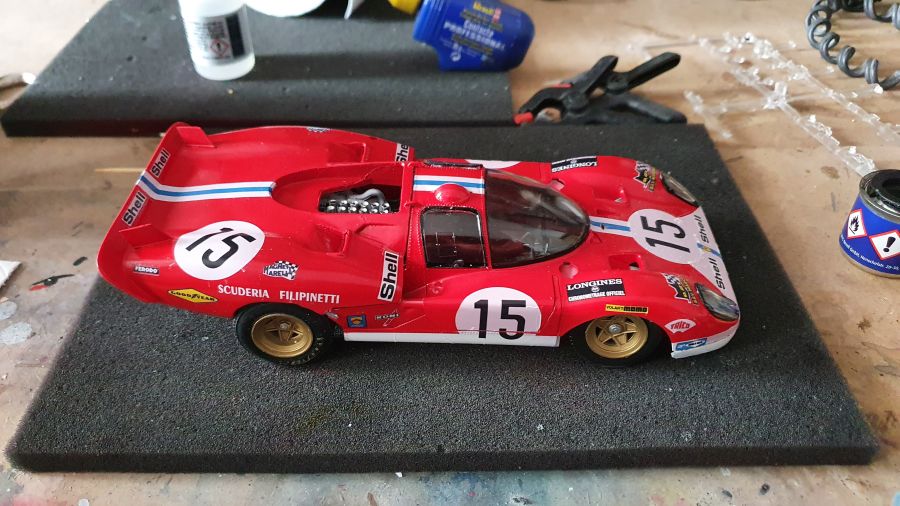
Dan is hij klaar.
Then it's done.
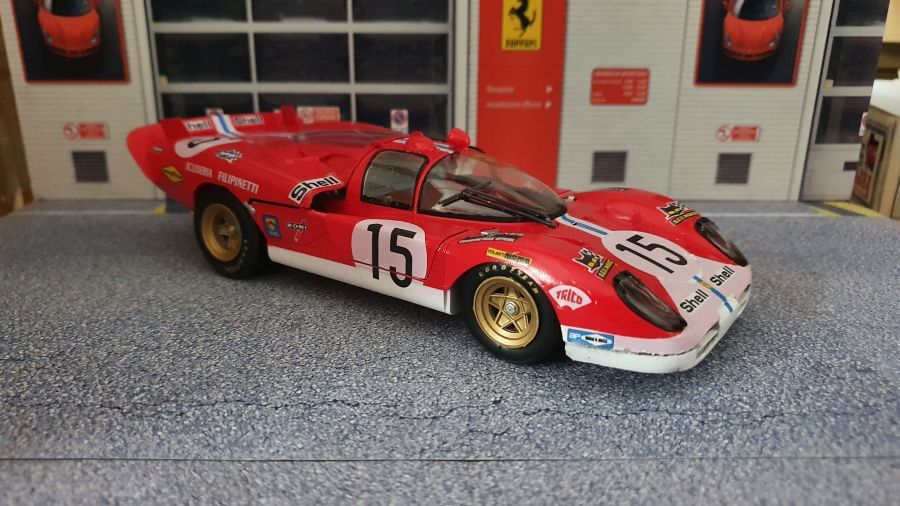
Al met al ben ik niet tevreden over deze bouw. De decals gaven veel problemen (doorzichtig / zeer dun / krullen om bij plaatsen). Er onstaat een groot verschil tussen de geverfde delen en de decals. Dat zorgt ervoor dat de bouw niet geweldig is. Ik heb nog een vergelijkbaar project. Ik zal dan vanaf het begin hier rekening mee houden. De foto's lijken erger dan dat je het model live ziet, een schrale troost.
All and all i am not happy with this build. The decals gave a lot of trouble (translucent / very thin / curl while adding them). It creates a large difference between the paint and the decals. That makes it's not a great build. I have a similar project waiting. I will take these problems in consideration from the start. The pictures show a more bad result, than when you have a look at live. A little comfort.