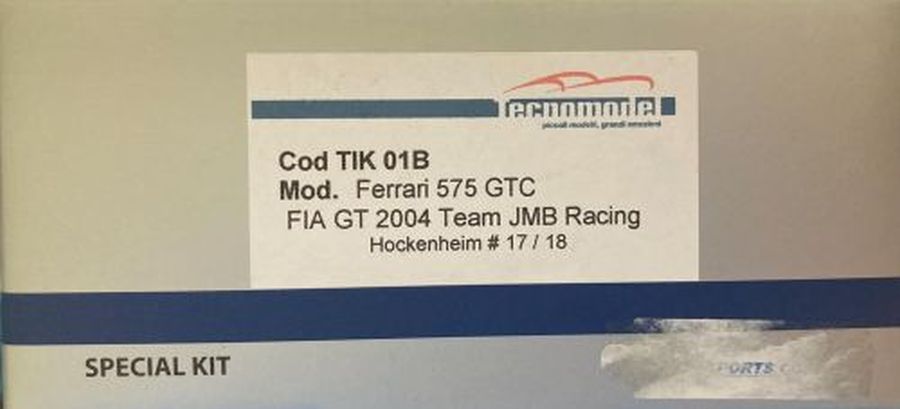
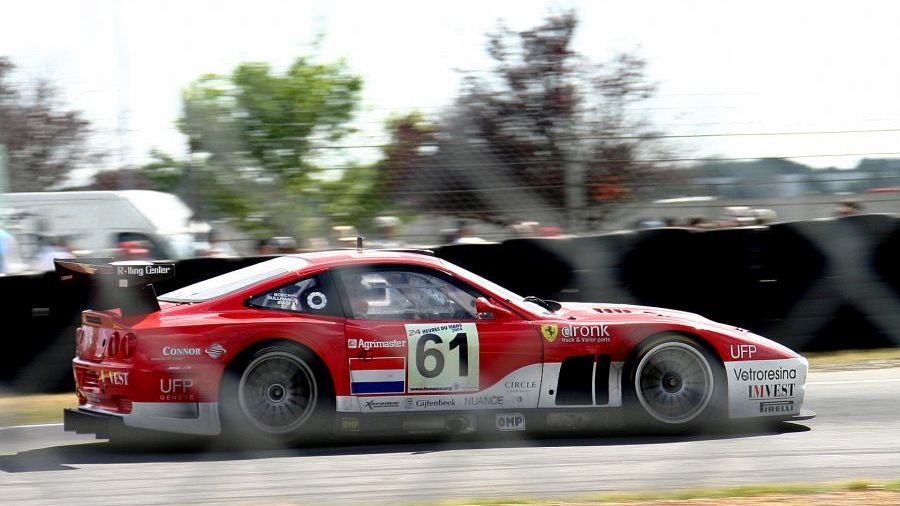
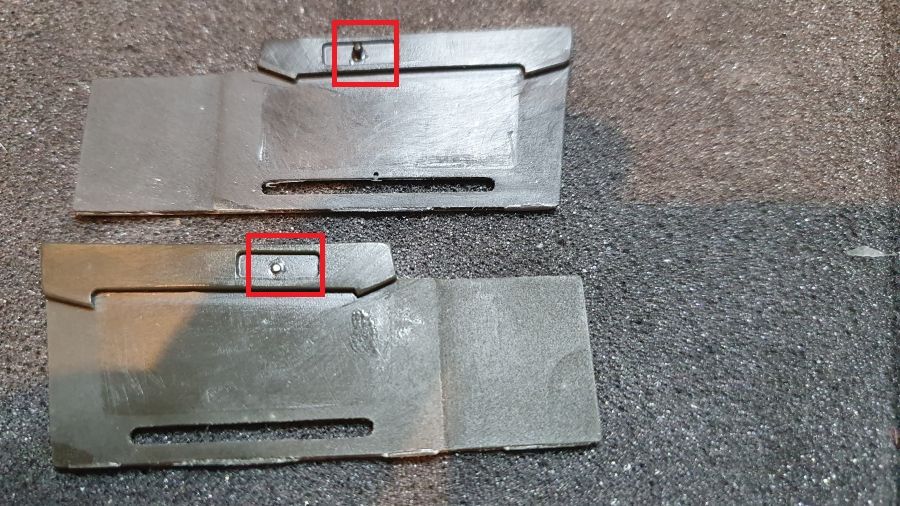
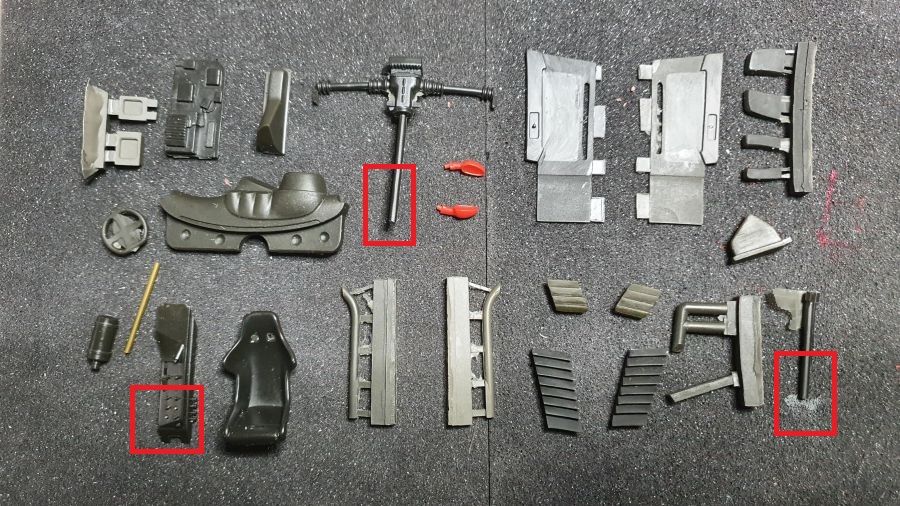
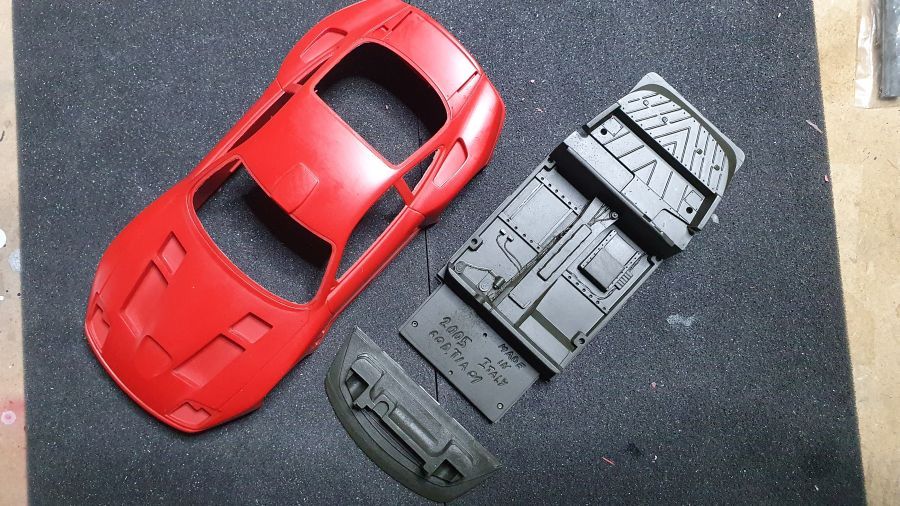
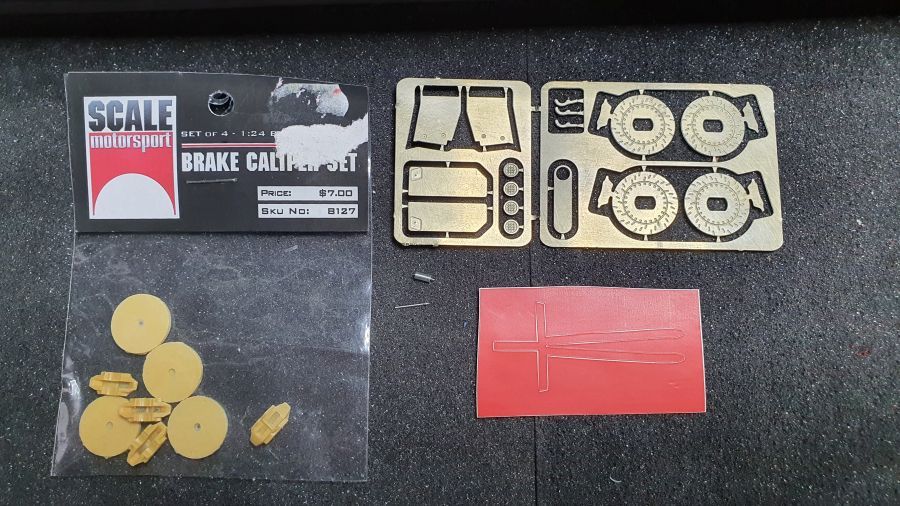
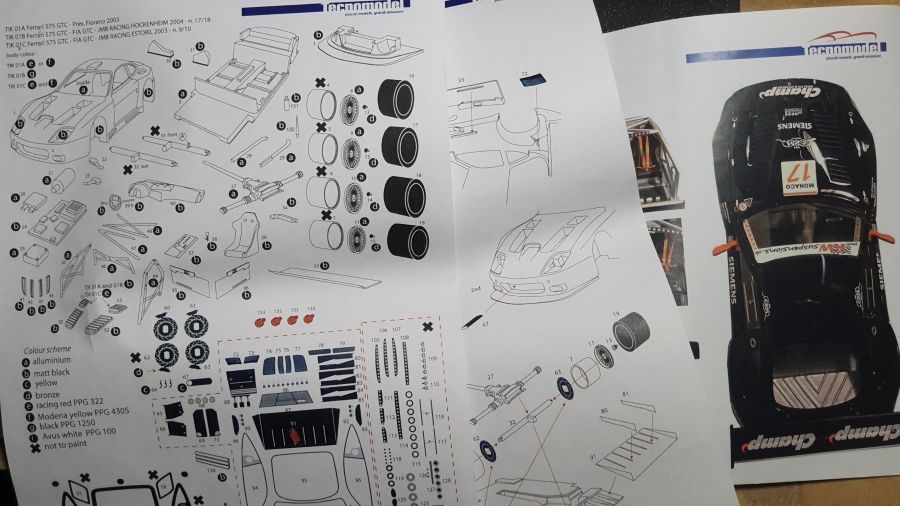
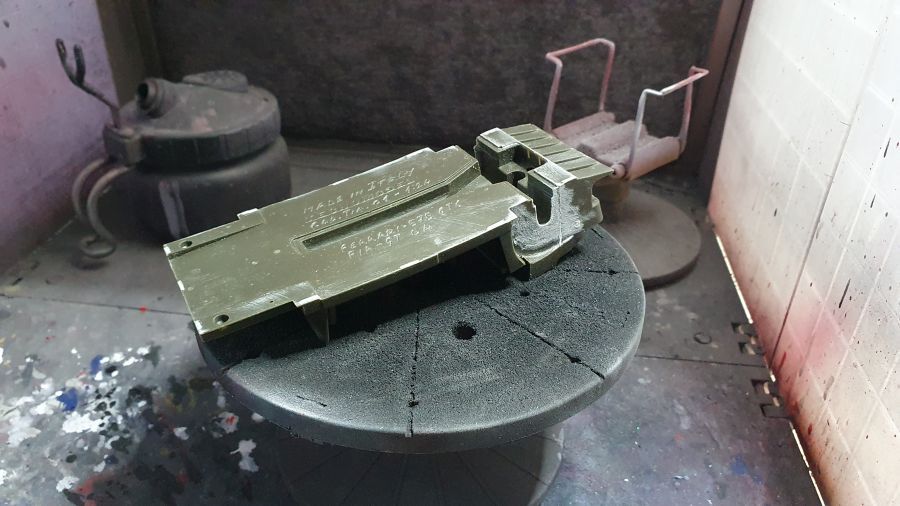
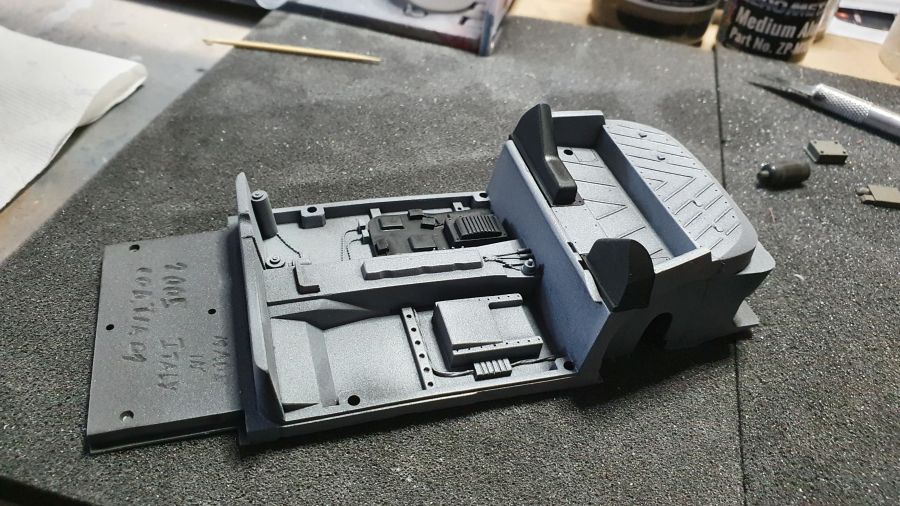
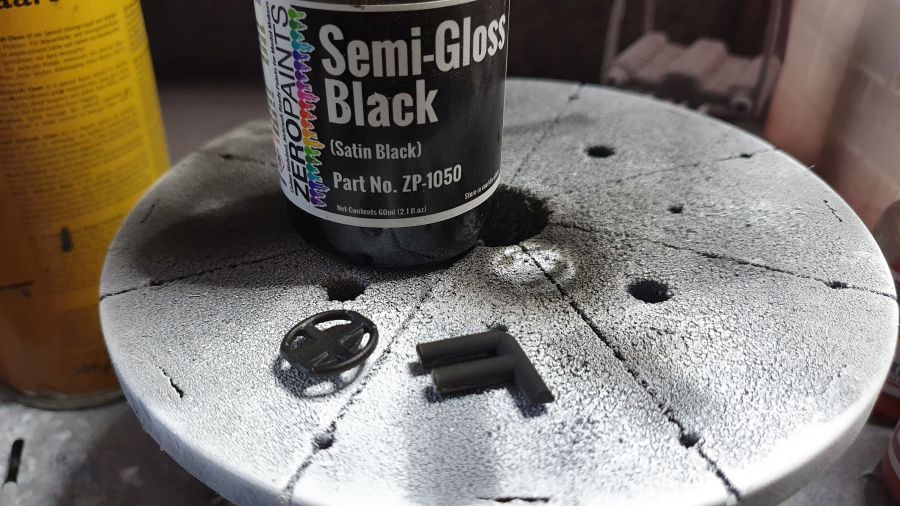
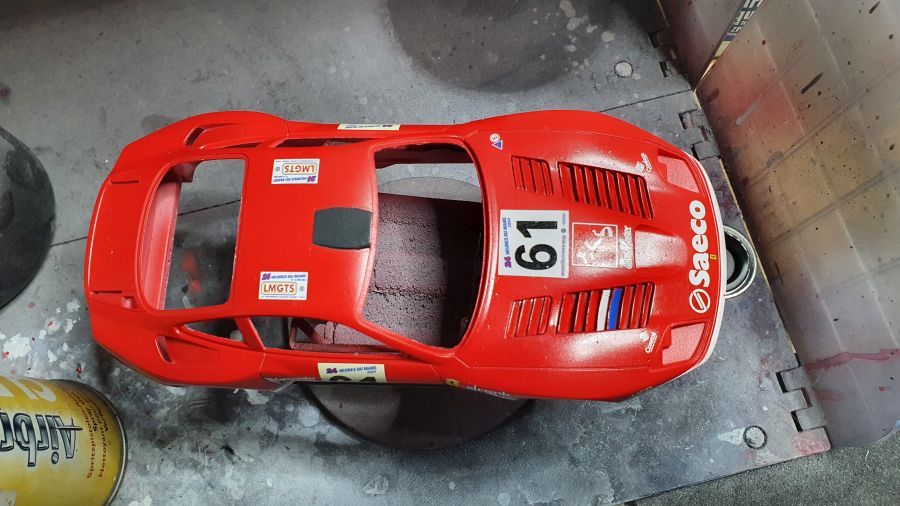
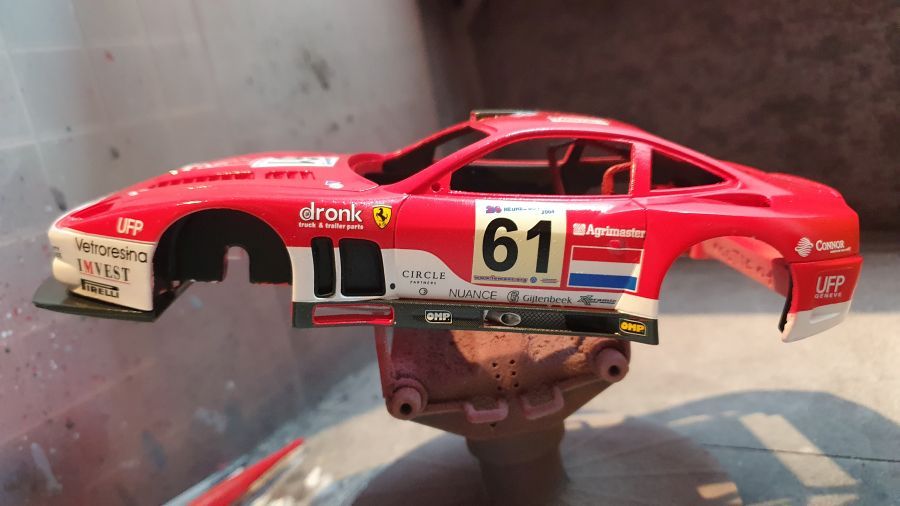
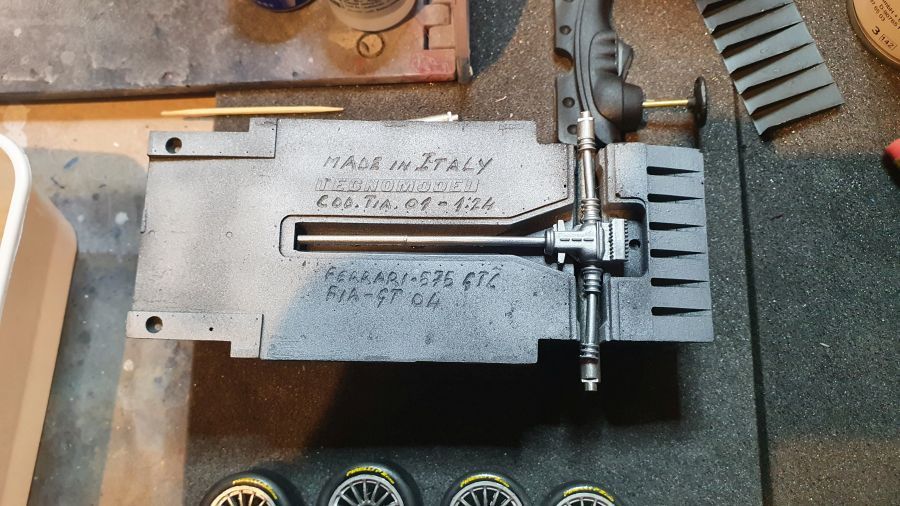
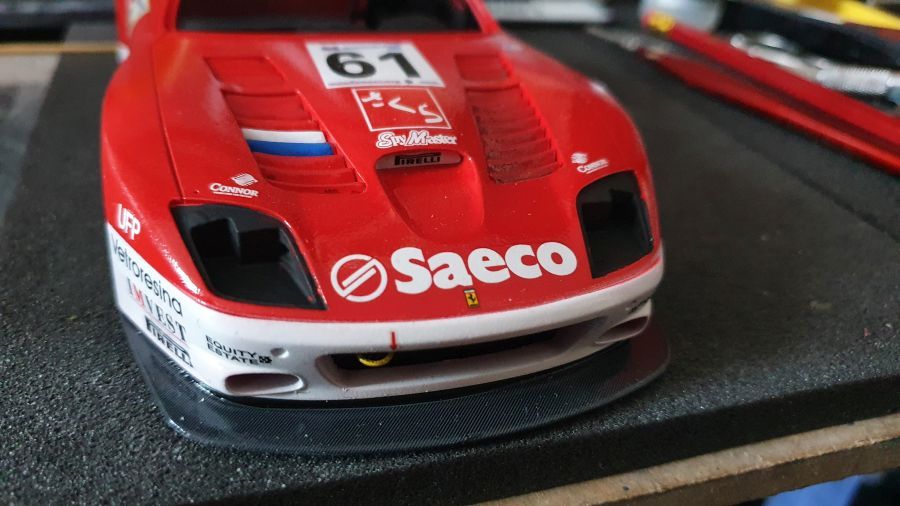
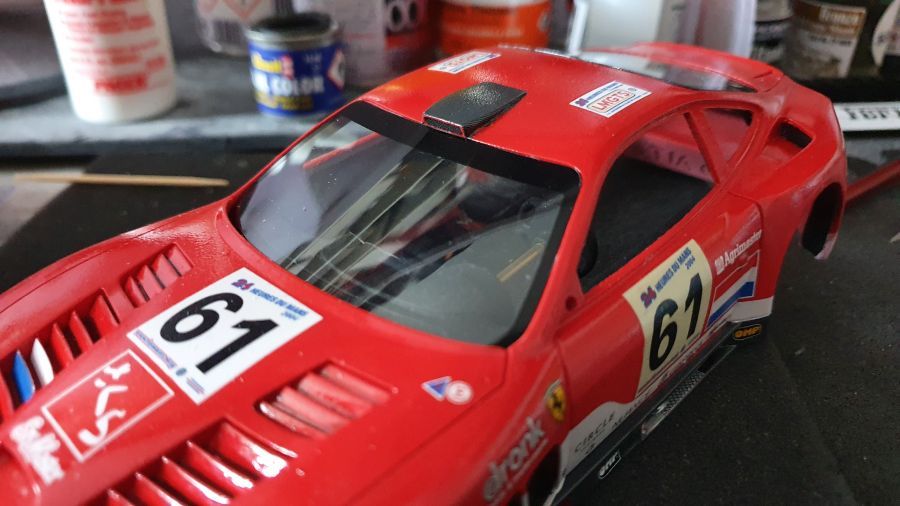
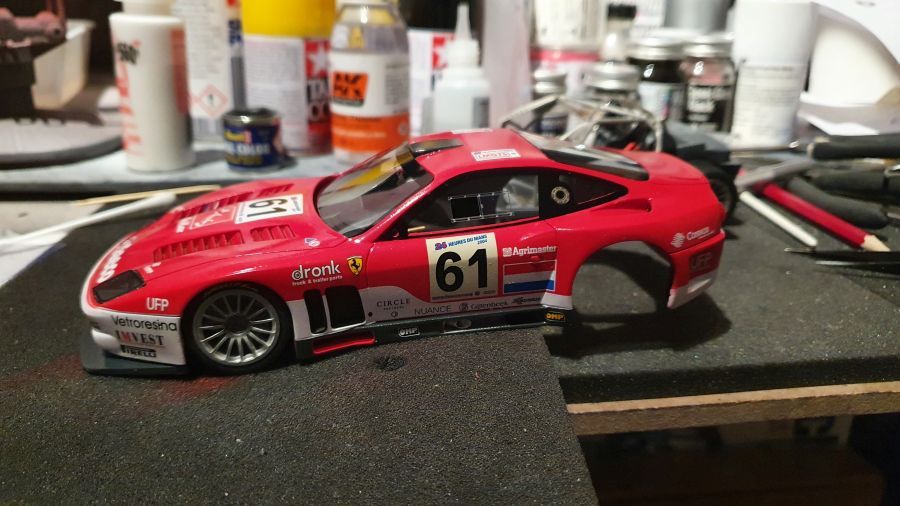
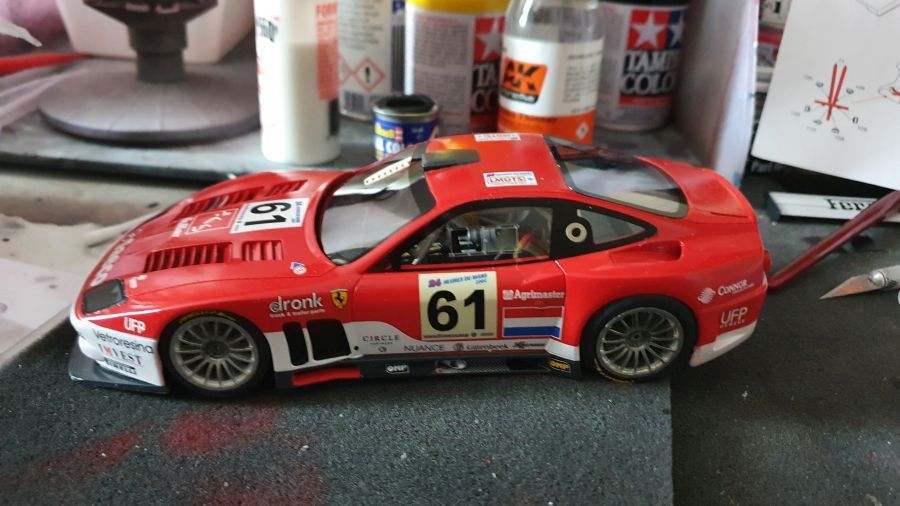
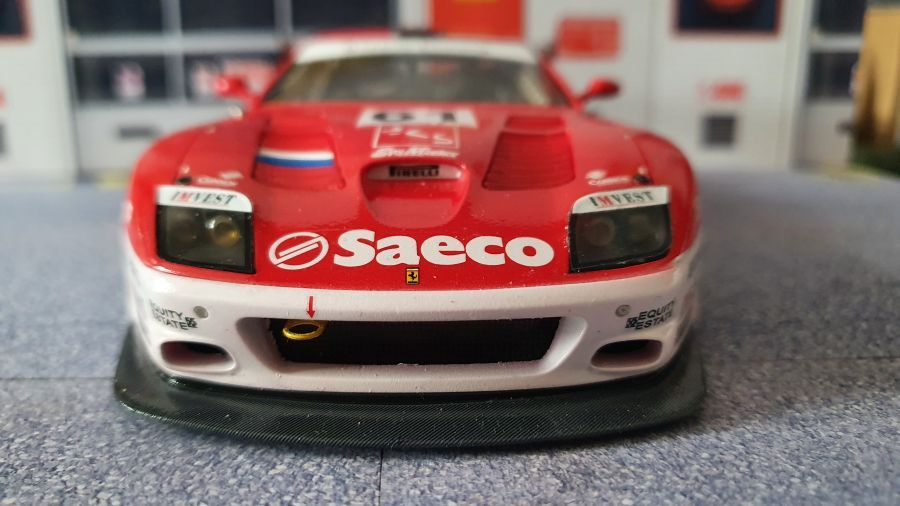
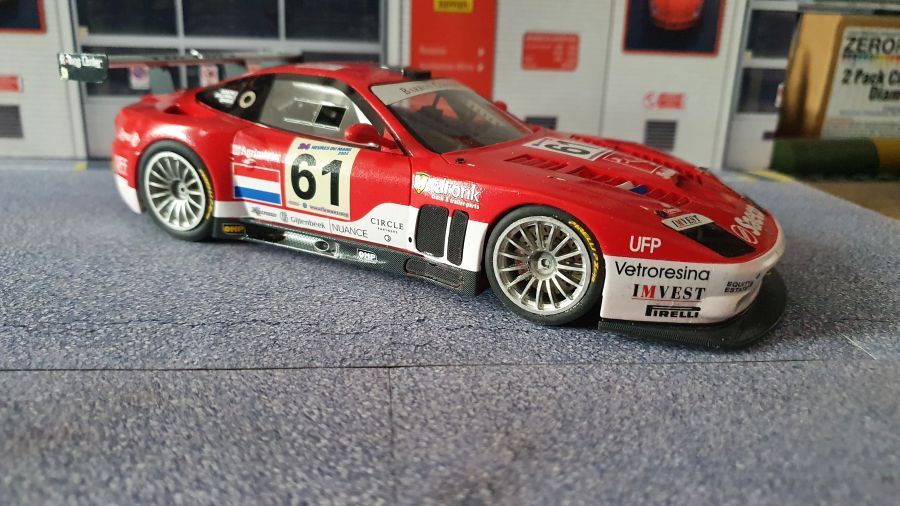
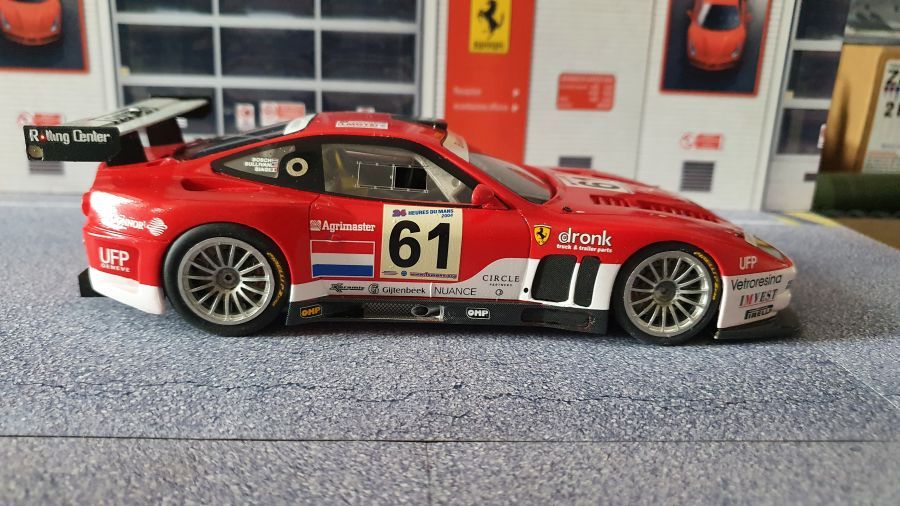
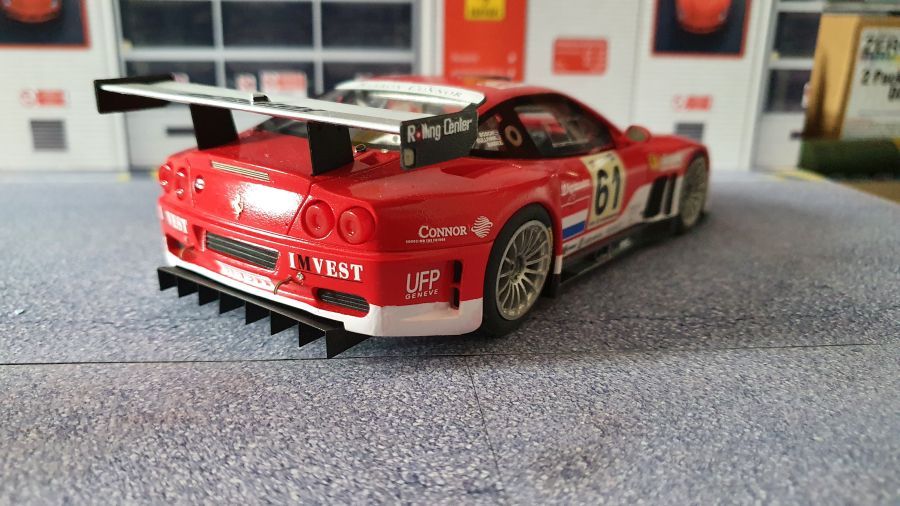
In mijn ogen een erg aantrekkelijk model. Ik wil ook nog een Ferrari 550 bouwen, maar kan er nog geen vinden voor een redelijke prijs. Nu eerst een 1/24 Ferrari 575 GTC die werd gebruikt bij de 24 Uur van Le Mans in 2004. Ik kies voor de nummer 61 auto, omdat daar o.a. een Nederlander in reed. Het is een auto van het Barron Conner Racing / Saeco team. Eerst weer de inhoud van de kit. Het is een kit van Tecnomodel (TIK 01B) welke ik dus iets ga wijzigen met de andere decals. Dit is een 2e hands kit. Sommige onderdelen zijn beschadigd. Natuurlijk heeft de verkoper dat niet aangegeven. Een klein voorbeeld. Op 1 paneel mist de knop, op het andere is het terug gelijmd. En zo kom ik er veel tegen in het middenconsole enz. Dan gebroken assen.
To my eyes a very attractive model. I also would like to build a Ferrari 550, but i can't find one for a reasonable price. So now the 1/24 Ferrari 575 GTC as used at the 24 Hrs of Le Mans in 2004. I chose the number 61 car as a Dutch man was among the drivers. It's the Barron Conner Racing / Saeco team car. First of all the content of the kit. It's a kit from Tecnomodel (TIK 01B) which i will change a bit with the other decals. This is a 2nd hand kit. Some parts are damaged. Of course the seller did not mention this on the sale. A small example. On 1 panel the knob is missing, on the other one it has been glued back. And i came across a lot of this at the middle console etc. And broken axle.
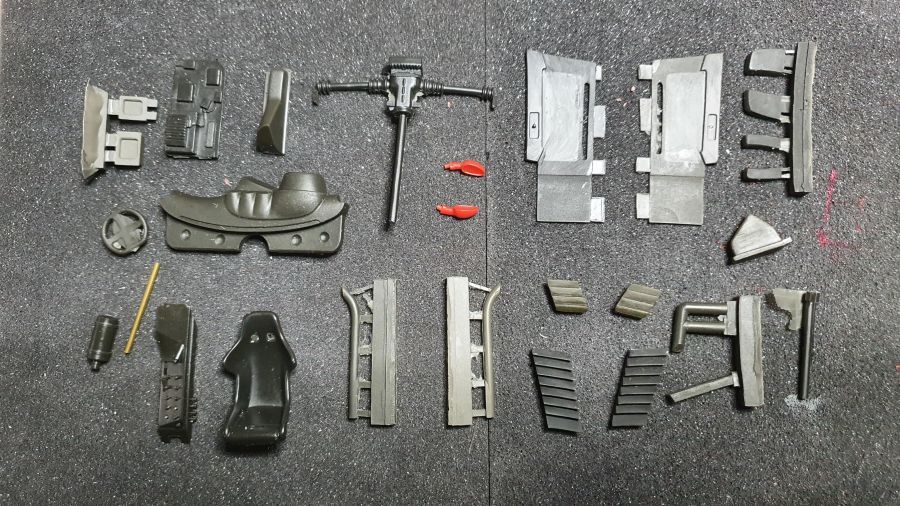
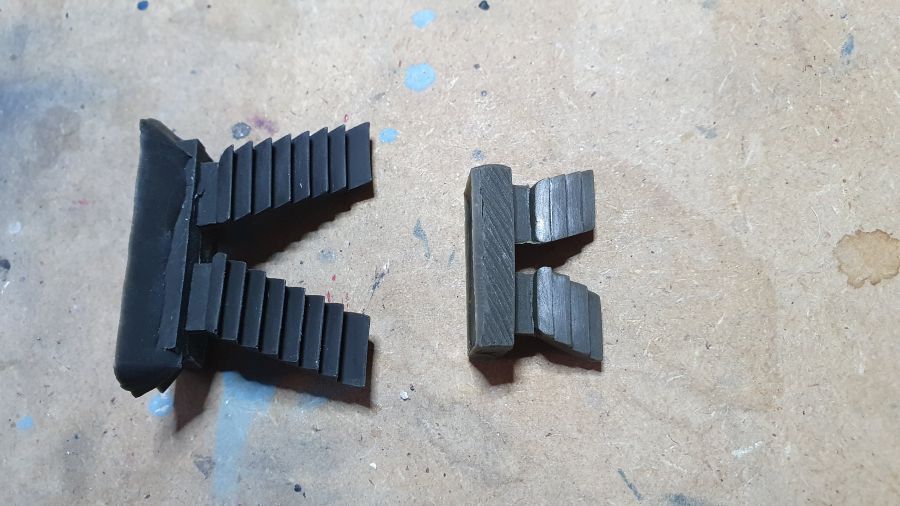
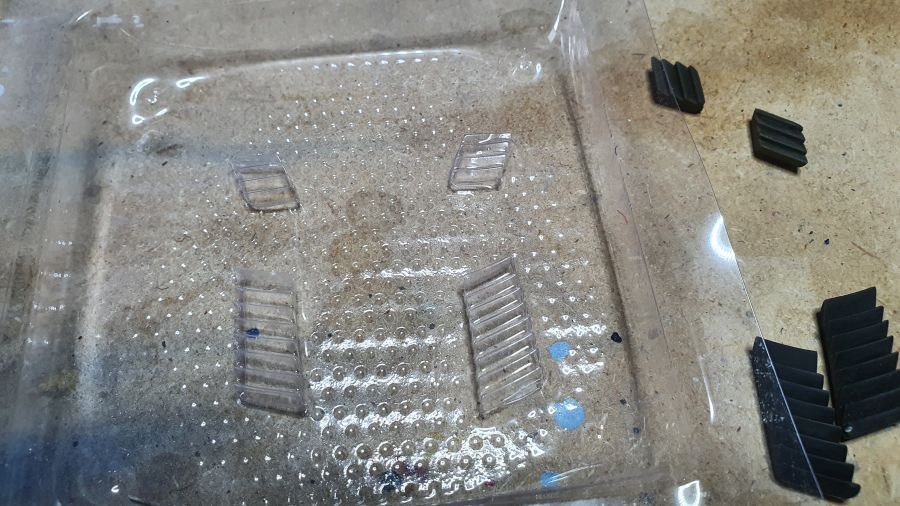
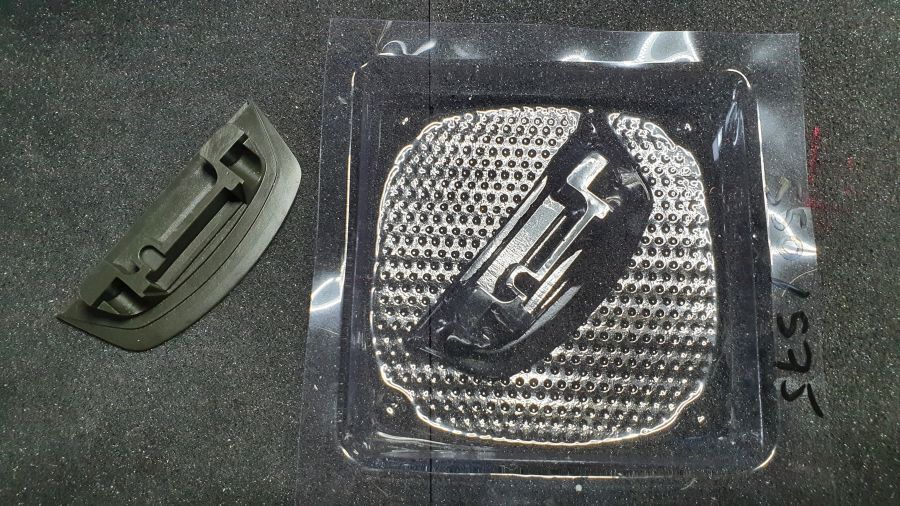
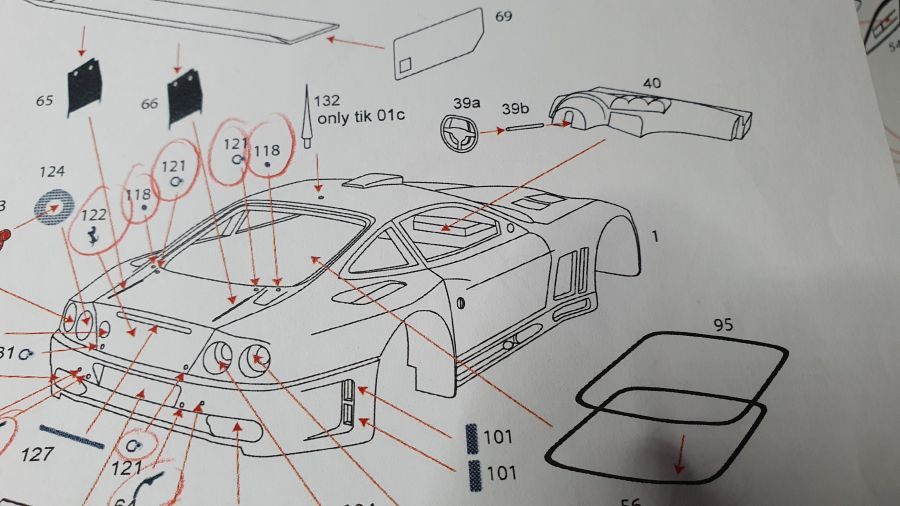
Eerst ga ik van deze onderdelen een kopie maken met mijn vacuum machine. Dit kan ik mogelijk gebruiken voor de nog te bouwen Ferrari 550. Als ik zo'n kit niet kan vinden, ga ik mogelijk een Fujimi kit ombouwen. De Fujimi kits hebben helaas geen motorkap met de benodigde roosters. Dit kan dan goed van pas komen. Misschien kan ik dat dan bijvoorbeeld gebruiken als mal voor resin. Maar dat is van latere zorg.
First of all i will make a copy of these parts with my vacuum machine. I could possibly use them for my Ferrari 550 to build. If i can't find that kit, i might convert a Fujimi kit. The Fujimi kits have no front hood with vents. This might be useful. Maybe i can use it as a mold for resin. But that will come later.
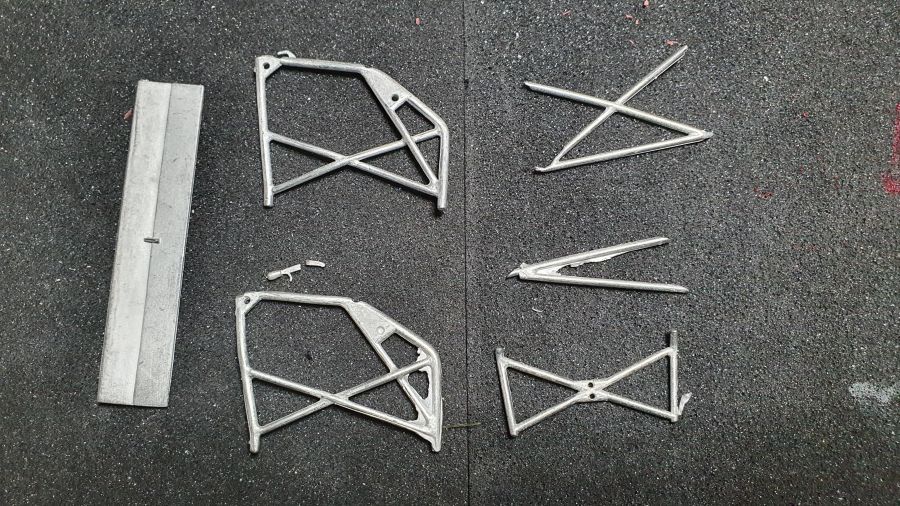
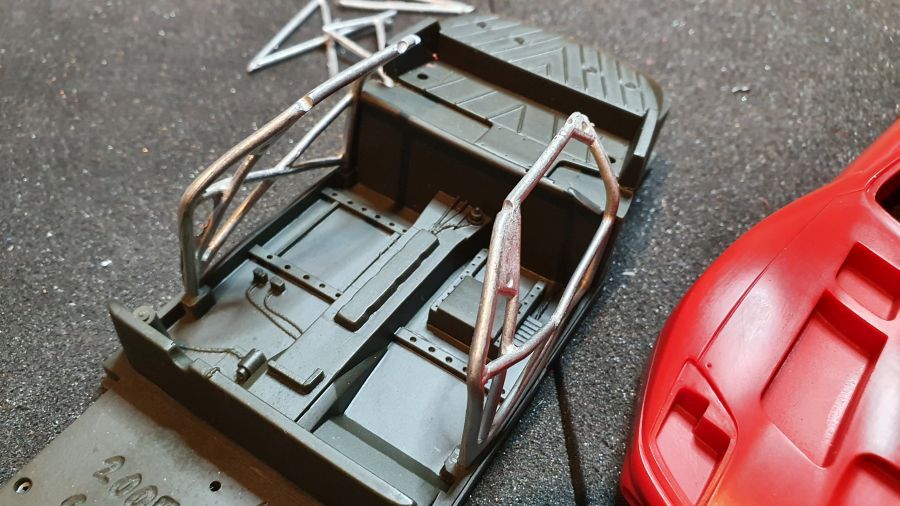
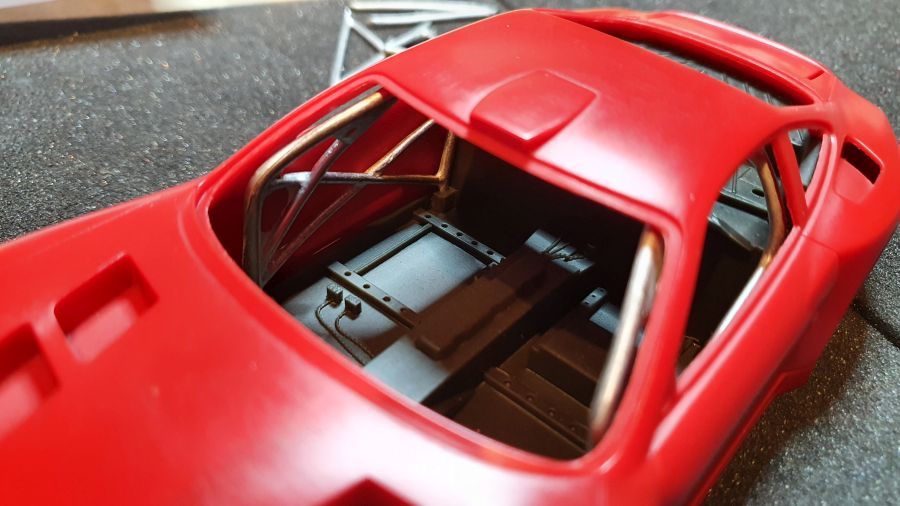
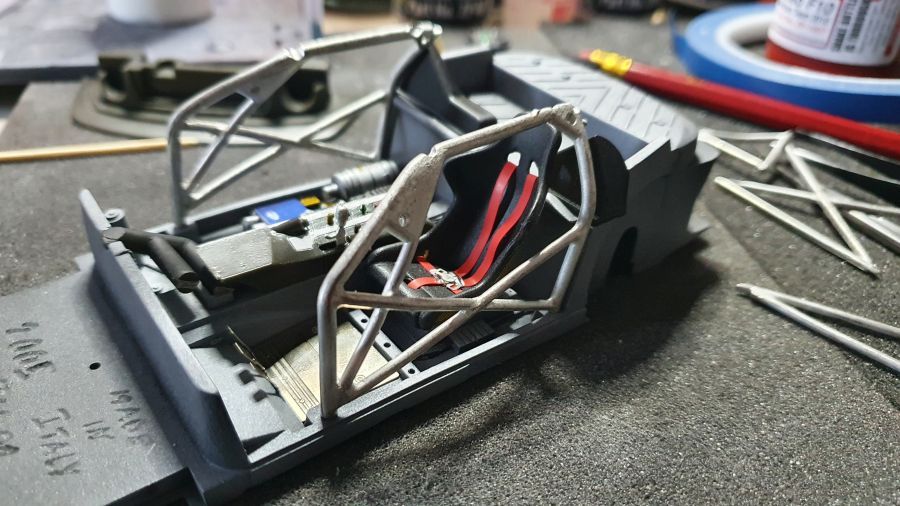
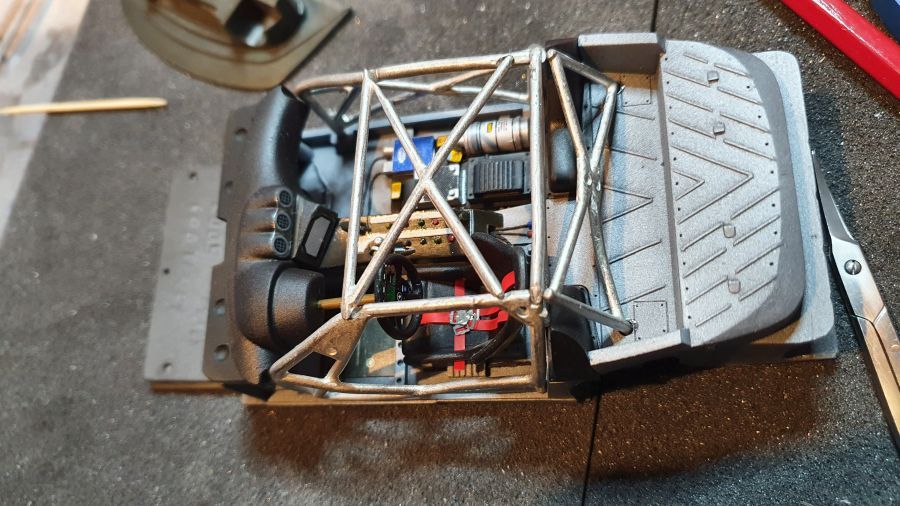
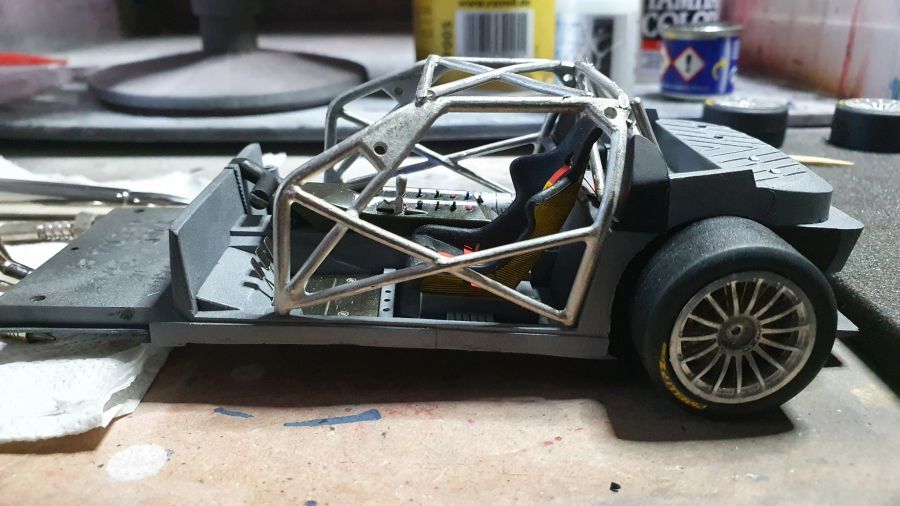
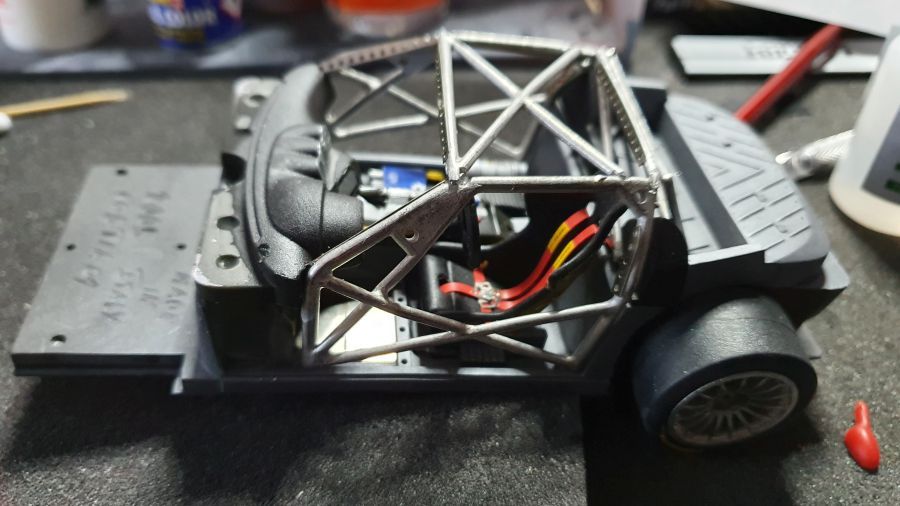
Dan eerst de kooi passend maken.
First of all making the cage fit.
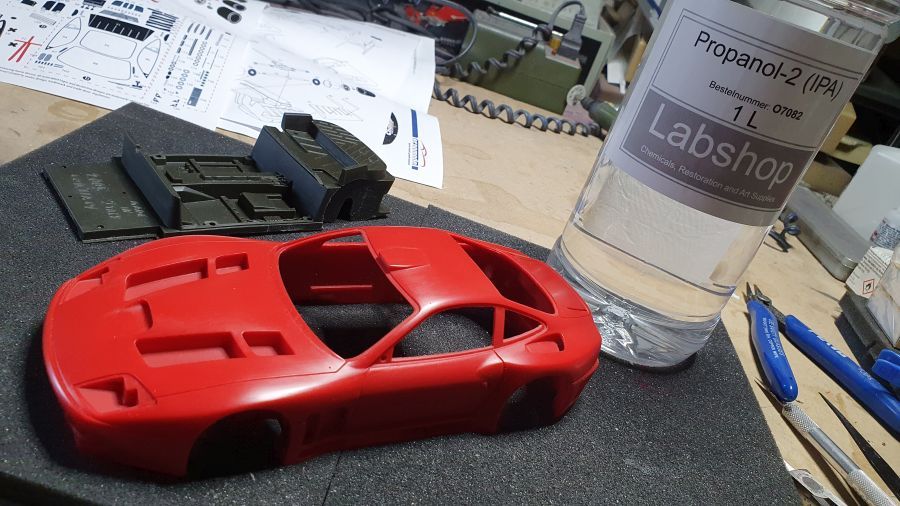
Het resin ontvetten met Propanol-2.
Degrease the resin with Propanol-2.
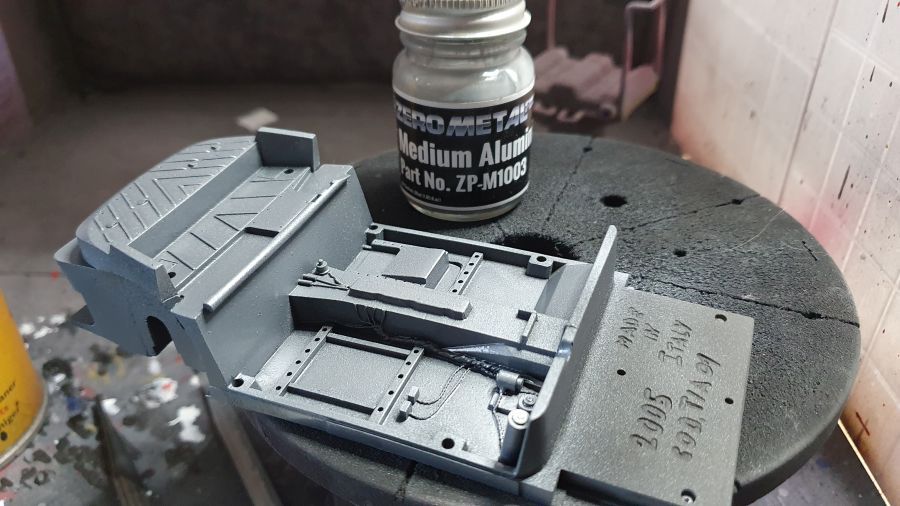
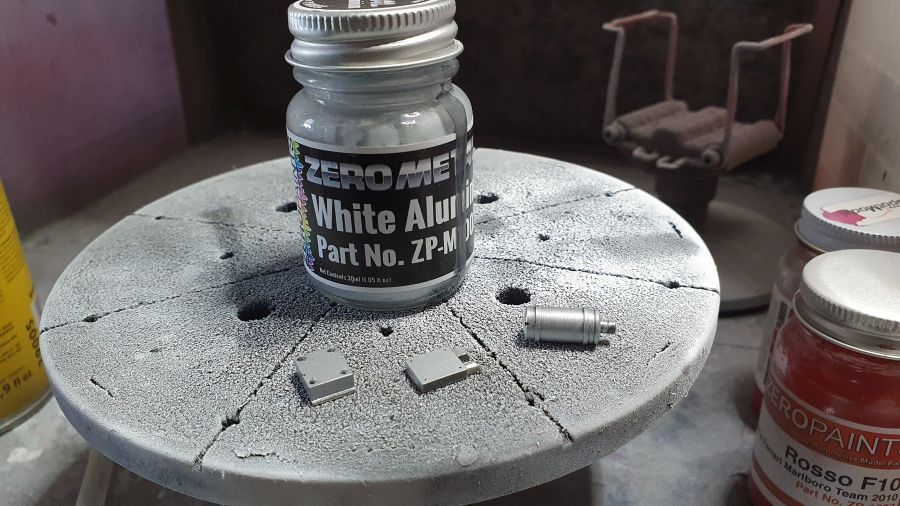
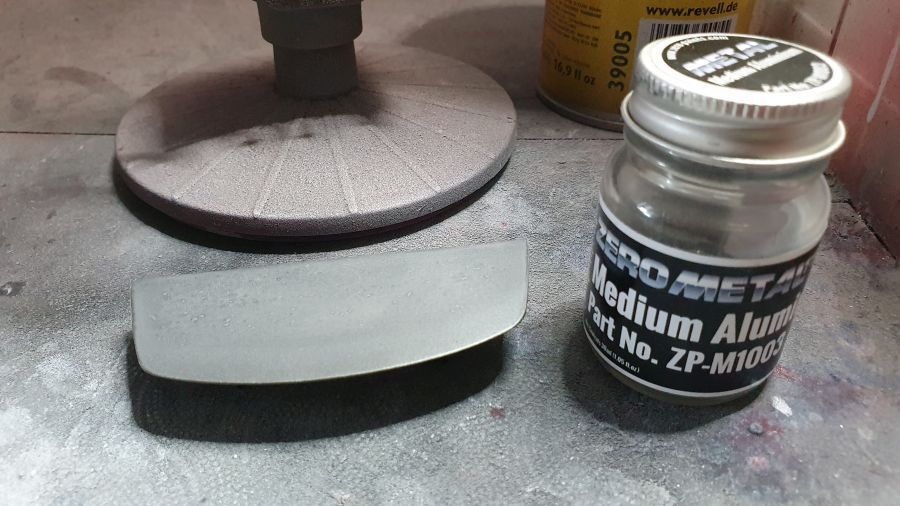
Ik moet dit allemaal goed plannen, want ik kan v.w.b. de kleuren niet de instructies volgen. De vloer krijgt zwarte primer en een aluminium kleur.
I need to plan this, as i can't follow the color on the instructions. The floor receives black primer and an aluminium color.
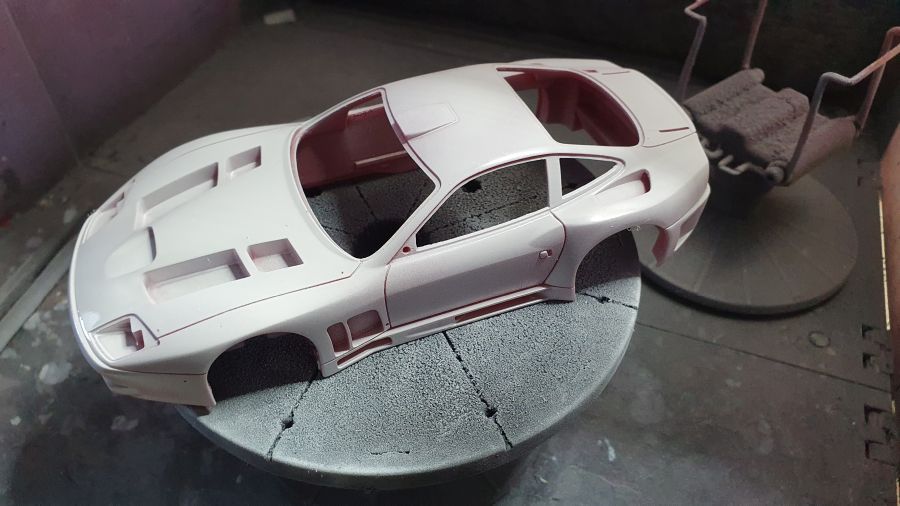
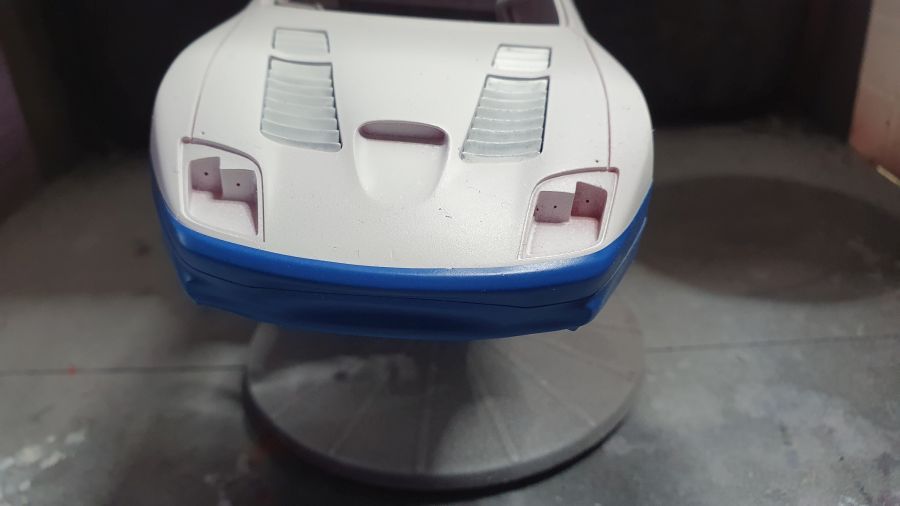
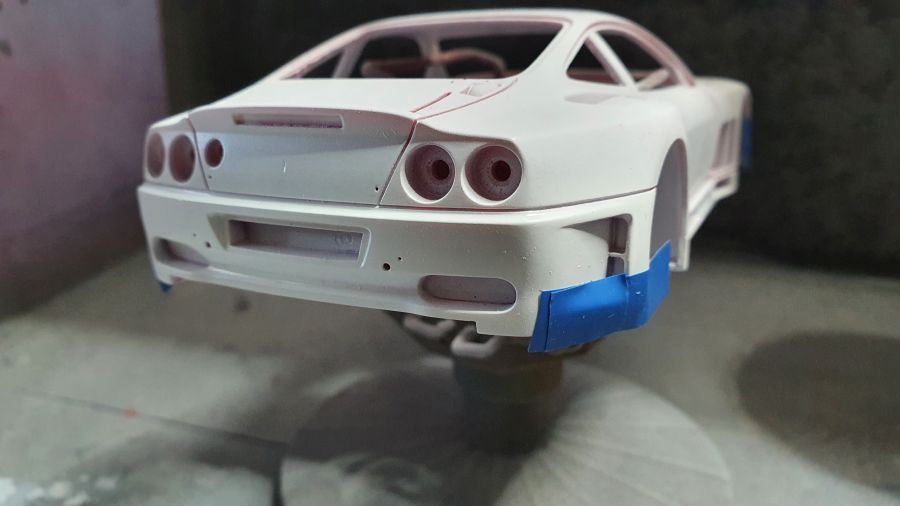
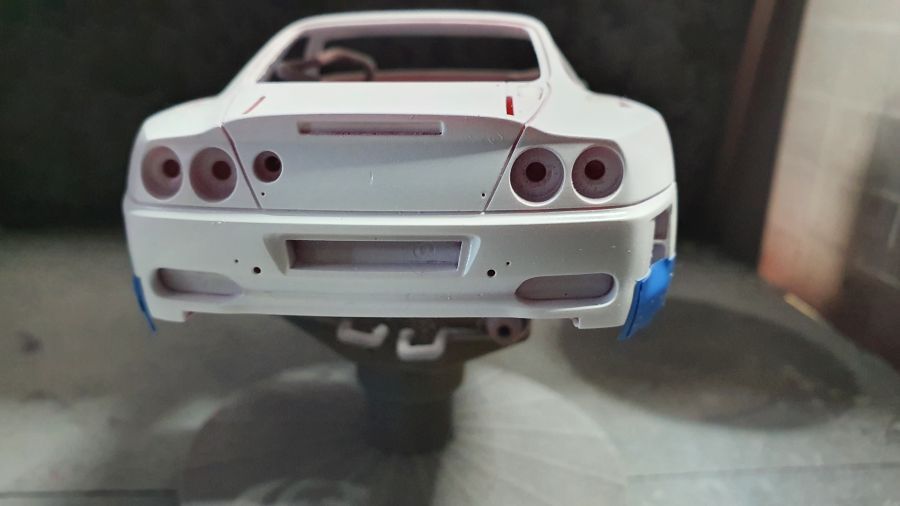
De body krijgt eerst witte primer.
The body gets white primer.
Terwijl het wit droogt, ga ik verder met de vloer.
While the white sets, i will continue with the floor.
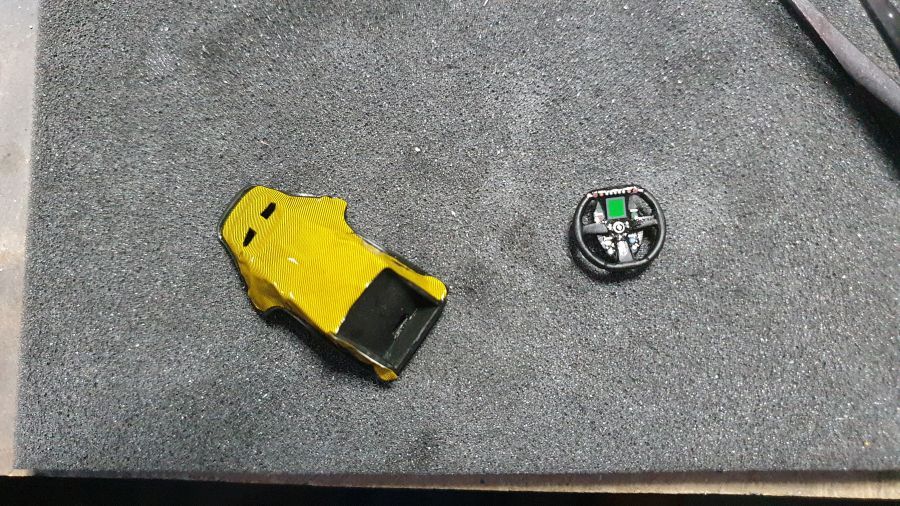
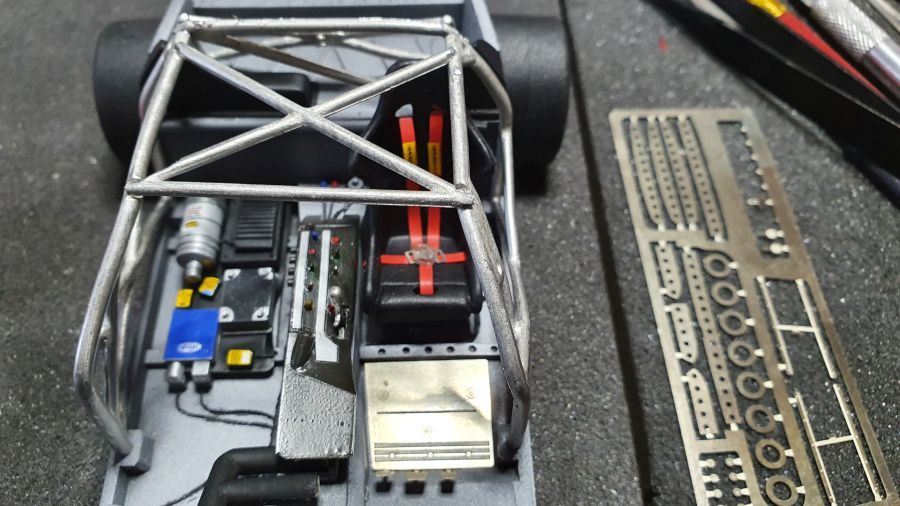
De stoel krijgt zijn carbon decal.
The seat receives it's carbon decal.
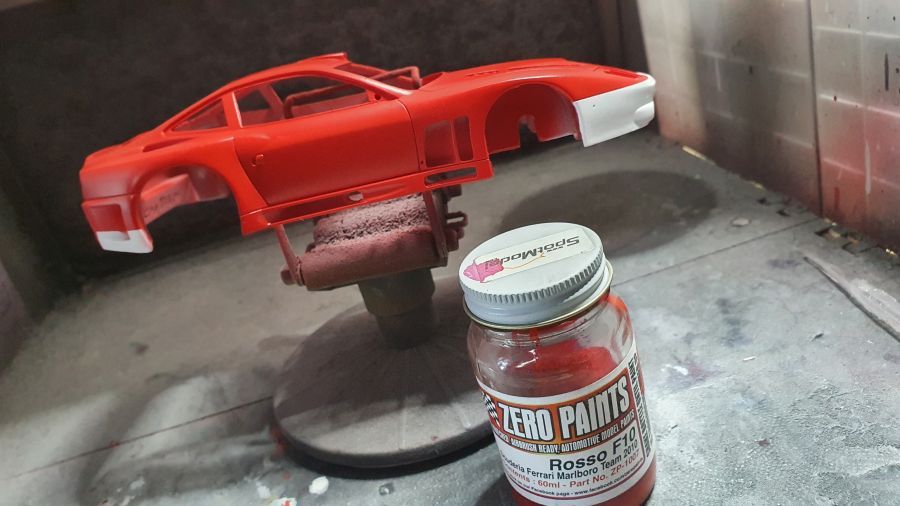
Het wit wordt afgeplakt.
The white is being masked.
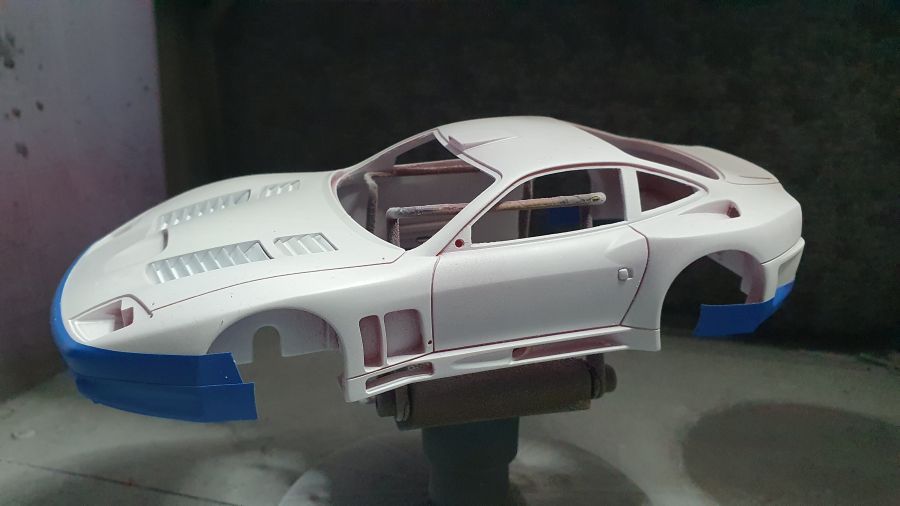
Dan gaat het rood erop.
Then it gets it's red.
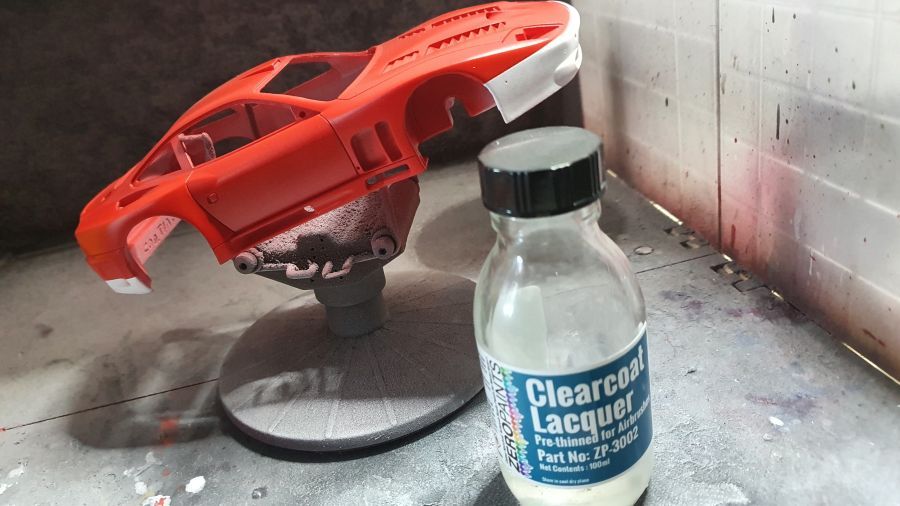
En een mist van heldere glanslak opdat de decals beter plakken.
And a mist of clear gloss so the decals adhere better.
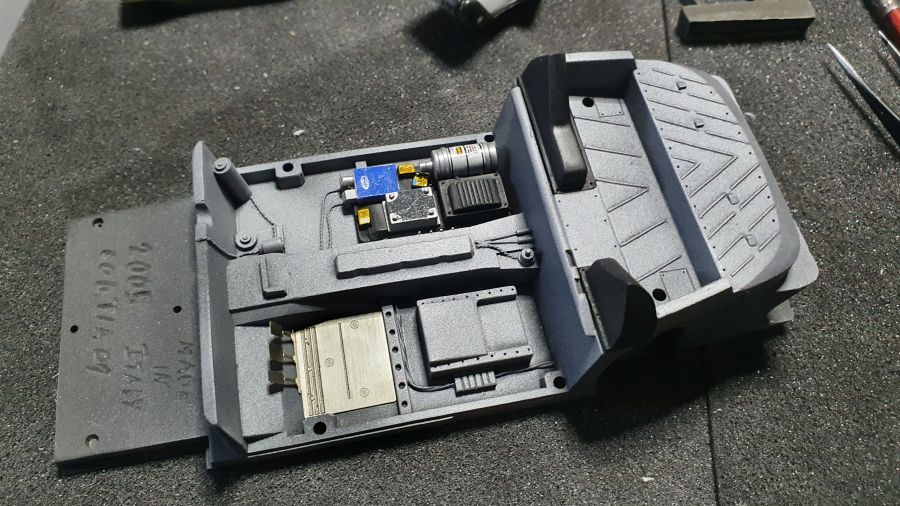
Terwijl dit droogt ga ik verder met de stoel, de vloer en het dashboard.
While this sets i will continue with the seat, the floor and the dashboard.
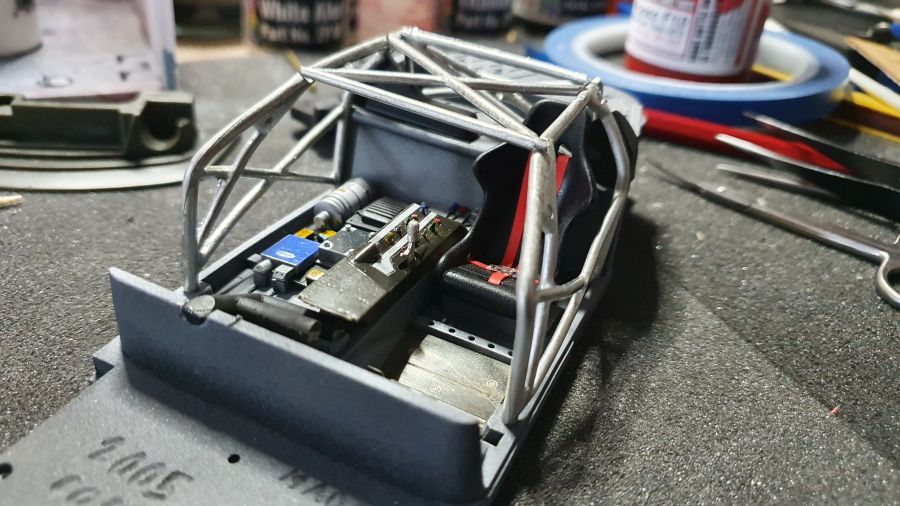
Dan volgt de kooi.
Next is the cage.

Dan het voorste deel van de vloer.
Then the front part of the floor.
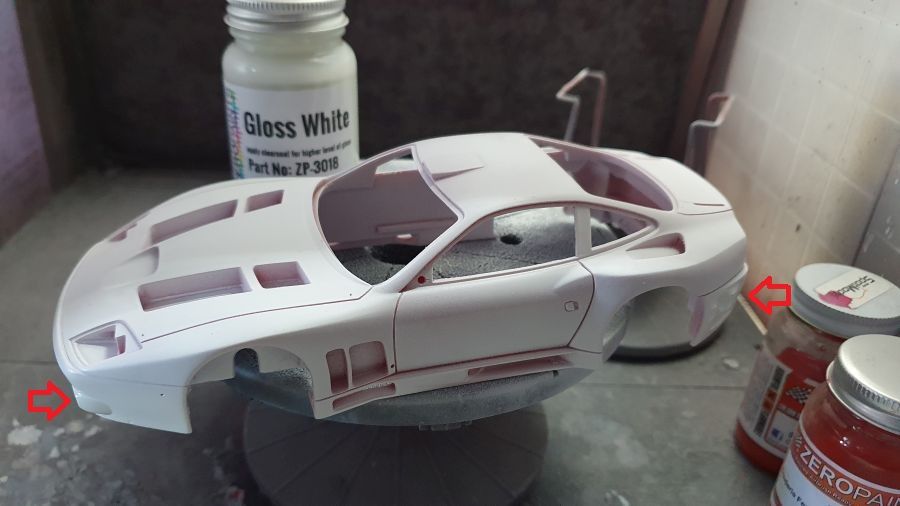
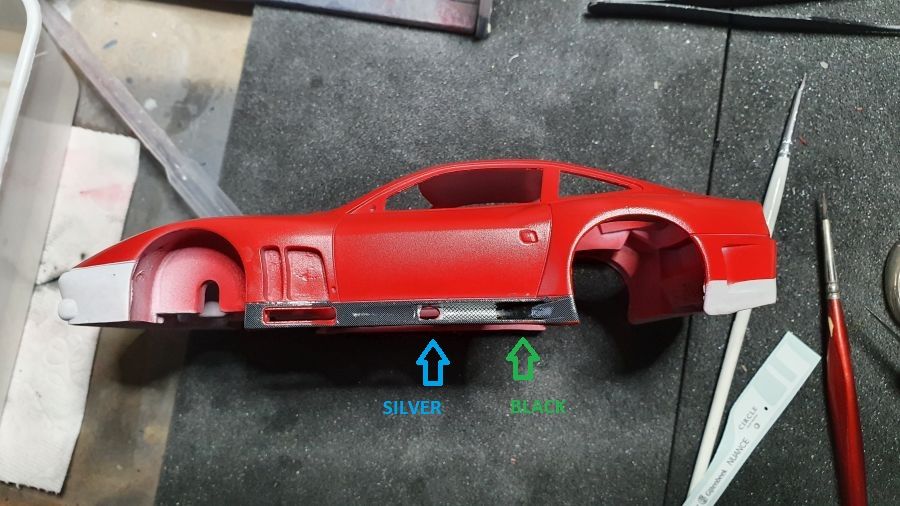
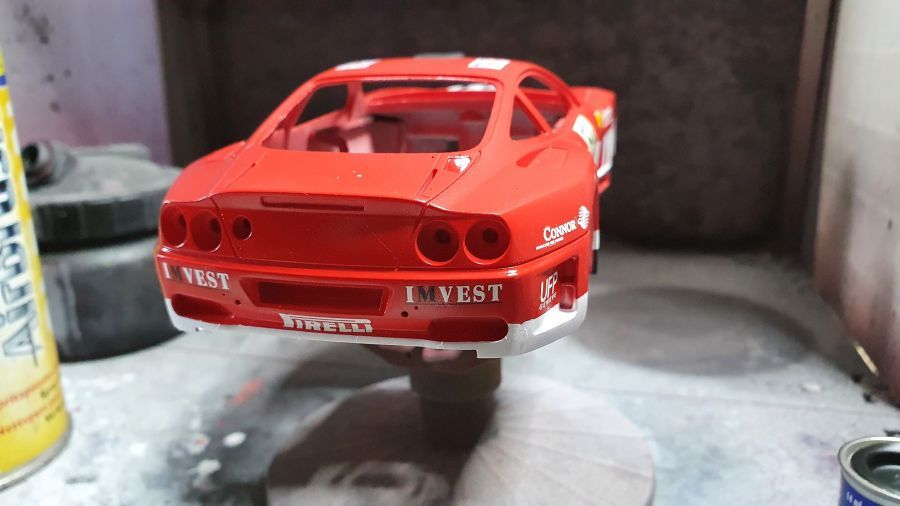
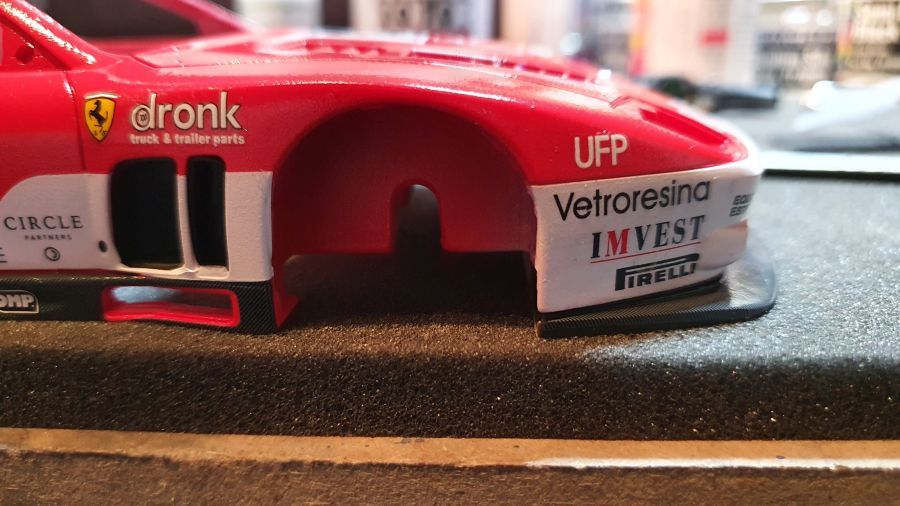
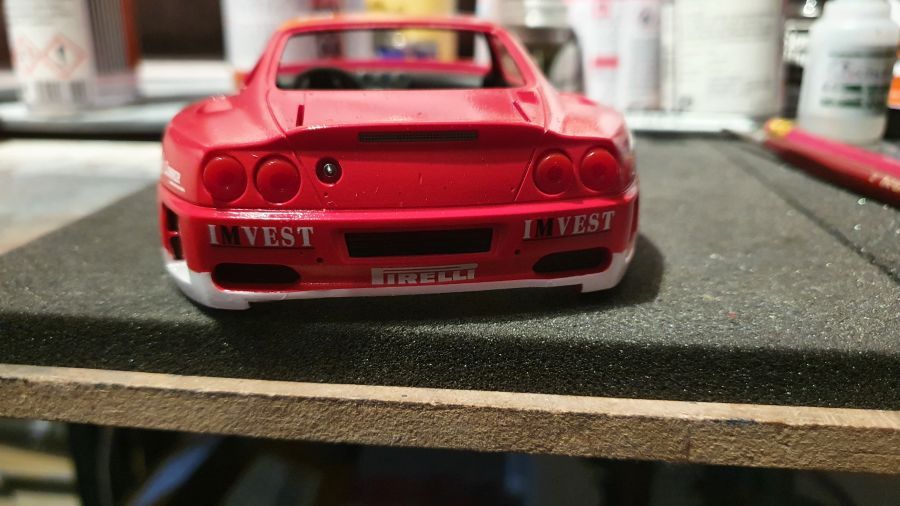
Terug naar de body. De onderkant is op 2 plekken aluminium en zwart geverfd. Zeer belangrijk, want de decals dekken niet alles af.
Back to the body. The down part has been painted aluminium and black at 2 spots. Very important, as the decals don't cover it fully.

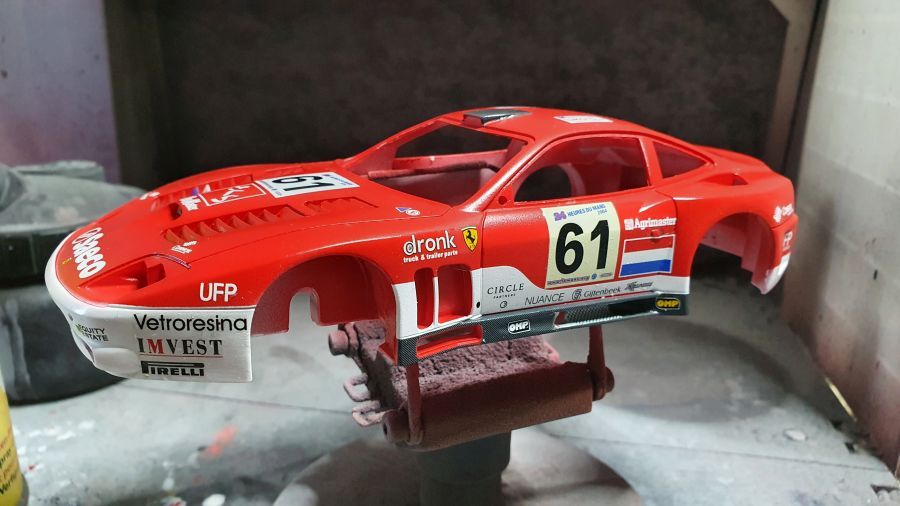
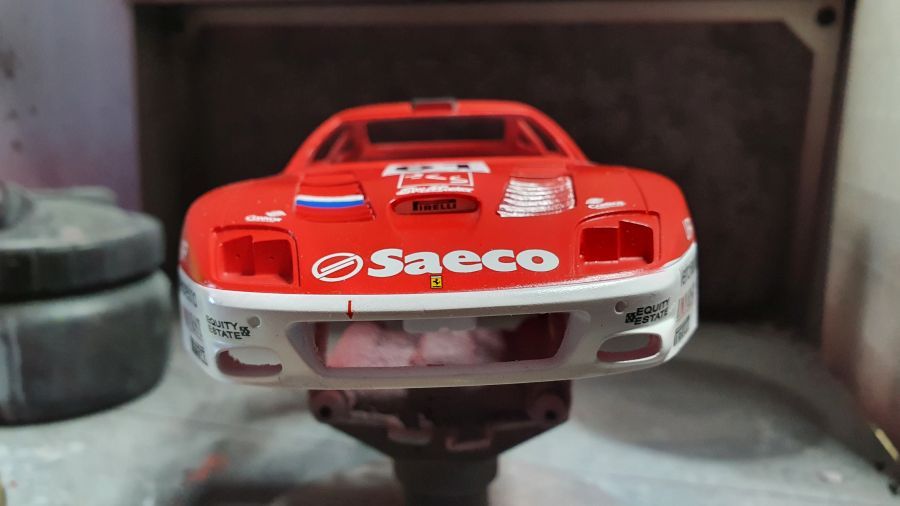
Dan alle resterende decals plaatsen. Dan goed laten drogen.
Then add all remaining decals. Let it set for some time.
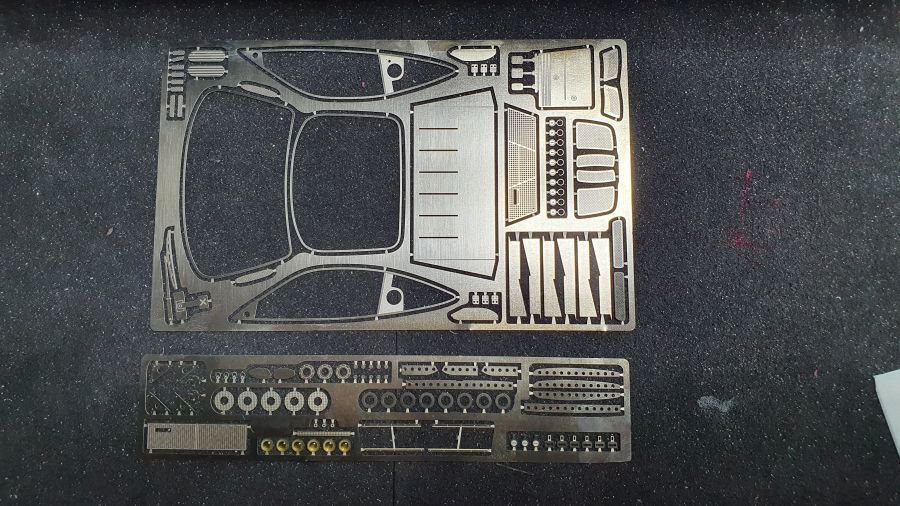
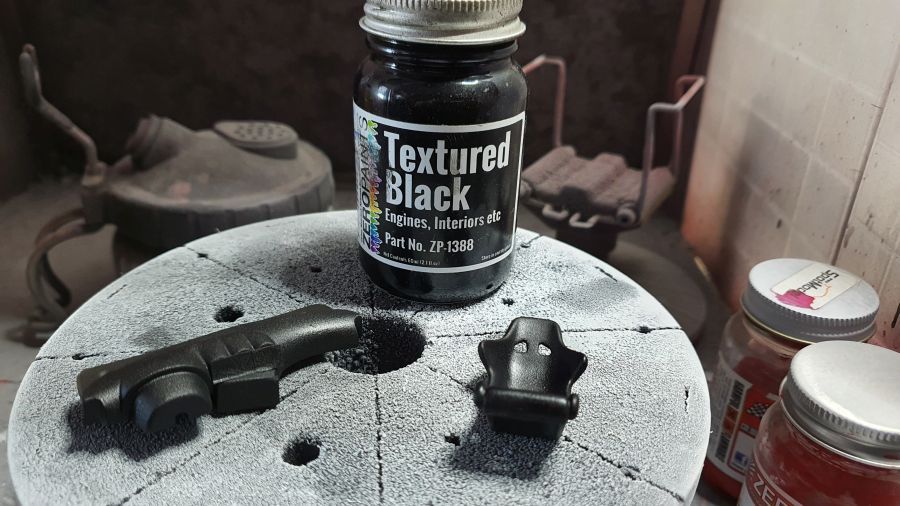
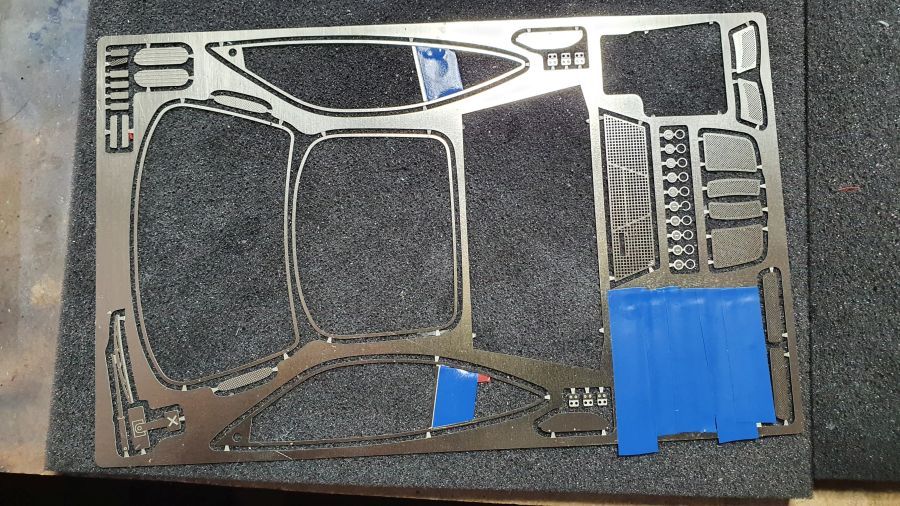
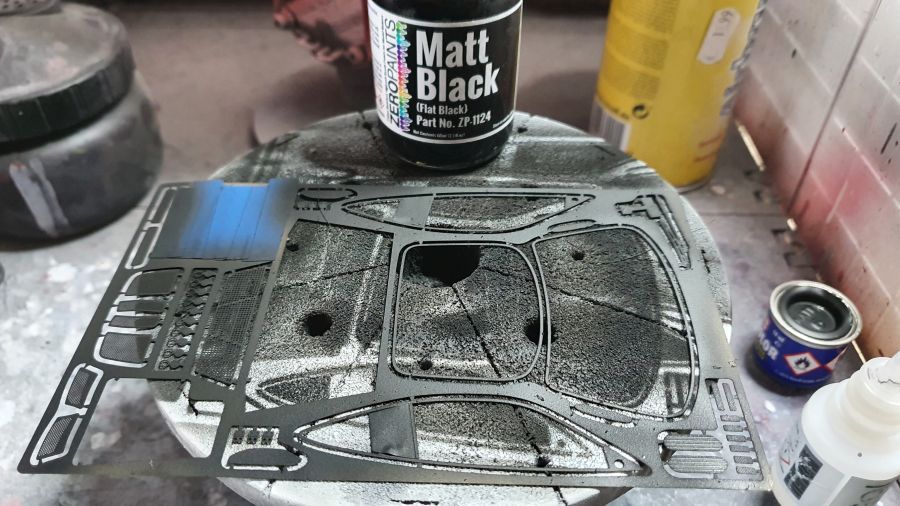
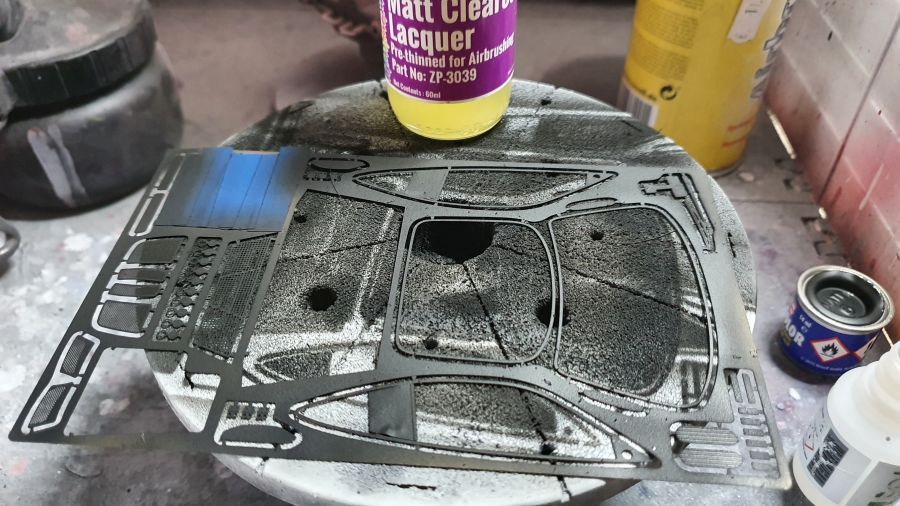
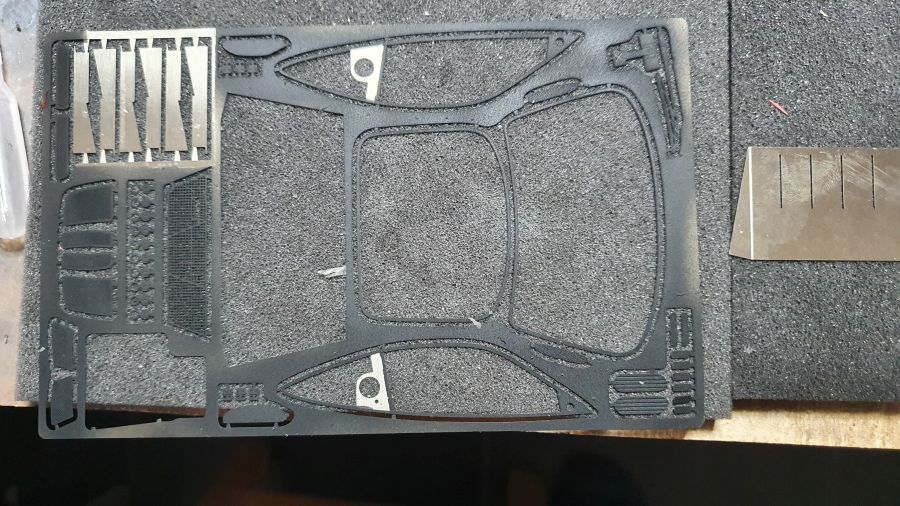
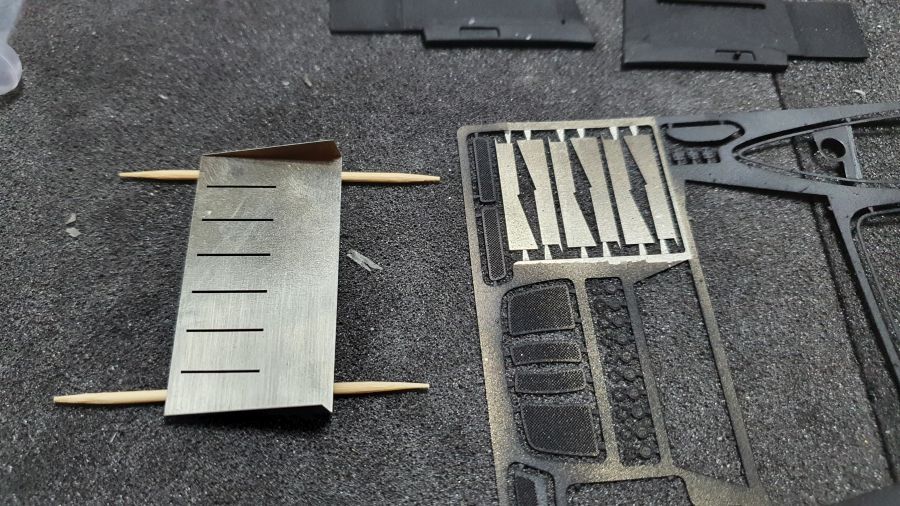
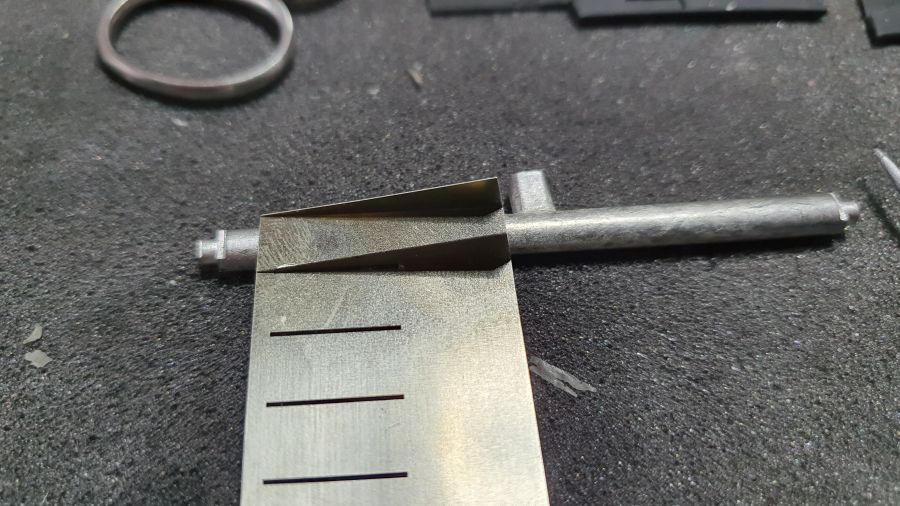
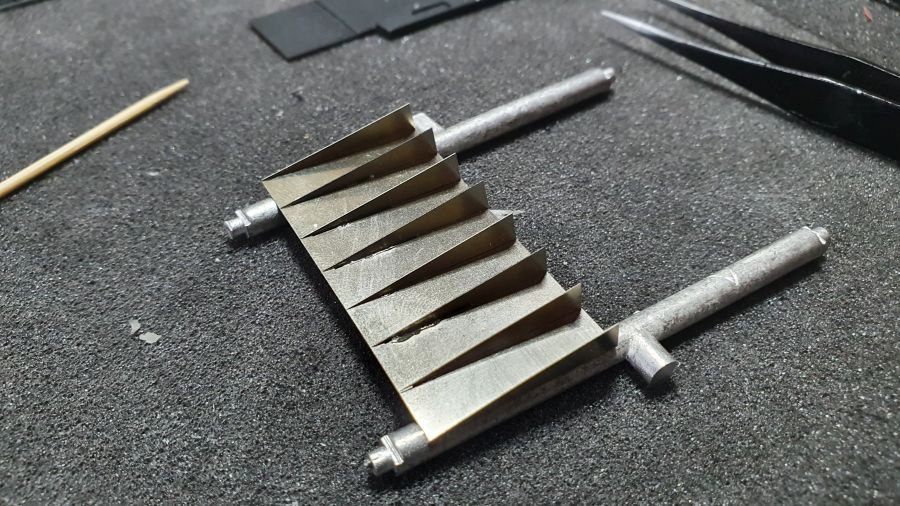
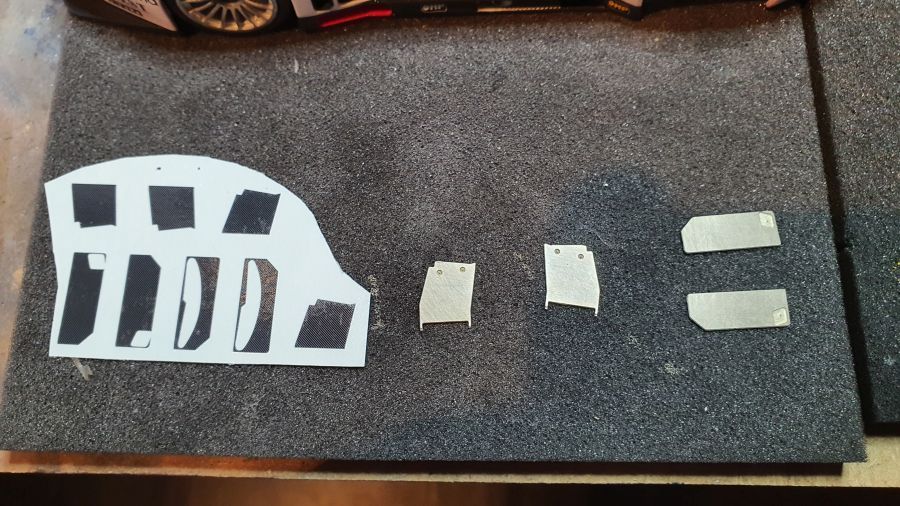
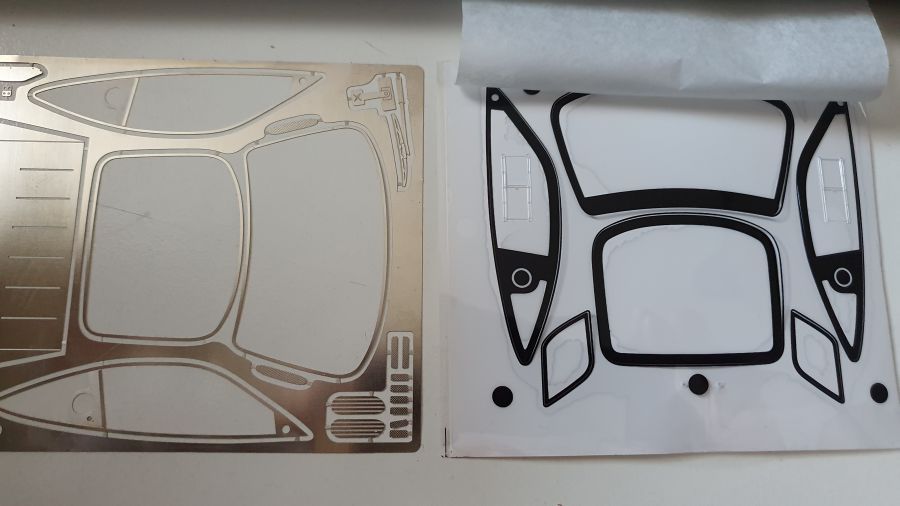
 De geëtste onderdelen worden deels gemaskeerd en zwart gespoten. Daarna mat lak.
The etched parts are being masked and painted black. Then matt lacquer.
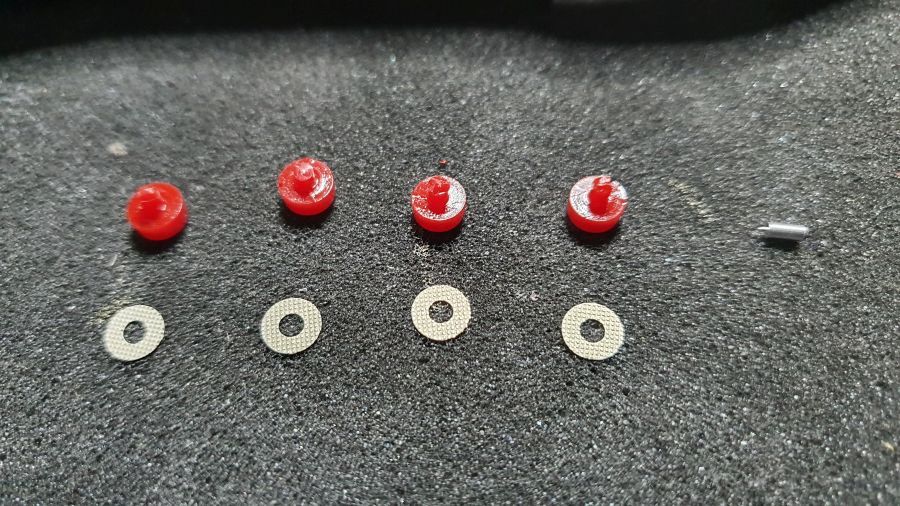
Koelers geplaatst.
 Coolers added.

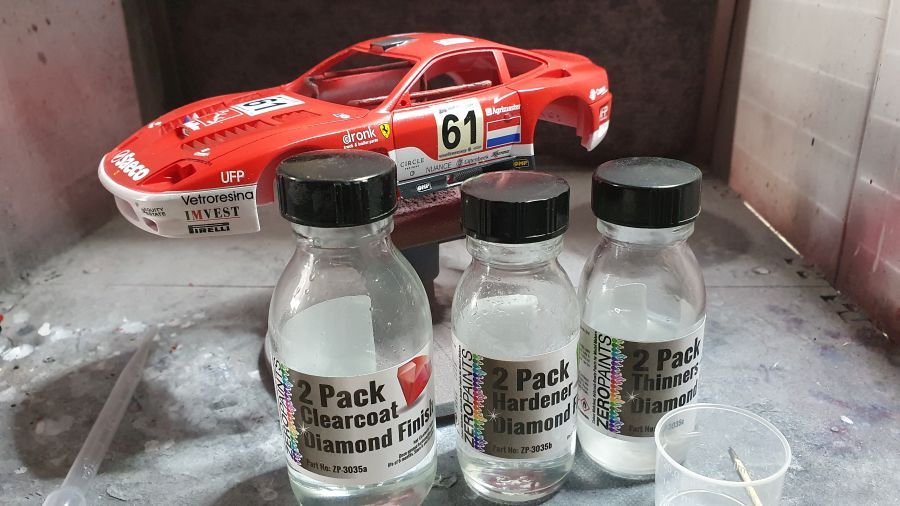
 Tijd voor de 2K lak.
Time for 2K clear.


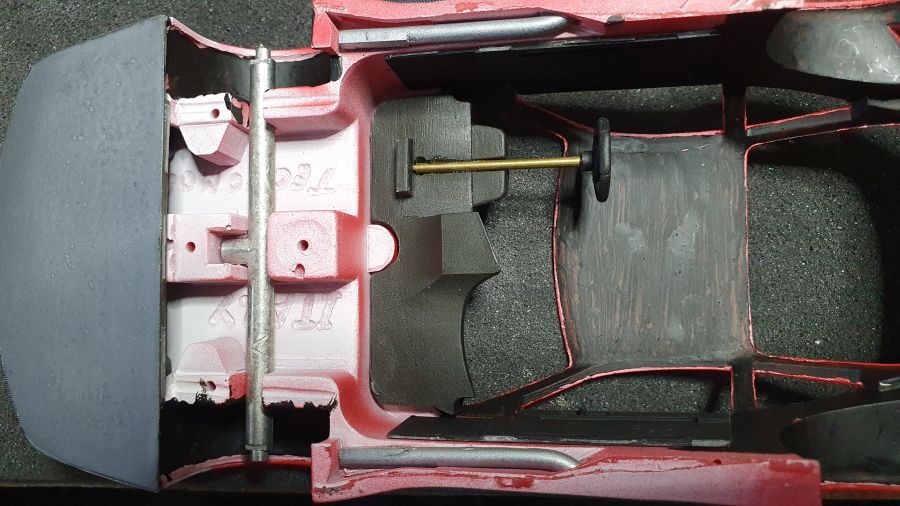
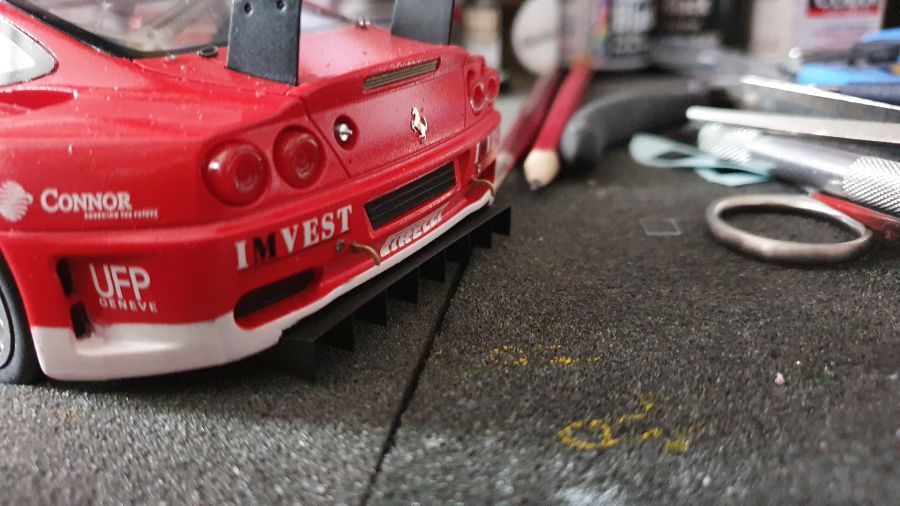
Dan de diffusor in elkaar zetten. Belangrijk is om hem niet direct te plaatsen. Anders krijg je de body niet meer op de vloer.
Next is assembling the diffusor. I's important not to add it straight away. Otherwise you will not be able to put the body to the floor.
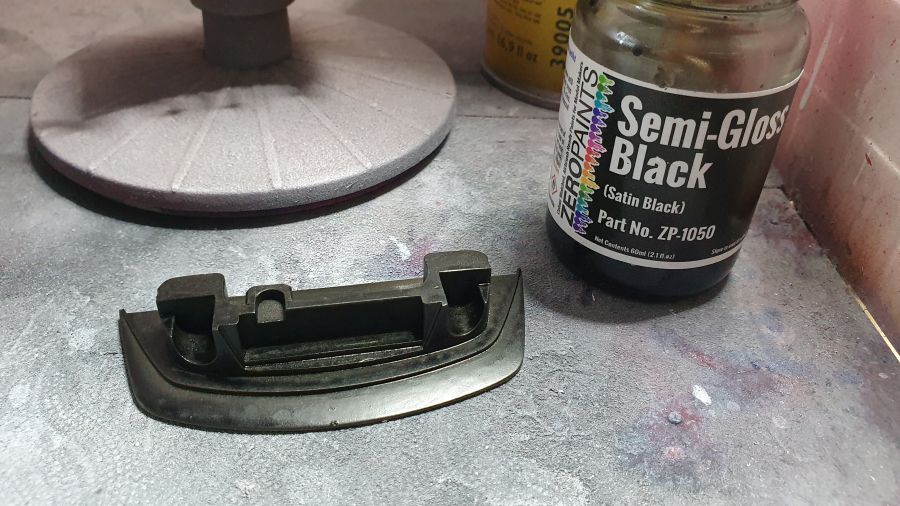
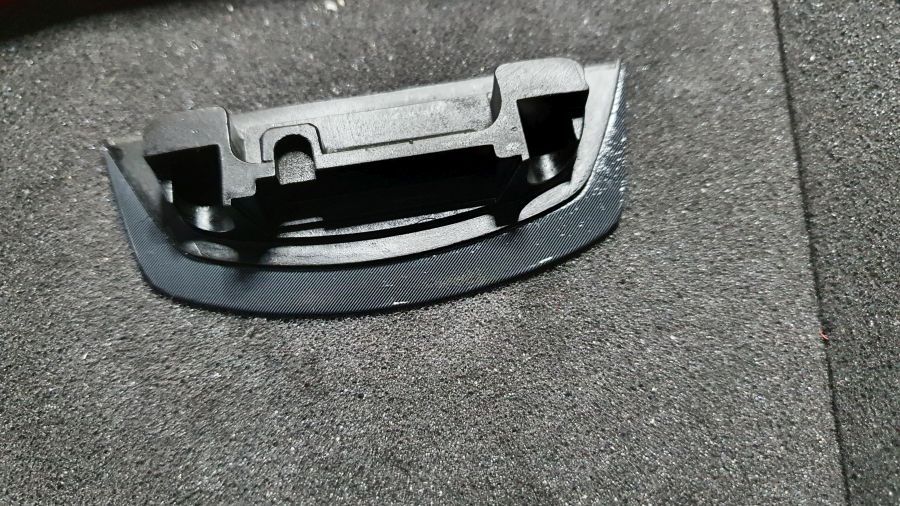
Wat onderdelen aan de body geplaatst.
Added some parts to the body.
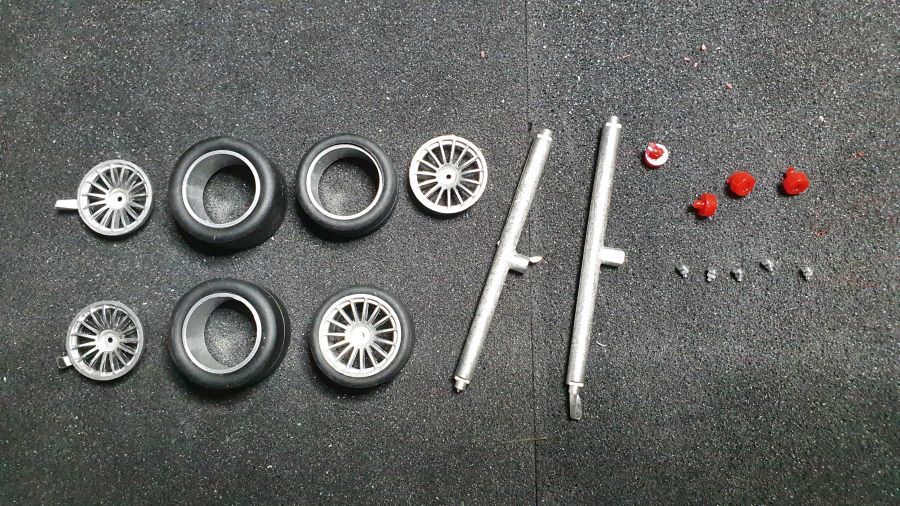
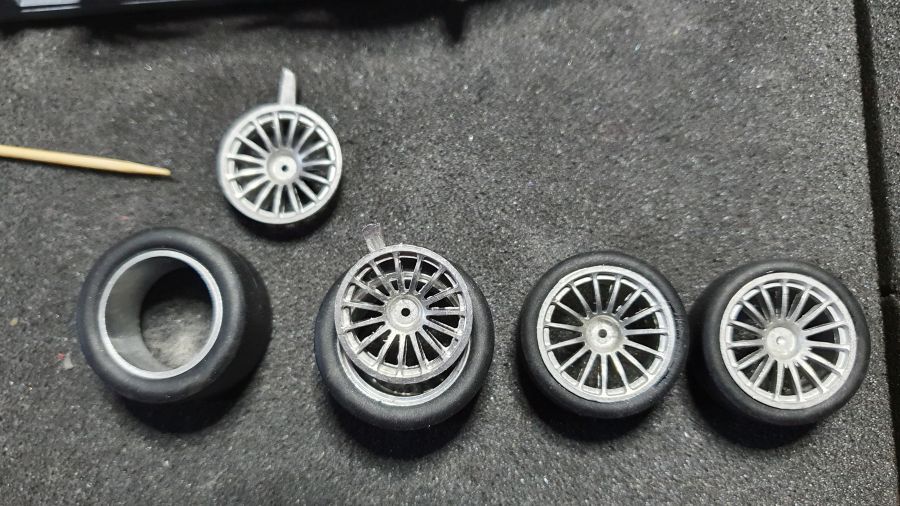
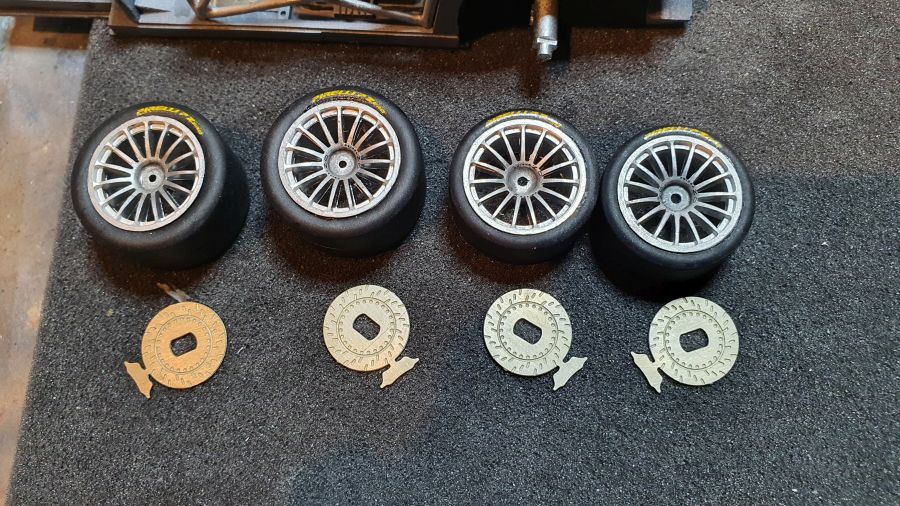
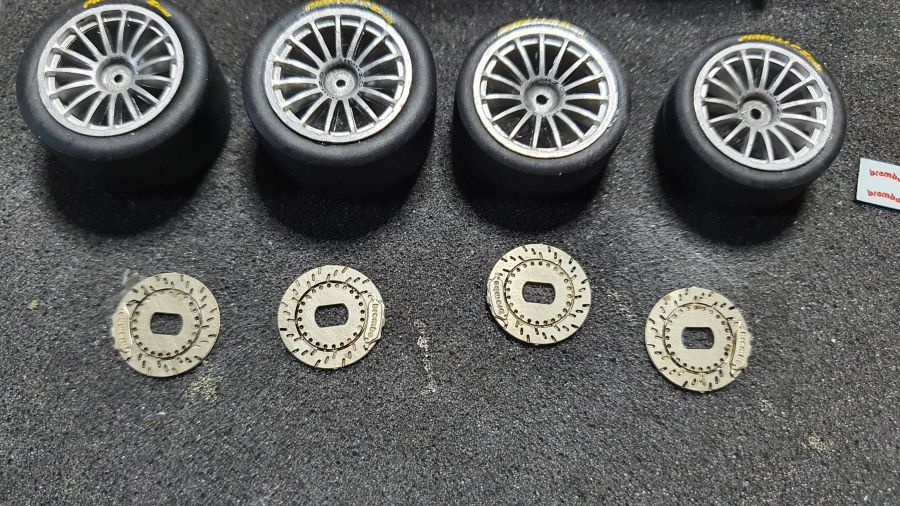
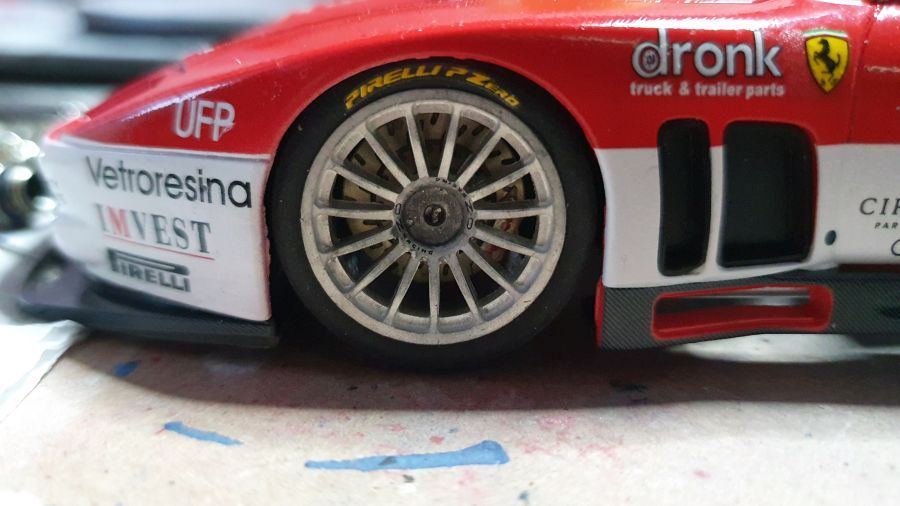
Door naar de velgen en de assen.
On to the rims and the axles.
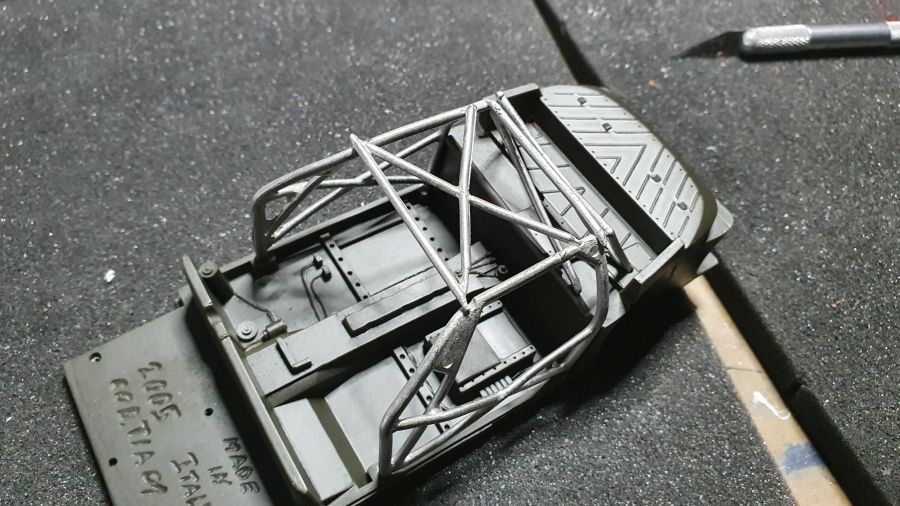
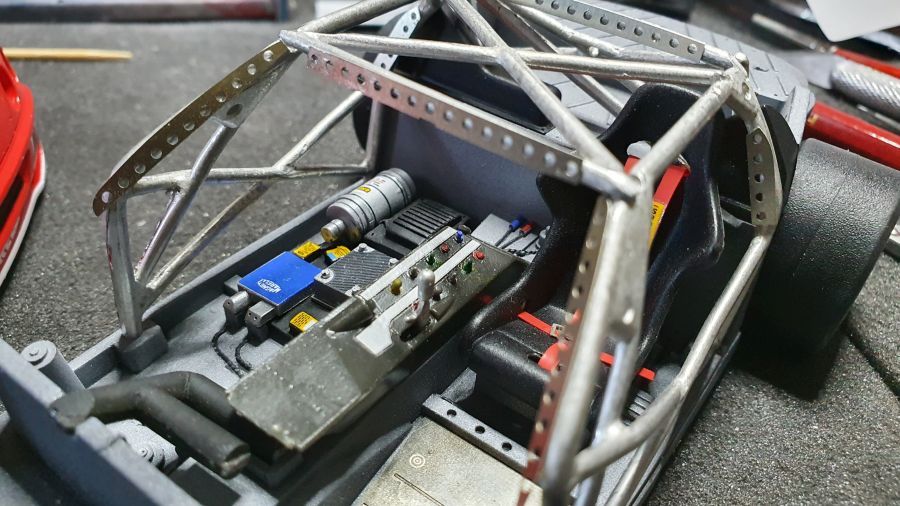
Meer werk aan de kooi.
More work to the cage.
Dan de achtervleugel.
Next is the rear wing.
En een paar kleine onderdelen voor achterkant. Nog niet alles omdat de ramen nog geplaatst moeten worden. Daarbij moet de body misschien op de achterkant leunen.
And a few parts for the rear. Not yet everything because the windows need to be added. It might be necessary for the body to lean on the back.
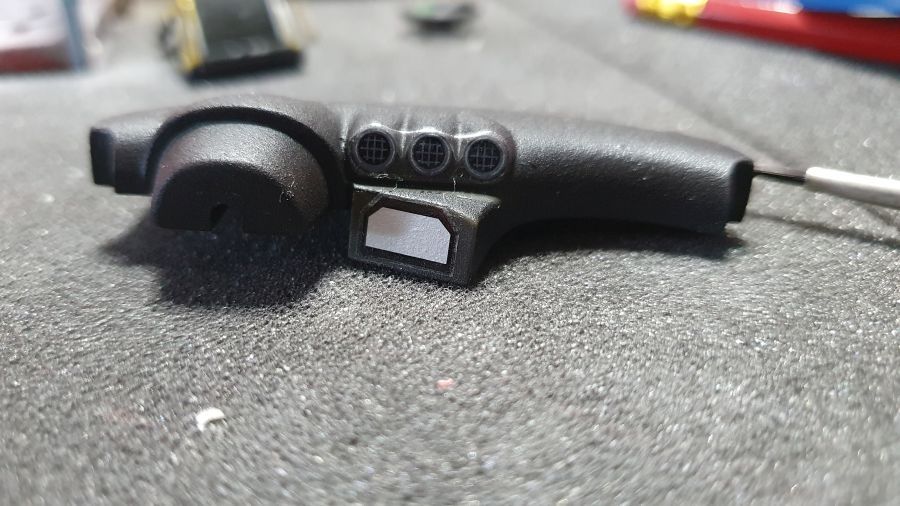
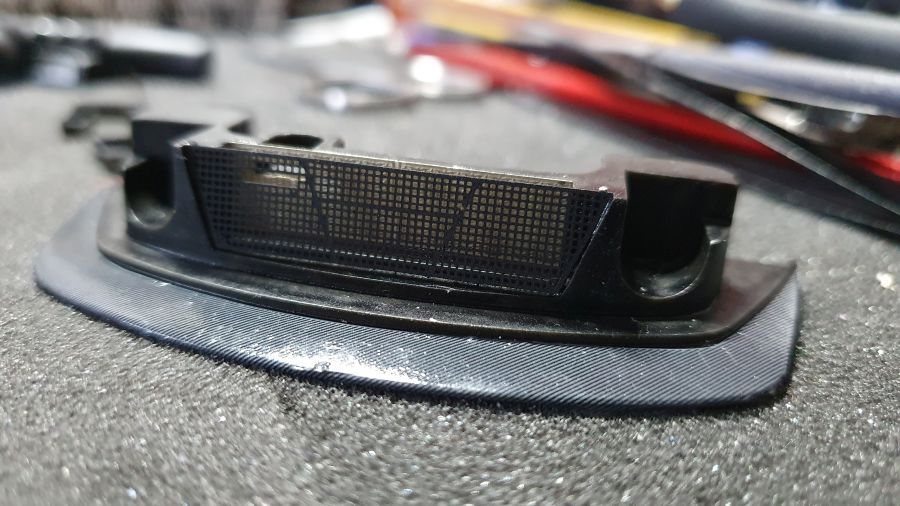
De lamphuizen aan de voorkant zijn gekleurd.
The front light housing have been colored.
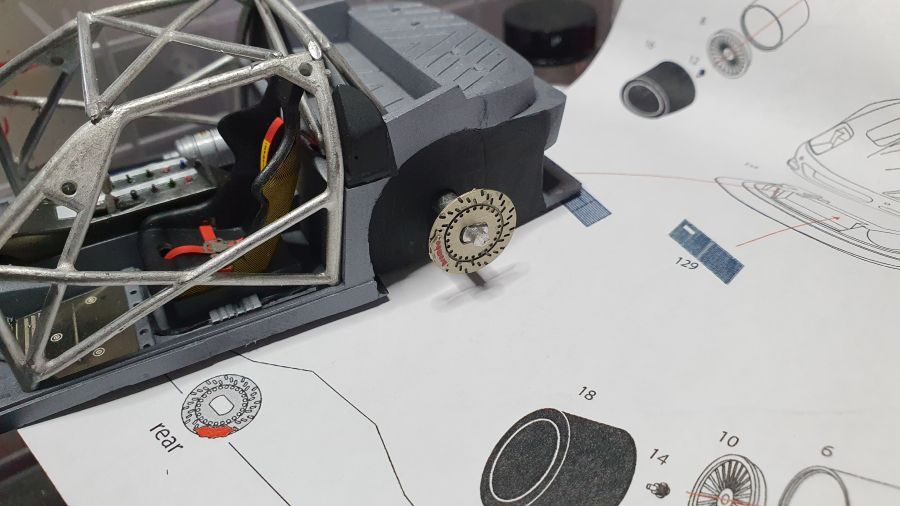
De andere ramen moeten ook een etched lijst. Ik wist niet hoe dit moest werken. Volgens vriend Pierpaolo moet het frame worden gelijmd met neoprene lijm. Daarna buigen en met witte lijm aan de body bevestigen. Ik moet zeggen, ik haat dit nu al. Er is geen ruimte voor een fout, corrigeren van het plaatsen van het etched. Het moet in 1x goed zitten. Een beetje schuiven is niet mogelijk. En de lijm werkt in op de verf. Bij het achterraam ging het al mis. Ik ga het zonder etched proberen te plaatsen. De neoprene lijm kon ik gelukkig van het raam verwijderen met AK Odorless Thinner.
The other windows also get an etched part. According to friend Pierpaolo the frame should be glued with neoprene glue. Then bend it and glue with Elmers glue. I must say, i already hate this. There is no room for error, correcting in adding the etched. It needs to be on it's designated spot at once. No little moving possible. And the glue attacks the paint. It already went wrong at the rear window. I will try to add it without the etched. Luckily i could remove the neoprene glue from the window with AK Odorless Thinner.
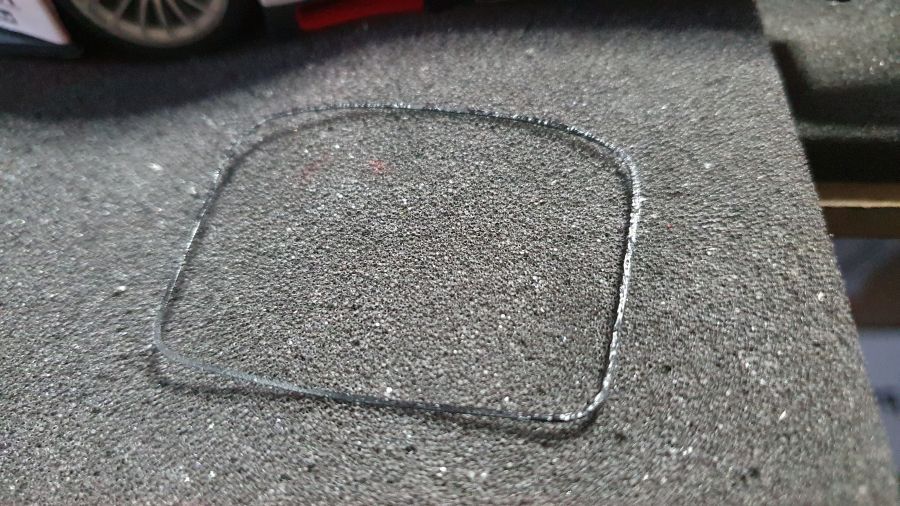
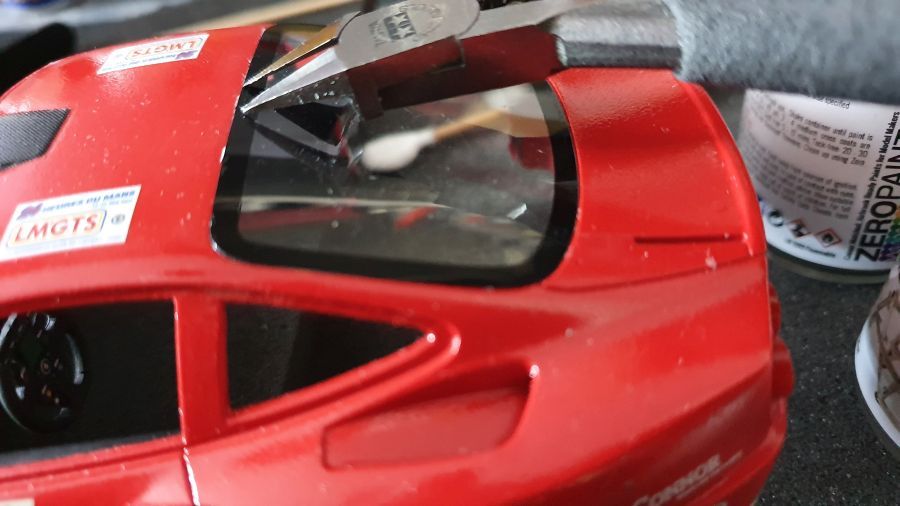
Veel beter.
Much better.
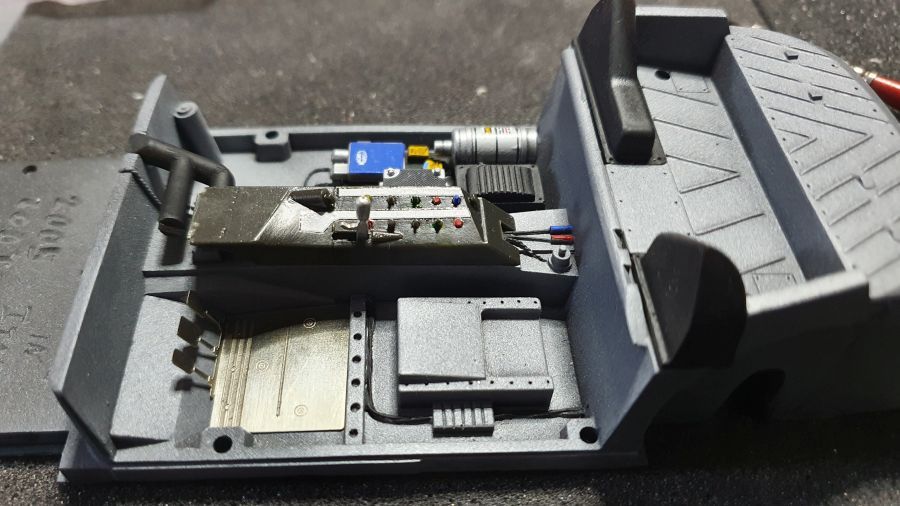
Volgens de instructies moet het dashboard geplaatst worden aan de body, voordat de vloer erop gaat. Dat gaat dus niet werken. Dat lange stuurhuis krijg je echt niet onder de kooi door. Dus aangepast.
According to the instructions one should add the dasboard to the body, before adding the floor. That's not going to work. The long steering axle will not fit go under the cage. So corrected.

Nog een hoop kleine onderdelen...
A lot of small parts...

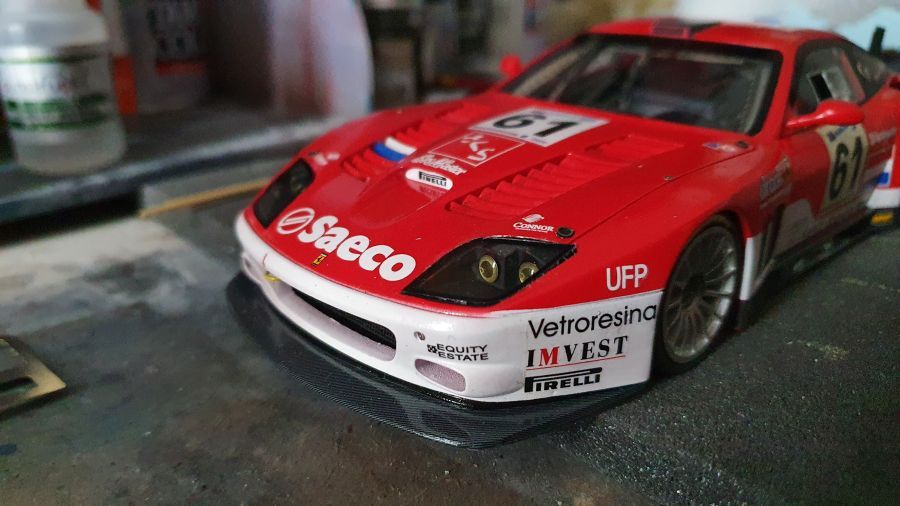
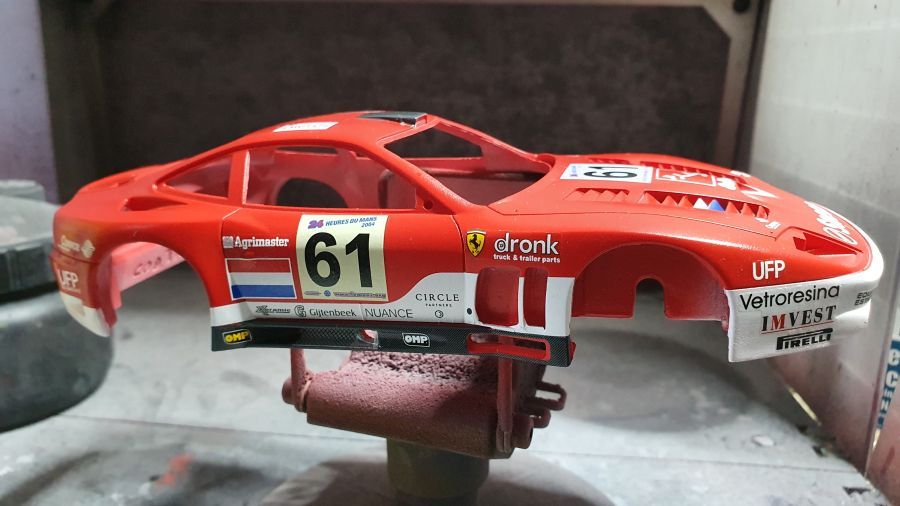
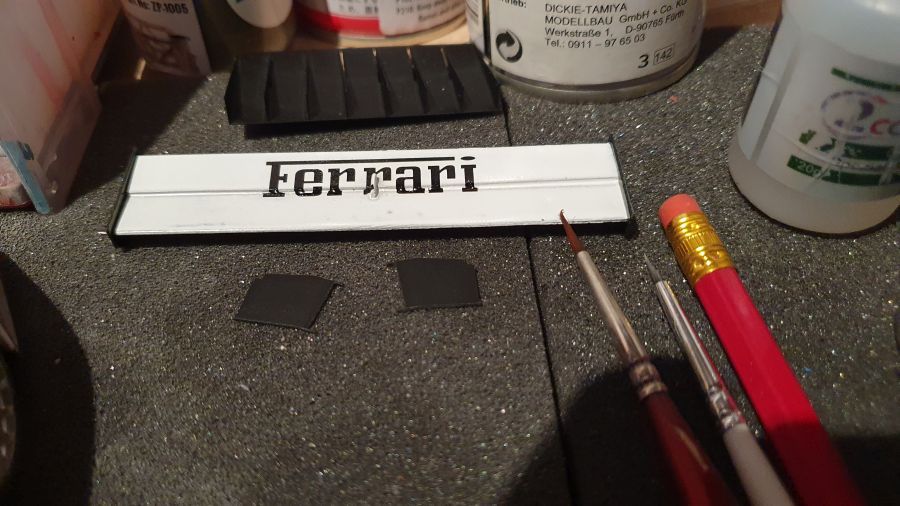
De laatste decals. En dan zie ik hem maar weer als gedaan.
The final decals. And i will consider it again as done.
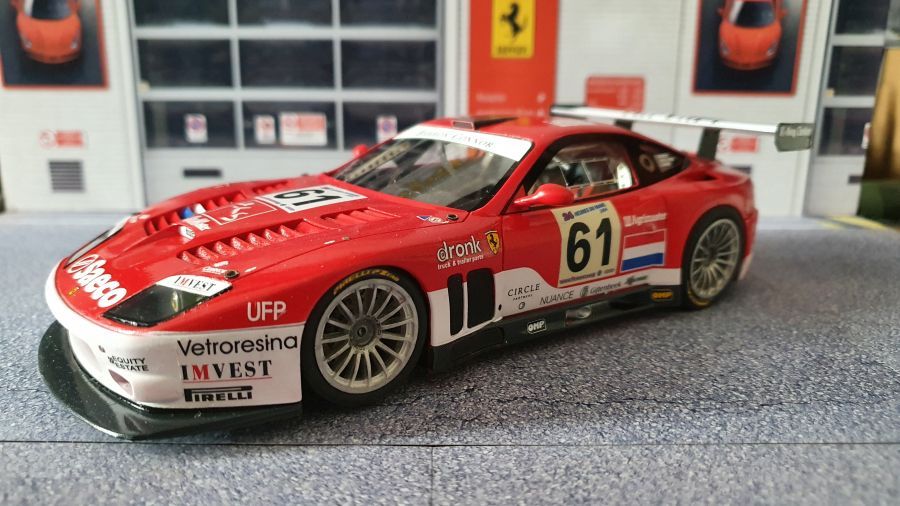
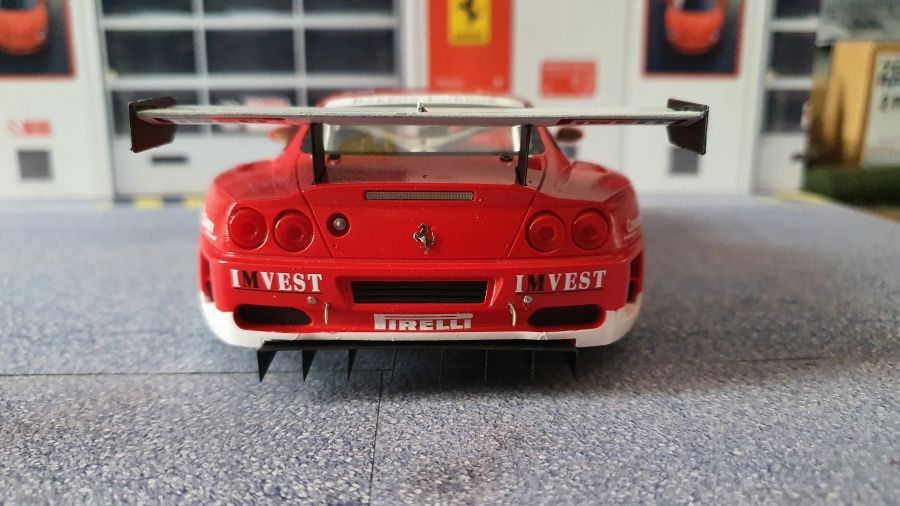
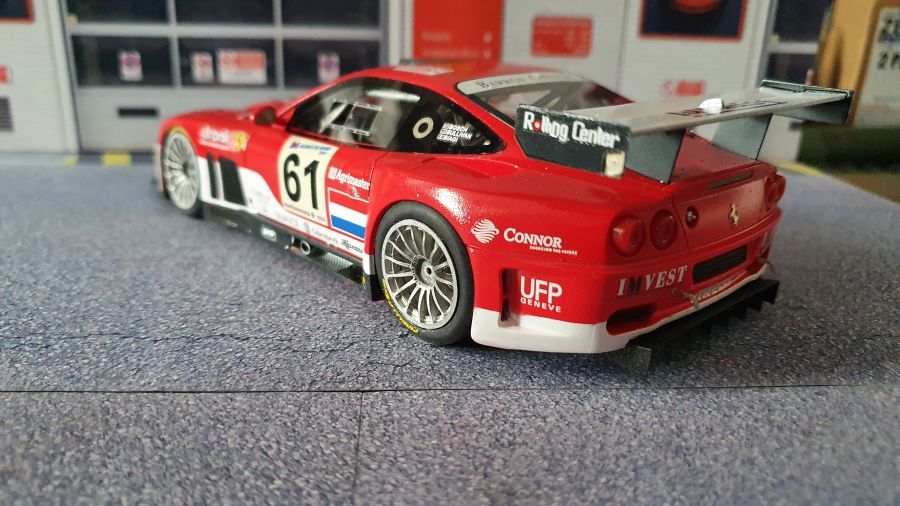
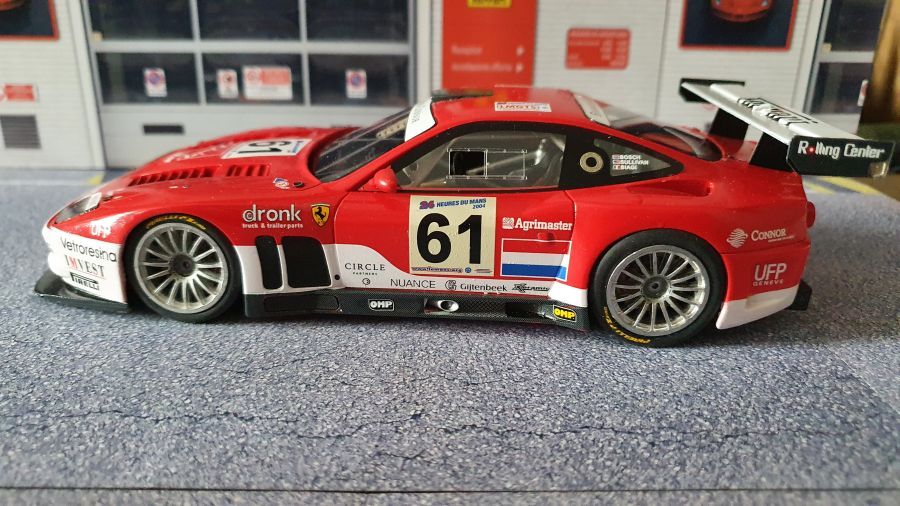
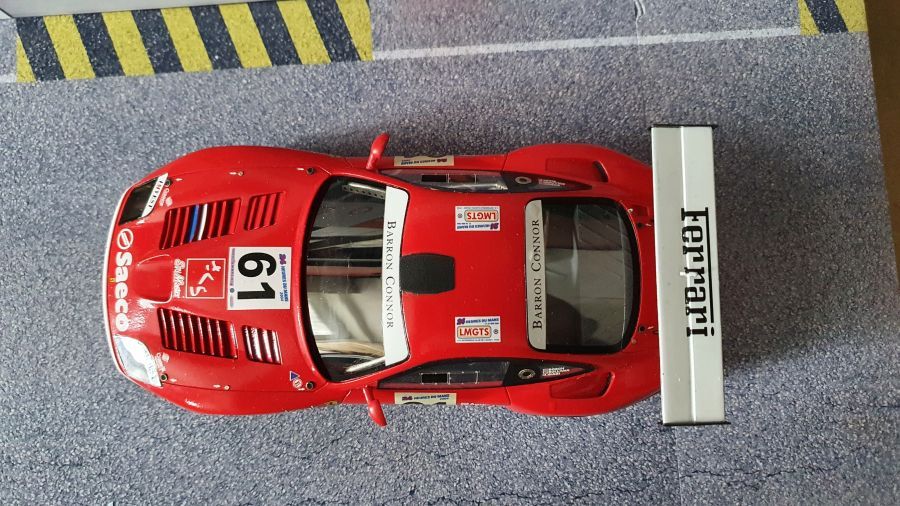
Wat een prachtige kit was dit. Niet of nauwelijks rare dingen tegengekomen. Ik ga maar eens zoeken of er nog meer van dit merk te koop is.
What a lovely kit this was. None to hardly any flaws came up. I will see if there is more available from this brand.