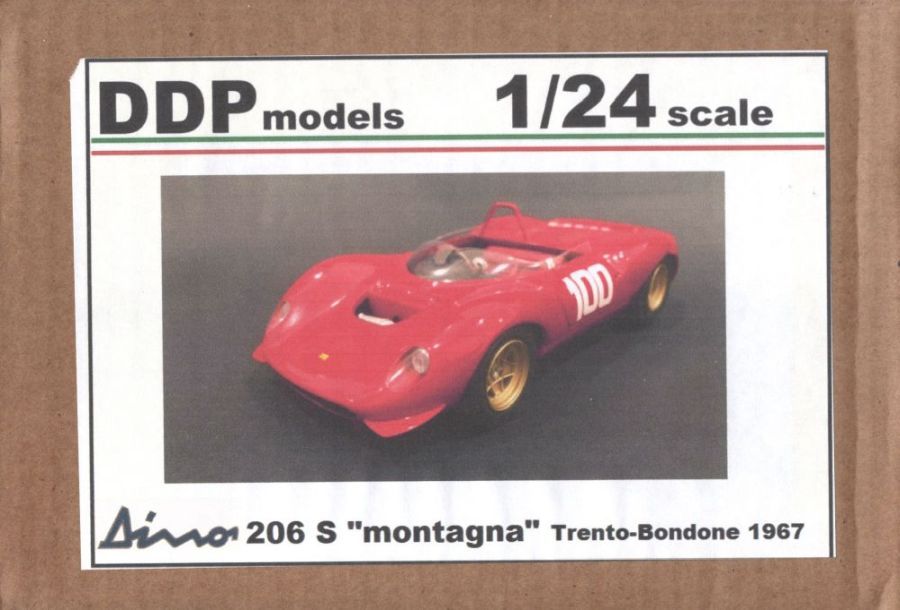
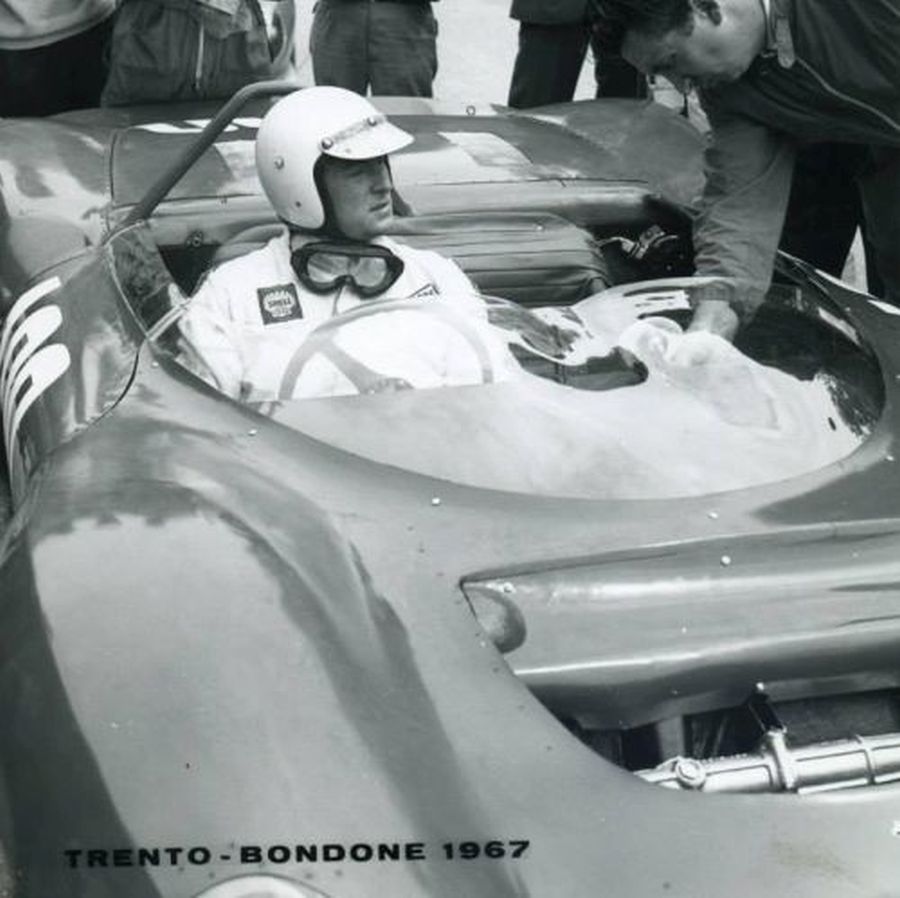
Een beetje lastig voor me om te beslissen nog een bouw te beginnen. Ik ga mogelijk een nieuwe woning kopen en verhuizen. Daarom heb ik mogelijk weinig of geen tijd voor een langere periode. Maar goed, ik kan hem natuurlijk altijd weer inpakken mocht dat nodig zijn. Dus nu de 1967 Ferrari Dino 206S Montagna/Hillclimb Trento-Bondone zoals destijds bestuurd door Ludovico Scarfiotti. Een volledige kit van DDP Models.
A bit difficult for me to decide to start a new build. I am planning to buy a new house and move. That's why i might have less or no time for a longer period. But o.k., i can always pack it again if necessary. So now the 1967 Ferrari Dino 206S Montagne/Hillclimb Trento-Bondone as driven then by Ludovico Scarfiotti. A full kit from DDP Models.
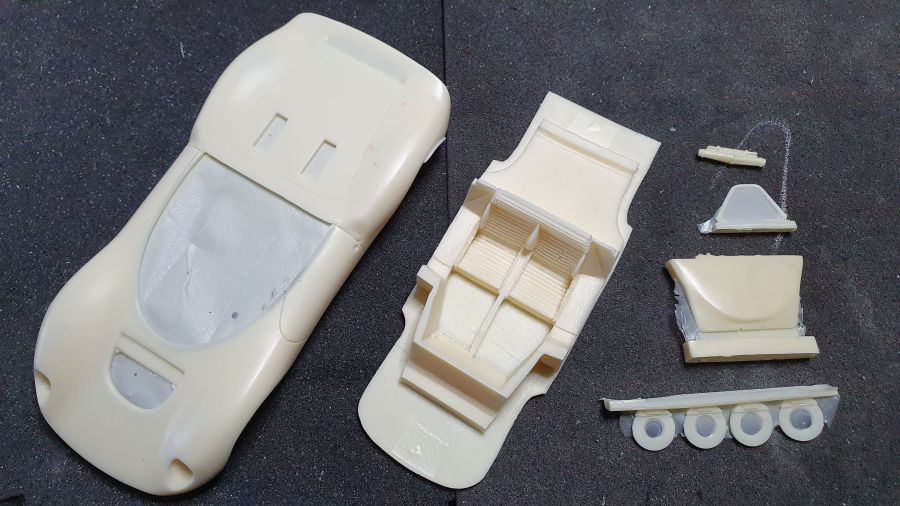
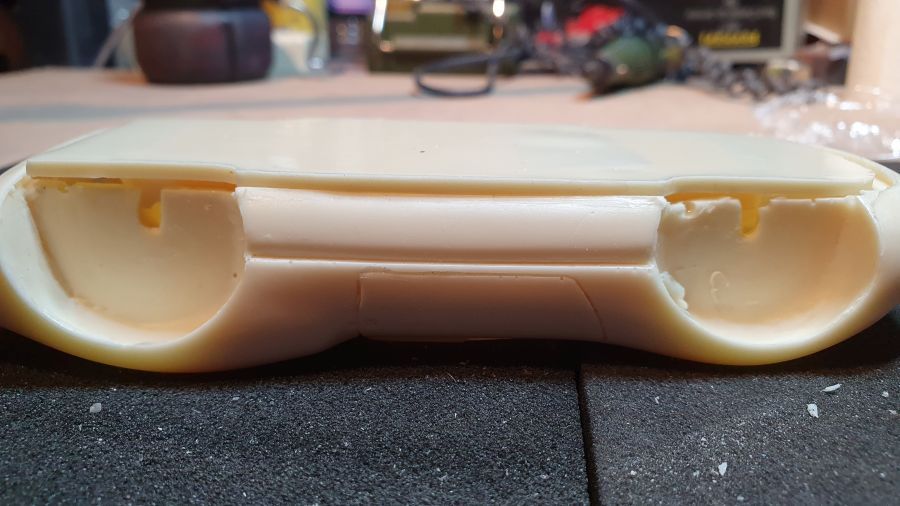
Eerst zorgen dat de vloer beter past.
First of all taking acre the floor fits better to the body.
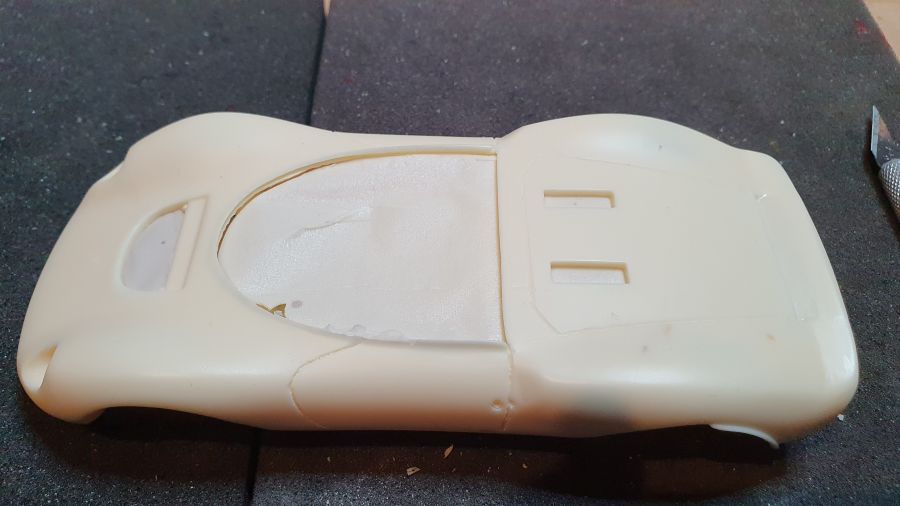


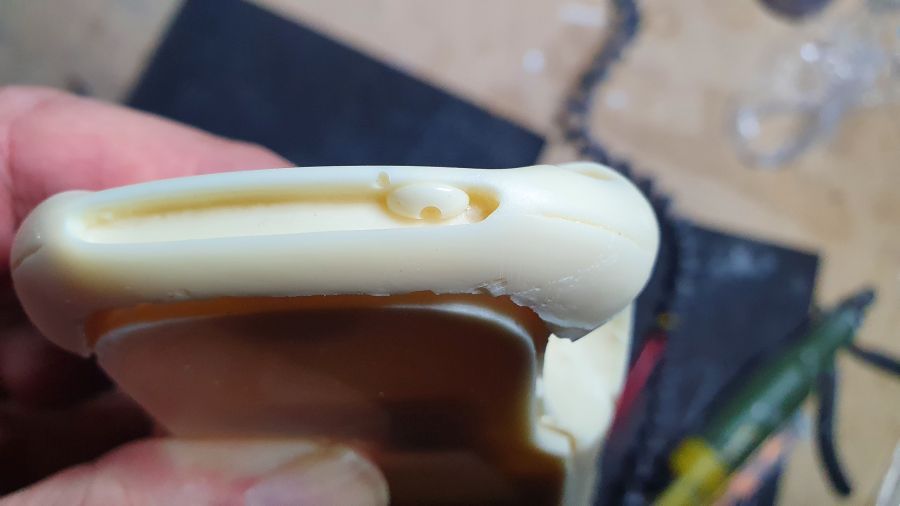
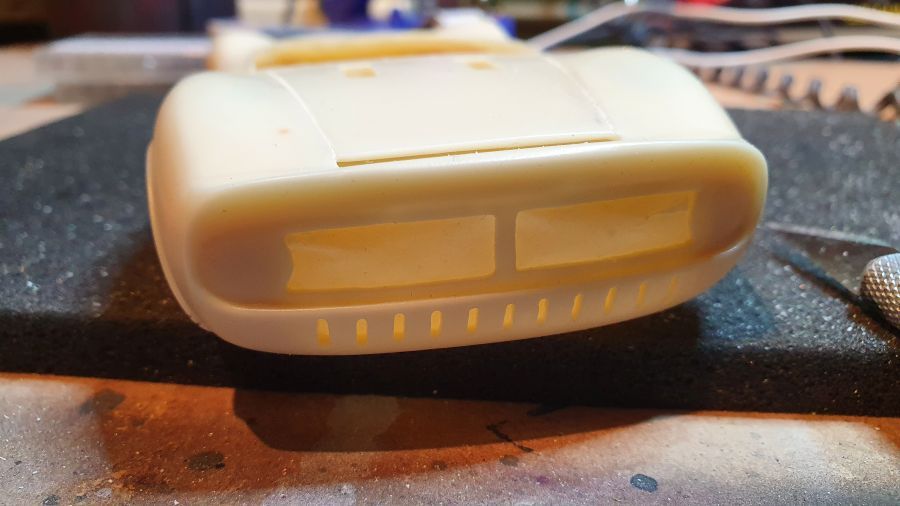
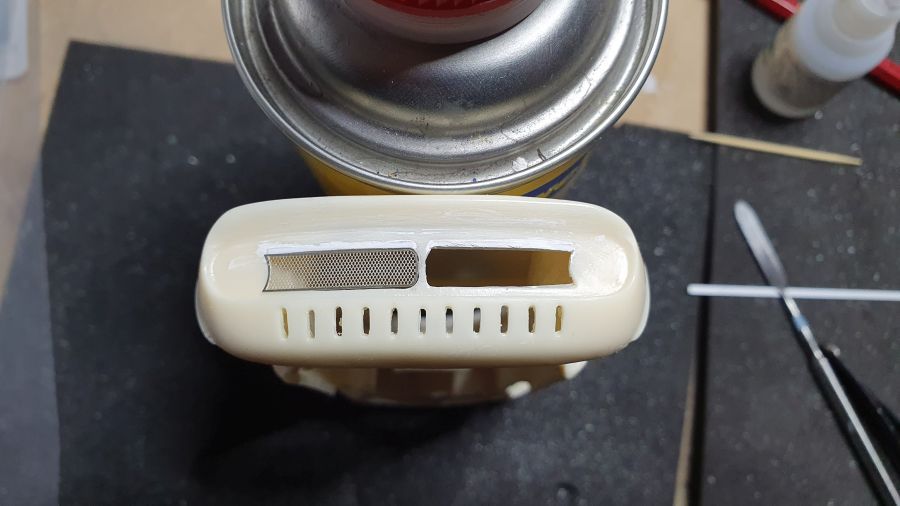
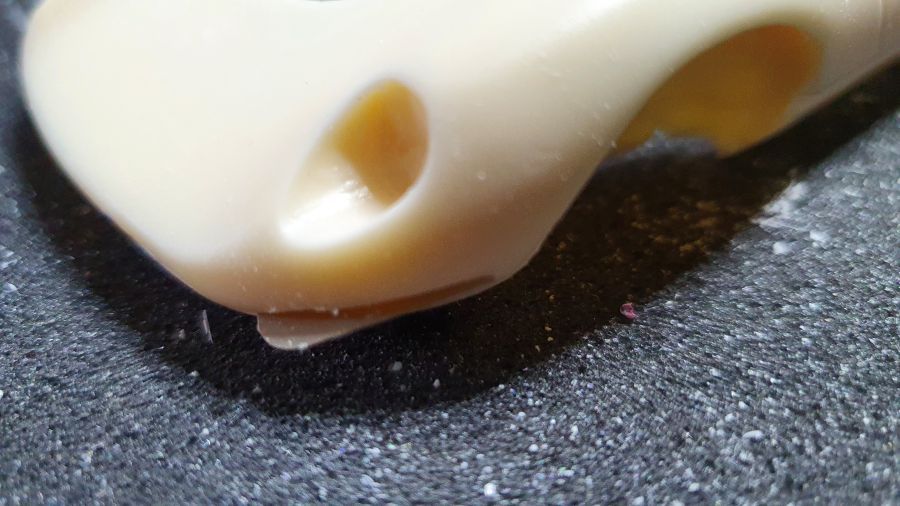
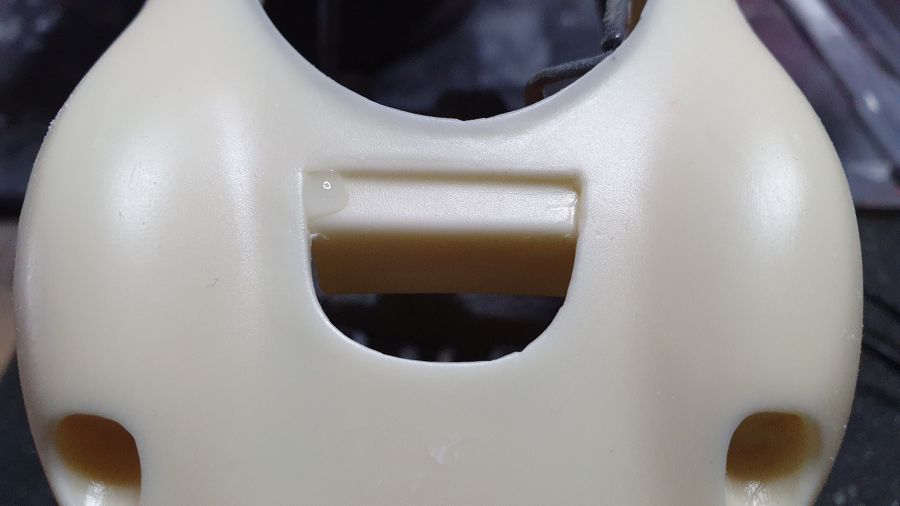
Een vreemde bobbel aan de voorkant. Die moet weg.
A strange bubble at the front. It has to be removed.
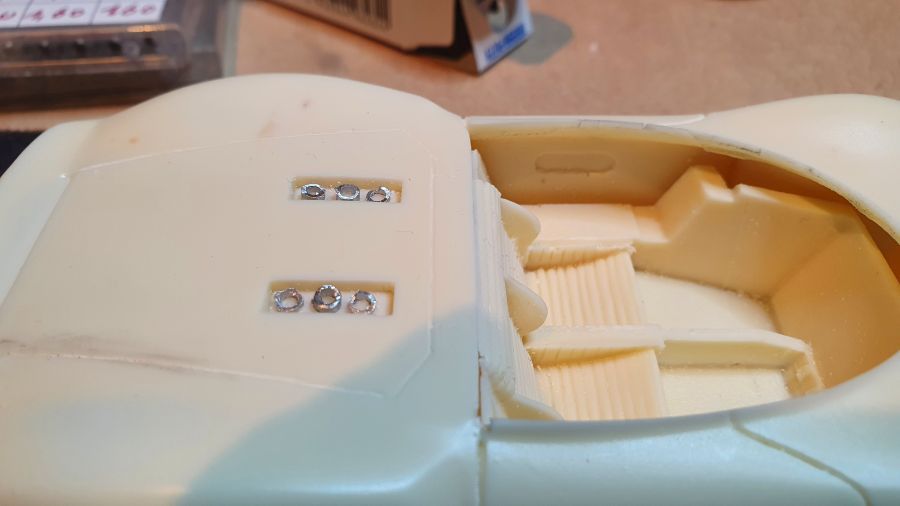
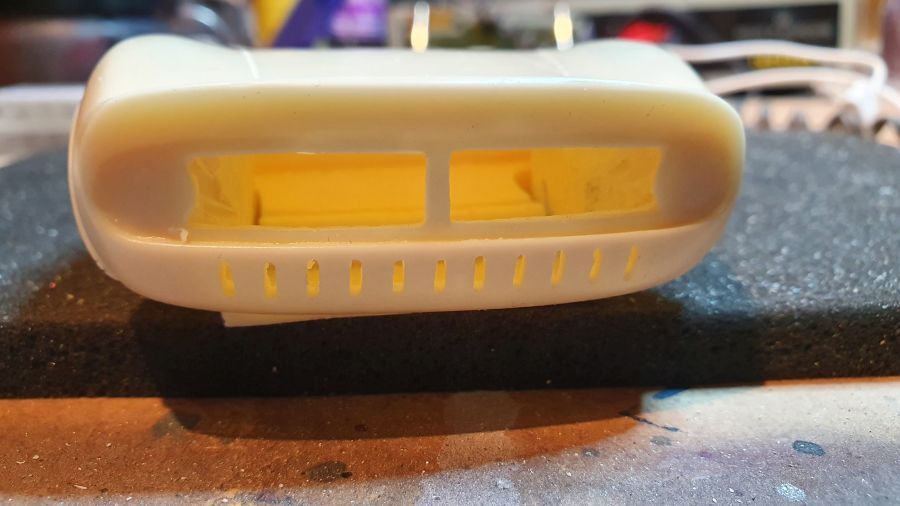
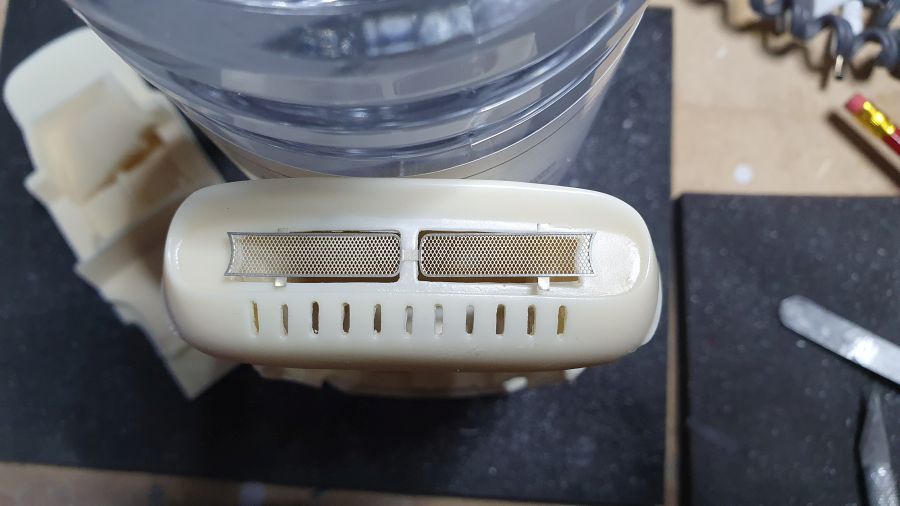
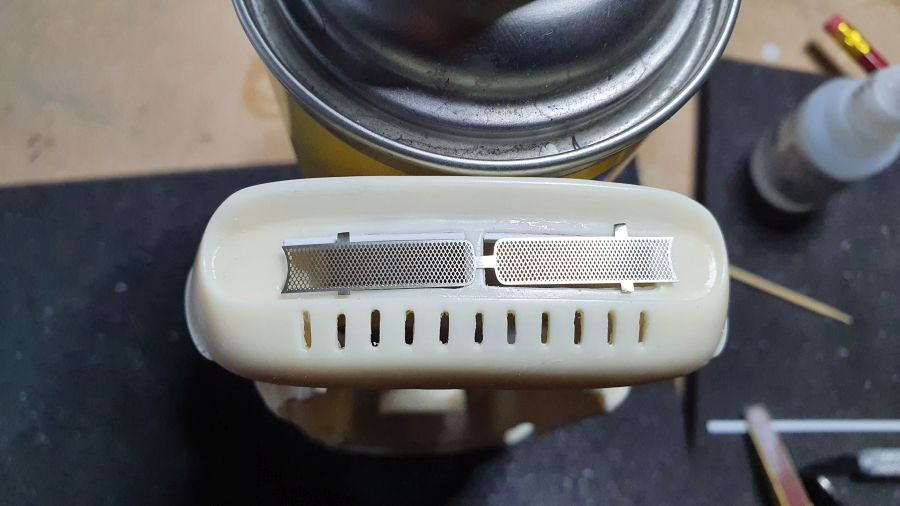
Voor de luchtinlaten moet ik wat improviseren. Een paar plakjes aluminium buis. Later verder.
I need to improvise on the intakes. Some slices of aluminium tube. To be continued later.
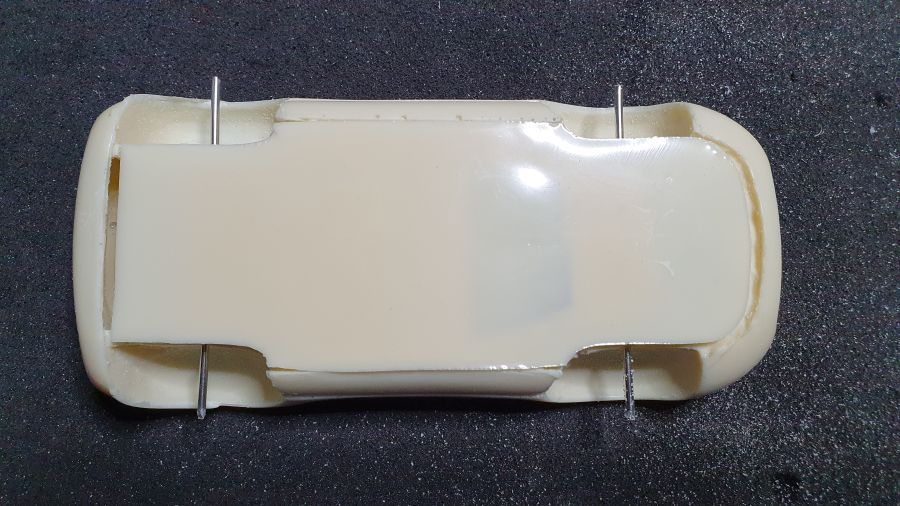
De achterkant ook open maken.
Opening the rear side too.
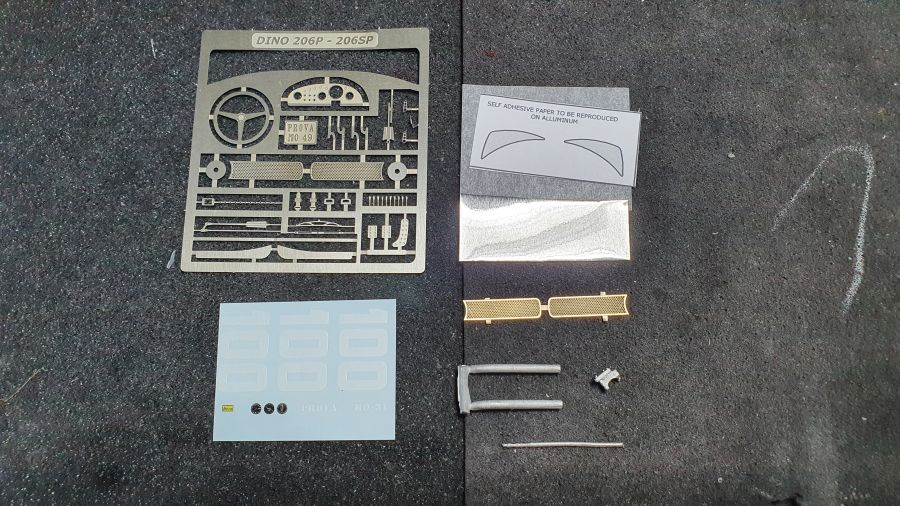
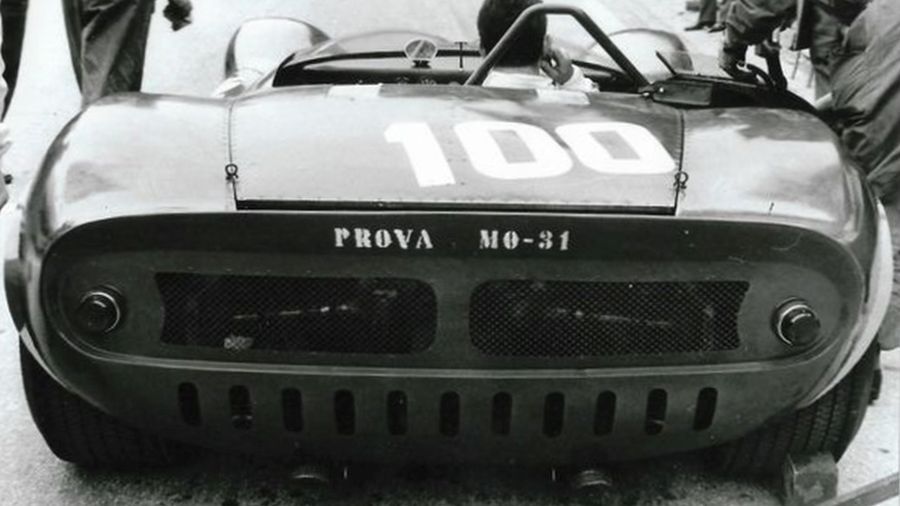
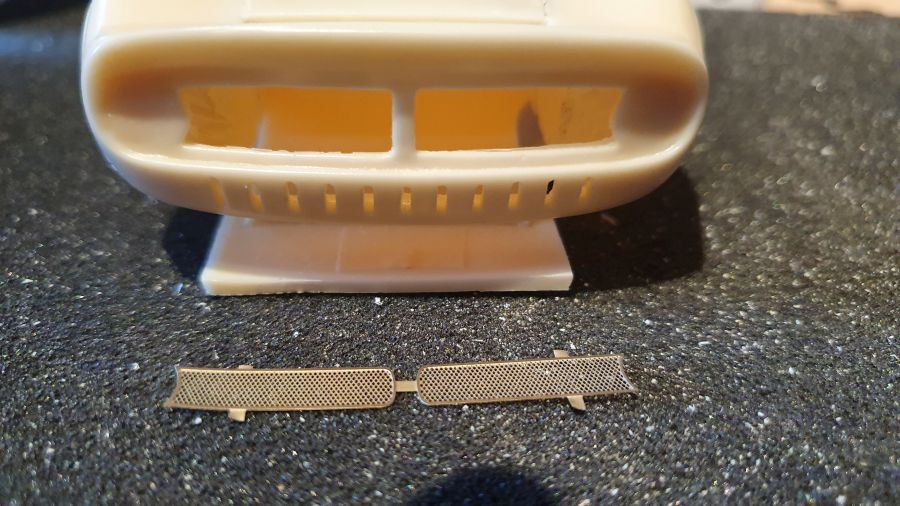
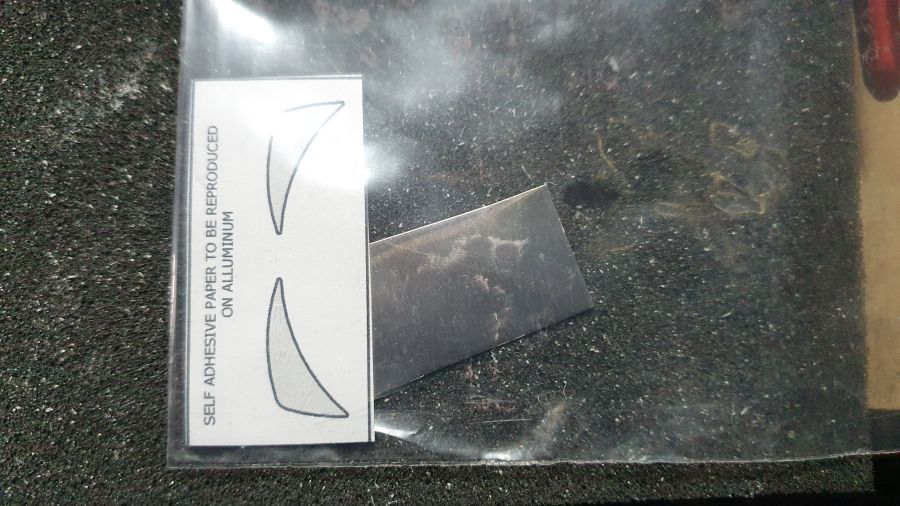
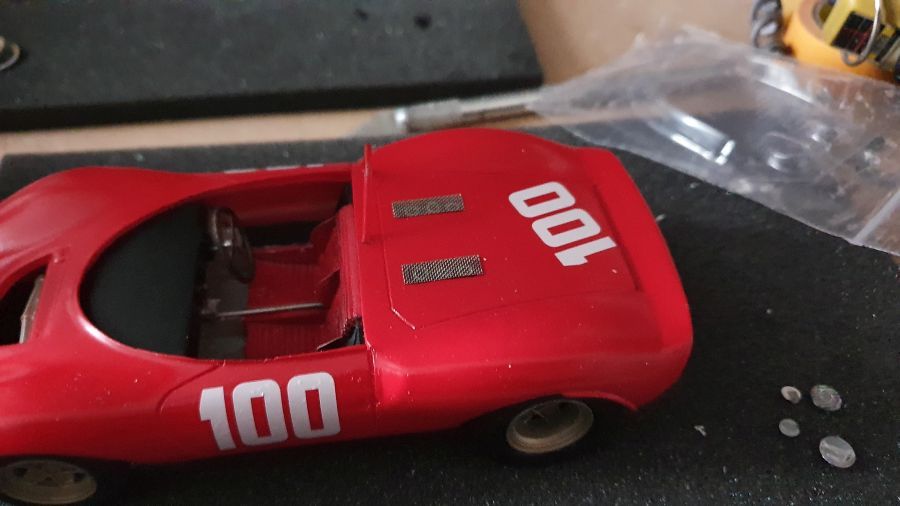
De achterkant van de auto komt niet helemaal overeen met de vorm van de etched delen. Ook is het etched wat te klein. Hier moet ik iets op vinden.
The rear of the car doesn't meet the shape of the etched parts. And the etched is too small. I need to improvise on this.

Door naar de 'vleugels'. Die moeten op maat geknipt.
On to the 'wings'. They need to be cut to size.
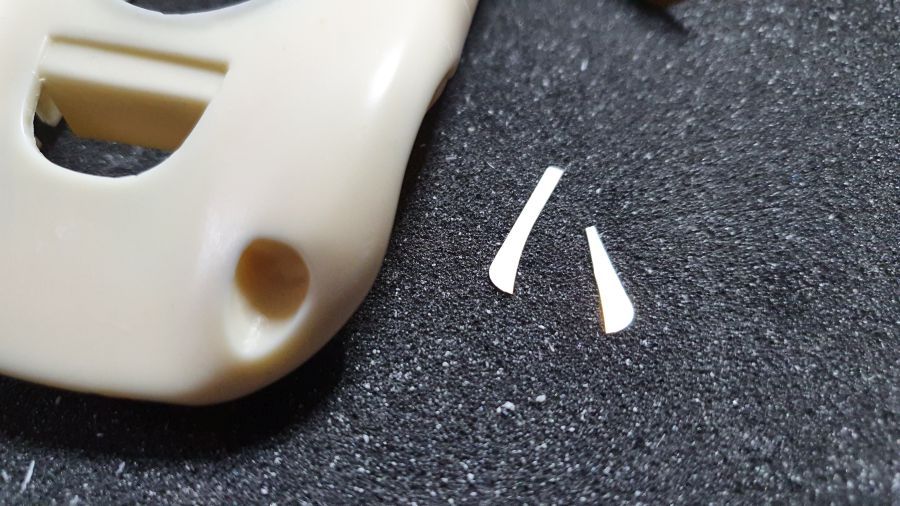
Te laat zie ik dat er een set aanwezig is om de vleugels zelf te knippen.
A bit too late i notice there is a set to cut the wings yourself.
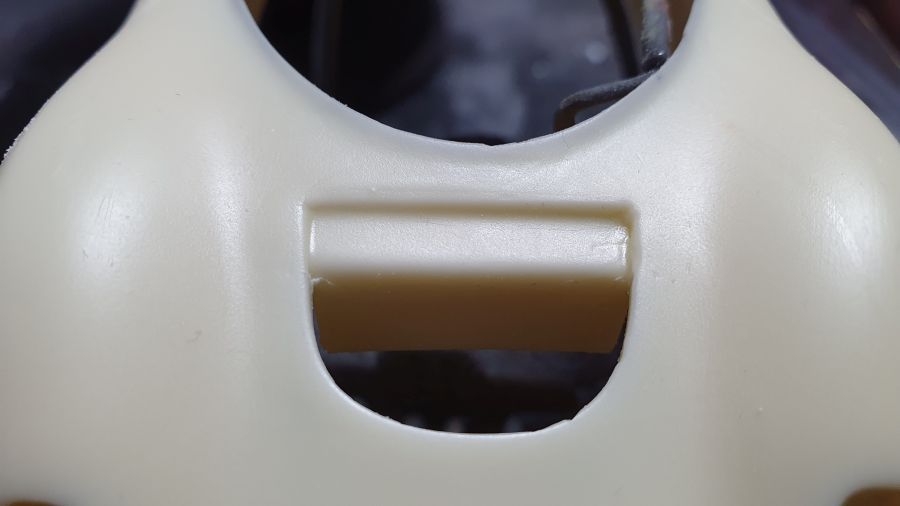
De auto heeft voorin een kleine bobbel. Deze maak ik er ook in.
The car has a small bump in the front. I will create that.
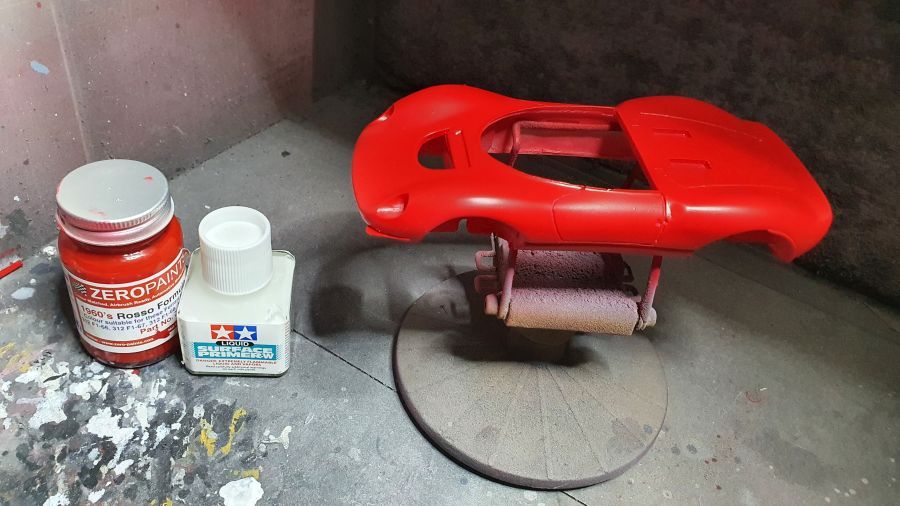
Dan de witte primer.
Then the white primer.
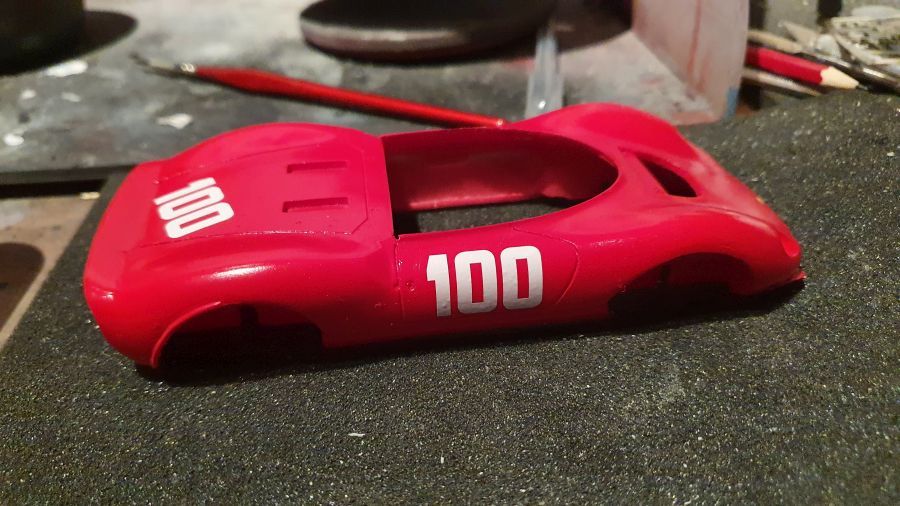
En het eerste rood.
And the first red.
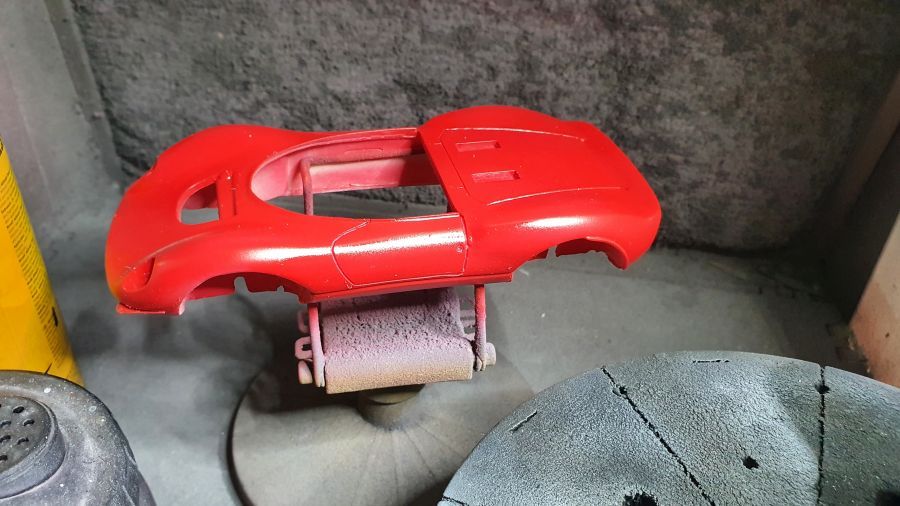
Dan de heldere lak.
Then the clear lacquer.
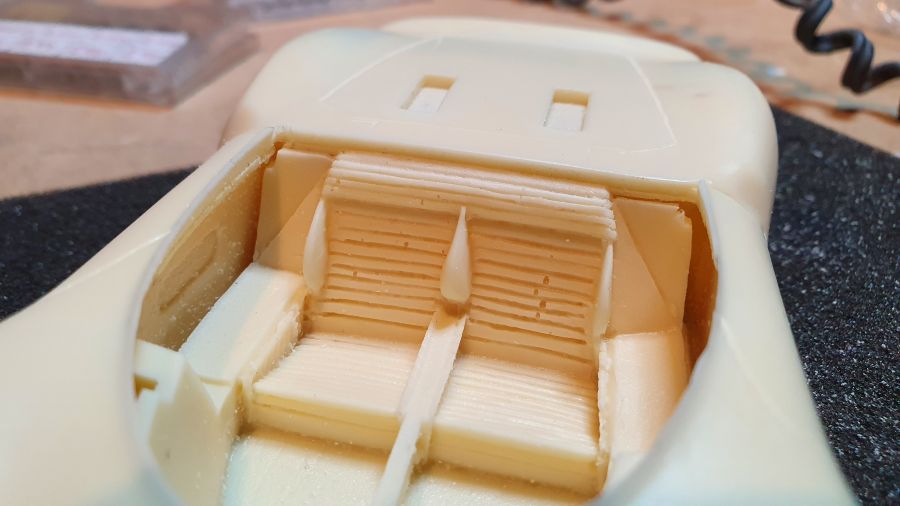
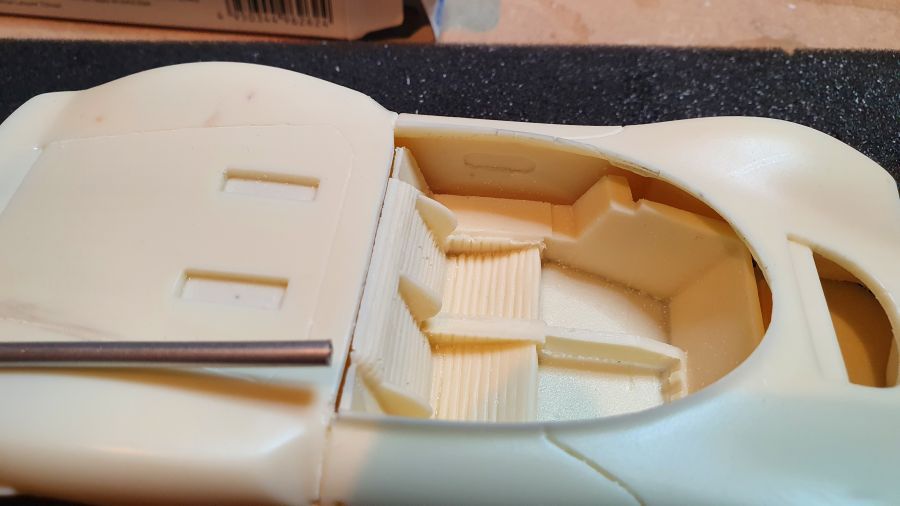
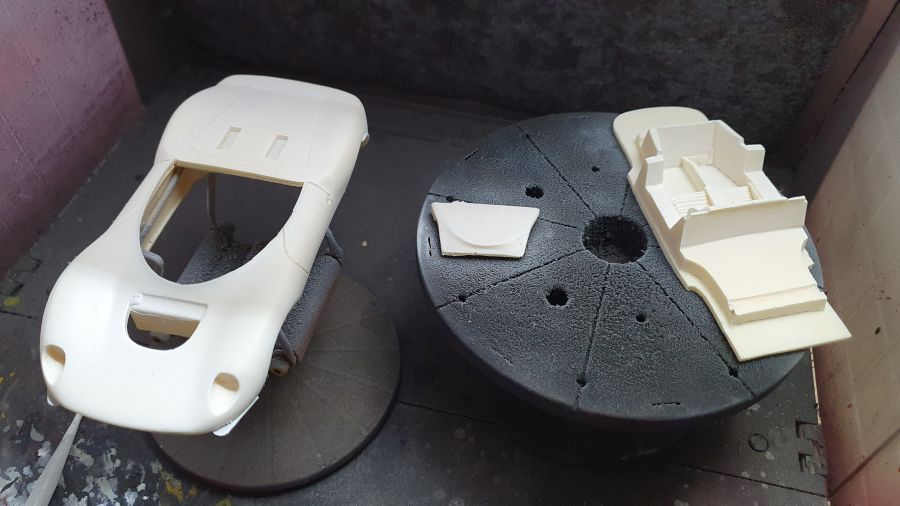
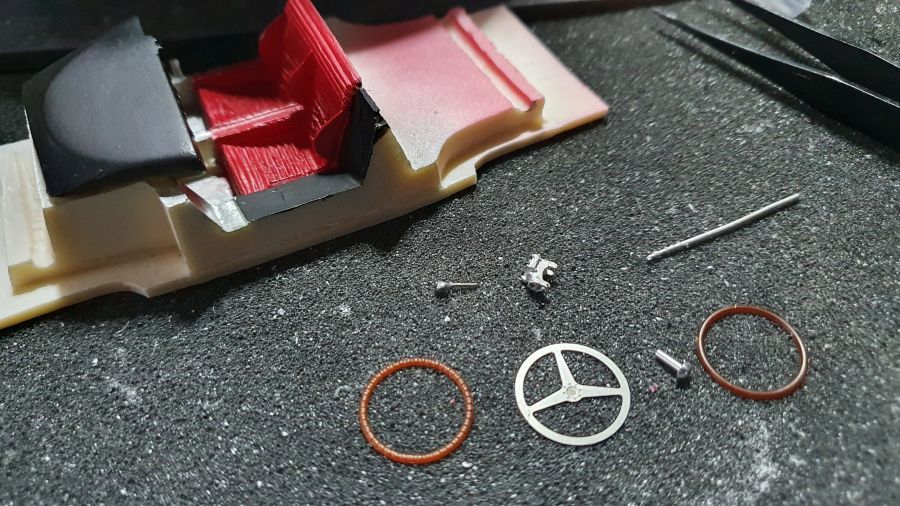
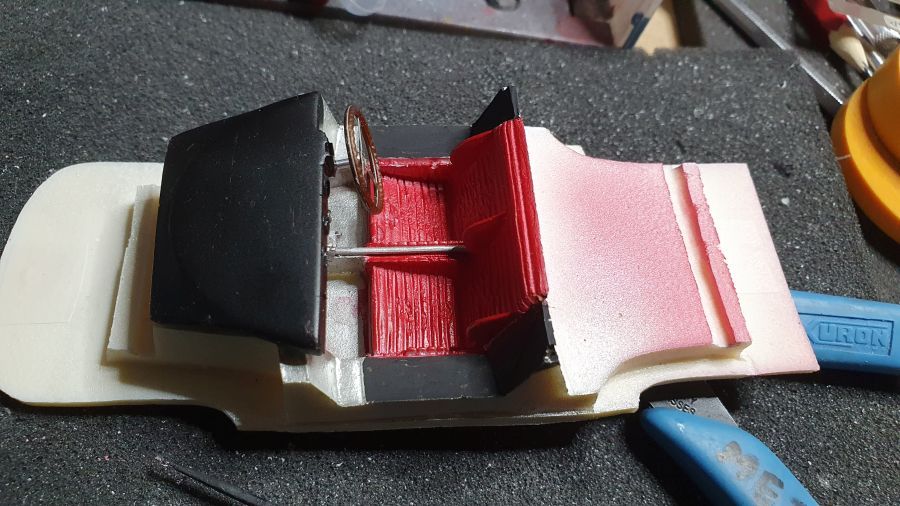
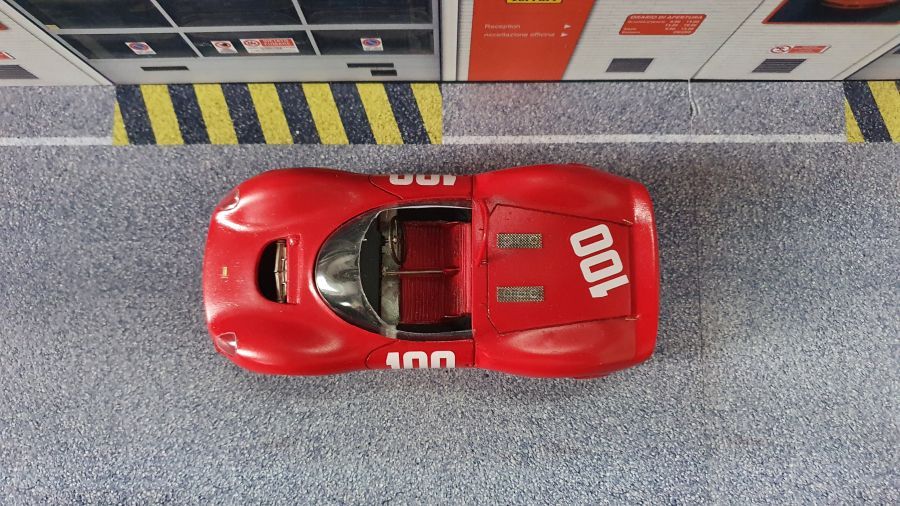
Door naar het interieur.
On to the interior.
De velgen en een paar onderdelen gespoten.
Painted the rims and some more parts.
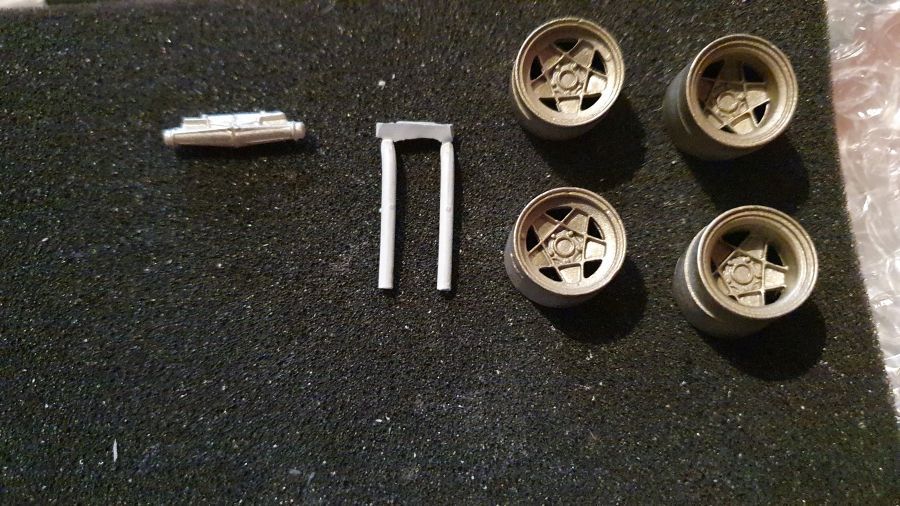
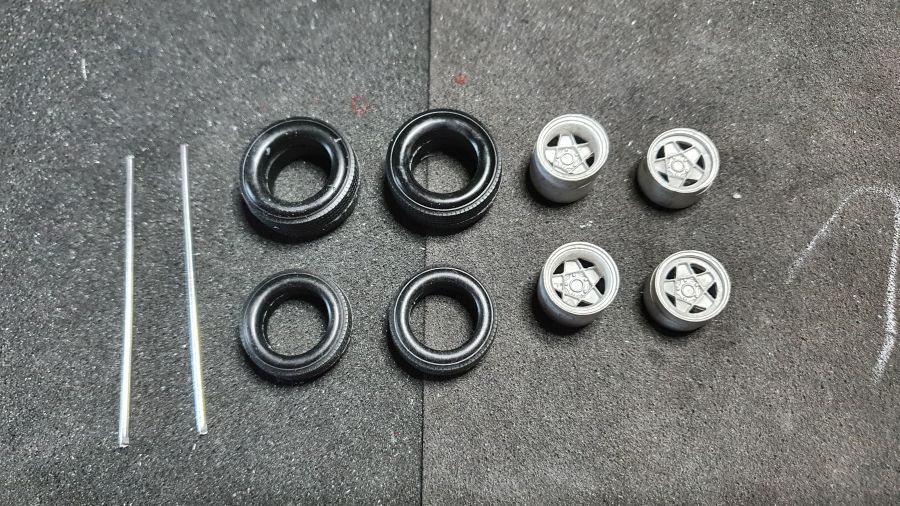
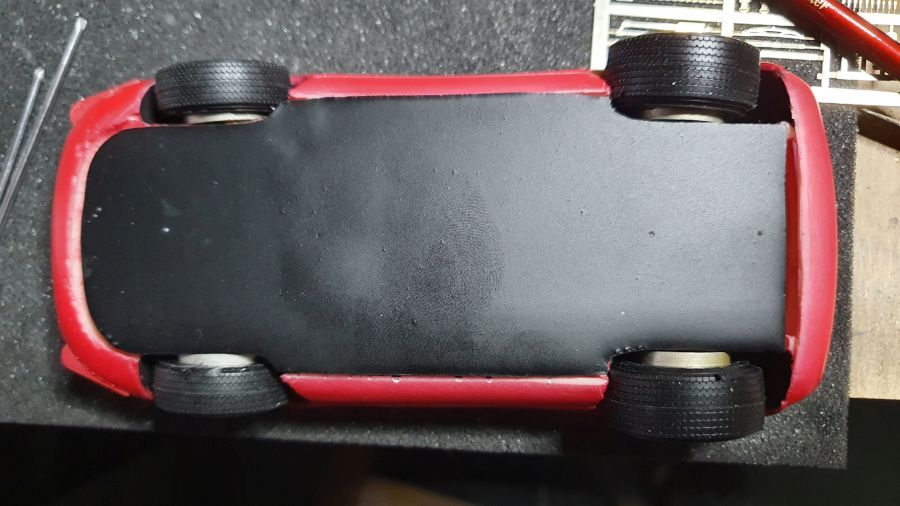
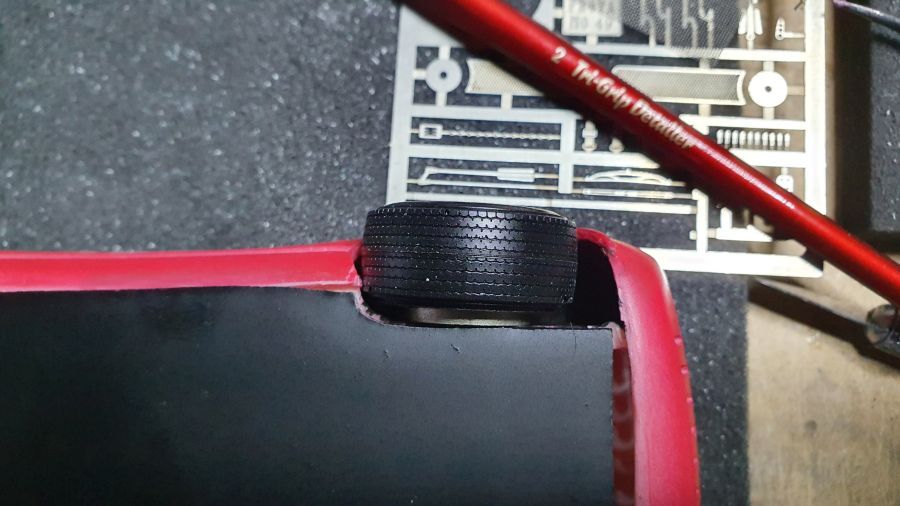
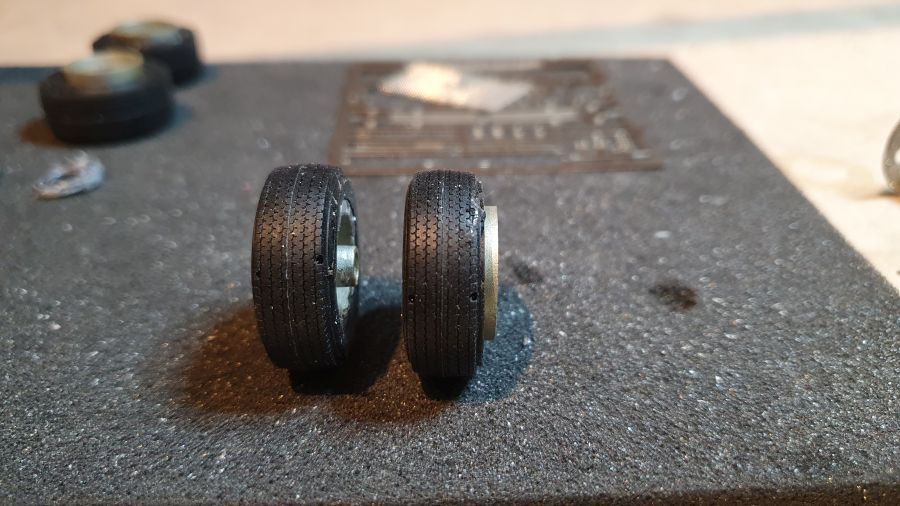
De banden zijn behoorlijk smaller dan de velgen.
The tires are quite a bit smaller than the rims.
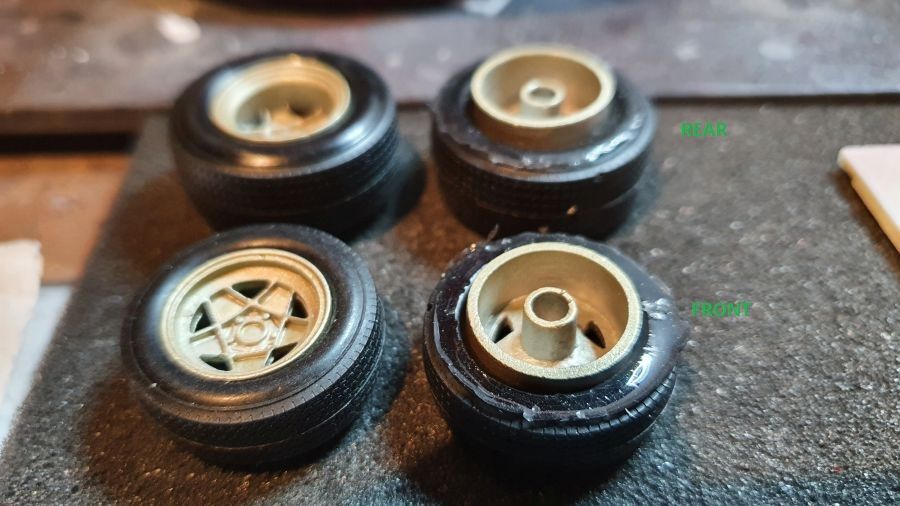
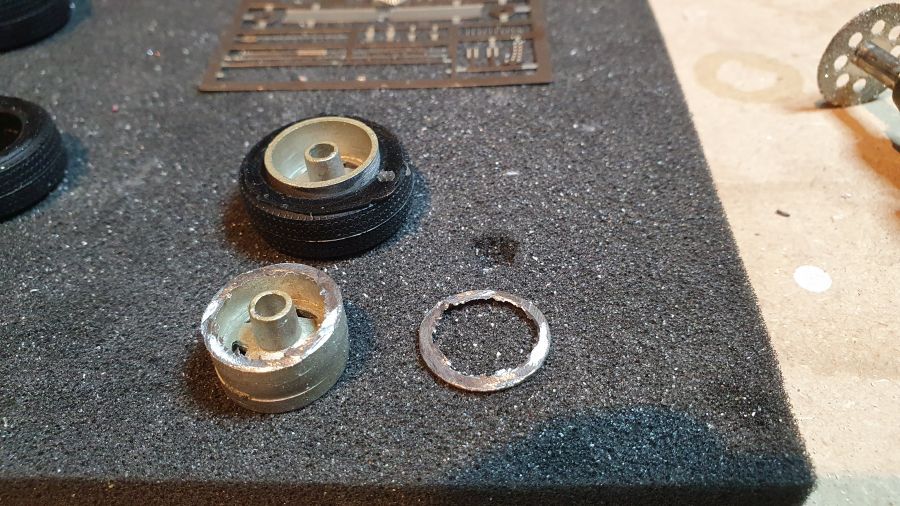
De velgen hebben echt wat werk nodig. Ander steekt alles buiten het bodywerk. Zowel voor als achter.
The rims really need to be worked on. Otherwise they stick out of the bodywork. Both, front and rear.
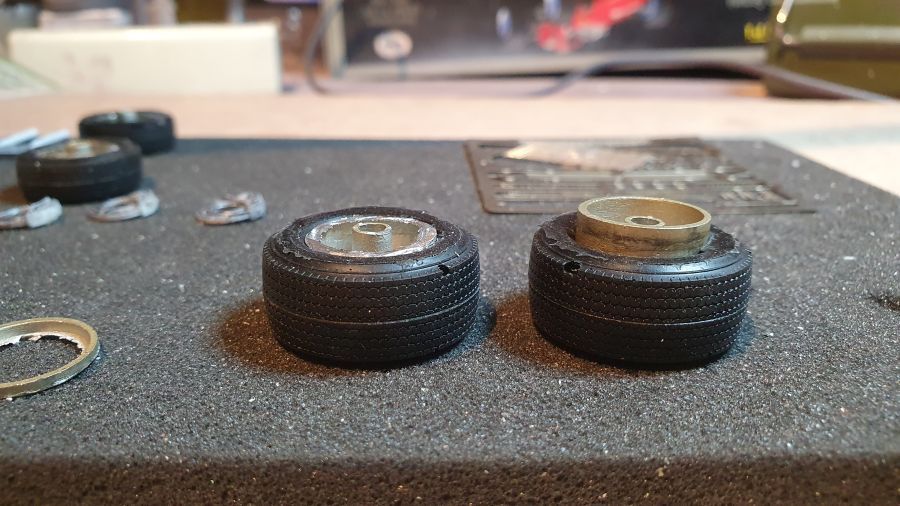
De voorwielen.
The front rims.
En achterste.
And the rear ones.
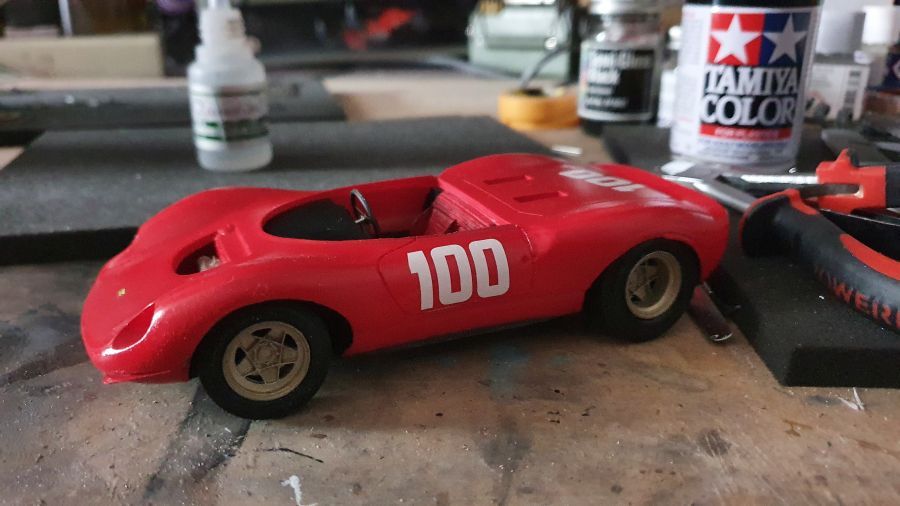
Op zijn wielen...
On it's wheels...
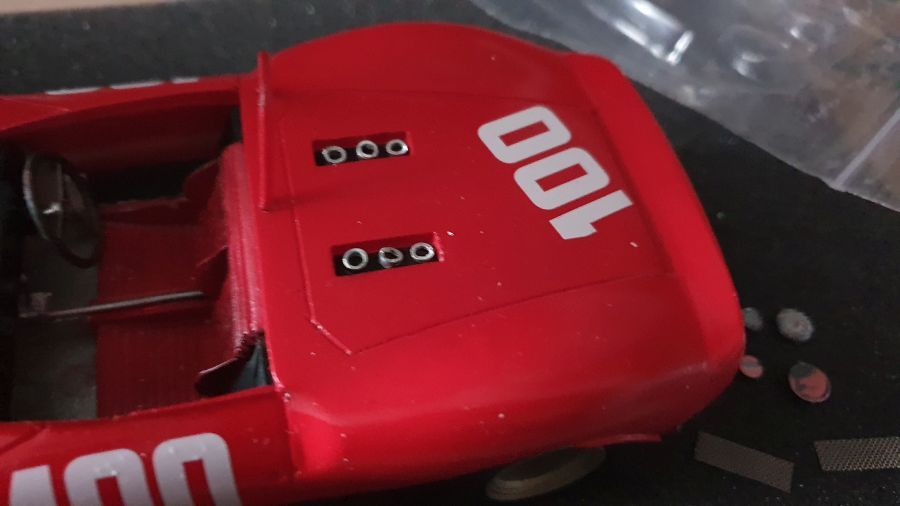
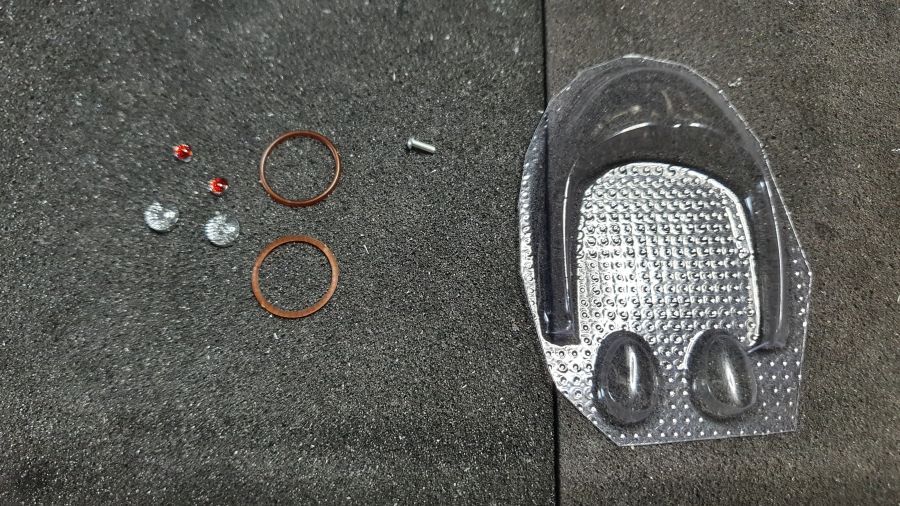
Na de plaatsing van het glas en nog wat kleine onderdelen, zie ik deze bouw als geëindigd.
After adding the glass and some small parts, i think this one is done.
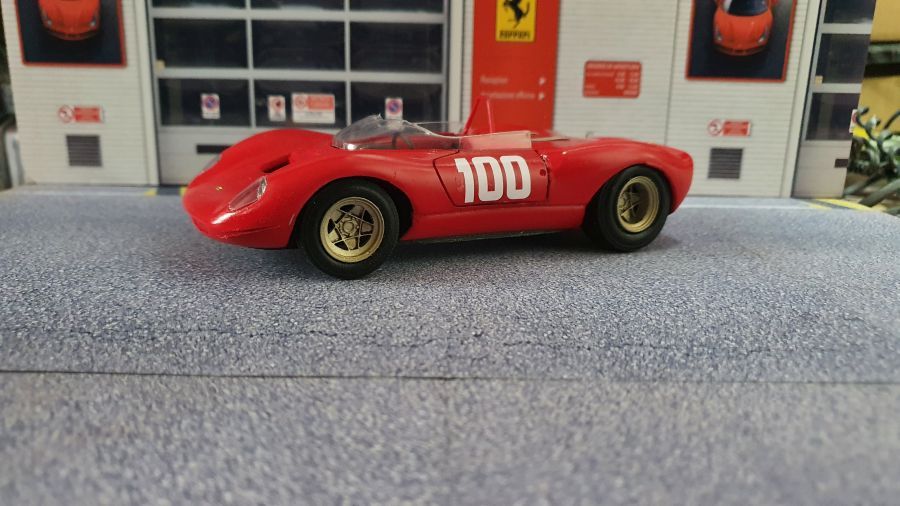
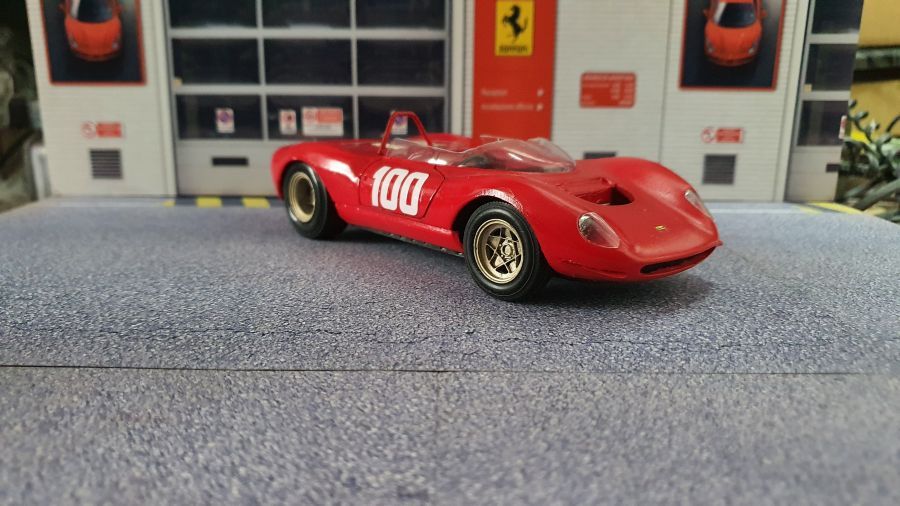

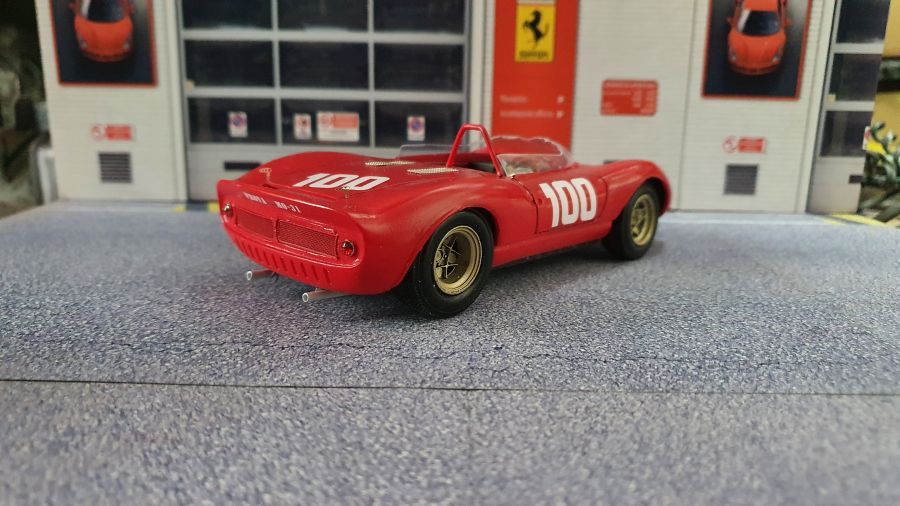
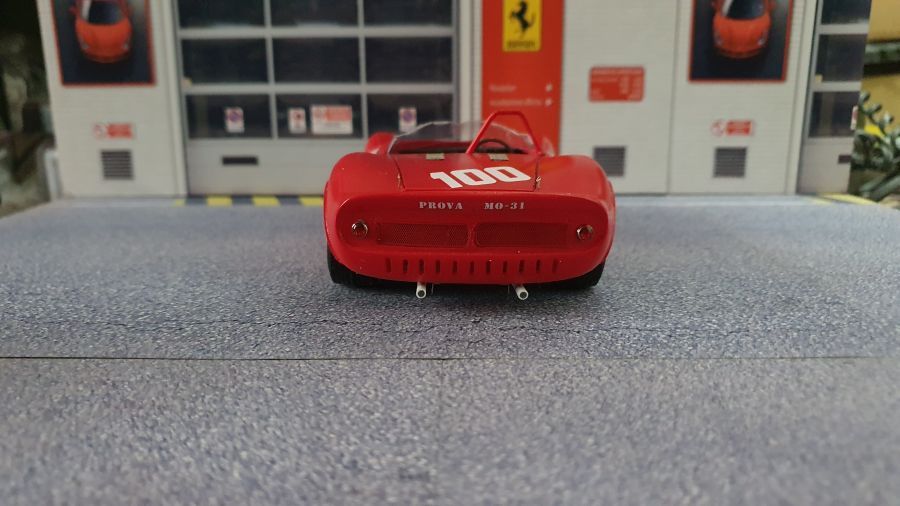
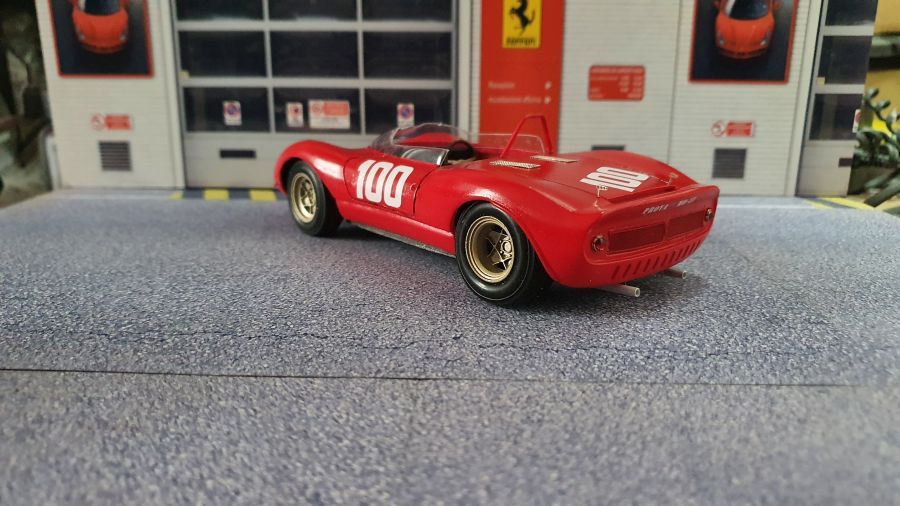
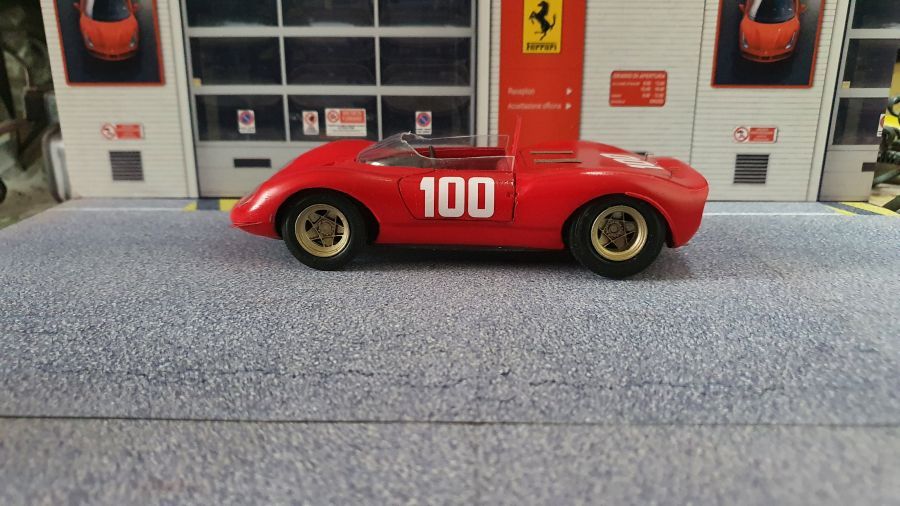
Niet veel bijzonders te melden over de kit. Let wel op de velgen. De banden passen echt niet.
Not much to report about this kit. But be careful on the rims. The tires don't fit.