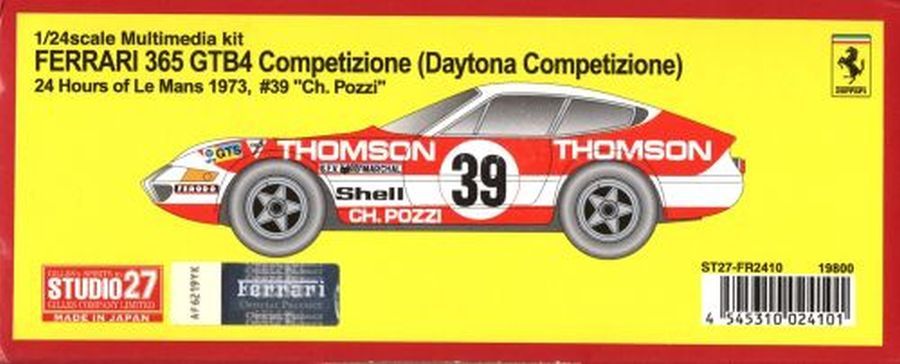
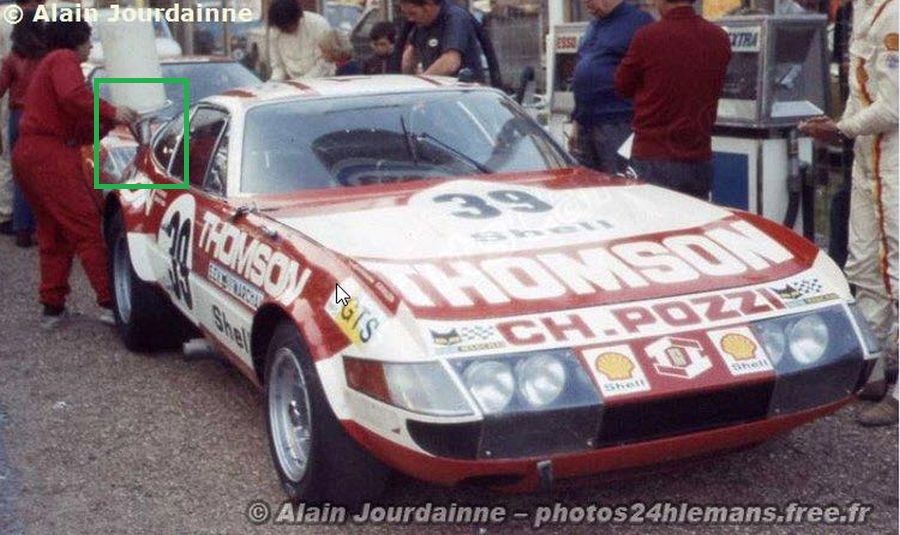
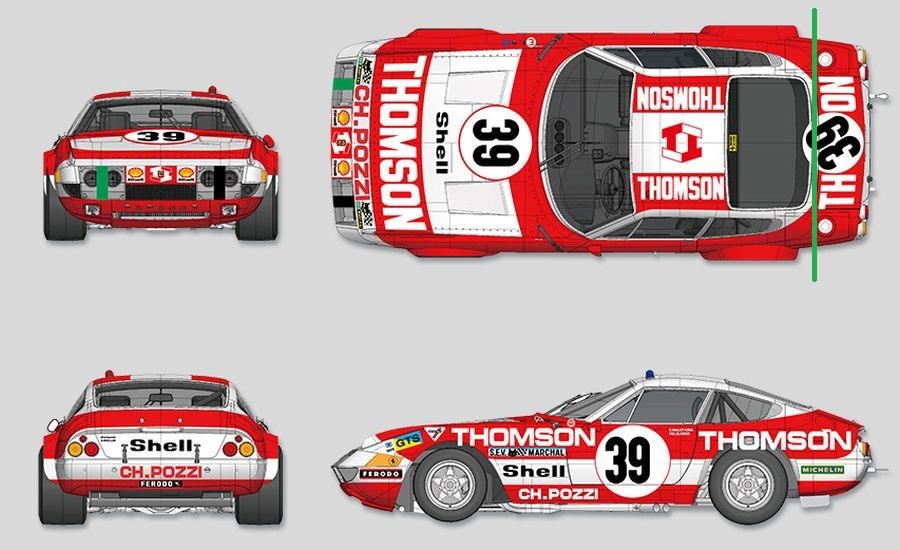
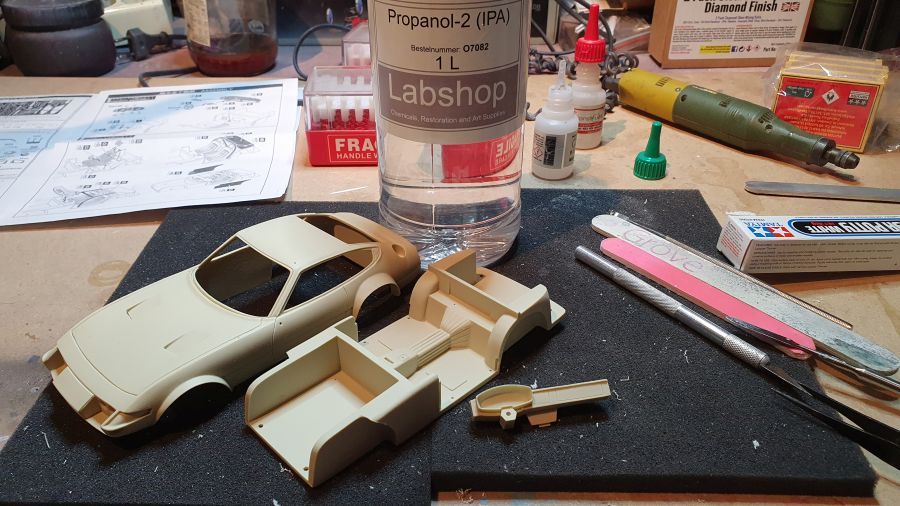
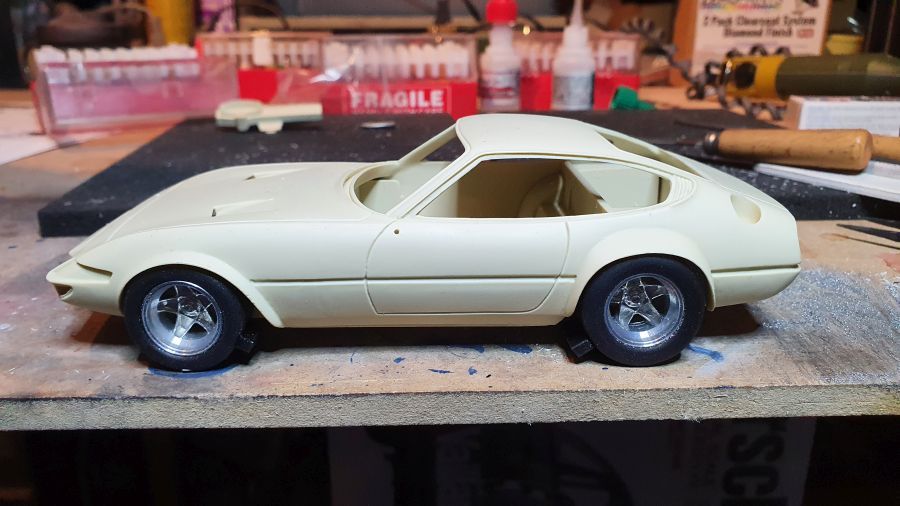
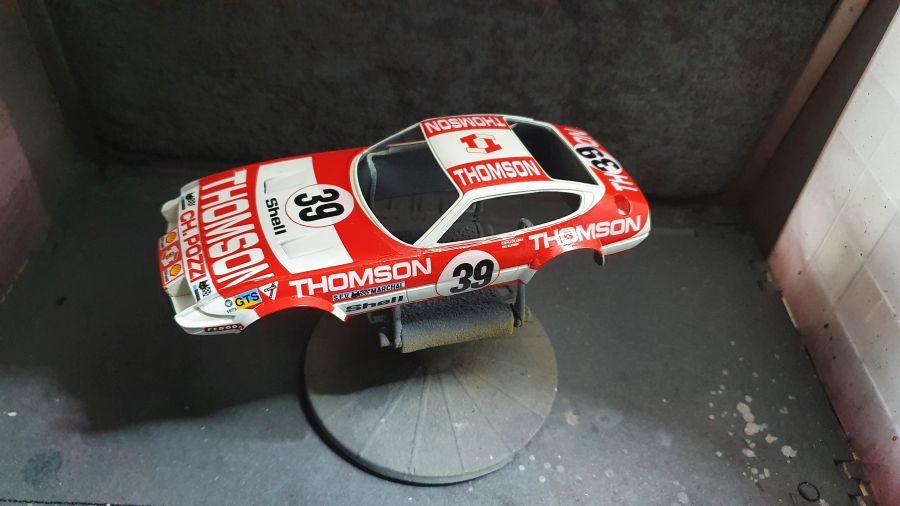
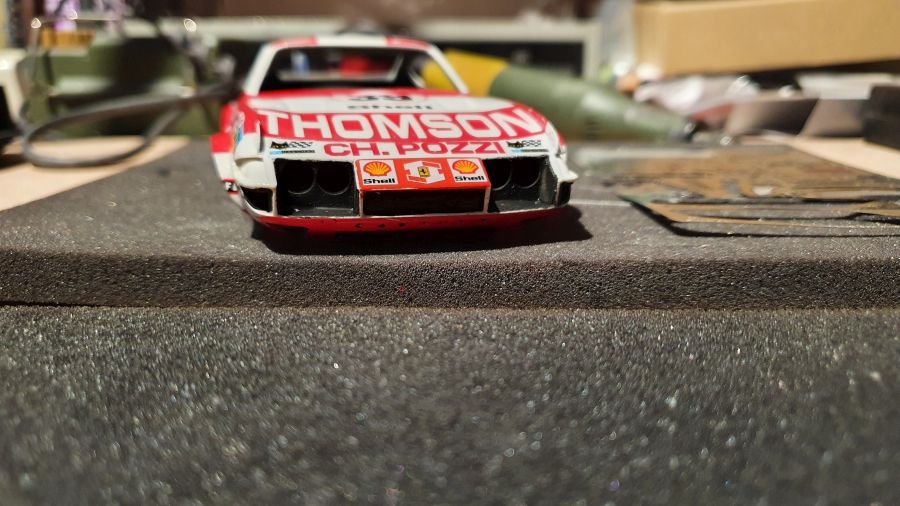
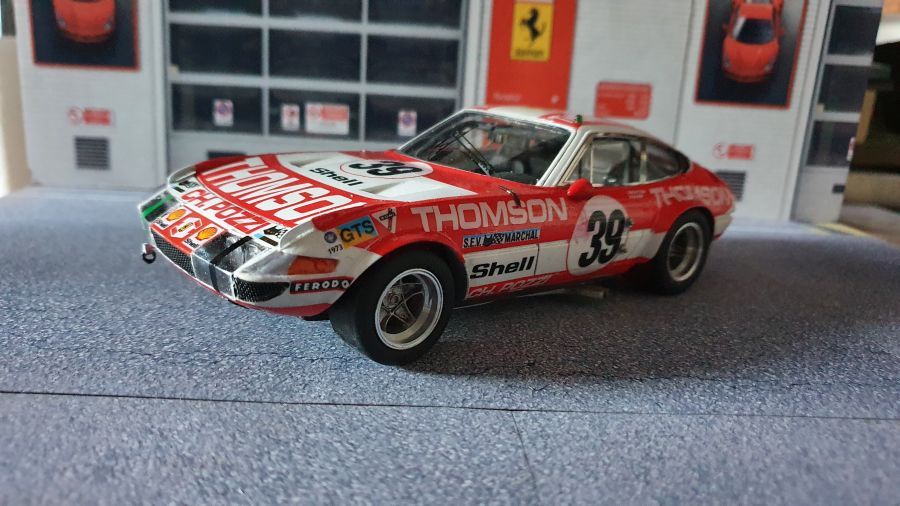
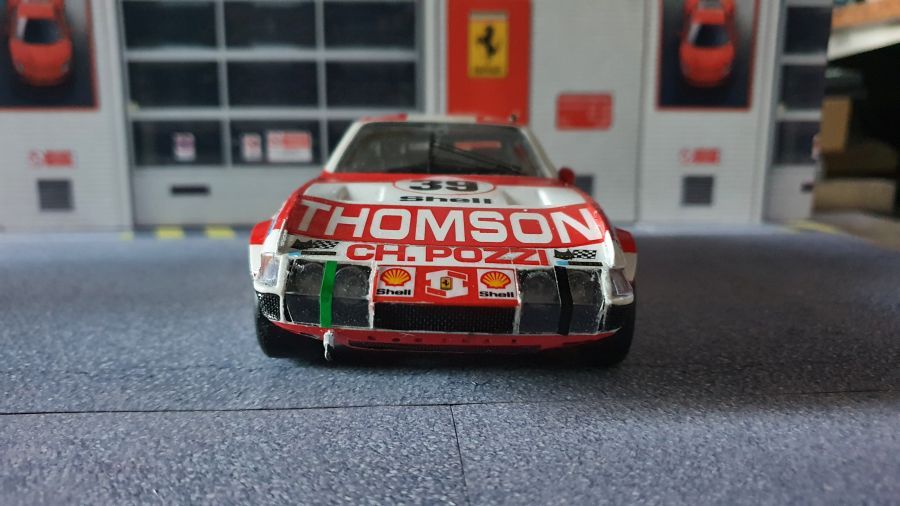
Vandaag begin ik met deze kit. Ik heb een paar favoriete Ferrari race wagens en dit is er zeker 1 van. Het is de Studio27 (ST27-FR2410) 1973 Ferrari 365 GTB/4 Daytona Ch.Pozzi/Thomson versie, zoals deze meedeed aan de 24 Uur van Le Mans. Het is geen gemakkelijke kit. Dit type werd door veel privé coureurs gebruikt. Ieder van hen maakte zijn eigen veranderingen aan de auto. Twee of een benzinedoppen, de plaats van de doppen, aanpassingen aan het front, de breedte van de spatborden, enz. Dus een studie is belangrijk. I zal veel foto's zoeken en bekijken, voordat ik kan beginnen. Ik heb ongeveer 4 van deze kits en je zult de verschillen zien wanneer de bouw voorbij kmt. Ik heb hem ook in 1/12 van MFH, maar ik doe eerst deze 1/24 om mogelijke fouten te ontdekken enz.
Today i will start this kit. I have a few favorite Ferrari racing cars and this is certainly one of them. It's the Studio27 (ST27-FR2410) 1973 Ferrari 365 GTB/4 Daytona Ch.Pozzi/Thomson version, as it participated in the 24 Hrs of Le Mans. It's a tricky kit though. This type was driven by a lot of privateers. Each of them sometimes made his own adjustments to the car. Two or one petrol caps, the place of the caps, adjustments to the front, the width of the fenders, etc. So a study on this one is crucial. I will look for/at a lot of photos, before i can start. I have about 4 of these kits and you'll see the differences when the builds come by. I also have the MFH 1/12, but i will do this 1/24 first to find out about possible mistakes etc.
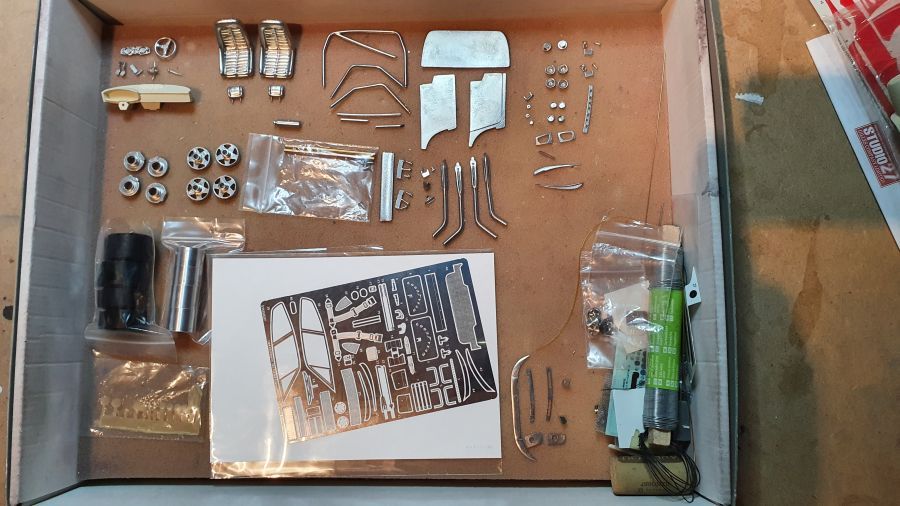
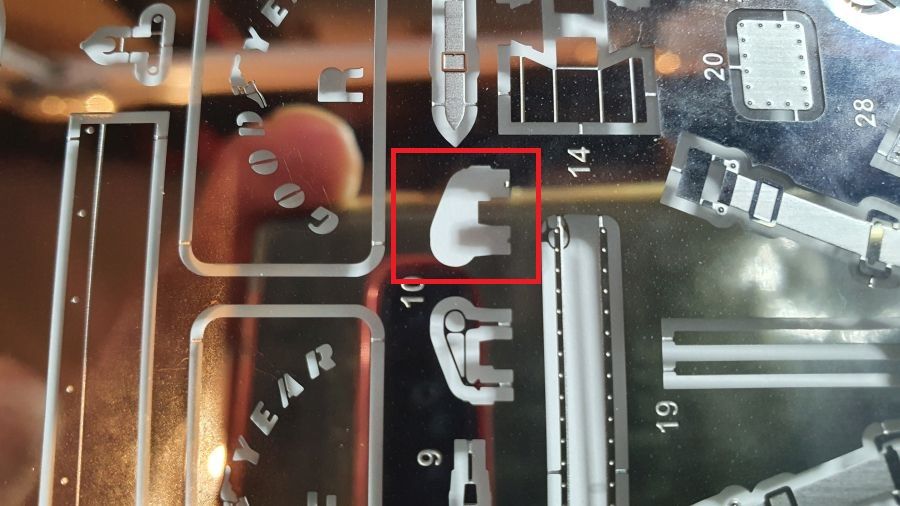
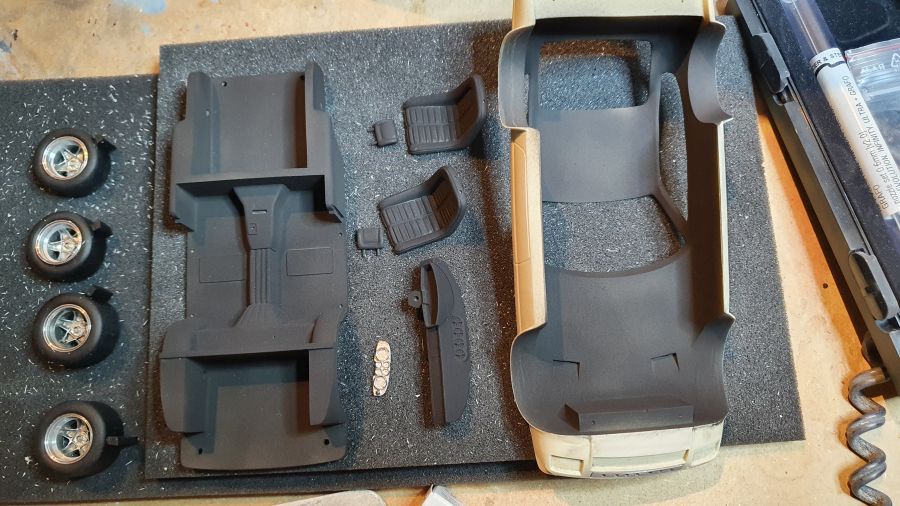
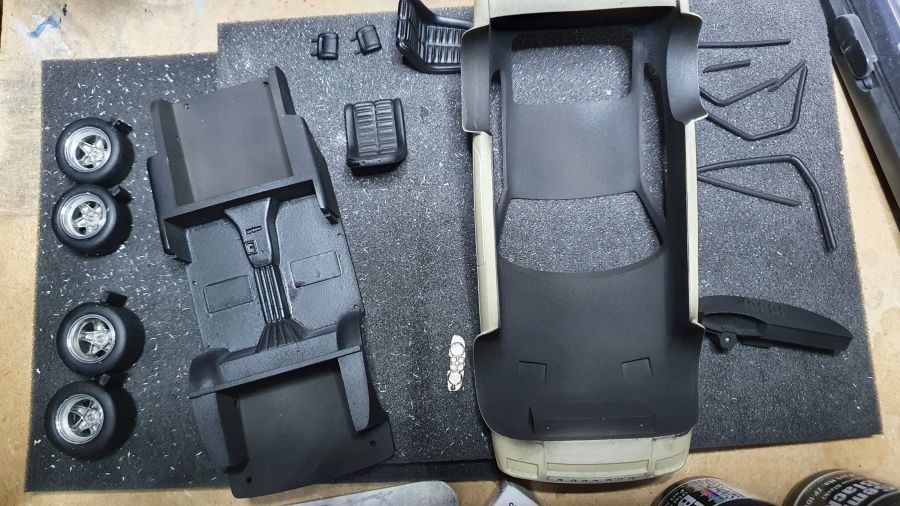
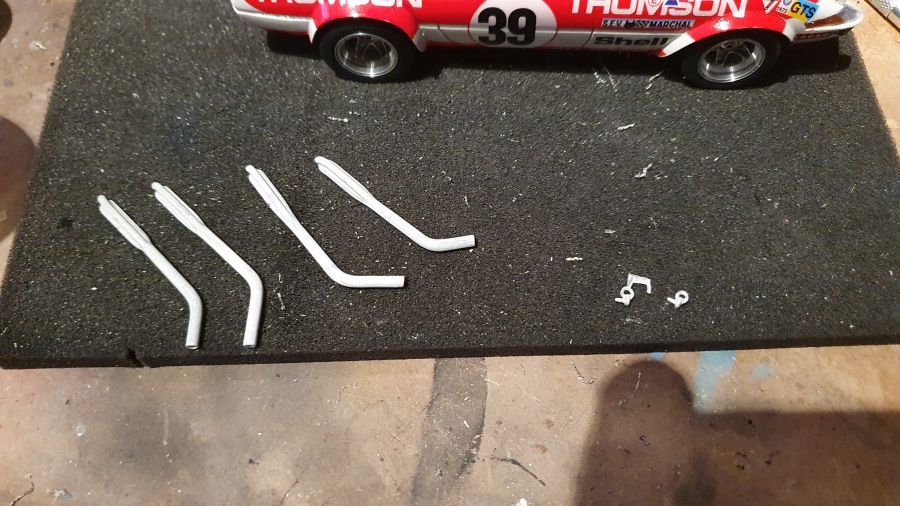
Onderdelen die bij deze versie niet worden gebruikt.
Parts that will not be used for this version.

Missend onderdeel.
Missing parts.
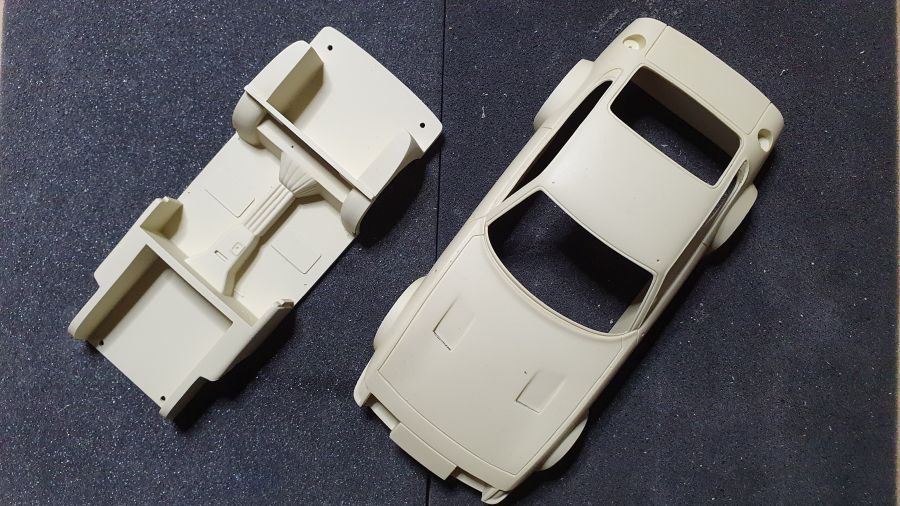
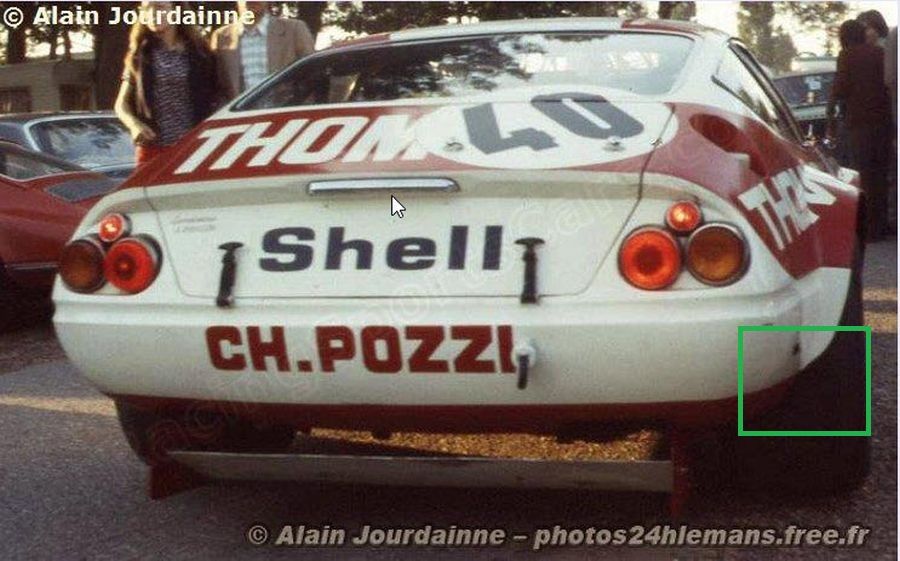
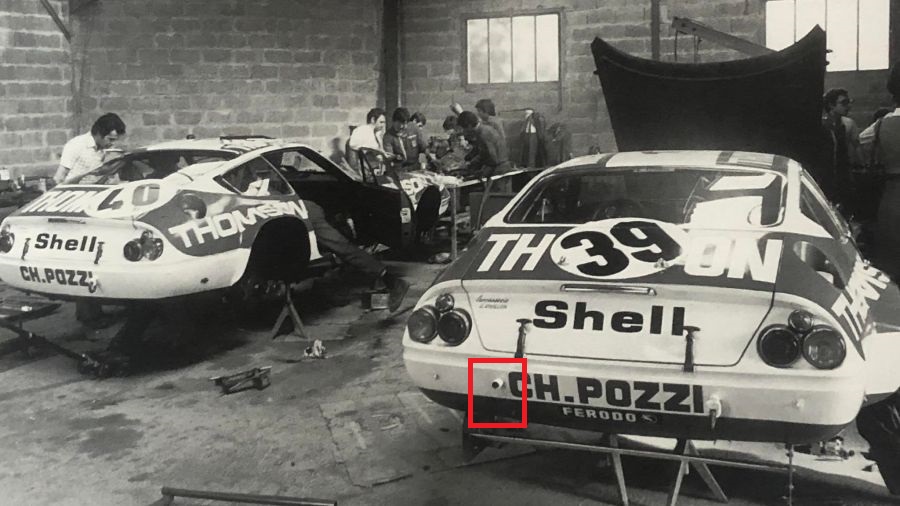
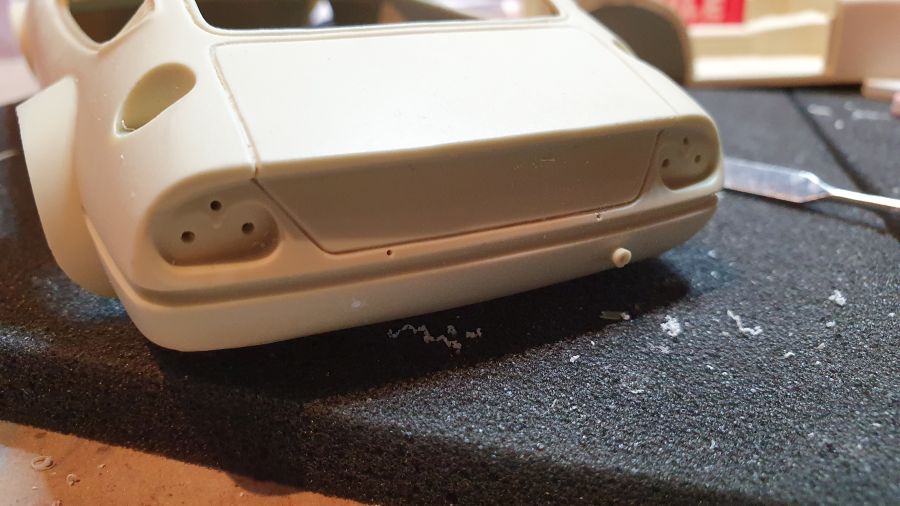
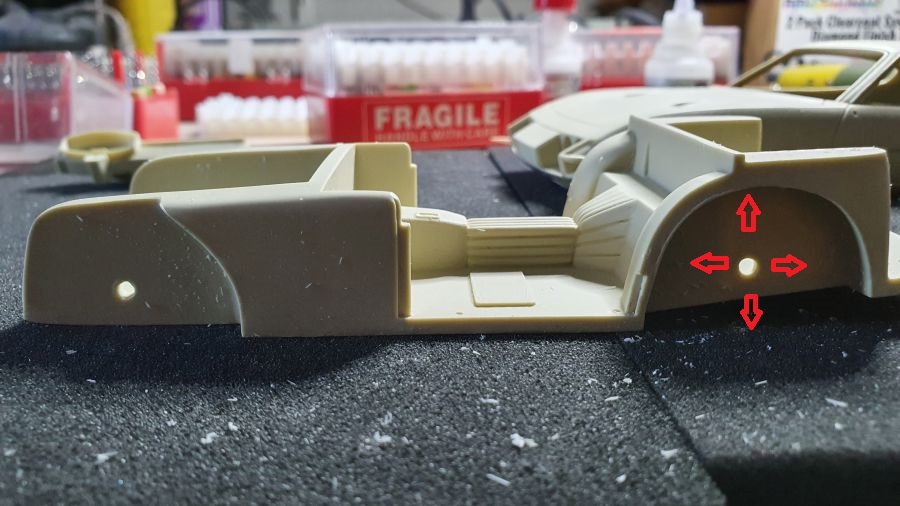
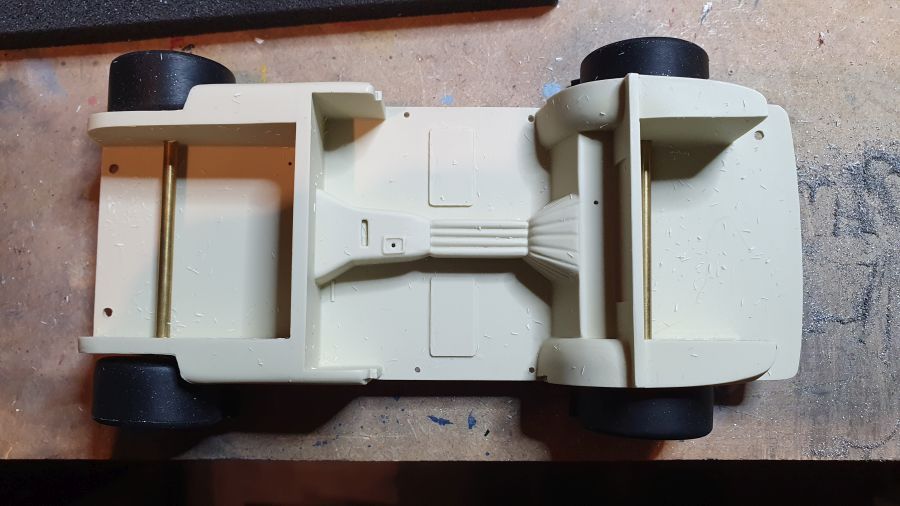
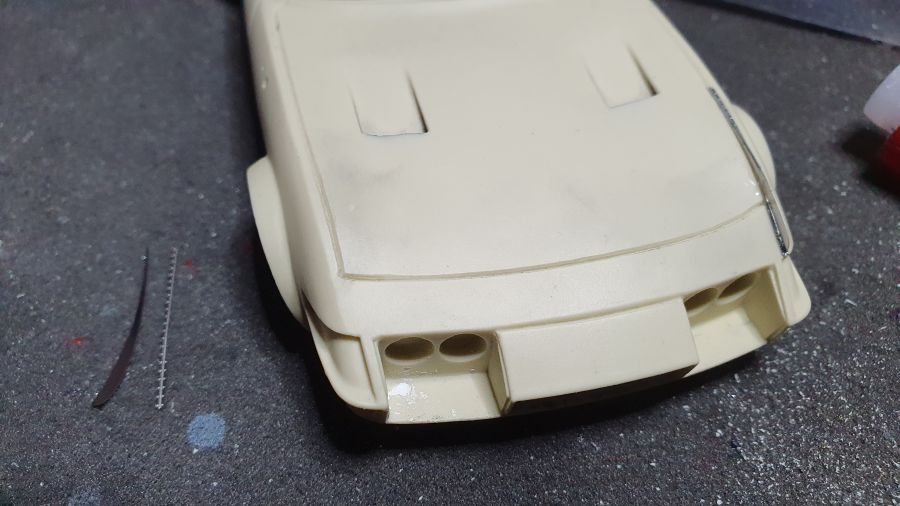
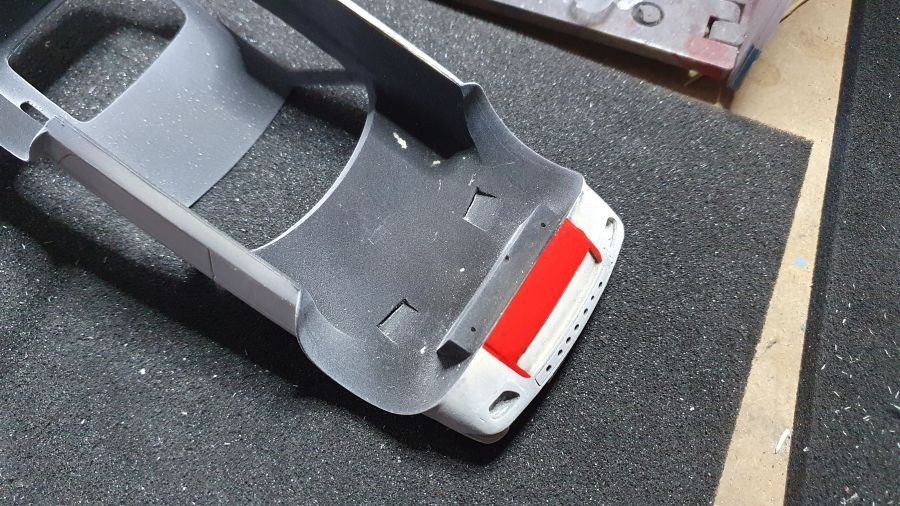
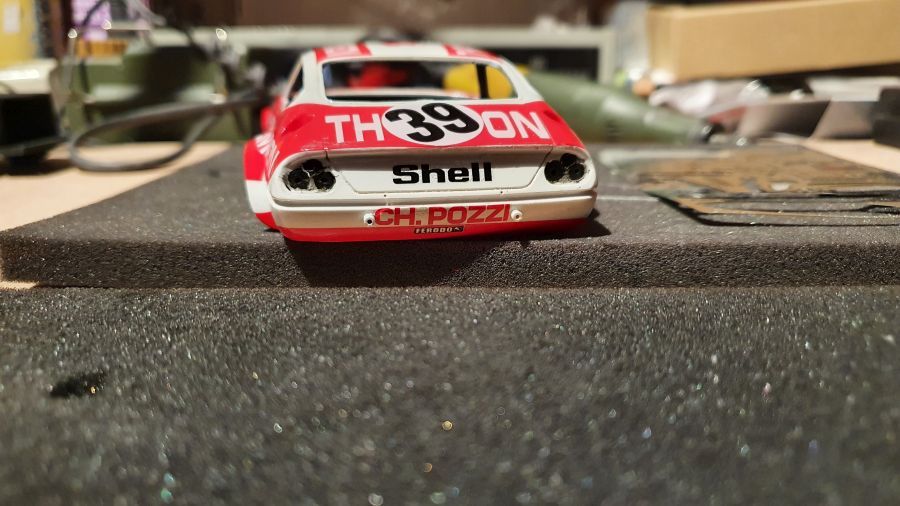
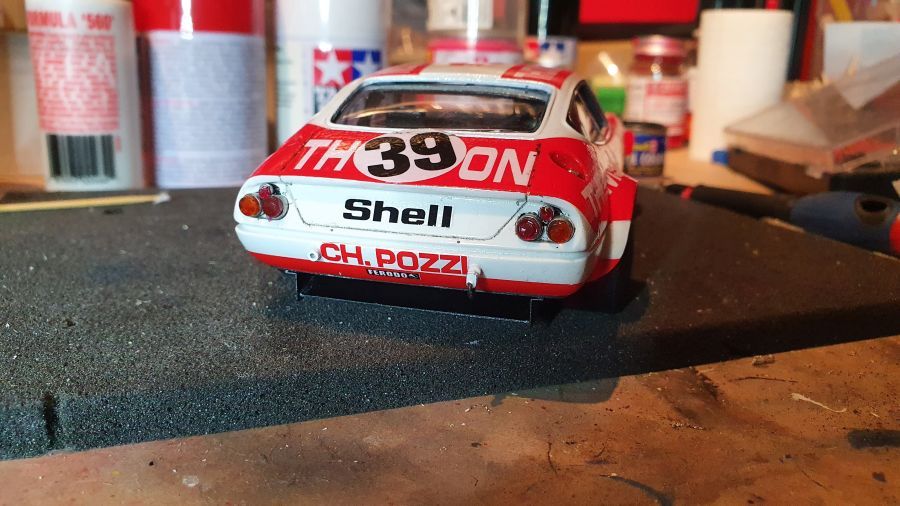
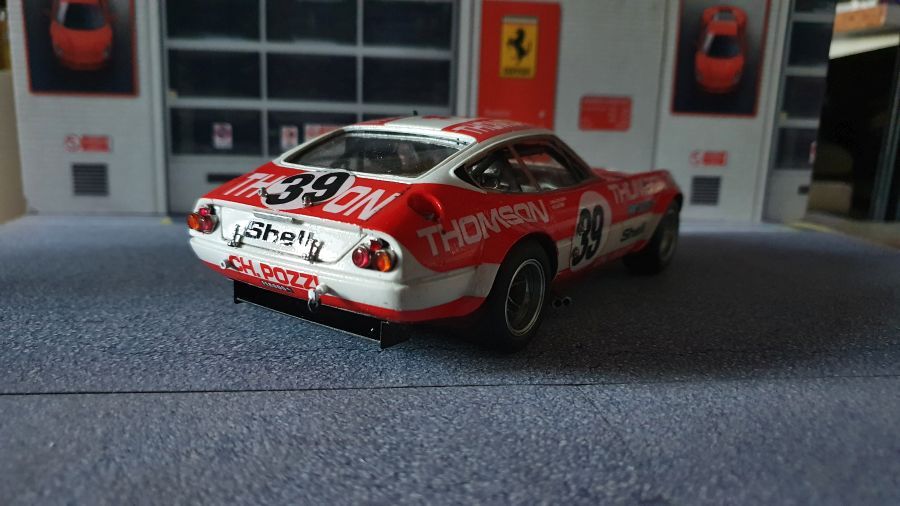
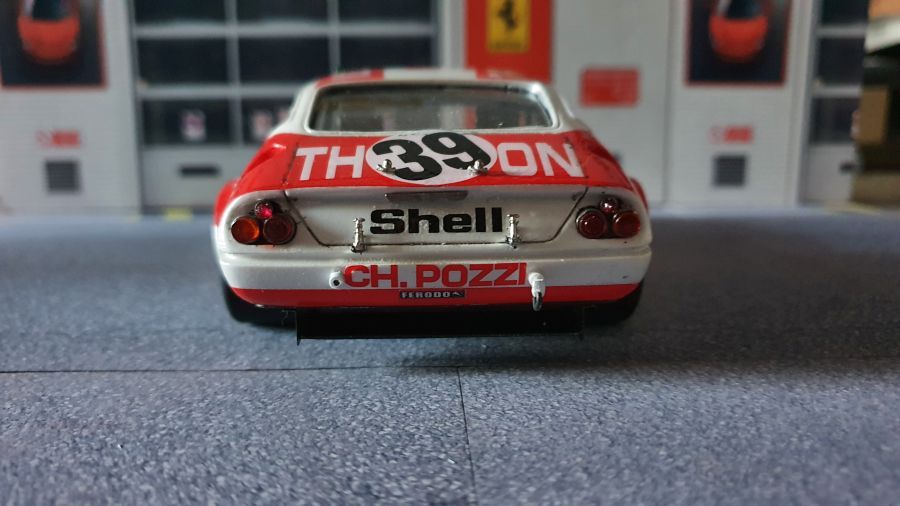
Er zit een verschil aan de achterkant tussen de werkelijkheid en de kit.
There is a difference at the rear between reality and the kit.
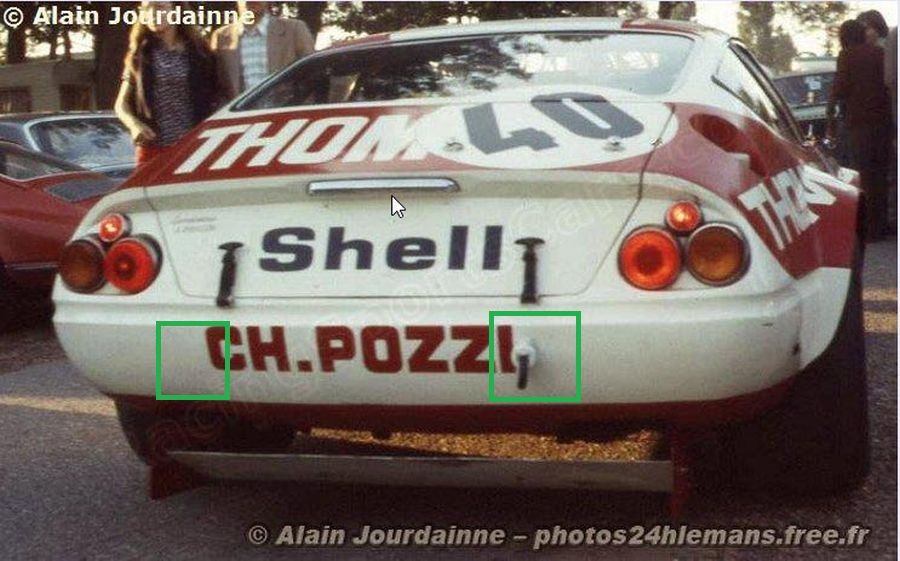
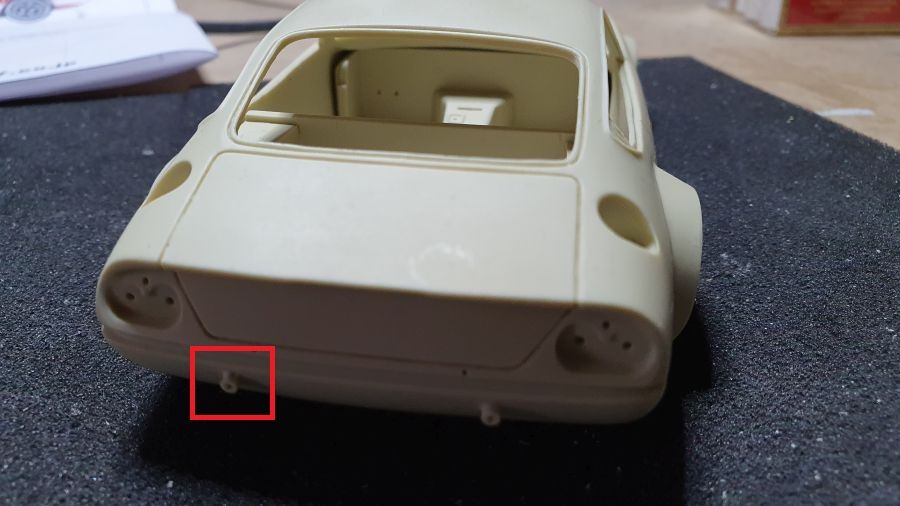
Aan beide kanten zitten vulopeningen... en op dezelfde positie.
There are filling caps on both sides... and at the same position.
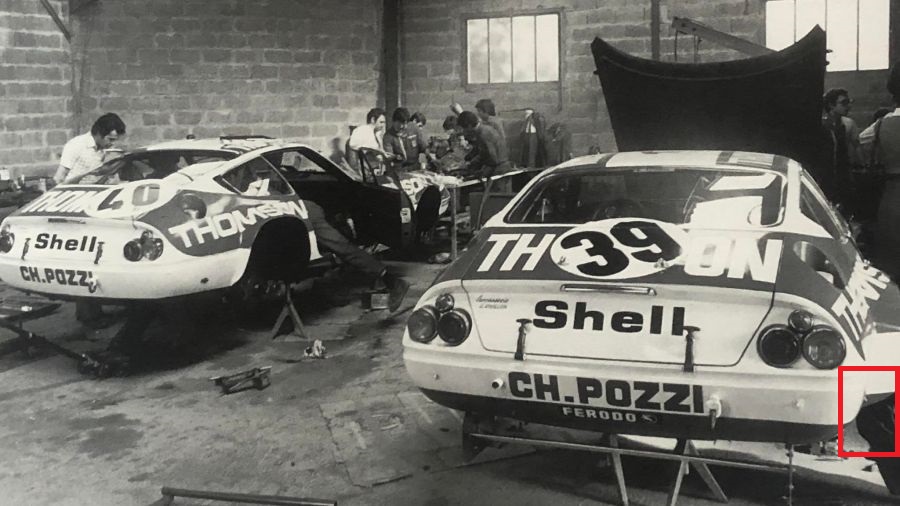
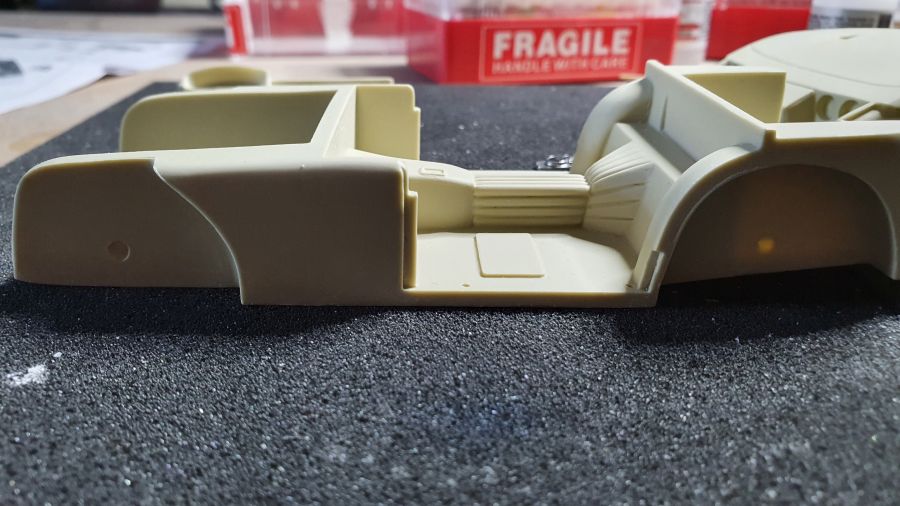
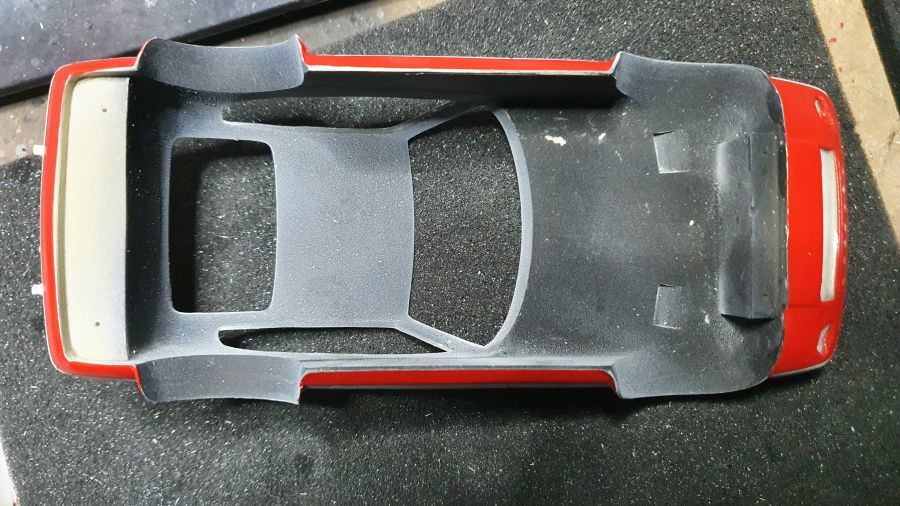
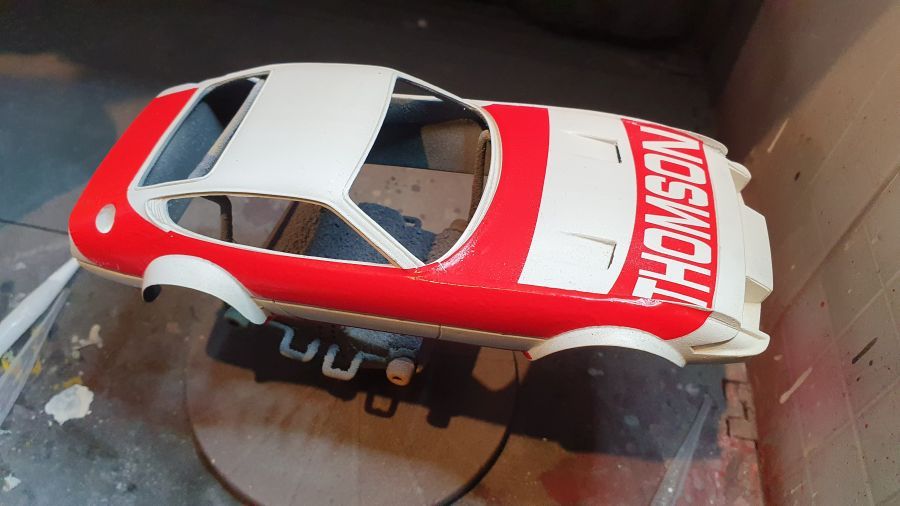
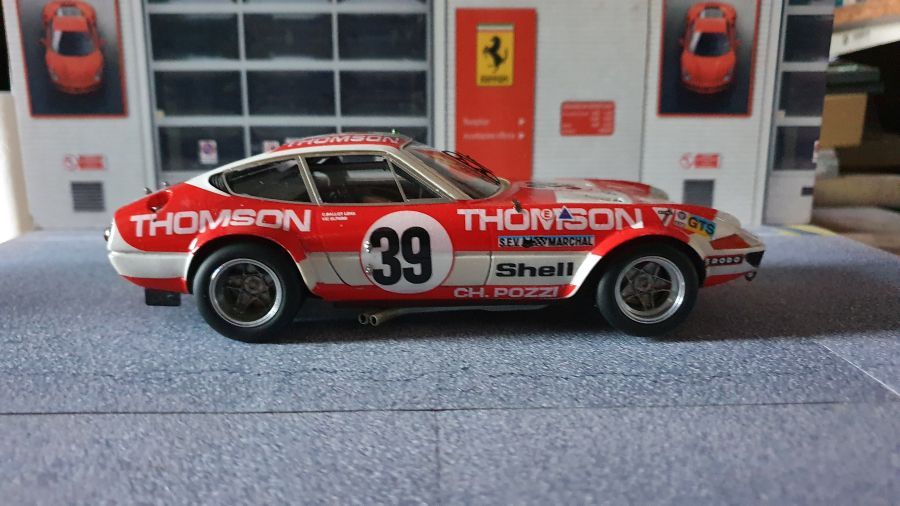
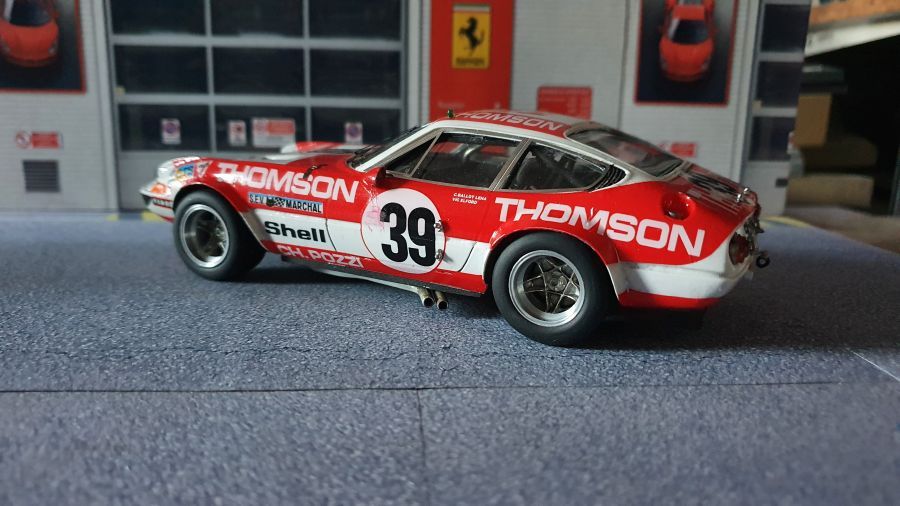
Ook heb ik mijn twijfels bij de juistheid van de achterspatborden. Op de foto is duidelijk te zien dat deze niet helemaal tot onder (gelijk met de bodem) lopen. De kit laat iets anders zien.
I have doubts about the shape of the rear fenders. On the photo you can see they don't go all the way down (equal to the floor). The kits shows elsewise.
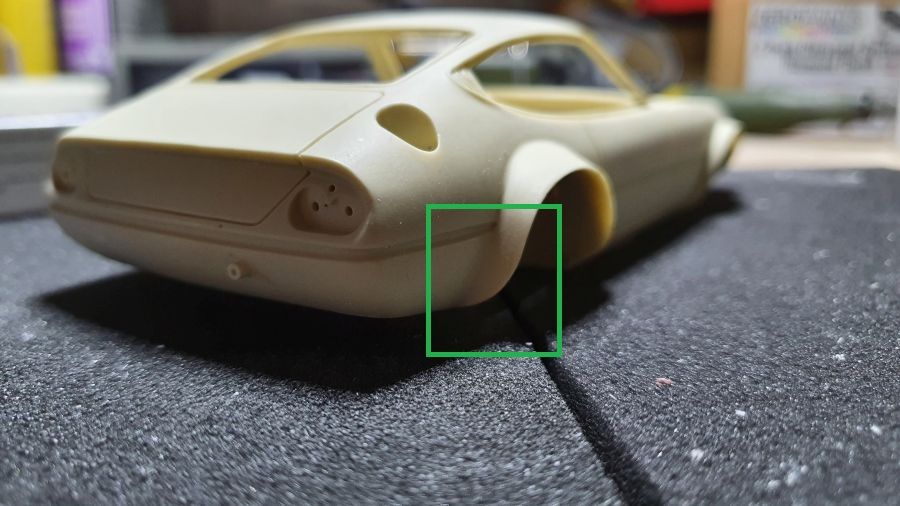
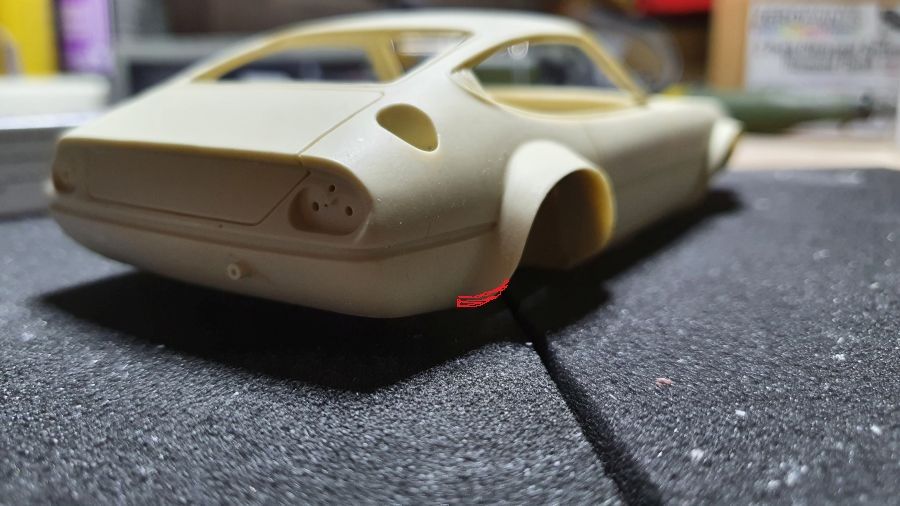
Goede vriend Pierpaolo stuurde me wat foto's uit een goed boek. Daarop is te zien dat het spatbord toch nog wat rood heeft. Ik ga daarom niets veranderen.
Good friend Pierpaolo sent me some photos from a good book. It is clear that the fender has some red. So i will not change this.
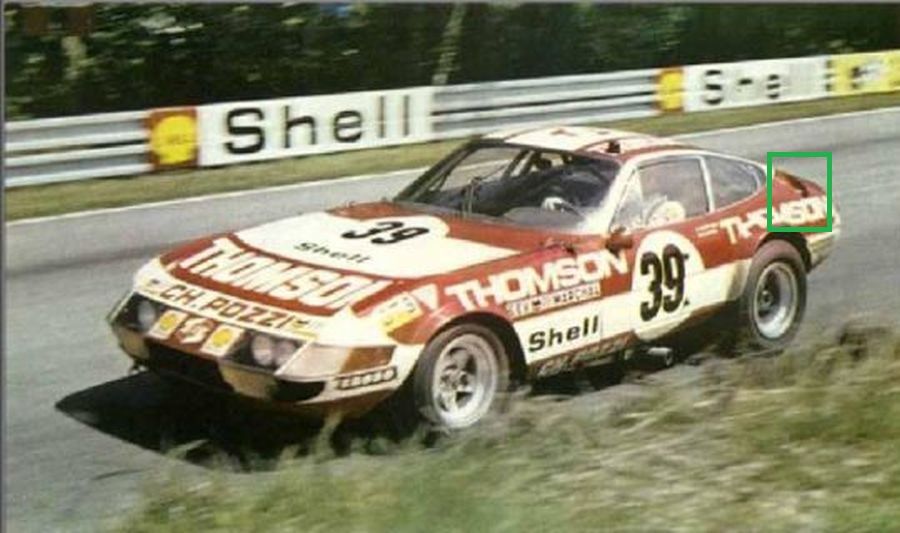
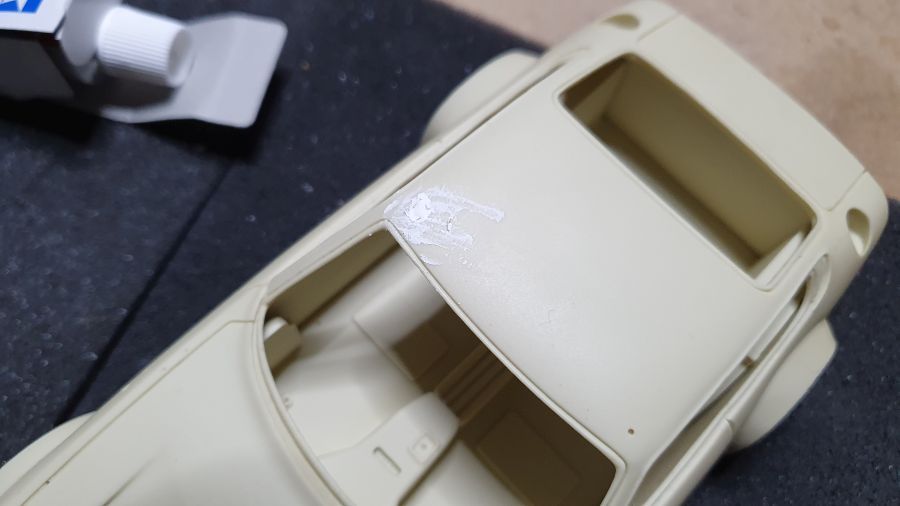
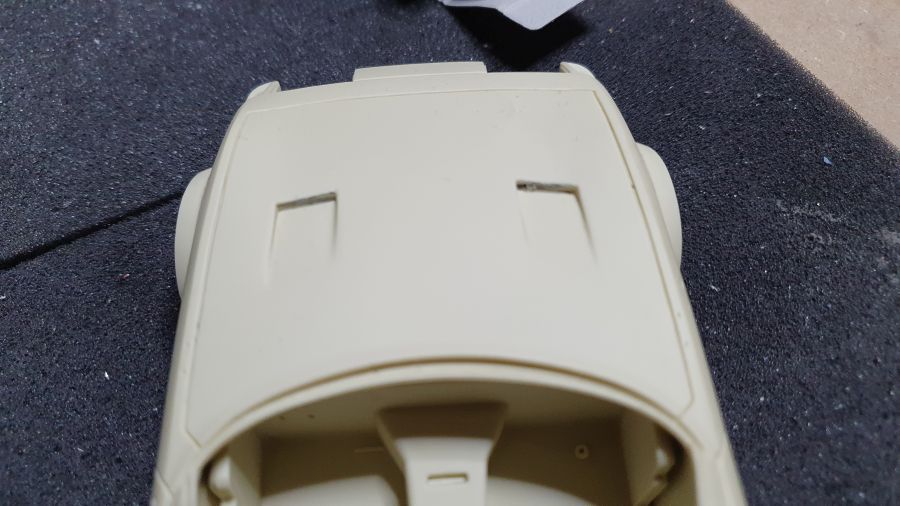
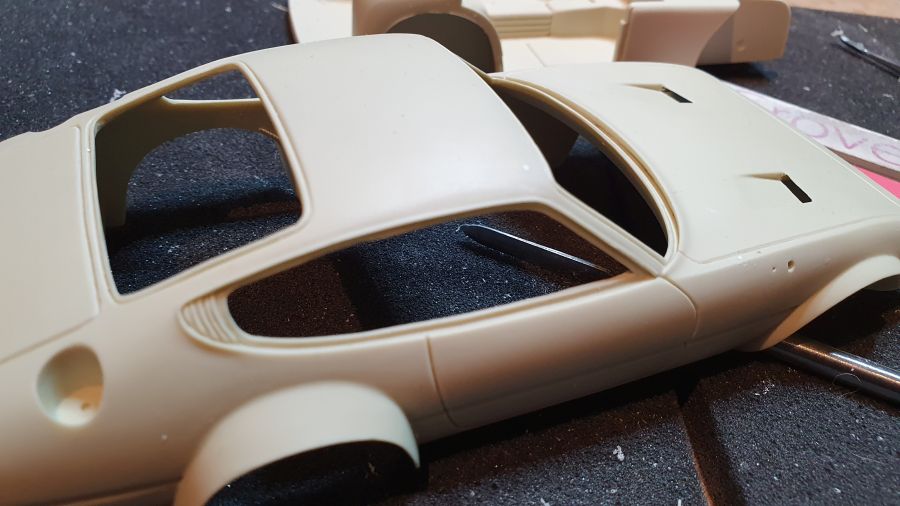
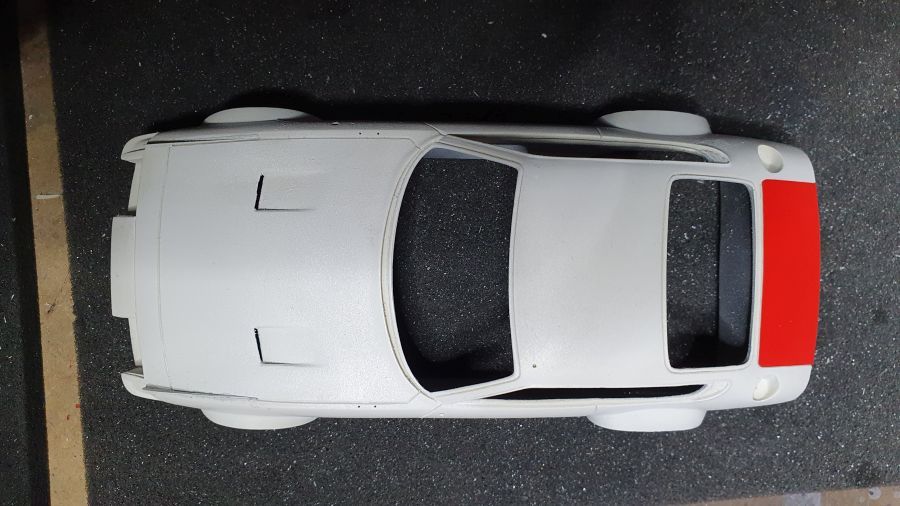
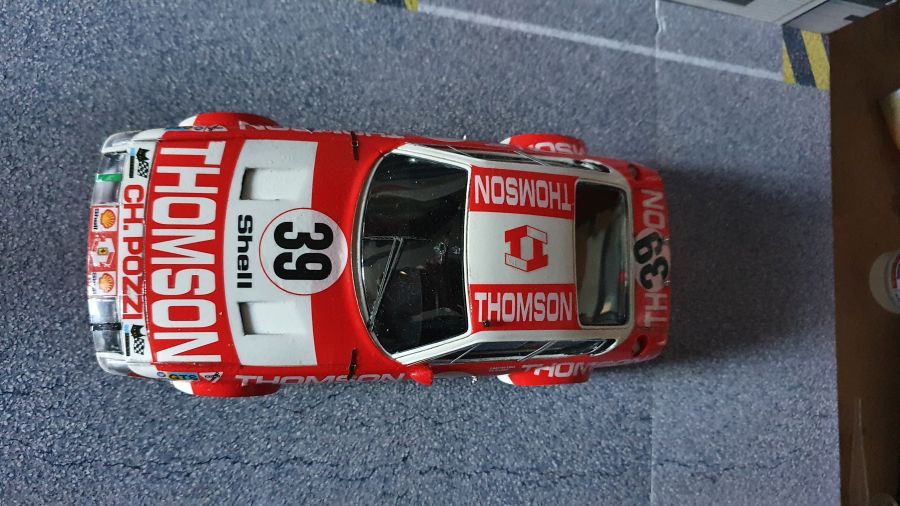
Een gaatje bovenop het dak en aan de achterkant (na verwijdering van het bevestigingspunt) worden gevuld.
A hole on top of the roof and at the rear (after cutting off the mount) are being filled.
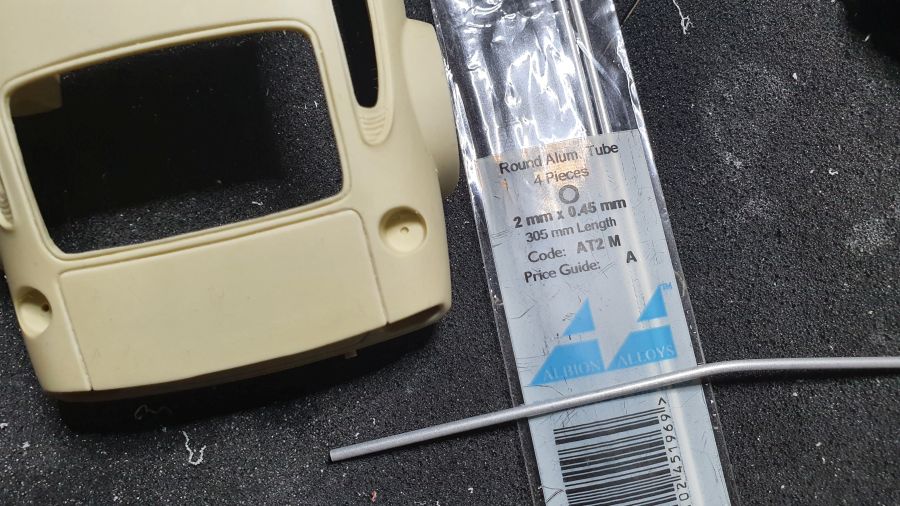
Uit de foto van Pierpaolo blijkt dat dit niet juist is. Dit ga ik met een stukje buis herstellen.
From the picture of Pierpaolo it's obvious it's not correct. So i will recover it by adding some tube.
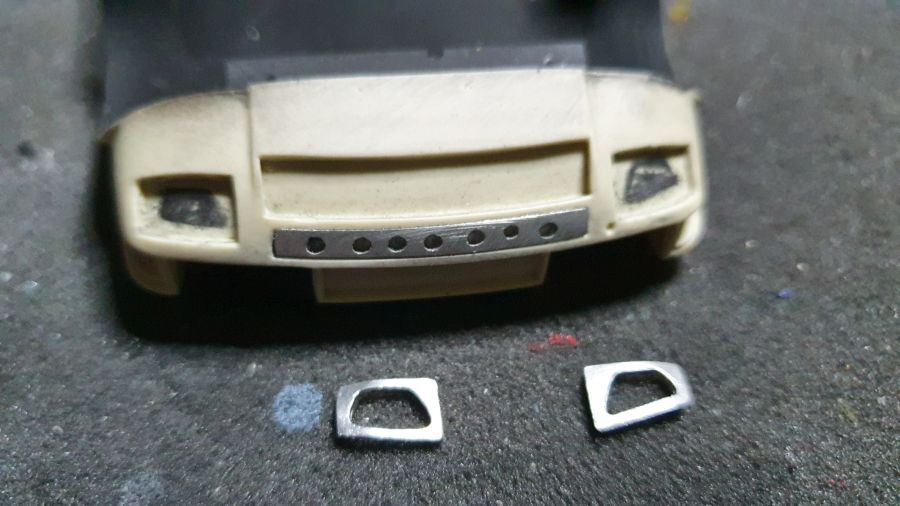
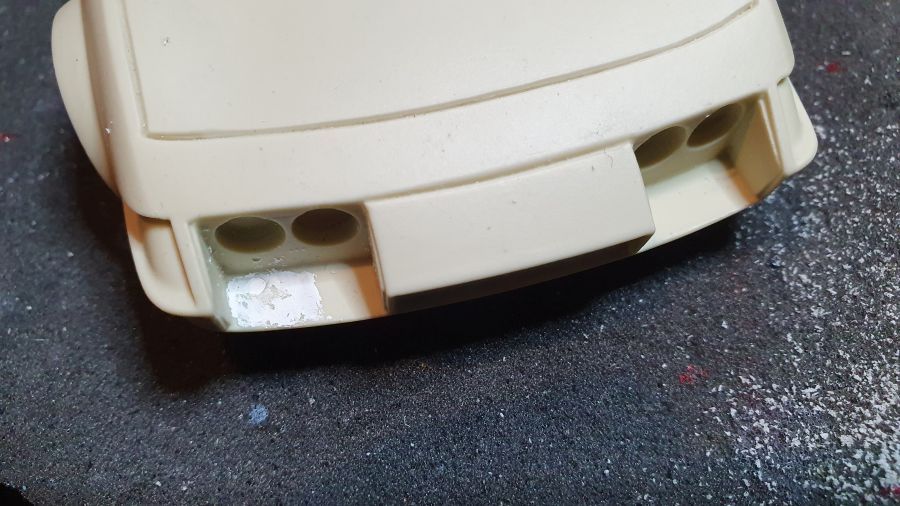
De ventilatieopeningen worden open gemaakt.
The vents will be opened.
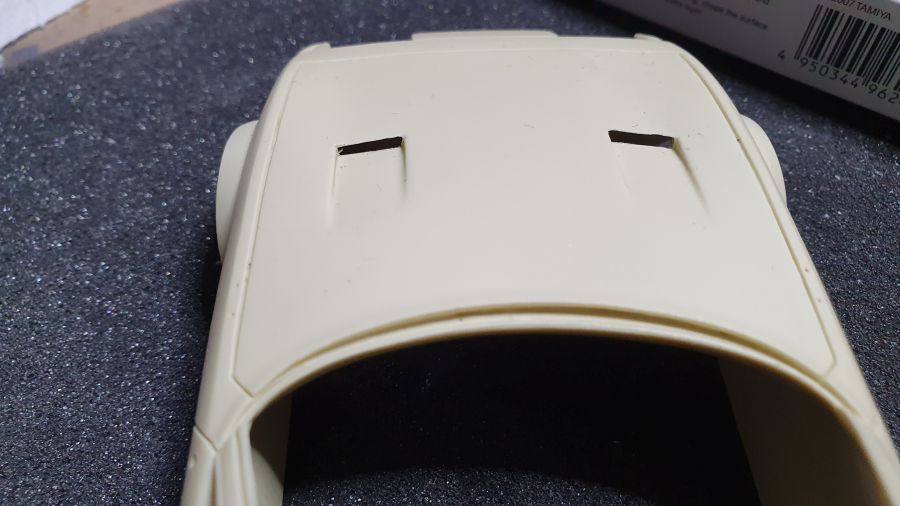
De paneellijnen worden wat dieper gemaakt.
The panel lines are made a bit deeper.
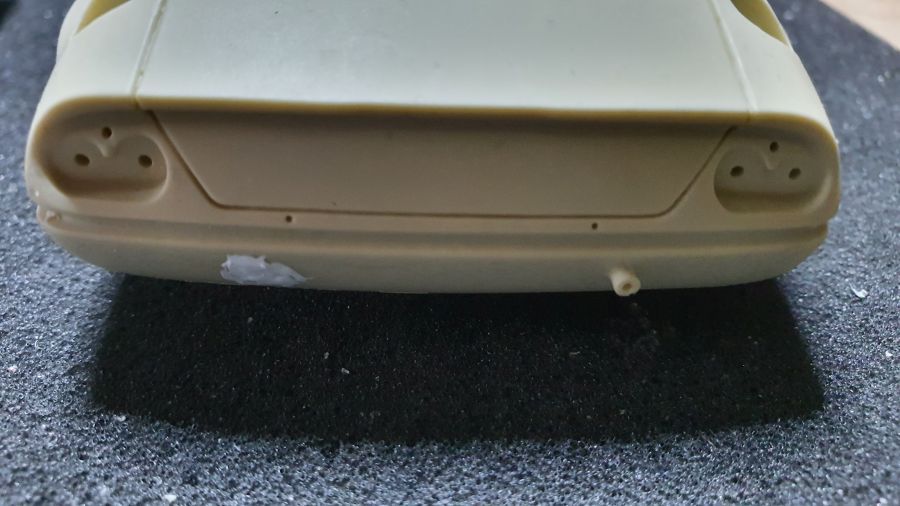
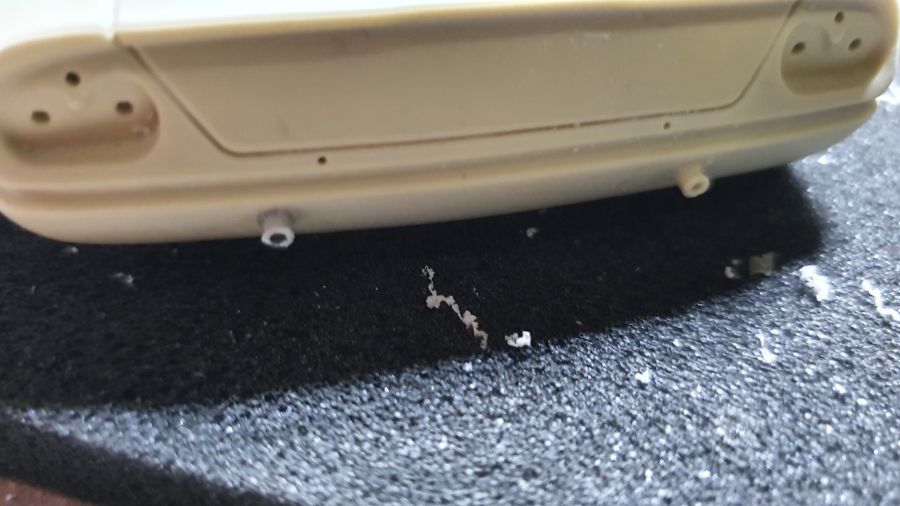
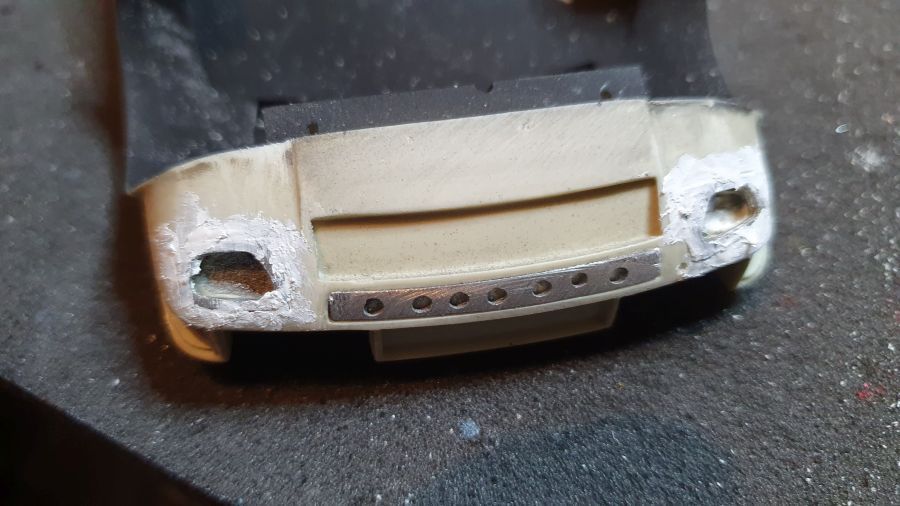
Wat gaten geboord en niet gebruikte gaten gevuld.
Drilled some holes and filled some holes that will not be used.

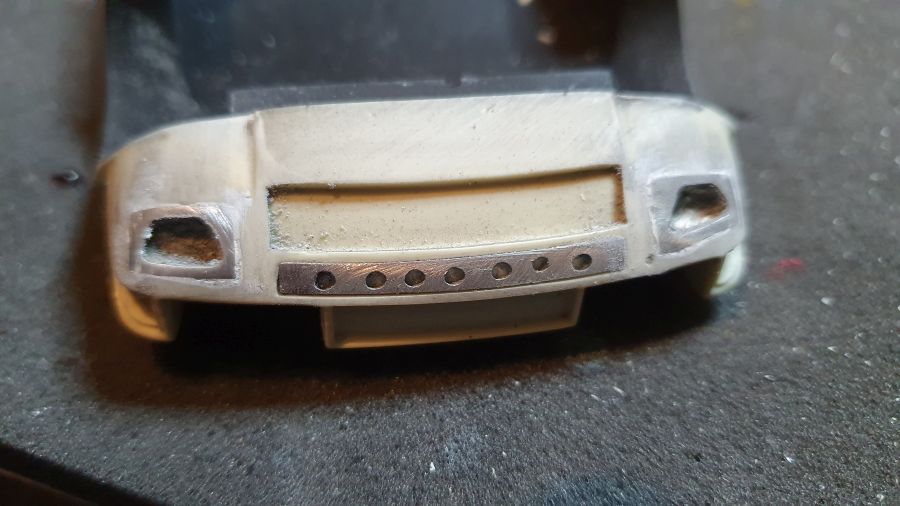
Gerestaureerd.
Restored.
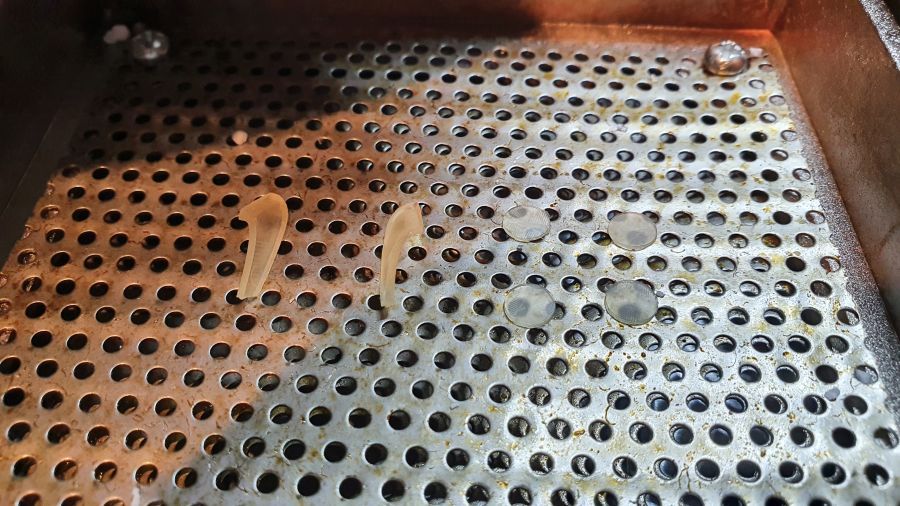
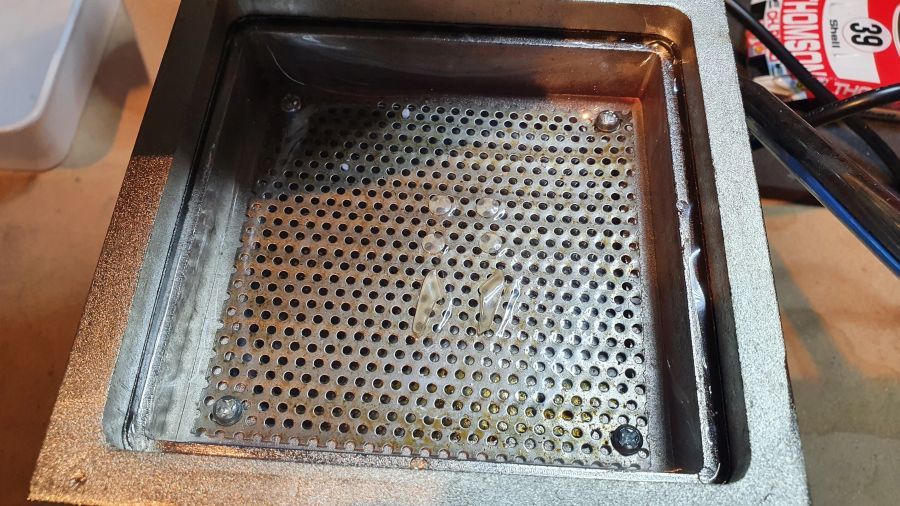
Het resin ga ik uiteraard ontvetten.
Degreasing the resin.
Zoek de verschillen.
Spot the differences.
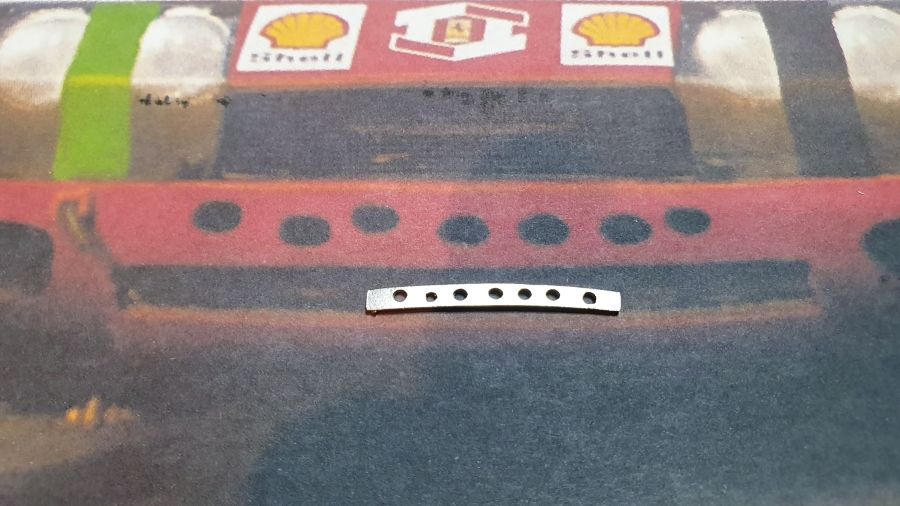
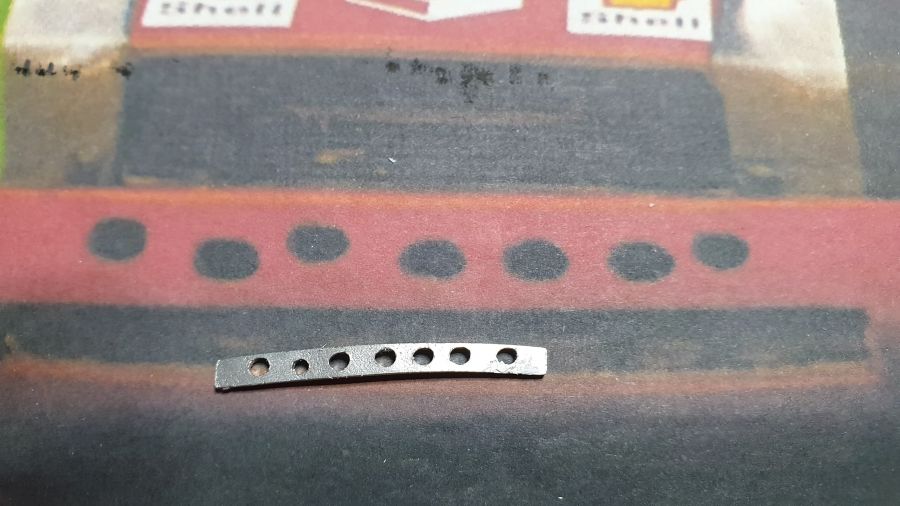
Iets meer ovaal gemaakt.
Made them a little more oval.

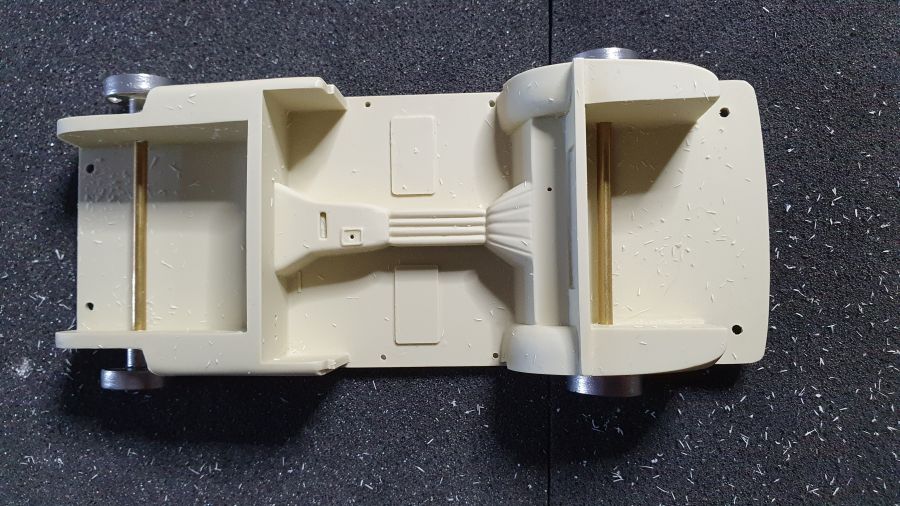
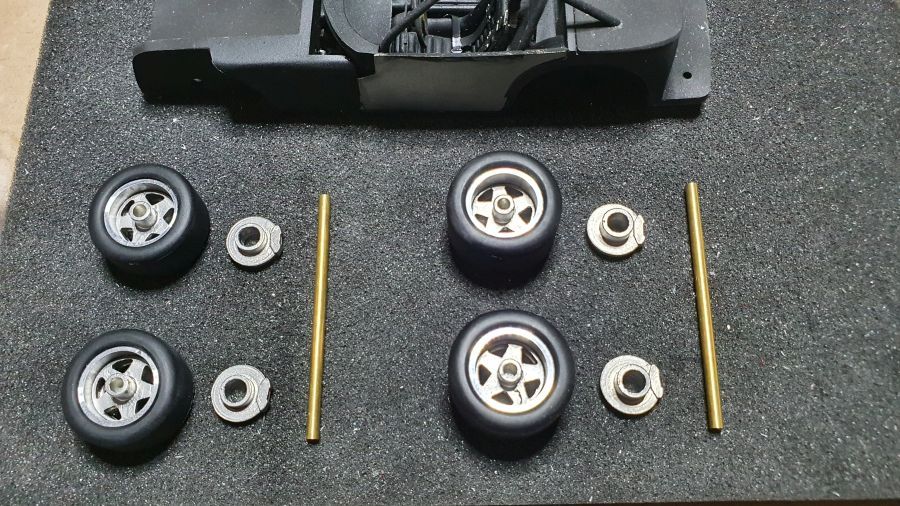
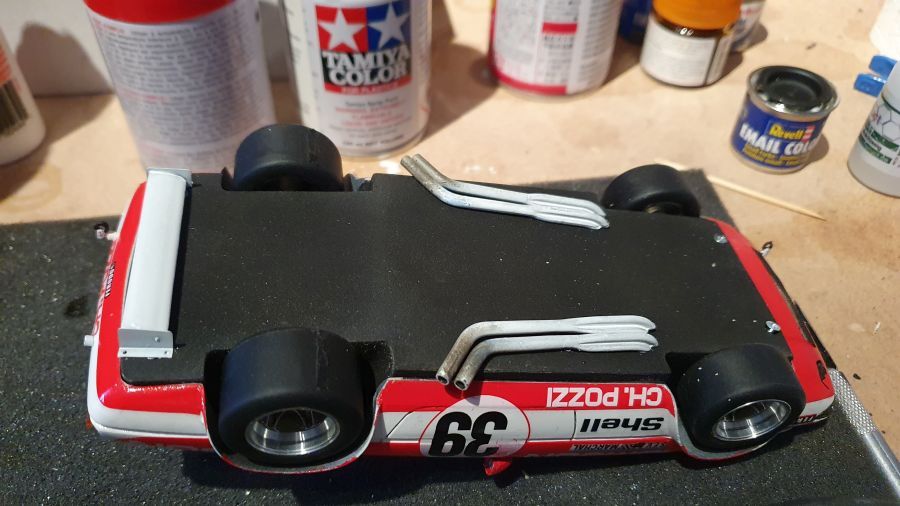
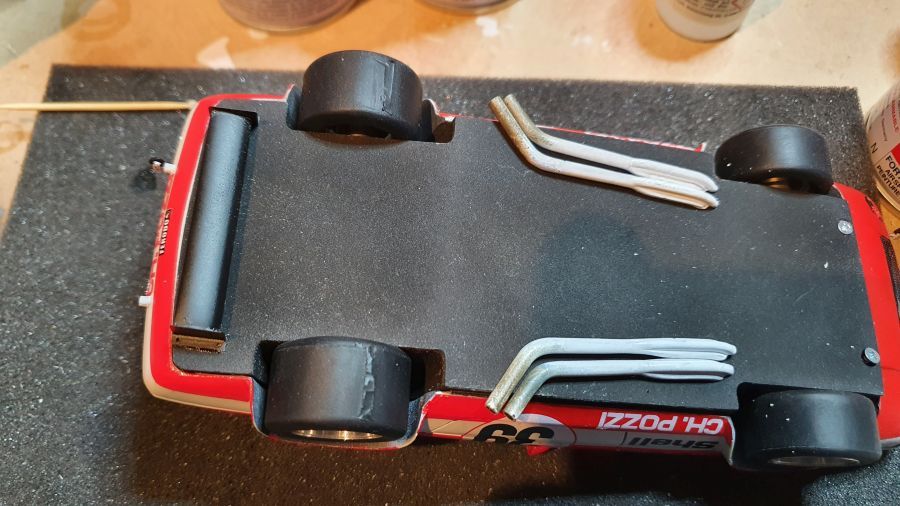
Ik ga niet weer dezelfde fout maken als met de 512BBLM dat de wagen te hoog op de wielen staat. Ik zal nu eerst zien of de vloer en de wielhoogte passen. Dus niet meer blind vertrouwen op de aangeven boorgaten.
I will not make the same mistake again as i did with the 512BBLM, being the car to high on it's wheels. I will first see if the floor and the wheels fit. So no more blind trust on the designated holes to drill.
Op deze manier kan ik nog van alles aanpassen aan de boorgaten.
This way i am able to make all kinds of changes to the drilled holes.
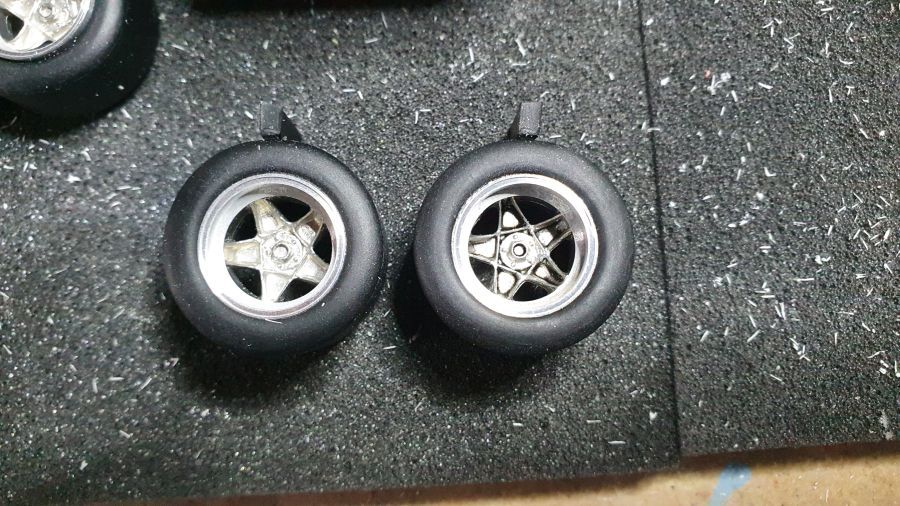
Dit moet eerst passend gemaakt worden, de inleg in de velgen.
These need to be made fit first, the inserts into the rims.
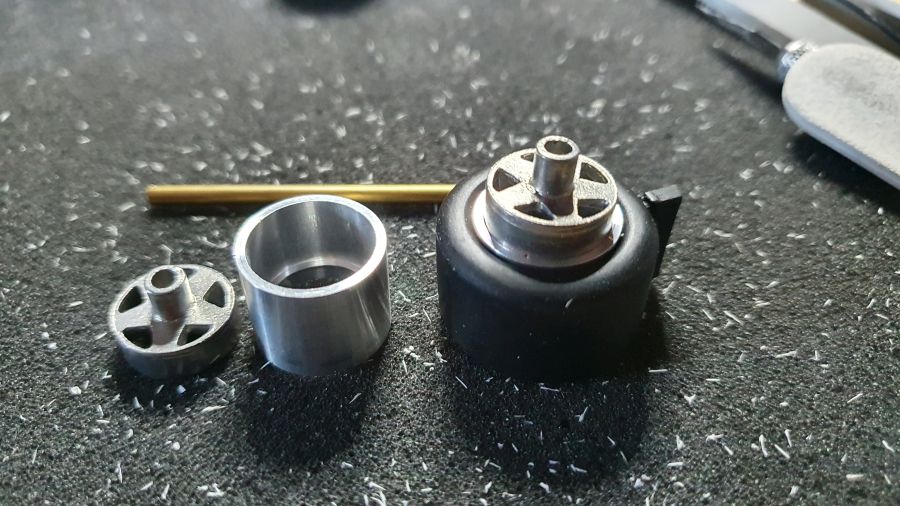
Dat ziet er goed uit vind ik.
I think this looks o.k.
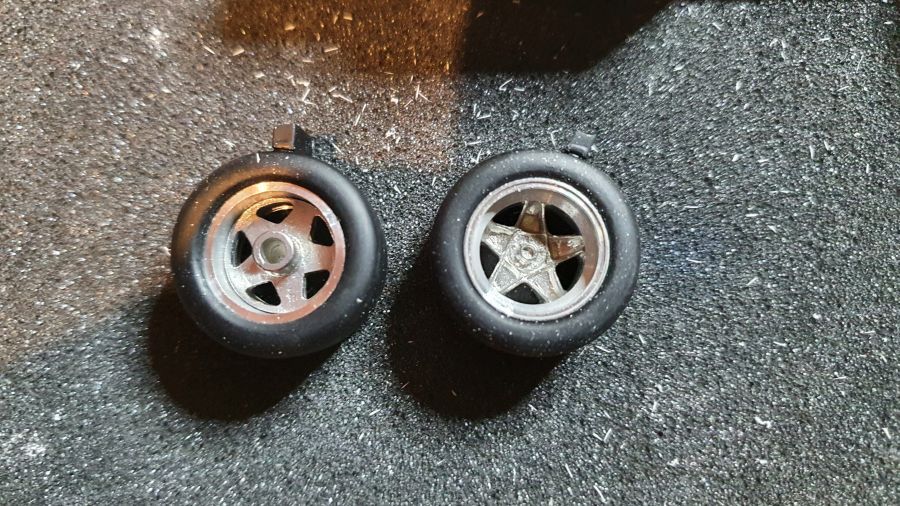
De velgen worden een beetje 'vuil' gemaakt met Tamiya panel line accent color.
The rims are made a bit 'dirty' with Tamiya panel line accent color.
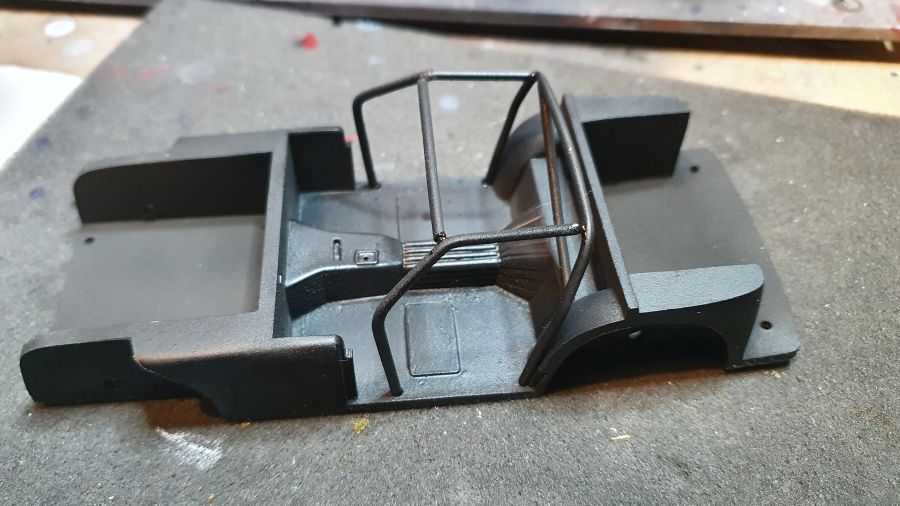
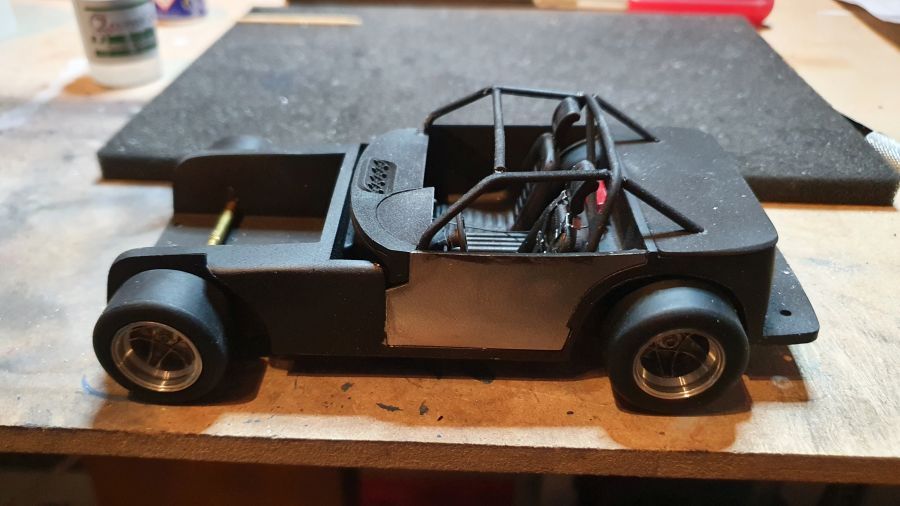
De eerste primer gaat erop. Daarna mat zwart en zijdemat.
The first primer was added. Then matt and silk matt.
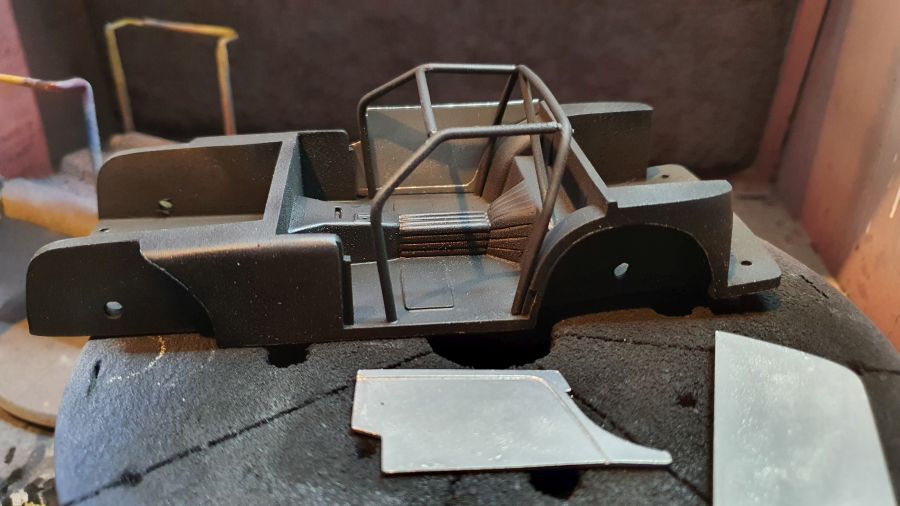
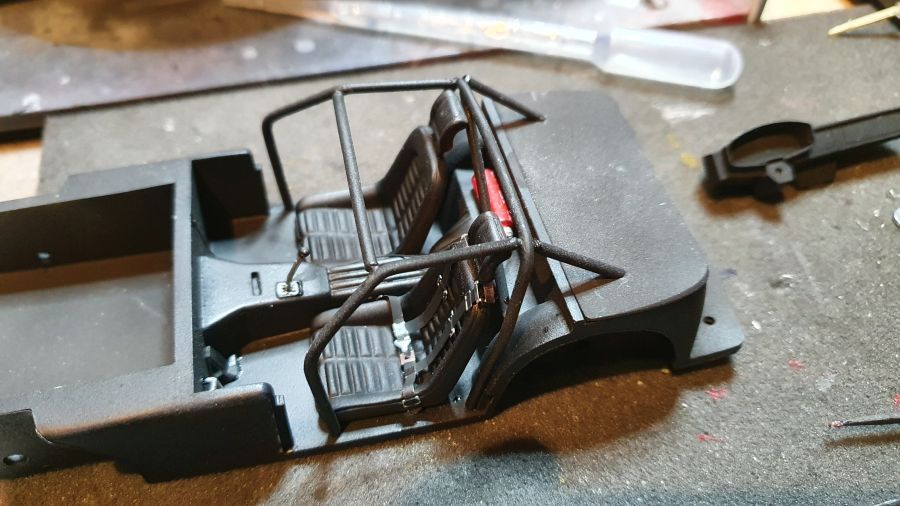
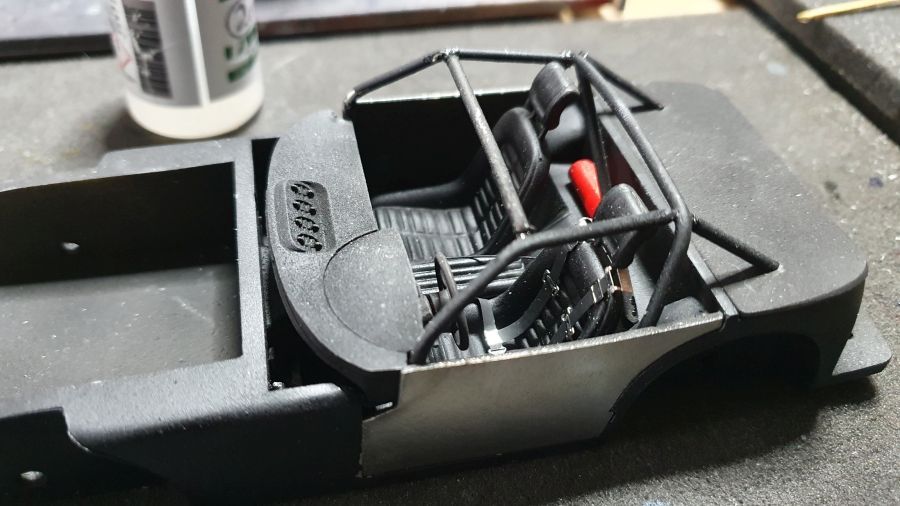
De kooi wordt geplaats.
The cage has been added.
Passen.
Test fit.
De zijpanel moeten op maat gemaakt en gespoten.
The side panels need to be made to size and painted.
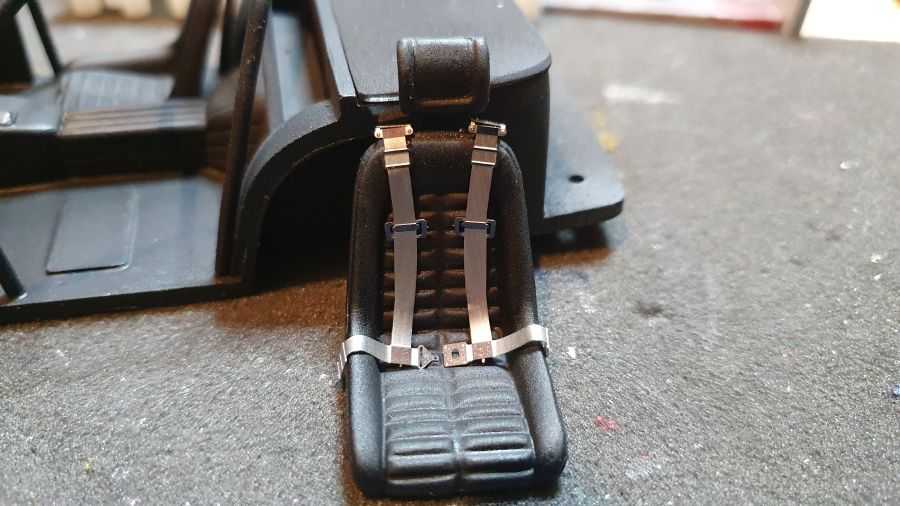
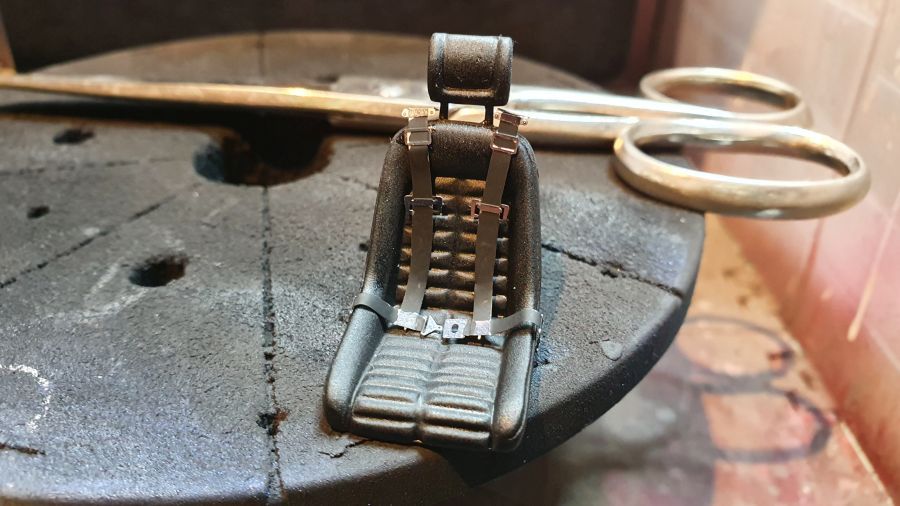
De bestuurderstoel krijgt 4 punts gordels.
The drivers seat gets 4 point belts.
Dan plaatsen.
Then attaching them.
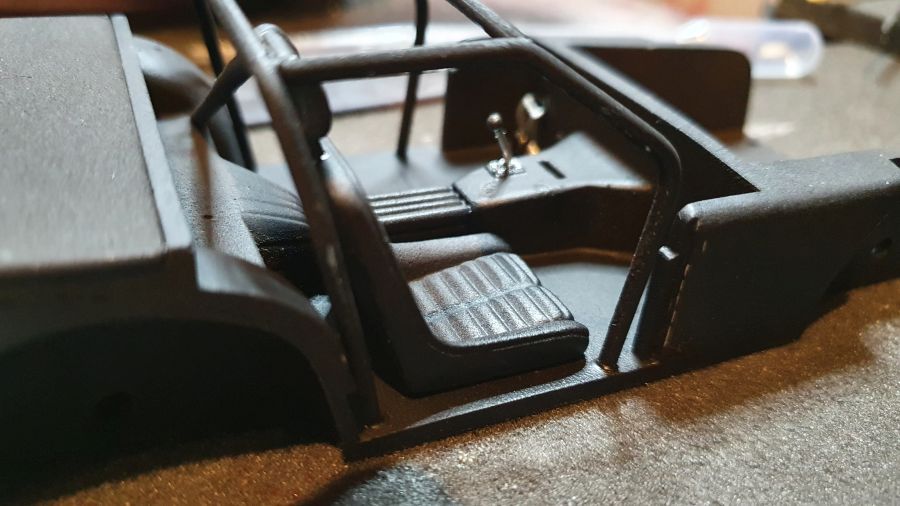
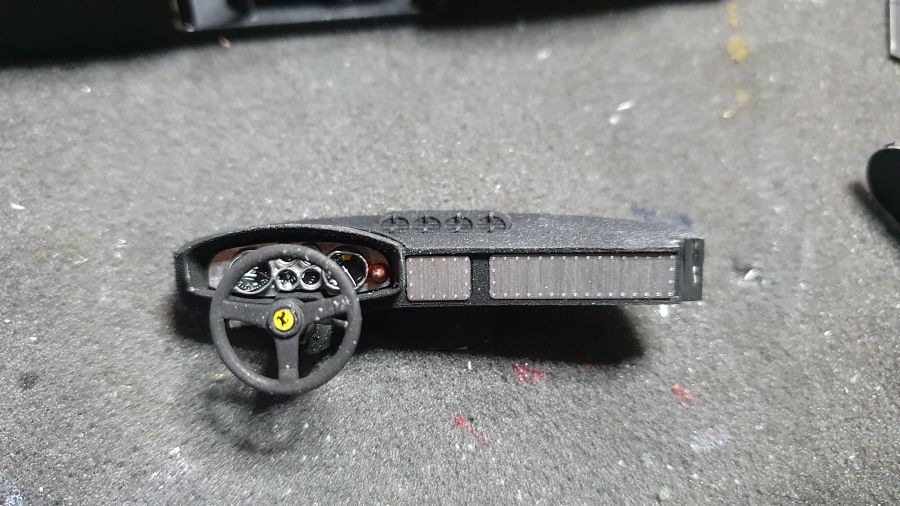
Werk aan het dashboard en plaatsen. Daarmee is de vloer en het interieur voorlopig klaar.
Work to the dash board and add it. This ends the work to the floor and the interior for now.
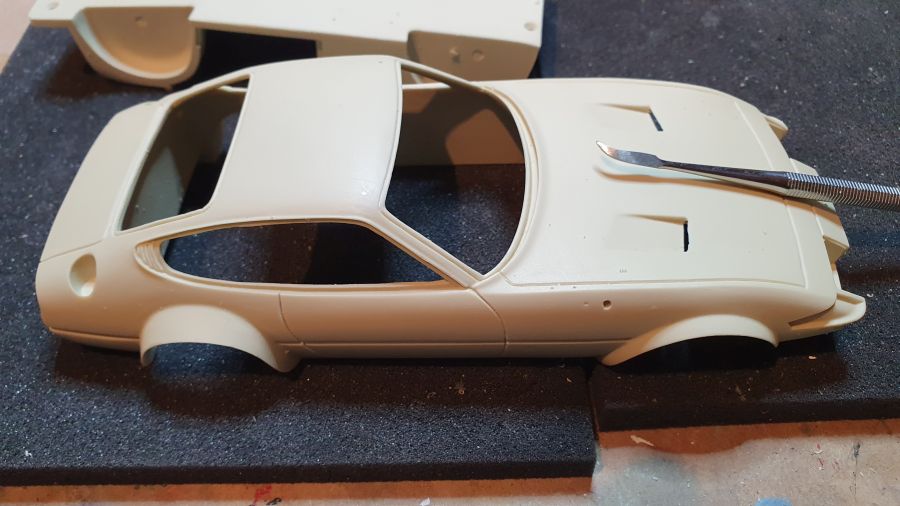
Nu weer terug naar de voorkant van het koetswerk. Ik wil de ventilatieopeningen wat bewerken.
Now back to the front of the body work. I want to work on some vents.

Wel oppassen, anders ga je zo er zo doorheen.
Be careful, or you will cut through.
Dan alles vlak schuren met de body.
Then sand everything smooth with the body.

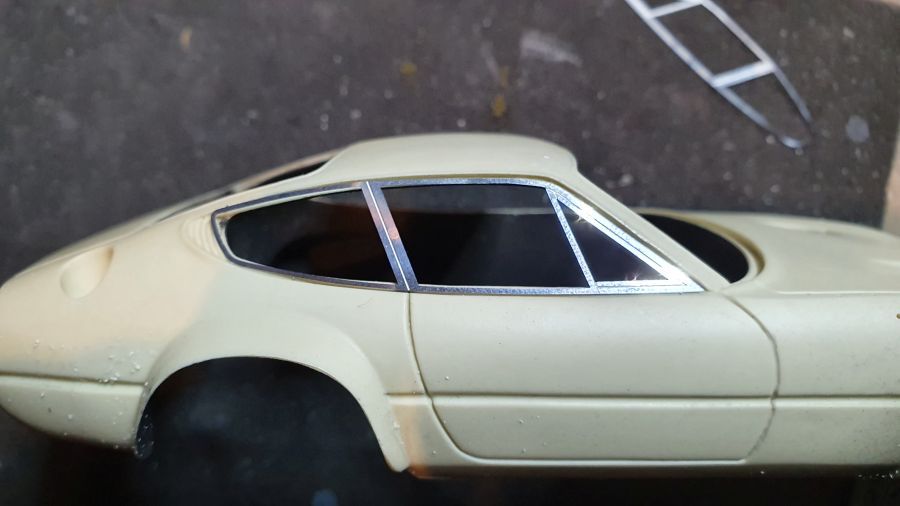
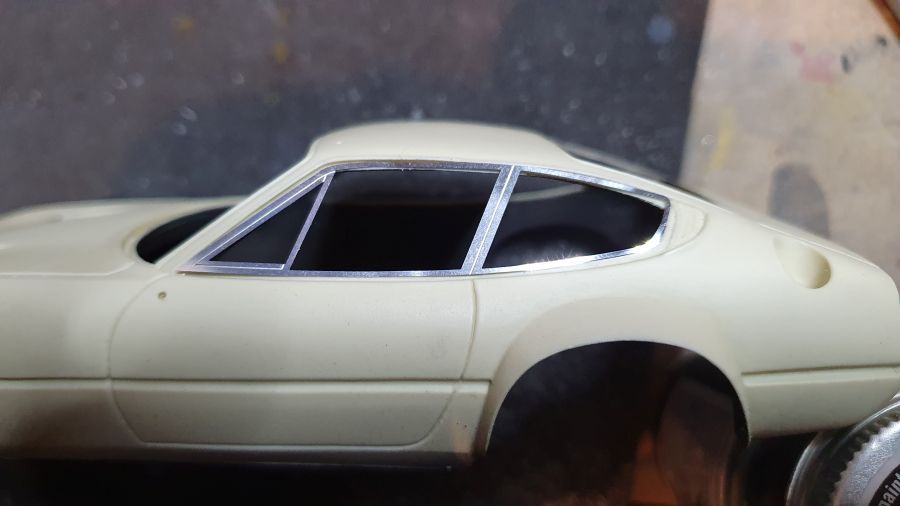
Ik heb een waarschuwing ontvangen dat de raamomlijstingen mogelijk niet passen. Rechts is inderdaad beter dan links. Oppassen dus.
I received a warning that the window frames might not fit. Indeed, the right one is better than the left one. So be carefull.
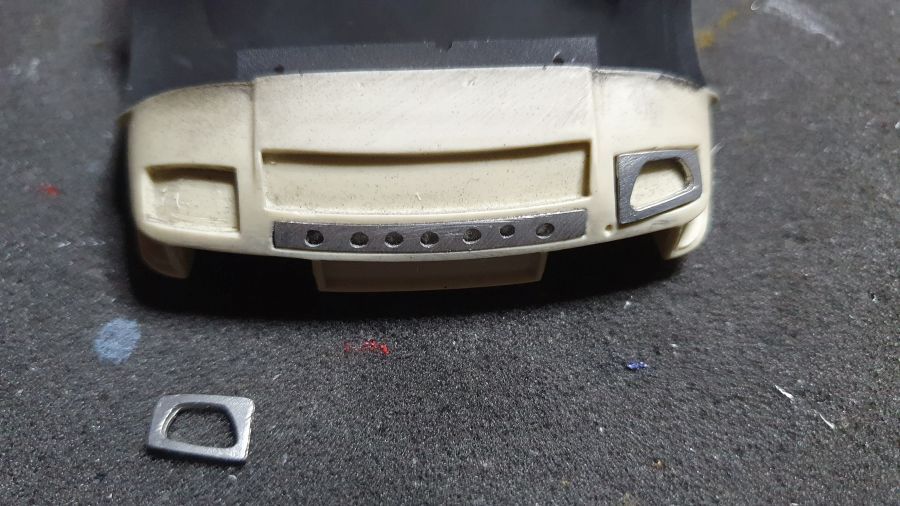
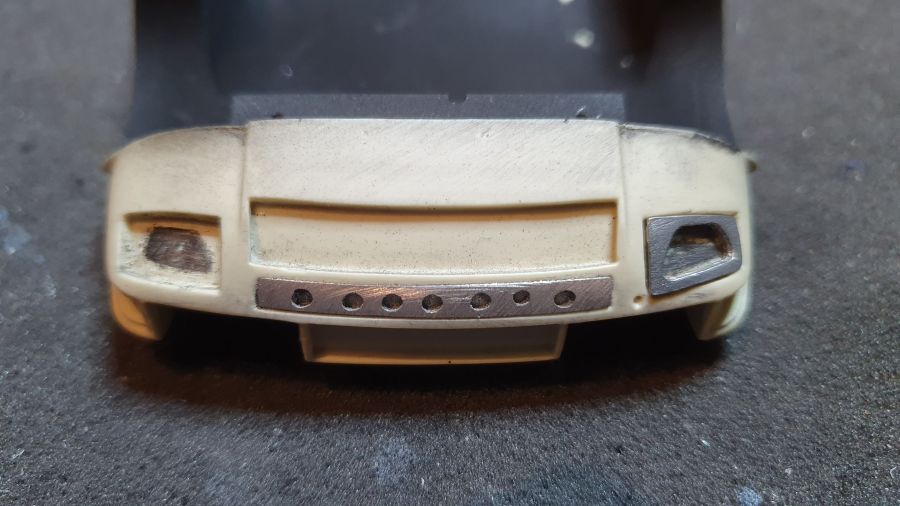
Ook de vleugels op de voorkant worden geplaatst.
The wings are added to the front.
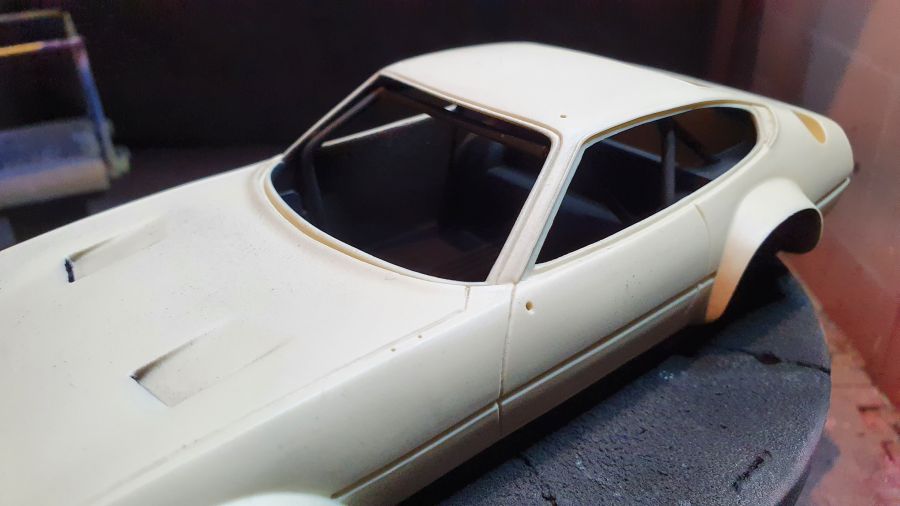
Primer erop en dan heel licht schuren.
Primer added and then some light sanding.
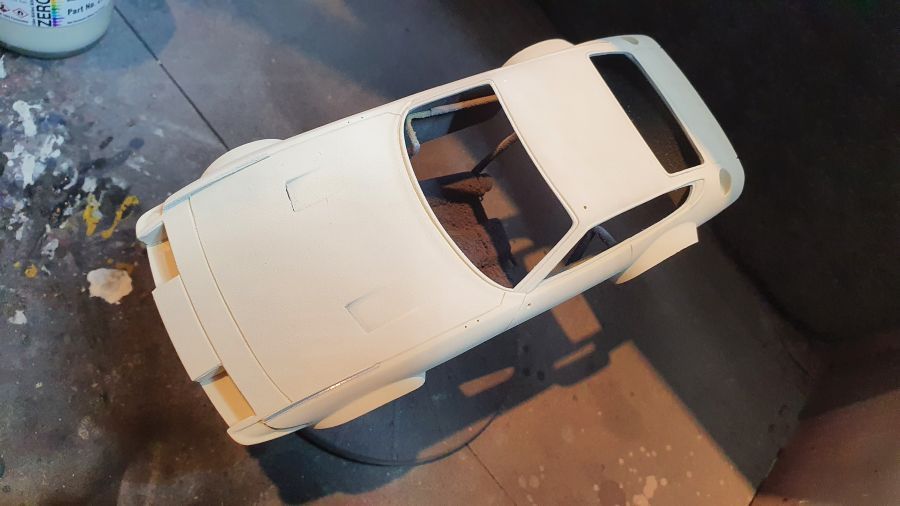
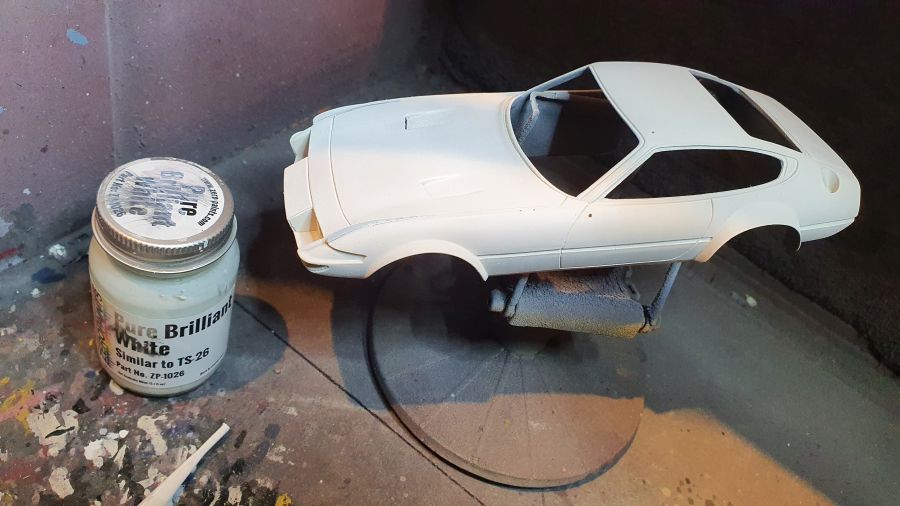
Daarna het wit en de glanslak. Voor deze jaren '70 auto gebruik ik geen 2K lak.
Next is the white and the clear lacquer. Voor this 70's car i will not use 2K clear.
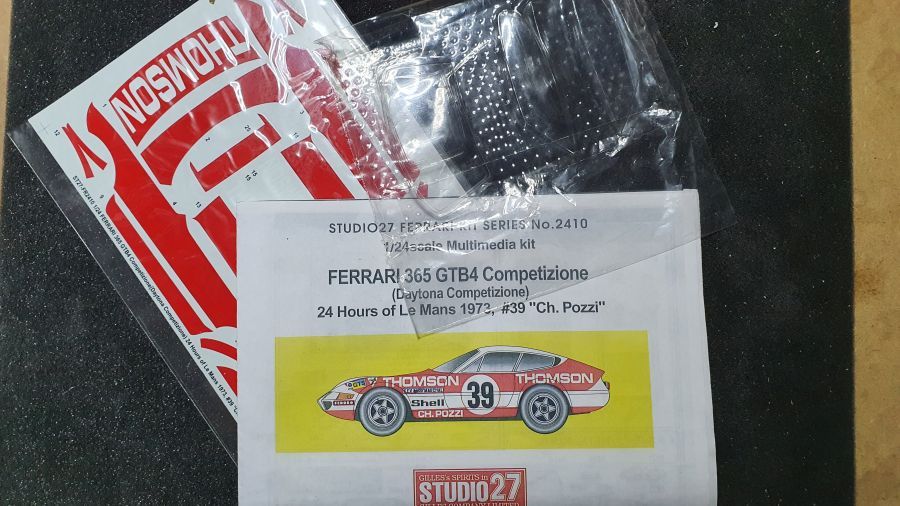
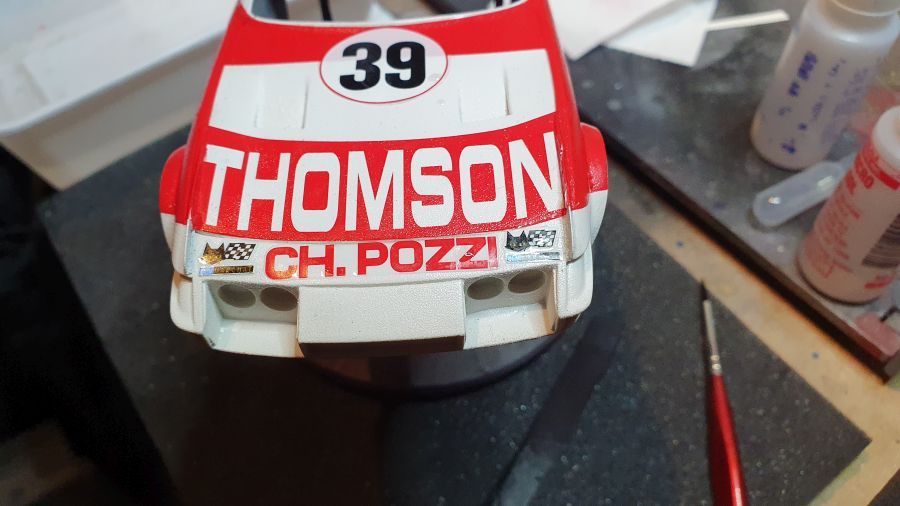
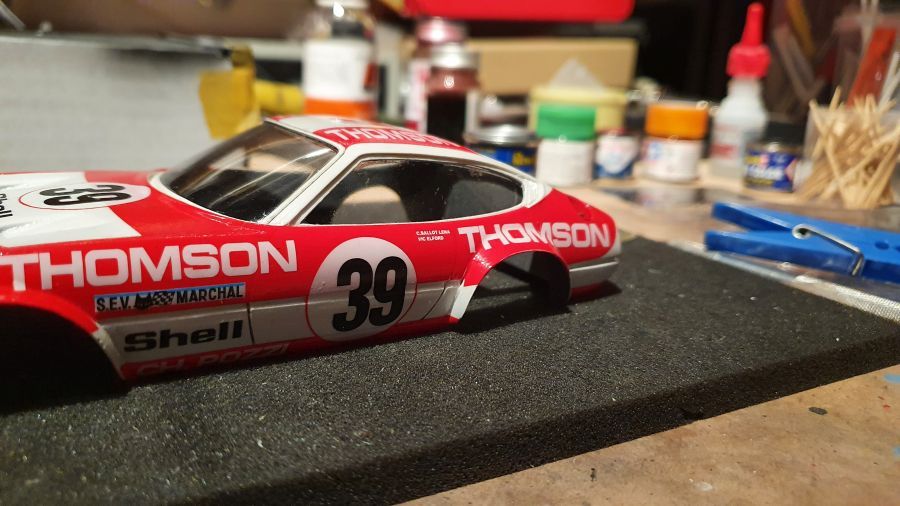
Beginnen met de decals.
Starting the decals.

De decal die Studio27 heeft vergeten. Ik duik even in mijn decal scrap box.
The decal that Studio27 forgot. I will take a dive in my decal scrap box.
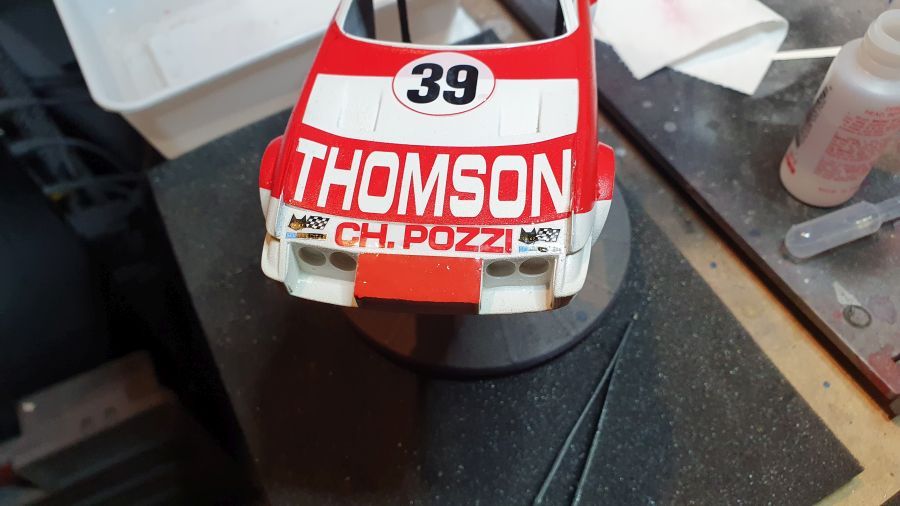
Alles zit erop. Nu eerst goed laten drogen.
Everything was added. Now let it dry first.
De glanslak zit erop, nu minstens 24 uur laten drogen.
The clear coat was applied, now let it settle for at least 24 hrs.
Terug naar de vloer en de velgen.
Back to the floor and the rims.
Terug naar de body... Wat zwart aanbrengen. Er moet nog wat aan gewerkt worden.
Back to the body... Adding some black. It needs some more work.
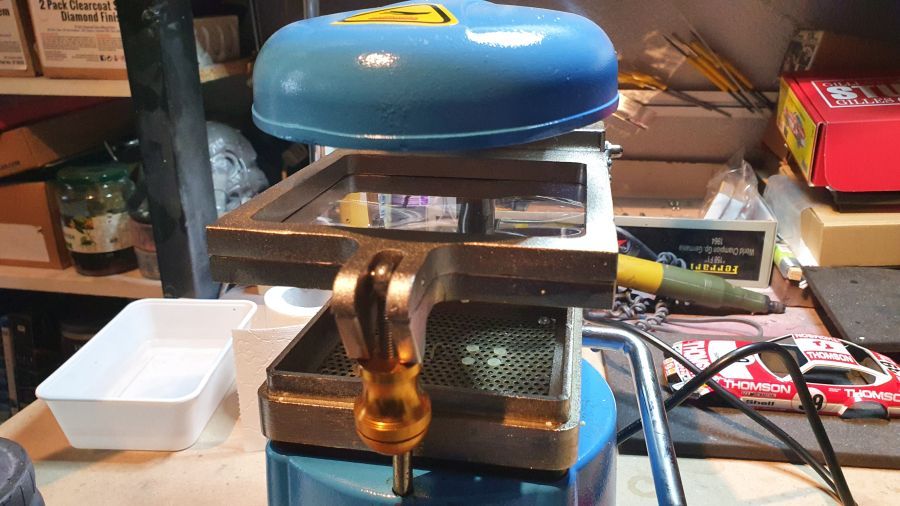
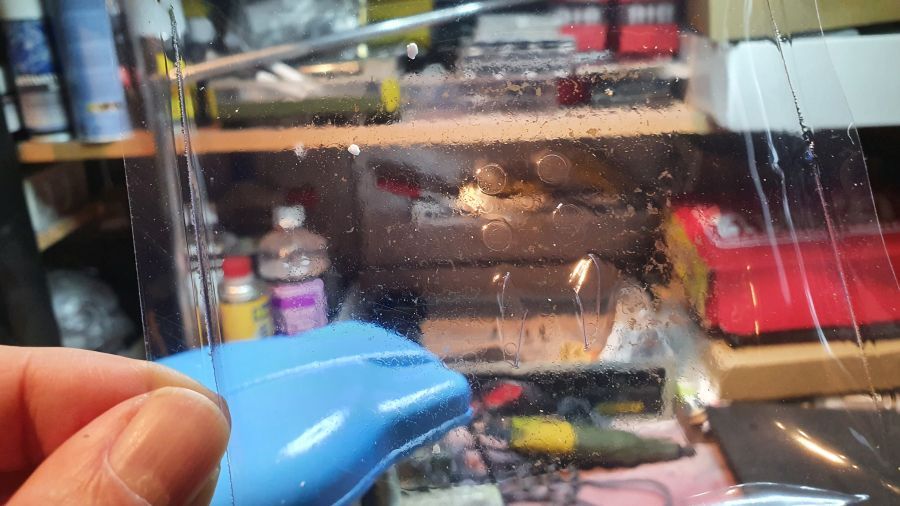
De glaasjes van de koplampen zijn vergeeld. Een mooie gelegenheid om mijn vacuum former te proberen. Een kleine leercurve, maar de 2e print lijkt al goed.
The front headlights are yellowed. A good time to try my new vacuum former. A small learning curve, but the 2nd print looks o.k..
Rechts de 1e print, links de 2e.
To the right the 1st print, to the left the 2nd one.

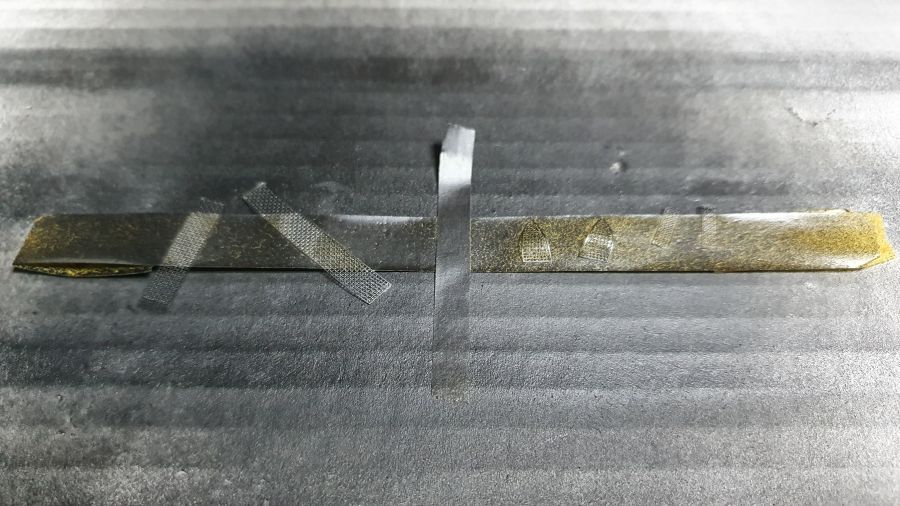
Wat roosters voor de voorkant gespoten.
Painted some mesh for the front side.
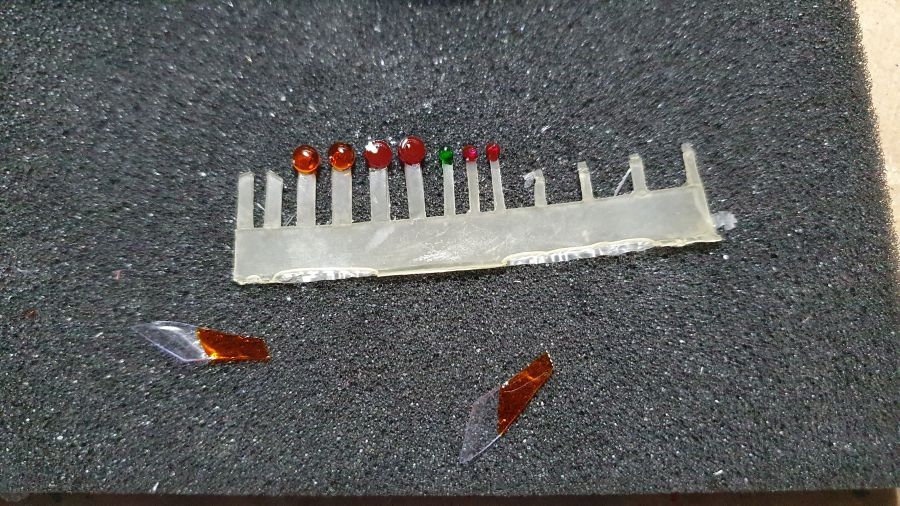
De verlichting kleur geven.
Coloring the lights.
Wat gaas geplaatst.
Added some mesh.

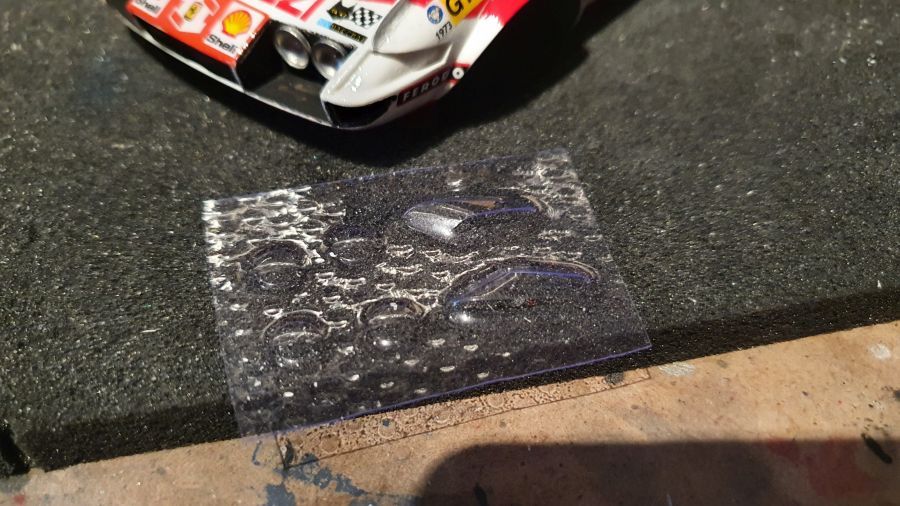
Door naar het glas.
On to the glass.
Het body wordt aan de vloer bevestigd.
The body was attached to the floor.
Weer terug naar de onderkant.
Back to the downside.

Dan de vleugel onder de achterkant.
Then the wing on the rear back downside.
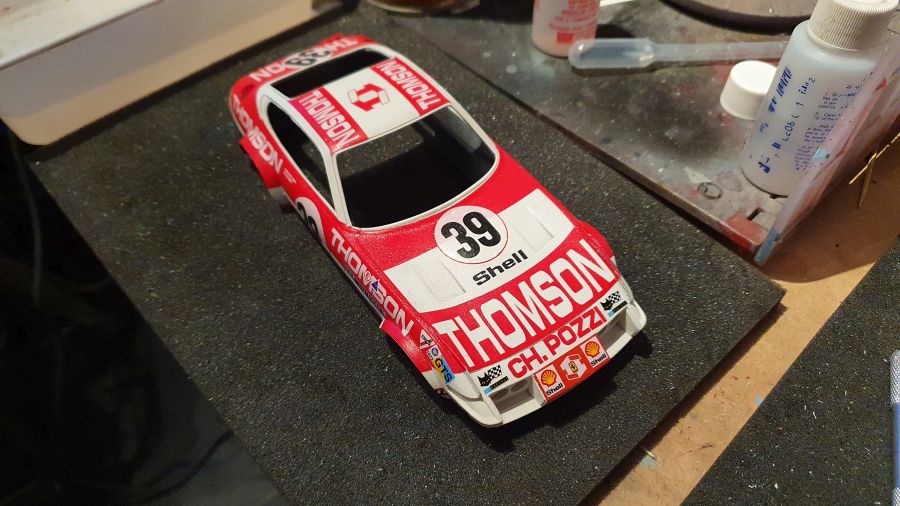
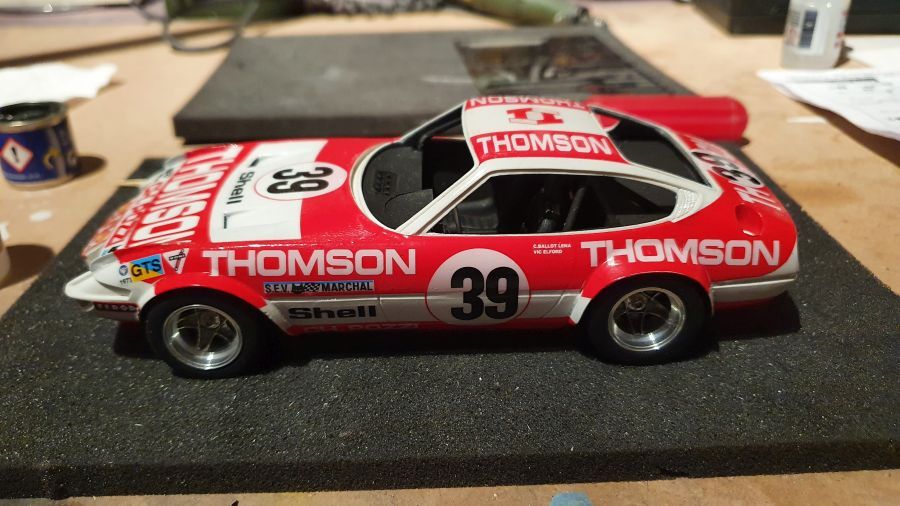
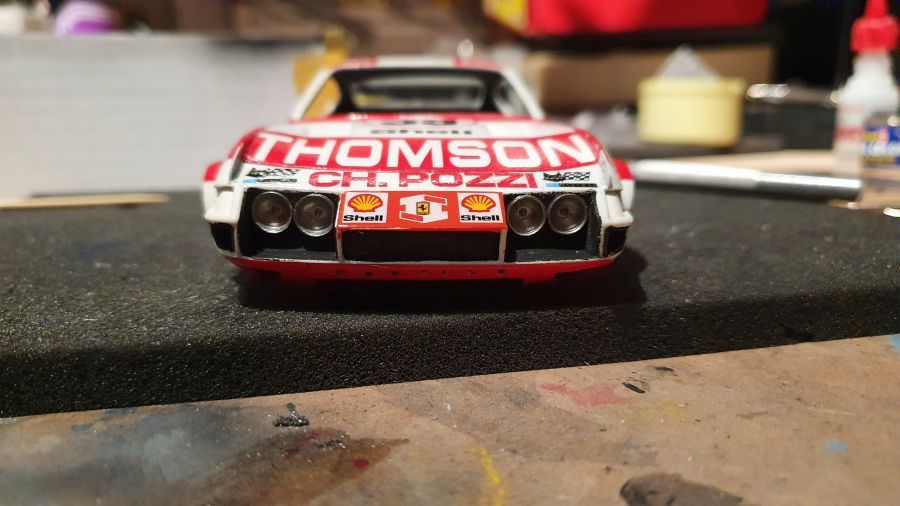
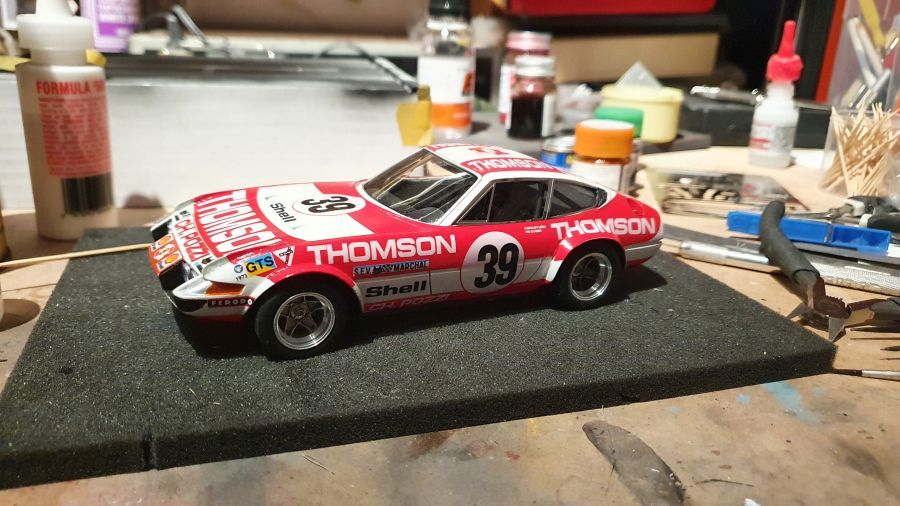
En na een hele lading kleine onderdelen zoals ruitenwisser, lampjes, motorkapsluitingen enz. beschouw ik hem als klaar. Niet mijn beste werk, maar op naar de volgende.
And after a load of small parts like whiper, lights, hood closures etc. i consider it done. Not my best work, but on to the next.

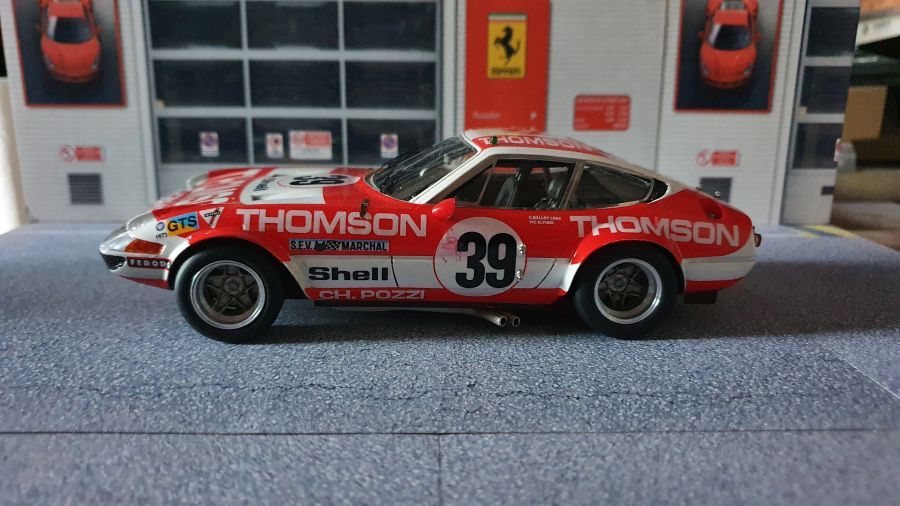
Niet veel te melden over deze kit. Er misten een paar decals om een accurate versie te maken, maar dat is eenvoudig op te lossen. Een auto met vrij grote decals, wanneer je bedenkt dat de basis helemaal wit is. Ik had wat problemen met de grondverf van Zero Paints. Enorm korrelig resultaat en dat was moeilijk te herstellen. Ik ga voor de volgende bouw maar een andere grondverf bestellen.
Not much to talk about with this kit. It misses a few decals to build an accurate version, but that was easy to solve. A car with rather large decals, considering the base is all white. I had some trouble with the primer from Zero Paints. Very, very grainy result and very hard to solve this. For the next build i will order another primer.