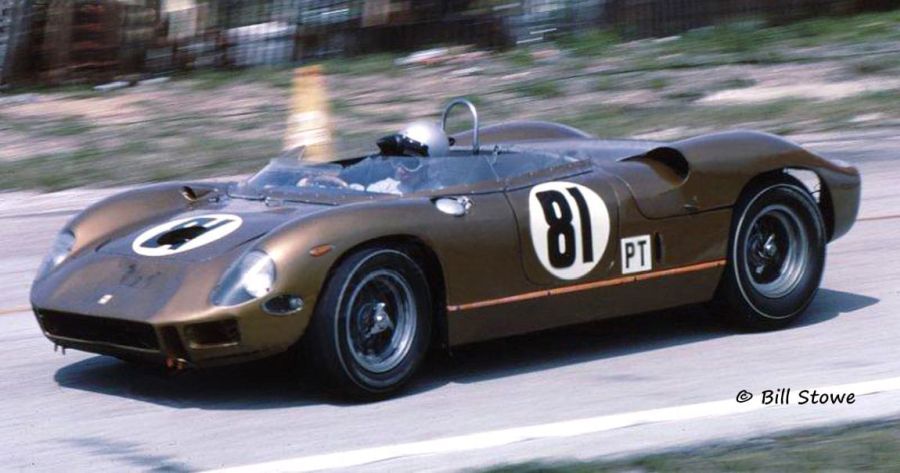
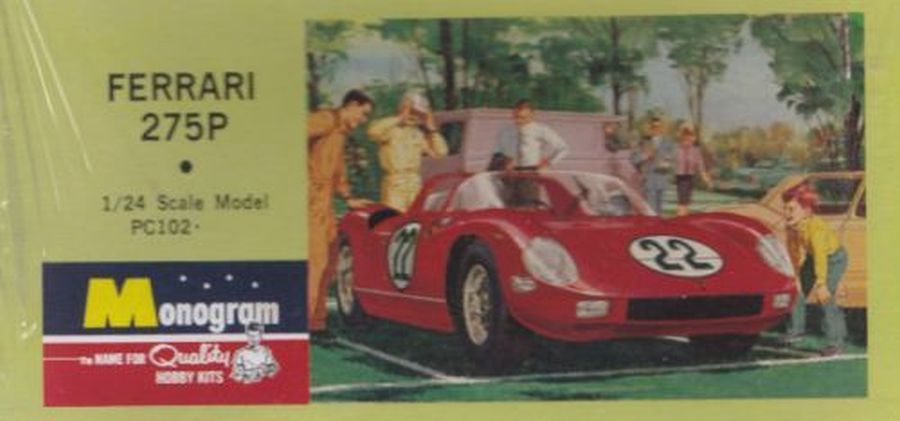
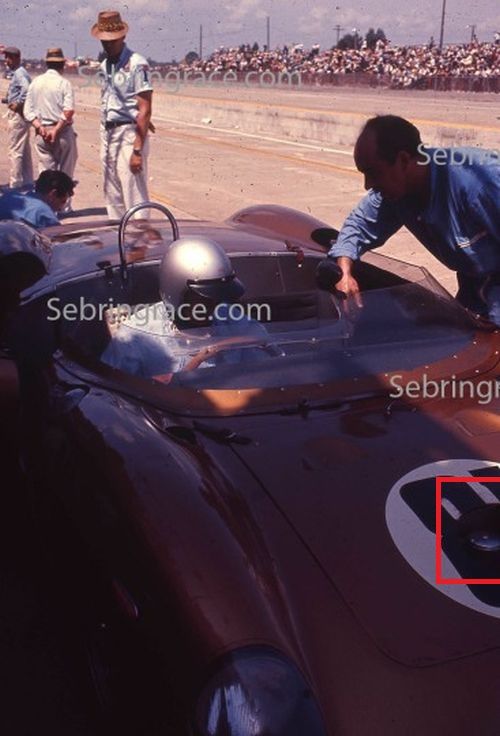
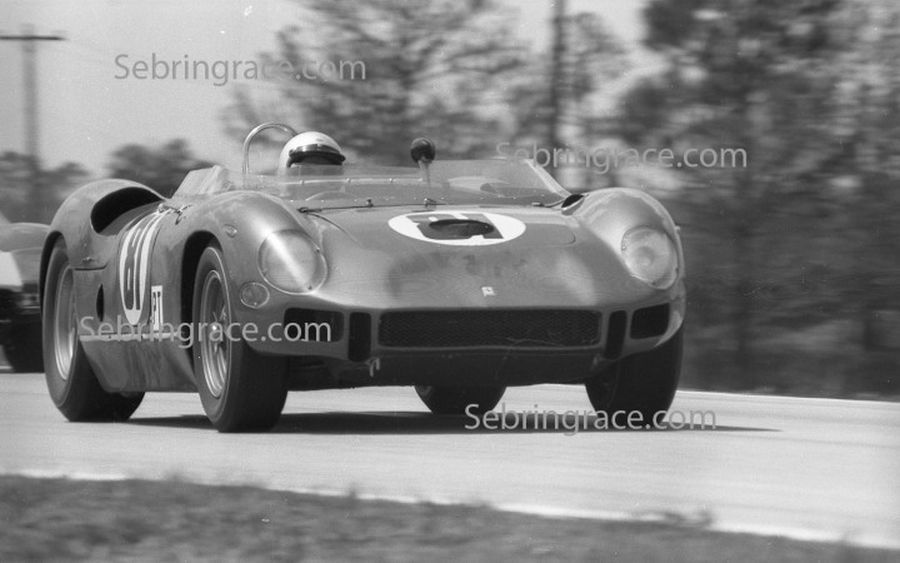
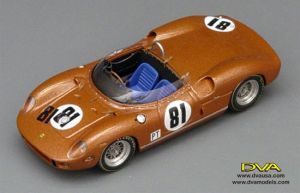
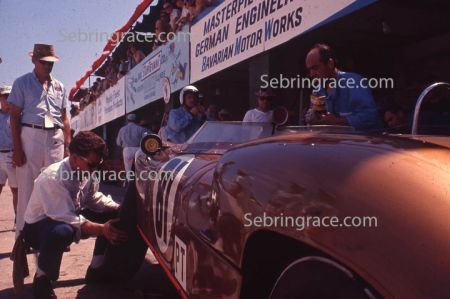
Toen ik de foto van deze auto zag, dacht ik, die wil ik maken. Een erg bijzondere kleur. Dat maakt hem voor mij mooi en wat anders. Goede vriend Pierpaolo heeft me de kit gestuurd. Hij heeft me zelfs vacu-vorm ramen gemaakt. En Michael Quarterman had de tekeningen van de decals nog. Via Indycals heeft hij 2 sets voor me laten maken. Ik kan allen niet genoeg danken om dit project mogelijk te maken. De wagen kwam in 1965 uit voor team Fong Racing Associates tijdens de 12 Uur van Sebring. De wagen werd bestuurd door Willy Mairesse en Mauro Bianchi.
When i saw this picture, i thought, i want that to build that one. A very special color. That's what makes it beautiful and something different. Good friend Pierpaolo sent me the kit. He even made me vacuform windows. And Michael Quarterman had the drawings for the decals. He had them made by Indycals and sent me 2 sets. I cannot thank all of them enough to make this project possible. The car was a contender for team Fong Racing Associates during then 12 Hrs of Sebring. The car was driven by Willy Mairesse and Mauro Bianchi.
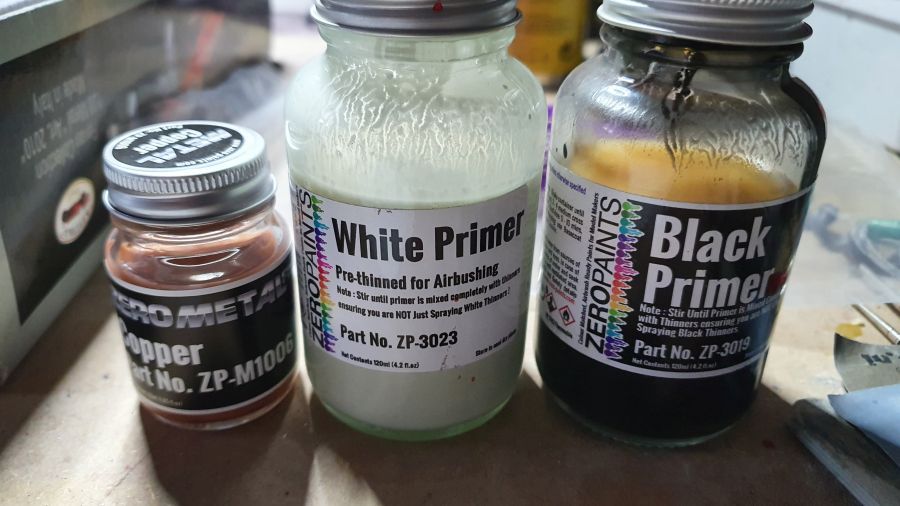
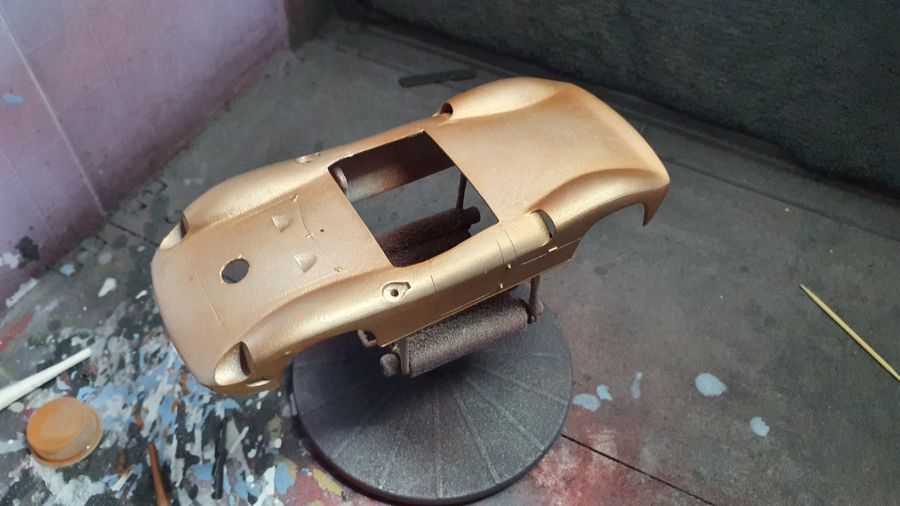
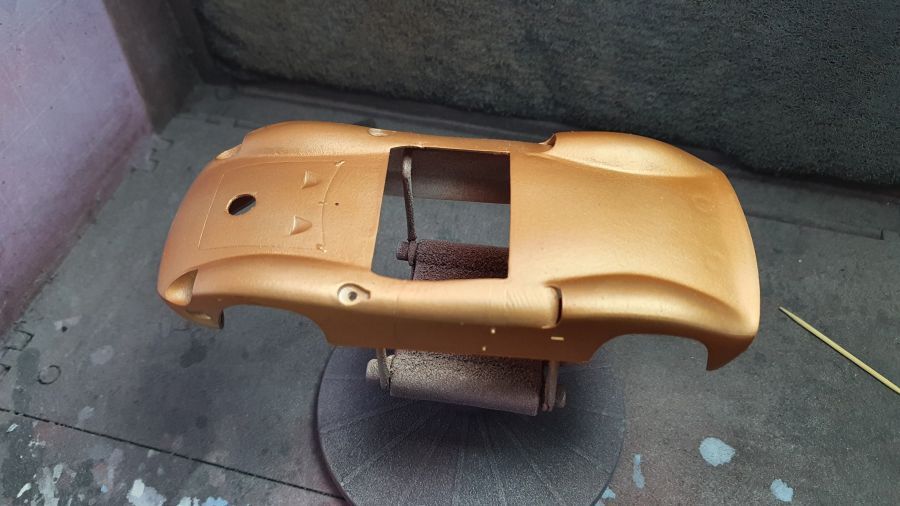
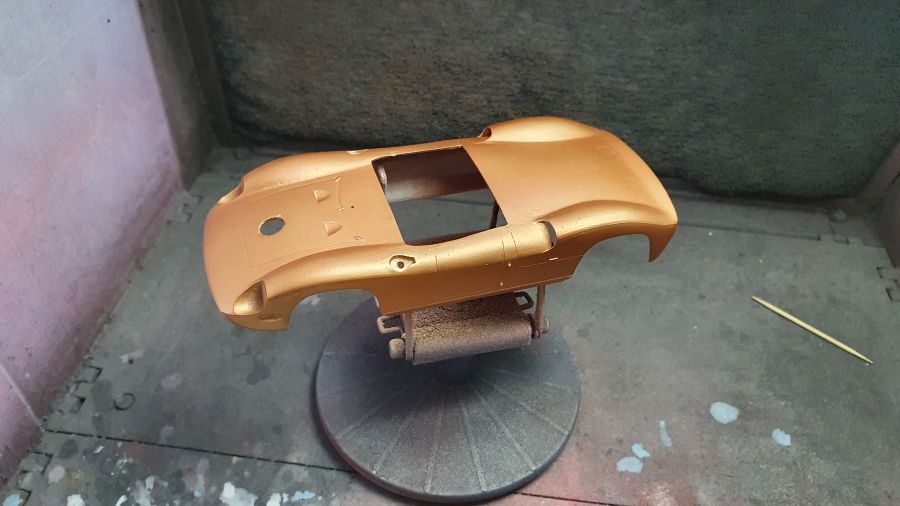
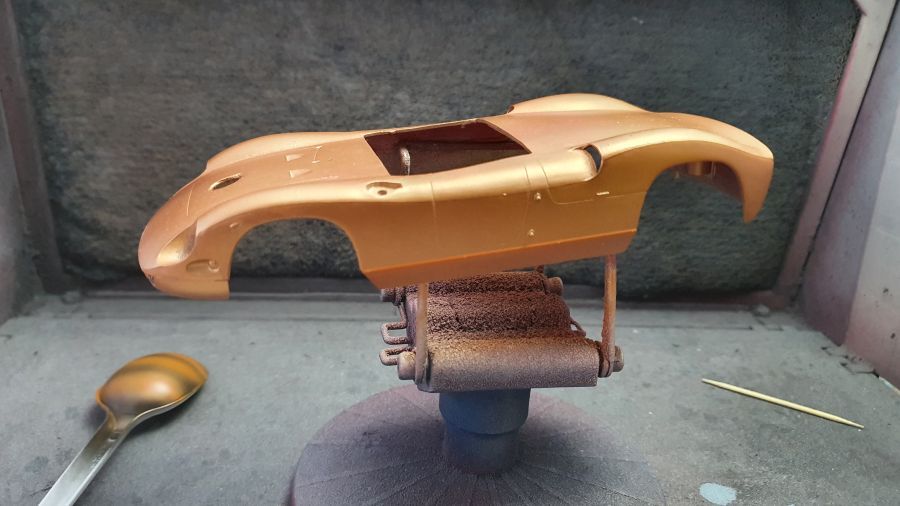
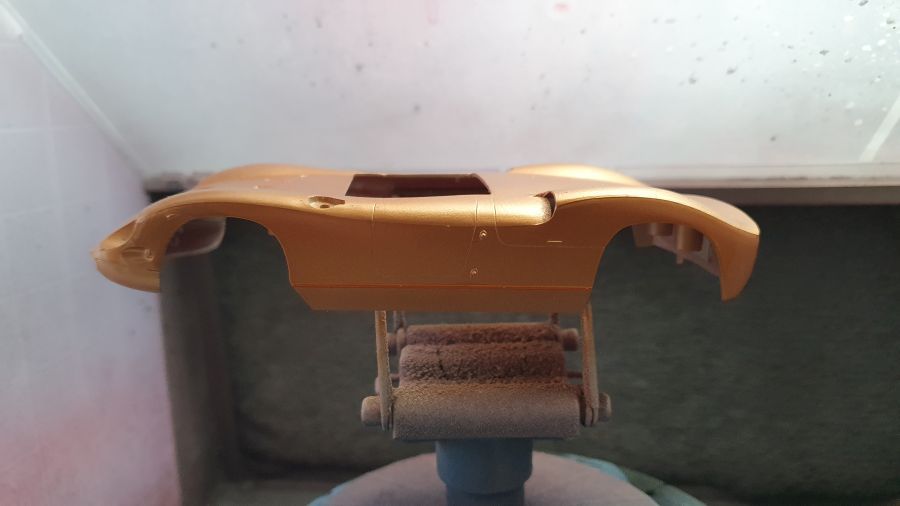
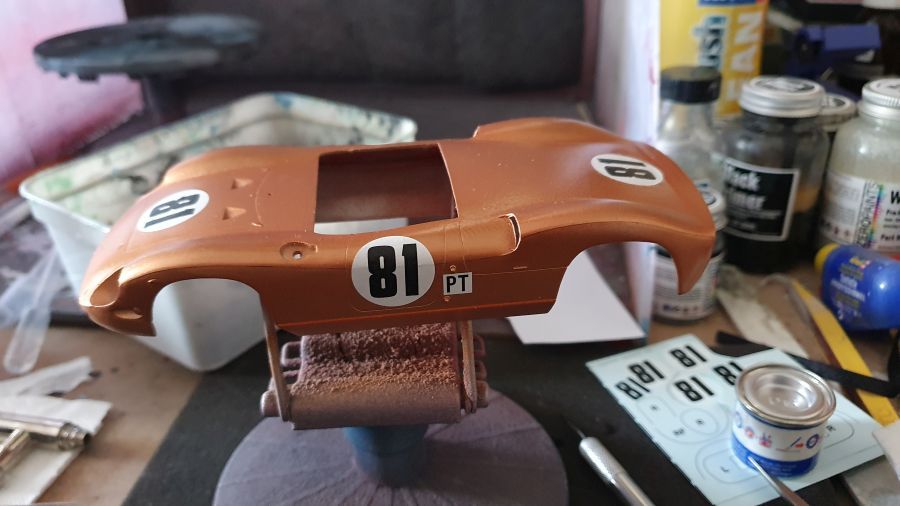
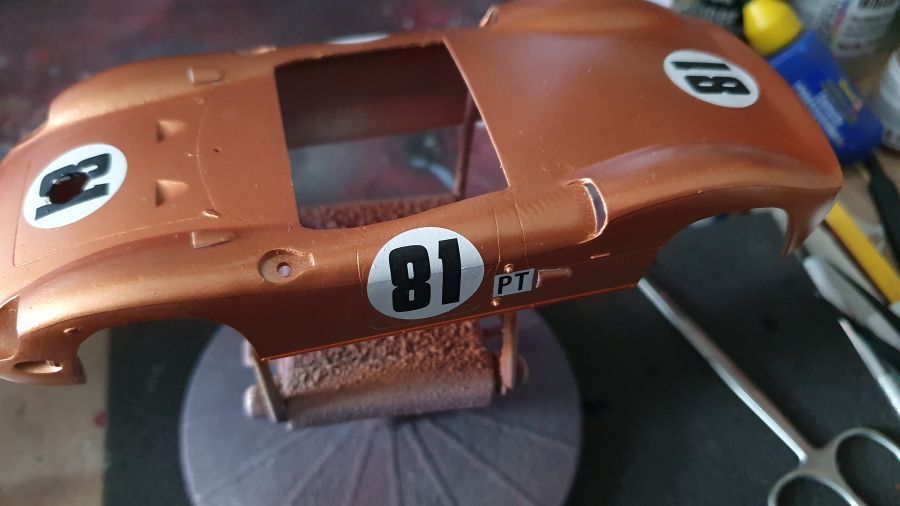
Spuiten doe ik weer met Zero Paints. Maar ik zal deze keer zeer voorzichtig zijn. Zero Paints is heet en kan het plastic aantasten. Erg dunne laagjes spuiten dus, met ruim tijd ertussen in. Ik heb twijfels over de kleur. Op de ene foto lijkt brons de juiste kleur, op de andere meer koper. Uiteindelijk ga ik voor het koper.
Airbrushing will be done with Zero Paints. But i will be very careful this time. Zero paints is hot and can damage the plastic. So spraying very thin layers, with enough time between them. I have doubts about the color. On one photo bronze seems to be the correct color, on the other more copper. I decided to use copper.
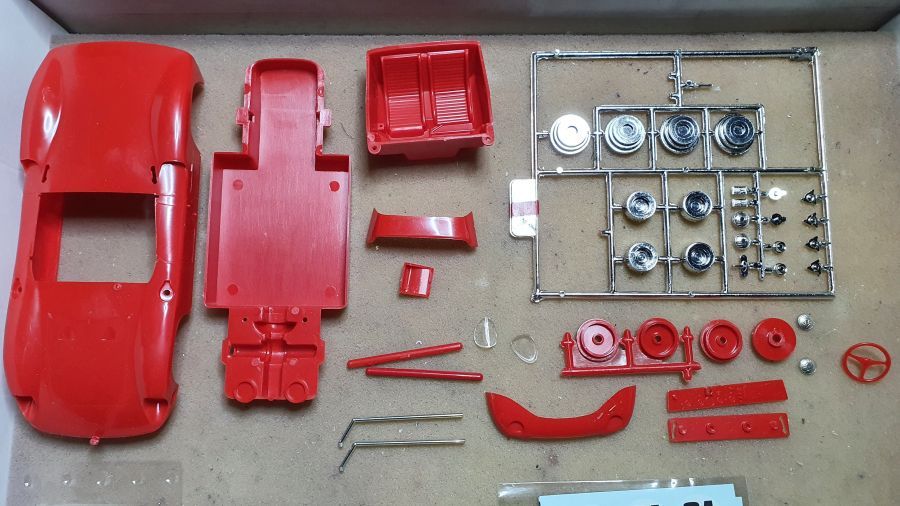
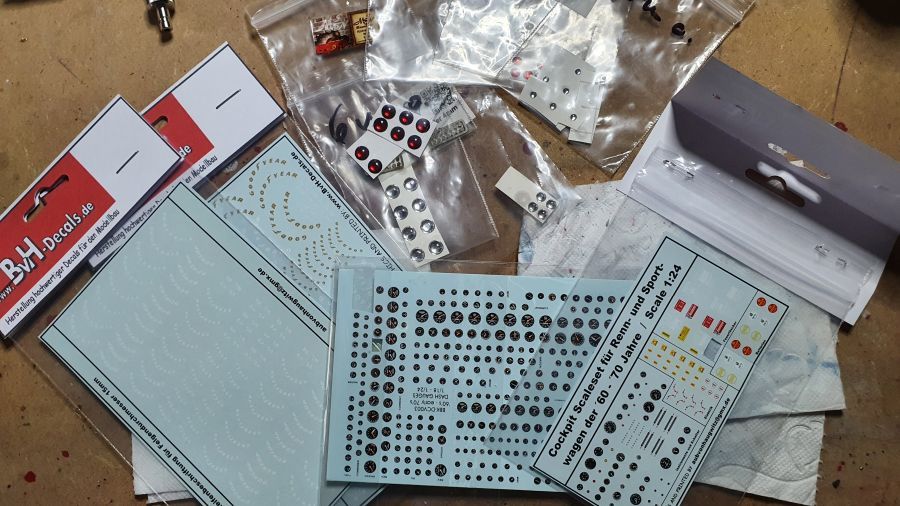
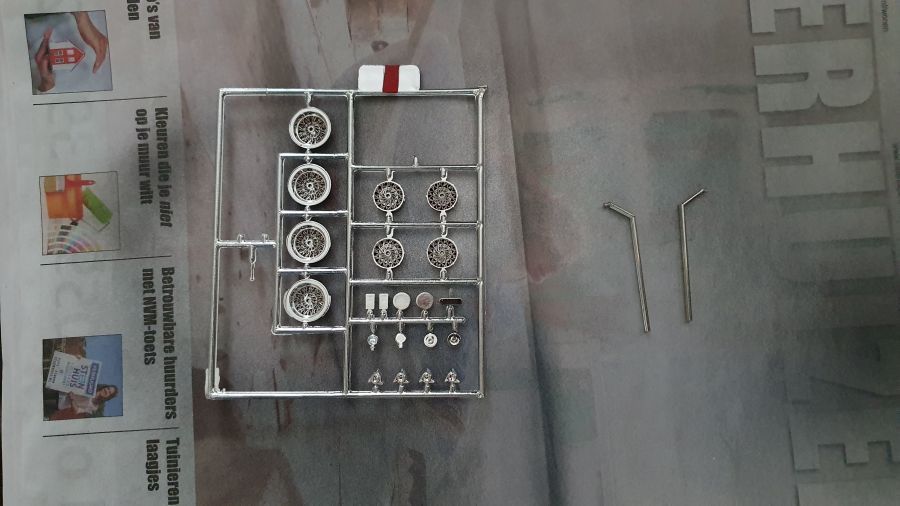
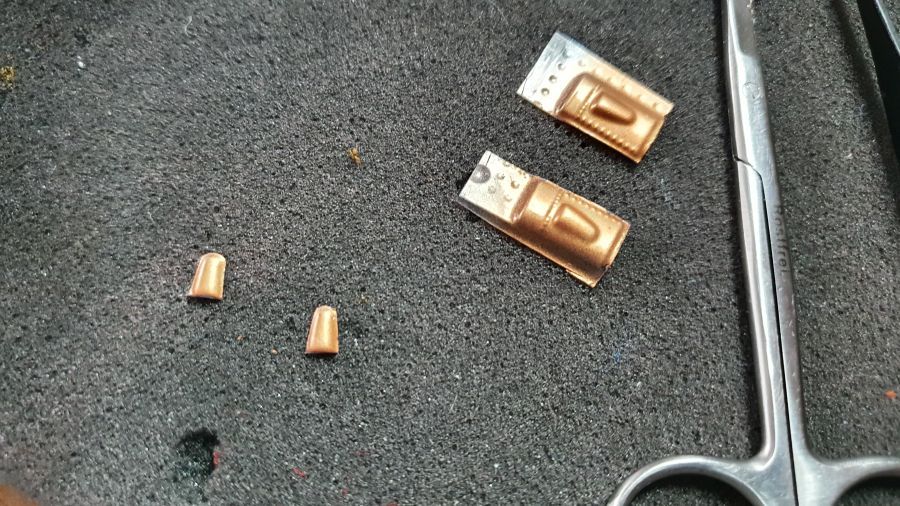
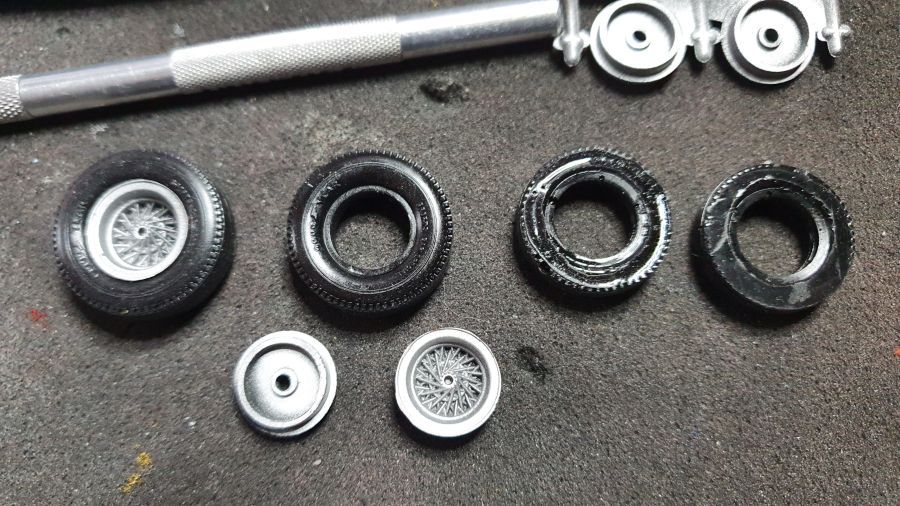
Wat onderdelen uit de rommeldoos. Ik moet nog even zoeken naar koplampen, achterlichten, versnellingsbak enz... En nog banden zien te vinden op Ebay. En de banden markeringen.
Some parts from the scrap box. I need to search for some head lights, rear lights, gear shifter etc. And find me some tires on Ebay. And the tire markings.
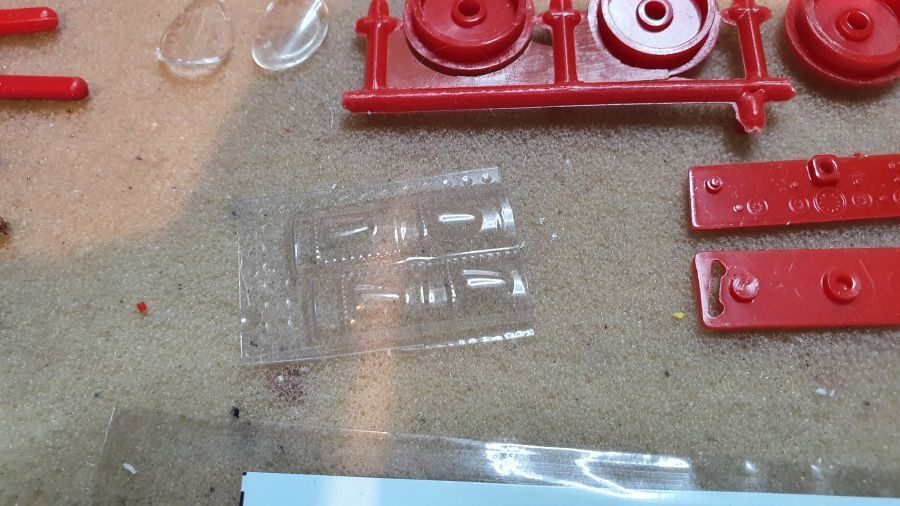
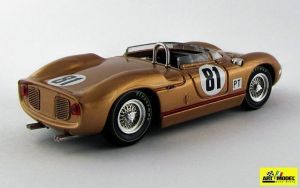
Op internet zijn niet veel foto's te vinden. Wel zie ik dat een paar zaken moeten worden gewijzigd aan het bodywerk en het glas. Daarnaast rechts sturend i.p.v. links. k kan geen foto vinden van het gat in de voorkap, behalve op een model.
On the web there or not many pictures. I can see some things need to be changed to the bodywork and the glass. Further more right steering instead of left. I can't find a picture of the hole in the bonnet, except the on a model.
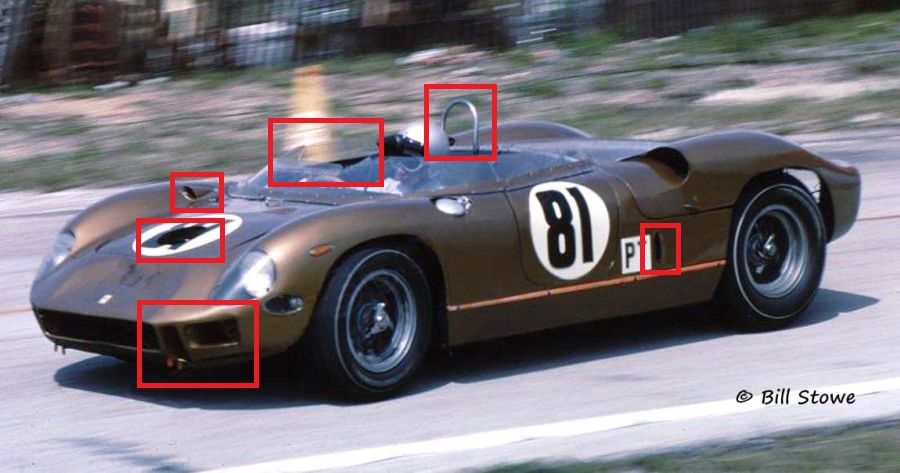
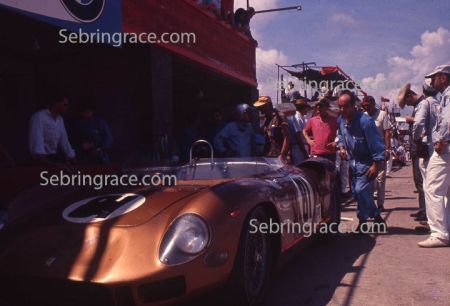
Dank William Jordan (sebringrace.com) dat ik deze foto's mag gebruiken op deze webpagina.
Thank you William Jordan (sebringrace.com) for letting me use these pictures on this website.

Wat meer nodige spullen gevonden.
Dug up some more stuff needed...
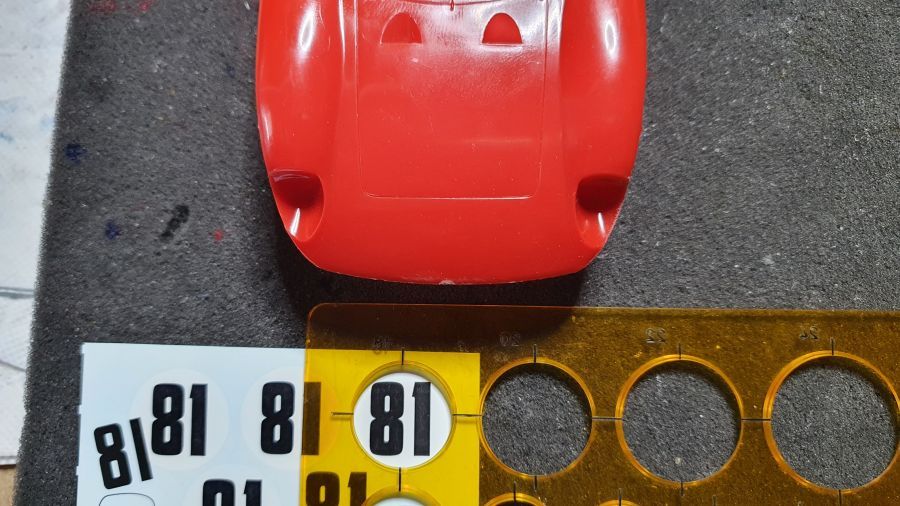
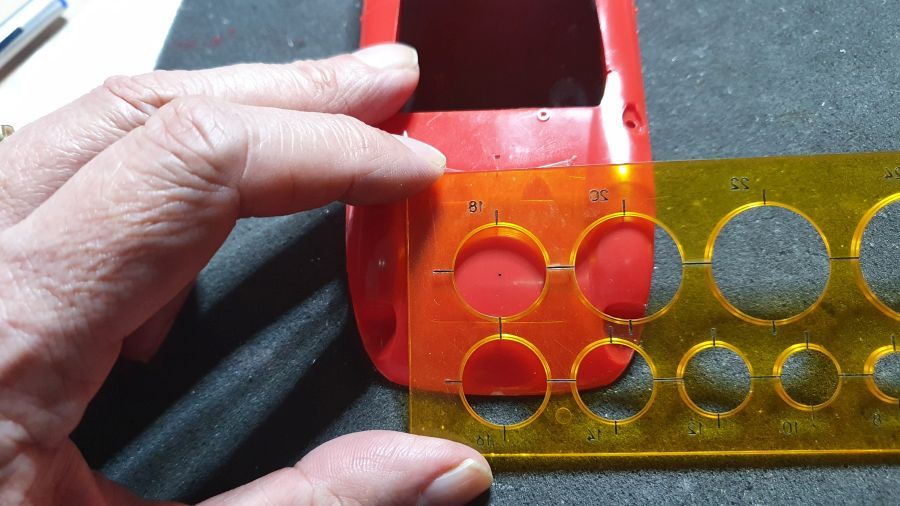
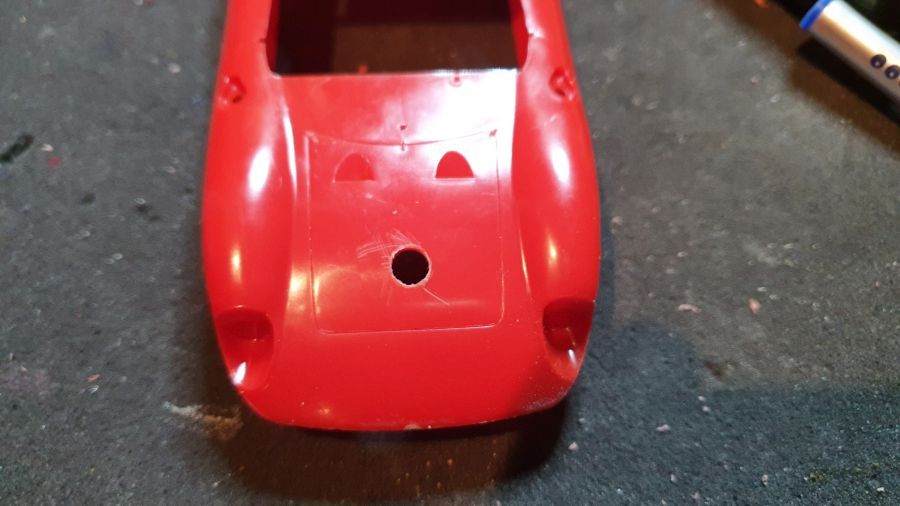
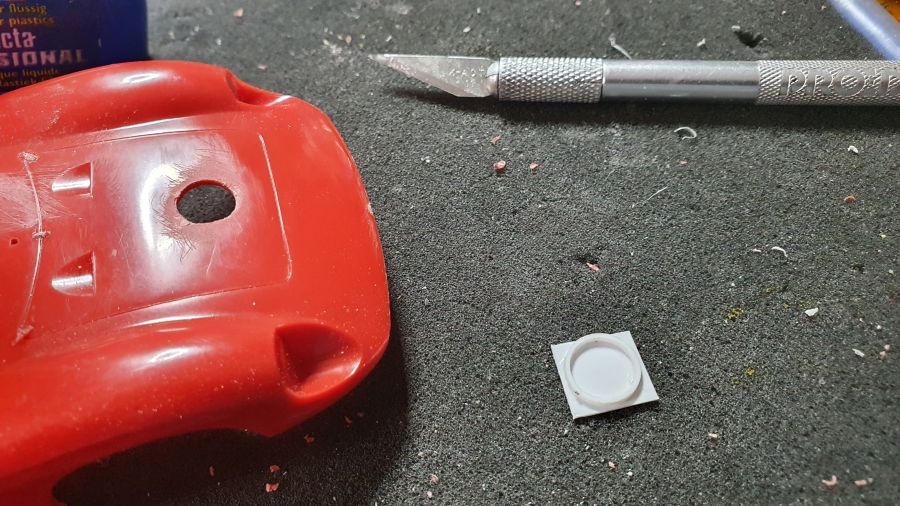
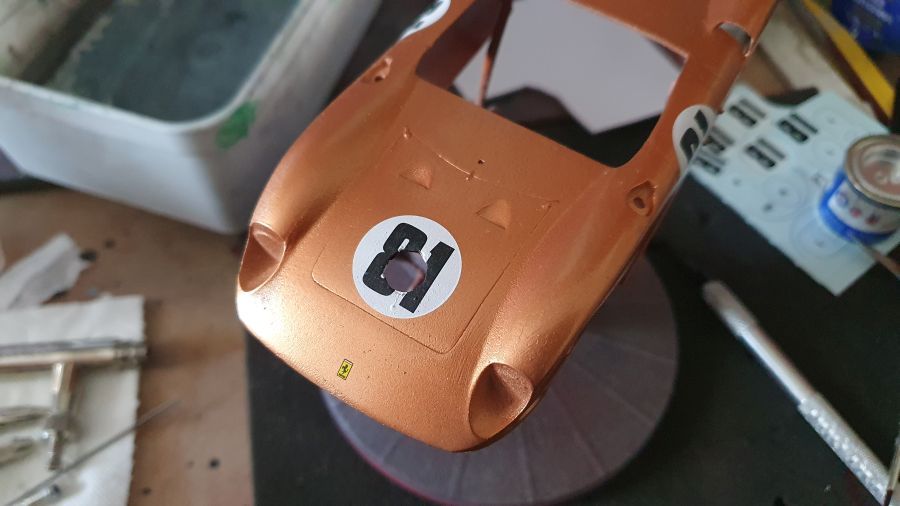
Eerst het gat in de motorkap. Goed bestuderen. De onderkant van de cirkel zit tegen de onderste rand van de kap aan. Het gat is bijna zo breed als het getal 81. Volgens mijn berekening (met de decal) kan ik daarmee een gat boren van 8 mm. Iets onder het midden van de decal wordt het punt bepaald en zet ik een stip. Dan dus een 8 mm gat boren.
First of all the hole in the hood. Study it well. The downside of the circle is against the the downside of the hood. The hole is nearly as large as the #81. According to my calculations (with the decal) i can drill a hole of about 8 mm. A little below the middle of the decal i set a dot. Then drill the 8 mm hole.
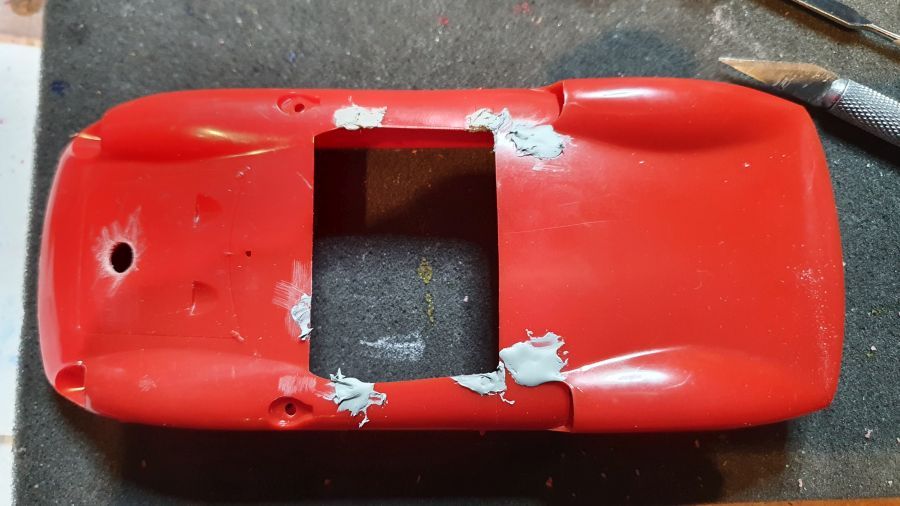
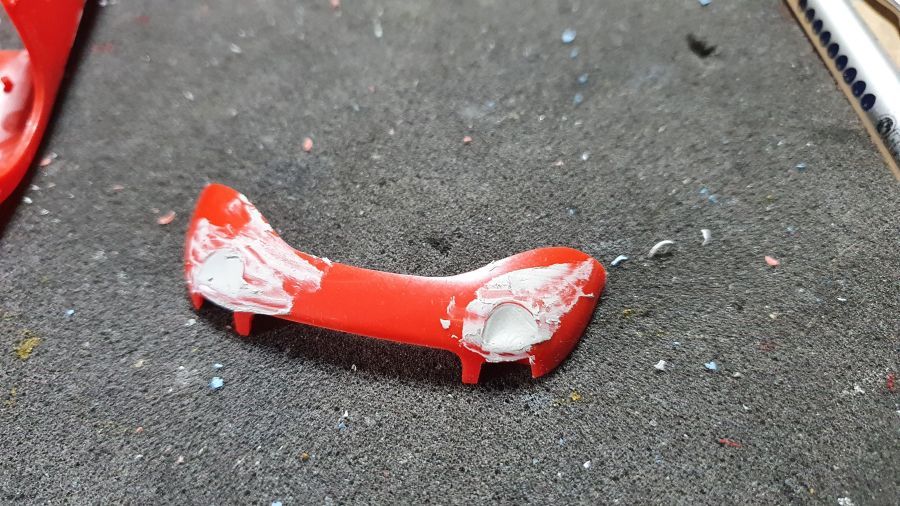
Wat ander gaten moeten worden gedicht met putty.
Some other holes need to be closed with putty.
Wat onderdelen uit de rommelkist en wat improviseren met Evergreen buis en plaat.
Some parts from the scrap box and improvising with Evergreen tube and sheet.
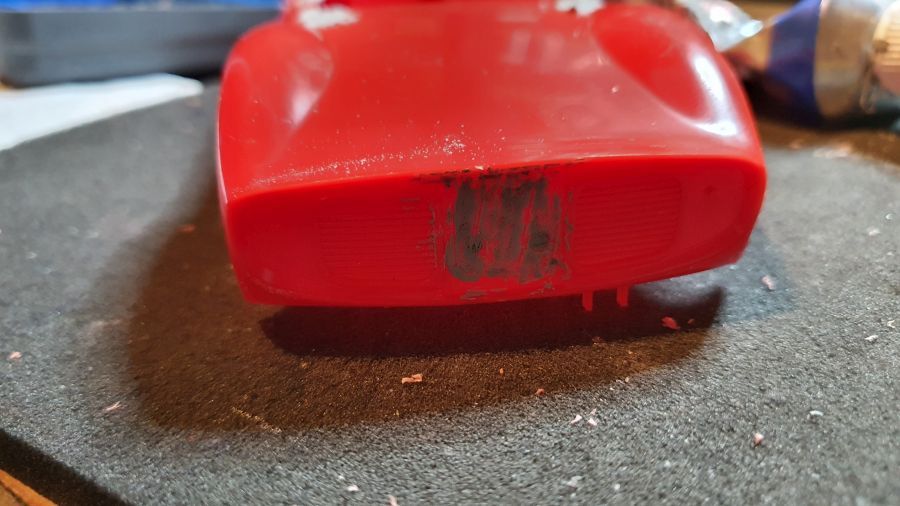
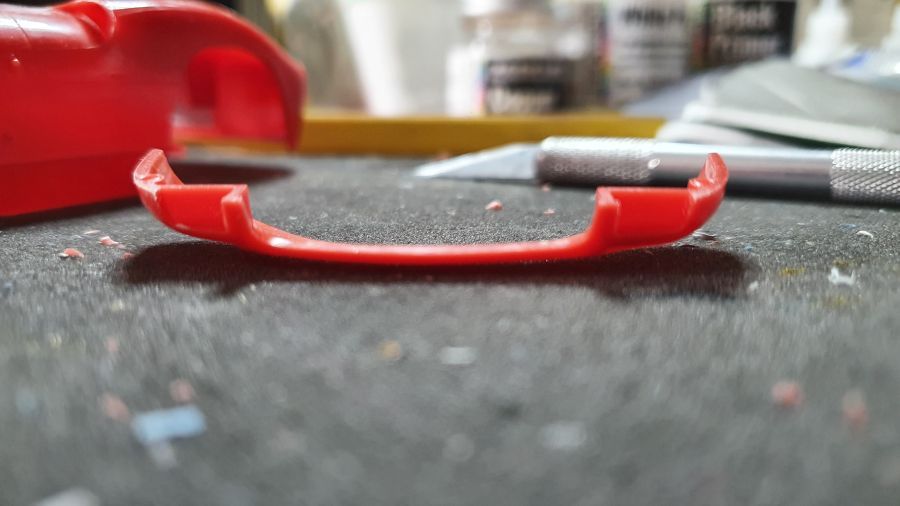
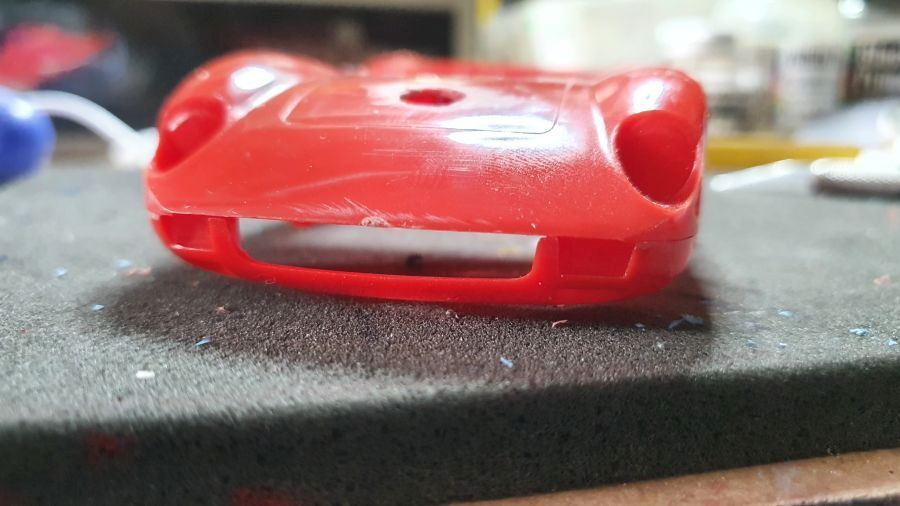
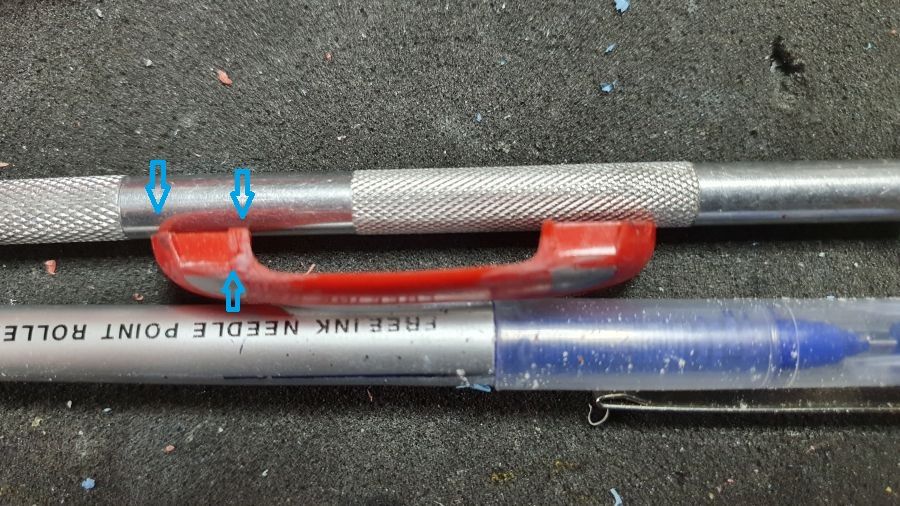
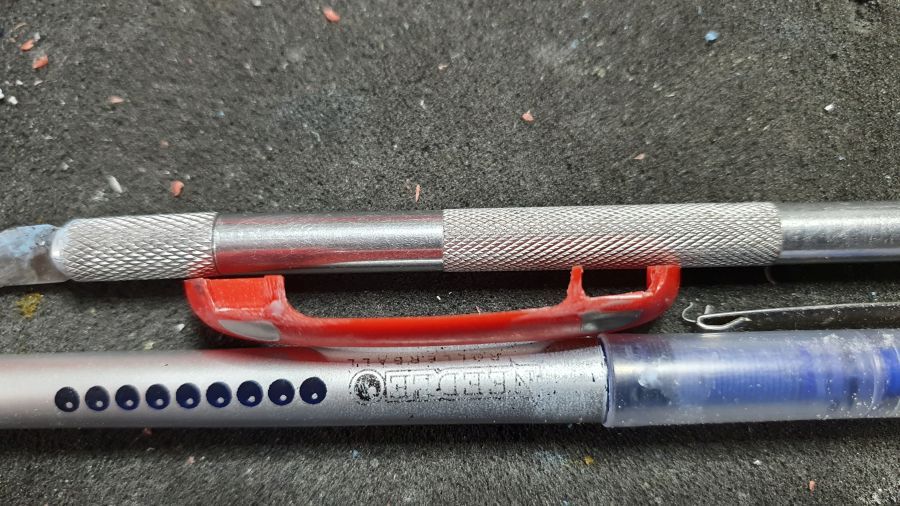
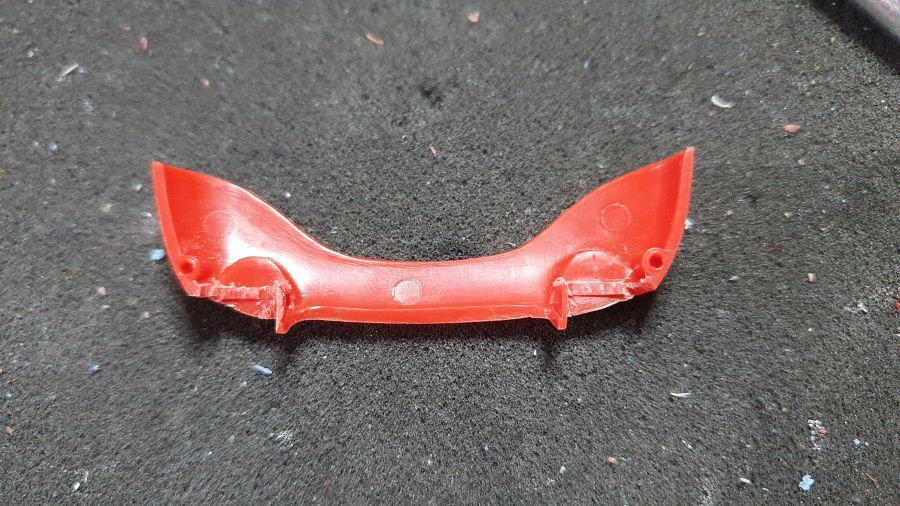
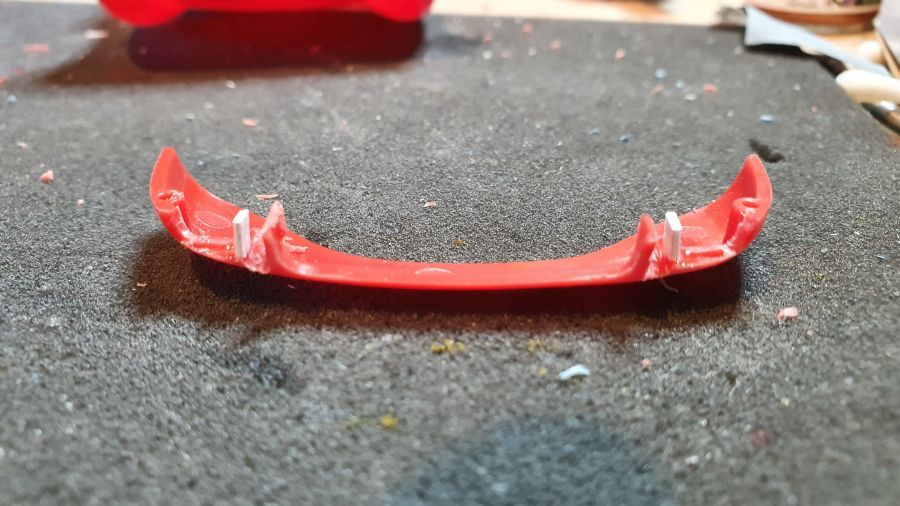
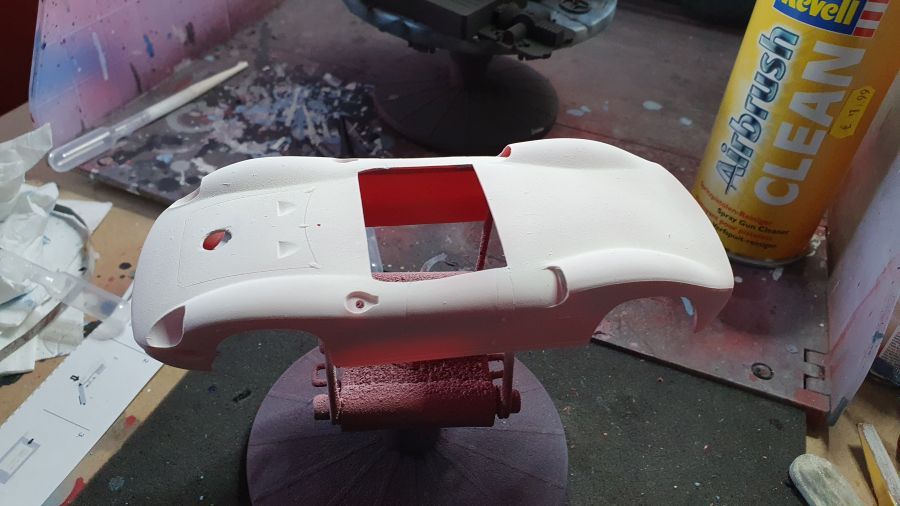
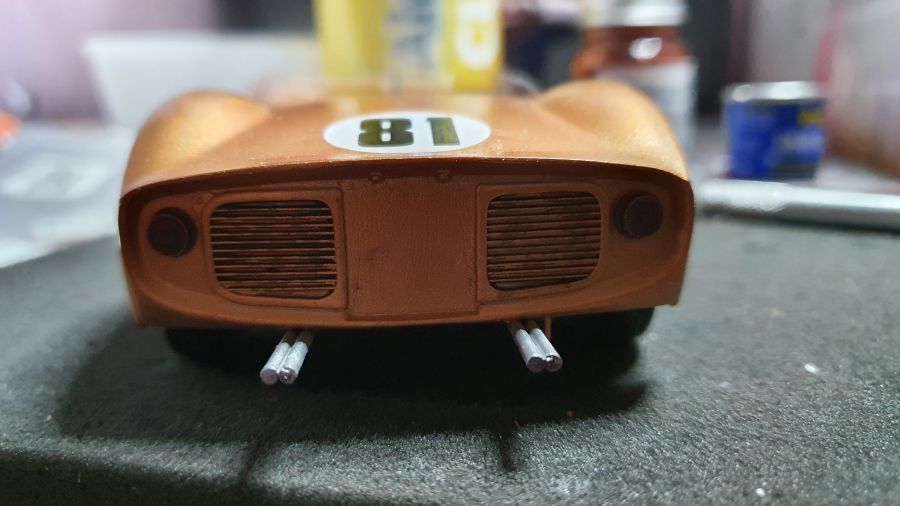
De voorkant moet wat aanpassingen...
The front needs adjustments...
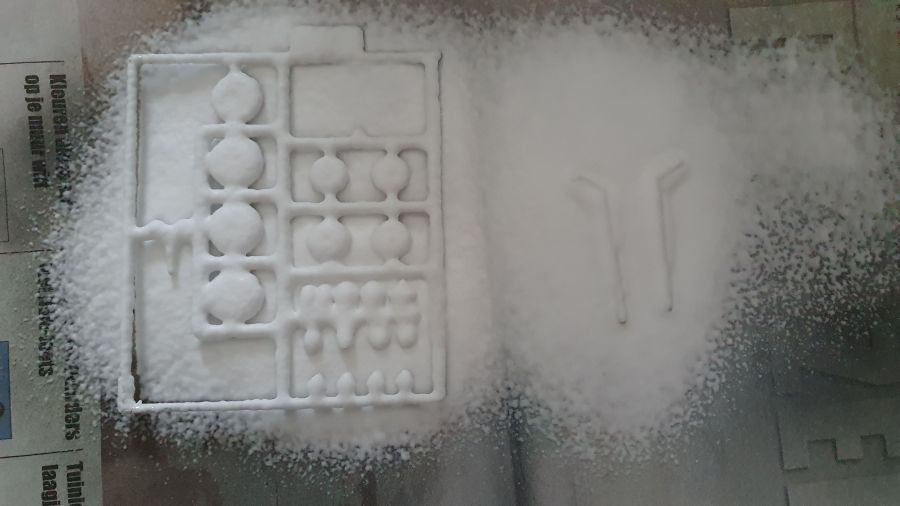
Wat spullen in de grondverf...
Some parts got primer...
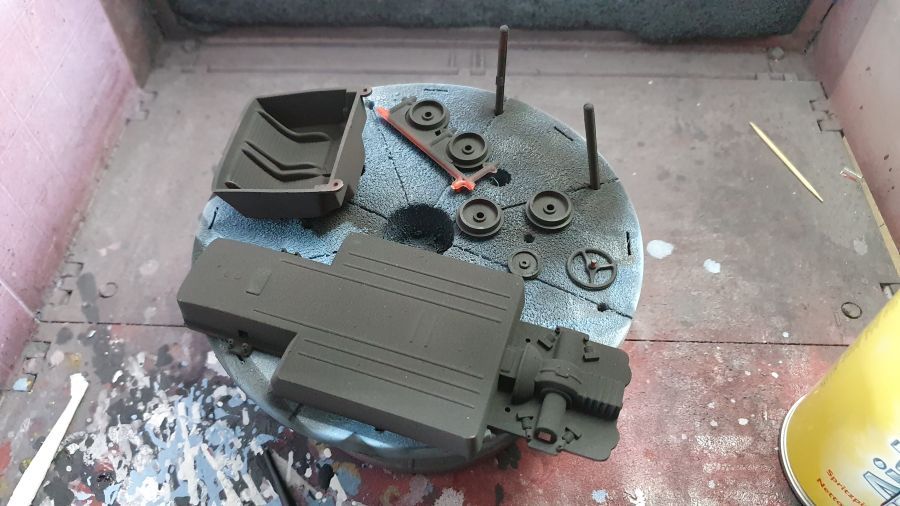
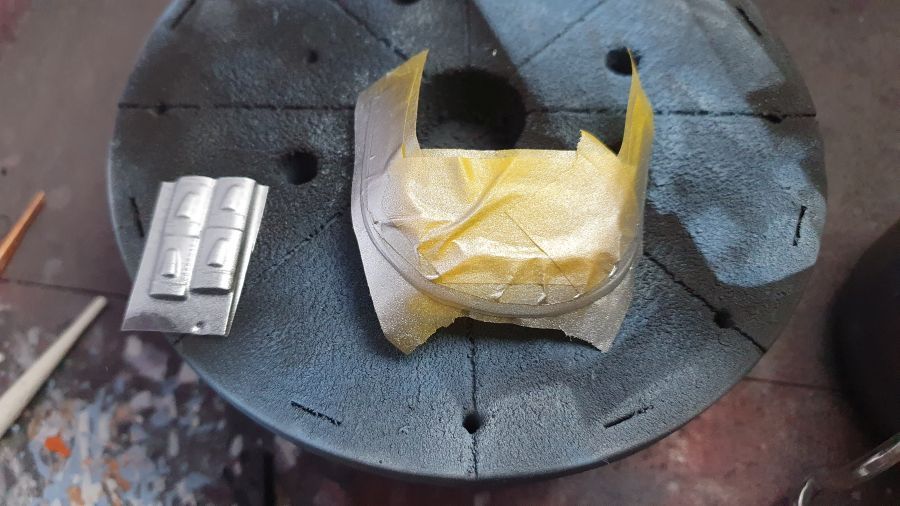
Het bodywerk moet nog licht geschuurd... De lepels krijgen primer voor de verftest.
The body needs some light sanding... The spoons get primer for the paint test.
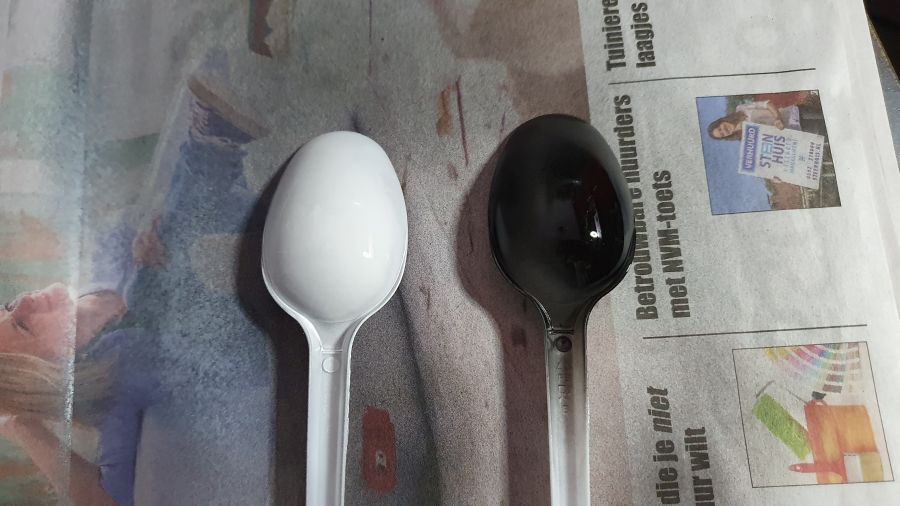
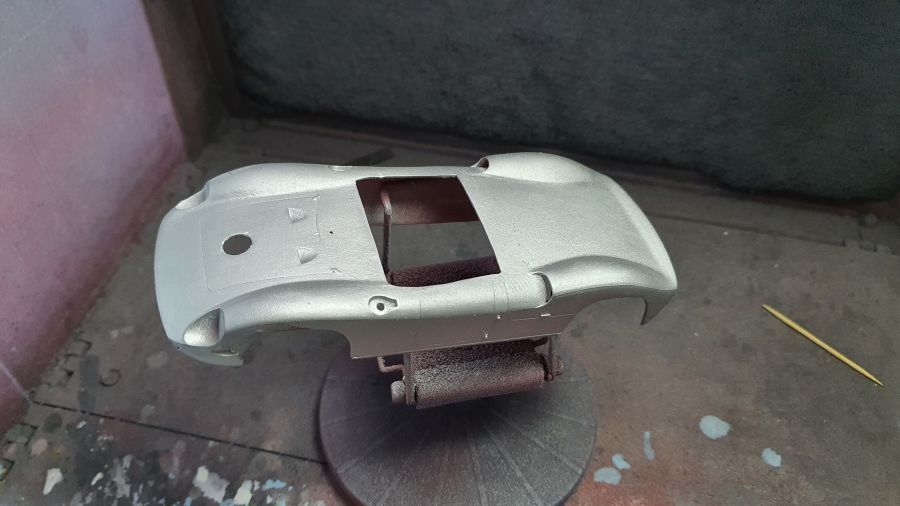
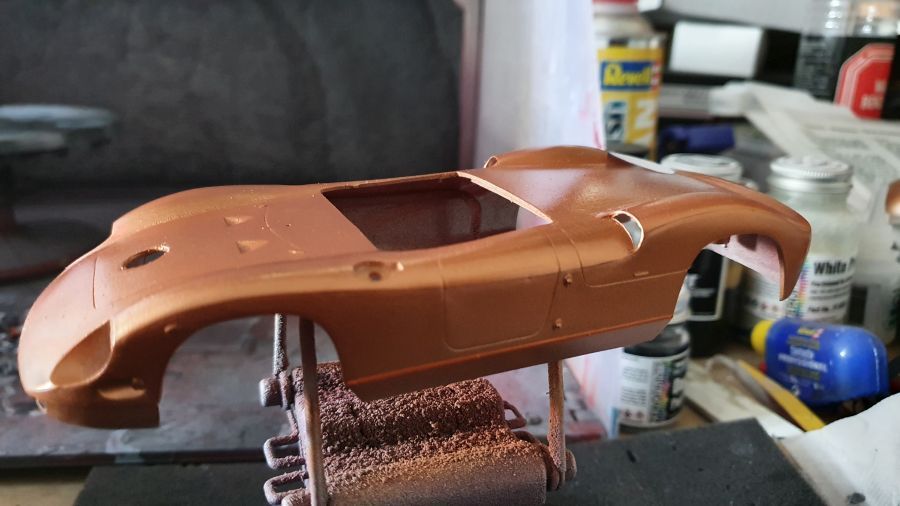
Ik heb besloten ook nog een zilver ondergrond toe te voegen. Ik denk dat ik voor het zilver ga... Die kleur komt het meest bij de kleur op de foto's van Sebringrace.com.
I have decided to add a silver primer too. I think i'll go for the silver... That color is the closest to that ofthe pictures of Sebringrace.com.
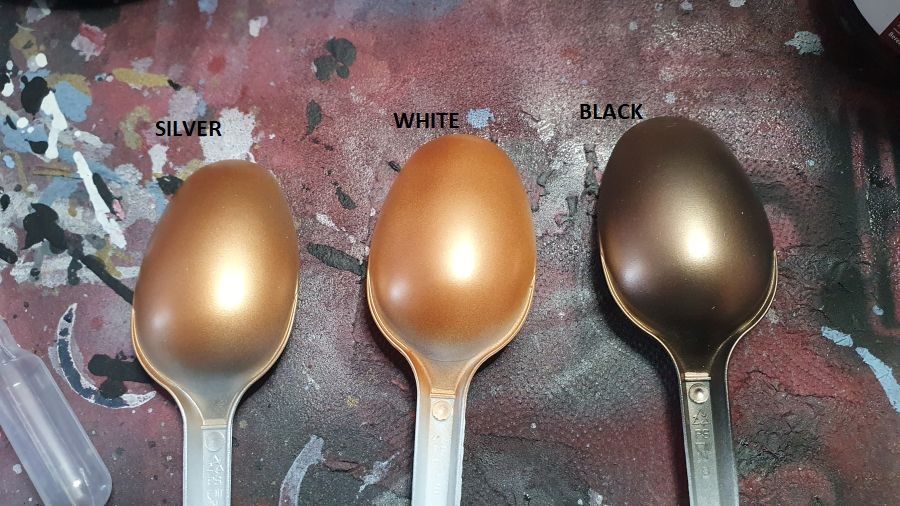
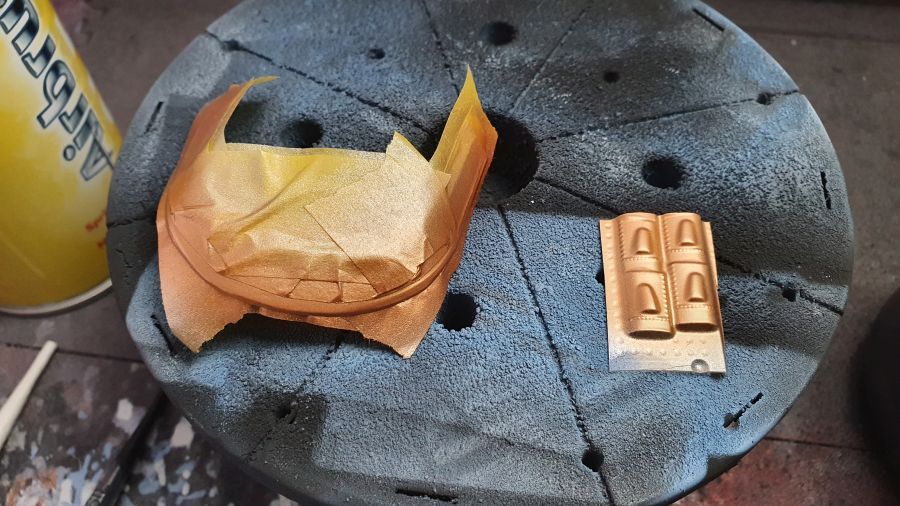
Dus eerst zilver erop... Daarna 4 lagen 'mist' van de kleur. Ik gebruik Zero Paints Copper ZP-M1006.
So first of all silver on it... Then 4 mist coats of the color. I use Zero Paints Copper ZP-M1006.
Het chroom haal ik eraf met ovenreiniger... het is een beetje hardnekkig deze keer. Zelfs na 3 sessies blijft er nog wat achter.
I'll take off the chrome with oven cleaner... it's a bit of a pita this time. Even after 3 sessions there is still some left.
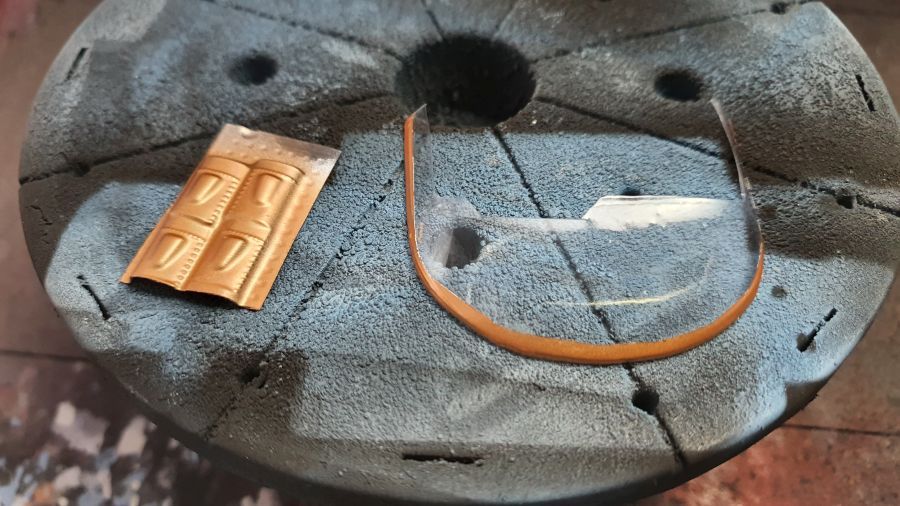
Maskeren voor de oranje streep...
Masking for the orange line...
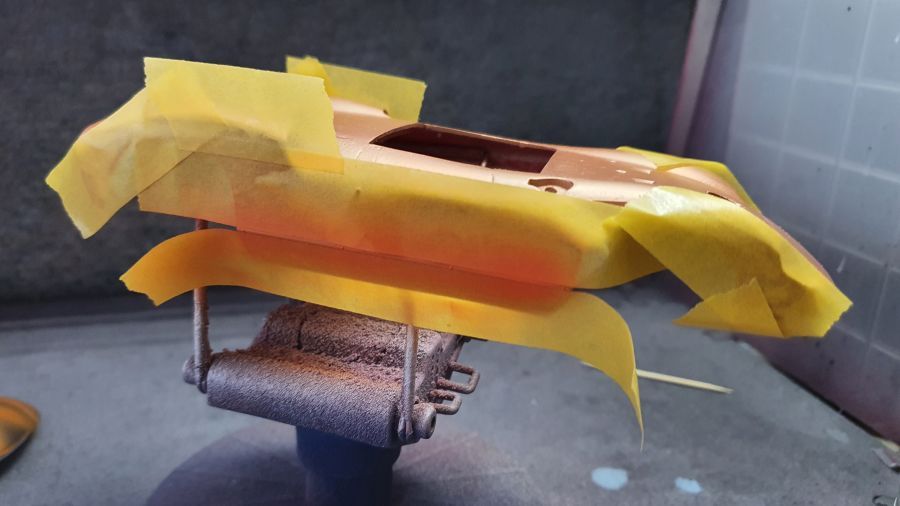
En glanslak erop.
And clear coated.
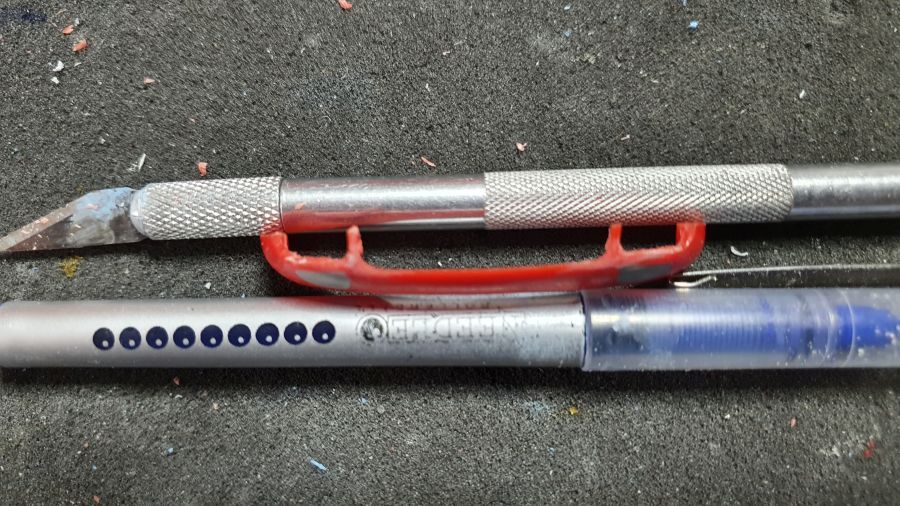
Het zwarte deel moet weggeknipt.
The black part needs to be cut off.
En ook maskeren voor de verf...
And masking too to paint...
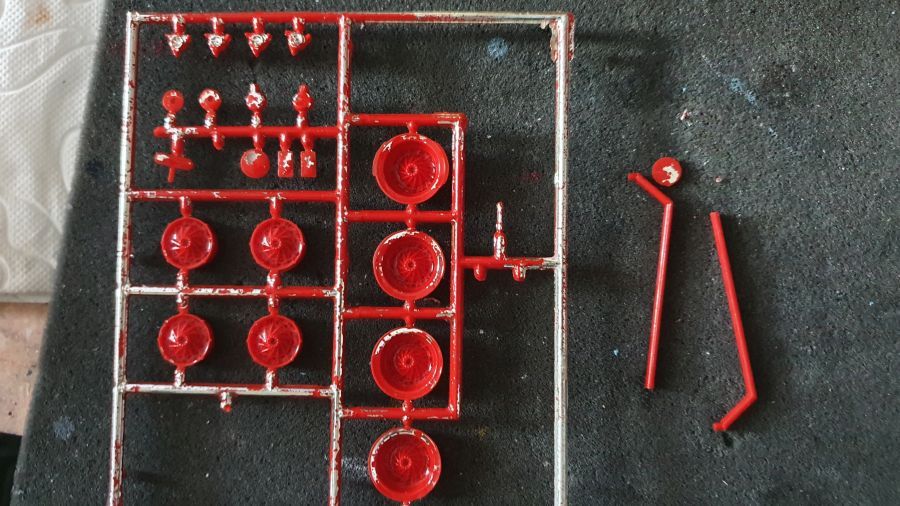
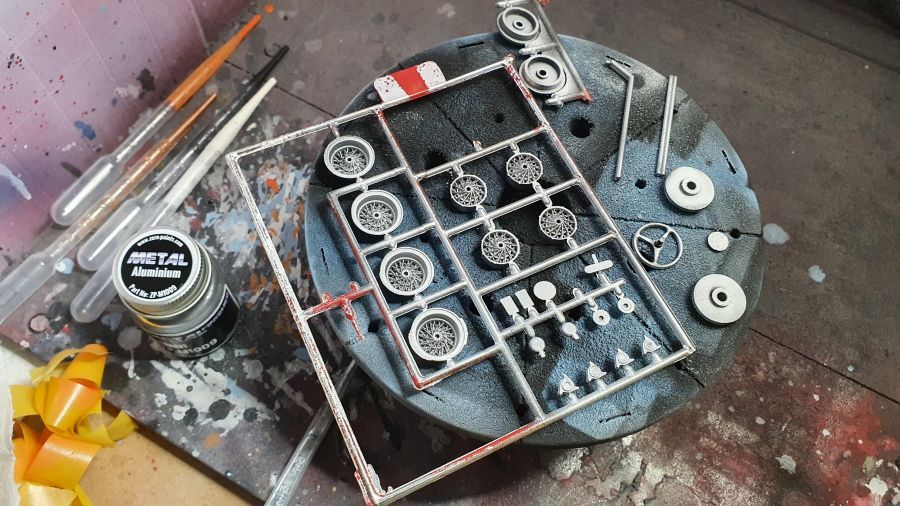
De velgen en nog een paar onderdelen worden aluminium gespoten.
The rims and some more parts receive aluminium paint.
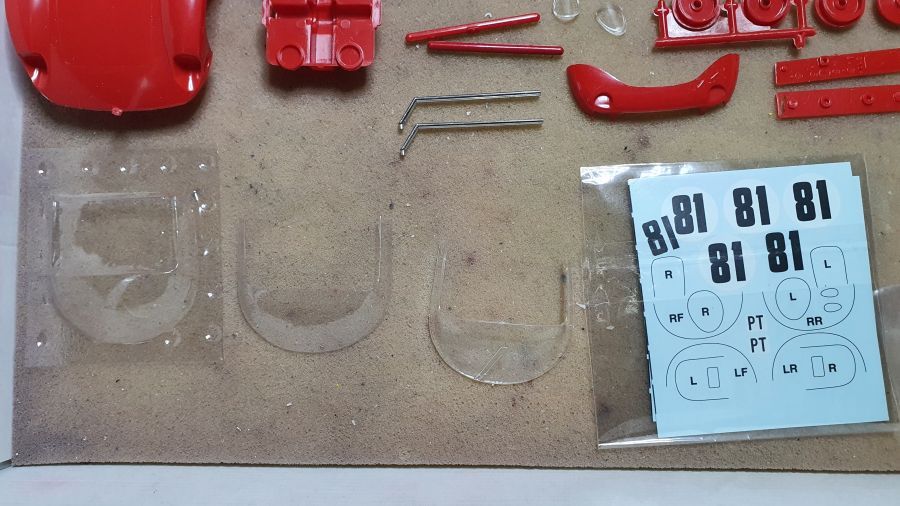
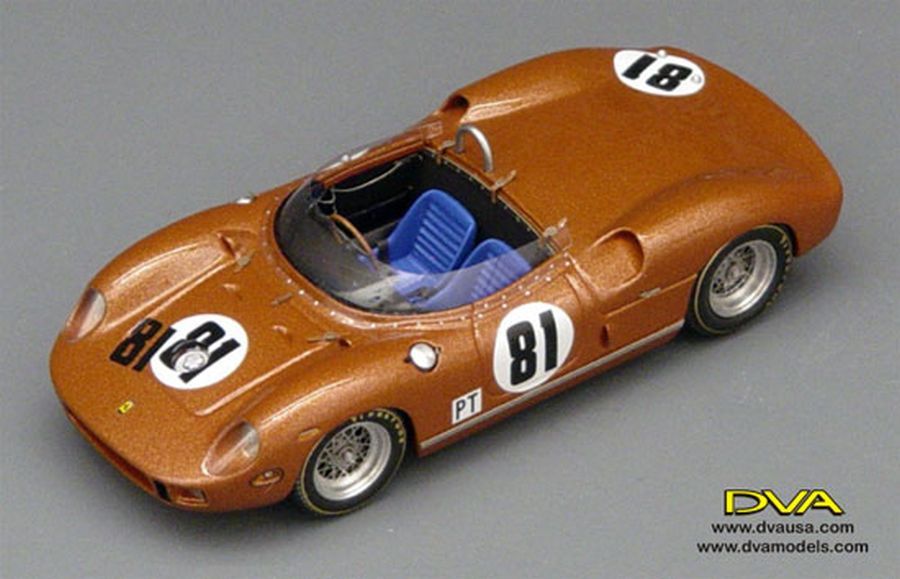
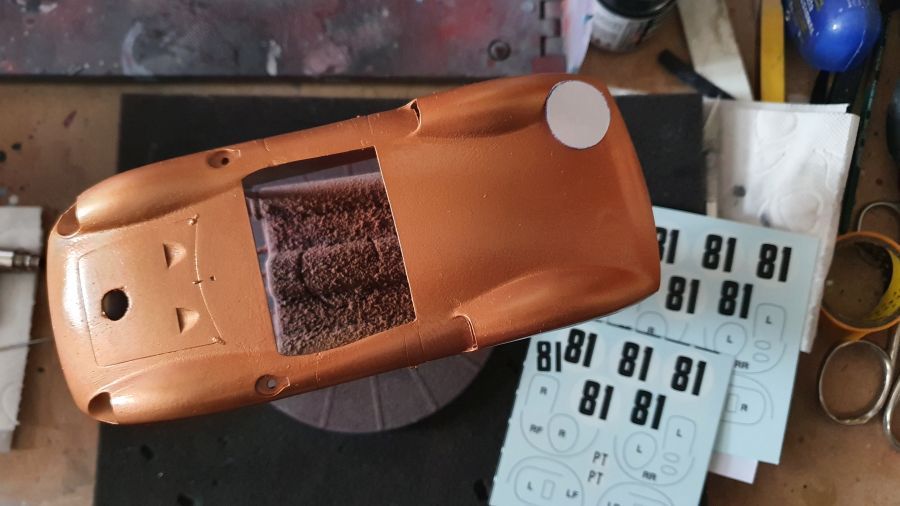
Nu besluiten nemen over de decals. Mijn decals wijken iets af van deze scan, maar het probleem is duidelijk. De decals hebben voor de voorste motorkap een dubbele #81. Ik zie dit niet op de foto's. Dan de plek van de PT decal. Dit is soms anders op de foto. Dan de decal #81 op de achterste kap. Het ene model heeft hem in het midden. Het andere model deels over het spatbord. Op de grote foto aan het begin van deze WIP zie ik echter niets op het achterspatbord. Ook de kleine lijntje van de decals voor de spatborden enz. zie ik op de foto's nergens terug. Misschien heeft de maker het bedoeld als 'high lights'? Zeg het maar....
Now making decisions on the decals. My decals a slightly different from those of the scan, but you will get my point. The decals on the front hood have a double #81. I can't see this on the photos. Then the spot of the PT decal. It is different on some photos. Then the decal #81 on the rear hood. One model has it in the middle. The other model has is partly over the fender. On the big photo at the beginning of the WIP is see nothing on the rear fender. Also, the small lines for the fenders etc. on the decal sheet. I can't find them anywhere on the photo's. Maybe the maker meant them to be used as 'high lights'? Tell me what is correct....
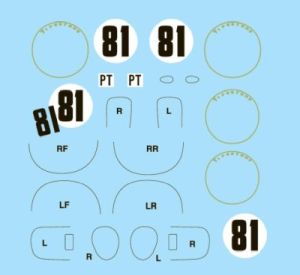
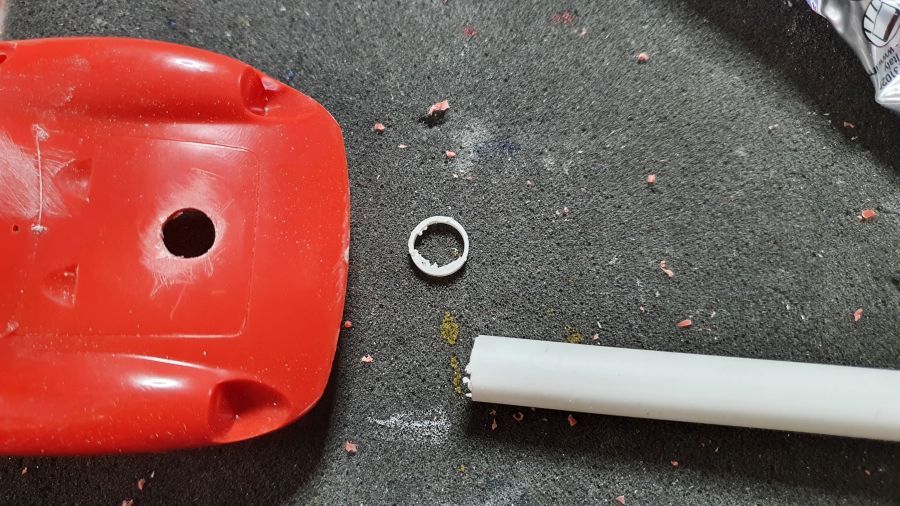
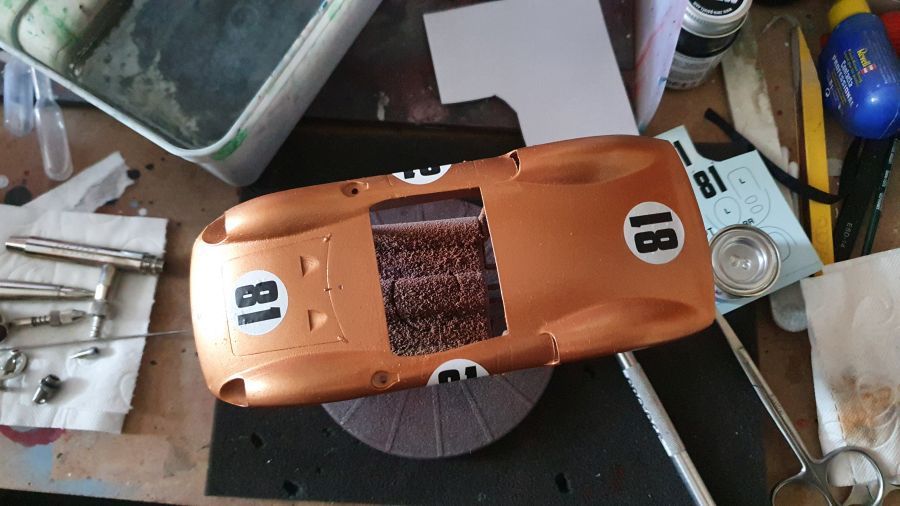
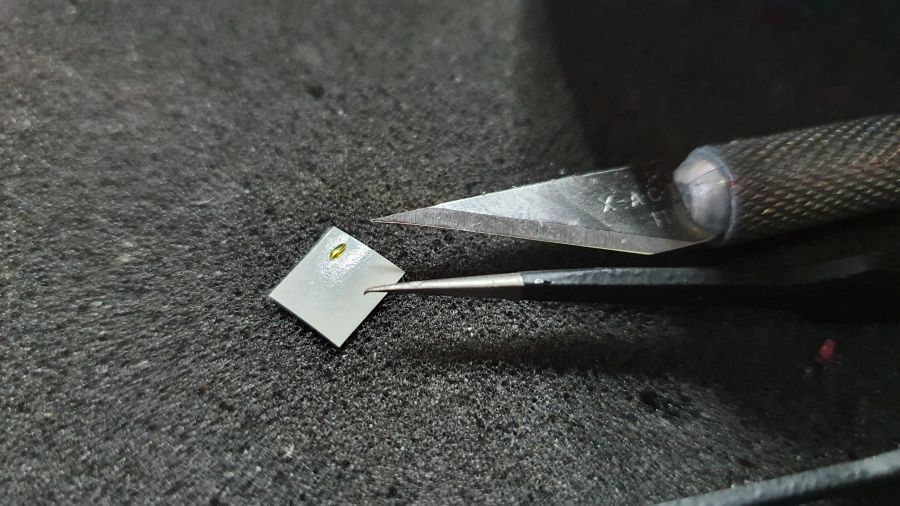
Ik heb een klein testje gemaakt met een rondje. Wanneer deze over het spatbord zou lopen, zou deze op de grote foto zichtbaar moeten zijn. Dat is niet zo, daarmee denk ik dat de decal gewoon midden op de achterkant hoort. Let ook op mijn decals. Er is een #81 zonder witte cirkel. Gelukkig heb ik 2 sets.
I did a small test with a circle. When the no. would go over the fender, it should be visible on the large photo. It is not, so i think the decal should be in the middle of the rear hood. Also have a look at my decals. There's a #81 with no white circle. Luckily i have 2 sets.
Mijn besluiten...
My decisions...
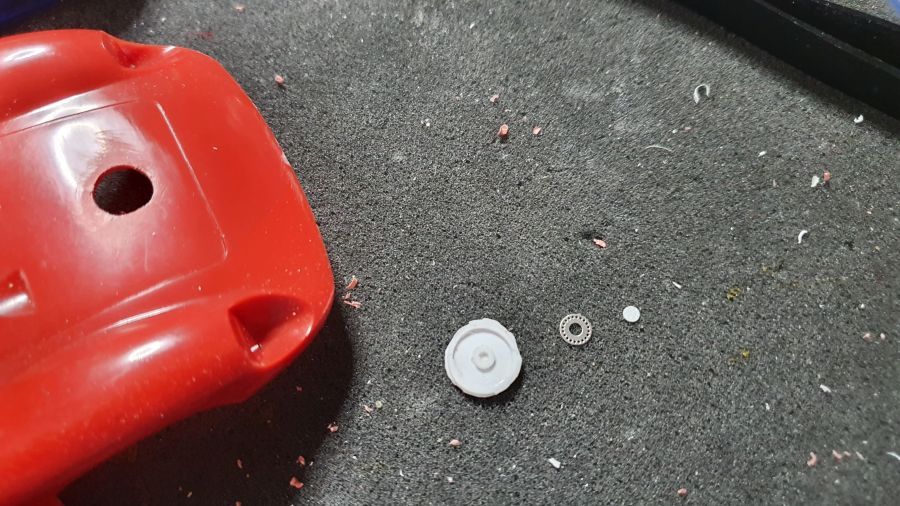
En het gat..
And the hole..
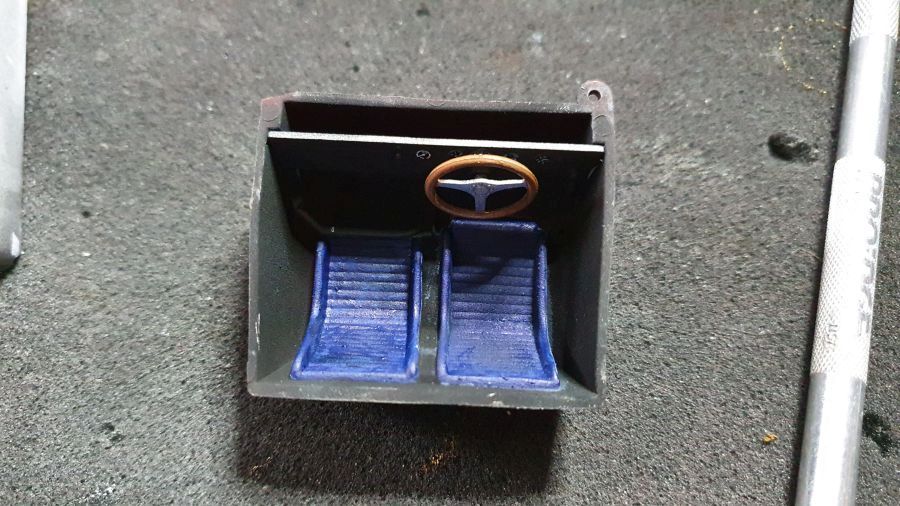
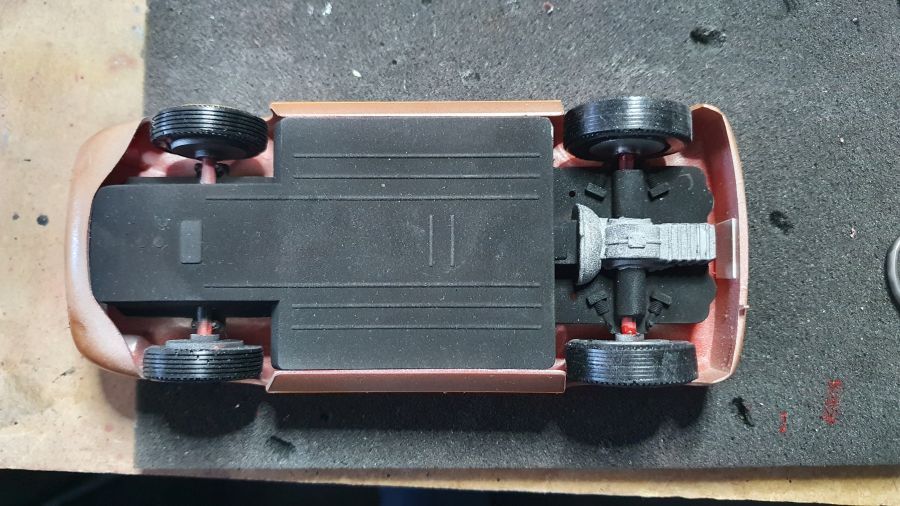
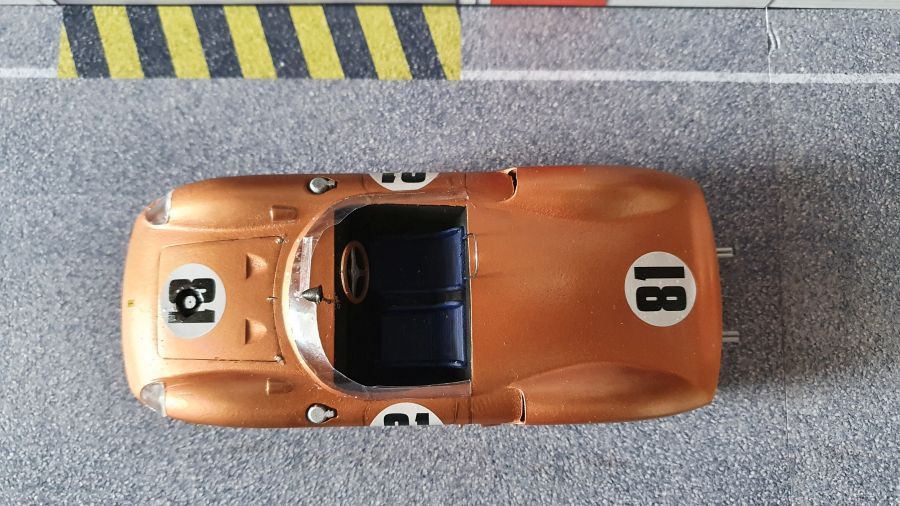
De binnenkant is klaar. Misschien nog even wat met wat lichte verf spelen...
The inside is ready. Maybe adding some light paints...

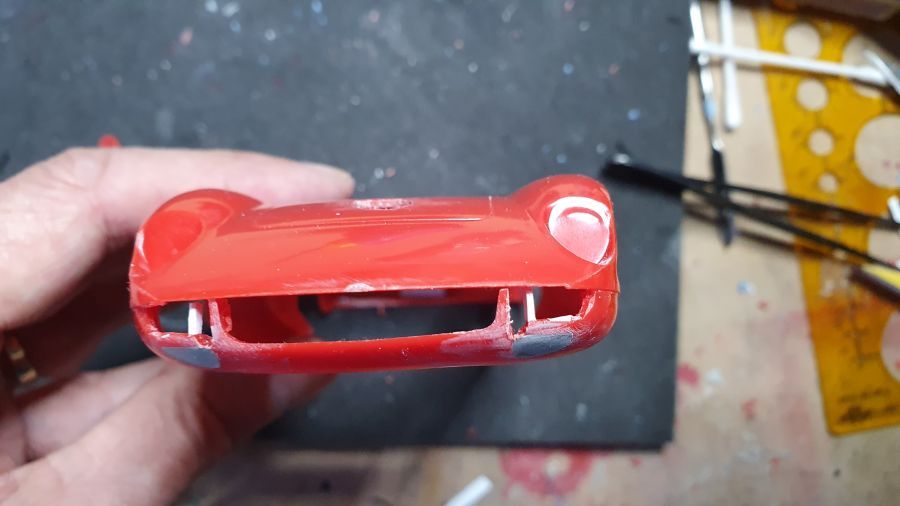
En de kleine luchthappers worden geplaatst.
And the small air inlets were added.
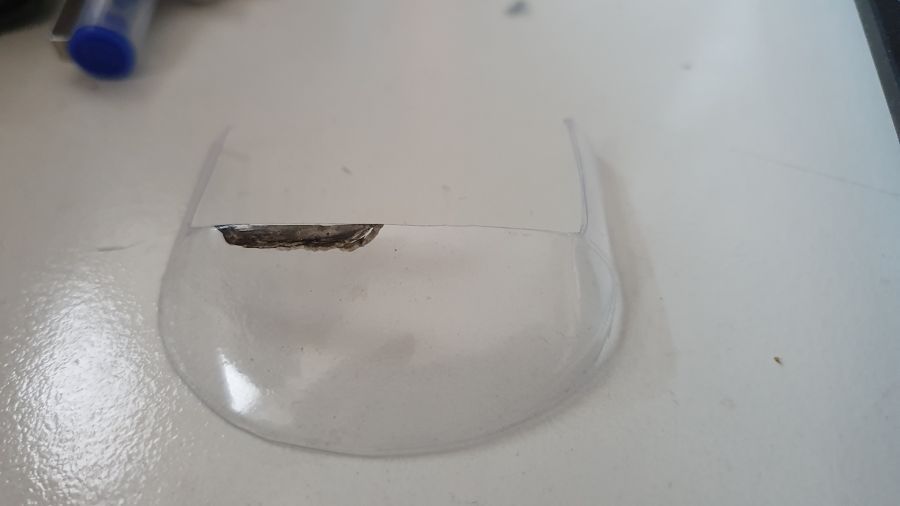
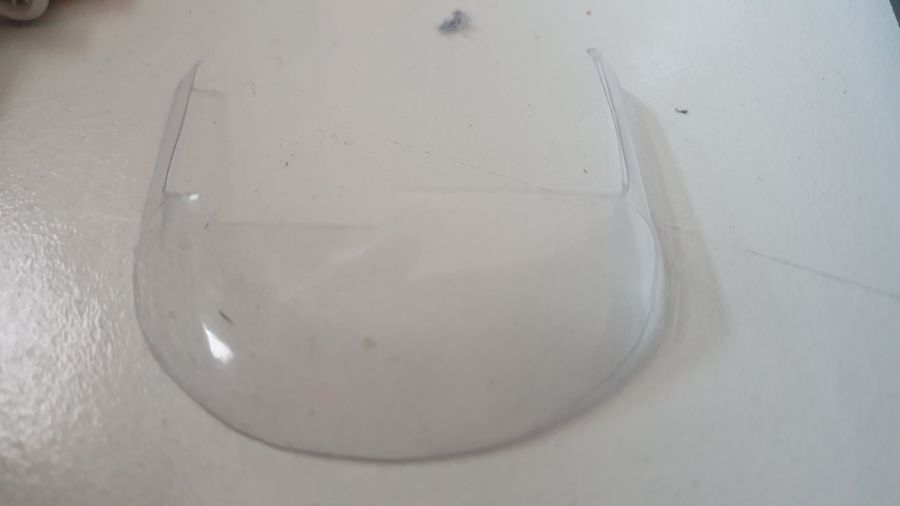
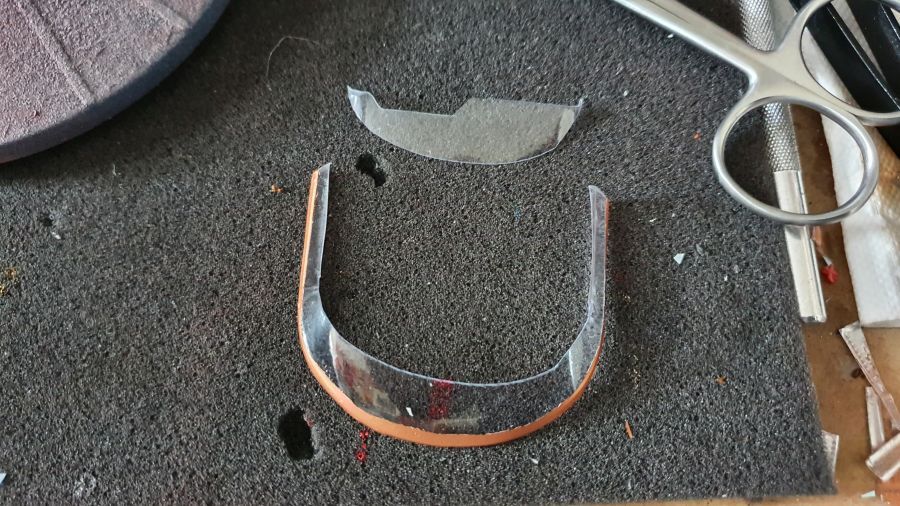
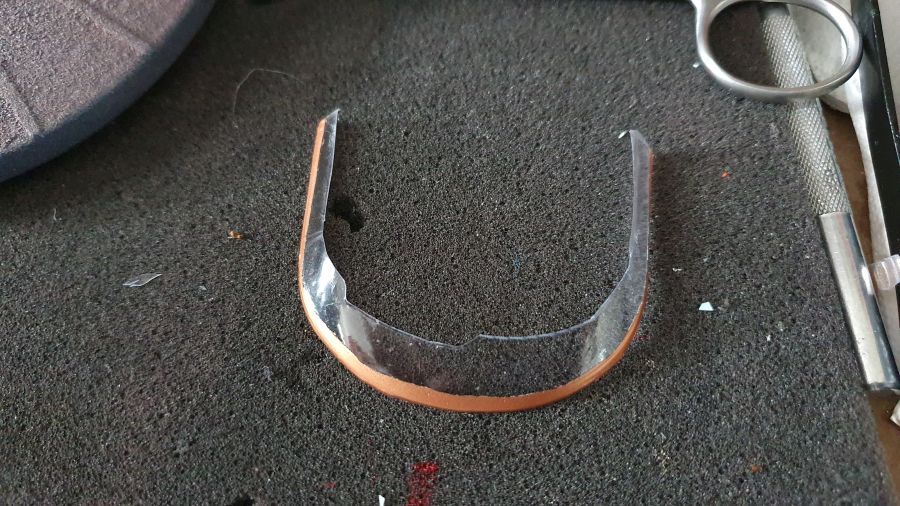
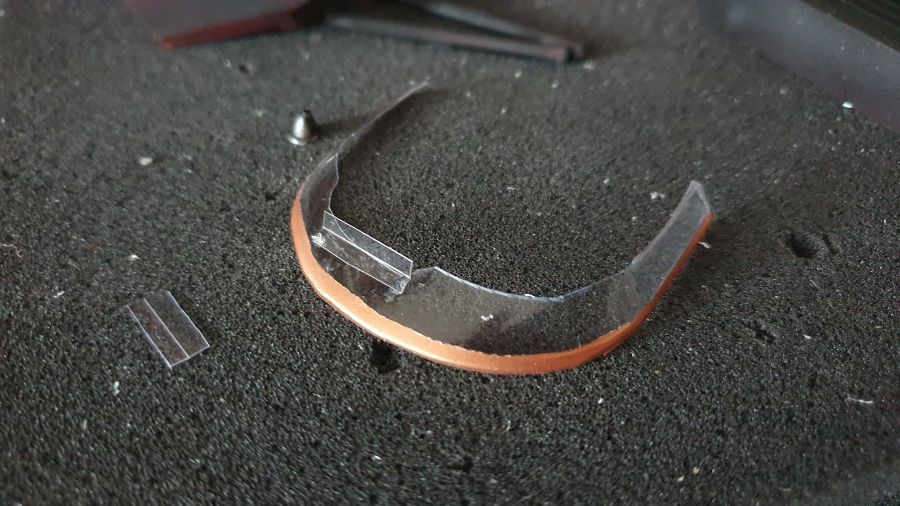
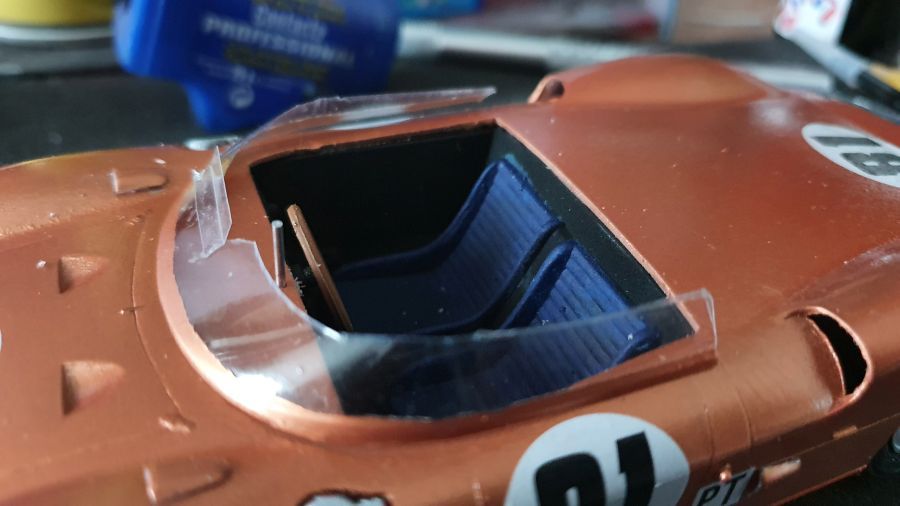
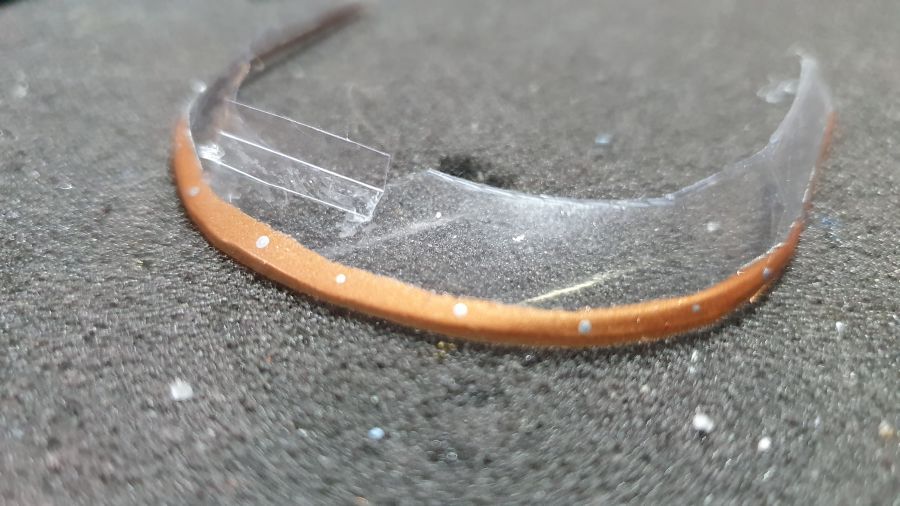
Ik heb nog een keer naar het raam gekeken en ik heb besloten toch nog wat te knippen. Zo is er ook ruimet voor de spiegel.
 I had another look at the wind shield and decided to cut off some more. This way there is also space for the mirror.
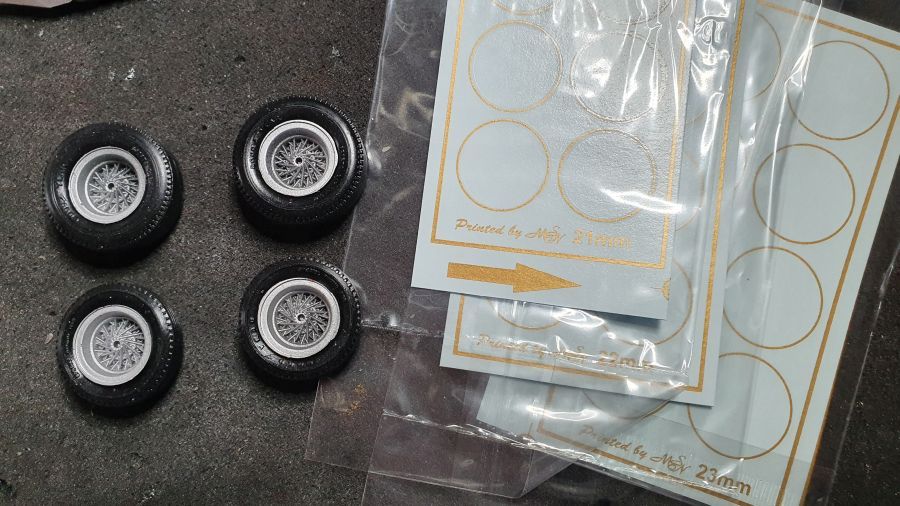
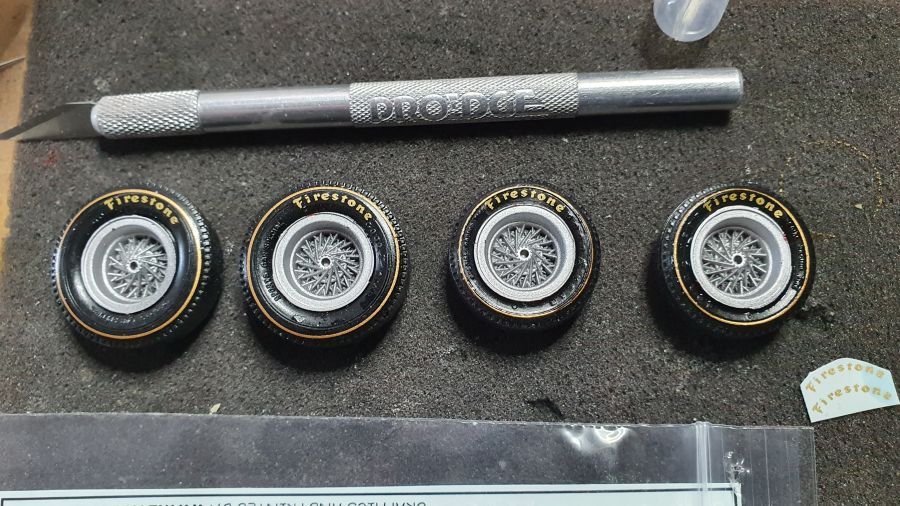
Ik heb een paar banden besteld op Ebay. Niet goedkoop, maar goed. Blijkt dat het niet originele banden zijn, maar kopie banden. Jammer.
I ordered some tires on Ebay. Not cheap, but o.k. It appears it's not the original stuff, but copies. A shame.
Dan de maat van de ringen kiezen. Voor wordt 23 mm,achter 25 mm.
Next is choosing the size of the rings. Front will be 23 mm, rear will be 25 mm.
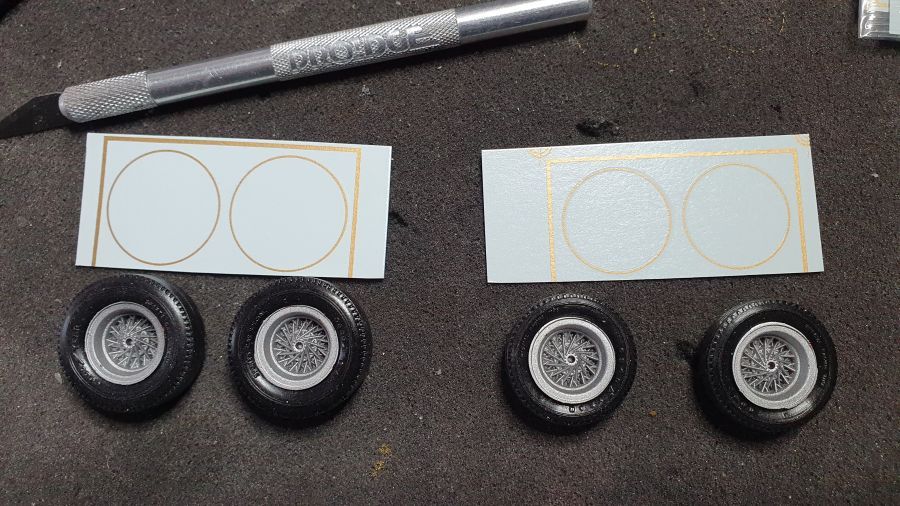
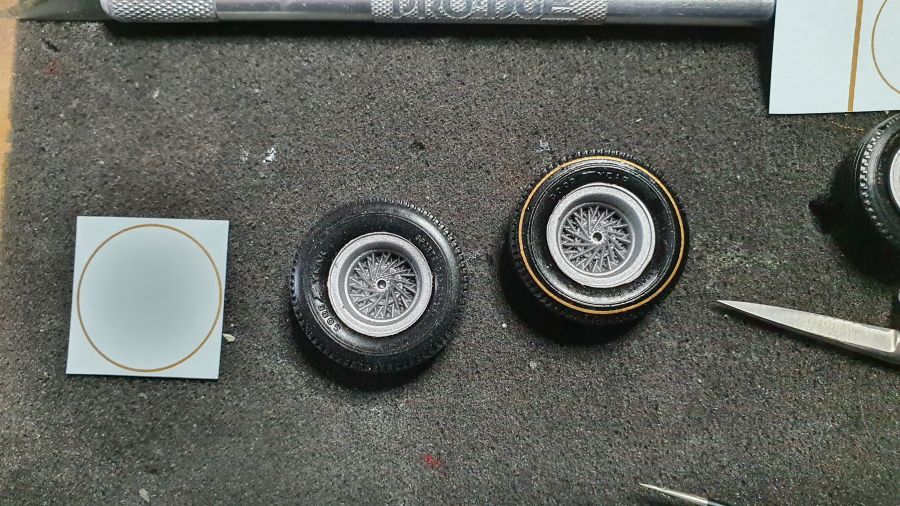
Iedereen die me kent weet dat ik die ringen haat. Maar het lijkt nu goed te gaan.
Everyone who knows me knows i hate these rings. But it looks like it went o.k. this time.
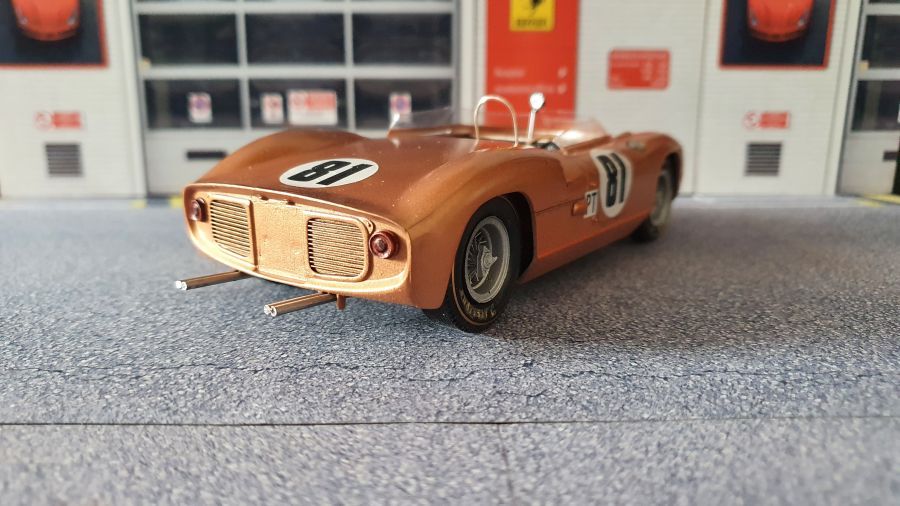
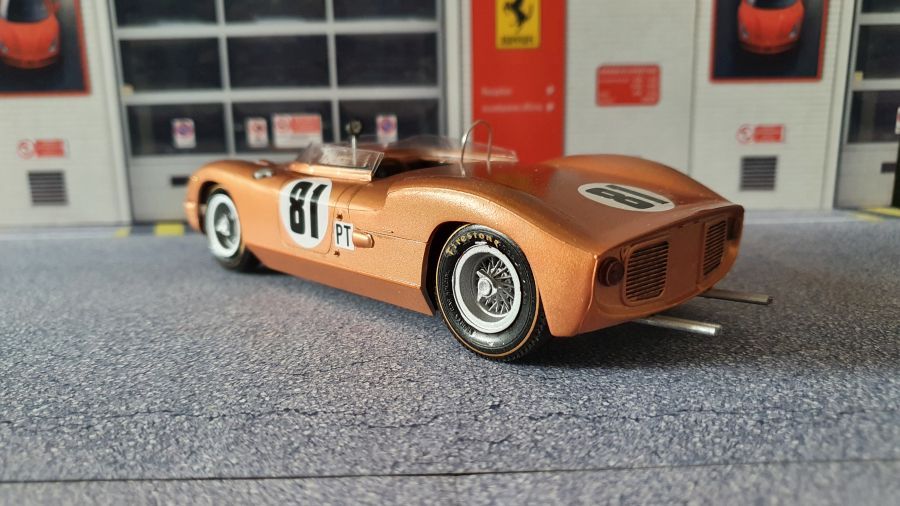
Veel kleine onderdelen toevoegen zoals lampen, spiegel, rolbeugel enz... En wat paneellijnen en roosters inkleuren.
Adding many small parts like lights, mirror, roll bar etc... And doing some panel lines and louvres.
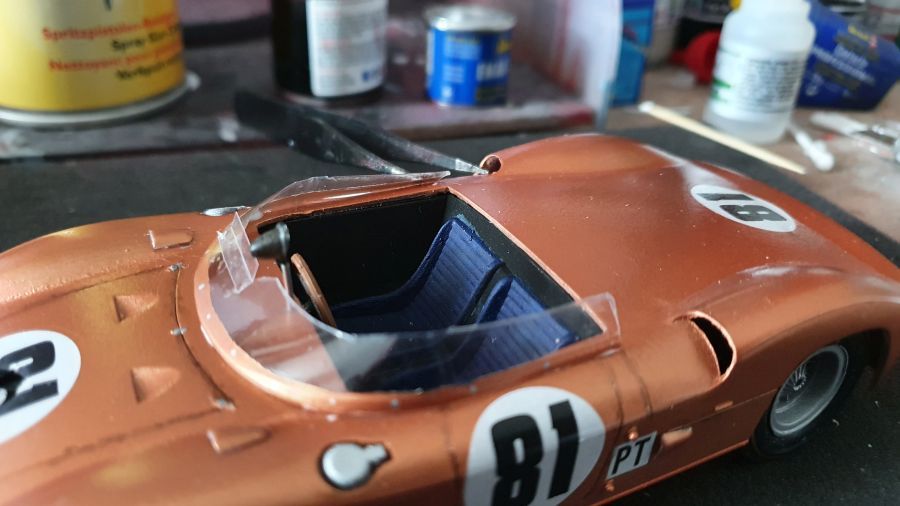
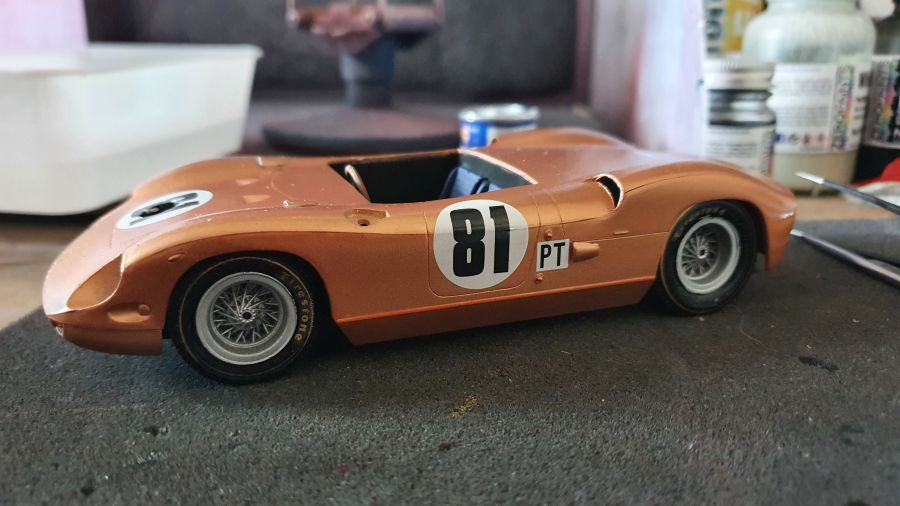
Ik denk dat deze nu klaar is.
I think this one is done.


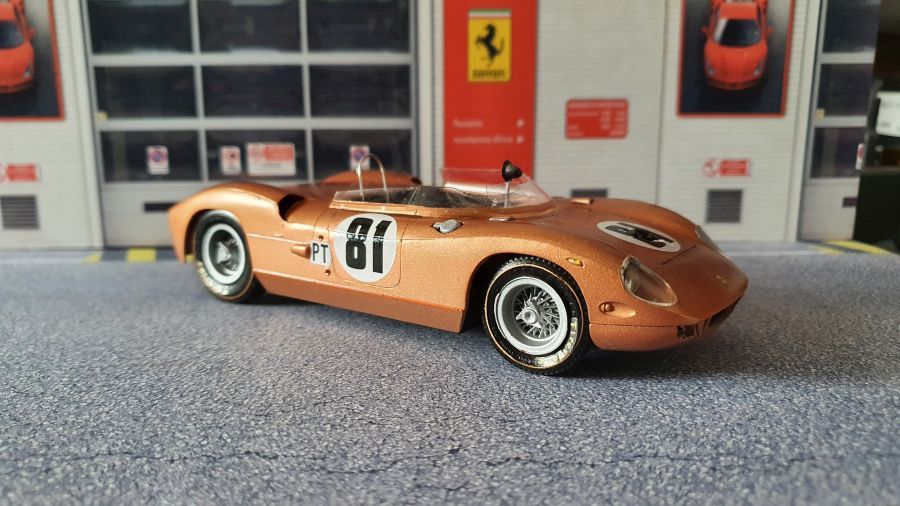
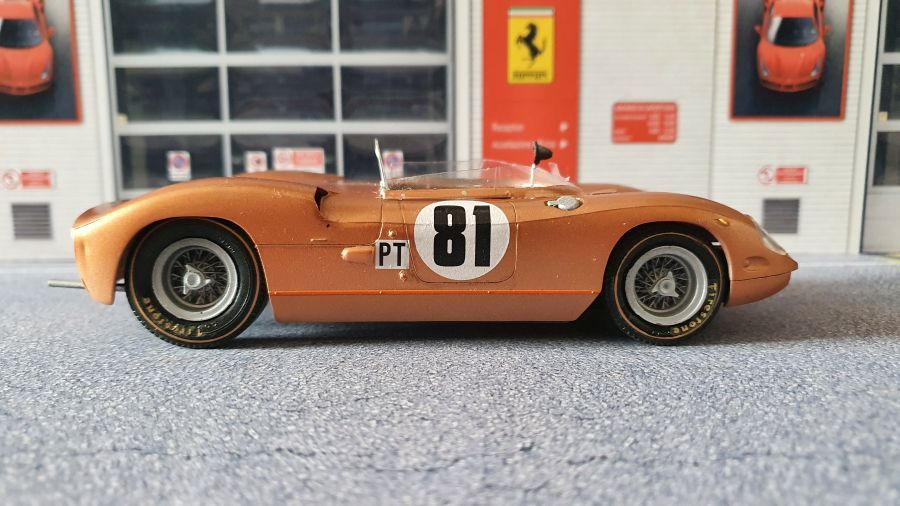

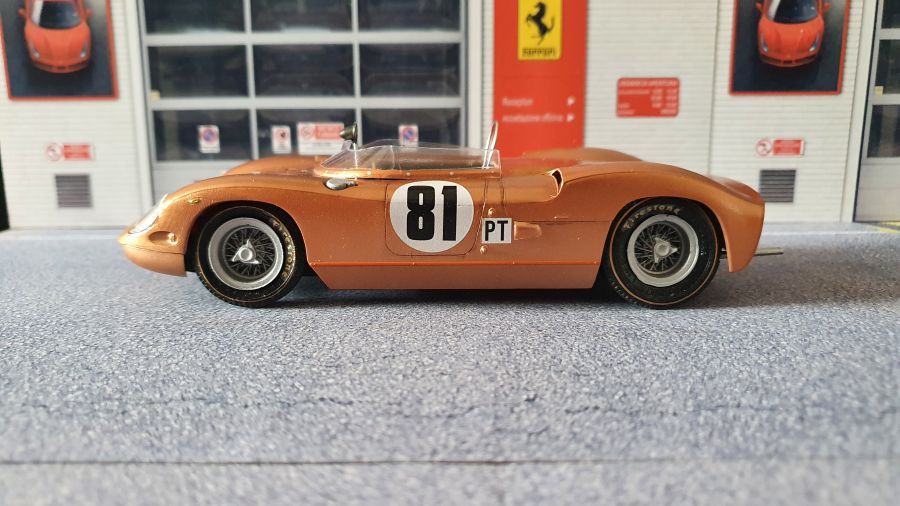
Hoewel het natuurlijk een simpel kitje is, heb ik toch veel plezier beleefd aan het bouwen van deze Ferrari 275P uit 1965.
Although is was a simple kit, i must say i had quite some fun building this 1965 Ferrari 275P.
