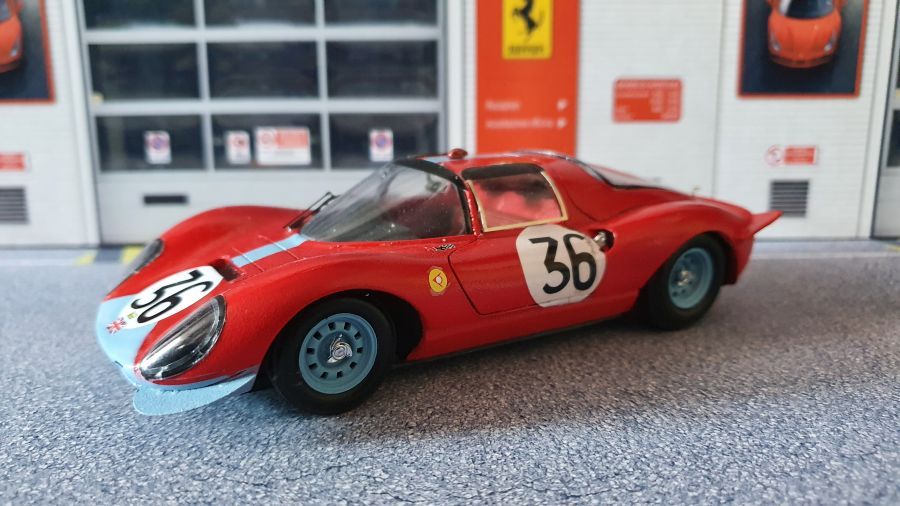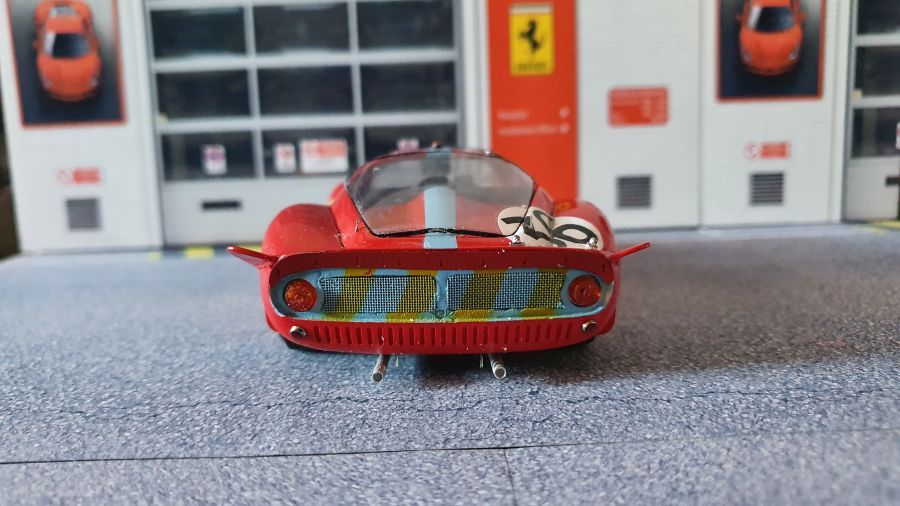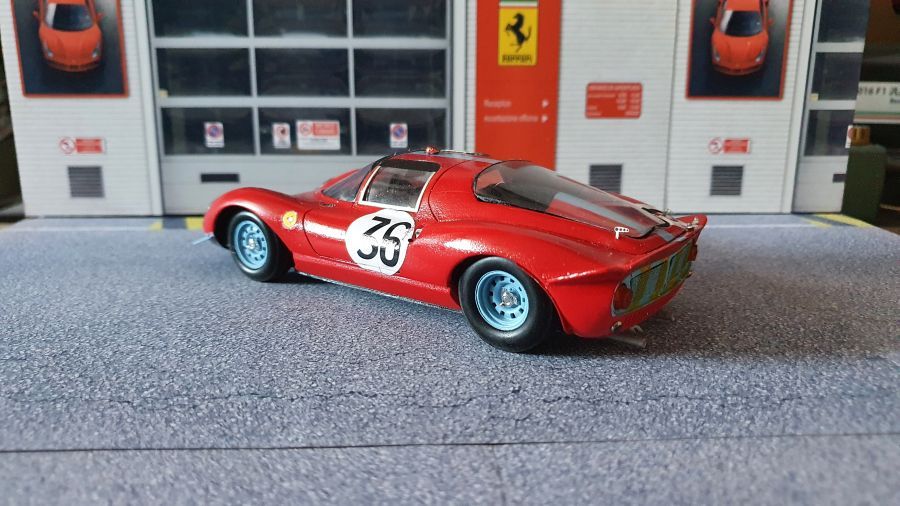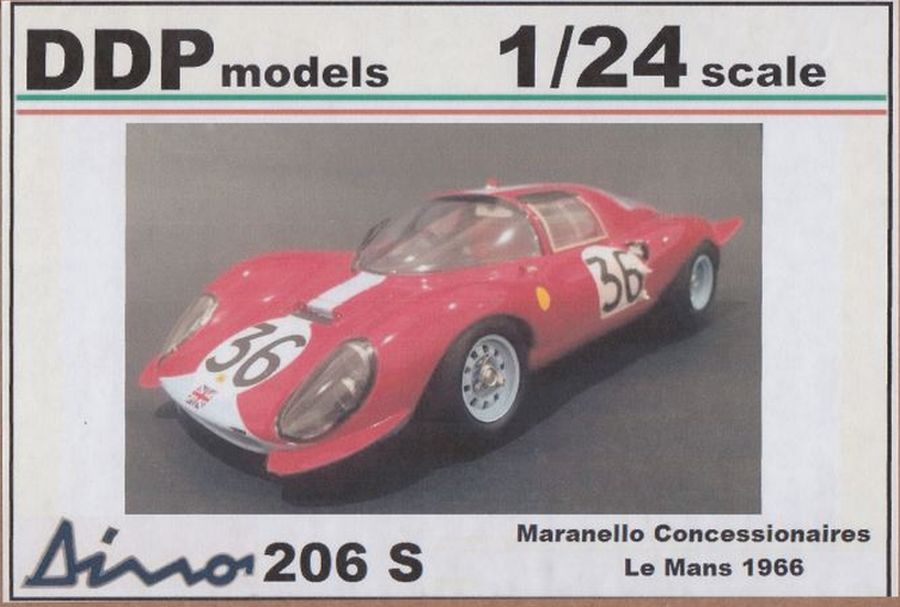

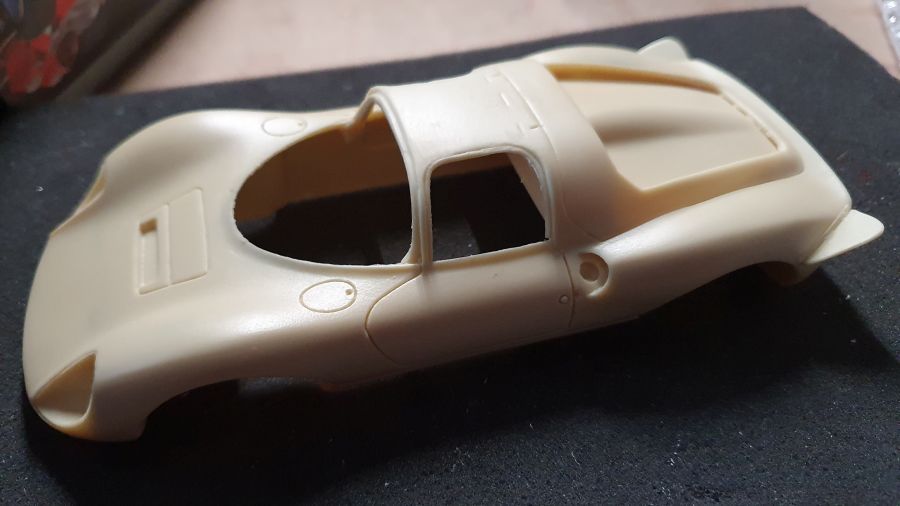
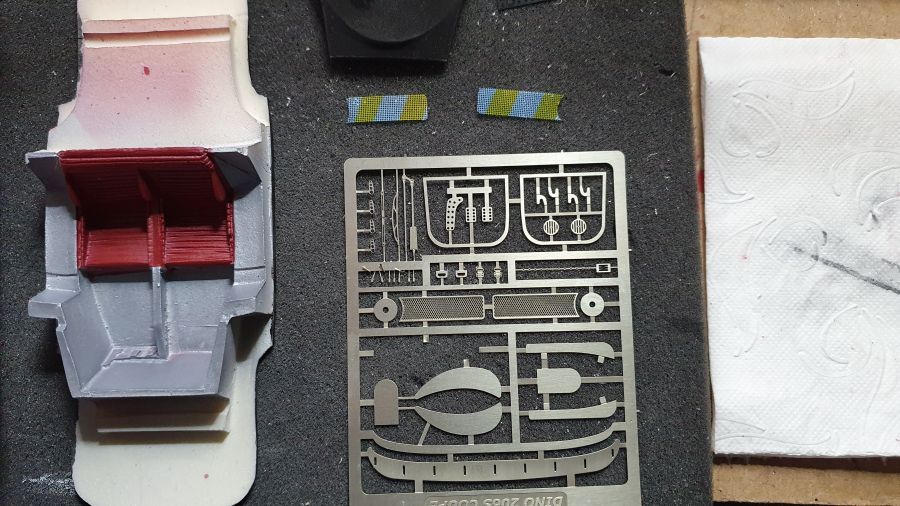
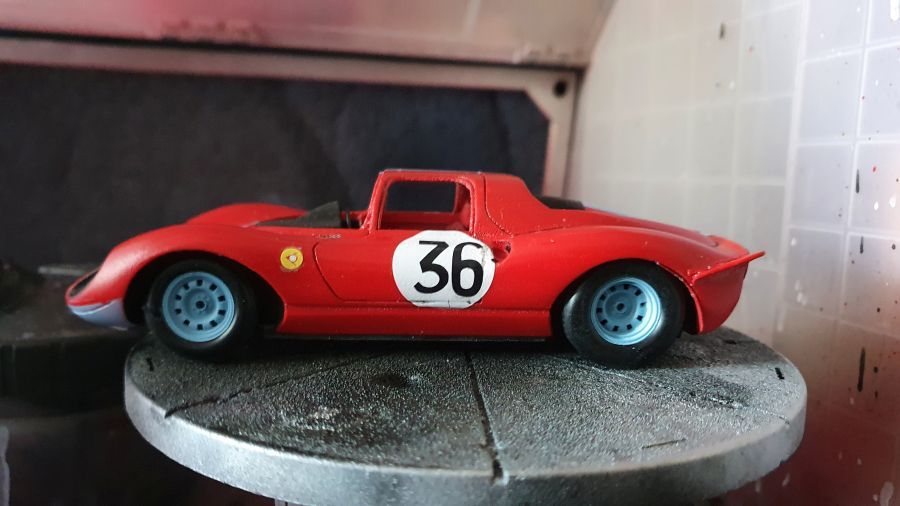
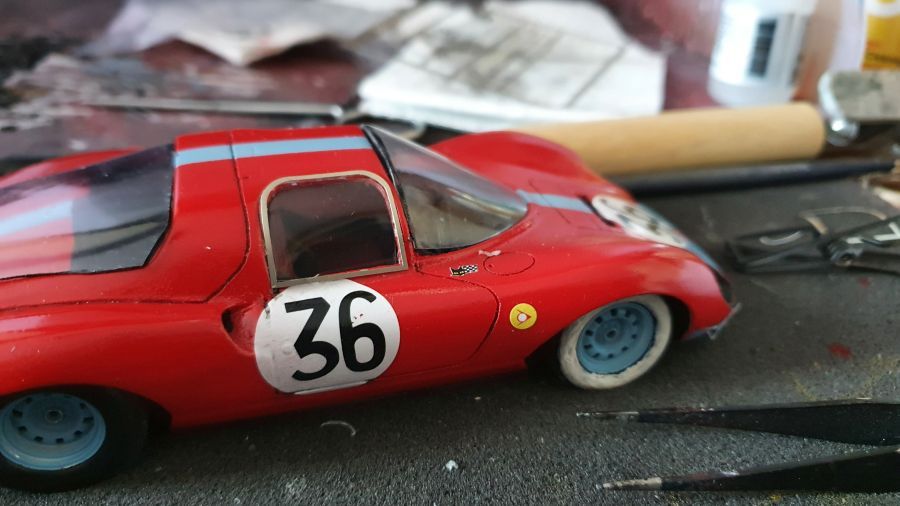
Omdat er onderdelen missen van de Audi R8 kit, ga ik deze eerst bouwen. Deze Ferrari Dino 206S uit 1966 heeft meegedaan aan de 24 Uur van Le Mans. Het is de wagen van team Maranello Concessionaires en werd bestuurd door Michael (Mike) Salmon en David Hobbs. DDP heeft er echt wat moois van gemaakt. Beneden weer de foto's van de inhoud van de kit. Ik wil de versie bouwen zoals boven, dus met witte rechterband en blauwe 'wings'.
Because the Audi R8 kit has missing parts, i will do this one first. This Ferrari Dino 206S from 1966 participated at the 24 Hours of Le Mans. It's the car of team Maranello Concessionaires and was driven by Michael (Mike) Salmon and David Hobbs. DDP has made a great kit of it. Below the pictures of the content of the kit. I want to build the version above, so with white right front tire and blue 'wings'.
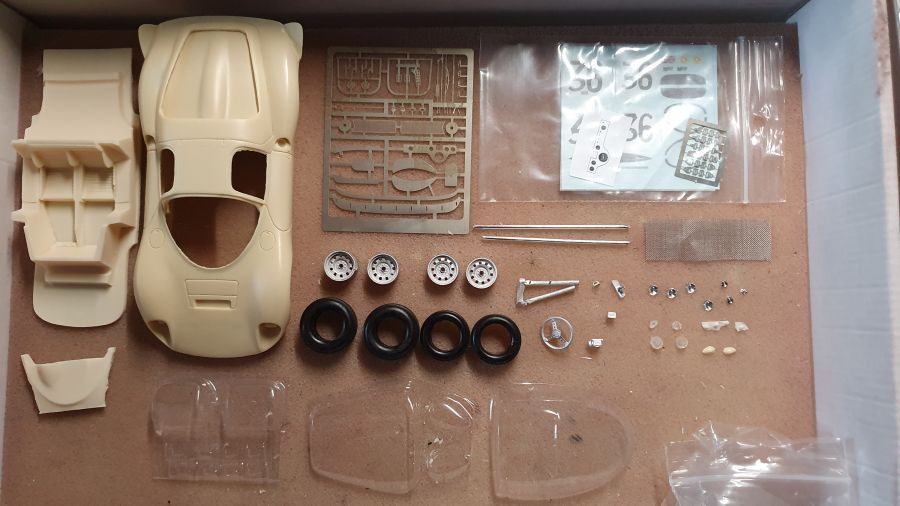
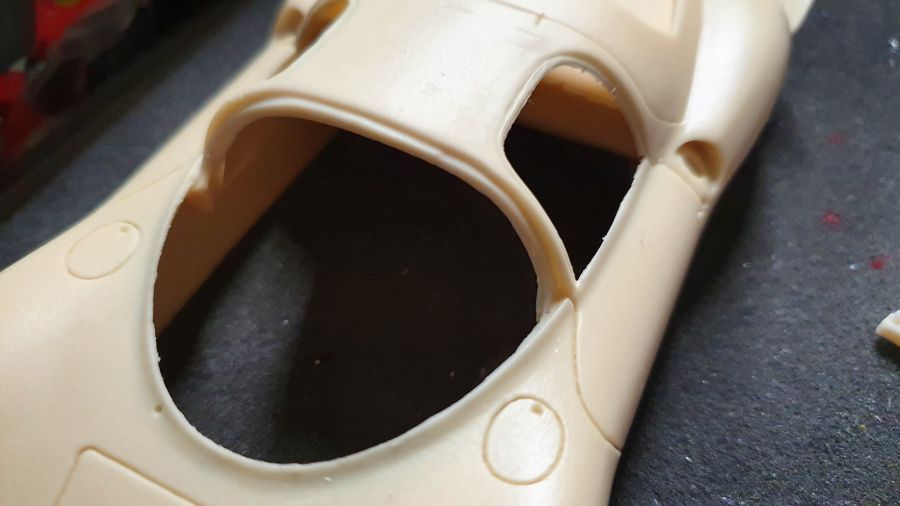
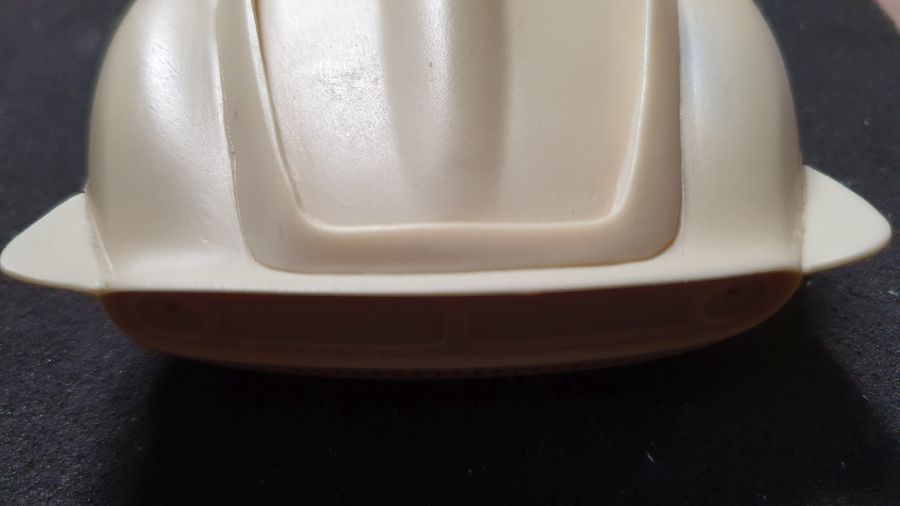
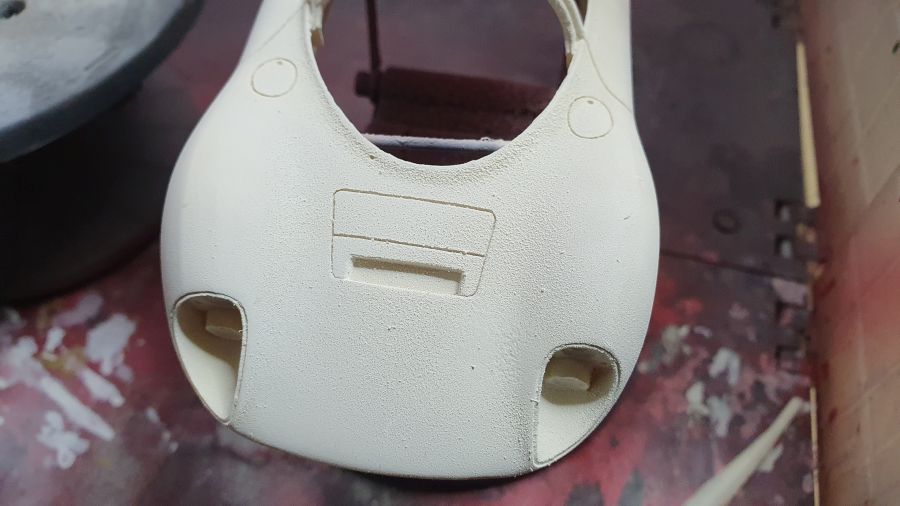
Fantastisch gietwerk. Alleen wat ruwe kanten moeten bijgewerkt.
Superb casting. Only some rough edges need some attention.
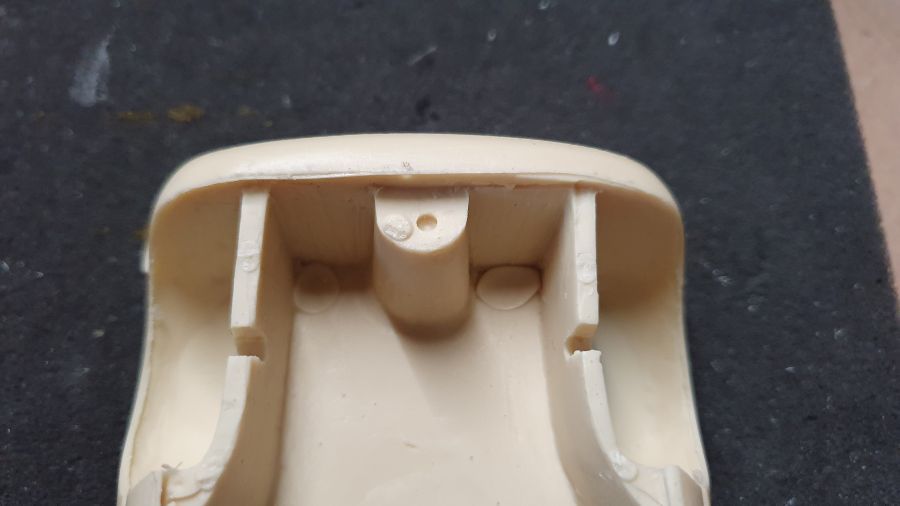
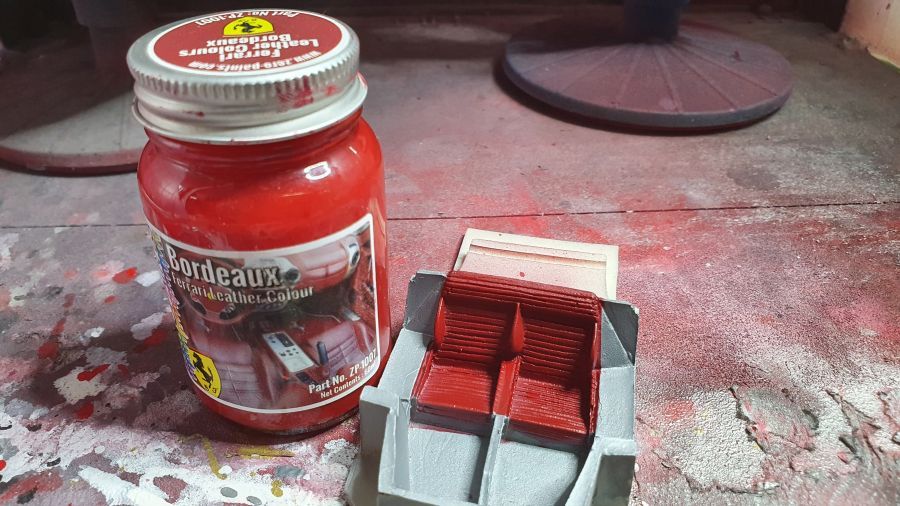
Ik zie liever losse stoelen, maar het zij zo.
I would rather see separate seats, but it is what it is.
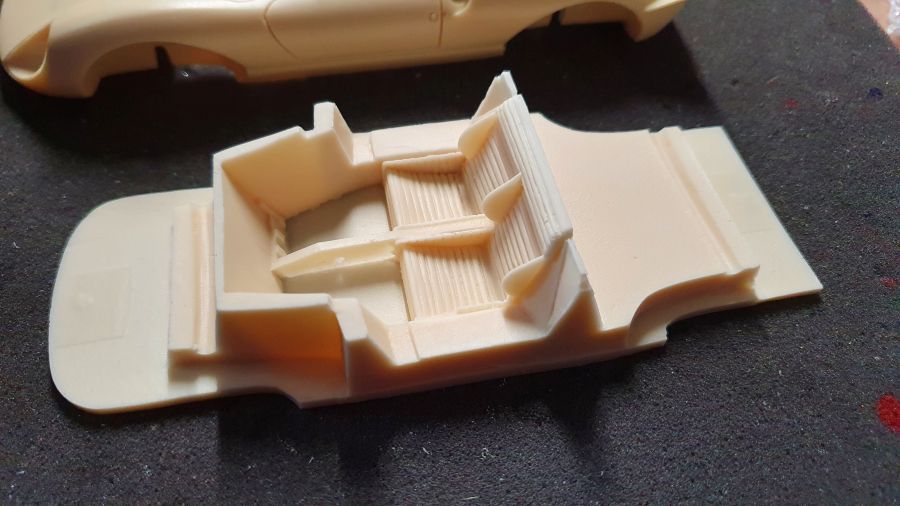
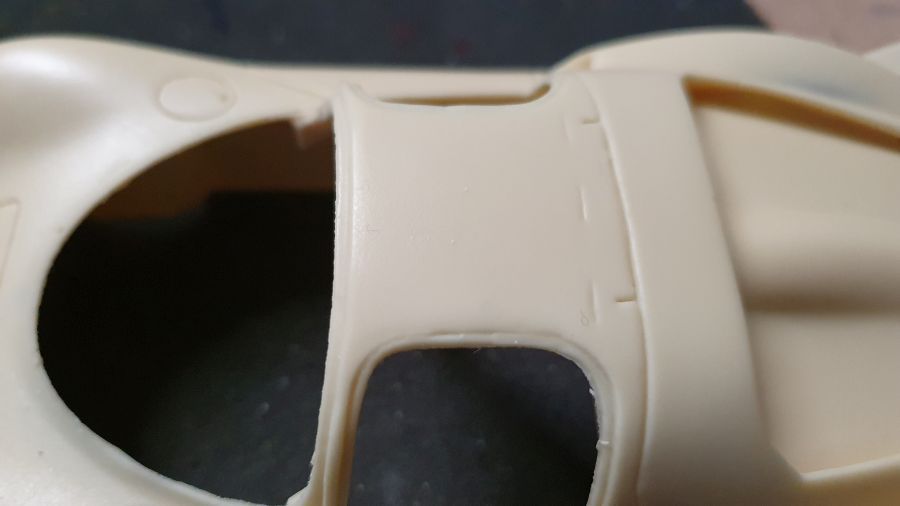
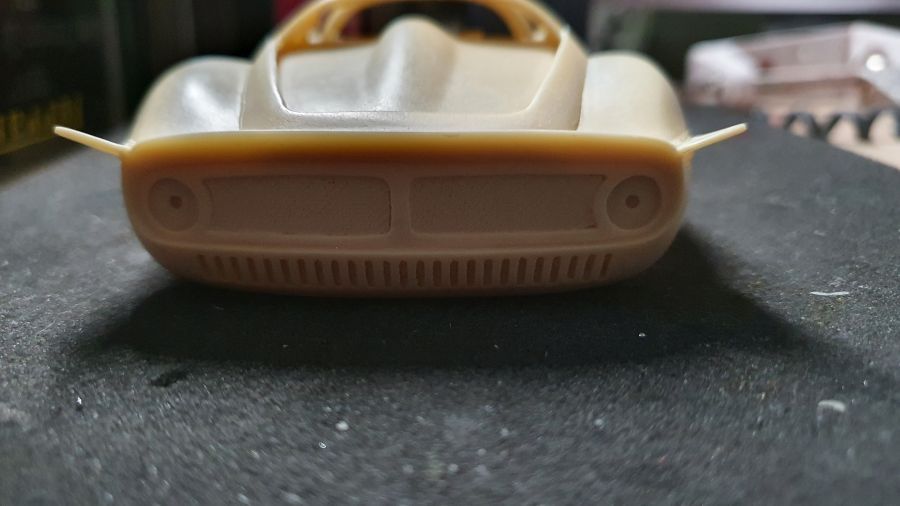
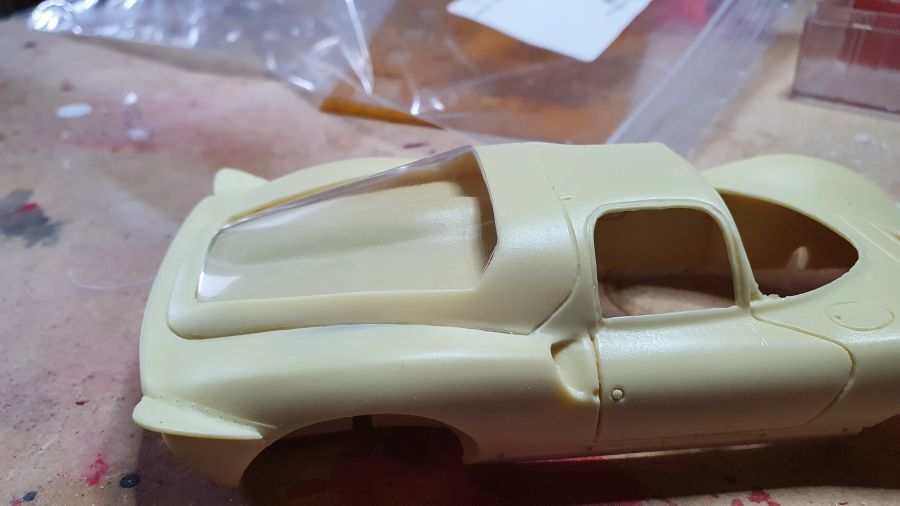
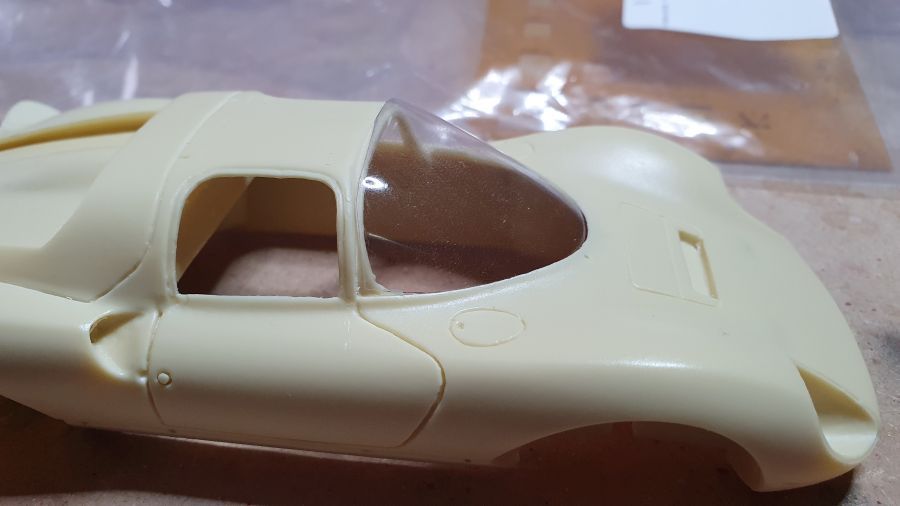
Wat ruwe kantjes en wellicht wat werk aan de paneellijnen nodig.
Some rough edges and maybe some scribing of panel lines needed.
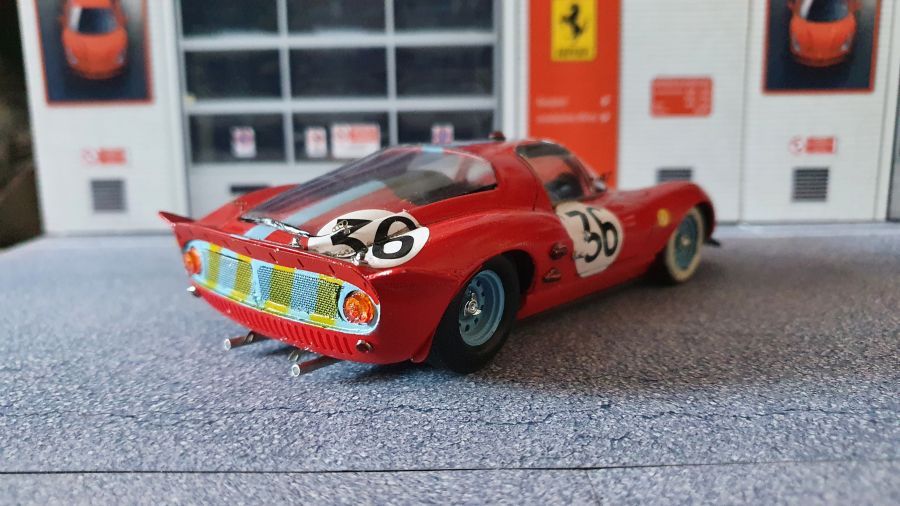
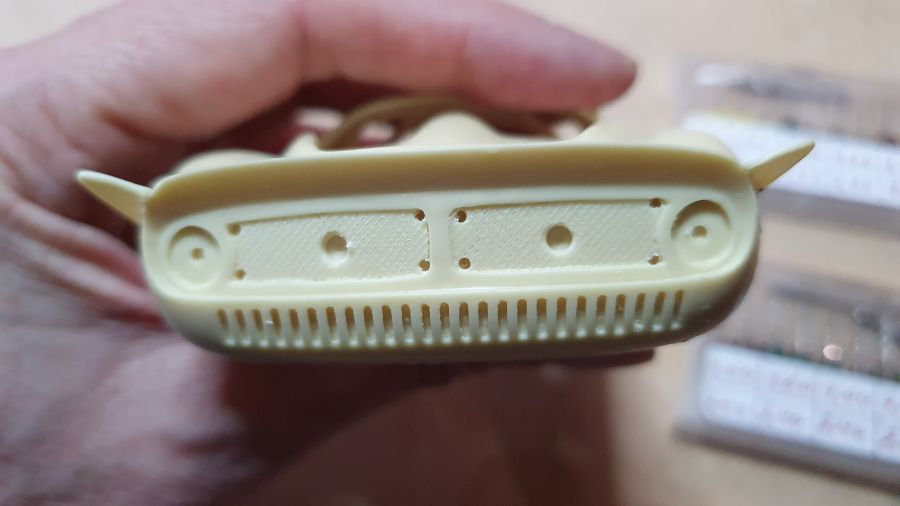
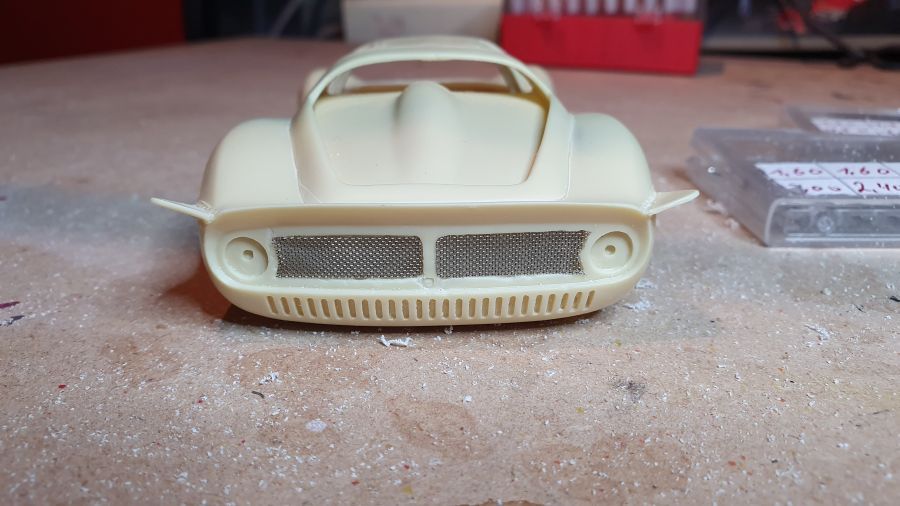
Normaal gesproken zou ik dit willen vervangen door wat gaas. De achterkant is erg dik... Eens zien hoe ik dat kan oplossen.
Normally i would change this by adding mesh. The rear is very thick... Let's see if i can solve this.
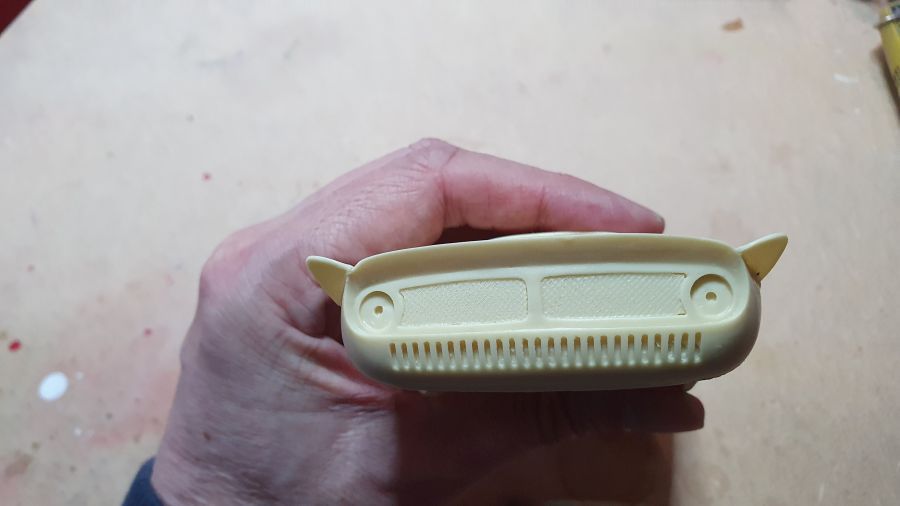
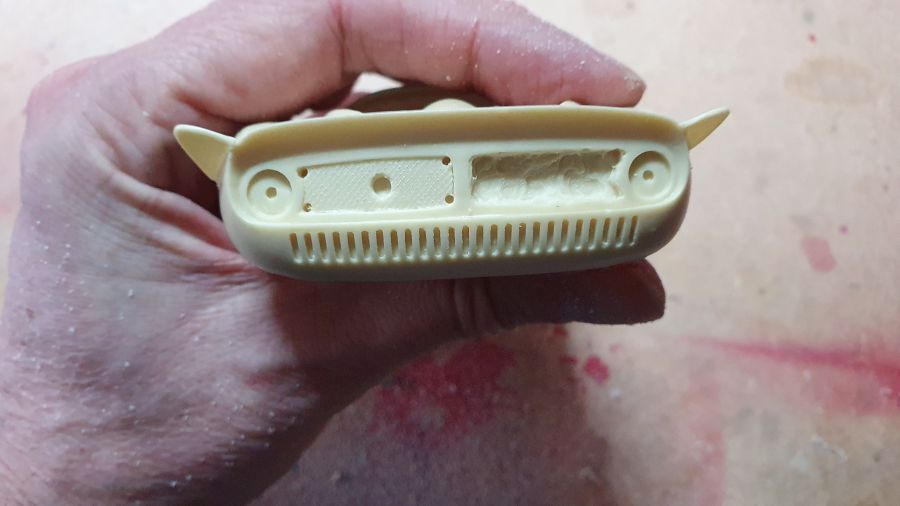
Daar gaat ie.
There we go.
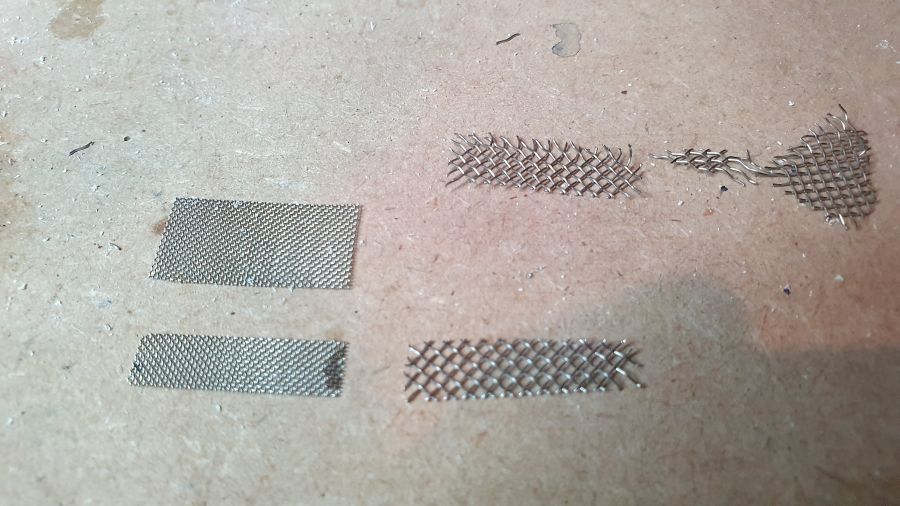
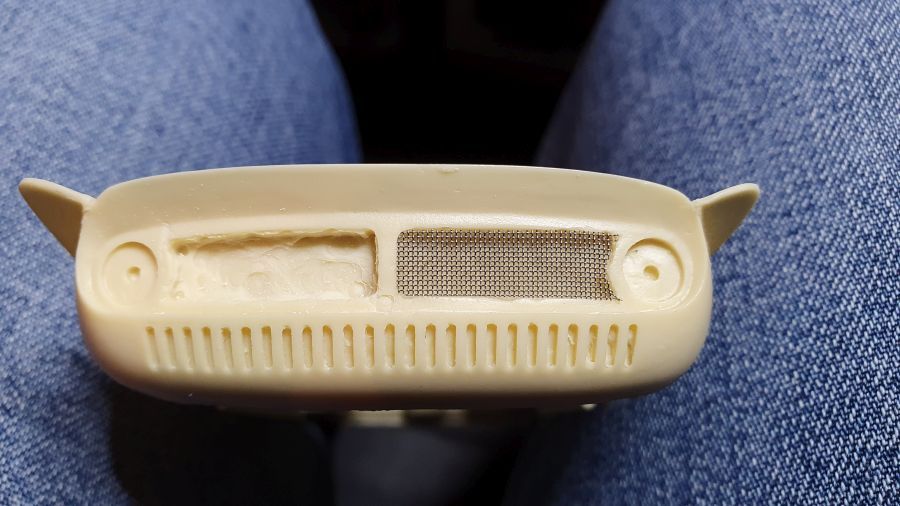
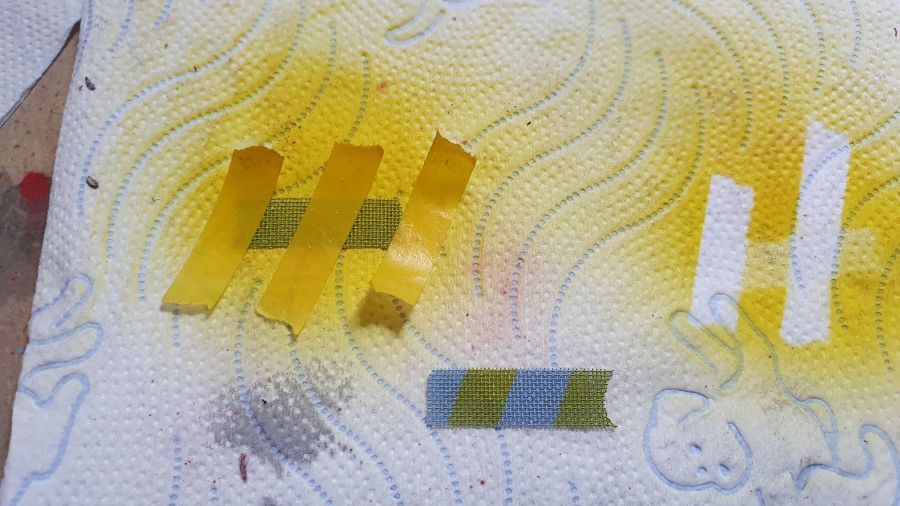
Een keuze maken tussen het gaas. Links dat van DDP, rechts mijn eigen van een zeef. Ik gebruik dat van DDP. Eigenlijk moet het in ruitvorm bevestigd, maar daar is het stuk te klein voor.
Making a choice on the mesh. To the left that from DDP, right my own made from a strainer. IK will use the DDP mesh. Actually it should be added as a diamond shape, but the piece is too small.
Dan ga ik vast de ramen knippen. Er komen altijd wat scherpe randjes aan en met het vele passen, wil ik de verf straks niet beschadigen.
Next is cutting the glass. There will always be sharp edges and with a lot of test fit, i don't want to damage the paint later.
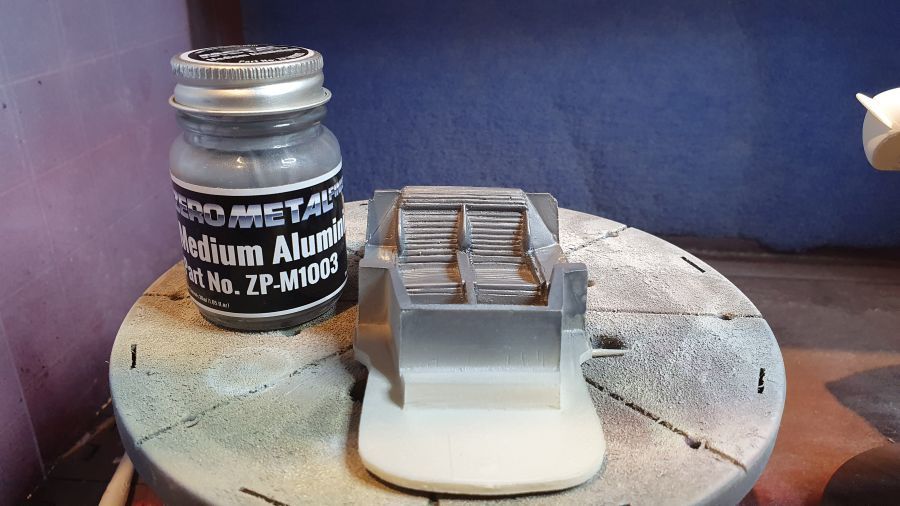
Primer is gespoten... Of ik heb slecht werk geleverd, óf ik heb een verkeerde batch verf. Dat wordt denk ik schuren.
Primer was applied... Either i did a bad paint job, or i have a wrong batch of paint. This will take some sanding.
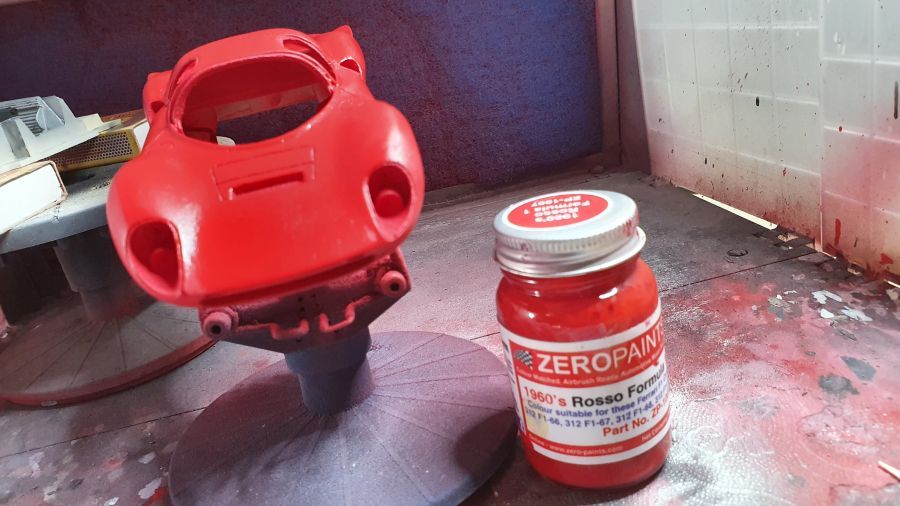
Dan tijd om te spuiten, dan kan het mooi even drogen over het weekend.
Then time to airbrush, so it can settle some days over the weekend.
Mijn vrouw kan niet tegen de verflucht, dus ik kan niet in het weekeinde spuiten... En soms ook niet op werkdagen i.v.m. thuiswerken i.v.m. Covid-19.
My wife can't stand the smell of paint, so i can't paint at the weekend... And sometimes on weekdays neither. She's working at home a lot due to Covid-19.
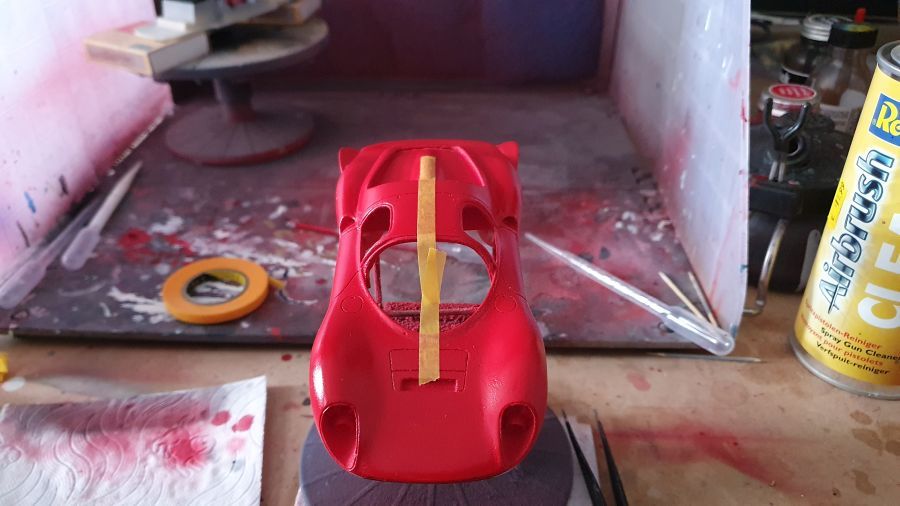
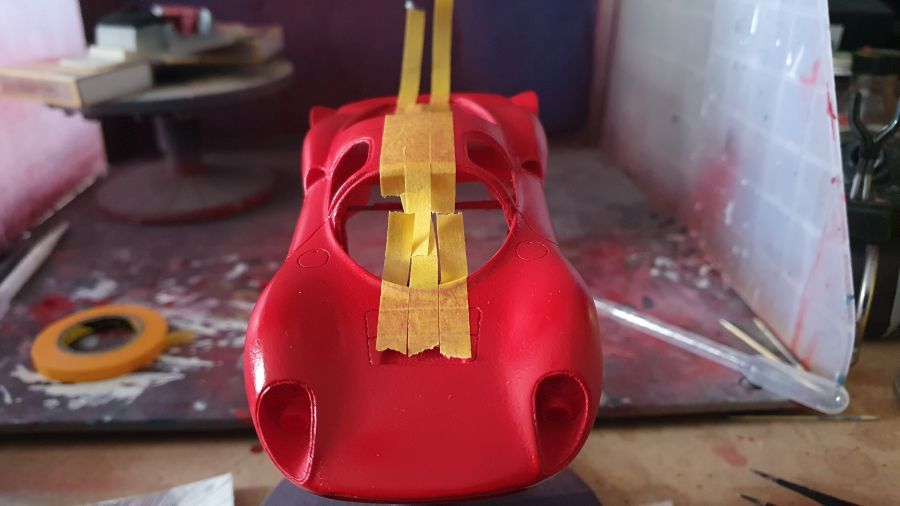
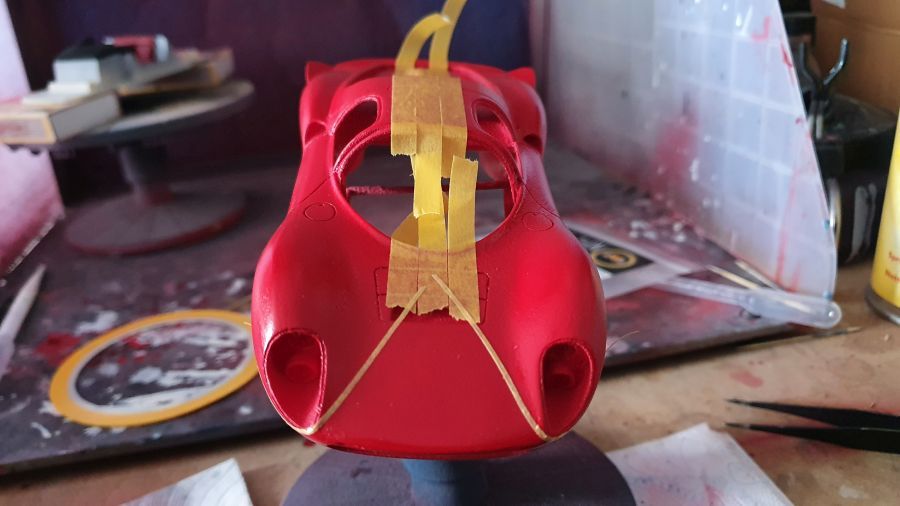
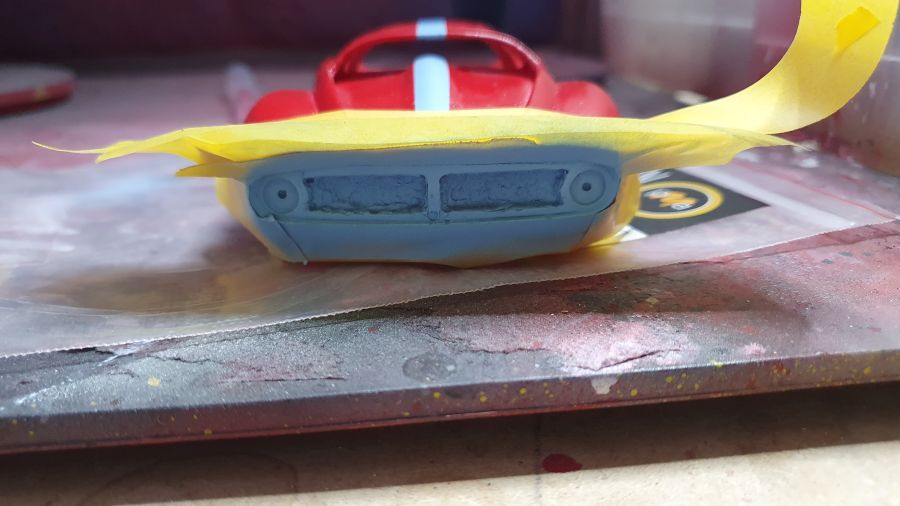
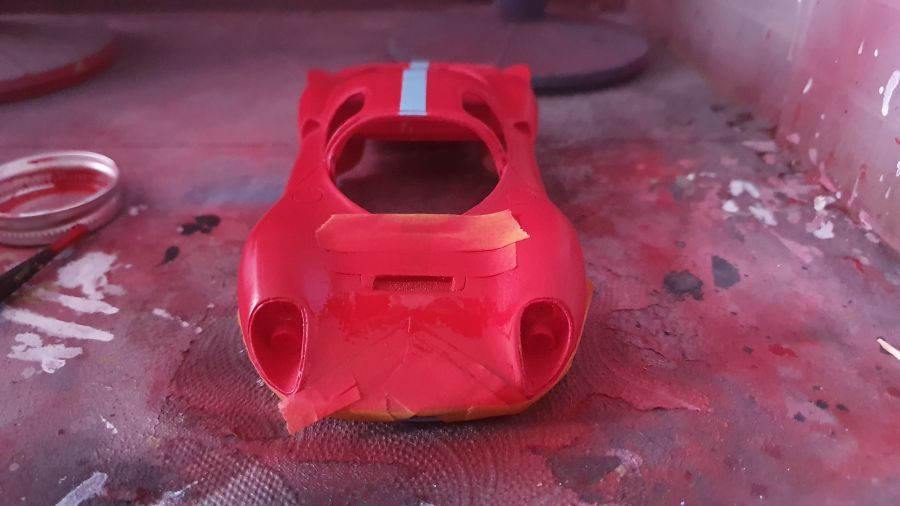
Na het bepalen van het midden ga ik tape langs de middenstreep plakken.
After determining the middle i add tape next to the middle line.
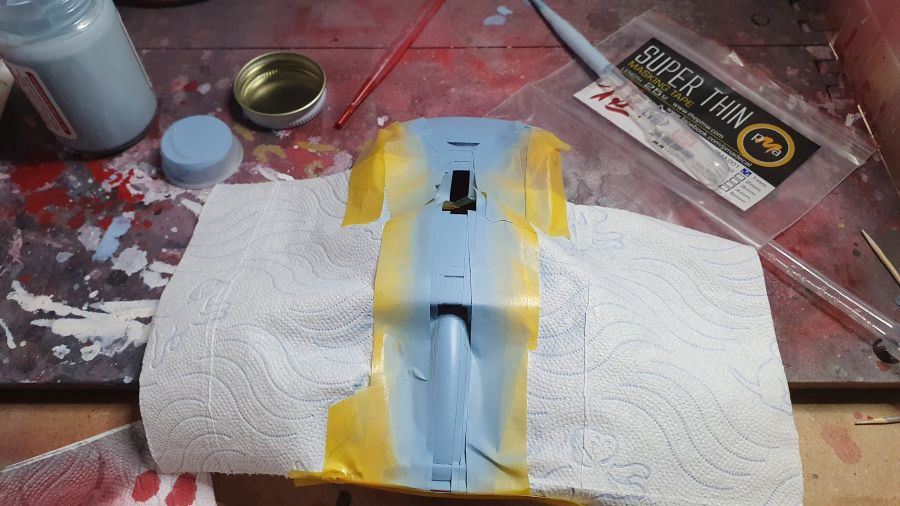
Na goed afplakken, gaat het blauw erop.
After masking the blue can be added.
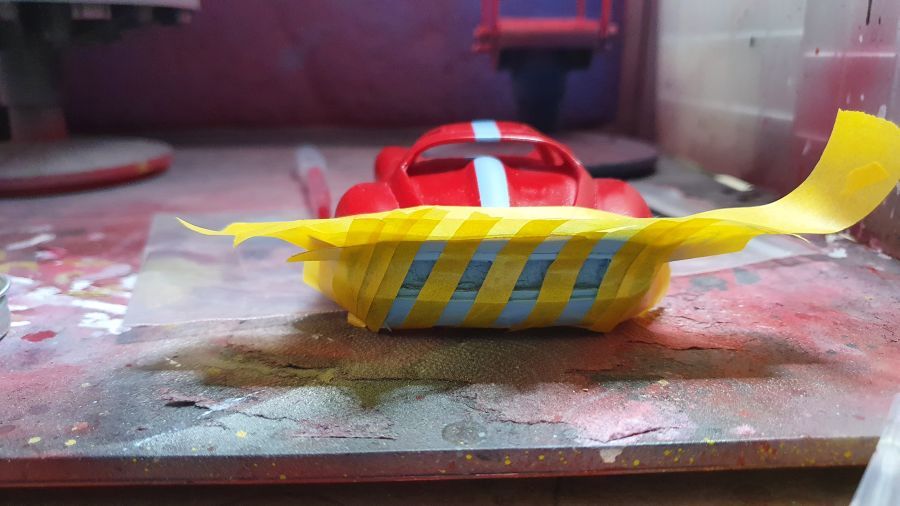
Dan afplakken voor het geel.
Then masking for the yellow.
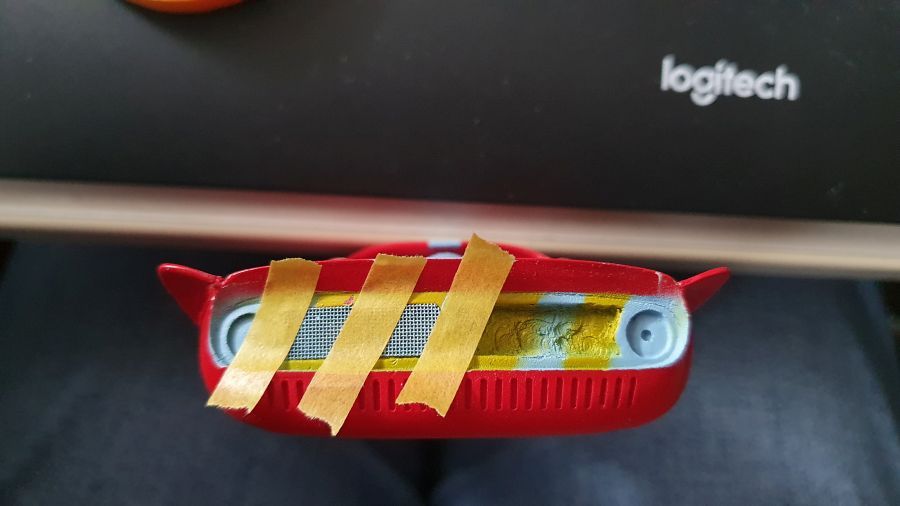
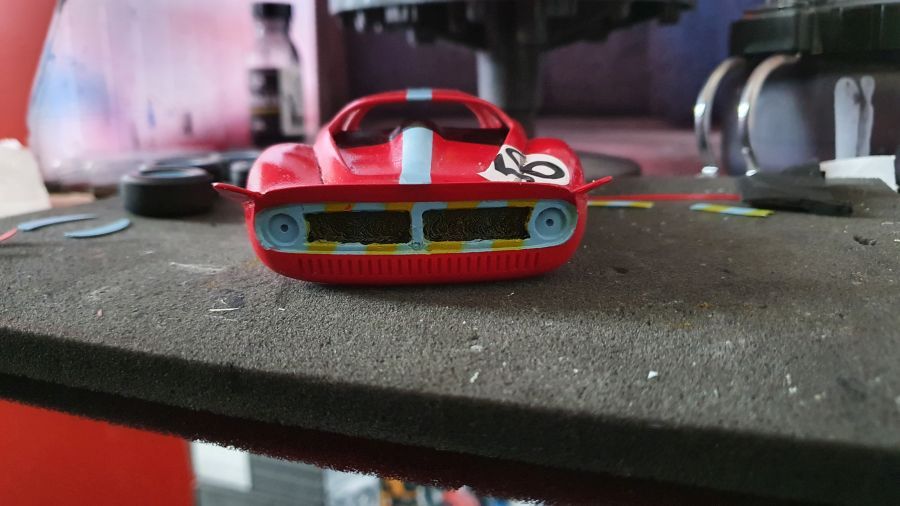
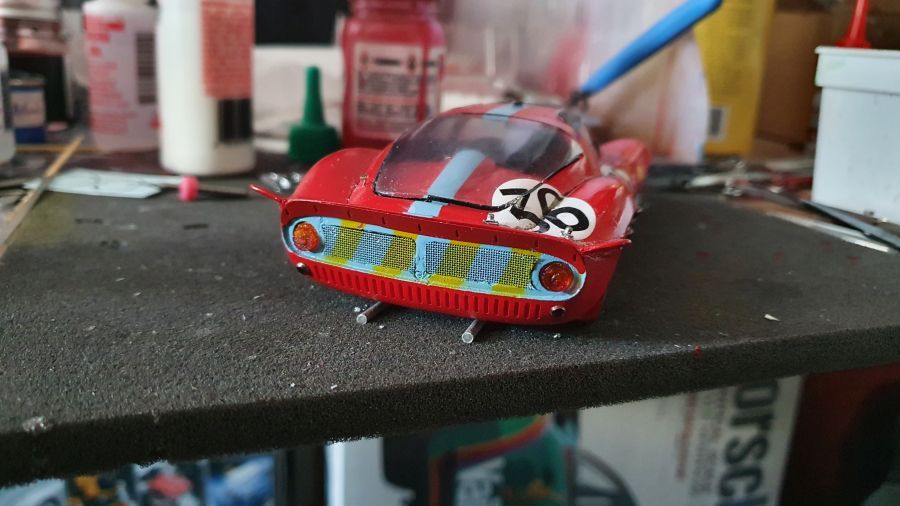
Dan moeten het roosterwerk ook blauw en geel worden gespoten.
Also the mesh needs blue and yellow.
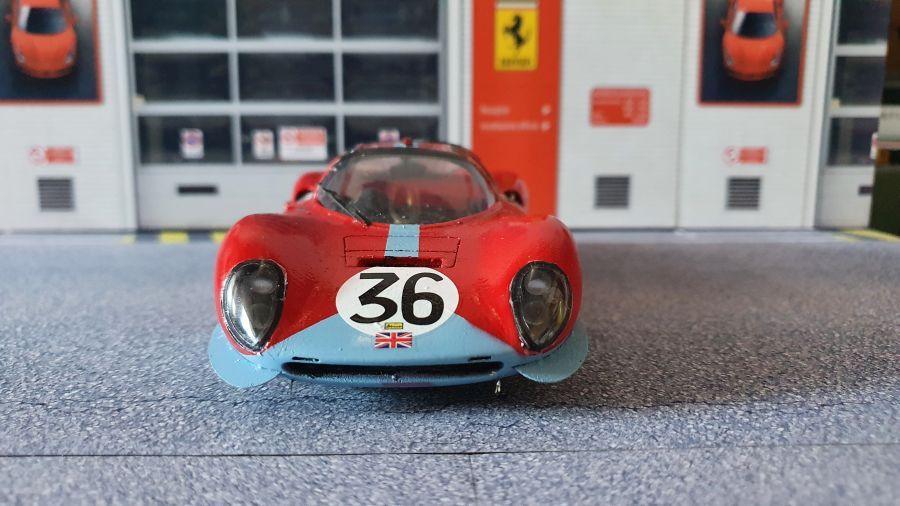
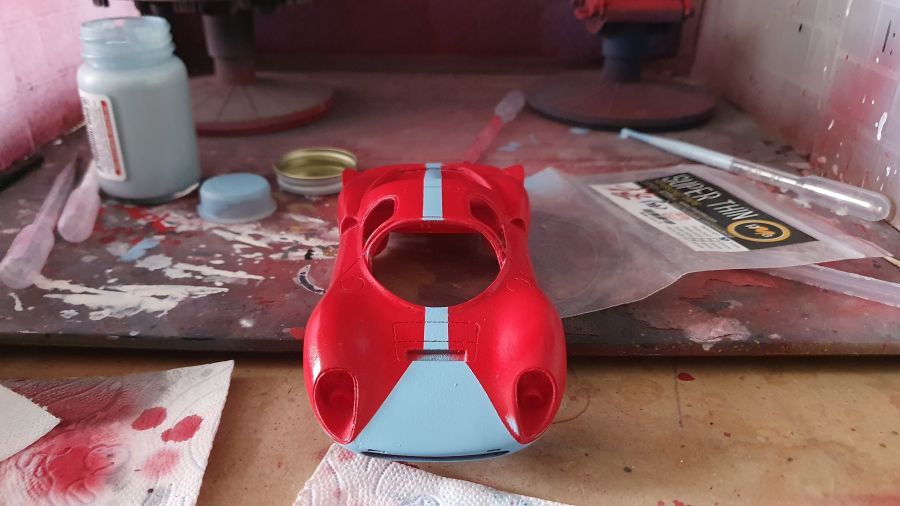
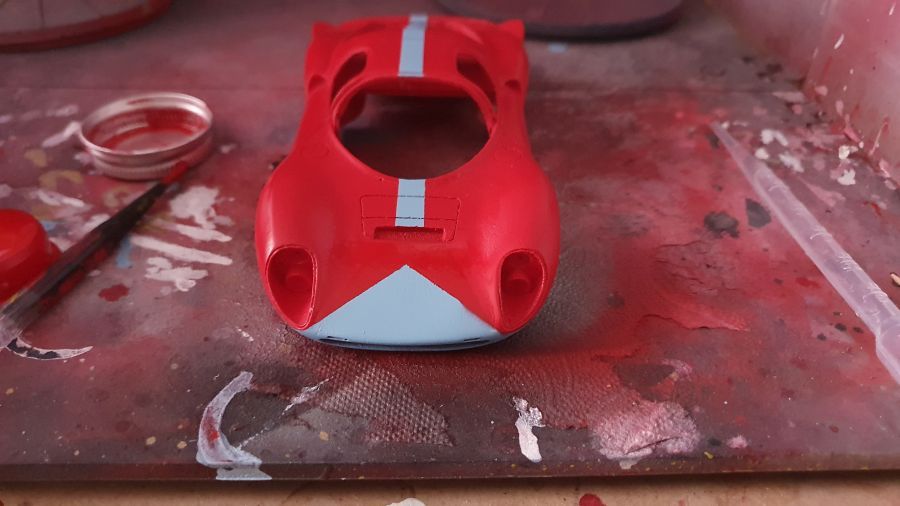
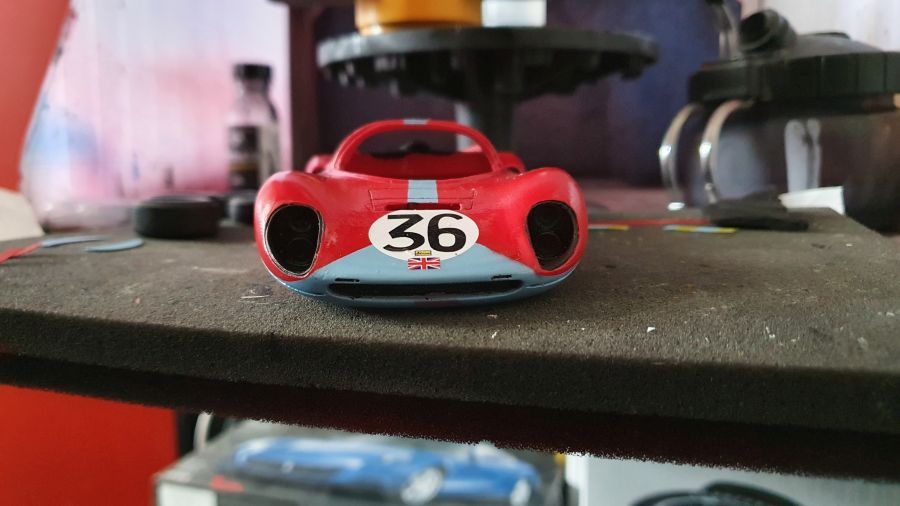
Correctie aan het blauw op de neus. De lijnen waren te stijl omhoog.
Corrections to the blue on the nose. The lines were too steep.

De decals gaan erop.
The decals were added.
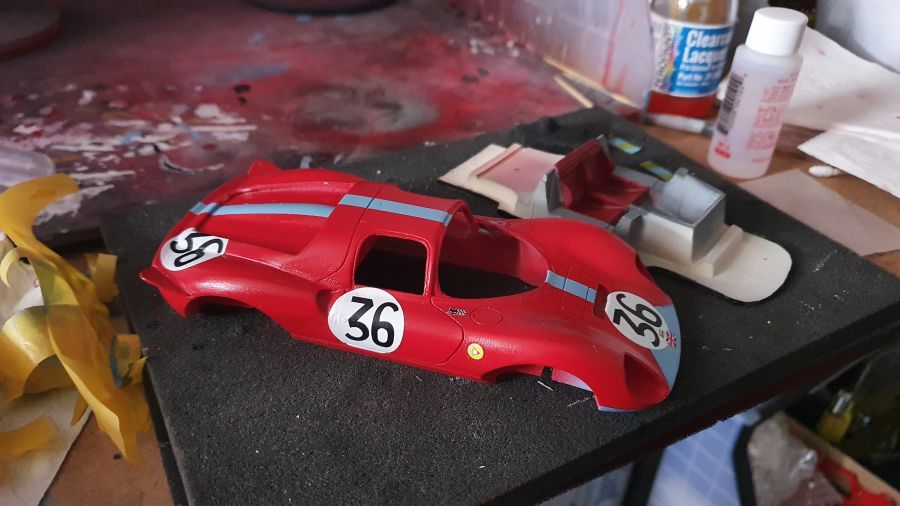

Dan weer lak erop. Het is een jaren '60 auto, dus ik gebruik geen 2K-lak. Dat zou teveel glanzen. Dat past niet in het tijdbeeld.
Then spraying lacquer. It's a '60 car, so i will not use 2K-clear. That would shine too much. That doesn't fit the era.
Pas nu zie ik dat het gaaswerk als etched wordt aangeleverd.... Ik ga dus nog even kijken wat het beste.
Only now i noticed the mesh was also supplied as etched parts. So i will have a look what to use.
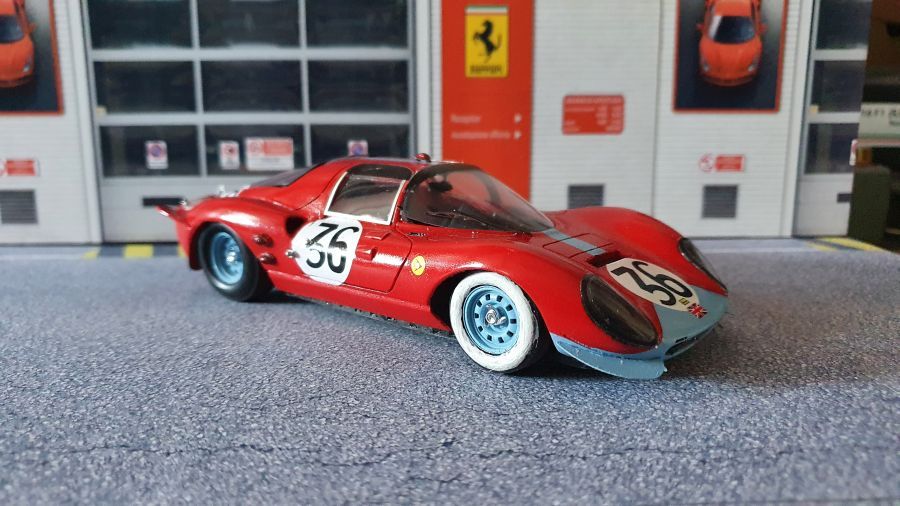
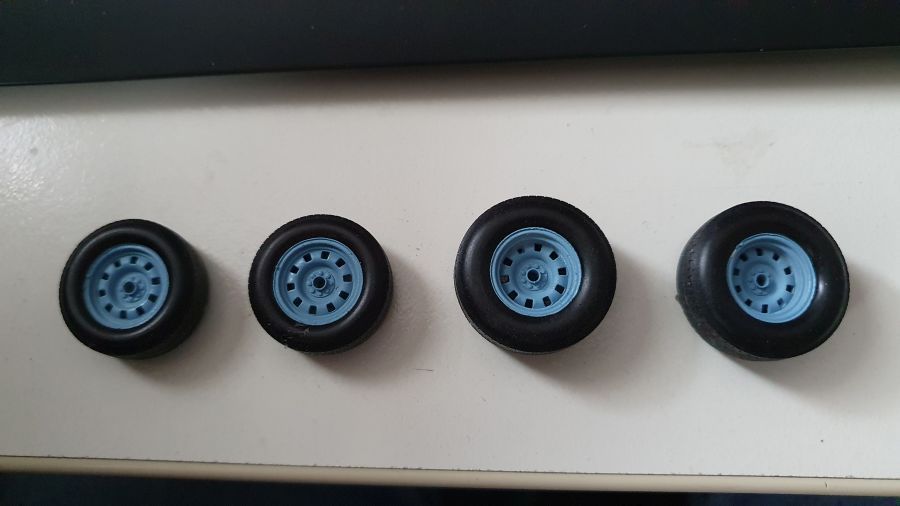
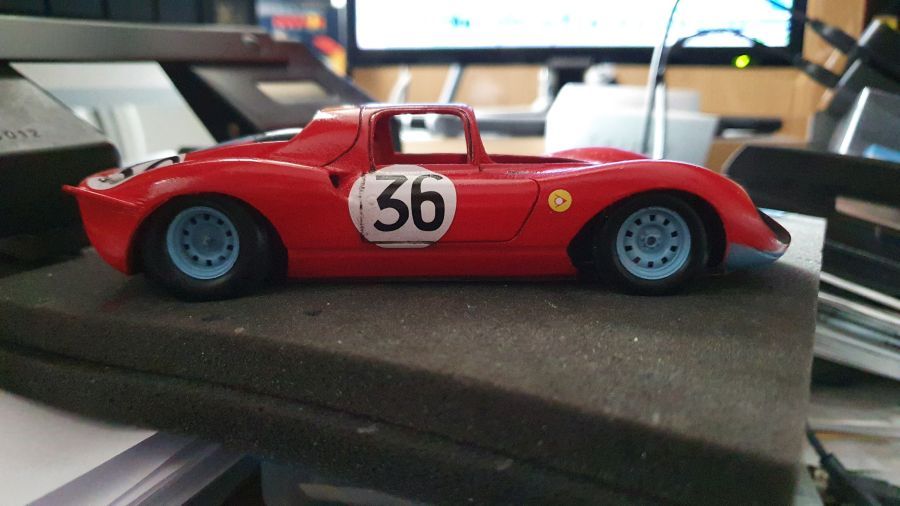
De velgen zijn gespoten en de banden zitten erop.
The rims have been painted and the tires were added.
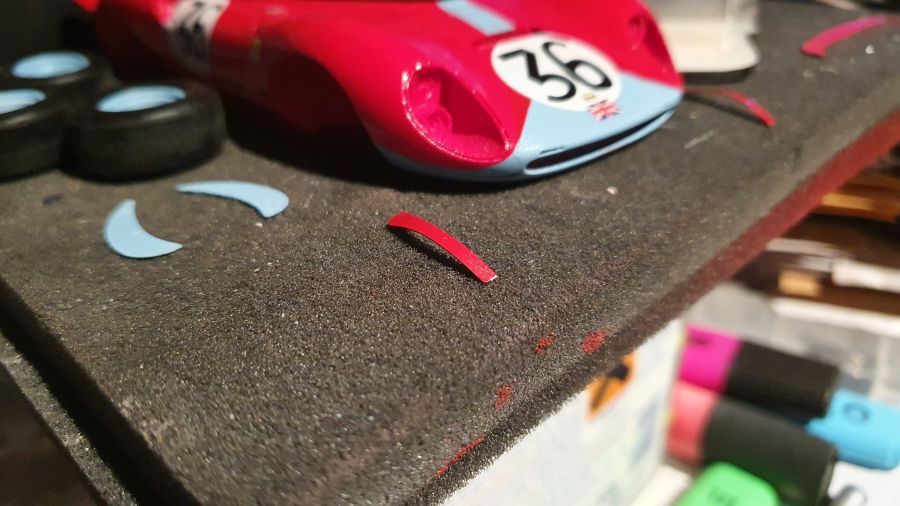
De flaps voor de achterste wielkasten worden gebogen.
Bending the flaps for the rear wheel arches.
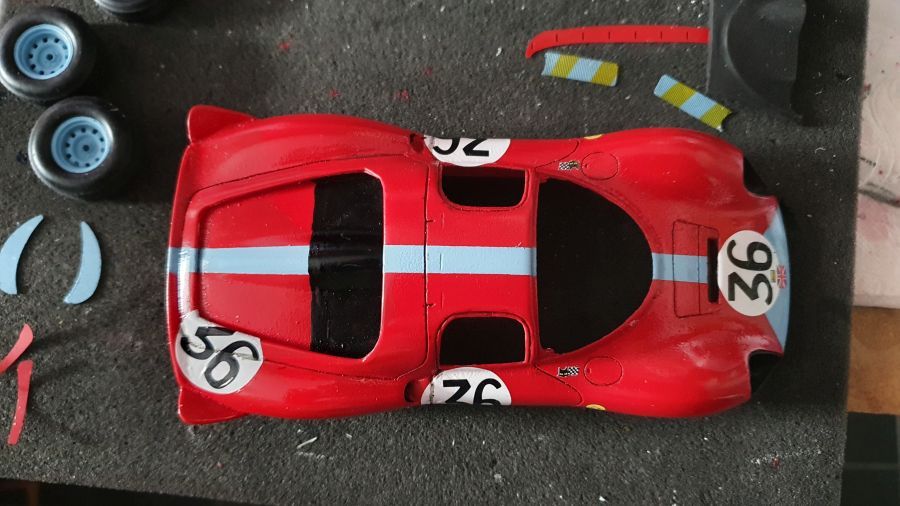
Paneellijnen zijn geverfd en zwarte details aangebracht.
Panel lines have been painted and black details added.
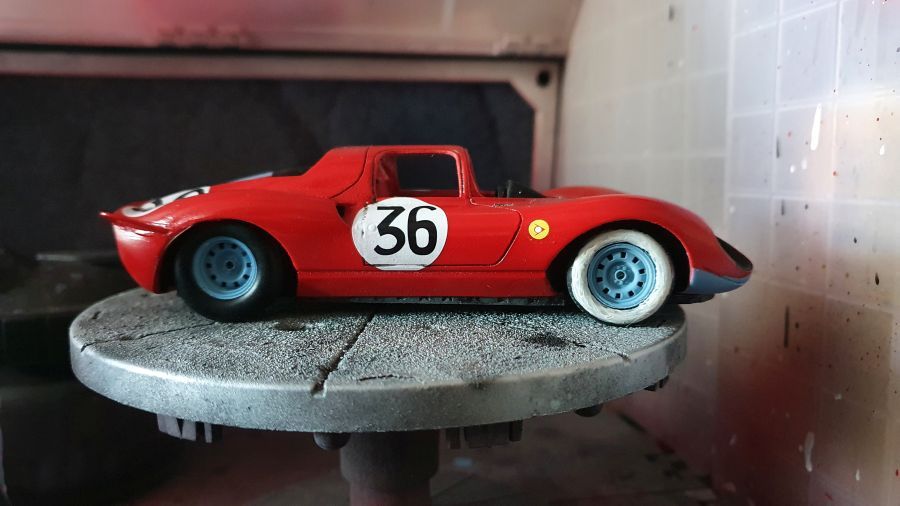
De hoogte van de wagen op de wielen bepalen.... altijd lastig.
Examining the height on it's wheels.... to me always tricky.
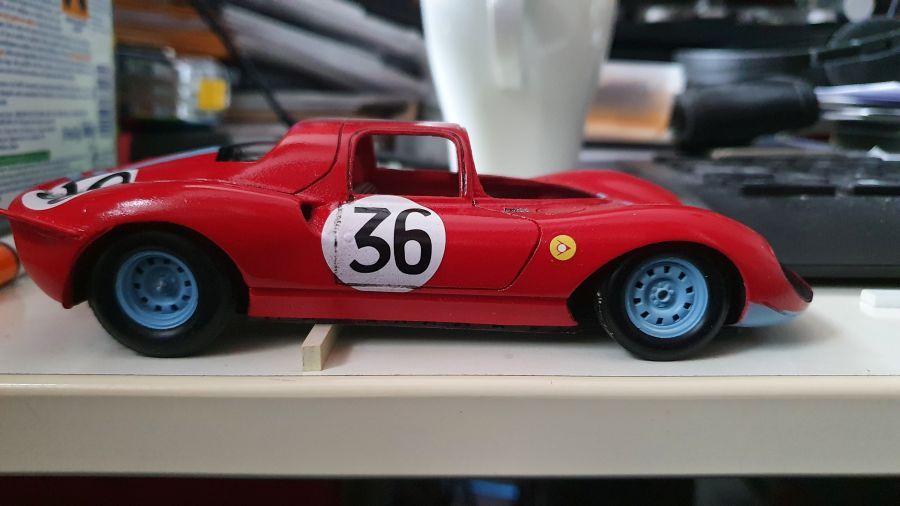
Dit zou het moeten zijn.
This should be it.
Het achterraam gaat erin. Niet echt gemakkelijk. Ik gebruik weer de dubbelzijdige tape voor mobiele telefoonschermen.
The rear window was added. Not that easy. I am using the tape for mobile phone screens again.
Voorraam klaar, nu naar de zijramen. Ongeveer 1,5 uur met 1 raam bezig.
Front shield done, now on the the side screens. Takes me about 1,5 hour for 1 window.
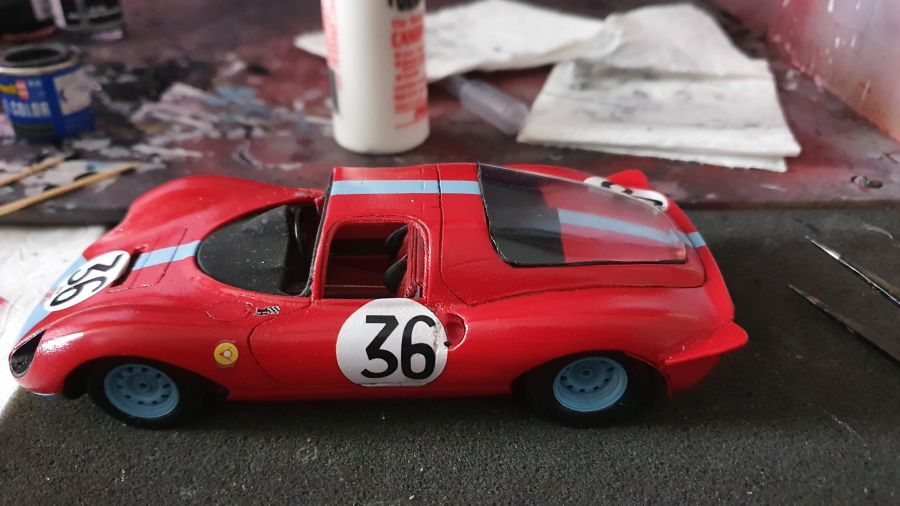
Veel kleine zaken geplaatst. Het achterraam behoeft nog wat aandacht. Er zit nog iets teveel spanning op het achterste deel.
Many small parts added. The rear window needs some moer attention. There's still a little too much tension on the last part.
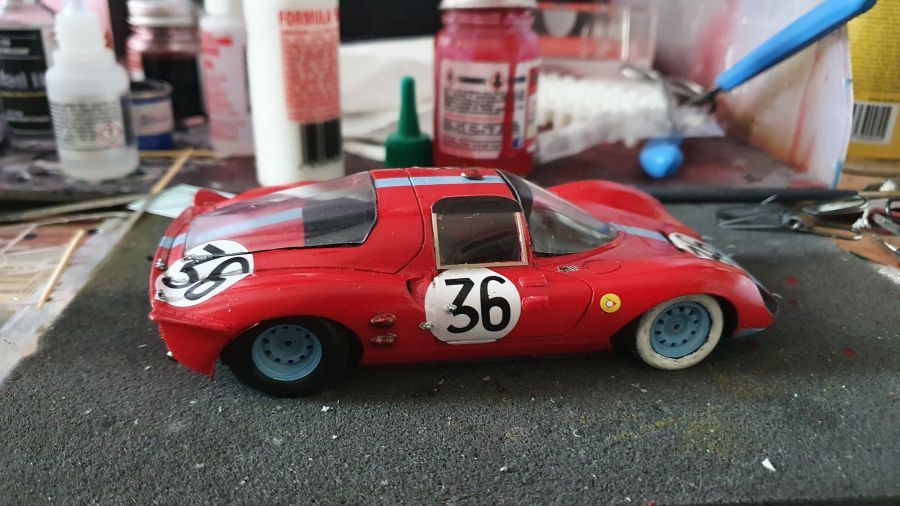
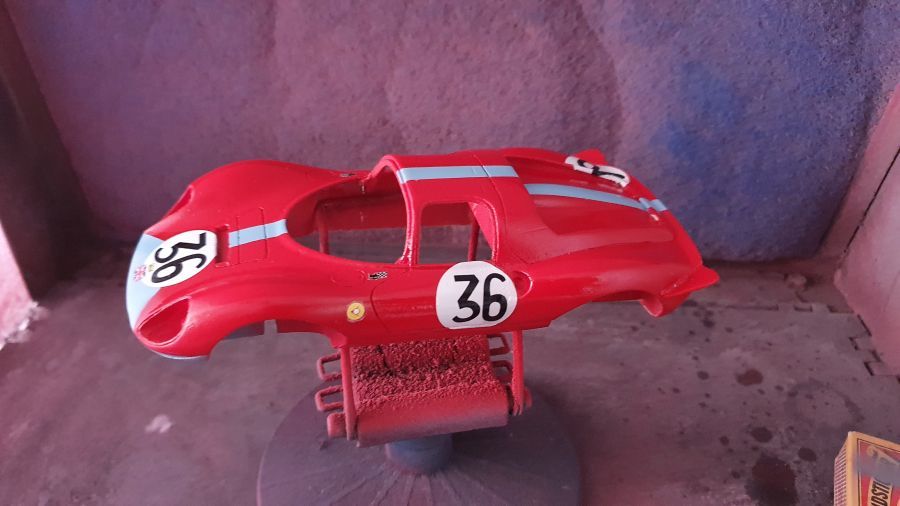
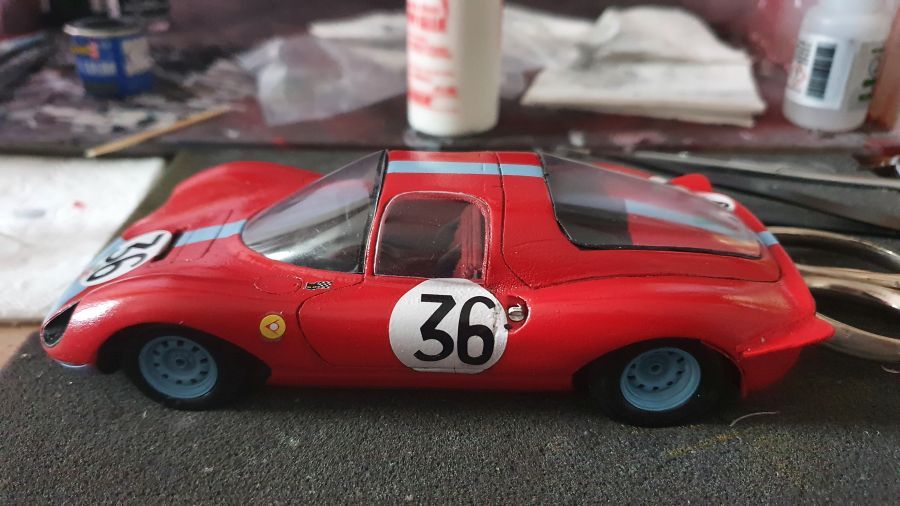
En na nog een paar onderdelen beschouw ik hem als klaar.
And after some more parts i consider this one done.