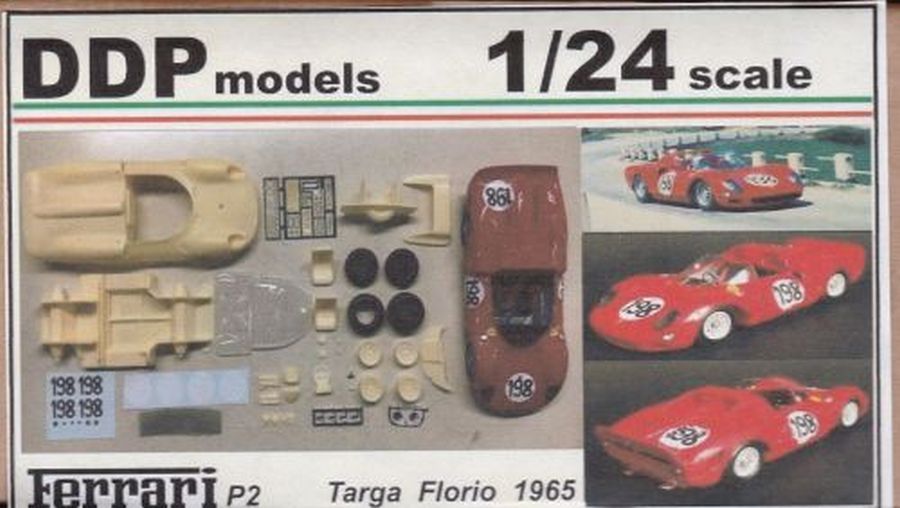
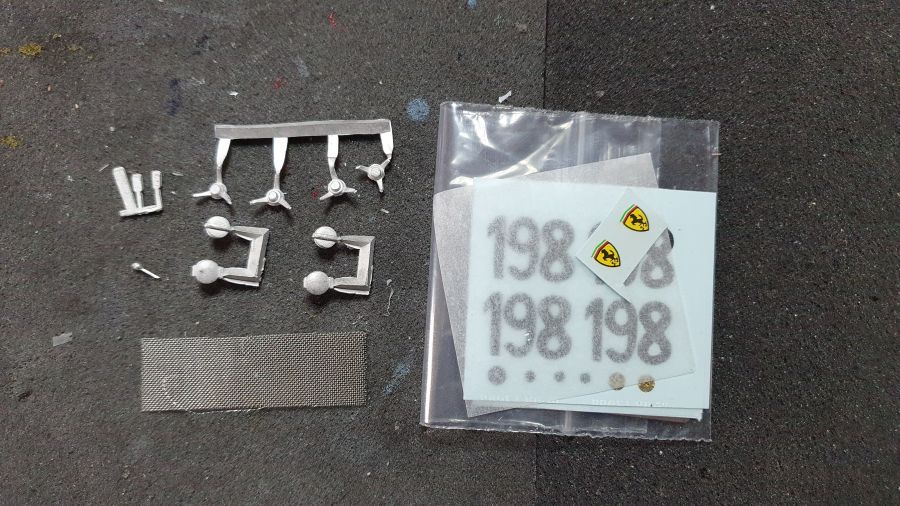
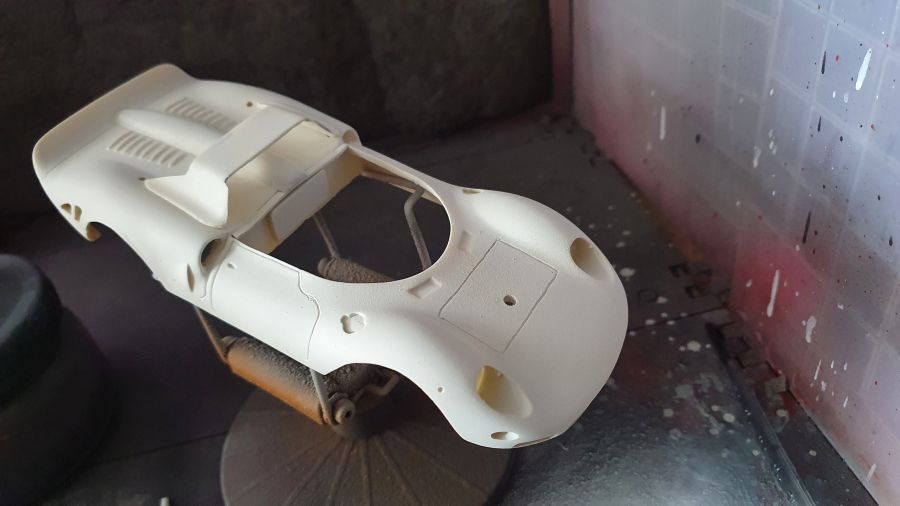
Er komt wat betaald werk aan, dus ik kan geen groot project op mijn kleine desk hebben. Daarom maar weer een DDP Models kit. Het bouwen zal langzaam gaan. De Ferrari 275 P2 zoals deze werd gereden tijdens de Targa Florio van 1965 door Nino Vaccerella en Lorenzo Bandini. Er missen een paar onderdelen, maar deze worden nagezonden. Dit gebeurt me vaak.
I have some commission work coming up, so i cannot start a big project on my small desk. So i will do another DDP Models kit. Building this one will be slow. The Ferrari 275 P2 as driven during the Targa Florio in 1965 by Nino Vaccerella and Lorenzo Bandini. Some parts are missing, but they will be sent to me. The story of my life.
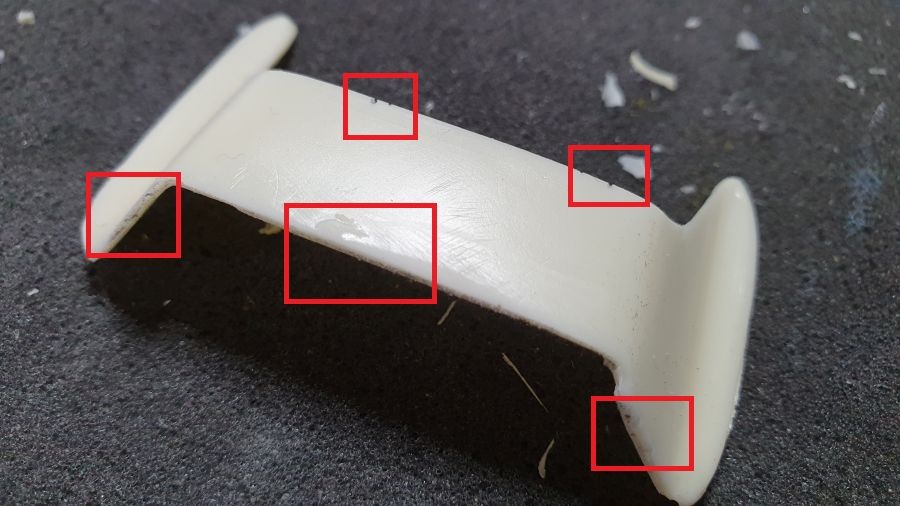
Wat 'flash' weghalen.
Removing some flash.
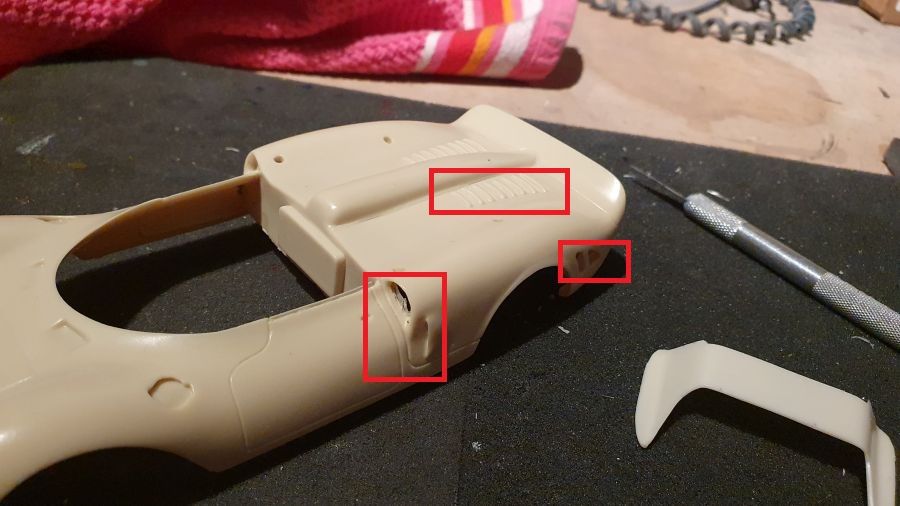
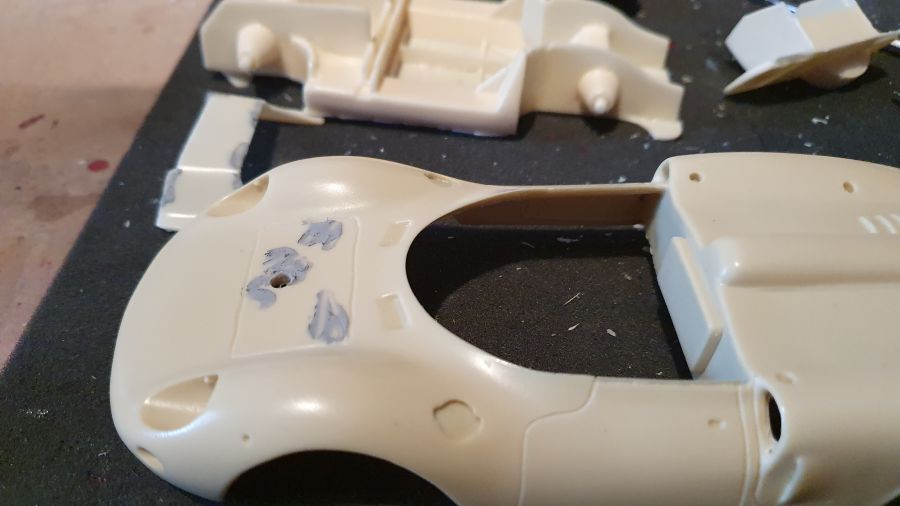
Wat vulling nodig.
Some putty needed.
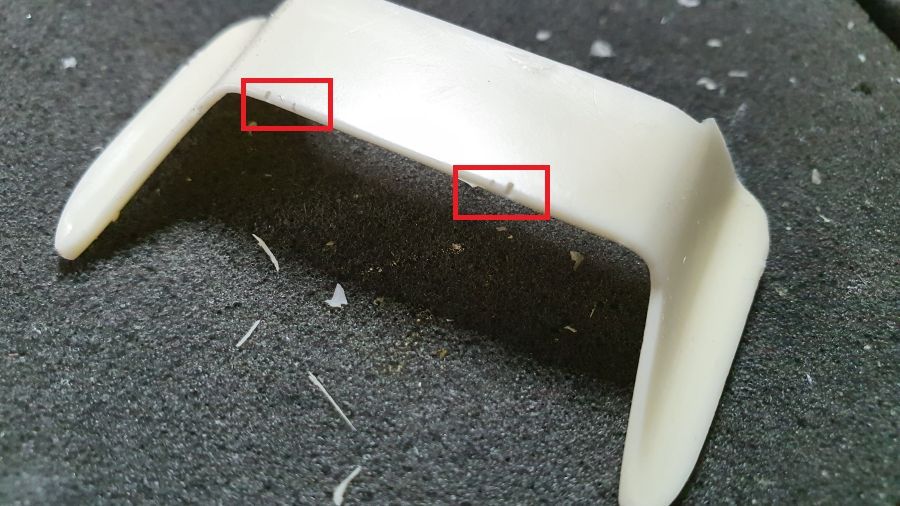
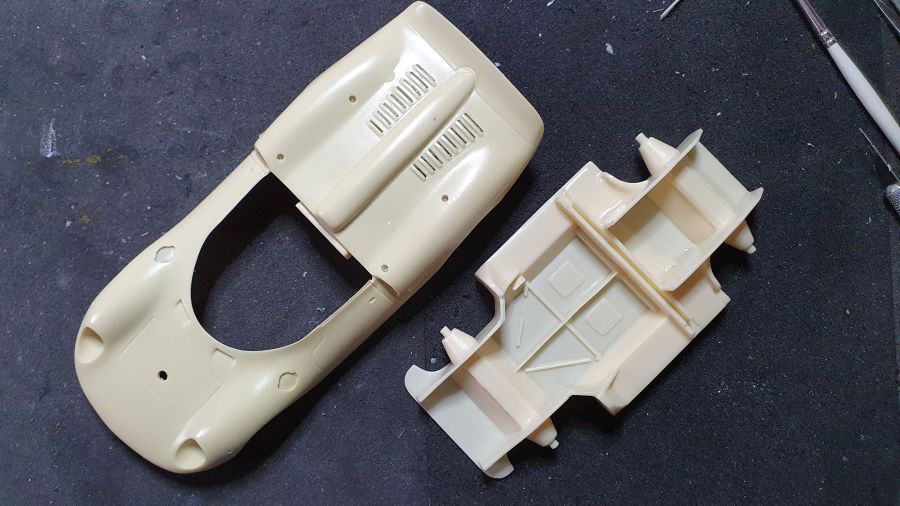
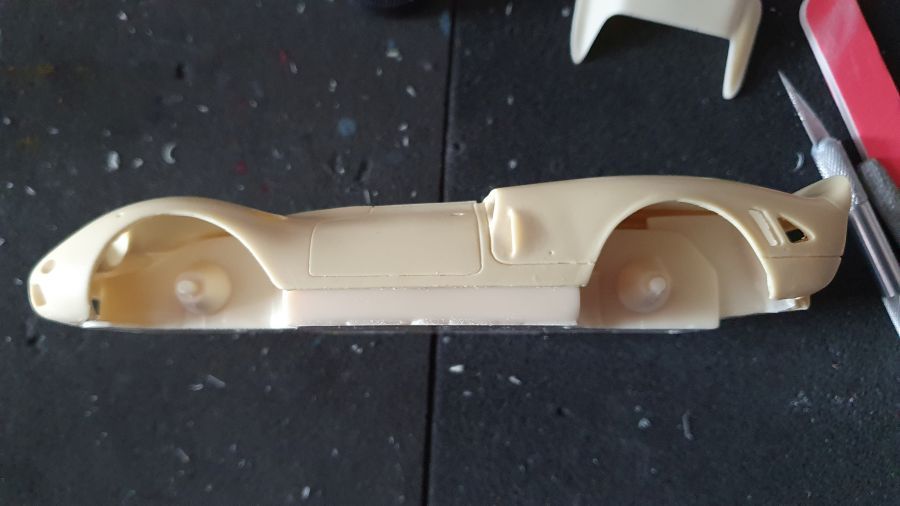
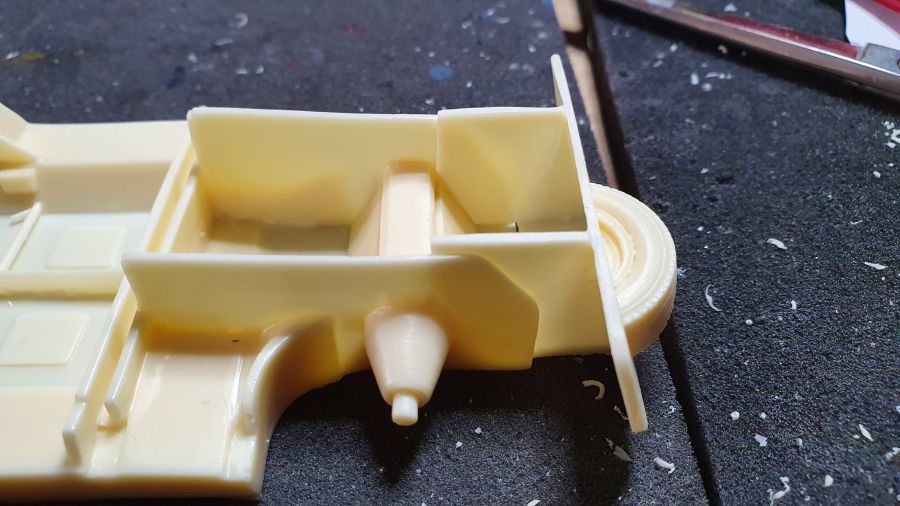
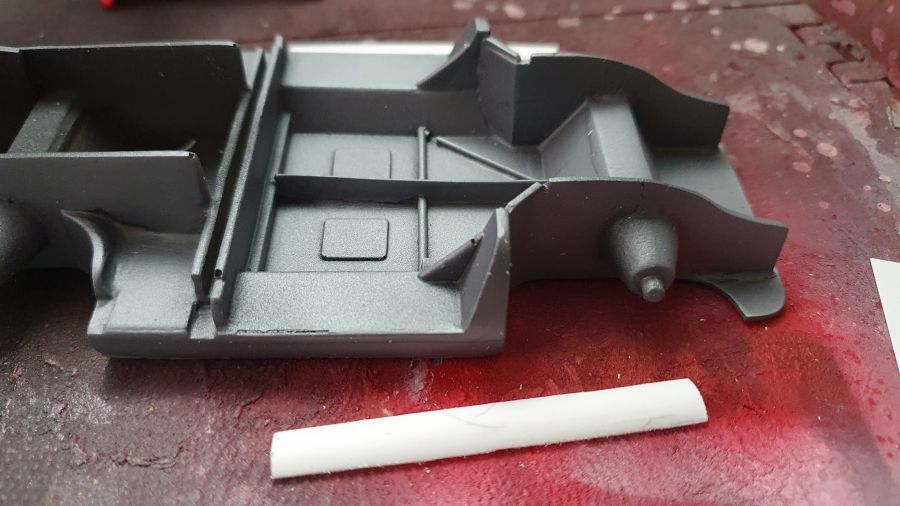
Ook de vloer behoeft aandacht.
The floor needs attention too.
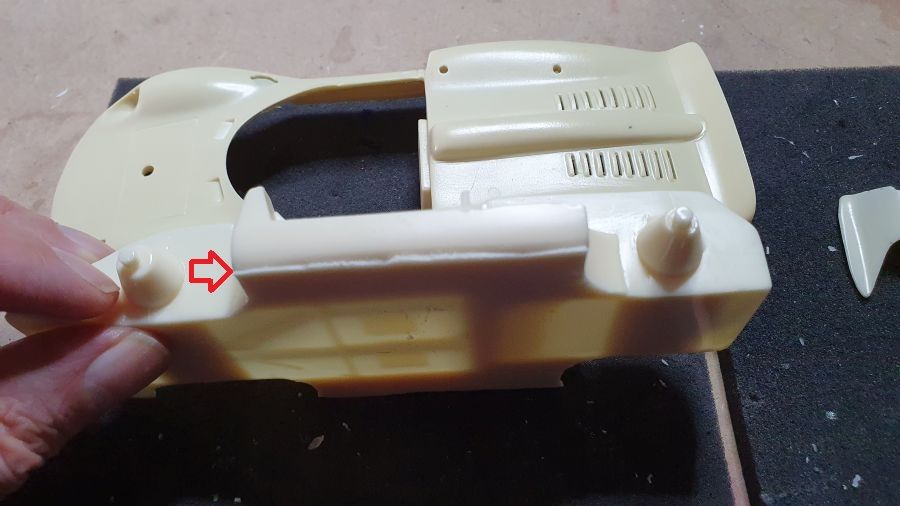
En dit moet ik oplossen om de vloer niet aan de voor- of achterkant onder de wagen te laten uitsteken.
And i need to solve this to prevent the floor from showing on the front or rear.
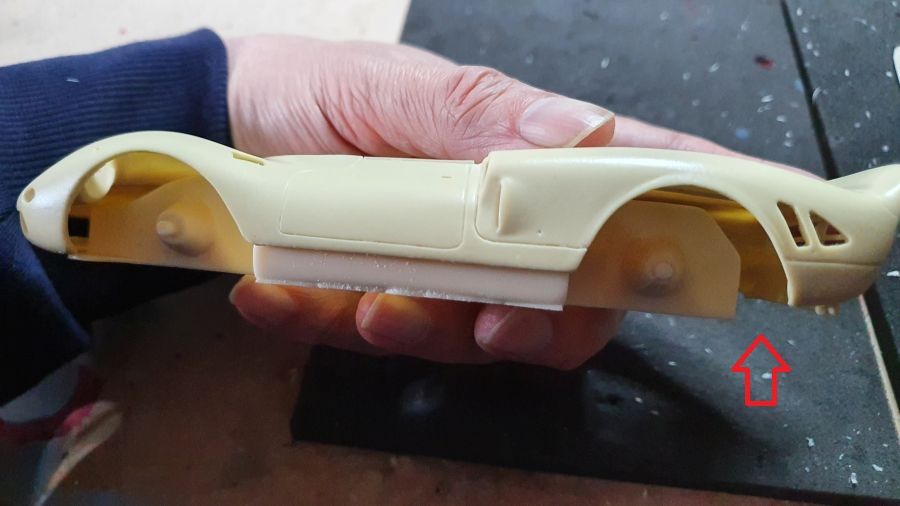

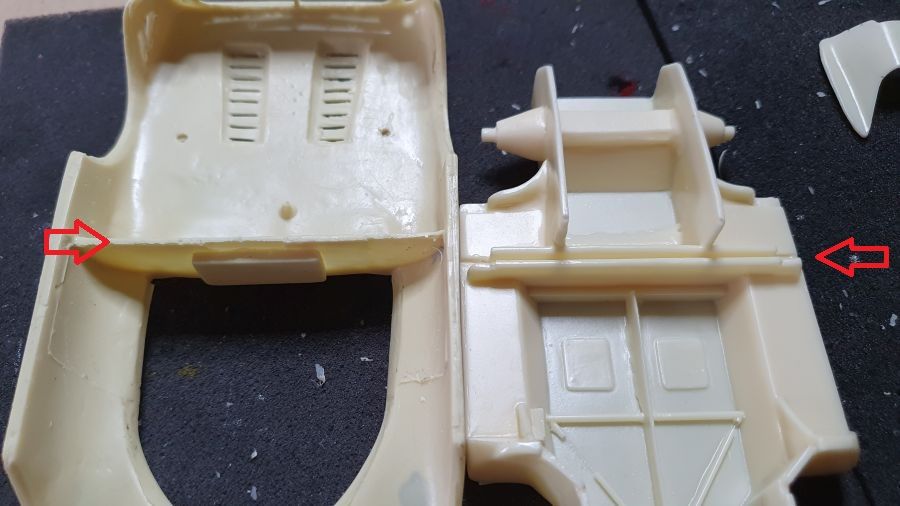
Ook de achterwand is niet helemaal correct.
Also, the rear wall is not correct.

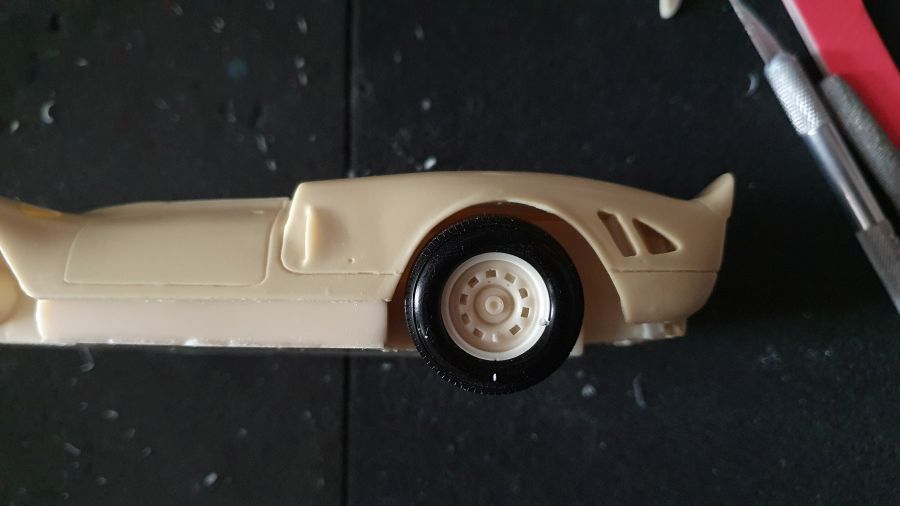
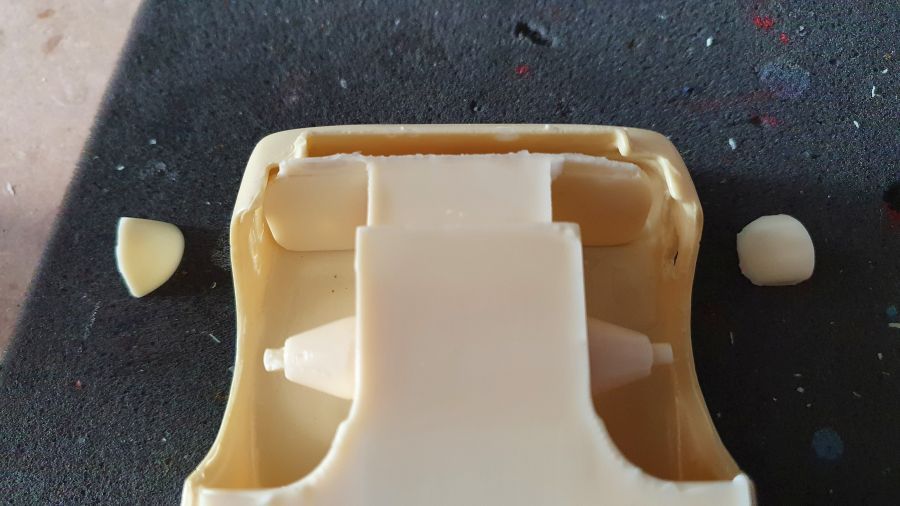
En de stand van de wielen, mogelijk zelfs de wielkasten. Misschien wordt dit al opgelost met de aanpassingen aan de vloer. In ieder geval moeten ze hoger in de wielkasten. We zullen zien.
And the placement of the wheels, possibly even the arches. Maybe changing the floor already solves this. For all they need to be higher in the arches. We will see.
Nadat ik ook de plaatsing van het achterste deel van de vloer heb getest, lijkt het misschien toch mee te vallen.
After testing the add of the rear part of the floor, it looks like it may be not as bad as it looked.
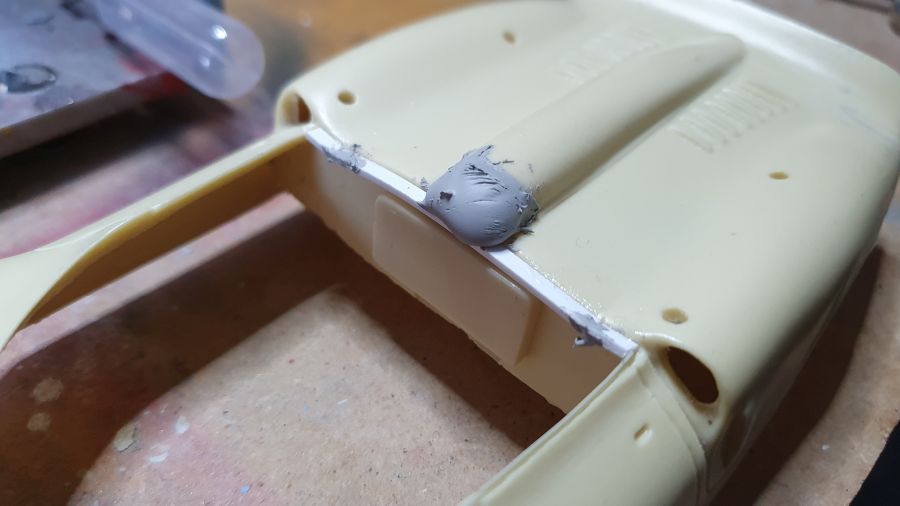
Het wordt in ieder geval niet een snelle bouw. Eerst wat putty
Anyway, it will not be a quick build. First of all some putty.
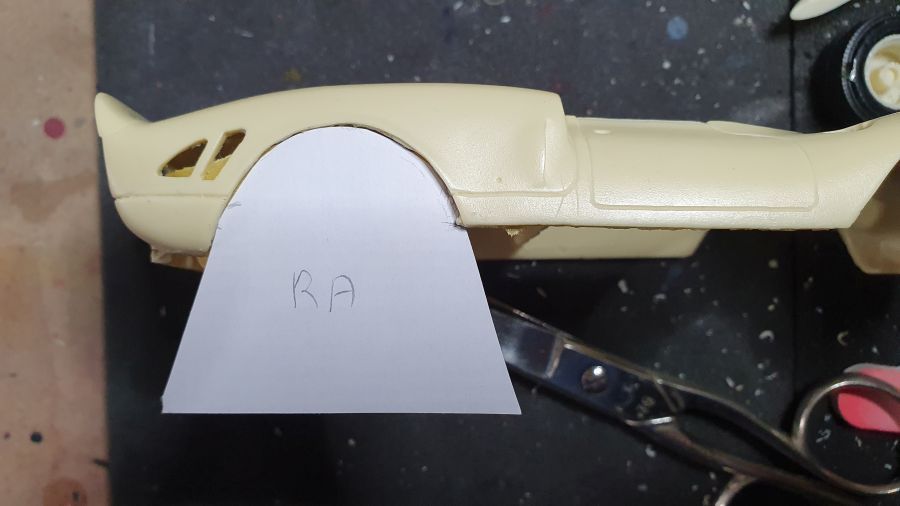
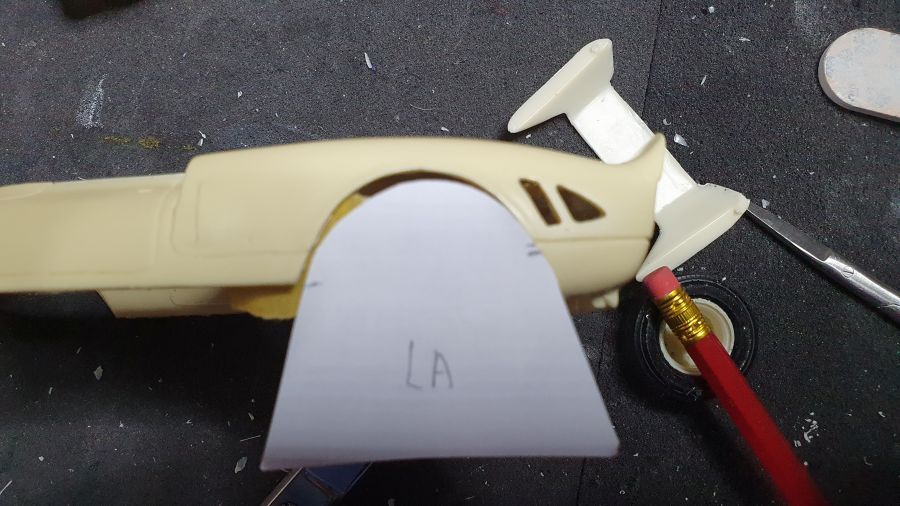
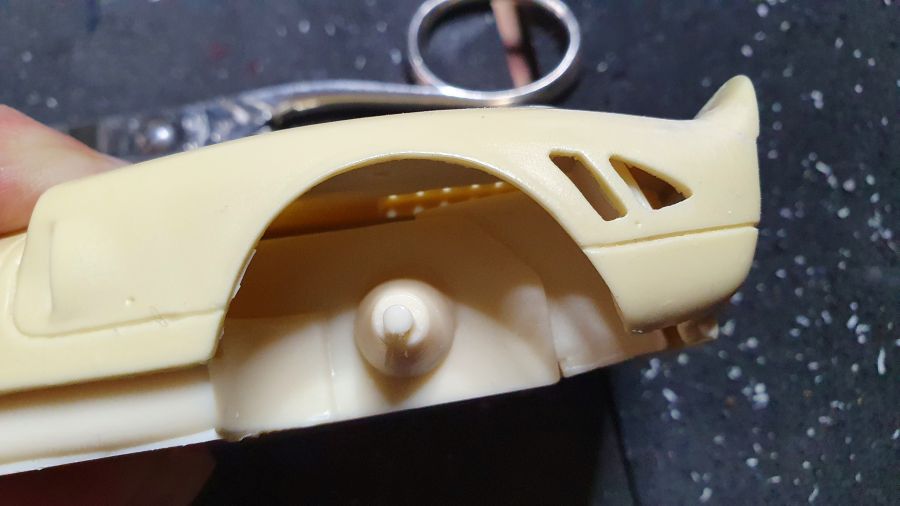
De wielkasten houden me toch bezig. Links lijkt fout, rechts lijkt redelijk tot goed.
The wheel arches are still on my mind. The left one seems to be wrong, the right one resonable or even good.
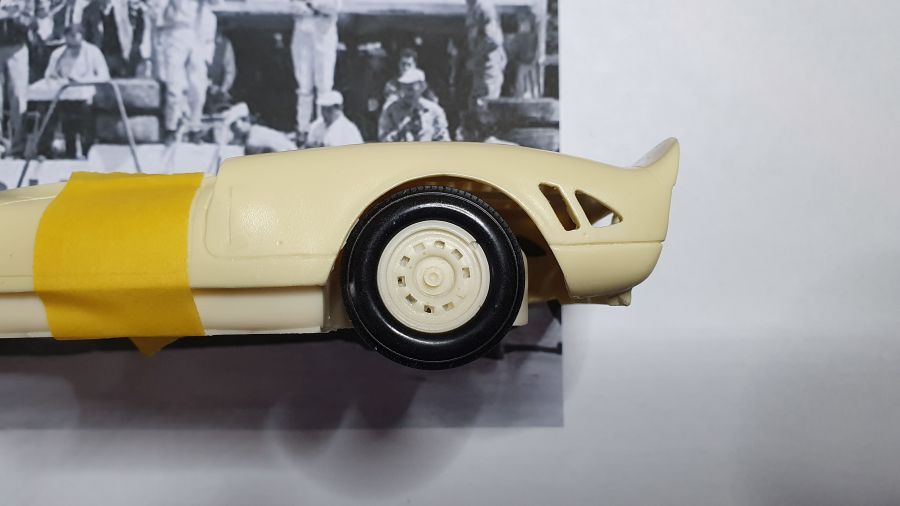

Ik maak een mal.. Er lijkt toch verschil te zijn.
I am making a template.. There seems to be a difference.
Ook lijkt de body niet helemaal recht...
And it appears the body is not straight..
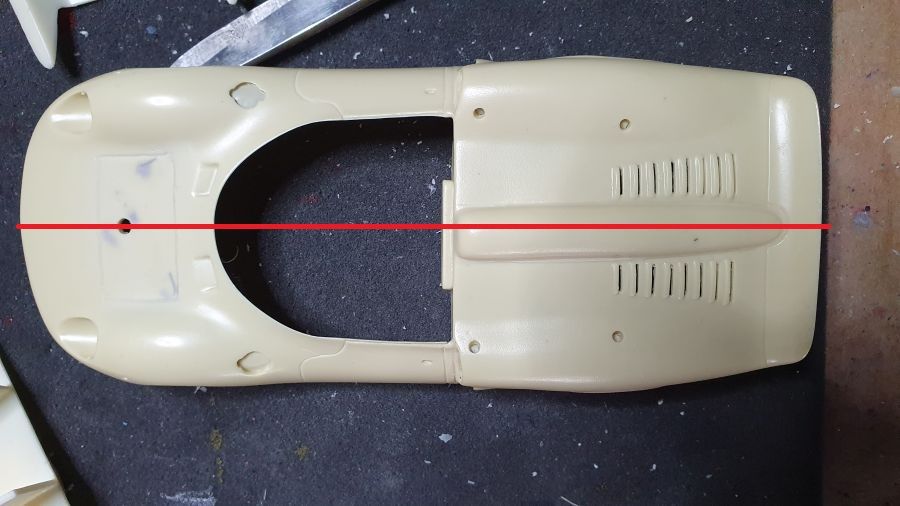

Nu ga ik niet dit hele ding slopen. Een deel lijkt erger van dichtbij dan dat het is. Het linker achterwiel moet in ieder geval verplaatst. En achter de stoelen moet een lijst worden toegevoegd. Eerst maar naar de vloer.
Now i am not going to cut this into pieces. Partly it looks more bad as a close up than it is from a distance. The left rear wheel needs to be relocated. And behind the seats there needs to be something added. First of all the floor.
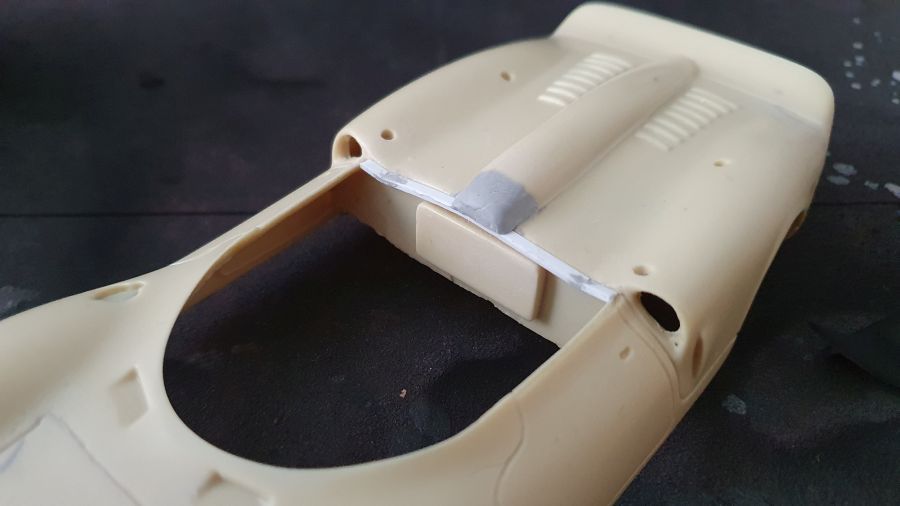
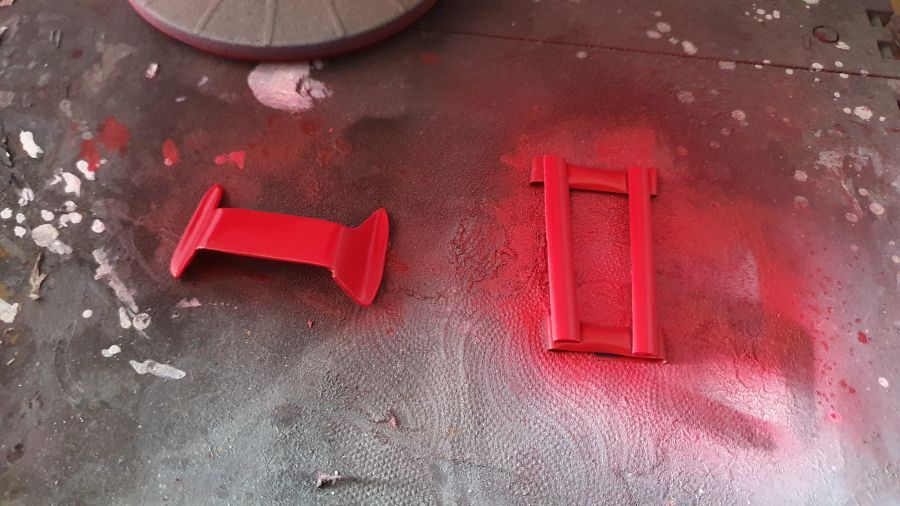
Alles gaat een beetje langzaam in verband met een project dat u nu niet kan zien. Vandaag de rand op de achterwand aangebracht.
Everything is a bit slow because of a project you are not able to see yet. Today the ledge on the rear wall.
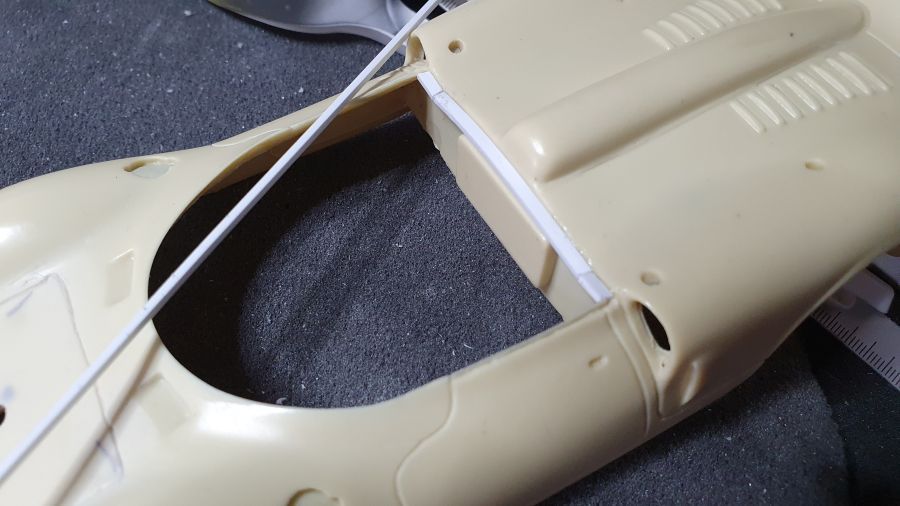
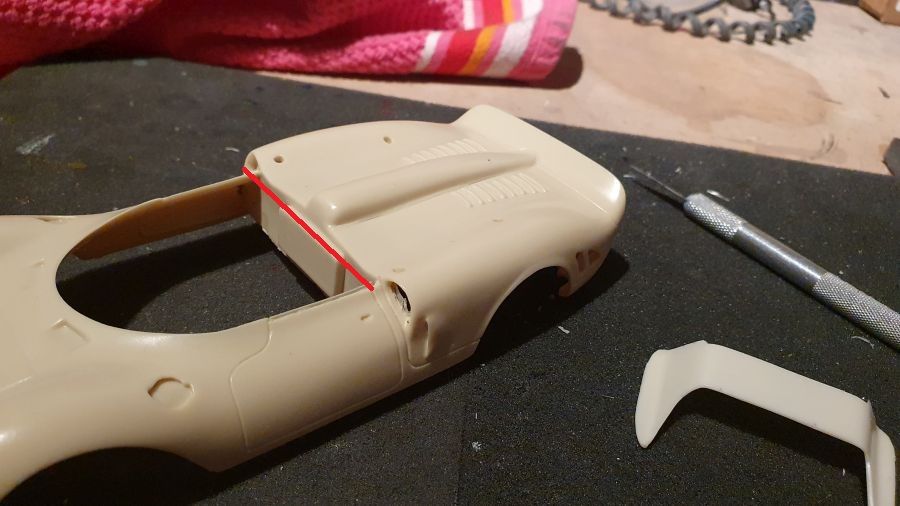
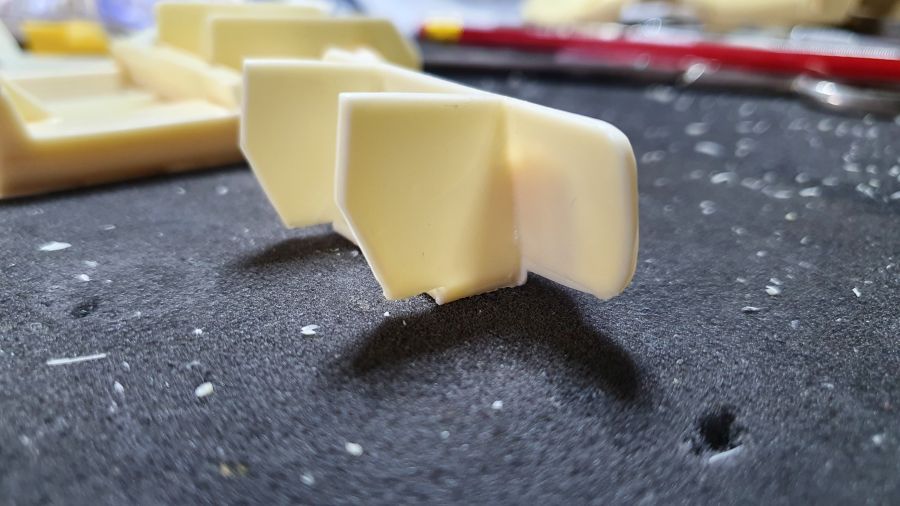
De 'bult' wordt verlengd.
The 'bump' is to be enlarged.
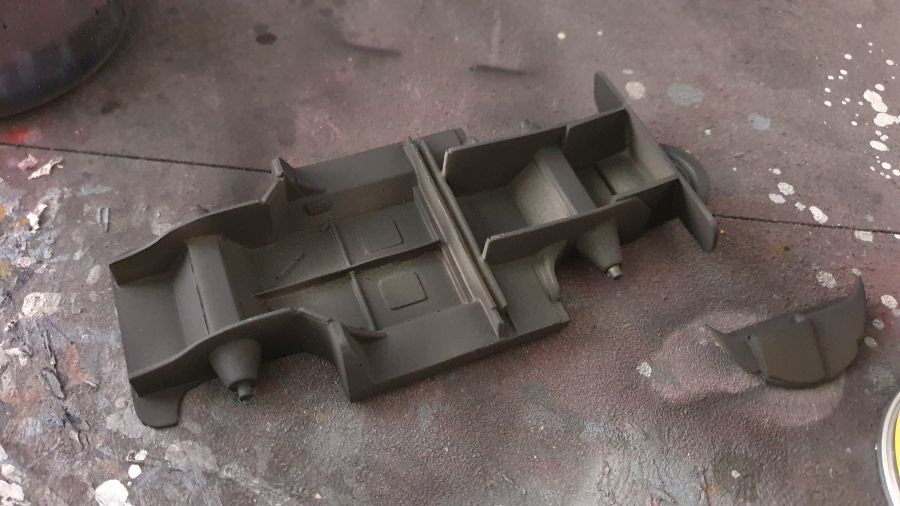
De vloer wordt zwart gespoten, voordat de zilververf erop gaat.
The floor gets painted black, before the silver paint will be applied.
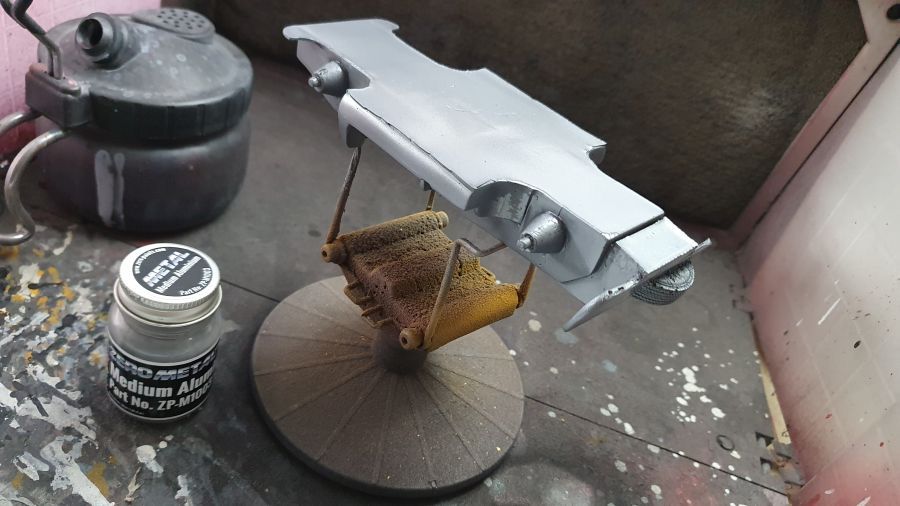
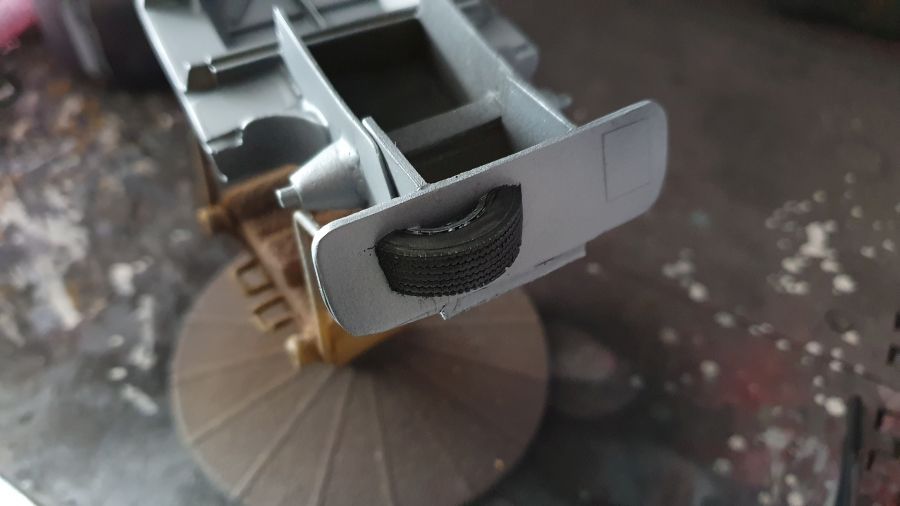
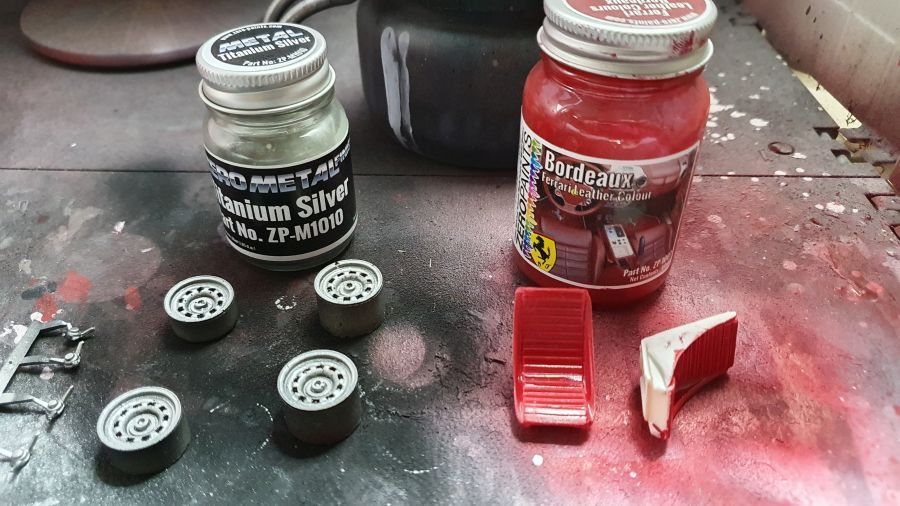
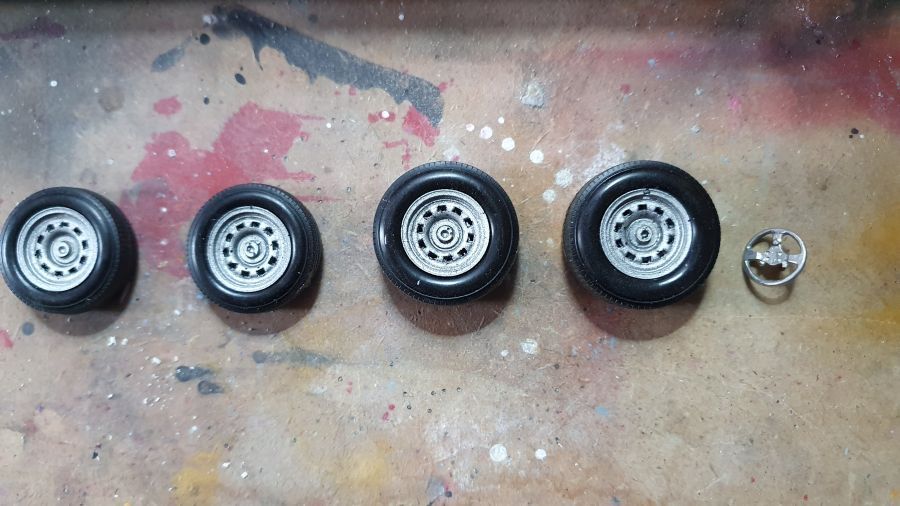
Dan spuiten met Zero Paints ZP-M1003 Medium Aluminium. De band is mat zwart geverfd met de hand.
Then airbrushing with Zero Paints ZP-M1003 Medium Aluminium. The tires was painted matt black by hand.
De eerste primer op het bodywerk. Nog wat schuren nodig.
The first primer on the body work. Needs some sanding.
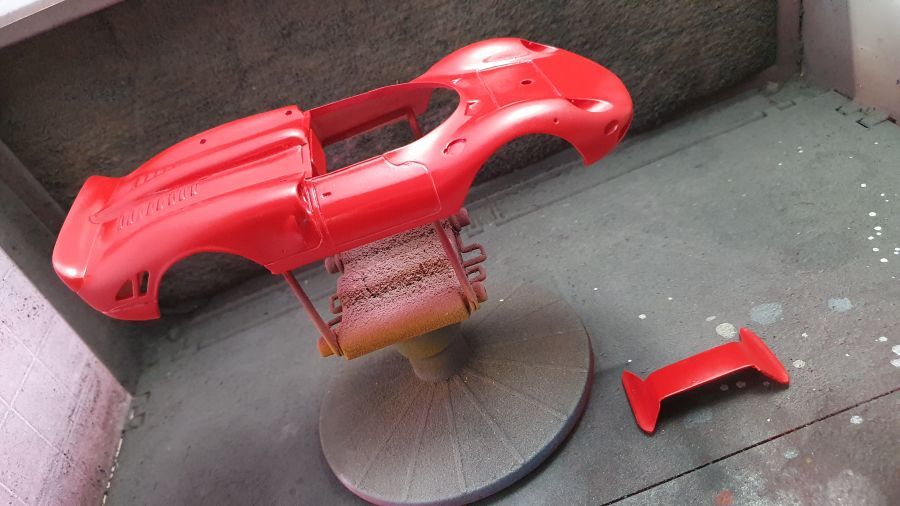
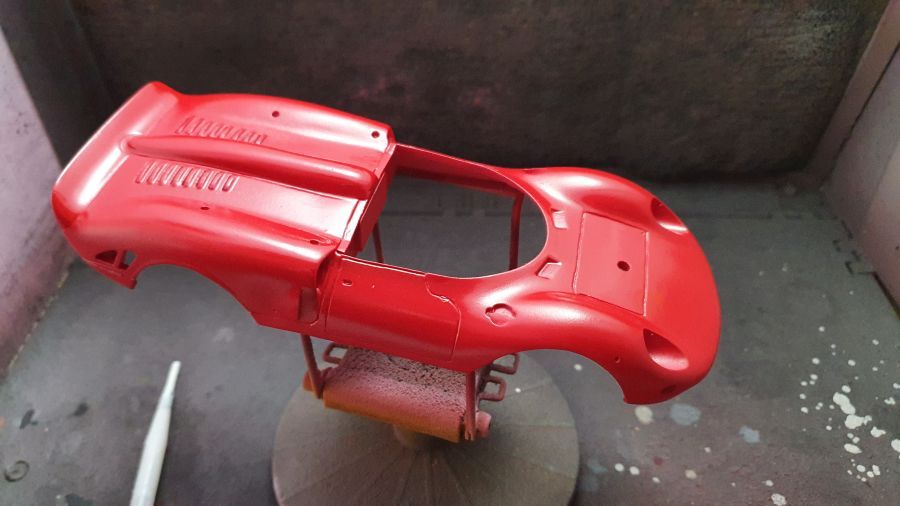
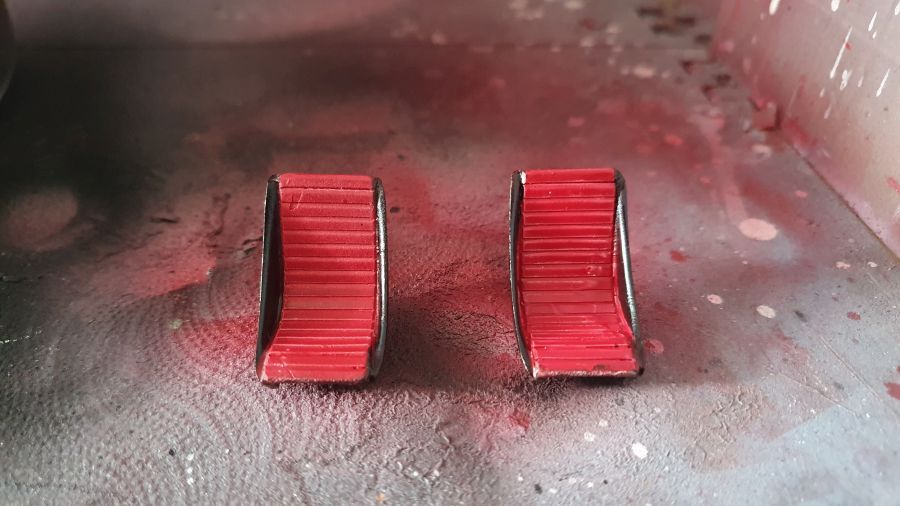
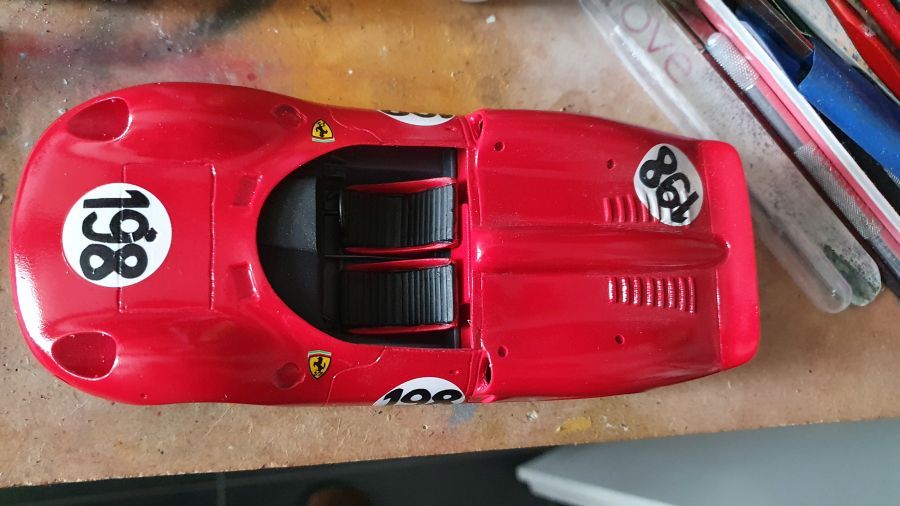
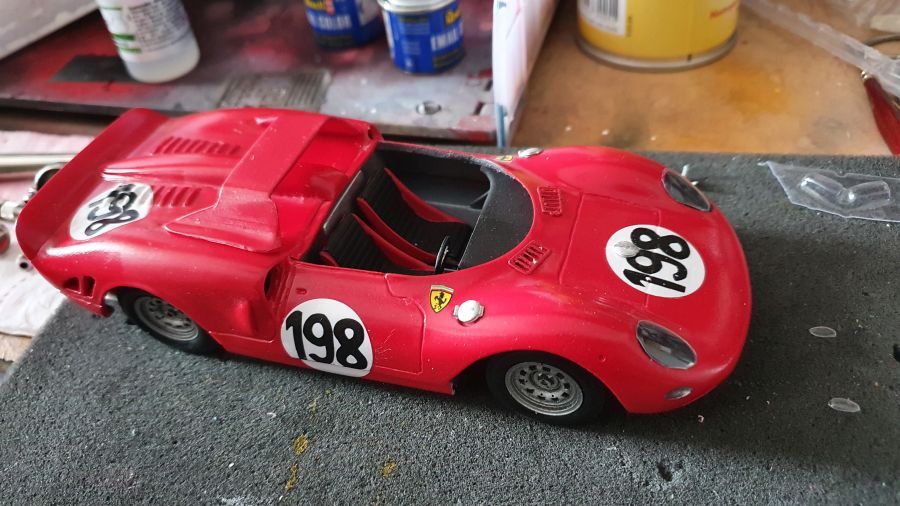
Dan het rood, Zero Paints ZP-1007 1960's Rosso Formula 1.
Then the red, Zero Paints ZP-1007 1960's Rosso Formula 1.
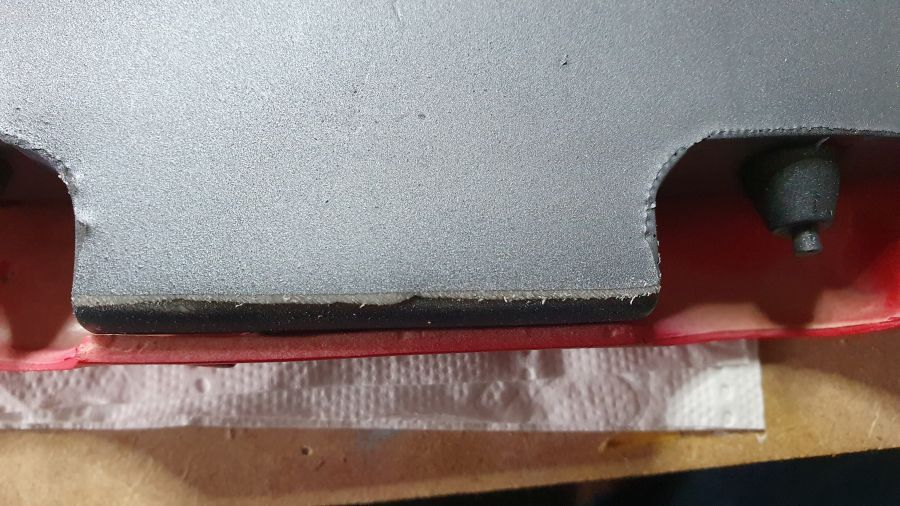
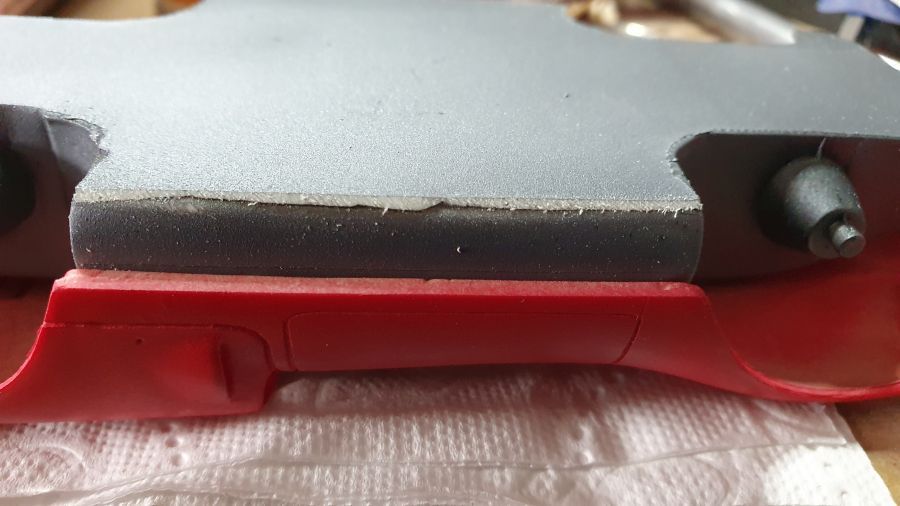
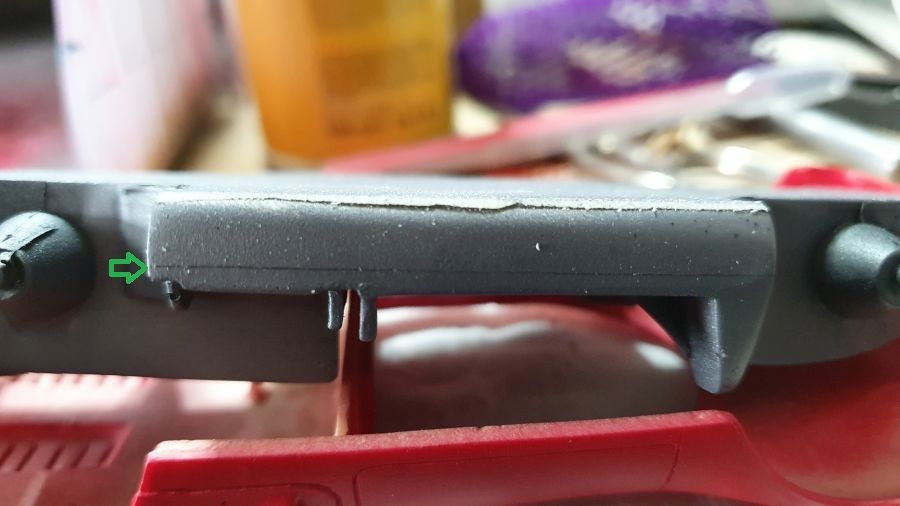
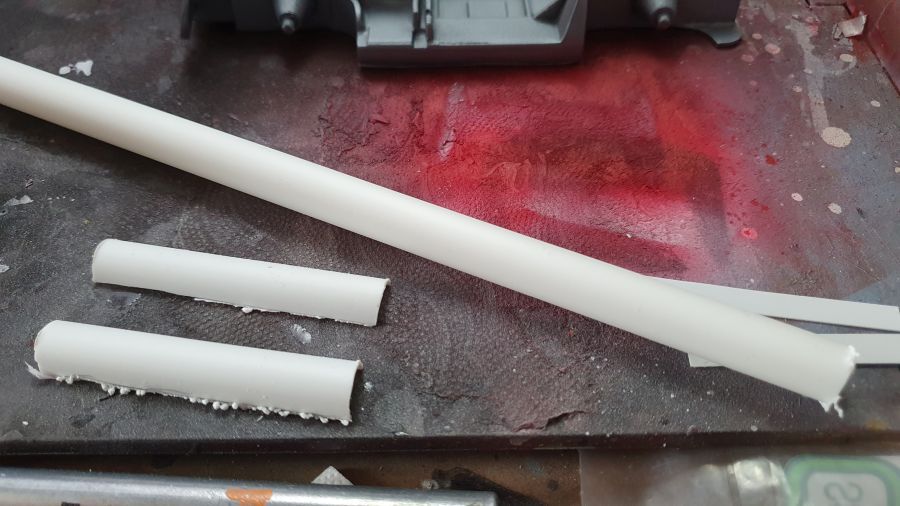
De body past niet helemaal goed op de vloer. Ik vind de rand een beetje te dik ten opzichte van de onderkant. Ik ga dit aanpassen door een stuk buis tegen de vloer aan te lijmen om de afstand wat te overbruggen.
The body doesn't fit super to the floor. In my opinion the gap is a bit too thick regarding to the down side. I will change this by gluing some tube to the floor, to manage the distance a bit.
Dan de glanslak. Geen 2K voor een auto van 1965.
Next is clear gloss. No 2K for a car from 1965.
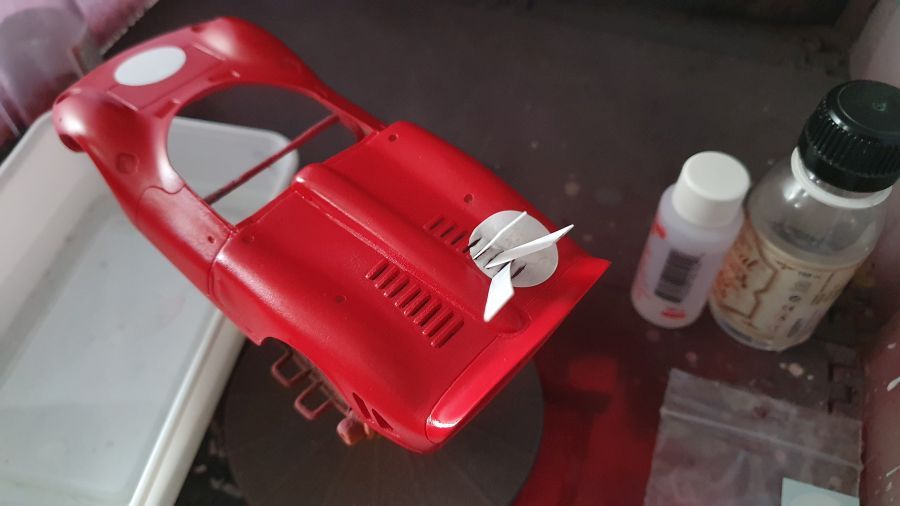
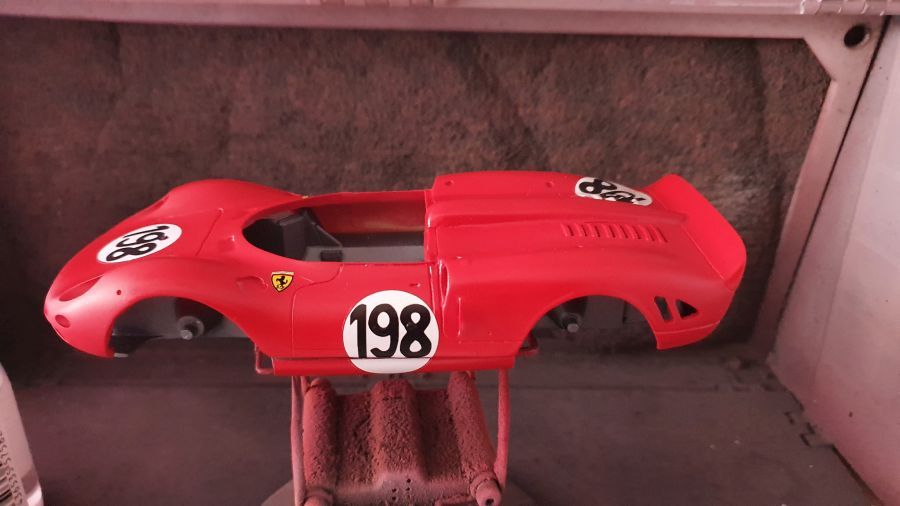
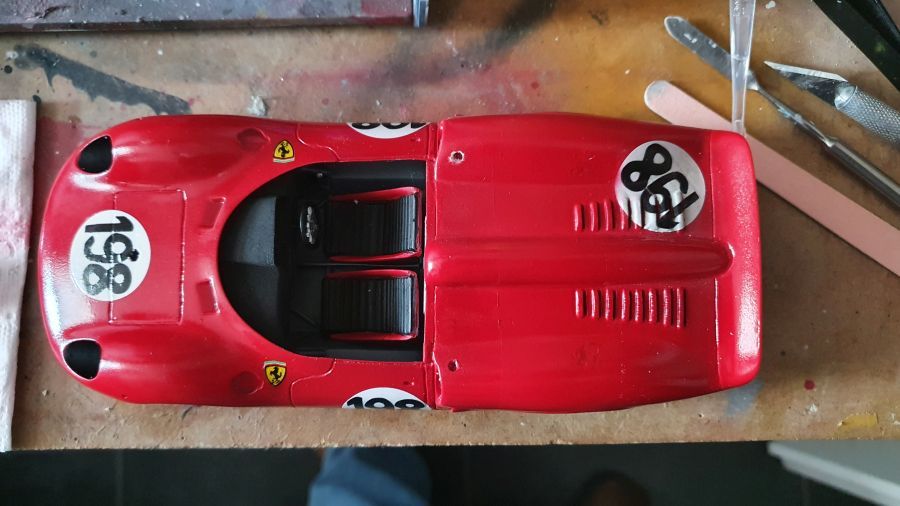
Dan de eerste decals... die bij zo'n rooster zijn altijd wat lastig.
Then the first decals... those at the louvers are always a bit tough.
De zijkanten worden aan de vloer gelijmd.
The sides are being glued to the floor.
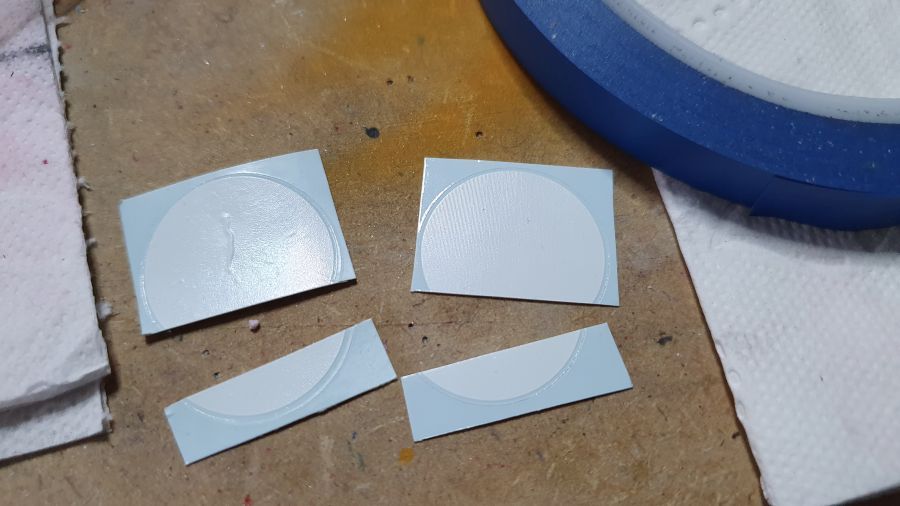
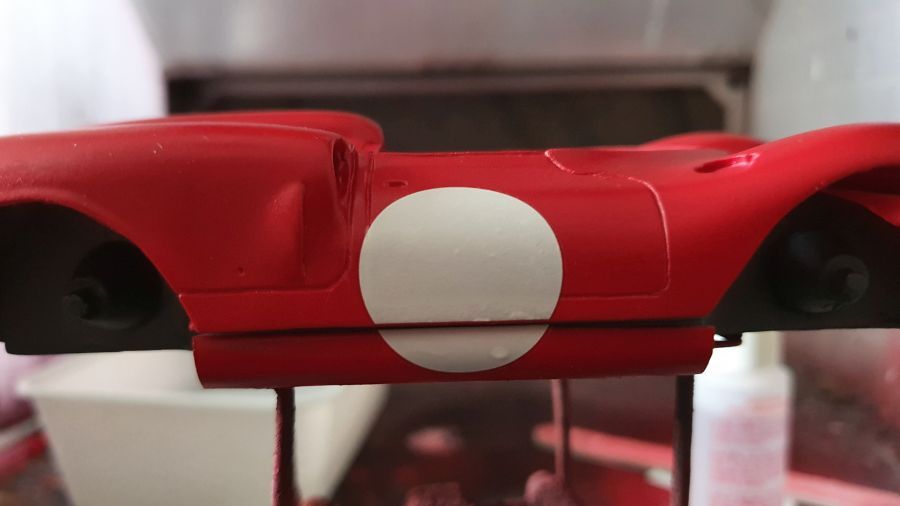
De decals worden geknipt omdat ze over de 2 body-delen moeten worden geplaatst.
The decals are being cut, as they need to be added to the 2 body parts.

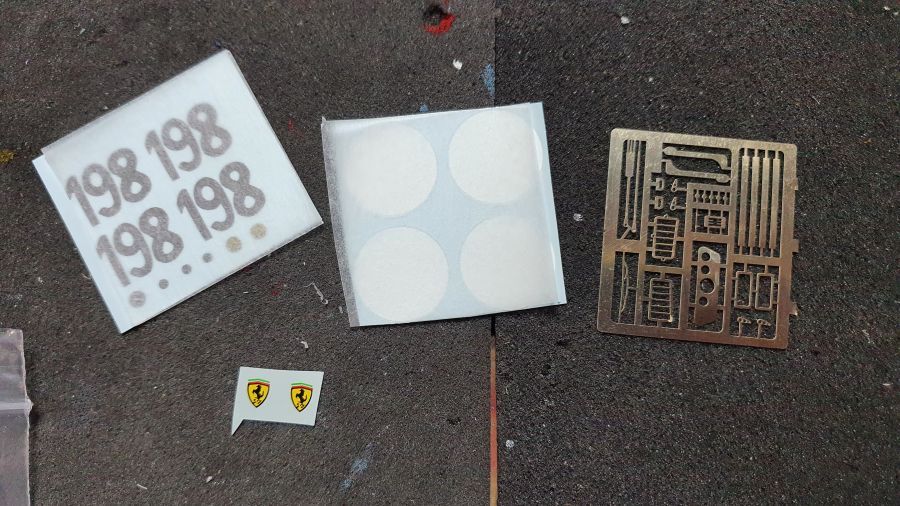
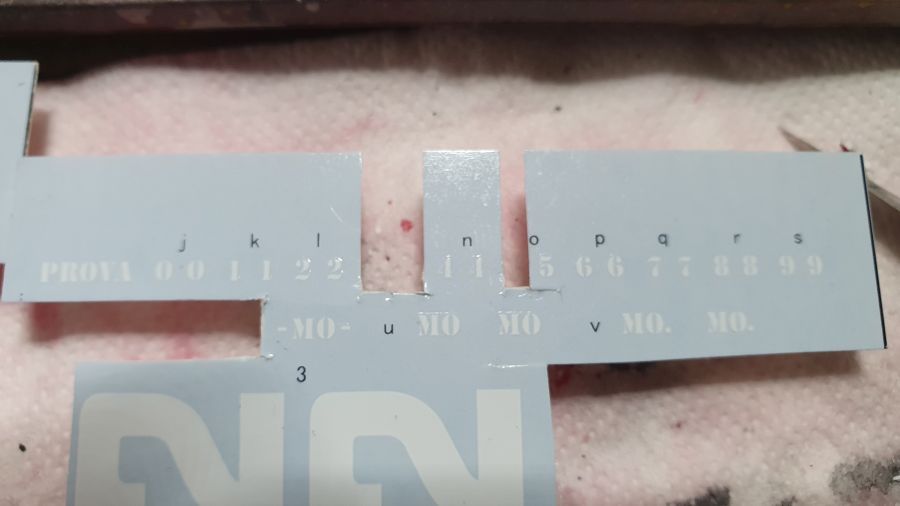
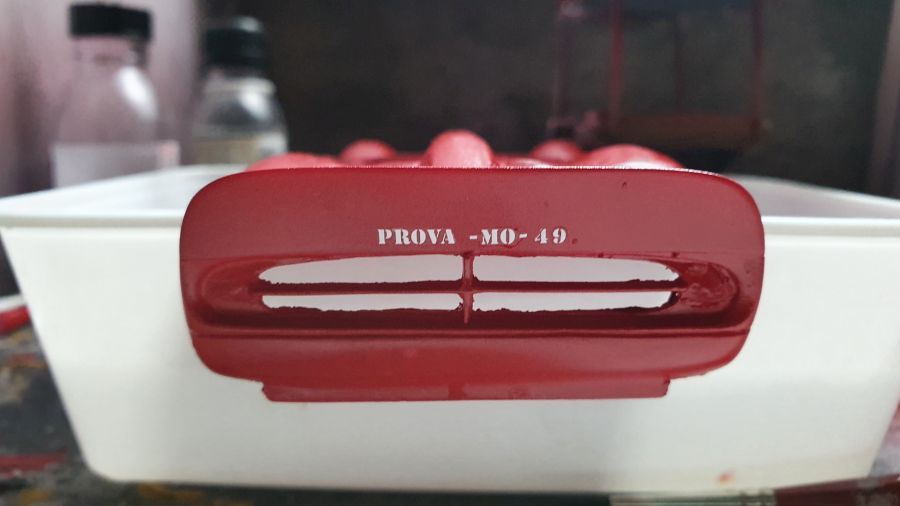
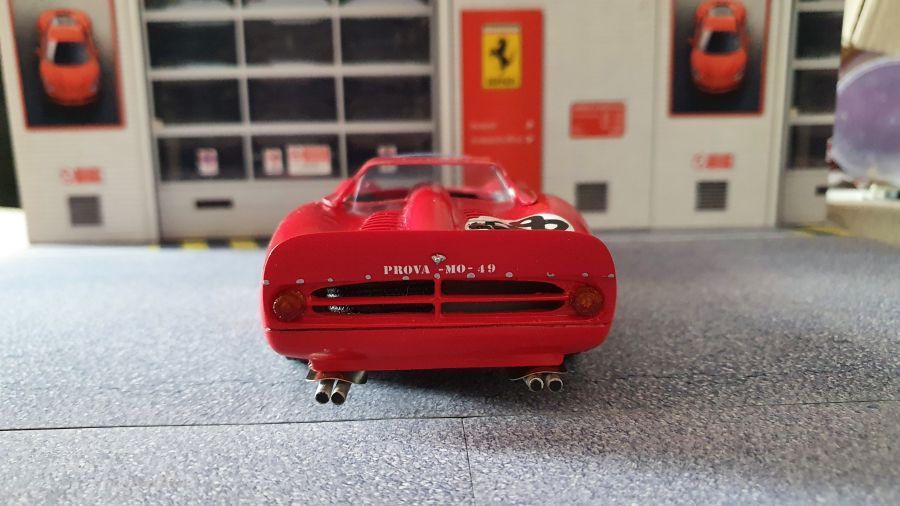
De 'Prova-decals' zijn niet goed. Verkeerd geknipt. Volgens mij heb ik nog wat in de rommelkist.
The 'Prova-decals' are damaged. They wre cut wrong. I think i might have some in the scrap box.
En weer een paar laagjes lak.
And a couple of layers of lacquer again.
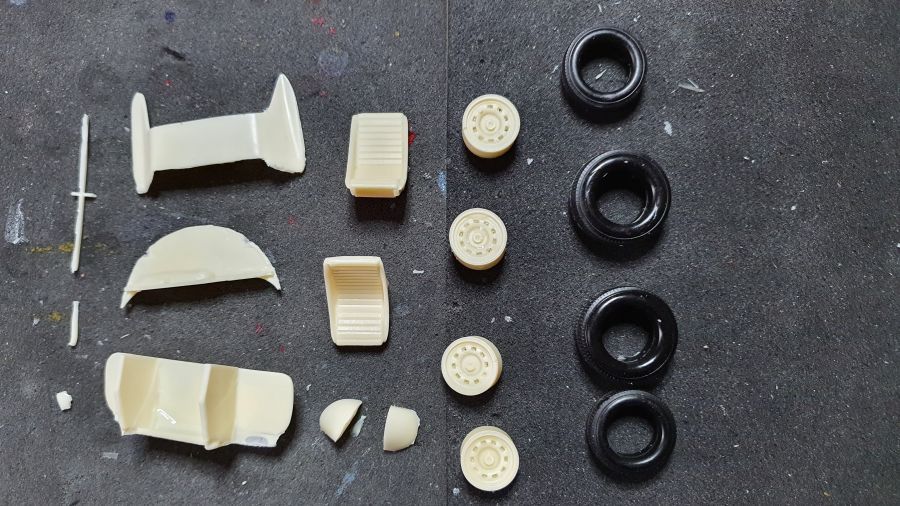
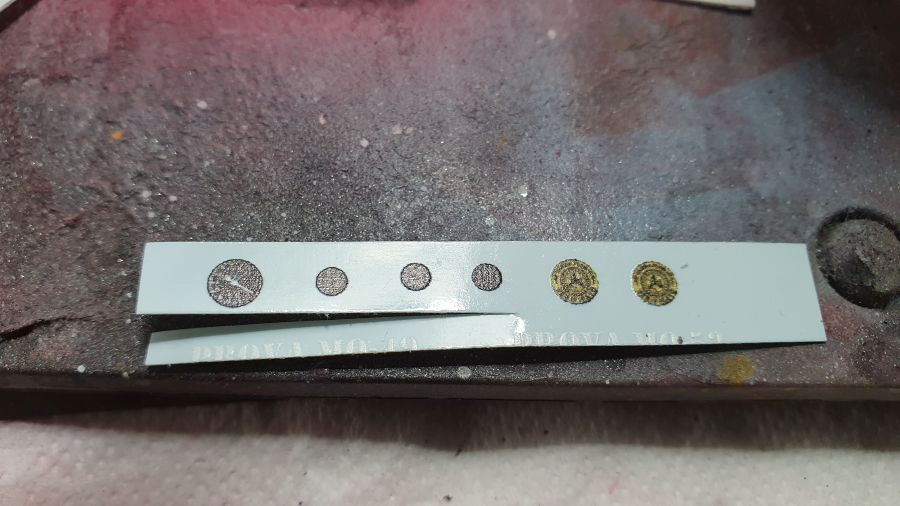
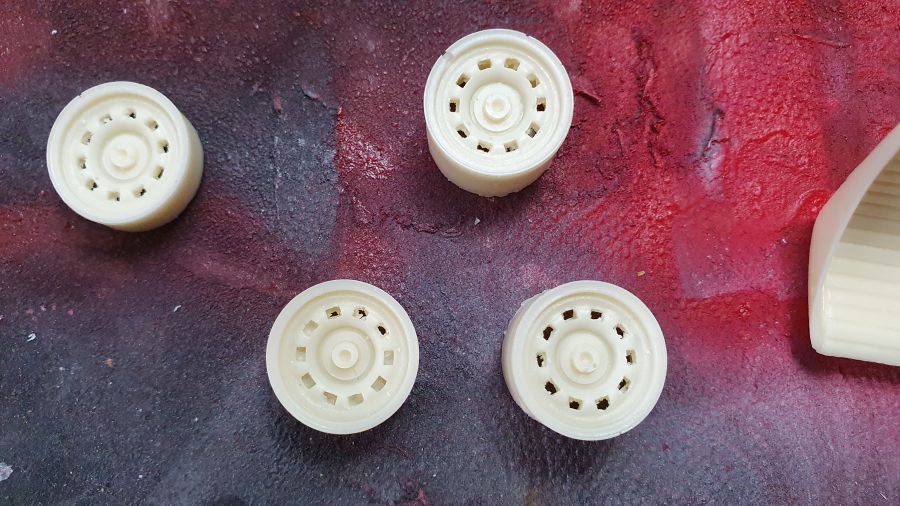
Door naar het interieur... en de velgen.
On to the interior... and the rims.
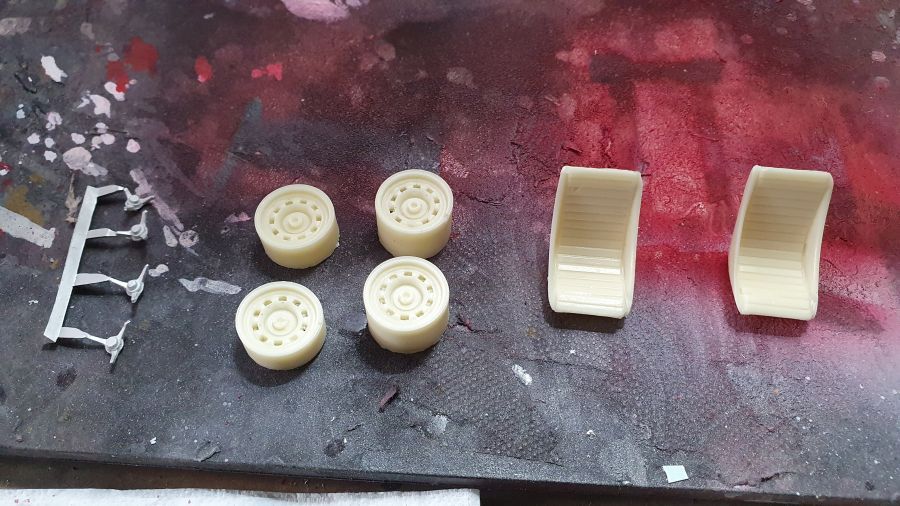
Ik heb een fout gemaakt met de stoelen, dat ga ik veranderen.
I made a mistake with the seats, i'll change that.
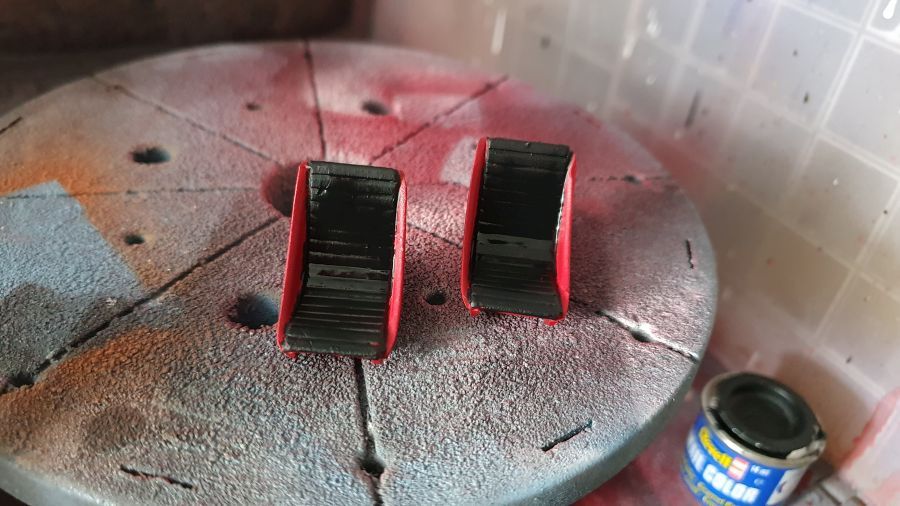
Gecorrigeerd...
Corrected...
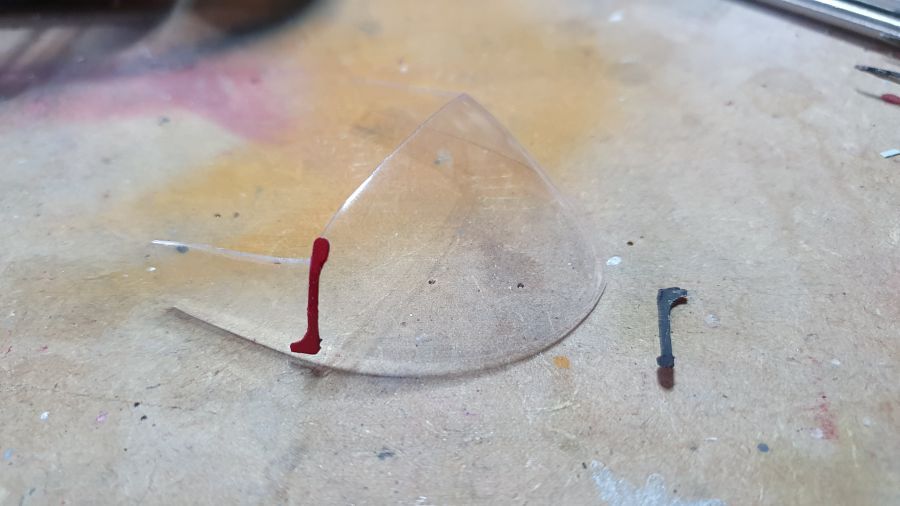
Het stuur mist... mijn leven, missende onderdelen... maar weer in de rommelkist duiken.
The steering wheel is missing... Story of my life... on to scrap box.
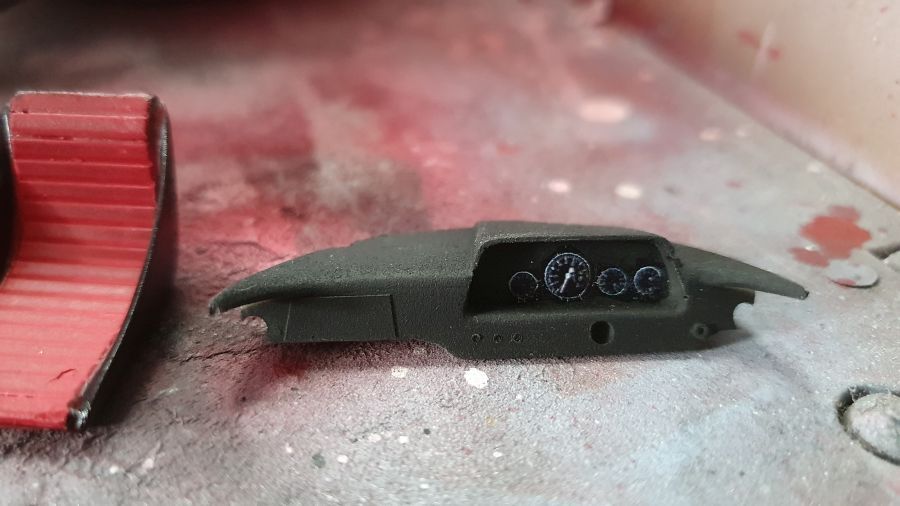
Het dashboard gaat erin en de vloer wordt gemonteerd.
The dash was added and the floor got mounted.
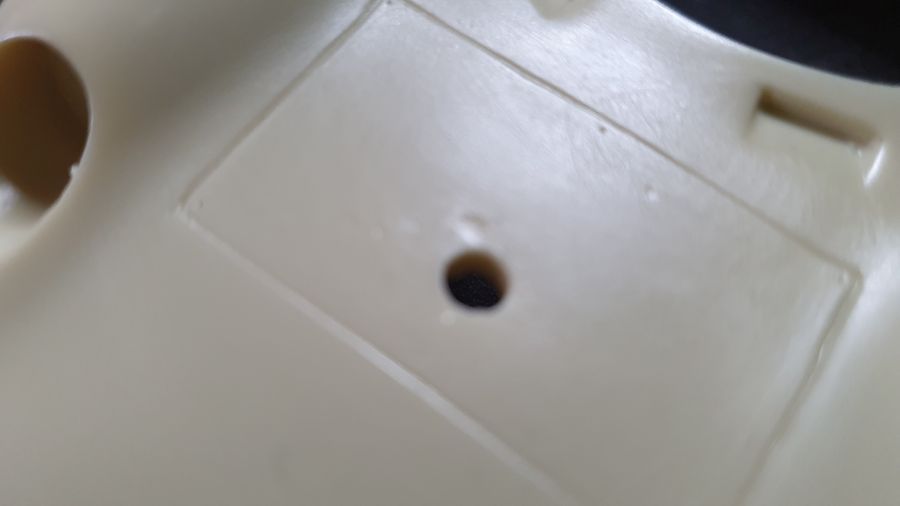
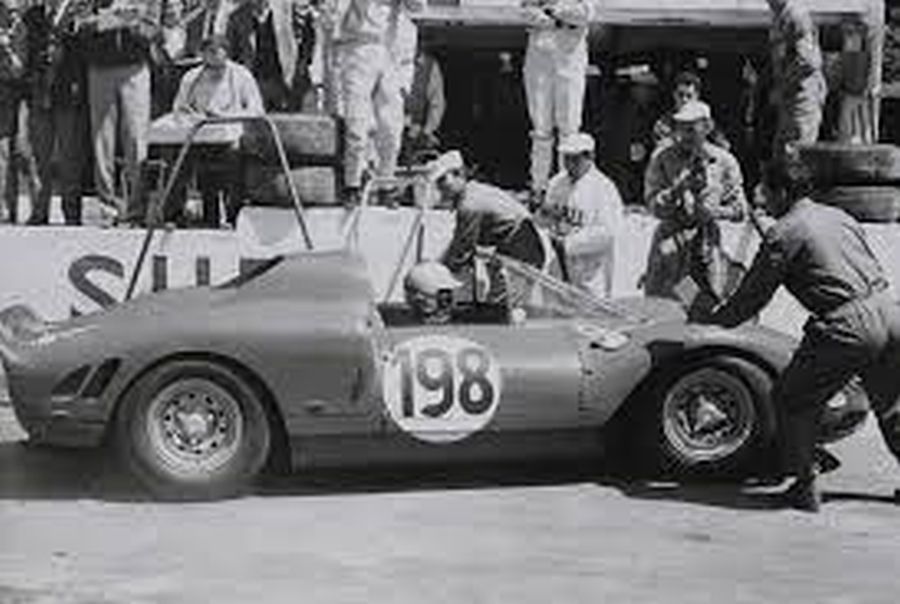
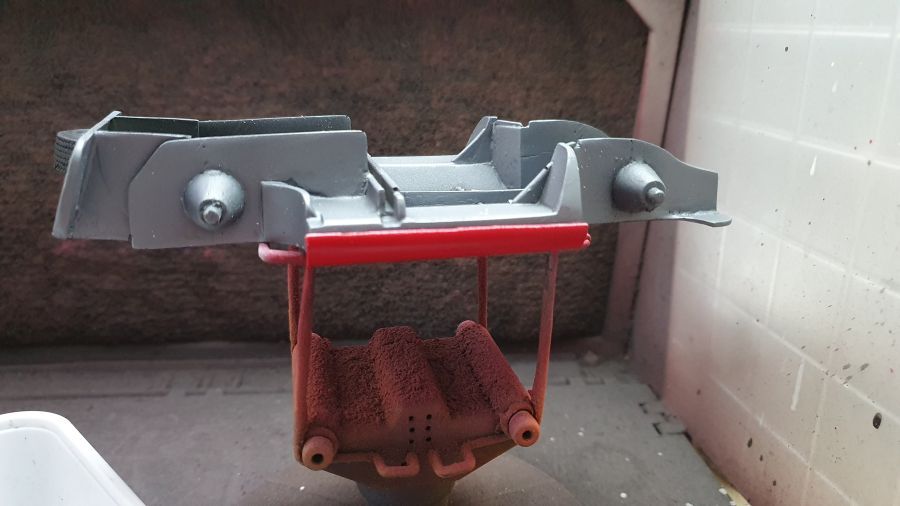
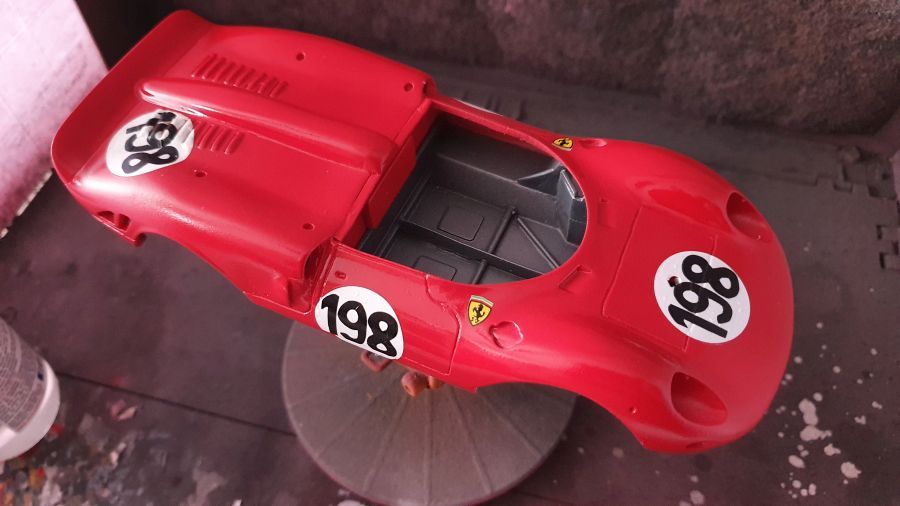
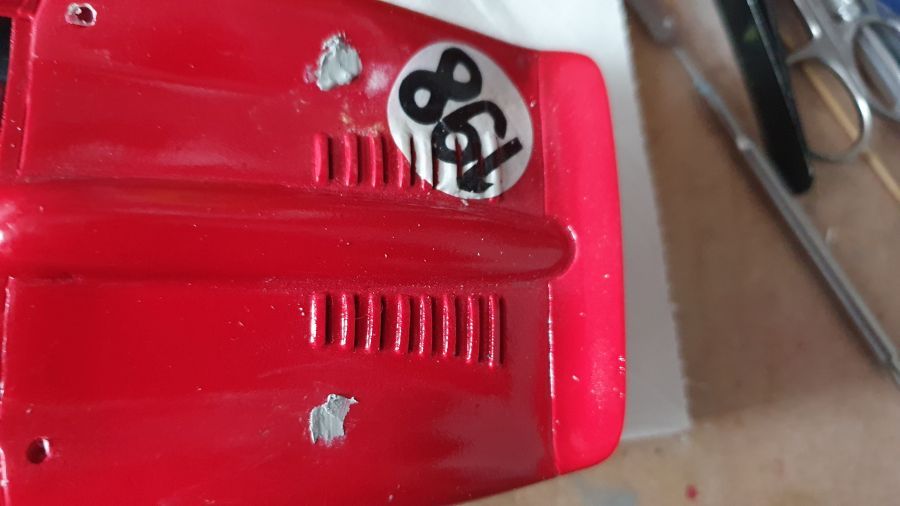
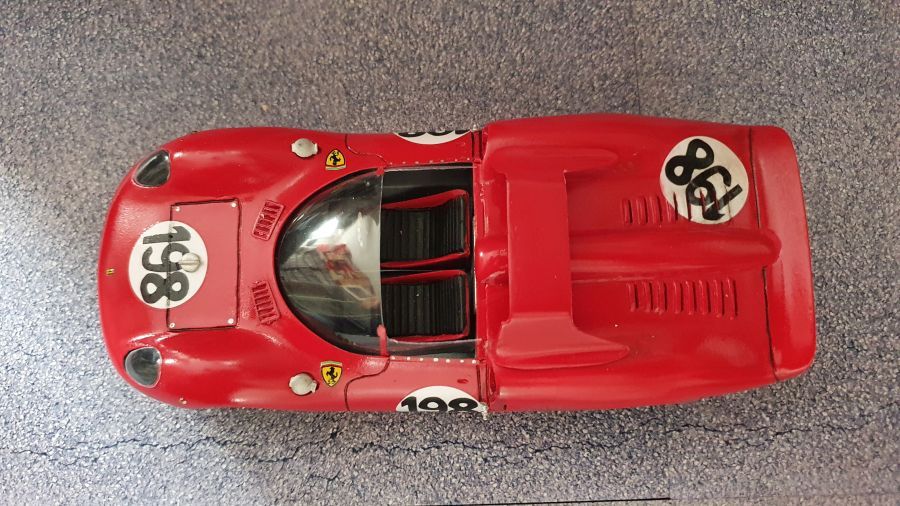
Het valt me op dat het achterdek 2 gaten houdt. Het lijkt erop dat de 'roll bar' niet bij dit model past... Ik zie een verschil tussen mijn versie en die van DDP. Na contact met DDP is duidelijk dat ik de gaatjes had moeten dichten, vóór het verven.... tja... Ik had natuurlijk moeten passen, maar je denkt toch dat die gaten er niet voor niets zitten. Waarschijnlijk was ik teveel afgeleid door wat andere problemen met de kit.
I noticed the rear deck keeps 2 holes. It looks like the 'roll bar' doesn't match this model... I spot a difference between my version and that one of DDP. After contact with DDP it's clear i should have closed the holes , before painting... really... I should have done more test fits, but one might think those holes are there for a function. Possibly i was too much distracted by some other problems with the kit.
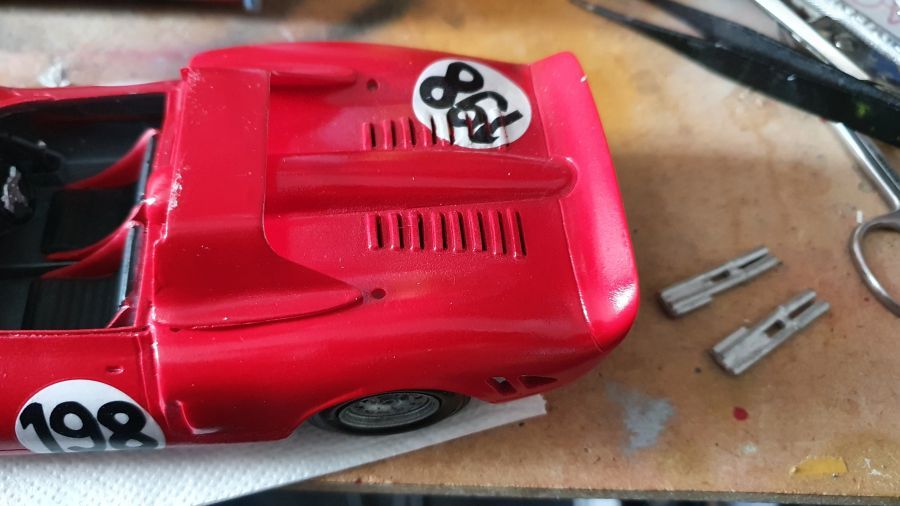
Op deze foto zie je dat de 'roll bar' langer is. de achterste punten komen tot de 2e sleuf van het rooster. Niet bij die van mij.
On this picture you can see the 'roll bar' is larger. The rear point go up to the 2nd cut of the louvers. Not on mine.
Ik probeer de bouw nog wat te redden. DDP heeft me nieuwe decals aangeboden, maar ik zie het niet zitten de body weer van de vloer te scheiden om opnieuw te spuiten..
I am trying to save the build. DDP offered me new decals, but i am reluctant to separate the body from the floor for repainting.

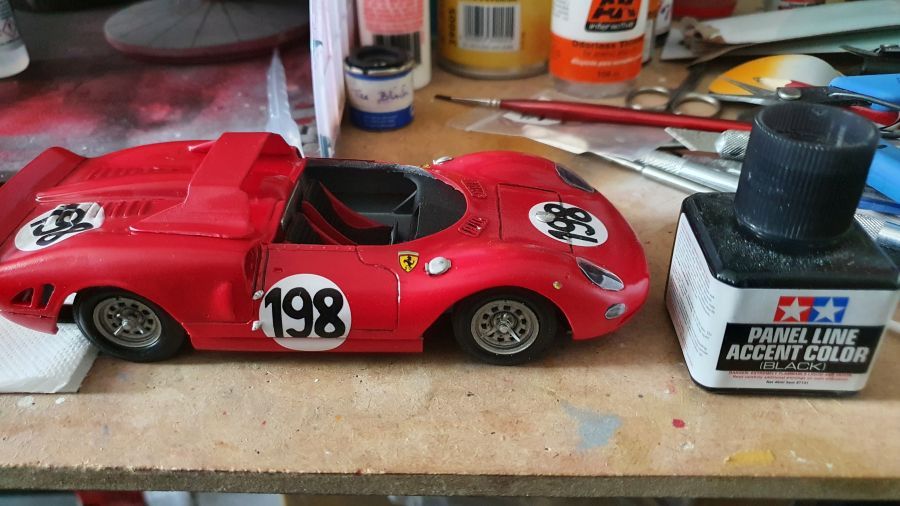
Ik ga even wachten op mijn nieuwe afplaktape. Dat komt vandaag binnen. De tape van Zero Paints of Tamiya heeft misschien iets teveel plakkracht. Ik wil natuurlijk niet dat de decal op het achterdek beschadigd raakt. Daarom eerst maar verder met wat andere aankleding. Eerst wat zwarte verf.
I will wait for my new masking tape. It will arrive today. The tape from Zero Paints or Tamiya might be too sticky. Of course i don't want the decal on the rear deck to get damaged. That's why i will work on some other stuff for now. First some black paint.

Gerepareerd, heeft nog wat werk nodig met de schuurpads en poetsmiddel. Niet perfect, maar ik doe het ermee.
Repaired, needs some more work with the sanding pads and polishing. Not perfect, but it is what it is.
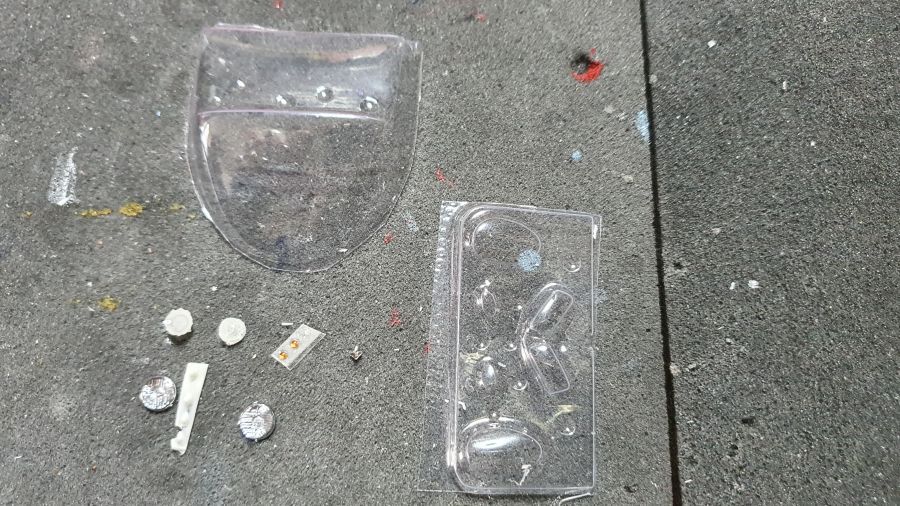
De tankdoppen en het glas worden geplaatst.
The filling caps and the glass are being added.
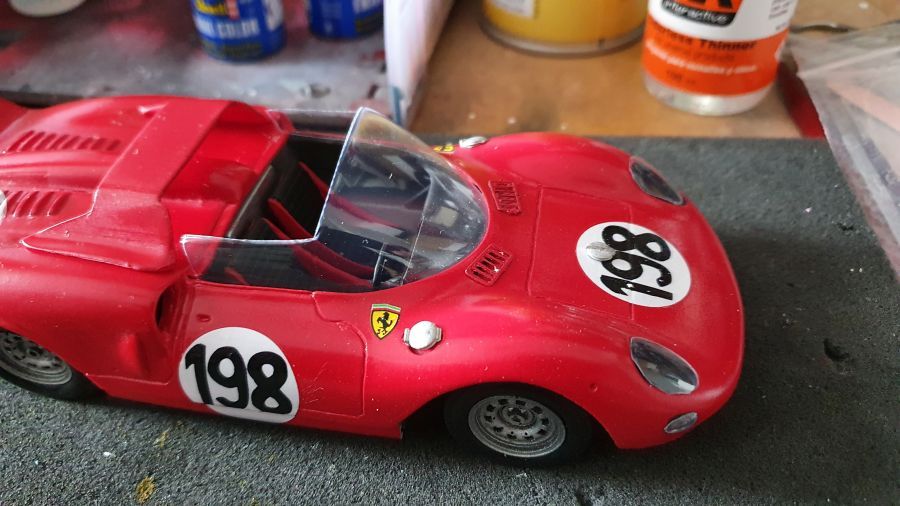
Veel kleine details...
A lot of small details...
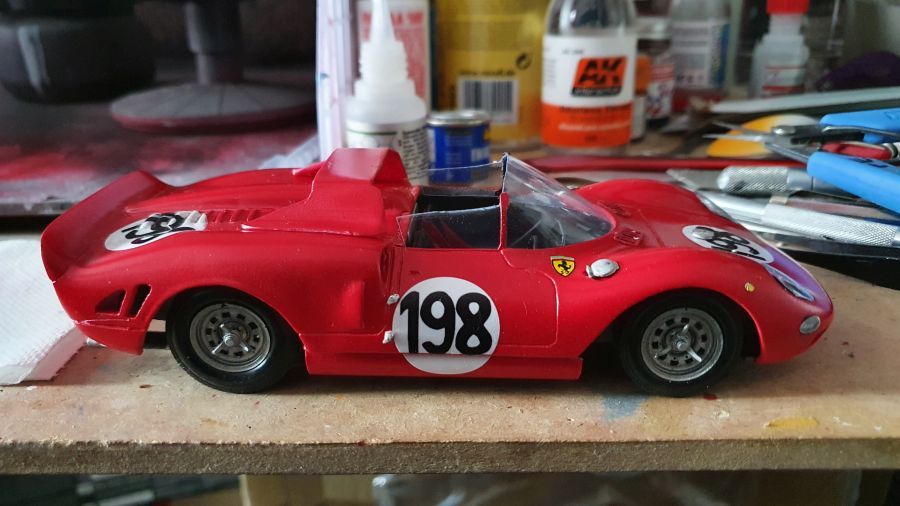
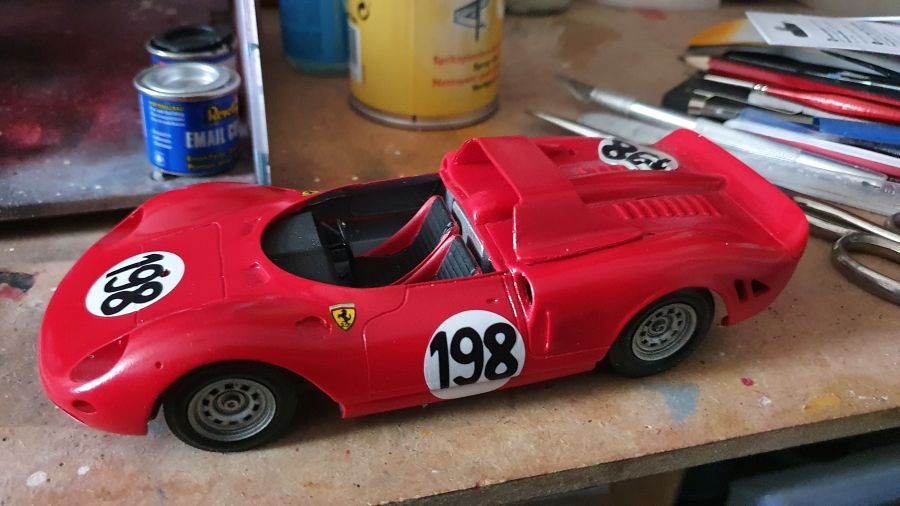
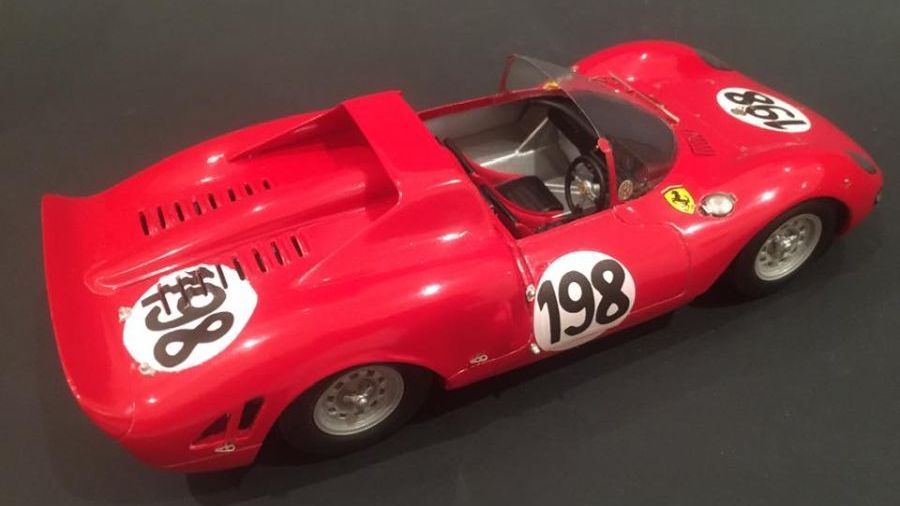
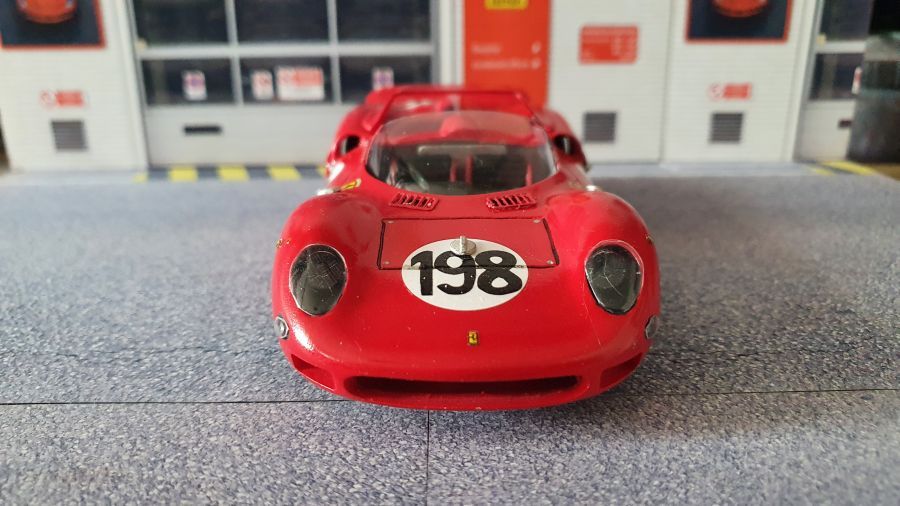
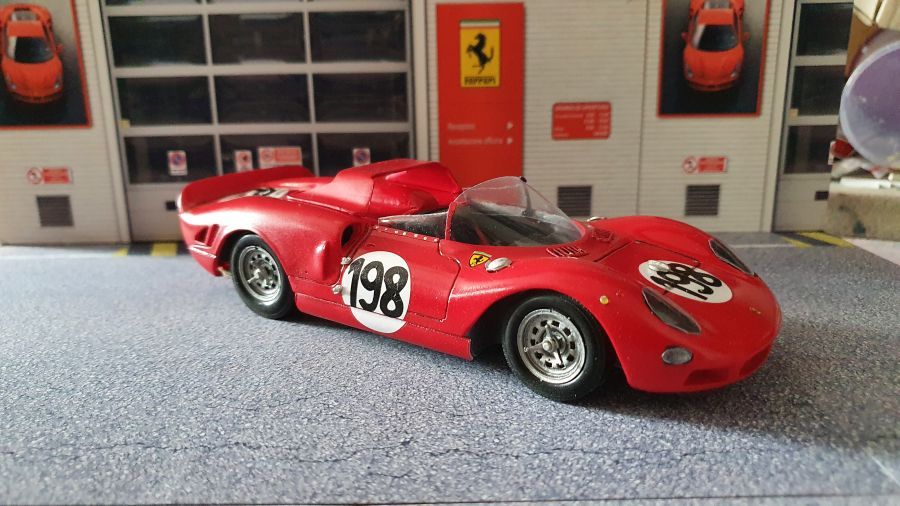
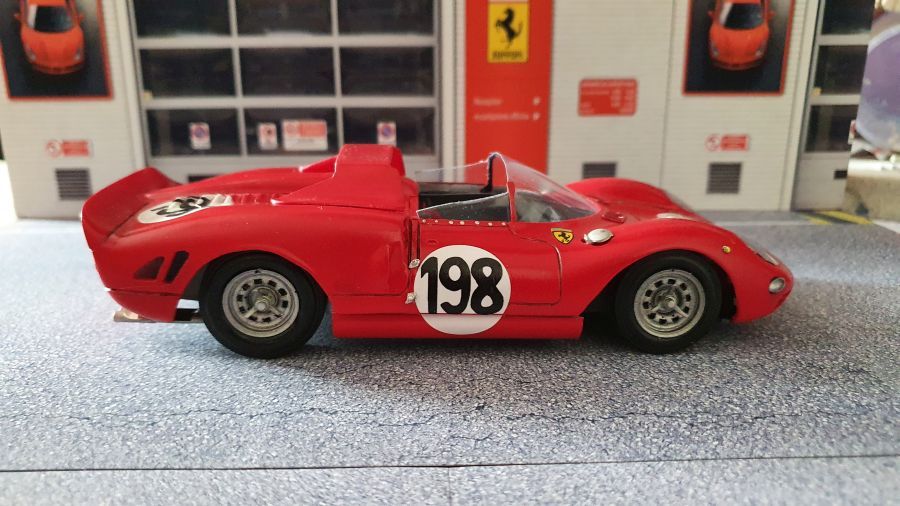
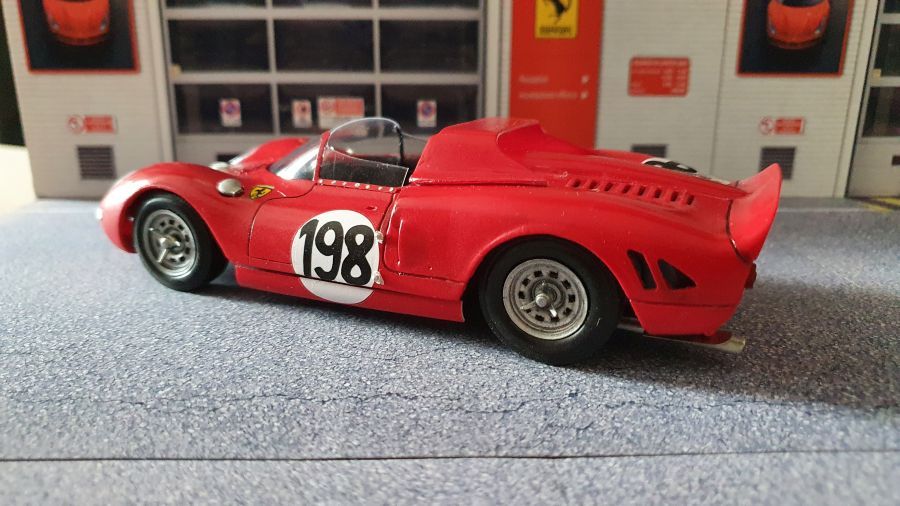
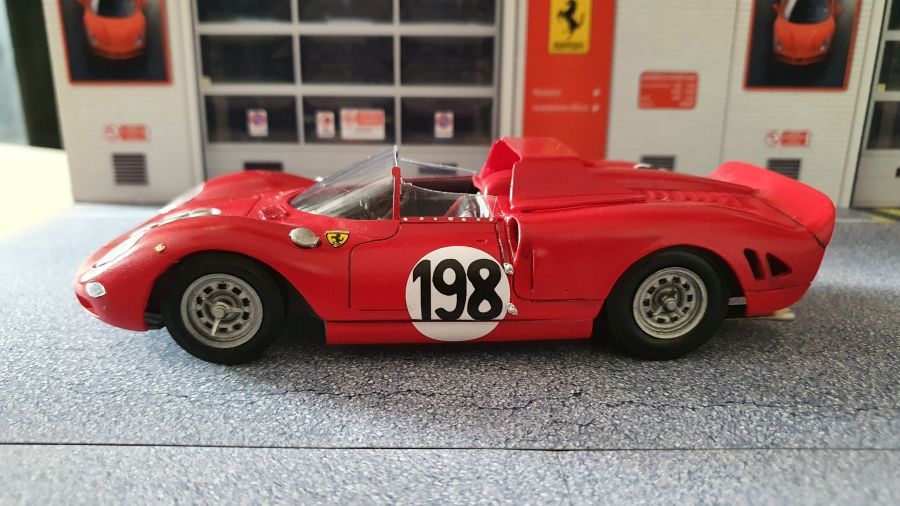
Ik beschouw hem als klaar. Niet perfect in mijn ogen, maar dit is het.
I consider it done. Not perfect, but this is it.
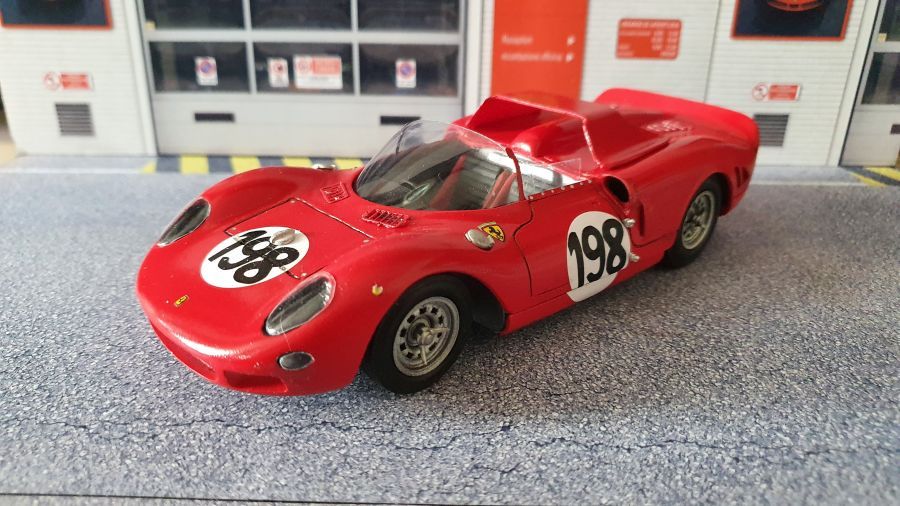
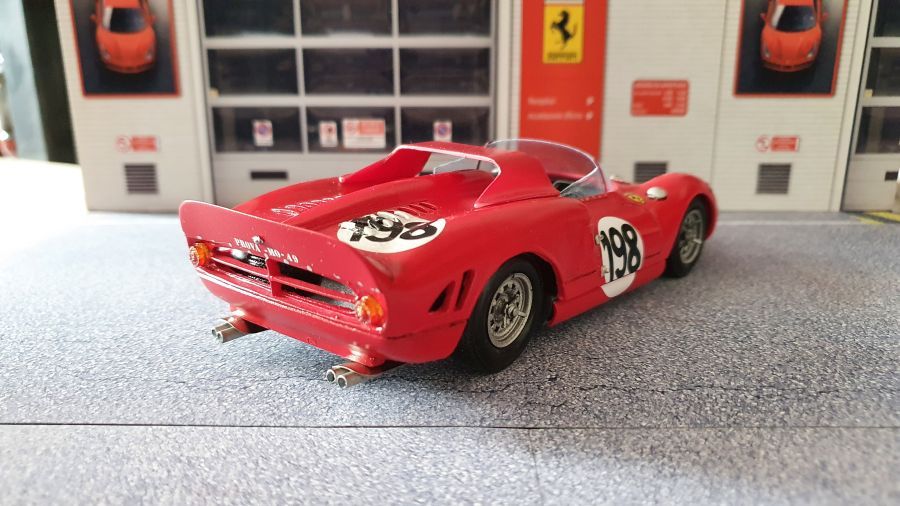
Niet de beste kit van DDP. Waarschijnlijk al wat ouder. Maar met wat meer aandacht is er wel wat van te maken.
Not the best kit from DDP. Probably a bit older. But with some attention you can make a nice model out of it.