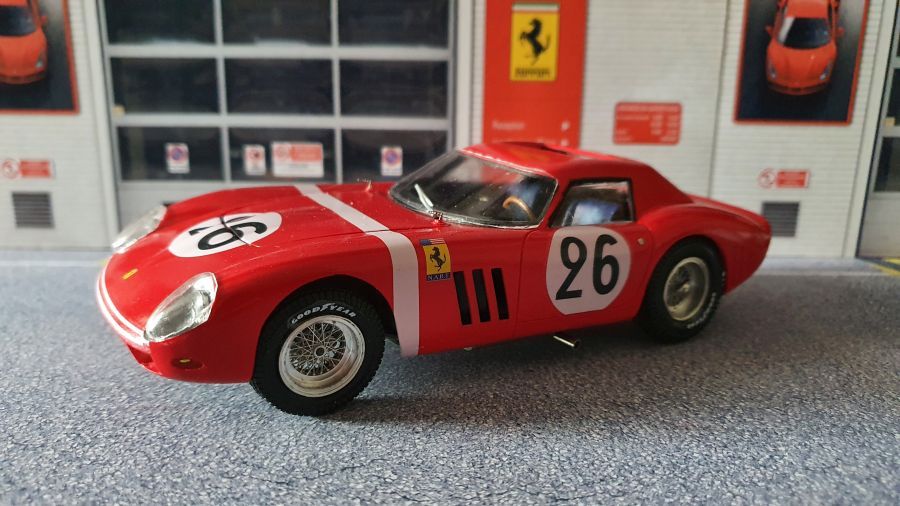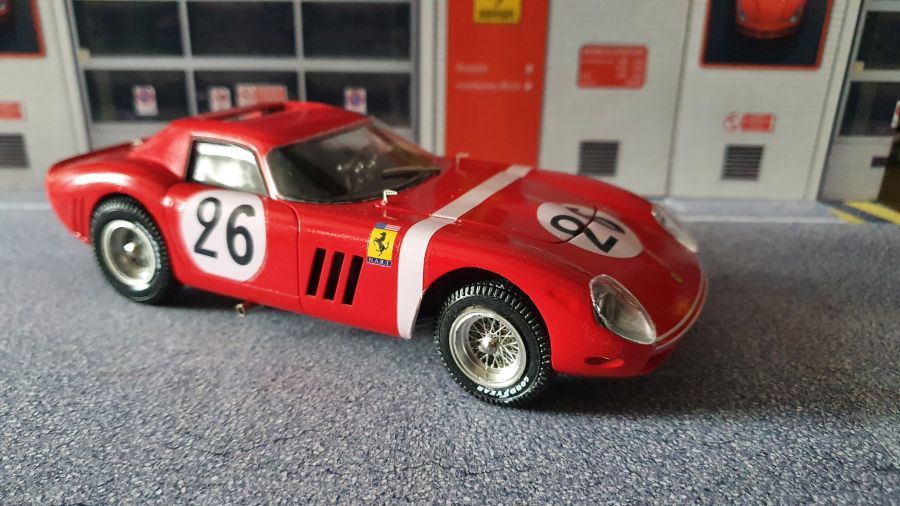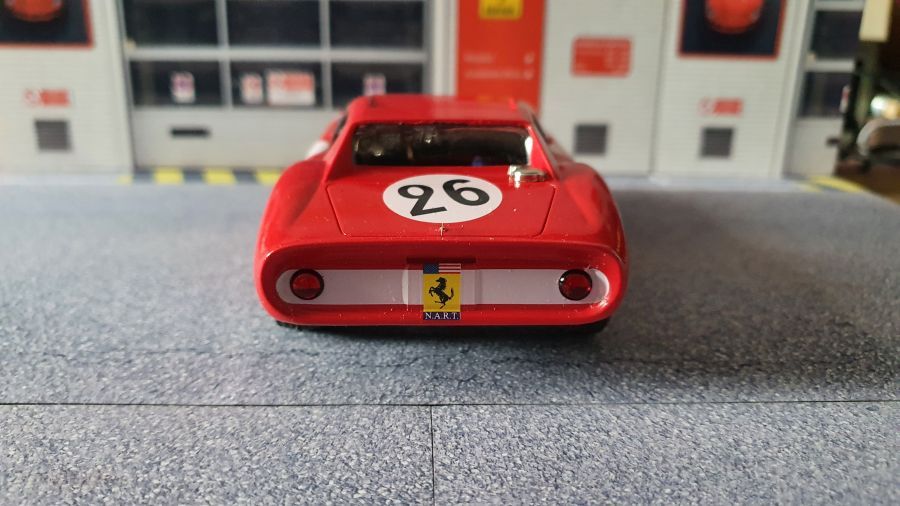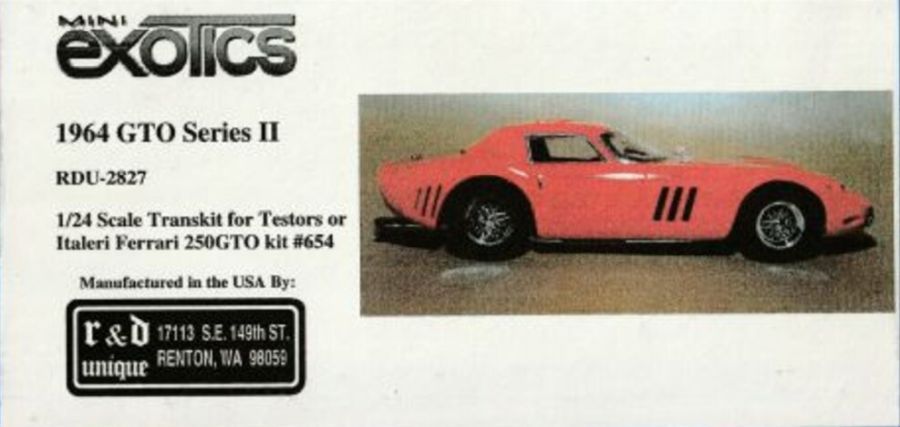
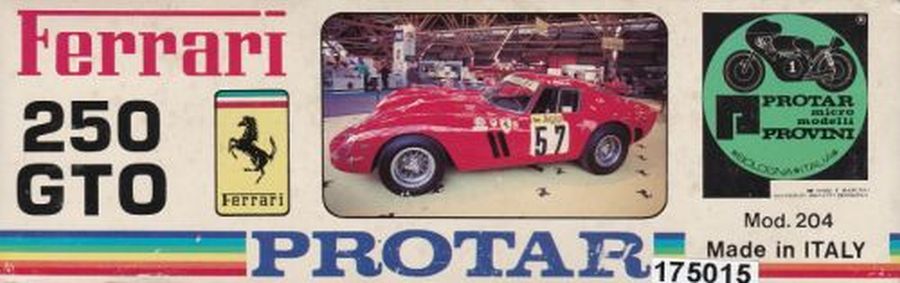
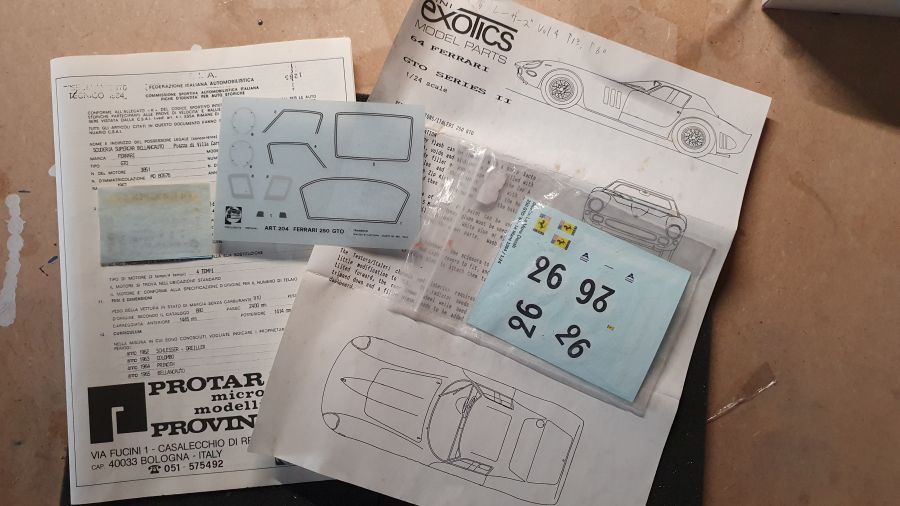
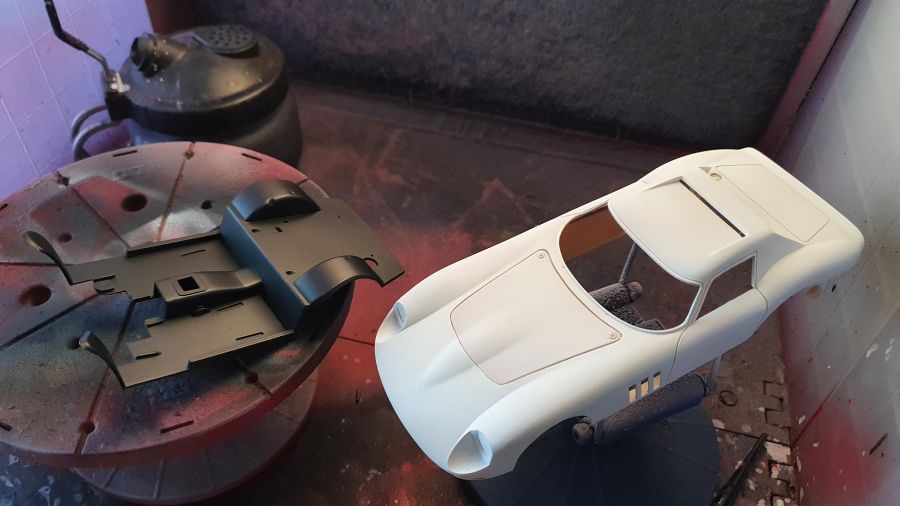
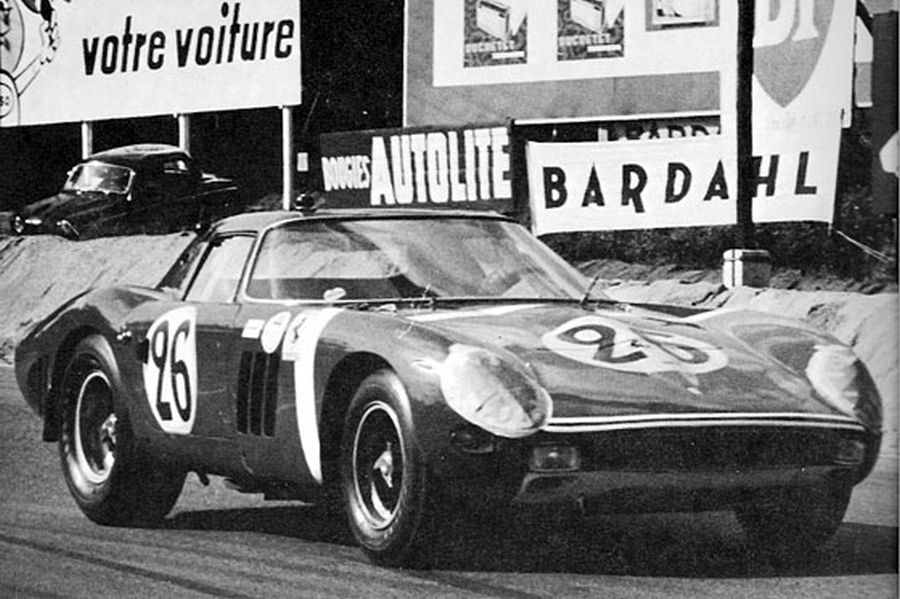
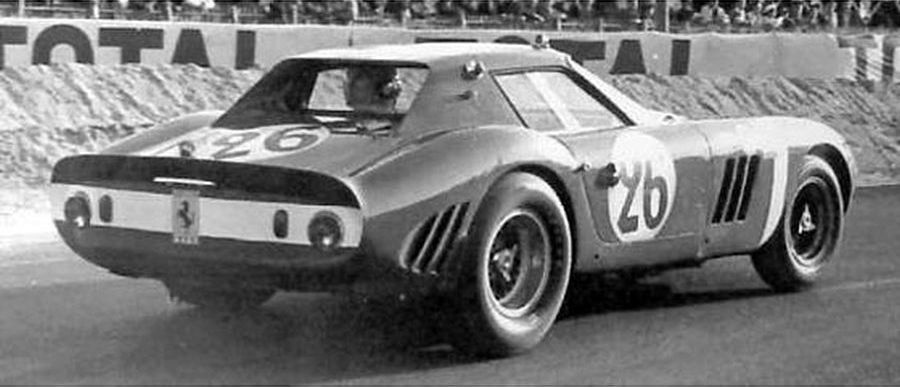
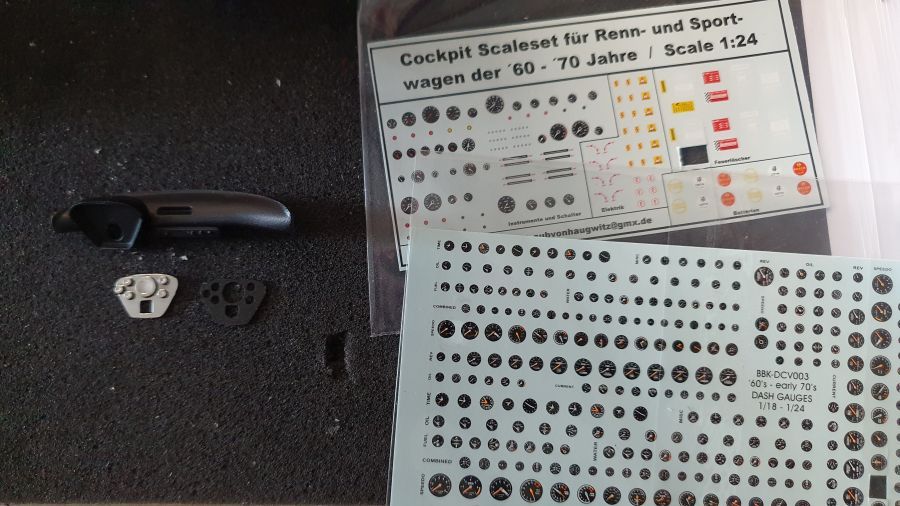
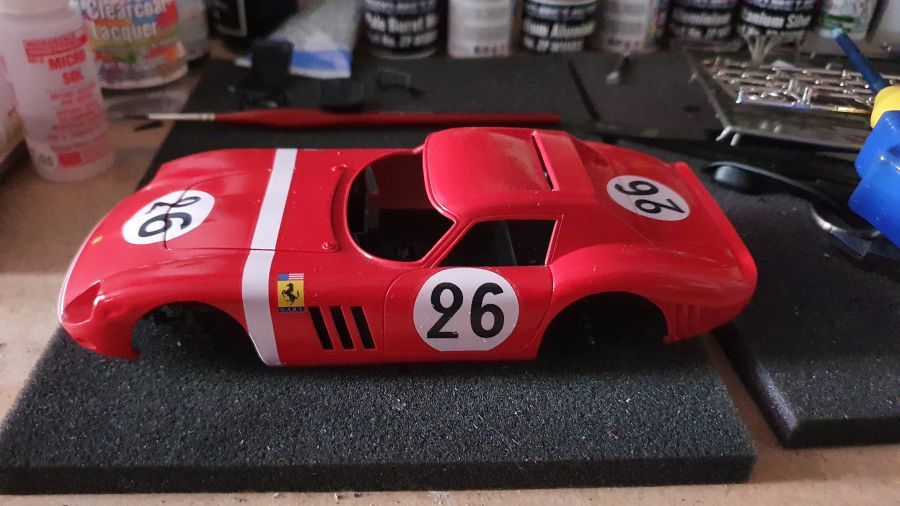
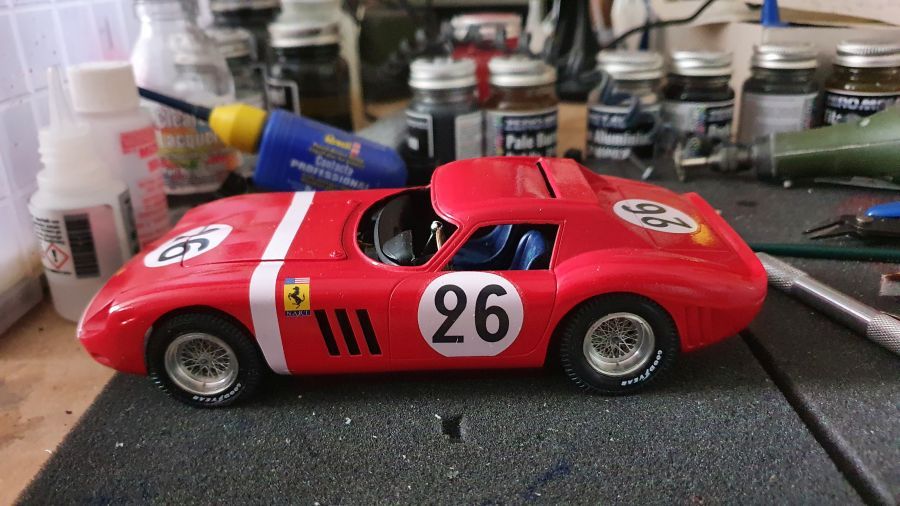
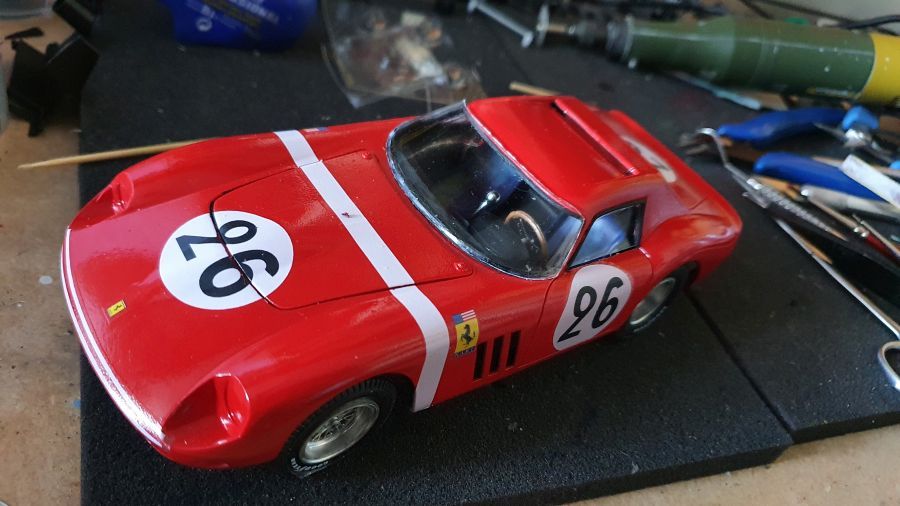
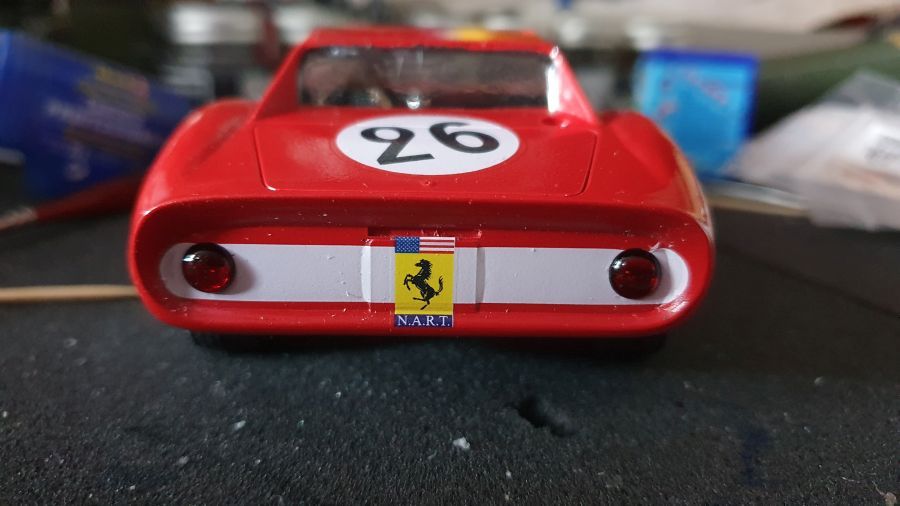
Na de bouw van de Pozzi in 1/12 heb ik een beetje de smaak te pakken ten aanzien van Le Mans wagens. Daarom doe ik nog maar 1 van mijn favorieten. Eigenlijk wil ik deze in 1/12 bouwen, maar dat komt misschien nog wel later. Nu dus in 1/24 de 1964 Ferrari 250 GTO NART Le Mans. Deze wagen had startnummer 26 en werd bestuurd door Ed Hugus en José Rosinski. Helaas haalde de wagen de finish niet. Eerst weer alle onderdelen. De kit is een exemplaar van Mini Exotics (Kit nr. RDU-2827). Tevens is een Protar, Italeri of Testors donor nodig. Ik heb de Protar 1962 Ferrari 250 GTO gekocht
After building the Pozzi car in 1/12 i am a bit attrackted to Le Mans cars. That's why i will do this one, one of my favorites. I would like to build it in 1/12, but maybe that will come later. So for now the 1/24 1964 Ferrari 250 GTO NART Le Mans. his car had start number 26 and was driven by Ed Hugus and José Rosinski. The car did not make it to the finish. First of all again all parts. The kit is one of Mini Exotics (kit no. RDU-2827). Also you will need a donor from Protar, Italeri or Testors. I bought the Protar 1962 Ferrari 250 GTO.
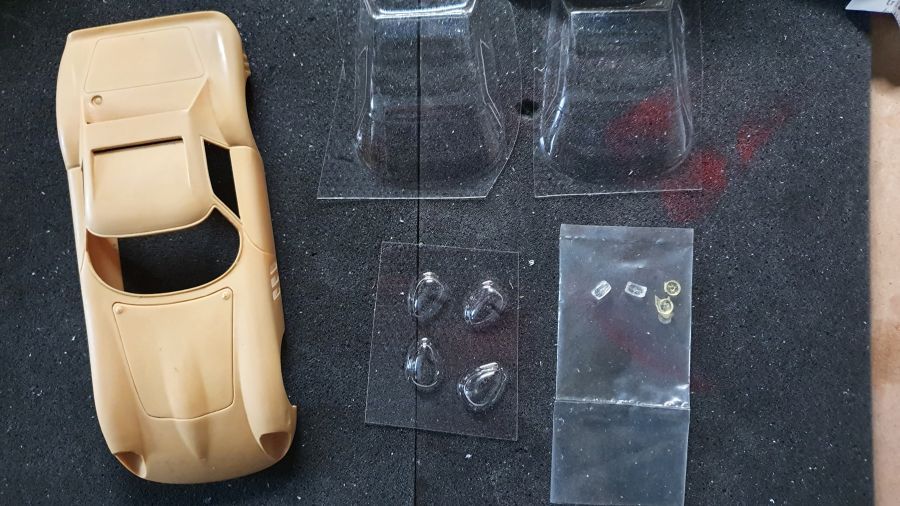
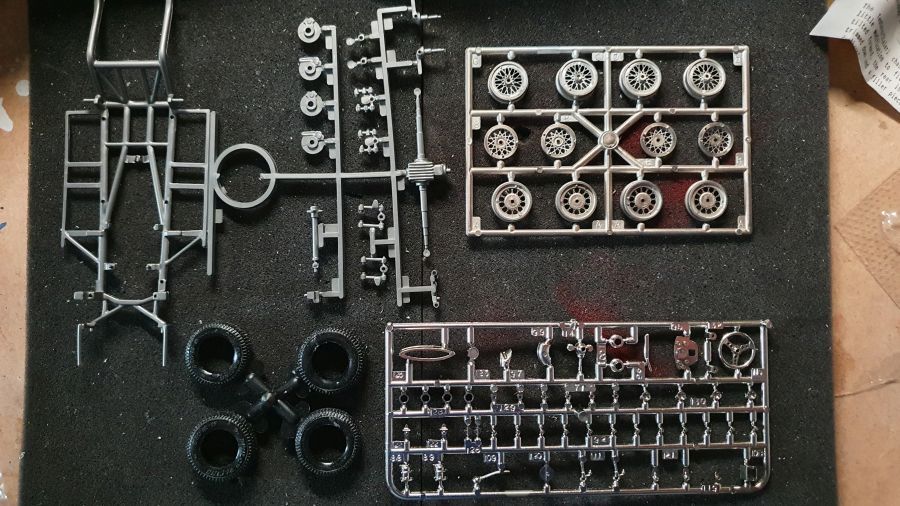
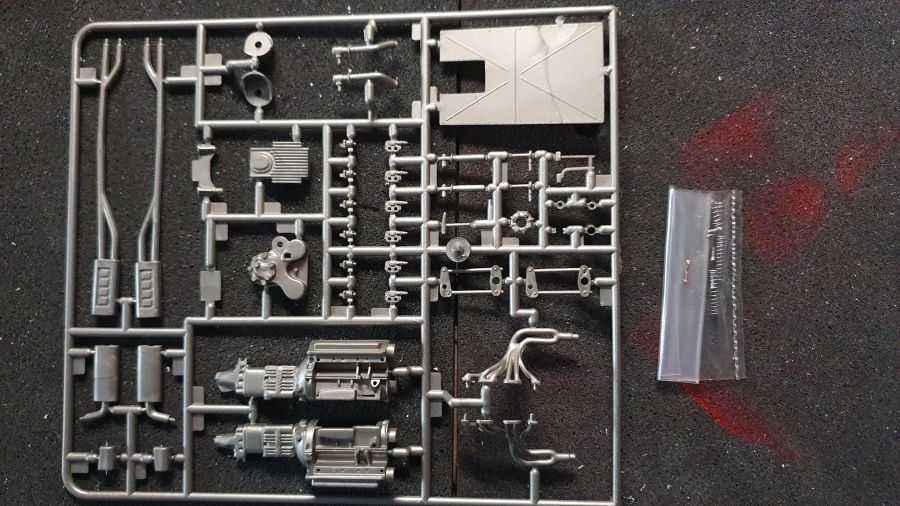
Dan de inhoud van de kit van Protar.
Then the content of the Protar kit.

Dit zal ik waarschijnlijk niet gebruiken.
This i will probably not use.
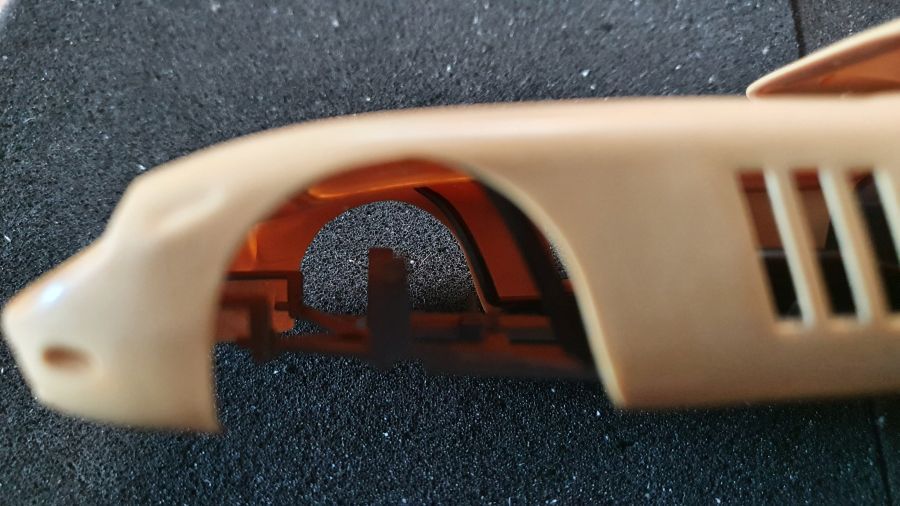
Eerst maar wat passen en inkorten...
First some test fit and cutting...
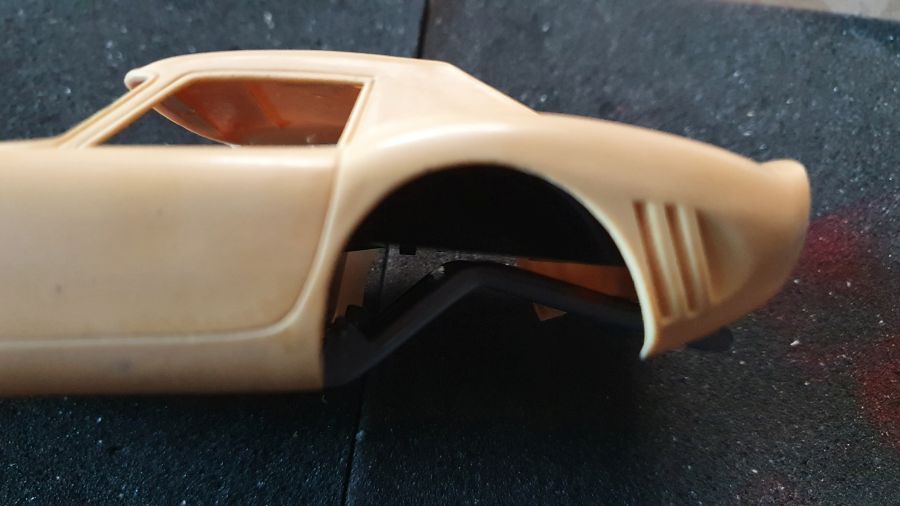
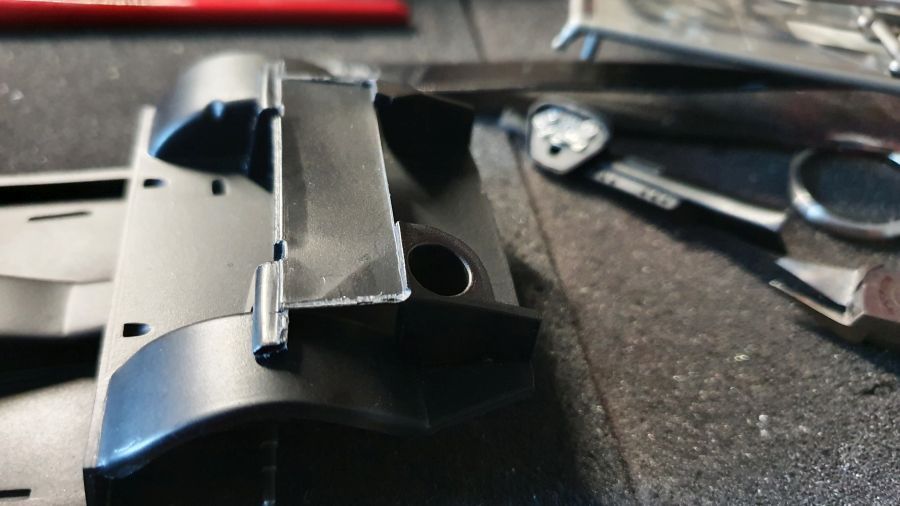
Hier wat kleine problemen.... voor nu...
Here some small problems... for now...
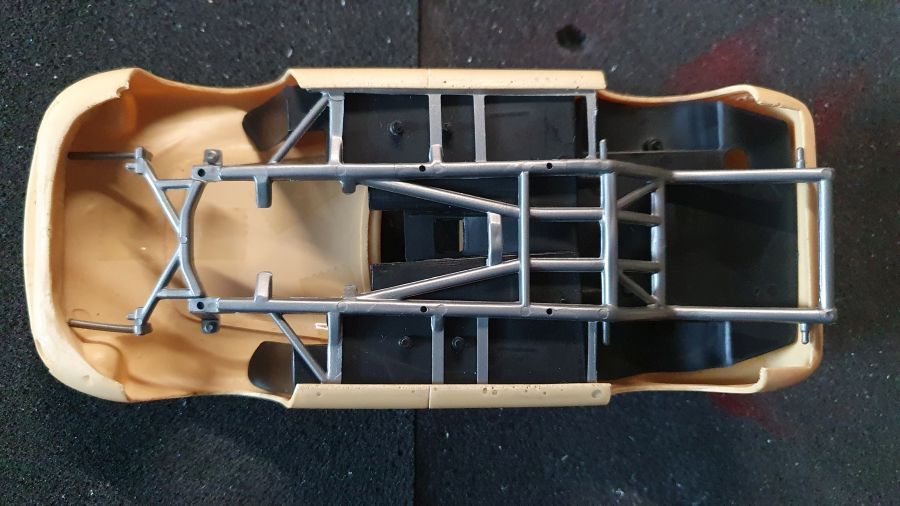
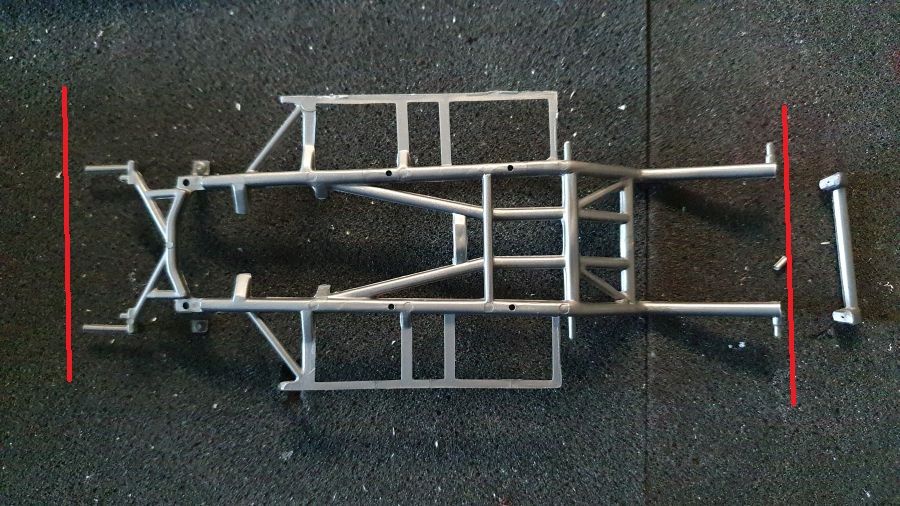
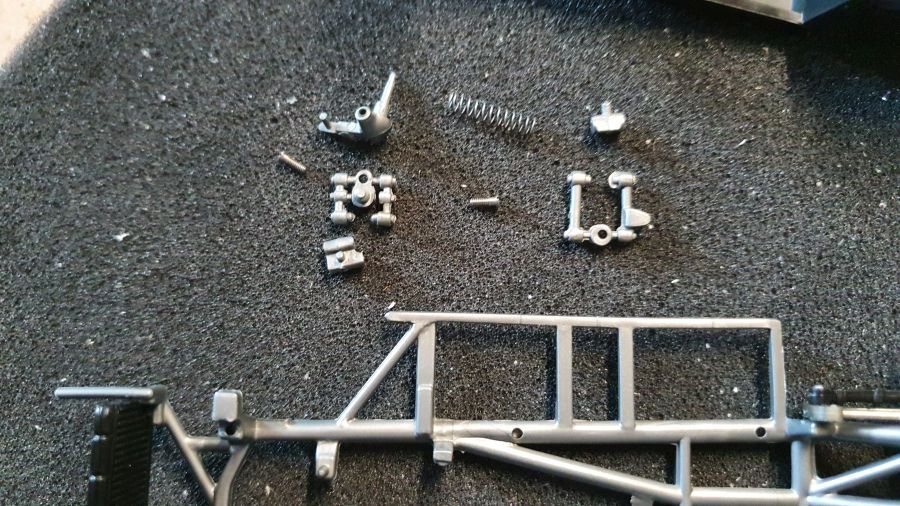
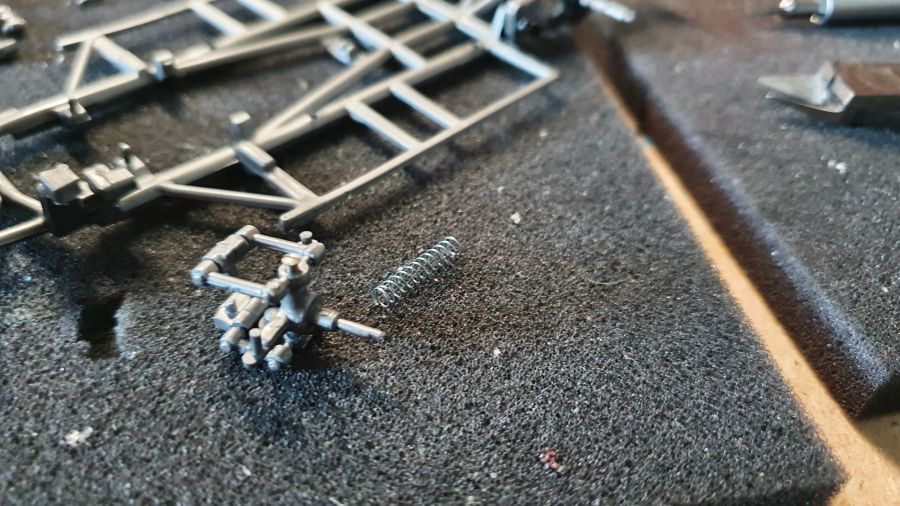
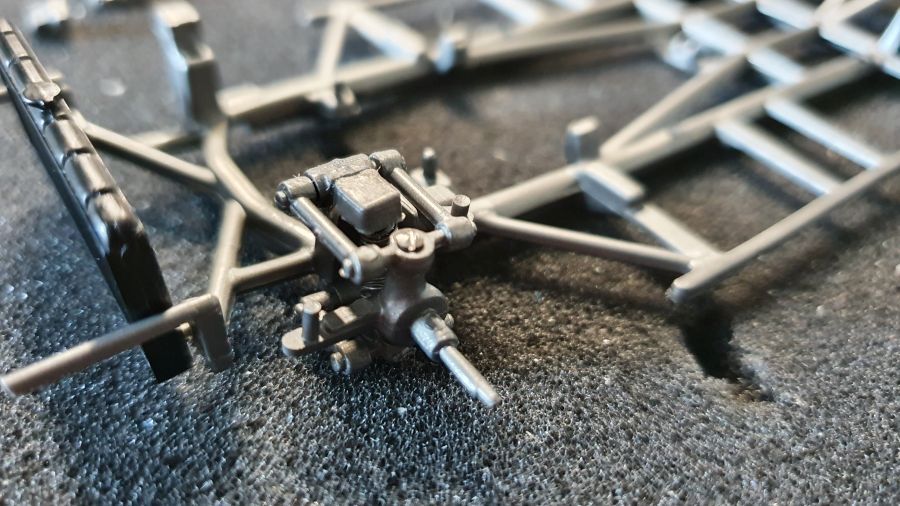
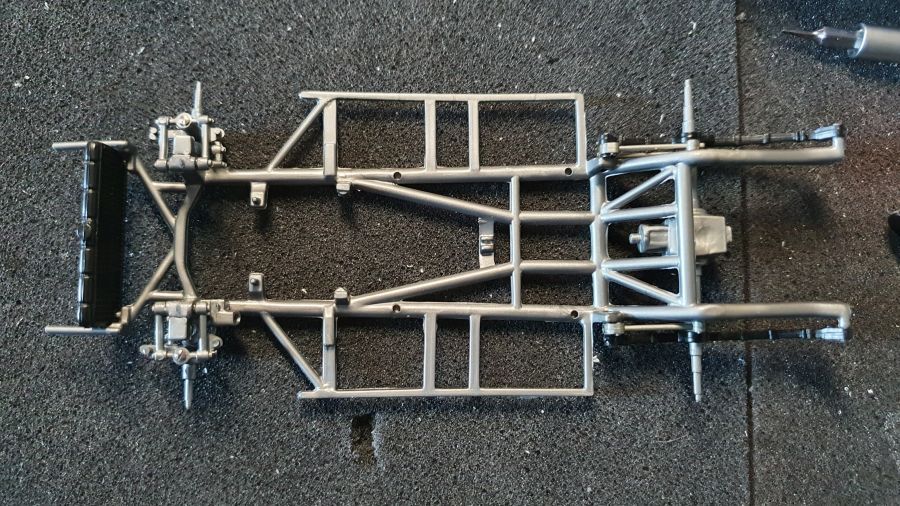
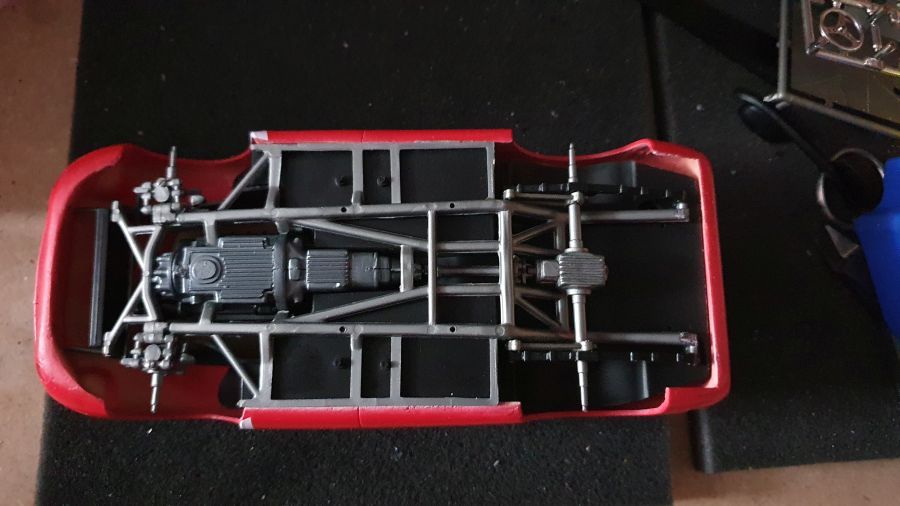
Dan de voorwielophanging erop.
Then the front wheel suspension can be added.
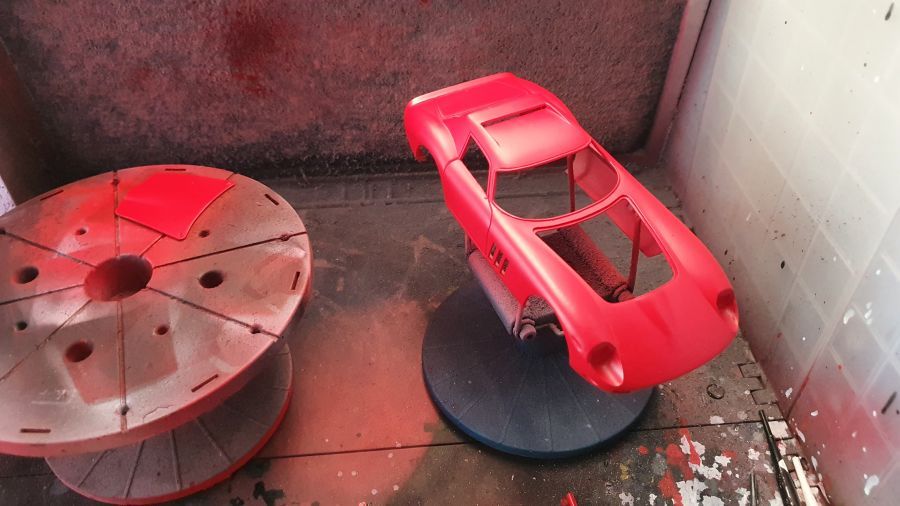
De grondverf zit erop.
The primer is on.
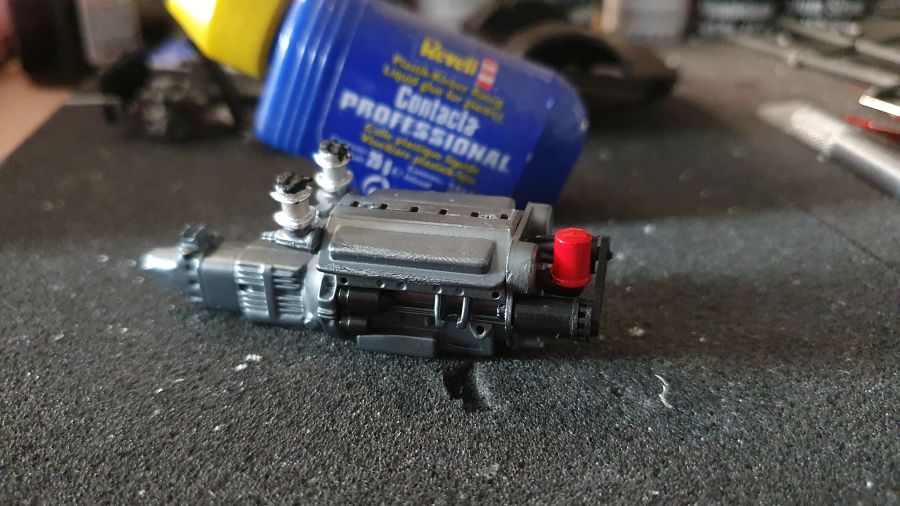
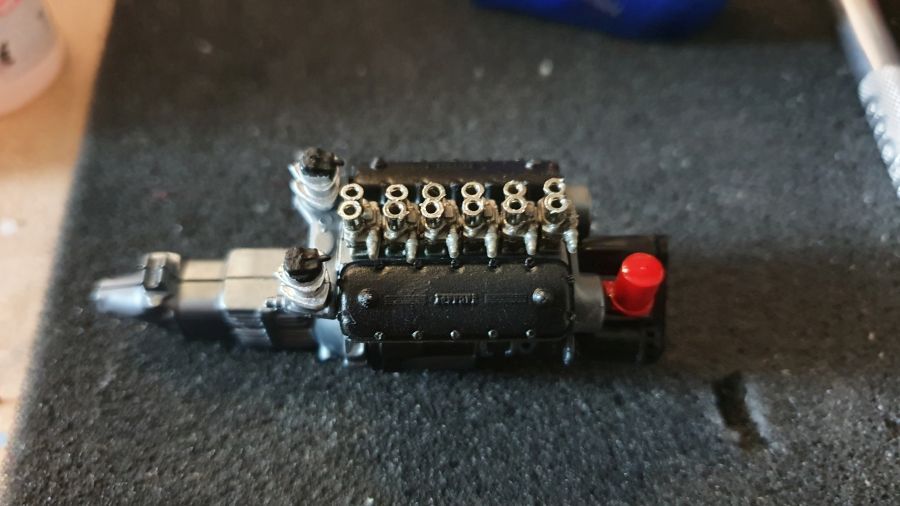
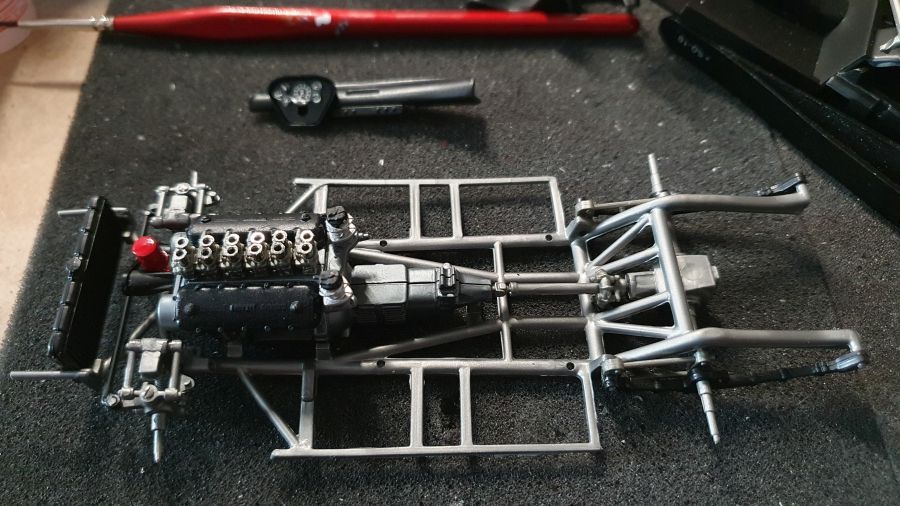
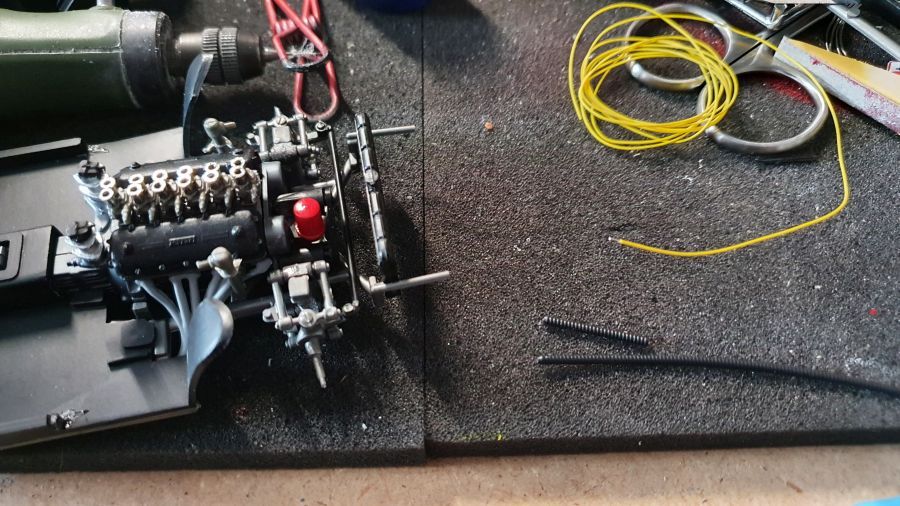
Terwijl dit droogt ga ik verder met de motor...
While this dries i will continue with the engine...
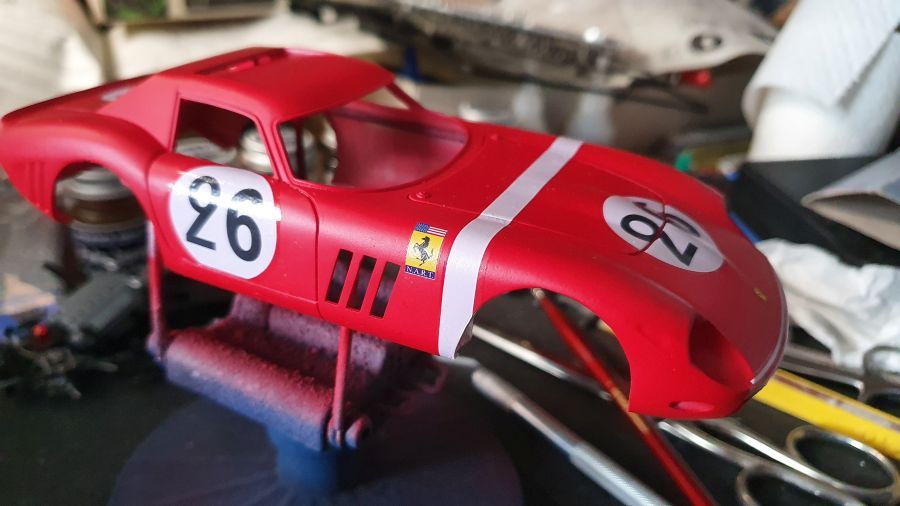
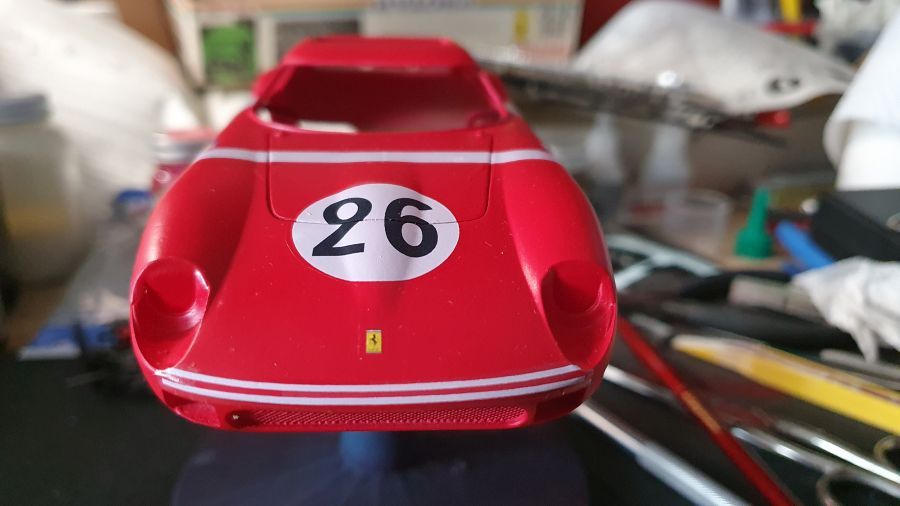
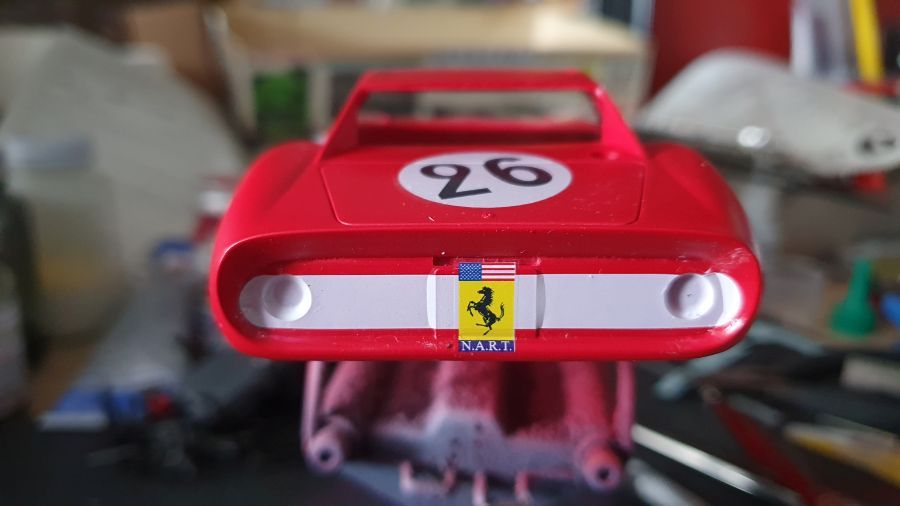
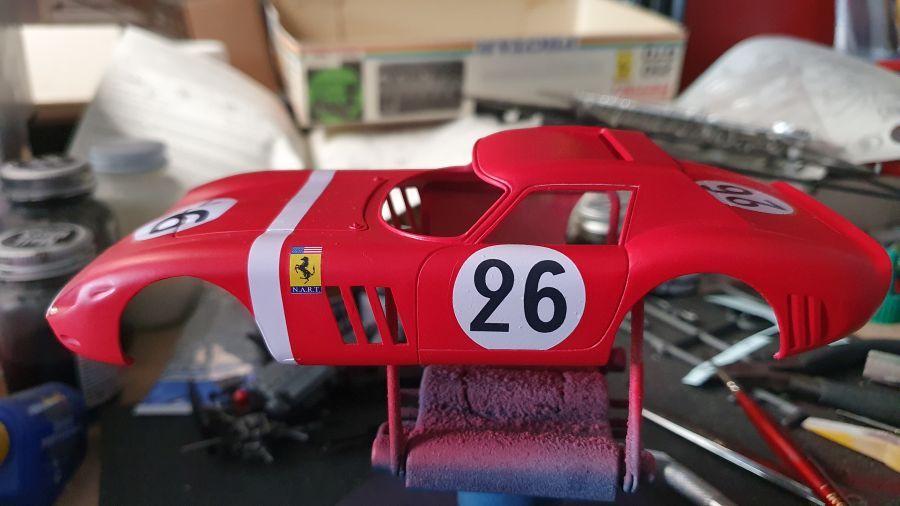
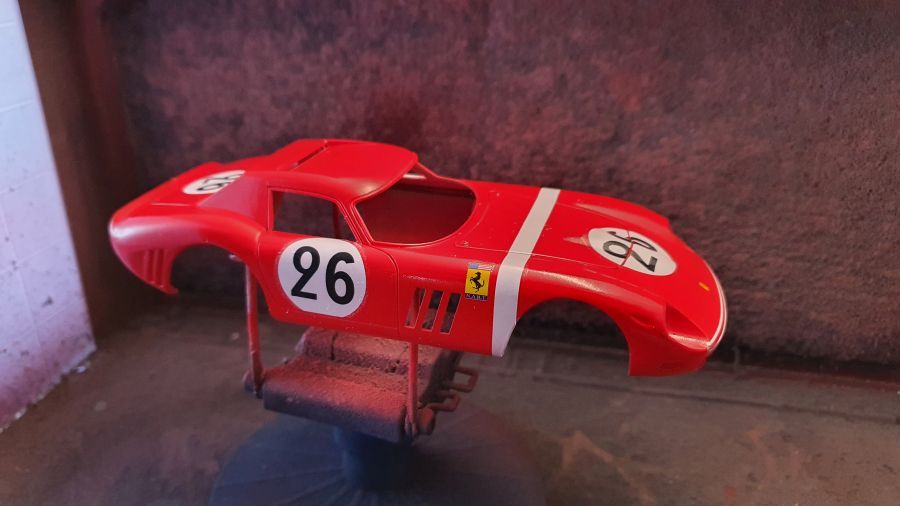
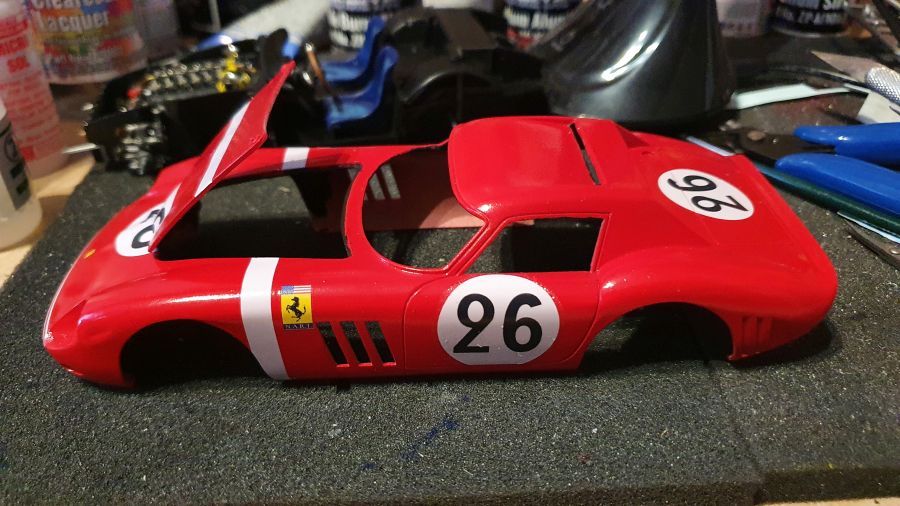
En ook maar weer verder met de decals op de body.
And to continue with the decals to the body.
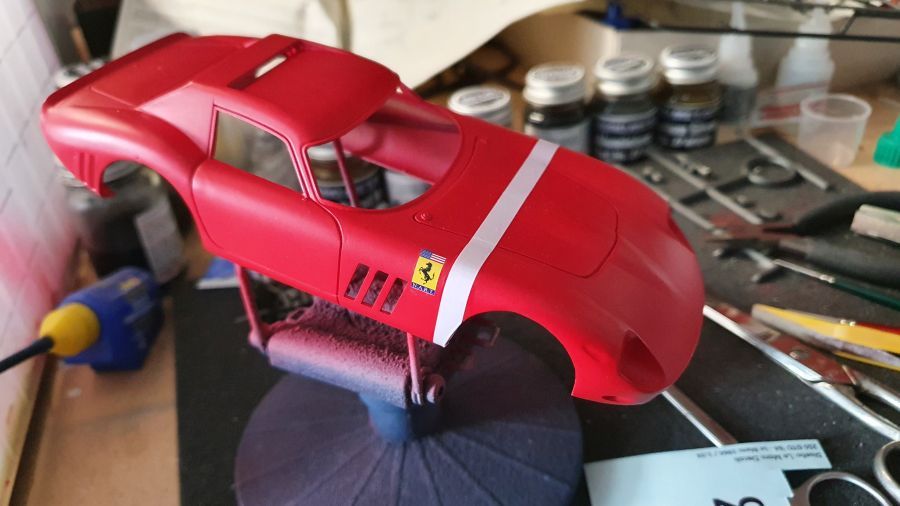
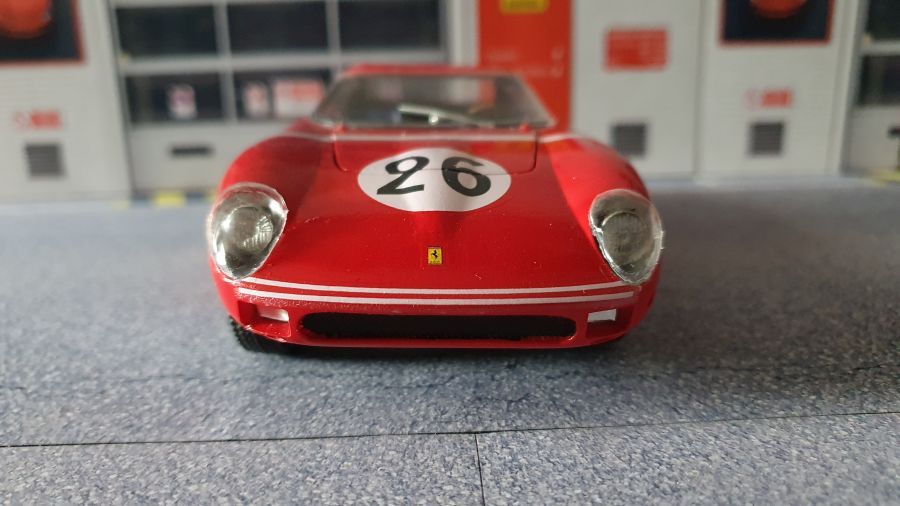
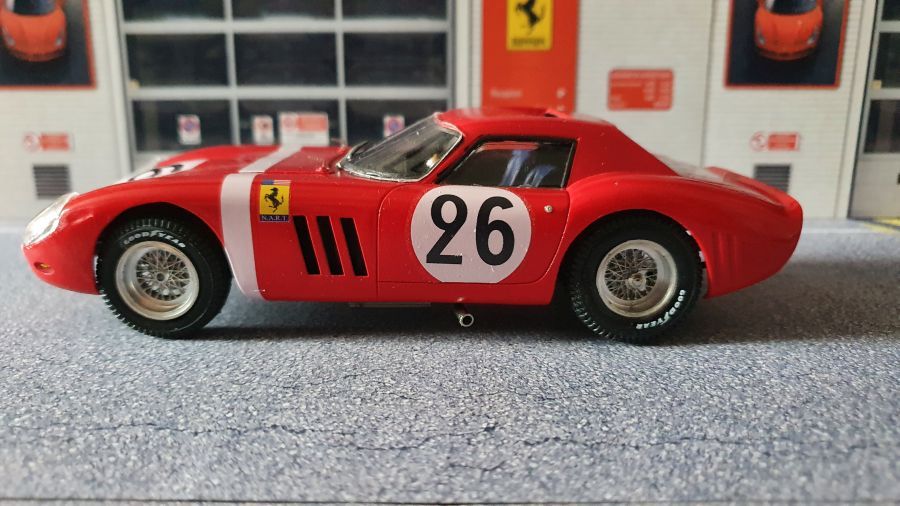
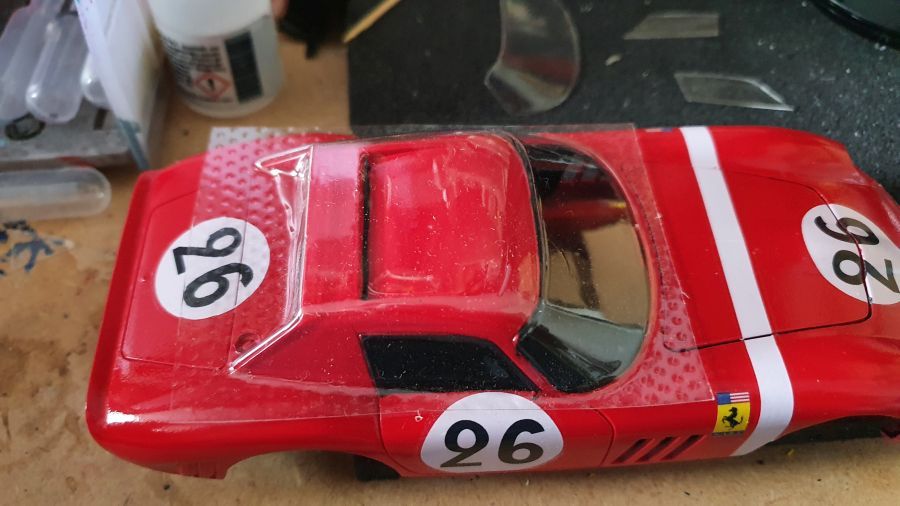
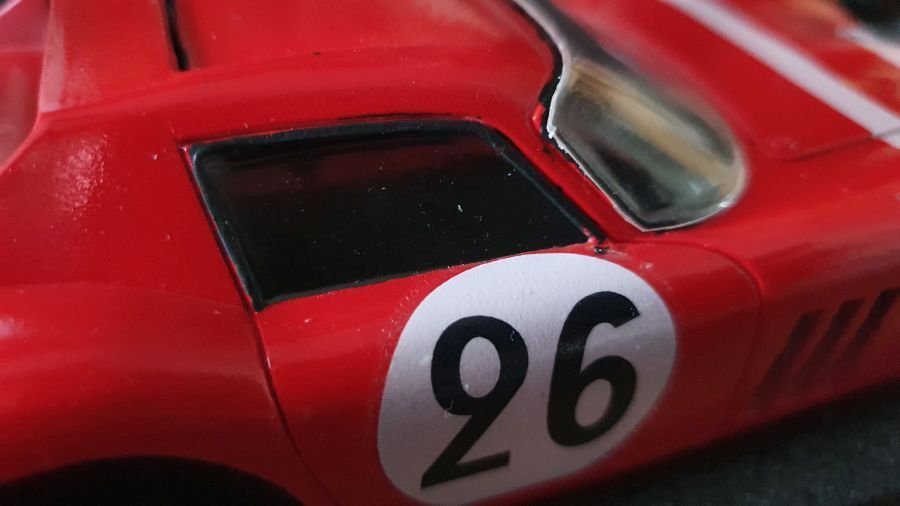
De startnummer decals zijn rond, maar wanneer ik naar deze foto's kijk, moet er bij de deuren volgens mij een stukje af aan de onderkant.
The start no. decals are round shaped, but when i look at these pictures, the downside for the doors needs to be cut.

De heldere lak...
The clear laquer...
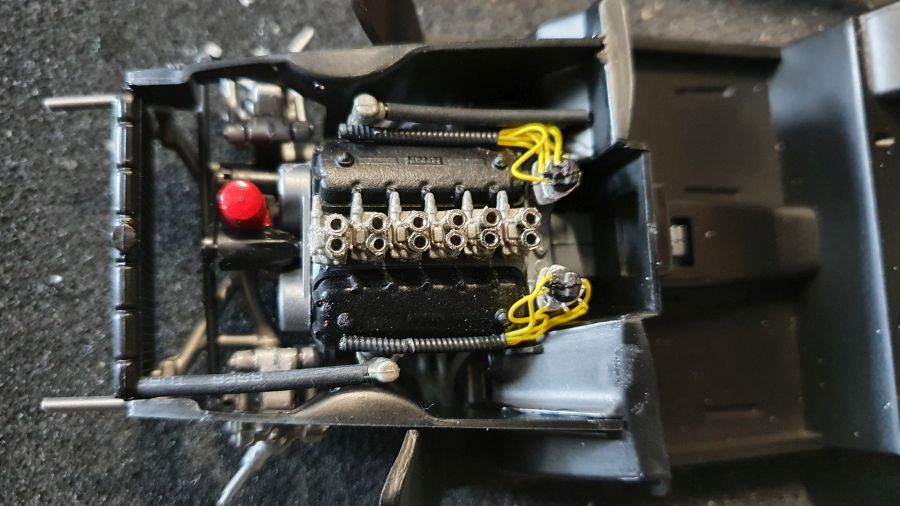
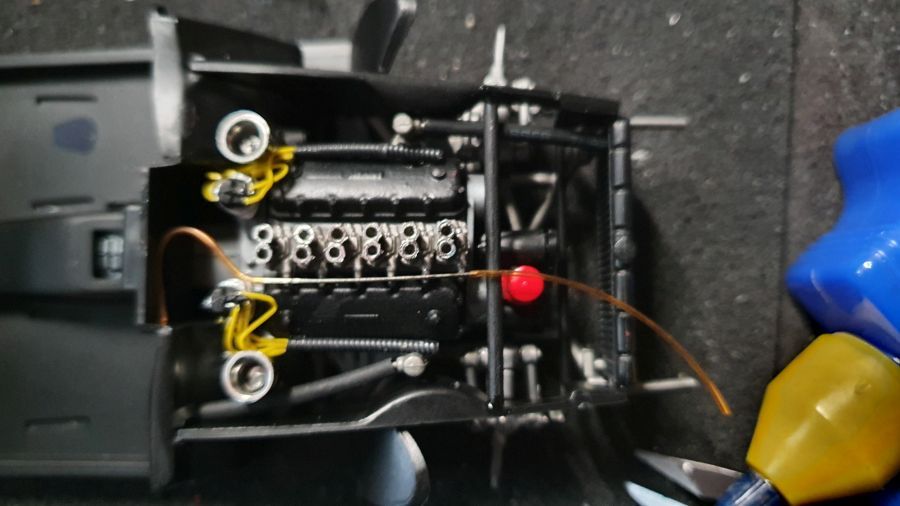
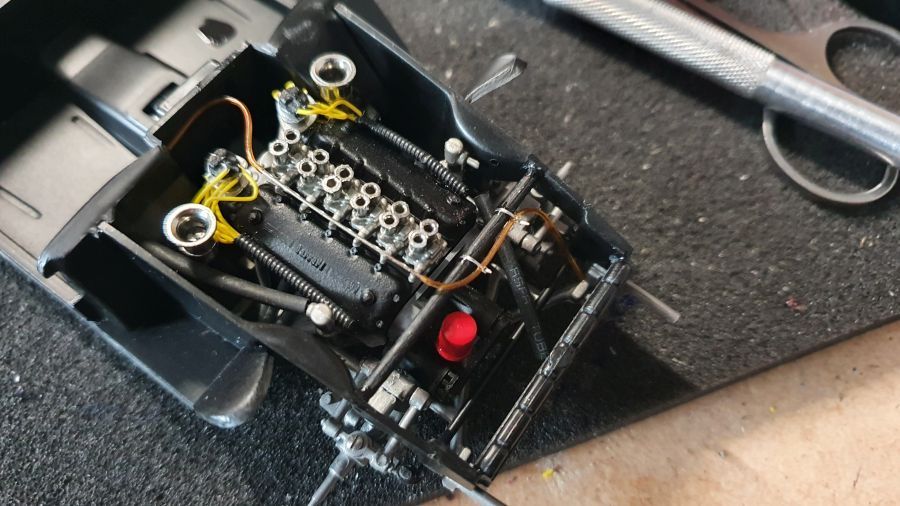
En weer naar de motor...
And back to the engine...
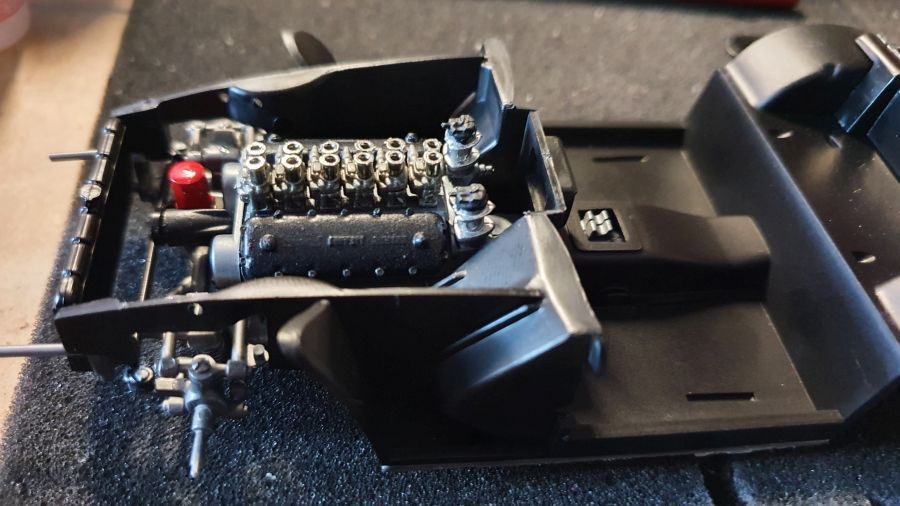
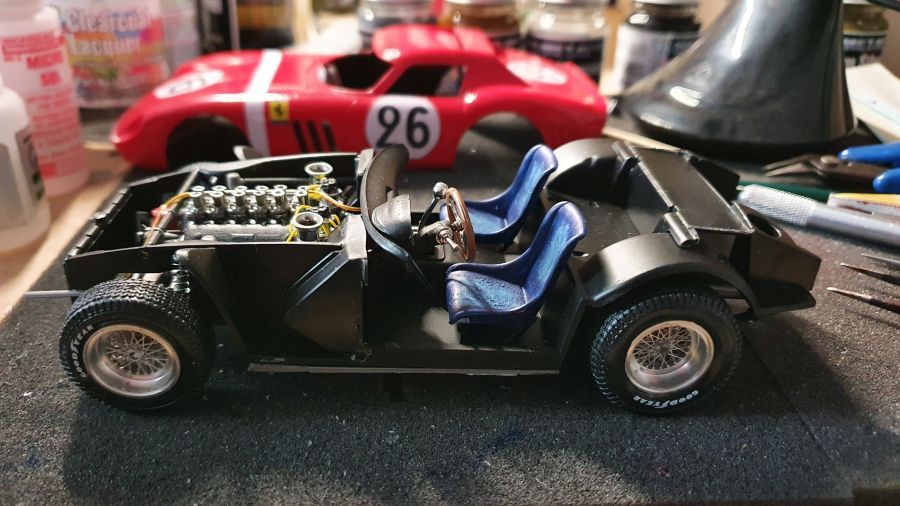
Dan de vloer erop...
Added the floor...
Dan passen... als een handschoen.
Next test fit... like a glove.
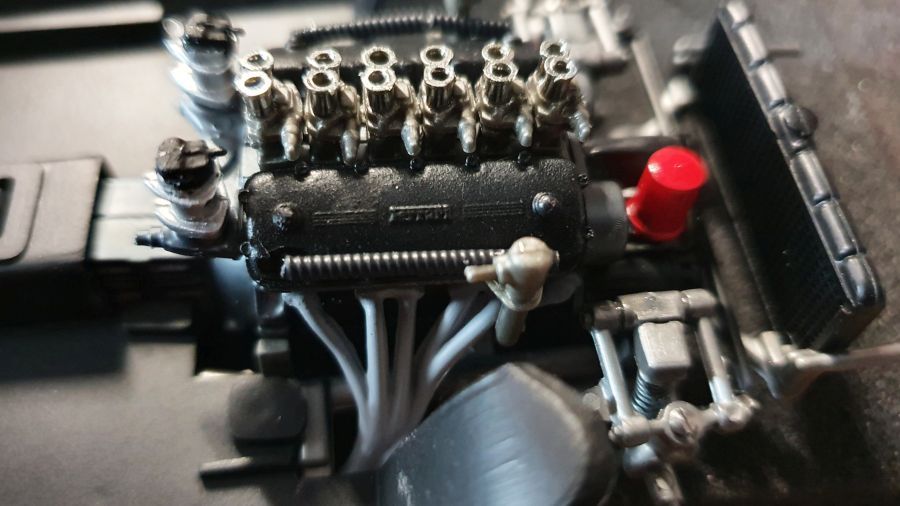
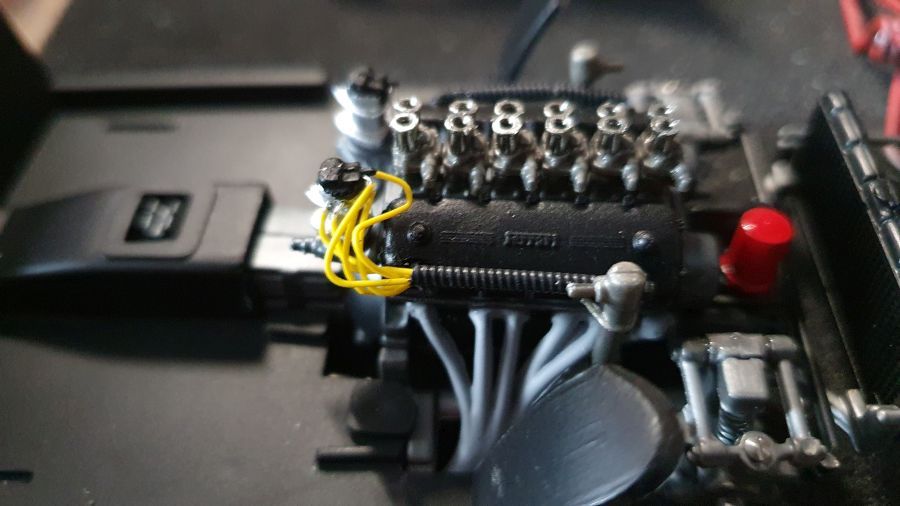
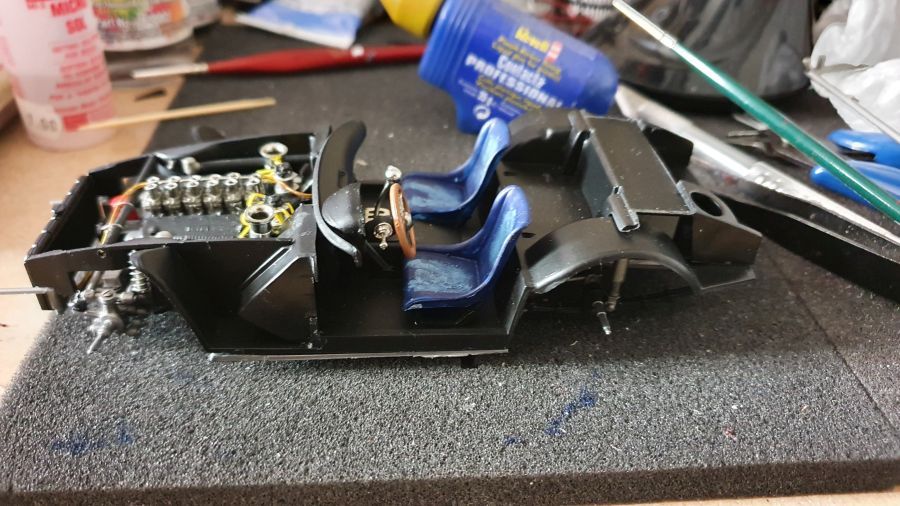
Wat meer detail aanbrengen aan de motor.
Adding some detail to the engine.
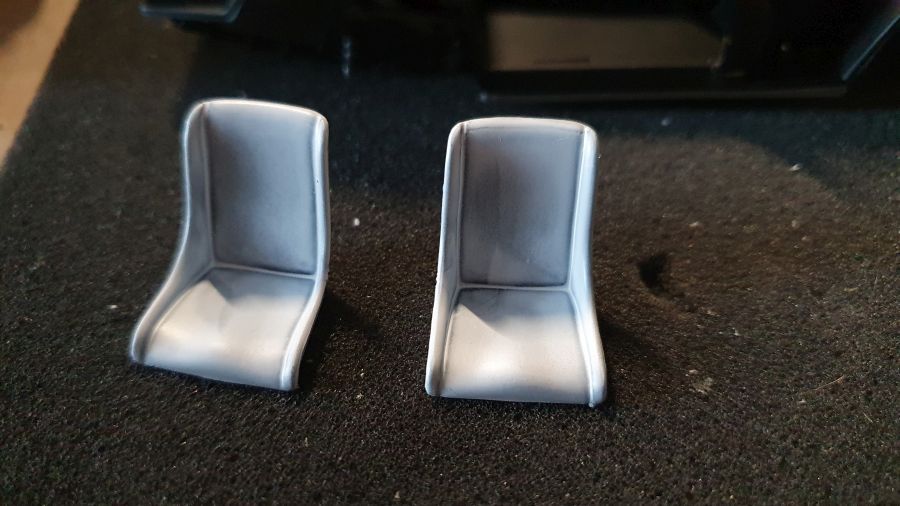
Dan wat werken aan de stoelen.
Then some work to the seats.
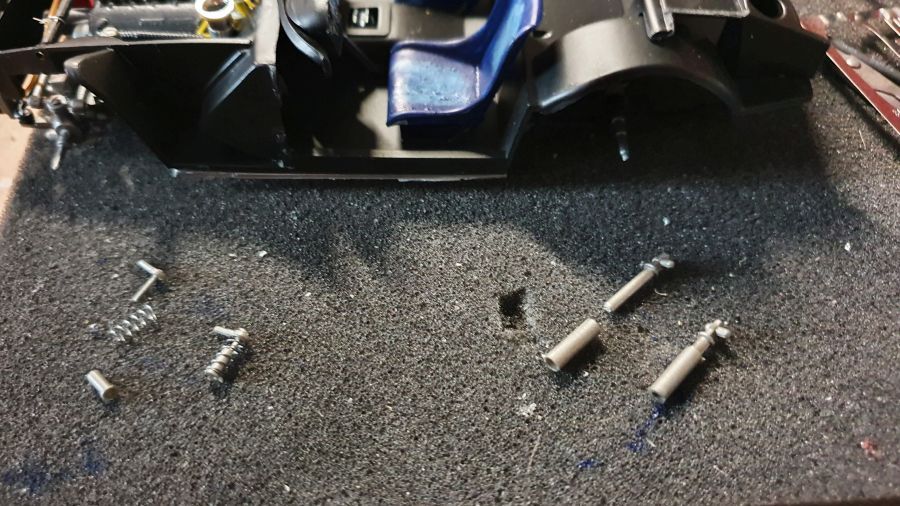
De schokbrekers worden klaargemaakt en geplaatst.
The shocks are being made and added.
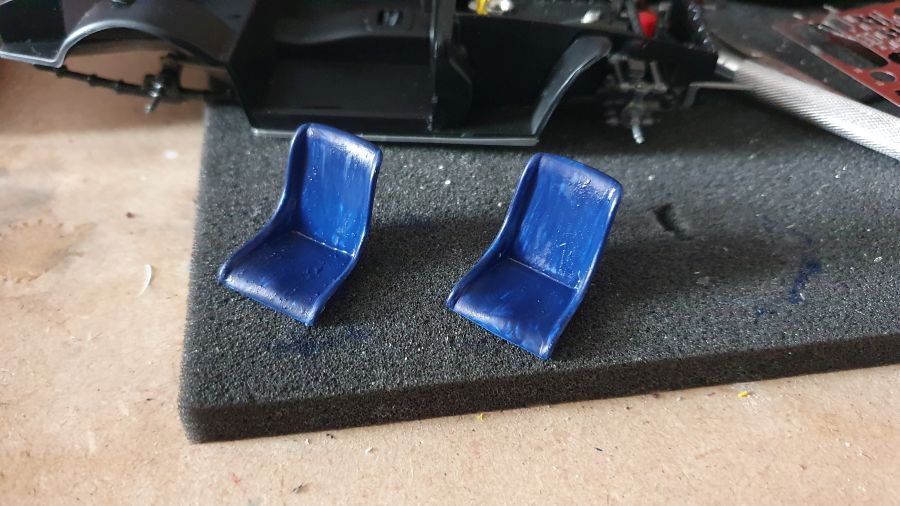
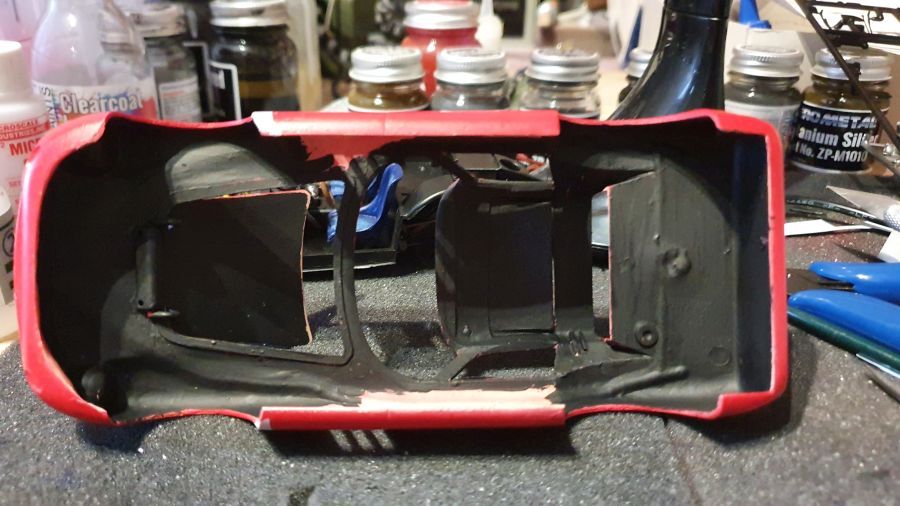
Zwart aan de binnenkant.
Black to the inner side.
Het scharnier werkt!
The hinge works!
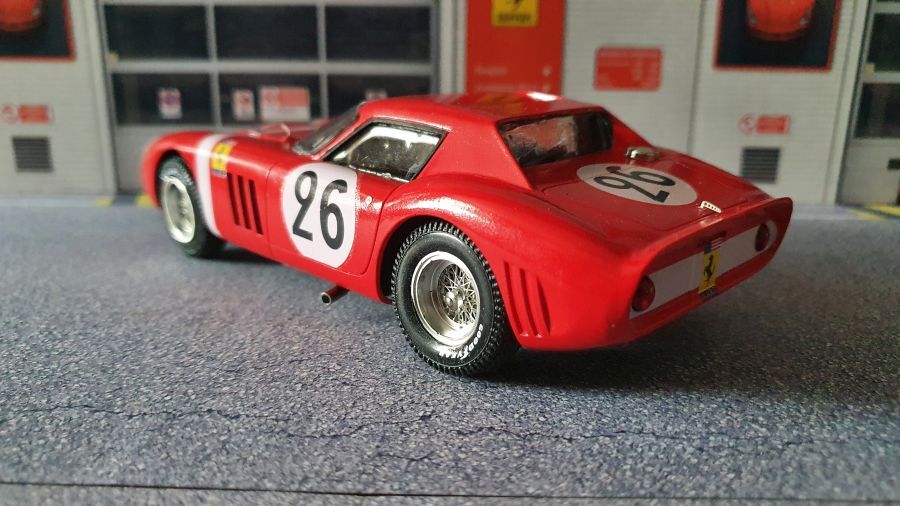
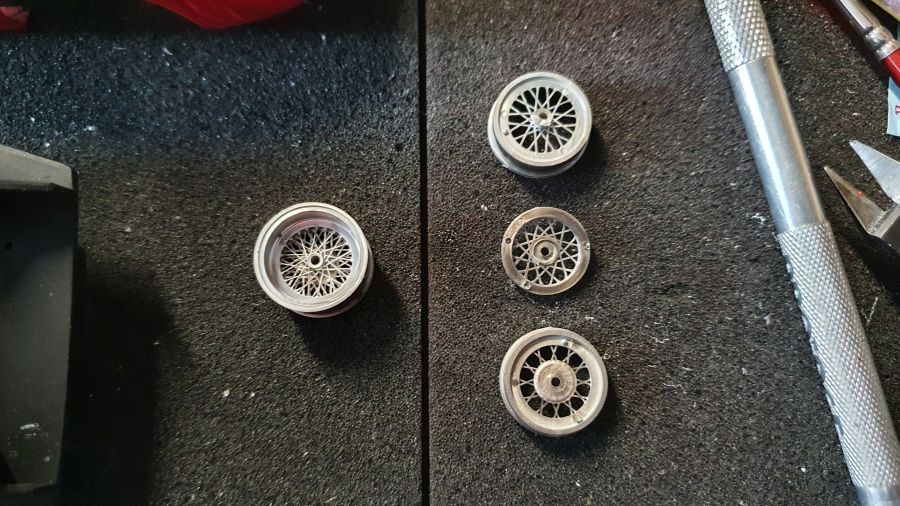
Vervolgens de velgen.
Then to the rims.
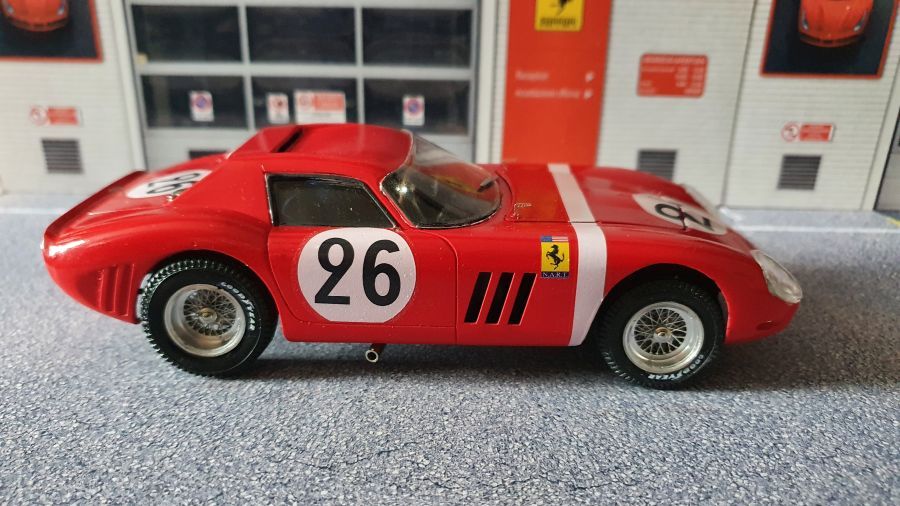
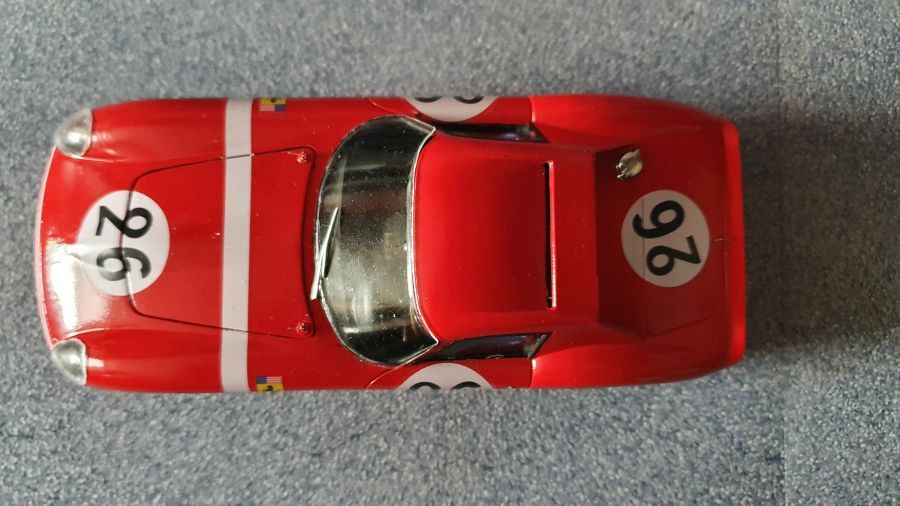
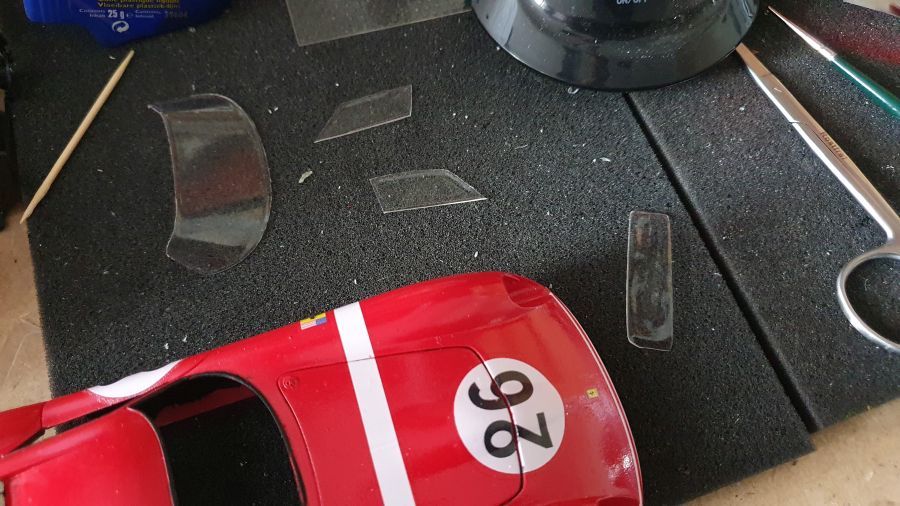
De ramen kunnen geknipt... Dit wordt helaas niet echt mooi. De ramen komen min of meer op de auto te liggen.
The windows will be cut... Unfortunately this will not be perfect. The glass will be a bit on top of the car.
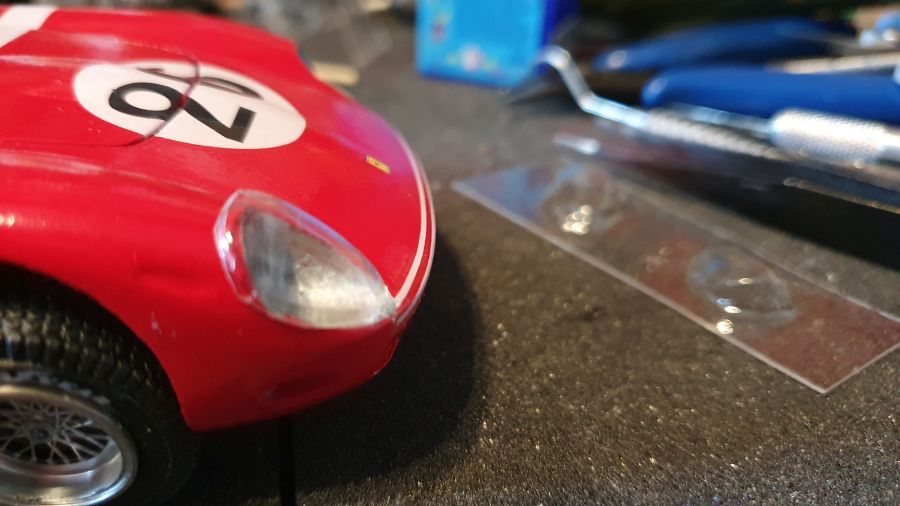
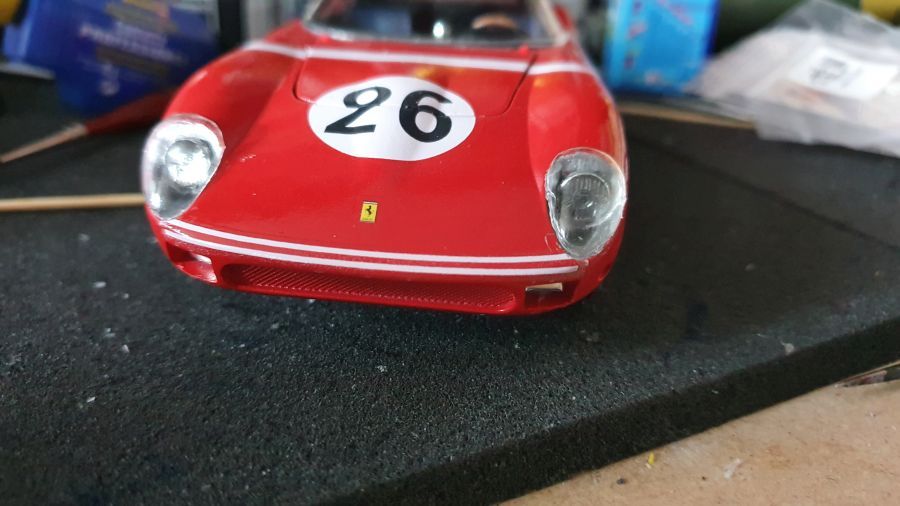
Dan de verlichting...
Next are the lights...
Daarna de uitlaten en veel kleine onderdelen, zoals ruitenwisser, motordekselafsluitingen enz.
Then the exhausts and many small parts, like the wiper, engine bay locks etc.
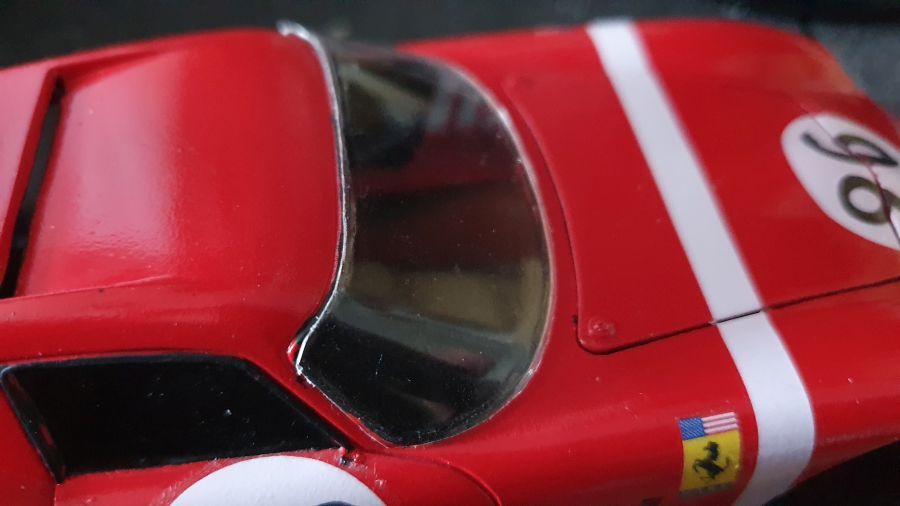
En klaar... niet echt mooi door de zeer lastige vacu ramen.
And done... niet really nice because of the tough vacu glass.