Deze mag natuurlijk niet ontbreken in mijn Nederlandse F1 verzameling. De 2020 Red Bull RB16. Ik maak de Max Verstappen versie dan natuurlijk. De kit is merkloos (wordt verkocht als New Clutch), maar de wijze van nummering doet vermoeden dat het een kit is van New Scratch. Ook is niet duidelijk welke raceversie het is.
Of course this one cannot be missed in my Dutch F1 collection. The 2020 Red Bull RB16. I will, of course, make the Max Verstappen version. The kit is of no brand (is being sold as New Clutch), but the way of numbering does expect it's a kit from New Scratch. Also it's not clear which race version it is.
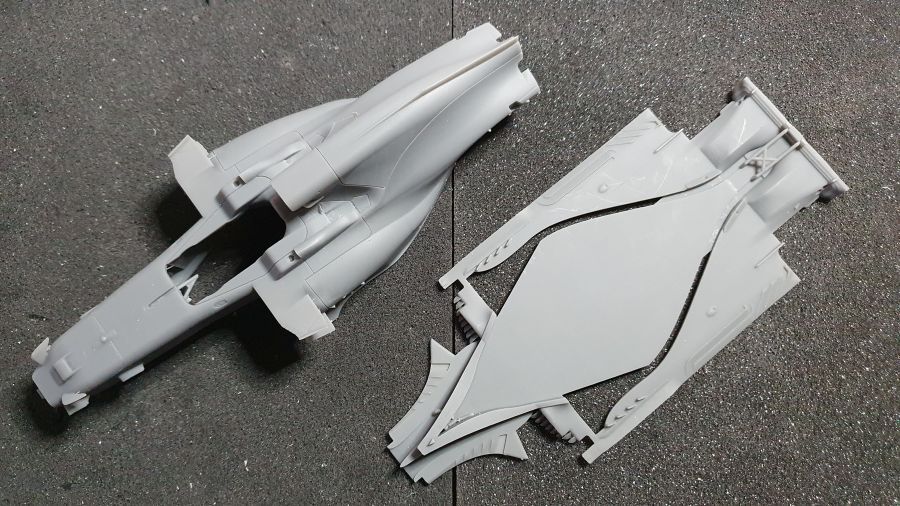

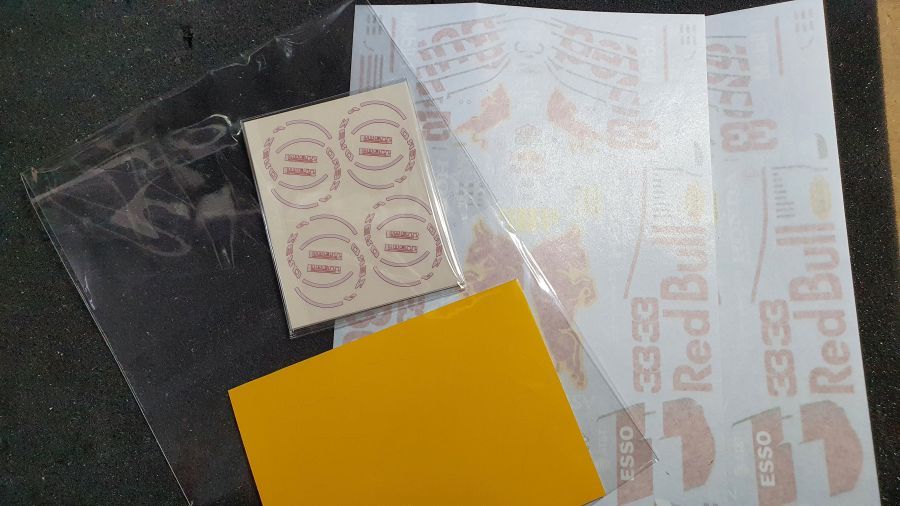
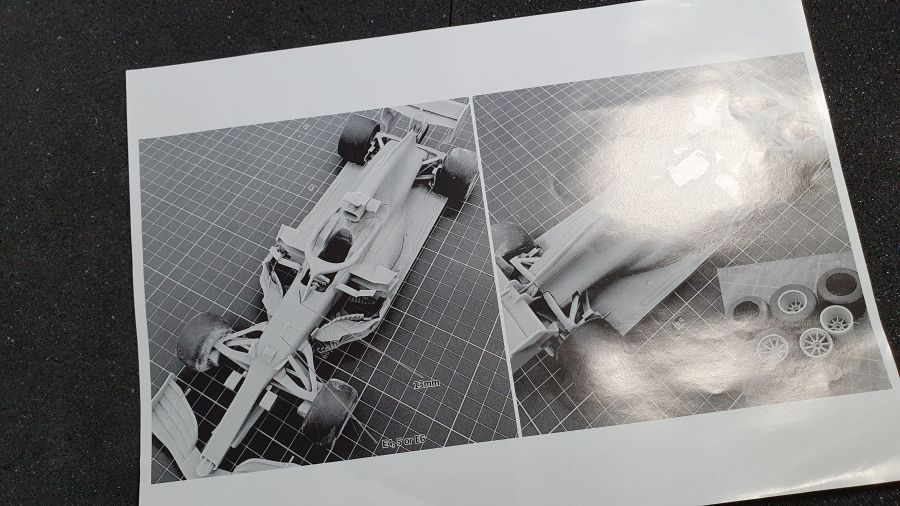
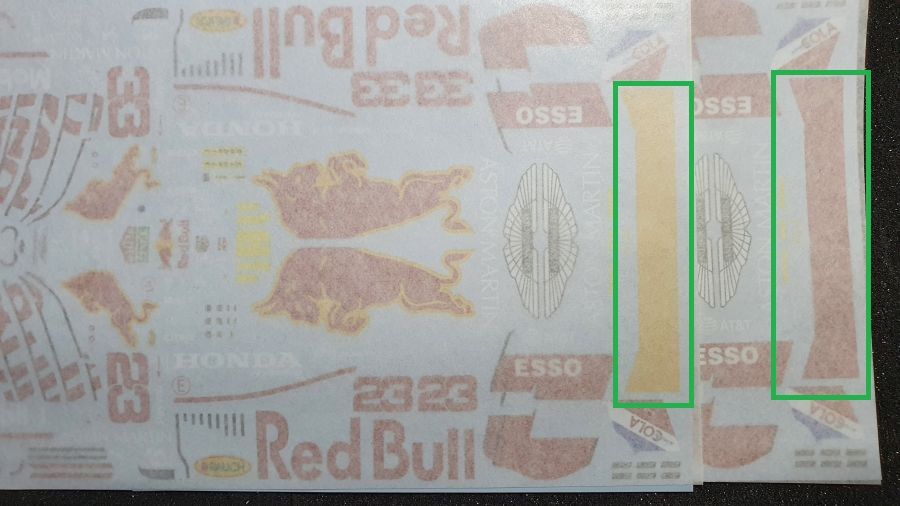
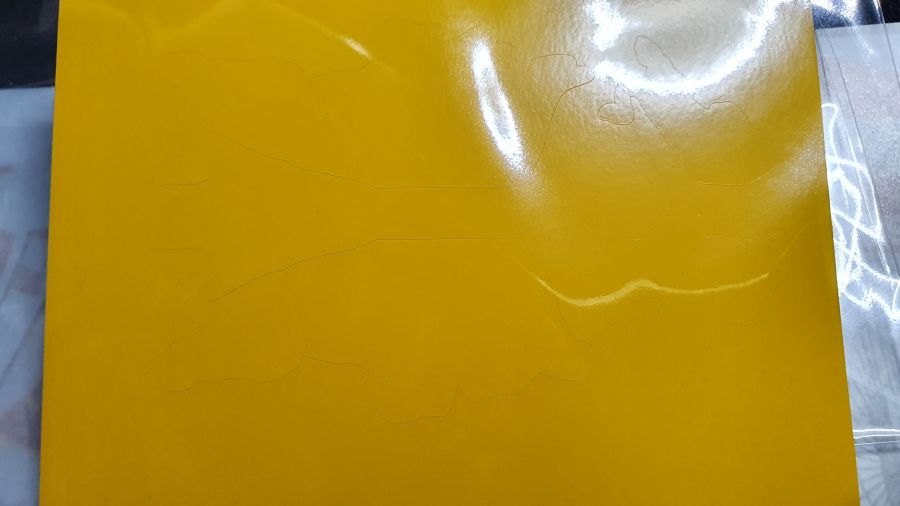
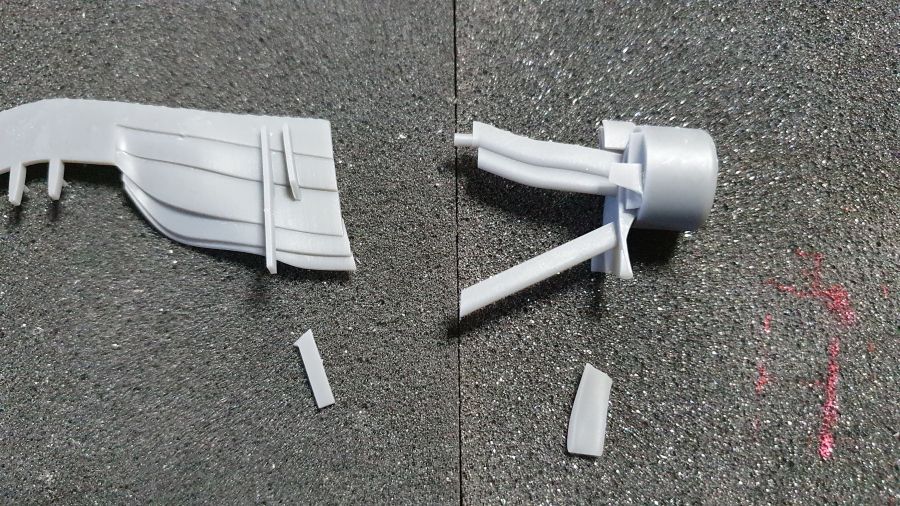
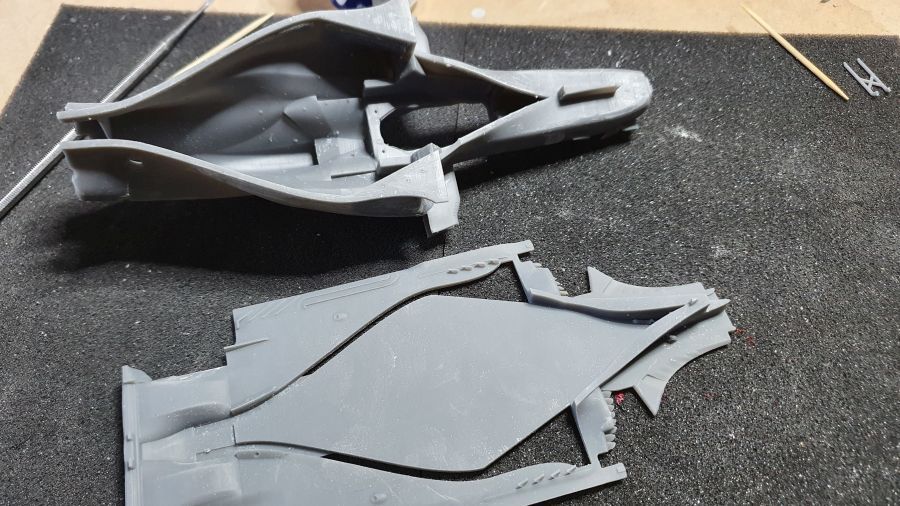
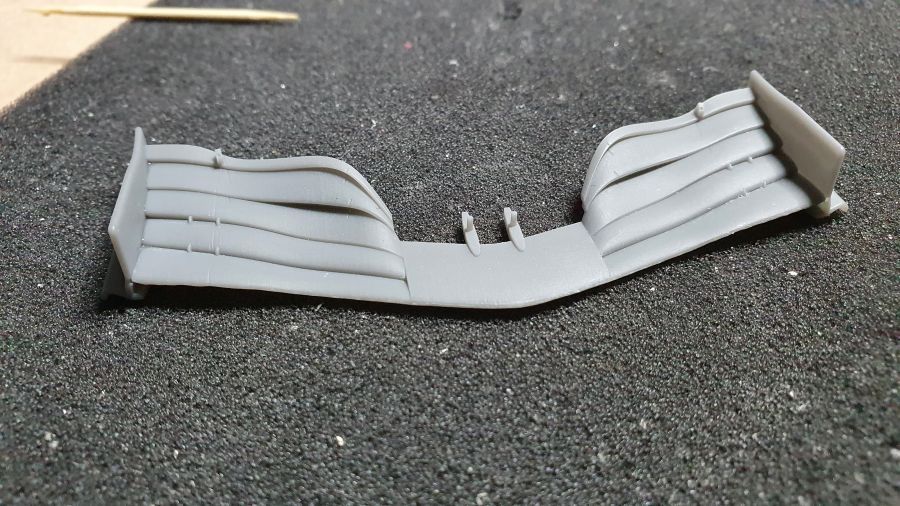
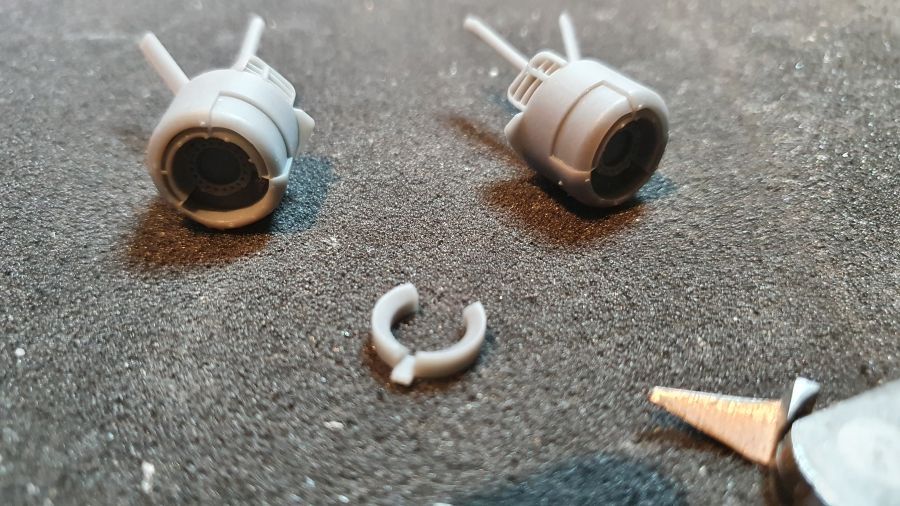
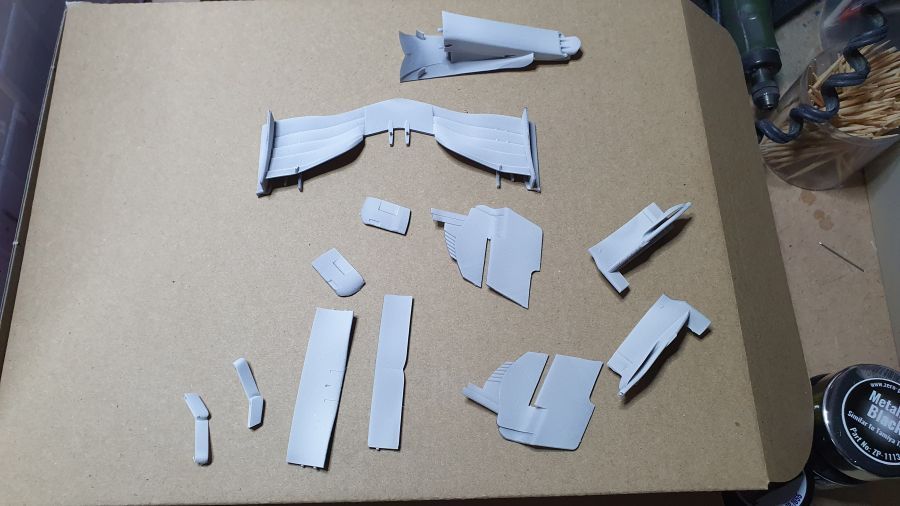
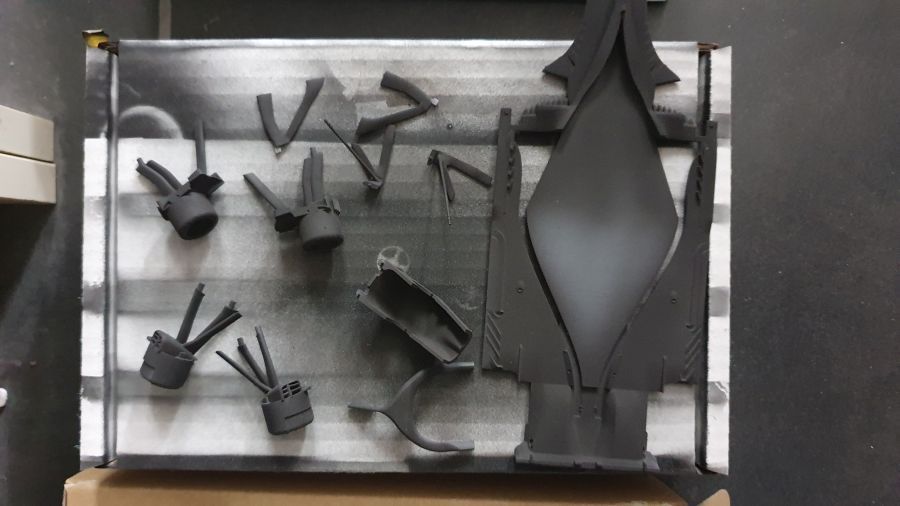
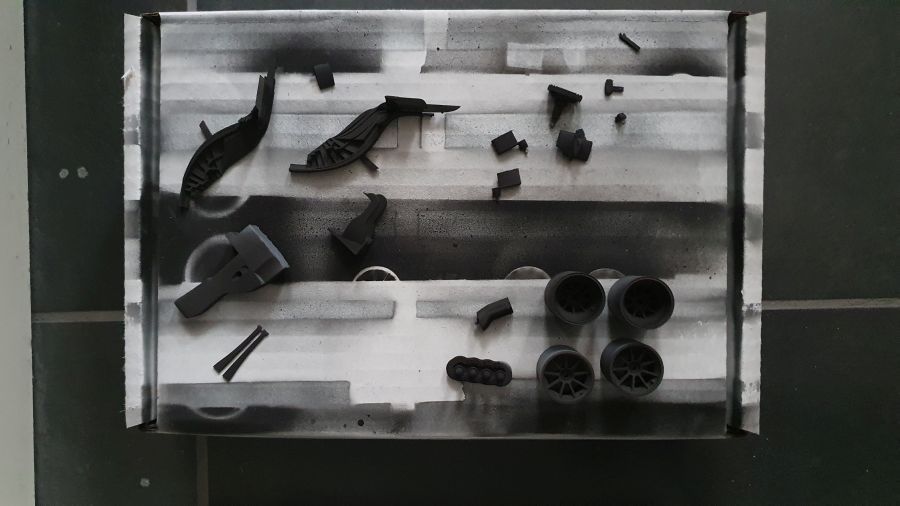
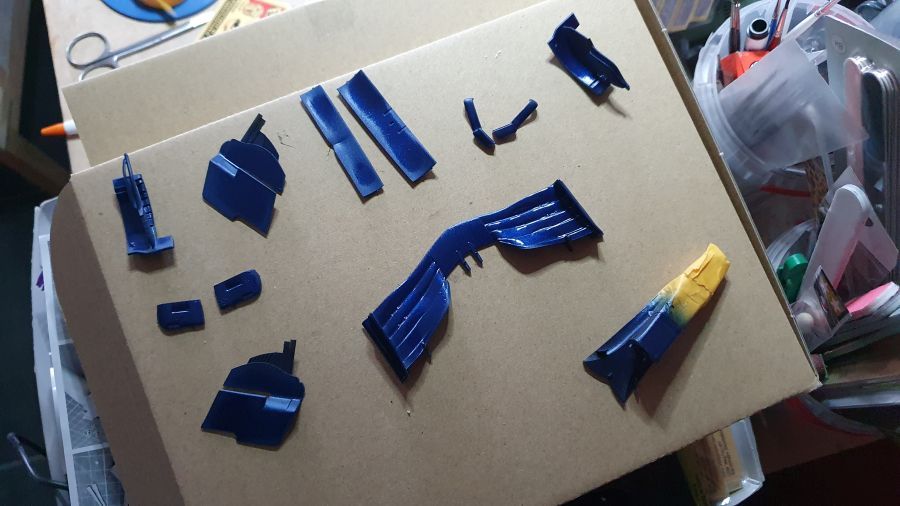
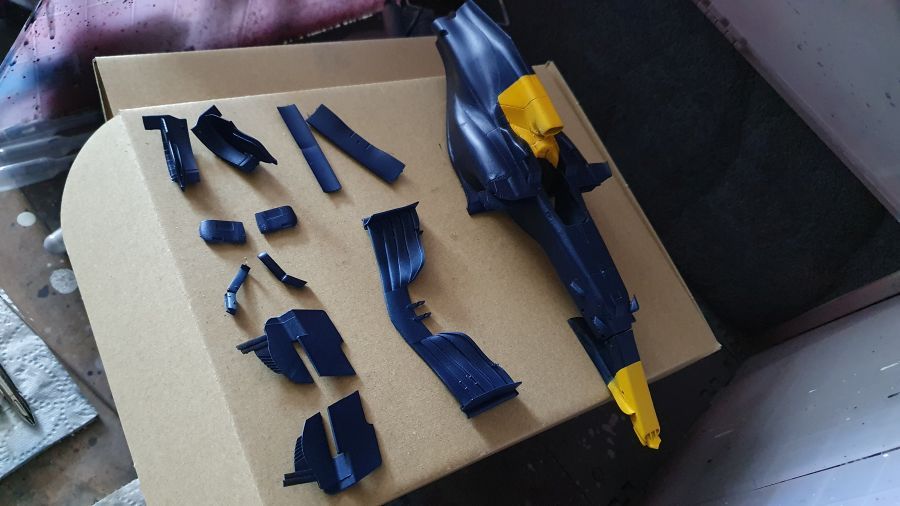
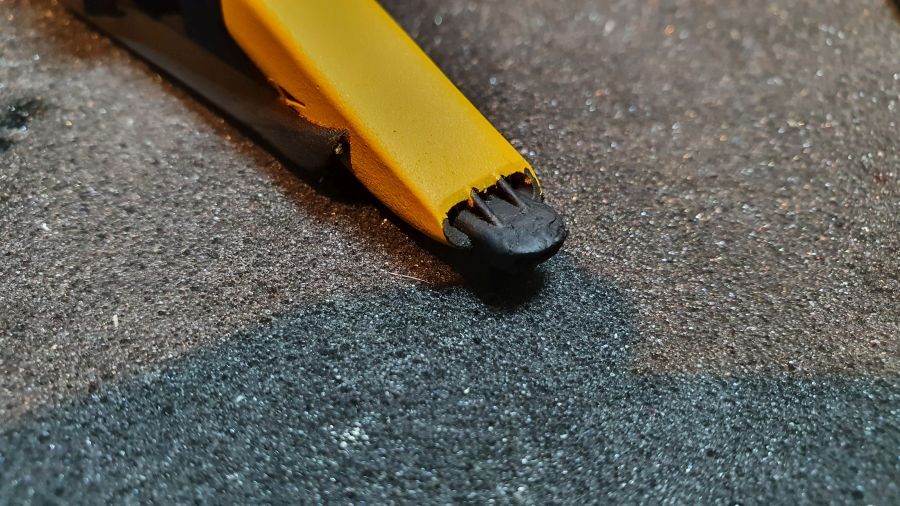
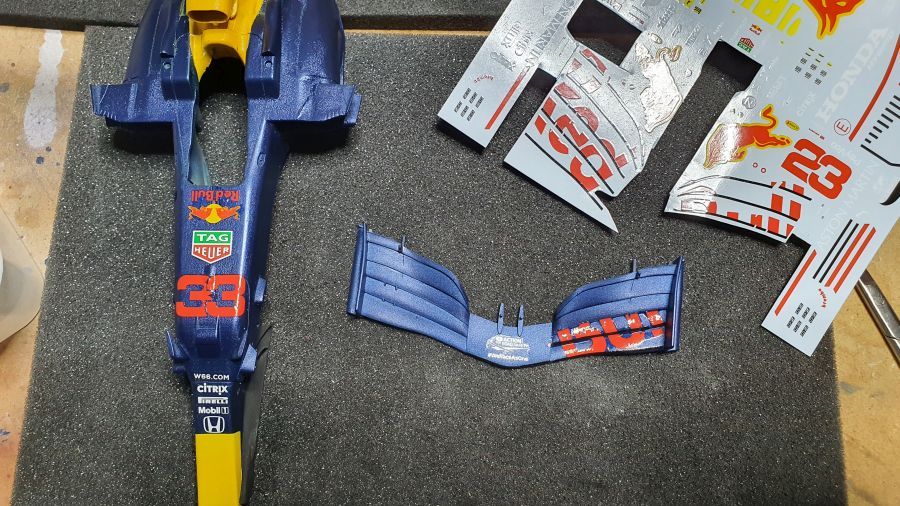
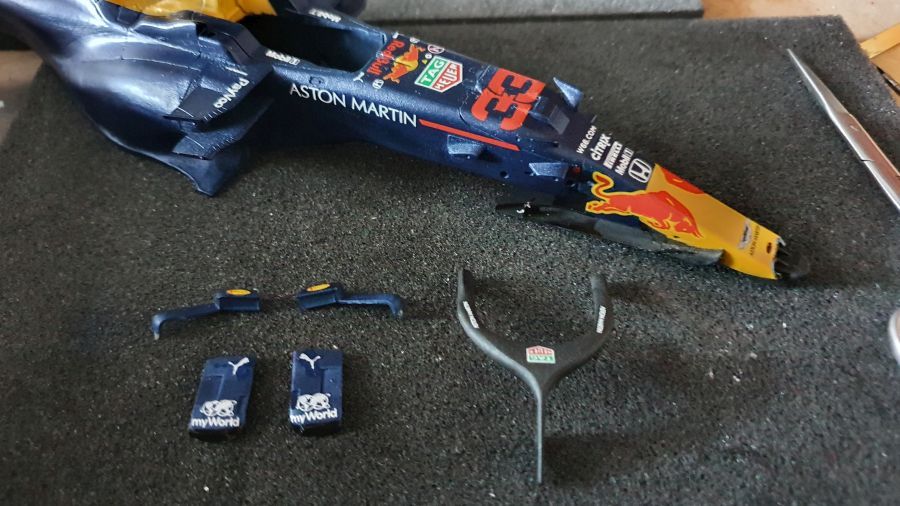
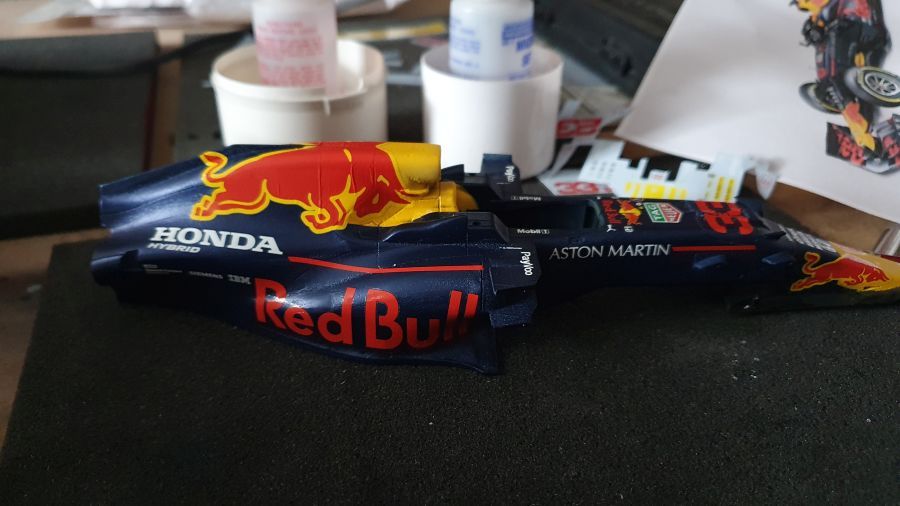
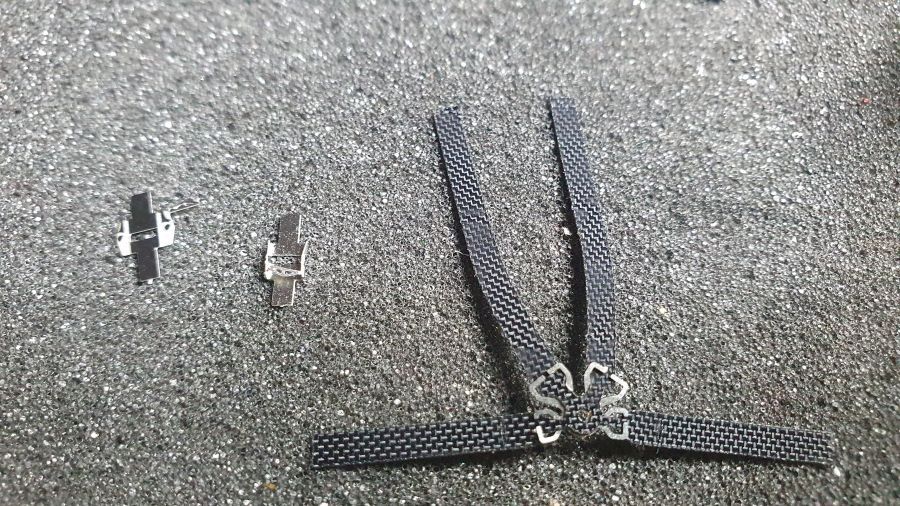
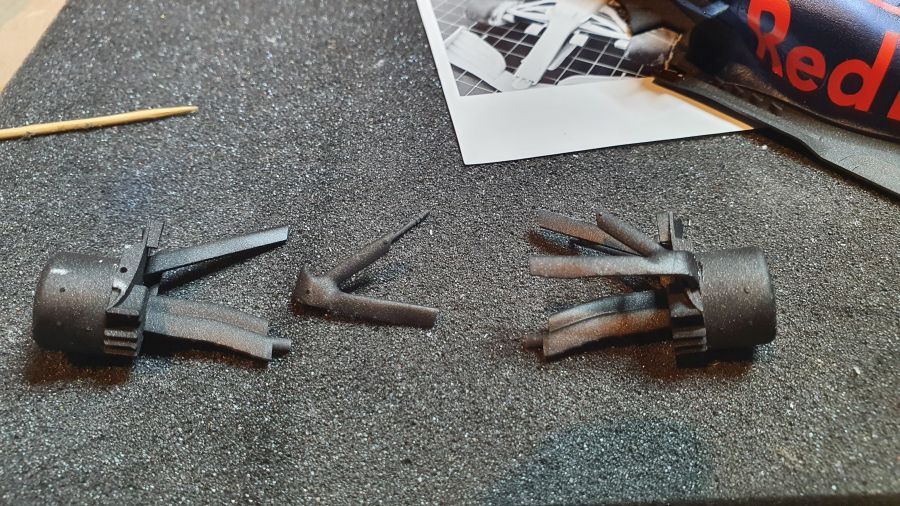
Zoals je kunt zien zijn een paar onderdelen gebroken, maar dit is te repareren. De beschrijving is weer zeer summier. Ook ontbreekt een decal instructie. Er worden 2 decalvellen meegeleverd. Een met geel rond de stieren en een zonder. Ik ga ervan uit dat die bedoeld is om eventueel te gebruiken met het sjabloon wat er bij zit. Op die manier kun je kleurverschil tussen geel en geel van de decals voorkomen. Eén decal is me zelfs helemaal niet duidelijk. Deze is op het ene vel geel en het andere rood.
As you can see a few parts were broken, but repairable. The instructions are simple. Also a decal placement instruction is missing. There are 2 sheet of decals. One with yellow around the bulls and one without. I assume that one is meant to be used with the yellow template that's included. This way you can avoid differences between your own used yellow and the yellow of the decal. One decal however is unclear to me. It's yellow on one sheet and red on the other.
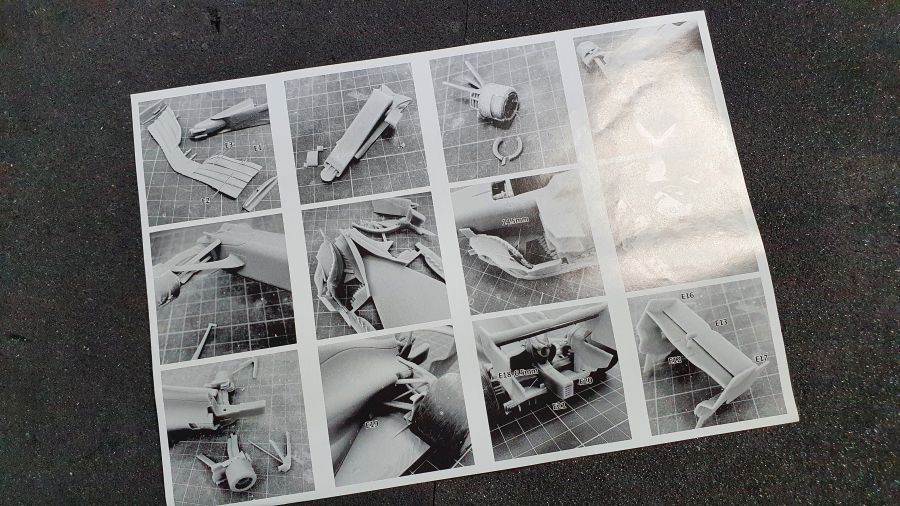
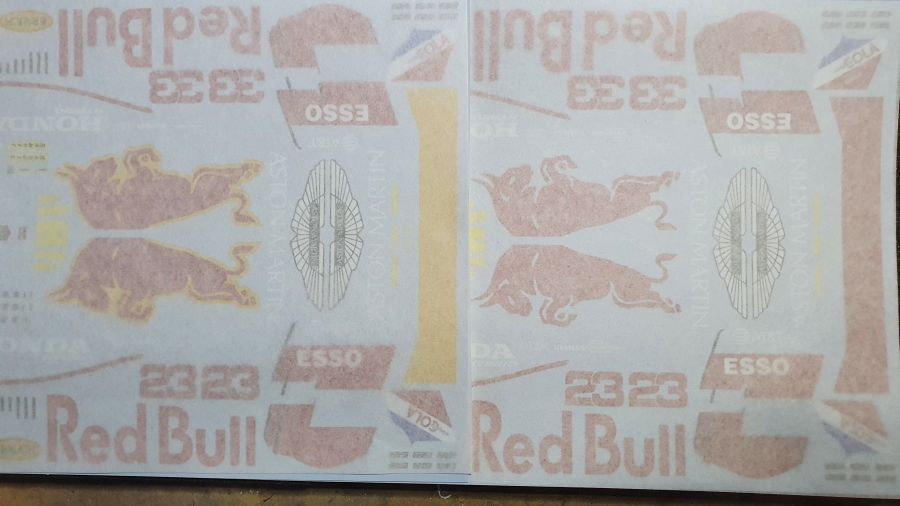
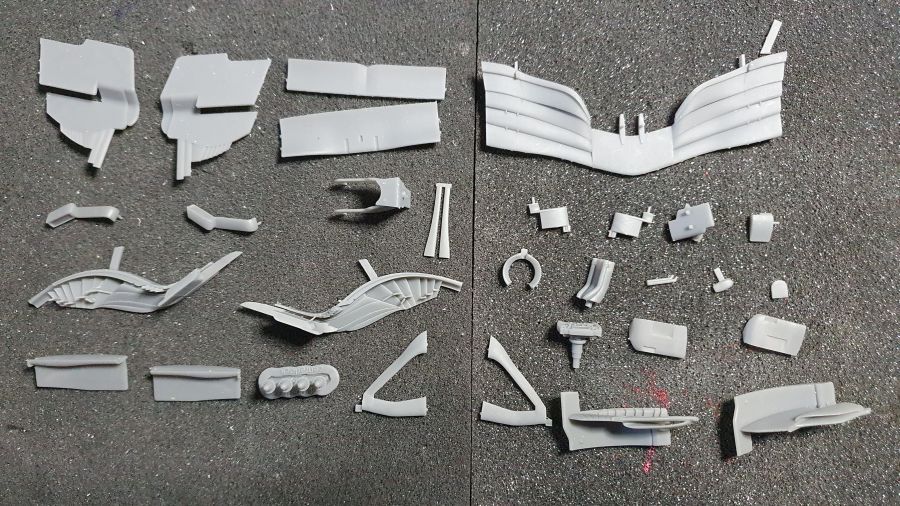
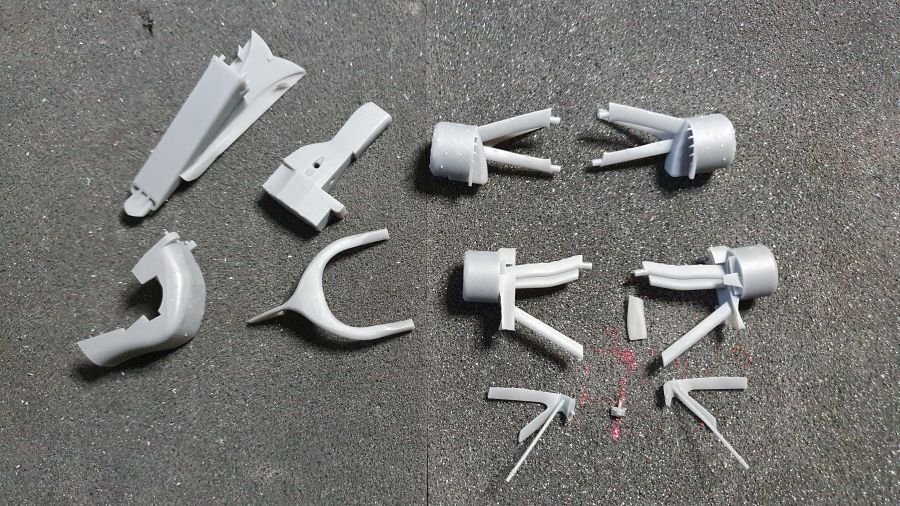
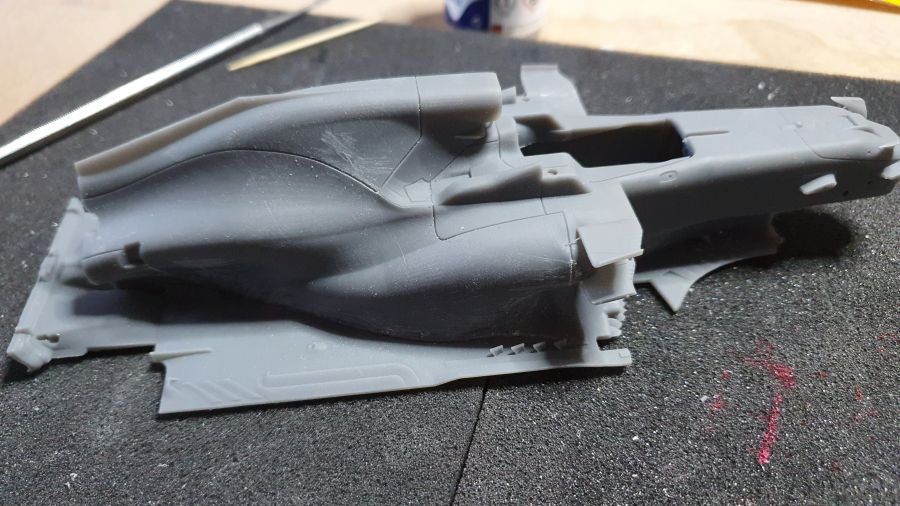
Dit printwerk vind ik van iets mindere kwaliteit dan het ander van New Scratch. Veel werk om hem klaar te maken voor het spuiten
To me this print is of lesser quality than i am used to from New Scratch. Much work to get it ready for airbrushing.
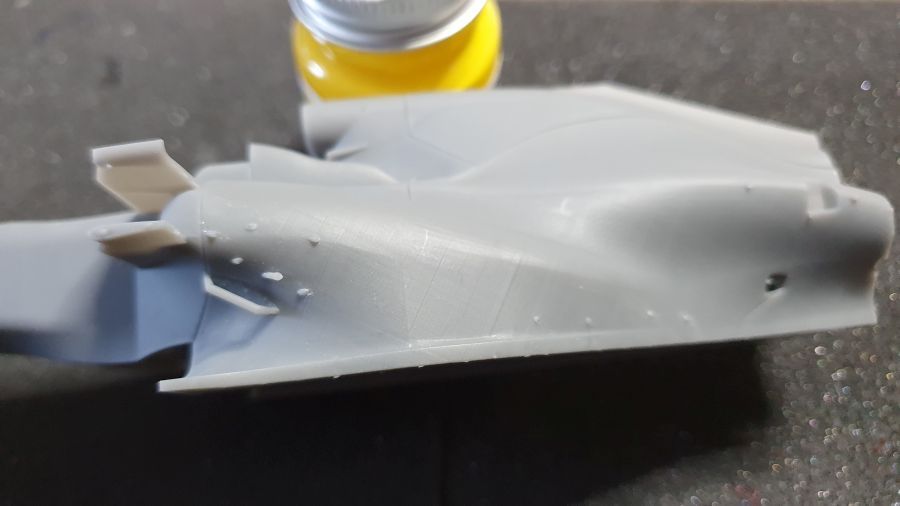
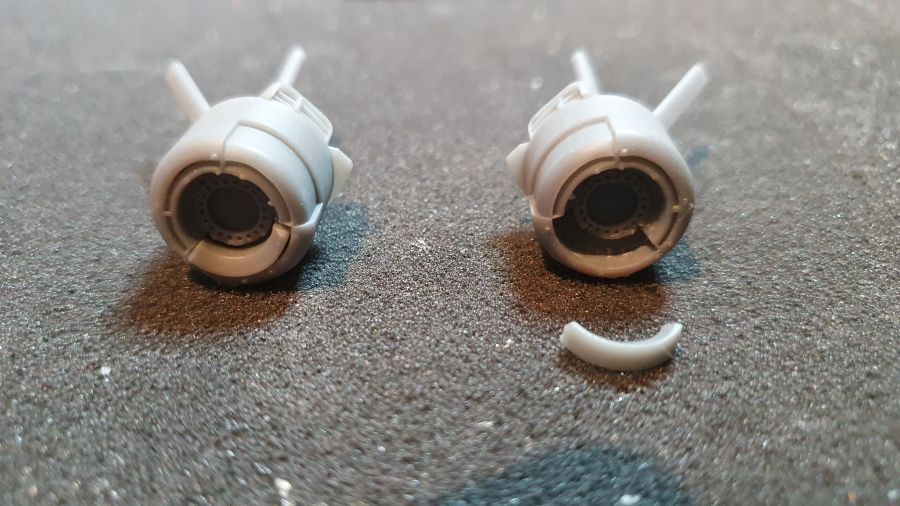
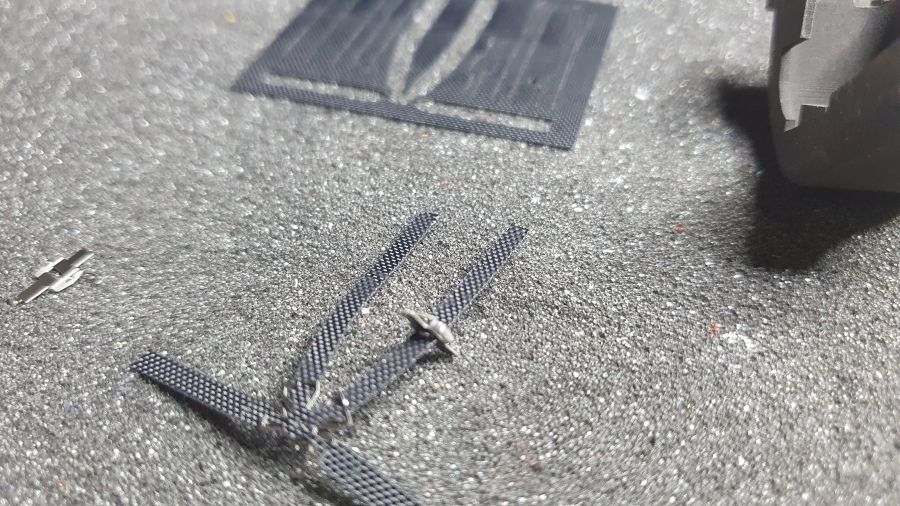
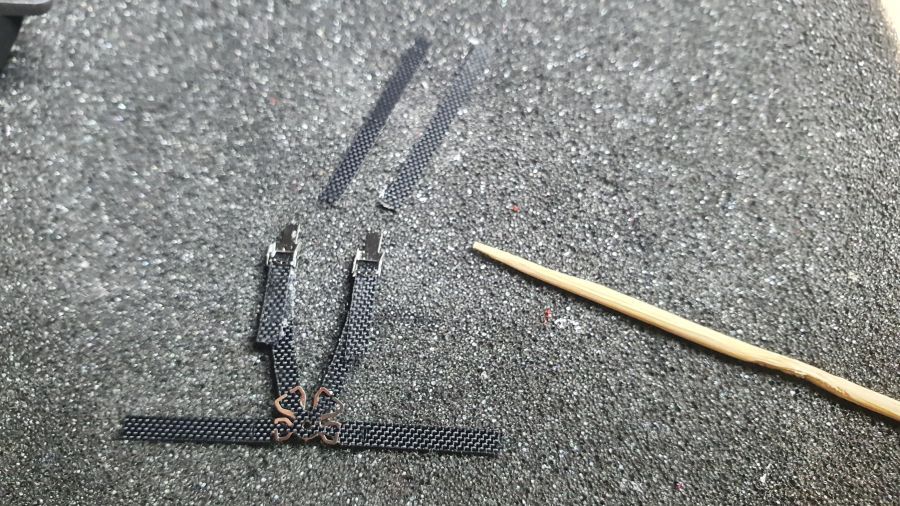
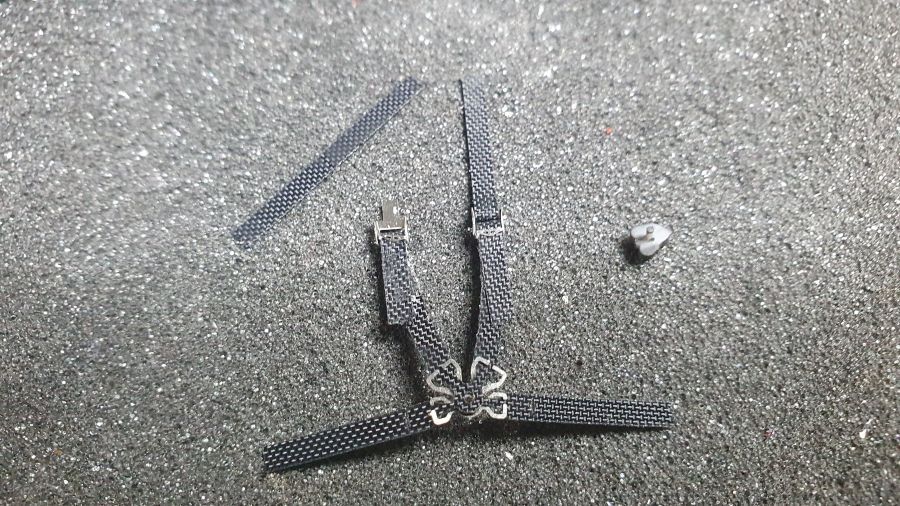
Eerst een paar reparaties.
First of all some repairs.
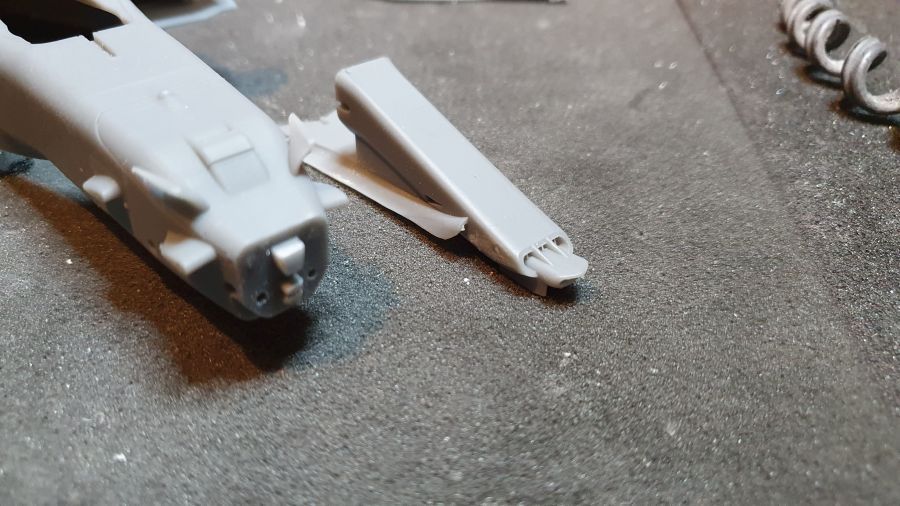
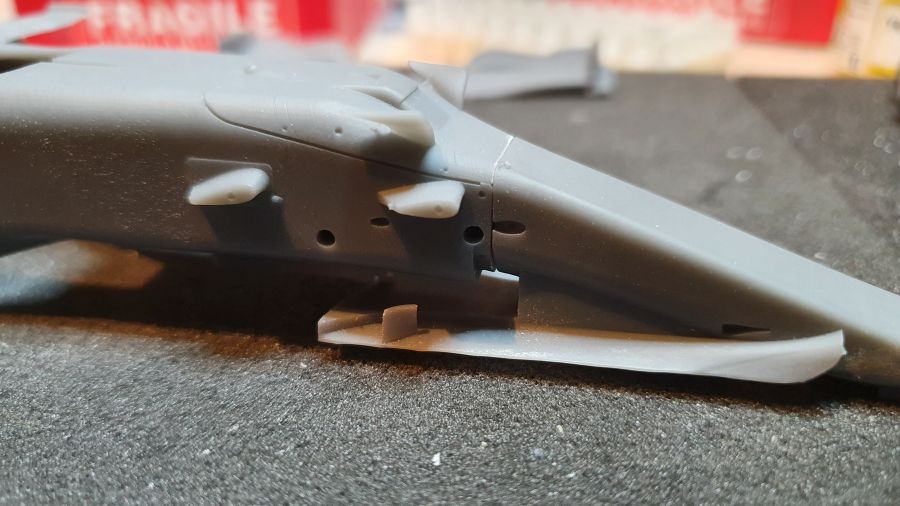
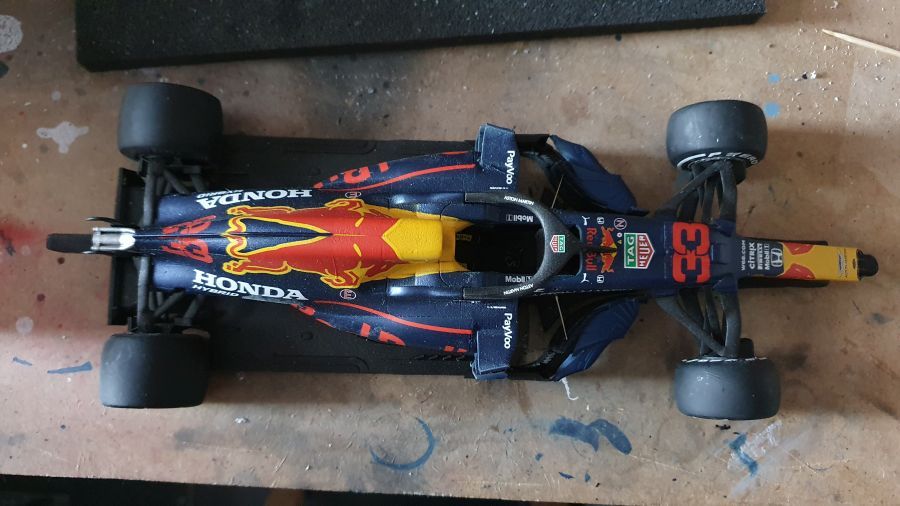
De bevestiging van de body met de bodemplaat is anders dan ik gewend ben.
The mounting of the body to the floor is different from what i am used to.
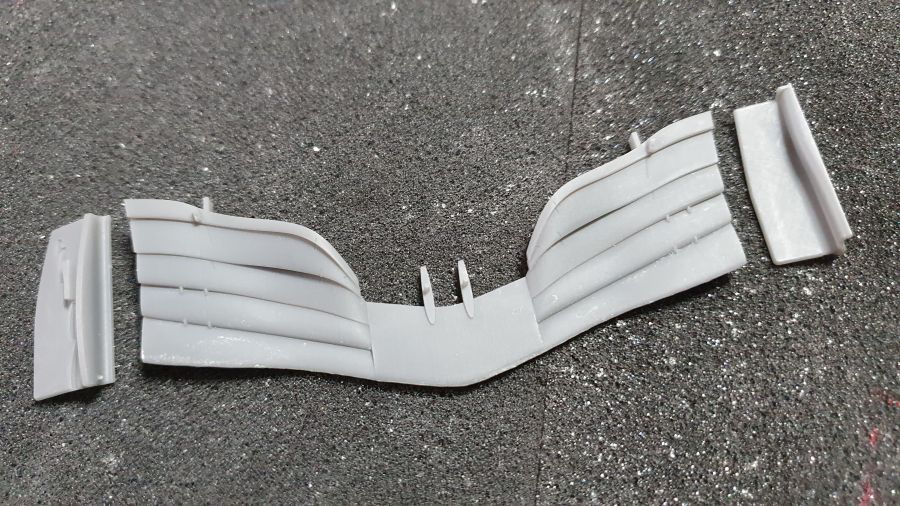
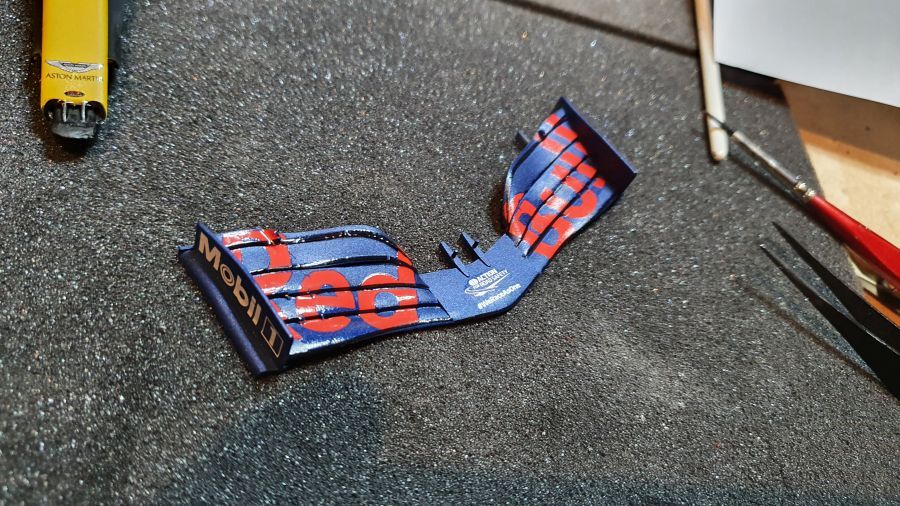
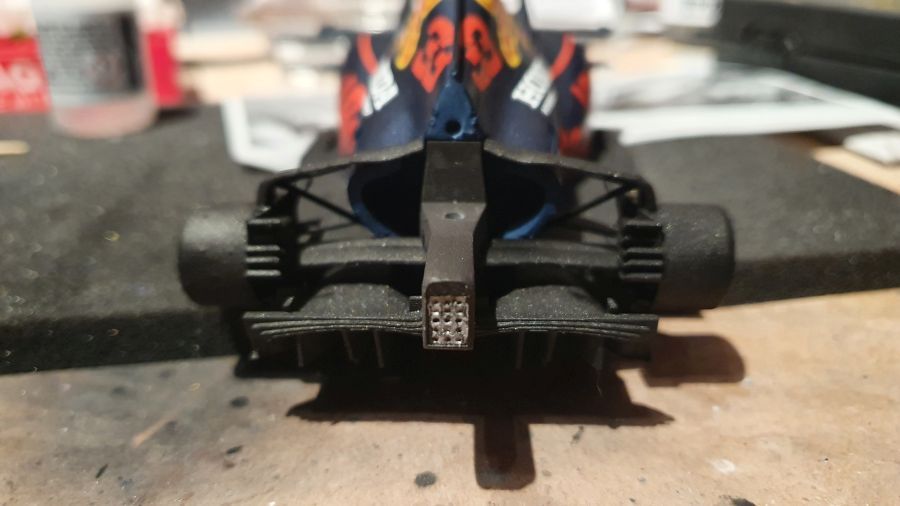
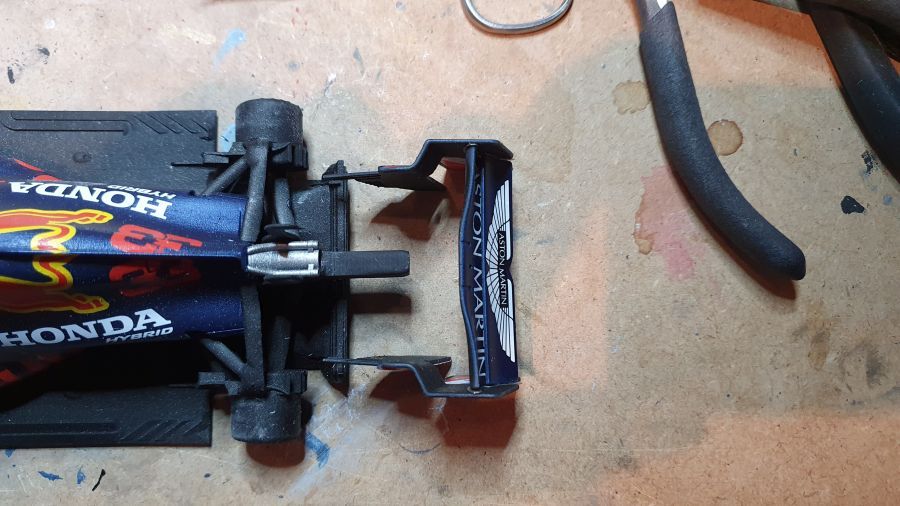
Door naar de voorvleugel.
On to the front wing.
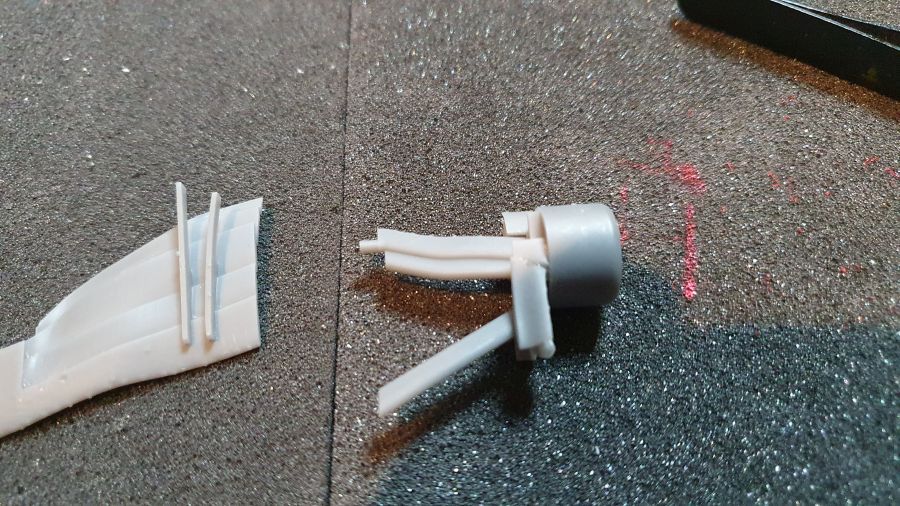
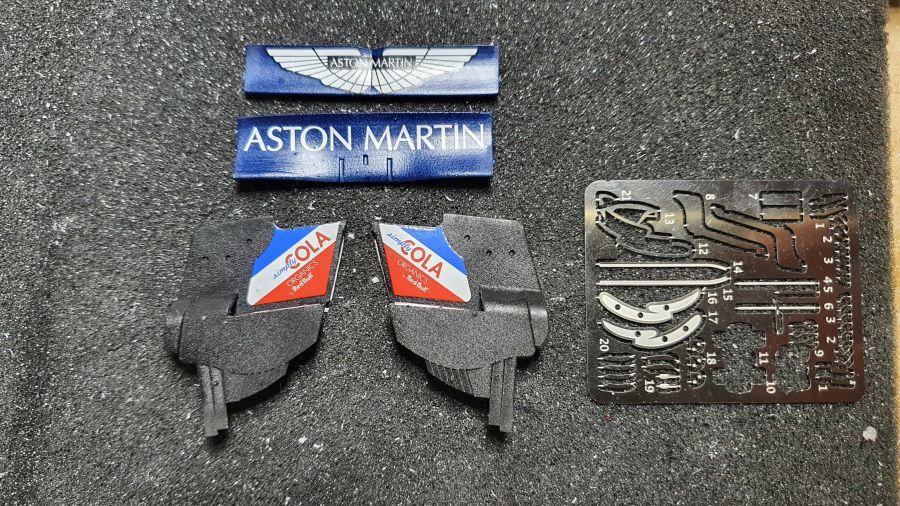
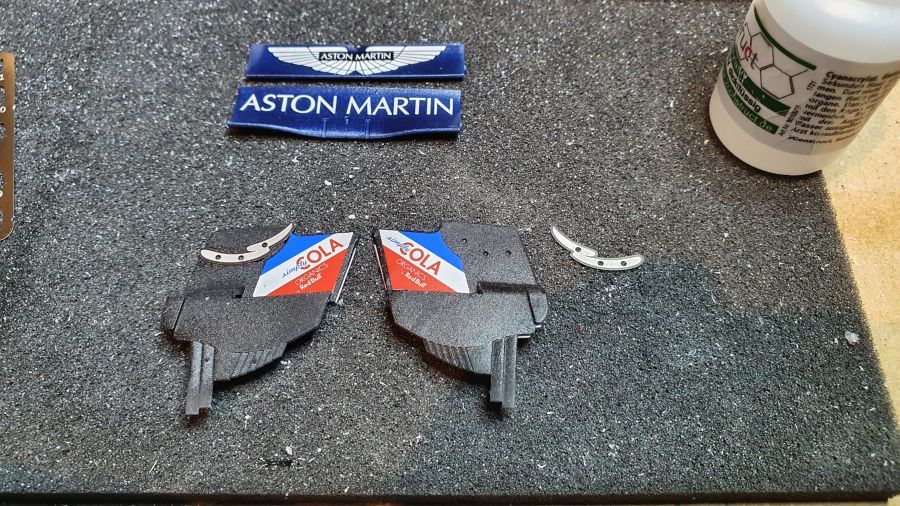
Licht werk aan de voorste remmen.
Small work to the front breaks.
De neus even passen... gaatjes moeten wat uitgeboord.
Test fit of the nose... the holes need to be drilled.
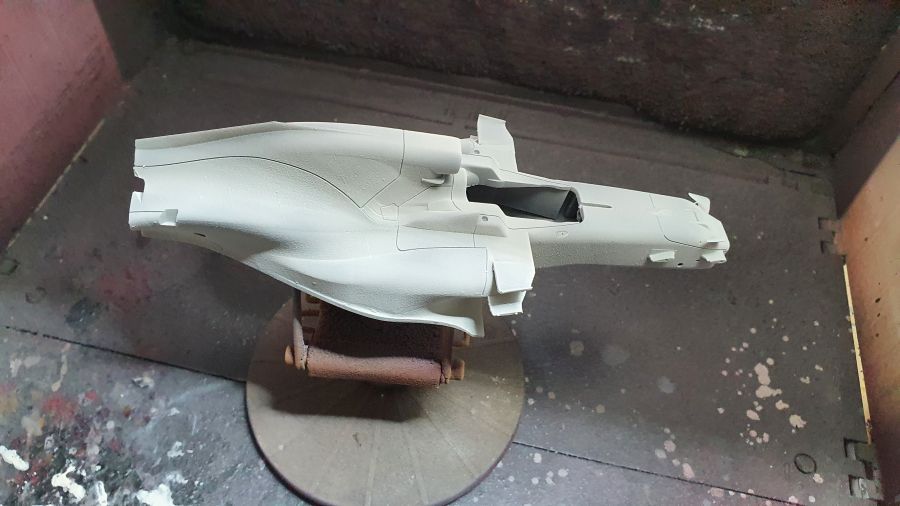
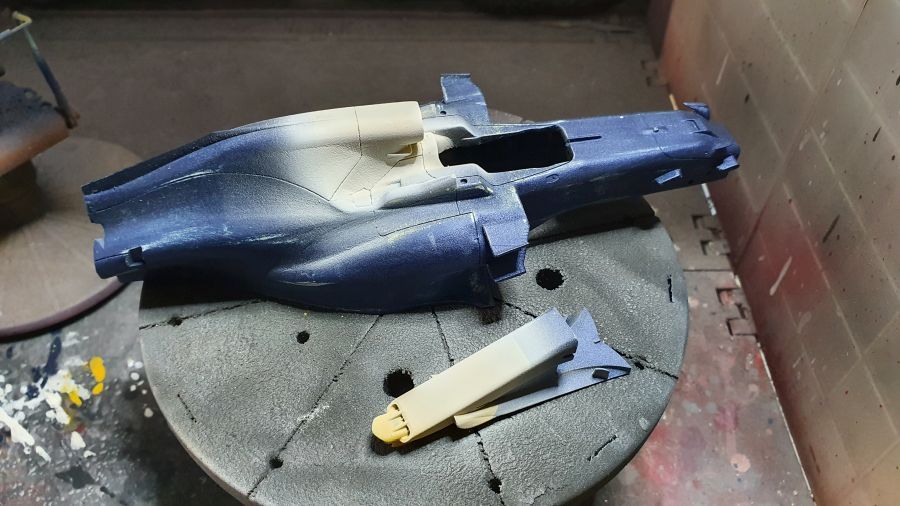
De witte primer gaat op de eerste onderdelen. Ik gebruik hier wit, omdat daar straks het blauw overheen gaat.
The white primer applied to the first parts. I am using white, because these parts will receive the blue later.
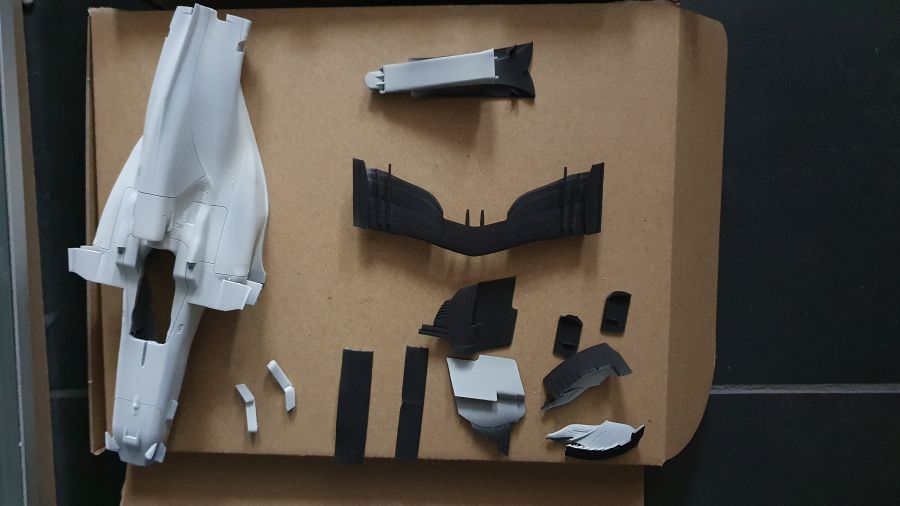
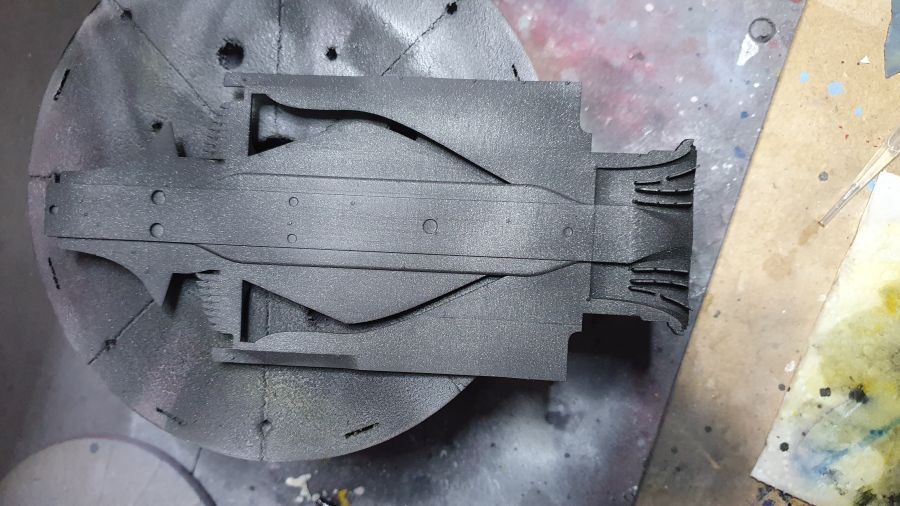
En de zwarte primer als ondergrond voor de carbon look. En het AlcladII.
And the black primer as a base for the carbon look. And the AlcladII.
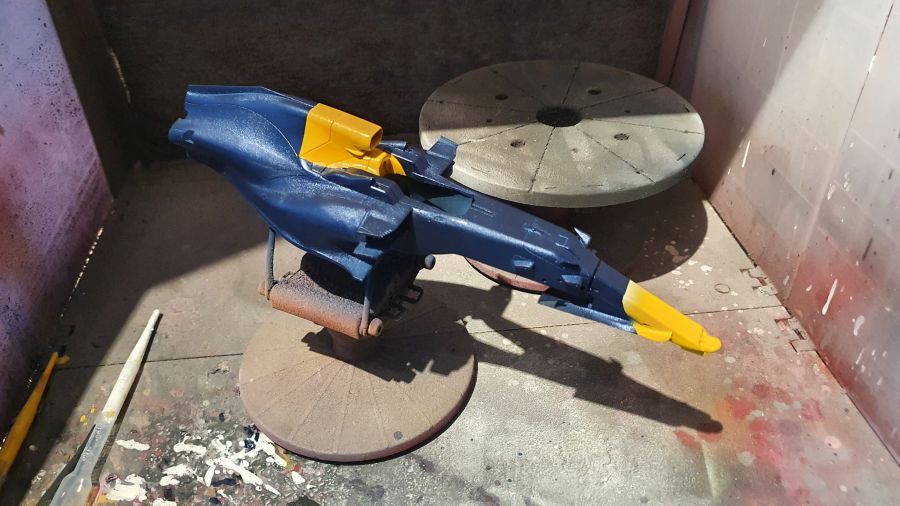
Het geel erop. Daarna glanslak erop om de boel te sealen voor de afplaktape.
The yellow is on. Then some clear gloss to seal it for the masking tape.
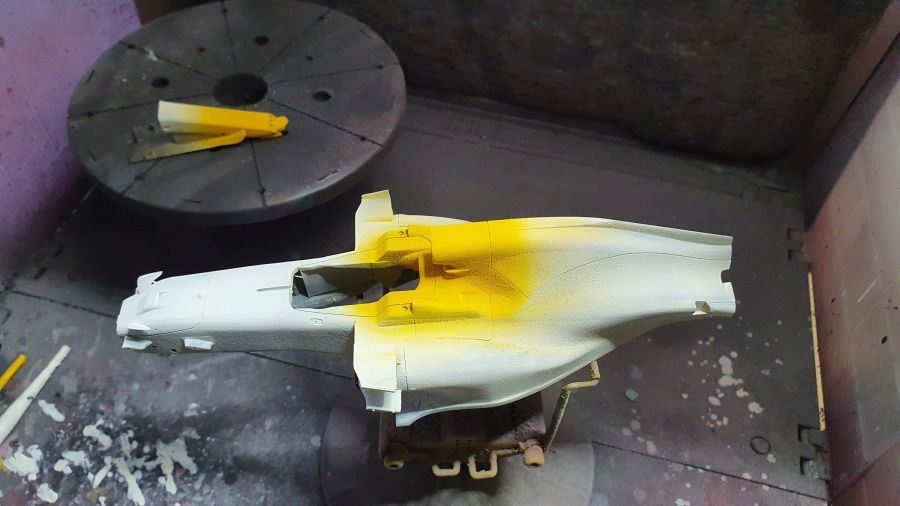
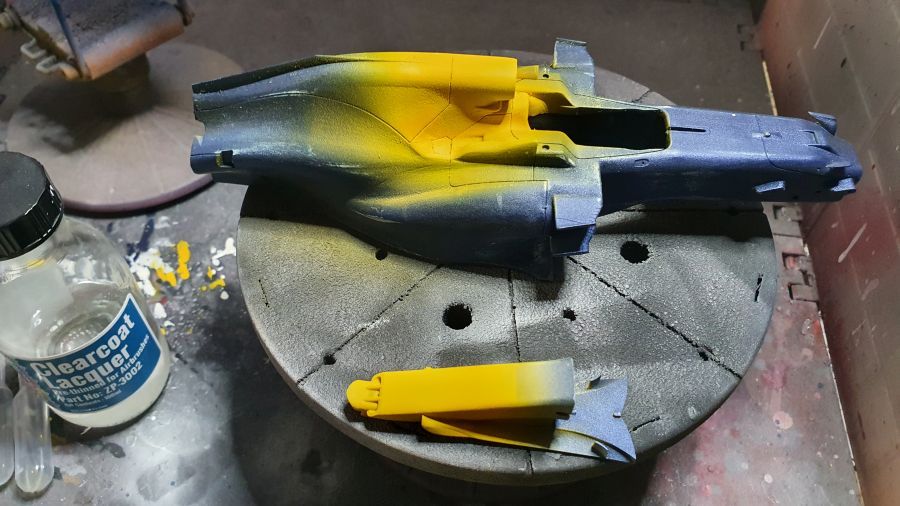
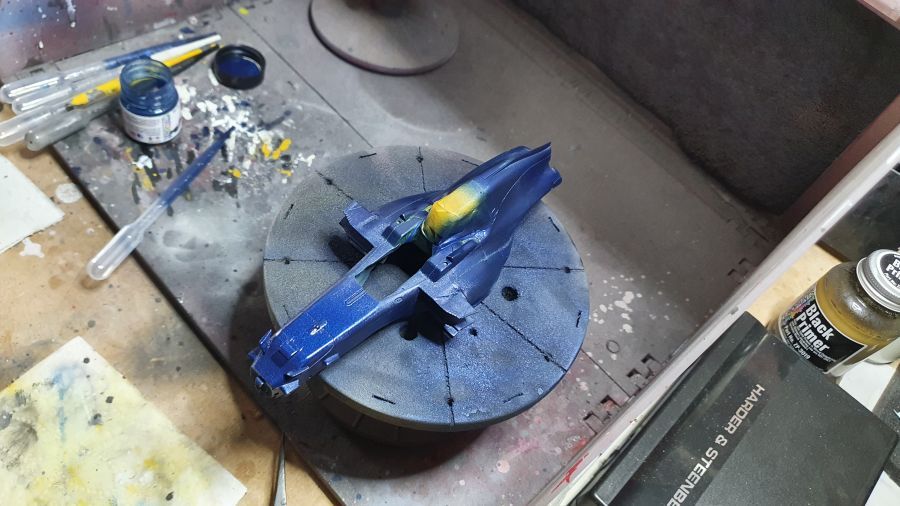
Ik ben niet blij met het verfresultaat. De verflaag is niet echt lekker en ik ben ook niet zeker van de kleur. Te blauw en ten onrechte ietwat metallic naar mijn mening. Maar misschien heb ik het fout.
I am not happy with the paint result. The paint layer is not o.k. and i am not certain on the color. Too blue and in my opinion incorrect because of metallic. But maybe i am wrong.
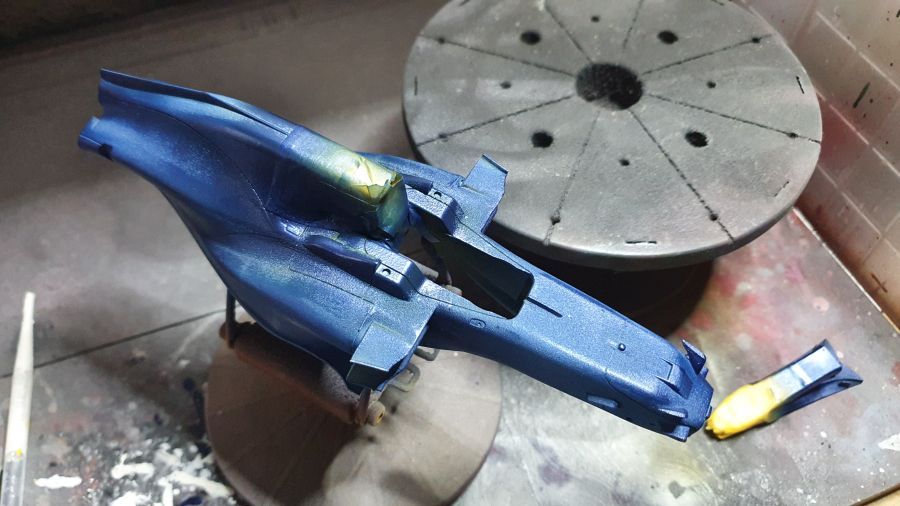

Ik denk dat ik hem helemaal ga reinigen en opnieuw ga spuiten.
I think i will clean it and paint it again.
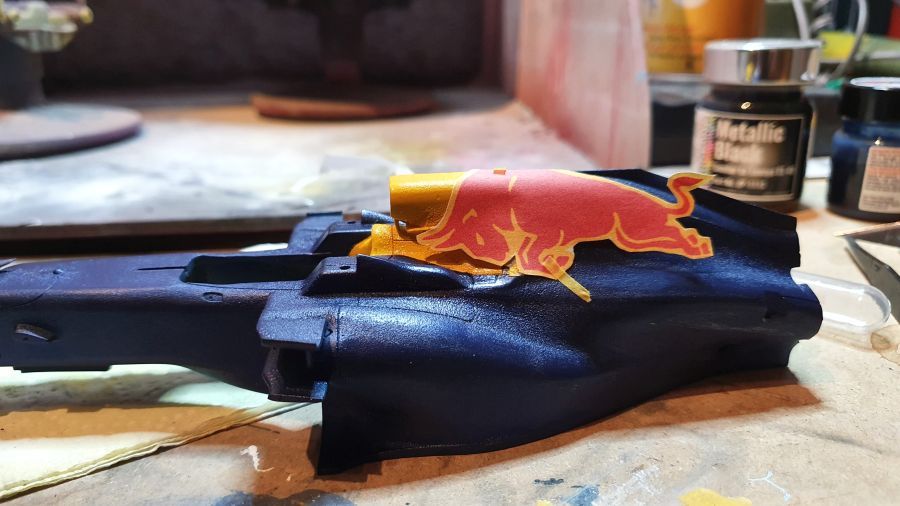
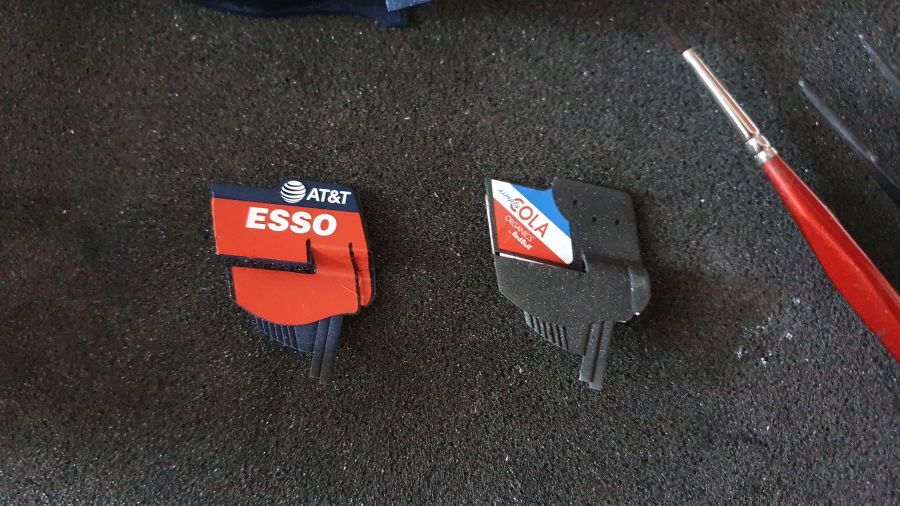
Wel even testen of ik op de goede weg zit met de decal...
Nevertheless testing if i am correct about the decal...
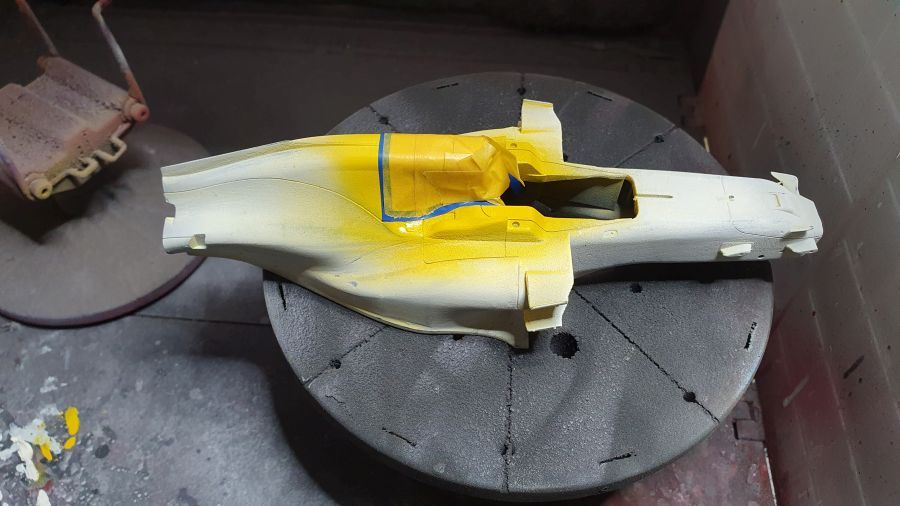
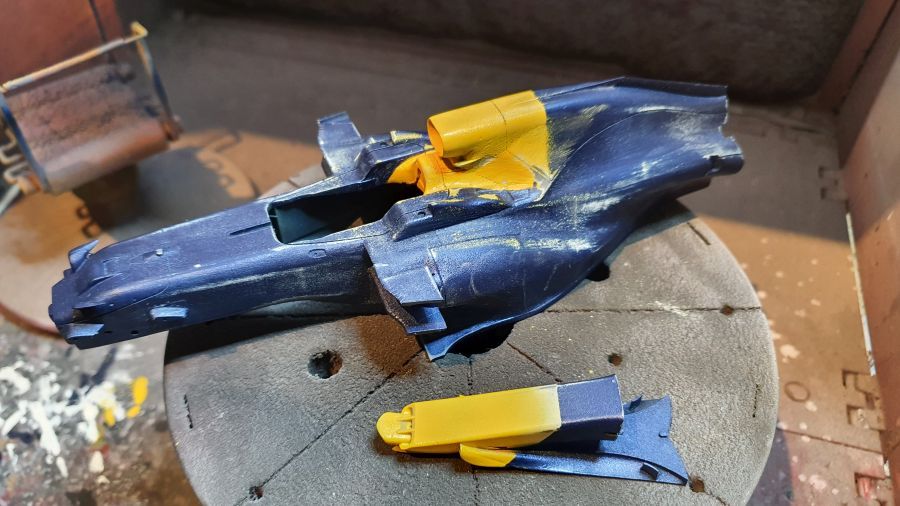
Ik ga het eerst nog even proberen met schuren en opnieuw spuiten. Dit omdat het schoonmaken een behoorlijk moeilijk proces is, het is allemaal zeer breekbaar.
I will first try to sand it and then repaint it. This because cleaning it might be a tough process, everything is quite fragile.
Beginnen aan het herstel. De druk op de airbrush wat verlaagd. Als dit niet werkt, zal ik hem weer helemaal strippen.
Repair started. Lowered the airbrush pressure. If this doesn't work, i'll strip it completely
'Arme lui carbon', metallic zwart (Zero Paints ZP-1113) over de zwarte primer.
'Poor man's carbon', metallic black (Zero Paints ZP-1113) over the black primer.
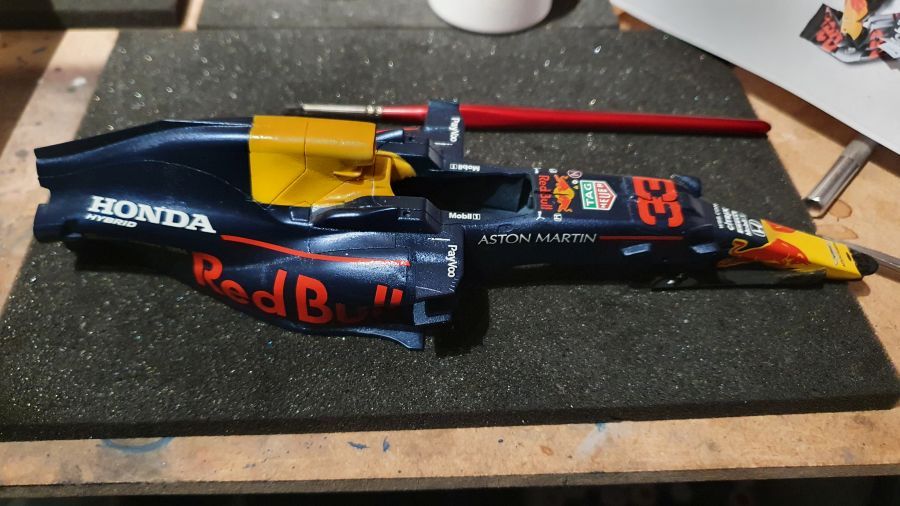
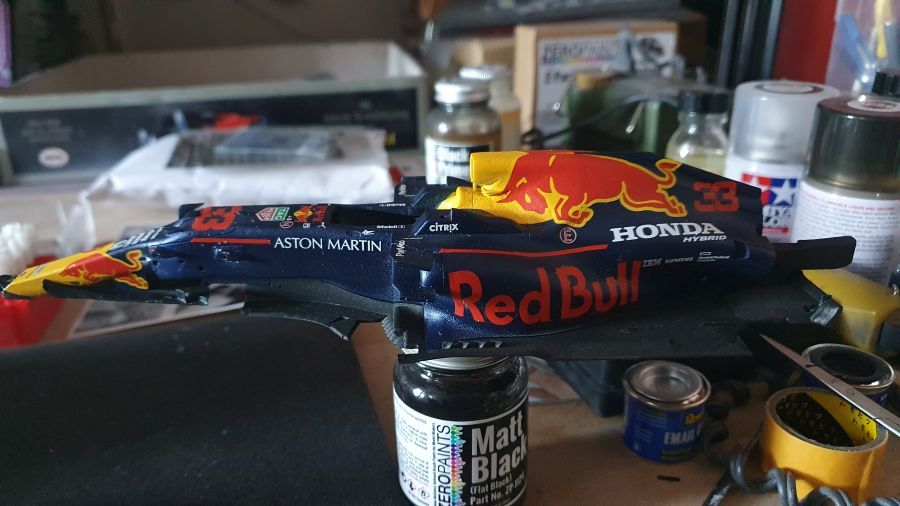
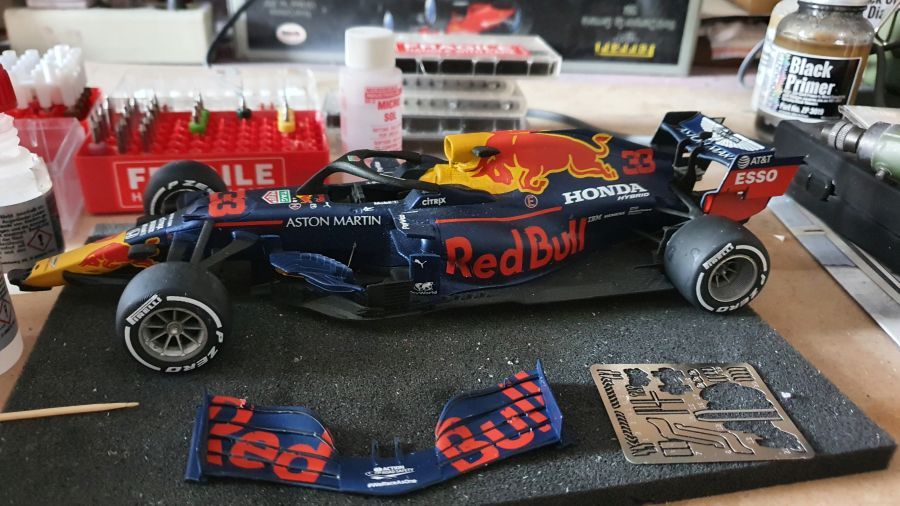
En dan het blauw opnieuw. Veel beter.
And the blue again. Much better.
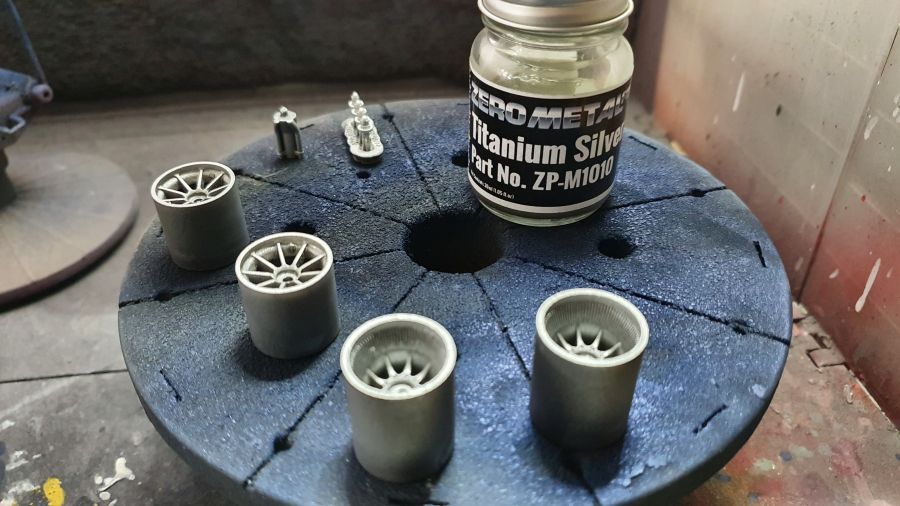
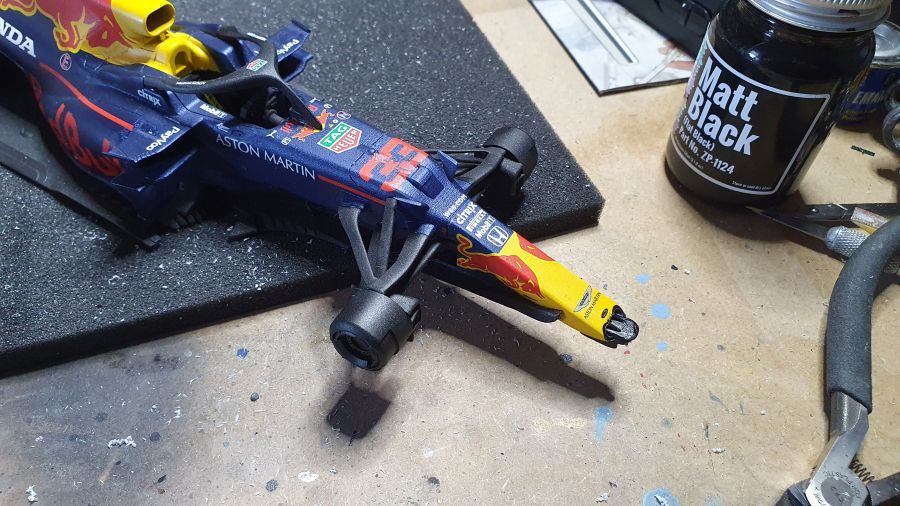
De velgen, moeren en uitlaat krijgen Titanium Silver van Zero Paints (ZP-M1010).
The rims, nutters and exhaust are getting Titanium Silver from Zero Paints (ZP-M1010).
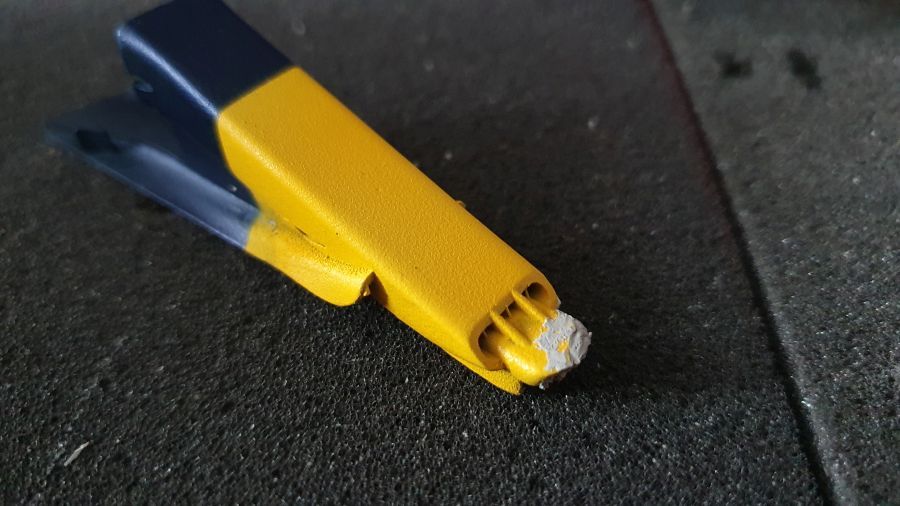
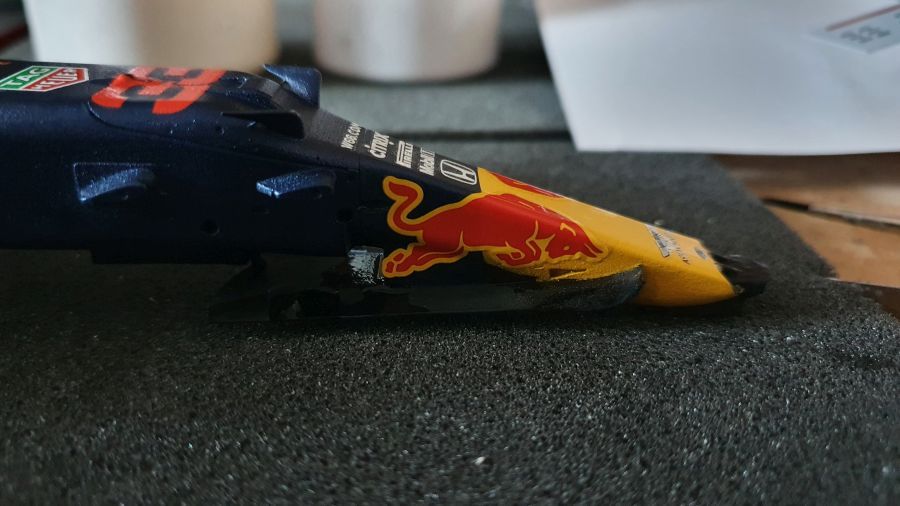
De neus viel van de werkbank... reparatie nodig.
The nose cone fell off the work bench... repairs needed.
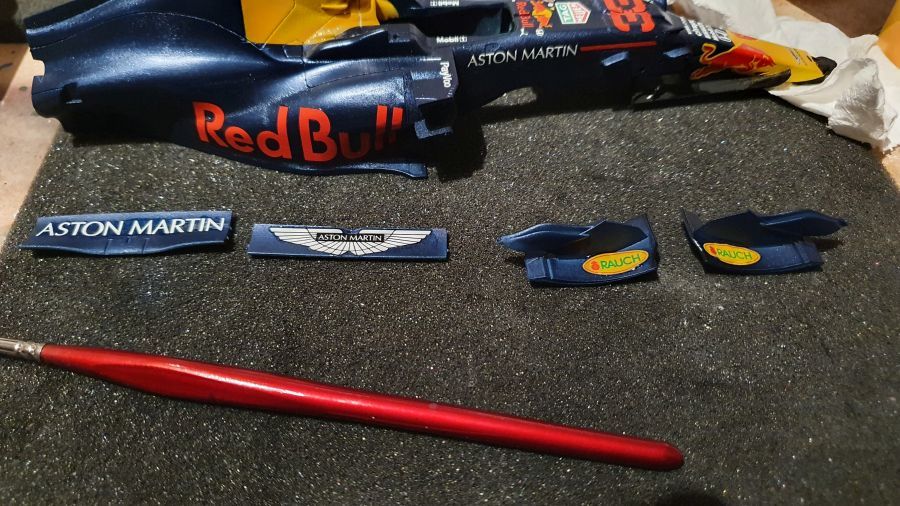
Begonnen met de decals.
Started the decal process.
De stieren op de neus zijn eigenlijk iets te groot van formaat. Ze kunnen daarom niet helemaal geplaatst worden op de exacte plek zoals zou moeten.
The bulls on the nose are a little bit too large. Therefore they cannot be added correctly at the exact spot as they should be.
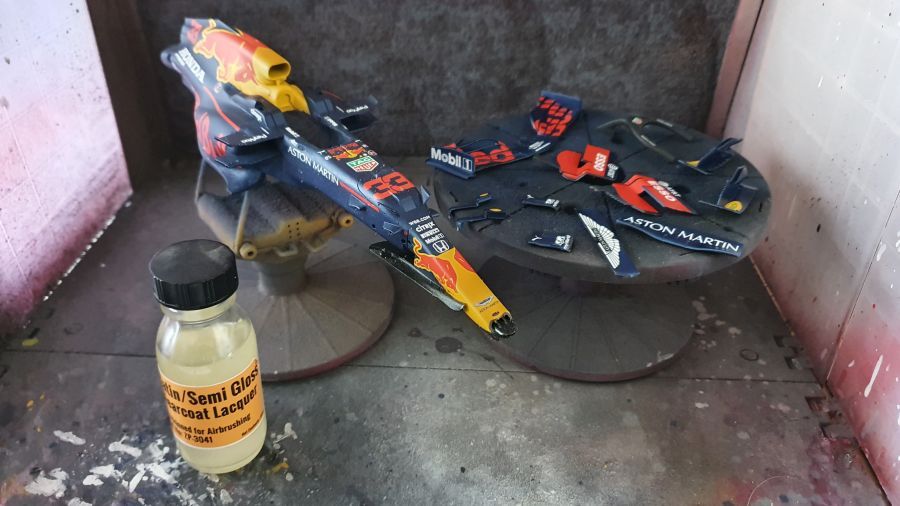
Zijdemat lak gespoten.
Silk matt lacquer added.
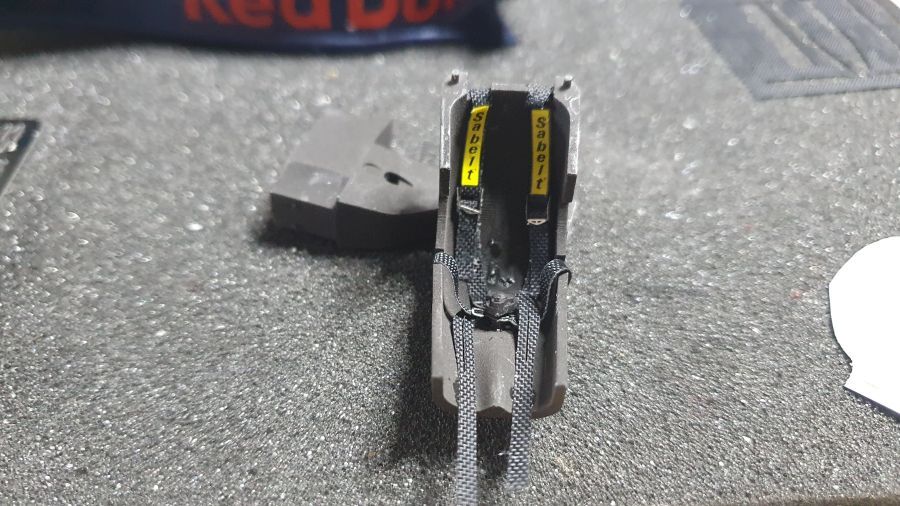
Dan de stoel.
Next is the seat.
De RB16 heeft een gewijzigde procedure om de body aan de vloer te bevestigen. Ik heb liever de oude manier. De onderkant van de vloer ziet er dan mooier uit.
The RB16 kit has a different process of attaching the body to the floor. I prefer the old way, because the downside of the floor will now not look as good as before.
De achterwielophanging biedt net als bij de Ferrari SF1000 weinig tot geen mogelijkheid de hoogte aan te passen. Ik ben nieuwsgierig of het model ook een beetje de hoge 'rake' krijgt.
The rear wheel suspension offers, just like with the Ferrari SF1000, almost no to non adjustment in height. I am curious if the model will show the high 'rake'.
Dan de voorwielophanging....
Next is the front wheel suspension....
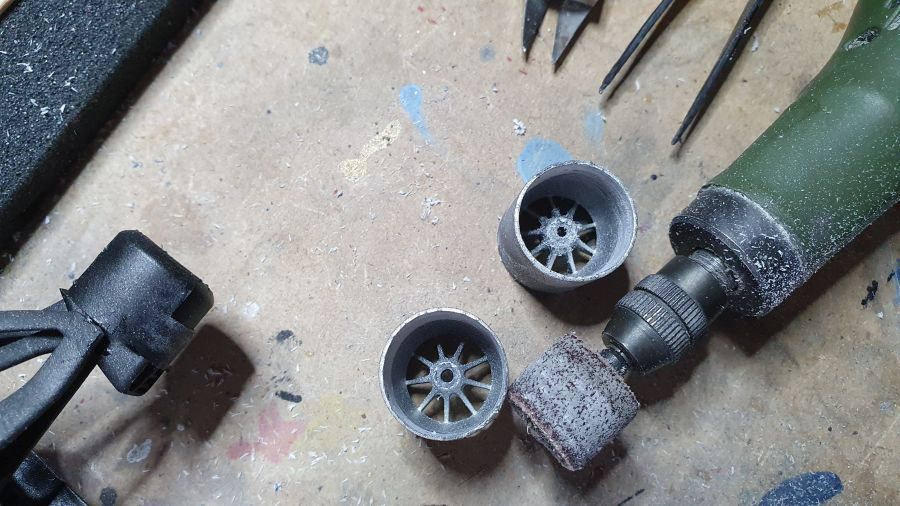
Dit heb ik niet getest. Ik ging ervan uit dat dit zou passen, maar de velgen passen niet over de remtrommels. Ik ga ze dus van binnen wat opruimen. Jij bent in ieder geval gewaarschuwd.
I didn't test this. I assumed this would fit, but the rims do not fit the brake drums. So i am going to widen them on the inside. Anyway, you are warned now.
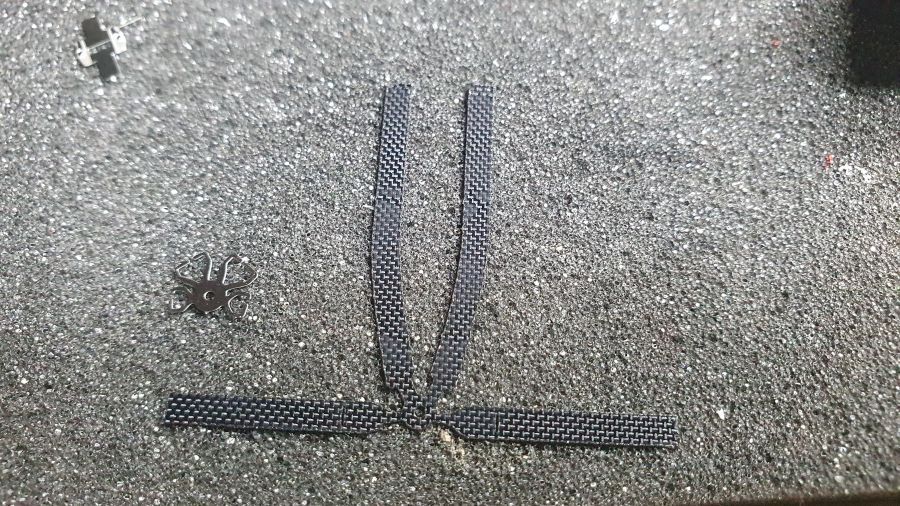
Barge boards erop.
Barge boards added.
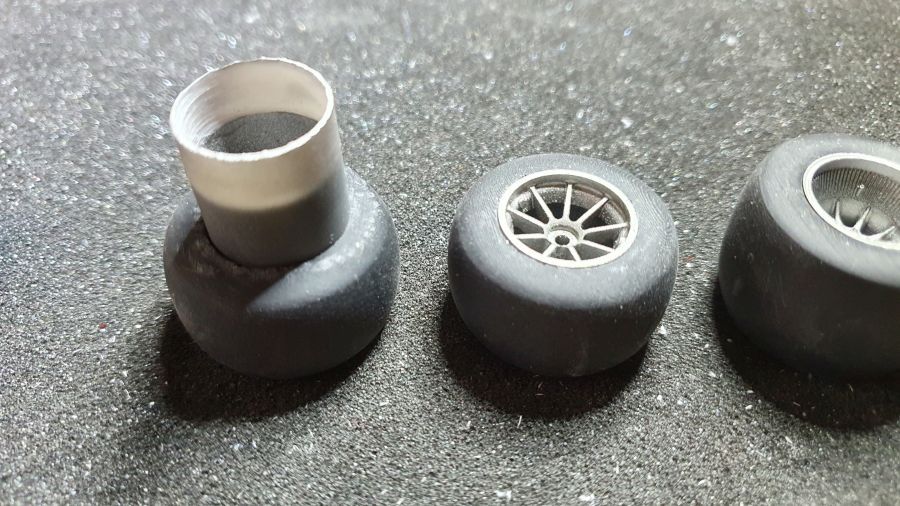
De banden zijn ook 3d geprint. Dat heb ik nog niet eerder gehad. Wel wat overschot verwijderen aan 1 kant van de band.
The tires are 3D printed too. Never had them before. Some residue needs to be removed from 1 side of the tire..
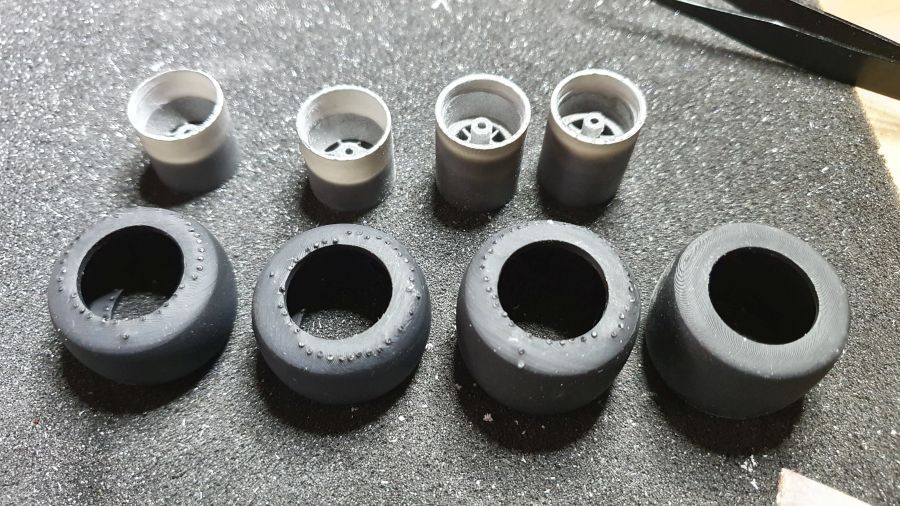
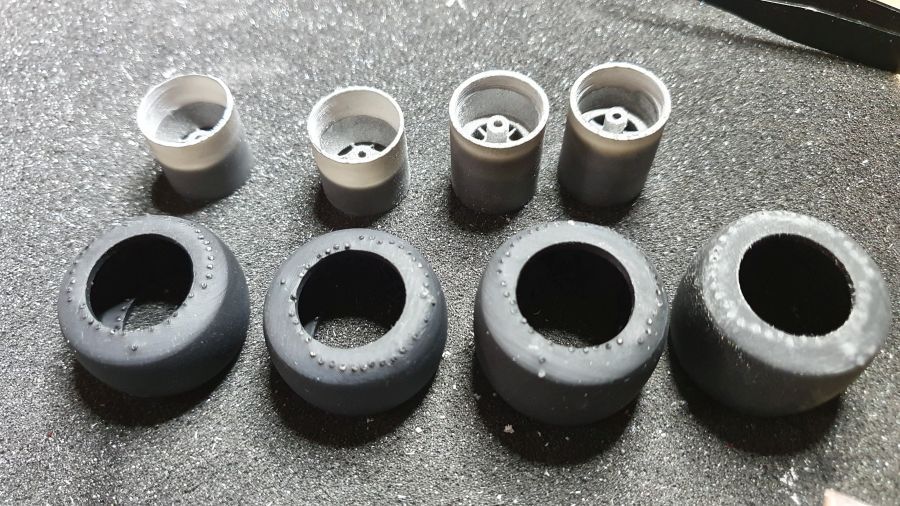
De voorvelg past niet in de band... niets wat een vijl niet kan oplossen.
The front rim doesn't fit the tire... nothing a file can't handle.
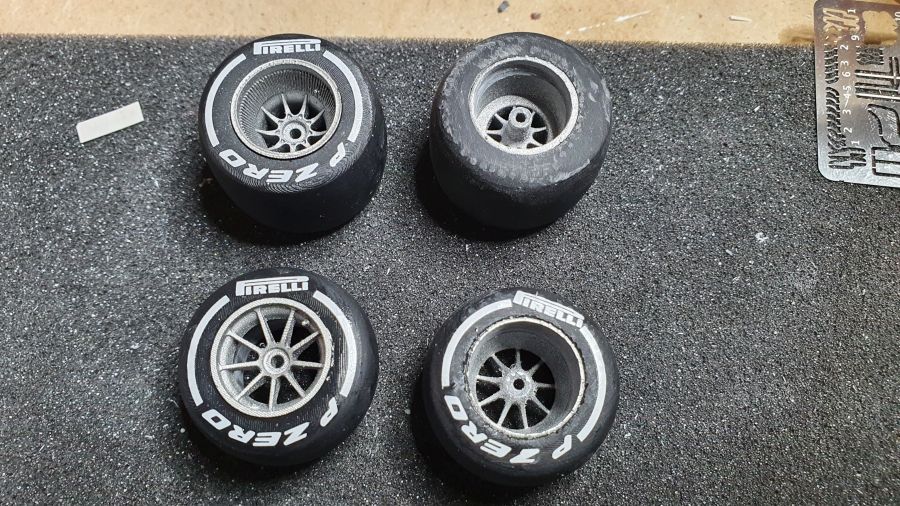
Decals toegevoegd, achter alleen aan de buitenkant, voor aan beide kanten.
Decals added, only the outside to the rears, both sides to the fronts.
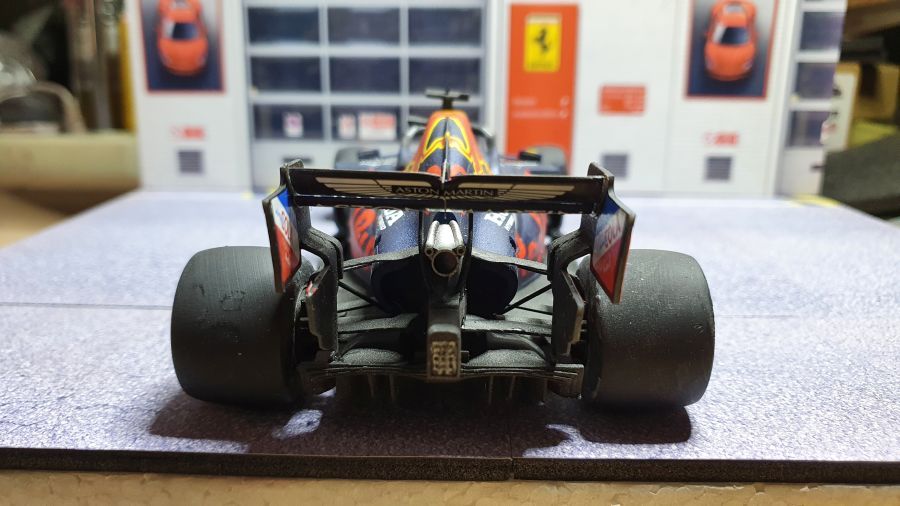
Door naar de achtervleugel. Voor mij altijd een lastig iets, waar ik nog geen goede oplossing voor gevonden heb.
On to the rear wing. To me always a pita, of which i haven't found a good solution.
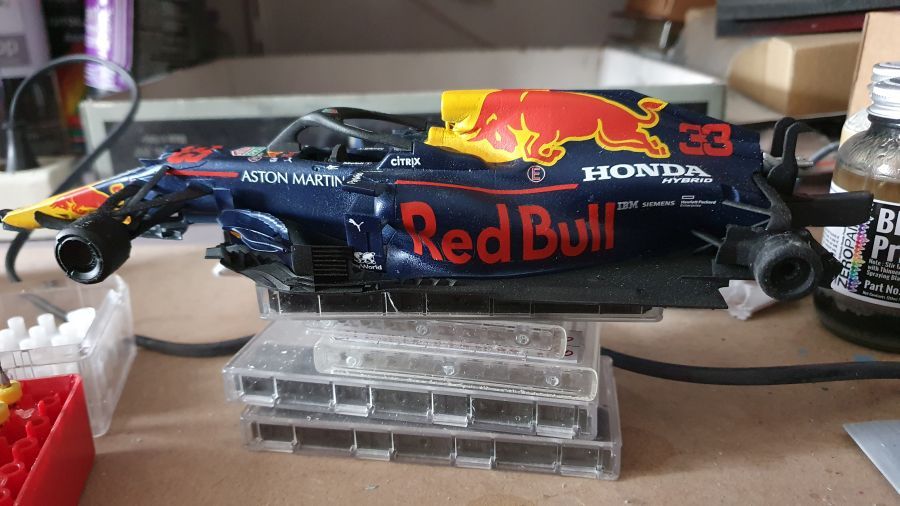
Op zijn voeten en dan de achtervleugel erop.
On it's feet and added the rear wing.
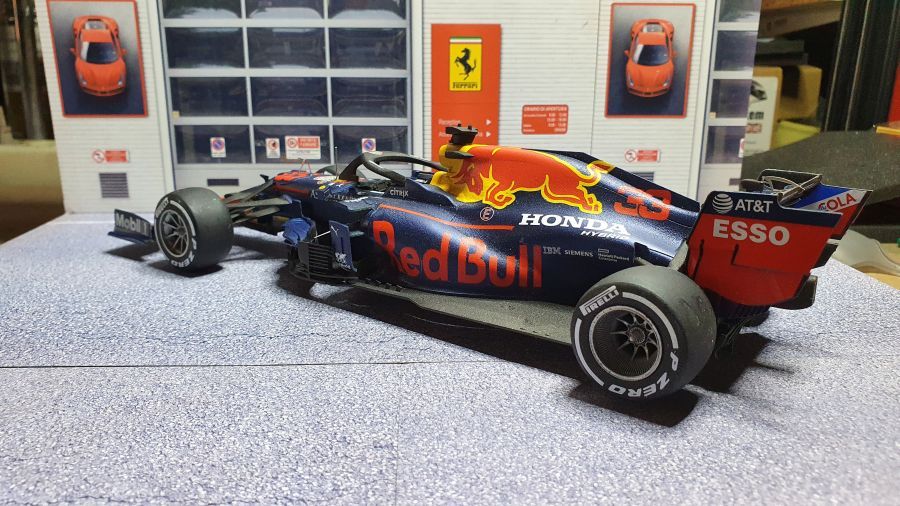
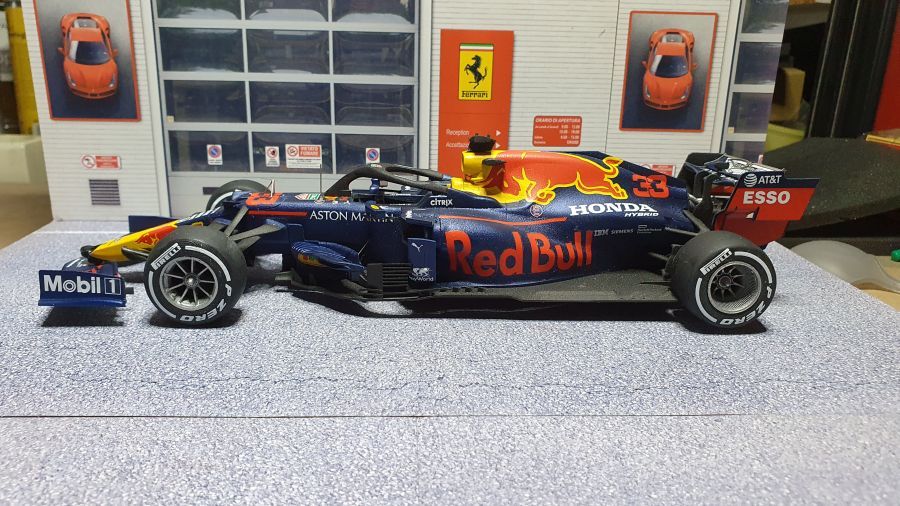
Na een hoop kleine onderdelen beschouw ik hem als gedaan. Mooi net voor de vakantie.
After a lot of small parts i consider it done. Just in time for a small holiday.
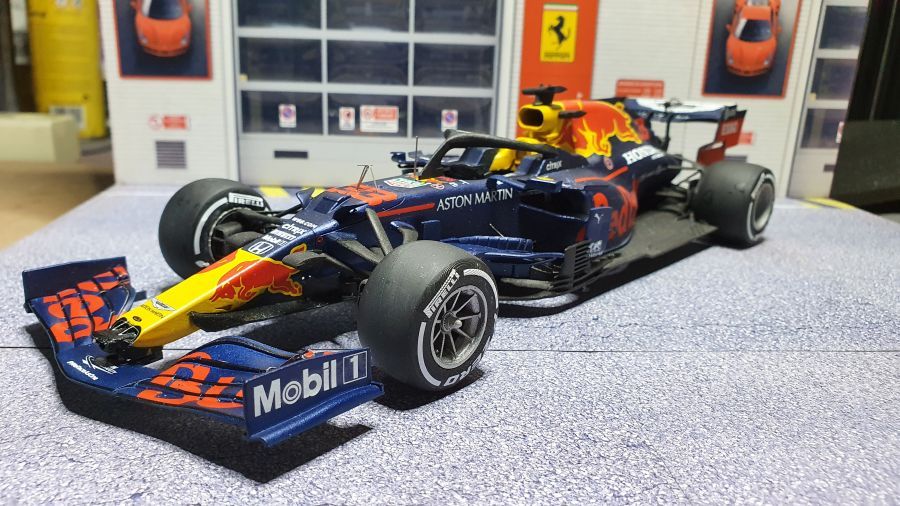
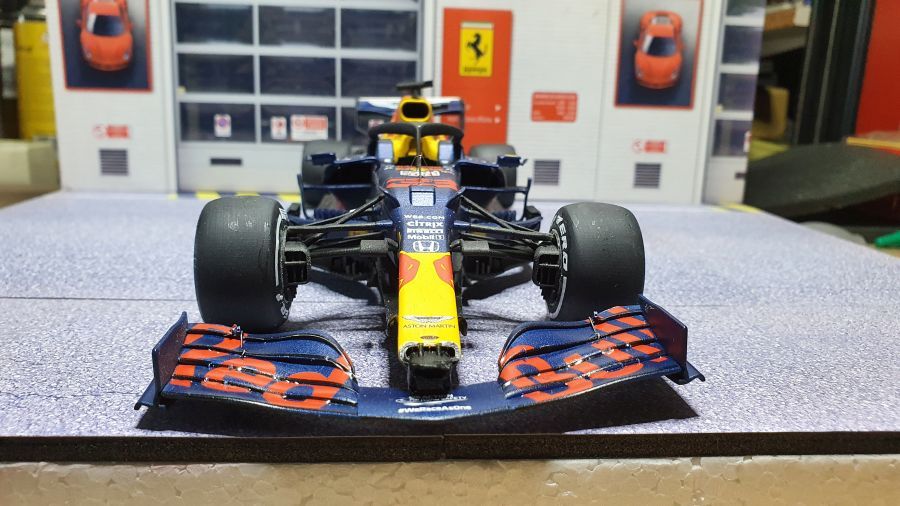
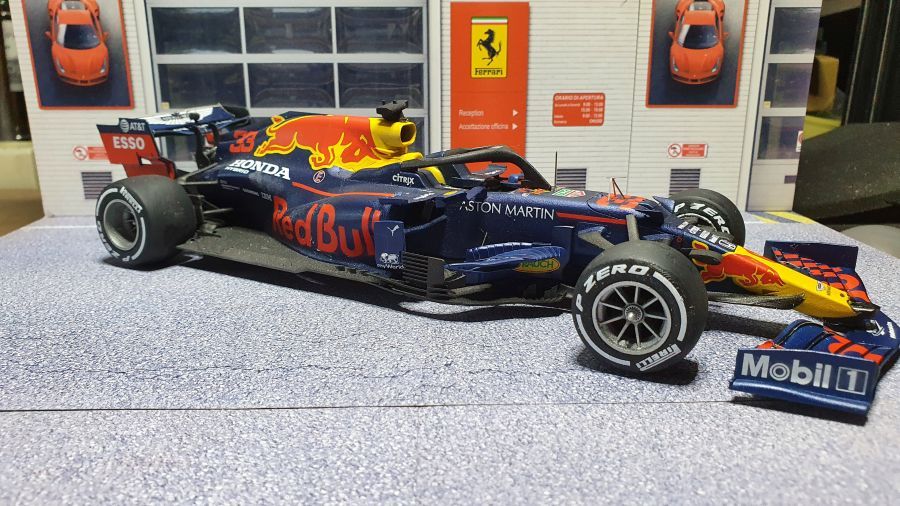
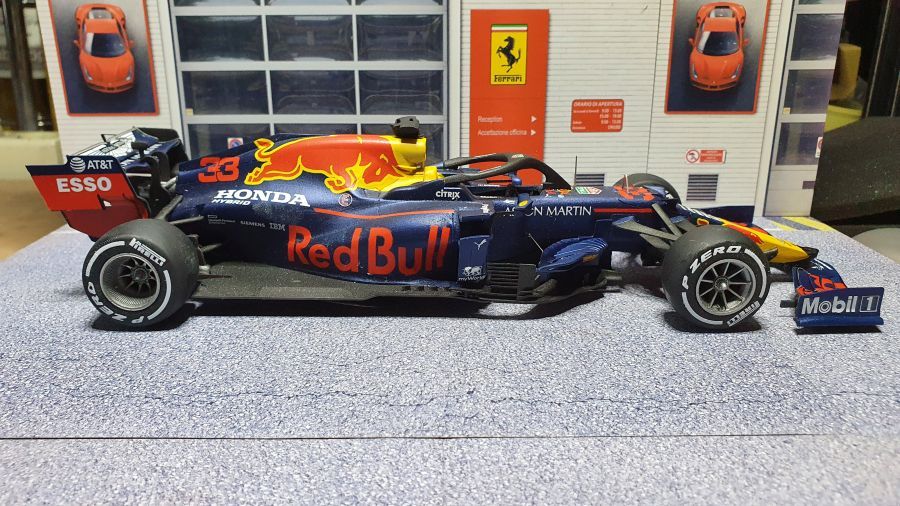
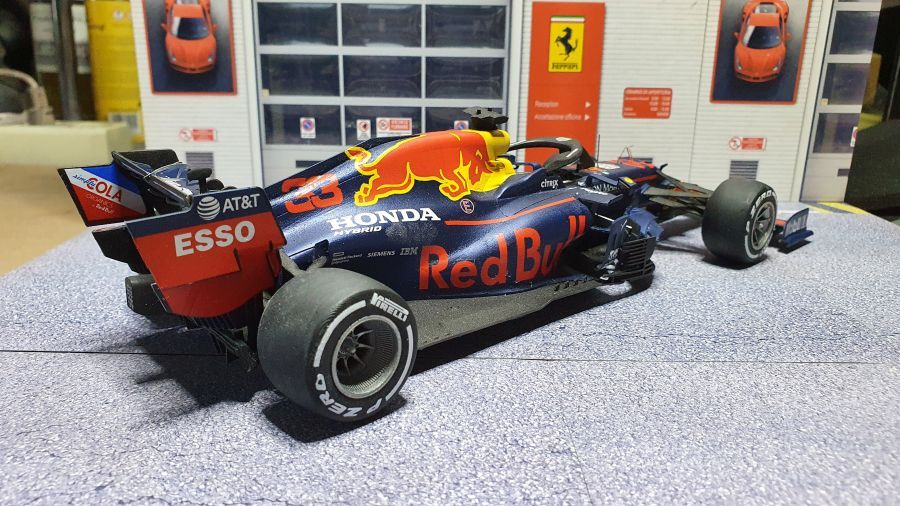
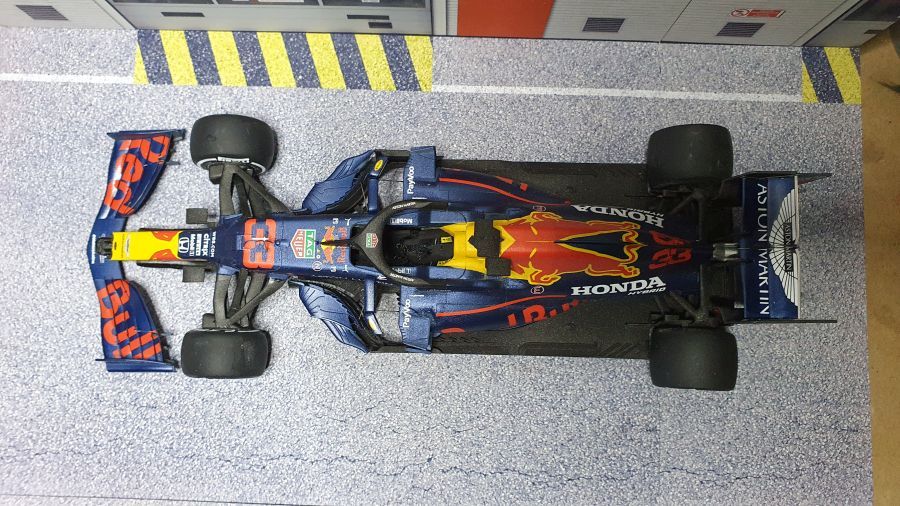
Een leuk model. Maar ik moet zeggen, ik vind de kwaliteit van deze secret kit minder dan de Ferrari kits die ik al van New Scratch heb gebouwd. Maar dat kan aan mij liggen.
A nice model. But i must say, I consider the quality of this secret kit less than the Ferrari kits if have built from New Scratch. But it could be me.