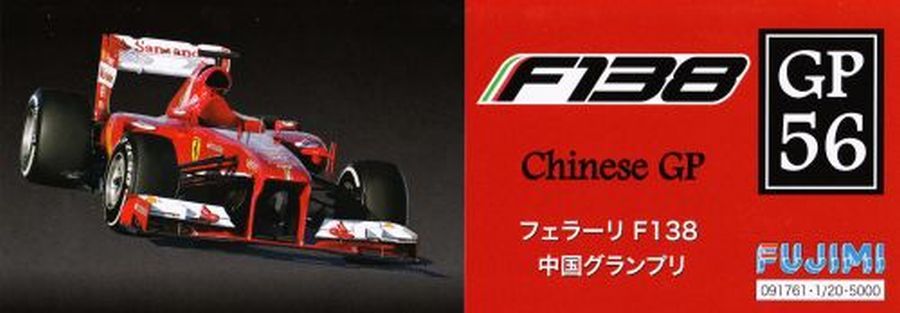
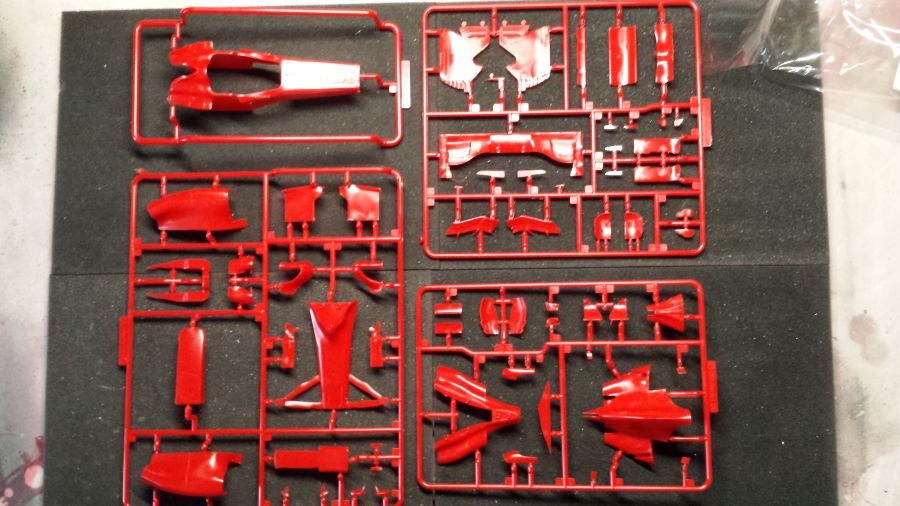
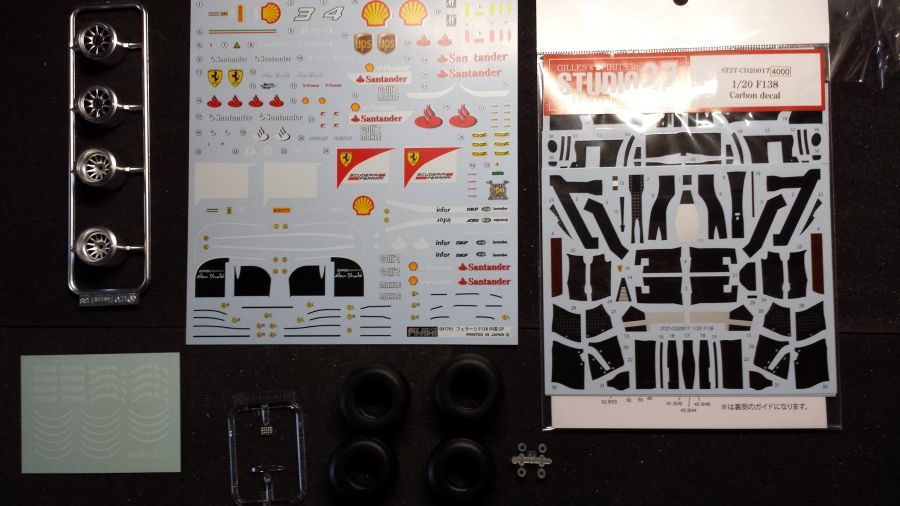
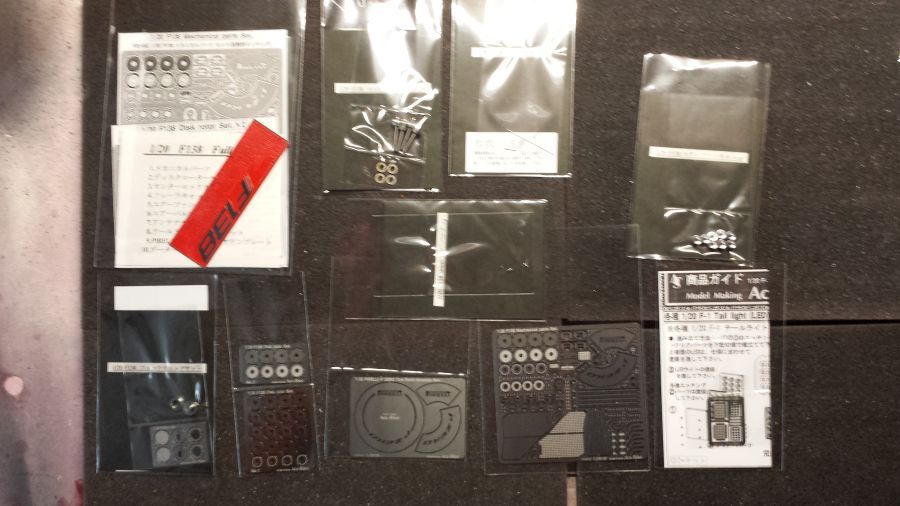
Hier beschrijf ik het bouwen van de Ferrari F138 China zoals deze in 2013 werd bestuurd door Felippe Massa. Het betreft kitnummer GP56 (091761) van Fujimi. Daarbij heb ik een detailset van Acu-Stion gekocht. Beneden eerst weer de foto's van de inhoud van de kit en de etched set. Mijn vorig project van de Fujimi Ferrari F2003-GA Italië was een mislukking. Ik hoop dat deze kit beter in elkaar past. De kit heeft dezelfde bouwwijze (motor aan monocoque, daarna aan bodemplaat en vervolgens de carosserieonderdelen). De Acu-Stion etched set heeft geen duidelijke gebruiksaanwijzing. Voor sommige onderdelen is het duidelijk waar ze worden aangebracht, voor andere in het geheel niet.
Here i will describe the build of a 2013 Ferrari F138 Chinese version as driven by Felippe Massa. It is concerning kit number GP56 (091761) from Fujimi. Together with this i bought a detail set from Acu-Stion. Below again first the pictures of the content of the kit and the etched set. My last project of the Fujimi Ferrari F2003-GA Italy was a failure. I hope this kit has a better fit. The kit has the same way of building it (engine to monocoque, then to the floor and then mounting the body work). The Acu-Stion etched parts have no plans. For some parts it is obvious where to put them, for some parts not at all.

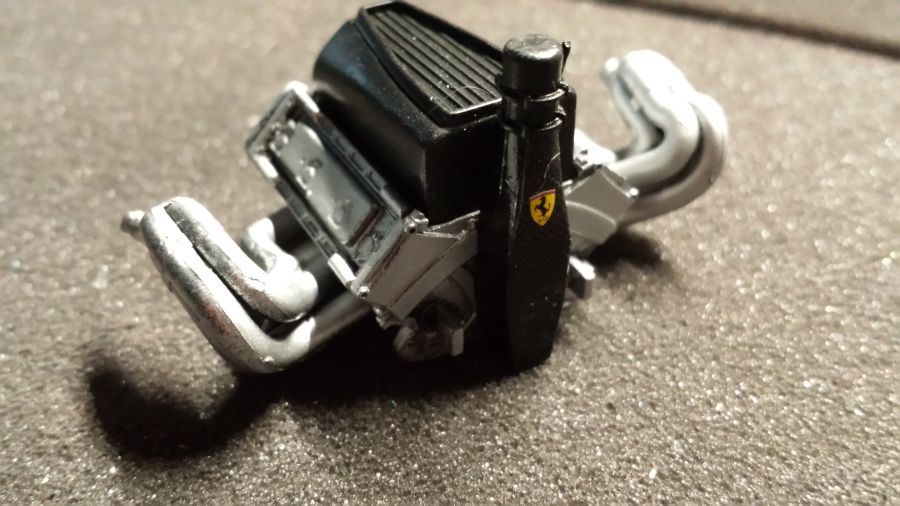
De eerste stappen aan de motor.
The first steps on the engine.
Hier al het eerste dilemma over het vastmaken van de motor aan de body. Hoe moet het nu eigenlijk? Ik denk aan optie 2, maar er is dan heel werinig steun voor het aan elkaar verbinden. Optie 3 is alles apart aan de vloer bevestigen.
Here the first dilemma about connecting the engine to the body. What is correct? I think option 2, but there is very little support for connecting. Option 3 would be to connect everything separately to the floor.
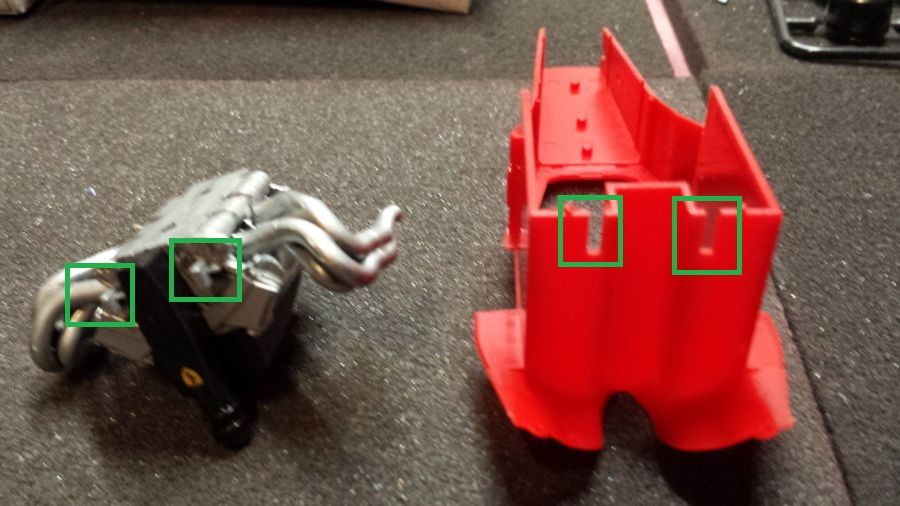

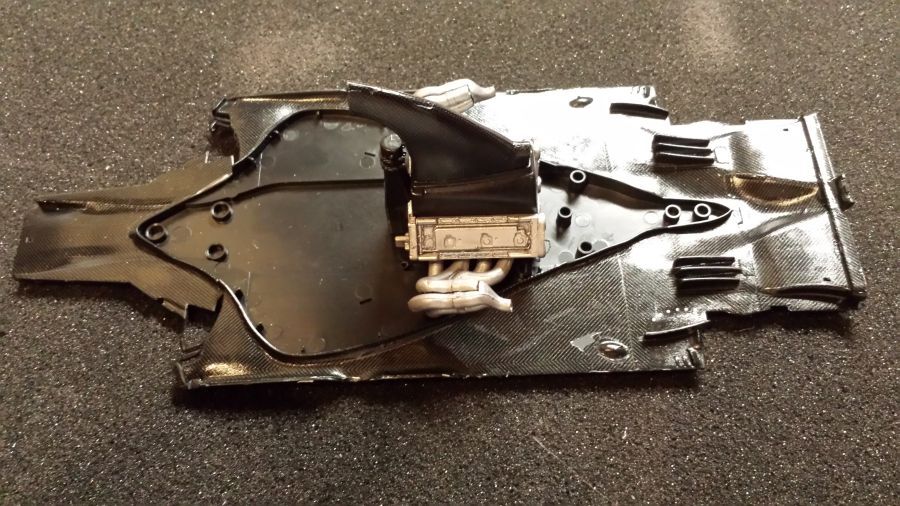
Even een test door de motor en de body op de bodemplaat te zetten. Misschien wat moeilijk te zien, maar de nokjes van de motor sluiten niet helemaal aan in het bovenste deel van de inkepingen. Daar kan al een hoop fout gaan. Het is dus het beste om de motor en de body apart aan de bodemplaat te bevestigen. Dit is wat er fout ging bij mijn afgebroken project met de F2003-GA.
A small test by putting the engine and the body to the floor. Maybe it's hard to see, but the 'pins' from the engine do not fill the cutouts of the body completely. Much can go wrong from now. So it's best to attach the engine and the body to the floor separate. This is what went wrong with my terminated project of the F2003-GA.
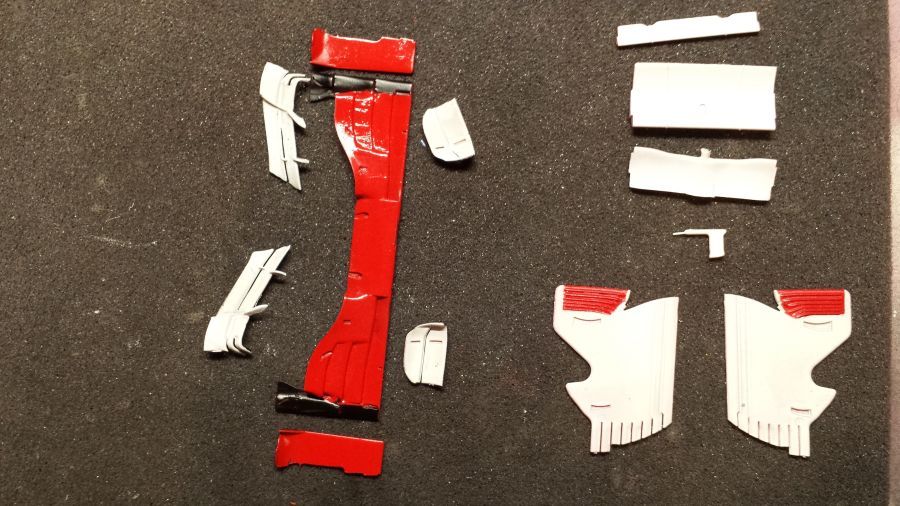
Er zijn geen carbon decals voor de voorwielophanging bij de set ST27-CD20017 van Studio27. Dus dan maar gespoten met Tamiya TS-29 zijdemat zwart. Wel zijn er decals voor de onderkant.
There are no carbon decals for the front wheel suspension on the set ST27-CD20017 from Studio27. So i will spray them with Tamiya TS-29 semi gloss black. The decals for the bottom side are present.
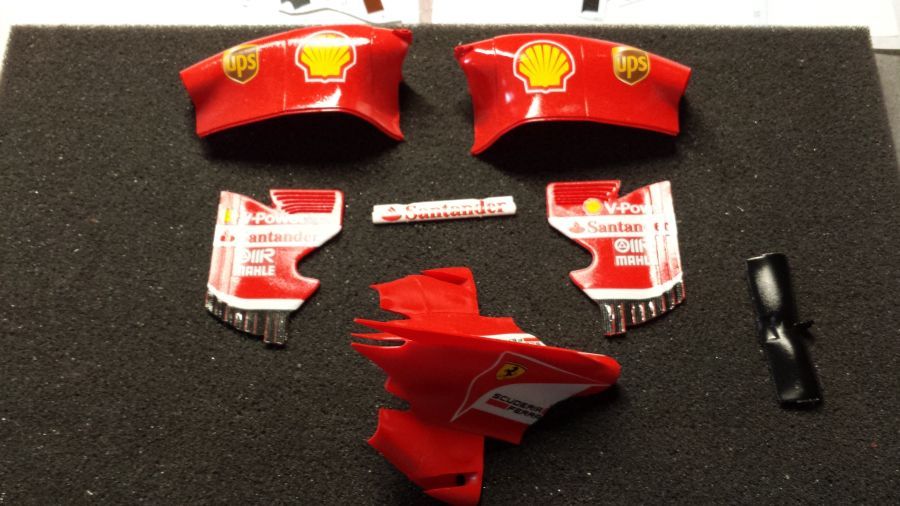
Een paar onderdelen zijn gespoten met Zero Paints ZP-1007 Rosso F10. Daarna met glanslak. Dit laat ik eerst goed drogen voordat ik decals ga aanbrengen. In de tussentijd ga ik de bodem beplakken met de Carbon decals. Dit proces zal wel een tijdje duren.
A few parts have been sprayed with Zero Paints ZP-1007 Rosso F10. Then clear coat has been applied. I will let it dry thoroughly before applying decals. In the meantime i will apply Carbon decals to the floor. I guess it will take some time.
De eerste stappen. De Micro Sol zorgt ervoor dat de decals zacht worden en glad trekken.
The first steps. The Micro Sol will smoothen and straighten the decals.
Meer carbon decals. Stevig werk met deze ietwat stugge decals. Ze scheuren gemakkelijk.
More carbon decals. Tough job with these somewhat stiff decals. They tear easily.
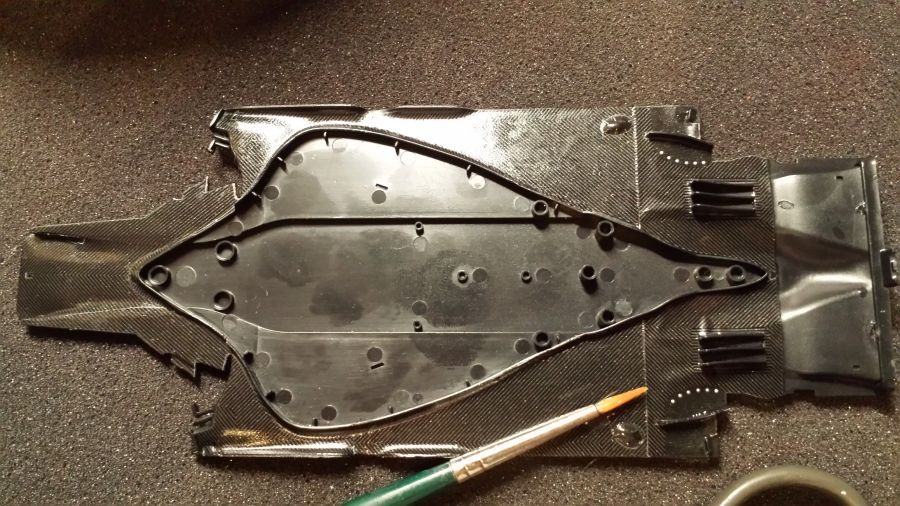
De bodem is klaar na 2 dagen. Zowel de boven- als de onderkant. Ik weet niet of ik deze decals zou moeten spuiten met heldere lak. Zowel de zijdemat als de glanslak lijken me geen goede keus. Ik doe het daarom niet.
The floor is ready after 2 days. The top and down side. I don't know if the decals should be sprayed with clear coat. The semi gloss as well as the gloss version do not seem to be right. Therefor i will not airbrush them.
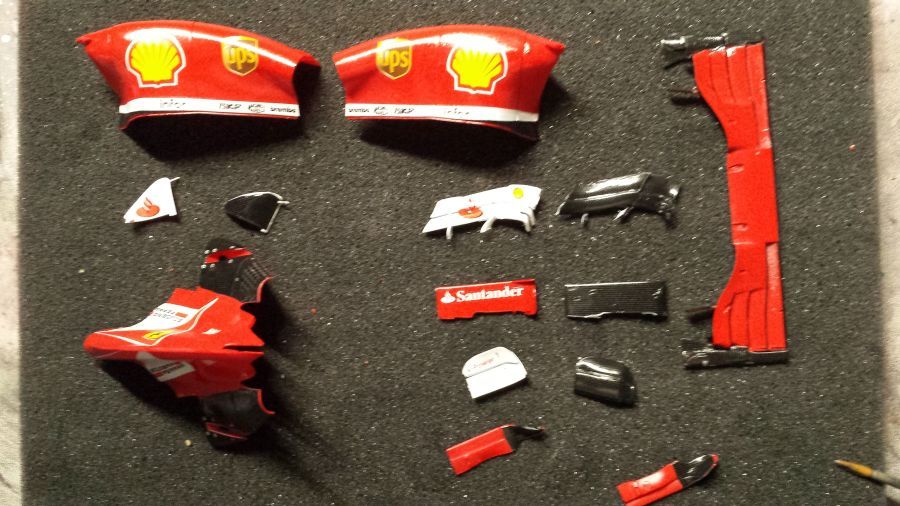
Een aantal vorderingen aan de body en de voorwielophanging.
Some progress on the body and the front wheel suspension.
Hieronder de remmen voor de voorkant.
Below the brakes fro the front side.
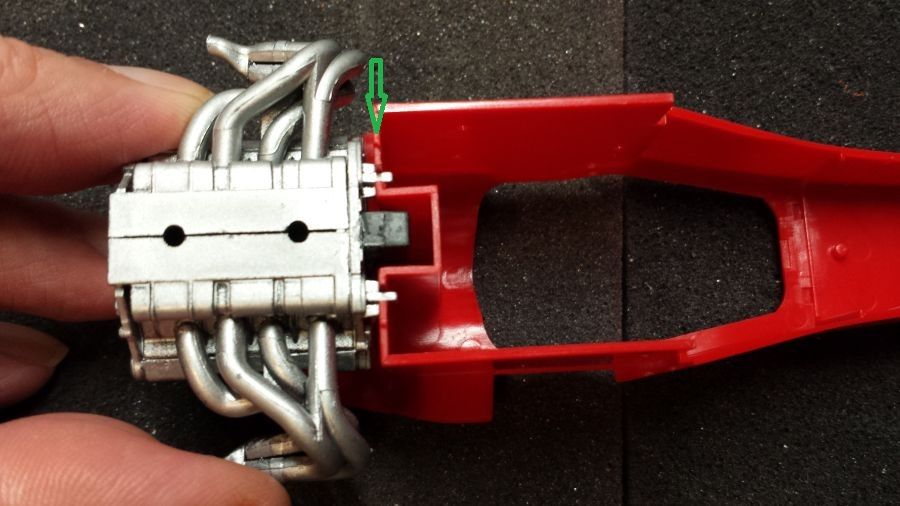
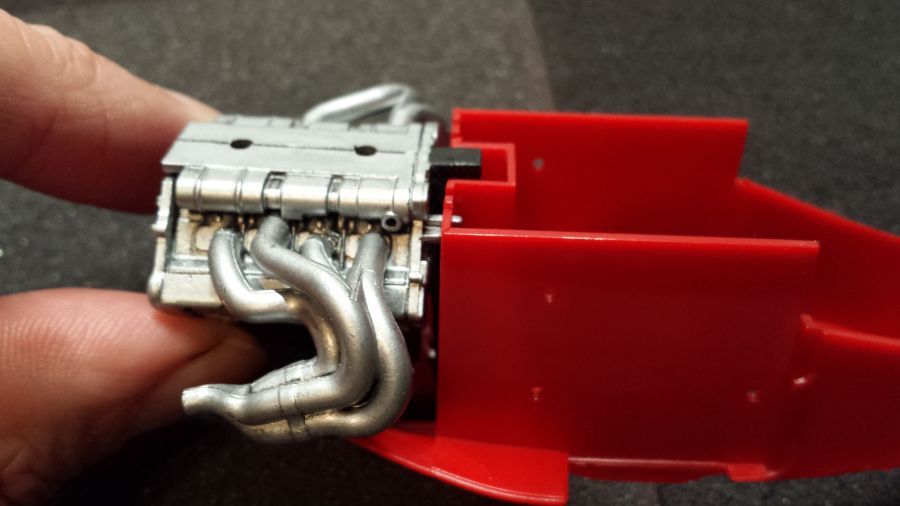
Zoals ik al aangaf, ga ik niet helemaal de instructies volgen in verband met te verwachten problemen. De bouw van de Ferrari F2003-GA Italië ging helemaal mis op dit punt. Ik ga nu de motor eerst aan de bodem bevestigen in plaats van aan de body. Nu maar duimen that het goed gaat. Niet vergeten ook eerst de bescherming van de versnellingsbak aan te brengen.
Like i already said, i will not follow the plans completely, due to expected problems. This is where the build of the Ferrari F2003-GA Italy went wrong. I will first attach the engine to the floor this time, instead of to the body. Cross my fingers this will succeed. Also do not forget to mount the protection of the gearbox.
De remmen zijn aangebracht en het werk aan de ventilatoren is gestart.
The brakes are partly on and working on the ventilators has been started.
Vooruitgang met de body. De remmen en de ventilatoren zijn gemonteerd.
Progress on the body. The brakes and the ventilators have been mounted.
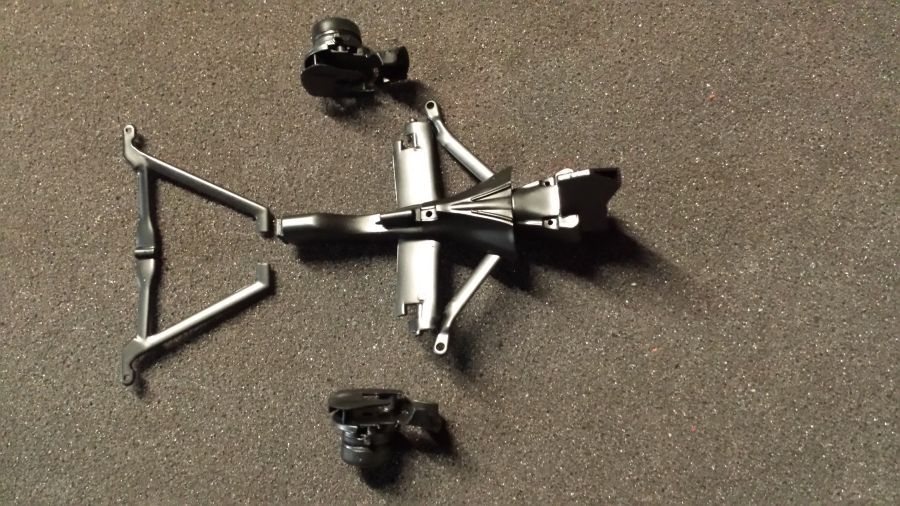
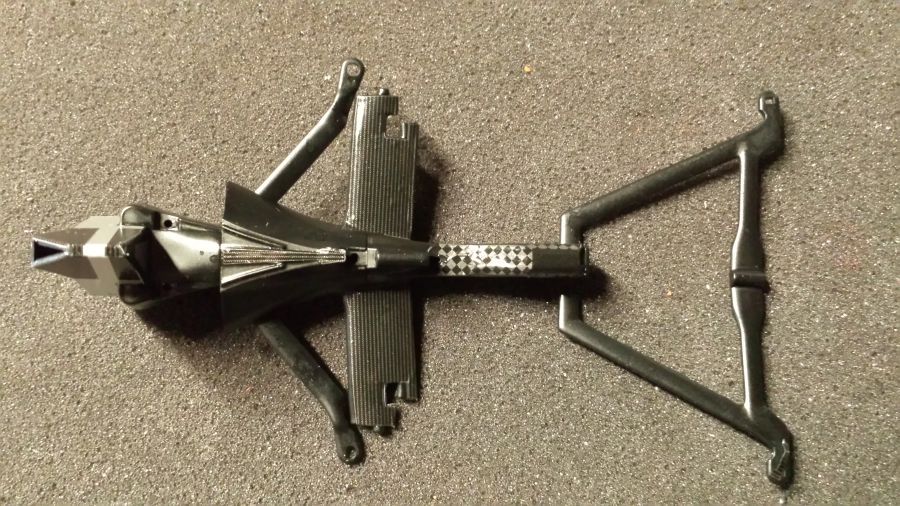
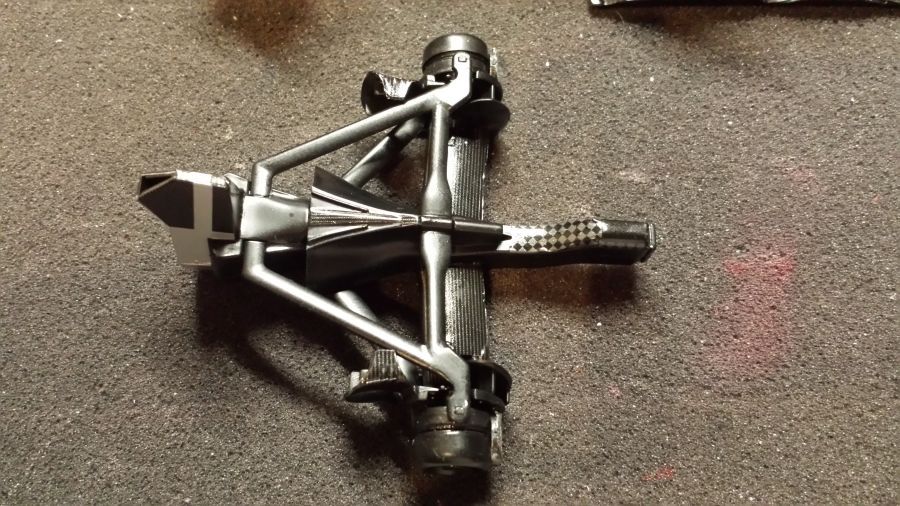
Het werk aan de versnellingsbak en achterwielophanging. Na het in elkaar zetten volgen weer de carbon decals.
The work on the gearbox and rear wheel suspension. After combining again the carbon decals.
De body wordt alvast aan de bodemplaat bevestigd.
The body is mounted to the floor.
Wanneer de achterwielophanging klaar is, wordt deze ook gemonteerd.
When the rear wheel suspension is ready, it is mounted as well.
Vervolgens worden de sidepods en de luchtinlaat in elkaar gezet, geverfd, gelakt, decals aangebracht en weer gelakt.
Then the side pods and air intake are combined, painted, clear coated, decals applied and again clear coated.
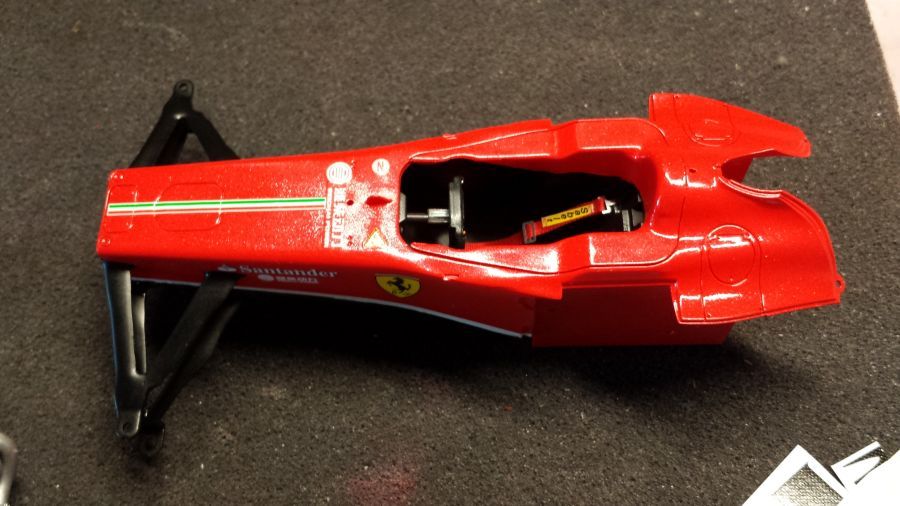
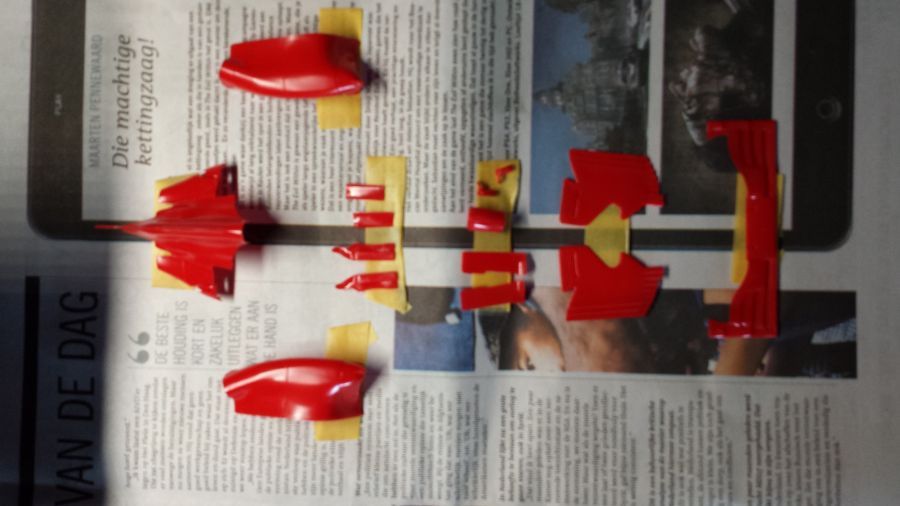
Verschillende onderdelen klaar voor de rode verf.
Several parts are ready for the red paint.
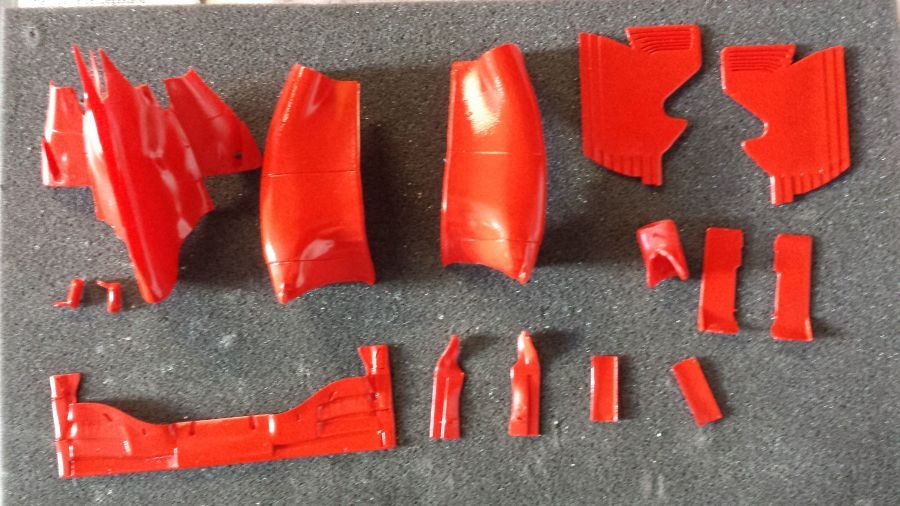
De verf en de heldere lak zit erop.
The paint and clear coat is on.
En het wit.
And the whites.
En de decals.
And the decals.
En meer decals en lak.
And more decals and clear coat.

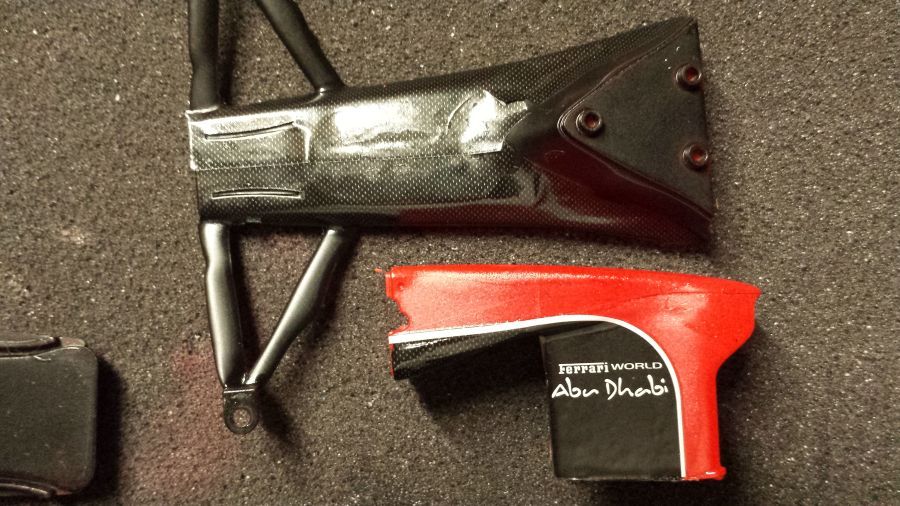
En nog een hoop carbon decals vandaag.
Today again a lot of carbon decals.
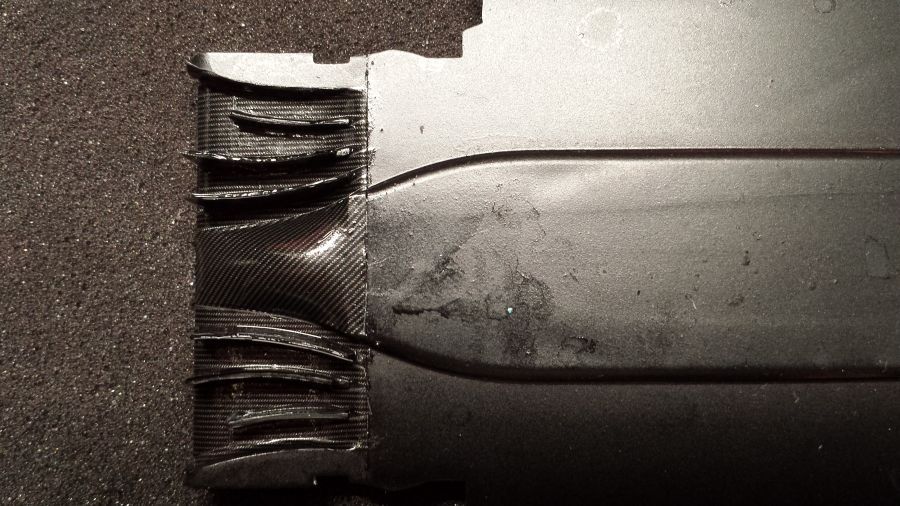
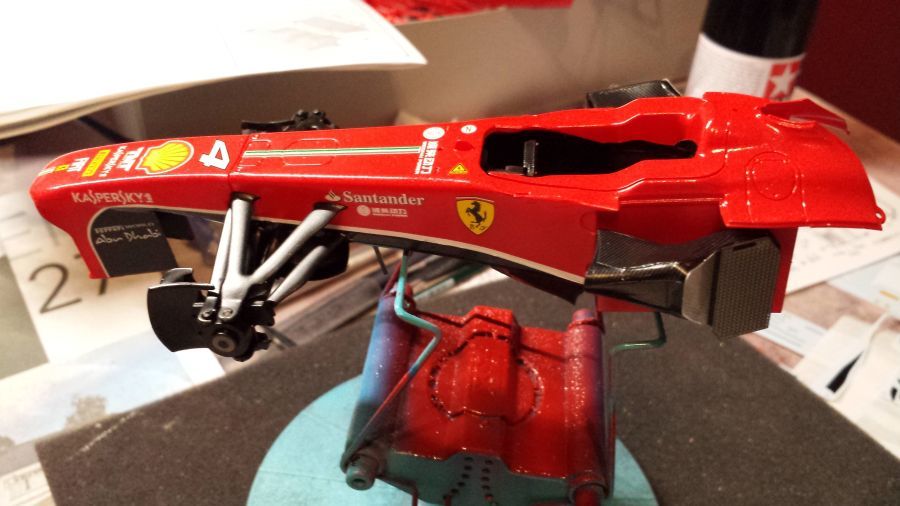
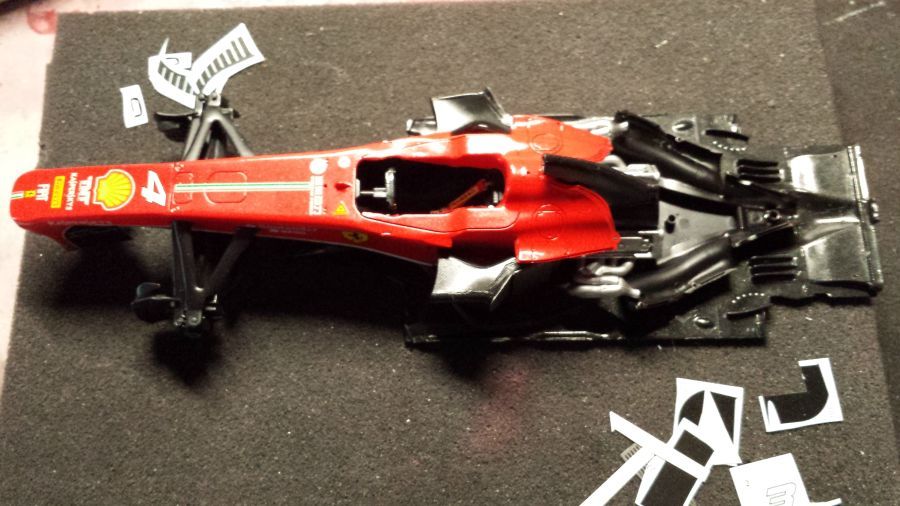
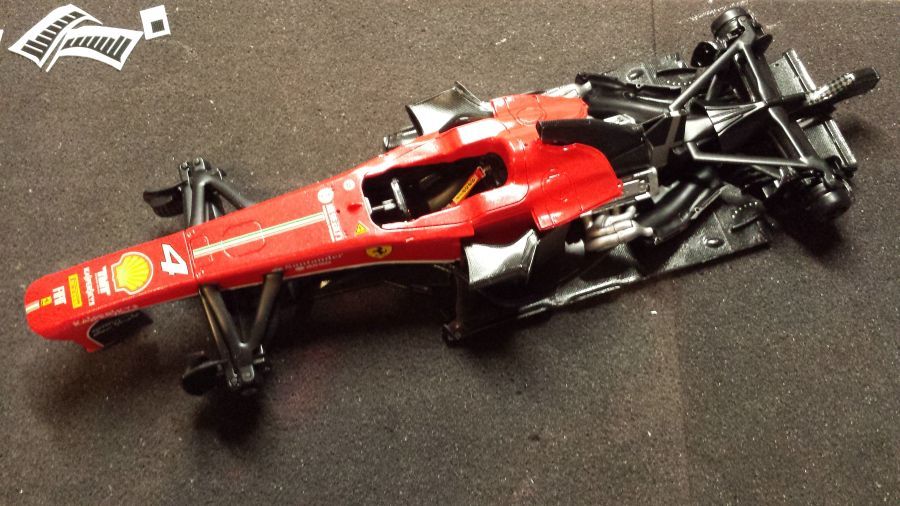
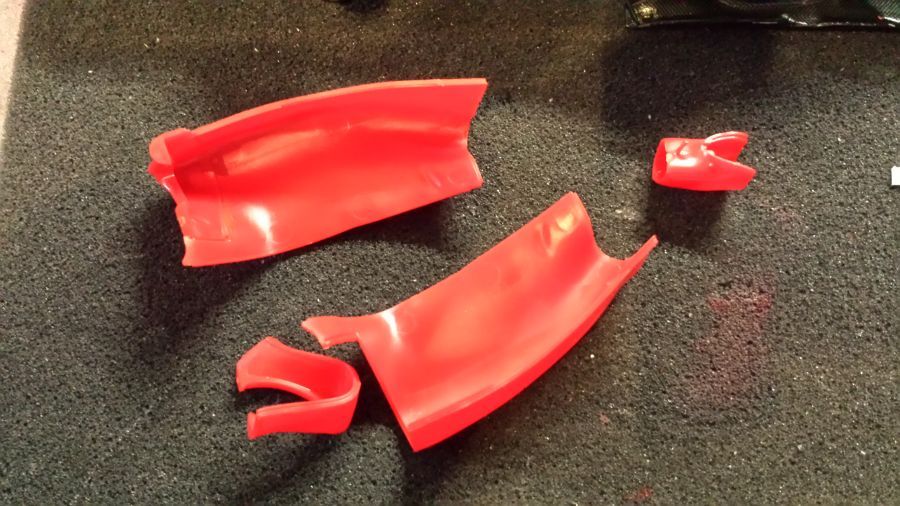
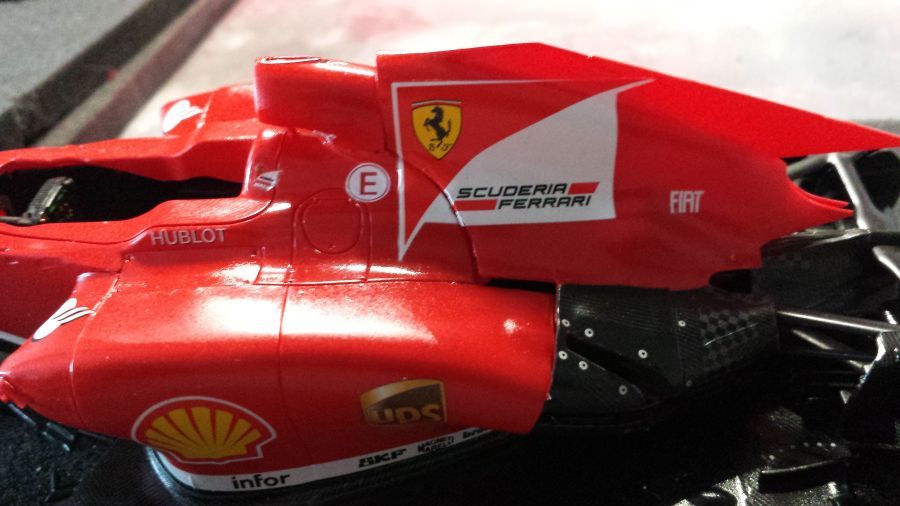
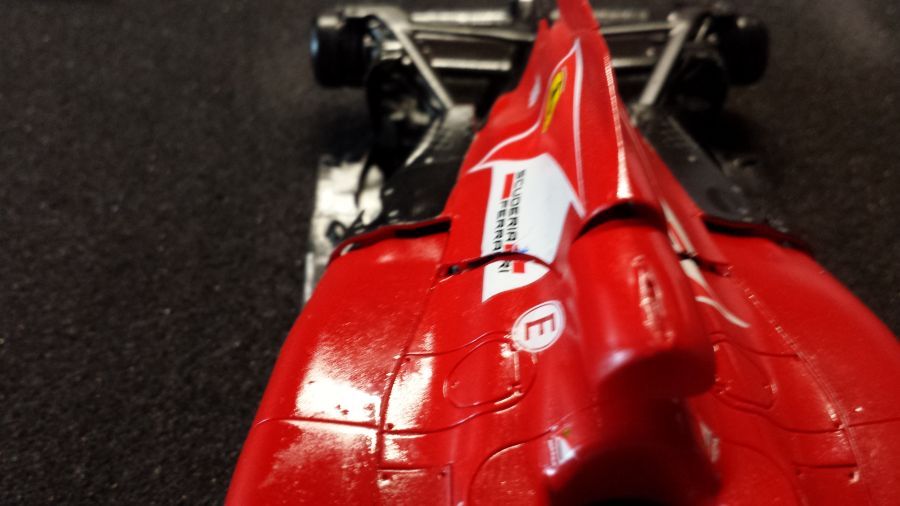
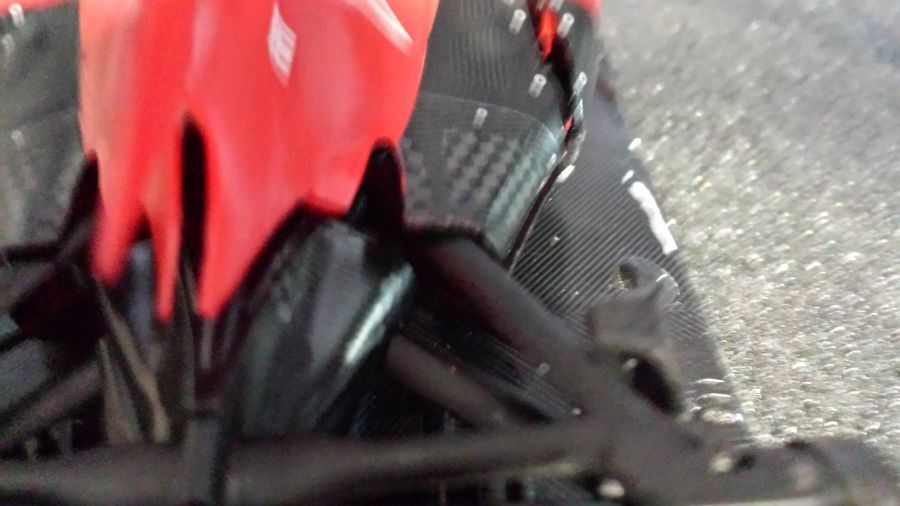
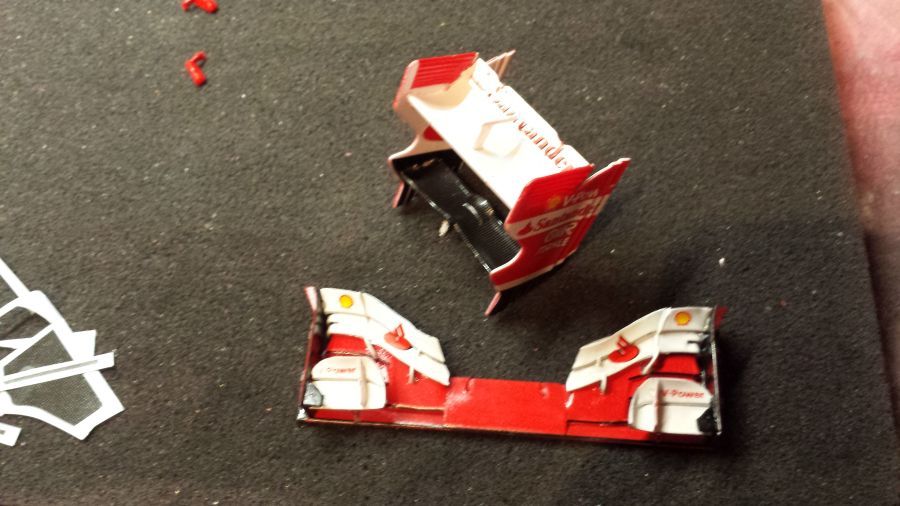
De sidepods zijn gemonteerd. Daarna even de kap geplaatst voor een testfit. Deze sluit niet goed aan bij de sidepods. Het blijkt dat de kap min of meer op de achterwielophanging rust. Volgens mij een pasfout van Fujimi.
The side pods have been mounted. Then the hood has been placed to do a test fit. The hood does not connect well with the side pods. It turns out the hood rests more or less on the rear wheel suspension. In my opinion a fit failure from the side of Fujimi.
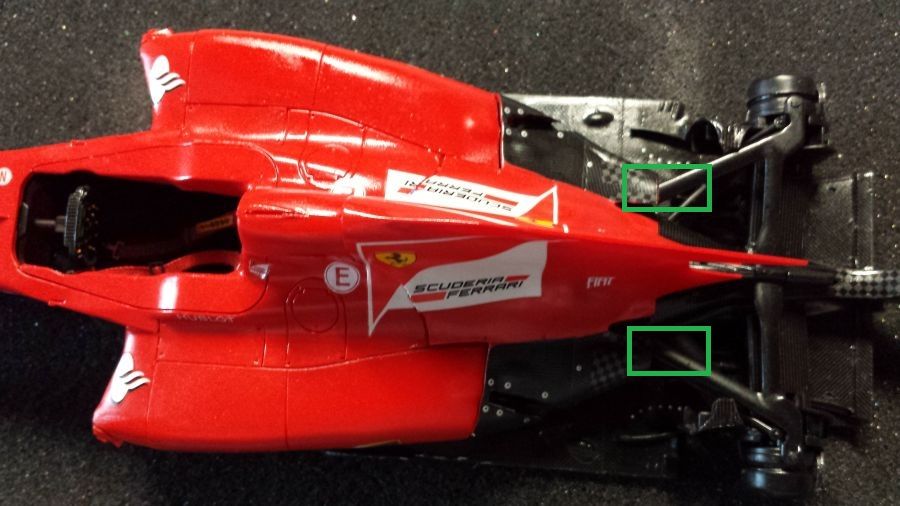
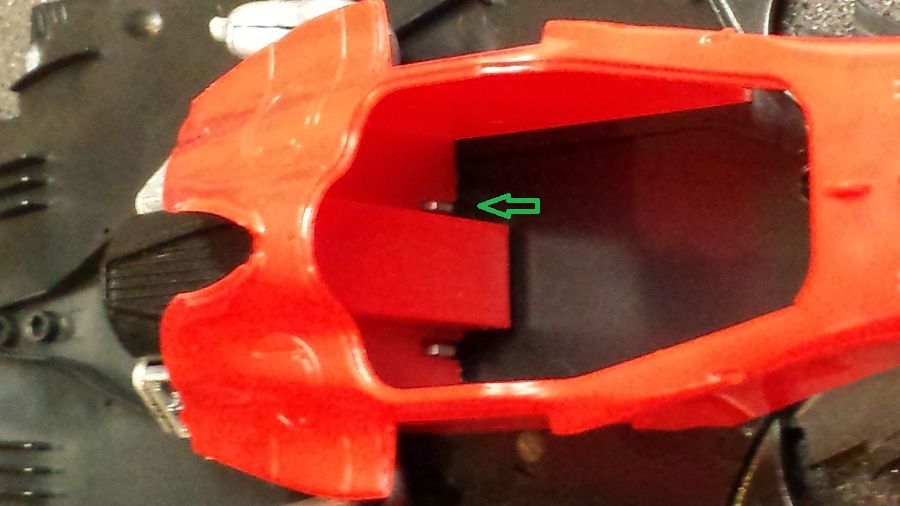
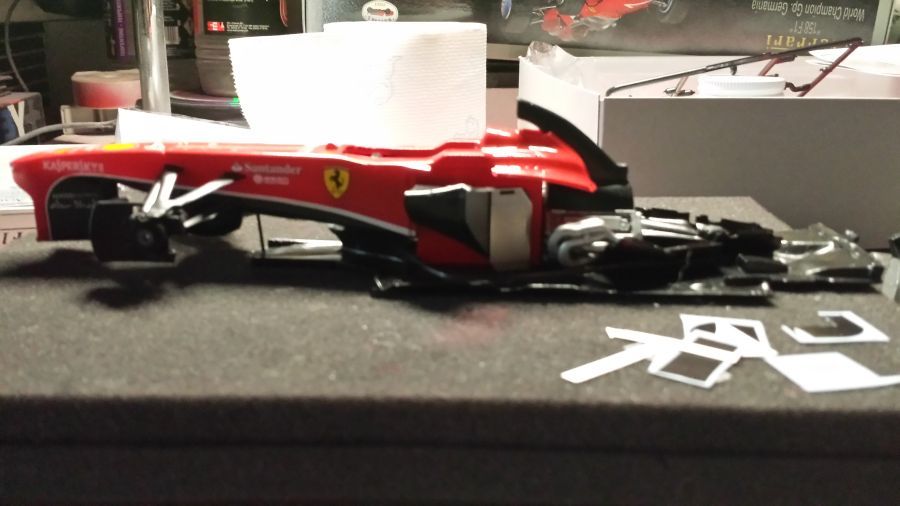
Ik kan maar 1 oplossing bedenken. Doorsnijden op de groene punten en de armen wat lager aan de bak weer vastmaken.
I can only come up with 1 solution. Cut the arms at the green points and reattach them somewhat lower to the gear box.
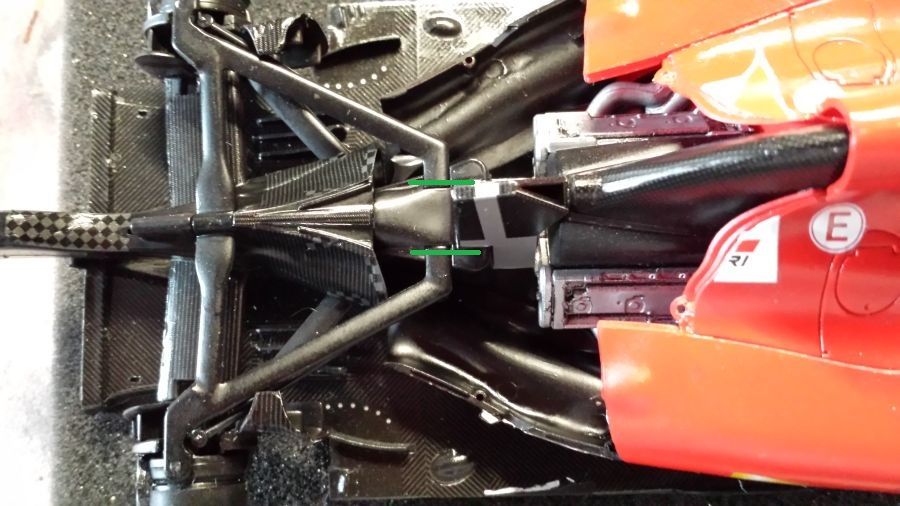
Het resultaat is niet perfect, maar stukken beter.
The result is not perfect, but much better.

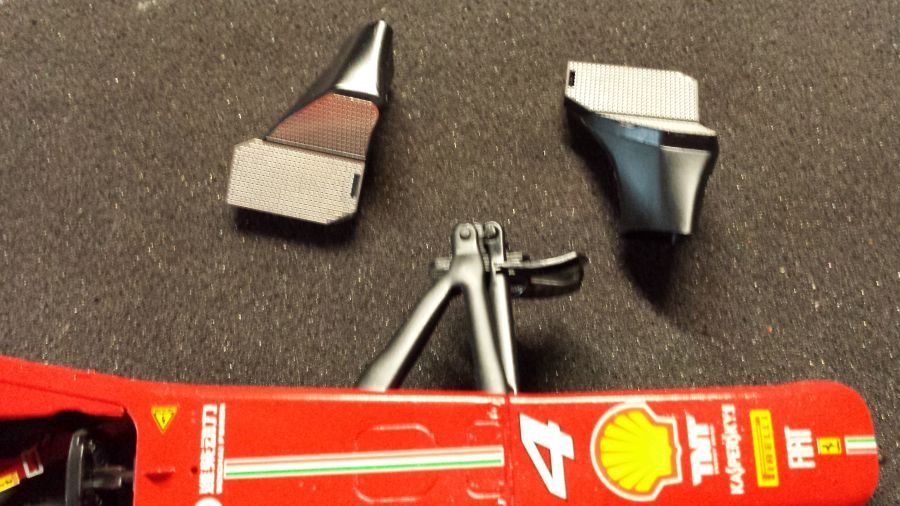
De voor- en achtervleugel zitten in elkaar.
The front and rear wing are put together.
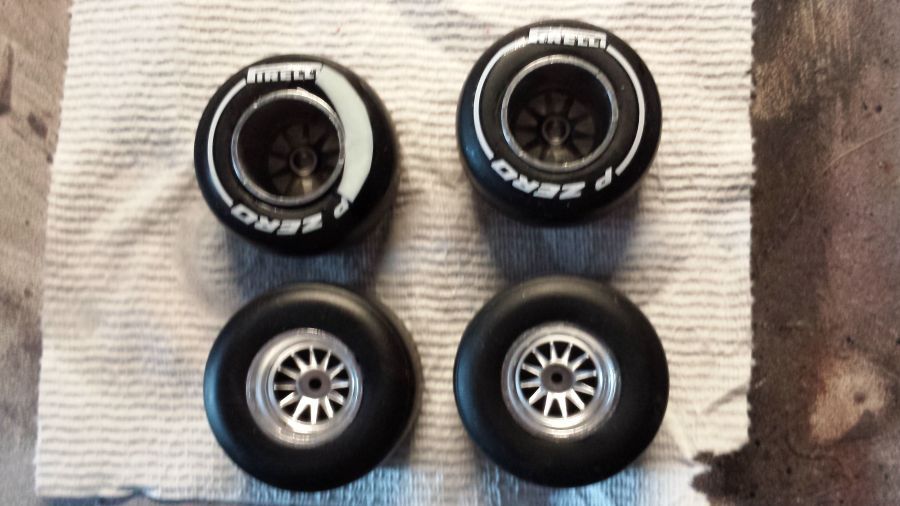
Bandentijd. Ik krijg het nooit 100% goed. Altijd net niet precies rond. Ben ik de enige?
Tire time. I never get this 100% correct. Always not exactly a circle. Am i the only one?
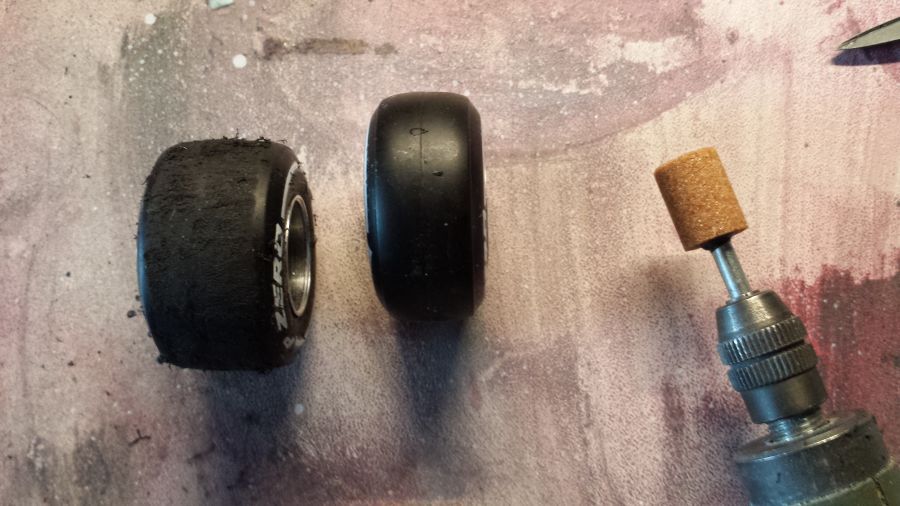
Het opruwen van de banden.
Tire rubbing.
En daarna monteren.
And then mount them.

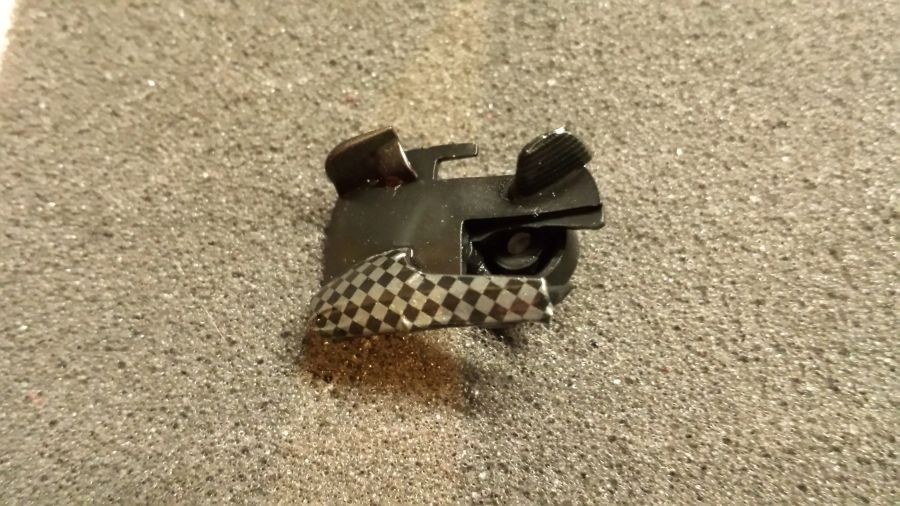
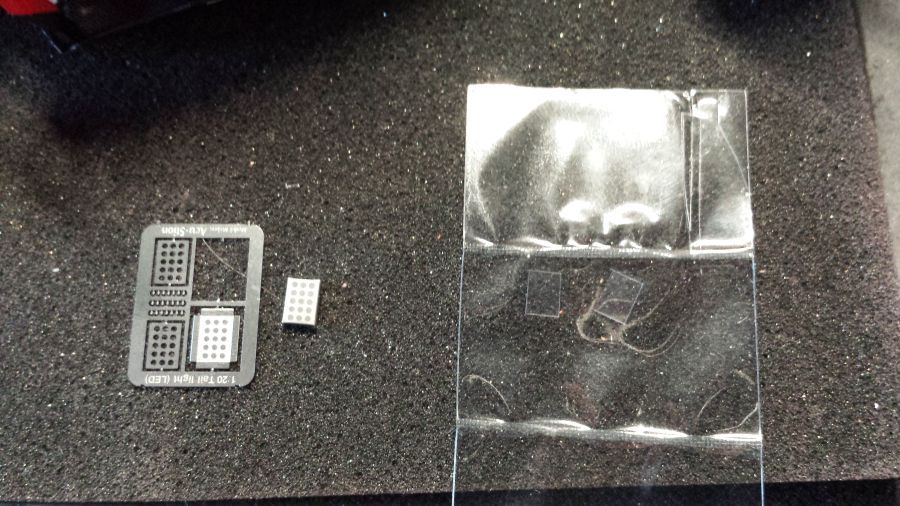
Vervolgens het achterlicht.
Next the tail light.
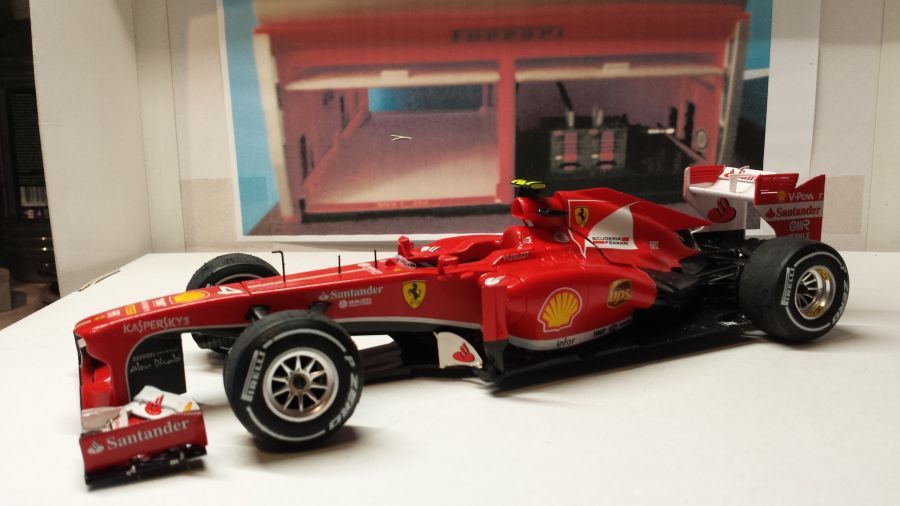
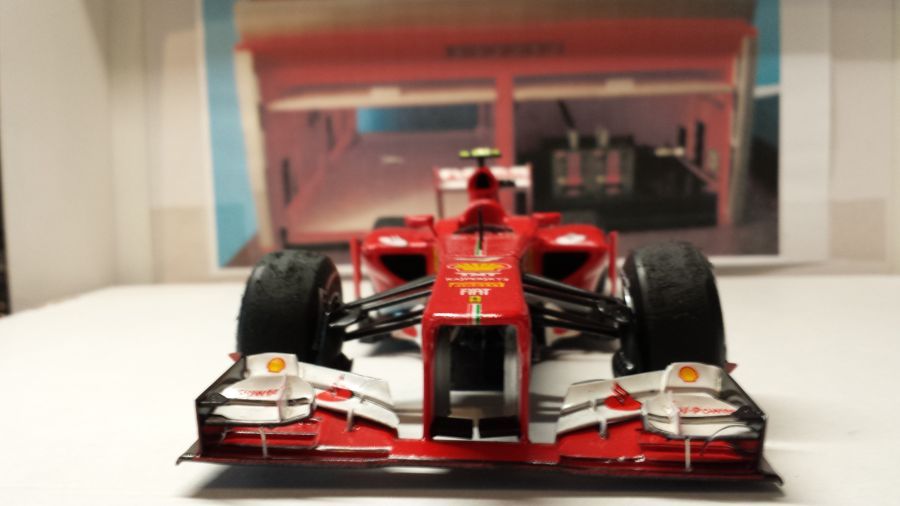
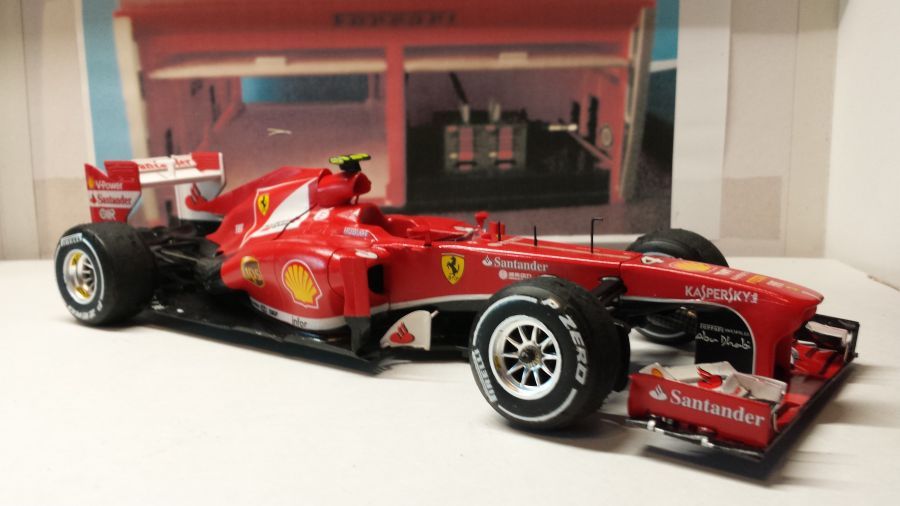
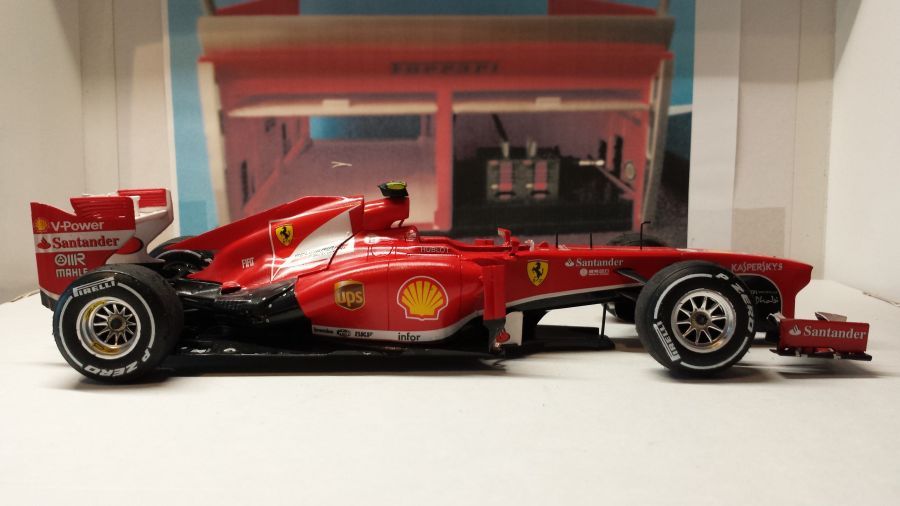
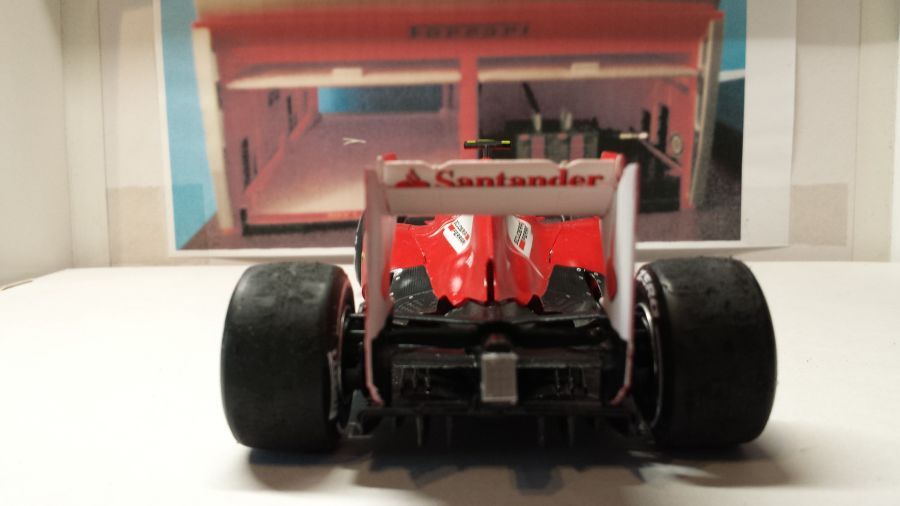
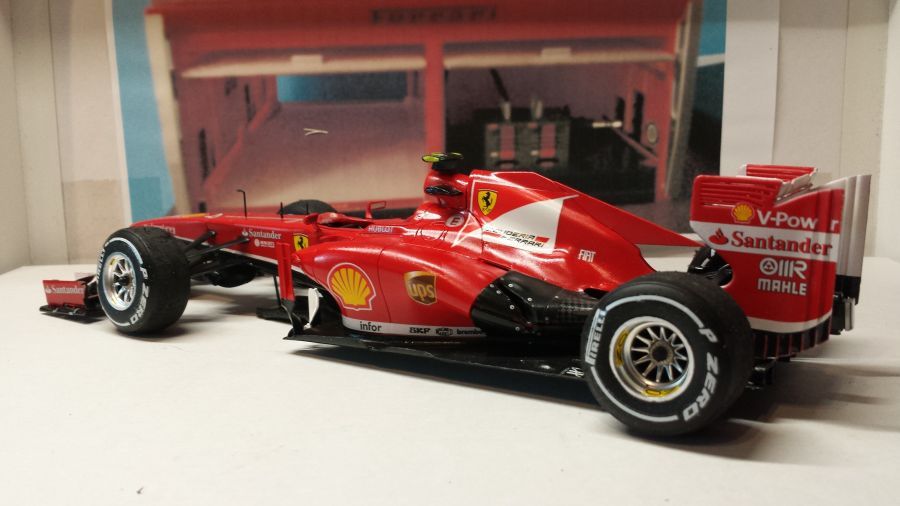
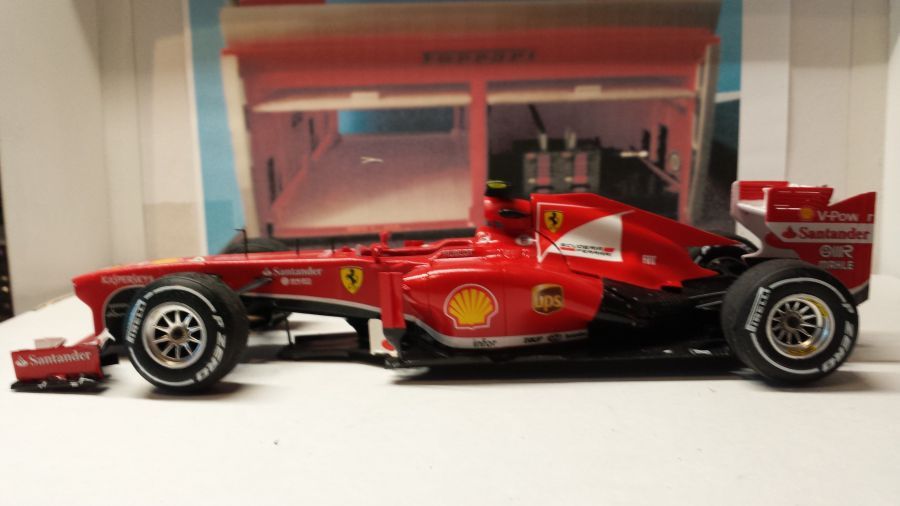
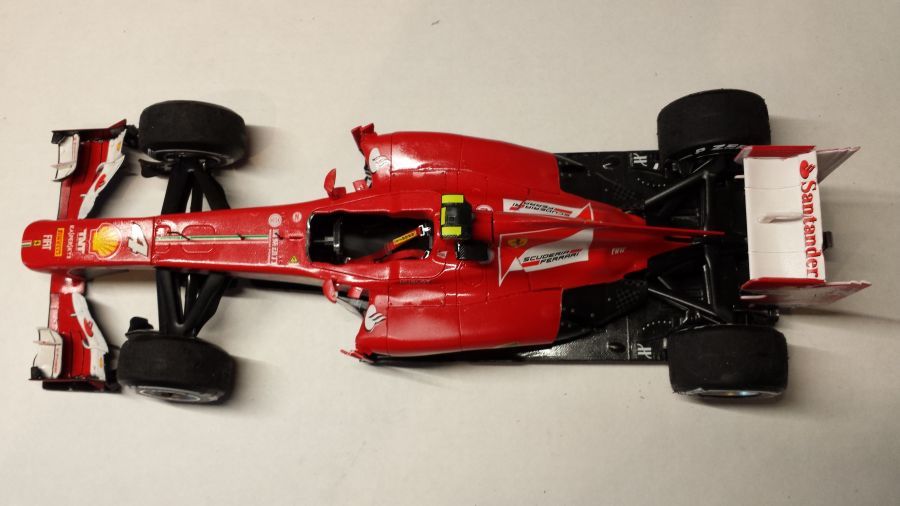
Wat kleine werkzaamheden aan de camera, antennes en spiegels en er is weer 1 klaar.
Some small work on the camera, antennas and mirrors and another 1 is ready.