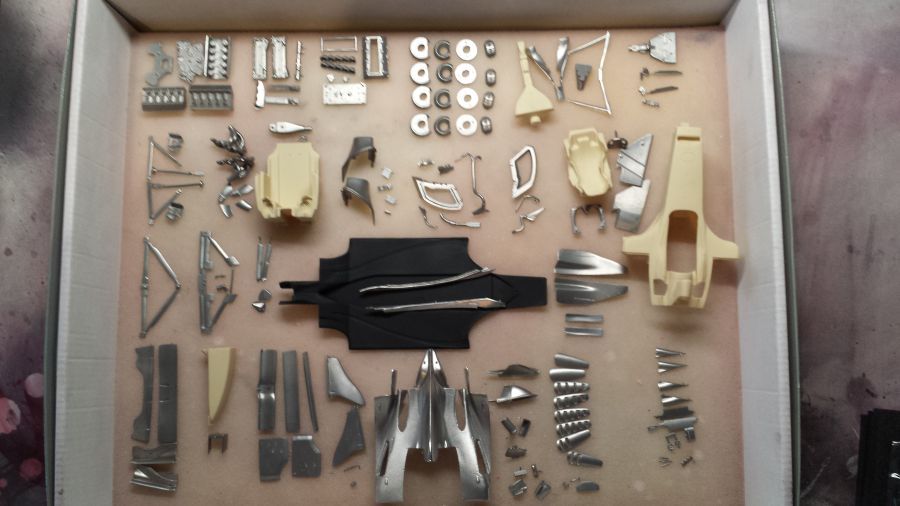
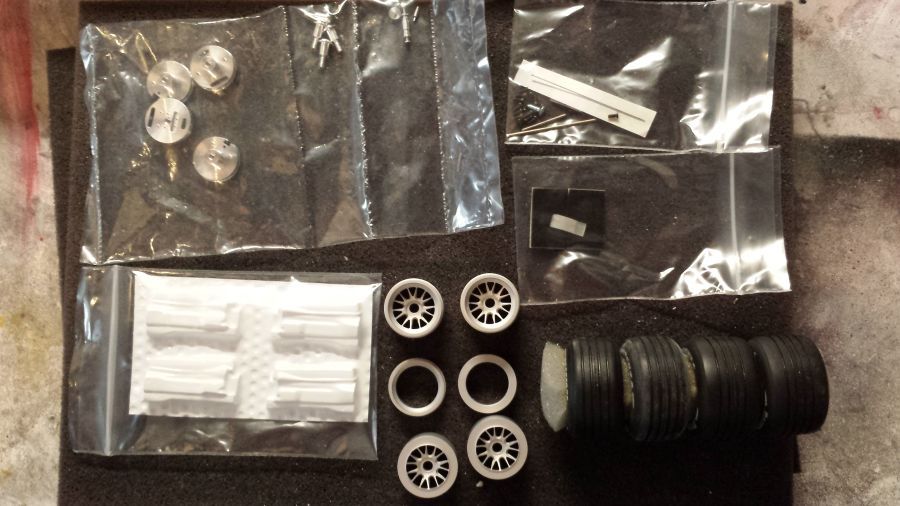
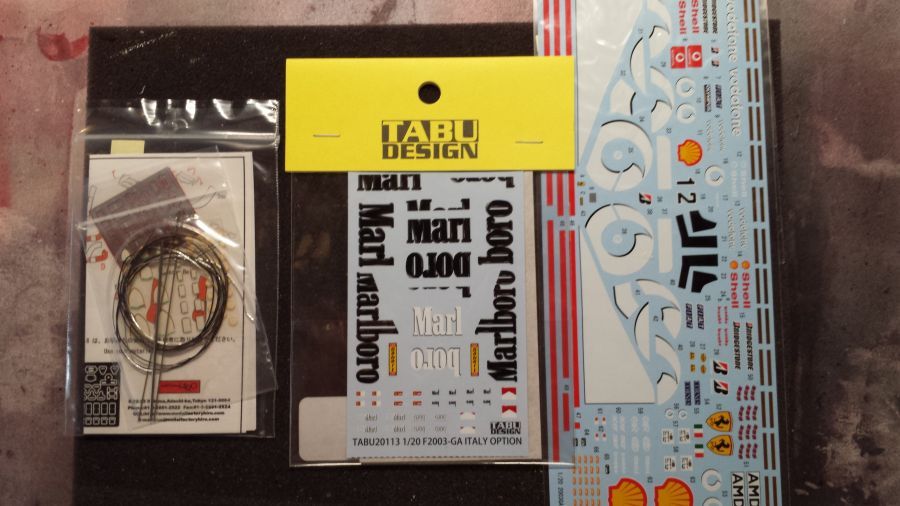
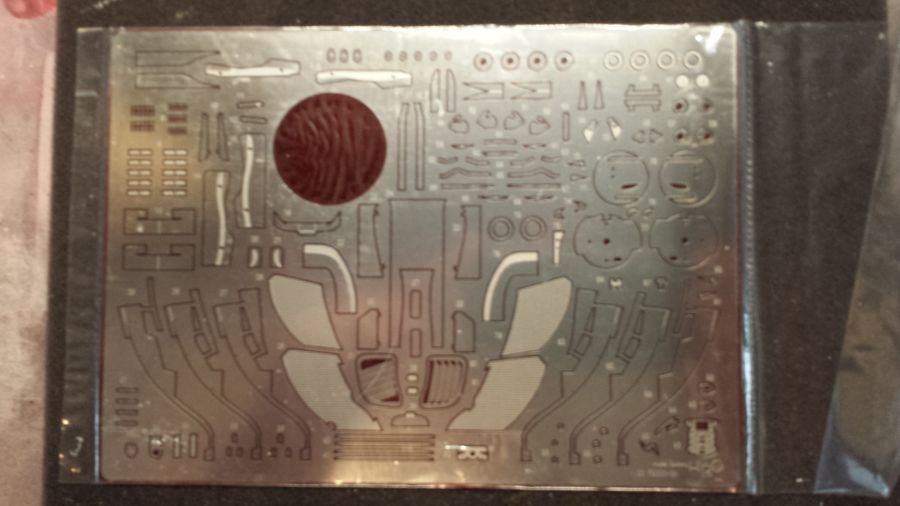
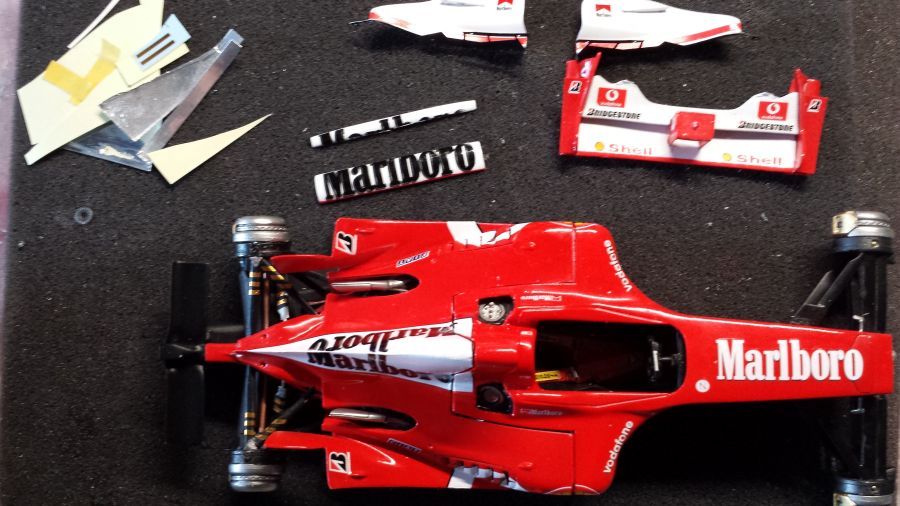
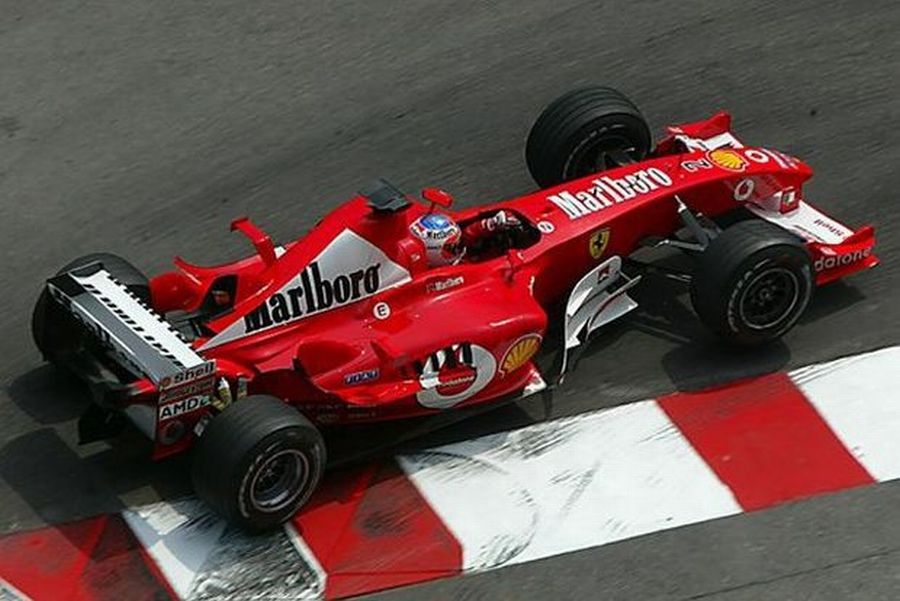
Hieronder de beschrijving van de bouw van een 2003 Ferrari F2003-GA Italy zoals bestuurd door Rubens Barrichello. De kit is van Modelfactory Hiro (Kitnr. K-140). Als extra heb ik de tabak decals gekocht. Eerst weer de foto's van de inhoud van de kit.
Below the build of a 2003 Ferrari F2003-GA Italy, as driven by Rubens Barrichello. This is a kit from Modelfactory Hiro (Kitno. K-140). As an extra i have bought the tobacco decals. First the pictures of the content of the kit.
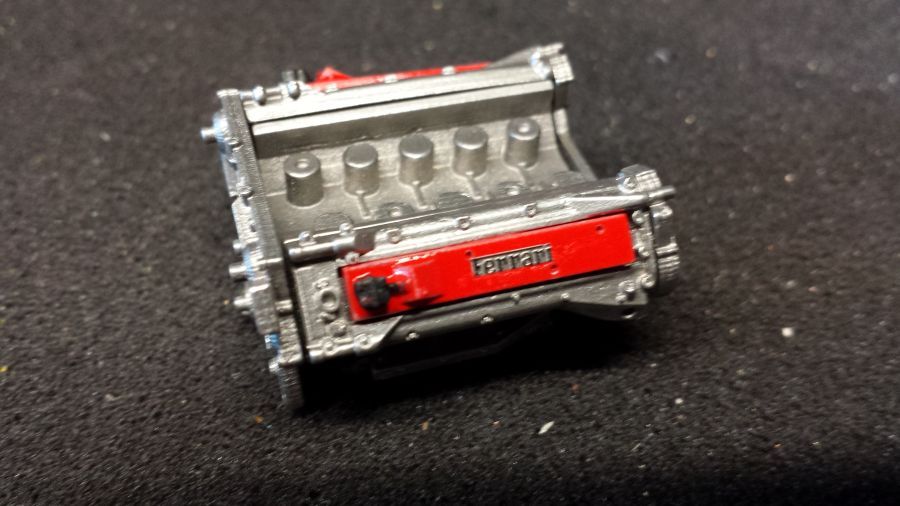
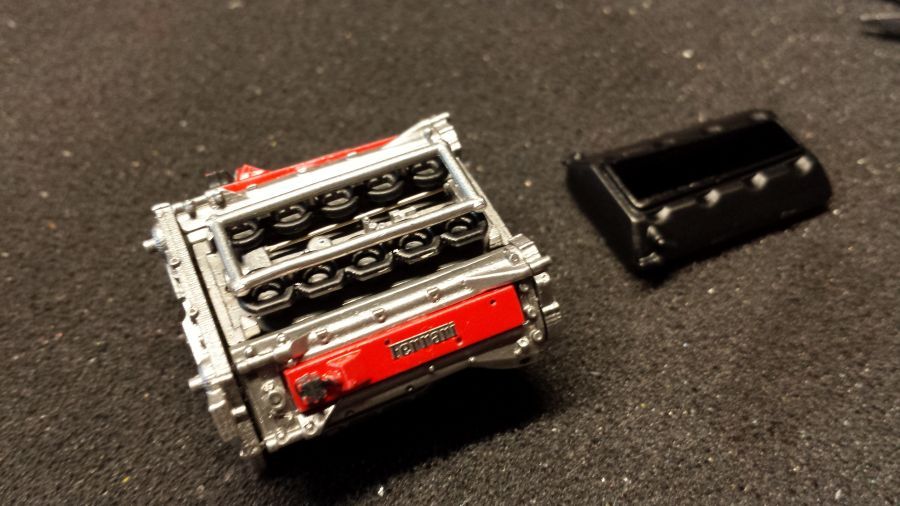
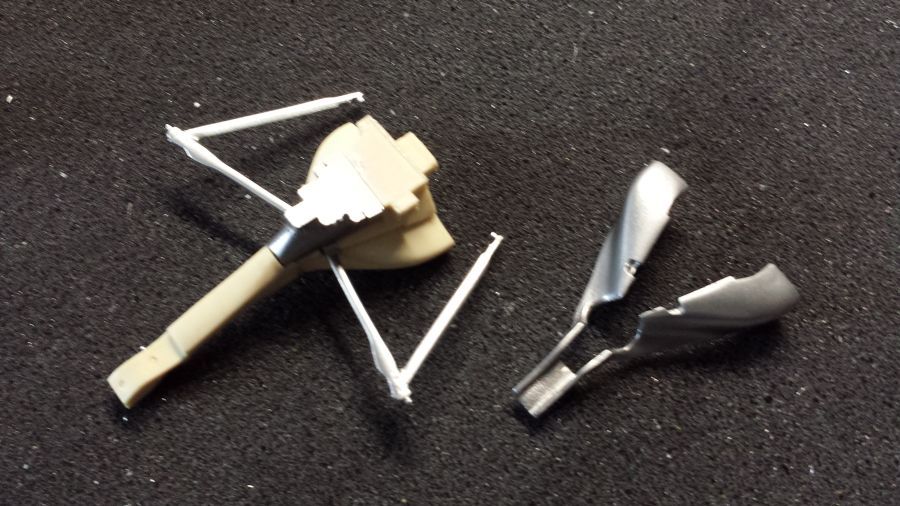
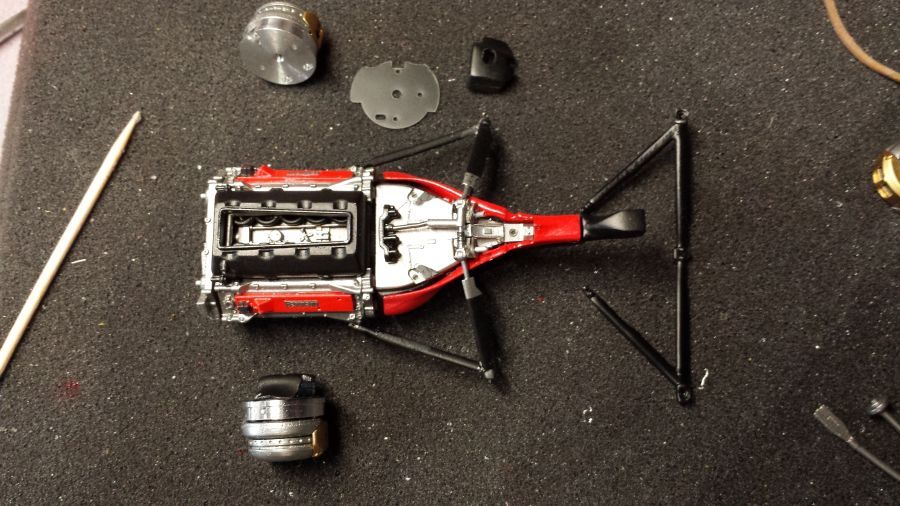
De eerste stappen aan de motor.
The first steps on the engine.
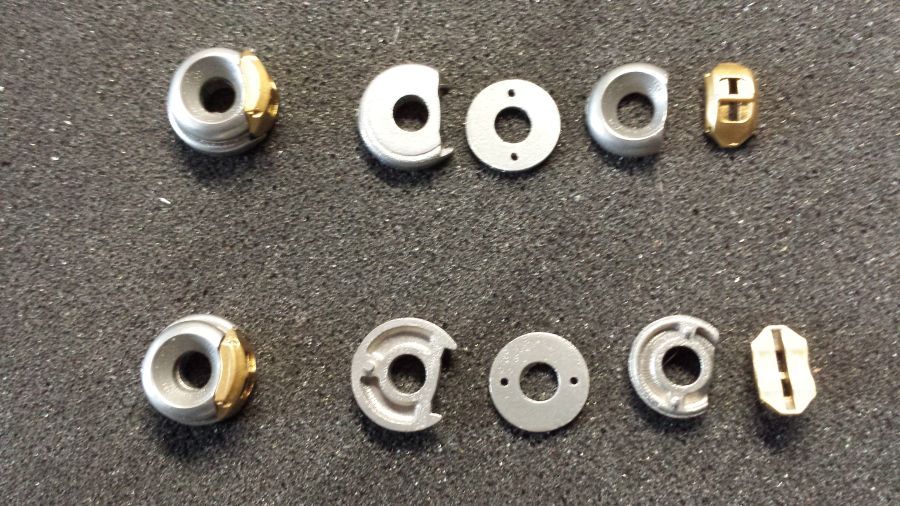
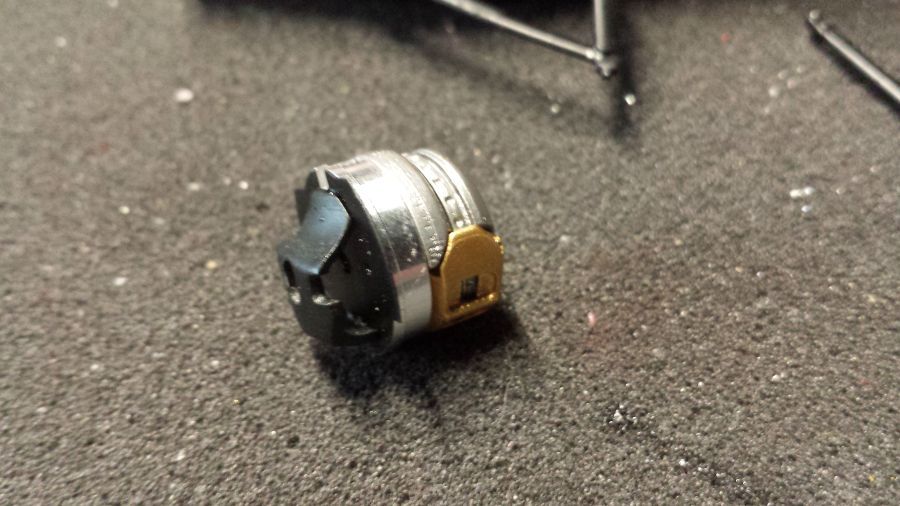
De remtrommels zijn aan de beurt.
Next are the brake discs.
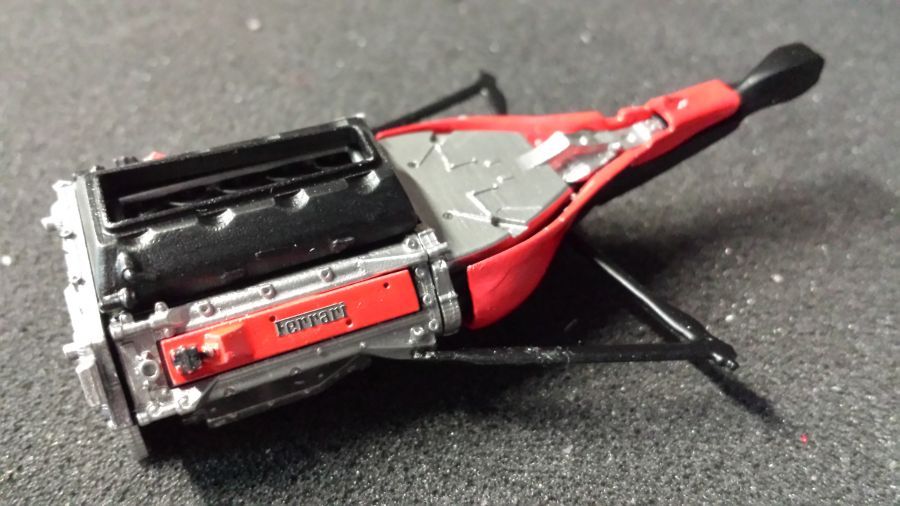
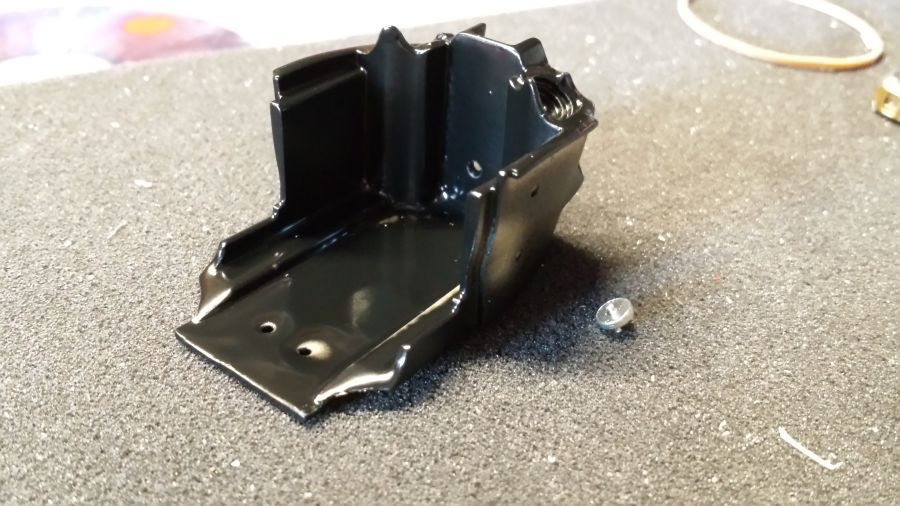
De versnellingsbak. Het linker deel wordt zwart gespoten, het rechter deel rood met Zero Paints ZP-1007 Pre-2004 Rosso Formula 1.
The gear box. The left parts will be painted black, the right part red with Zero Paints ZP-1007 Pre-2004 Rosso Formula 1.
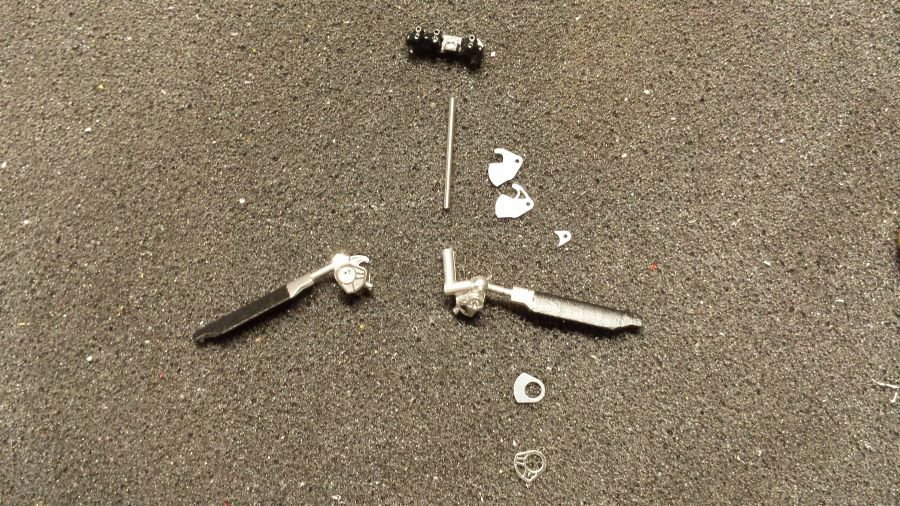
Daarna de remtrommels.
Then the brakes.
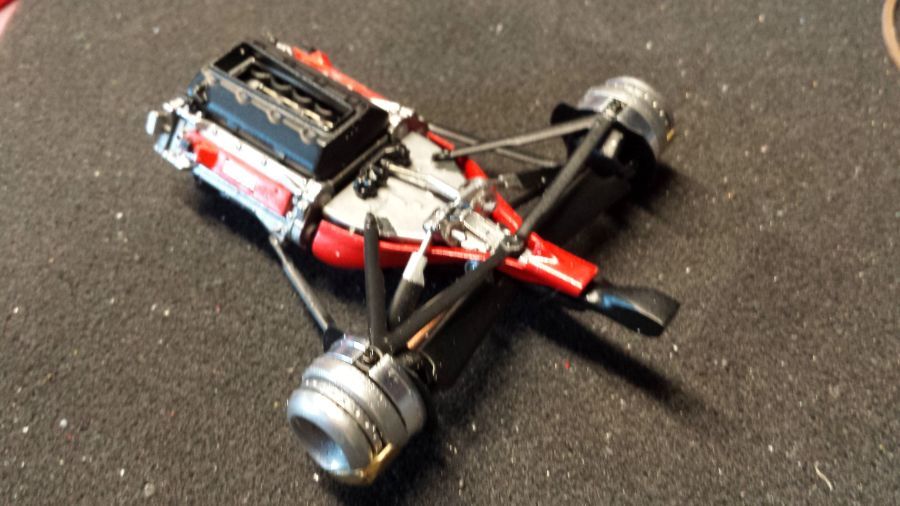
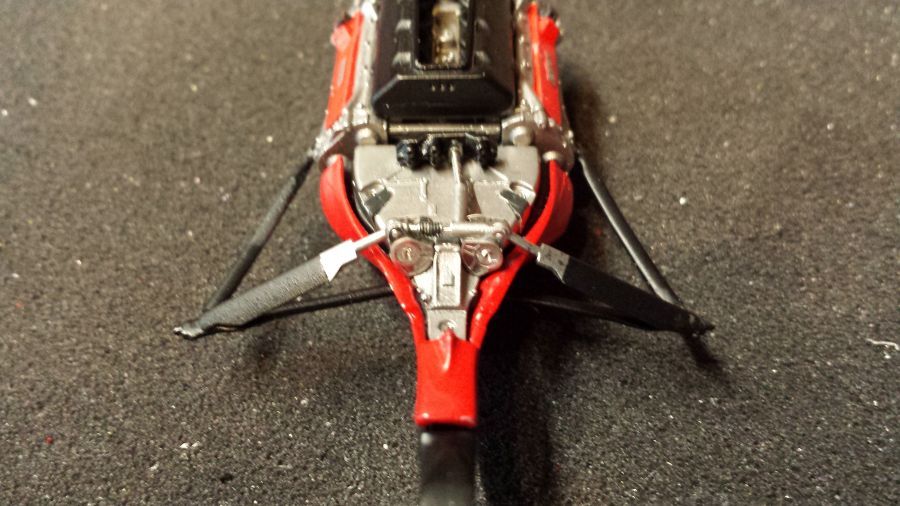
Hier is wat bedrading aangebracht.
Here some wiring has been applied.
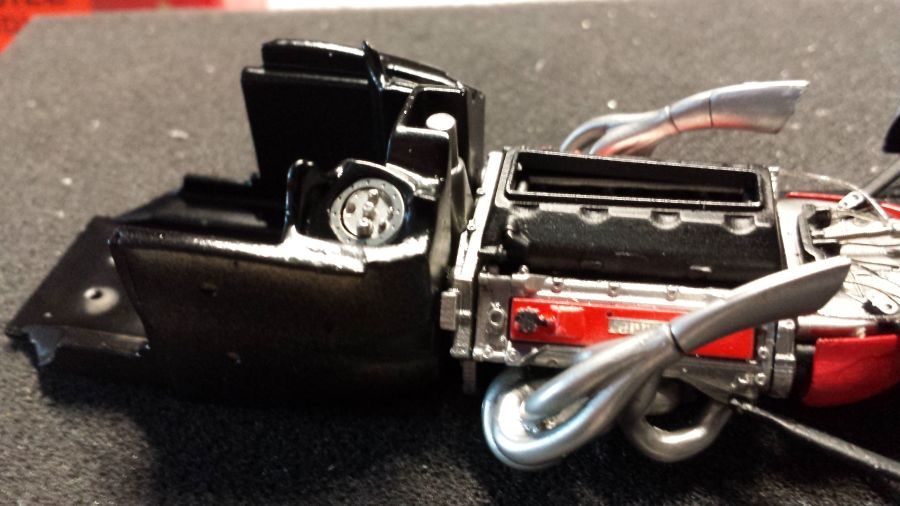
Daarna komt de monocoque.
Next is the monocoque.
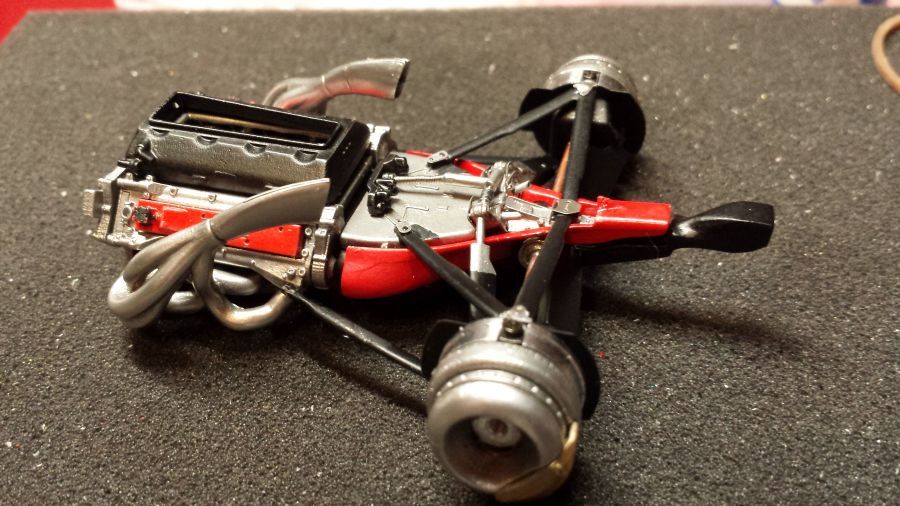
De vulopeningen zijn aangebracht en het geheel is aan de motor gemonteerd.
The filler caps have been applied and everything was attached to the engine.
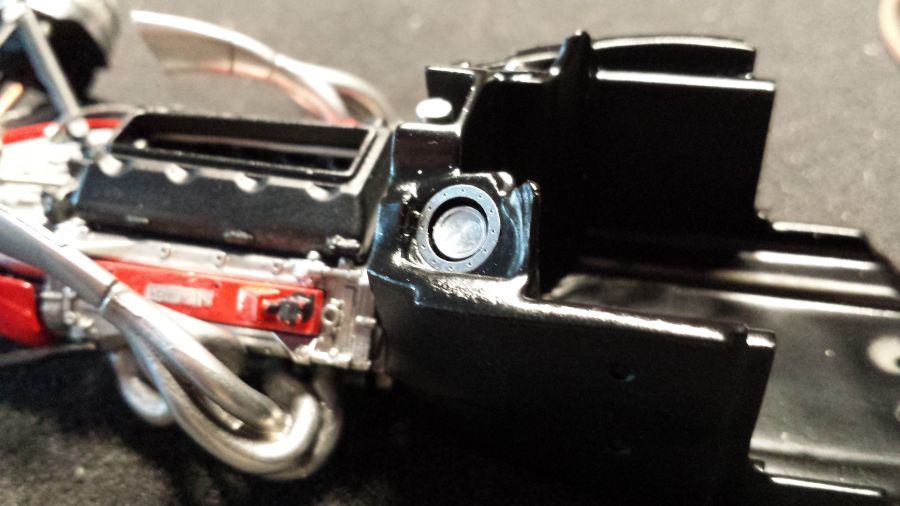
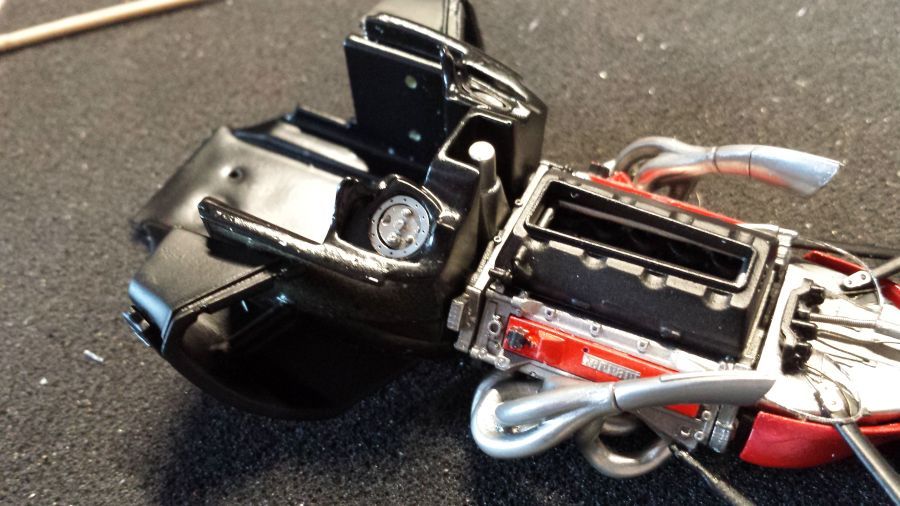
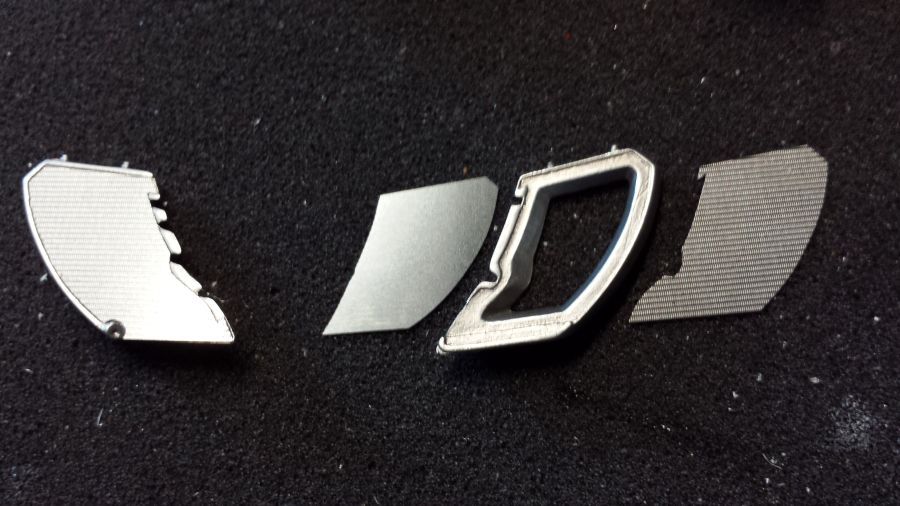
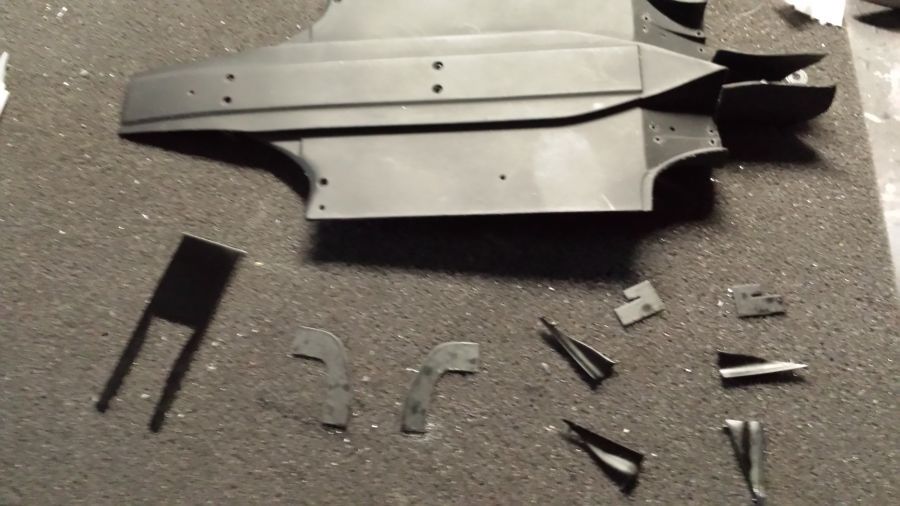
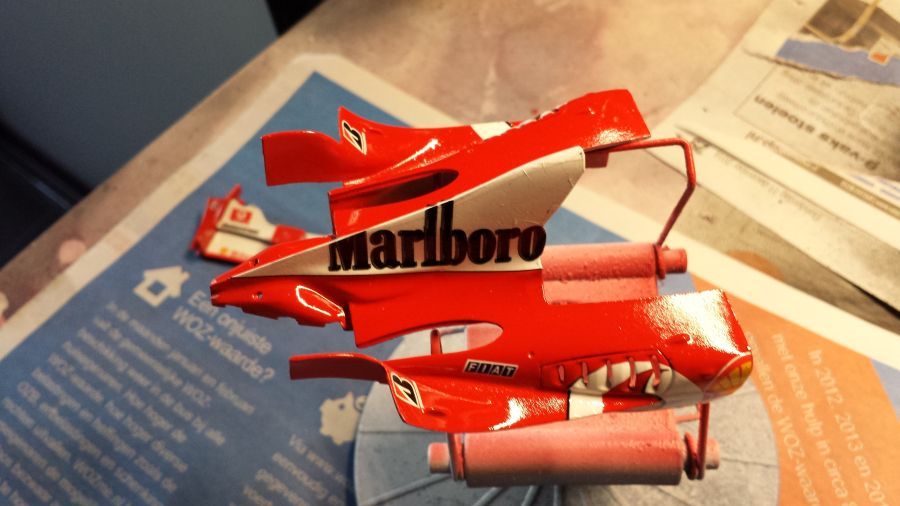
Verder met de side pods.
Continuing with the side pods.
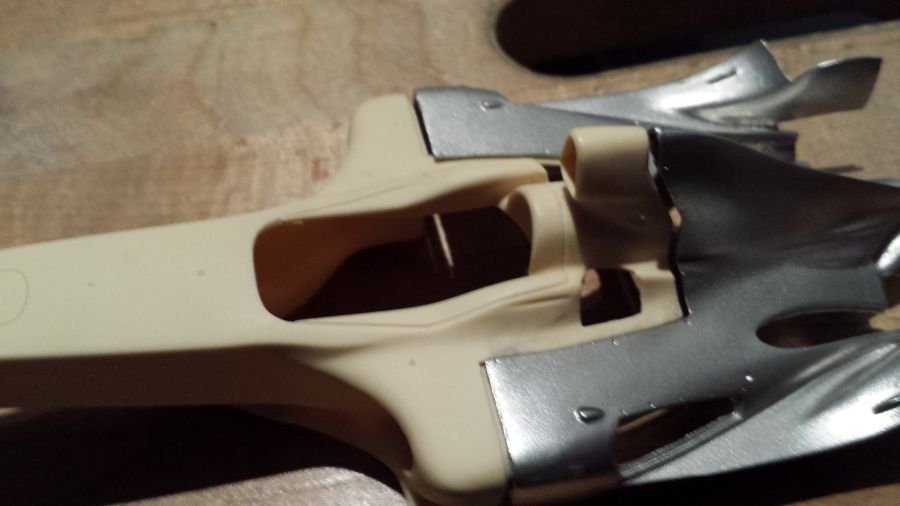
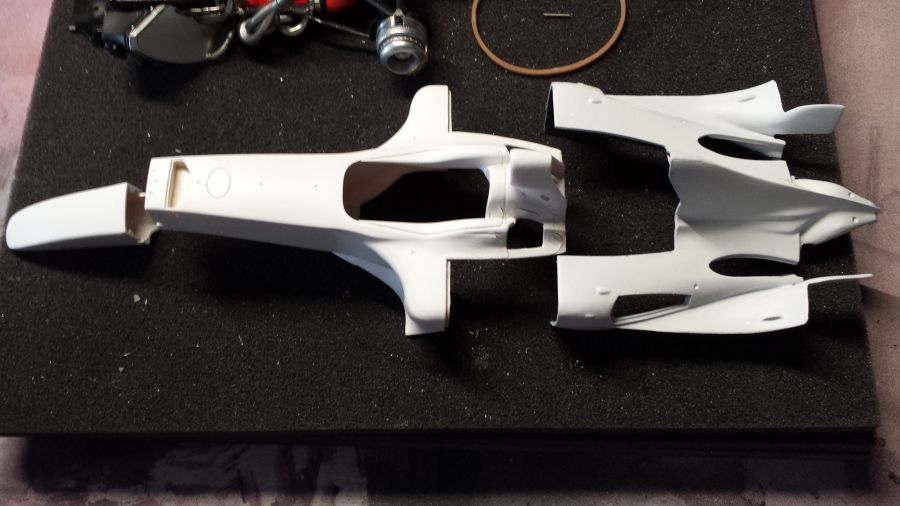
De hoofddelen van de romp passen niet zonder meer. Veel werk dus om dit passend te krijgen. Om de mogelijke schade aan het reeds gebouwde te beperken, ga ik eerst hier mee aan de gang, voordat ik het stuur e.d. plaats.
The main parts of the hull don't fit. So a lot of work ahead to make it fit. To minimize possible damage to the part that has been built, i will do this before attaching the wheel etc..
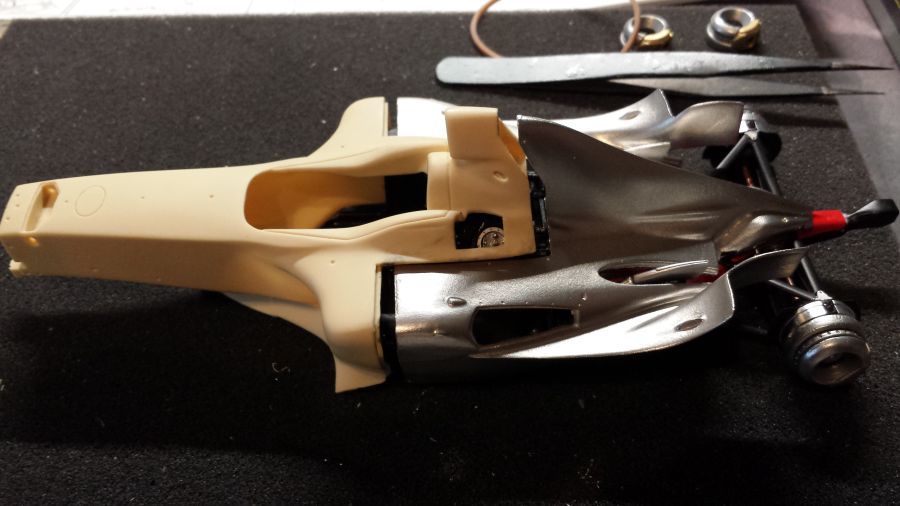
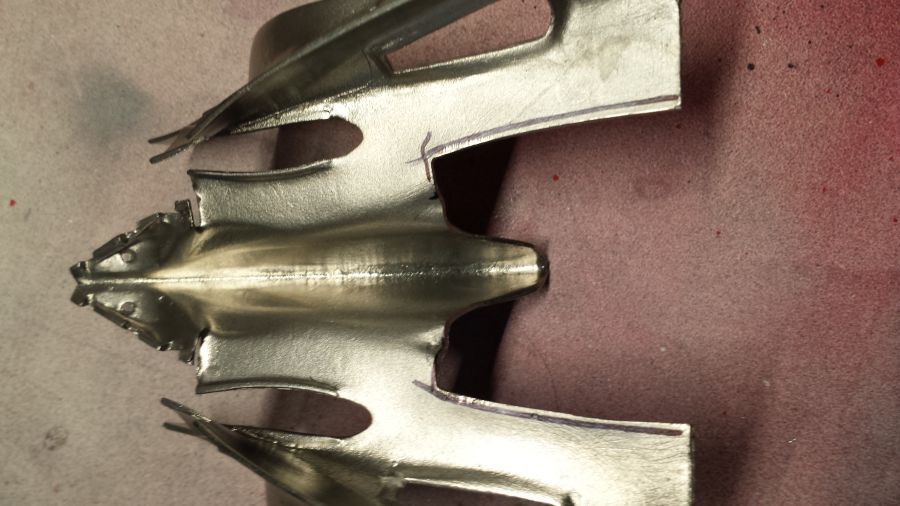
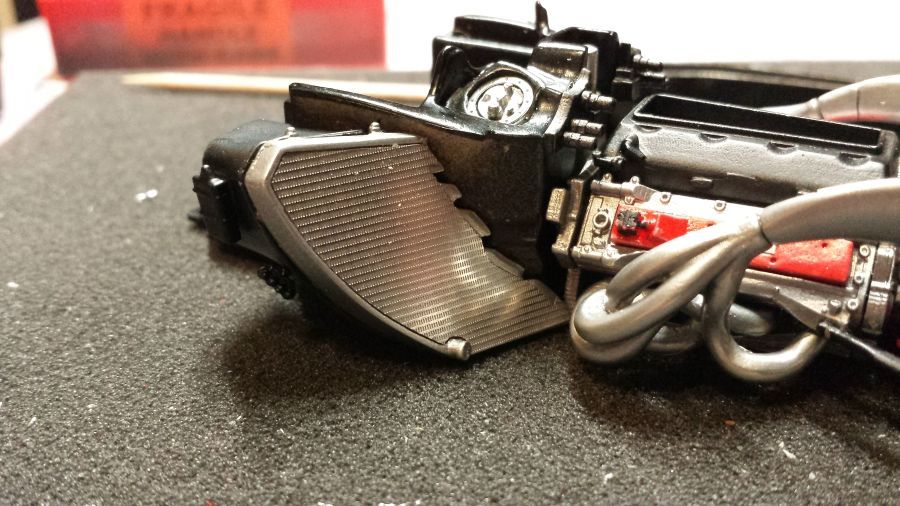
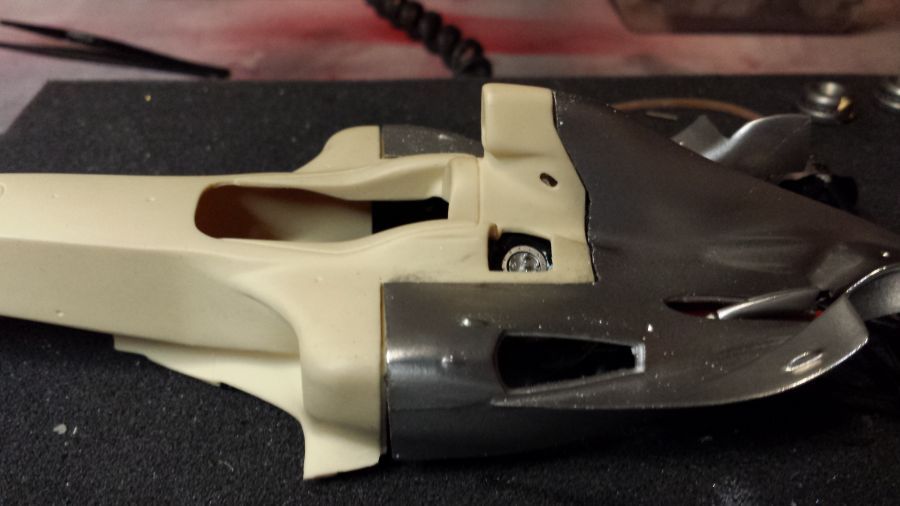
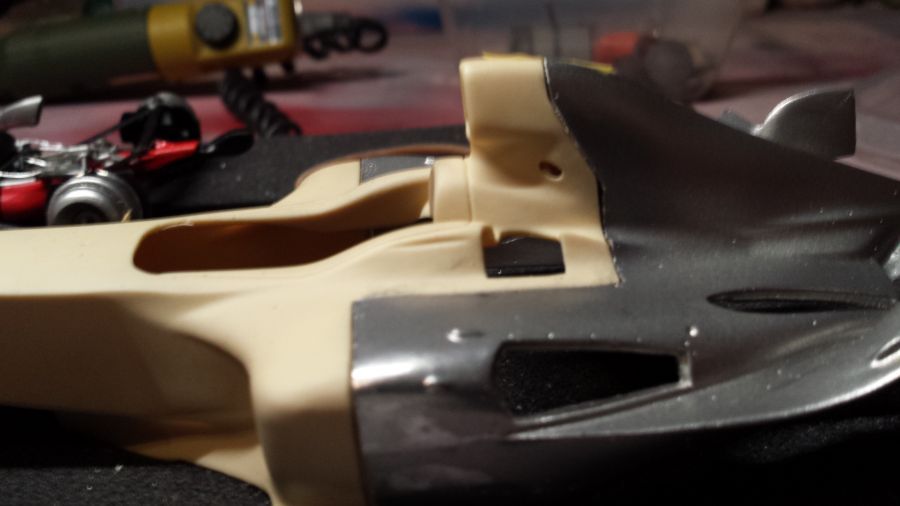
De probleem gebieden zijn aangepakt en na wat werk ziet het er een stuk beter uit.
The problem areas have been worked on and it looks far more better now.
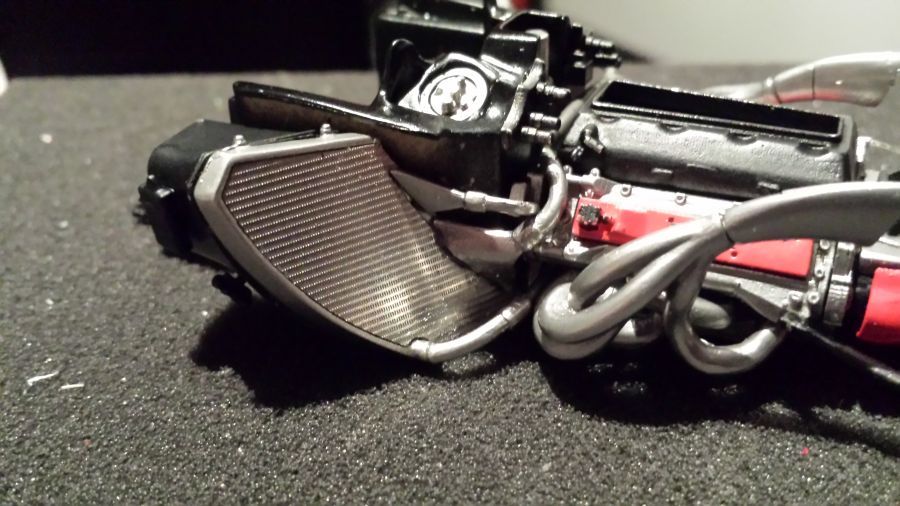
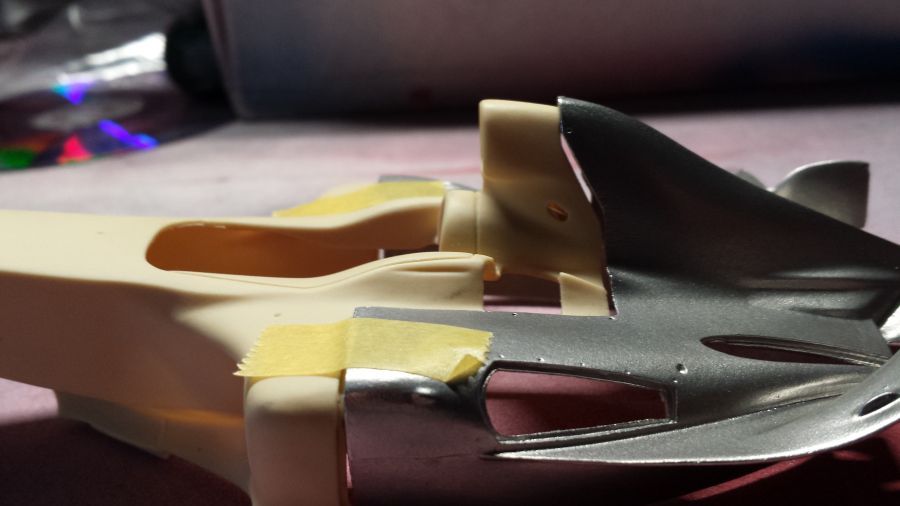
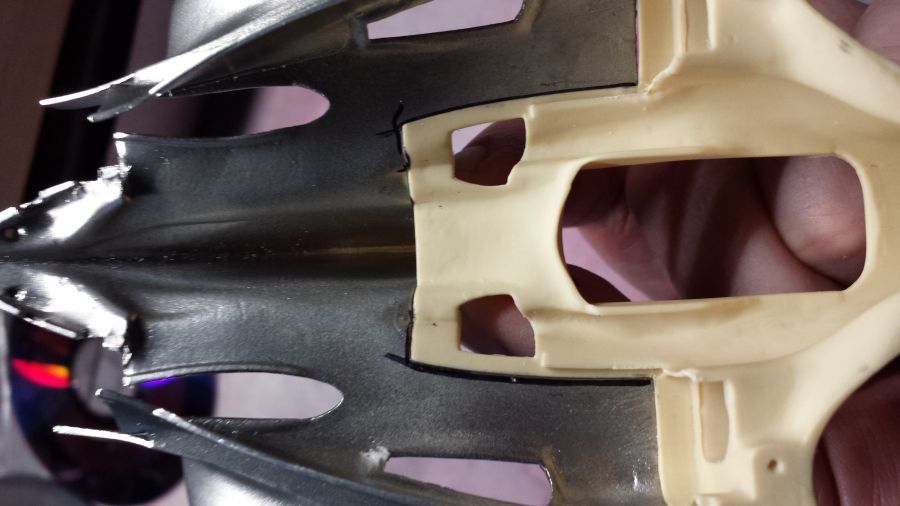
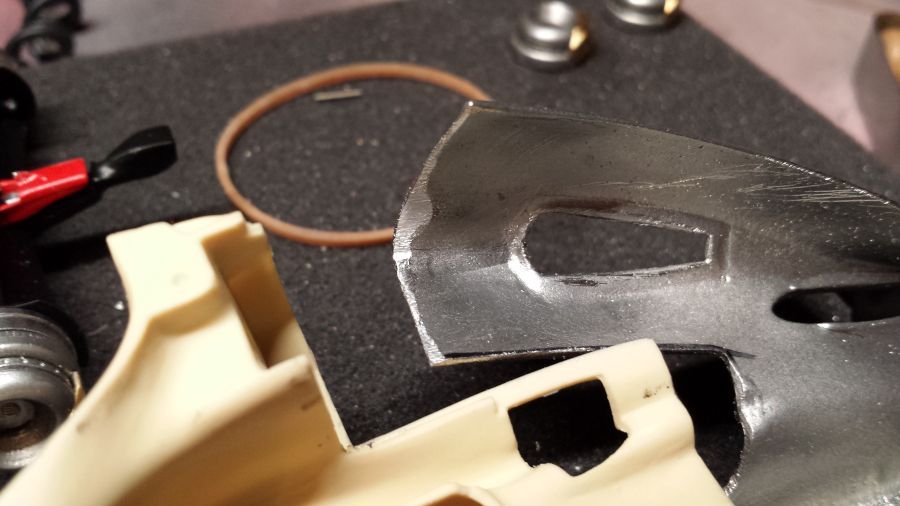
Vergeet niet ook de binnenkant te bewerken. Vooral in de bocht waar het metaal dik is.
Don't forget to do the inside as well. Especially at the bend where the metal is thick.
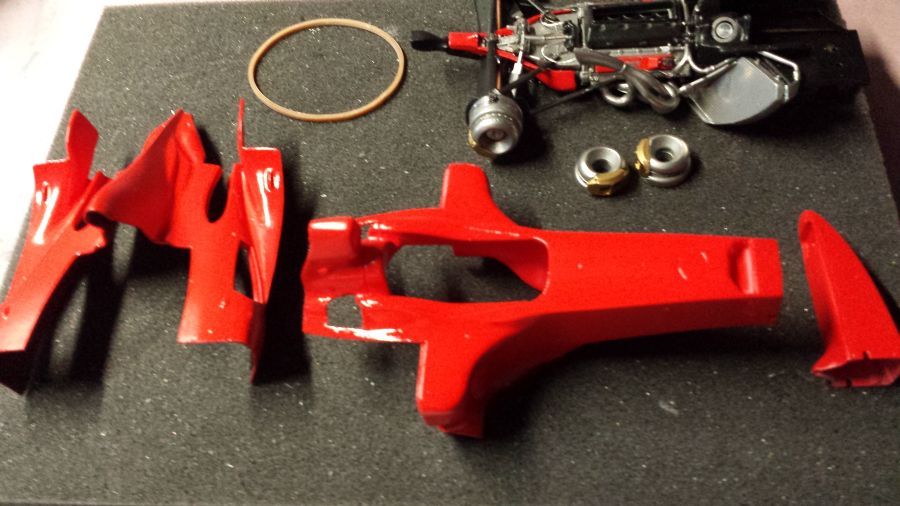
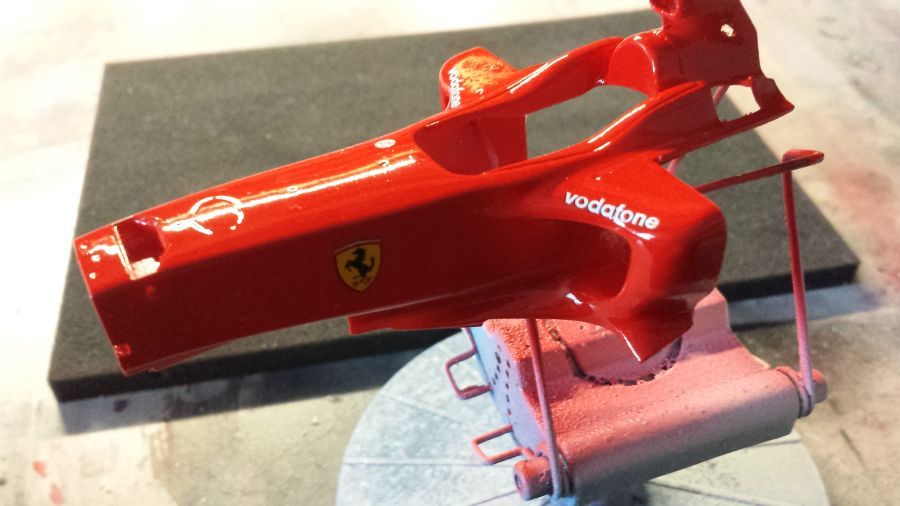
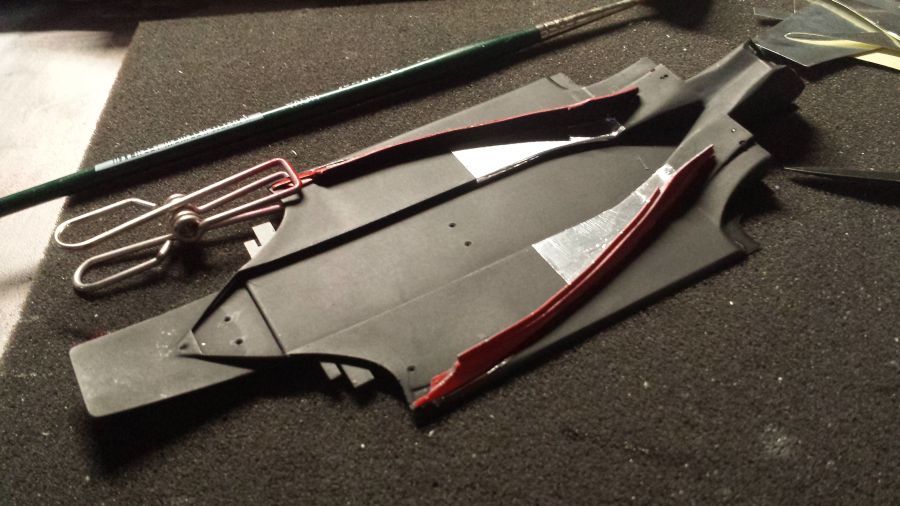
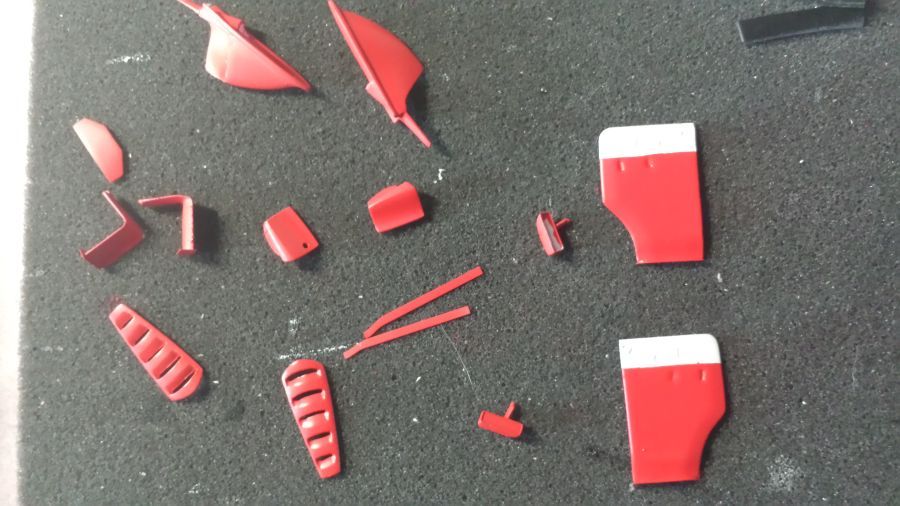
De grondverf is op een aantal delen aangebracht. Daarna het rood. Ook dit keer weer Zero Paints ZP-1007 Pre-2004 Rosso Formula 1.
The primer has been applied to some parts. Then the red. Also this time it's Zero Paints ZP-1007 Pre-2004 Rosso Formula 1.
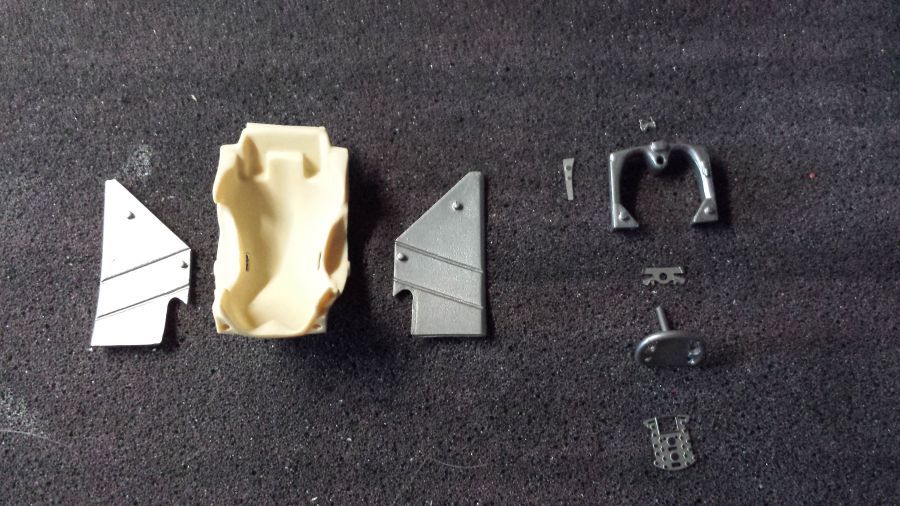
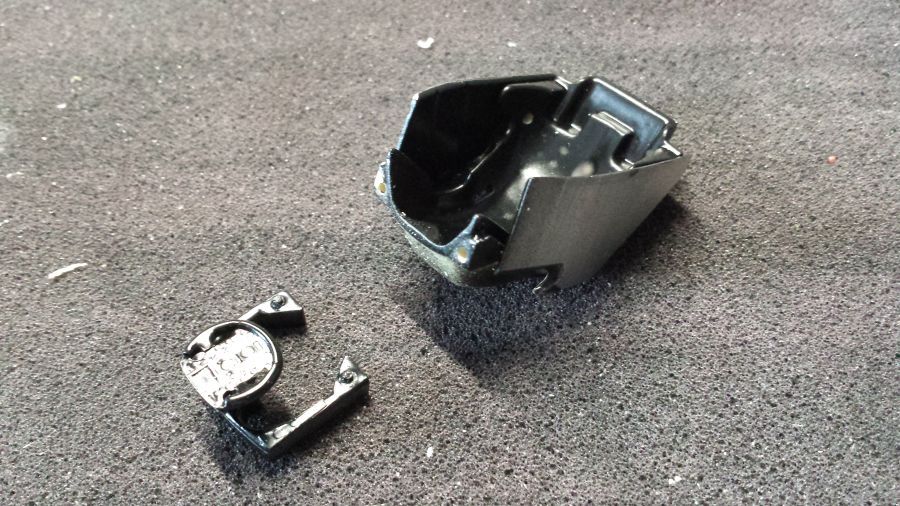
Terwijl de lak droogt begin ik met de stoel.
While the lacquer dries i will start with the seat.
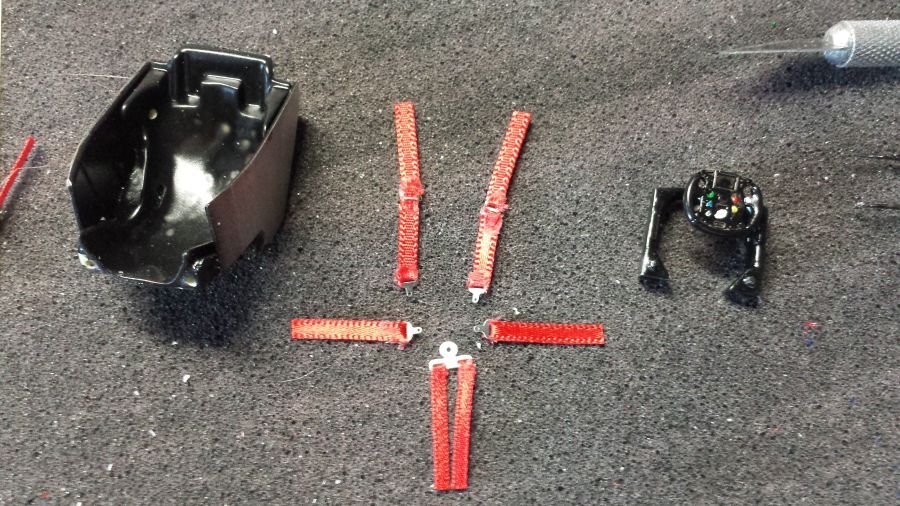
Een paar decals zijn geplakt. Nu laten drogen voordat de lak er weer overheen kan.
Some decals have been applied. Now let them dry before spraying clear coat.
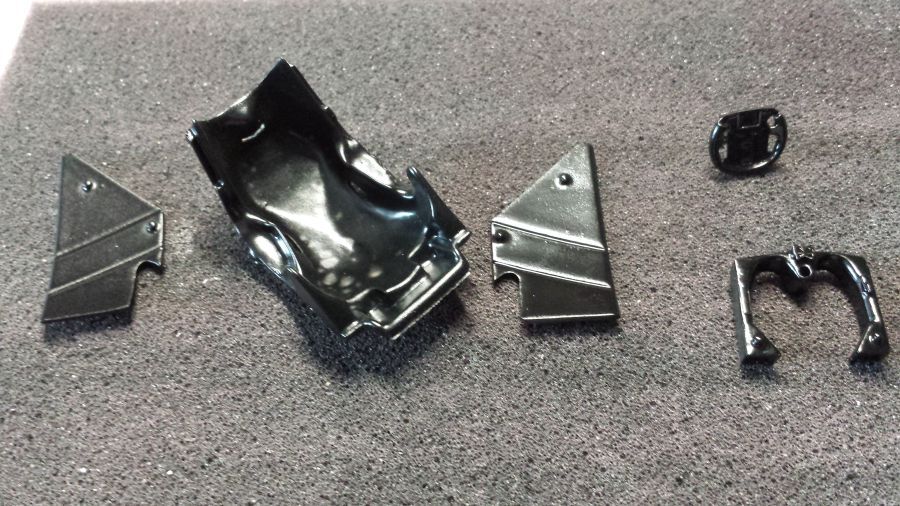
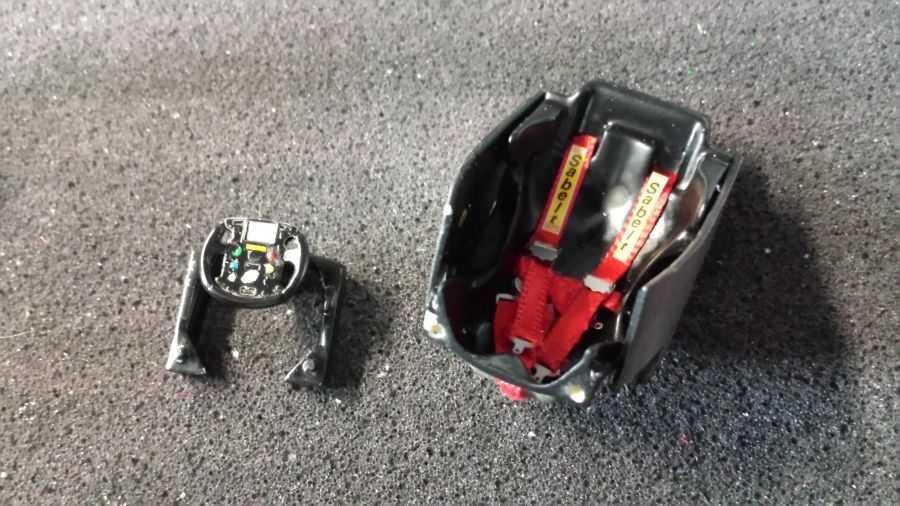
De glanslak zit er op.
The clear coat is on.
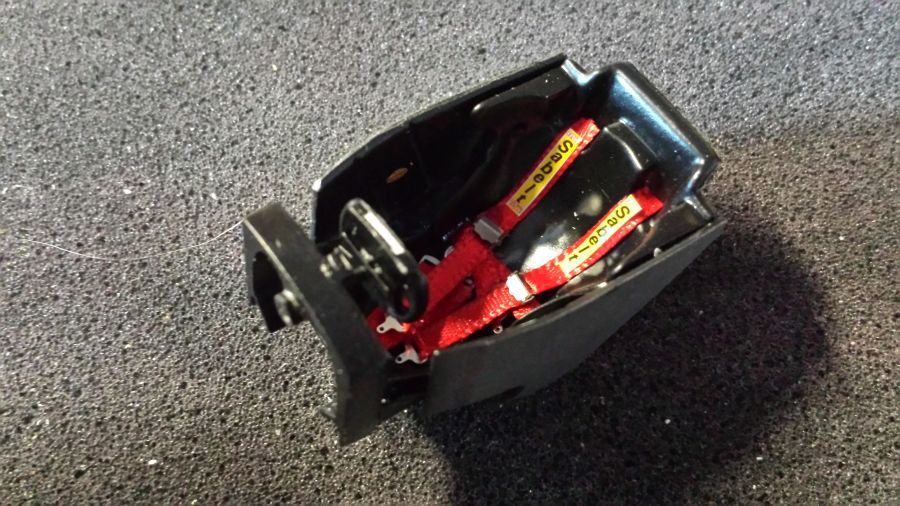
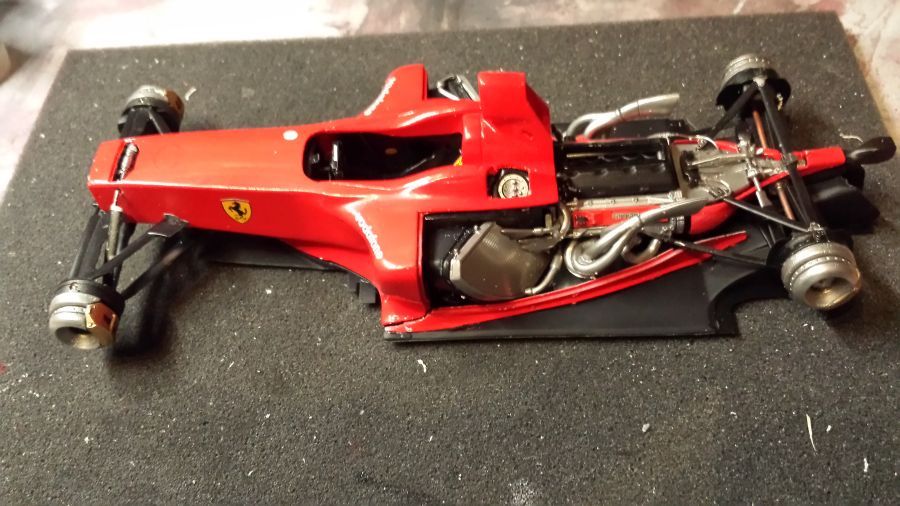
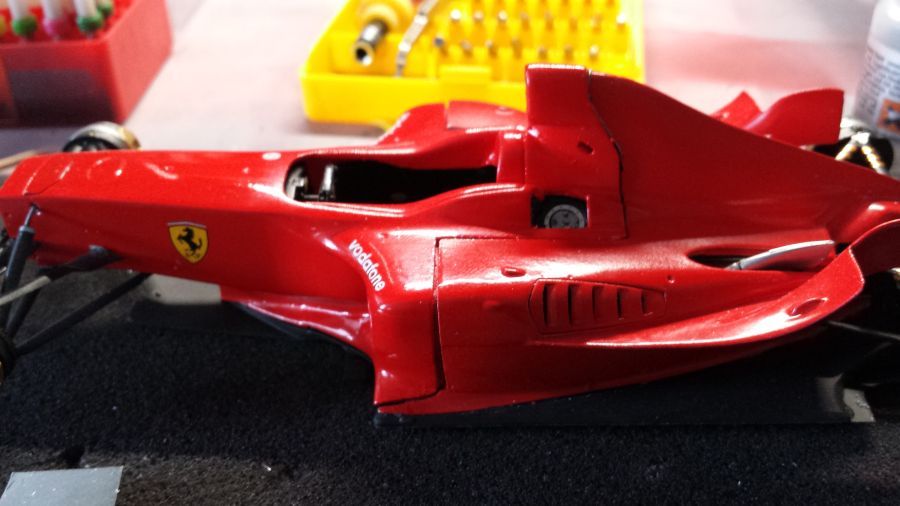
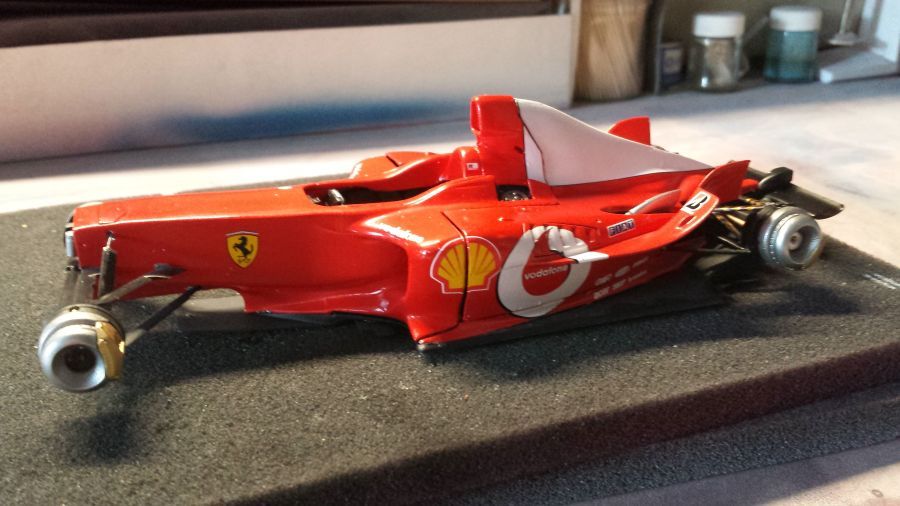
De stoel is gemonteerd. Nu volgt het bodywerk.
The seat has been mounted. Now continuing with the body work.

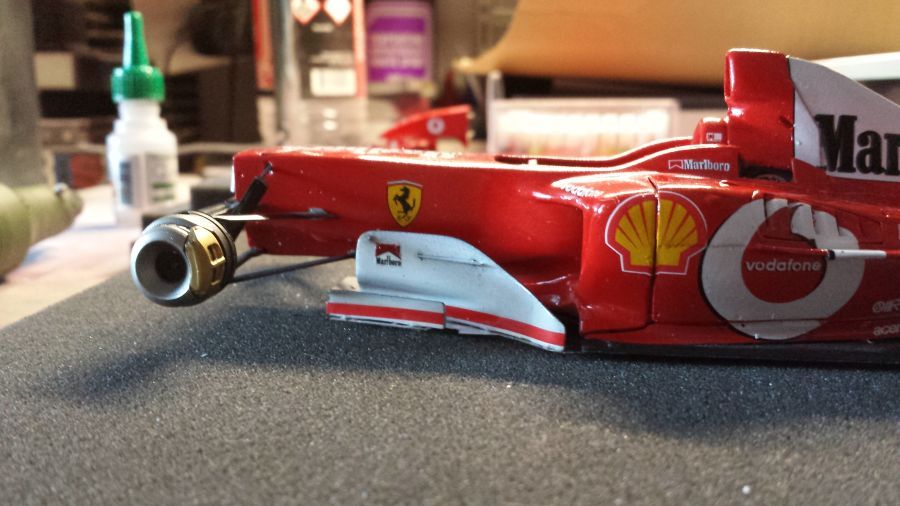
Wat klein verfwerk en montage van de demper.
Some small paint work and the mounting of the shock absorber.
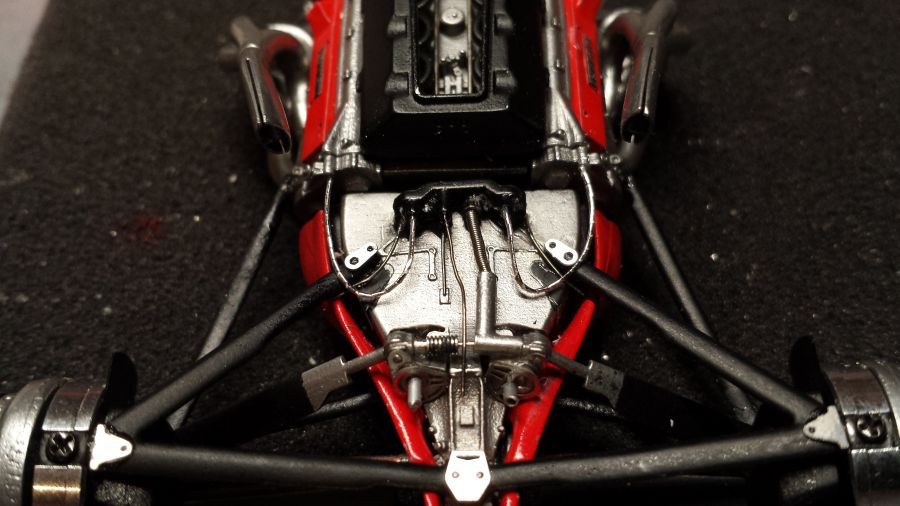
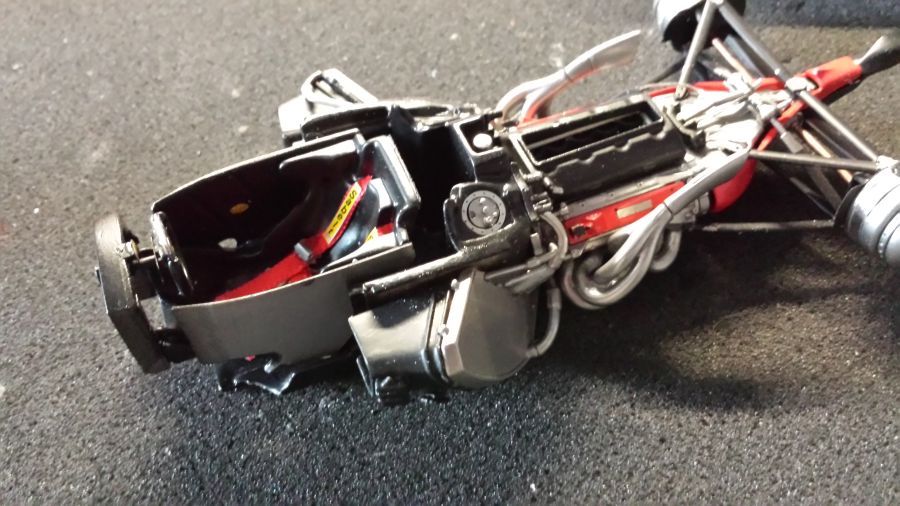
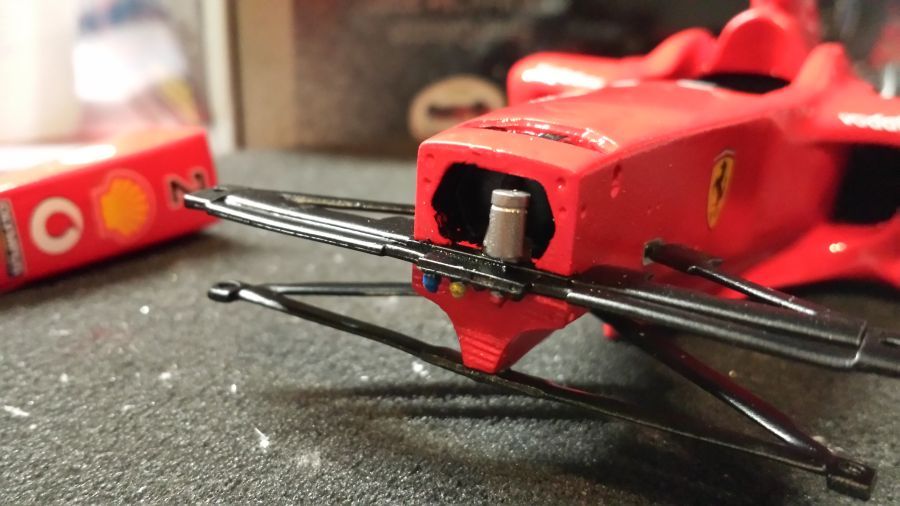
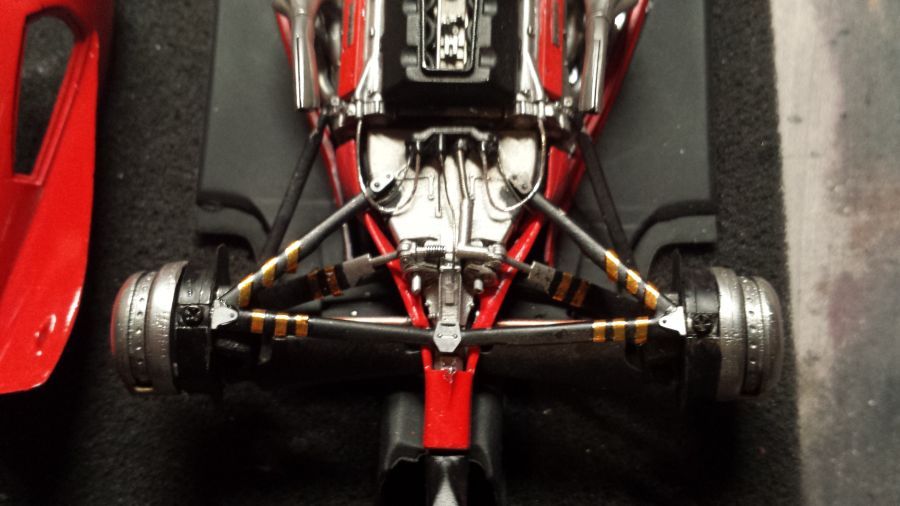
De voorwielophanging is voor een deel geplaatst en wat reservoirs. Nu de voorzieningen maken om de neus te kunnen verwijderen. Met een paar pinntjes moet dat lukken.
Parts of the front wheel suspension have been put in place and some reservoirs. Next is doing work to make the nose cone detachable. A few pins should do the trick.
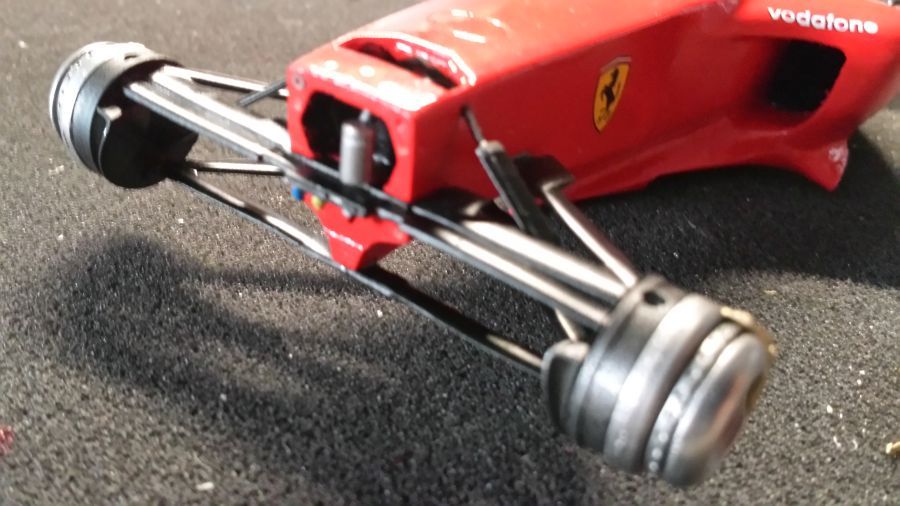
De voorremmen zijn in elkaar gezet en aan de ophanging gemonteerd, gelijk met de push rods.
The front brakes have been assembled and mounted to the suspension, together with the push rods.
Een paar etched onderdelen zijn gespoten en klaar om aan de onderkant van de bodem te worden aangebracht.
A few etched parts have been painted prior to mounting them to the downside of the floor.
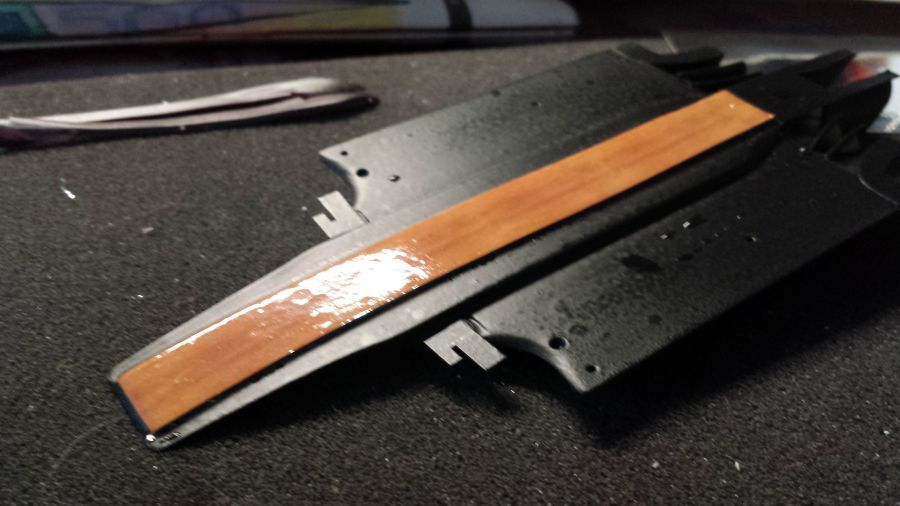
Een houtdecal is geplaatst om de plank na te bootsen.
A wood decal has been applied to create the plank.
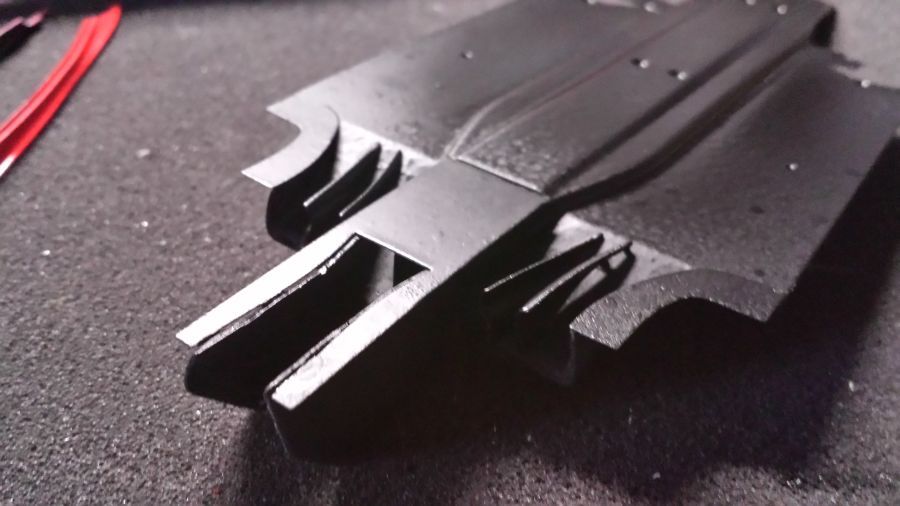
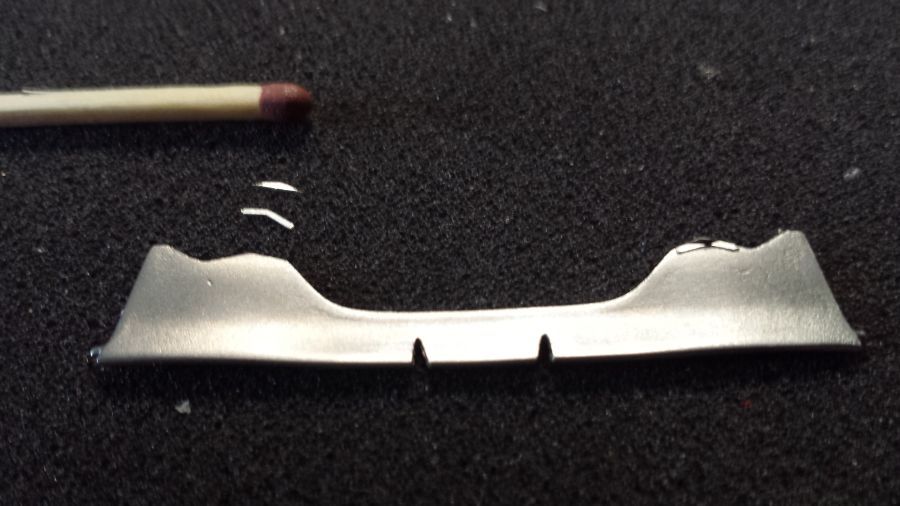
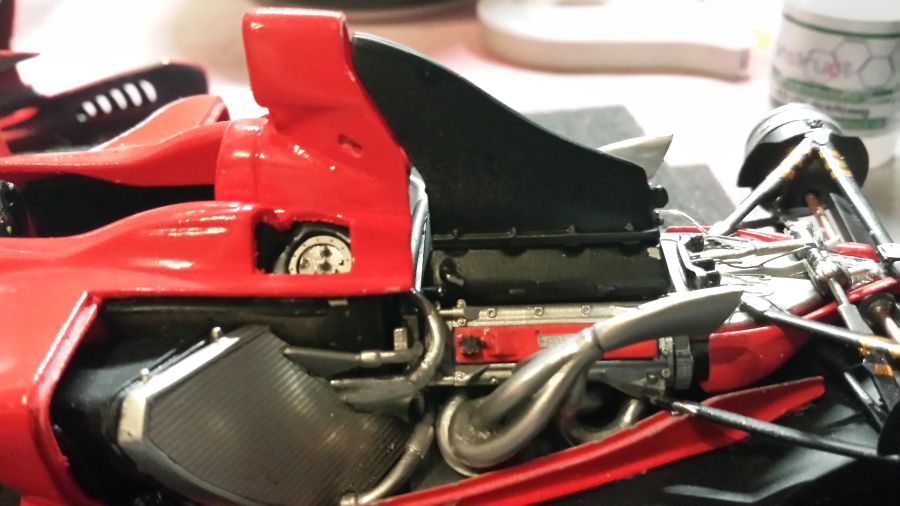
Daarna door met het hitteschild en de opstaande randen van de body.
Next are the heat shield and the edges of the bodywork.
Daarna wordt het motor/body deel aan de vloer bevestigd.
Then the engine/body part will be mounted to the floor.
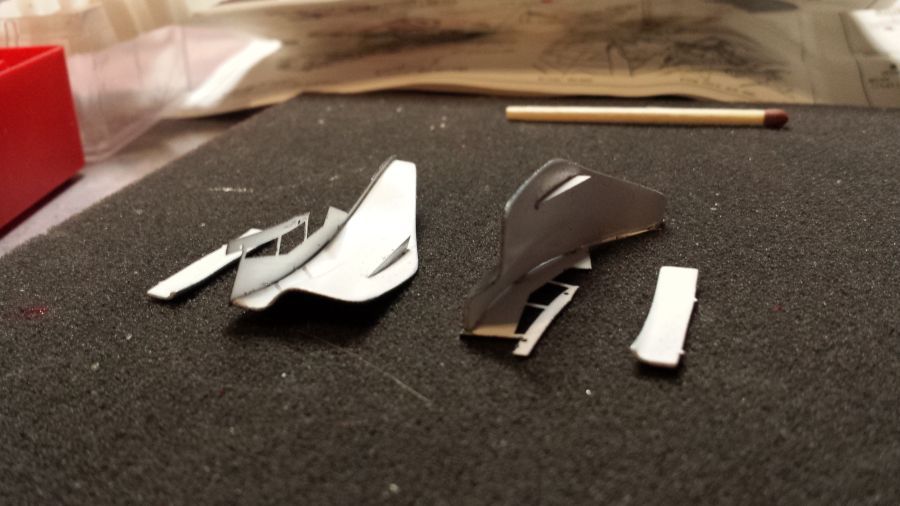
Door met de barge boards. Zwart aan de binnenkant, wit aan de buitenkant.
Next are the barge boards. Black on the inside, white on the outside.
Een paar meer onderdelen zijn gespoten vóórdat de boards in elkaar worden gezet.
Some more parts have been painted prior to assembly.

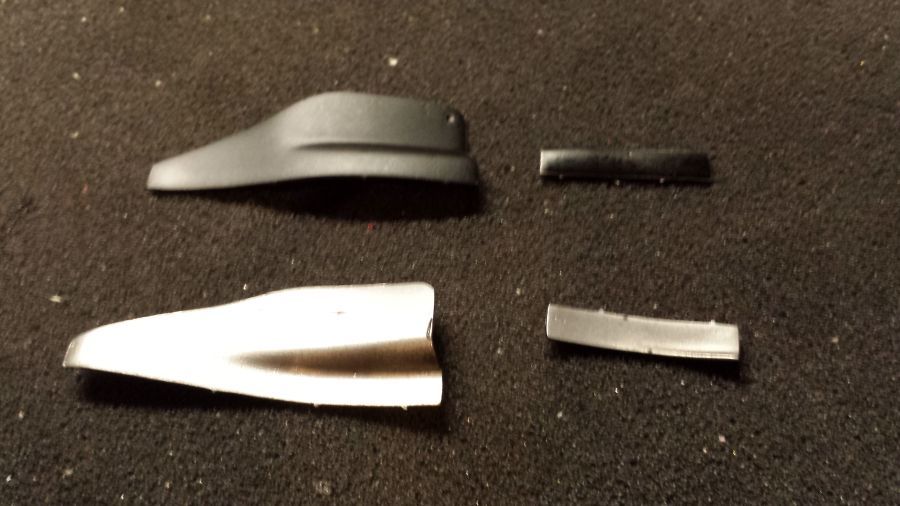
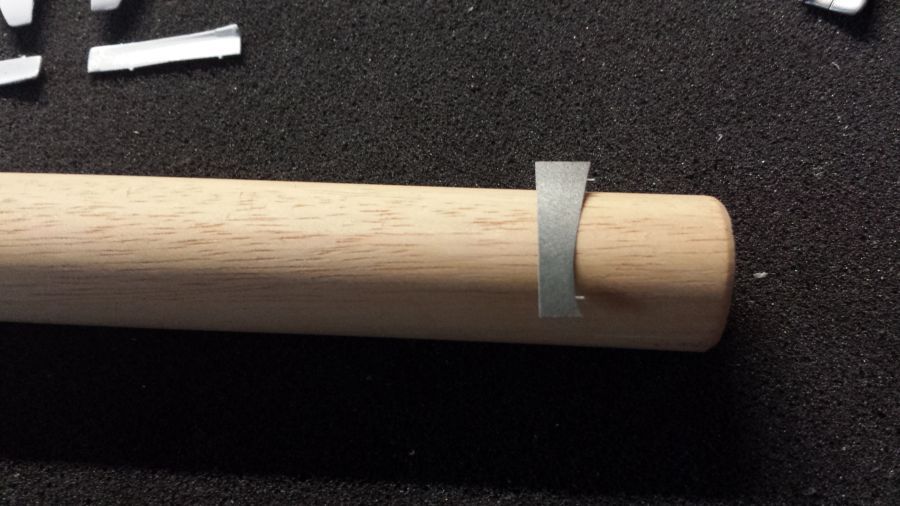
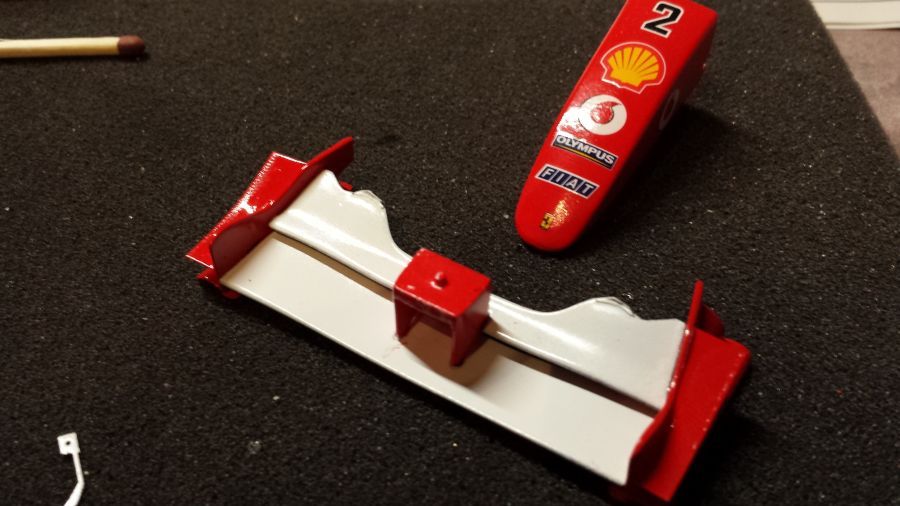
Intussen ga ik verder met de end plates van de voorvleugel. Ik ben de buiggereedschap weer nodig.
In the meantime i will continue with the front wing end plates. I will need the rolling tool again.
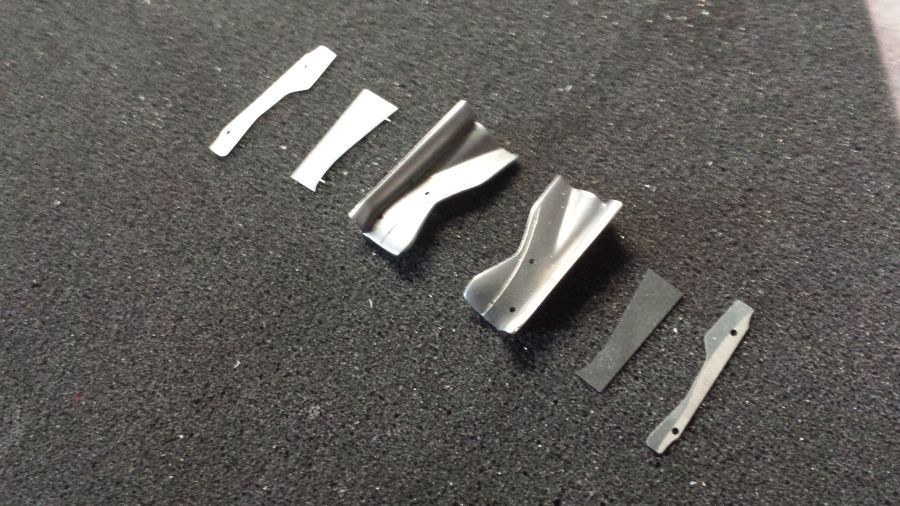
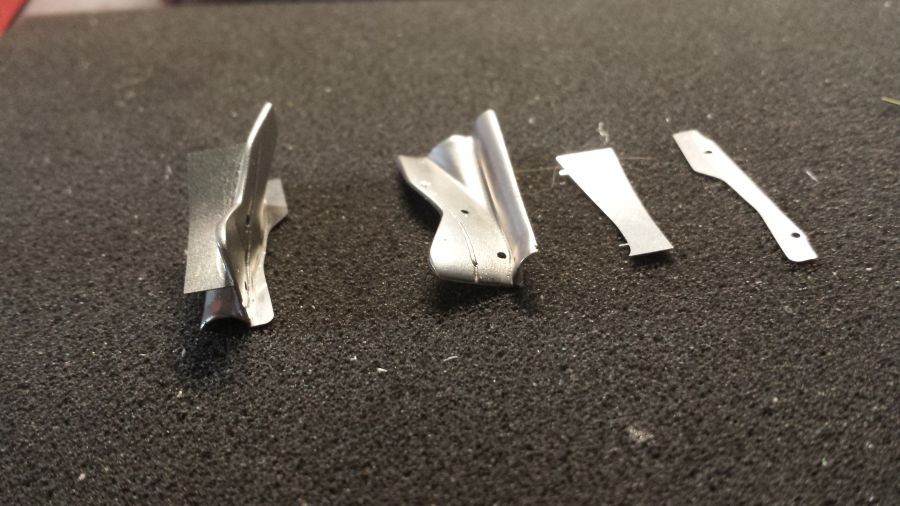
Daarna wat klein werk aan de voorvleugel, voordat deze wordt gespoten.
Next some work on the front wing, prior to painting.
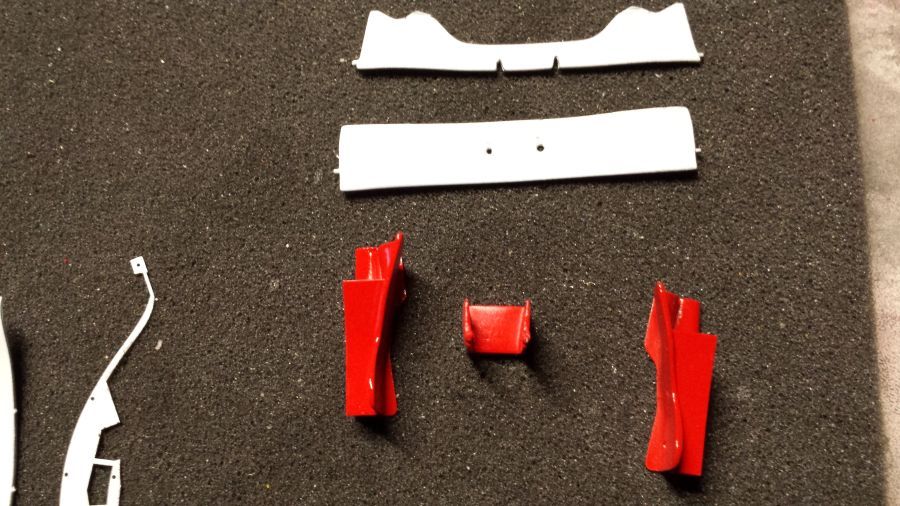
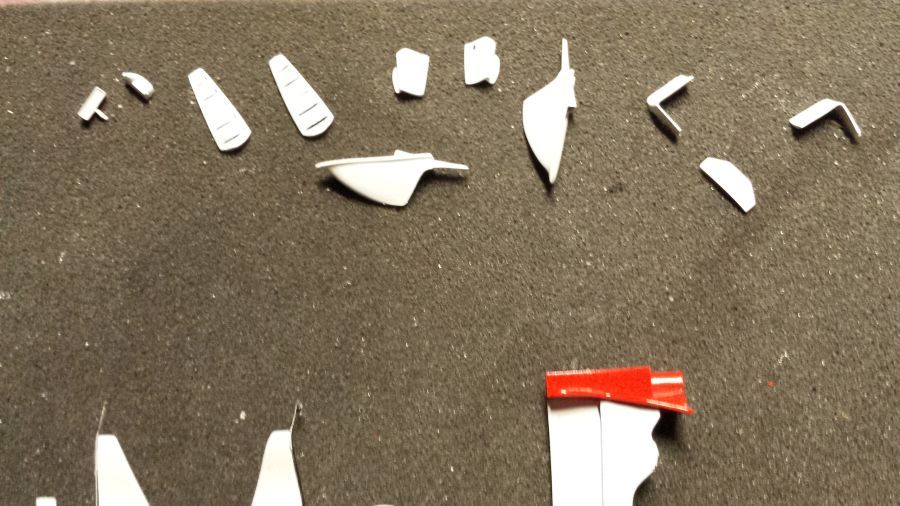
Een paar kleine onderdelen moeten in de grondverf en verf worden gezet, voordat de decals er op kunnen.
Some small parts need to be primed and painted prior to applying decals.
Door met het aanbrengen van decals.
Continuing with the decals.
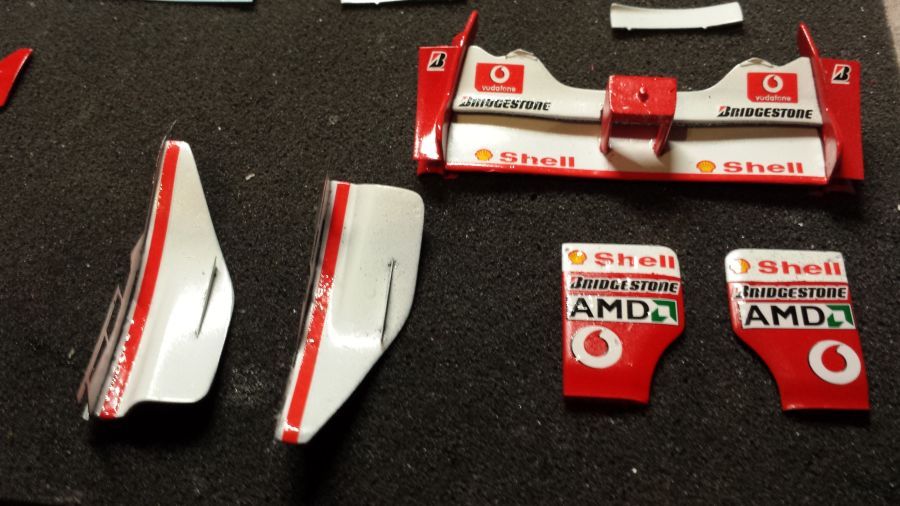
De goudstrepen zijn aangebracht. Een lastig karwei. Op de foto niet goed te zien, maar een glans!
The gold stripes have been applied. Tough job. Hard to see on the pic, but it shines!
Kijken of de kap past. Er zijn nog kleine aanpassingen nodig, maar er is niet veel ruimte voor.
Doing a test fit. Some small adjustments have to be made, but there is not much space.
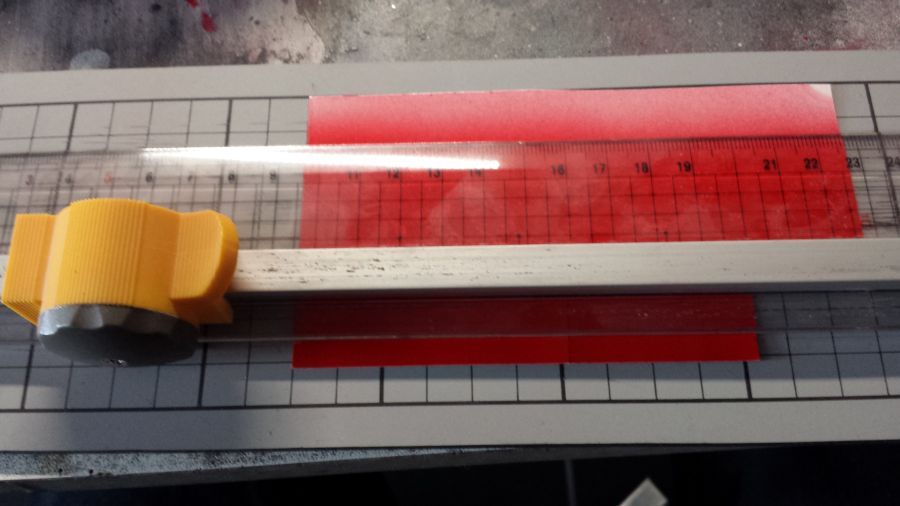
De voorbereiding om de decal op maat te knippen.
Preparations to cut the decal to size.
Nu verder met de decals op de cover.
Now to continue with the decals on the cover.

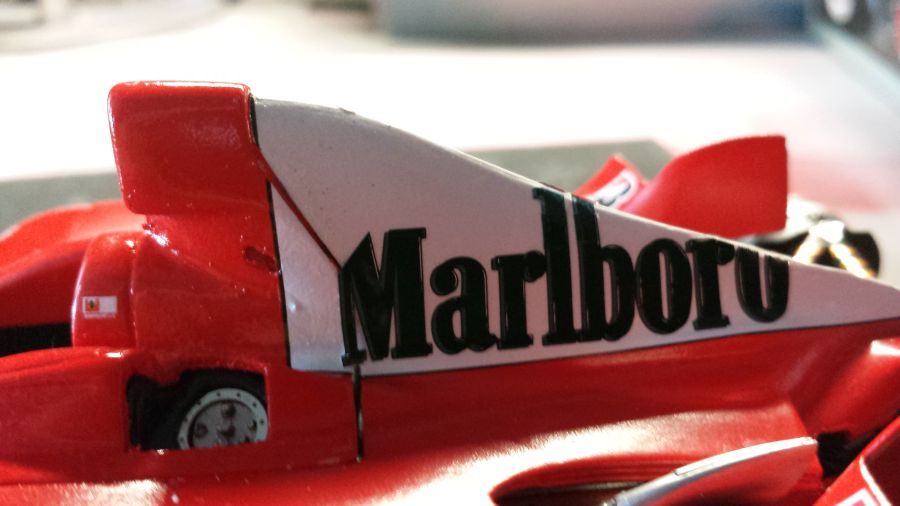
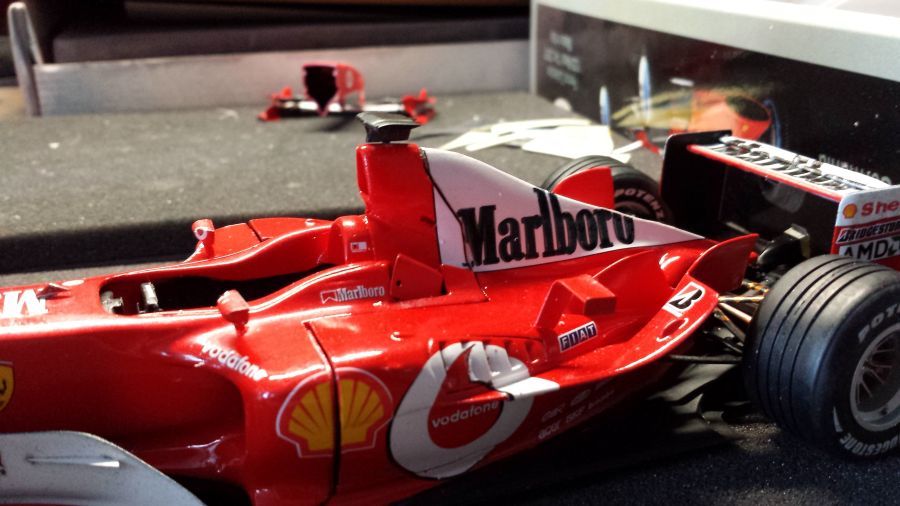
Na het drogen van de kit decals breng ik de decals van het bekende merk aan. Wel een foutje van MFH? Let op de letter M. Deze loop schuin af. De decal van MFH niet. Daar kan ik niet veel meer aan doen. Alleen de M aanpassen.
After the kit decals are dry i will apply the famous brand decals. Small mistake from MFH? Watch the letter M. The top side is cut. The decal from MFH doesn't. Not much i can do. Just adjust the M.

Nu eerst alles goed laten drogen voordat de laklaag kan worden gespoten.
Now i will let dry everything thoroughly before the clear coat can be sprayed.
De glanslak zit erop.
The clear coat has been applied.
De barge boards zijn gemonteerd.
The barge boards have been mounted.
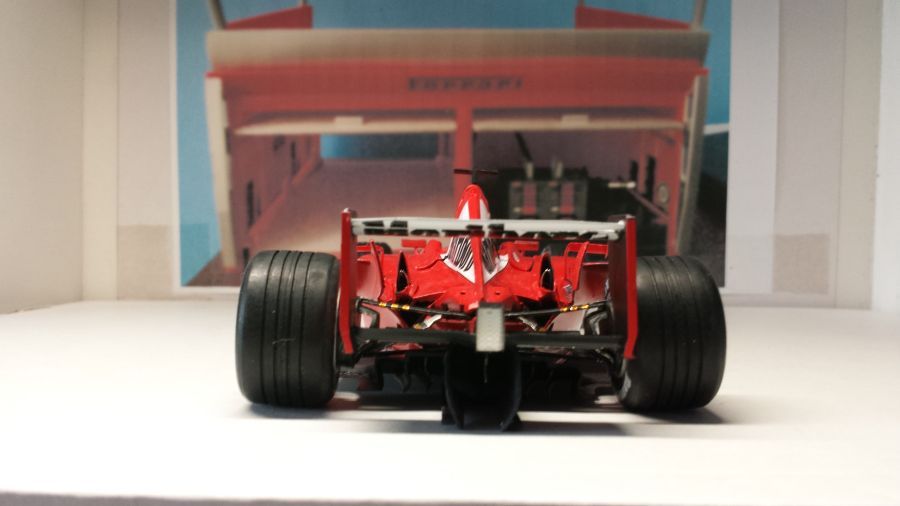
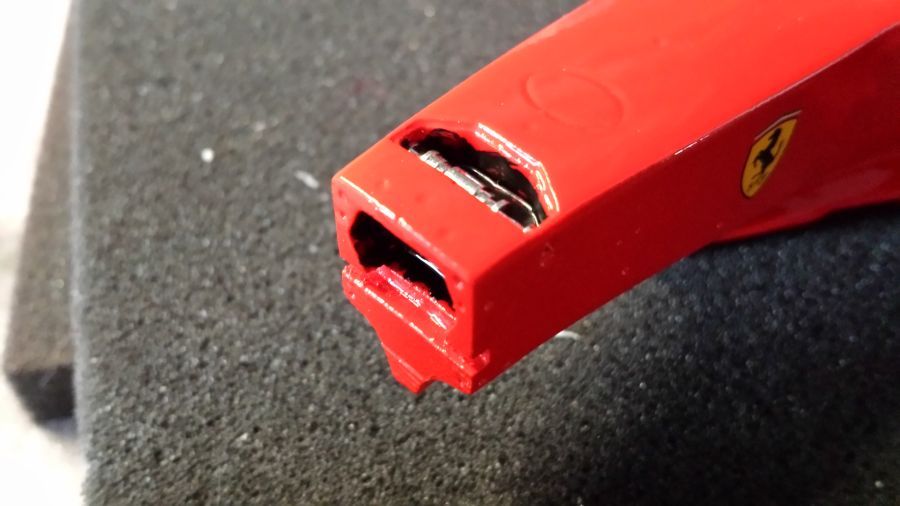
Daarna de achtervleugel. Normaal al niet gemakkelijk, maar dit keer zeker niet. Het model is uit mijn handen op het werkblad gevallen. Daarbij is een stukje van de achterkant van de bodemplaat afgebroken, juist waar de vleugel moet worden vastgezet. Hierdoor moest ik een deel van de vleugel al vooraf aan de body monteren. Dat maakt assemblage van de vleugel er niet gemakkelijker op.
Next is the rear wing. Normally not easy, but this time not at all. The model fell out of my hand on the work table. A small piece of the floor broke off, just where the rear wing has to be mounted. So i had to attach a part of the wing to the body, before assembling the wing. A tough job.
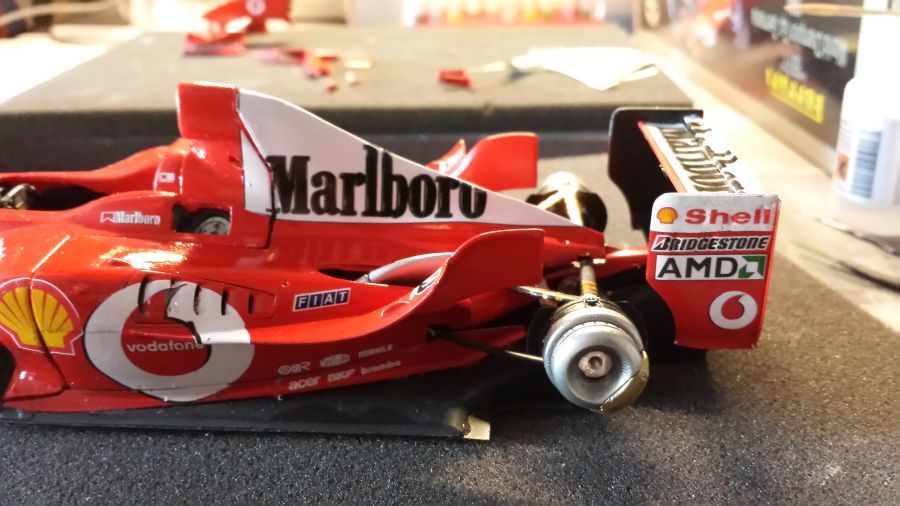
De antennes zitten erop.
The antennas are on.
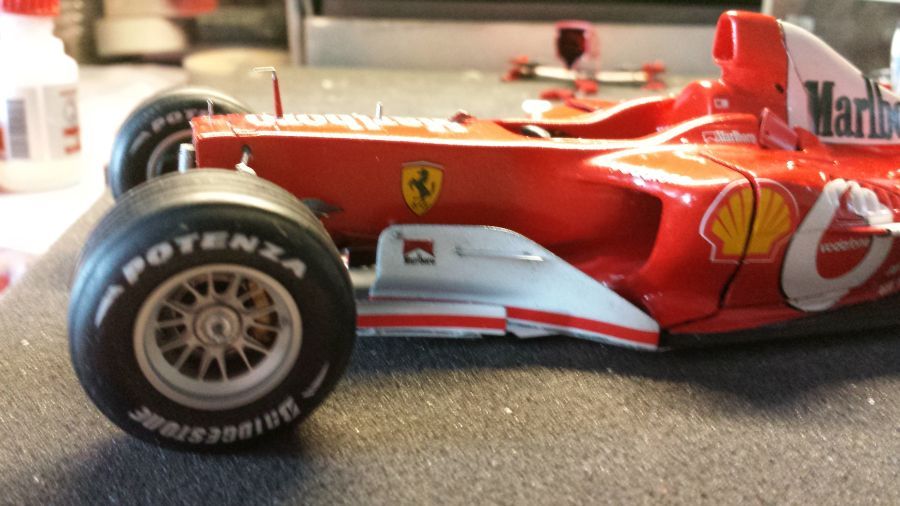
Werken aan de wielen.
Working on the wheels.
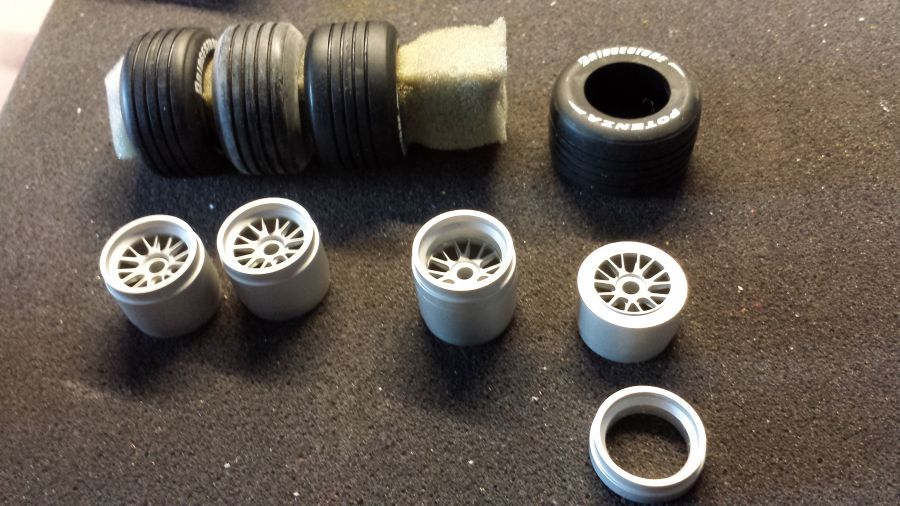
Zorg ervoor dat de linker- en de rechterkant kloppen.
Be sure to get the left and the right side correct.

Dan de wielmoeren. Rood voor links en blauw voor rechts.
Than the nutters. Red for the left and blue for the right.

Door met de spiegels enz.
Next are the mirrors etc.
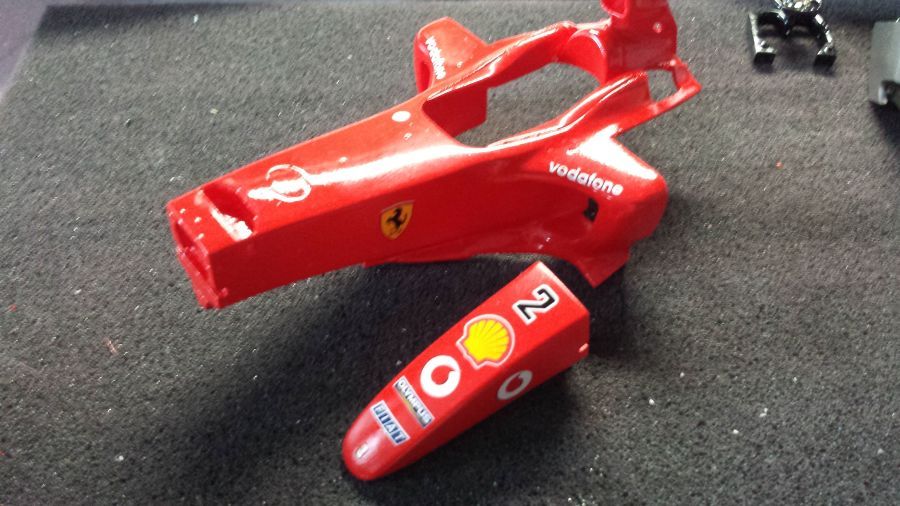
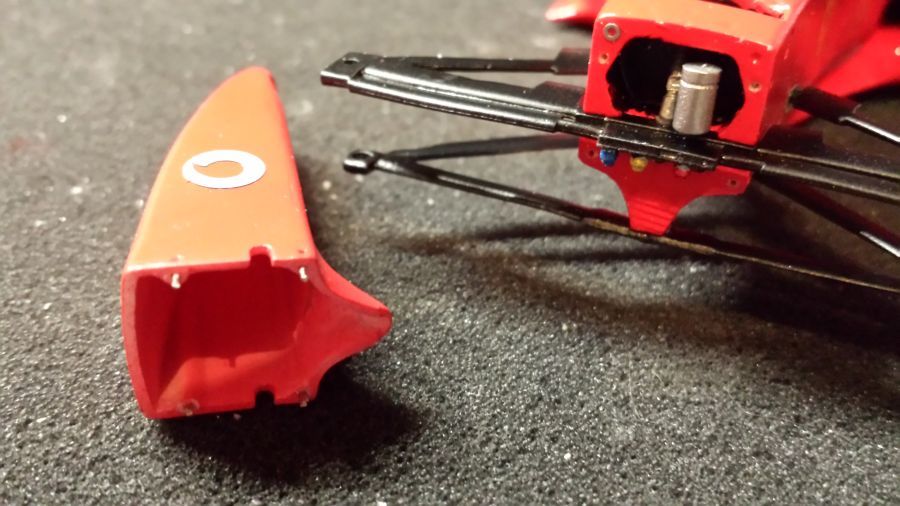
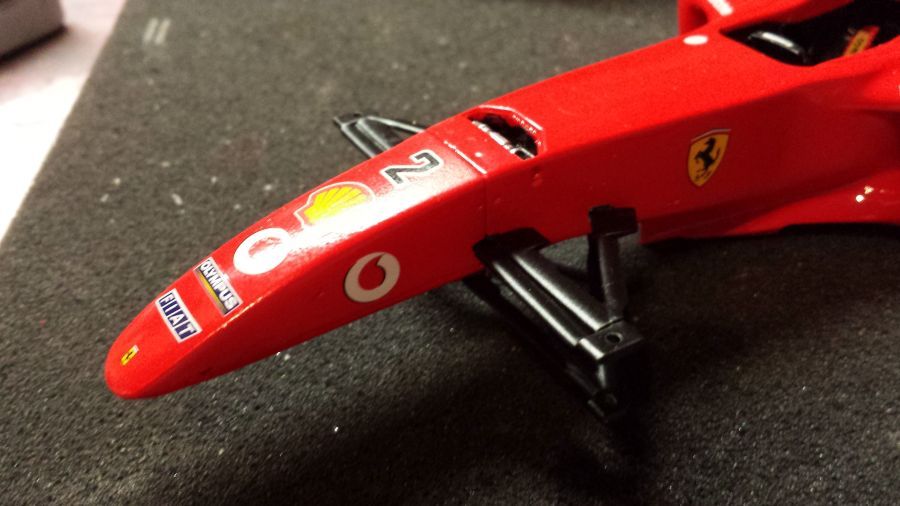
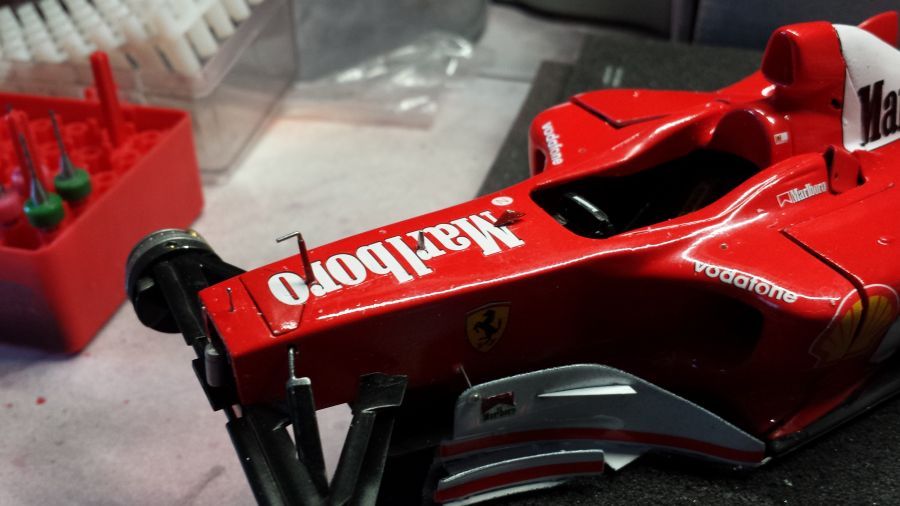
De neus.
The nose.
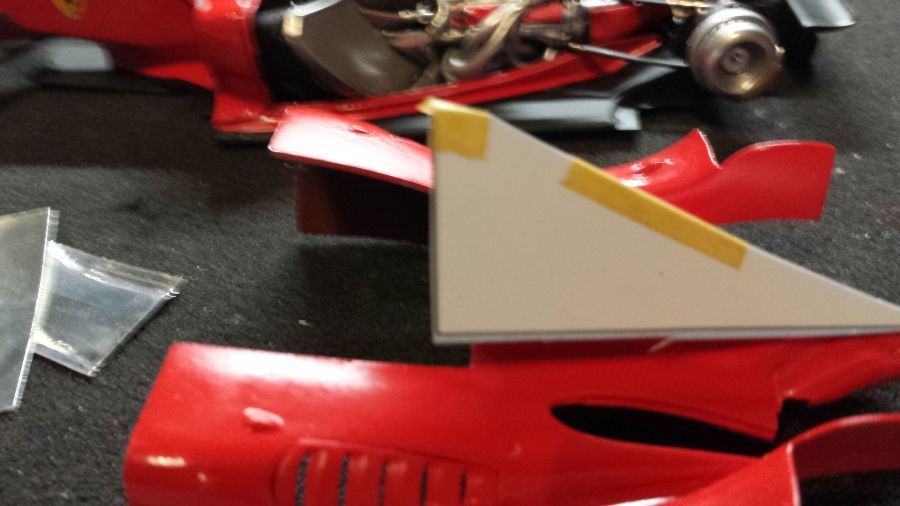
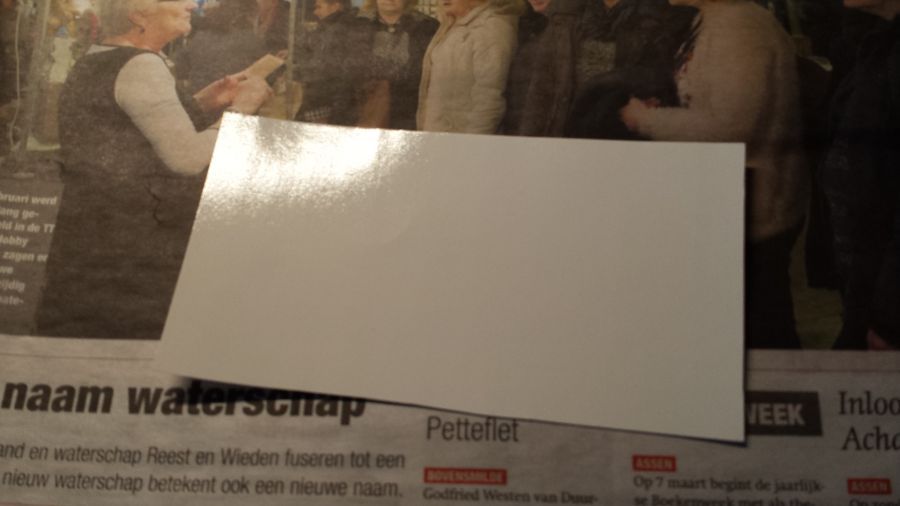
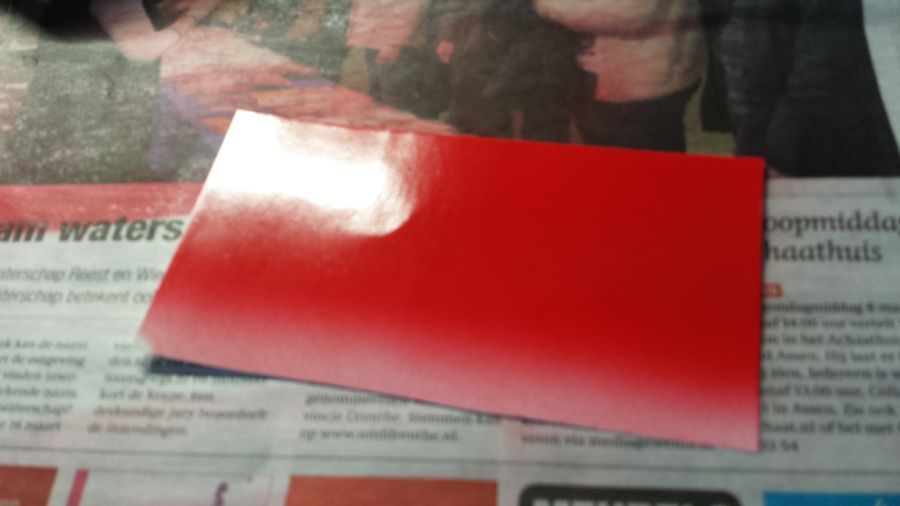
Ik wil toch proberen de fout met de decal op de motorkap te herstellen. Het blijft voor mij een raadsel waarom MFH een verkeerde witte decal meelevert. Iemand gaf aan dat deze decal bedoeld is voor de auto zonder cigaret reclame, maar de versie reed in Italië met deze reclame. Ik ben de weg kwijt. Een optie is om de boel af te plakken en alsnog met rood de juiste lijn te spuiten over de decal heen. Voor mij te riskant. Het zou niet de eerste keer zijn dat de tape aan de lak / decals plakt en de boel beschadigt. Ik ga het even anders proberen. Ik neem een stuk wit decalpapier, spuit dit rood, beschermlaag eroverheen en ga dit op maat knippen en aanbrengen. Zien of dat gaat lukken.
I want to try to solve the problem with the decal on the engine cover. I keep wondering why MFH includes an incorrect white decal. Someone said the white decal was for the car without cigaret advertising. It keeps strange to me, because the car drove with the advertising in Italy. I am lost. One option might be to tape the correct lines and spray the red over the decal. Too risky for me. It would not be the first time the tape sticks to the lacquer / decal and damages it. I will try a different approach. I will take a piece of white decal paper, spray it red, cover it with a protective layer and cut it to size and apply it. See if this works.


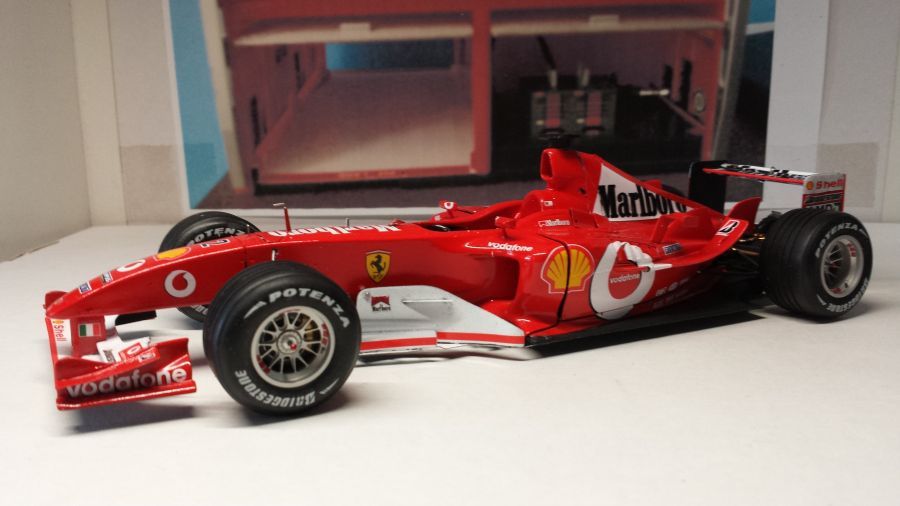
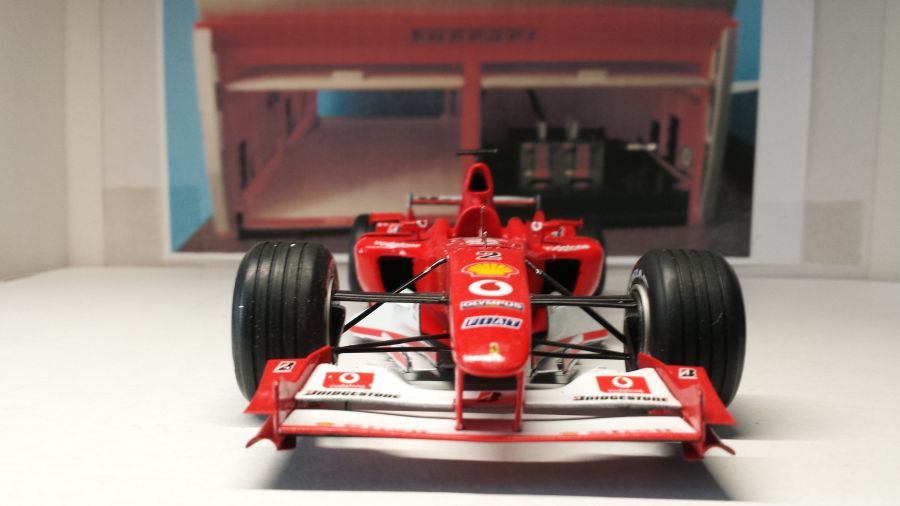
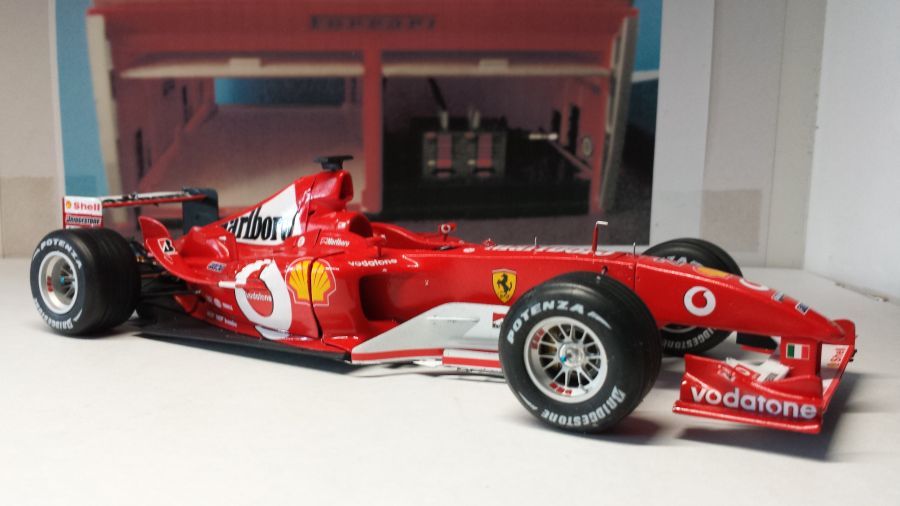
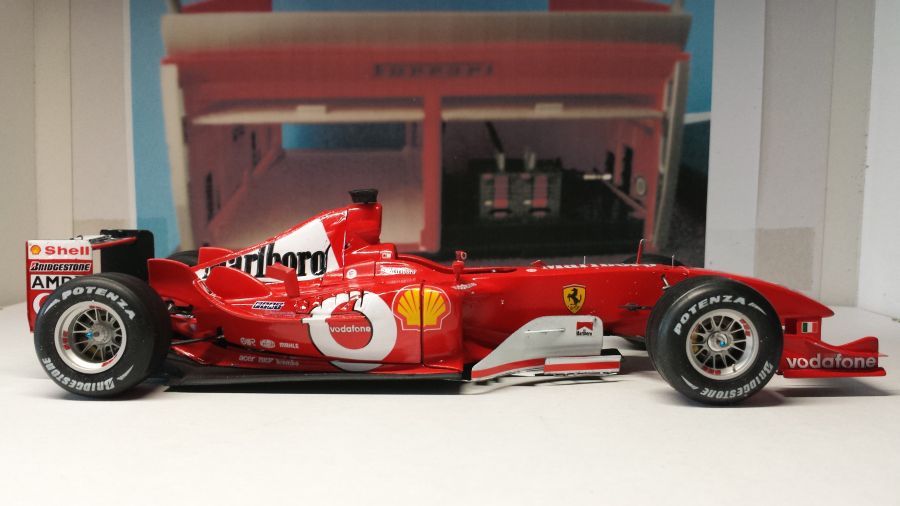
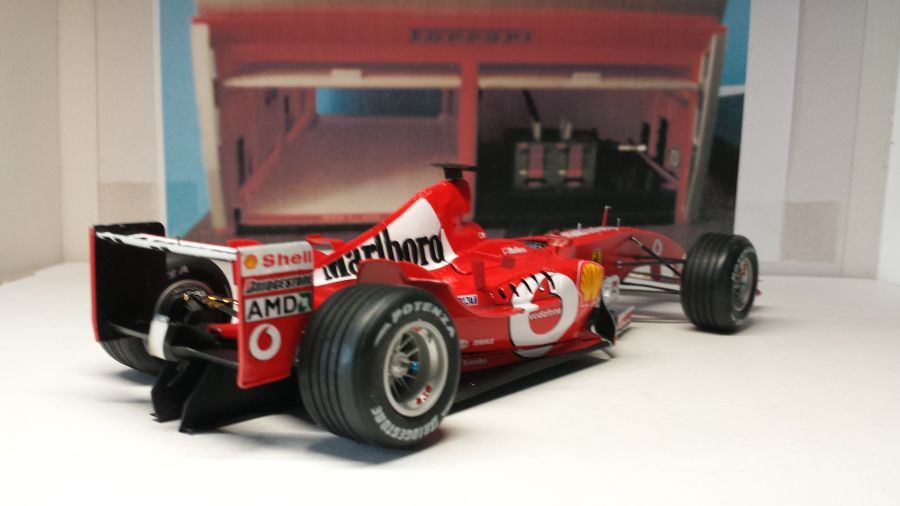
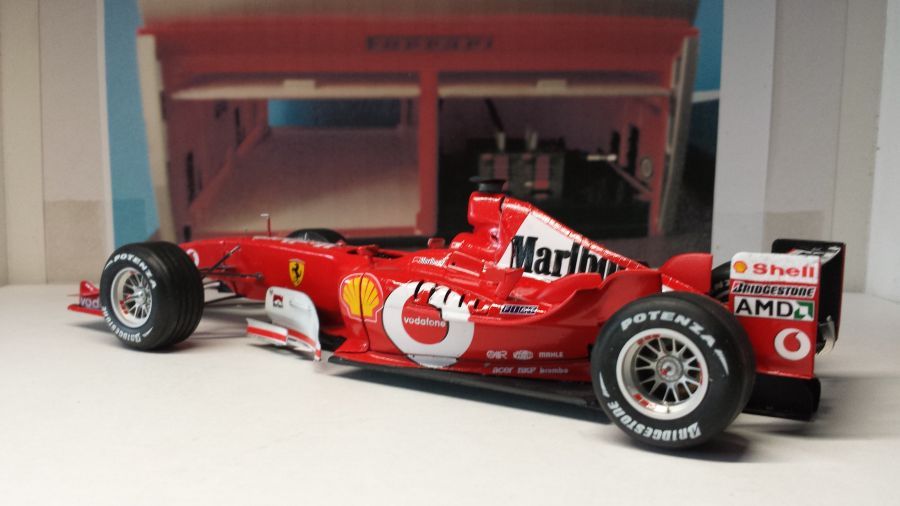
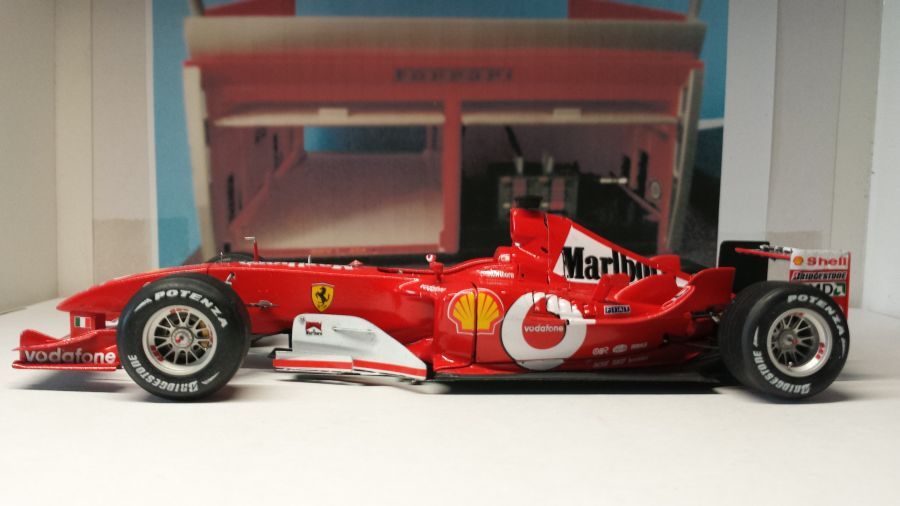
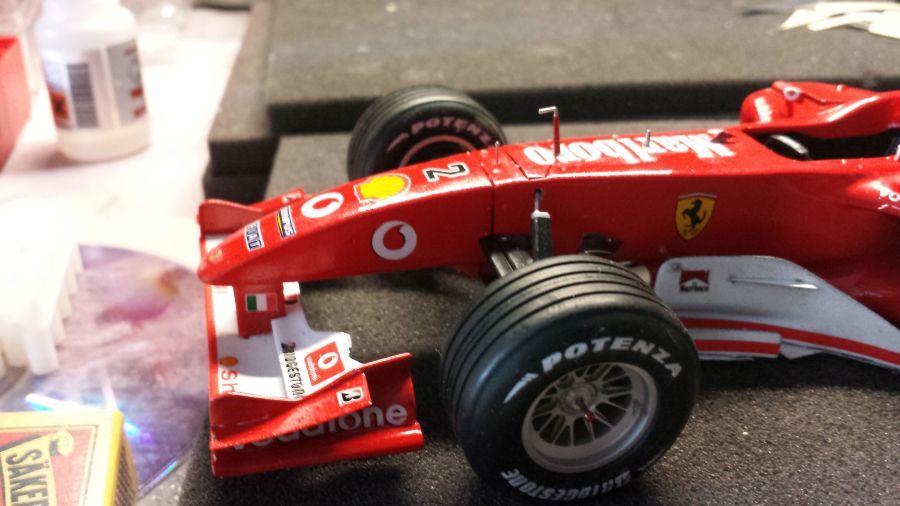
Ik denk project geslaagd.
I think project succeeded.