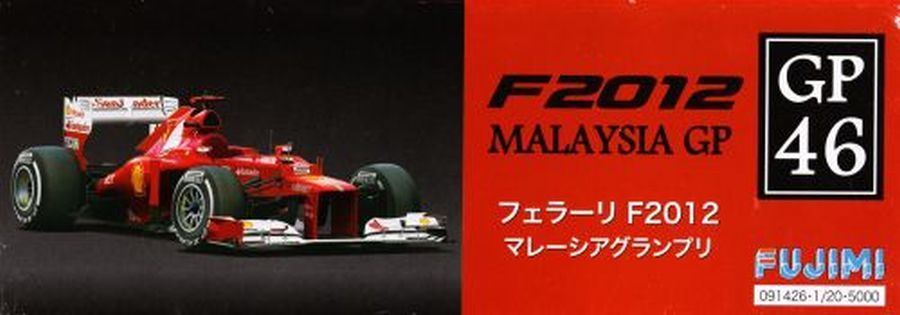
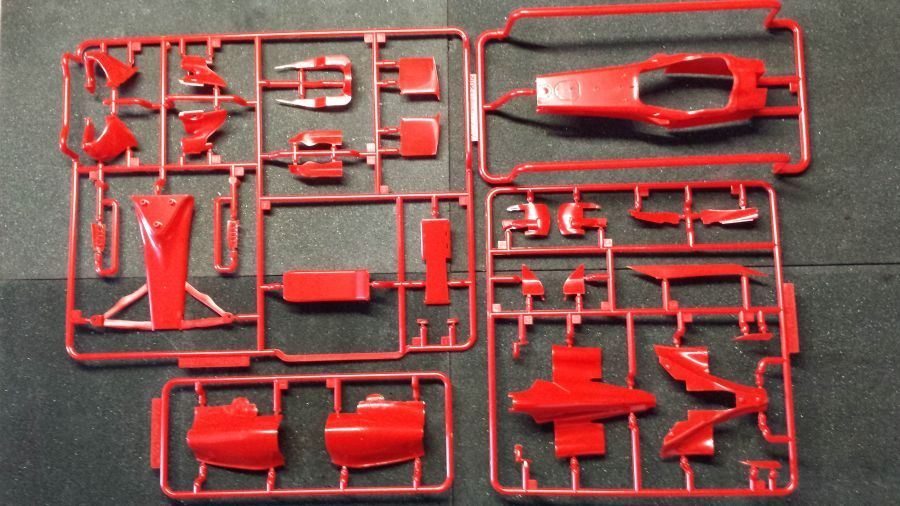
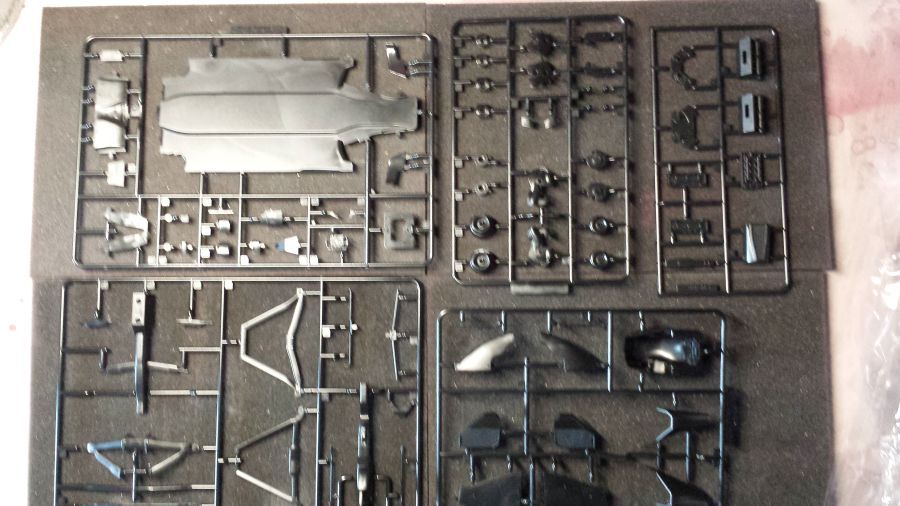
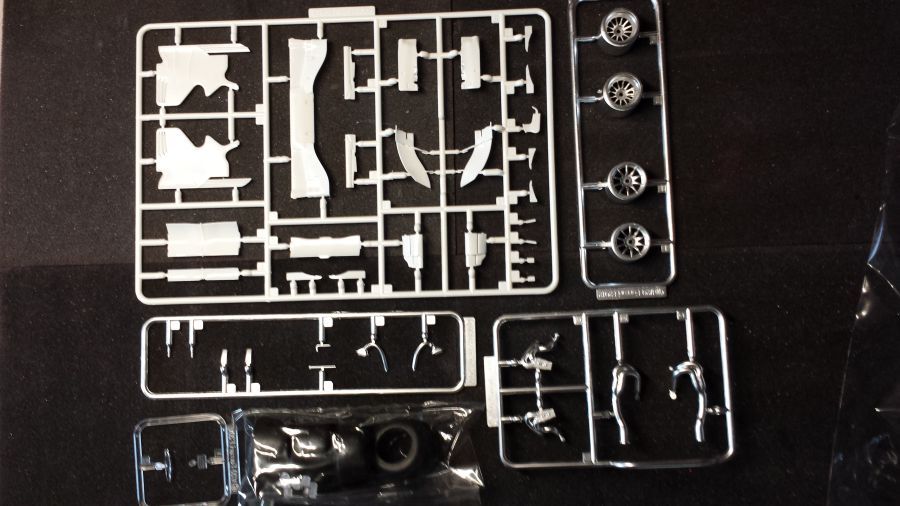
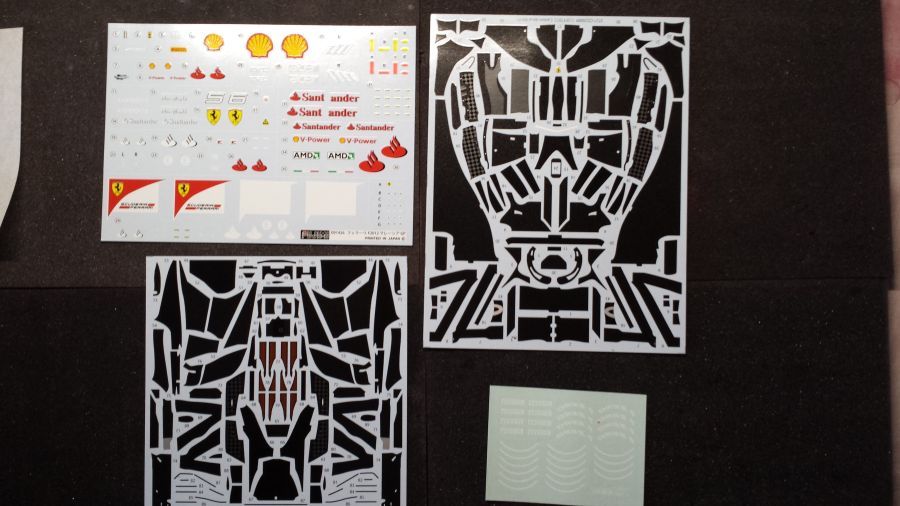
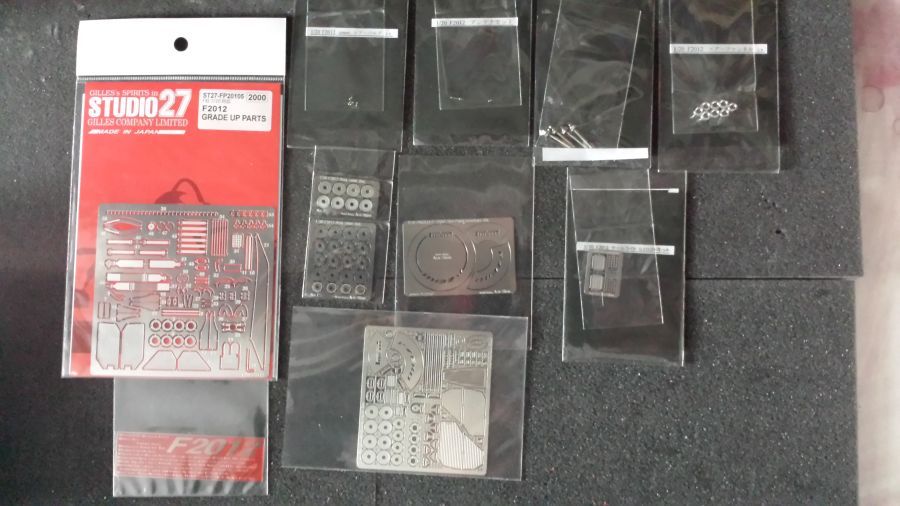
Hieronder volgt de bouw van de Ferrari F2012 Malaysia zoals gereden door Fernando Alonso in 2012. Het betreft een Fujimi kit nummer GP46 (091426). Daarbij heb ik weer een etched set van Acu-Stion gekocht (set 5) en een set carbon decals van Studio27 (ST27-CD20009). Daarnaast ook nog eens een etched set van Studio27 (ST27-FP20105). Op deze etched zitten nog weer andere onderdelen dan die van Acu Stion. Het resultaat wordt waarschijnlijk een mengelijk van gebruikte etched. Hieronder de foto's van de inhoud. De Acu-Stion etched heeft geen duidelijke gebruiksaanwijzing. Voor sommige onderdelen is duidelijk waar deze horen, andere in het geheel niet.
Below the build of the Ferrari F2012 Malaysia as driven by Fernando Alonso in 2012. It is a kit from Fujimi (kit no 091426 GP46). In addition i have bought an etched set from Acu-Stion (Set 5) and a set of carbon decals from Studio27 (ST27-CD20009). Also i have an etchd set from Studio27 (ST27-FP20105). This set contains etched parts that are not on the Acu-Stion set. So i guess it will be a mix of etched parts. Below the pictures of the content. The Acu-Stion etched set has no plans regarding the parts. For some parts it's obvious where to put them, for some parts not at all.
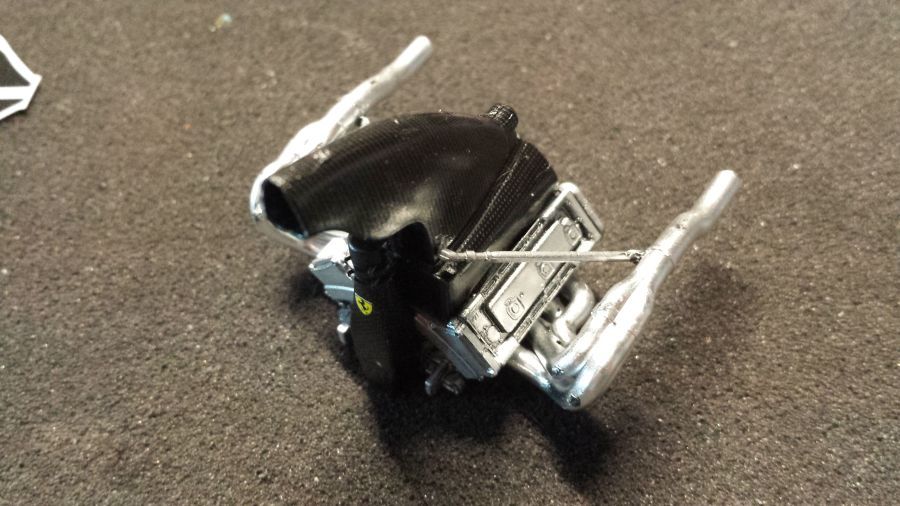
De eerste stappen aan de motor. Delen in elkaar gezet en een paar carbon decals aangebracht.
The first steps on the engine. Parts were combined and a few carbon decals have been applied.
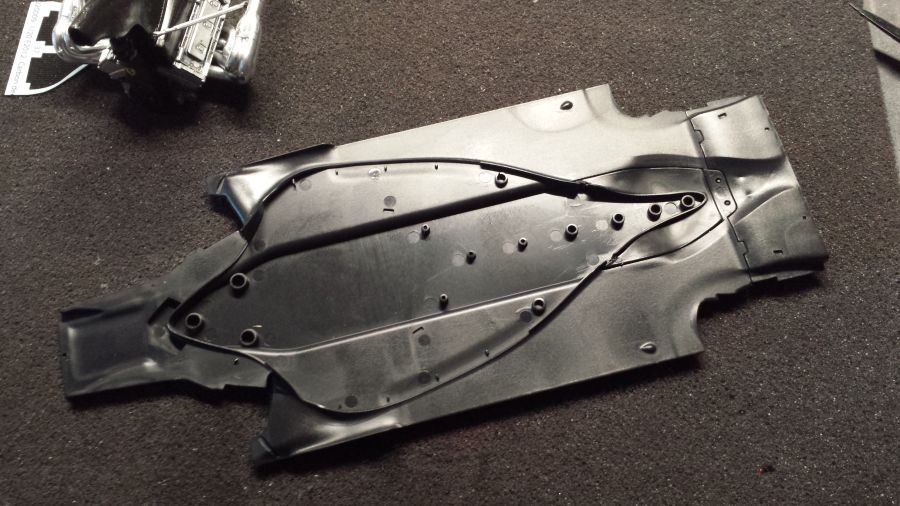
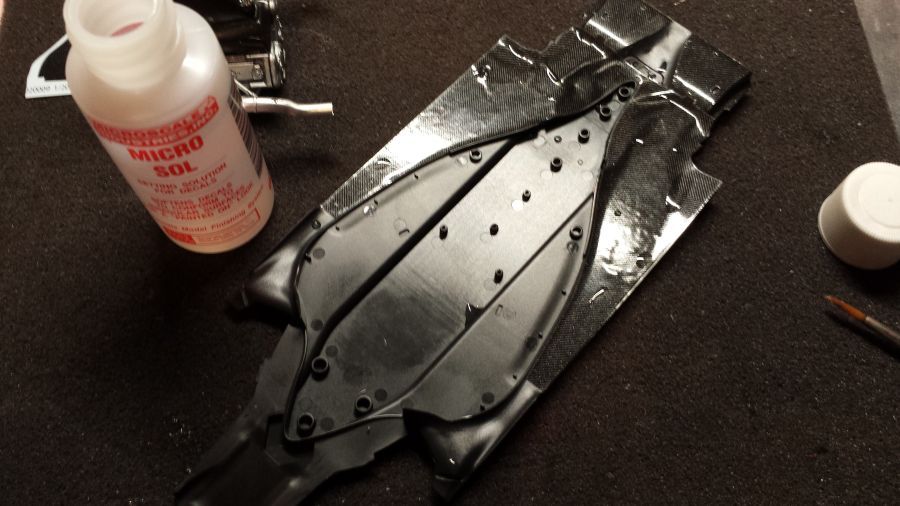
Verder met de cf-decals en de vloer. Dit neemt wel weer wat tijd.
Next the cf-decals and the floor. This will take some time again.
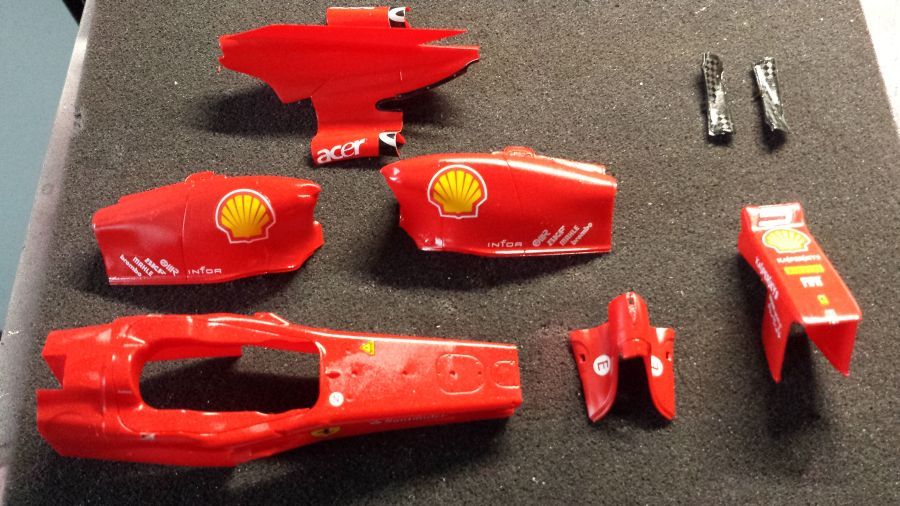
Tijd voor het rood (Zero Paints ZP-1007 Rosso F10). Daarna glanslak en decals.
Time for the reds (Zero Paints ZP-1007 Rosso F10). Then clear coat and decals.

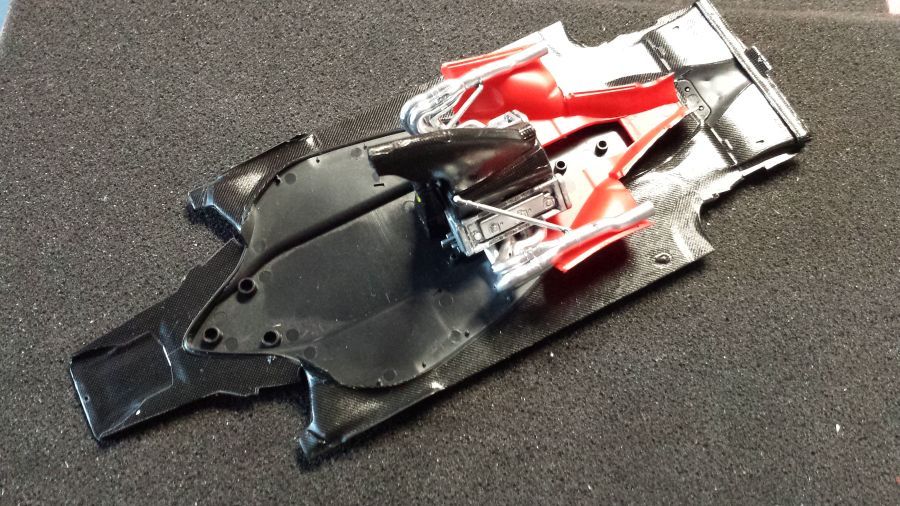
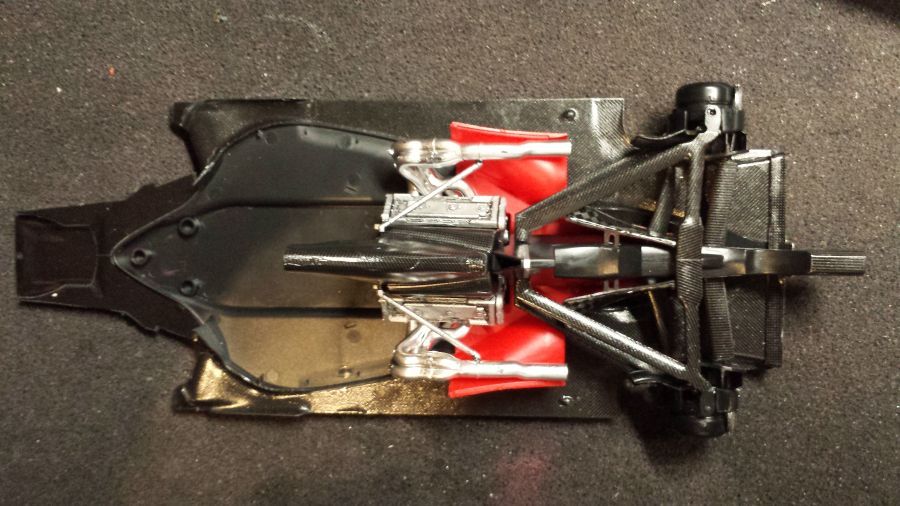
De motor is aan de vloer bevestigd.
The engine has been mounted to the floor.
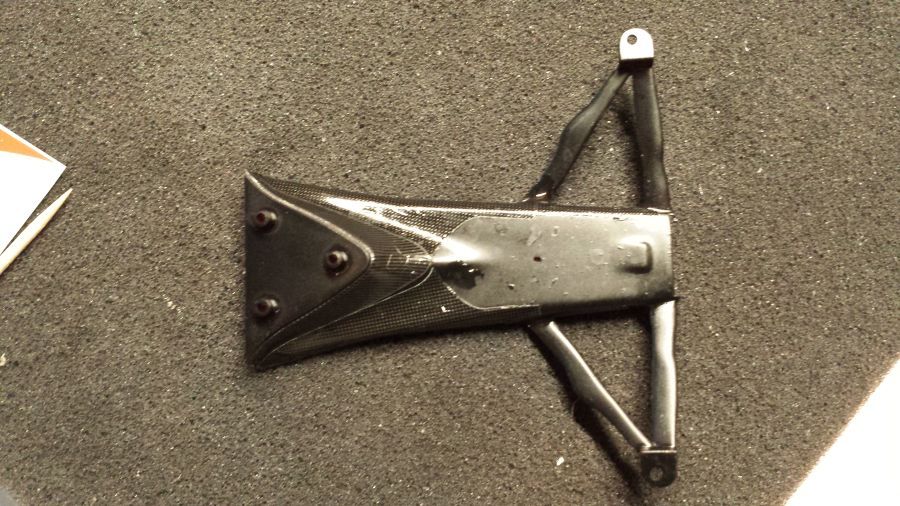
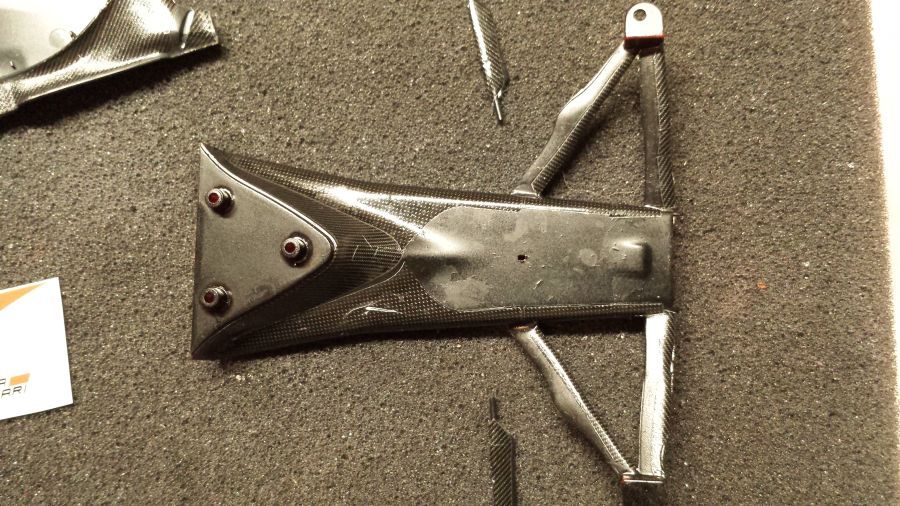
Het aanbrengen van CF decals aan de versnellingsbak en achterwielophanging.
Applying the CF decals to the gear box and rear wheel suspension.
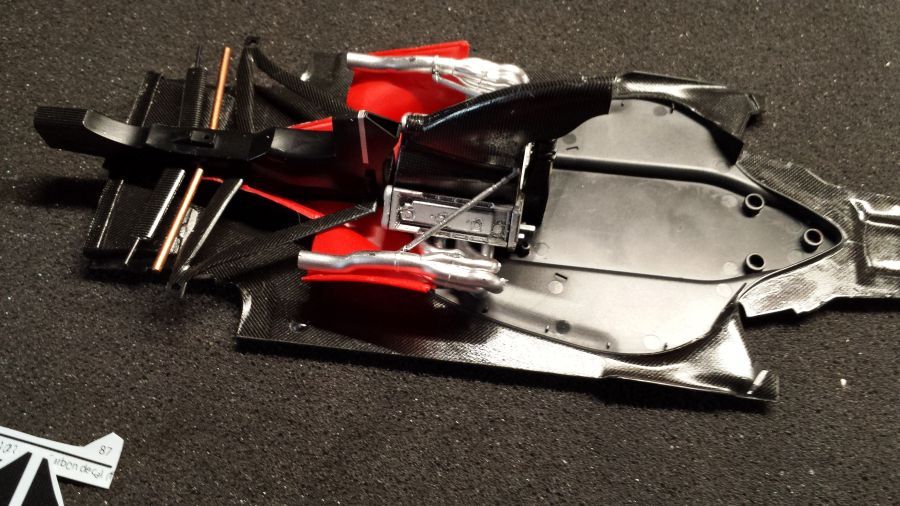
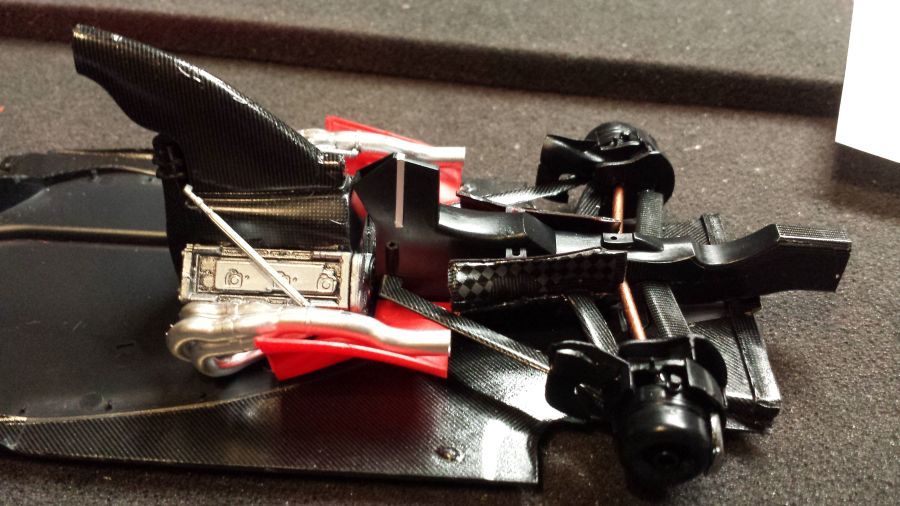
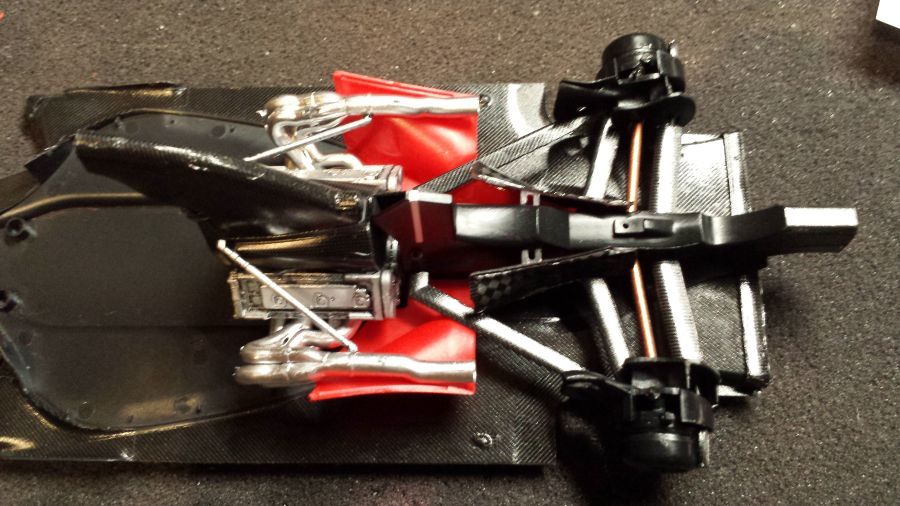
De motor en versnellingsbak zijn aan de vloer vastgemaakt.
The engine and the gear box are attached to the floor.
Daarna het eerste werk aan de in de kit bijgesloten decals. Hierna weer heldere lak.
Then the work at the within the kit enclosed decals. After this clear coat again.
De remmen zijn gemonteerd aan de achteras.
The brakes have been mounted to the rear axle.
Het CF werk aan de voorwielophanging is begonnen.
The CF work on the front wheel suspension has been started.
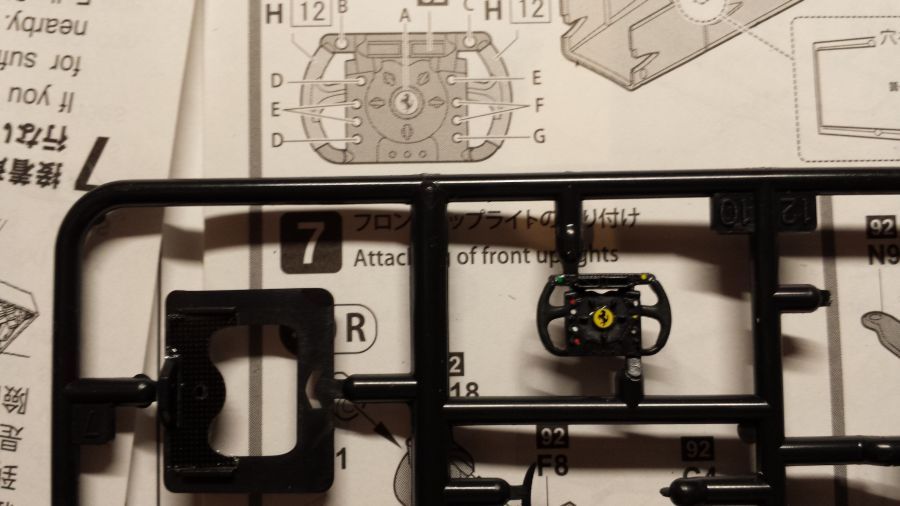
En de decals voor het stuurwiel. Speldeknopjes.
And the decals for the steering wheels. Pin points.
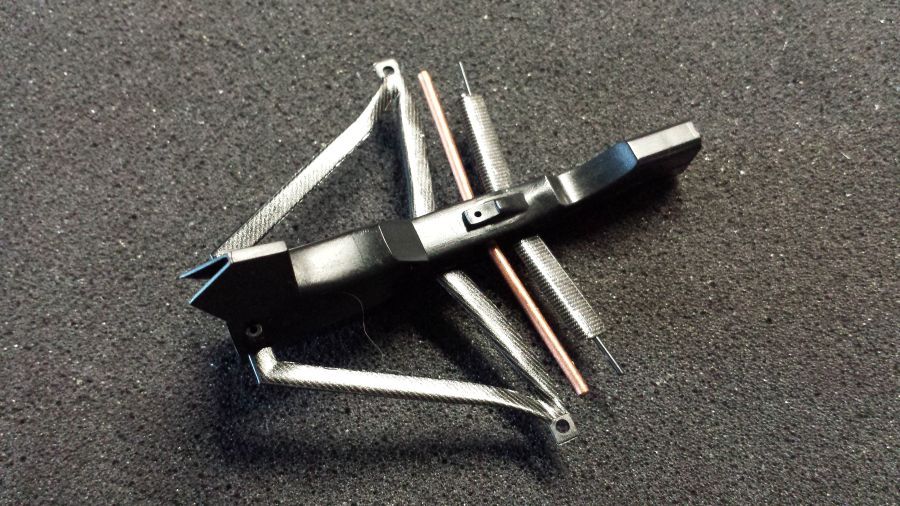
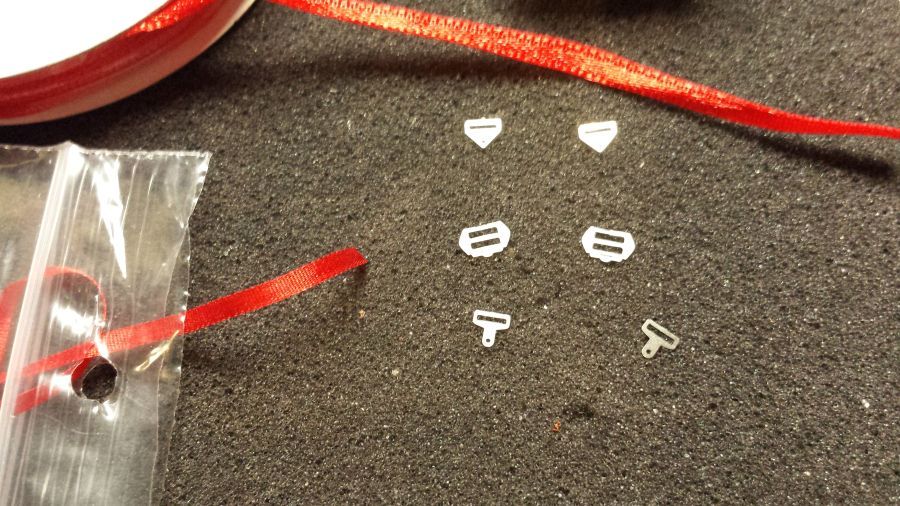
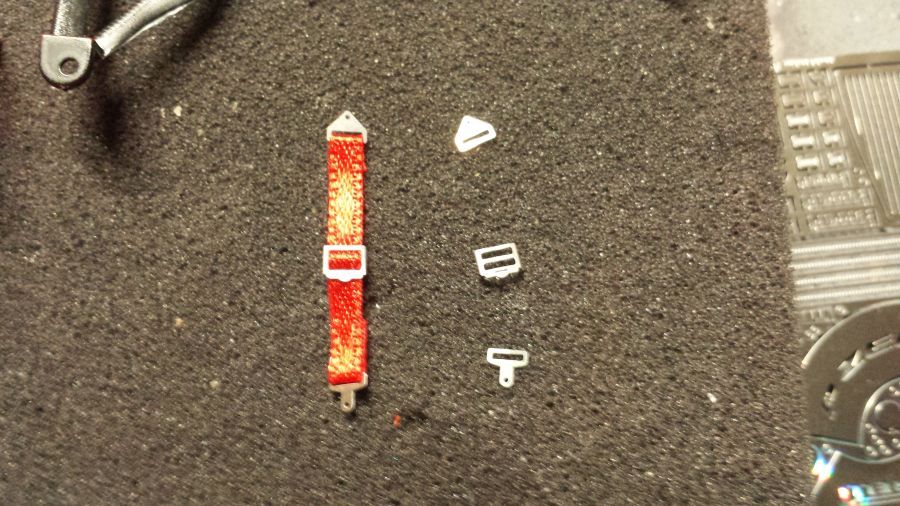
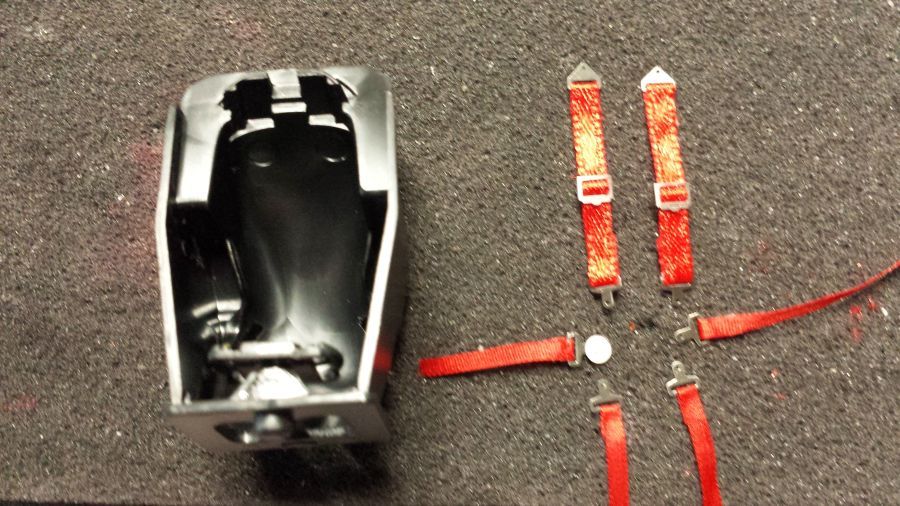
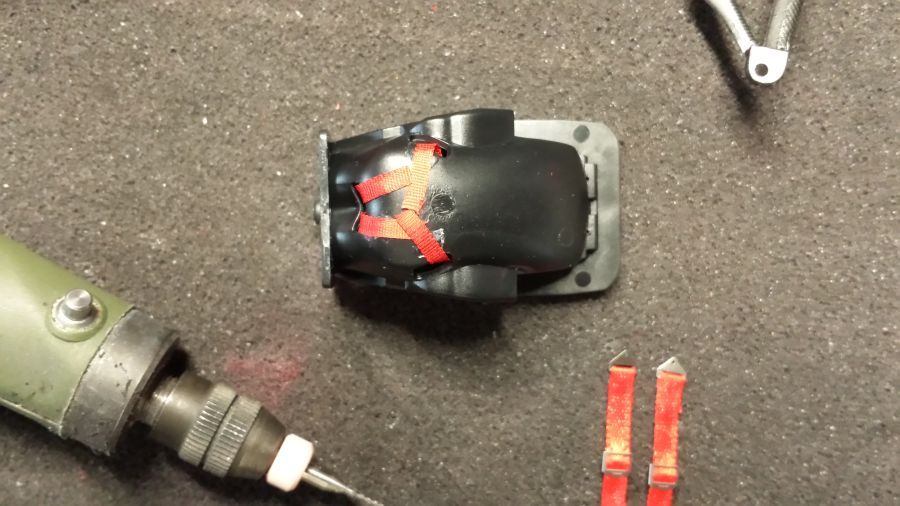
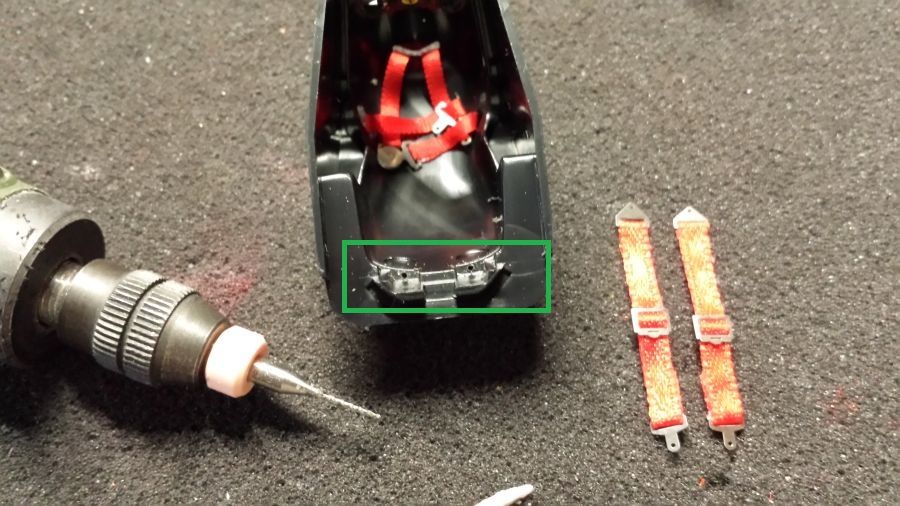
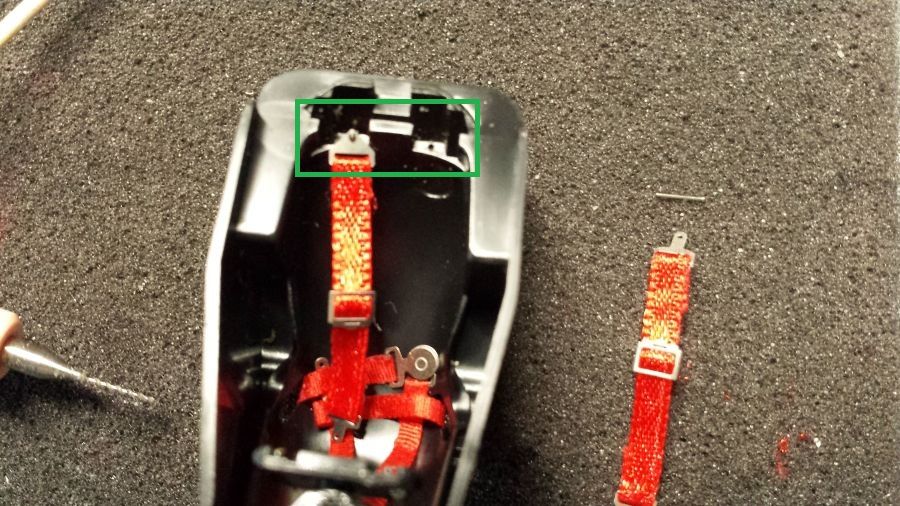
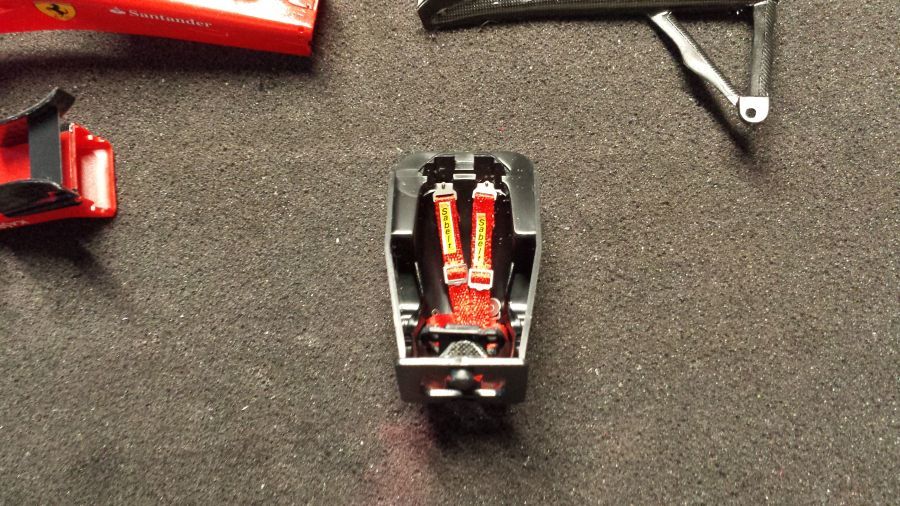
Het is weer tijd voor het maken van de veiligheidsgordels. Hiervoor gebruik ik de etched gespen en zijdeband van 2 en 3 mm breed. De gordels worden met popnagels aan de stoel bevestigd.
It is time again to make the seat belts. I will use the etched buckles and silk ribbon of 2 and 3 mm wide. The belts will be attached to the seat by using rivets.
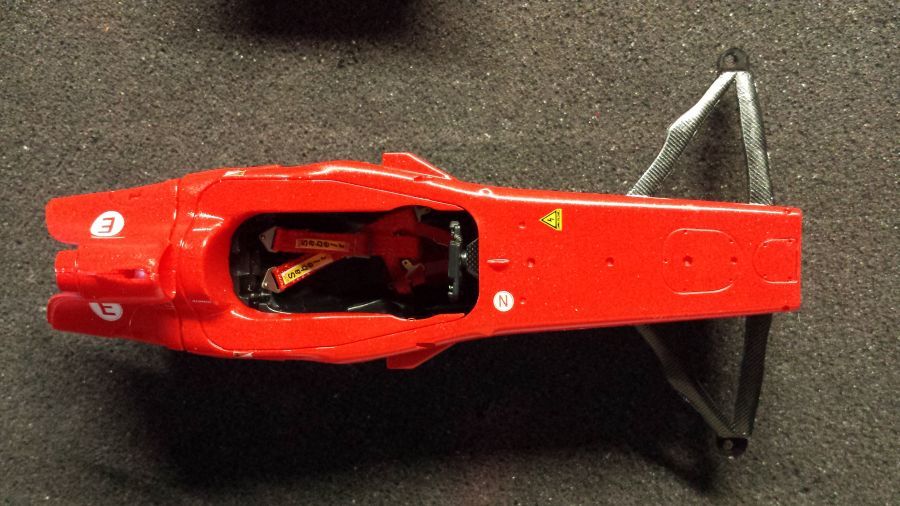
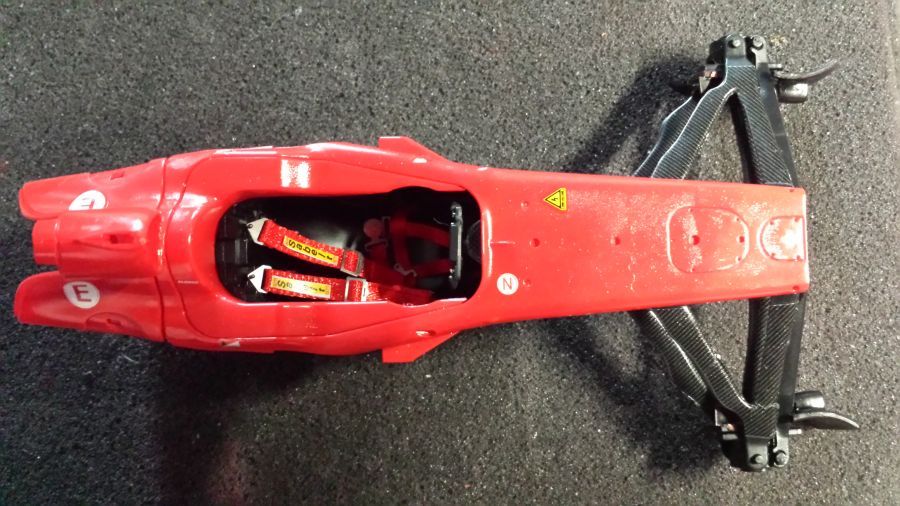
Daarna wordt de stoel in de kuip gezet en een deel van de voorwielophanging geplaatst. Daarna de remmen en de rest van de ophanging.
Then the seat is mounted to the body and a part of the front wheel suspension is attached. Then the brakes and the rest of the suspension.
En dan het 'huwelijk'.
An then the 'marriage'.

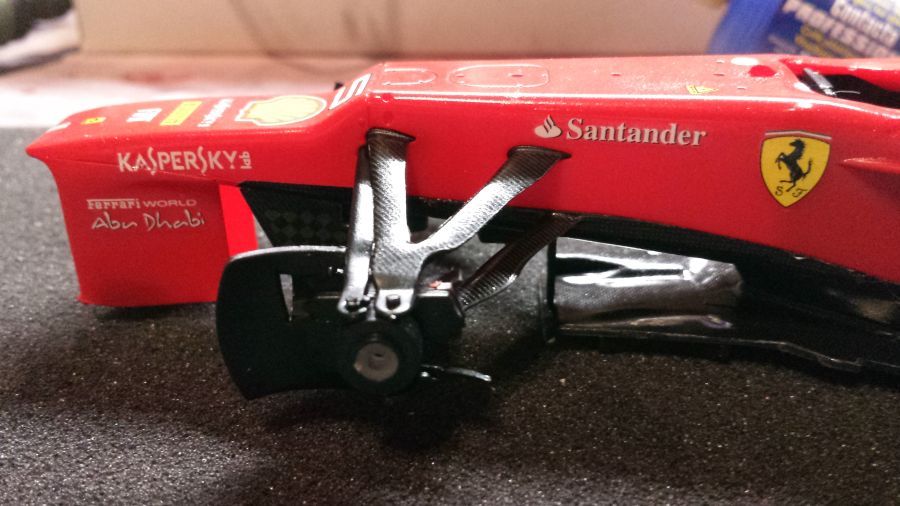
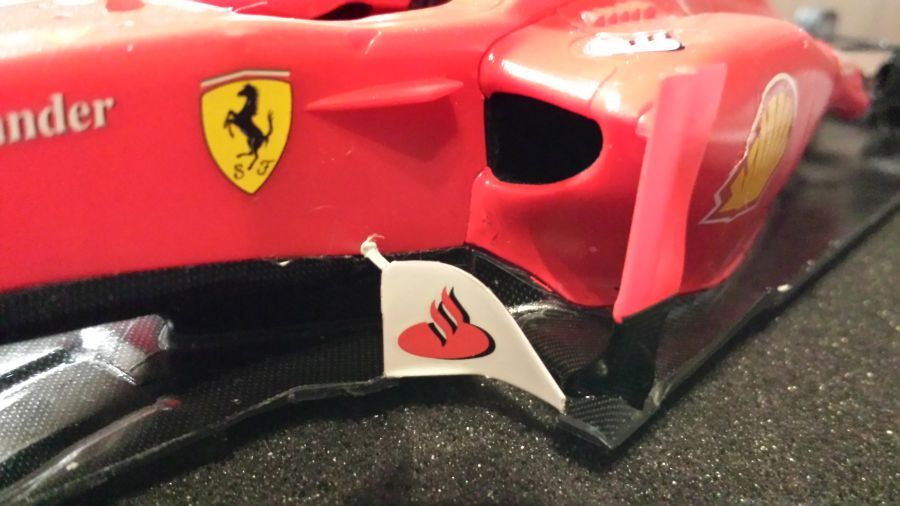
Dan de neus.
Then the nose cone.

Daarna de radiateurs in elkaar zetten en vervolgens CF decals aanbrengen.
Then creating the radiators and applying the CF decals.
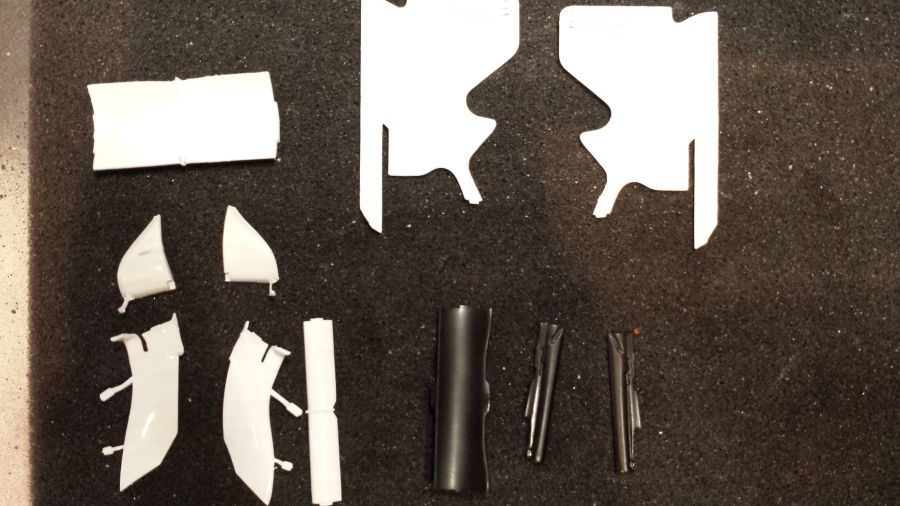
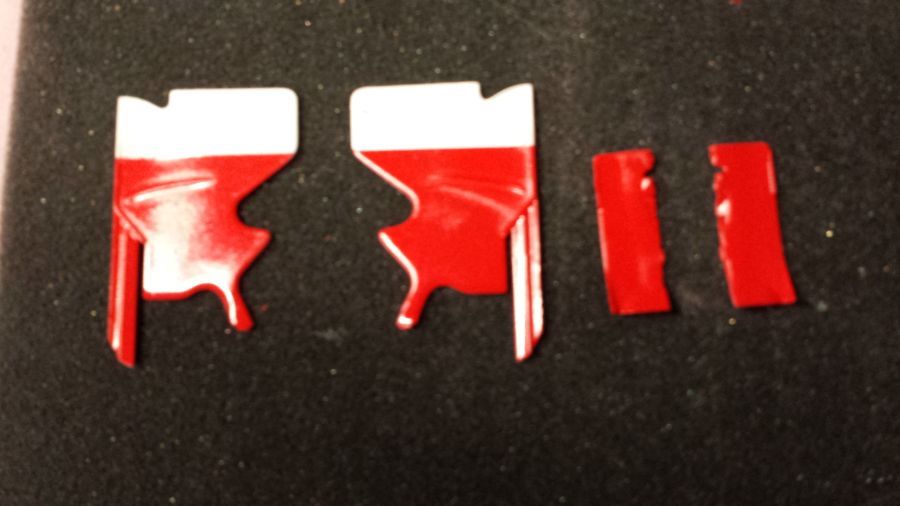
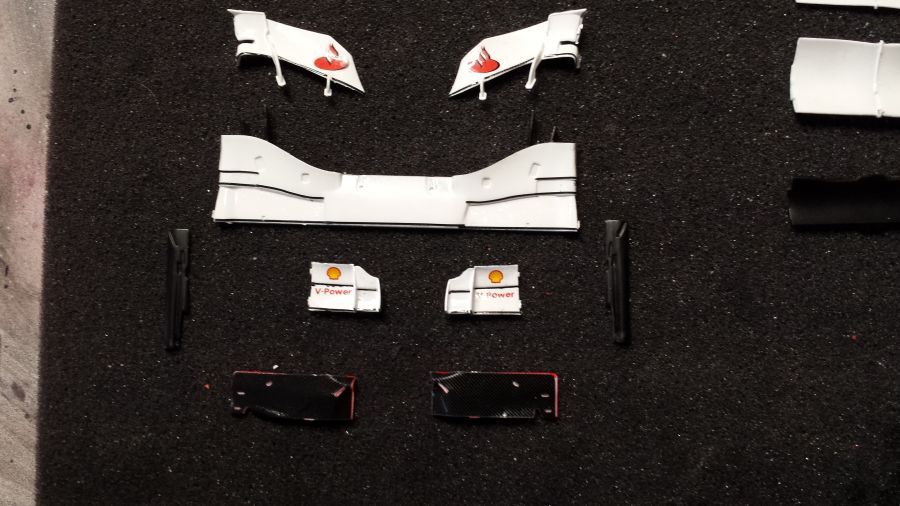
Sommige delen zijn wit gespoten met Tamiya TS-26 Pure White. Andere delen zwart met Tamiya TS-29 Semi Gloss Black. Sommige onderdelen met beide verfen. Daarna volgt het rood op een aantal onderdelen.
Some parts have been sprayed white with Tamiya TS-26 Pure White. Other parts black with Tamiya TS-29 Semi Gloss Black. Some parts with both paints. Then the red will follow on some parts.
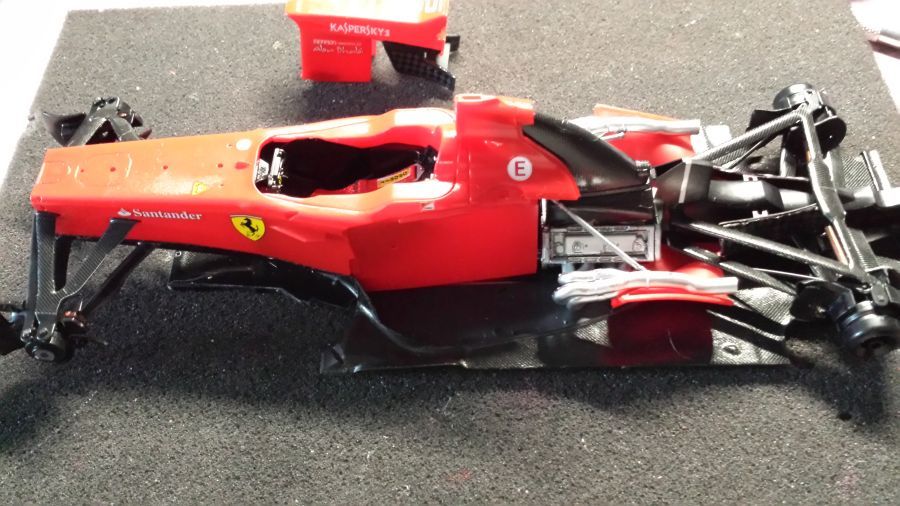
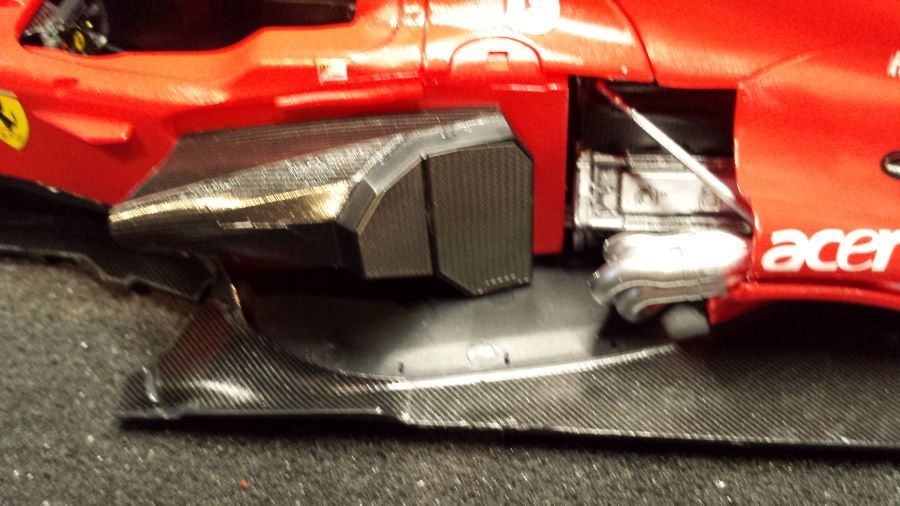
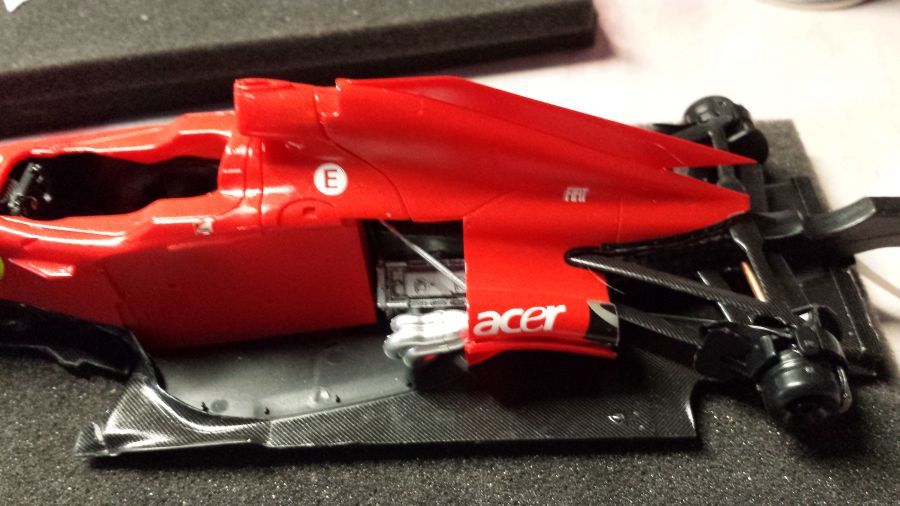
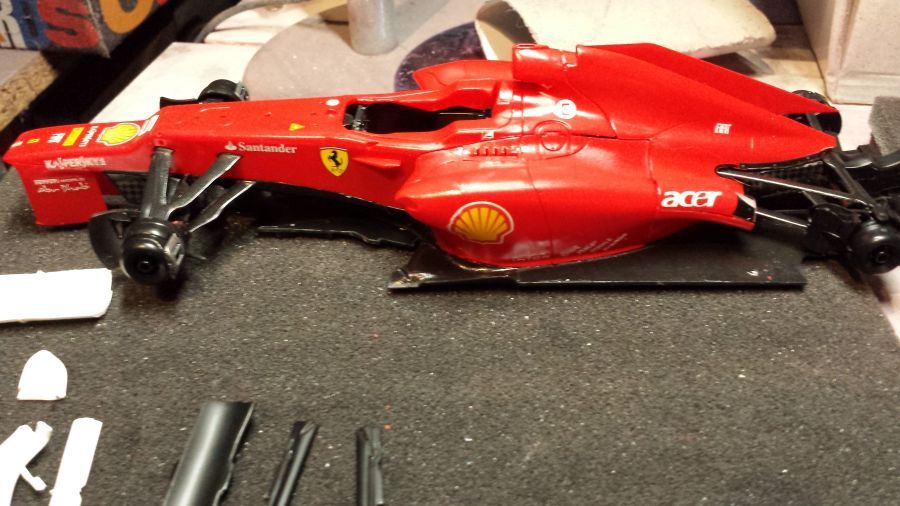
Ook nu is de cover erg krap. Het past maar net over de motor. Ik heb deze nu even tijdelijk geplaatst voordat ik de sidepods ga plaatsen. Zo kan ik nog alle kanten op wanneer nodig.
Again the cover is very tight. It hardly fits the engine. I have mounted it temporarily before i will put the side pods on. This way i still am able to change a lot if necessary.
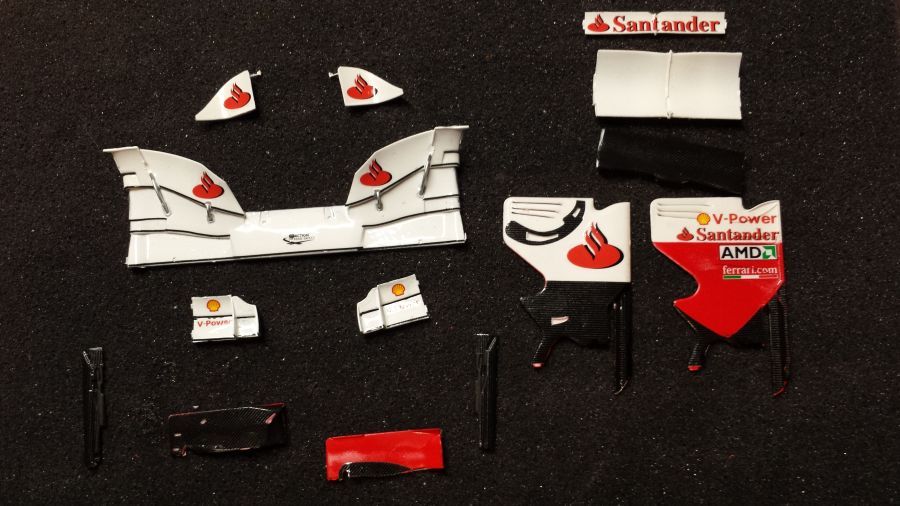
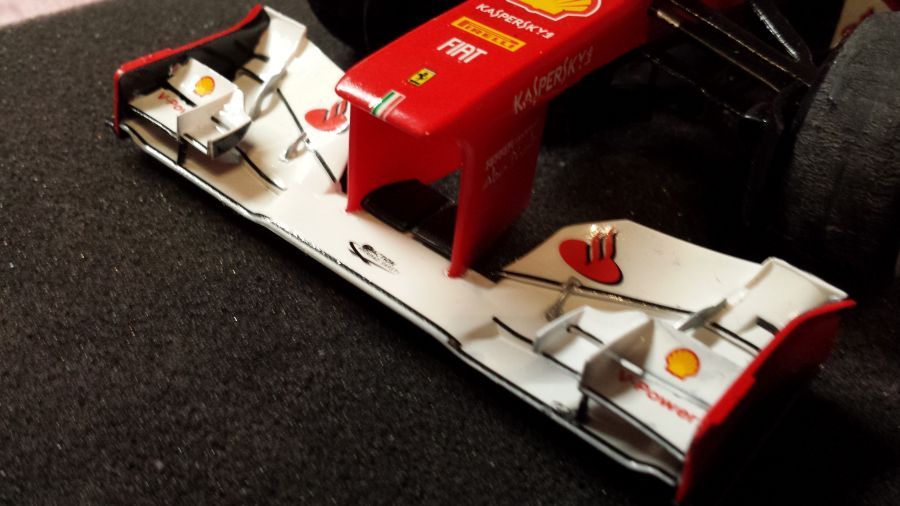
Dan naar de voorvleugel.
Next to the front wing.
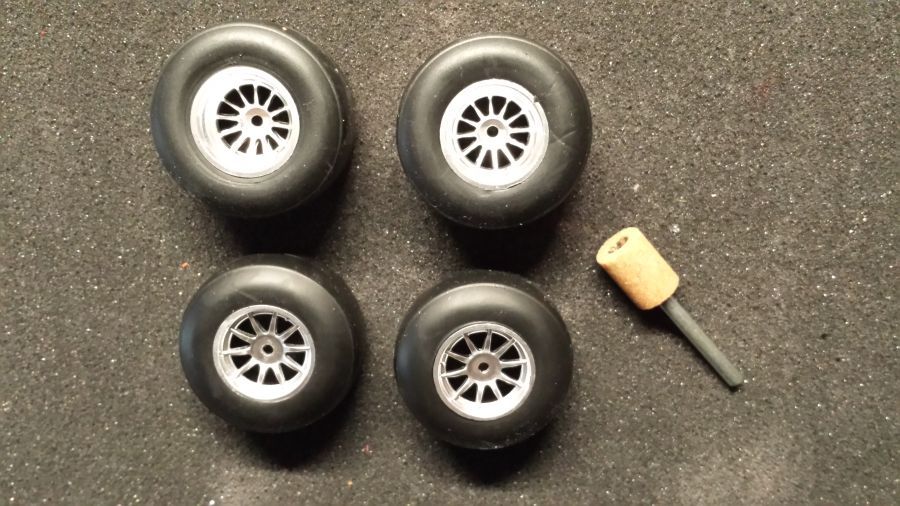
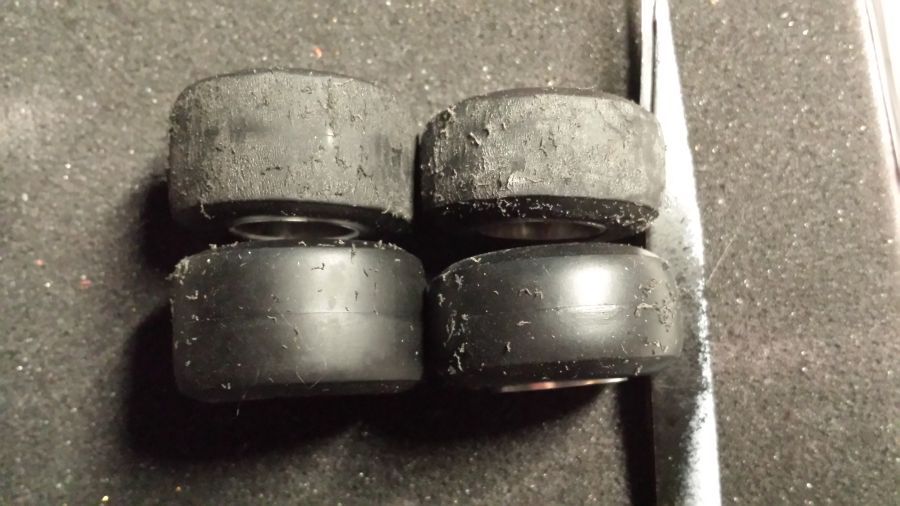
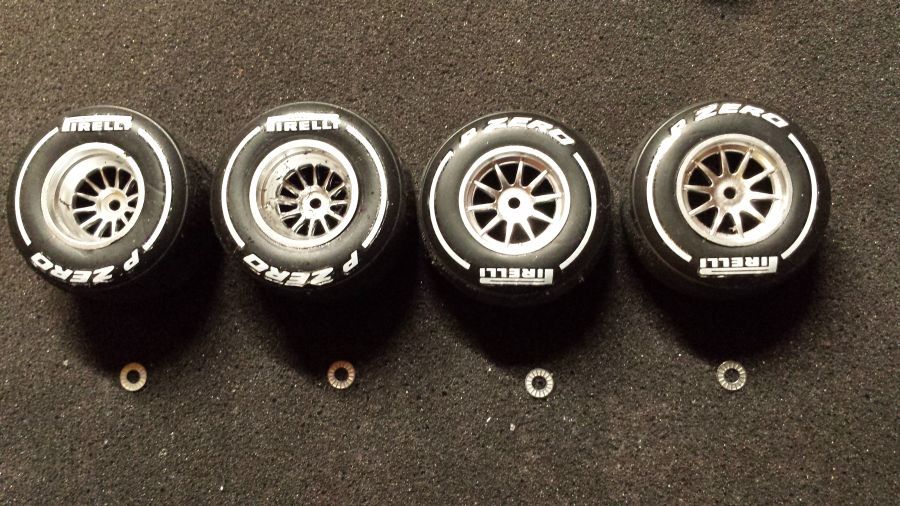
Het is weer tijd voor de banden.
It's time again for the tires.

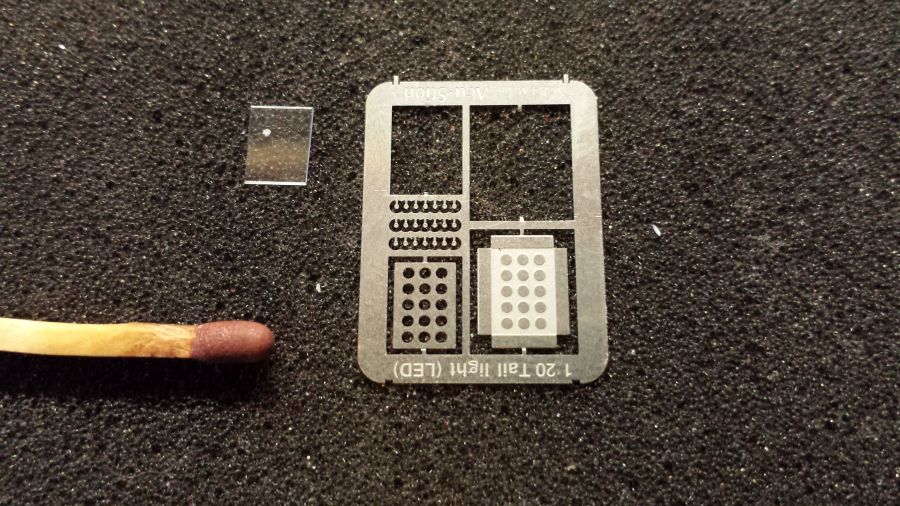
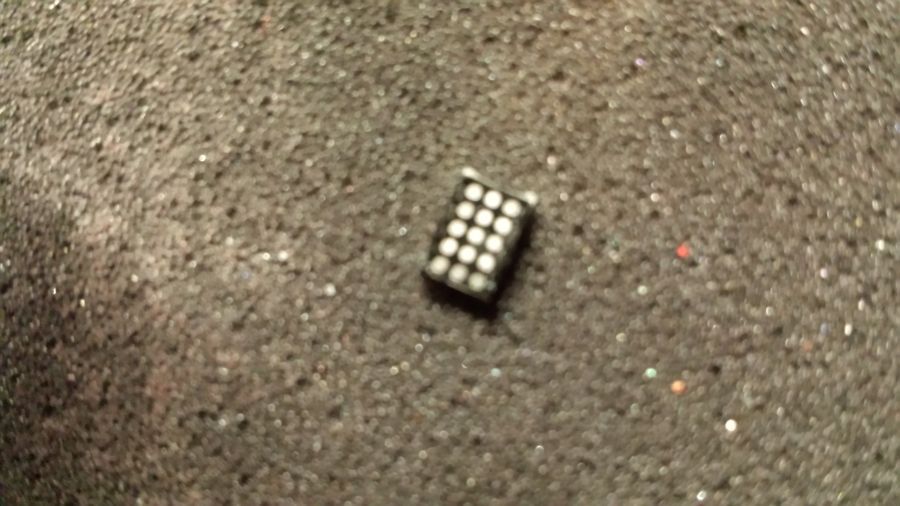
Het achterlicht.
The tail light.
De velgen bewerken.
Working on the rims.
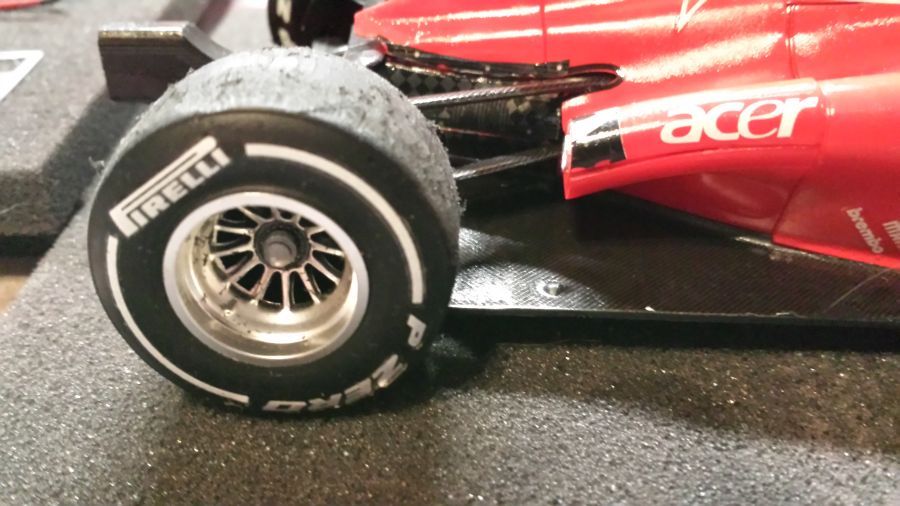
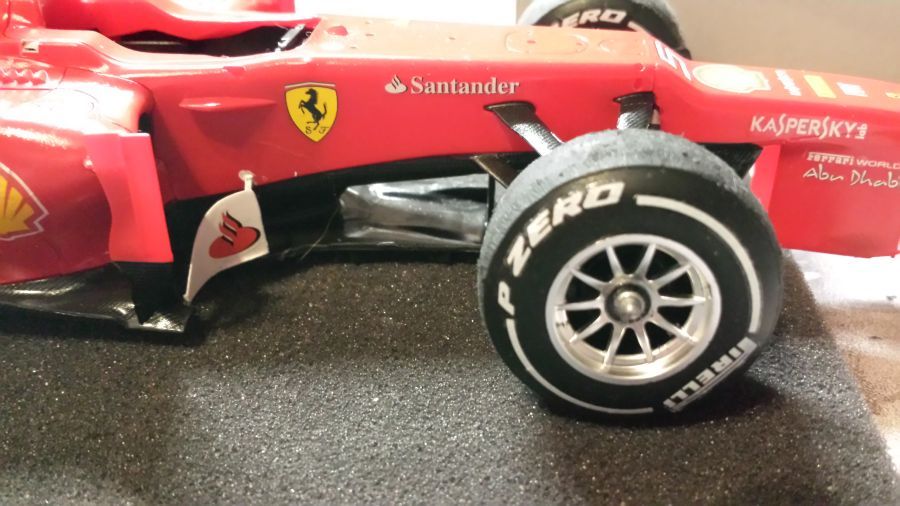
De velgen zijn gemonteerd.
The rims have been mounted.
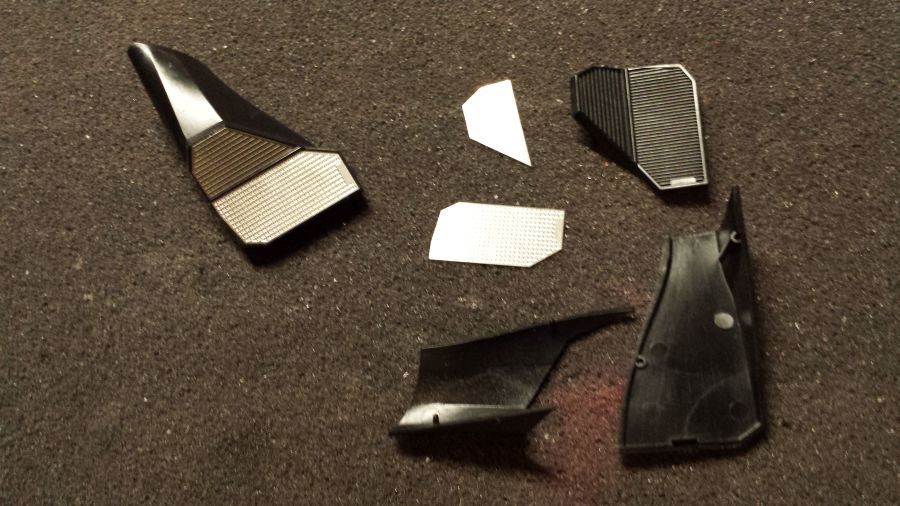
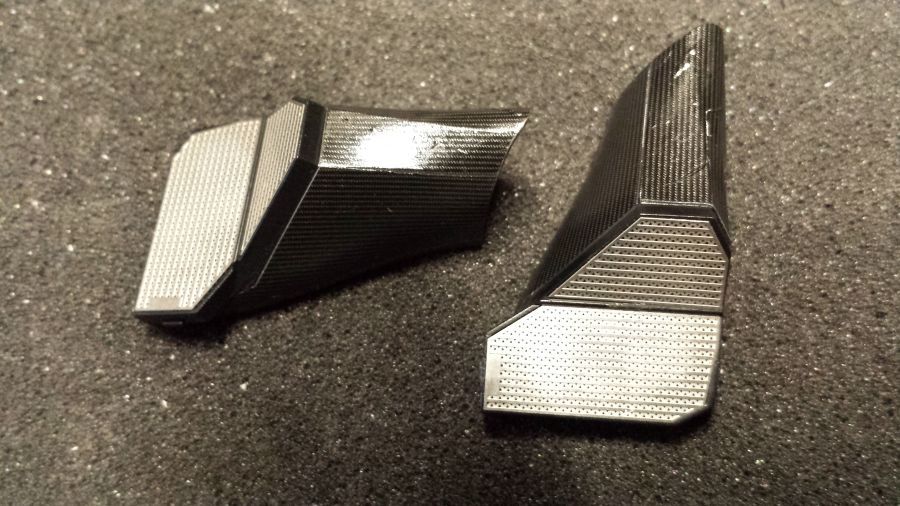
En de barge boards.
And the barge boards.
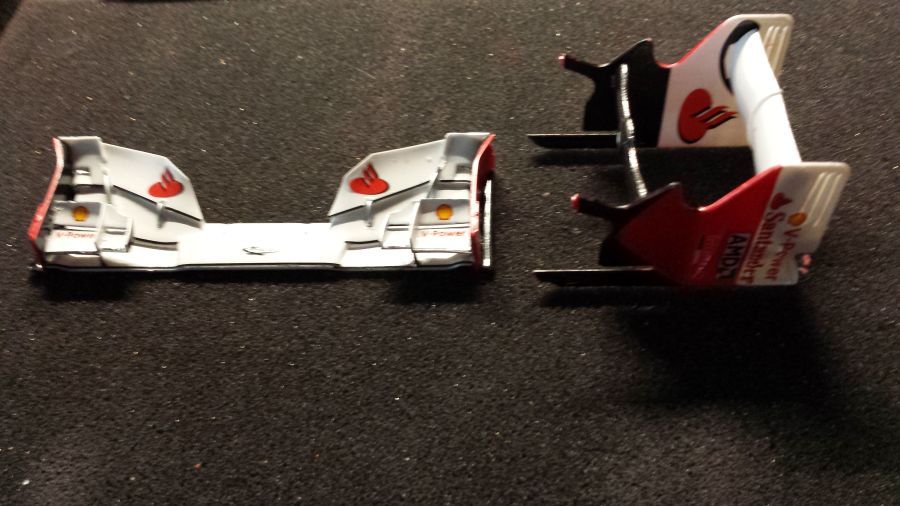
Dan de vleugels.
Next the wings.
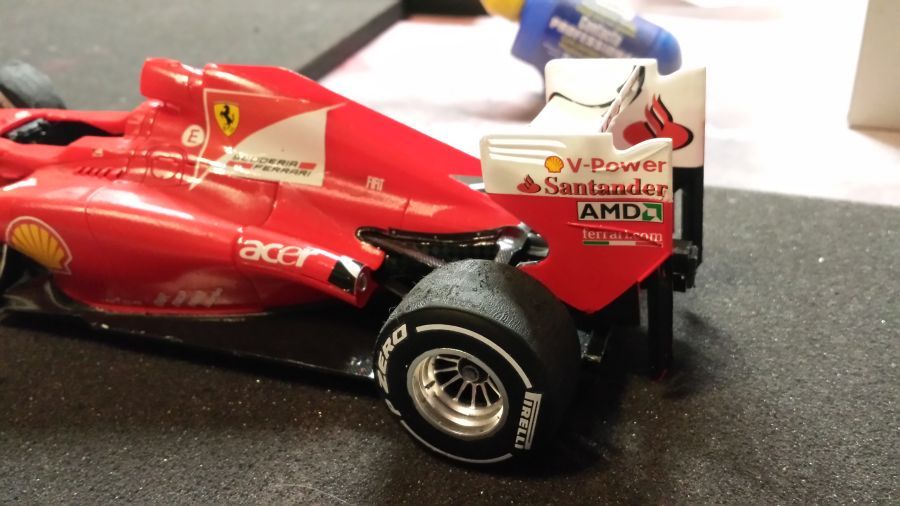
Nog wat details zoals de spiegels, de camera en de sluitingen en ......
Some details like the mirrors, the camera and the fasteners and .......
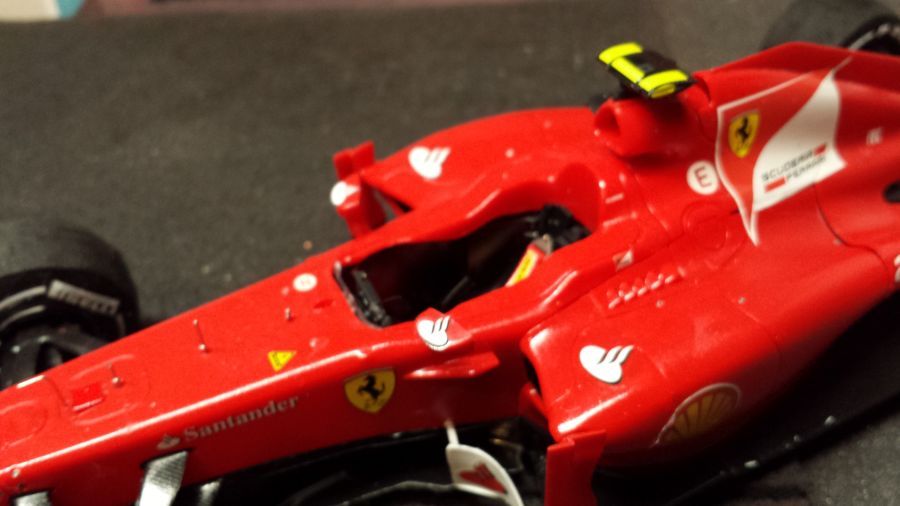
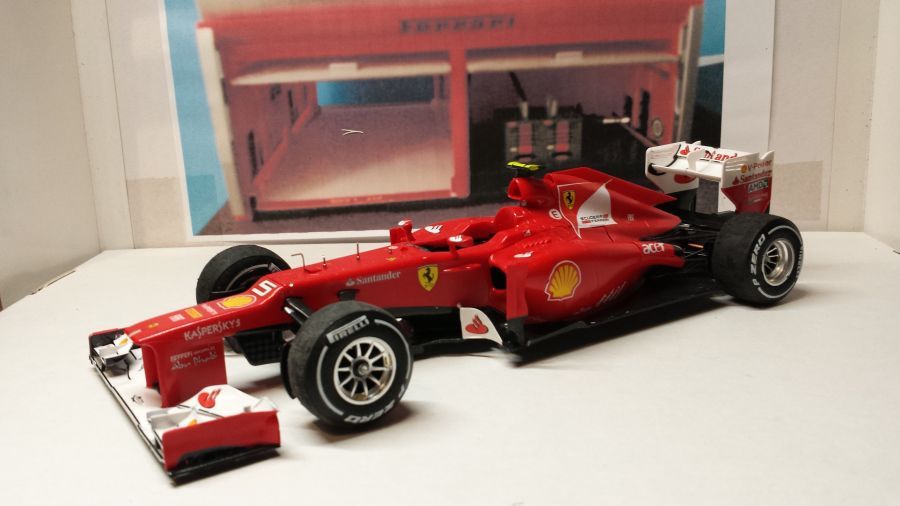
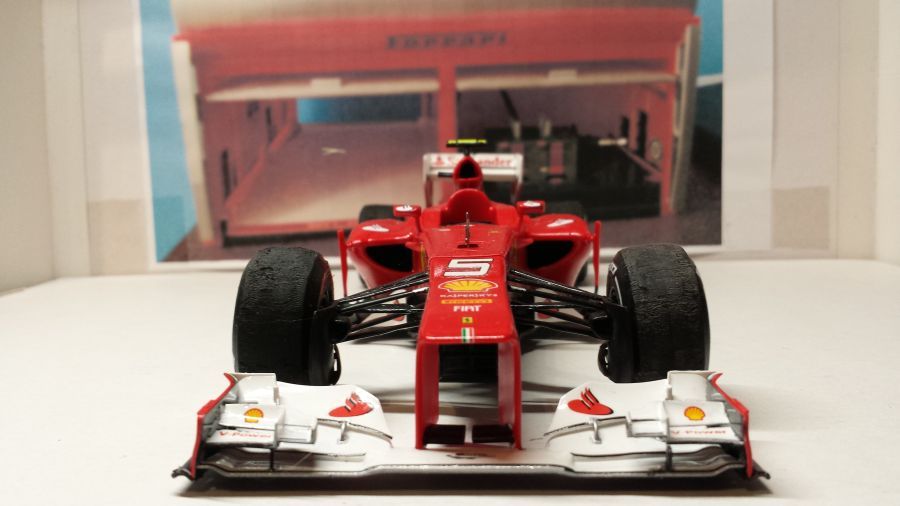
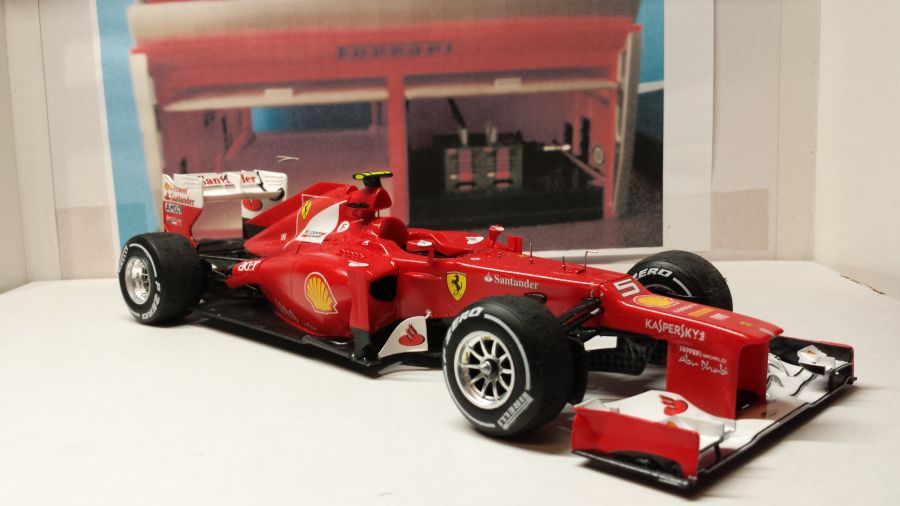
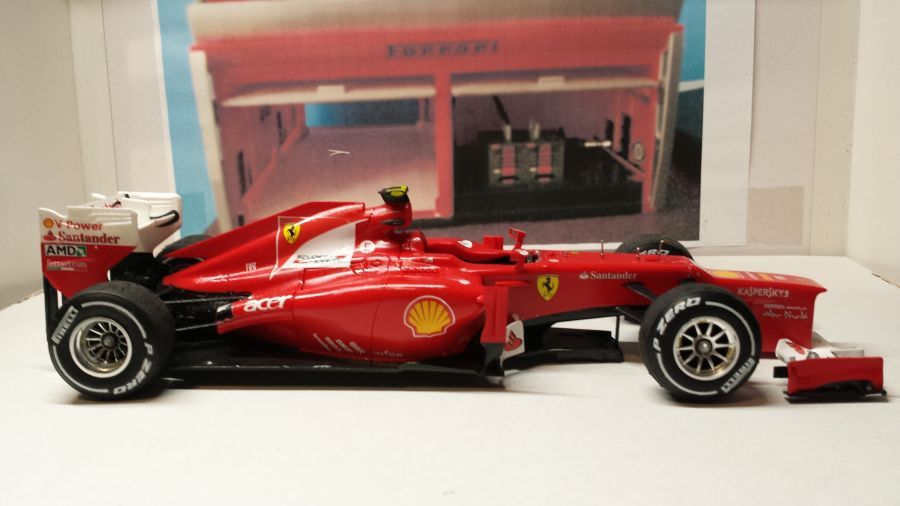
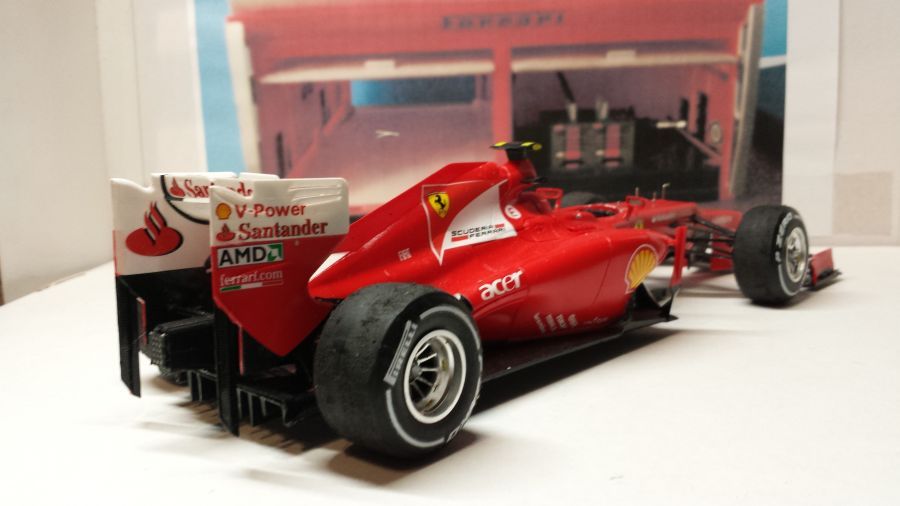
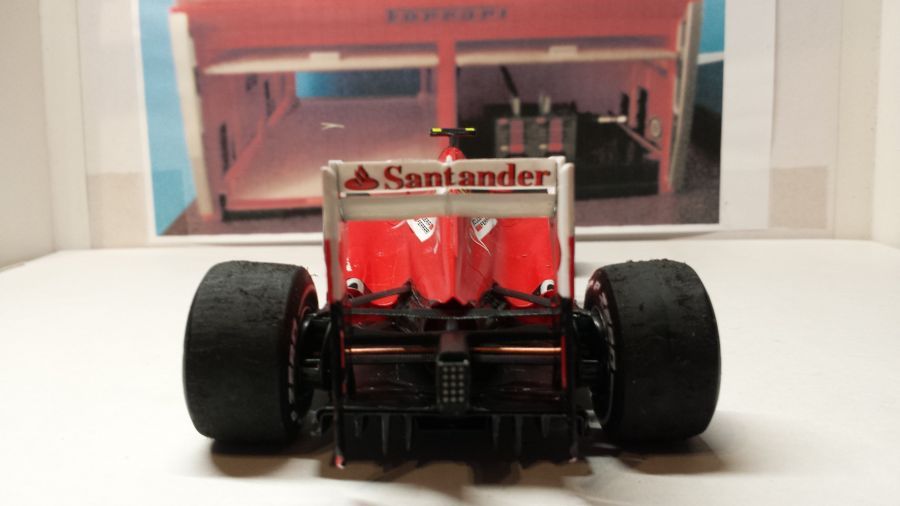
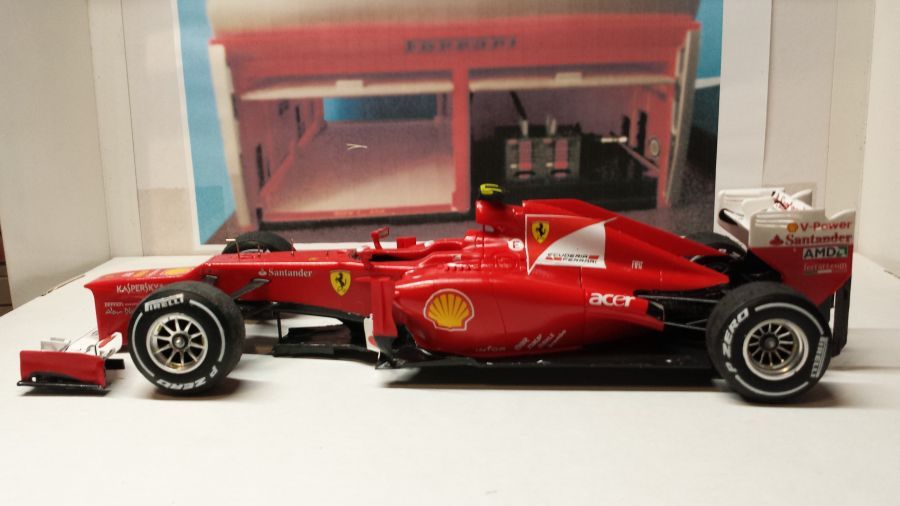
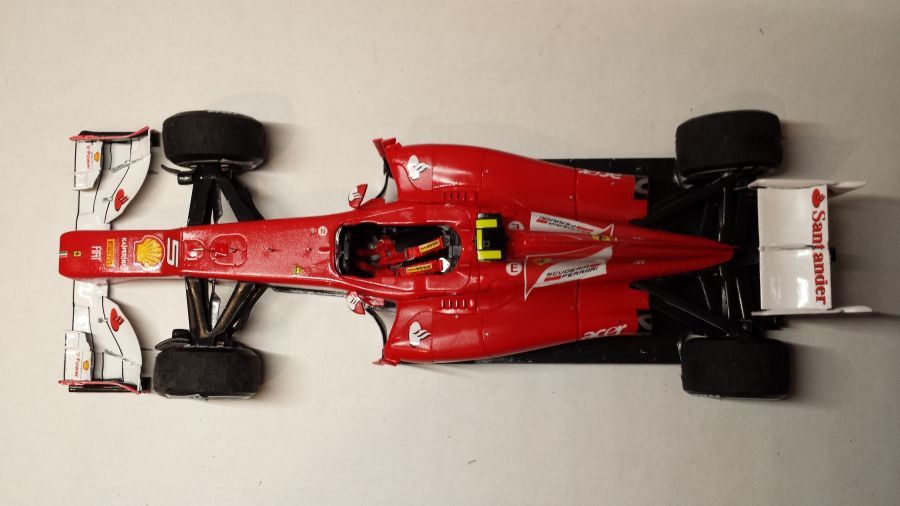
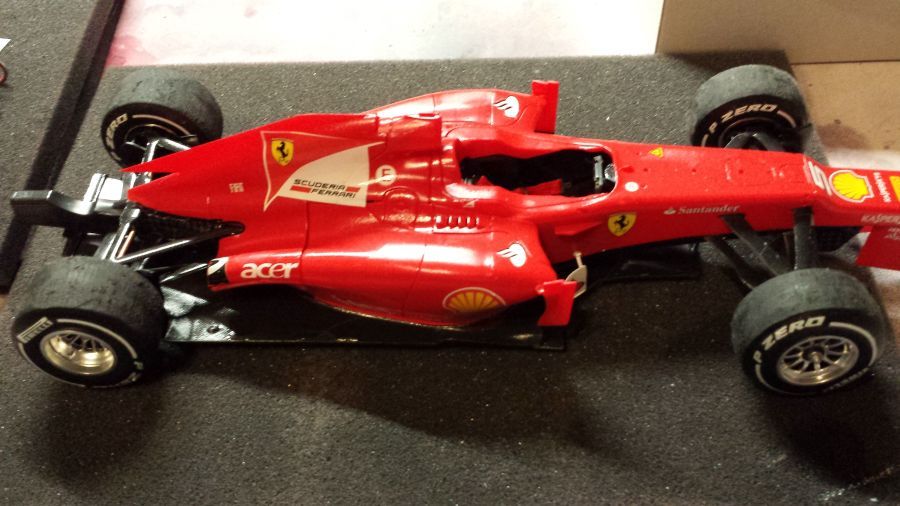
Er is weer 1 klaar voor de plank.
And another 1 is ready for the shelf.