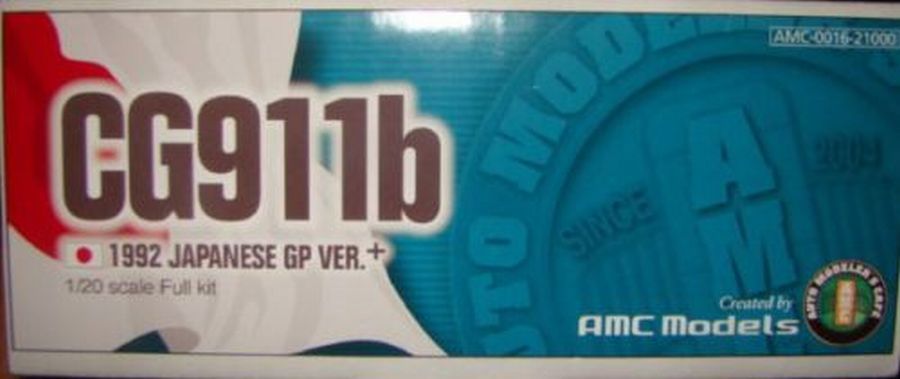
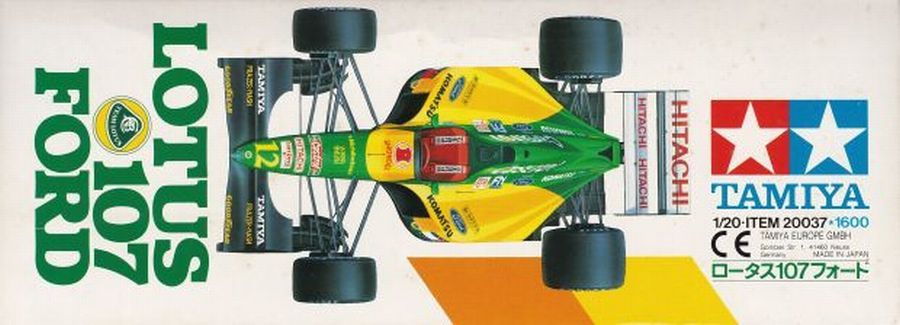
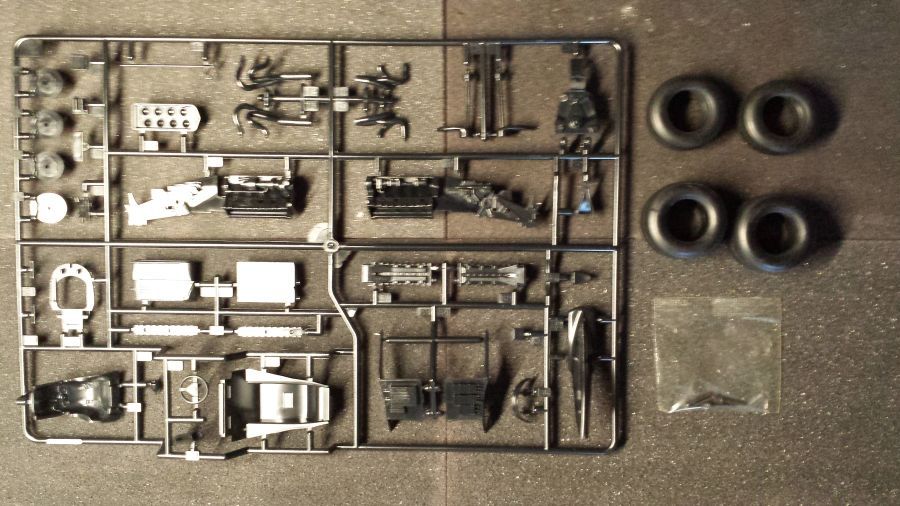
Hieronder volgt de beschrijving van de bouw van de 1992 Leyton House March CG911B van AMC (kit nr AMC-0016) zoals deze door Jan Lammers werd bestuurd bij de Japanse Grand Prix. Deze CG911B had eigenlijk een Ilmor V10 motor. De conversie kit die ik heb gebruikt echter een Tamiya Lotus 107 (kit nr 20037) met een Ford motor als donor. Aangezien al mijn kits als 'curbside' model in de vitrinestaan, maak ik me er maar niet druk om. Helaas staan er niet veel foto's op internet, dus ik moet wat improviseren. Hieronder eerst weer de foto's van de onderdelen.
Below the description of the build of the 1992 Leyton House March CG911B from AMC (kit no AMC-0016) as driven by Jan Lammers during the Japanese Grand Prix. In fact the CG911B had an Ilmor V10 engine. The conversion kit i use was made for the Tamiya Lotus 107 (kit no 20037) with the Ford engine. As all my kits are 'curbside' models on the shelf, i will do with it. Unfortunately there are not many pictures on the internet, so i have to improvise sometimes. Below at first the pictures of all the parts.
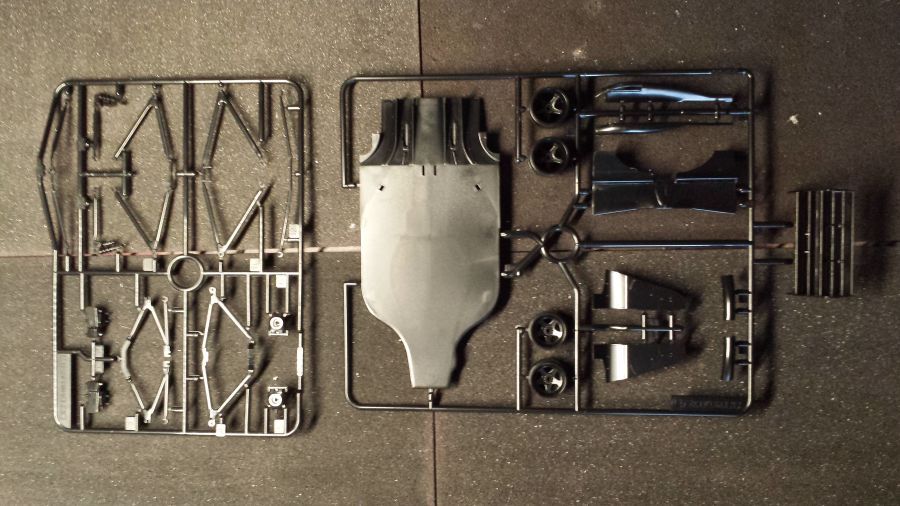
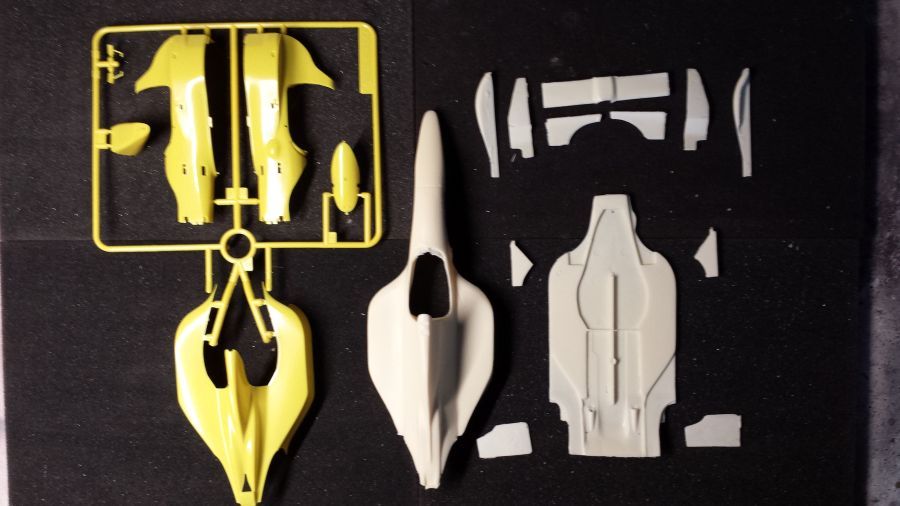
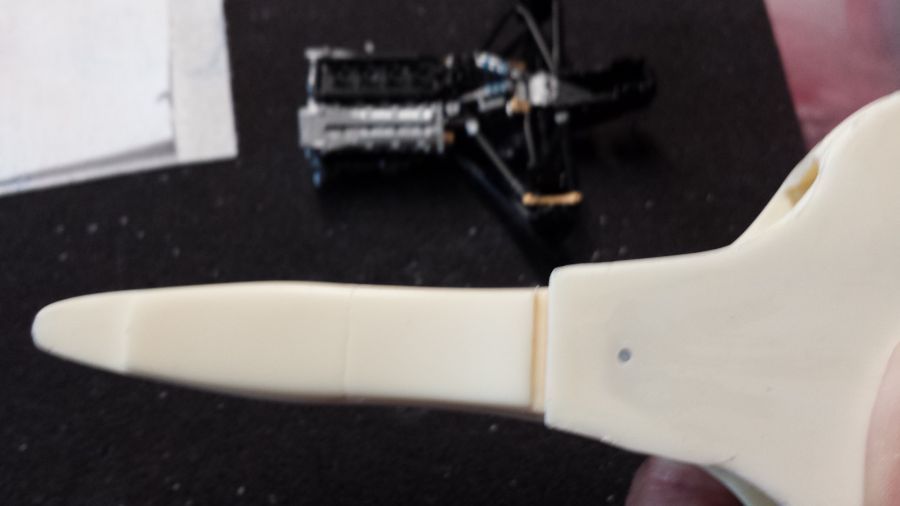
De gele delen zijn de originele delen van de Lotus, de witte zijn van de conversie kit.
The yellow parts are the original parts of the Lotus, the white ones are the conversion parts.
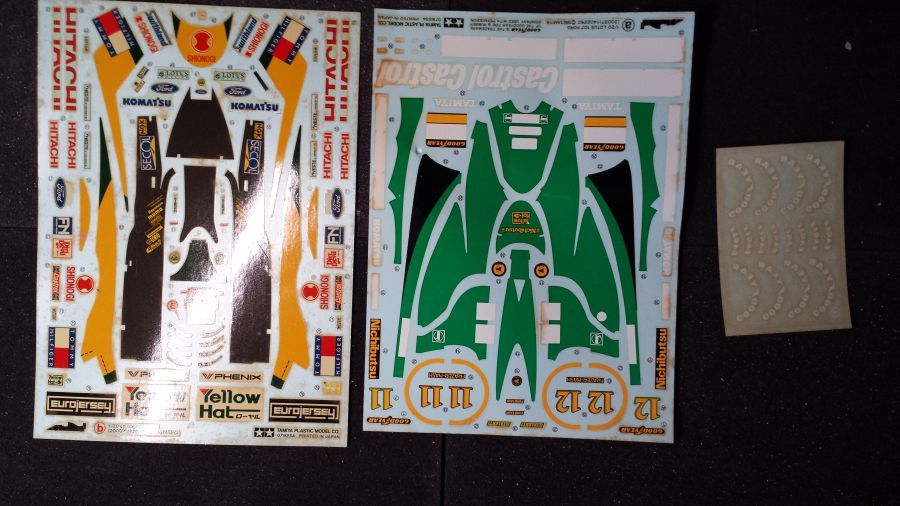
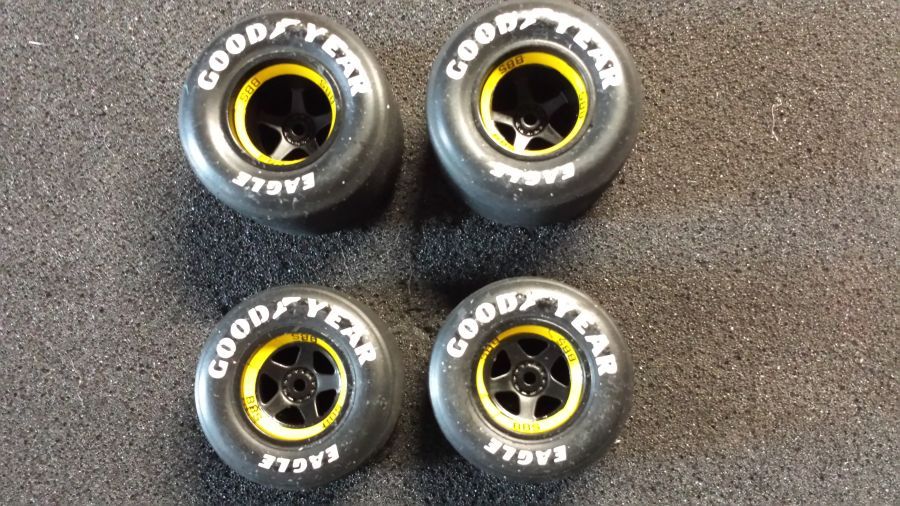
De originele decals zijn in zeer slechte staat, maar die ben ik niet nodig. Voor de banden gebruik ik nieuwe decals. De decals voor de Leyton House CG911B bevatten witte decals als onderlaag om 'bloeden' van onderliggende kleuren tegen te gaan.
The original decals are in very bad shape, but i don't need them. For the tires i will use new decals. The decals for the Leyton House CG911B also contain white decals as under decal, to prevent bleeding of the paint.
De eerste stappen met het maken van de motor. Zoals ik al zei, niet correct, maar aangezien je deze toch niet ziet, maakt me dat niet uit.
The first steps on making the engine. Like i said, it's not a correct one, but as it will not be visible, i will not mind.
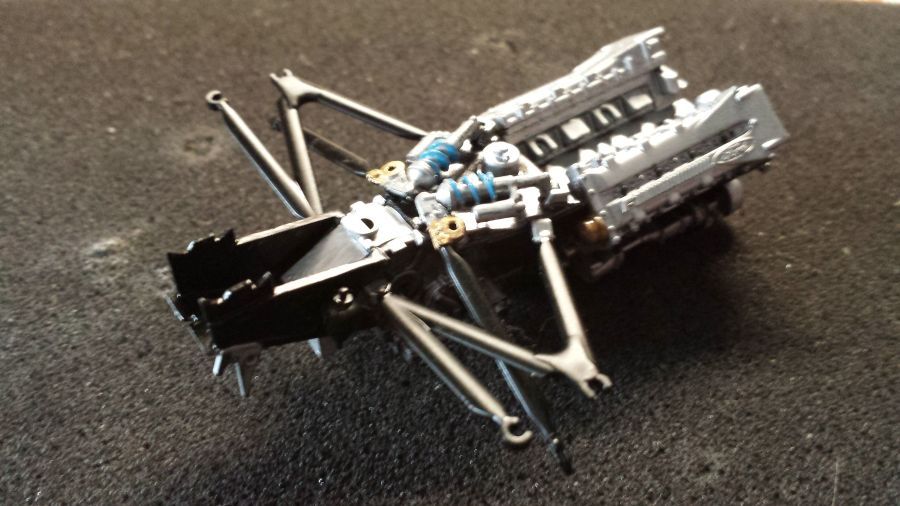
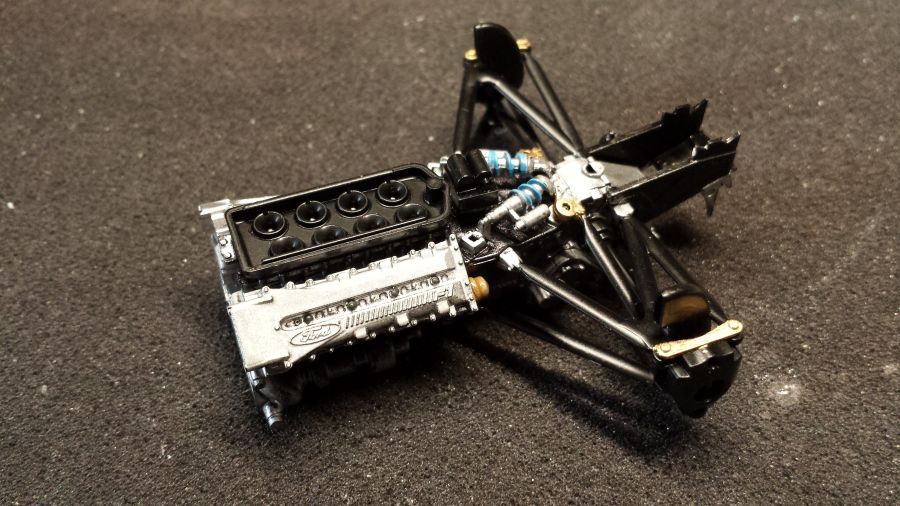
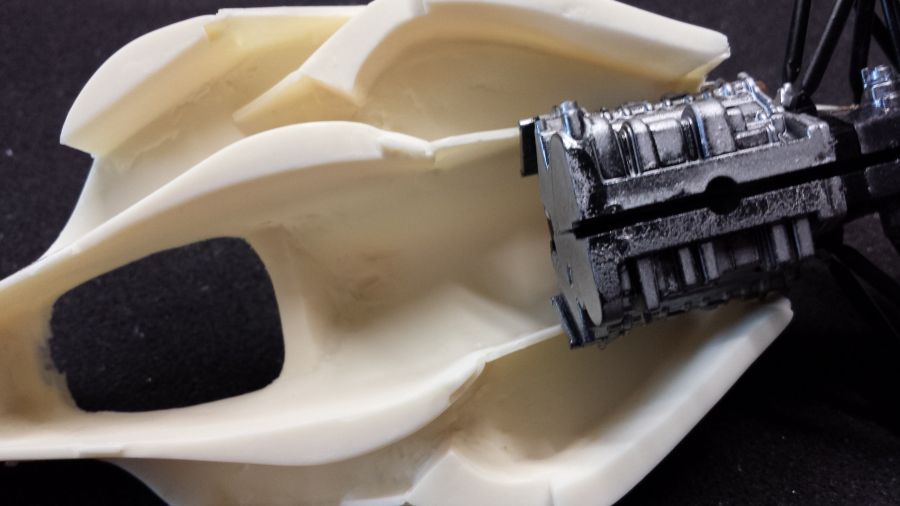
De motor past mooi op de vervangende bodemplaat.
The engine fits nice to the replacement under tray.

De body heeft wat werk nodig. Ook binnenin. De motor past niet zondermeer.
The body needs some work. Inside also. The engine does not fit.
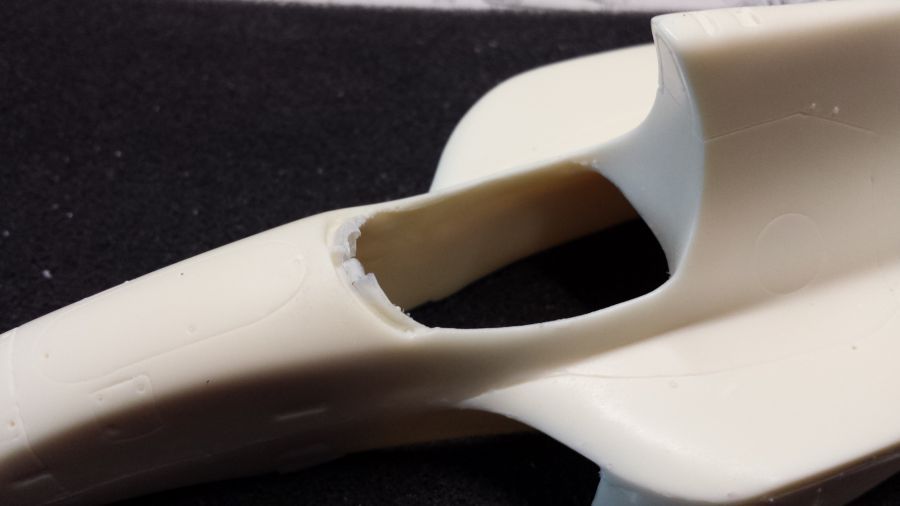
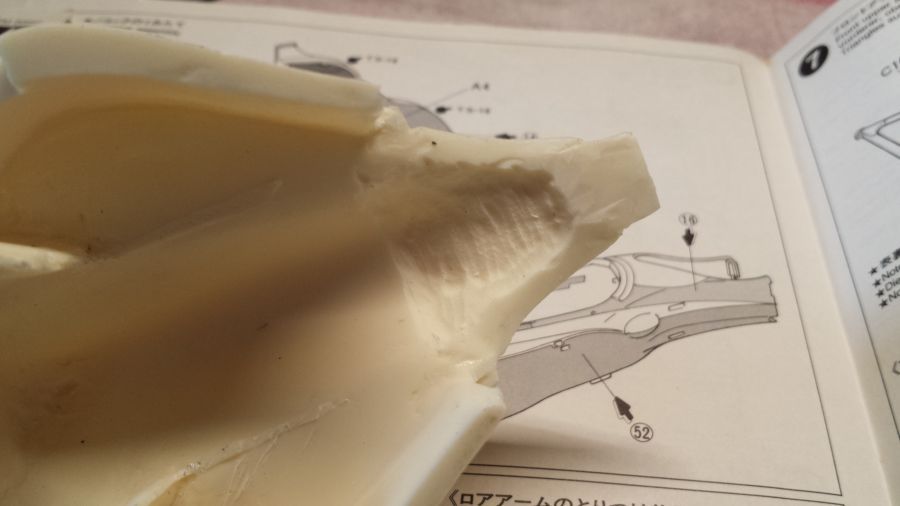
Ruimte gemaakt voor de motor.
Created some space for the engine.
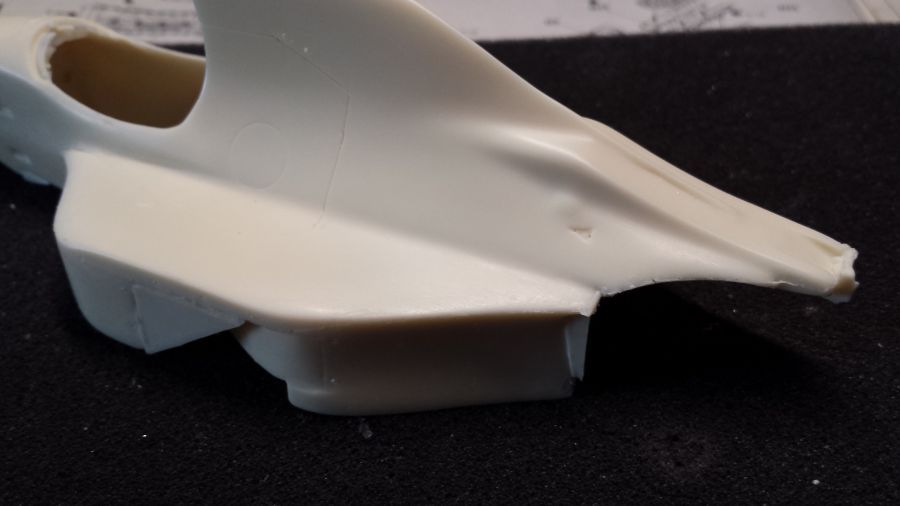
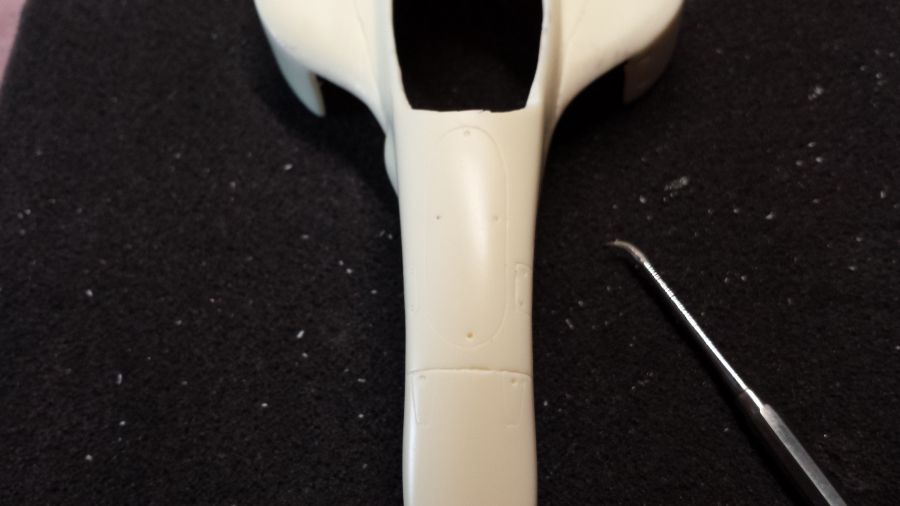
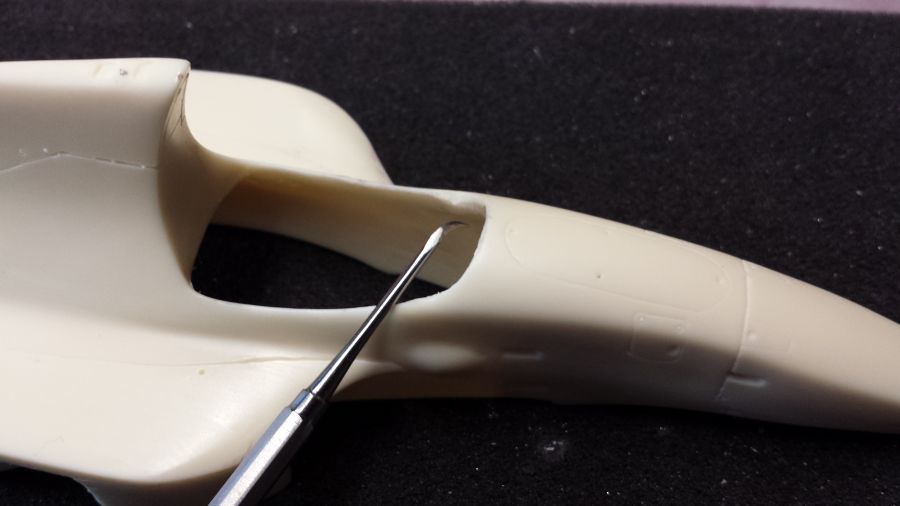
Sommige groeven zijn heel diep en sommige moeten dieper worden gemaakt.
Some panel lines are very deep and some need to be made deeper.
Er zit teveel ruimte bij de aansluiting van de bodemplaat. Opvullen met een stuk strip van Evergreen. Het schroefgat zit ook helemaal op de verkeerde plek.
There is too much space between the under tray and the body. I will solve this with a small strip from Evergreen. Also the hole for the screw is at a totally wrong spot.
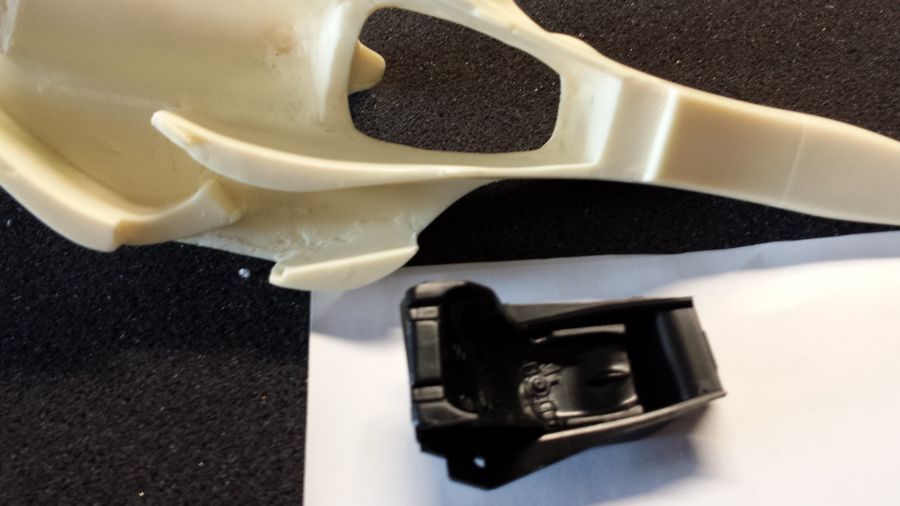
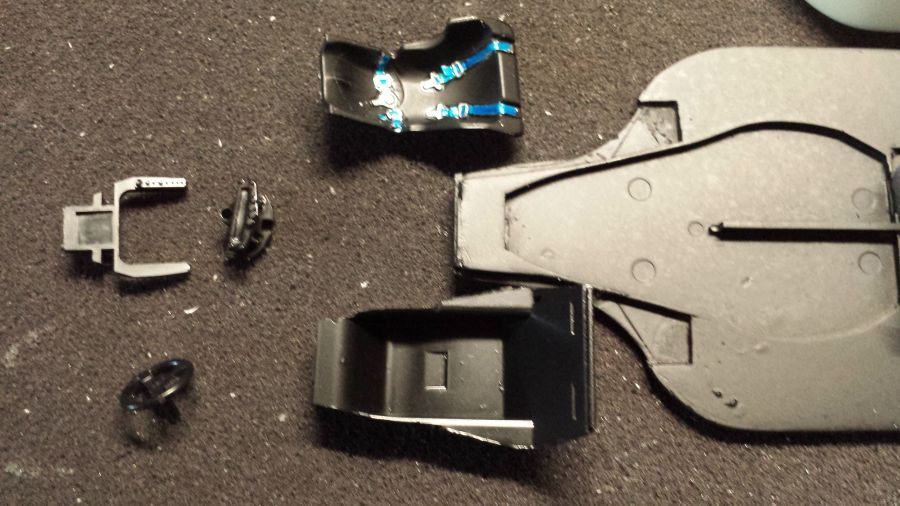
Het stoeldeel past niet op de juiste plek in de body. Hier moet veel aangepast worden. Het aanpassen van de stoel lijkt me het meest gemakkelijk. Hetzelfde geldt voor het dashboard. Een groot deel moet verwijderd.
The seat compartment does not fit to the body. Here a lot of changes need to be made. I guess it will be most logic to adjust the seat. The same goes for the dash. A large part has to be removed.
Vervolgens moet het probleem met het bvestigen van de voorwielophanging worden opgelost. De voorzieningen van de Tamiya kit gaan niet werken.
Next the problems to mounting the front wheel suspension have to be solved. The way it is supposed to work on the Tamiya kit is not ok.
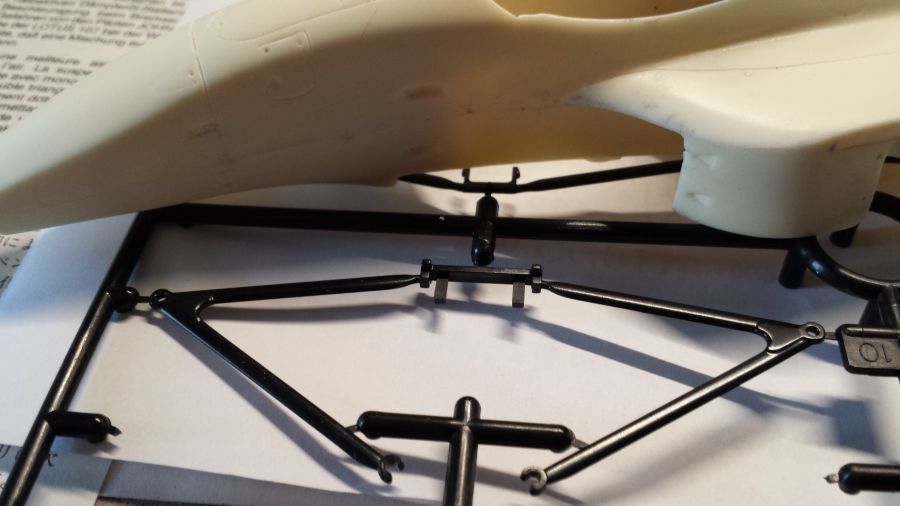
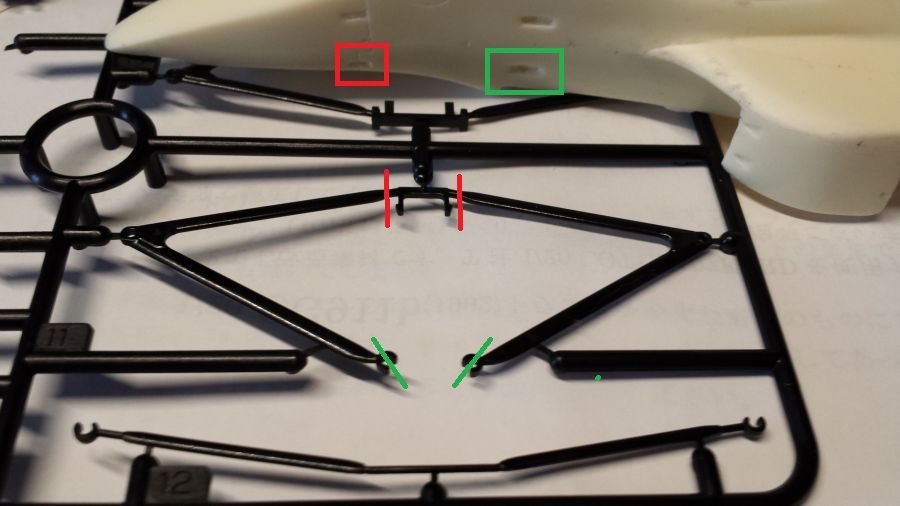
Voor de onderarm aan de voorkant boor ik gaatjes op de juiste plekken. De armen knip ik op de rode/groene plekken door, zodat deze in de geboorde gaten passen. Dit is de enige oplossing die ik kan bedenken. de armen zijn te dun om metalen pinnetjes te plaatsen.
For the under arms i will drill holes at the correct places. The arms will be cut at the red/green points, so these will fit in the holes drilled. It's the only way i can think of. The arms are too thin to glue rod as support.
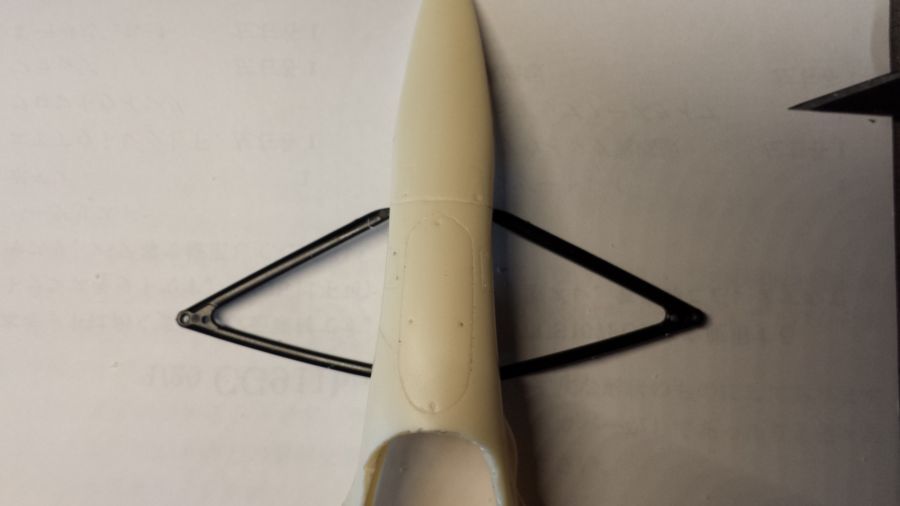
Het resultaat. Ik denk dat dit wel gaat werken.
The result. I think it will work.
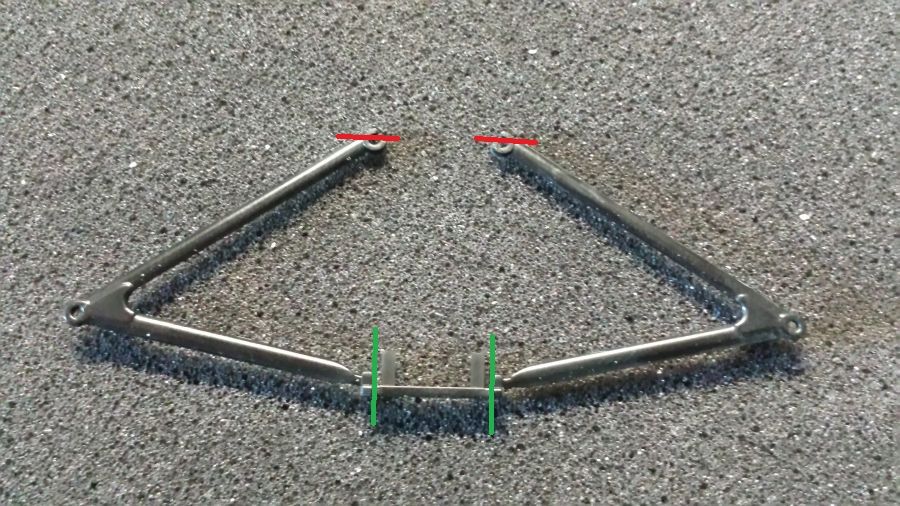
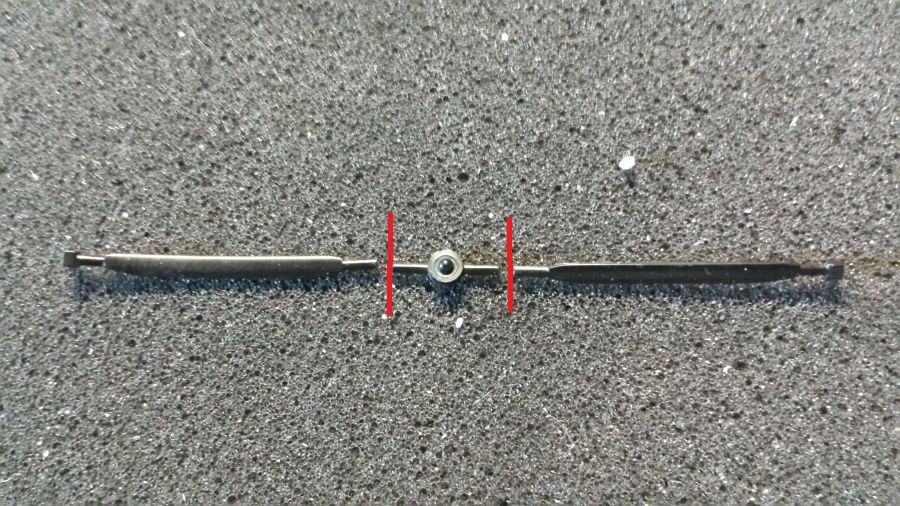
Hetzelfde geldt voor de push rods en de bovenste armen.
The same goes for the push rods and the upper arms.
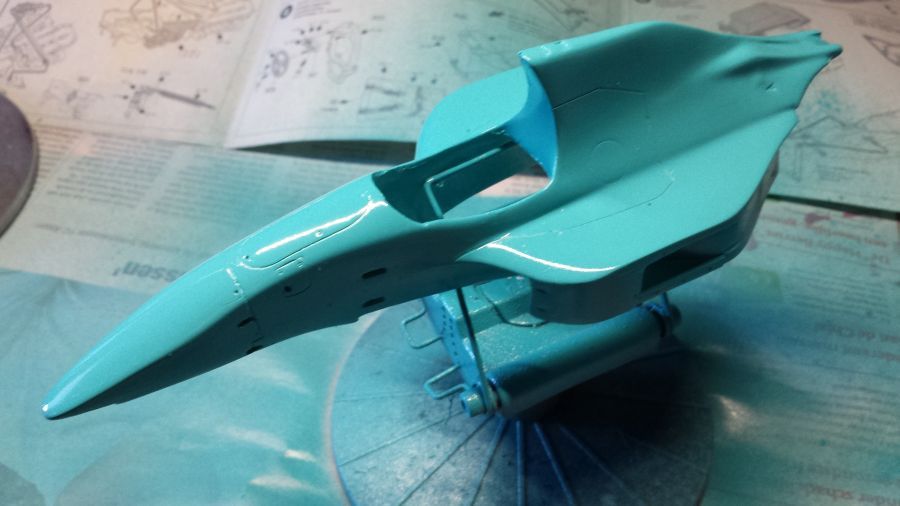
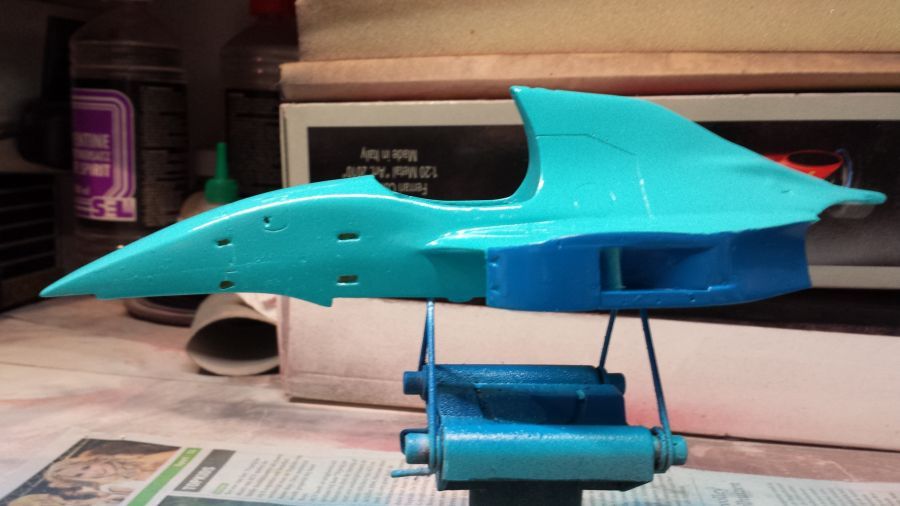
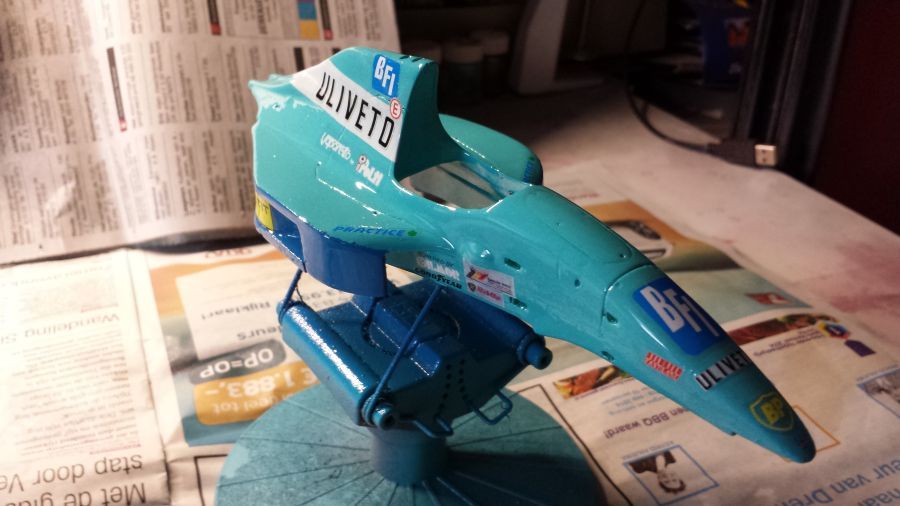
De body is in de grondverf gezet en daarna gespoten met Tamiya TS-41 Coral Blue.
The body has been primed and painted with Tamiya TS-41 Coral Blue.
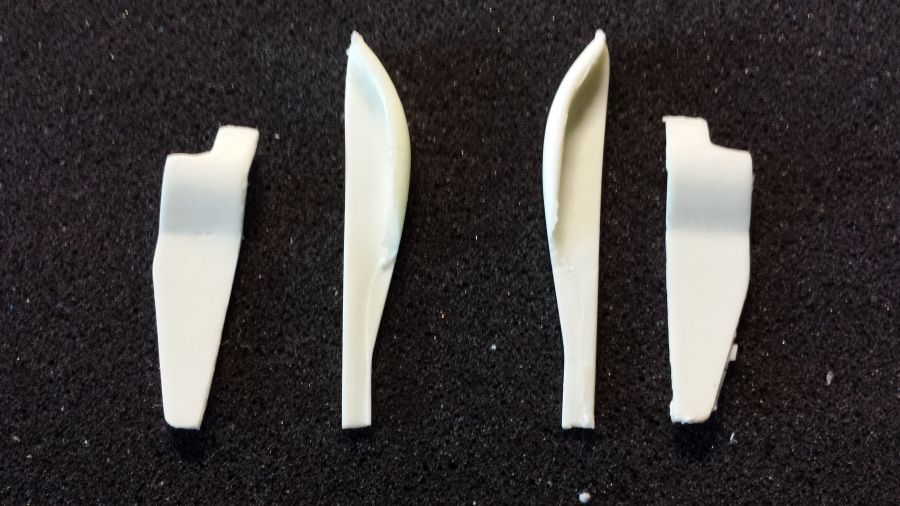
De start van het voorbereiden van de voorvleugel.
The start of the preparation of the front wing.
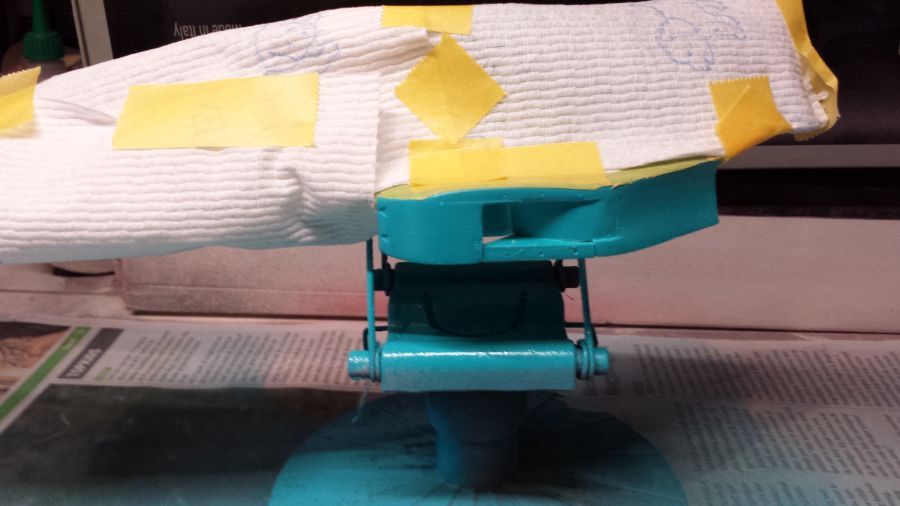
Ingepakt voor het spuiten van het blauw. Ik gebruik Motip Fiat 497 Blu Cannes. Deze heb ik gekocht voor een Ferrari uit 1950, maar de kleur lijkt me ook aardig goed voor deze Leyton House CG911B Japanse versie. Het komt in ieder geval zeer dicht bij de kleur van het blauw van de decals.
All wrapped up before spraying the blue. I will use Motip Fiat 497 Blu Cannes. I bought this for a Ferrari, but i t looks pretty o.k. to me for the Leyton House CG911B Japanese version too. It matches the blue of decal very close.
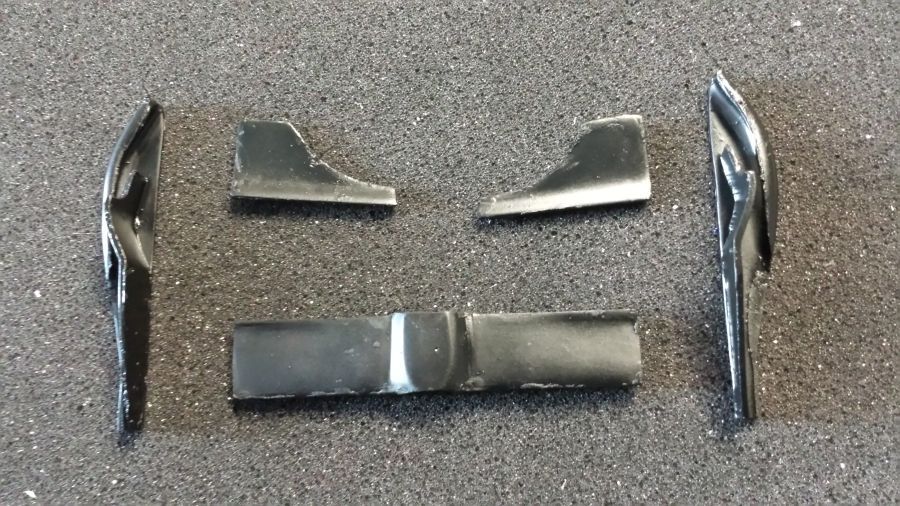
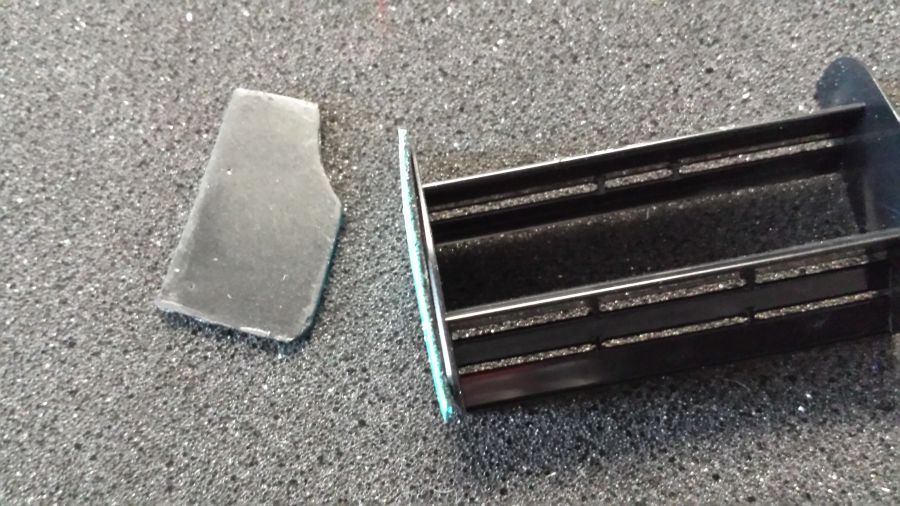
Beide nieuwe zijplaten voor de achtervleugel zijn krom. Ik heb geprobeerd ze met heet water recht te maken. Helaas lukt dat niet. Normaal gesproken zou ik de eindplaten vervangen. Nu ga ik ze dunner maken, zodat ik ze op de bestaande platen kan lijmen en vervolgens kan bijsnijden.
Both new rear wing end plates are deformed. I tried to straighten them by using hot water to no avail. Normally i would change the old plates for the new ones. Now i will try to make them more thin, so i can glue them to the old ones and cut them to size.

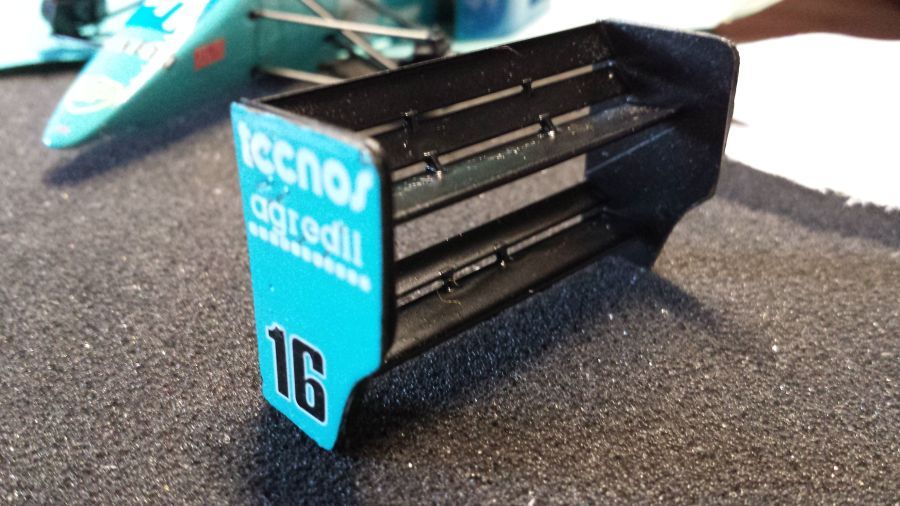
Daarna decals erop, blanke lak en dan verlijmen met de bestaande vleugelpanelen.
Then put decals on, gloss lacquer and then glue them to the existing wing panels.

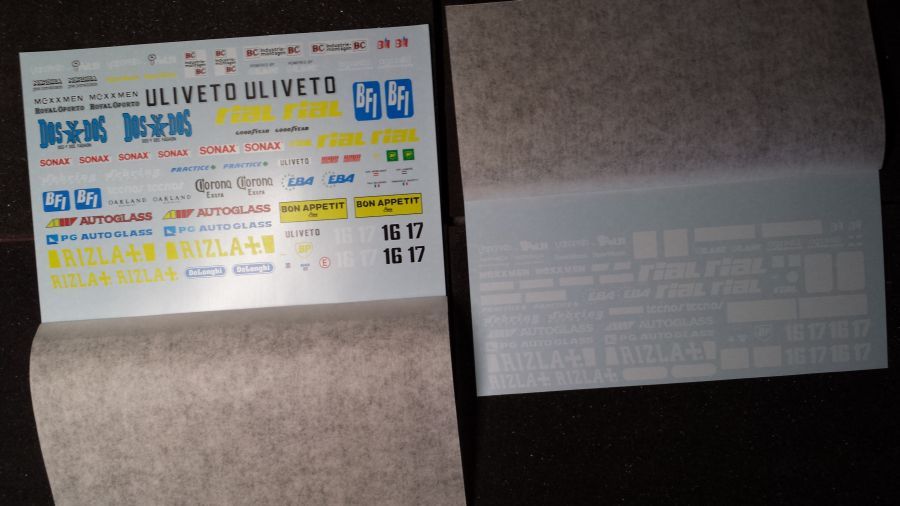
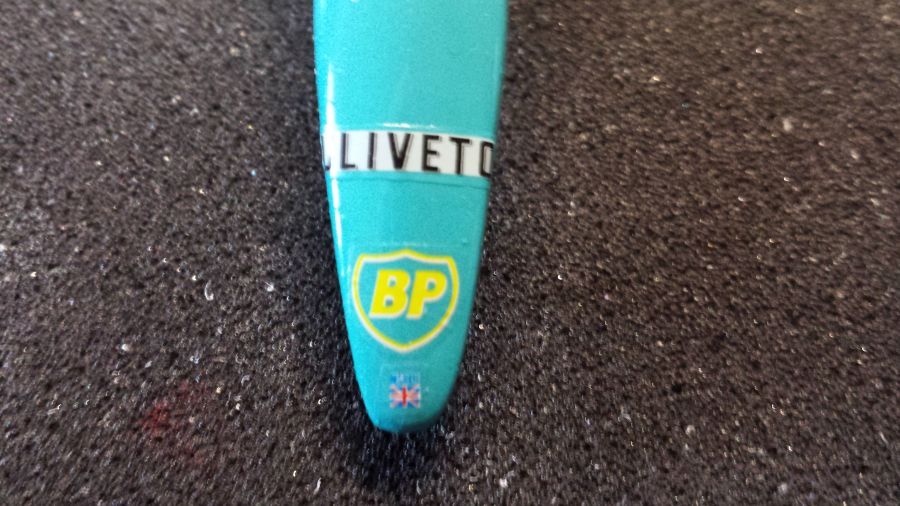
De decals bestaan uit 2 vellen. Op de eerste zijn alle decals wit, op de tweede alles in kleur. Dit is om het doorschijnen van de verf te voorkomen. Er zit wel weer een fout in. De witte decals voor de tekst Uliveto zitten er niet bij. Improviseren dus. Het aanbrengen van de decals zal wat tijd nemen.
The decals exist of 2 separate sheets. On the 1st one all decals are white, on the 2nd everything is in color. This is to prevent the paint bleeding though the decals. One mistake however. The white decals for the text Uliveto are absent. I have to improvise. Decalling will take some time.
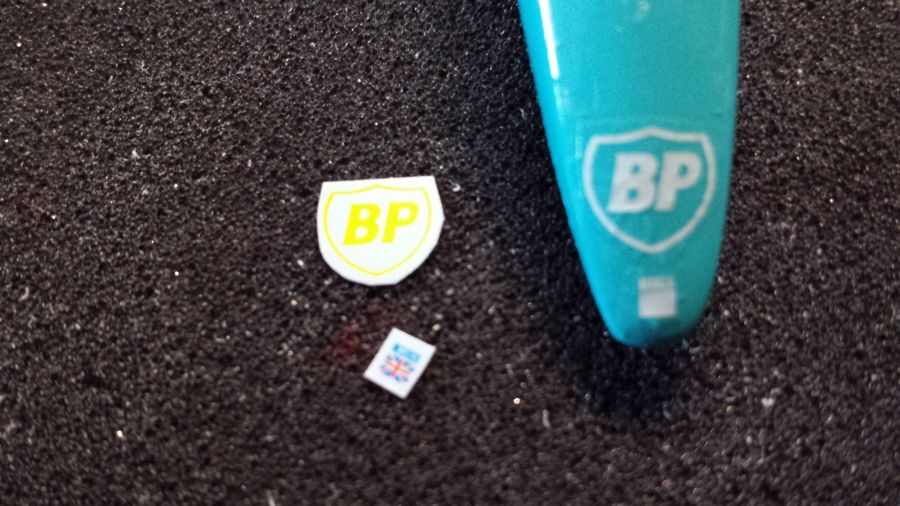
Voor het maken van de missende witte decals heb ik wit decalpapier gekocht. Ik heb de juiste decals gevonden op internet. Deze heb ik uitgeprint op de juiste maat en vervolgens uitgeknipt. Deze gebruik ik als mal voor het uitknippen van de witte ondergrond uit het witte vel papier.
To create the missing white decals i have bought white decal paper. I found the correct decals on the web. I printed these at the correct size and have cut them. I will use these as a template to create my own white decals.
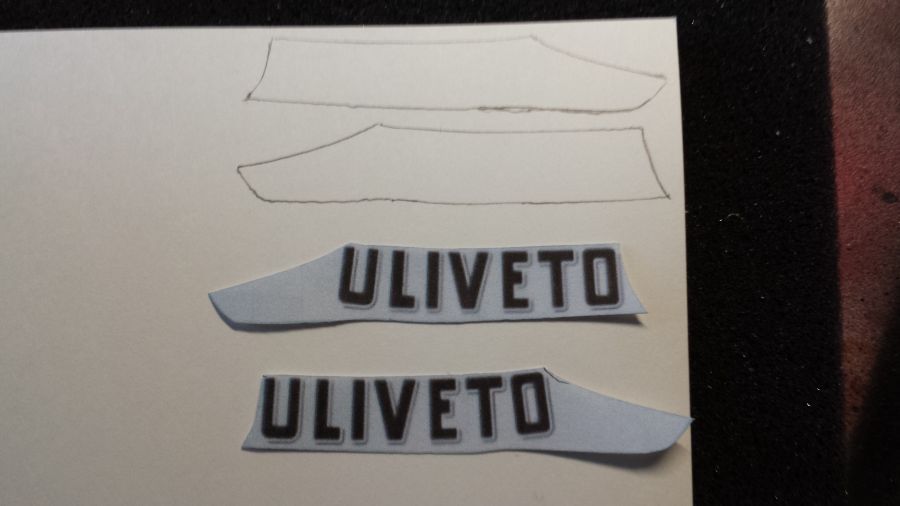
Dit moet werken.
This should do it.
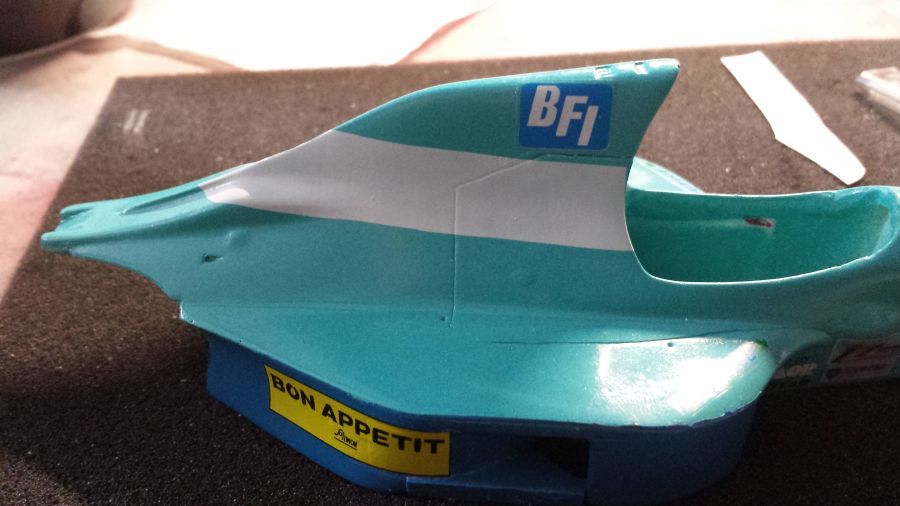
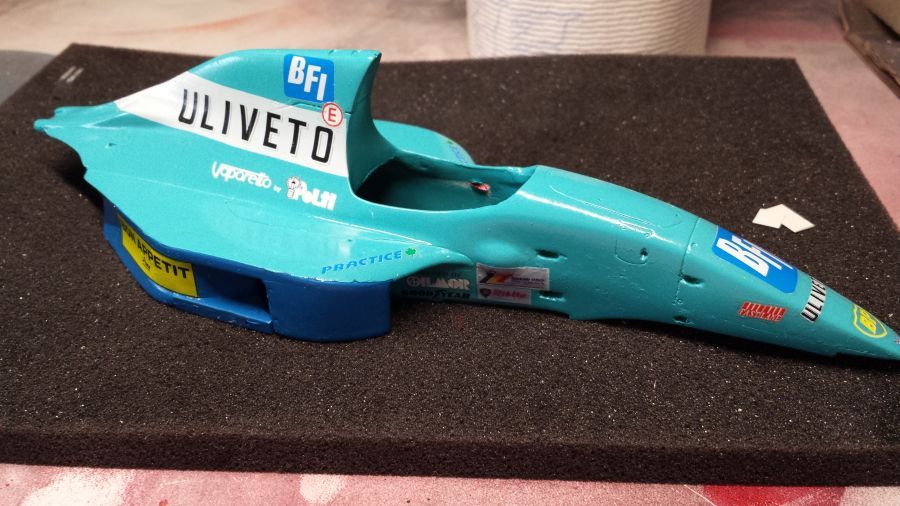
Na het aanbrengen van de decals alles goed laten drogen, voordat de lak wordt gespoten.
After applying the decals let everything dry, before airbrushing the clear coat.
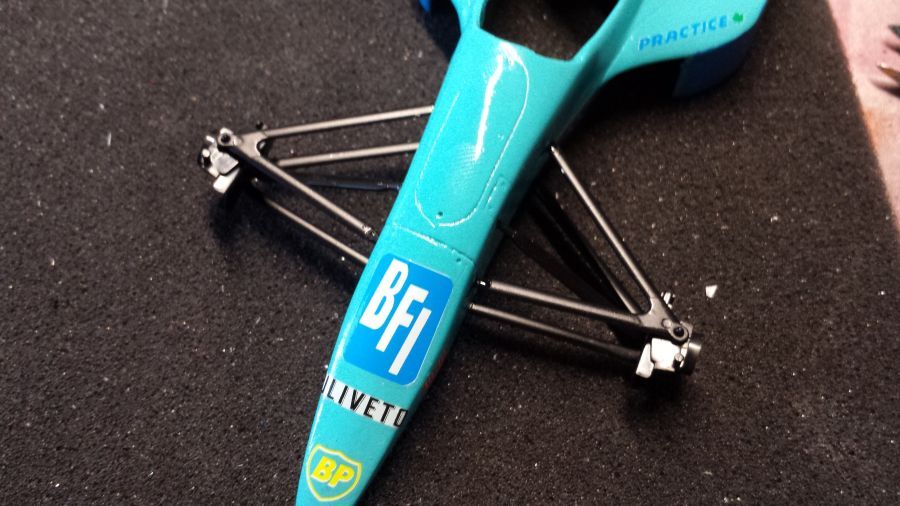
De voorwielophanging is gemonteerd.
The front wheel suspension has been attached.
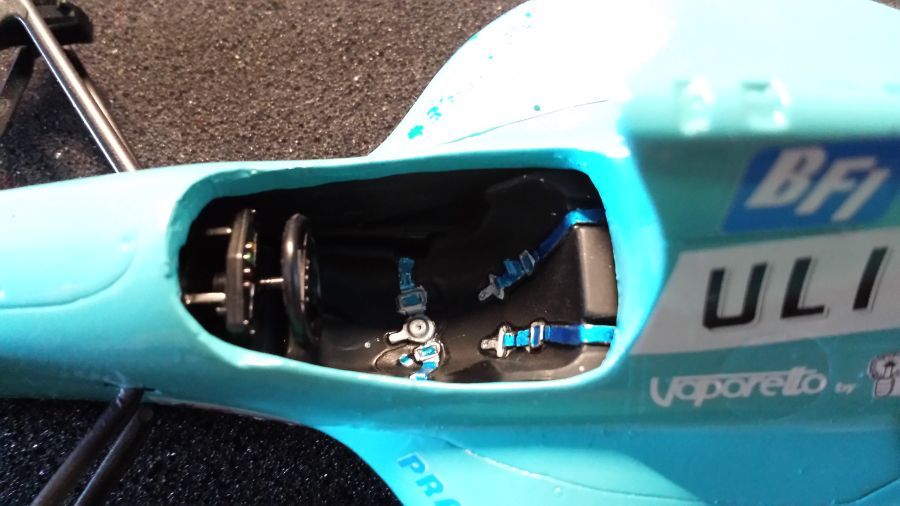
De motor is op de bodemplaat bevestigd.
The engine has been mounted to the under tray.

Het stuur en de stoel zijn geplaatst.
The steering wheel and the seat have been attached.
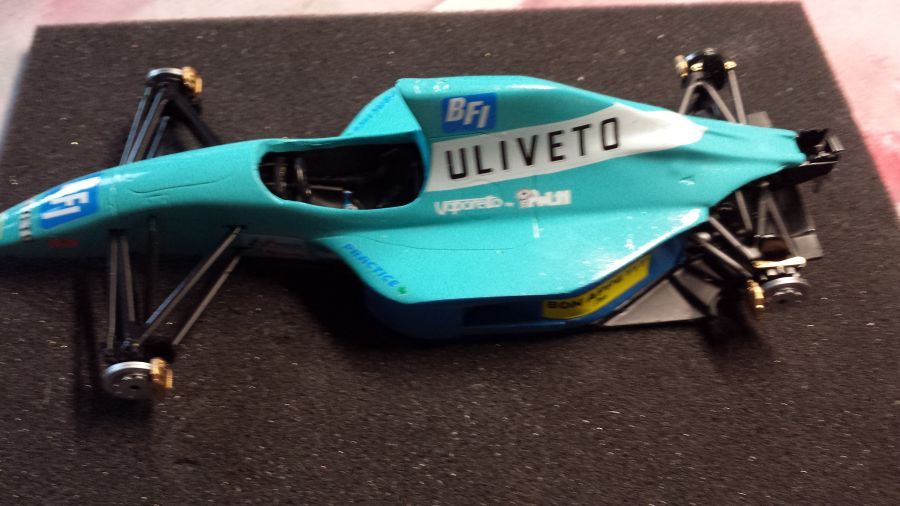
Klaar voor de velgen en vleugels.
Ready for the tires and wings.
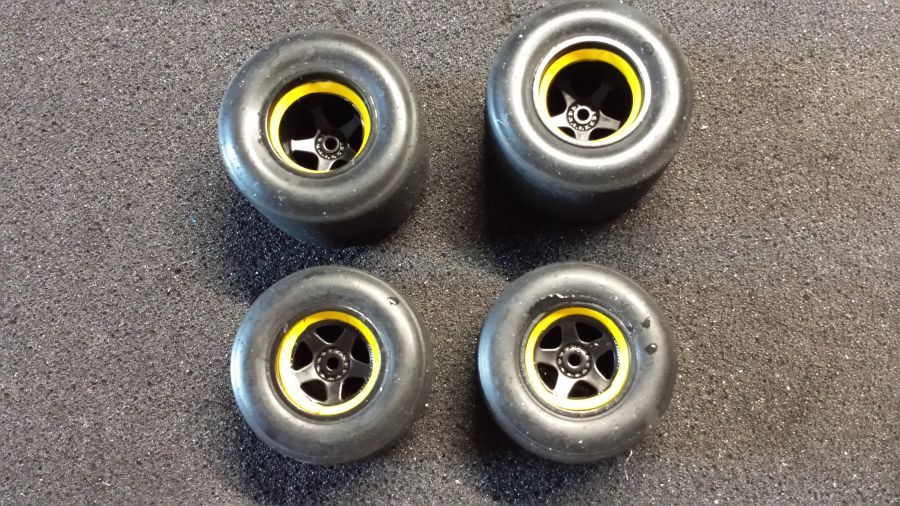
Eerst de traditie van het opruwen van de banden.
First the tradition of tire rubbing.

De gele ringen zijn aangebracht in de BBS velgen. Deze aftermarket decals waren in slechte staat. Ze scheurden allemaal.
The yellow rings have been applied to the BBS rims. These aftermarket decals were in bad shape. They all cracked.
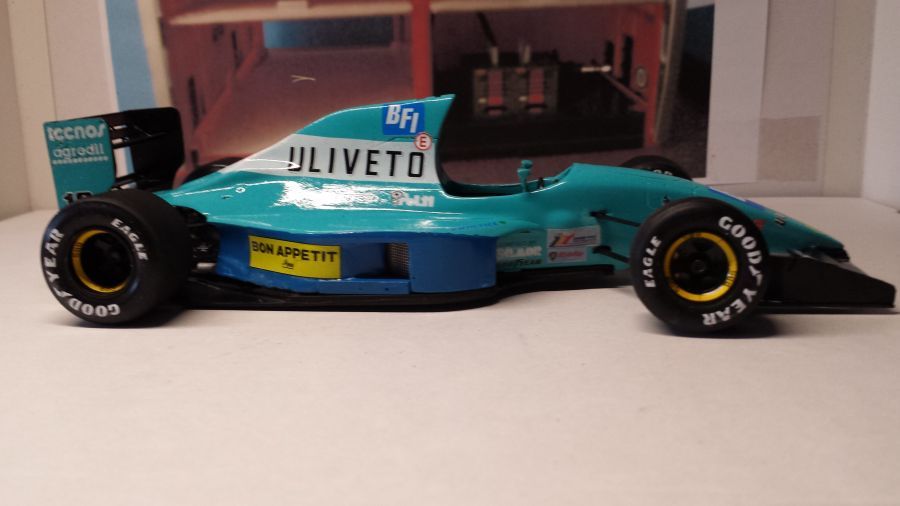
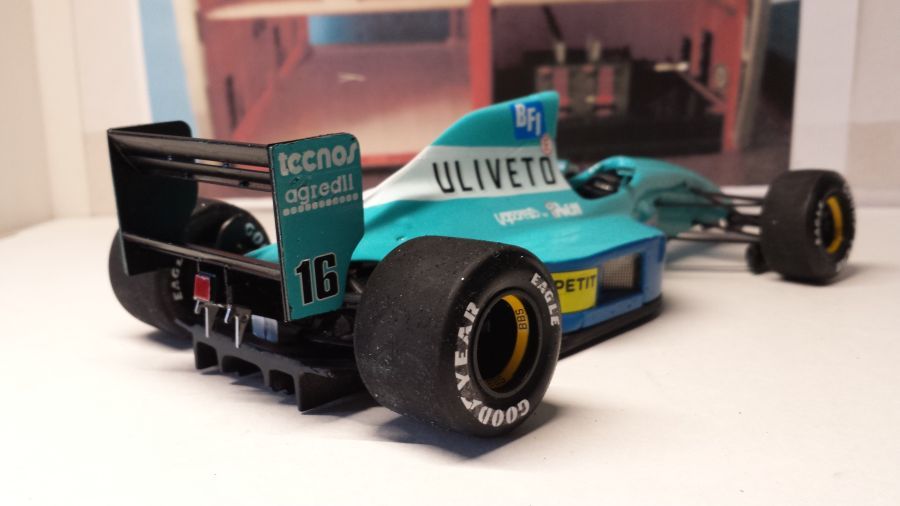
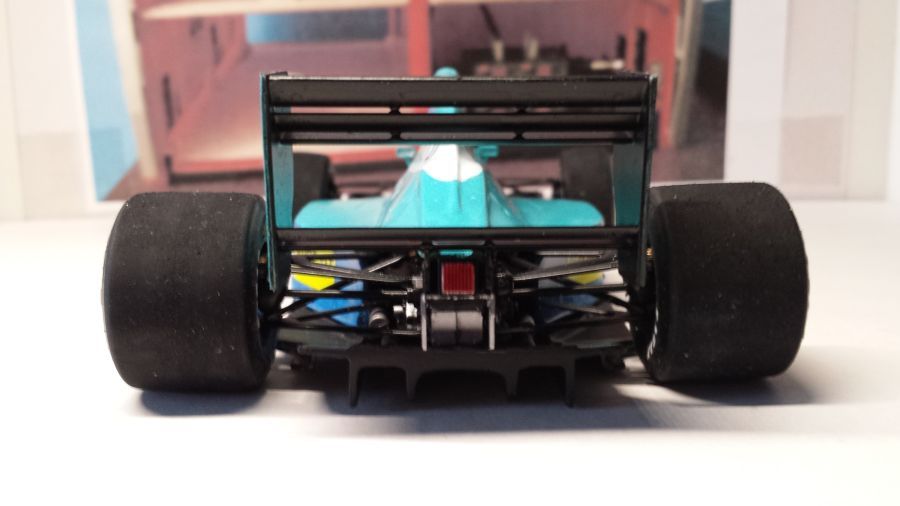
De wielen en de achtervleugel zitten erop.
The wheels and the rear wing are on.
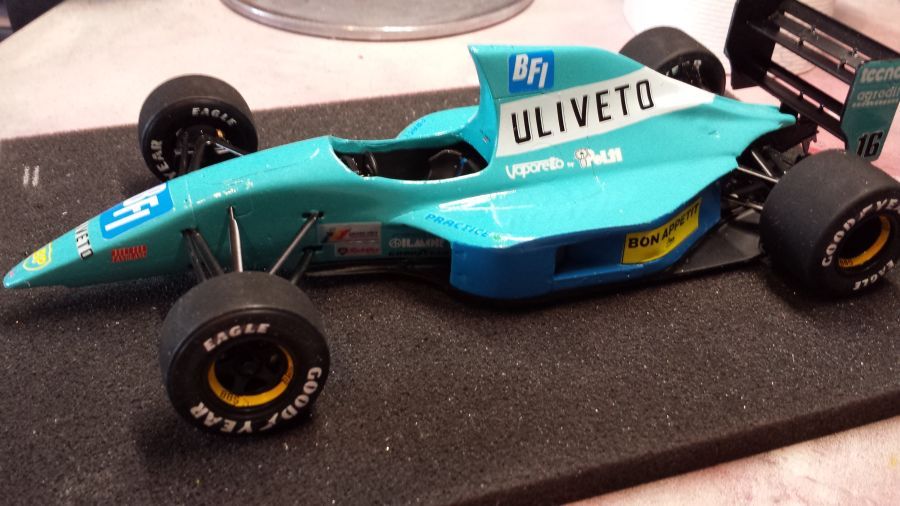
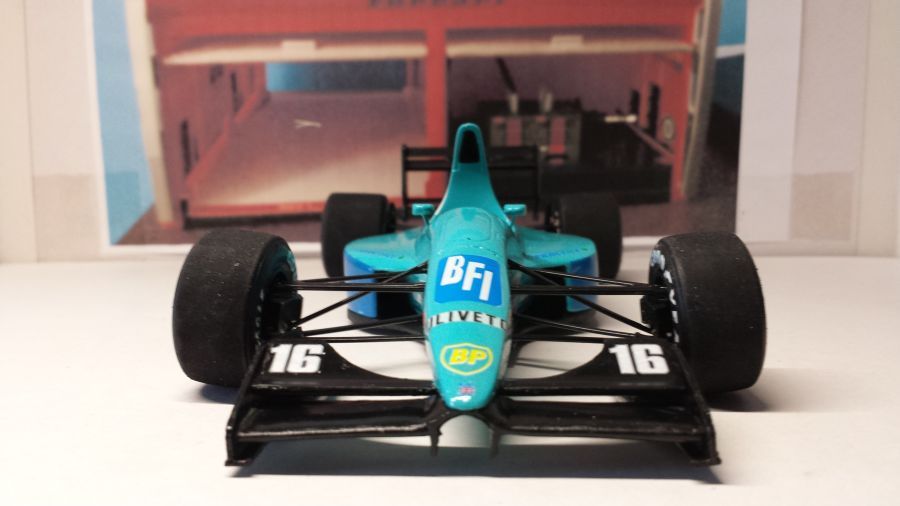
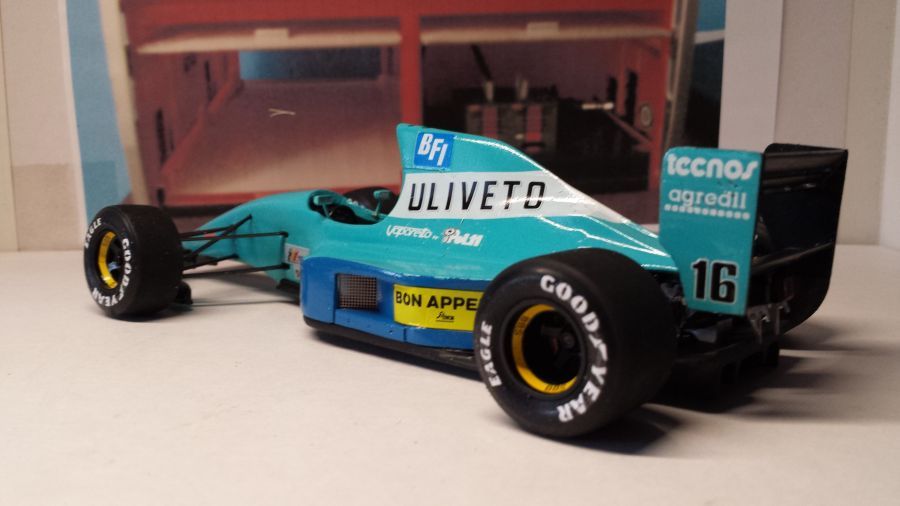
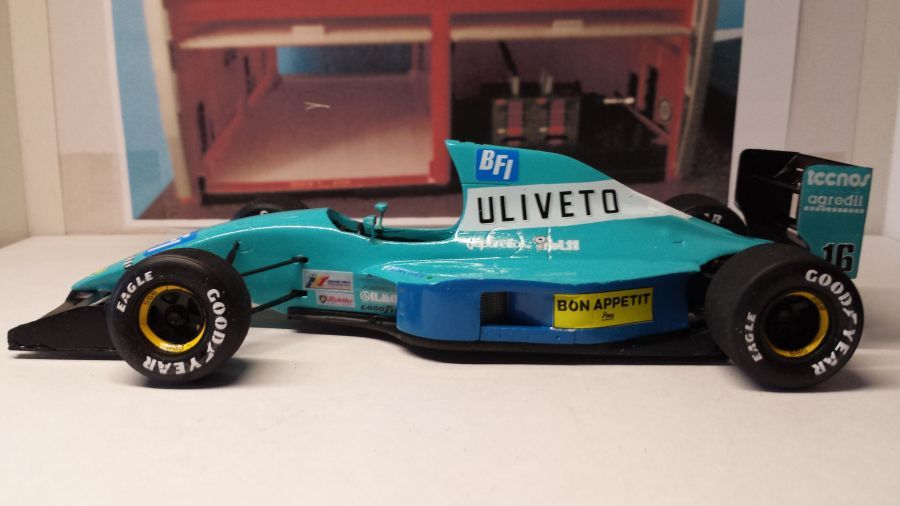
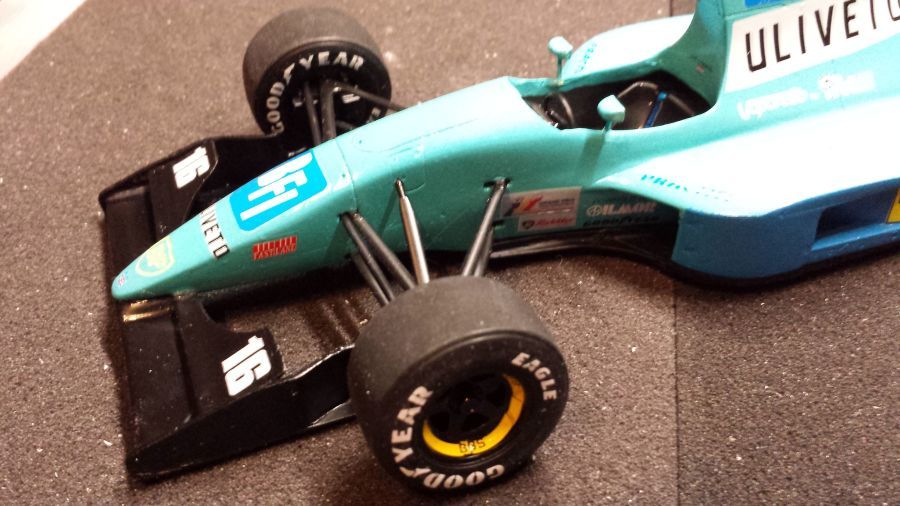
De voorvleugel en spiegels zijn gemonteerd.
The front wing and mirrors have been mounted.
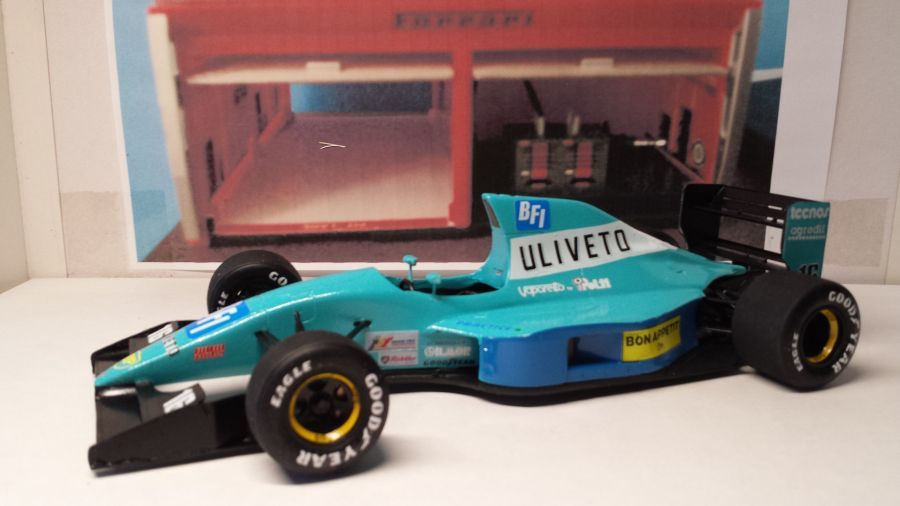
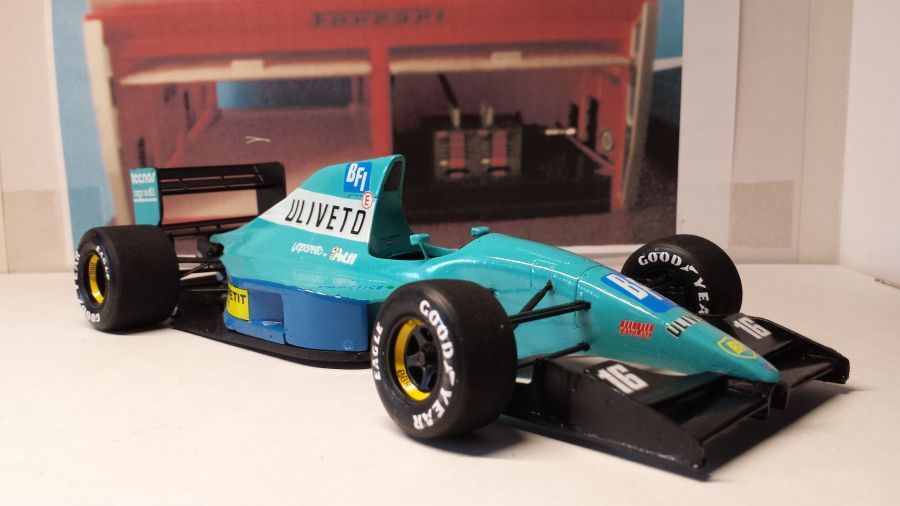
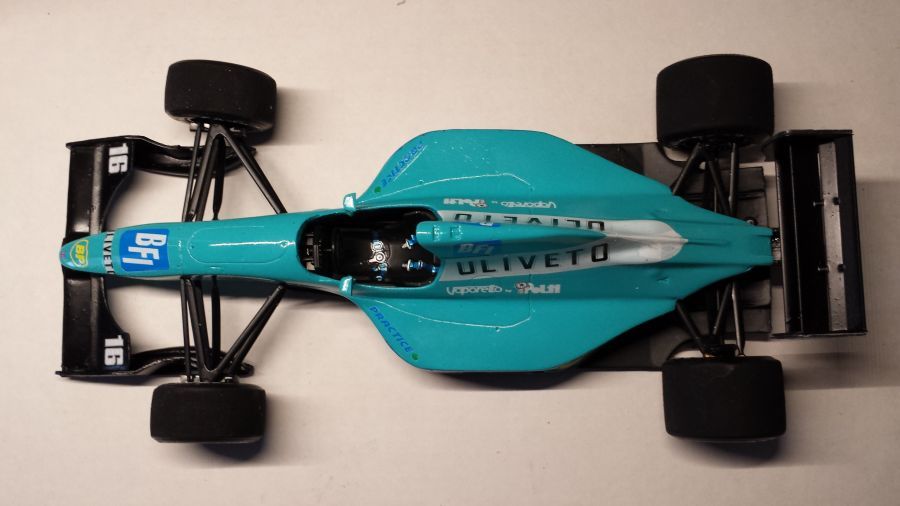
En weer is er een klaar voor de verzameling op de plank van de nederlandse coureurs..
And another one is ready to add to the collection on the shelf of dutch drivers.