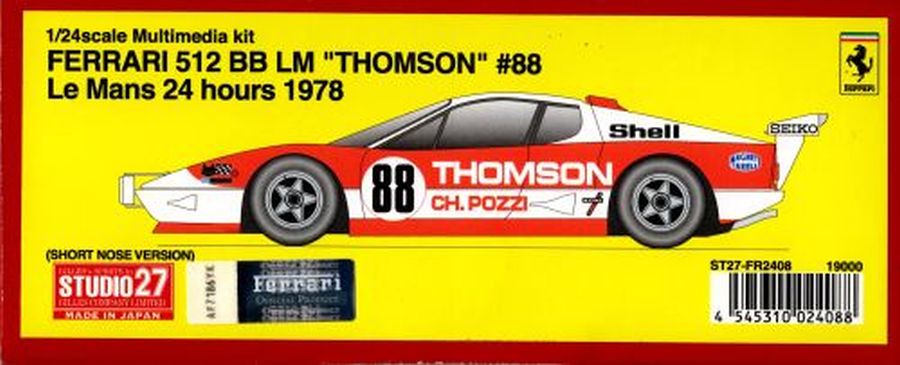
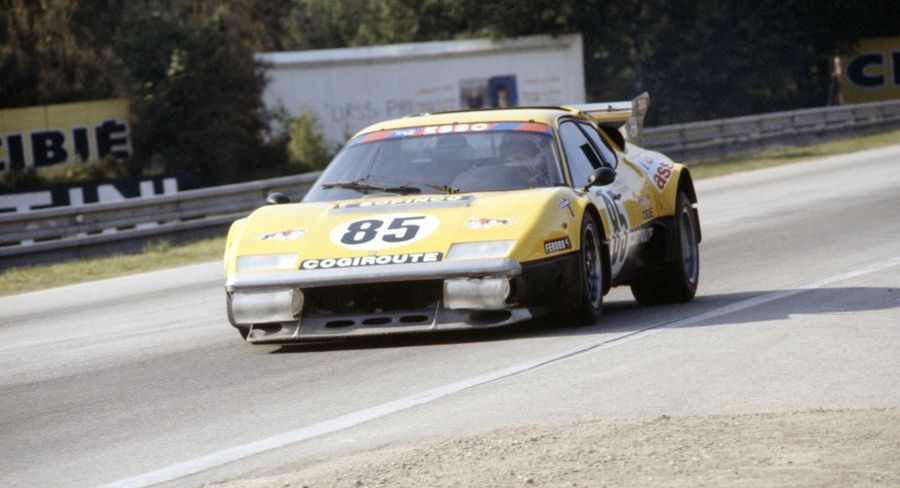
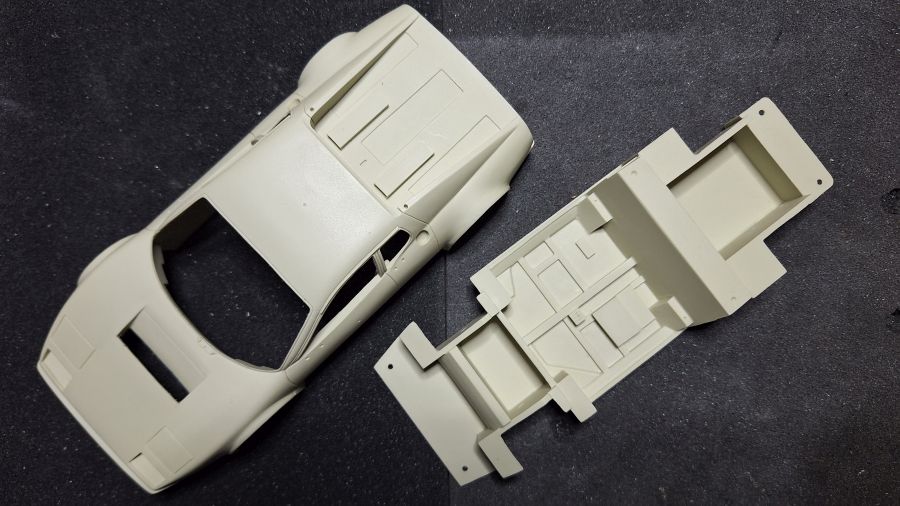
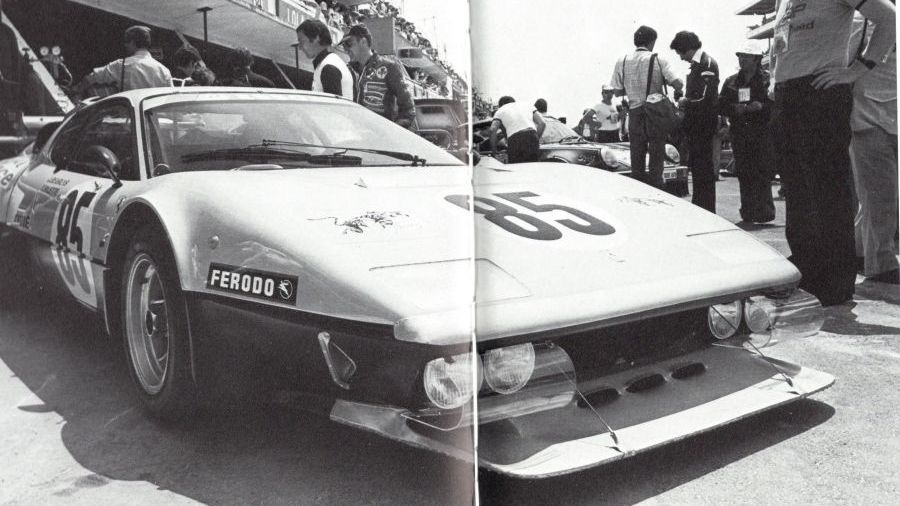
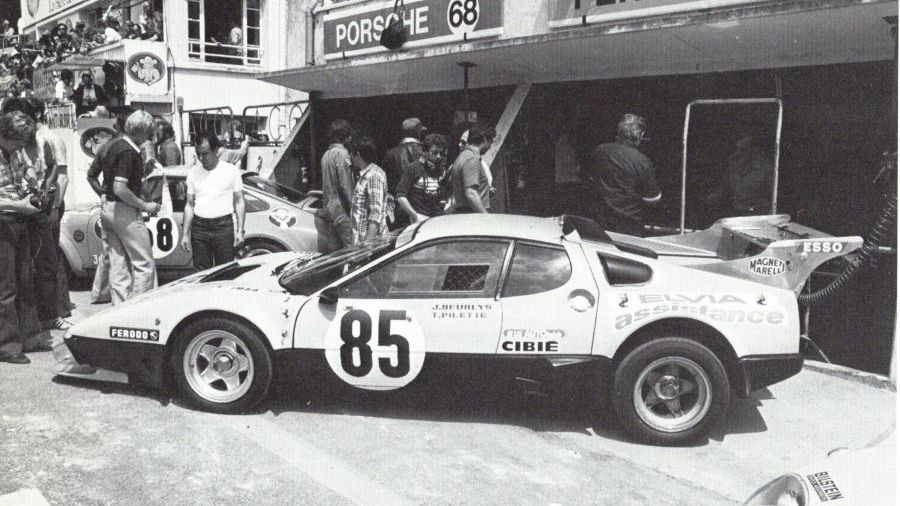
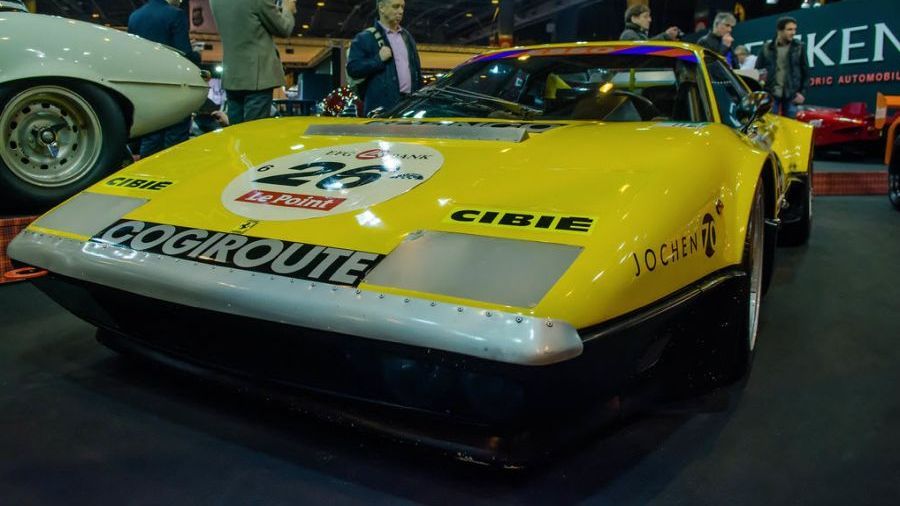
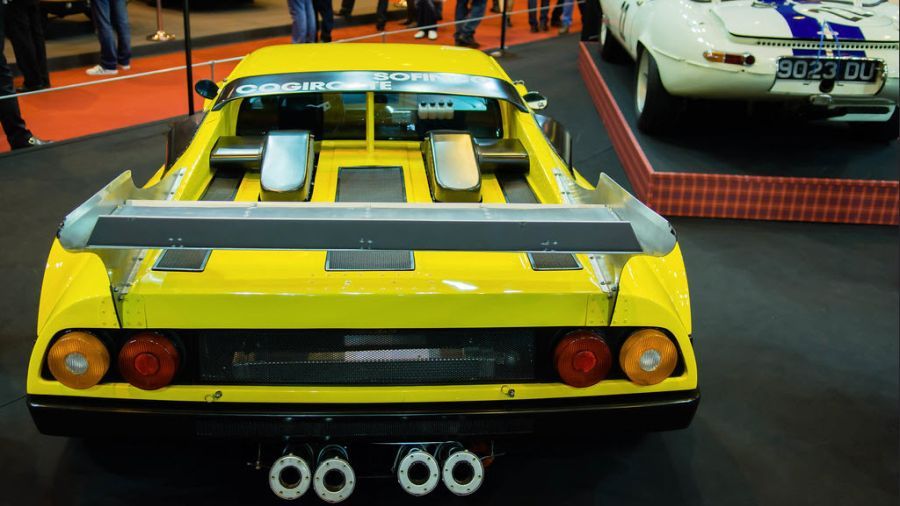
Ik wil graag de 1978 Ferrari 512BB Eucurie Francorchamps #85 bouwen. de auto werd bestuurd door het trio Teddy Pilette, Jean Beurlys en Raymond Touroul. Voor zover ik weet is deze niet gemaakt als kit door een fabrikant. Ik moet daarom zelf een conversie doen. Ik gebruik de Studio27 Ferrari 512BB LM Thomson #88 (short nose) kit nr. ST27-FR2408 als donor/basis. Het zal een hele klus worden, want ik moet een aantal zaken zelf bouwen. Daarbij heb ik alleen foto's om dit te doen. Goede vriend Pierpaolo heeft me een paar achtervleugels gestuurd. Ik zal kijken of ik daar iets mee kan. Al met al een uitdaging. Ik moet het doen met foto's.
I would like to build a 1978 Ferrari 512BB Ecurie Francorchamps #85. The car was driven by the trio Teddy Pilette, Jean Beurlys and Raymond Touroul. As far as i know, no manufacturer made this kit. So i have to do a conversion myself. I will use a Studio27 Ferrari 512BB LM Thomson #88 (short nose) kit no. ST27-FR2408 as a donor/base. It will be quite a job, as i have to build some things myself. I only have pictures to do this. Good friend Pierpaolo sent me a couple of rear wings. I will see if i can use them. Al and all quite a challenge. I have to do with pictures.
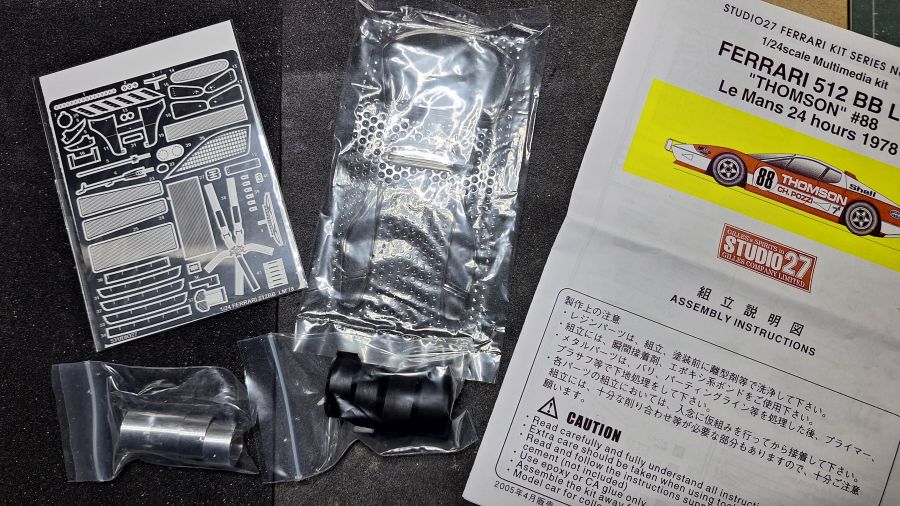
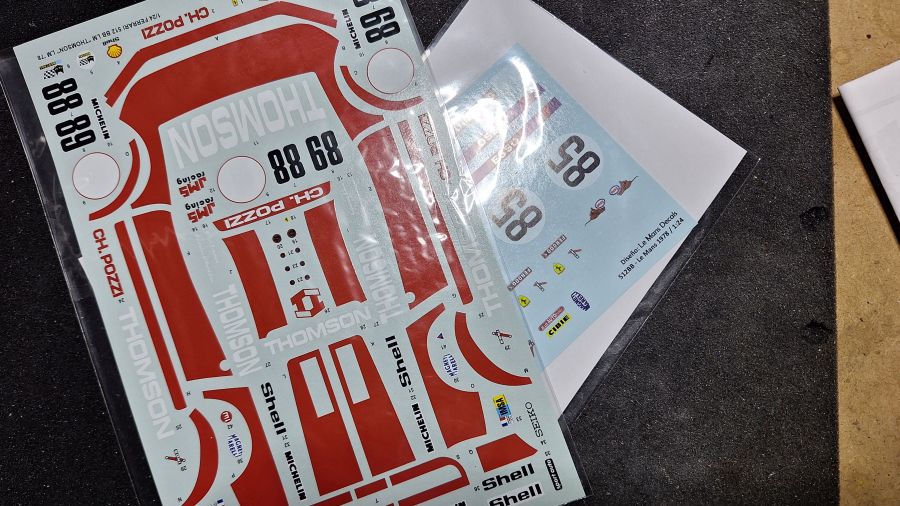
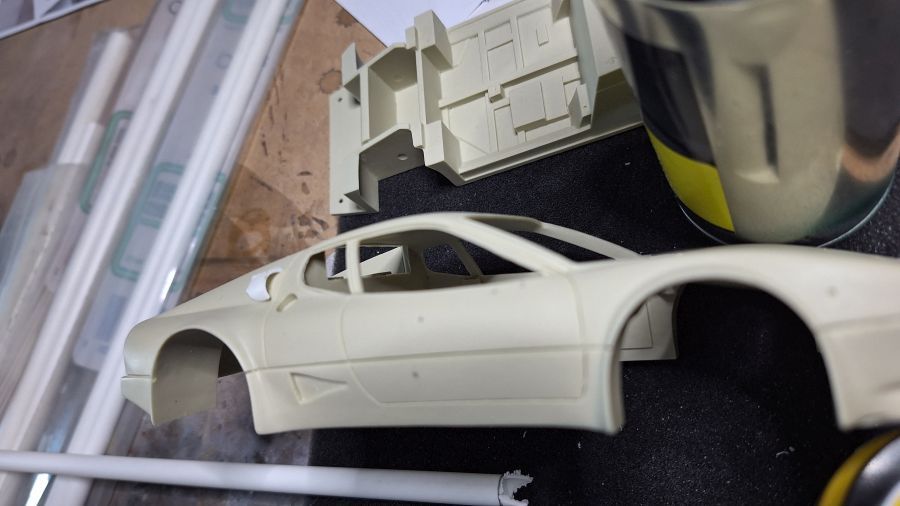
De inhoud van de kit. De #85 decals heb ik via Ebay gekocht.
The content of the kit. The #85 decals were bought on Ebay.

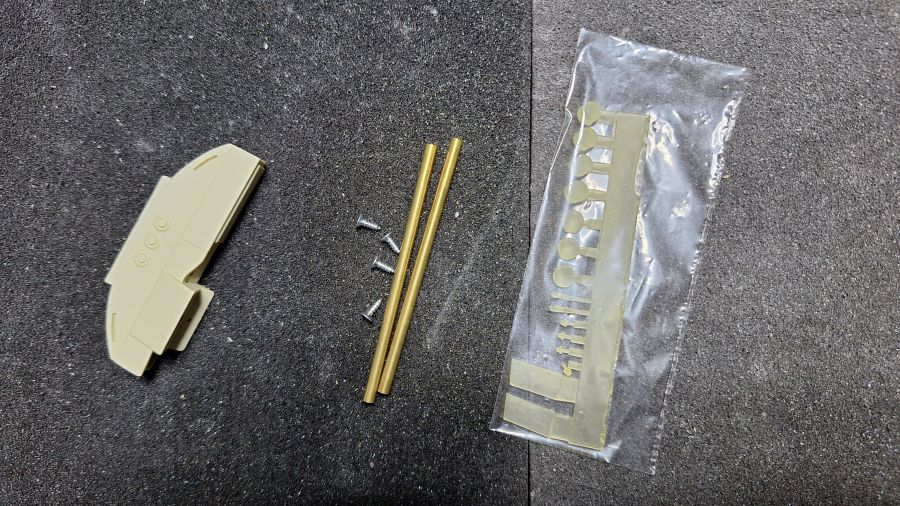
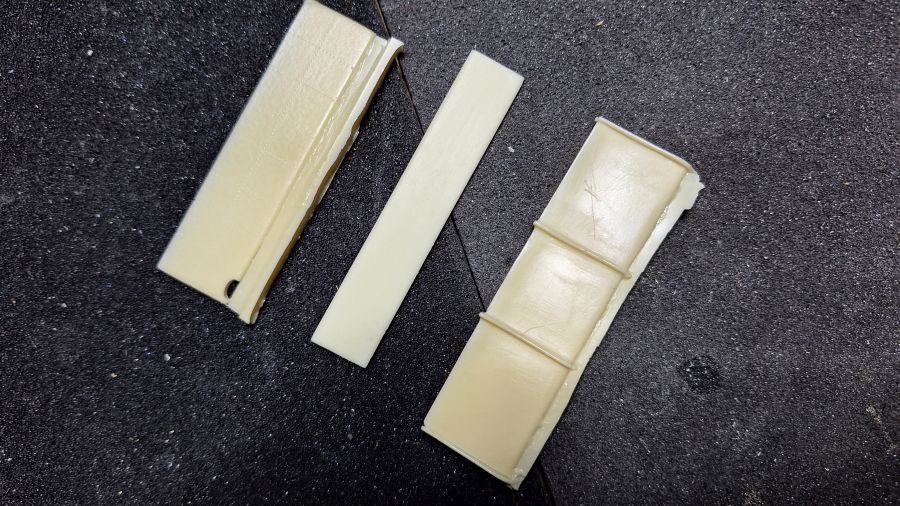
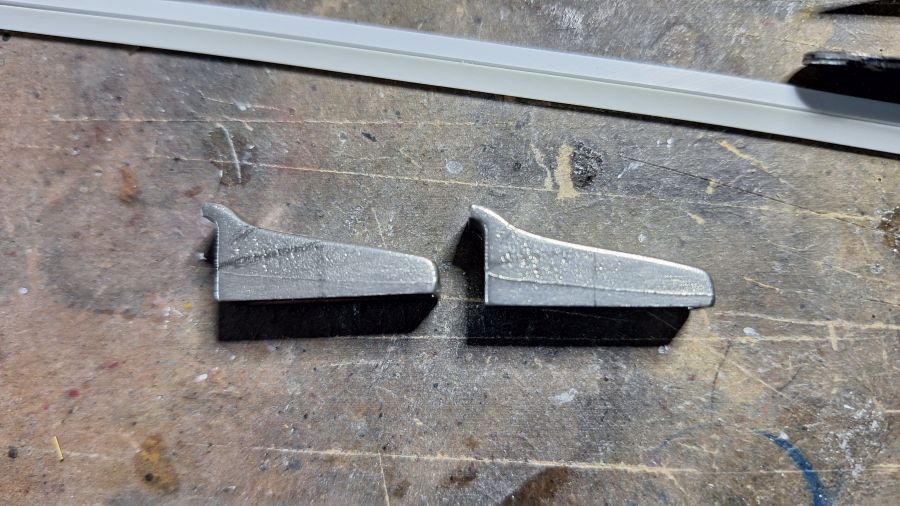
Goede vriend Pierpaolo heeft me een paar resin vleugels gestuurd. Ik zal zien of ik er iets mee kan.
Good friend Pierpaolo send me some resin wings. I will see if they are of any use.
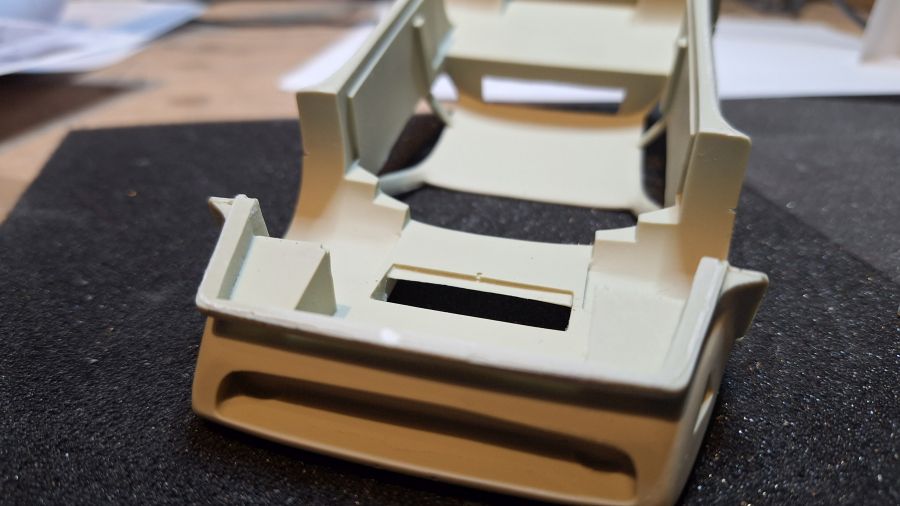
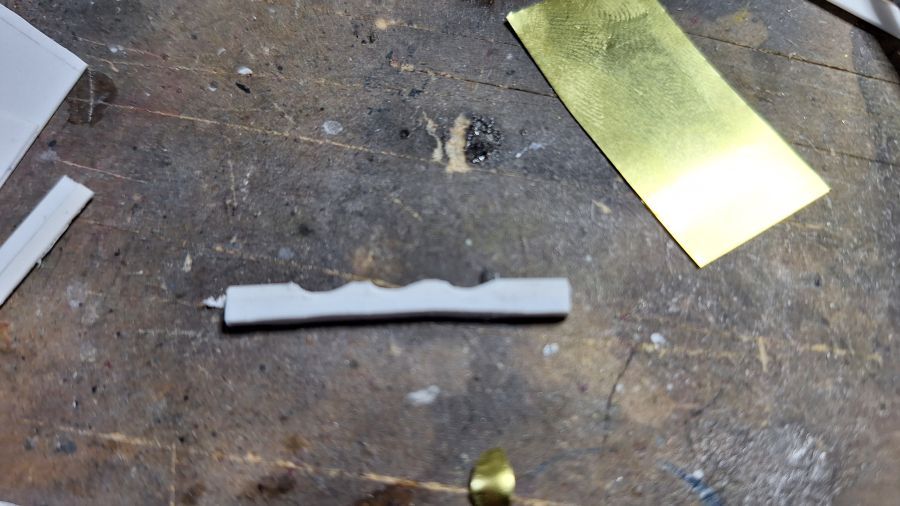
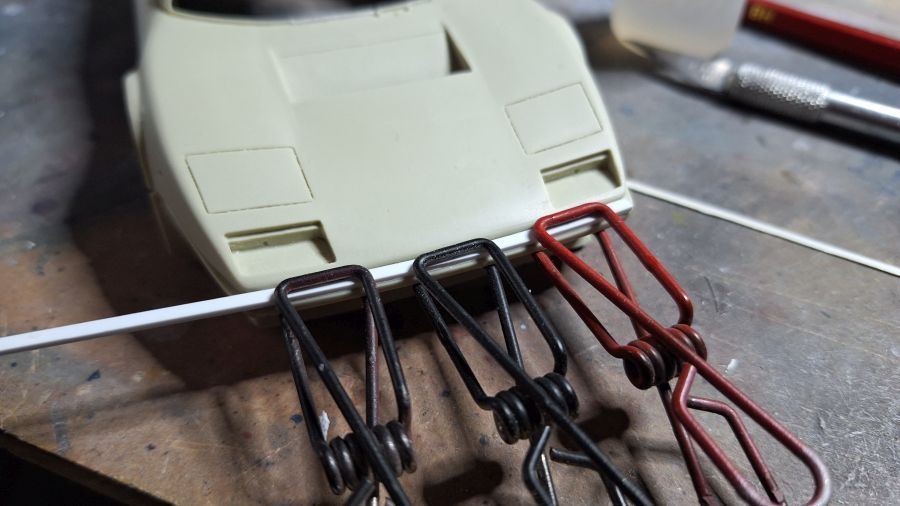
Eerst ga ik wat flash verwijderen.
First i will remove some flash.

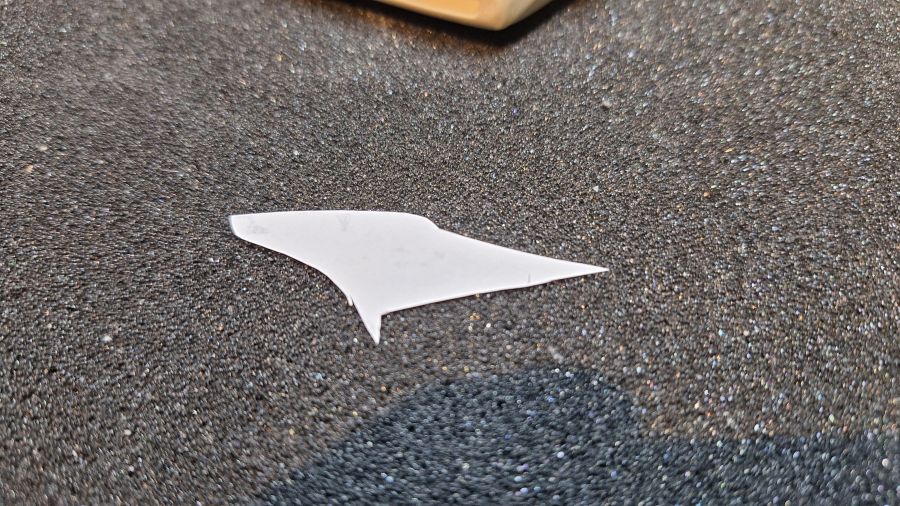
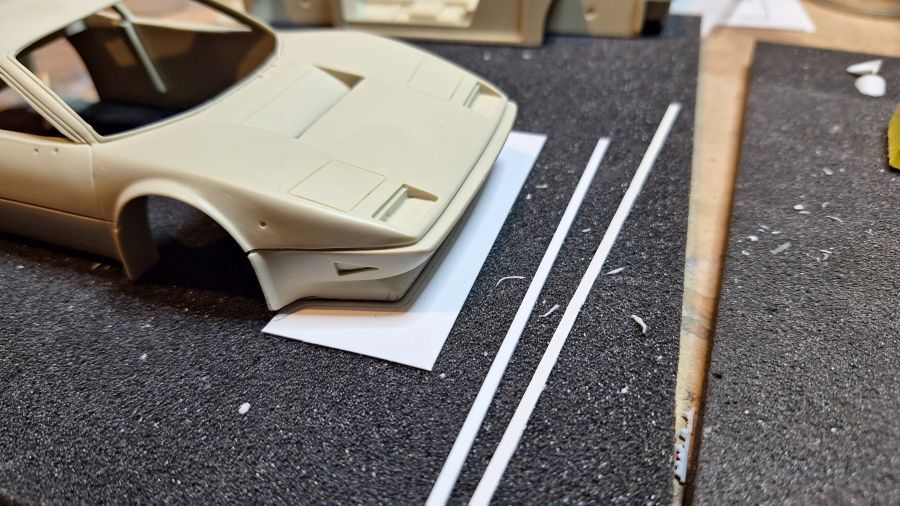
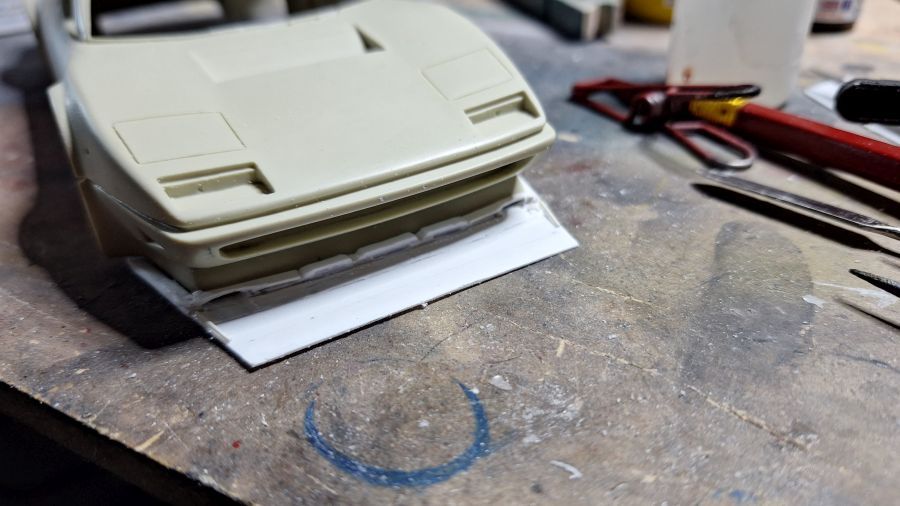
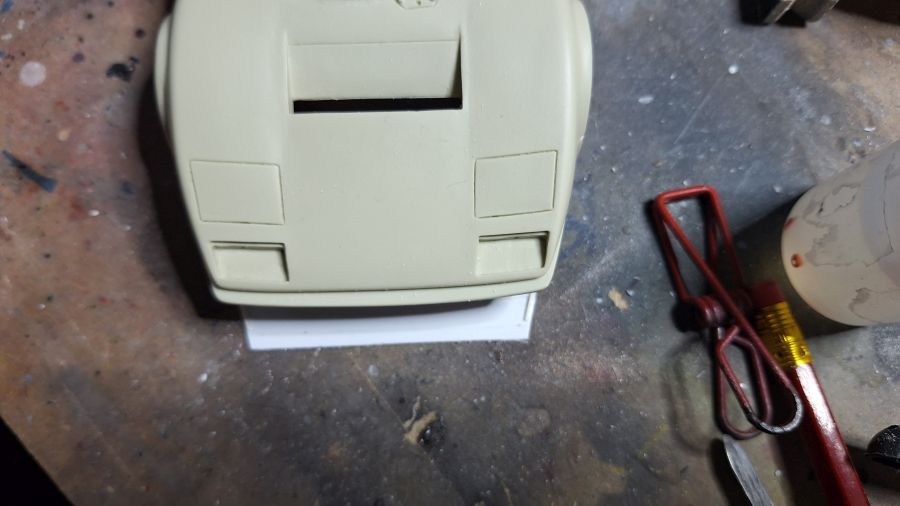
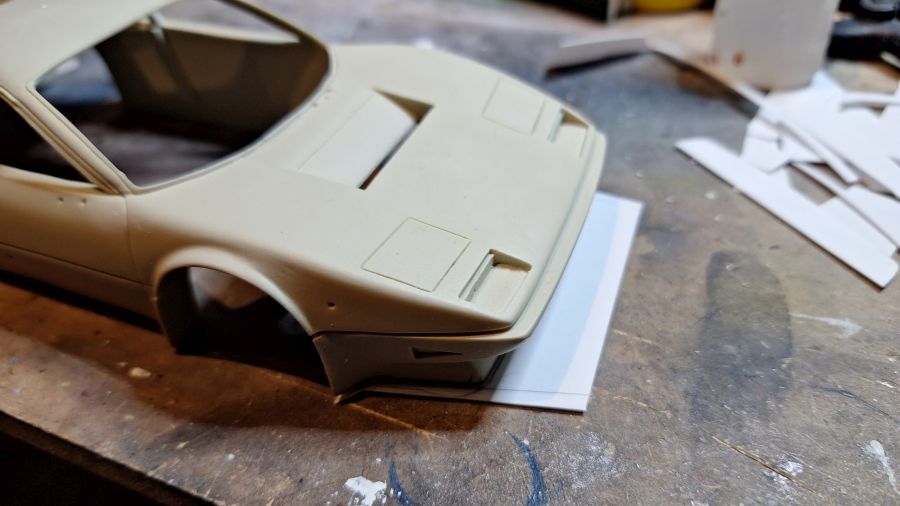
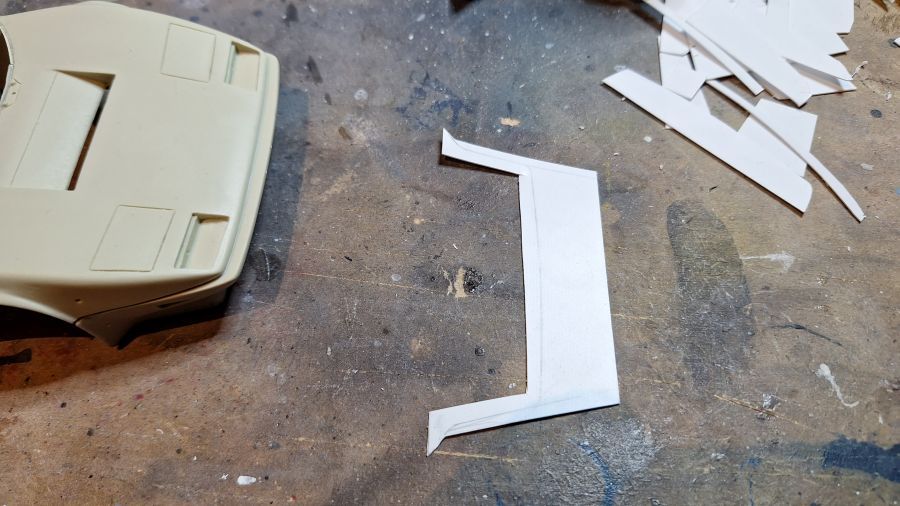
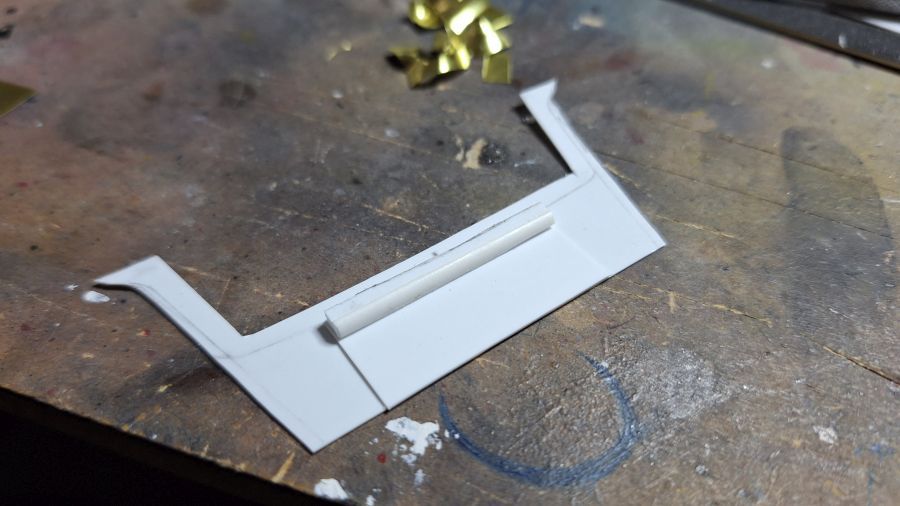
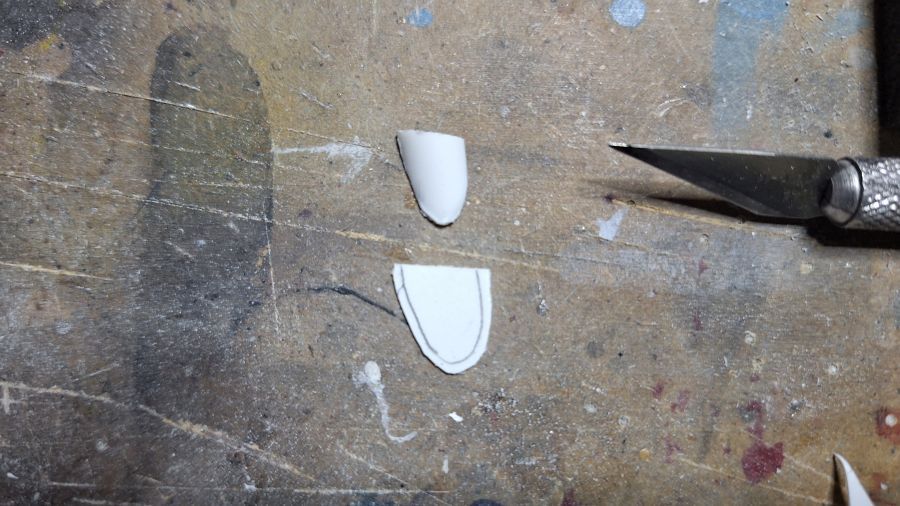
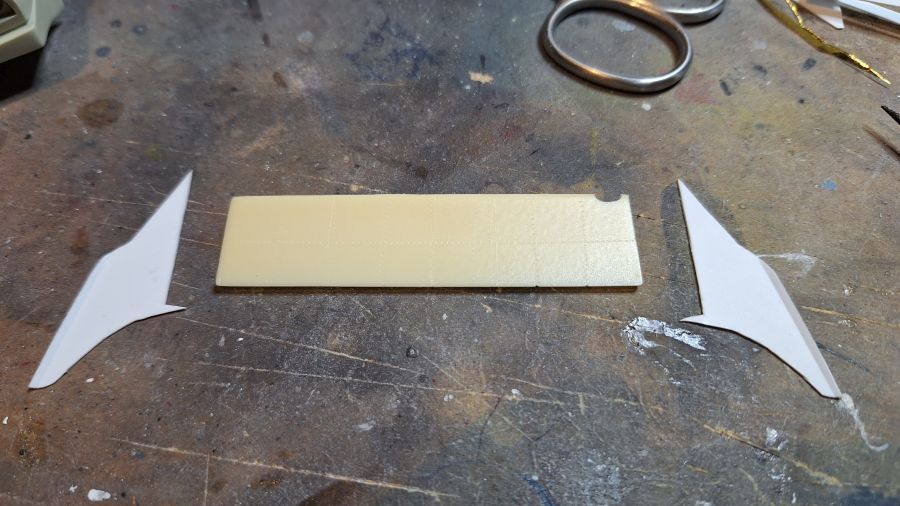
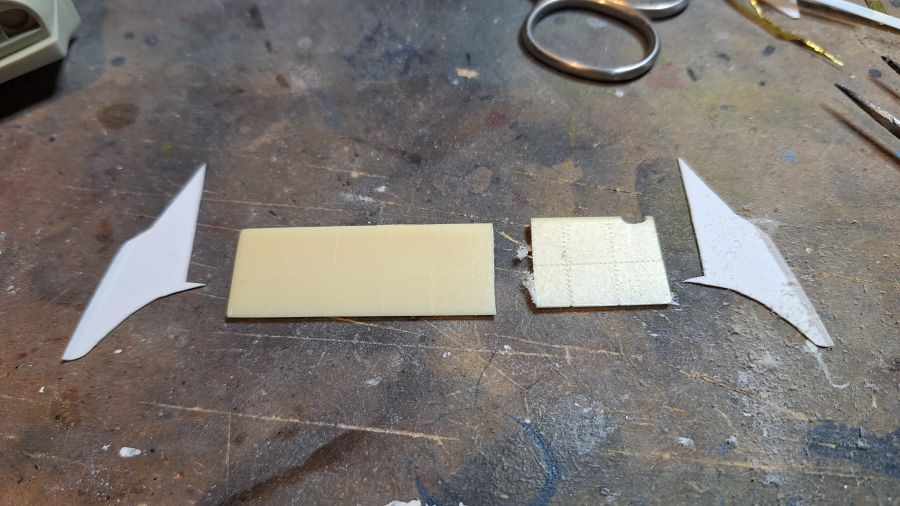
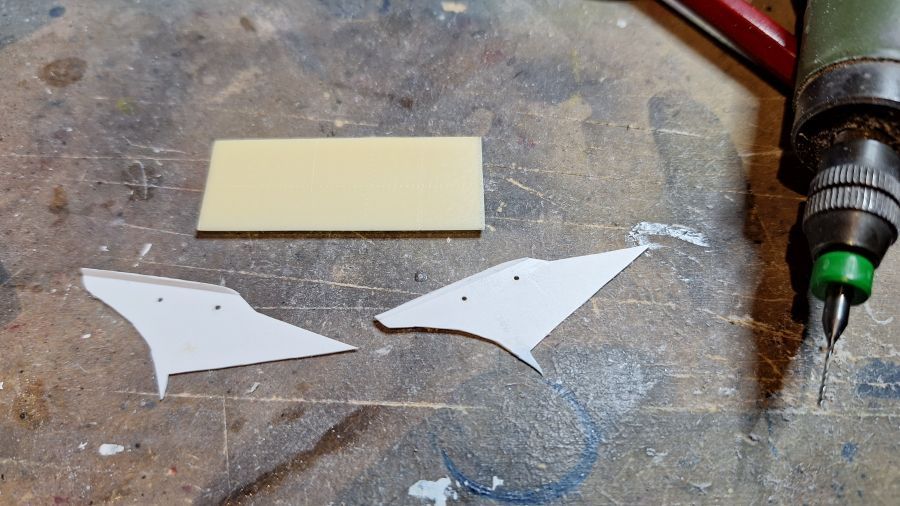
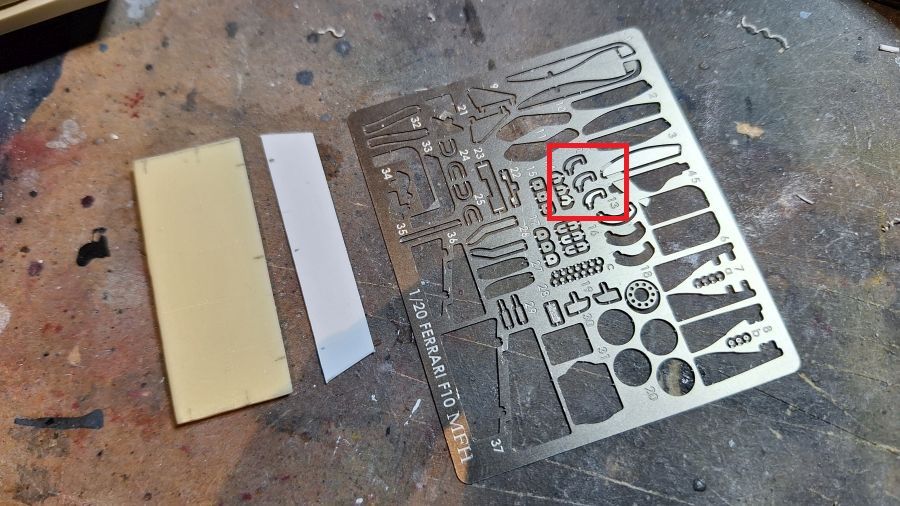
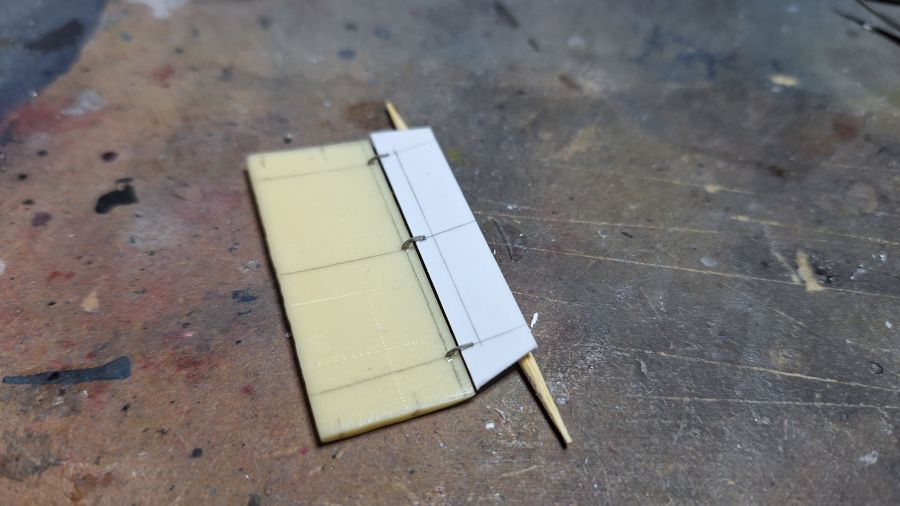
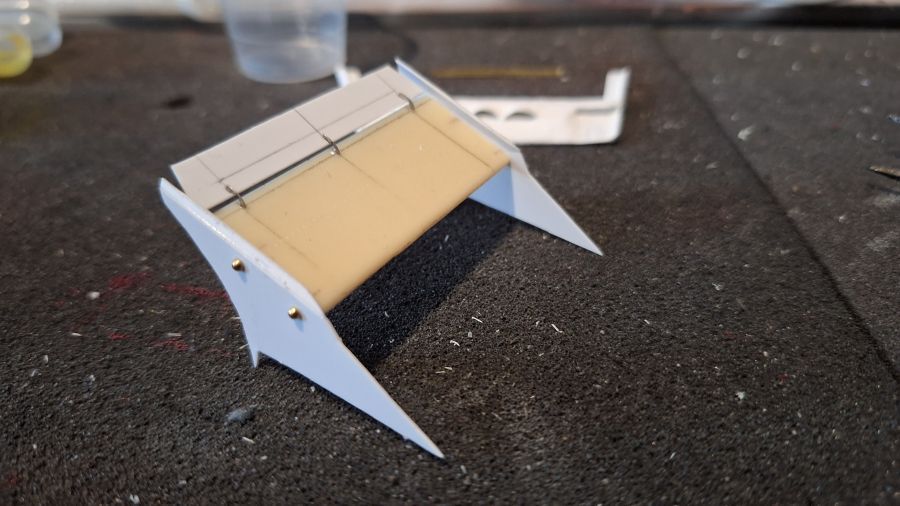
Voor de zijkanten van de achtervleugel maak ik een template van papier. Daarna knip ik het uit Evergreen 0,4 mm plaat.
For the sides of the rear wing i am making a paper template. Then i cut this out from Evergreen 0,4 mm sheet.
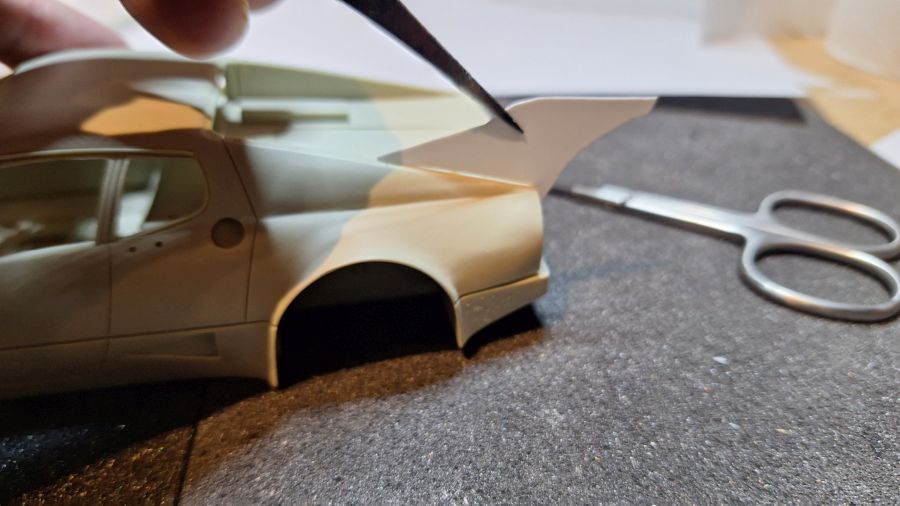
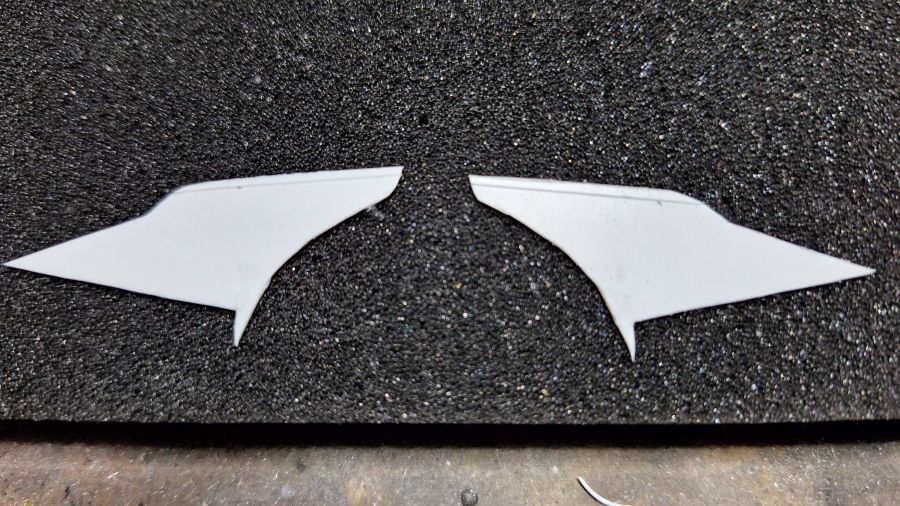
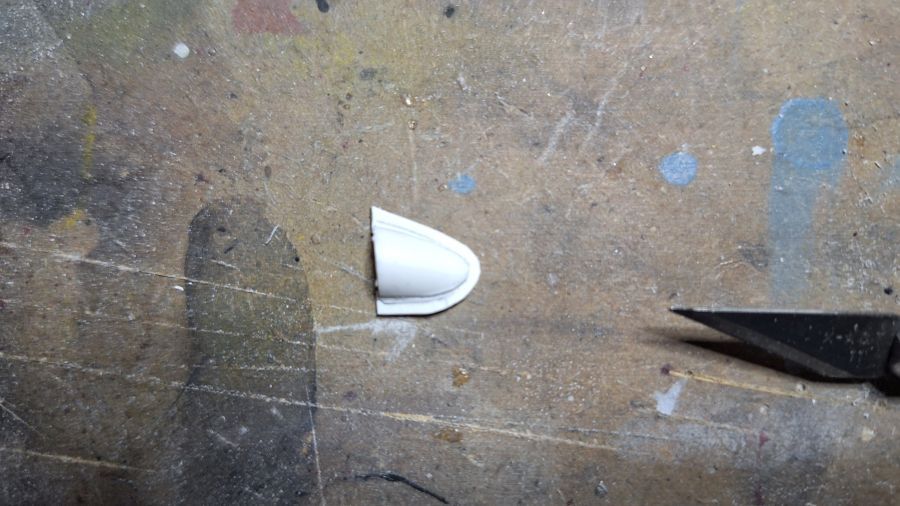
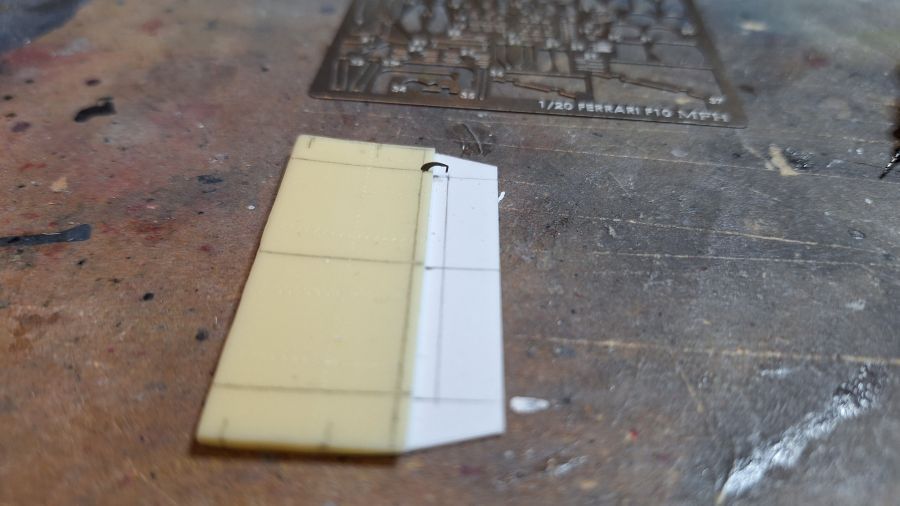
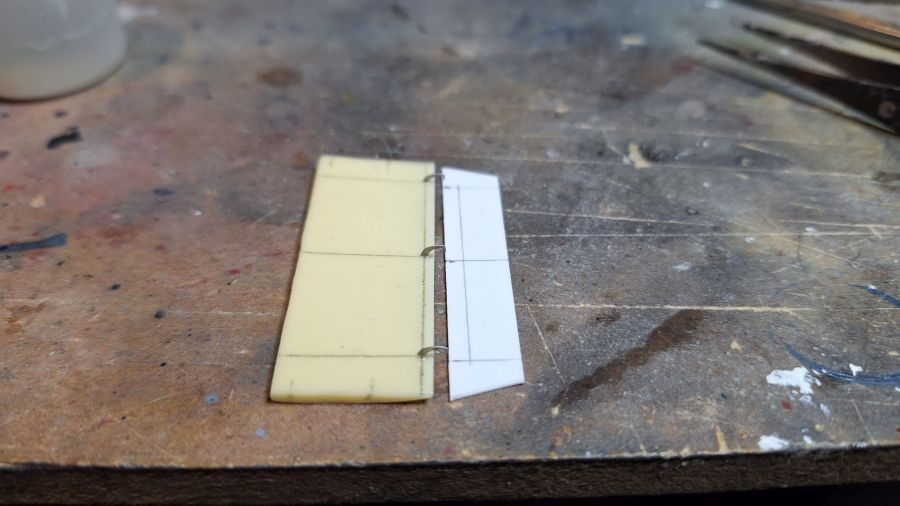
Dan maak ik kleine sneetjes aan de bovenkant om de plaat naar binnen te buigen. Daarna fixeren met dunne superglue.
Then i make small cuts on the top to bend the sheet to the inside. Then fixate with thin superglue.

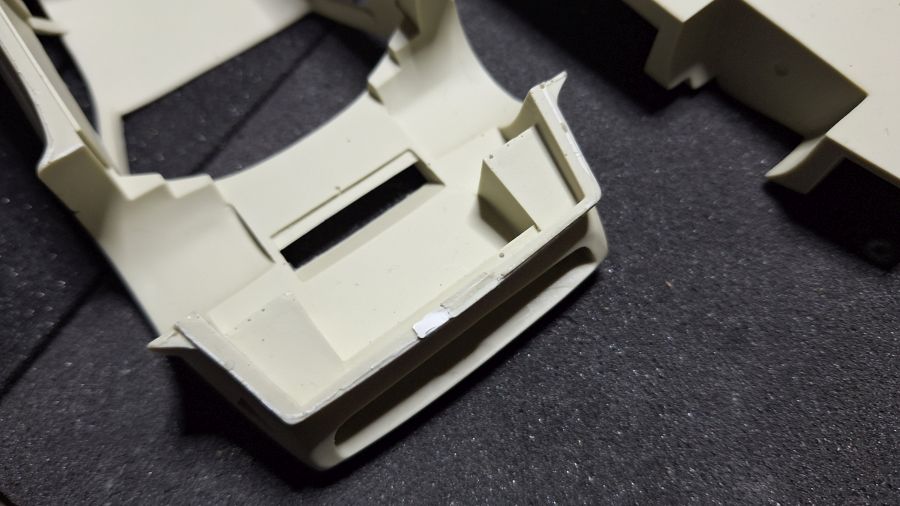
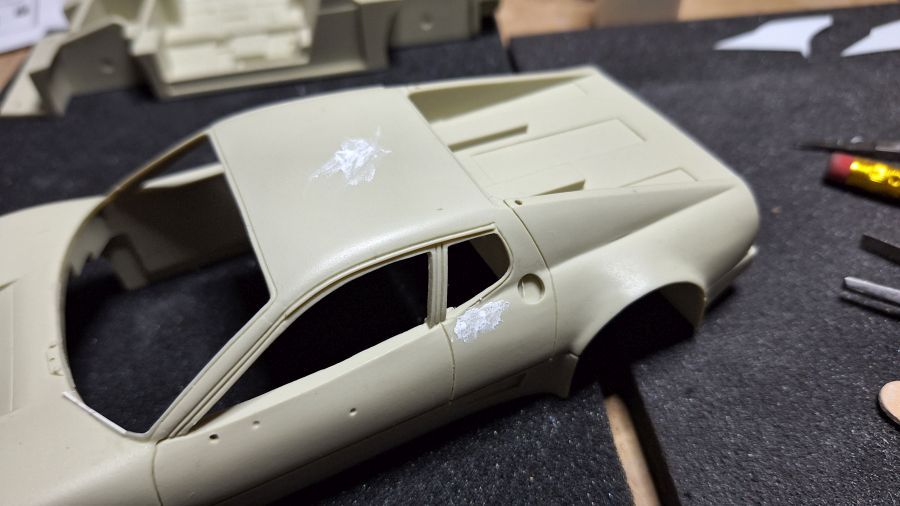
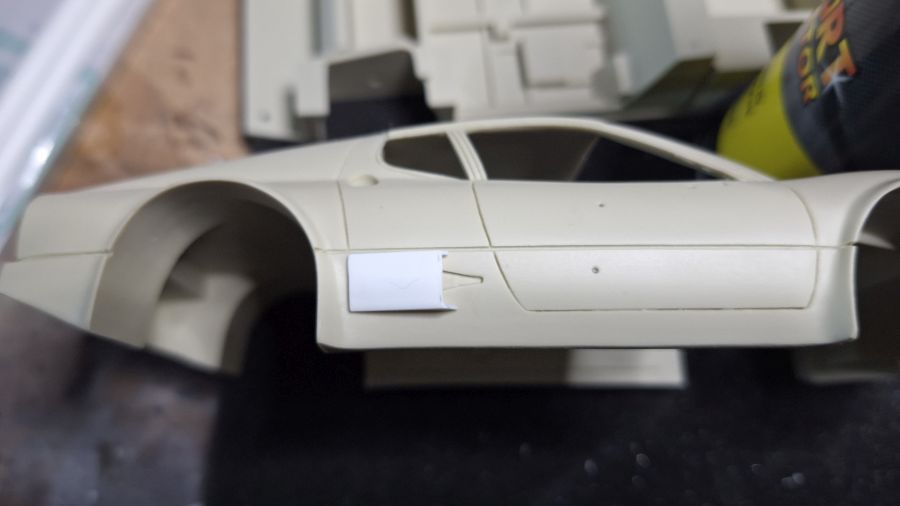
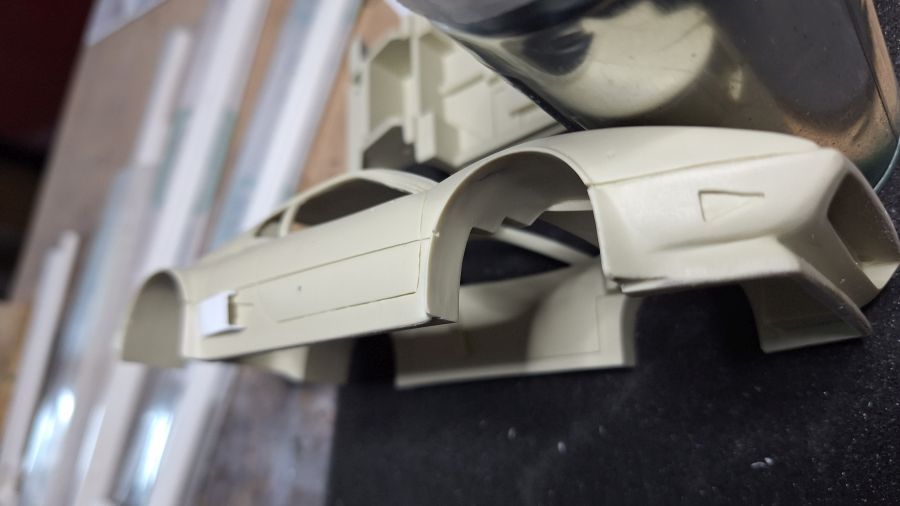
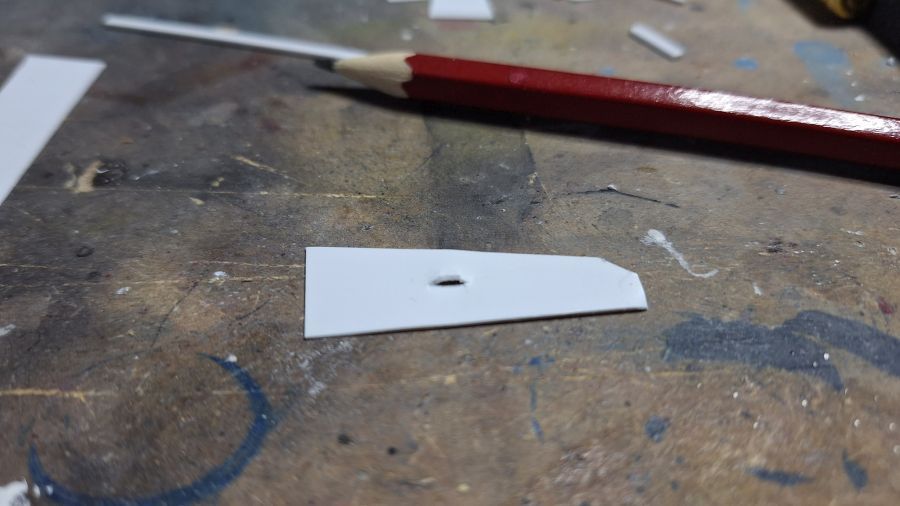
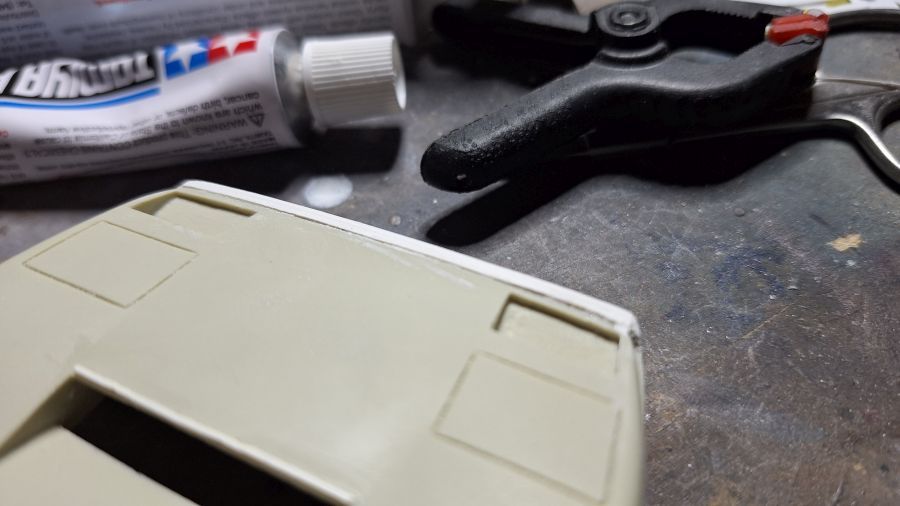
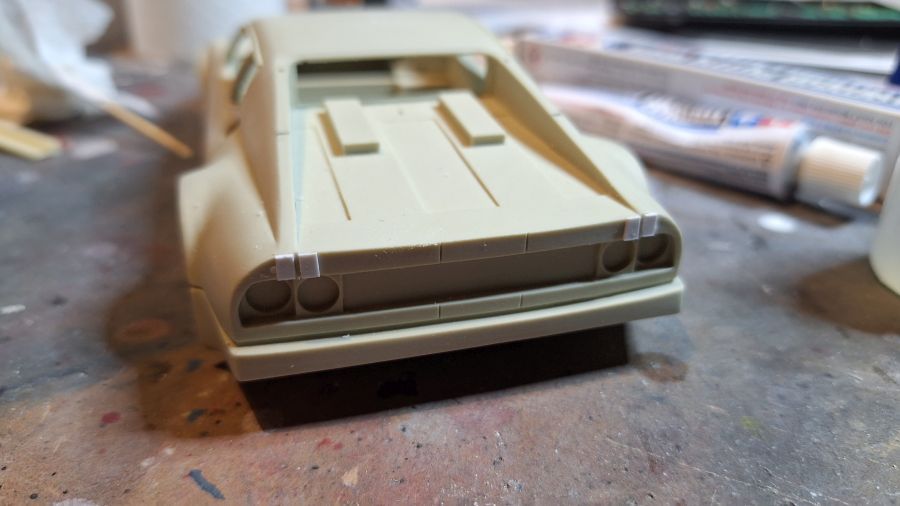
Wat gaatjes dichten die voor deze versie niet van belang zijn.
Filling some holes that are not in use on this version.

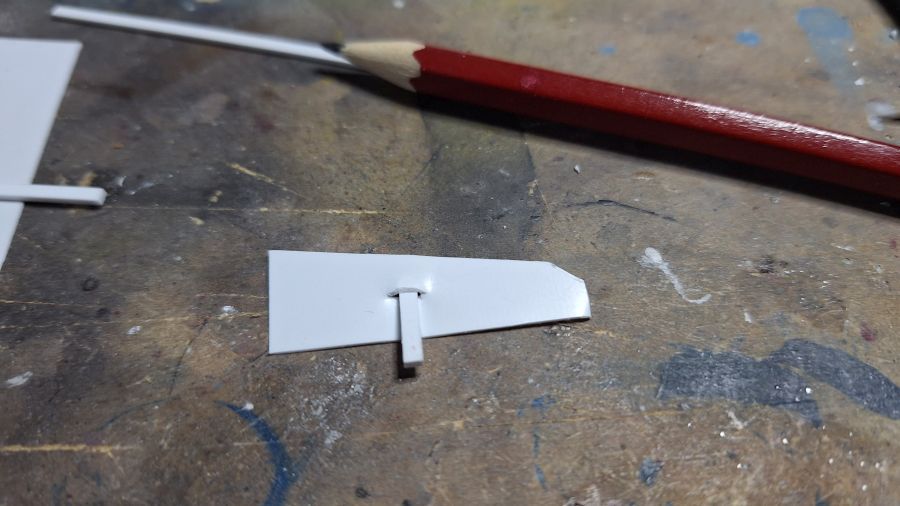
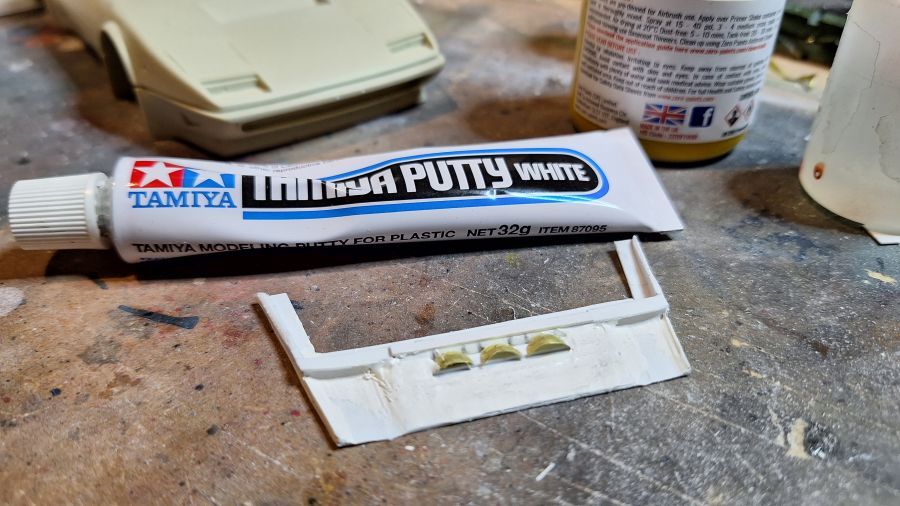
Ik denk nog steeds na wat ik met de voorvleugel aan moet. Intussen maak ik de covers voor de naca ducts. Ik maak deze van vierkante buis.
I am still thinking how to do the front wing. In the meantime i am making the covers for the naca ducts. I use square tube for this.
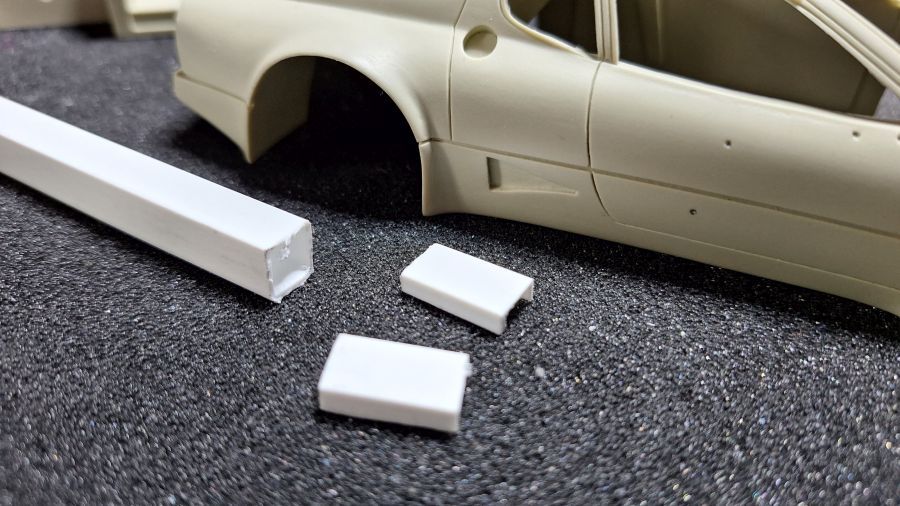
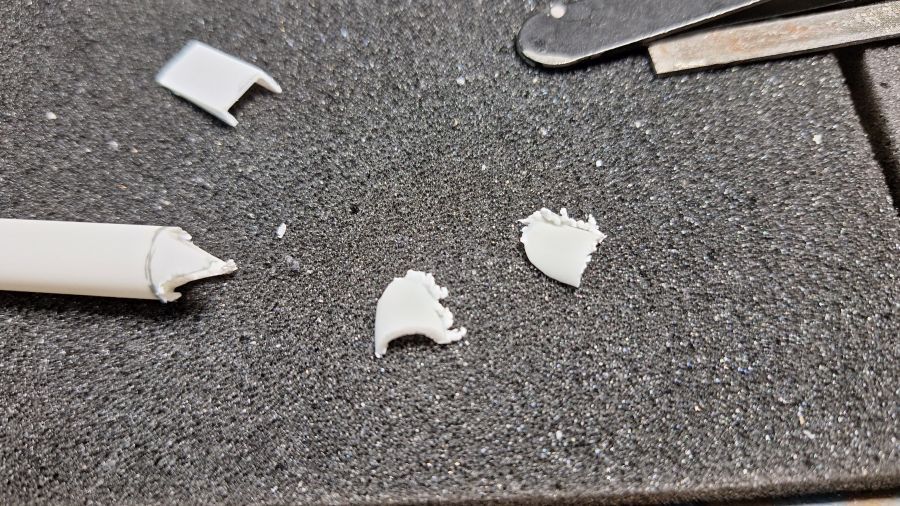
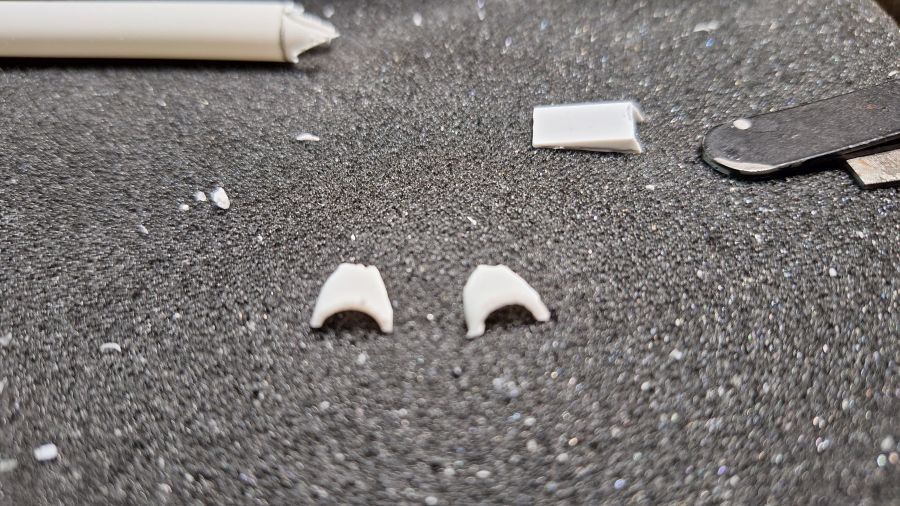
En ronde buis voor deze luchthappers.
And round tube for these air ducts.

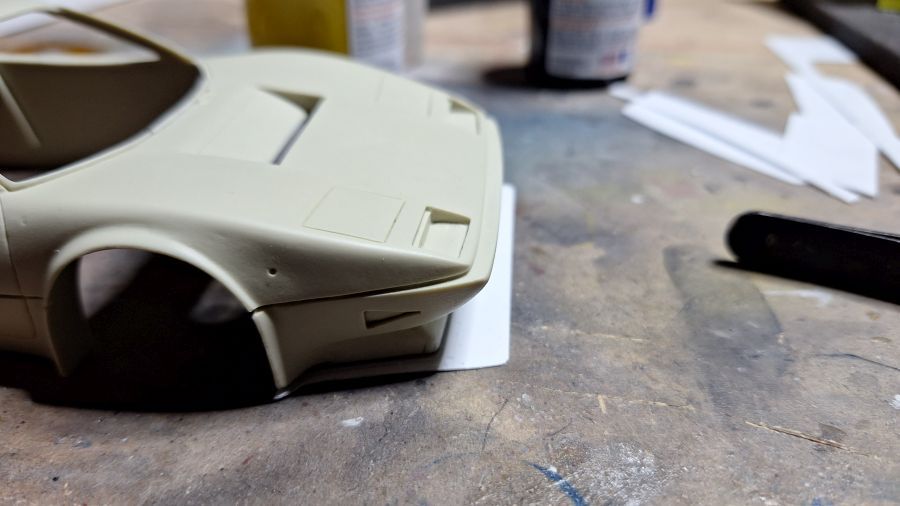
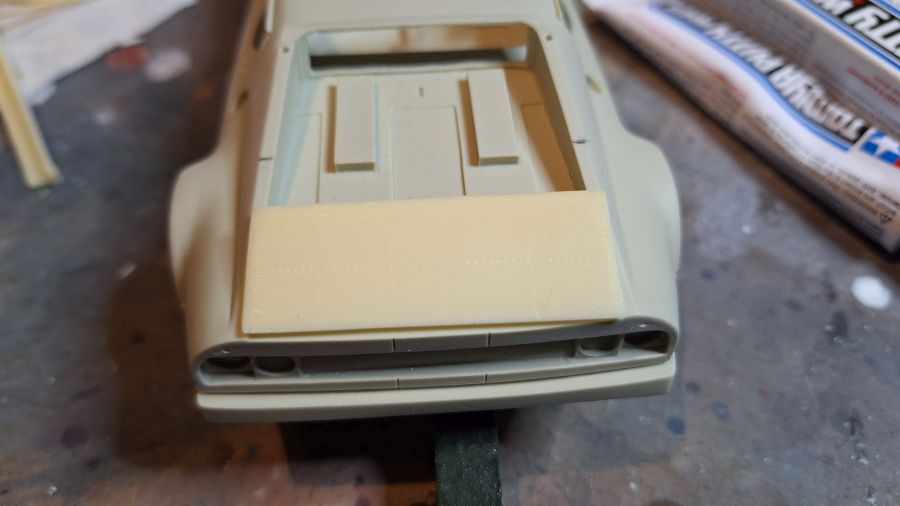
Door naar de voorvleugel. Voor mij een lastig karwei met al die lastige vormen. Ik denk nog steeds, hoe nu verder, improviseren dus.
On to the front wing. To me a difficult job with all those tricky shapes. I am still thinking, how to do this, so improvising.
Besluiten hoe groot dat ding moet worden is een uitdaging. Poging 1.
To determine the size of that thing is quite a challenge. Attempt 1.

Ook al moet het natuurlijk afgewerkt, ik ben niet tevreden, dus poging 2.
Though it needs more work, i am not happy, so attempt 2.
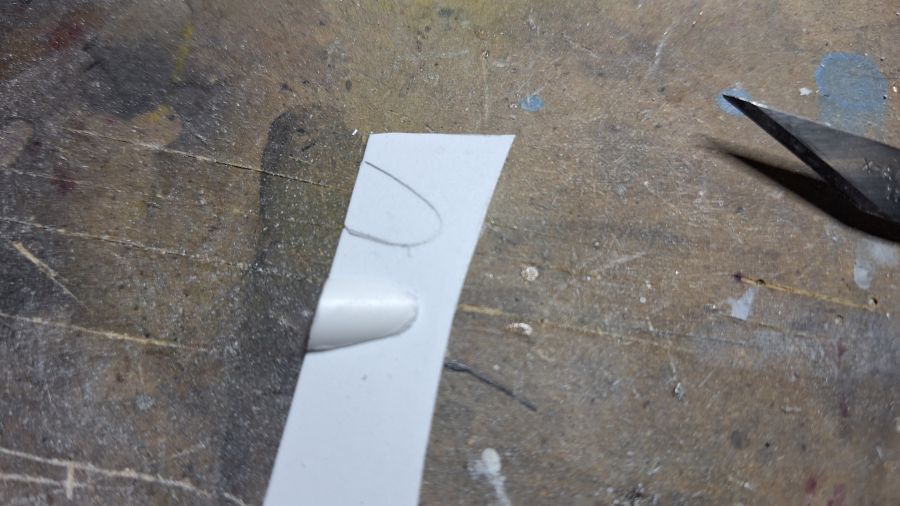
Voor de intakes probeer ik een snee in de plaat te maken en dan wat op te bollen...
For the intakes i try to make a cut in the sheet and make it stand out a little...
Mislukt...
Failed...
Dan wat metaal en mijn bolponsenset. Ik maak een halve bol en knip deze doormidden...
Then some metal and my doming set. I am making half a ball and cut it...
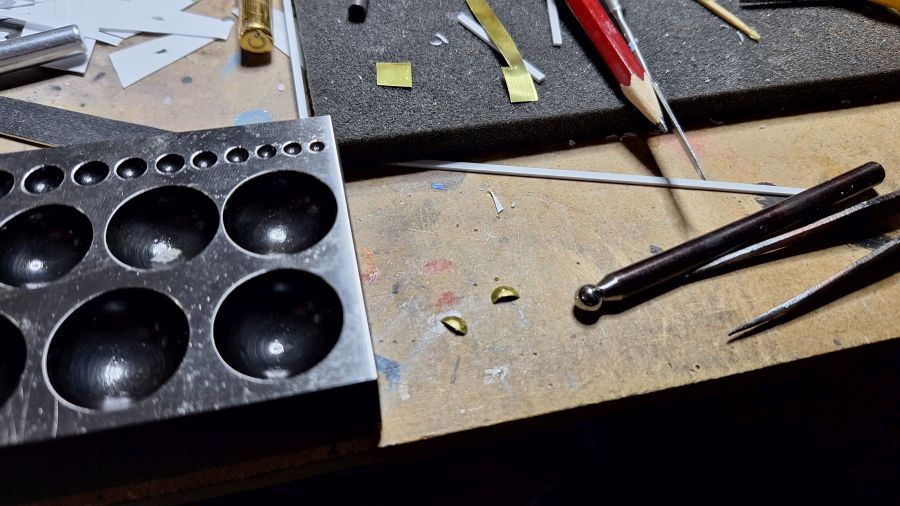
Dit zou kunnen werken...
This might work...

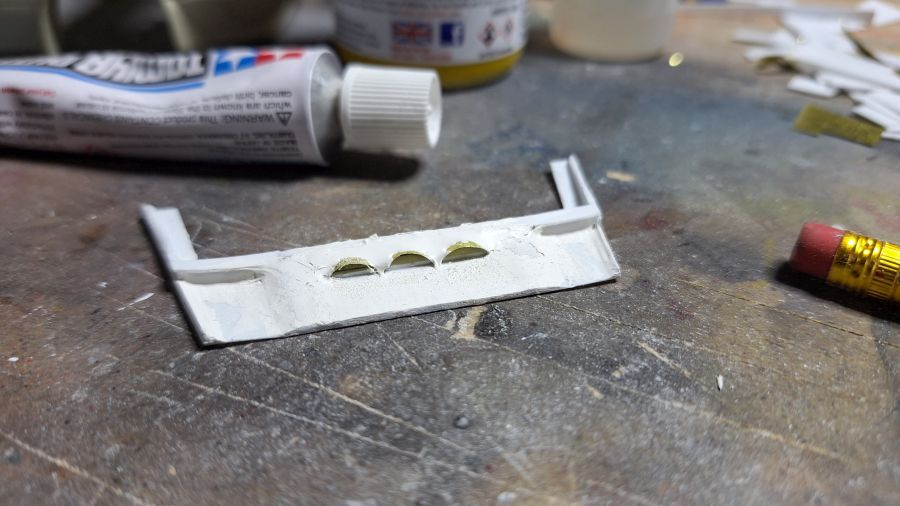
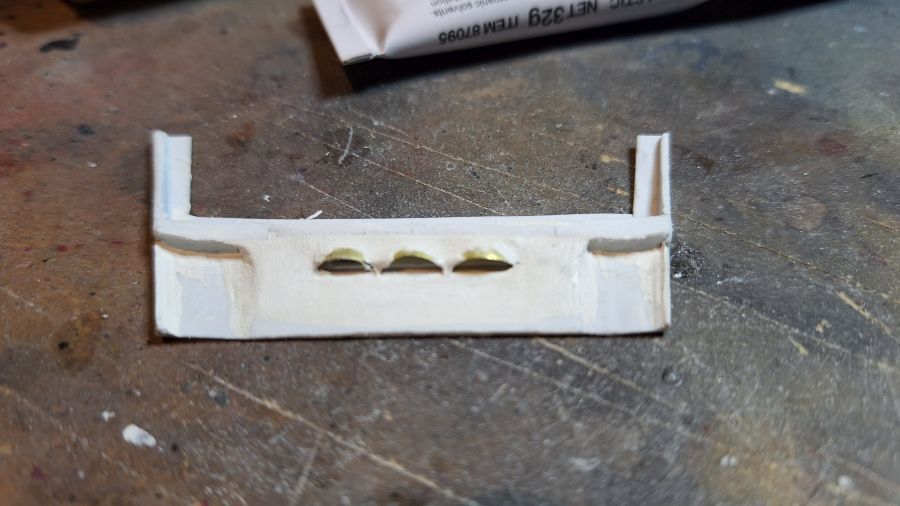
Dit is natuurlijk allemaal een basisvorm, voordat de plamuur erop gaat.
Of course this is a base shape, before adding putty.
Plamuur aangebracht en dan na het drogen veel slijpwerk.
Putty added and after dry time a lot of grinding.
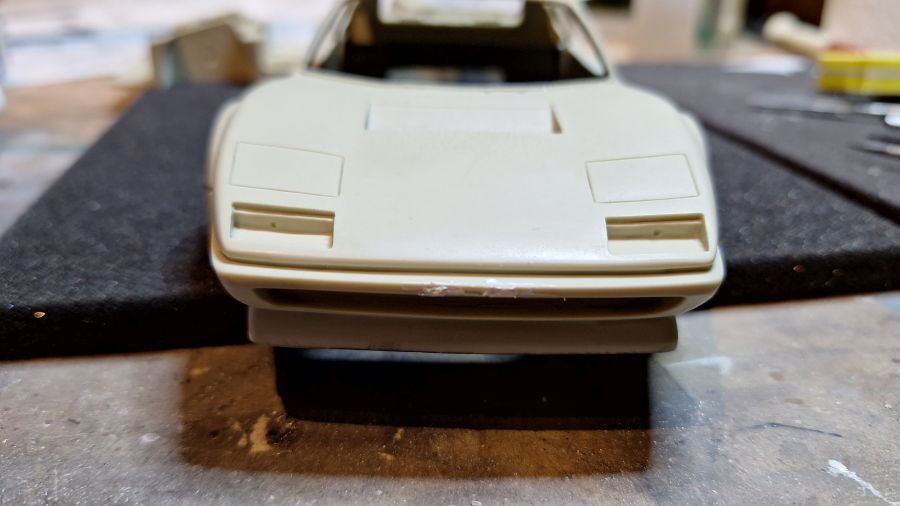
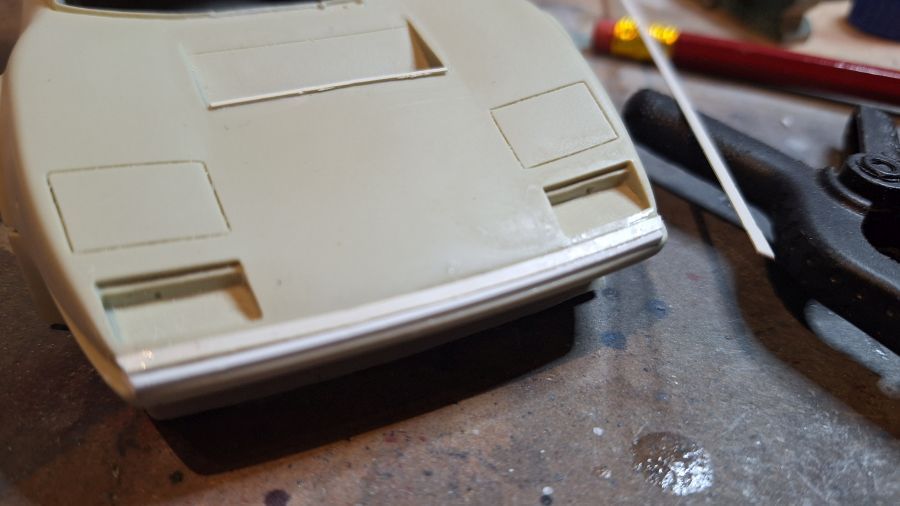
Van de onderkant van de voorspoiler slijp ik ongeveer 3 mm af.
The downside of the front spoiler gets cut about 3 mm.

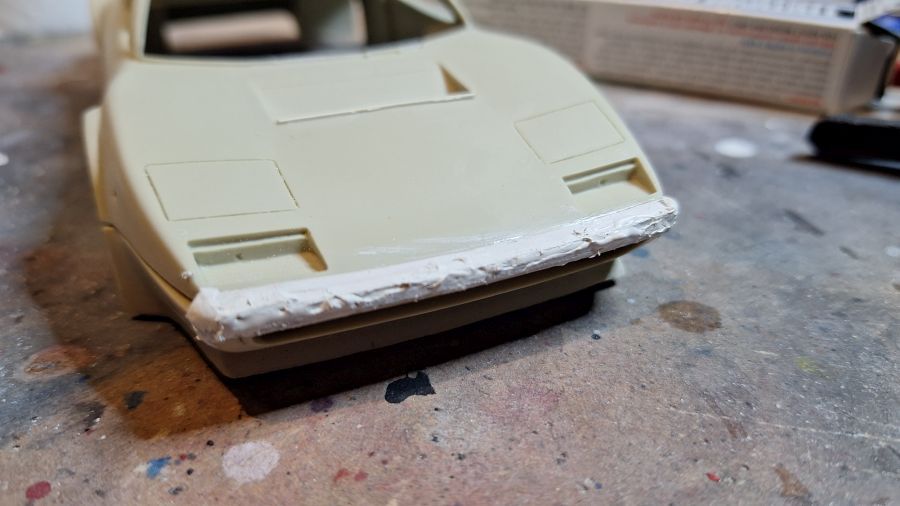
Dan meer putty op de vleugel.
And more putty to the wing.

Ik kom bij het einde...
Nearing the end...
Intussen wat meer werk aan de lucht intakes. Later nog wat bijwerken.
In the meantime some more work to the scoops. Some more work to it later.
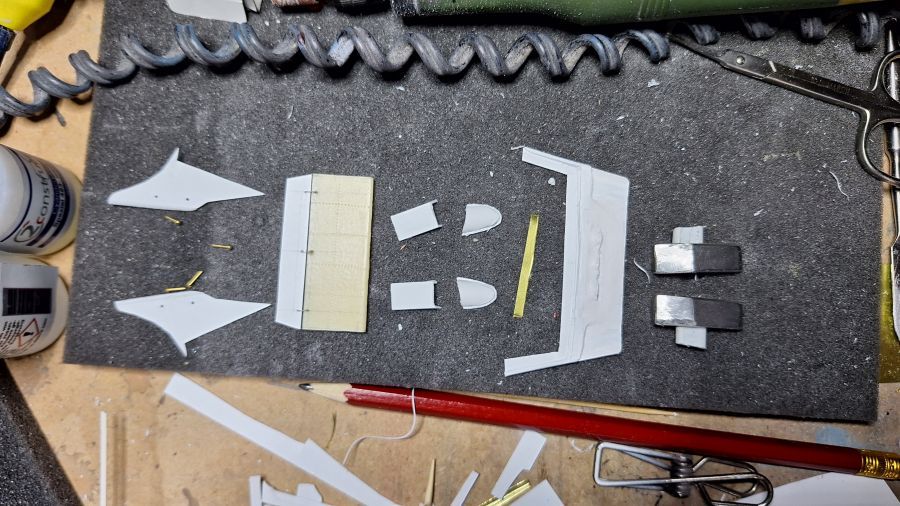
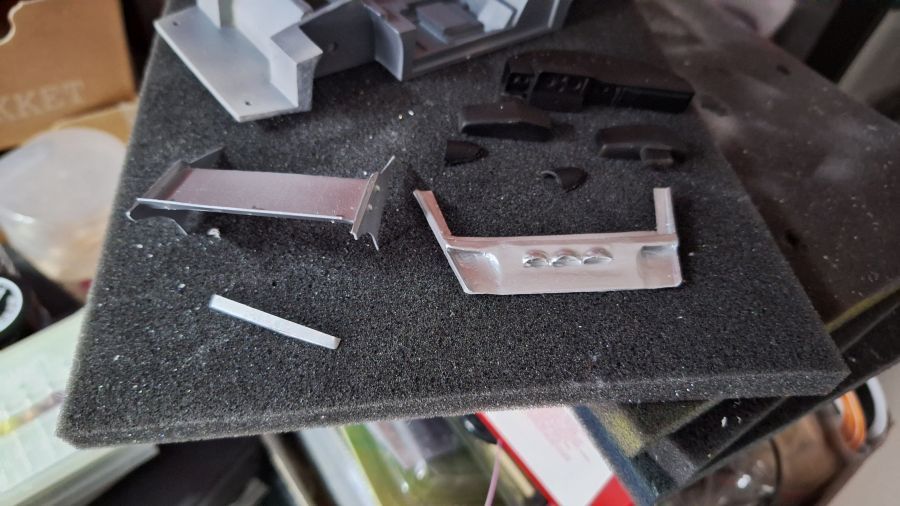
Alle tot nu toe gemaakte extras.
All extras that have been made so far.

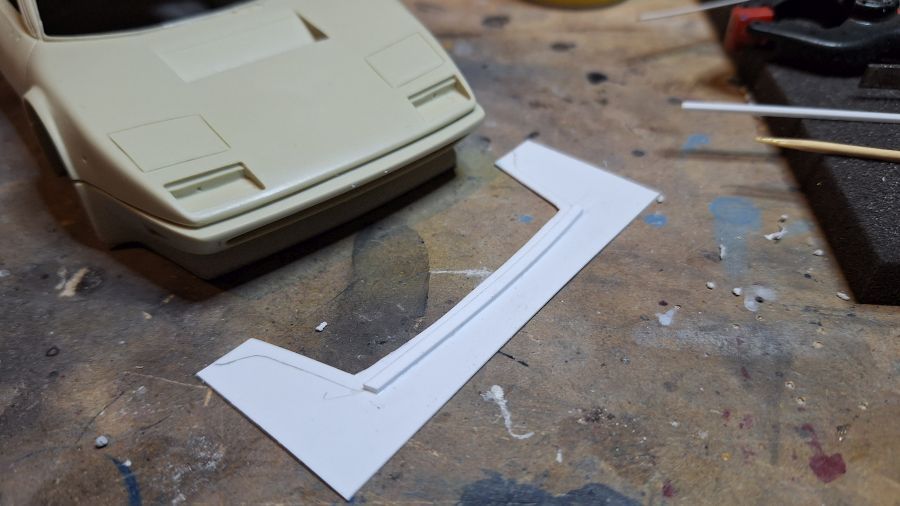
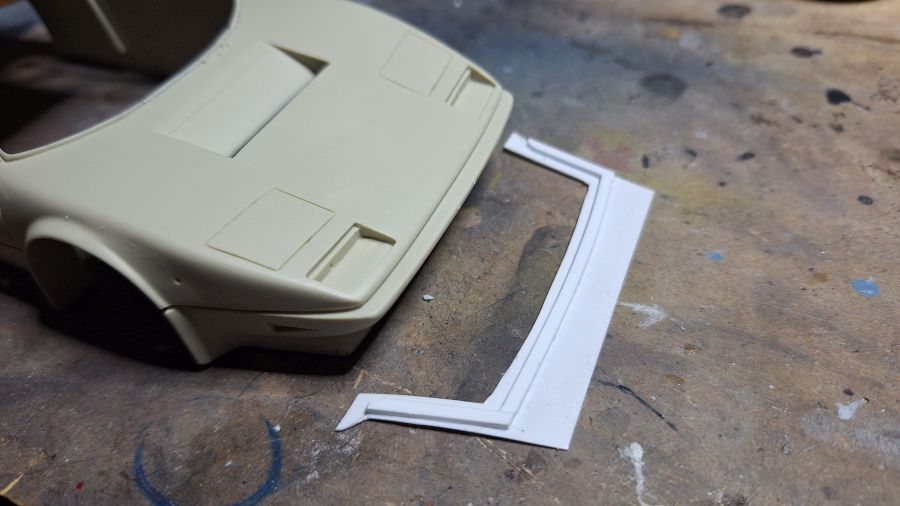
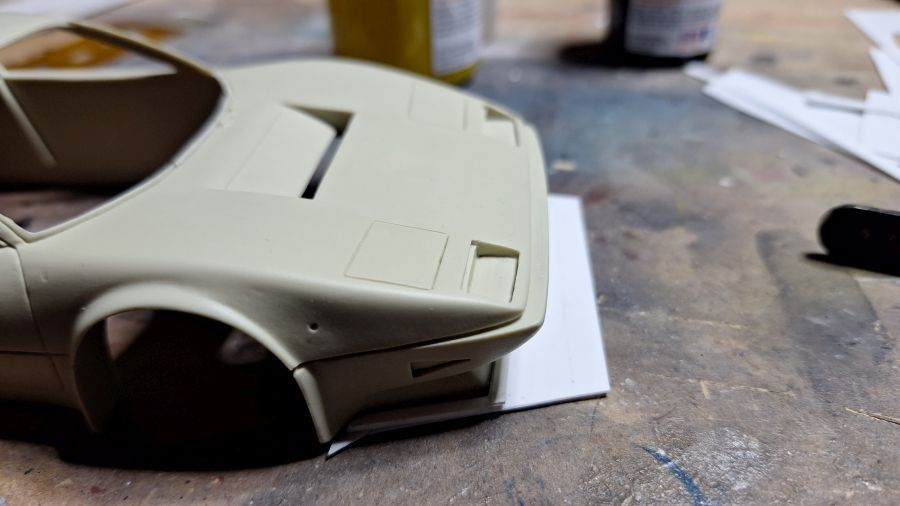
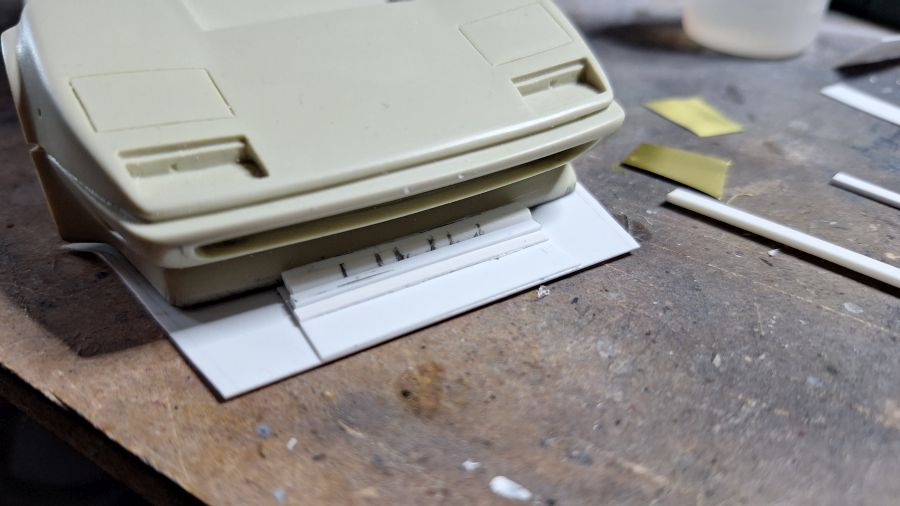
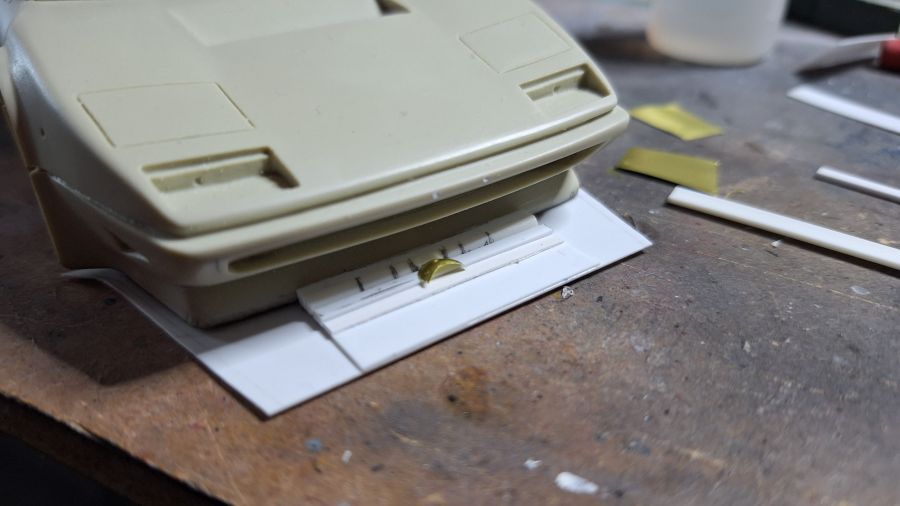
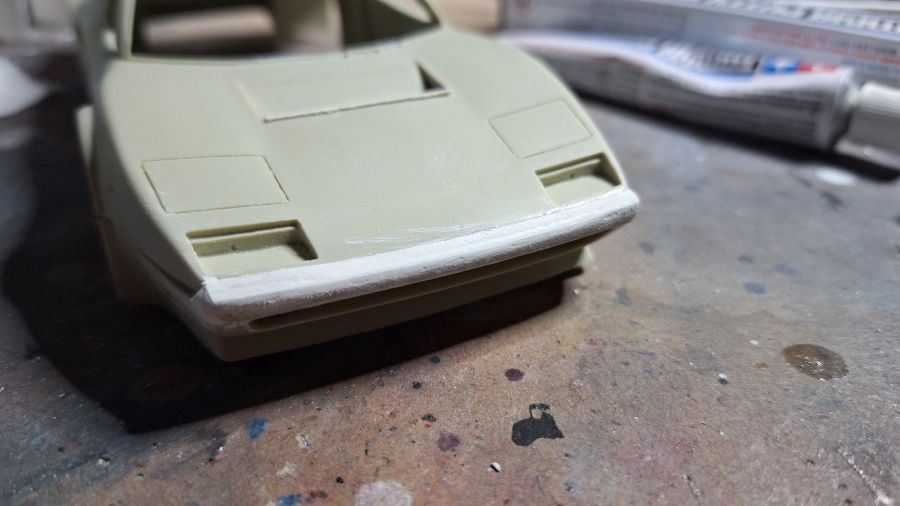
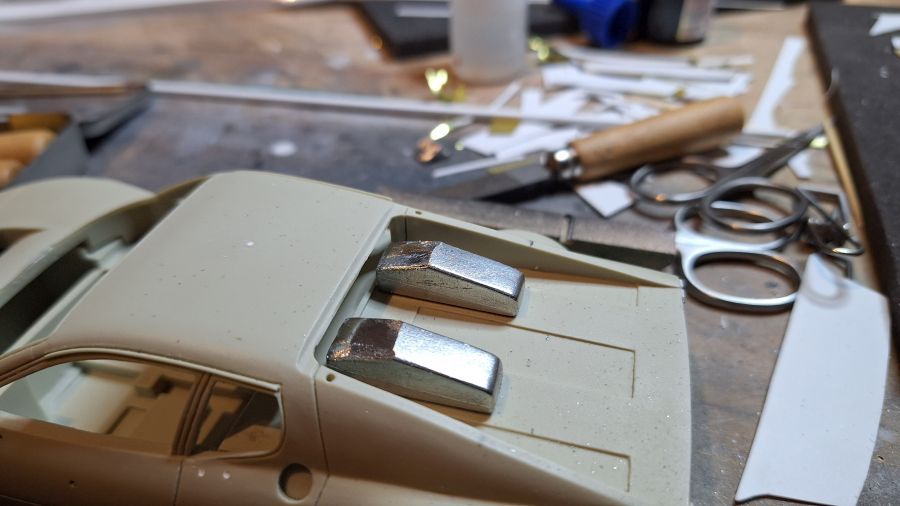
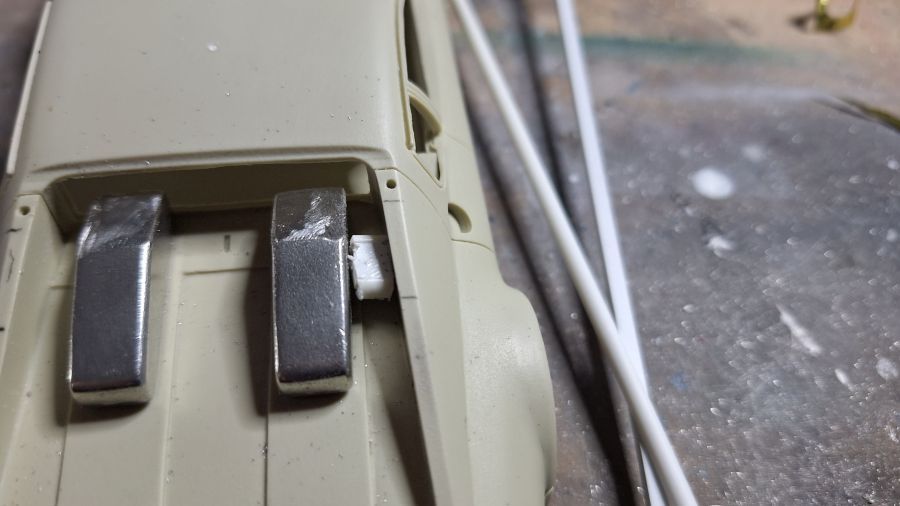
Door naar de 'fairing' op de motorkap.
On to the fairing on the front hood.
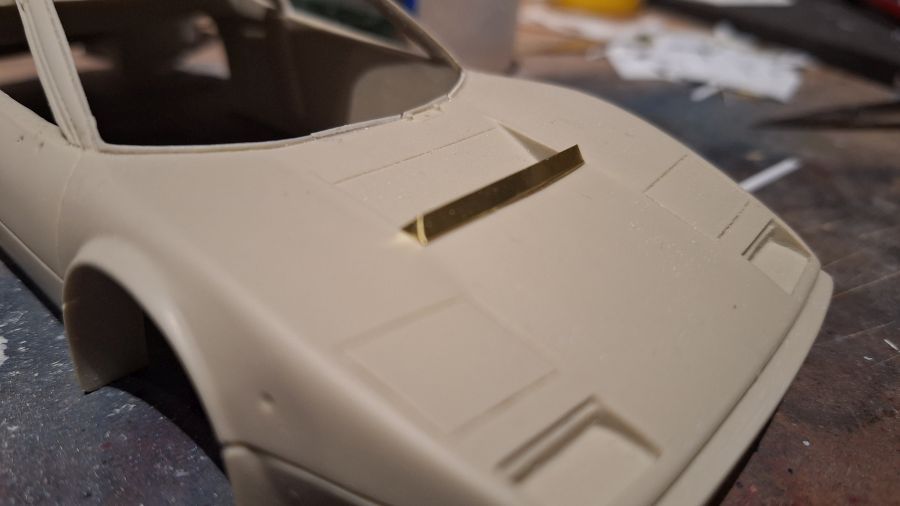

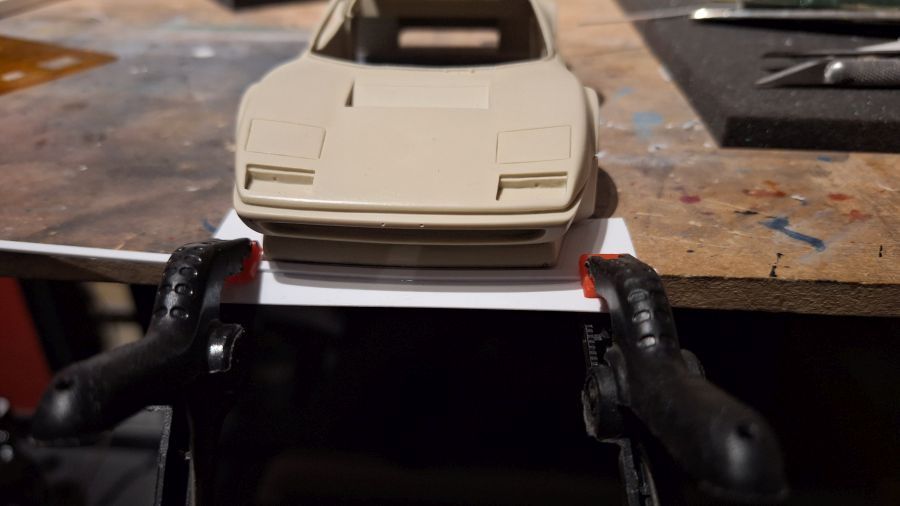
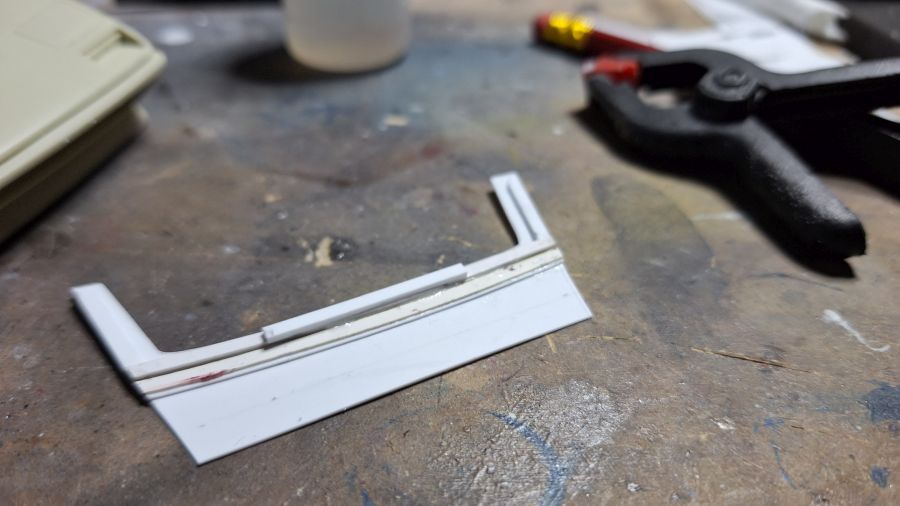
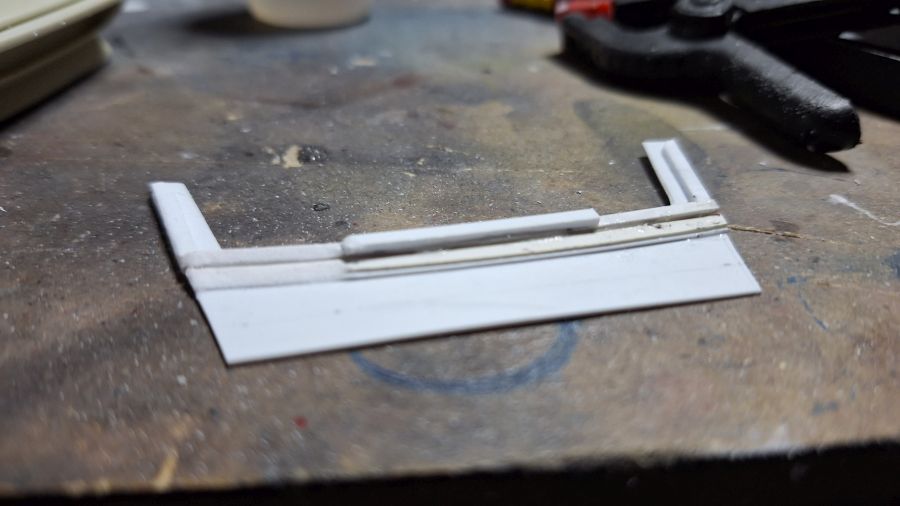
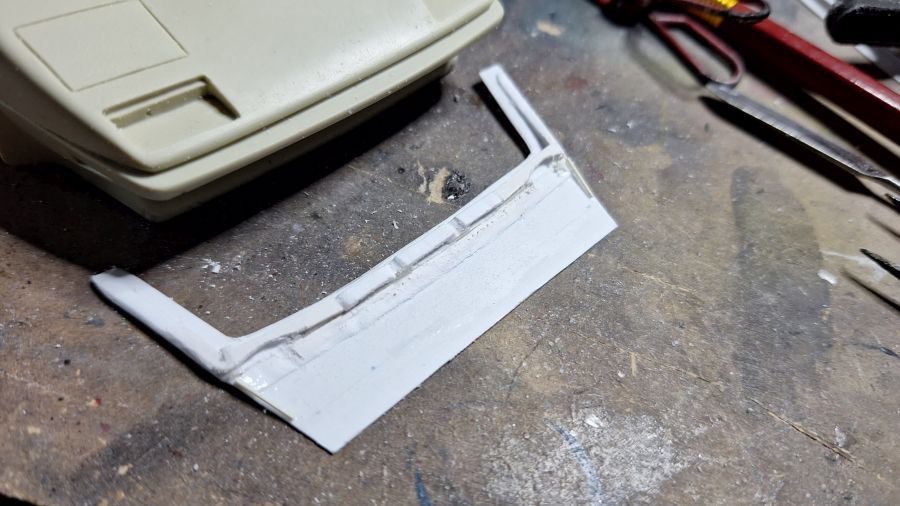
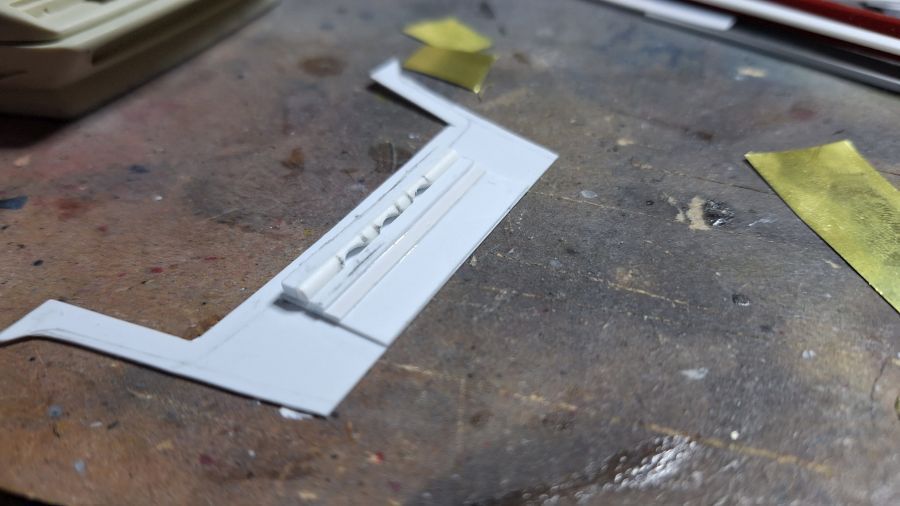
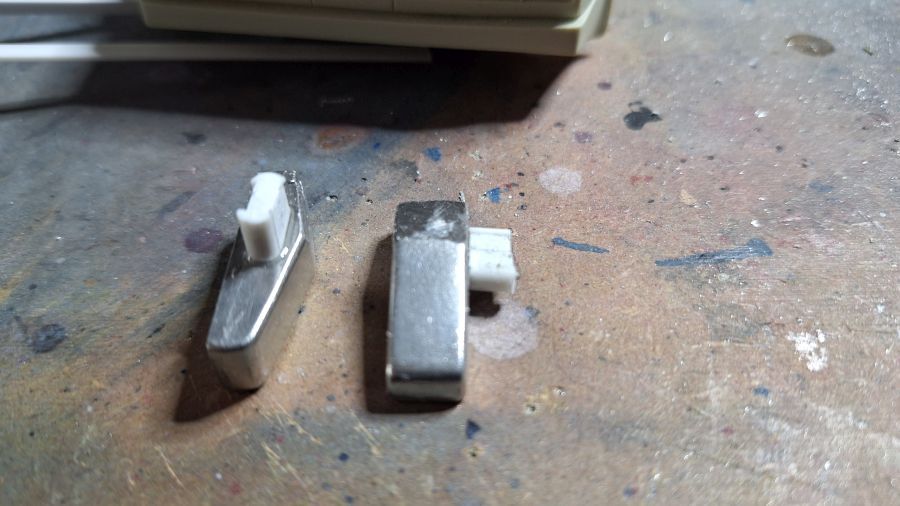
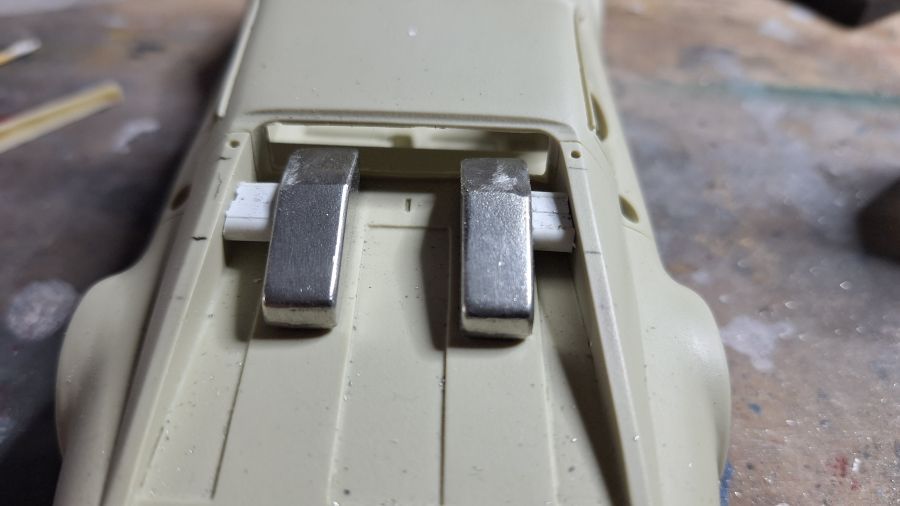
Ook aan de voorkant zit een metaal stuk. Ik wilde het van metaal maken, maar dat lukt me niet. Dus werken met Evergreen strip.
There's also a metal piece at the front. I wanted to make it out of metal, but i can;t get it right. So working with Evergreen strip.
Weer terug naar de achtervleugel.
Back to the rear wing again.
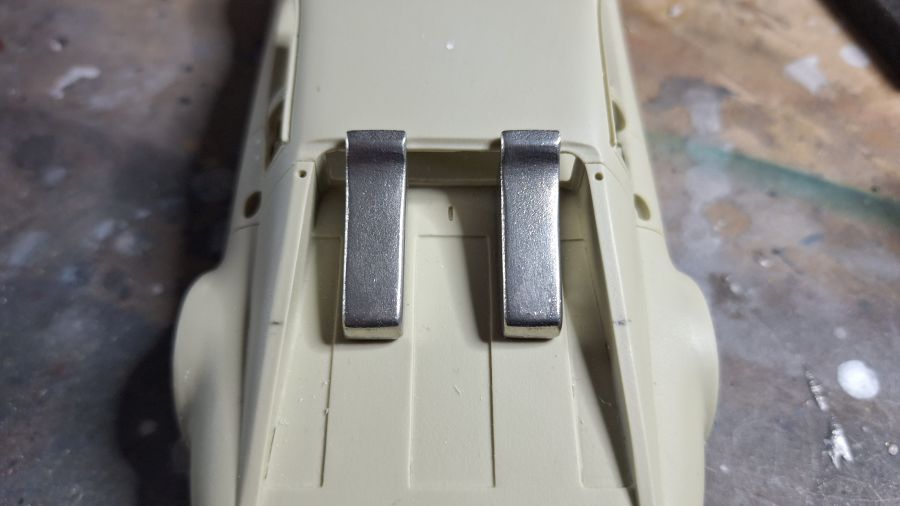
Even een duik in de etched rommeldoos.
Taking a dive in the etched scrap box.
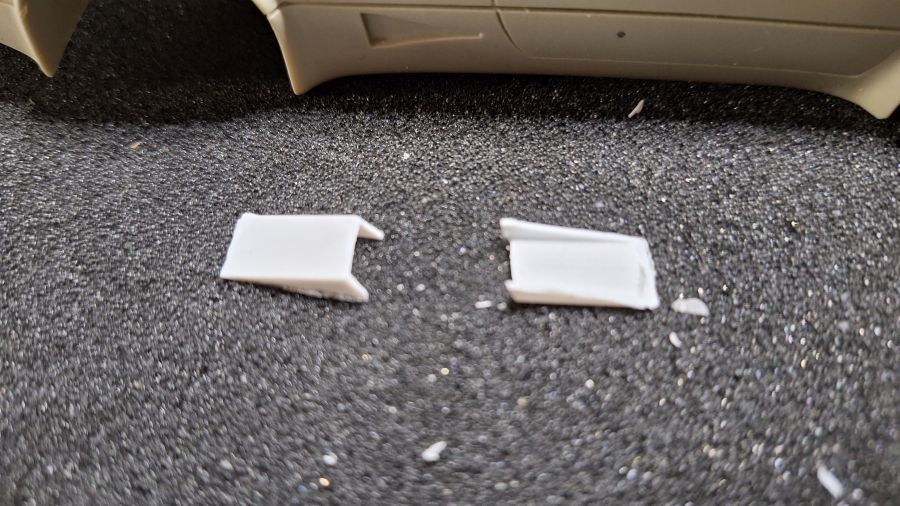
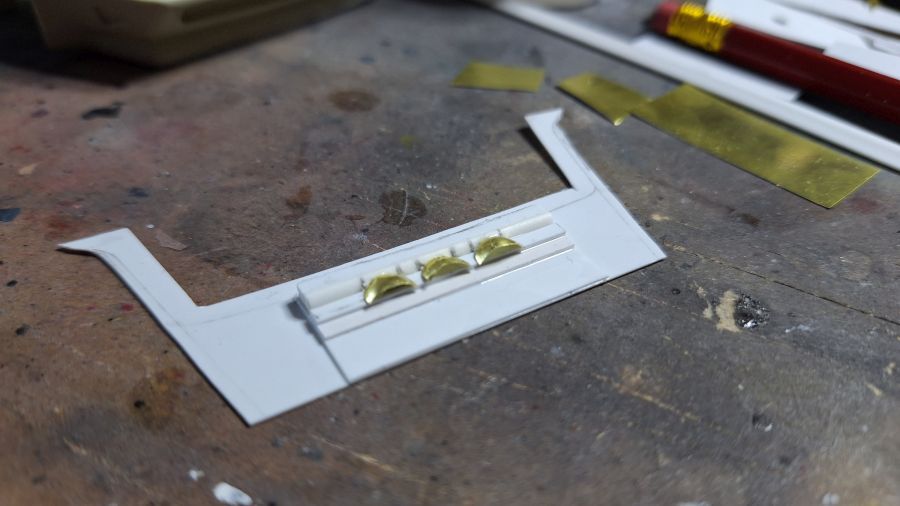
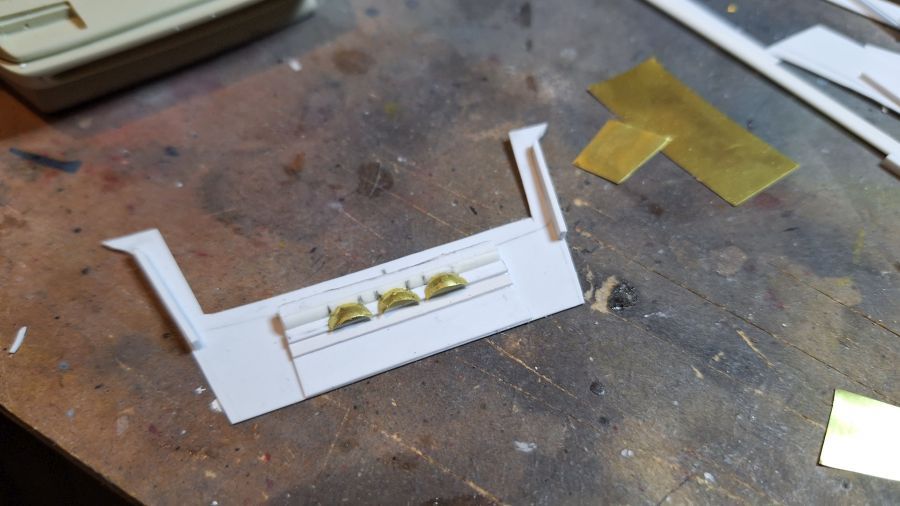
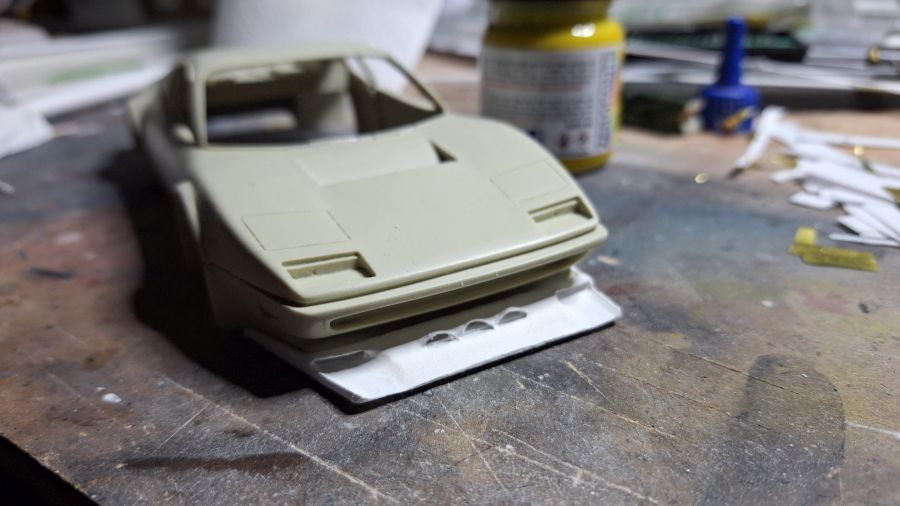
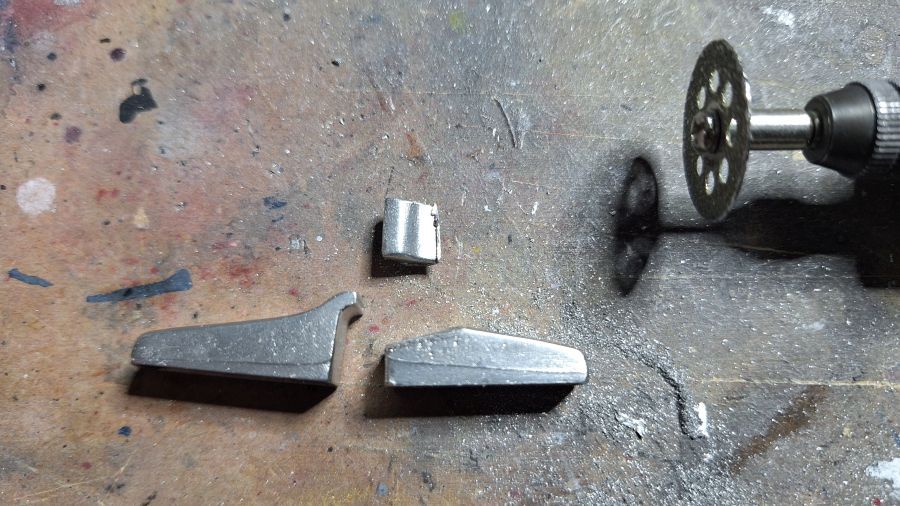
De luchtinlaten moeten aangepast. De afdekkingen moeten een beetje driehoekig worden. Bij de 512BB Ecurie Francorchamps versie komt de lucht van de inlaten aan de zijkant.
The intakes need adjusting. The covers should be a bit of a triangle shape. At the 512BB Ecurie Francorchamps version the air comes from the intakes at the sides.
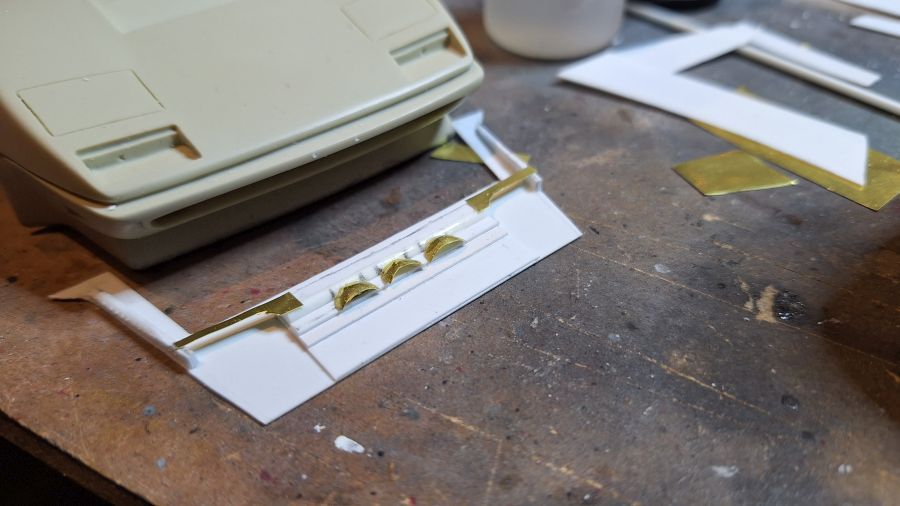
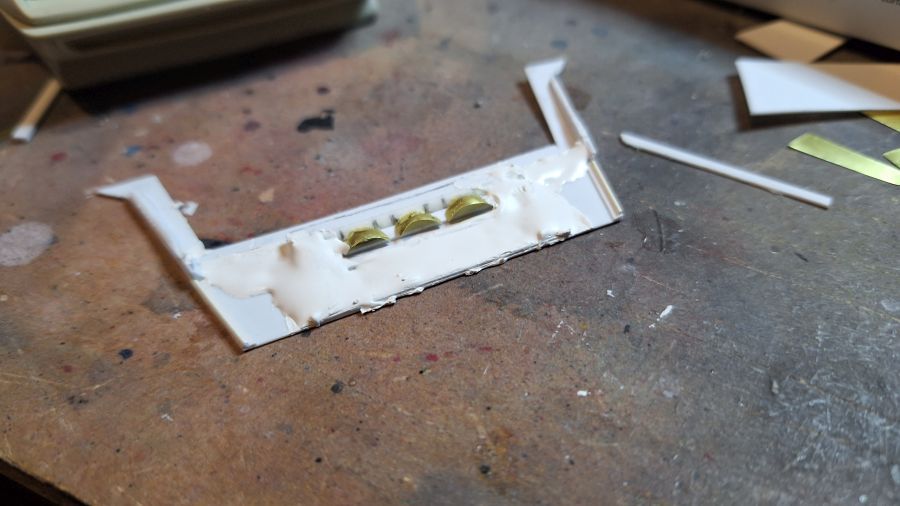
Test.
Testing.
Alle extra gemaakte onderdelen zijn min of meer klaar, nu begint het in normale proces.
All extra made parts are more or less ready, now the normal process starts.
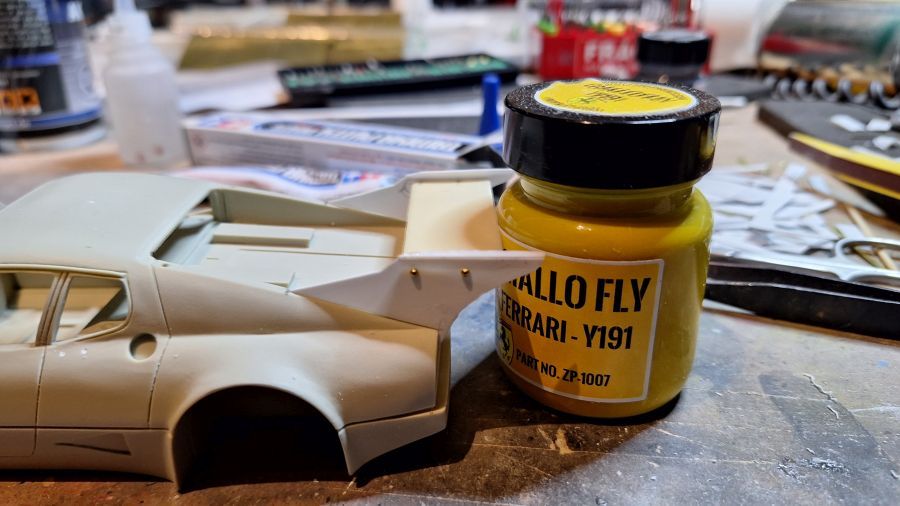
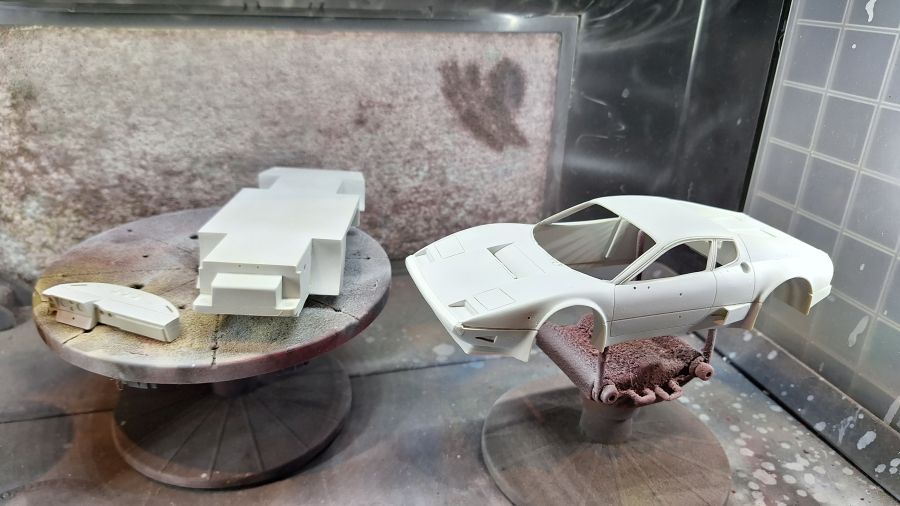
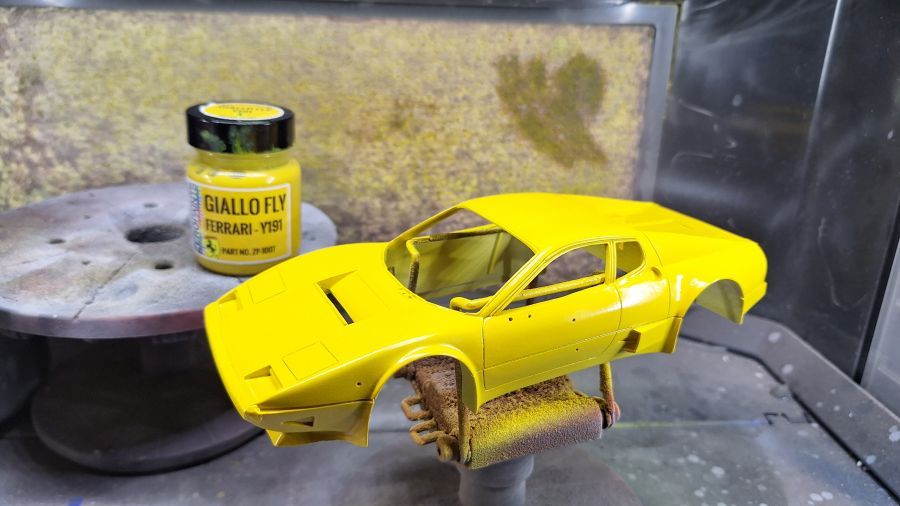
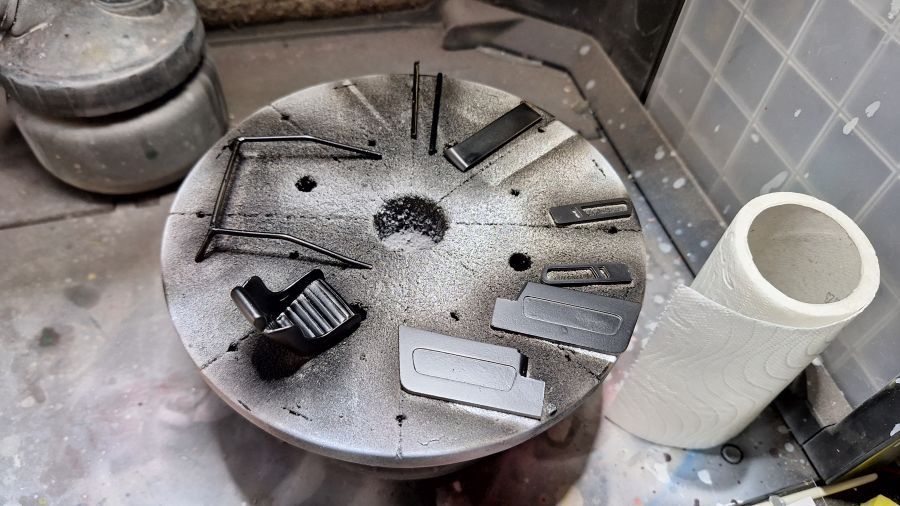
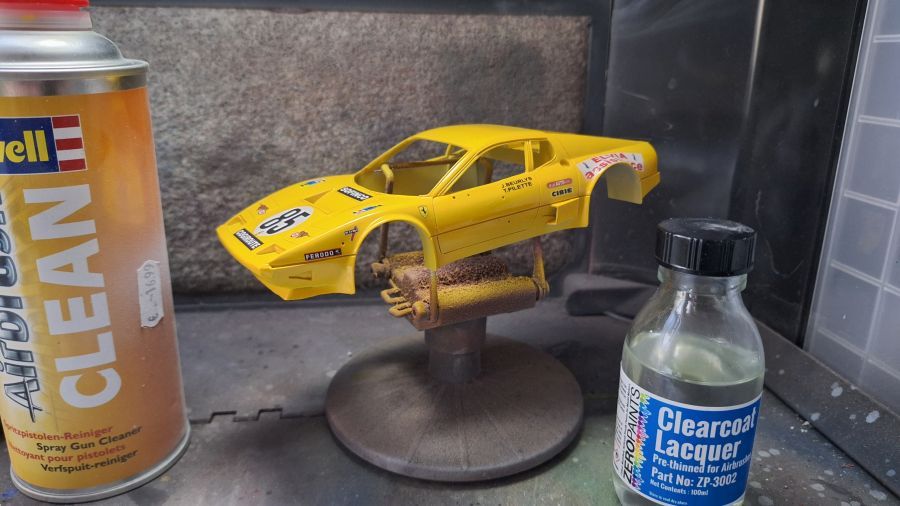
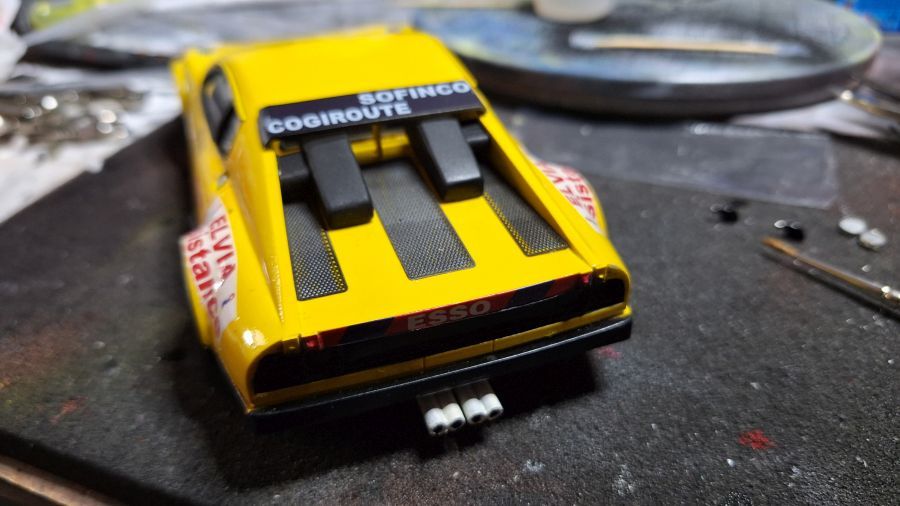
Verf dag... primer en Zero Paints ZP-1007 Giallo Fly Y191 (70's geel)
Paint day... Primer and Zero Paints ZP-1007 Giallo Fly Y191 (70's yellow).
De vleugel klaargemaakt.
Work to the wing.
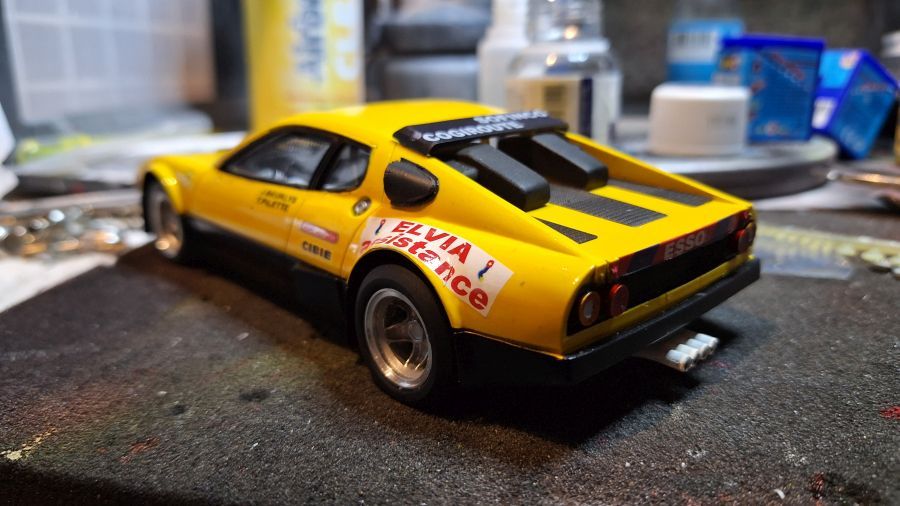
Meer verf.
More paint.
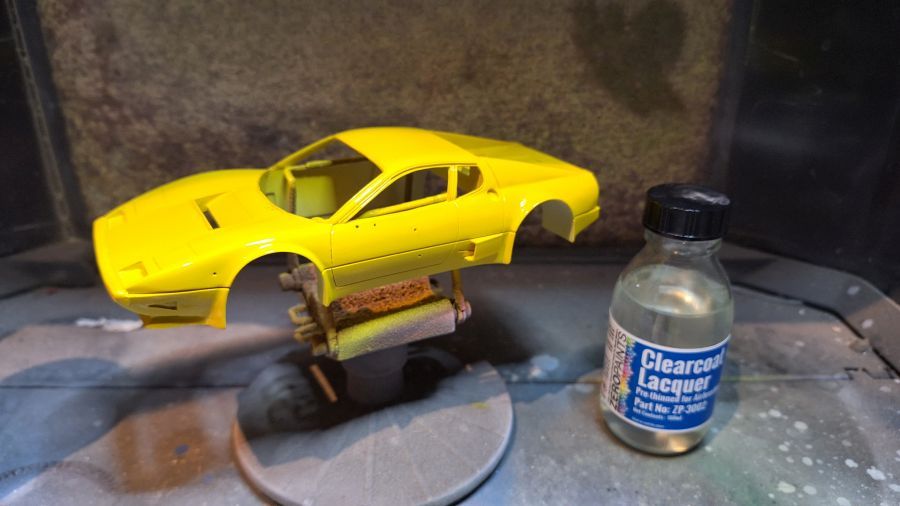
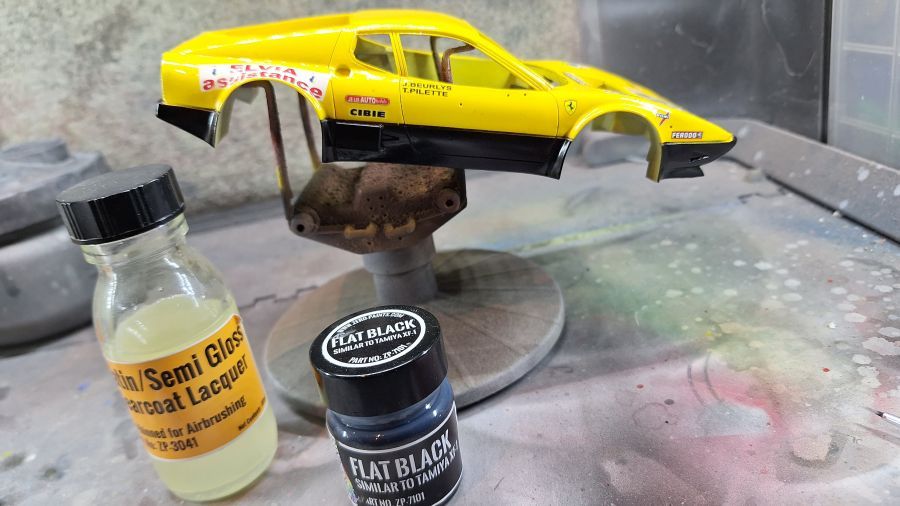
Nu eerst de decals laten drogen, daarna weer lak erover.
Now let the decals dry, after that lacquer on it again.
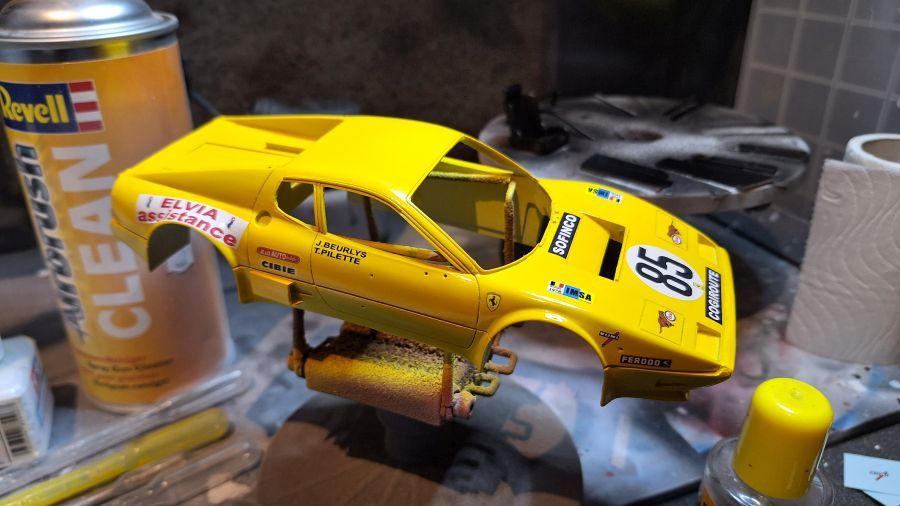
Het is een auto uit de jaren 70, dus geen 2K lak.
It's a 70's car, so no 2K clear.
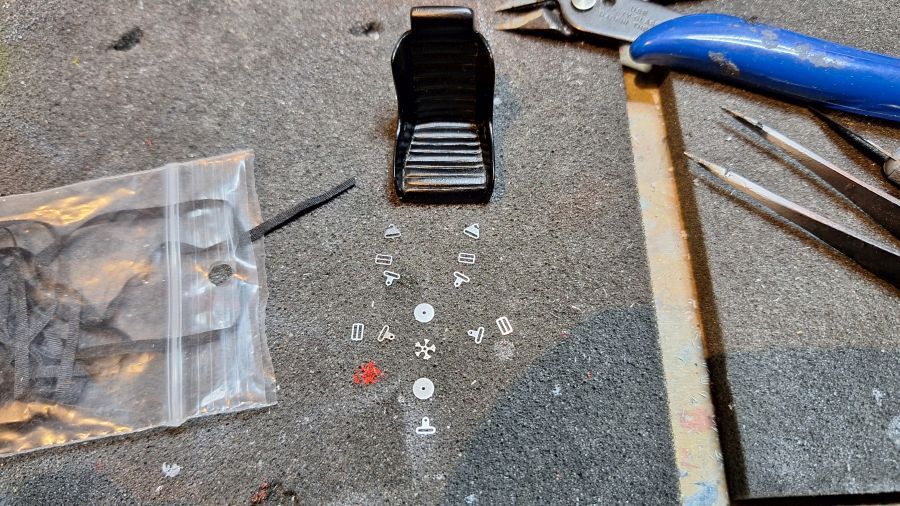
Terug naar het interieur. Ik heb nog wat schakelaars in mijn etched rommeldoos.
Back to the interior. I still have some switches in my etched scrap box.
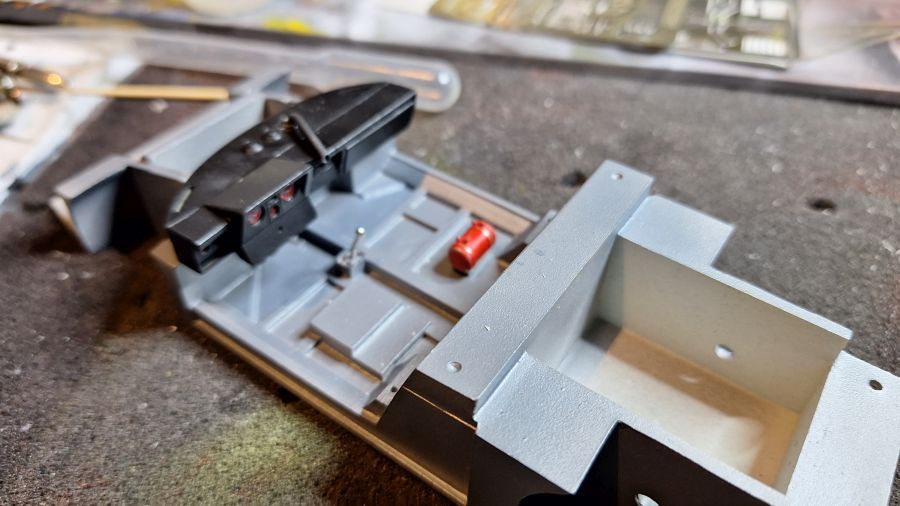
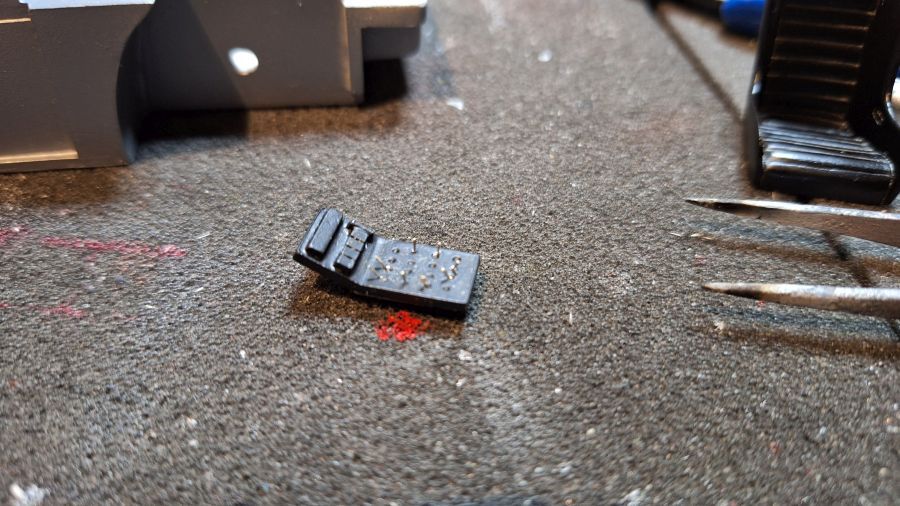
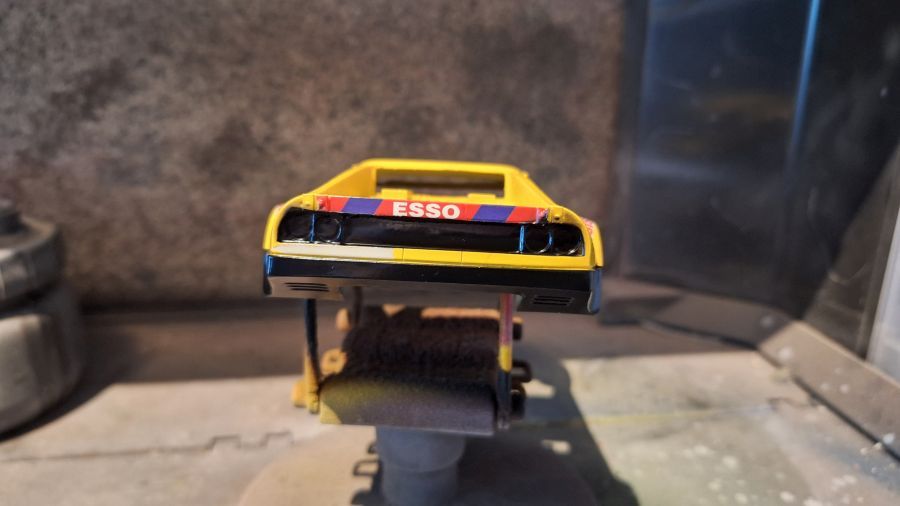
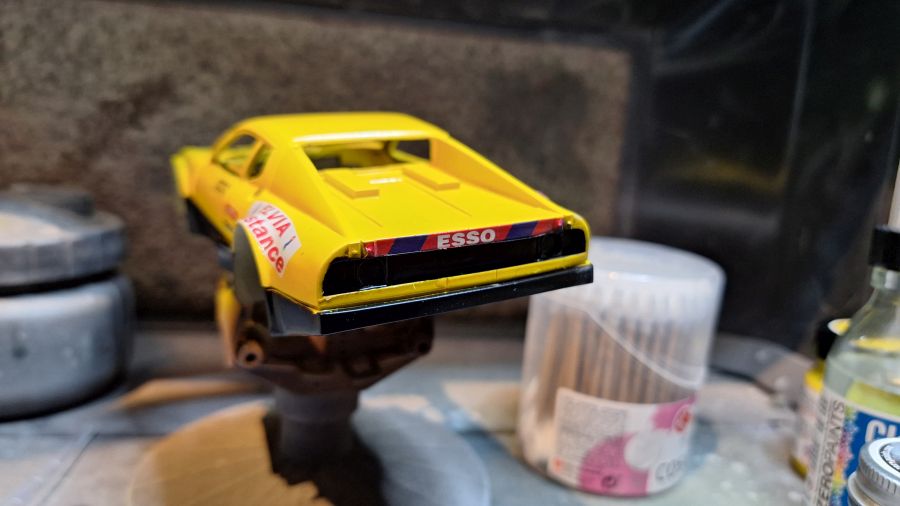
Het zwart erop. Een kleine beschadiging aan het geel achterop. Dat moet te repareren zijn.
The black is on. A small damage to the yellow at the back. It should be repairable.
Alle etched delen voor de gordels liggen klaar.
All etched parts for the belts are there.
Gerepareerd.
Repaired.
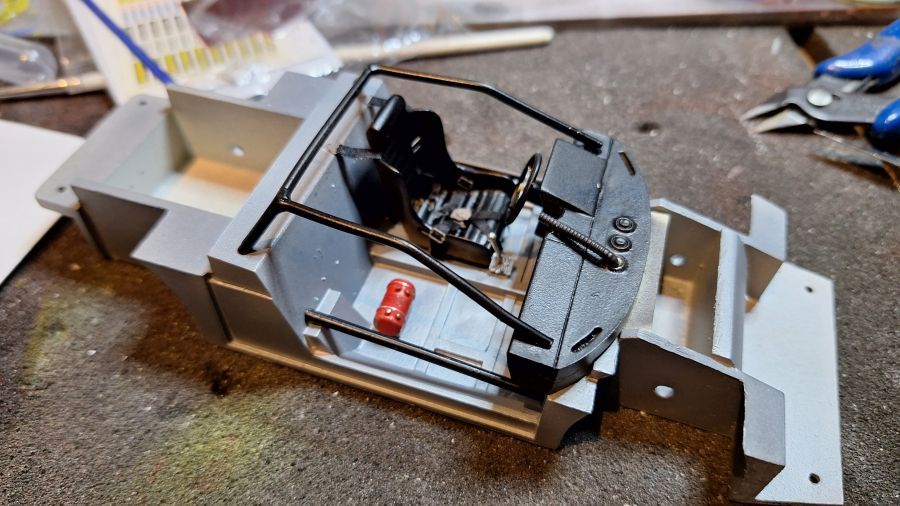
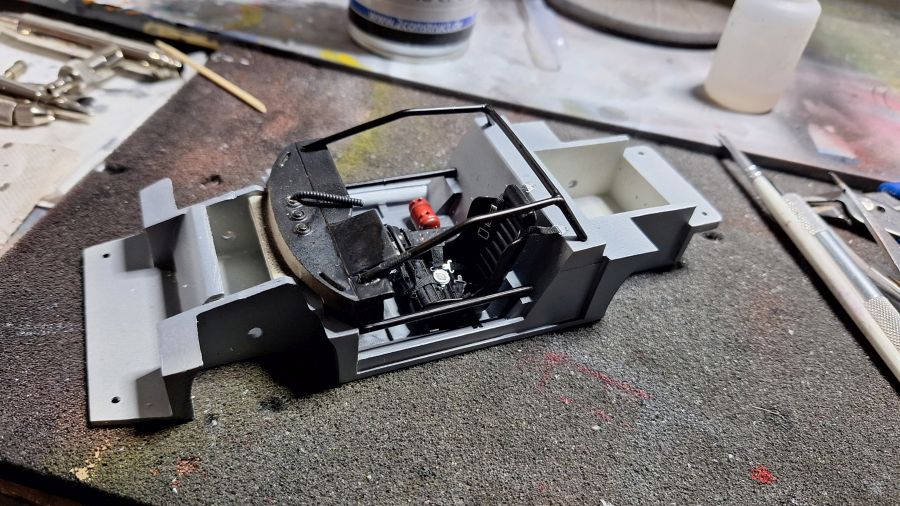
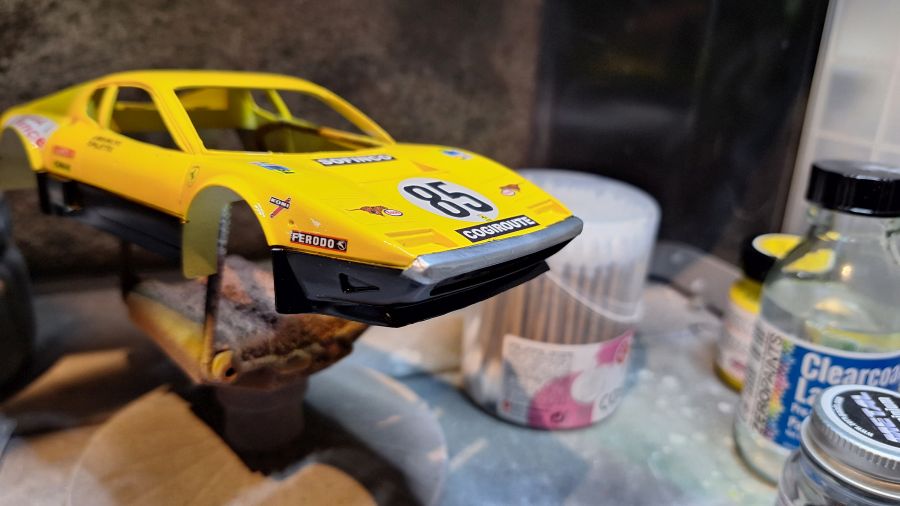
Meer werk aan de voorkant. En daarna het zwart bij de ramen.
More work to the front. and then the black trim to the windows.
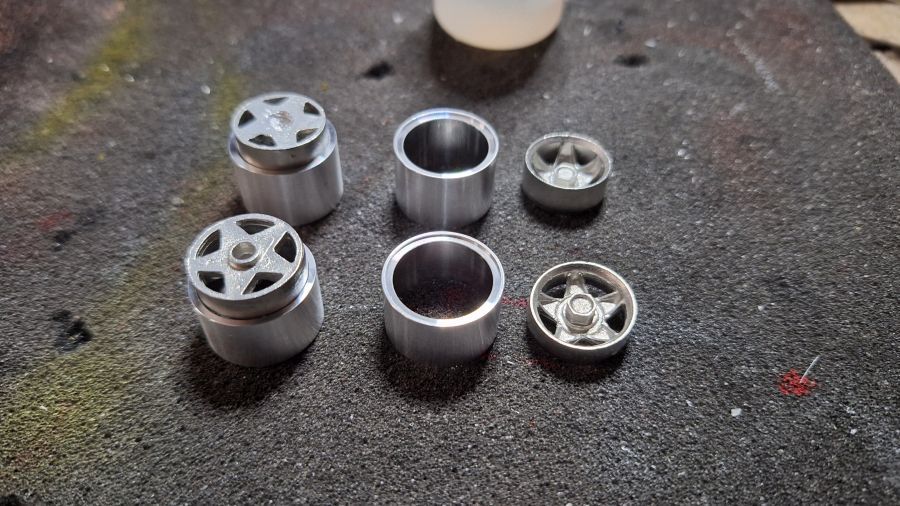
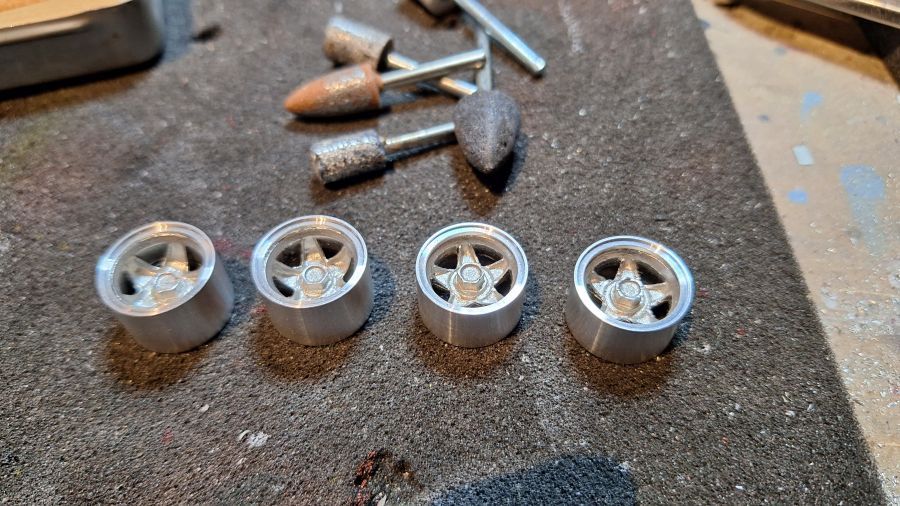
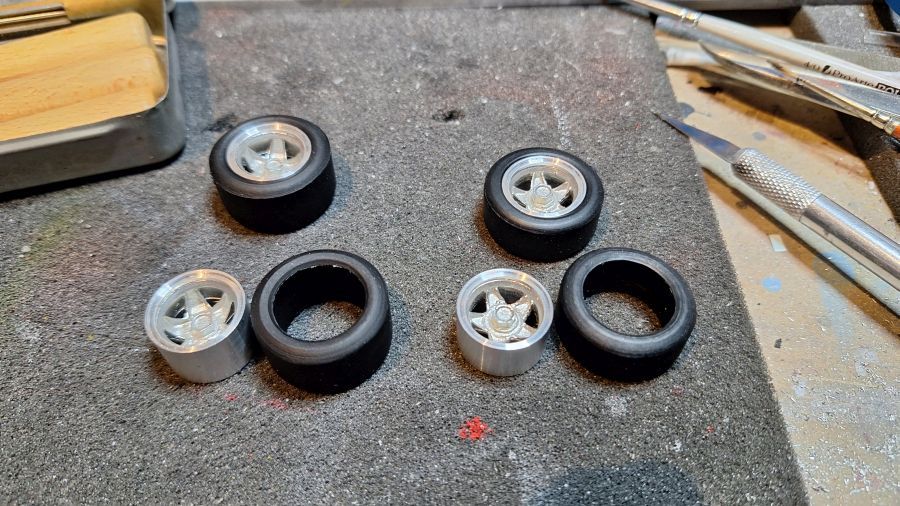
Dan door naar de vloer. De inserts voor de velgen passen maken, de assen uitlijnen en de banden erop.
Next is the floor. Adjusting the inserts for the rims, lining up the axles and adding the tires.
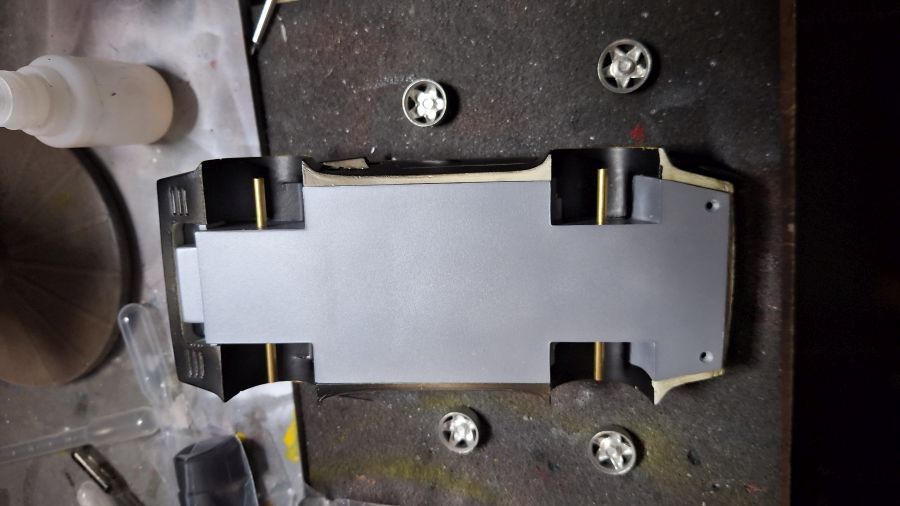
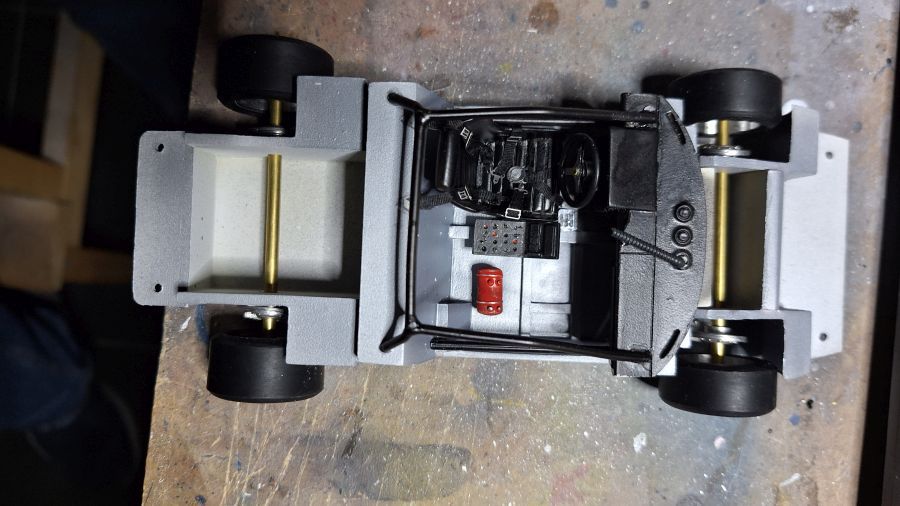
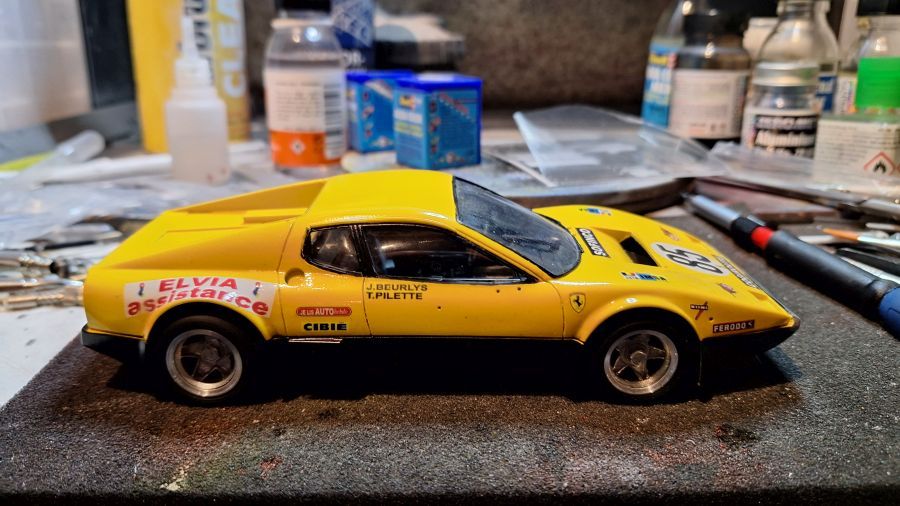
Na het knippen en plaatsen van de ramen staat de 512BB op zijn benen.
After cutting and adding the windows the 512BB is on it's feet.
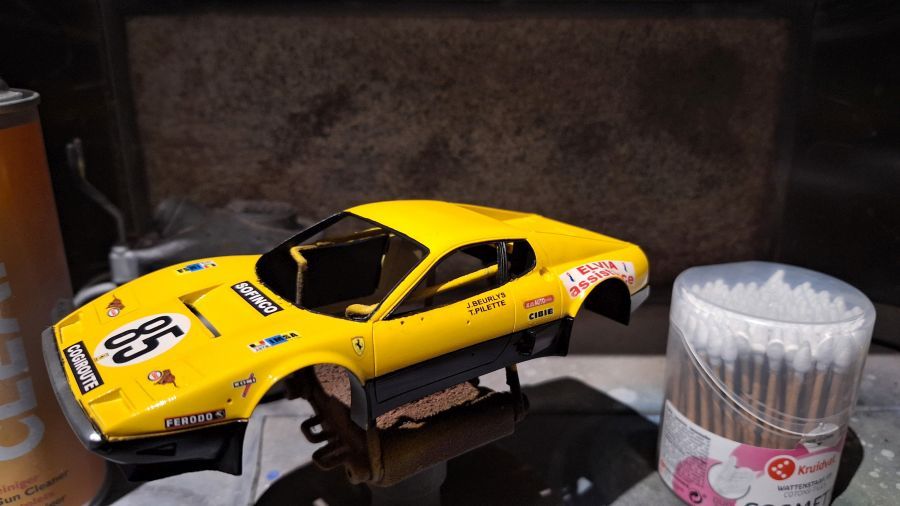
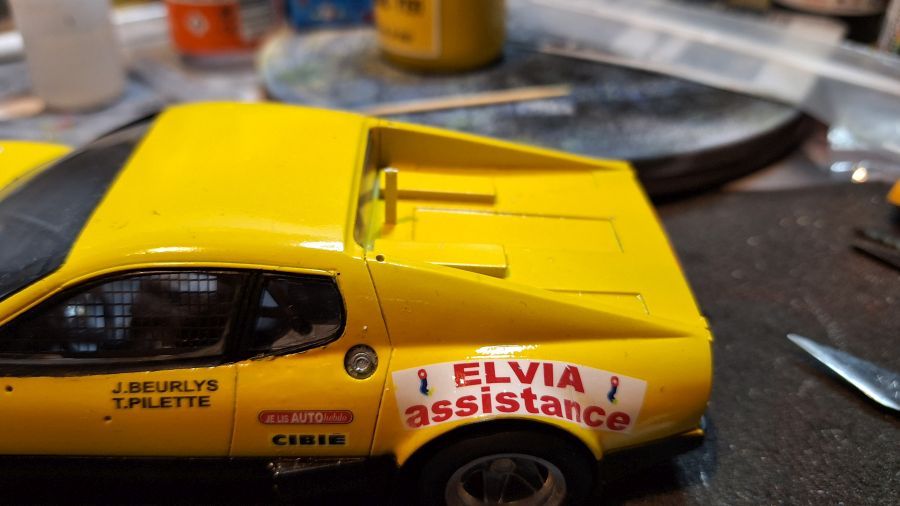
Allerlei werkzaamheden aan het koetswerk.
All kinds of work to the body.
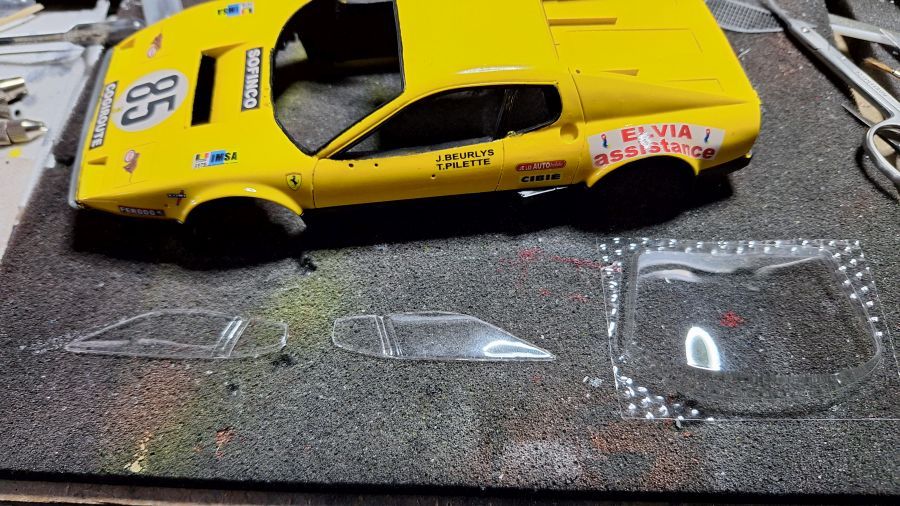
Nu moet ik die koplamp beschremers maken. Ik probeer het met die dunne archiefmappen. Ik weet niet of het werkt.
Now i need to create these headlight covers. I'll try those archive maps. I don't know if it works.
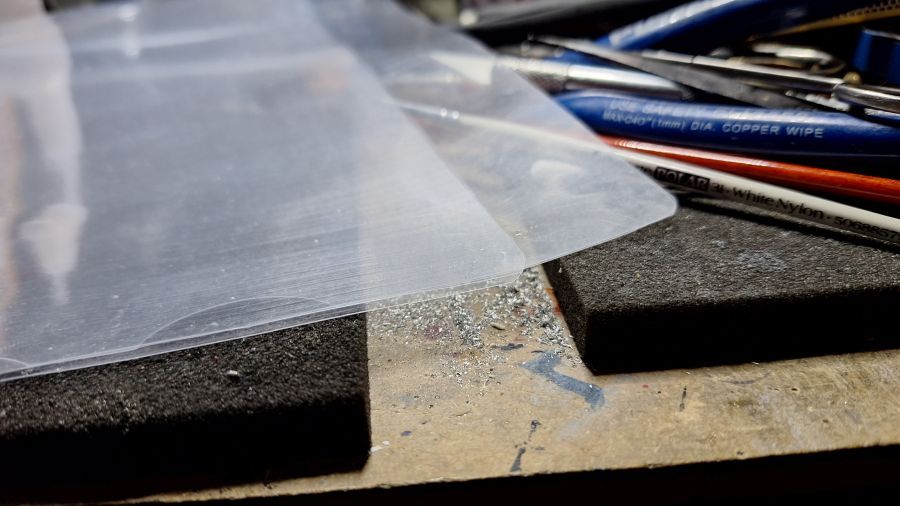
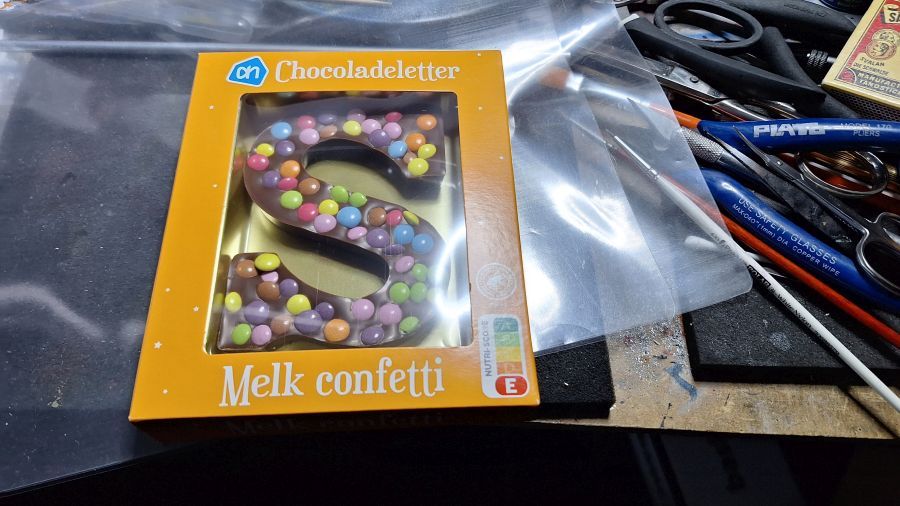
Ook heb ik dit even in de supermarkt gekocht, misschien zelfs meer geschikt.
I also bought this at the supermarket., maybe a better option.
Ik ben blij met het resultaat.
I am happy with the result.


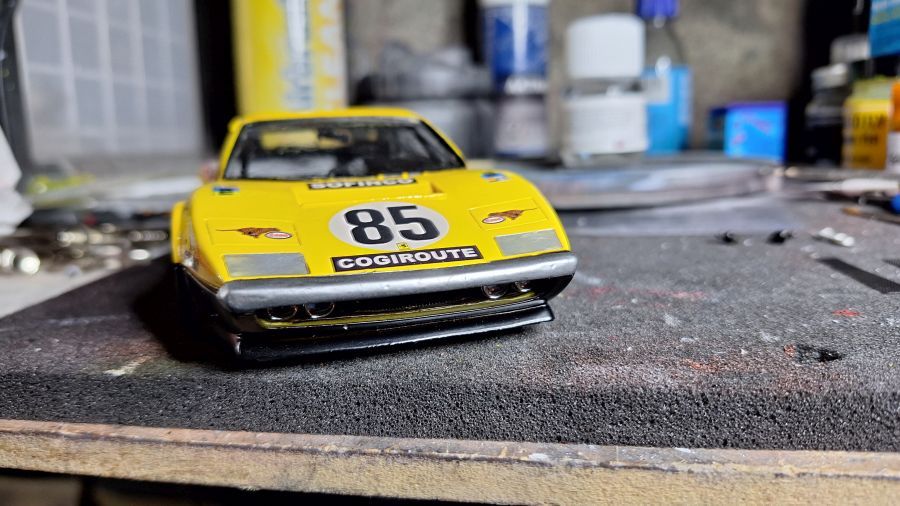
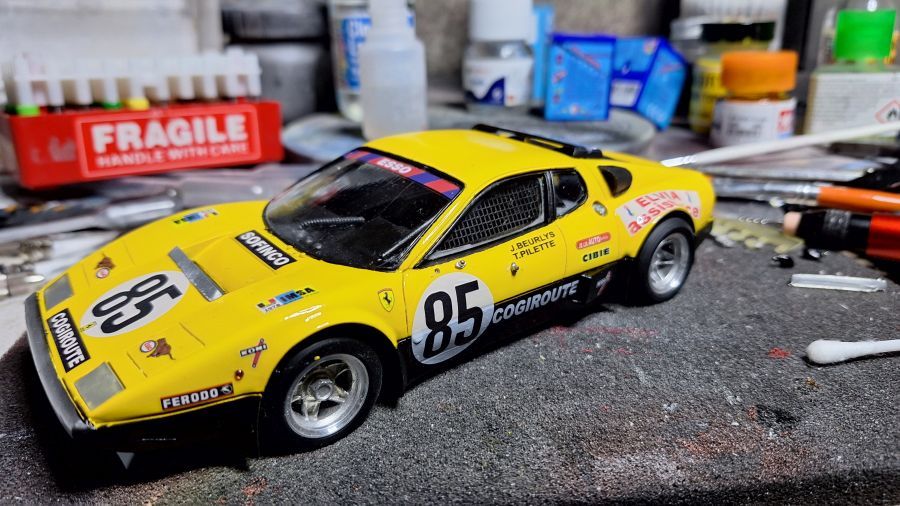
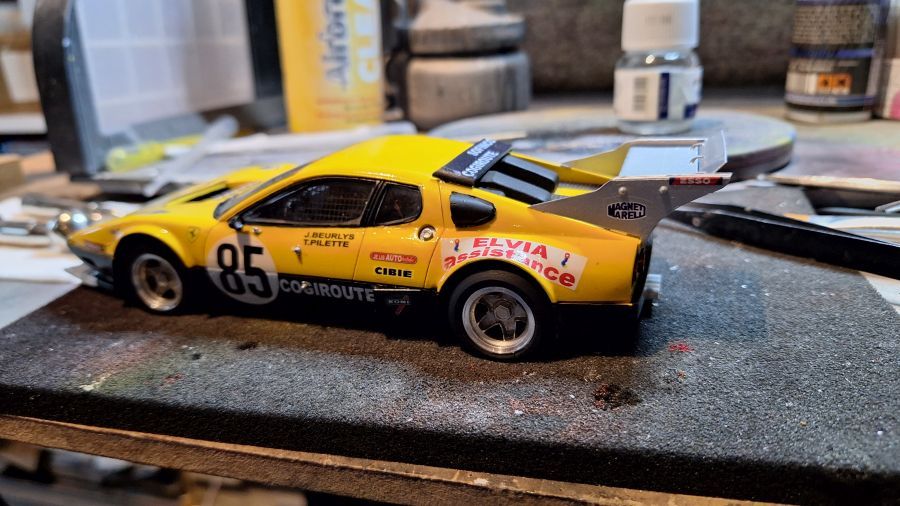
De achtervleugel erop, de ruitenwisser plaatsen en ik beschouw hem als klaar.
Adding the rear wing and the wiper and i think it's done.
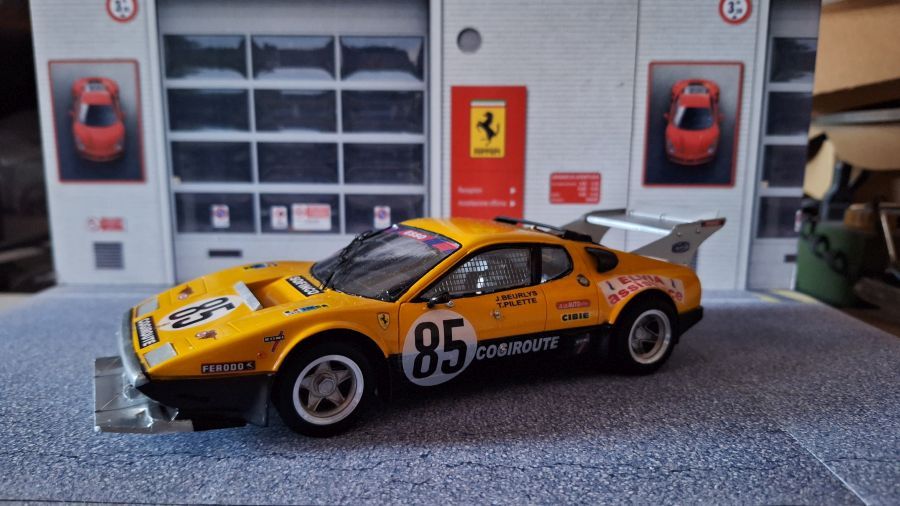
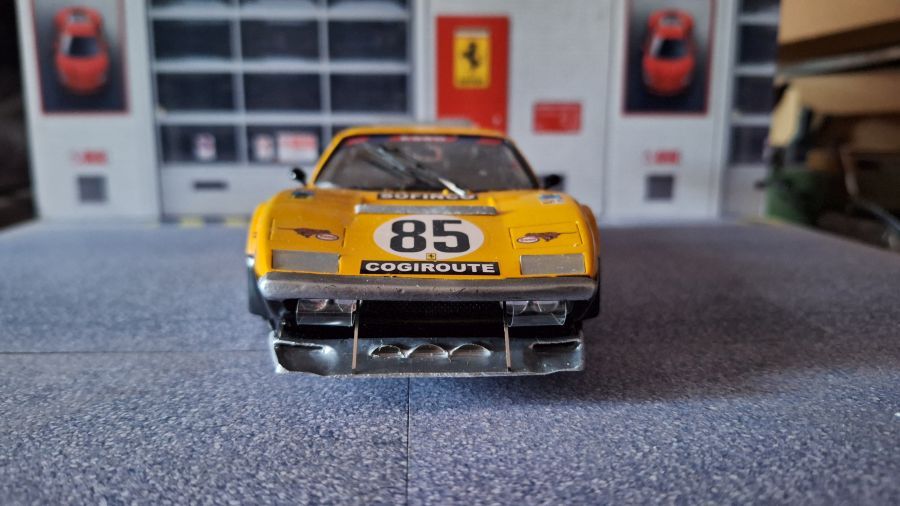
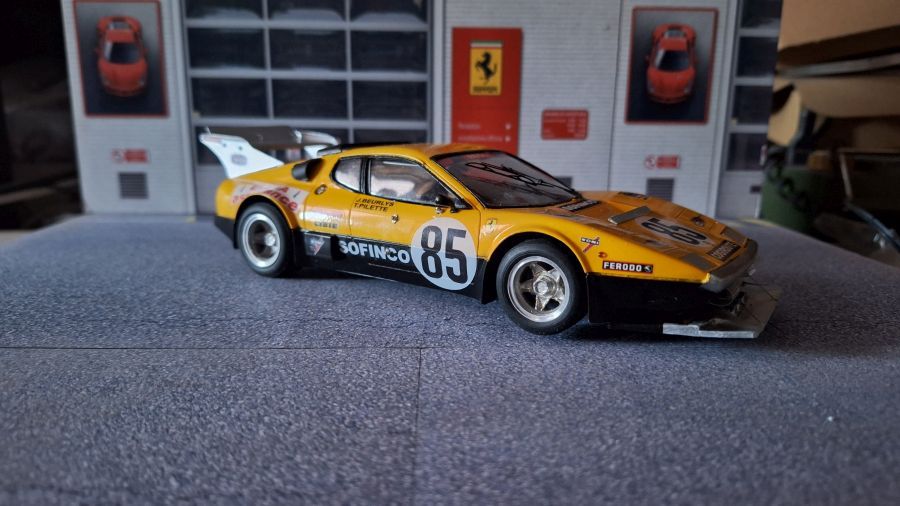
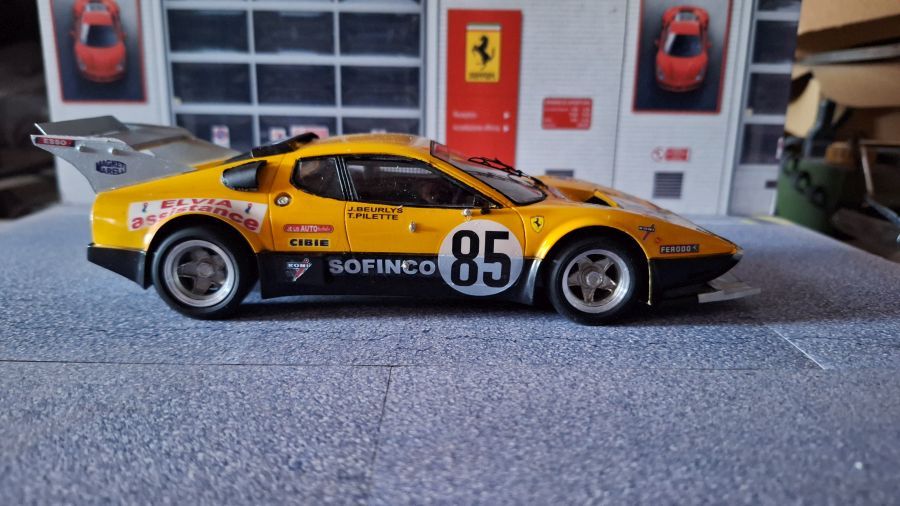
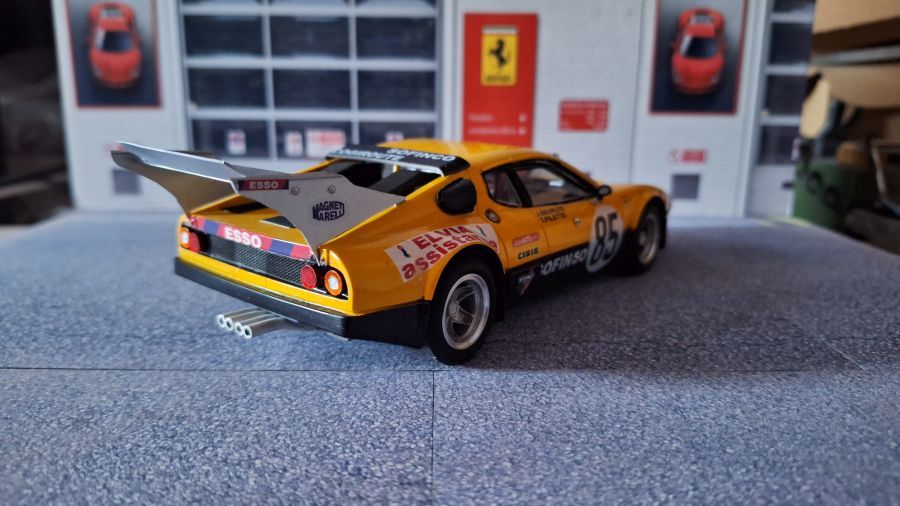
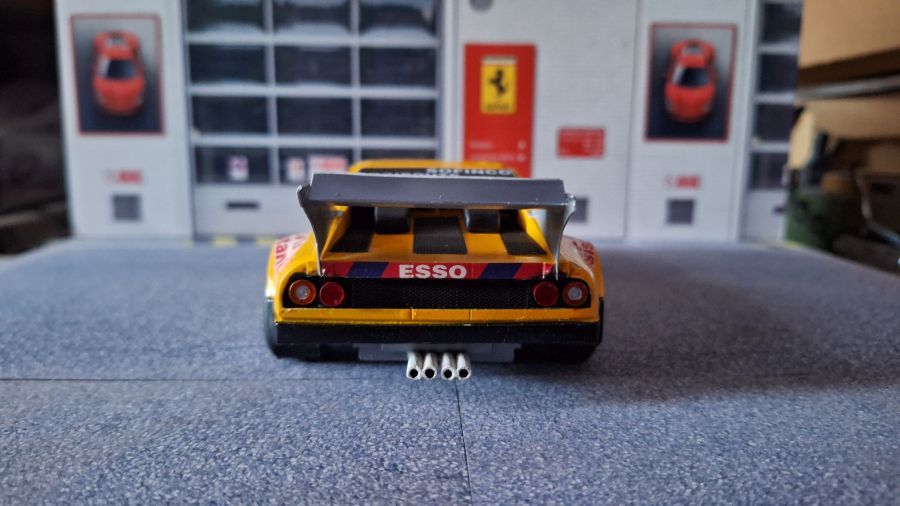
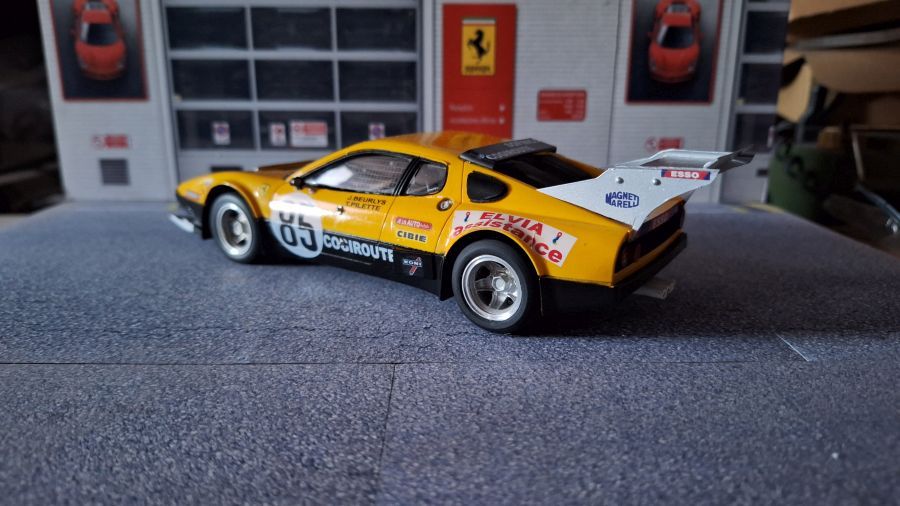
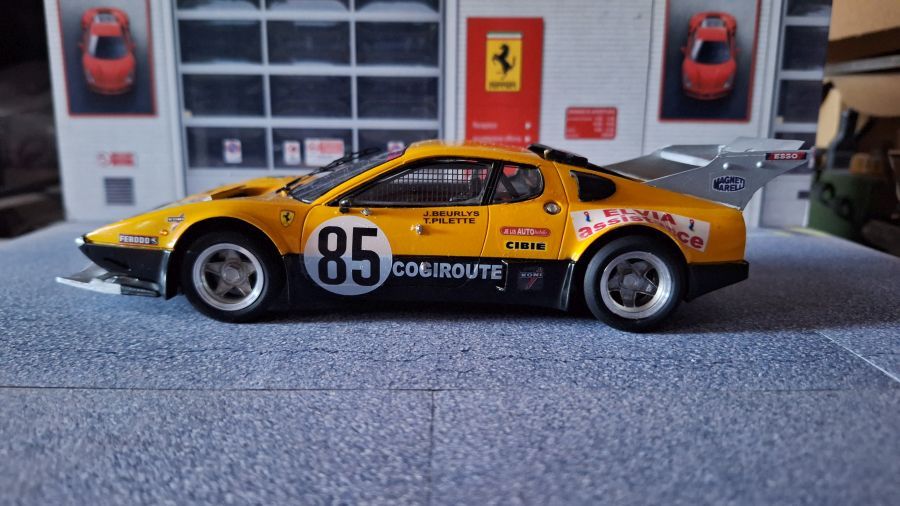
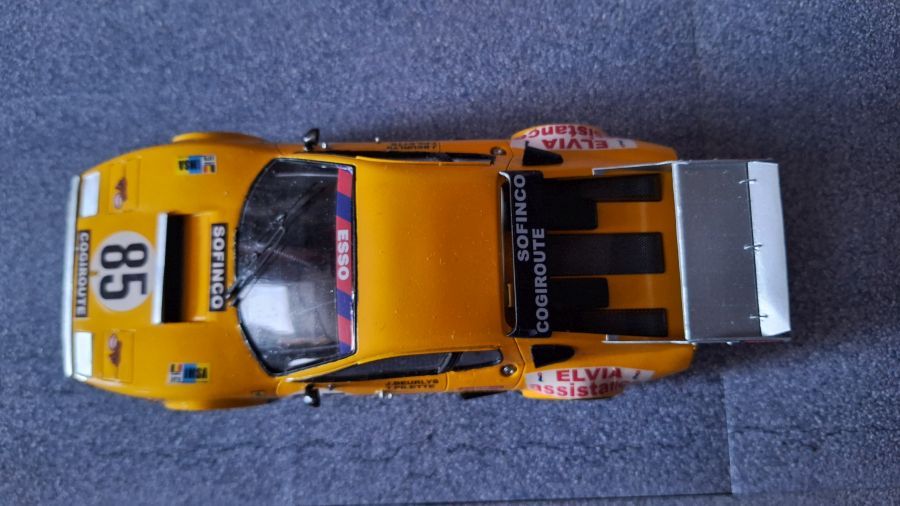
Op de kit valt niets aan te merken. Alles past perfect. Voor alle zelfgebouwde onderdelen ben ik natuurlijk zelf verantwoordelijk. Ik ben blij met het resultaat. I heb weer een model dat niet is geproduceerd door de grote bedrijven.
Nothing special about the kit. Everything fits perfect. All scratch built parts are my responsibility of course. I am happy with the result. i have a model that has not been made by the large companies.