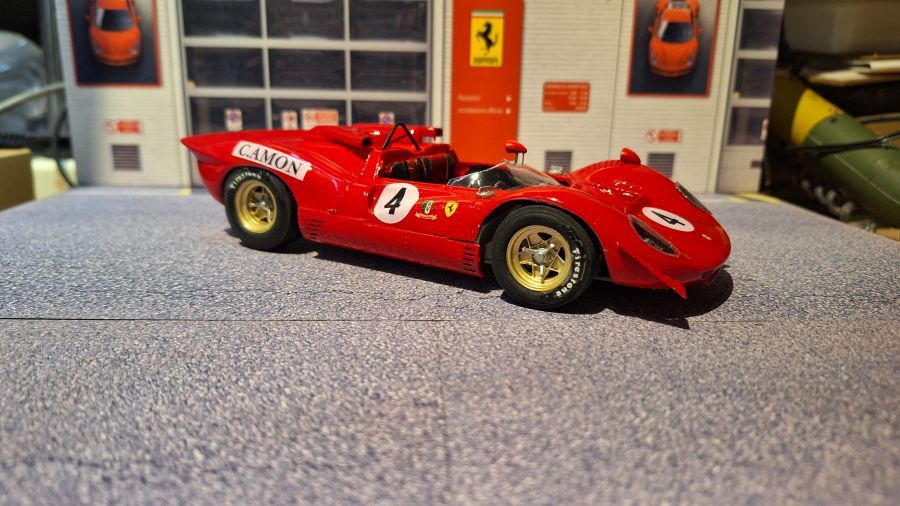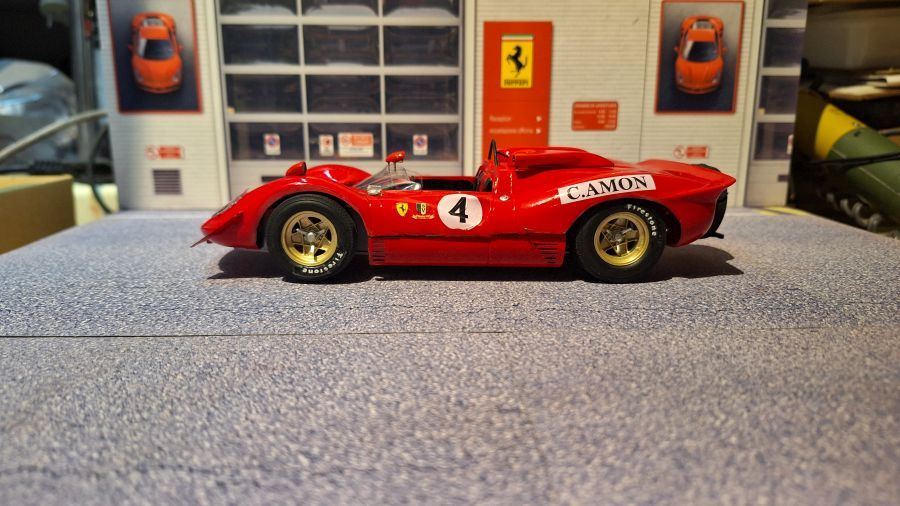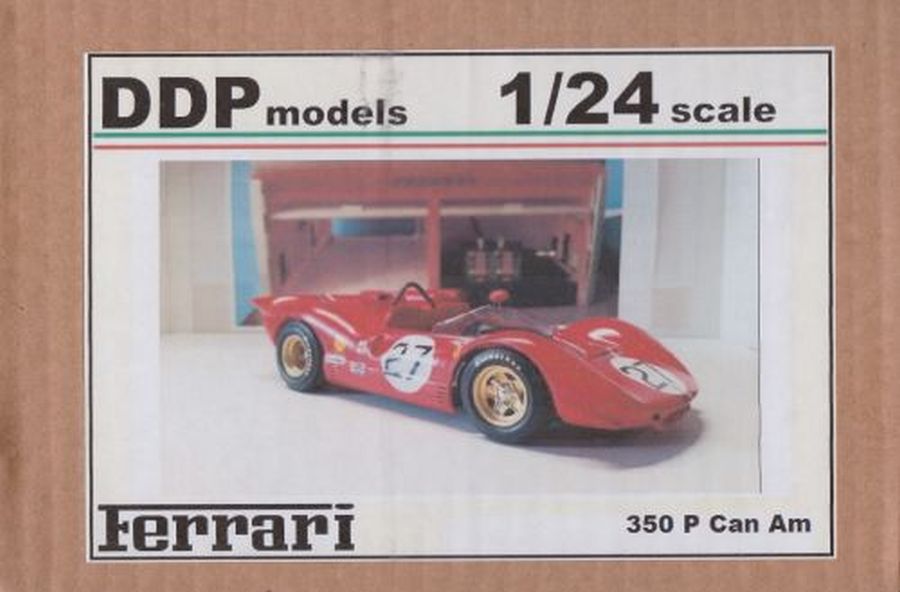

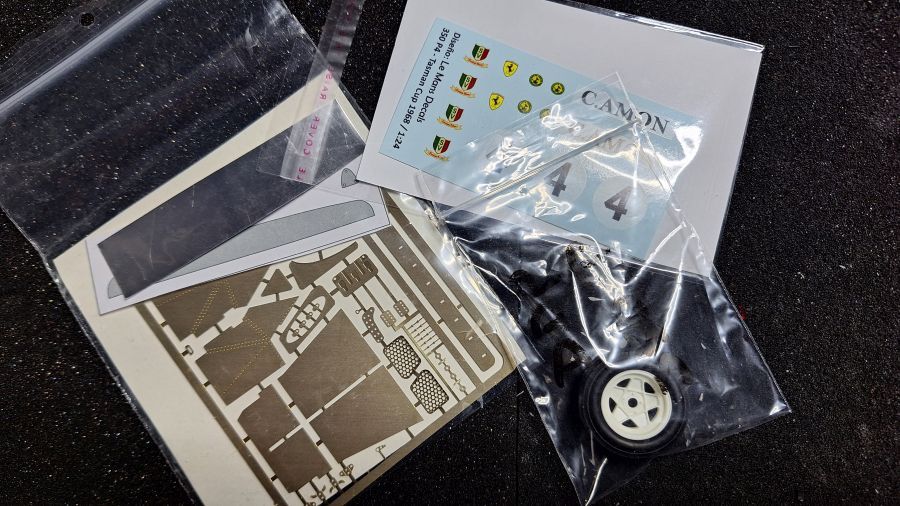
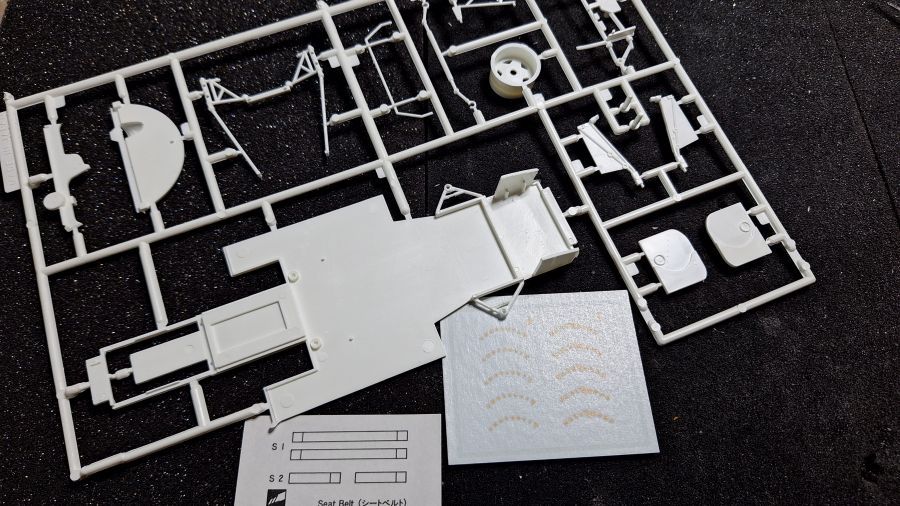
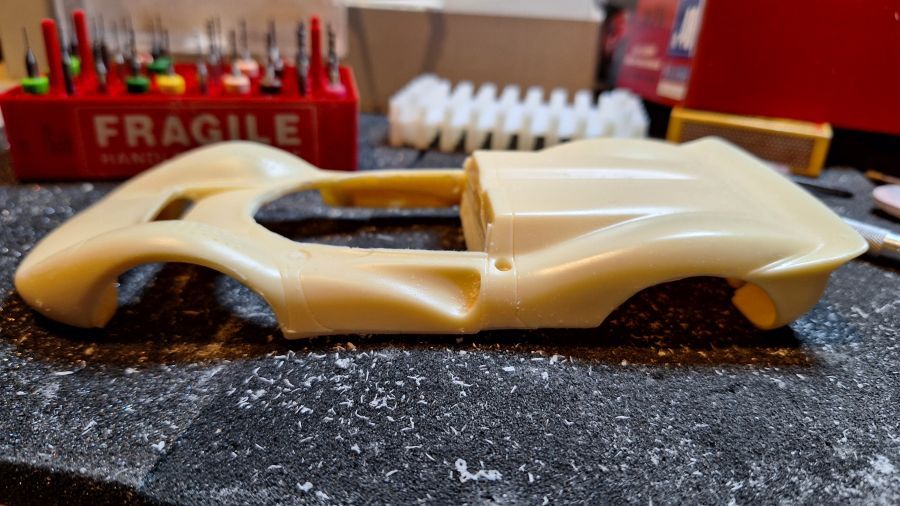
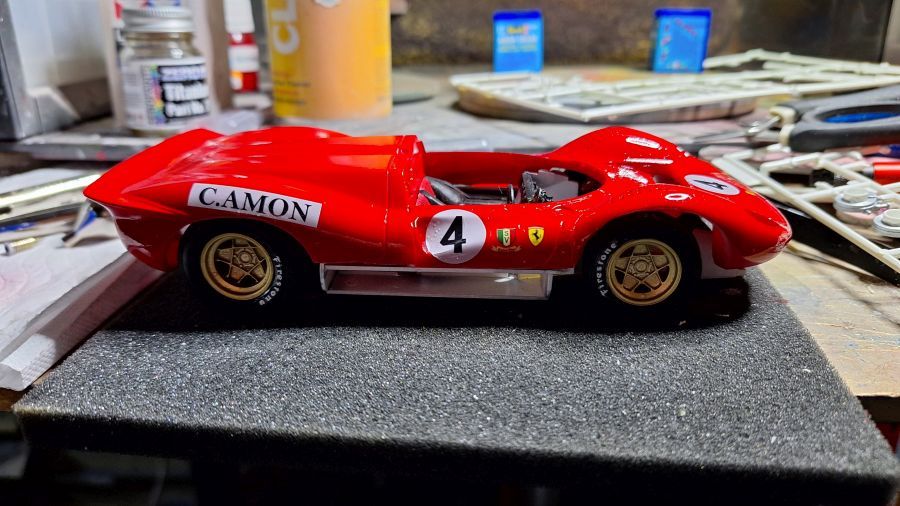
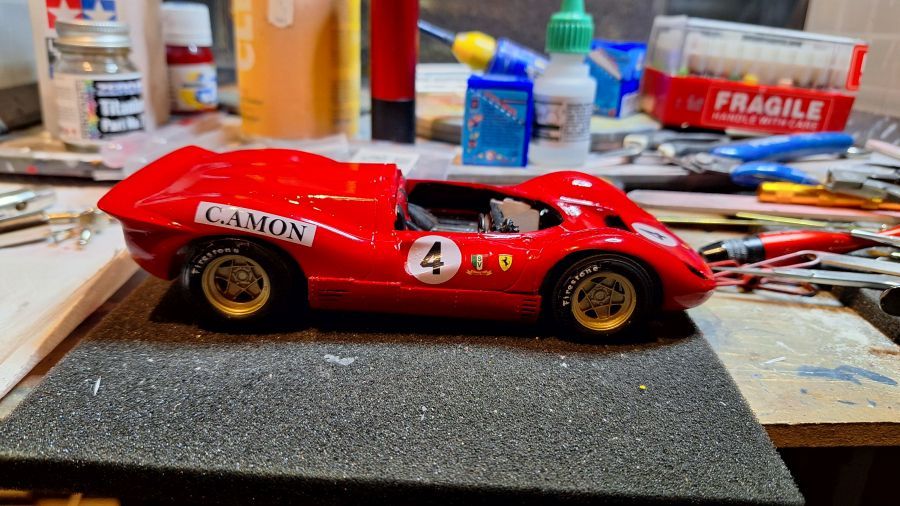
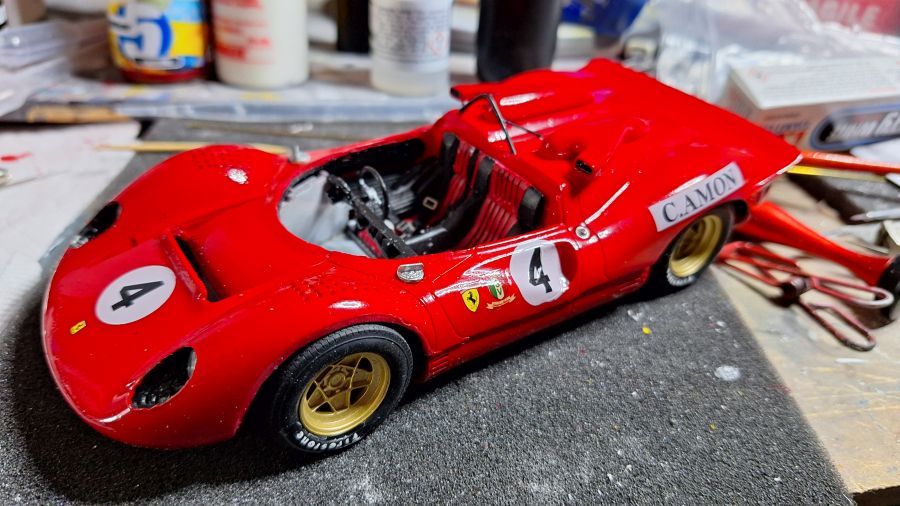
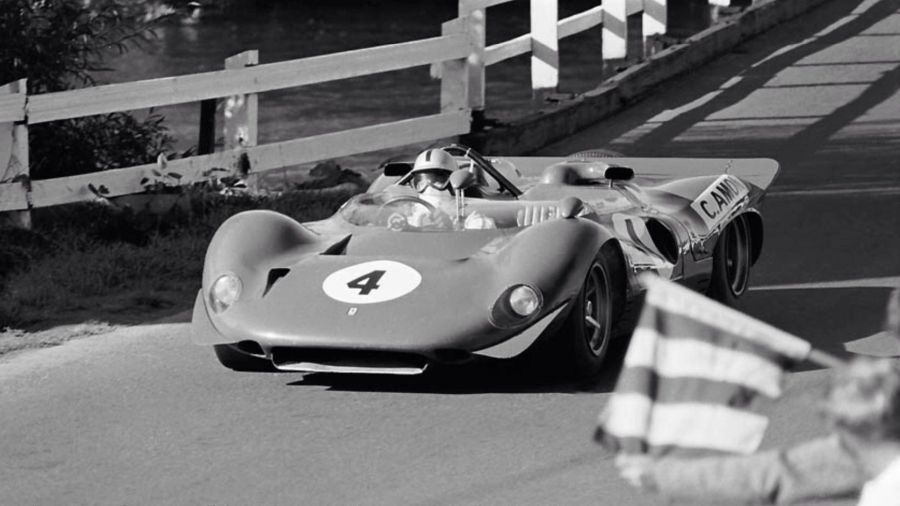
Op het internet werd mijn aandacht getrokken naar deze versie van de Ferrari 350. Het blijkt een versie te zijn die door Chris Amon werd gereden tijdens de Tasman Cup in 1968. De naam is me een beetje onduidelijk, maar ik geloof de Ferrari 350 P4. In die race was men verplicht een reservewiel mee te brengen. Ferrari plakte deze dus gewoon aan de achterkant van een Ferrari 350 CanAm. Goede vriend Pierpaolo heeft me een reservewiel gedoneerd. De decals heb ik besteld via Ebay.
On the web i got attracted to this version of the Ferrari 350. It appears to be a version that was driven by Chris Amon during the Tasman Cup in 1968. The name is a bit unclear to me, but i believe it was called the Ferrari 350 P4. In that race it was a must to have a spare wheel with you. Ferrari just added it to the back of a Ferrari 350 CanAm. Good friend Pierpaolo donated me a spare wheel for the kit. The decals were bought from Ebay.

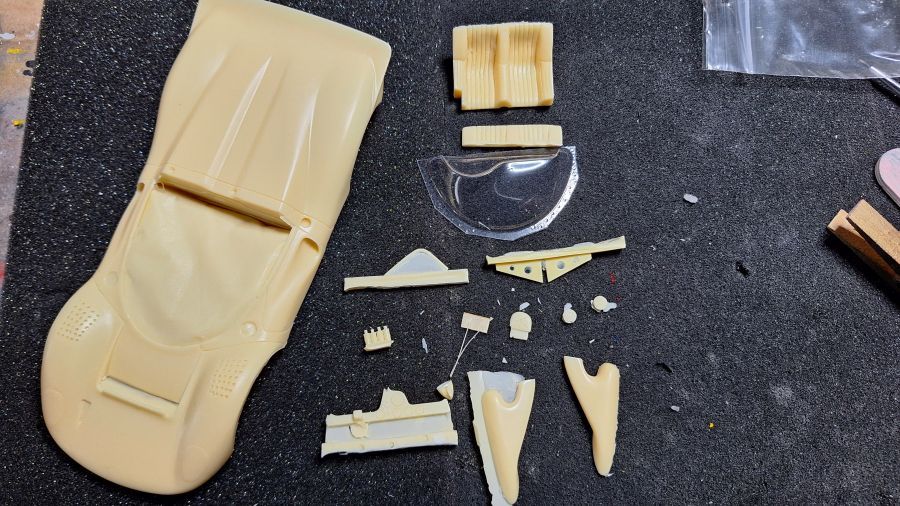
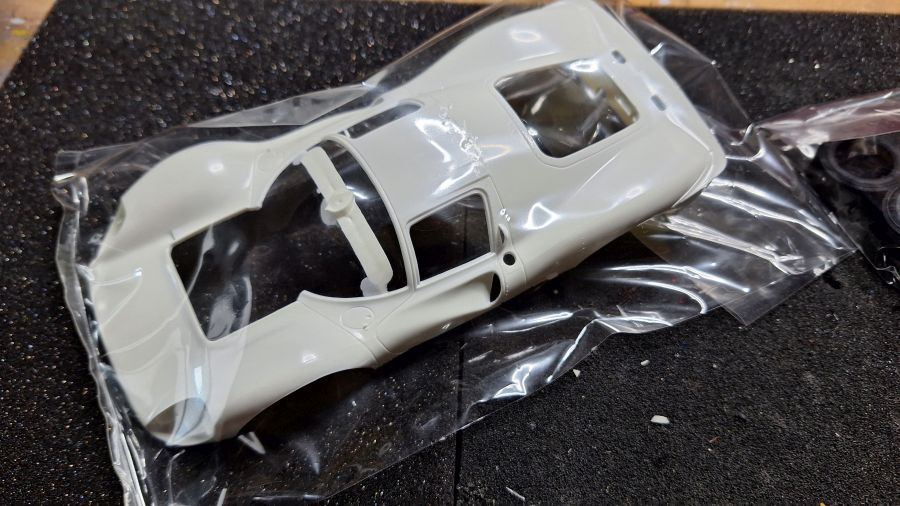

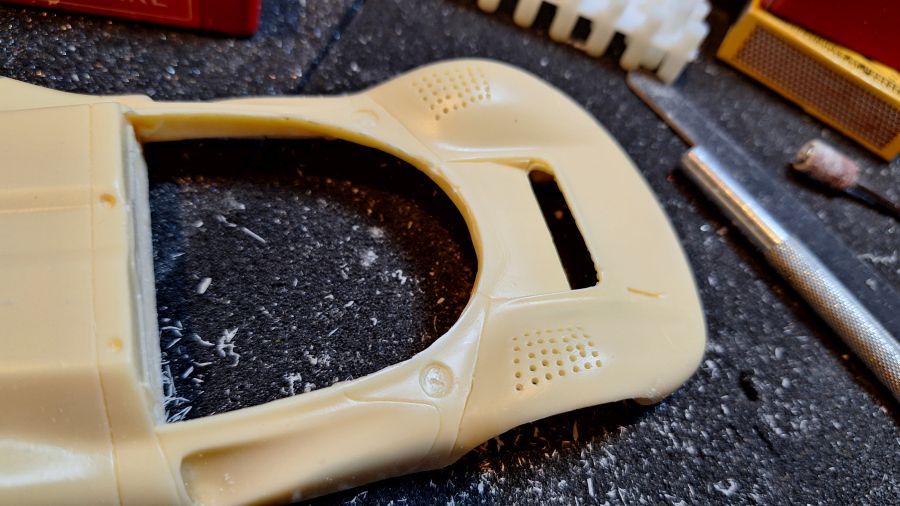
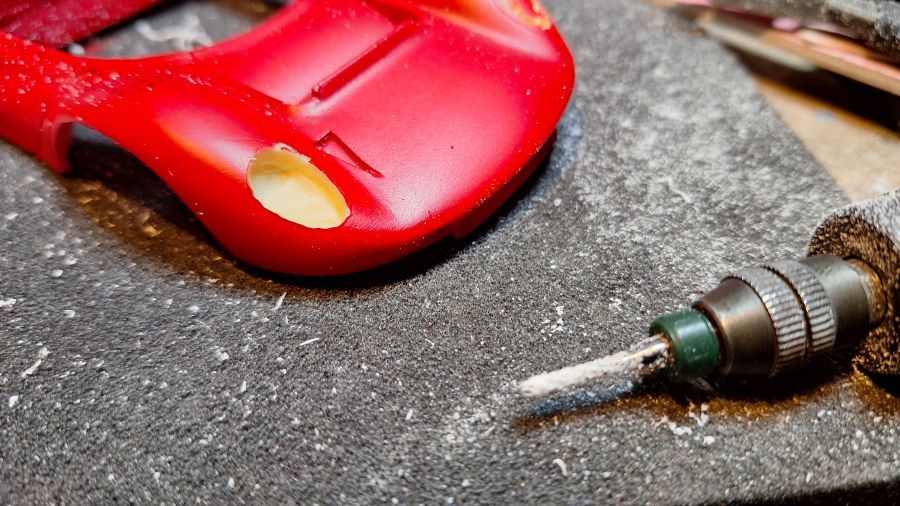
Eerst zoveel mogelijk open maken.
First of all opening as much as i can.

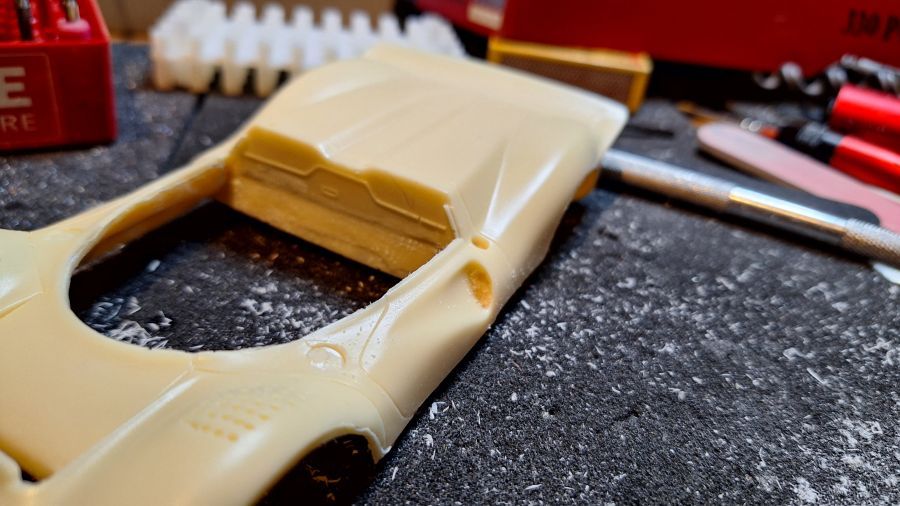
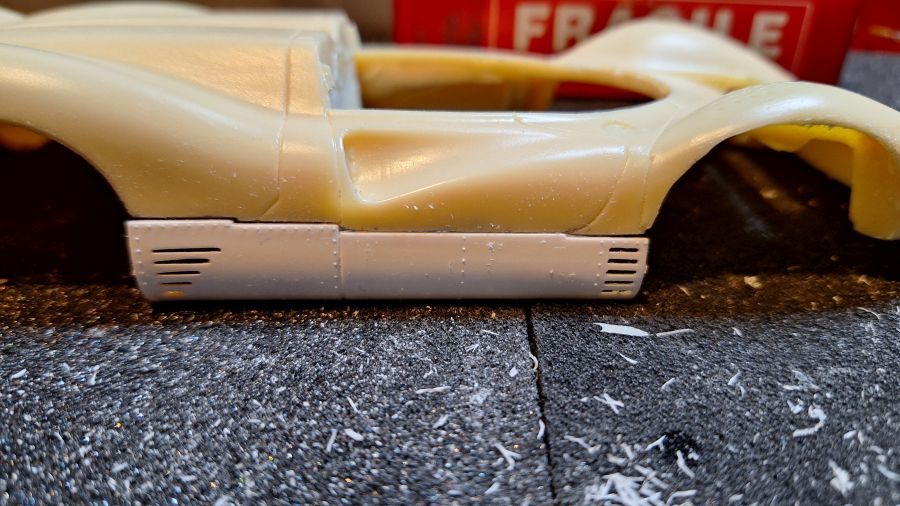
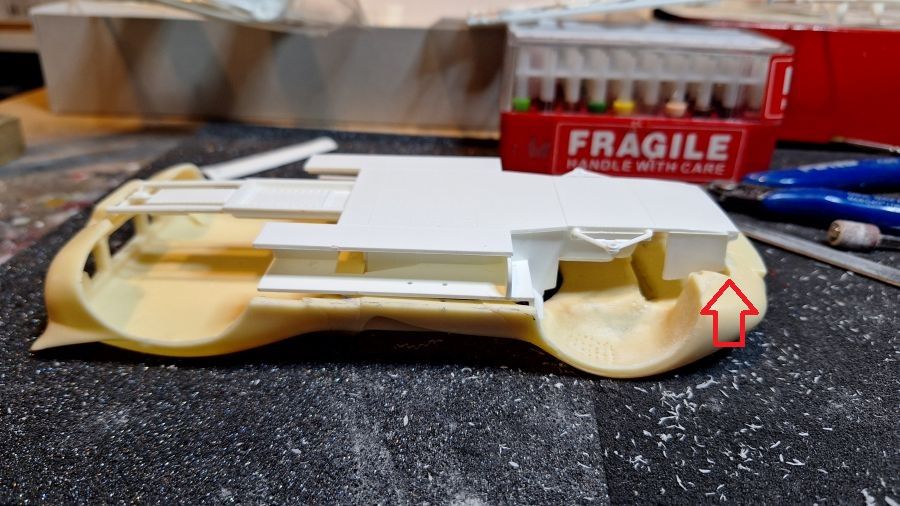
De onderkanten zijn ruw afgewerkt, deze moeten passend gemaakt worden met de zijkanten van de Fujimi kit.
The downsides of the body are very rough, they need to be adjusted to fit the sides of the Fujimi kit.
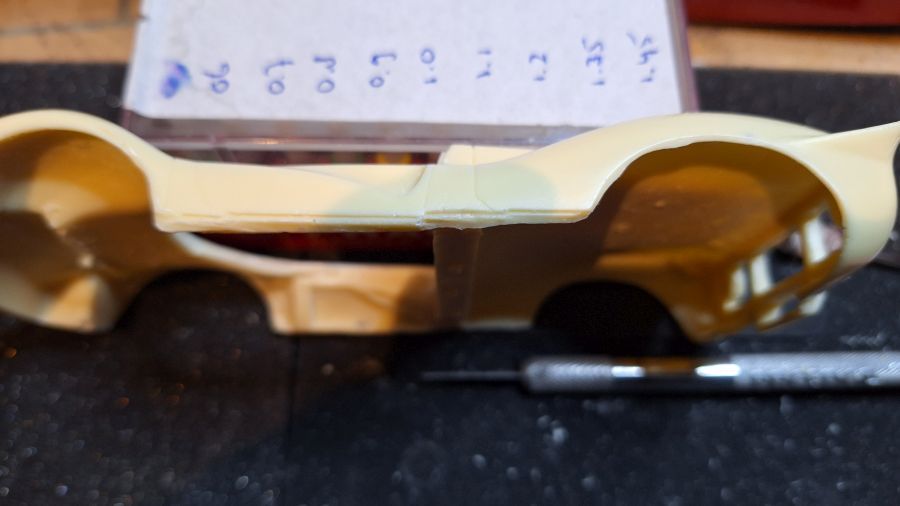
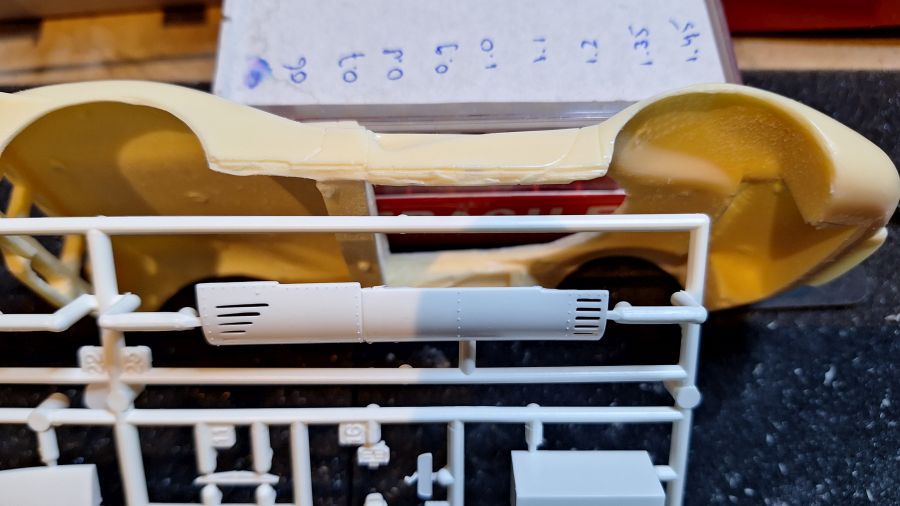
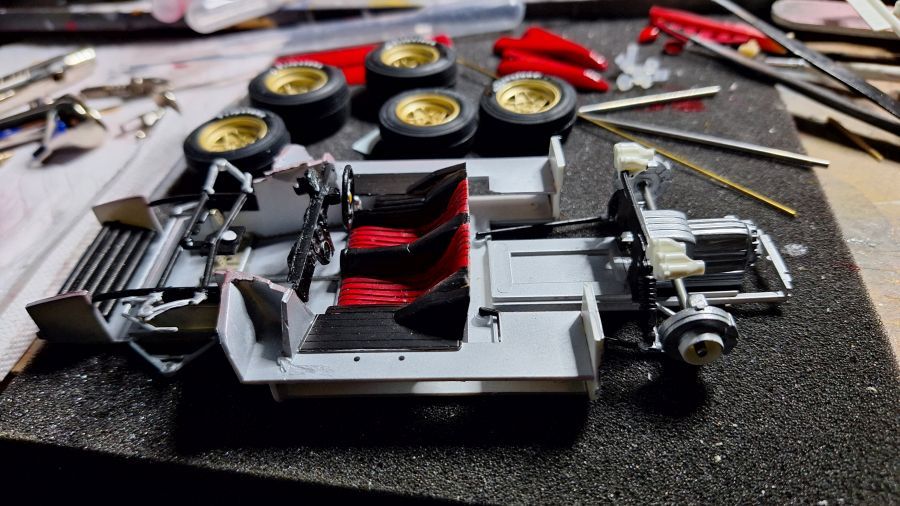
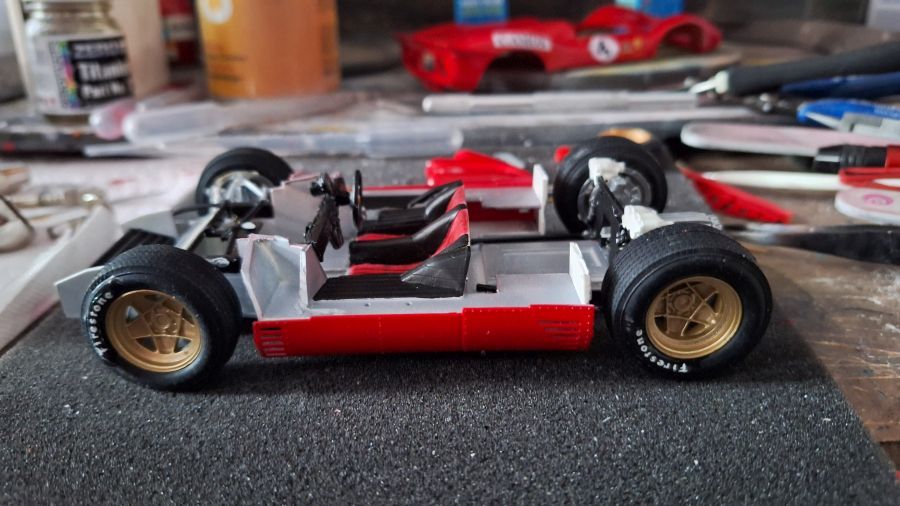
De breedte van de vloer testen met het body.
Testing the width of the floor with the body work.
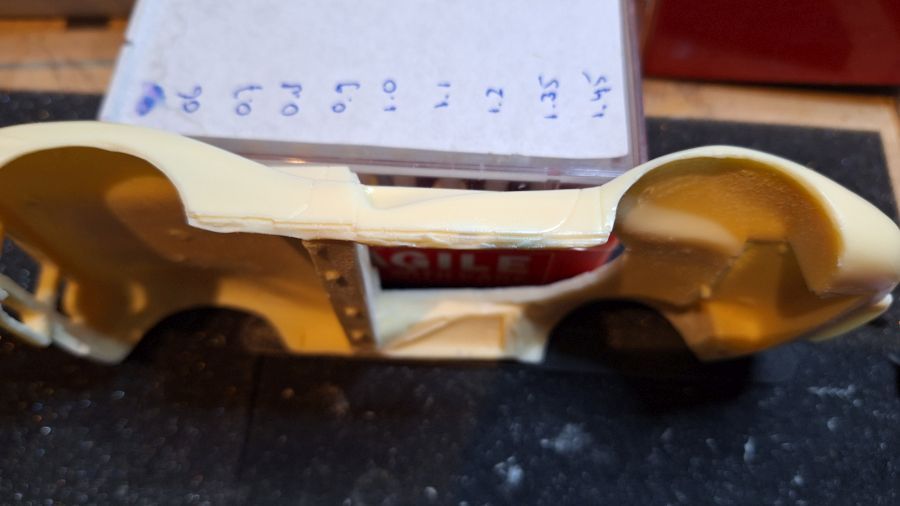
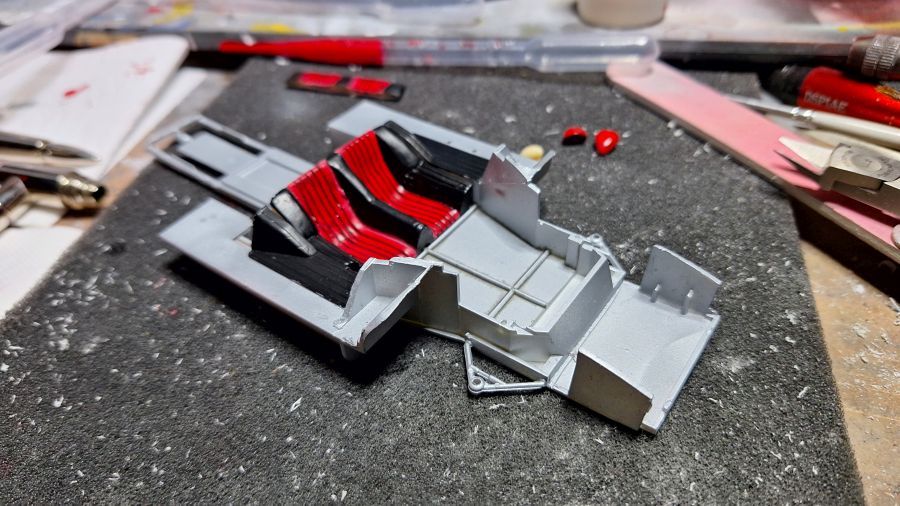
De kuip passend maken, slecht kein slijpwerk nodig.
Making the tub fit, only small grinding needed.
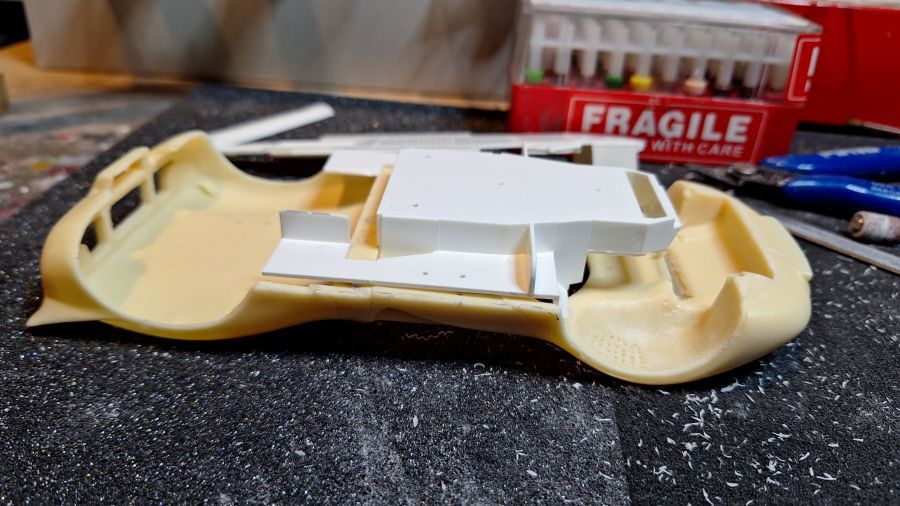
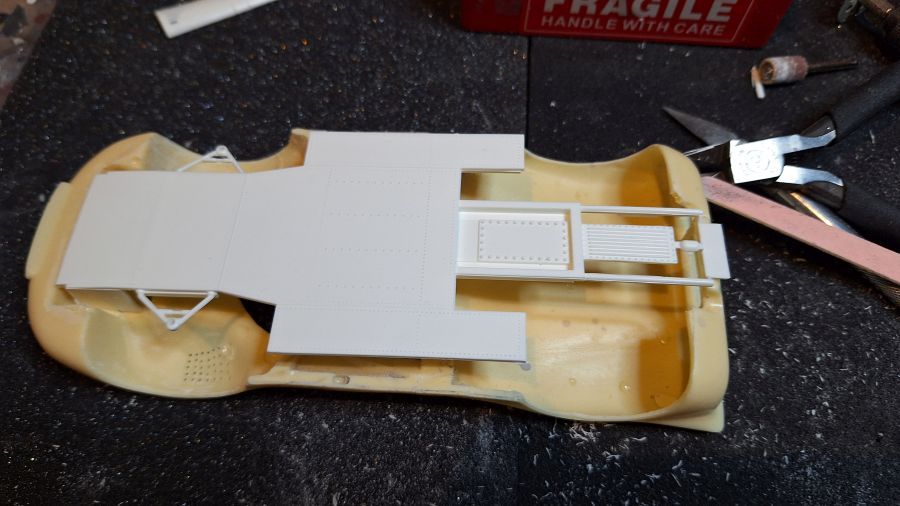
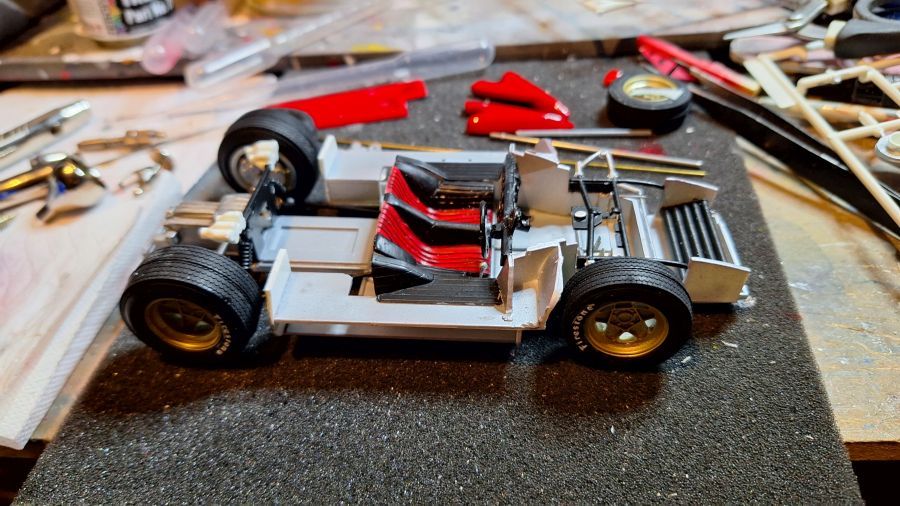
De vloer erop is wat anders. Aan de voorkant veel te hoog. Daar moet ik iets op vinden.
Different is it with the floor. The front is much too high. I need to solve this.

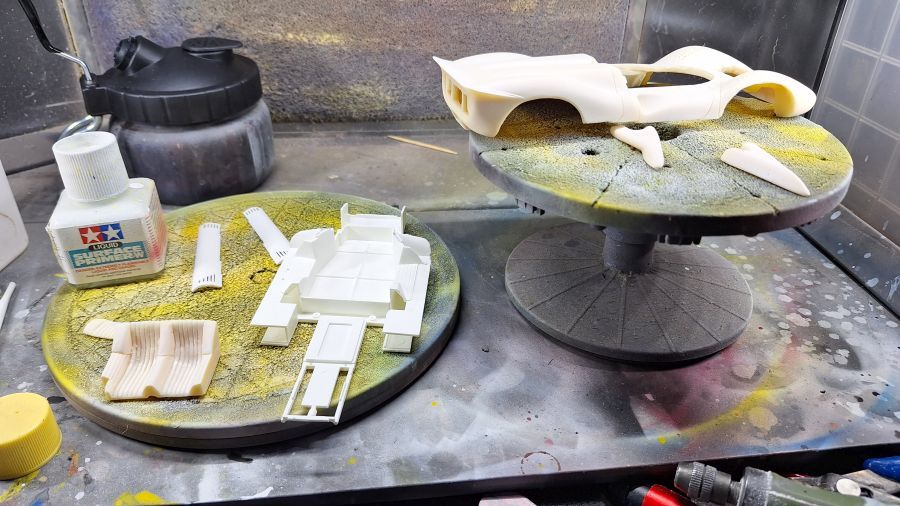
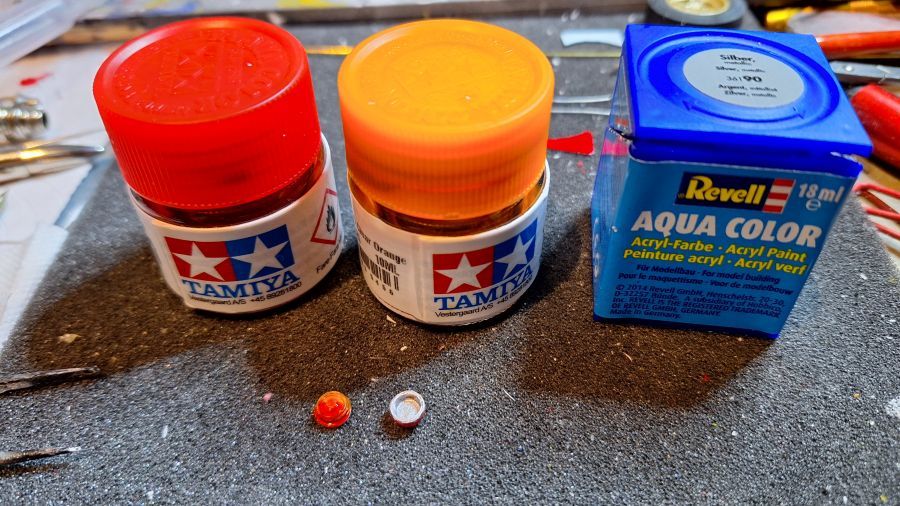
Tijd voor wat kleurtjes. Ik gebruik nu eens Number5 verf.
Time for some colors. I will use Number5 paint this time.


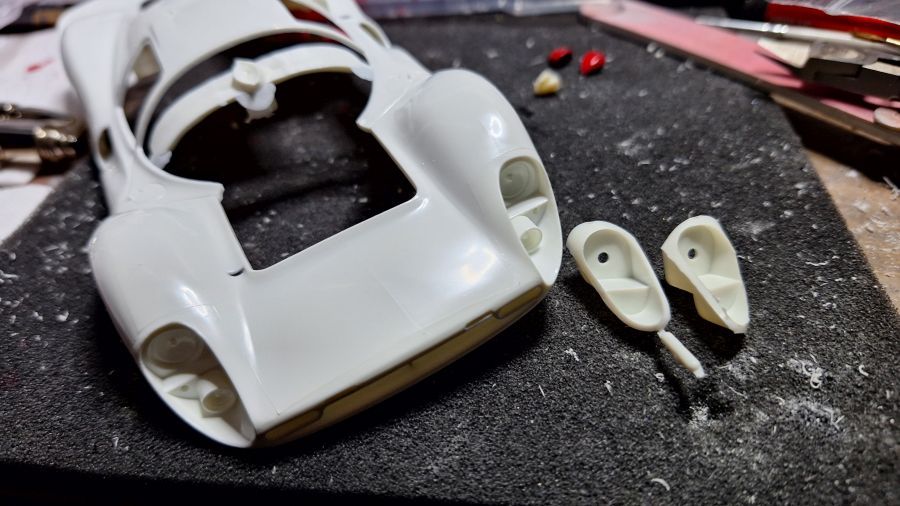
Een beetje dom van me. Bij het spuiten zag ik dat ik de koplampen nog moet openen. De body van de kit heeft dit in het bodywerk geïntergreerd. In de rommeldoos vond ik nog een paar losse onderdelen. Ik weet niet of ik ze nodig ben, maar ze zijn er in ieder geval.
A bit stupid of me. When painting i noticed i still had to open the headlights. The body work of the kit has these integrated. In the scrap box i found a few inserts. I don't know if i need them, but they are there in case of.
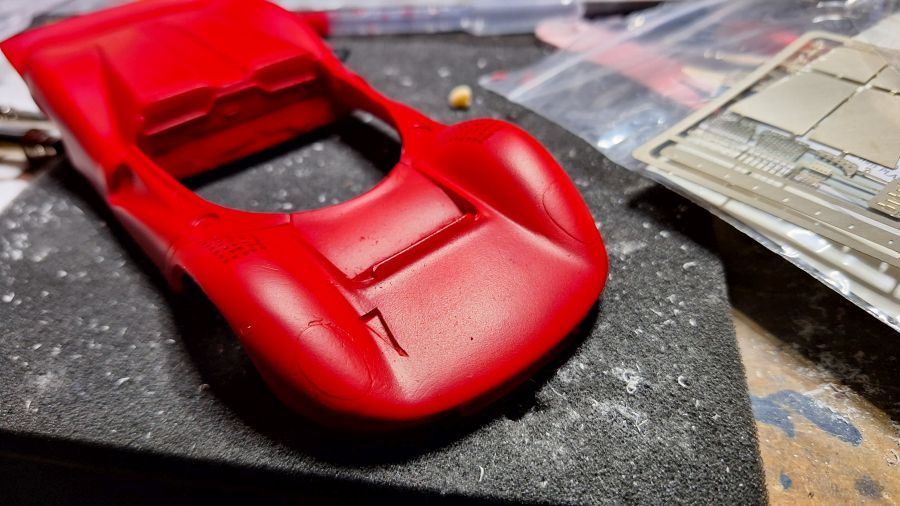
Ook de eerste keer voor Number5 2K clear. Het spul blijft lang plakkerig. Daar hou ik niet zo van.
Also the first time for Number5 2K clear. This stuff is being sticky for a long time. I don't like that.

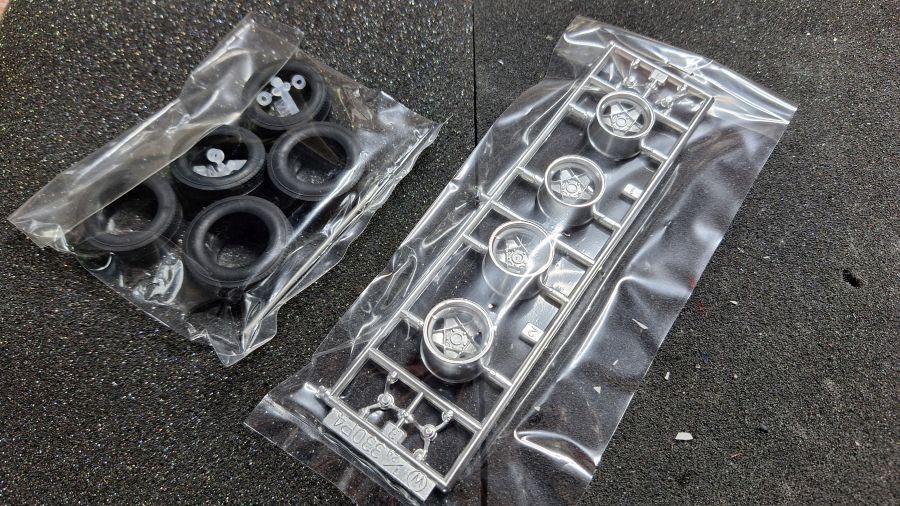
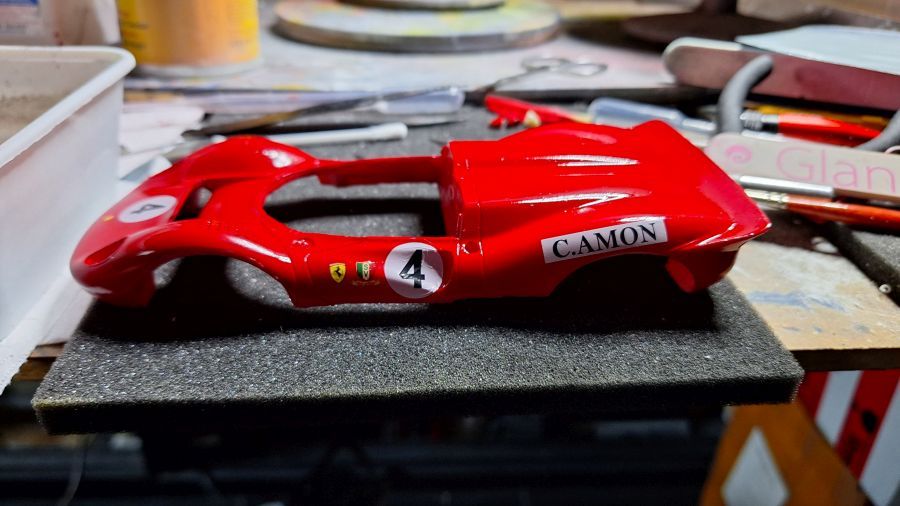
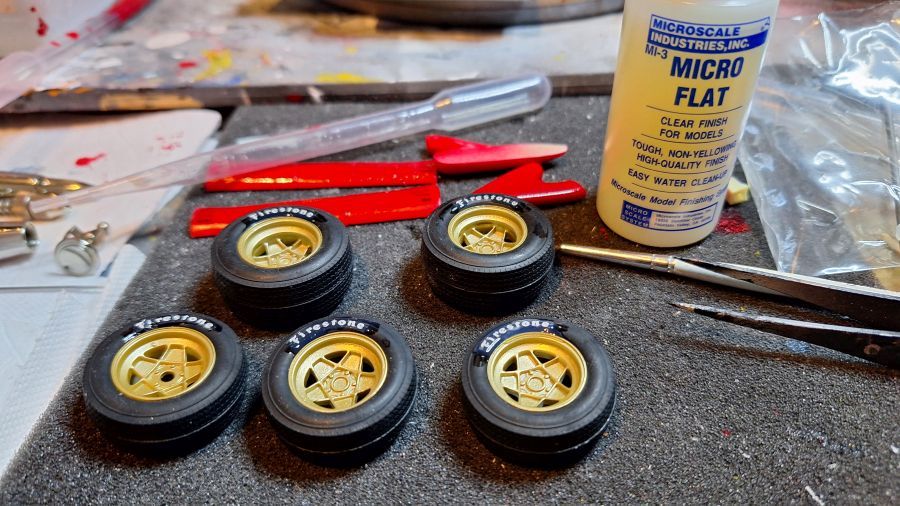
Tijd voor de decals. Daarna door met de wielen.
Time for the decals. Then next are the wheels.

Passen! Nog wat aanpassingen nodig.
Test fit! Some adjustments needed.
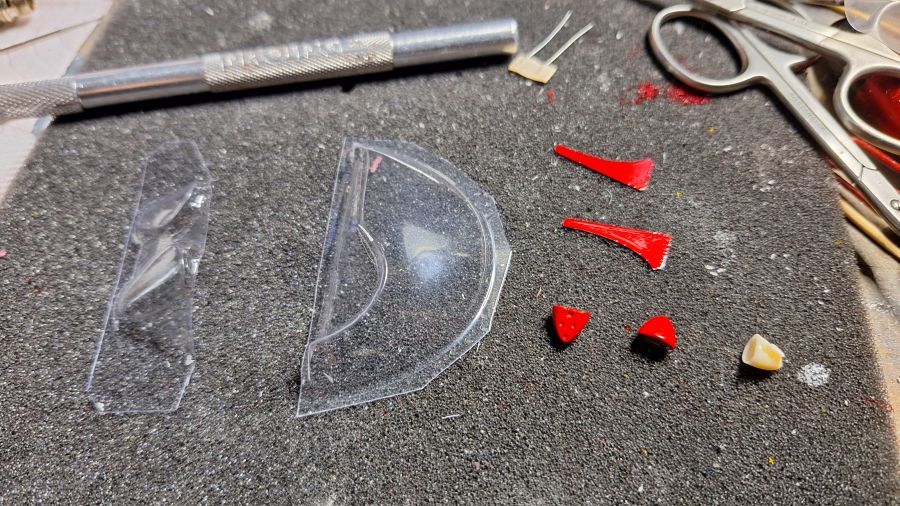
Nu de ramen knippen en wat kleine onderdelen plaatsen. Helaas zit er maar 1 spiegel bij de kit, terwijl voor deze uitvoering er 2 nodig zijn. Ik vond in de rommeldoos 2 andere, iets groter, maar ik doe het ermee.
Now cutting the windows and adding some smaller parts. Unfortunately the kit only has 1 mirror, but this livery needs 2 of them. I found 2 others in the scrap box, slightly larger, but i'll go for it.
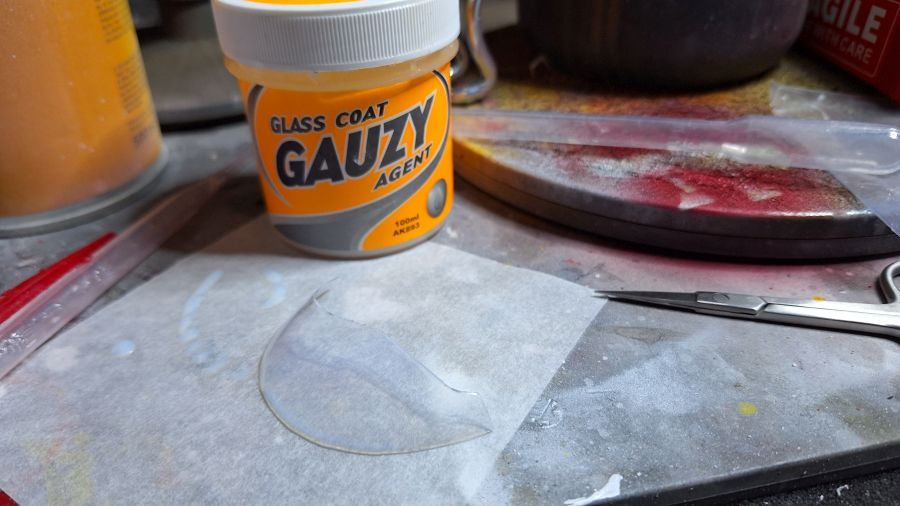
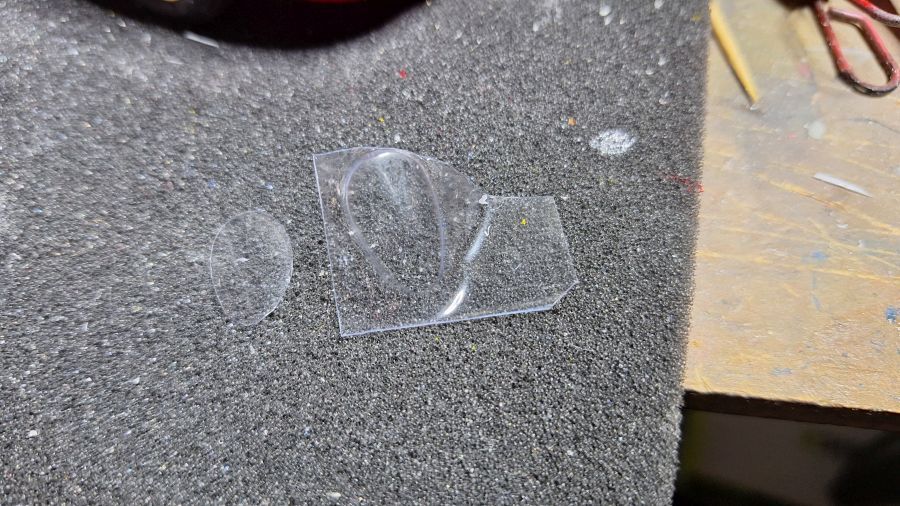
De ramen behandel ik met Gauzy om wat krassen weg te werken.
I will treat the wind screen with some Gauzy to remove scratches.
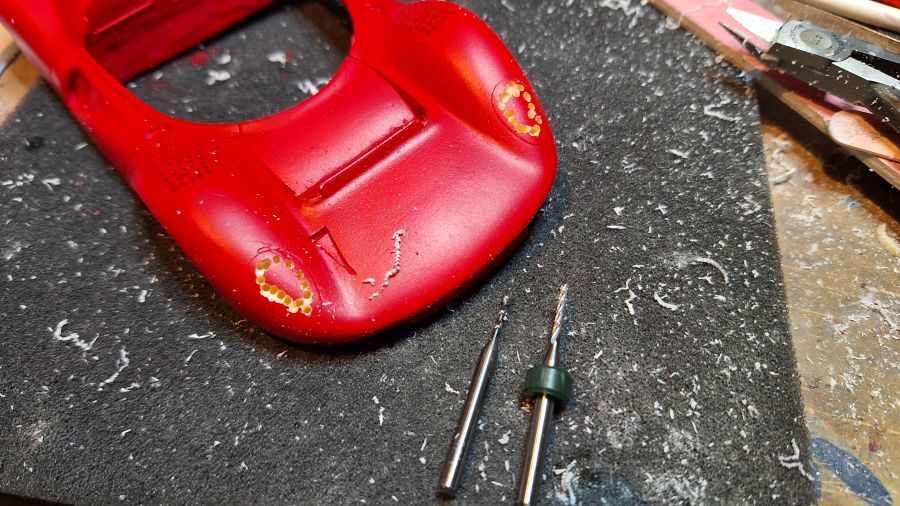
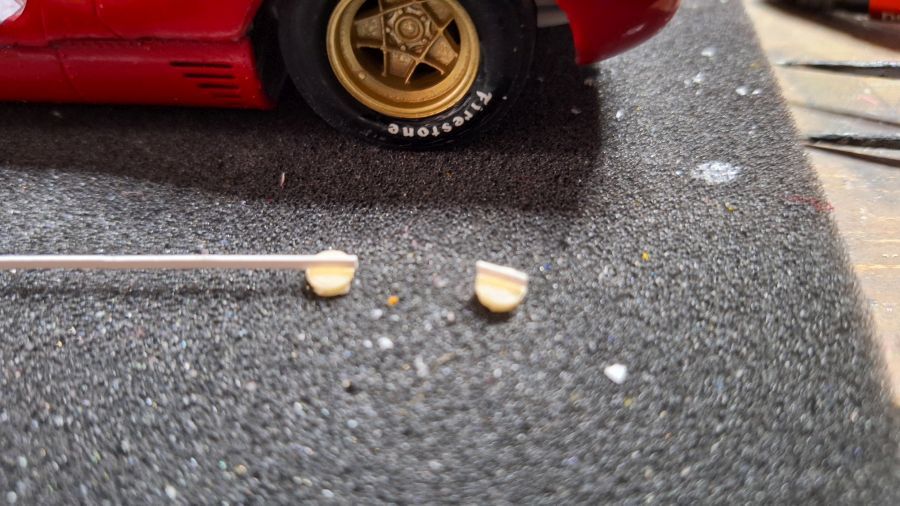
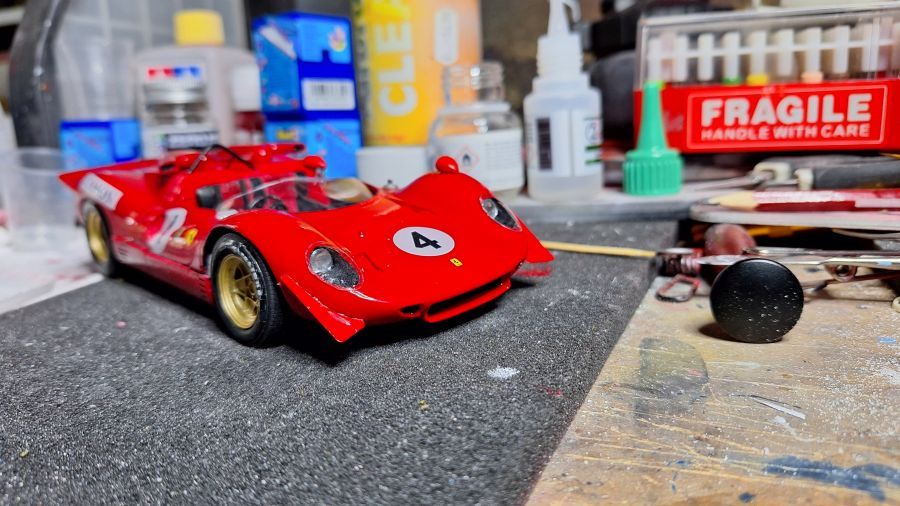
Op de foto is zichtbaar dat de koplampglazen iets over het bodywerk lopen. In de rommeldoos vond ik een set vacuum gevormde glazen die ik wat ga aanpassen.
On the picture you can see the head light covers go a bit over the bodywork. In the scrap box i found a set vacuum formed covers that i will adjust a bit.
De Gauzy werkt perfect.
The Gauzy works great.

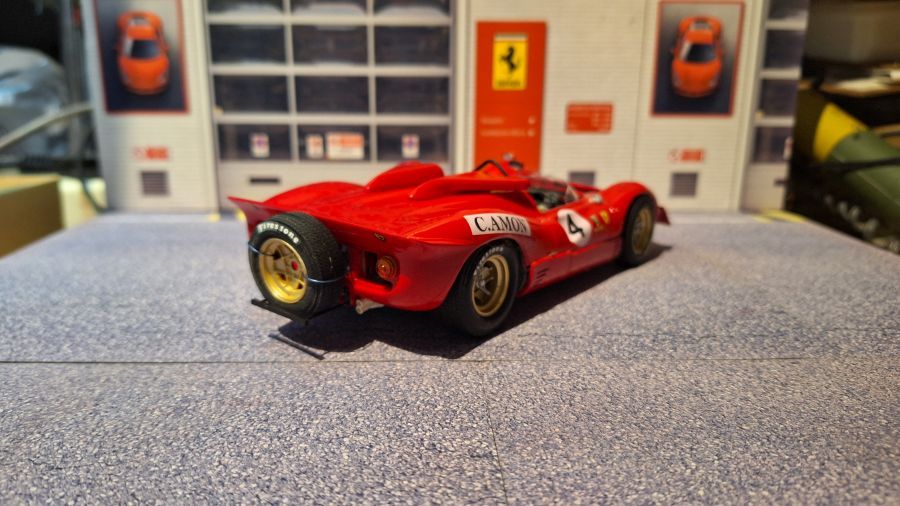
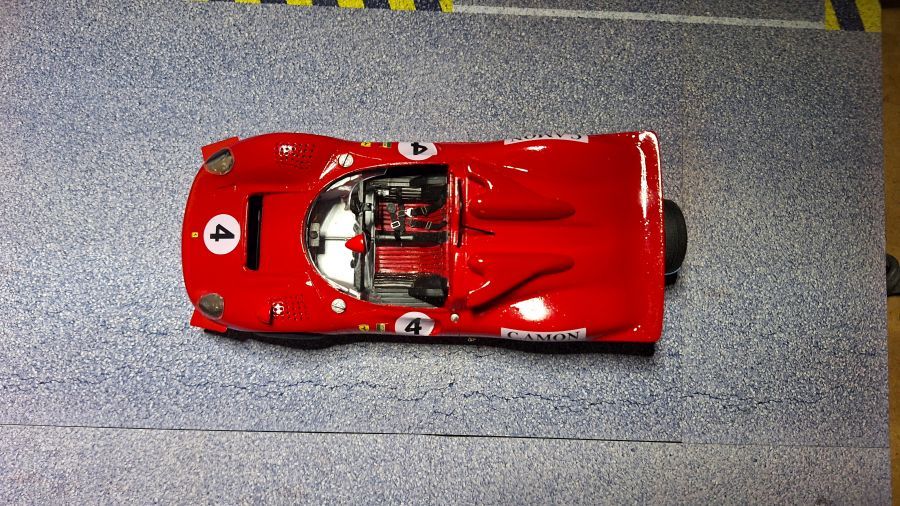
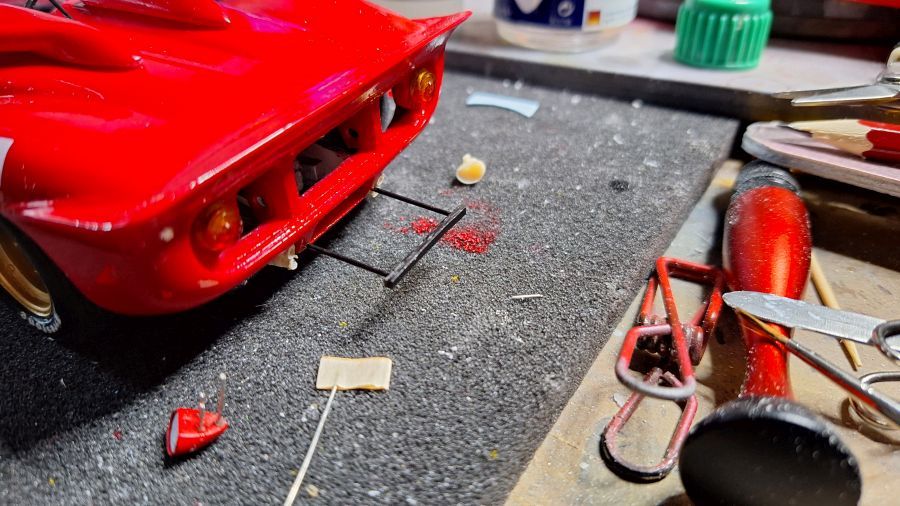
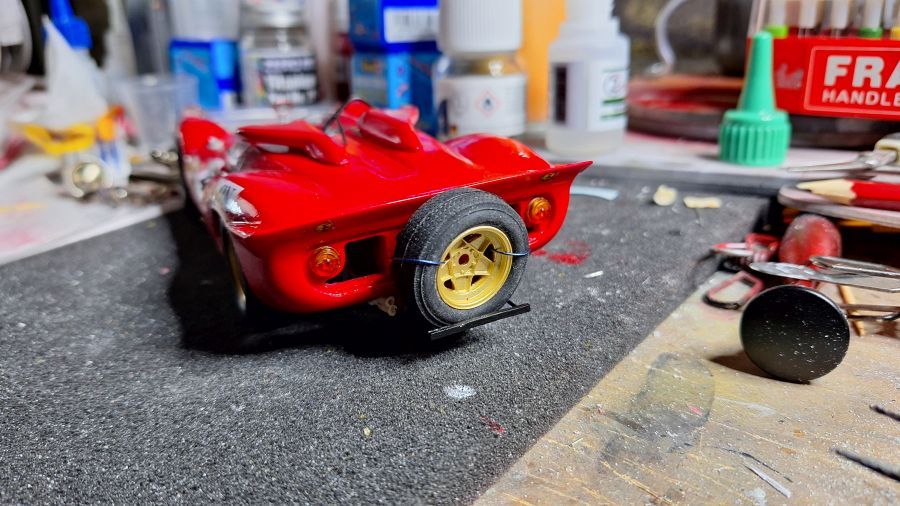
Het reservewiel in positie brengen.
Getting the spare wheel into position.
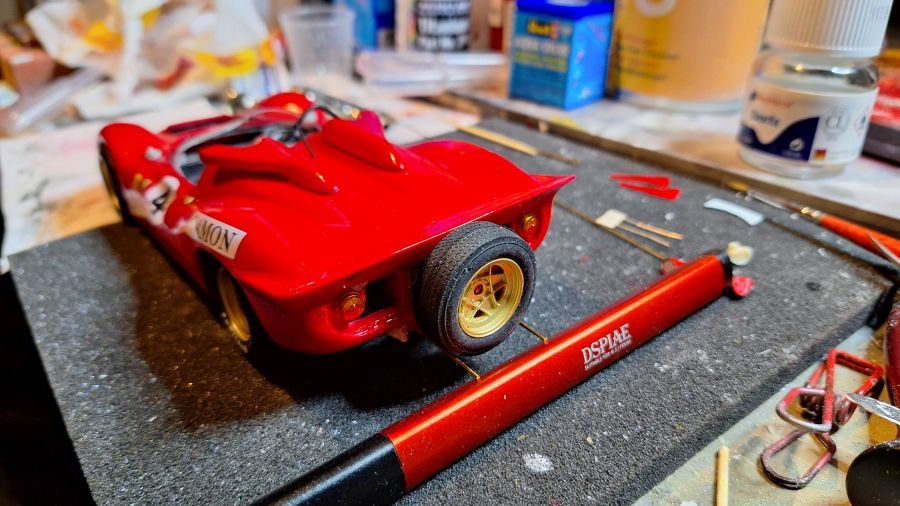
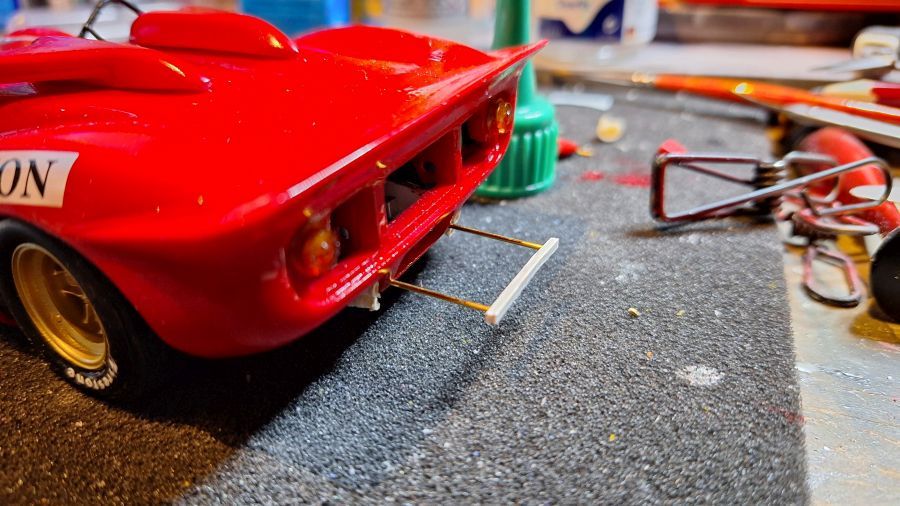
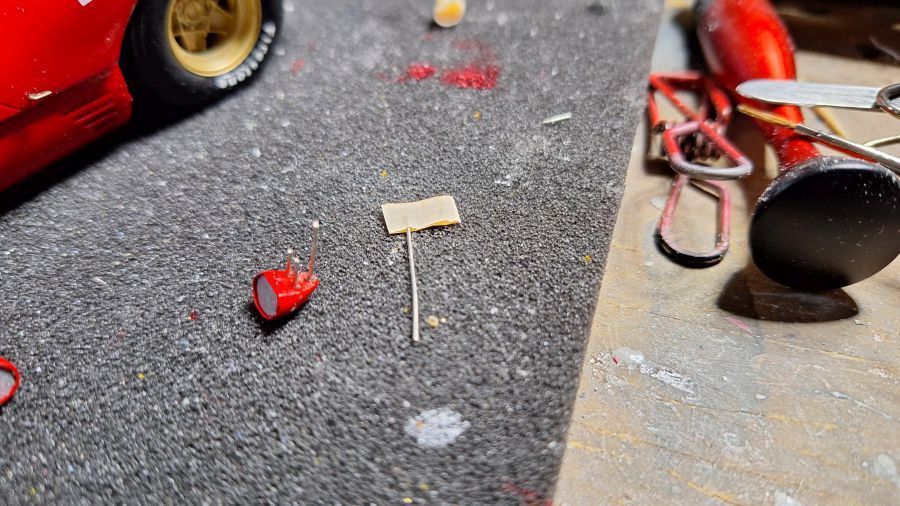
Door naar de spiegels en de vleugeltjes.
On to the mirrors and the wings.
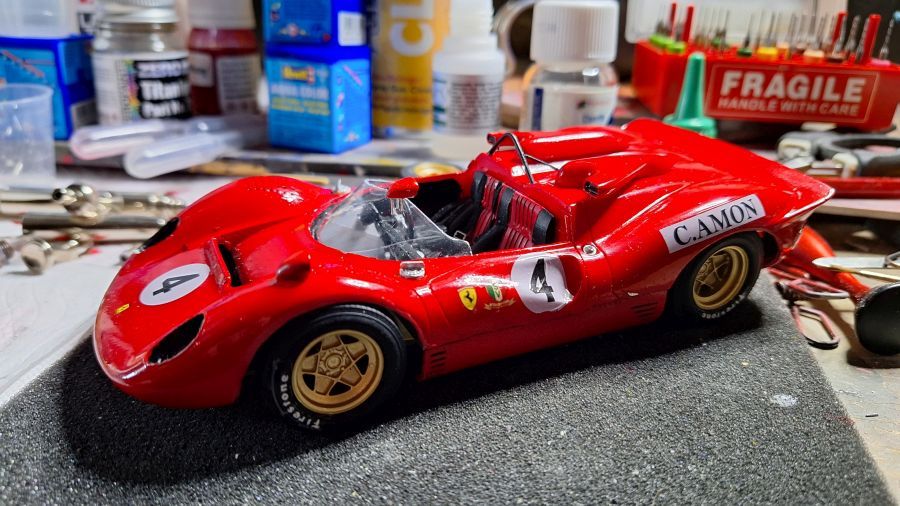
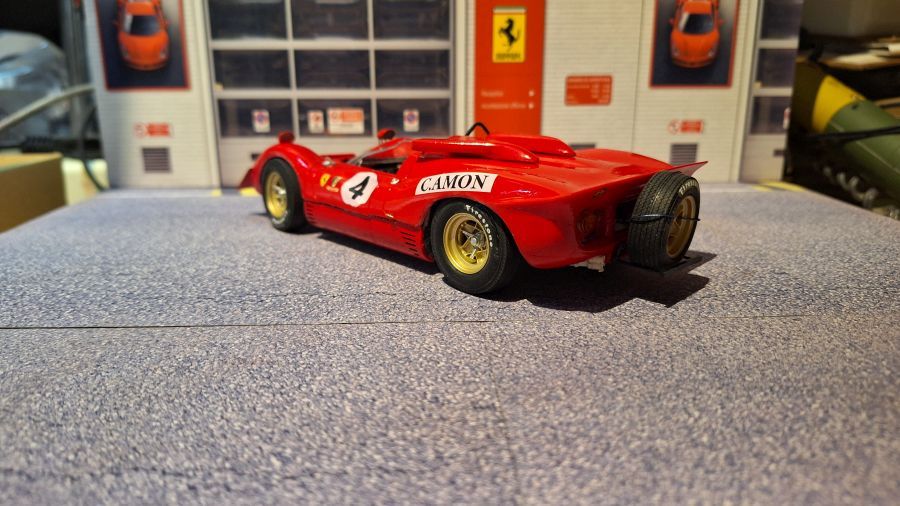
Ik denk dat deze weer klaar is.
I consider this one as done.