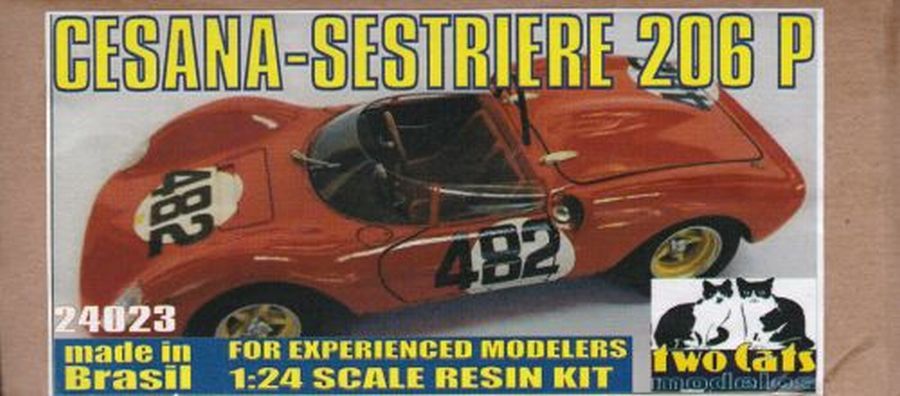
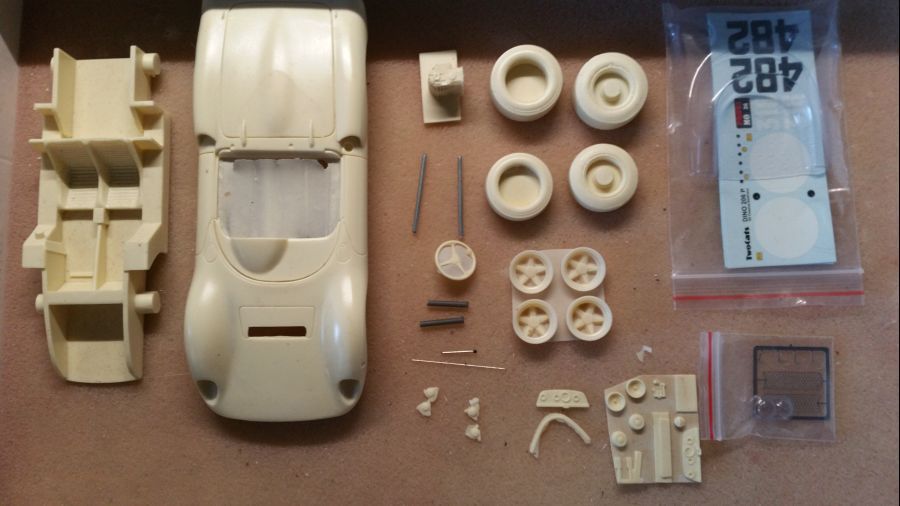
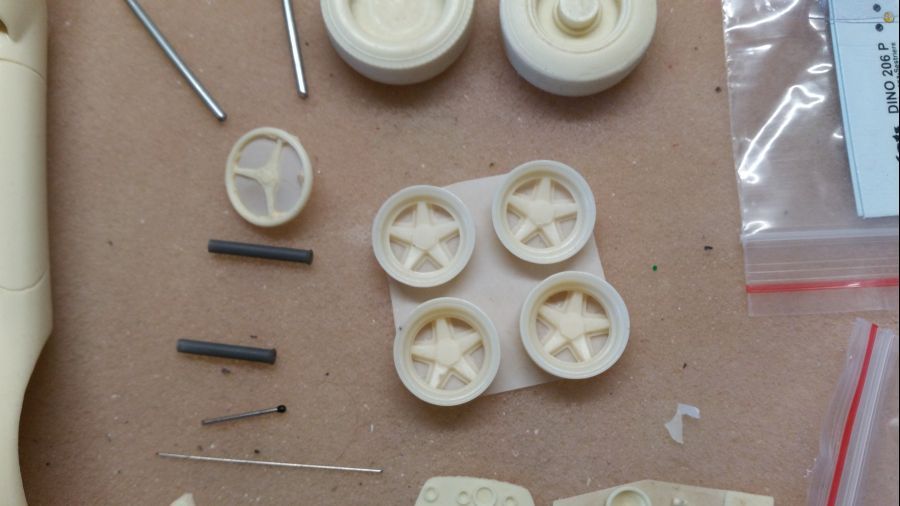
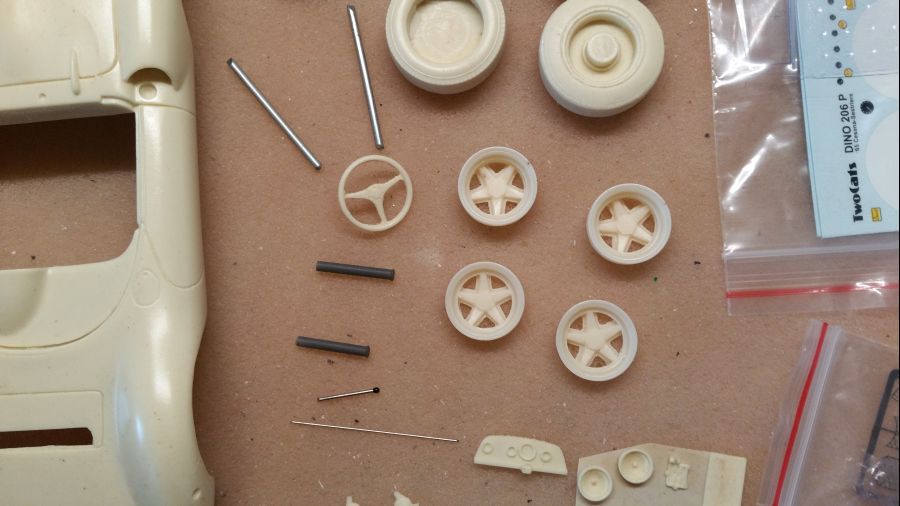
Voorafgaand aan een groot project bouw ik nu de Ferrari 206P van Ludovico Scarfiotti uit 1965. Deze wagen werd gebruikt in de Cesana-Sestriere Hill Climb. Op het web zijn zeer weinig foto's te vinden van deze auto, dus er zijn wat zaken waarbij ik moet gokken omtrent de uitvoering. Even weer de foto's van de inhoud van dez kit van Two Cats Modelos (kit nr. 24023) in schaal 1/24.
Prior to a very large project i will build the Ferrari 206P from Ludovico Scarfiotti from 1965. This car was used during the Cesana-Sestriere Hill Climb. On the web there are almost no pictures of this car, so i might need to do some gambling around the livery. Again the pictures of the content of this kit from Two Cats Modelos (kit no. 24023) in scale 1/24.
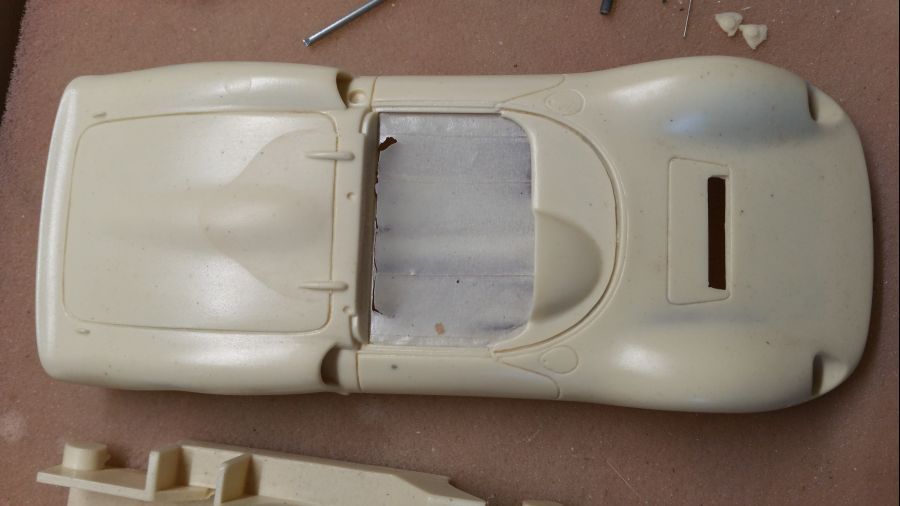
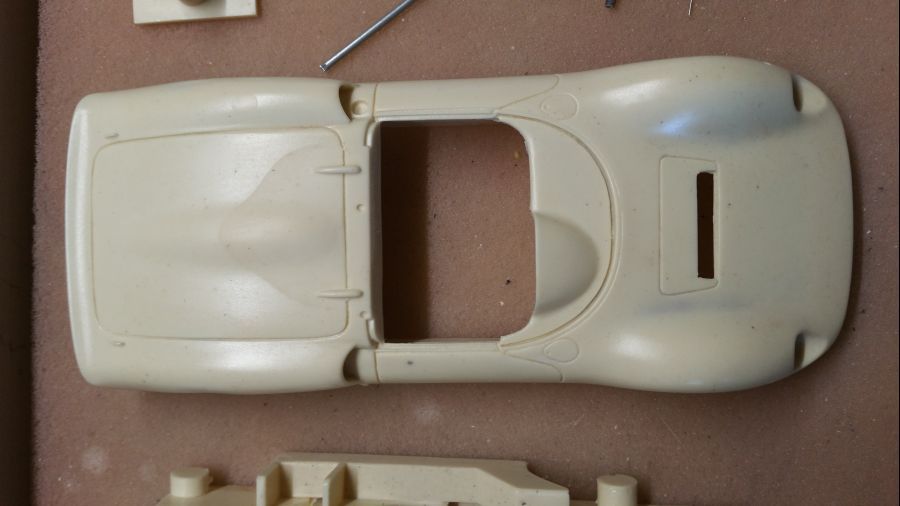
Eerst wat schoonmaakwerk. Overtollig resin verwijderen.
First some cleaning up. Getting rid of excessive resin.
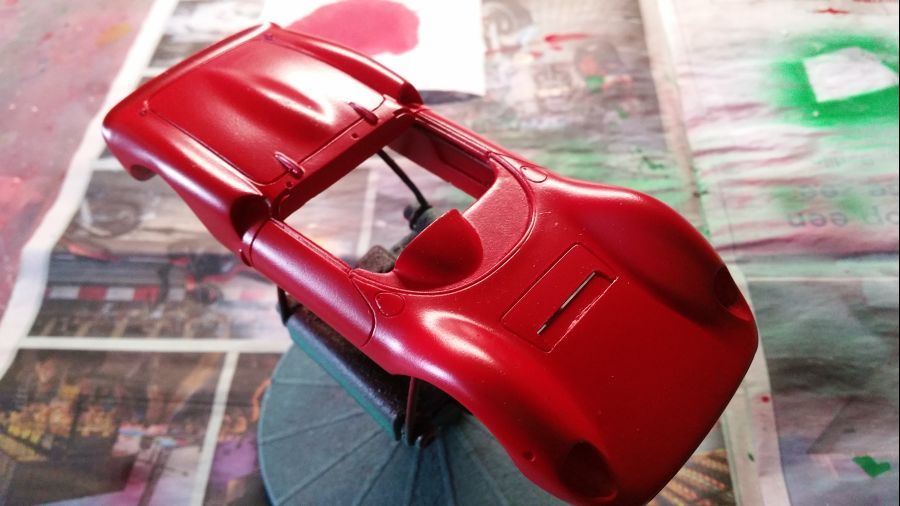
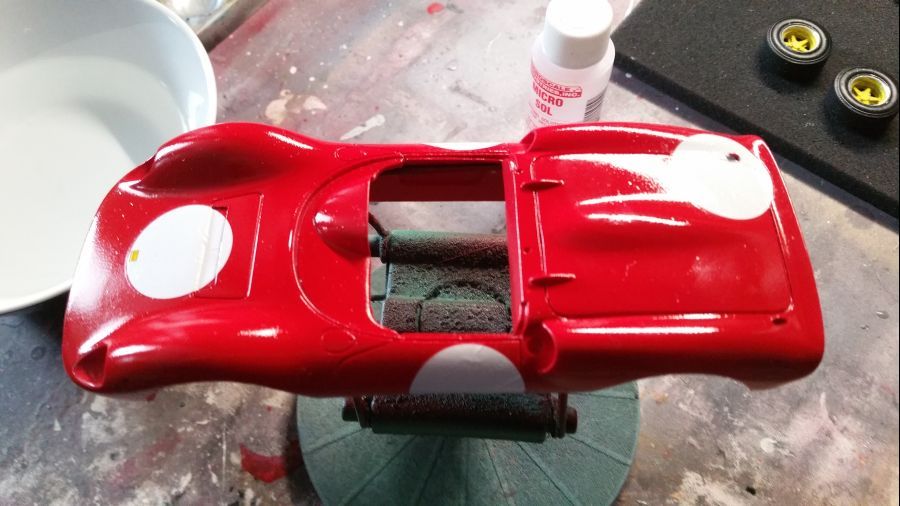
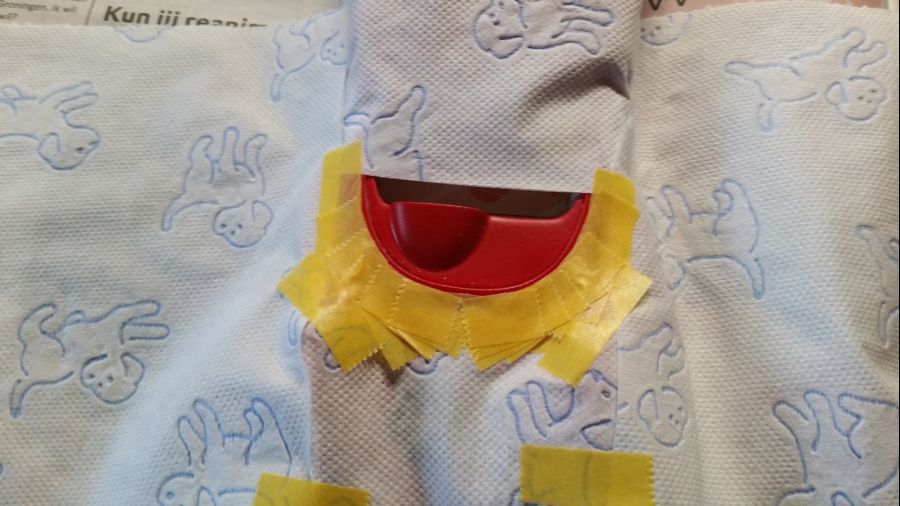
Eerst de carosserie gespoten met primer en het rood (Zero Paints ZP-1007 1960's Rosso Formula 1).
First the body was painted with primer and the red (Zero Paints ZP-1007 1960's Rosso Formula 1).
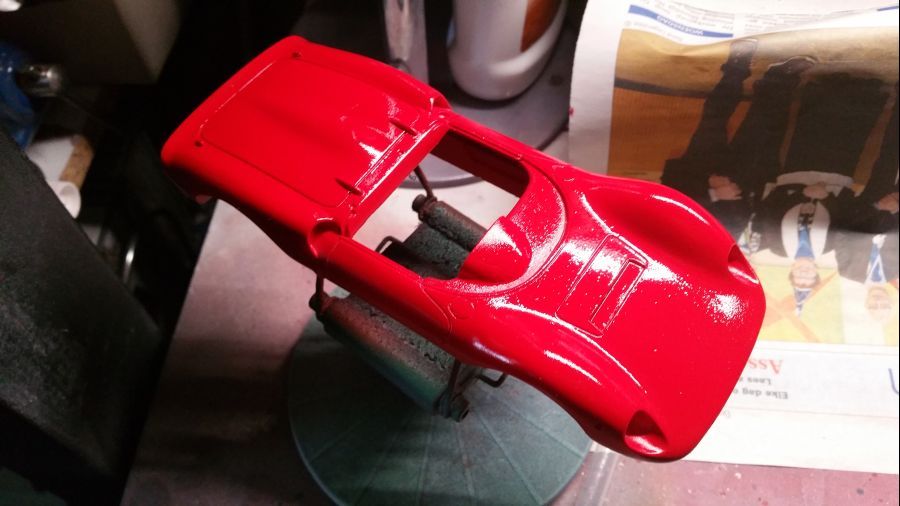
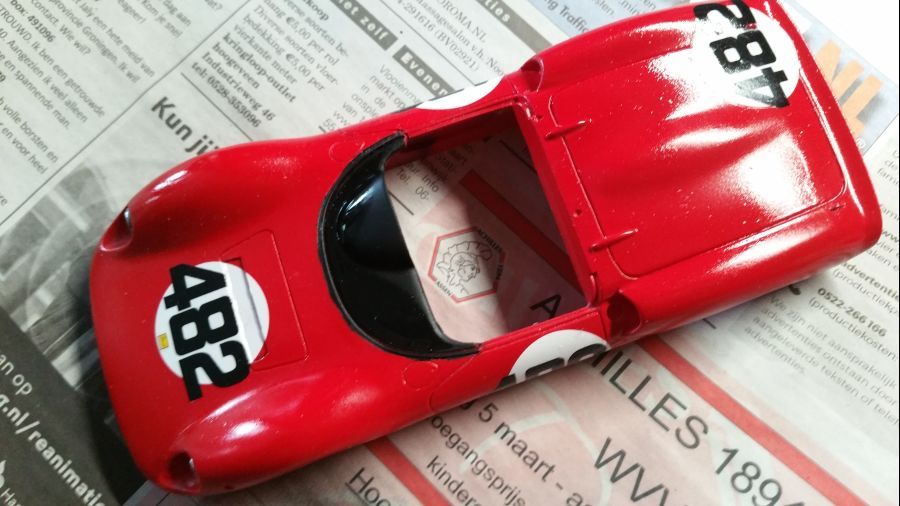
Dan de heldere glanzende lak.
Then the clear gloss lacquer.
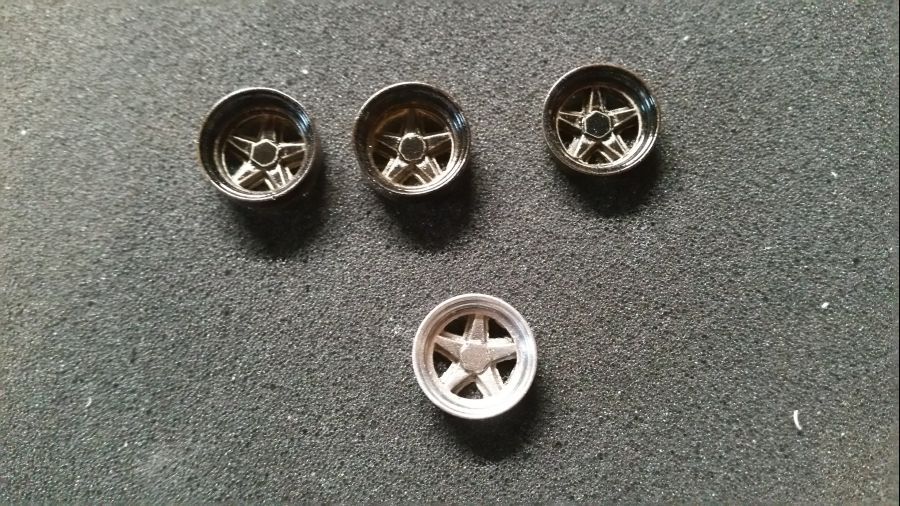
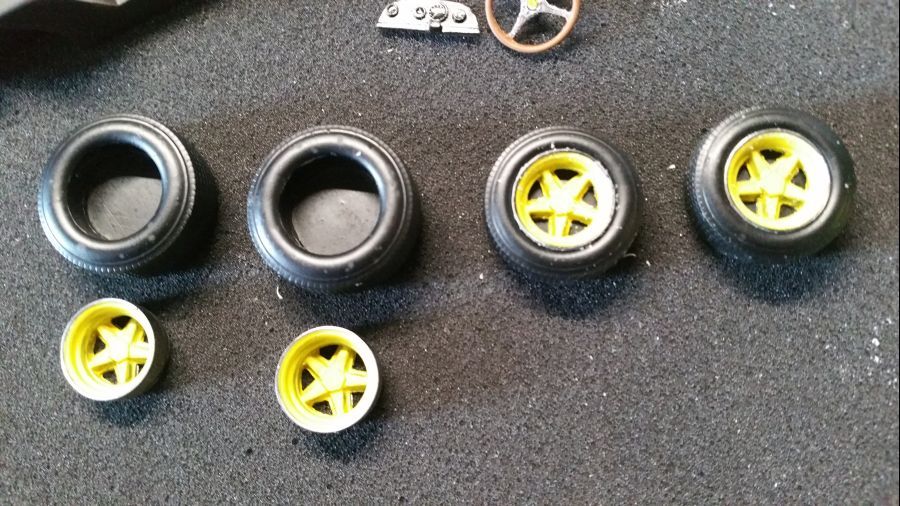
Terwijl dit droogt, krijgen de velgen een laagje glanzend zwart en daarna Alclad II Chrome (Alc-107).
While the paint is drying, the rims get a coat of gloss black and then Alclad II Chrome (Alc-107).
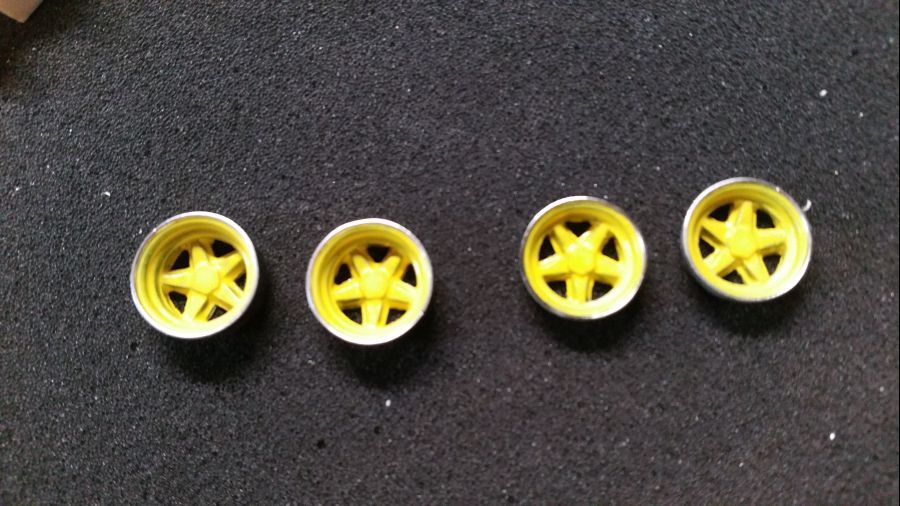
De binnenkant van de velgen worden geel geverfd. Omdat dit bijna niet af te plakken en te spuiten is, gebruik ik een kwast en Valejo verf.
The inside of the rims get a yellow paint. As it is nearly impossible to mask and spray, i will use a brush and Valejo paint.
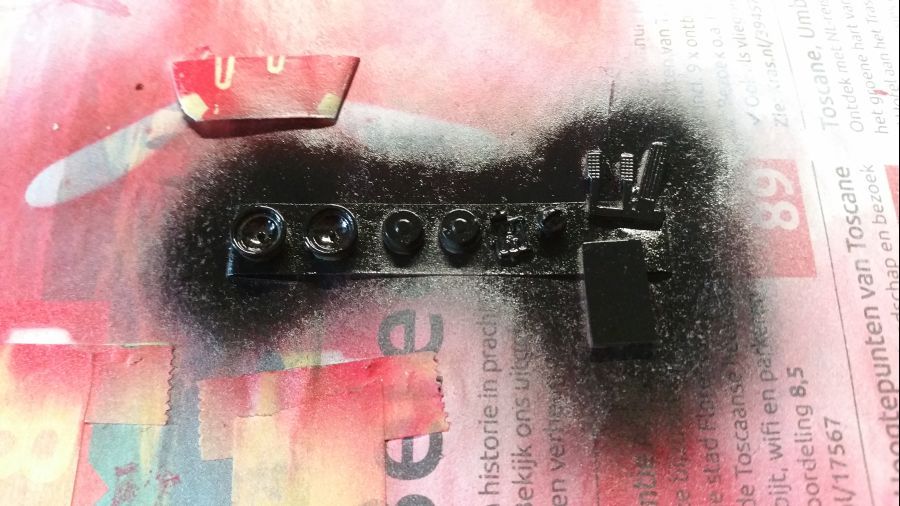
Eerst het zwart voor het interieur.
First the black for the interior.

En voor de versnellings bak... Daarna Alclad II Dark Aluminium (Alc-103).
And for the gear box... Then Alclad II Dark Aluminium (Alc-103).

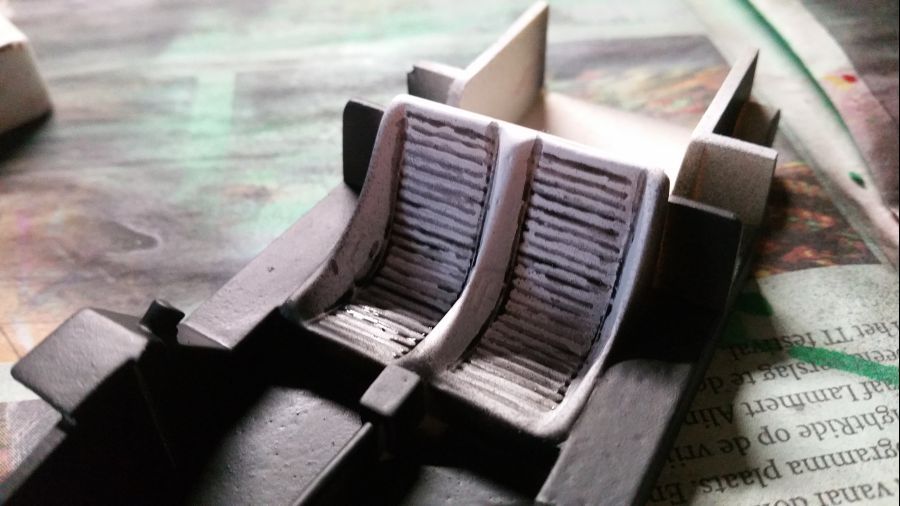
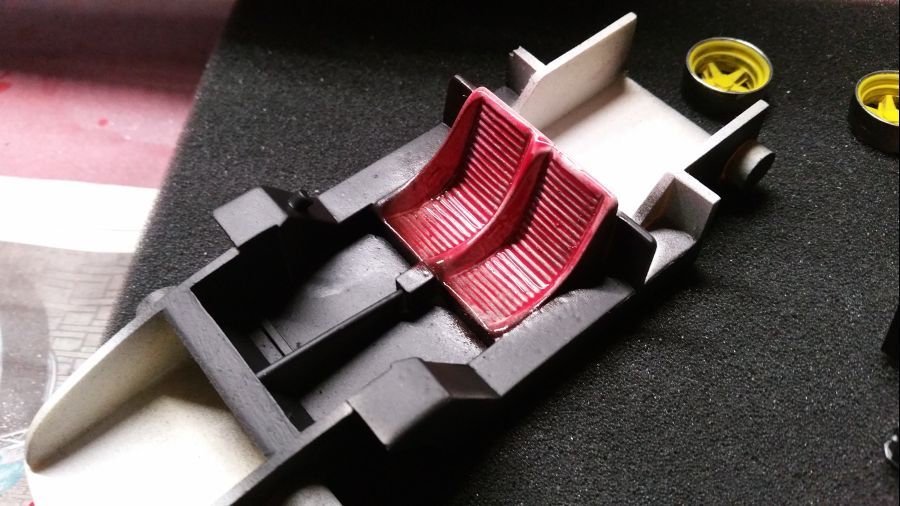
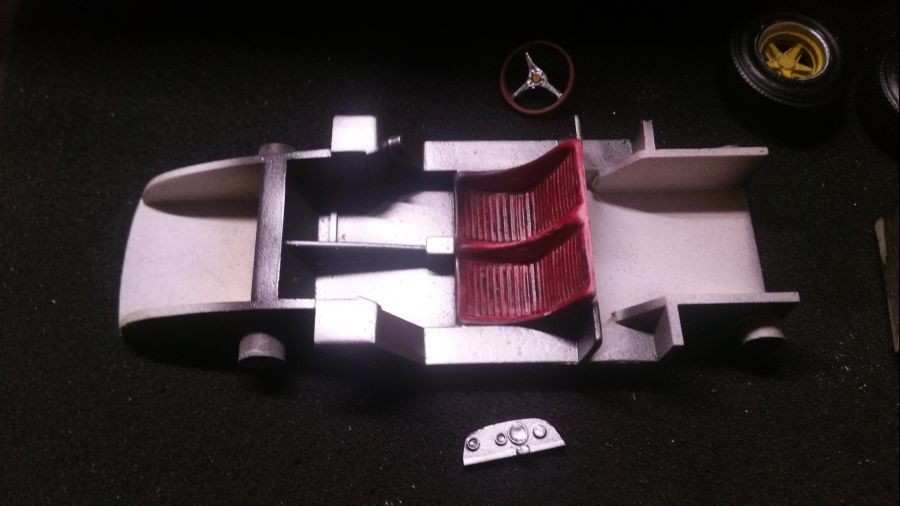
De stoelen krijgen wat zwart in de naden, voordat de kleur erop gaat... Edit: het zwart van de vloer en het dashboard moet aluminium zijn.
The seats get some black applied to the seems. before the color will be applied. Edit: the black on the floor and the dash should be aluminium.
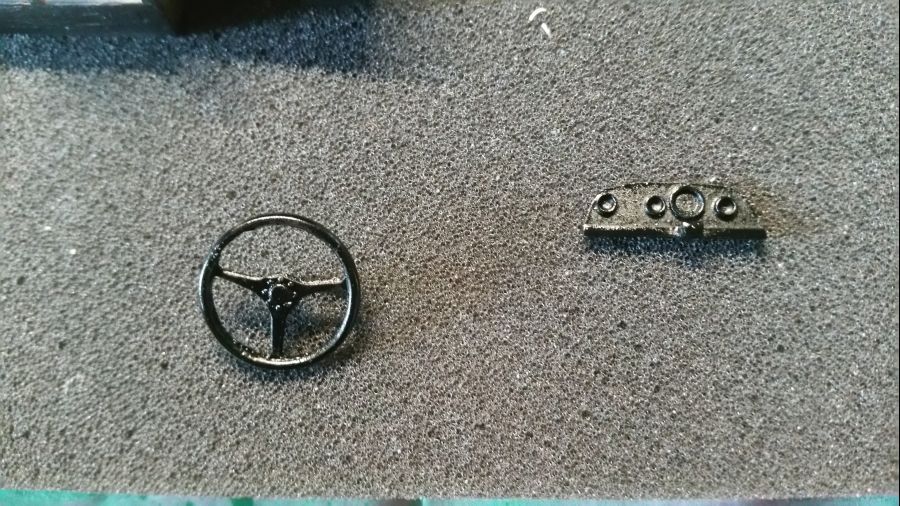
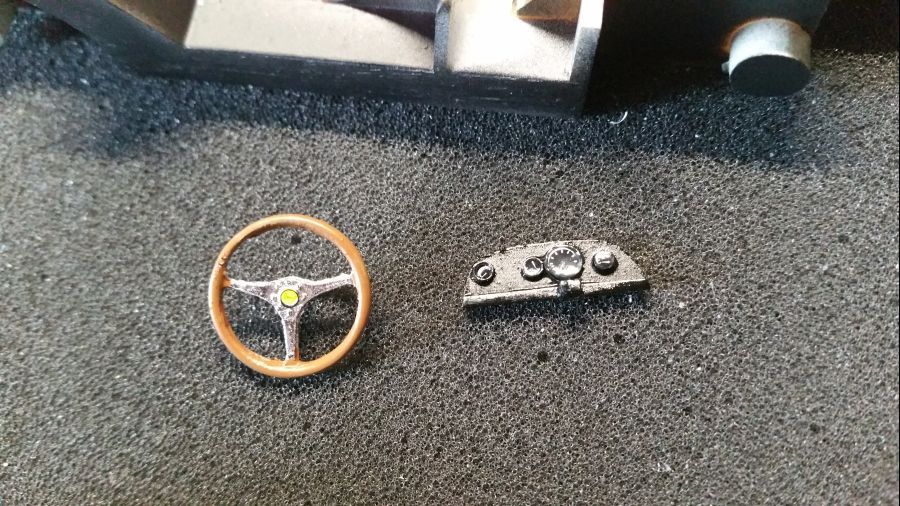
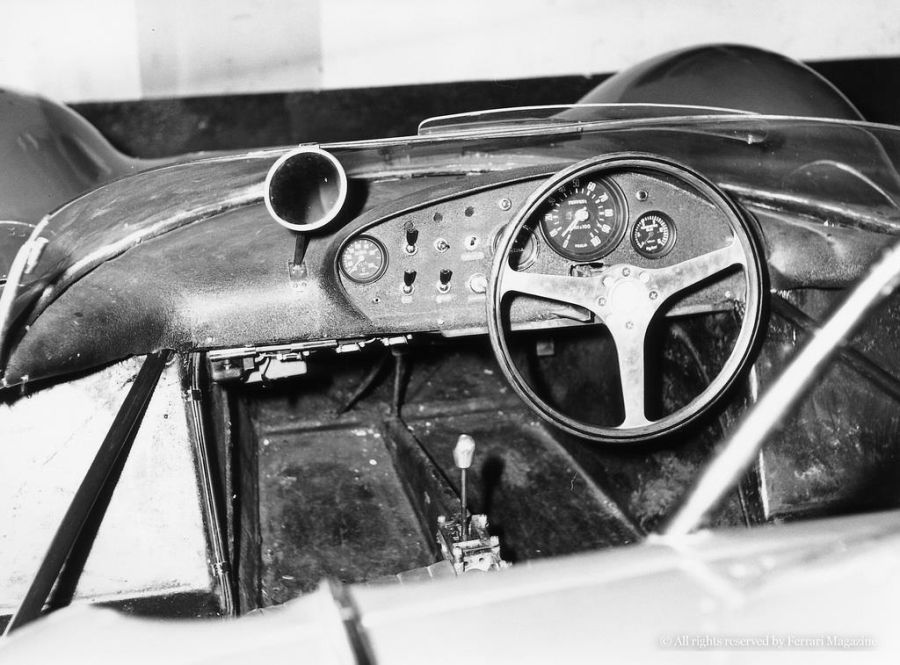
Eerst klein werk aan het stuur en het dashbord.
First some small work to the wheel and the dash.
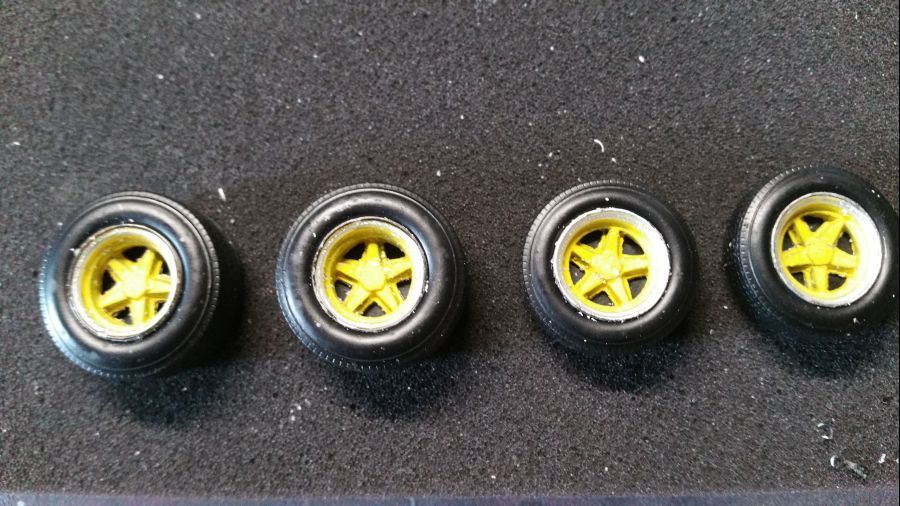
Dan weer wat werk aan de velgen...
Then some more work to the rims...
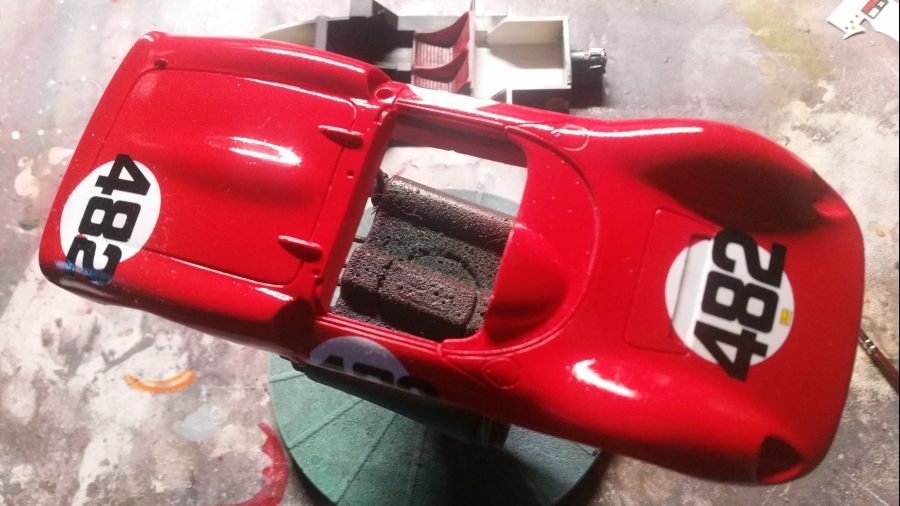
De eerste decals worden geplaatst...
The first decals were added...
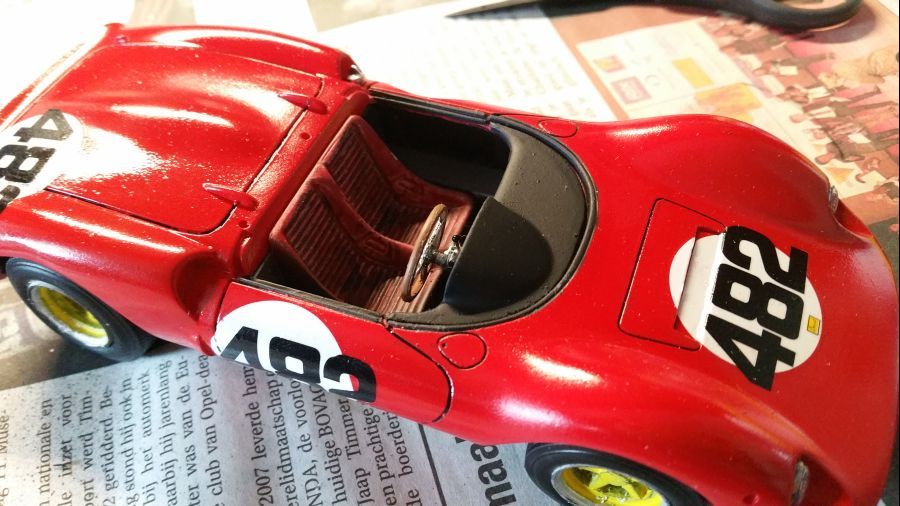
Van een Facebook-vriend kreeg ik de info dat het dashbord en de vloer aluminium moeten zijn. Dat ga ik dus aanpassen. Dank Pierpaolo.
From a Facebook friend i received the info the dash and the floor should be aluminium. So i will change that. Thank you Pierpaolo.
Aangepast...
Corrected...
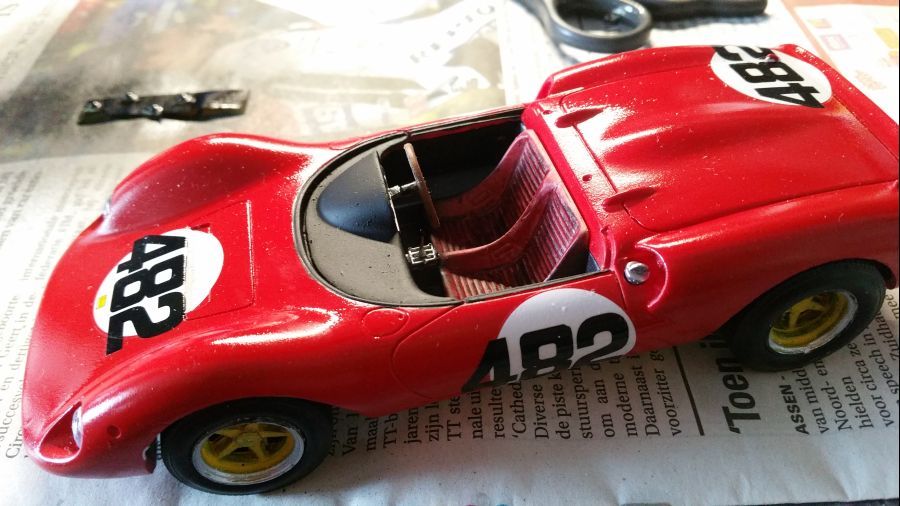
Meer decals voor het bodywerk..
More decals to the body work..
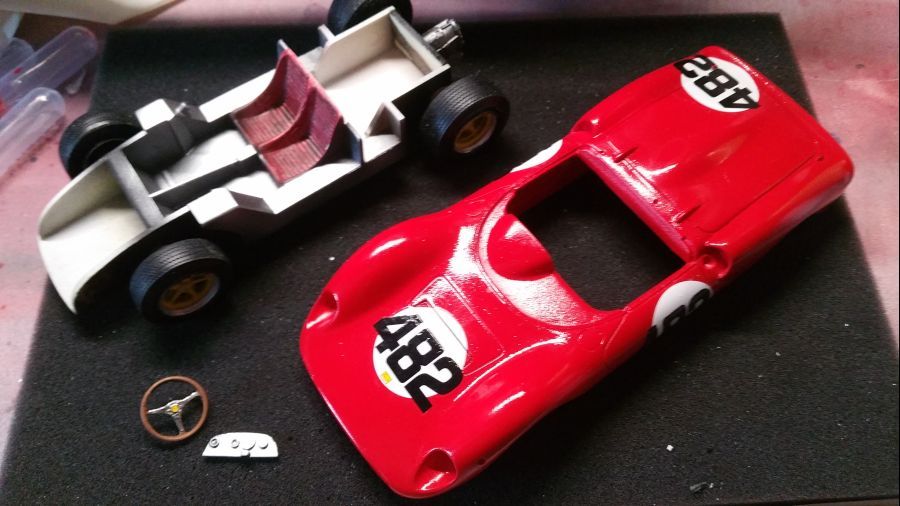
De body wordt tijdelijk op de vloer geplaatst. Daarmee is het gemakkelijker om de wielen aande vloer te lijmen.
The body has been added to the floor temporarily. This way it's more easy to glue the rims to the floor.
Dan gaat de body er weer af en kan deze nog een paar laagjes glanslak krijgen om de decals te sealen...
Then the body has been removed again and this gets a couple of layer clear gloss to seal the decals...
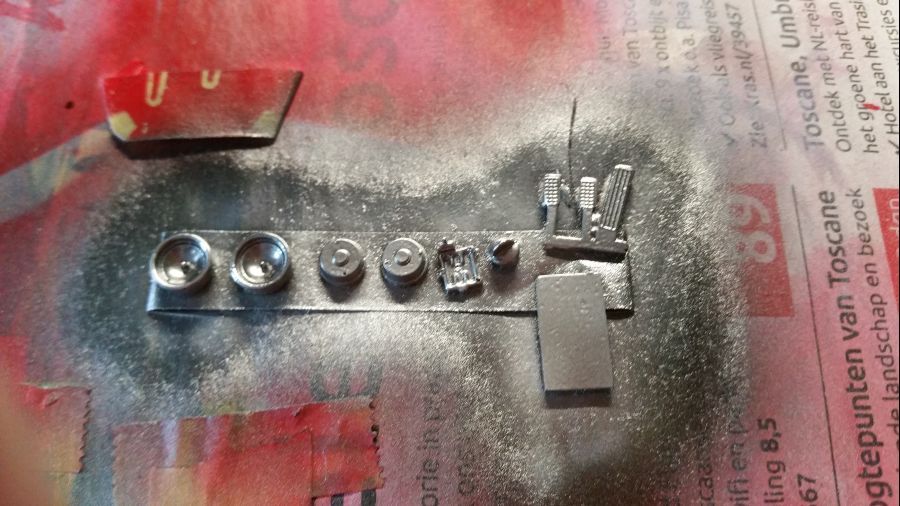
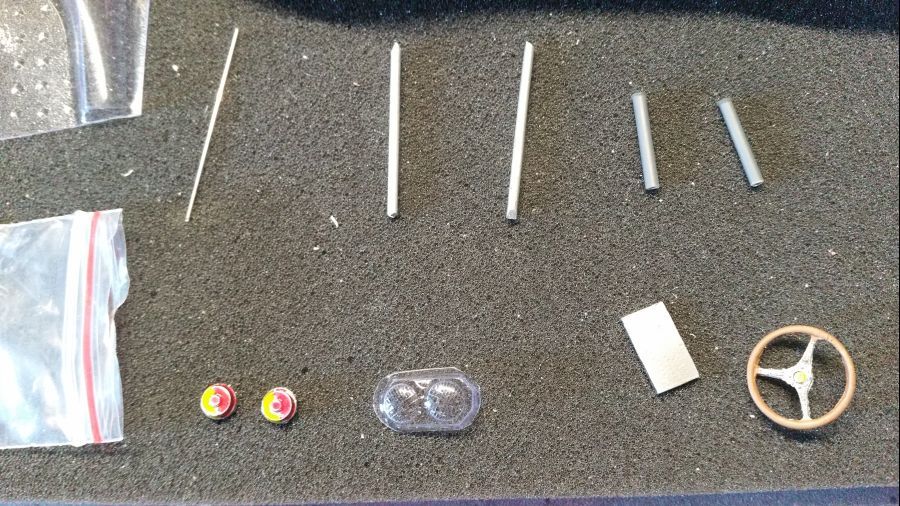
Wat kleine onderdelen krijgen een metaal kleur....
Some small parts get a metal finish...
Dan gaan we weer verder met het dashbord.
Next is to continue with the dash.
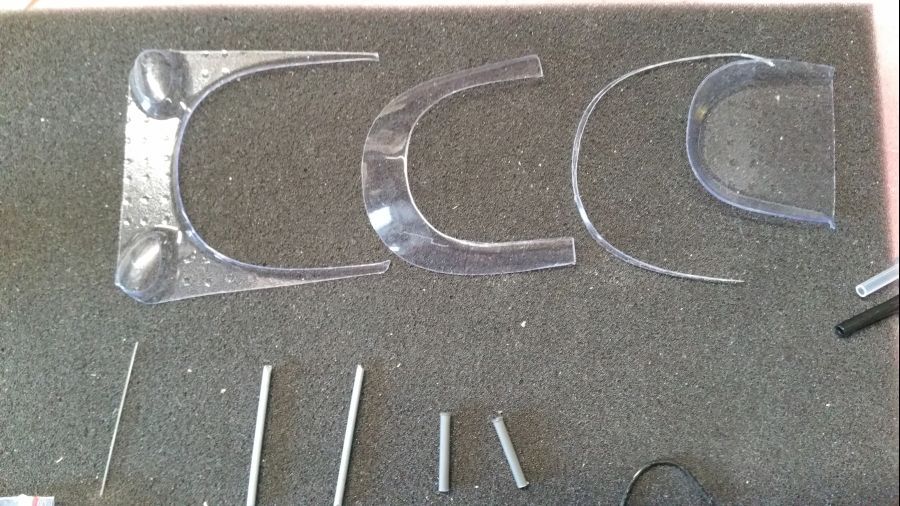
Nu langzaam de auto opbouwen. Achterlichten klaarmaken, het venster knippen etc..
Now slowly building up the car. Painting the rear lights, cutting the wind shield etc..
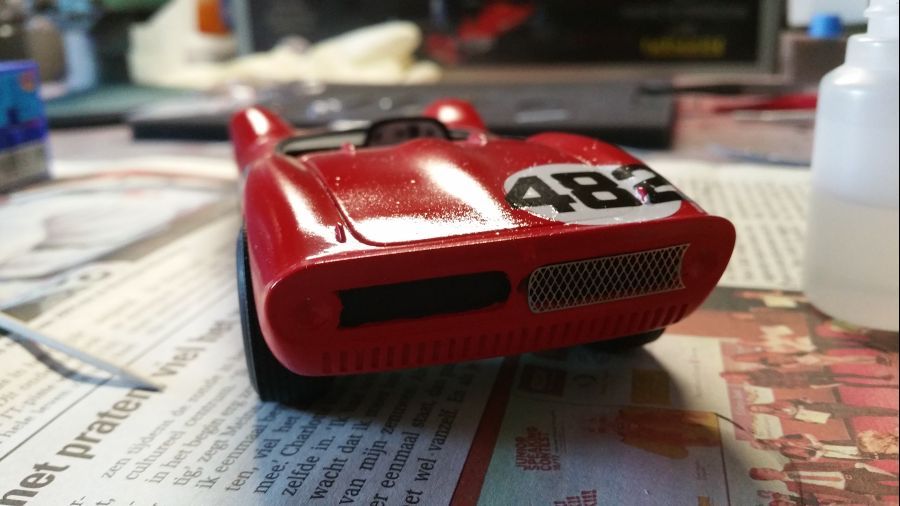
De paneelnaden worden geverfd met verdunde waterverf...
The panel lines are painted with diluted water paint.
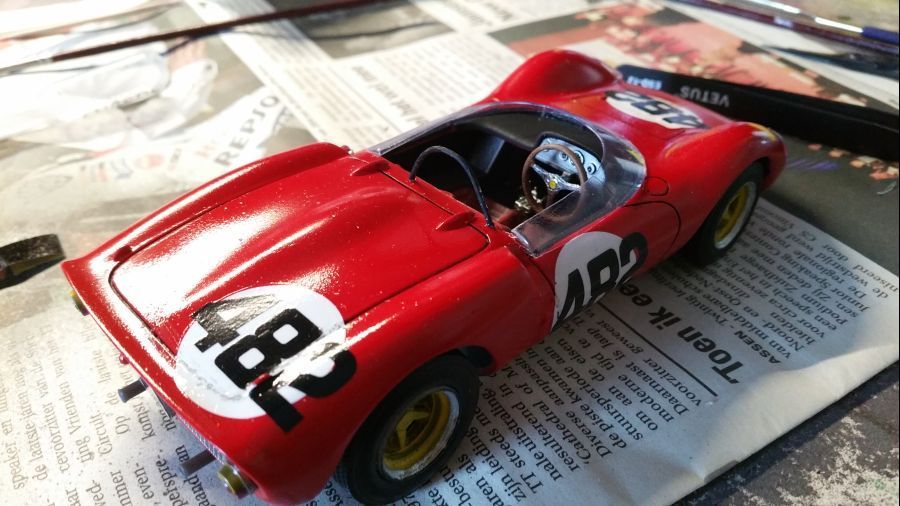
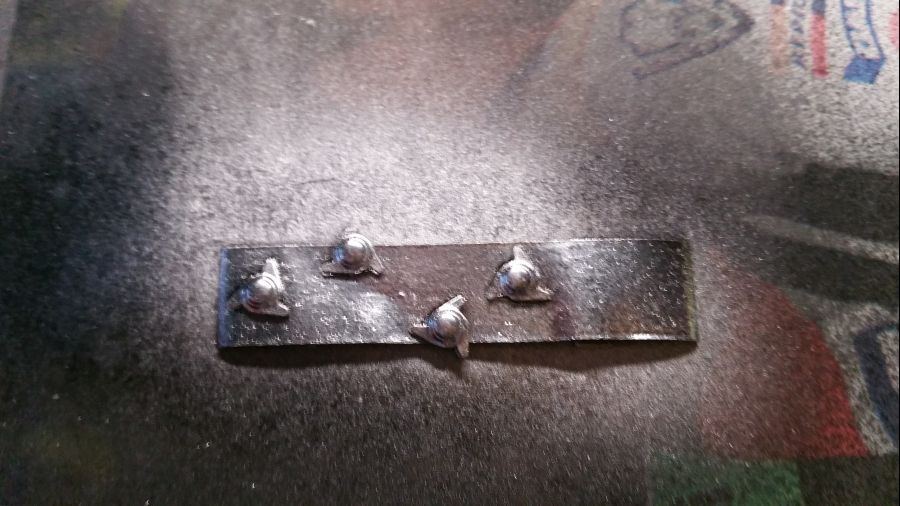
De moeren nog even verchromen en...
The nutters get some chrome and...
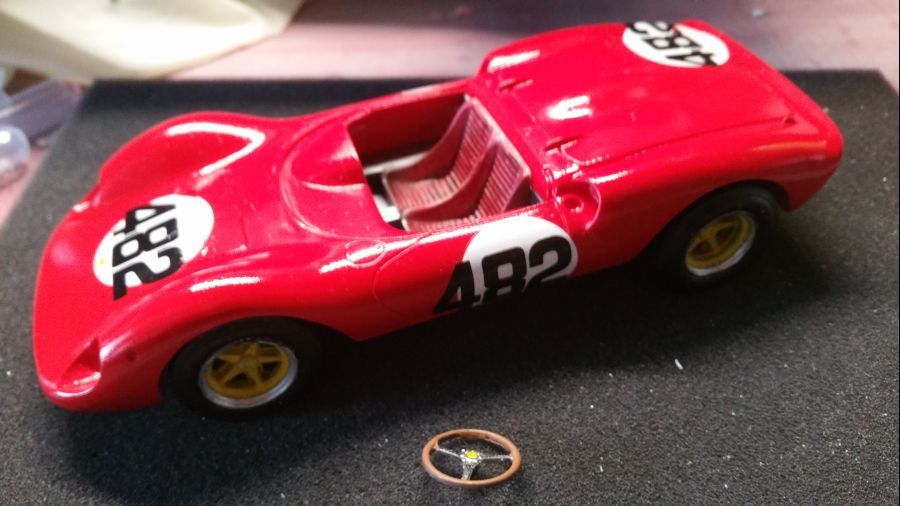
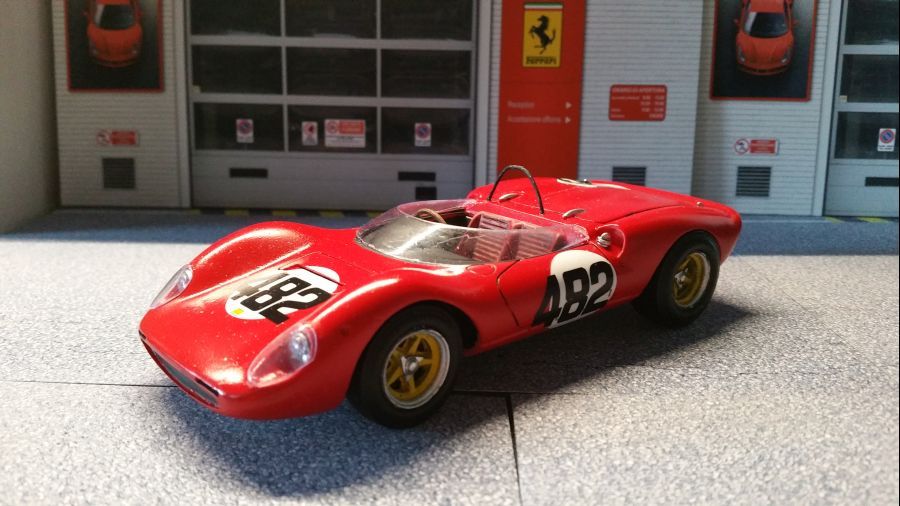
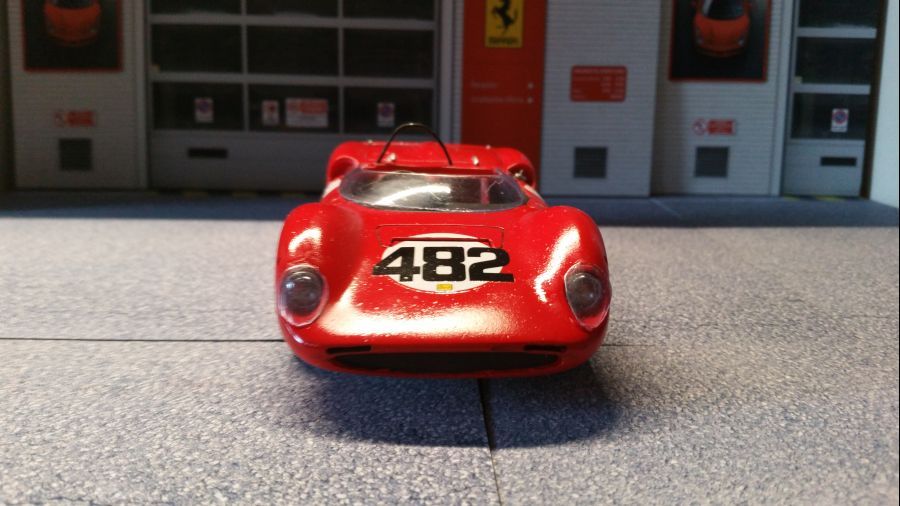
Weer 1 op de plank...
Another one on the shelf...
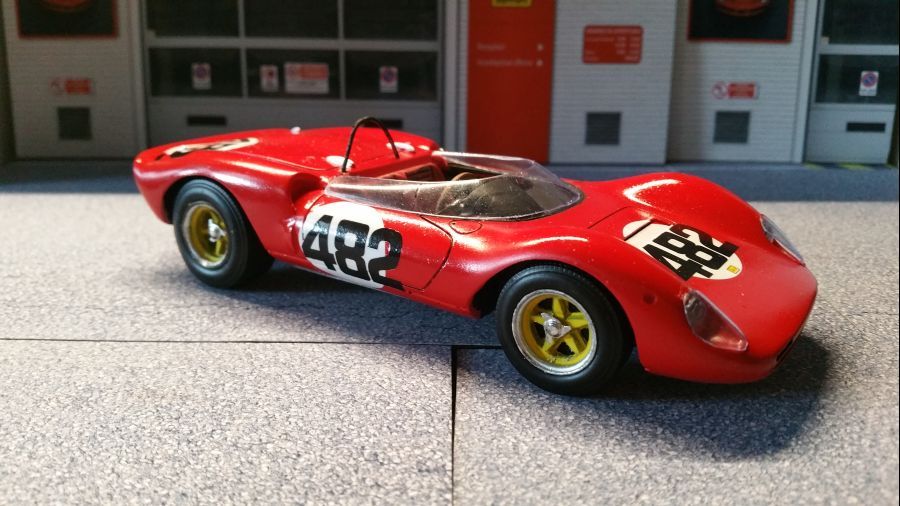
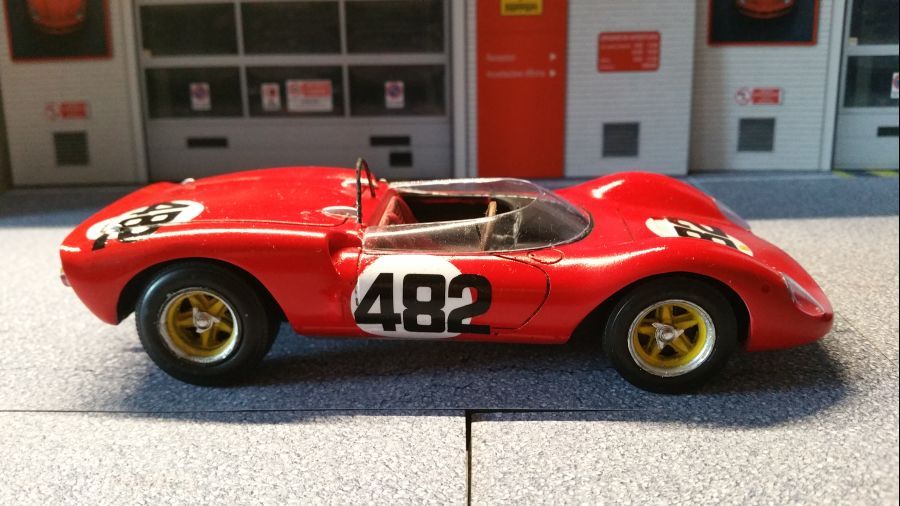
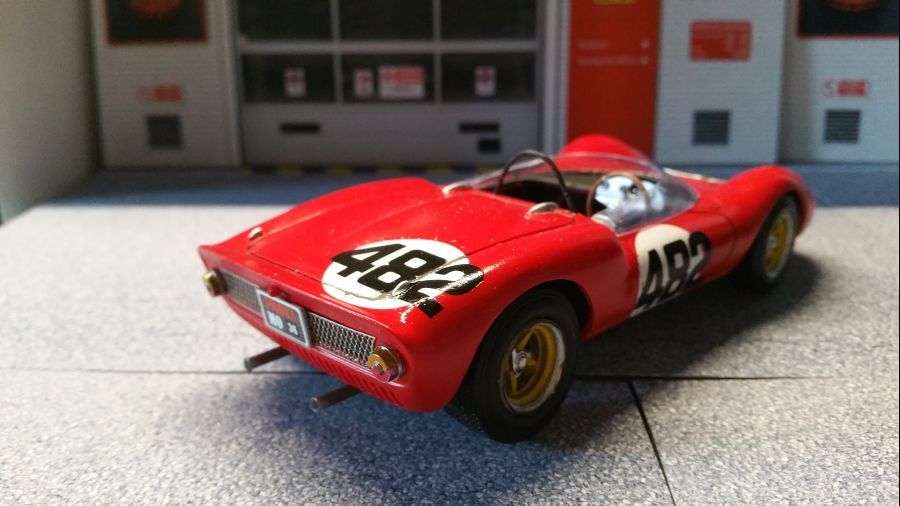
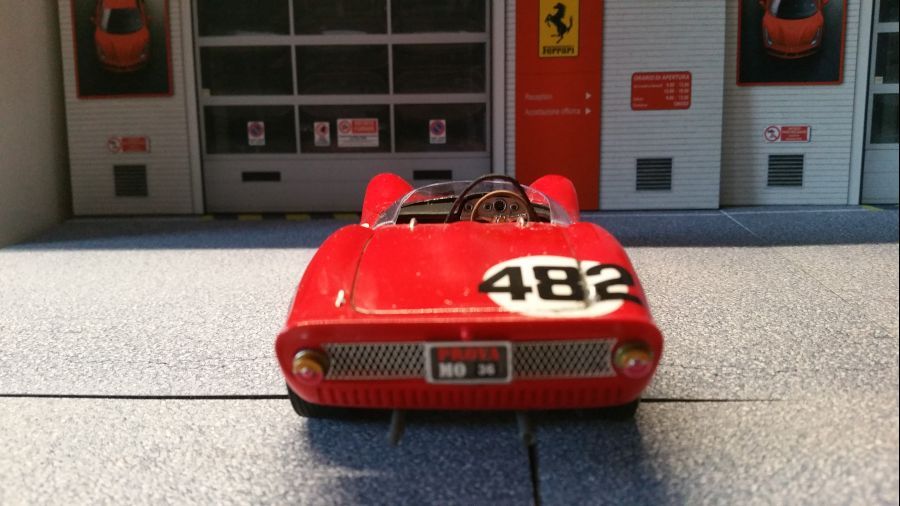
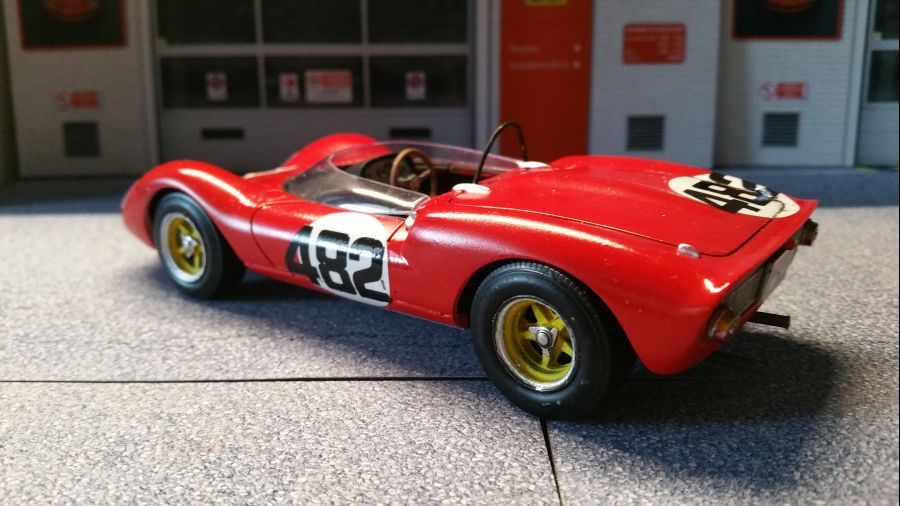
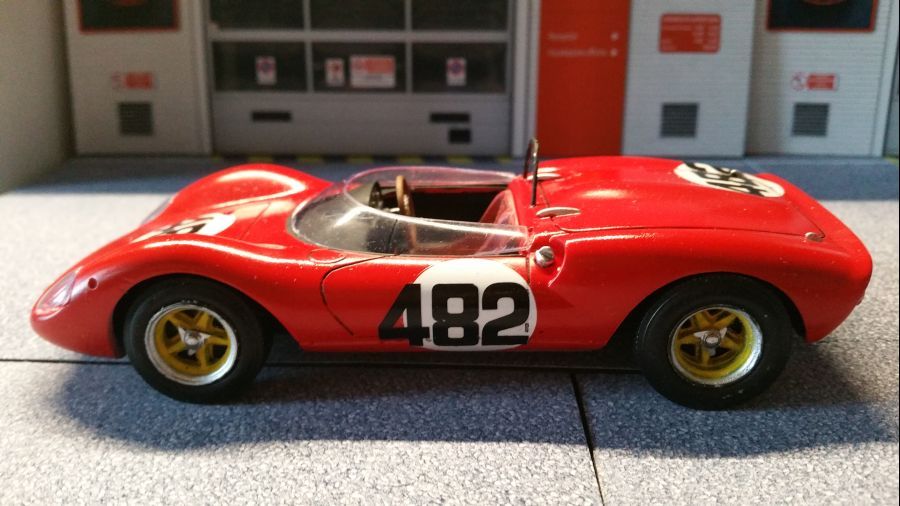
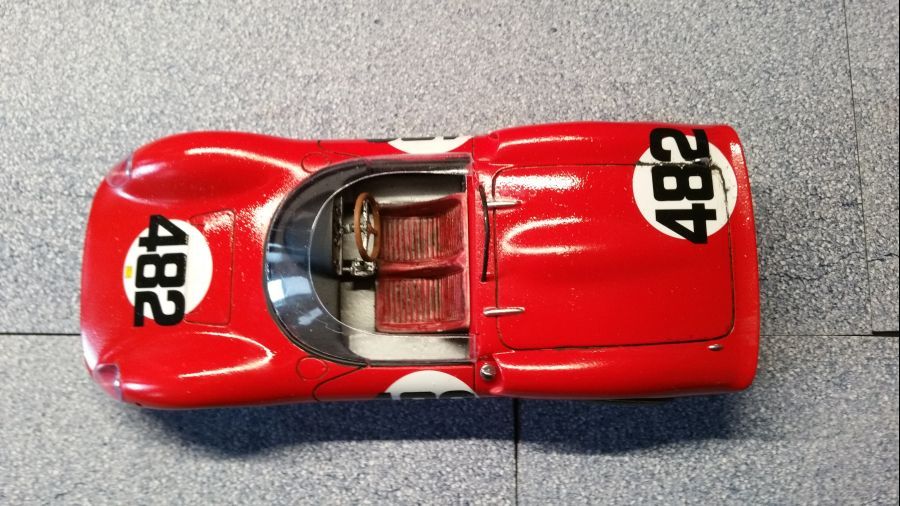
Dus geen echte problemen met deze kit.
So no real problems with this kit.