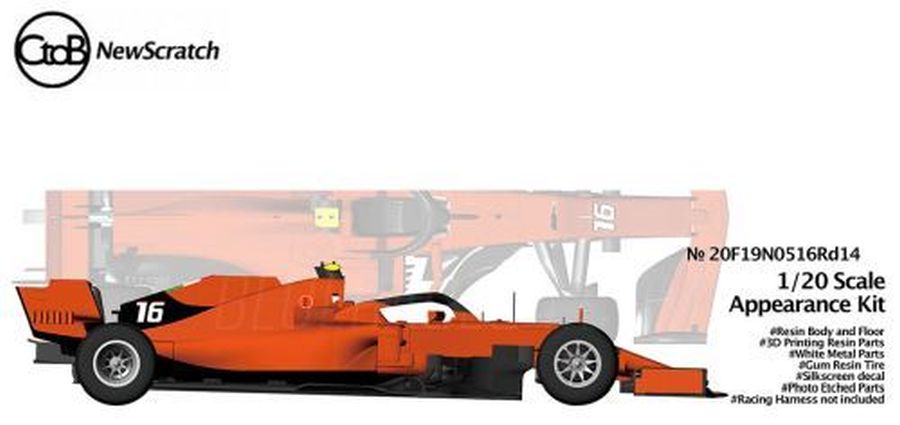
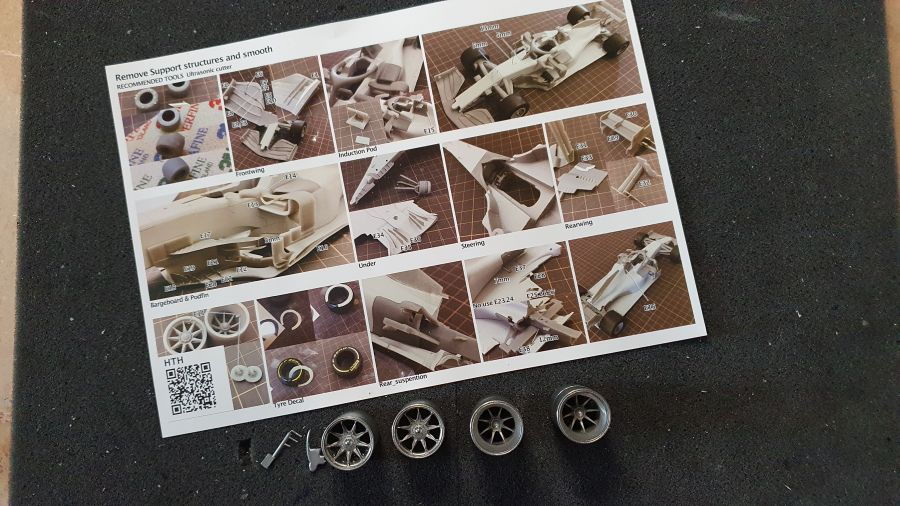
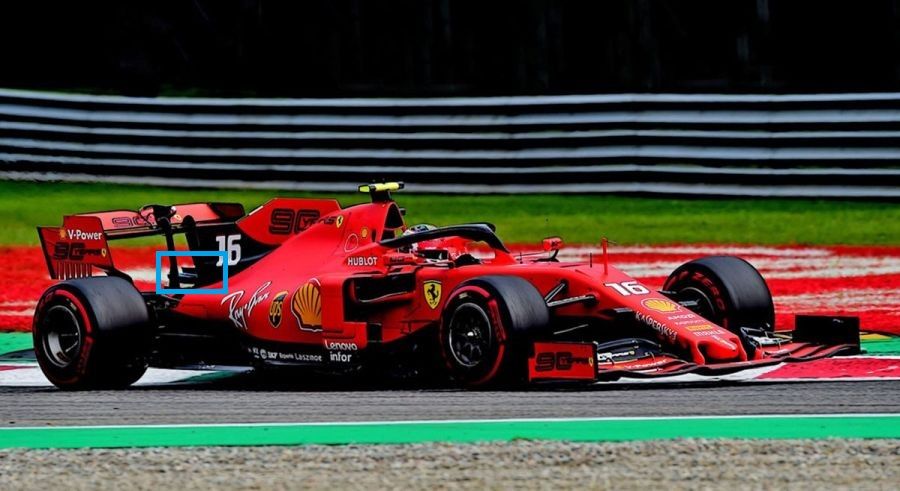
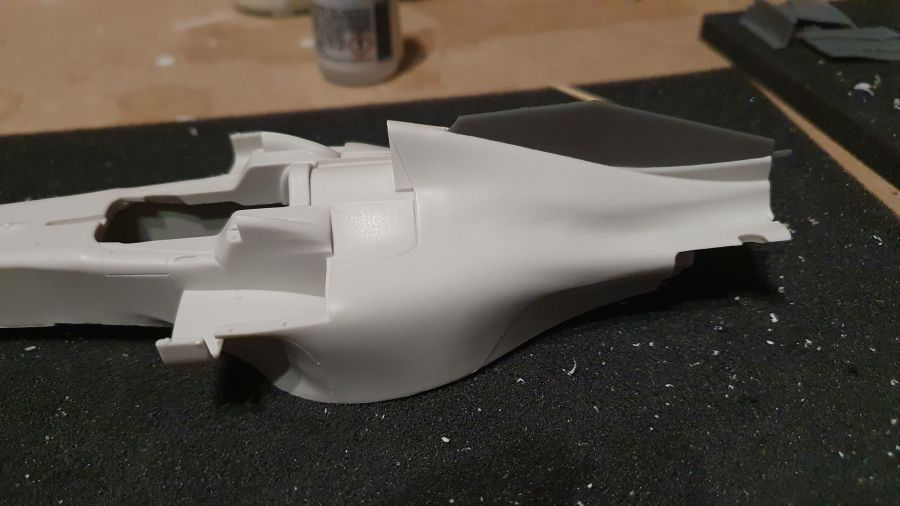
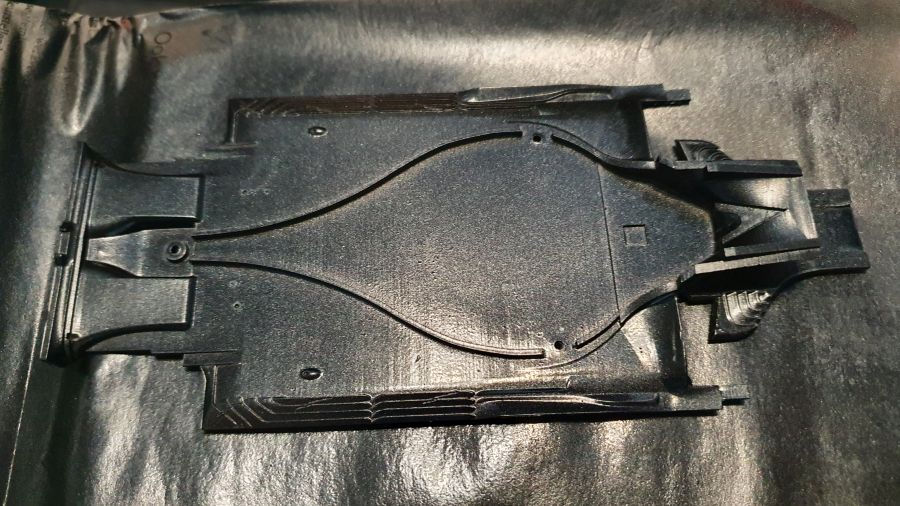
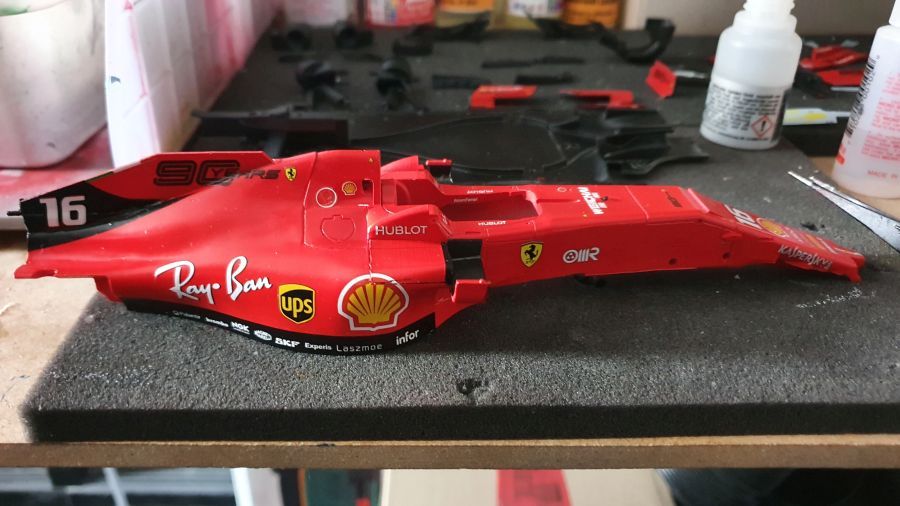
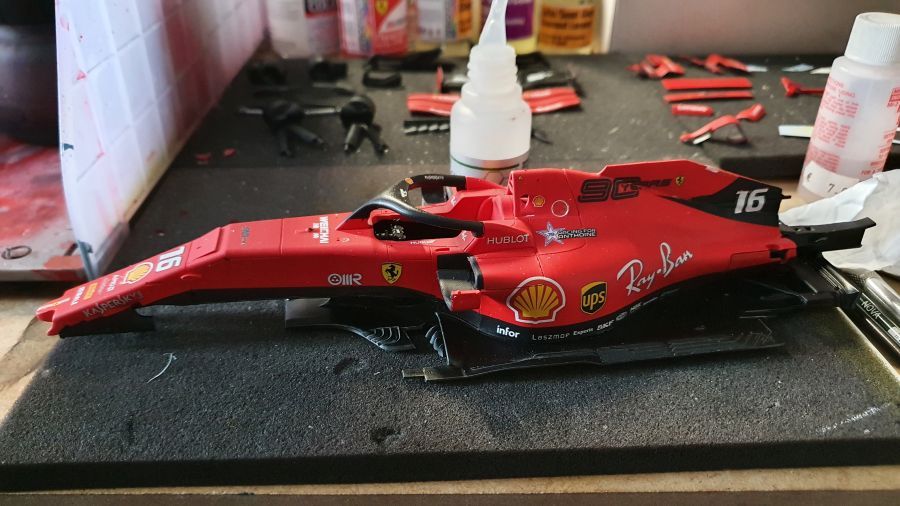
Het is maar weer eens tijd voor een 1/20 F1 model. Nu de 2019 Ferrari SF90 zoals deze werd gereden door Charles Leclerc tijdens de Italiaanse GP. Het is een kit van het voor mij onbekende merk NewScratch (kit nr. 20F19N0516Rd14). De velgens zijn van het gebruikelijke metaal, de body en vloer zijn resin (kunsthars), de andere onderdelen zijn 3D-geprint. De instructies zijn zeer summier. Het is dus belangrijk om veel foto's te verzamelen. Helaas is het boek van Giorgio Piola nog niet uit. We doen ons best zal ik maar zeggen. Tevens kan ik nu beoordelen of deze kit ook een beetje als basis kan dienen, wanneer ik een SF1000 wil maken.
It's time for another 1/20 F1 model. Now the 2019 Ferrari SF90 as driven bij Charles Leclerc during the Italian GP. It's a kit of a to me unknown brand, NewScratch (kit no. 20F19N0516Rd14). The rims are from the usual metal, the body and floor are resin, and the other parts are 3D-printed. The instructions are very simple. So it is important to collect as many pictures as you can. Unfortunately the book of Giorgio Piola is not available yet. We will do our best though. Also, i can now see if this kit is a good base for building an SF1000 later.

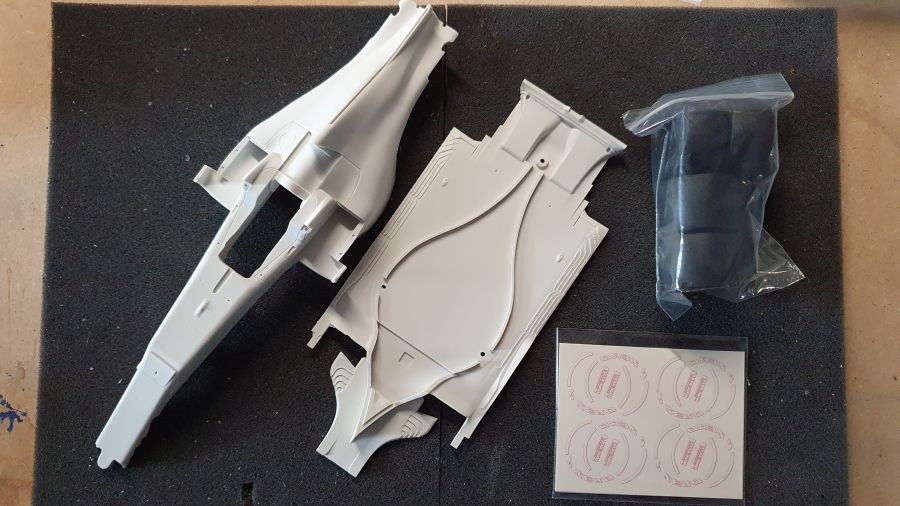
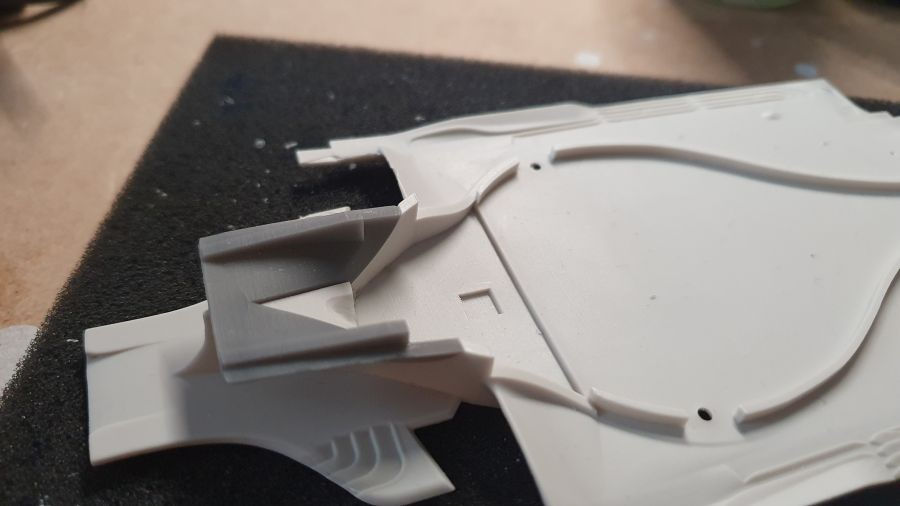
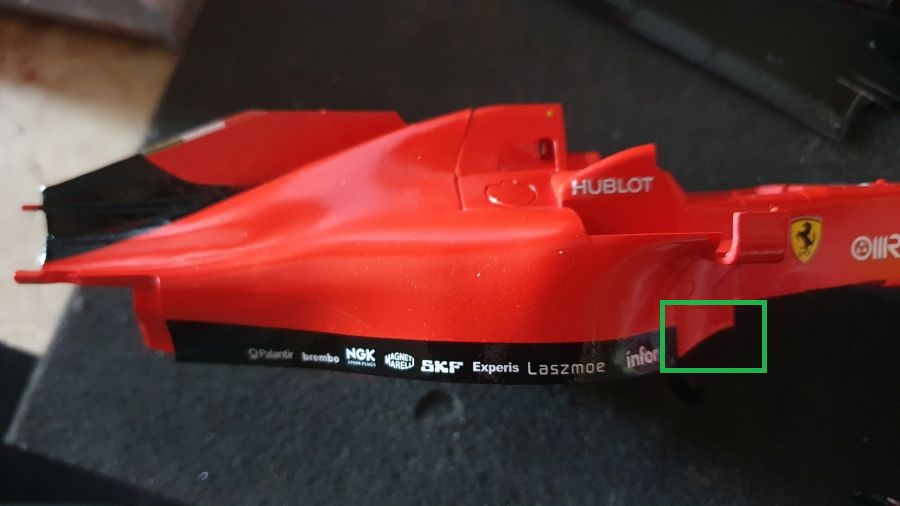
De resin body heeft wat schoonmaakwerk nodig.
The resin body needs some cleaning.
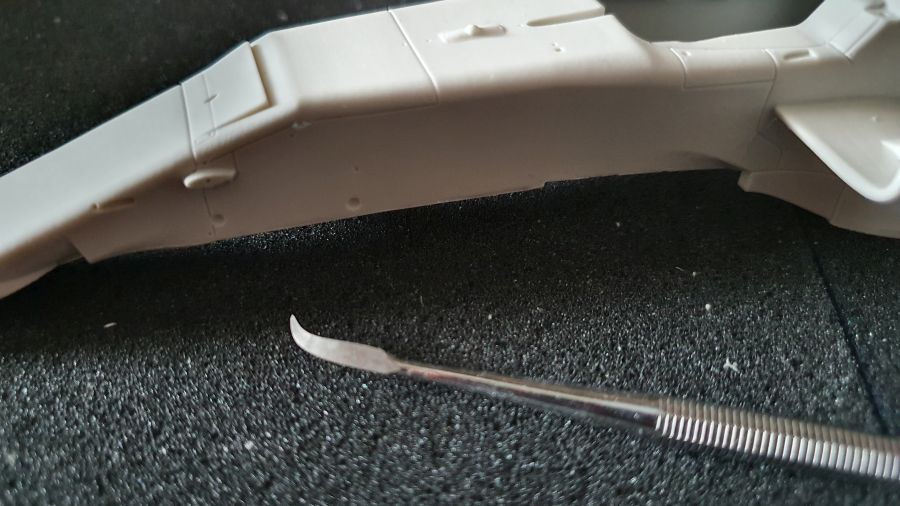
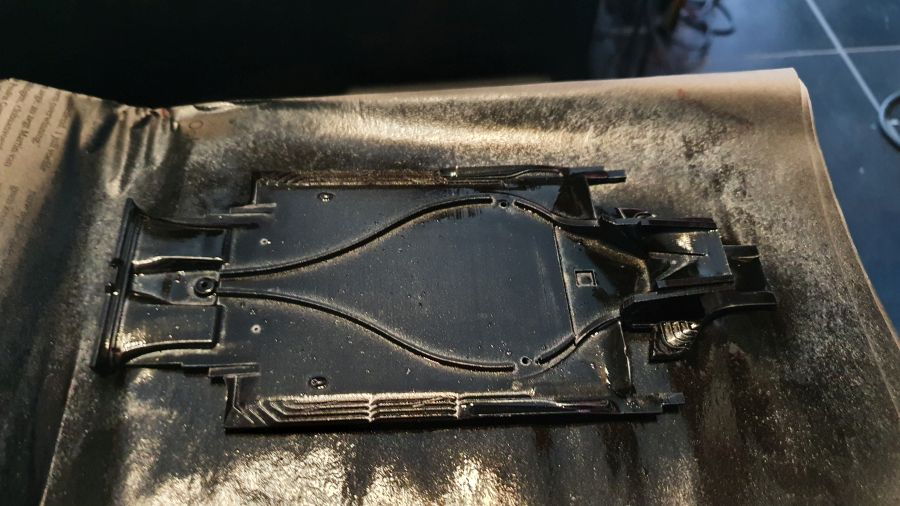
De paneellijnen worden wat dieper gemaakt.
The panel lines are cut a bit deeper.
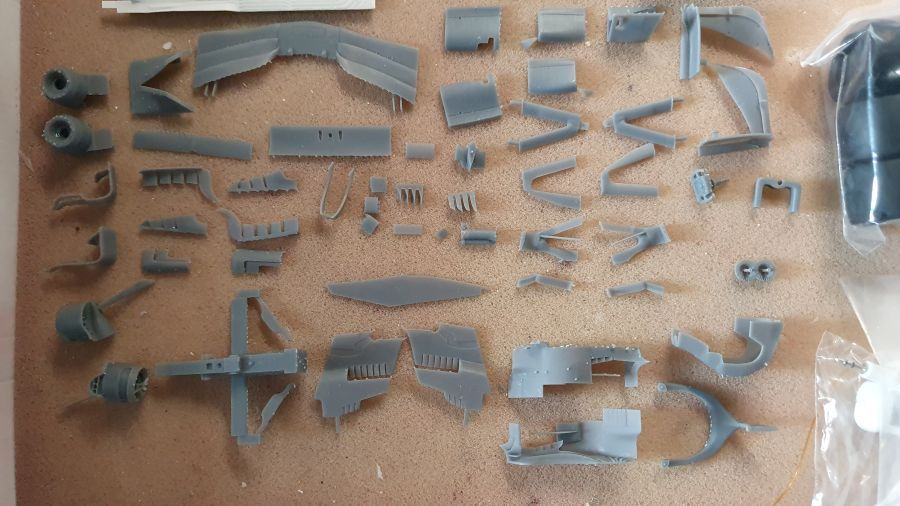
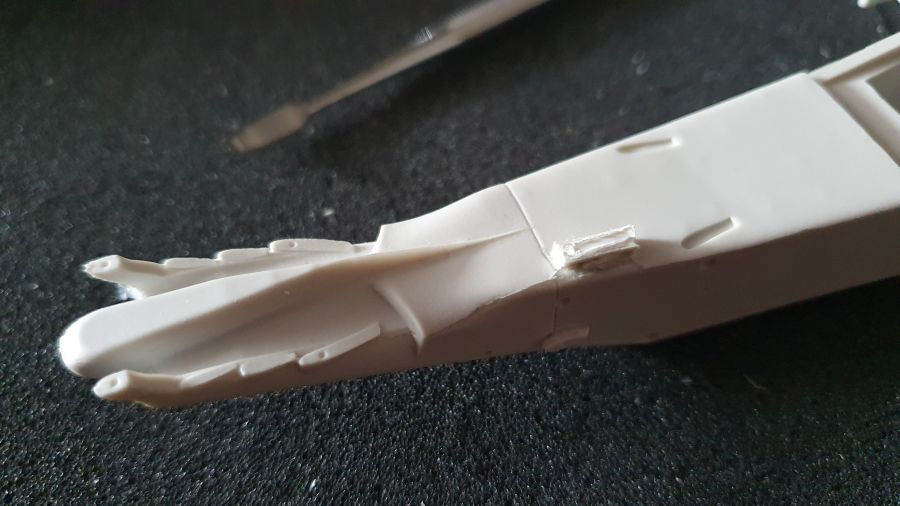
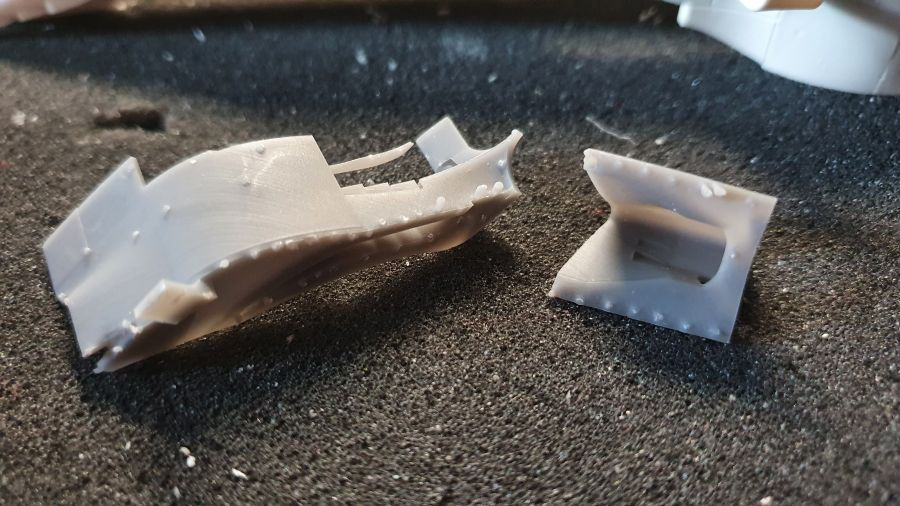
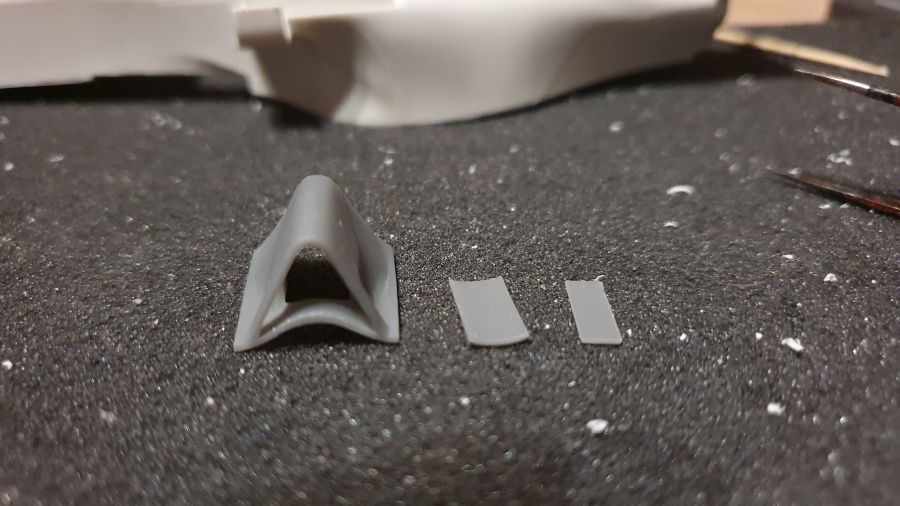
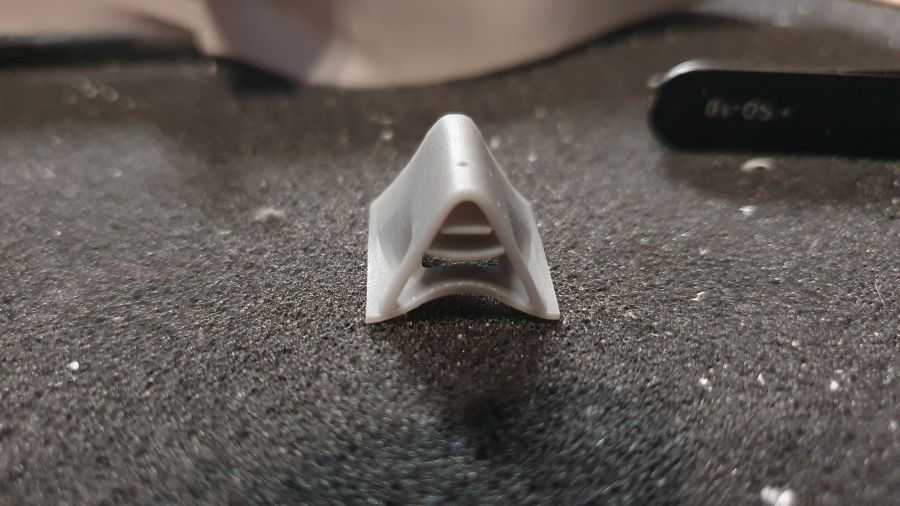
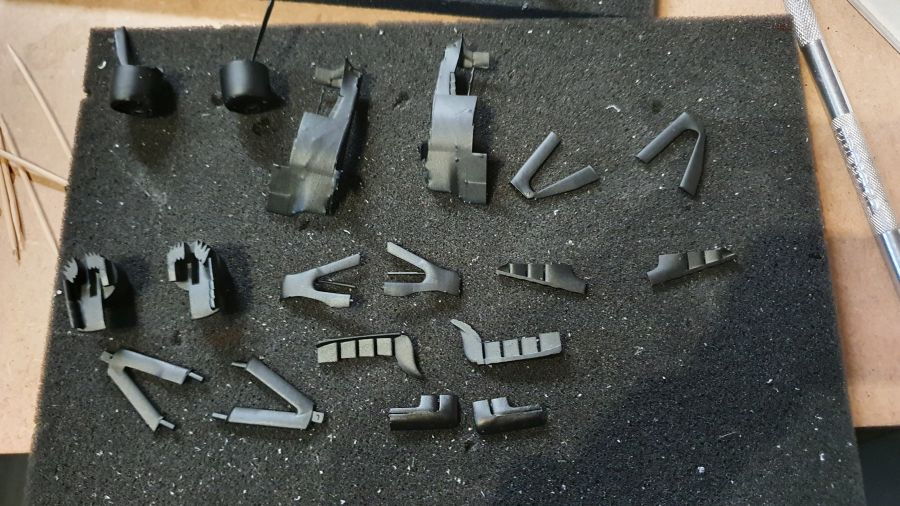
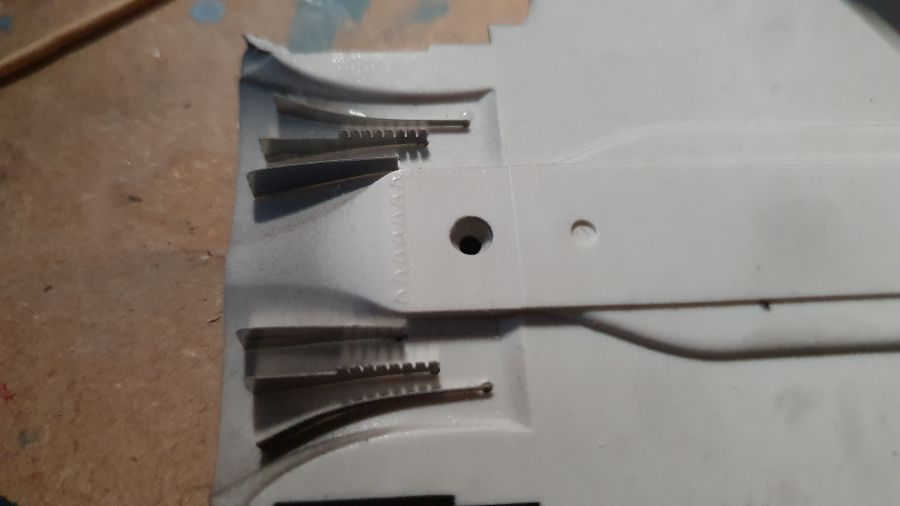
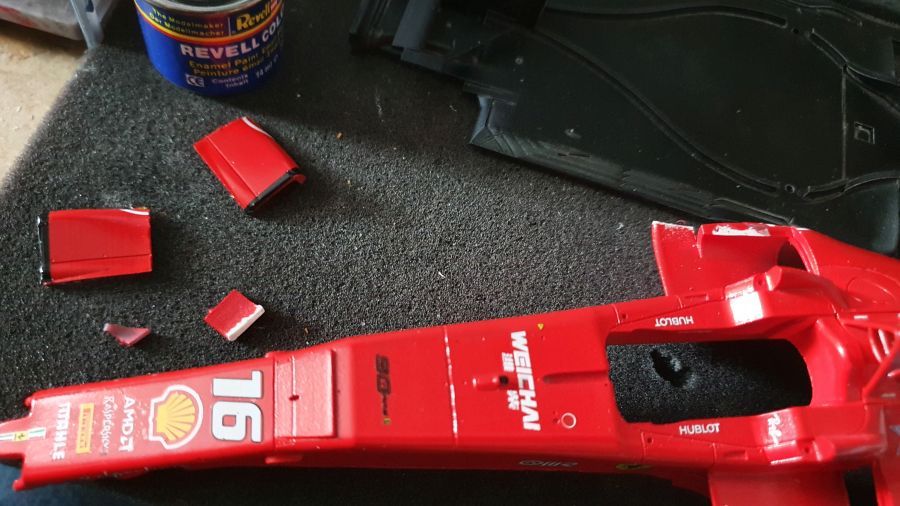
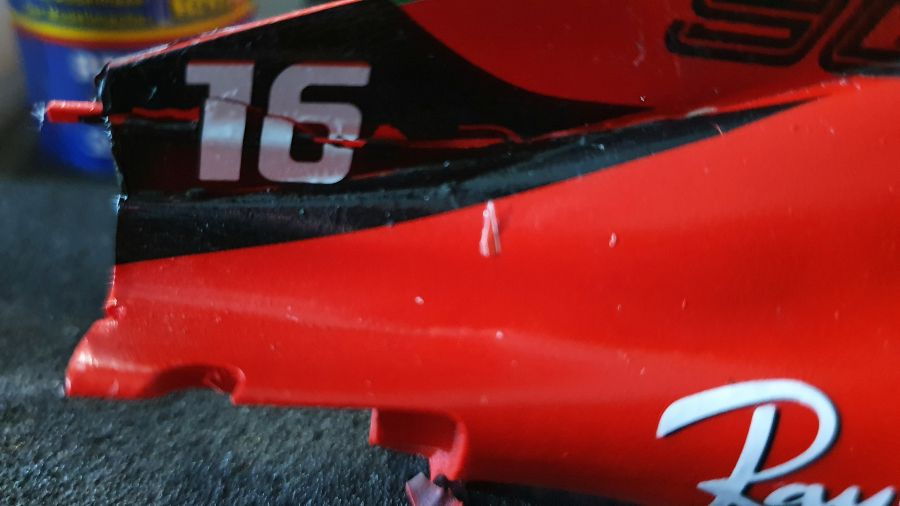
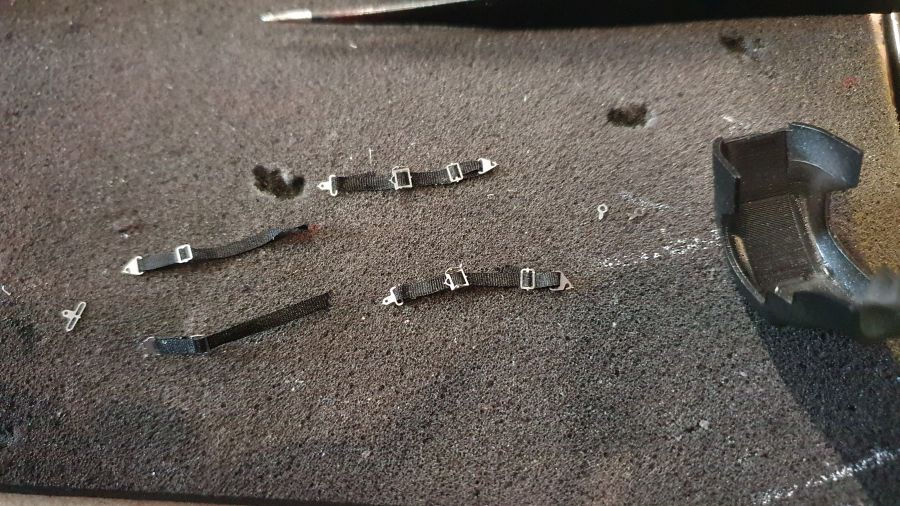
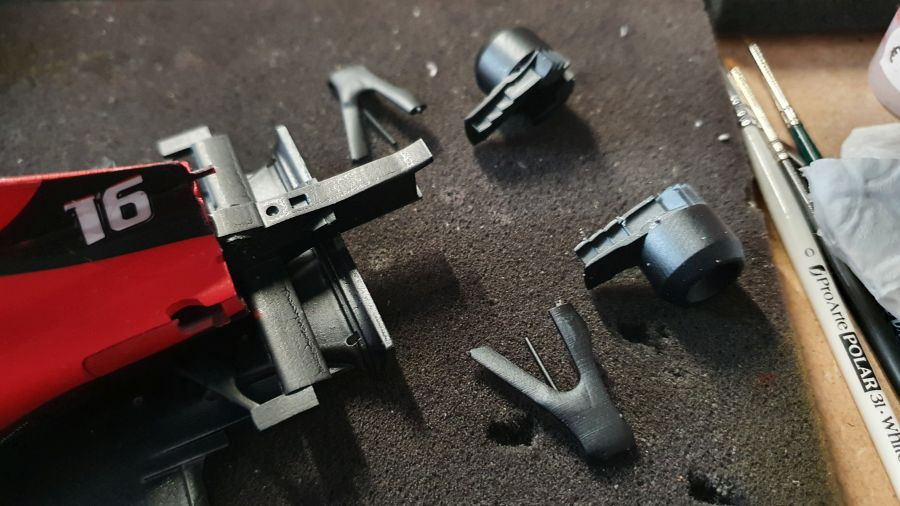
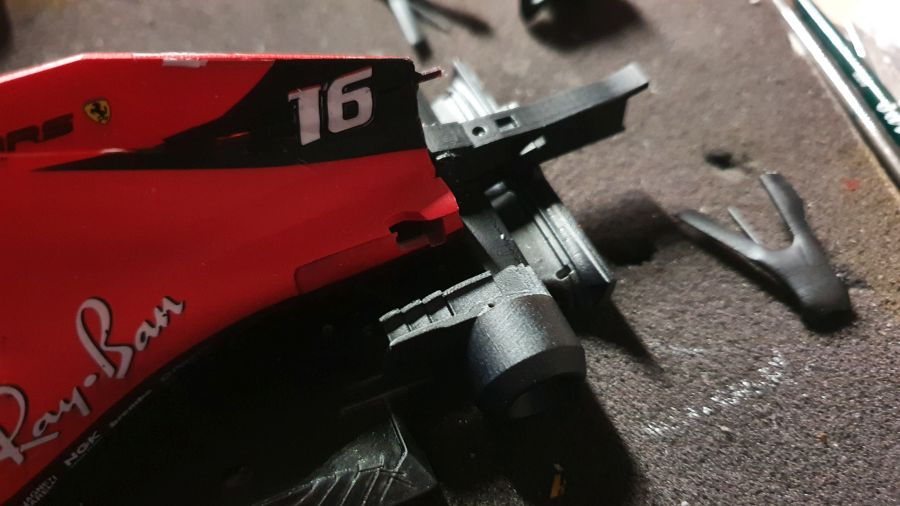
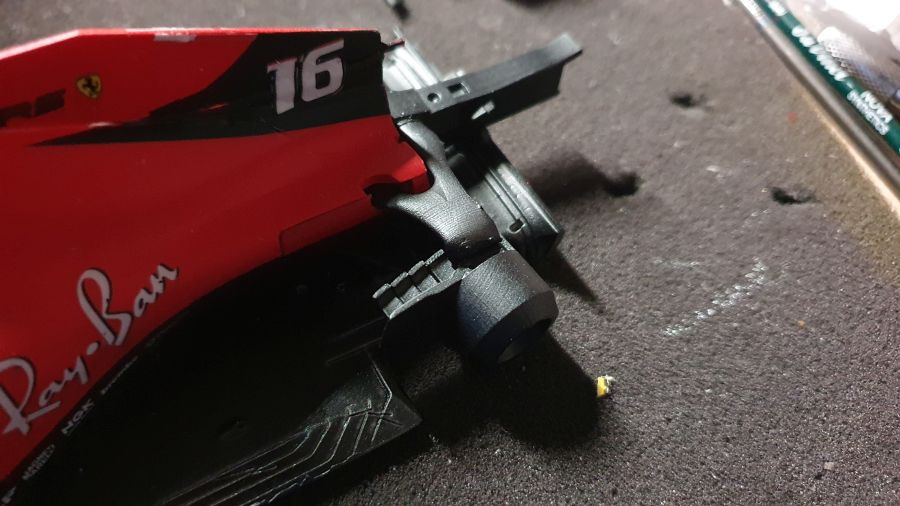
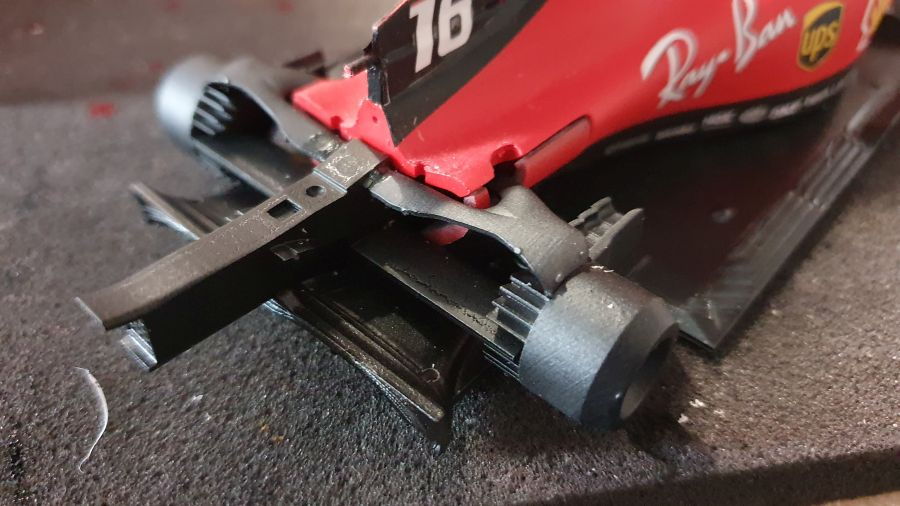
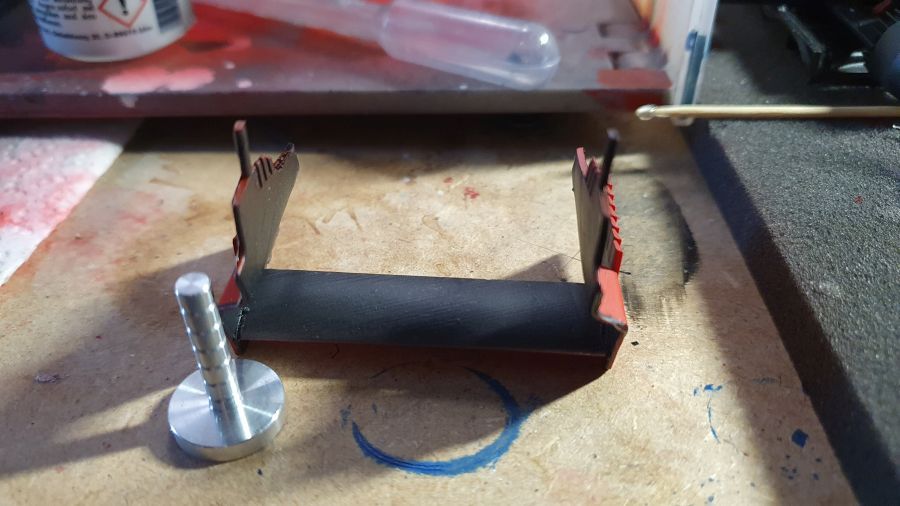
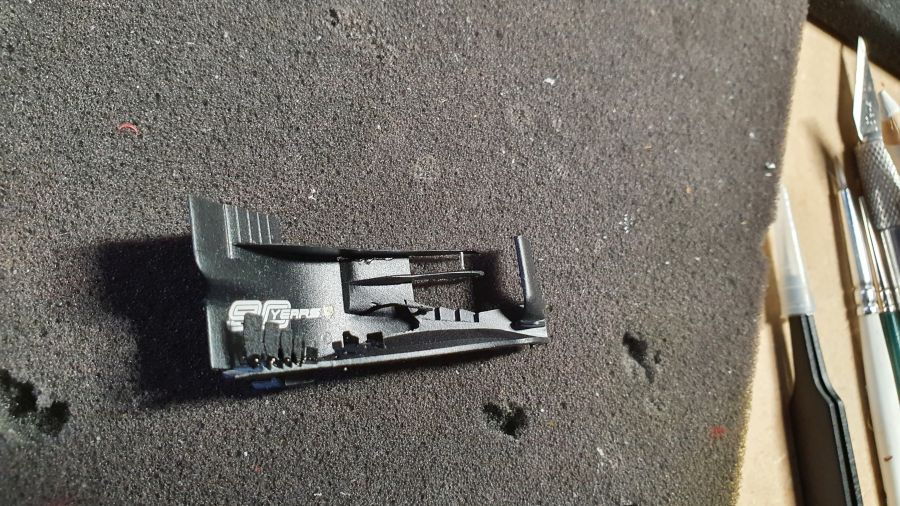
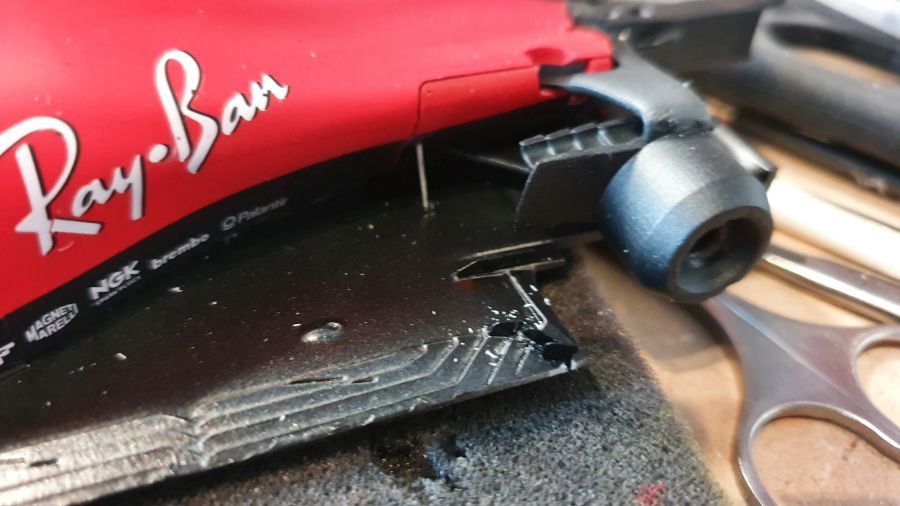
Al het 3D-printwerk moet bijgewerkt worden. Erg voorzichtig zijn, sommige delen zijn erg breekbaar.
All the 3D printed parts need some work. Be careful, some parts are very fragile.
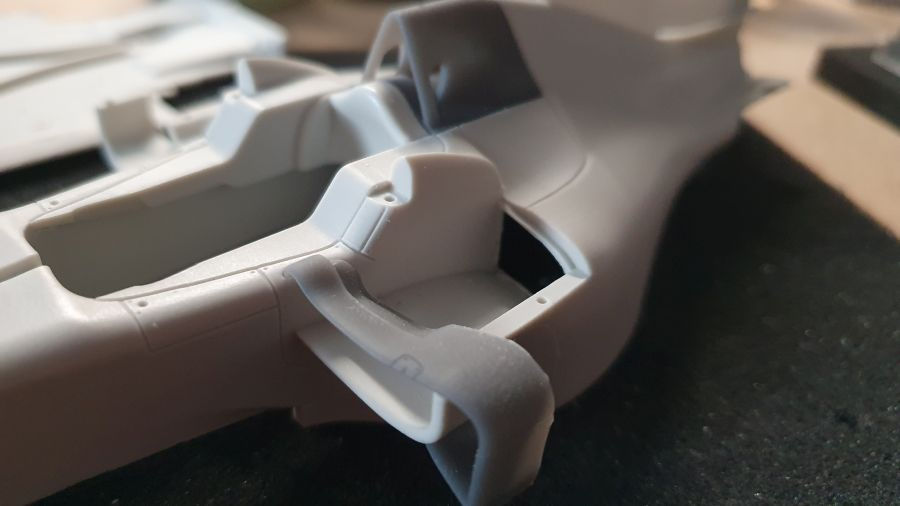
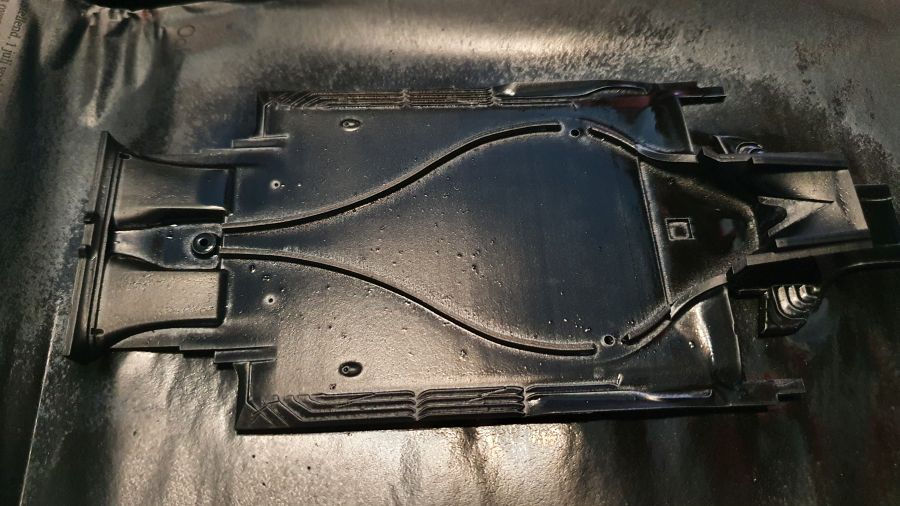
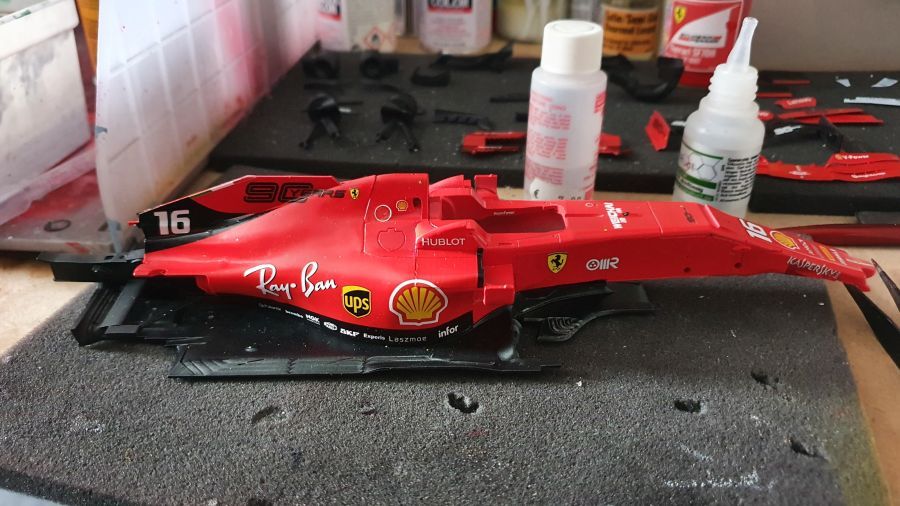
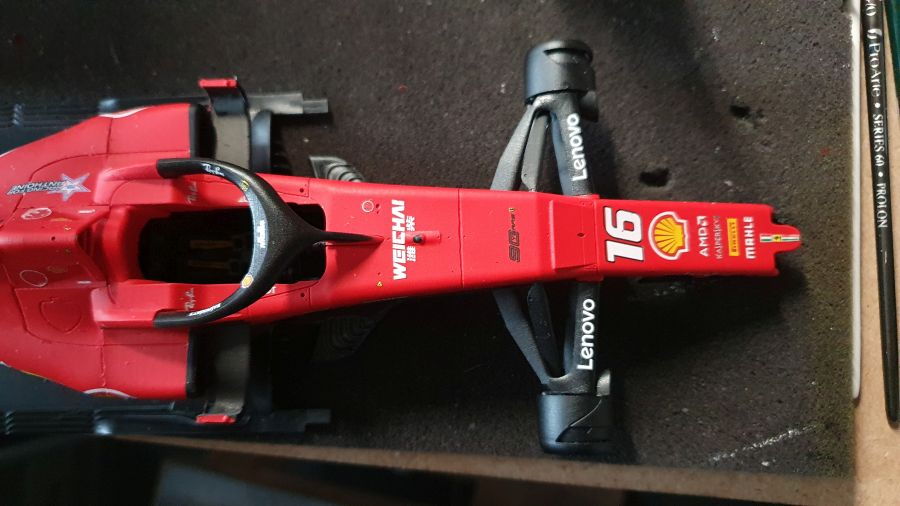
Ik ben onder de indruk van de pasvorm.
I am very impressed about the fit.
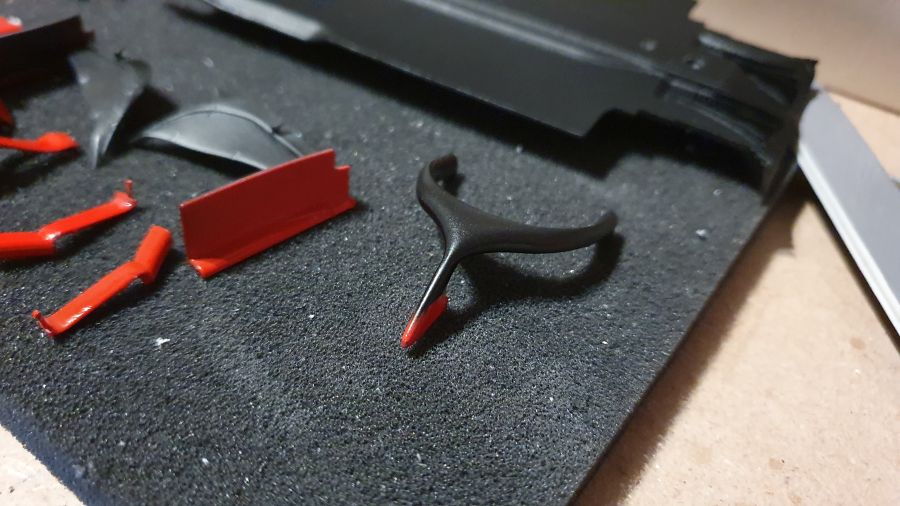
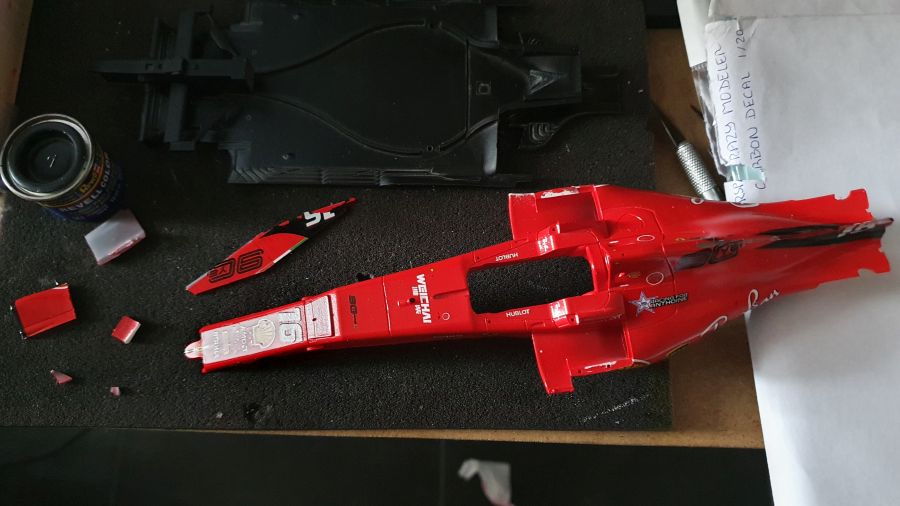
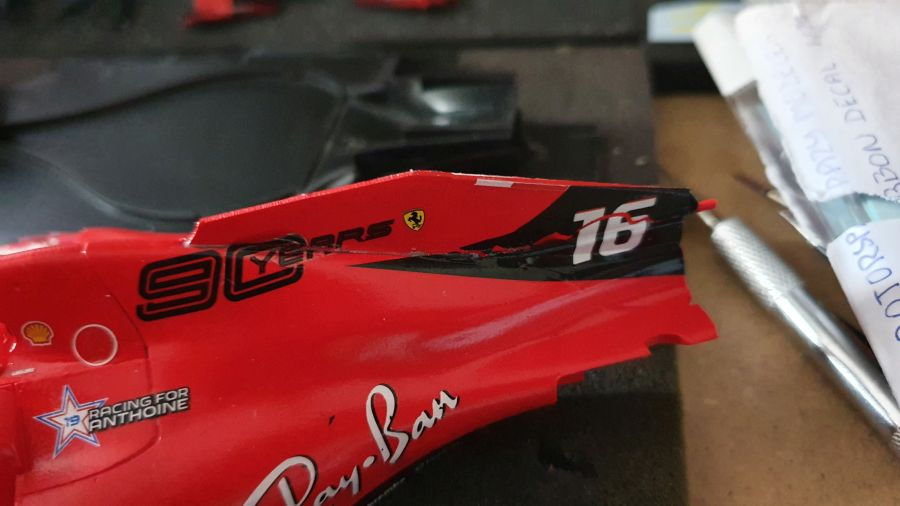
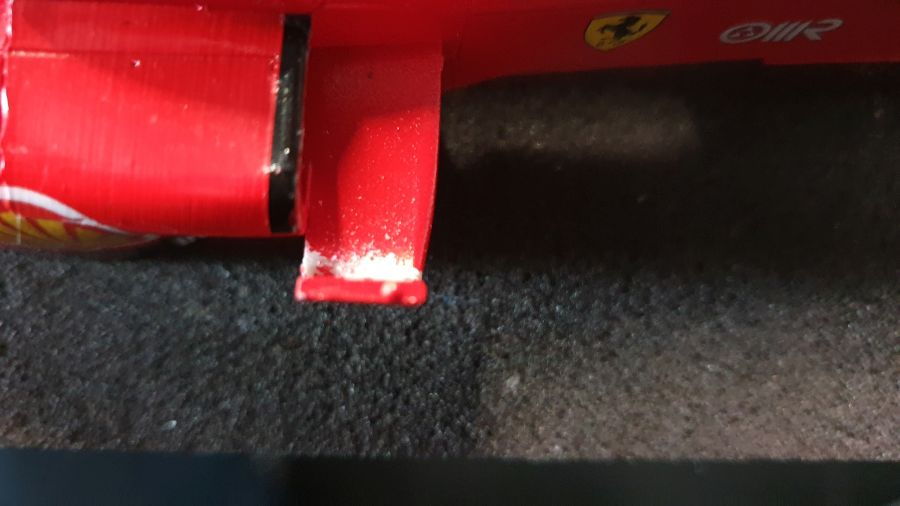
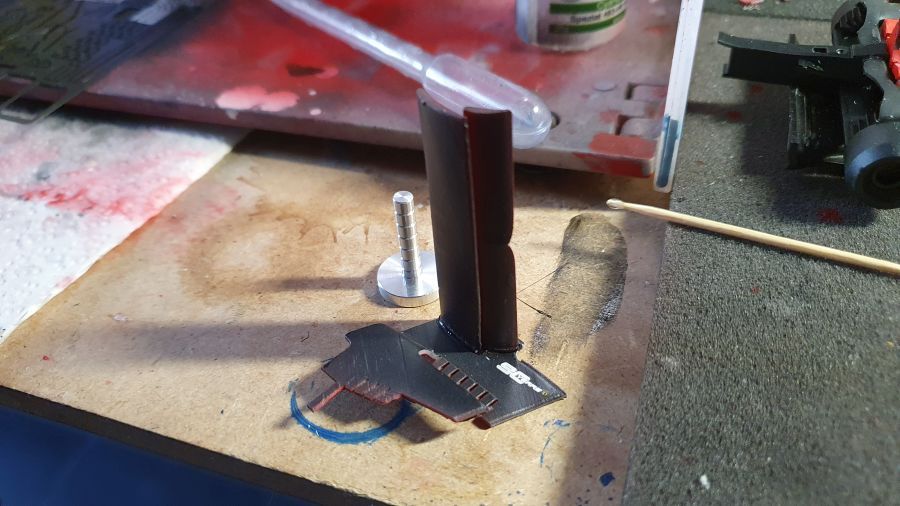
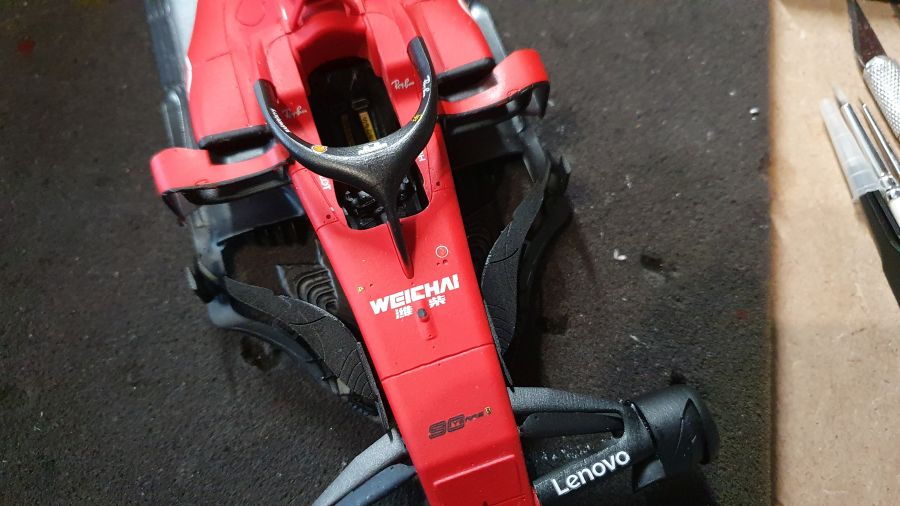
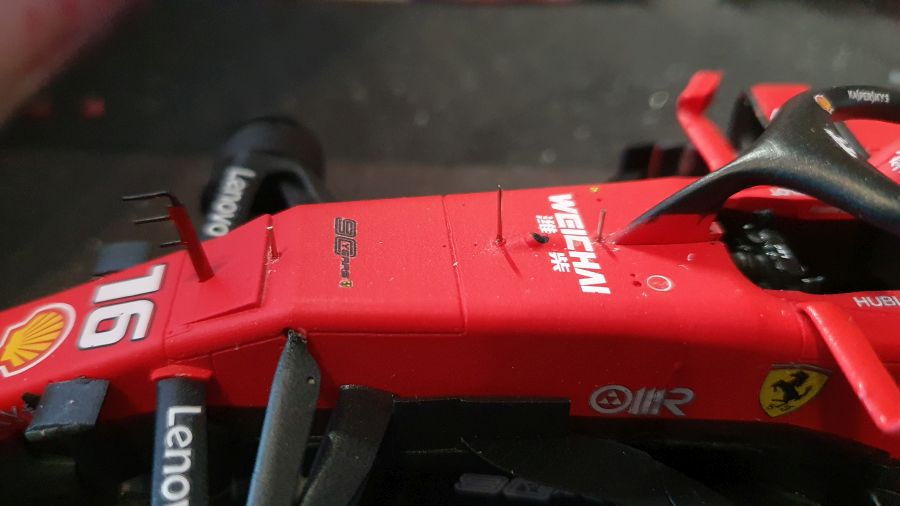
De vin heeft wat meer aandacht nodig. Ook moet ik even wat foto's bestuderen van de Italiaanse versie. Hoort dat stukje achteraan te blijven zitten of niet?
The fin needs some more attention. Also i need to study some photo's of the Italian version. Should that small piece at the back stay or not?
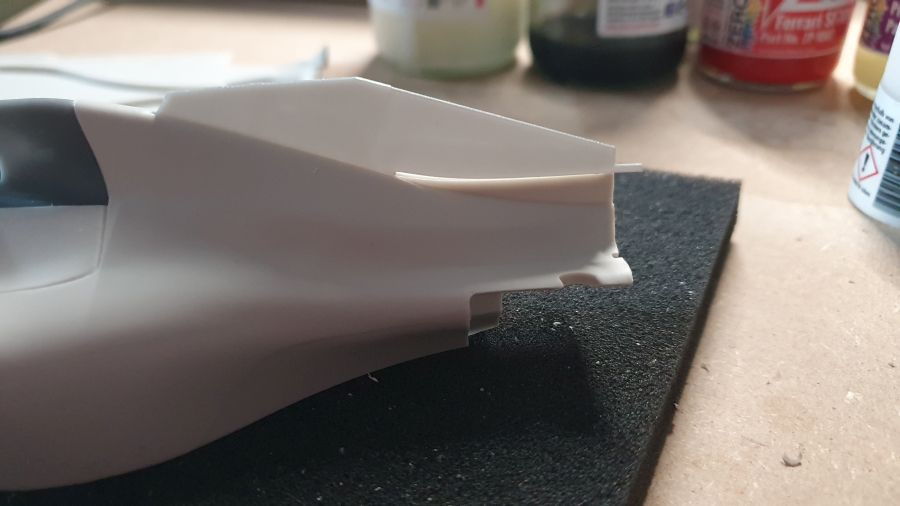
Ik denk het dus wel.
I think the answer is yes.
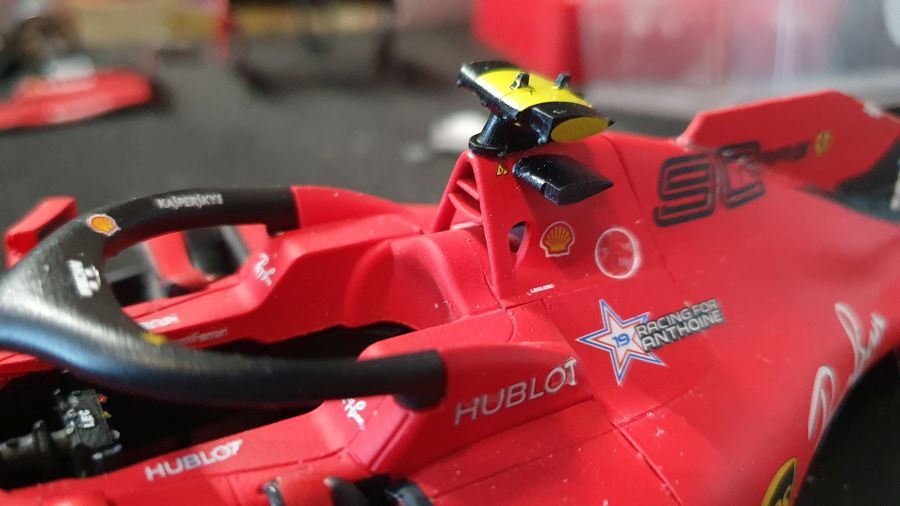
Dan de luchthapper...
Then the airbox...
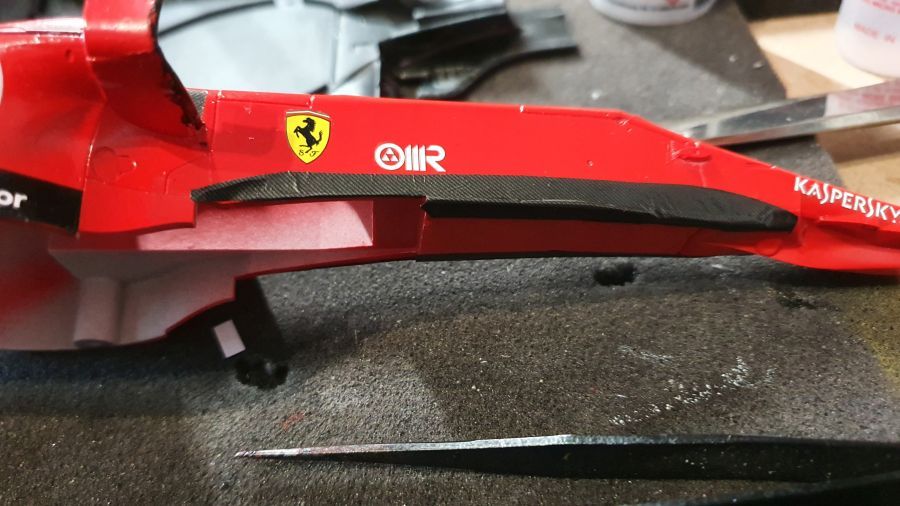
Voor mij de 1e keer. Ik ga de 'armeluis carbon' proberen.
To me the 1st time. I am going to try the 'poor man's carbon'.
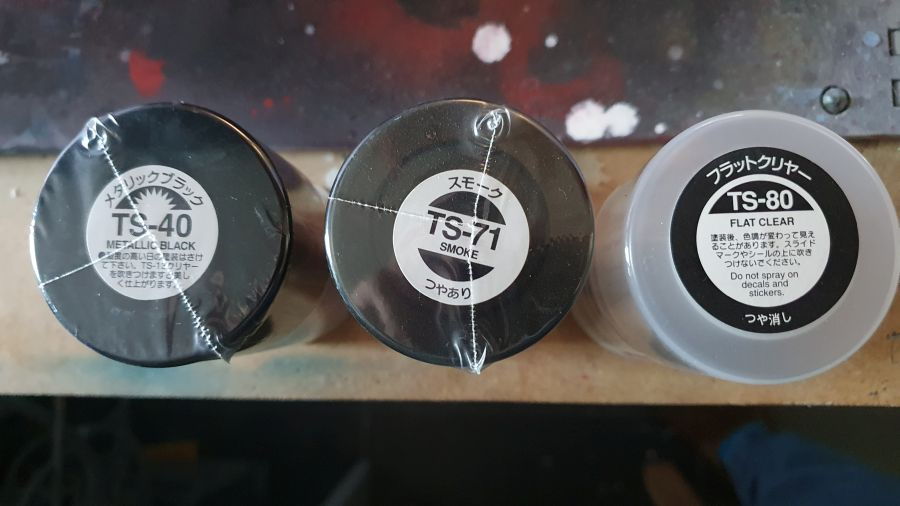

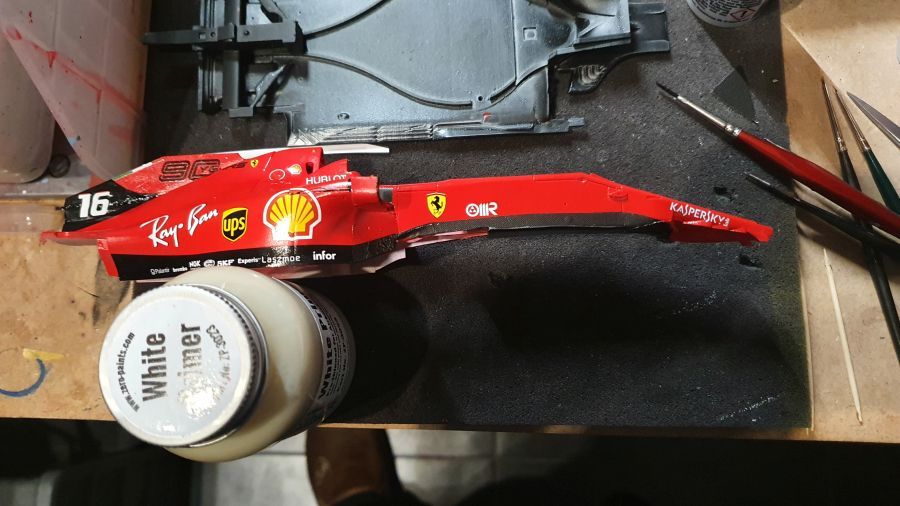
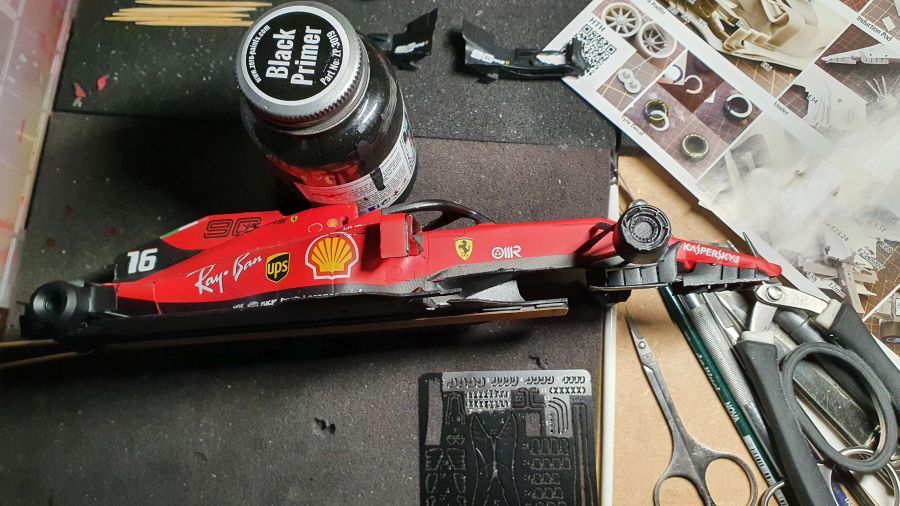
En het rood, ZP-1007 Ferrari SF70H van Zero Paints. En ZP-3002 Clear als onderlaag voor de decals. Later spuit ik het weer mat.
And the red, ZP-1007 Ferrari SF70H from Zero Paints. And ZP-3002 Clear as a layer for the decals. I will airbrush it with a mat clear later.

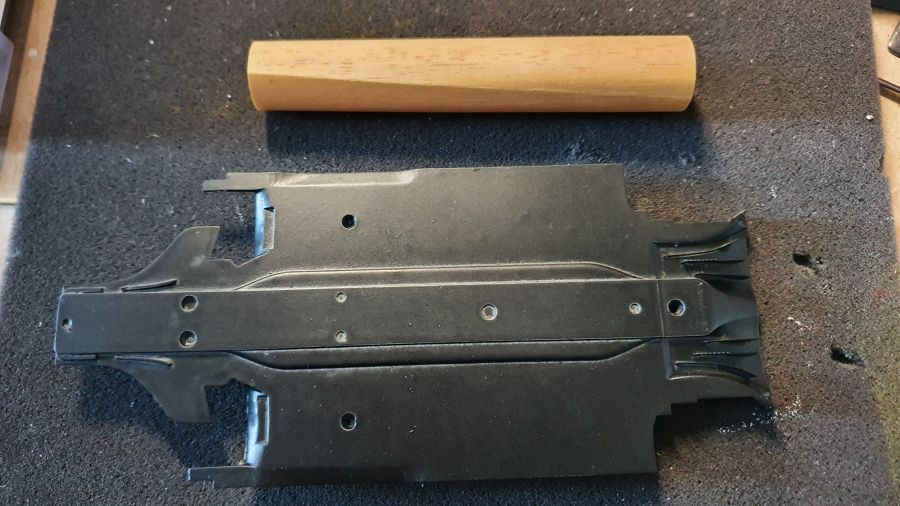
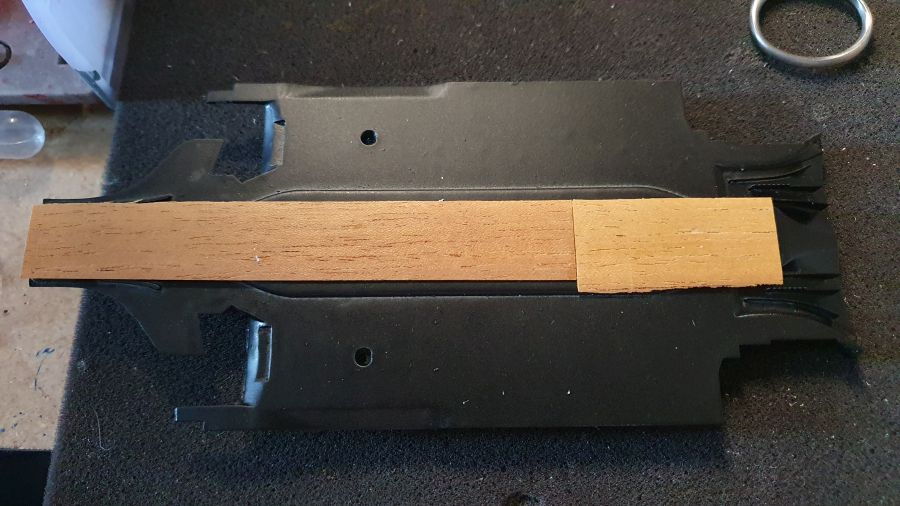
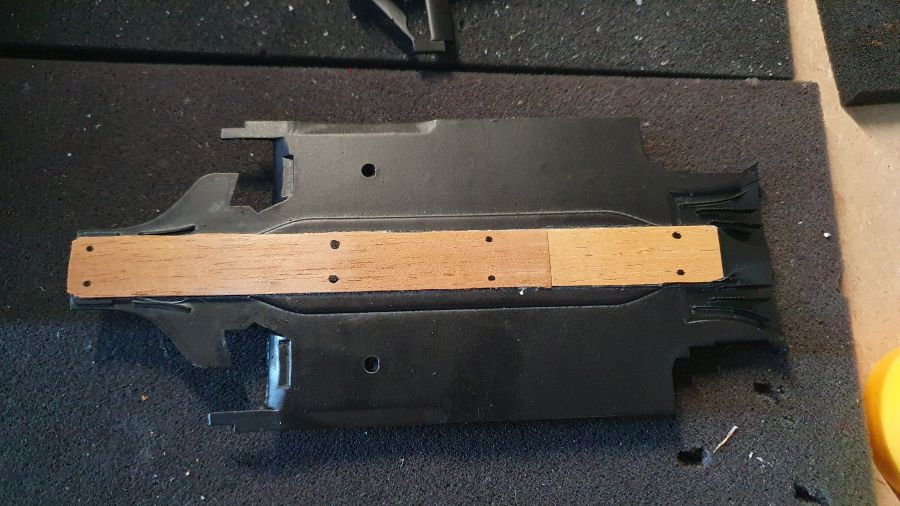
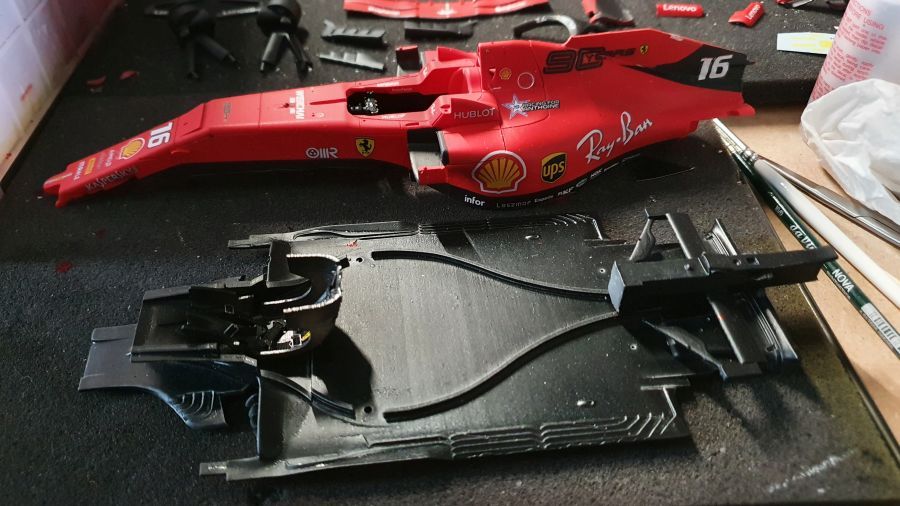
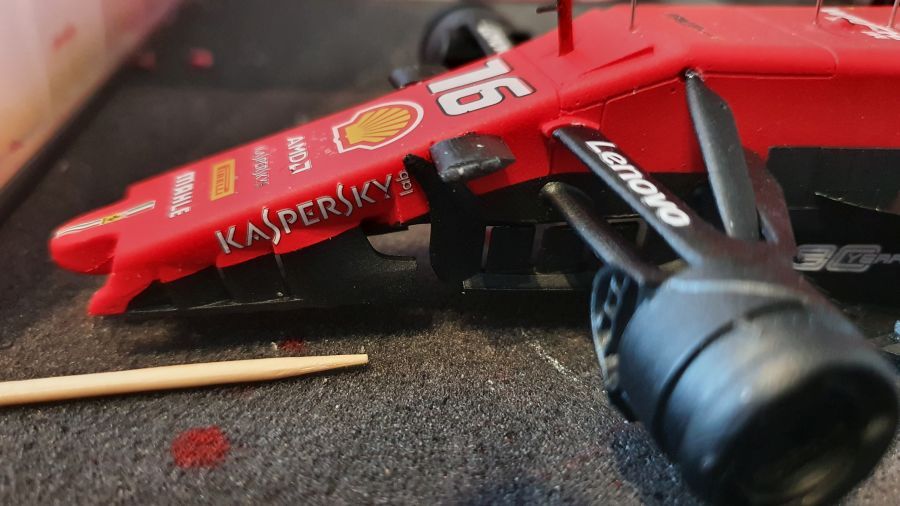
Meer werk aan de vloer...
More work to the floor...
Voor de het maken van de plank gebruik ik weer het velletje cederhout dat bij sigaren in de doos zit. Met dank aan Jack voor het leveren van de velletjes.
To create the plank i am using the cedar wood sheet that's in a box of cigars. Thank you Jack for delivering the sheets.
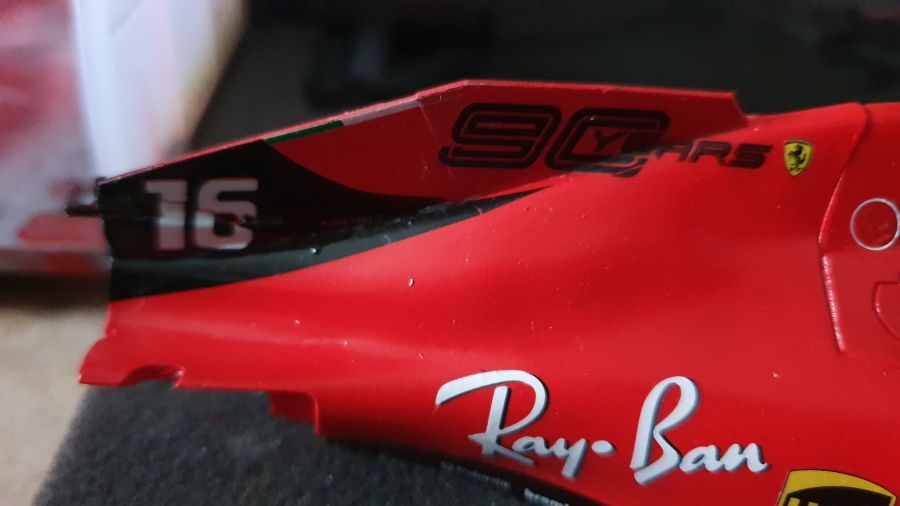
Het decalproces kan beginnen. Ik moet dit wel zorgvuldig plannen. De auto moet immers mat gespoten worden? En nu zit er nog glanslak op voor een betere hechting. Ik will natuurlijk niet dat decals aan de afplaktape blijft zitten. En deze zal ik zeker nodig zijn. Dus eerst de decals op het rood. Even wachten met zwart, zodat het rood eerst de mat lak kan krijgen.
Starting the decal process. I need to plan it carefully. The car needs to get a mat lacquer coat. And now there is gloss on it for a better adhere. I don't want the decals to keep stuck to masking tape. And i will need it for sure. So first the decals to the red. Waiting with the black, so the red can get a mat coat first.
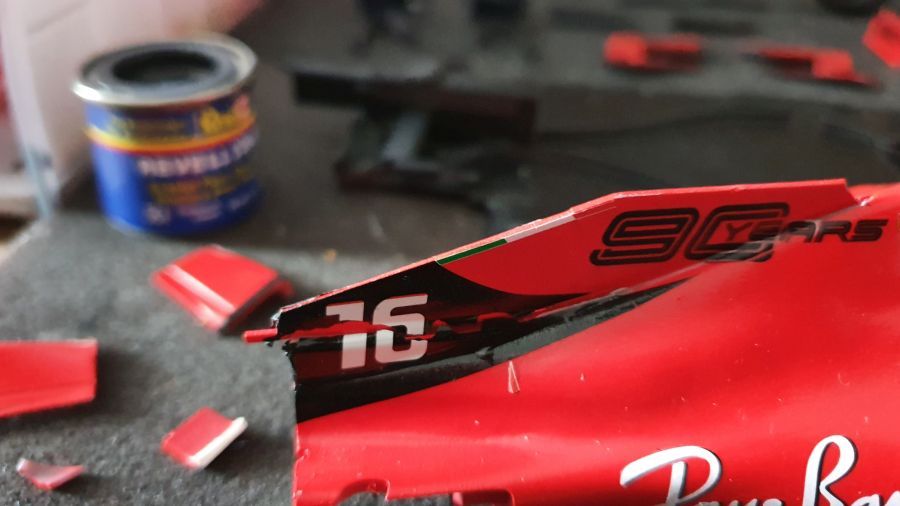
Vreemd dat de decal volgens mij te kort is...
Strange as the decal is too short...
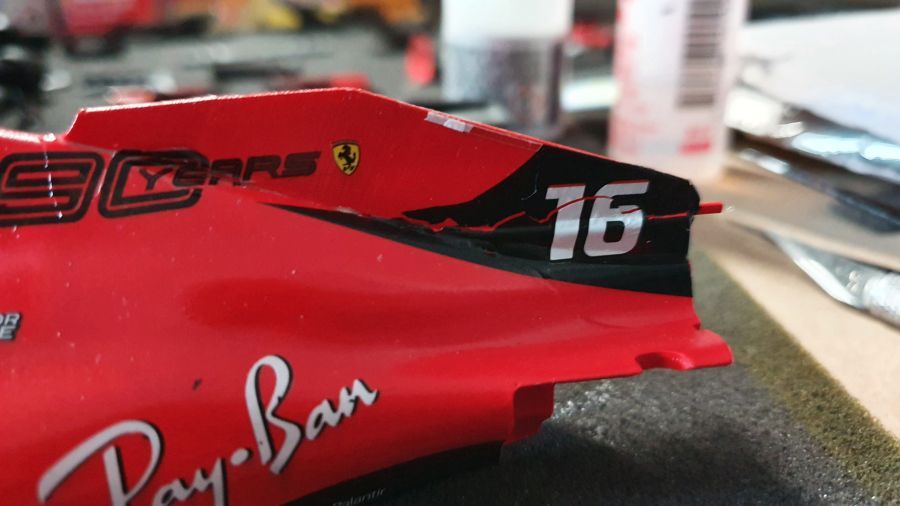
Decals zitten erop. Nu eerst goed laten drogen voordat ik de lak spuit.
Decals are on. Now let it dry before i will apply the lacquer.
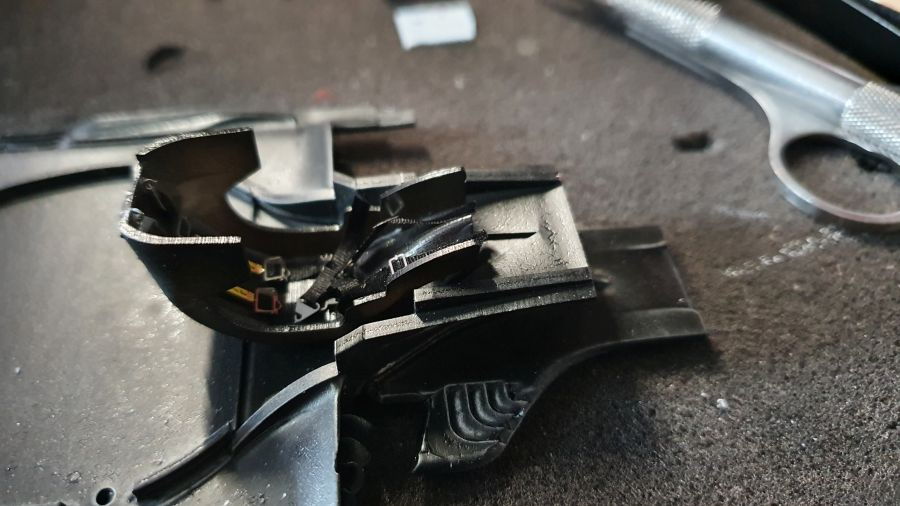
Ik wilde even zien hoe ik het zwart op de body kan toevoegen. De vloertegels zijn erg hard.
I wanted to have a look how to add the black to the body. The floor tiles are very strong.
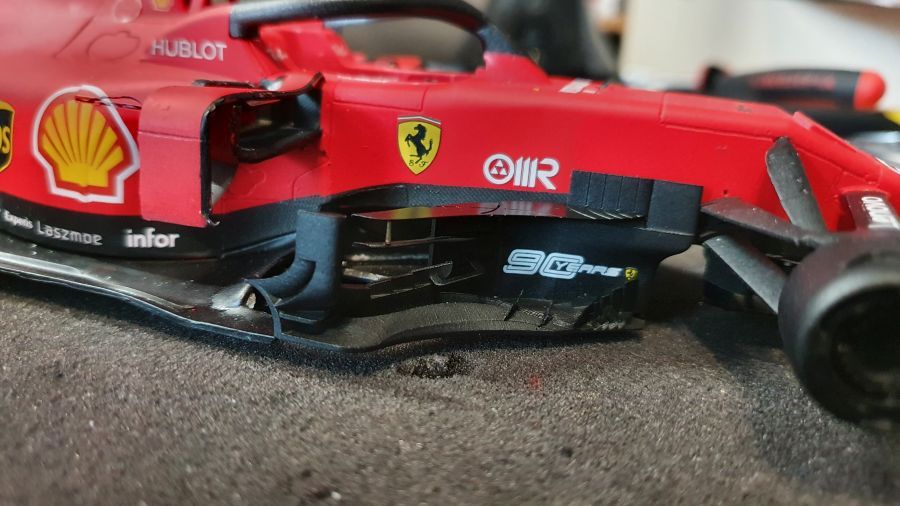
Repareren...
Repairs...
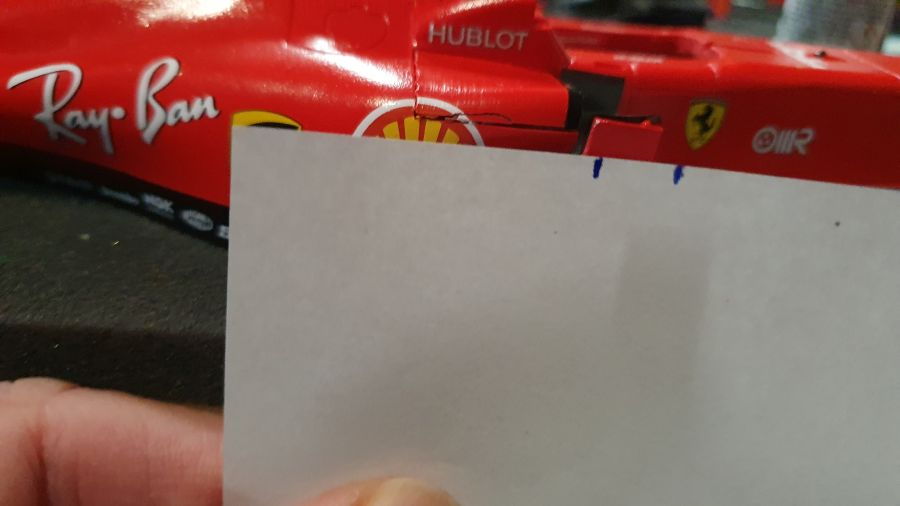
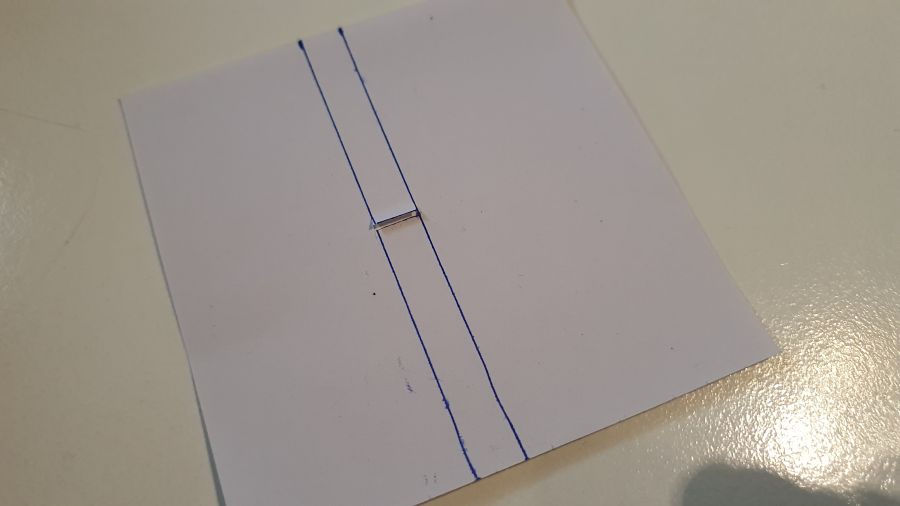
Ik moet dit maskeren zonder tape te gebruiken.
I need to mask this without using tape.
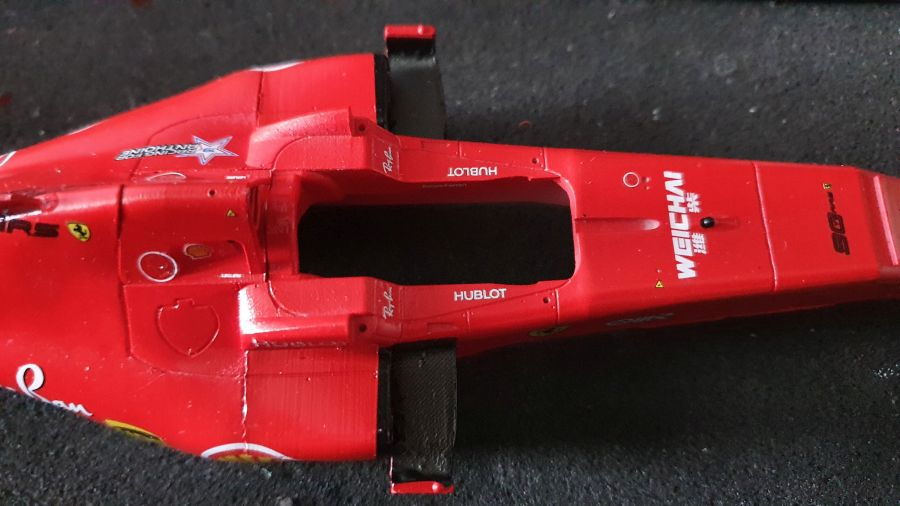
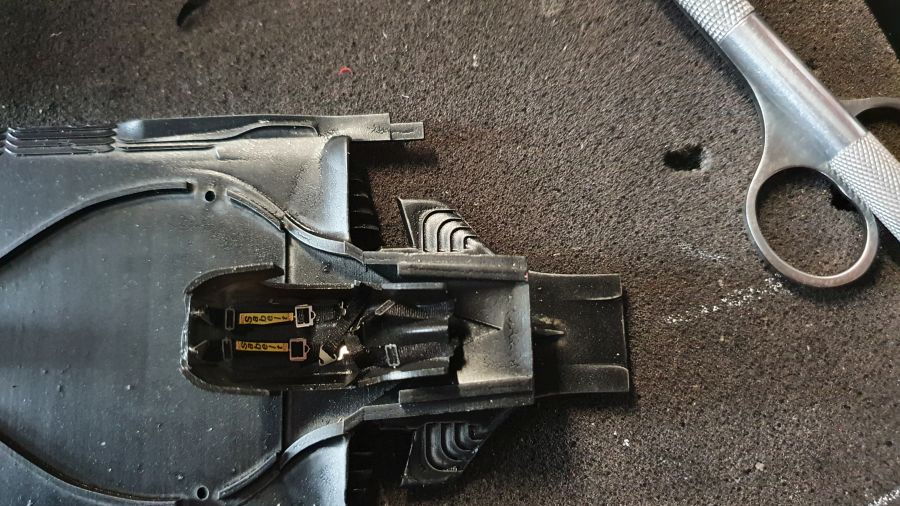
Het zwart bijwerken... en de binnenkant van de sidepods bekleden met CF-decals
Touching up the black... and applying CF-decals to the inside of the sidepods.

Het lijkt erop...
Getting there...
Een template maken voor het CF-werk.
Creating a template for the CF-work.

Zero Paints mat lak er overheen.
Zero Paints mat lacquer applied.
Dan door naar de stoel...
On to the seat...

Nu dichtmaken...
Closing it up now...
En verder met de achterwielophanging...
To continue with the rear wheel suspension...
En de voorkant...
And the front...
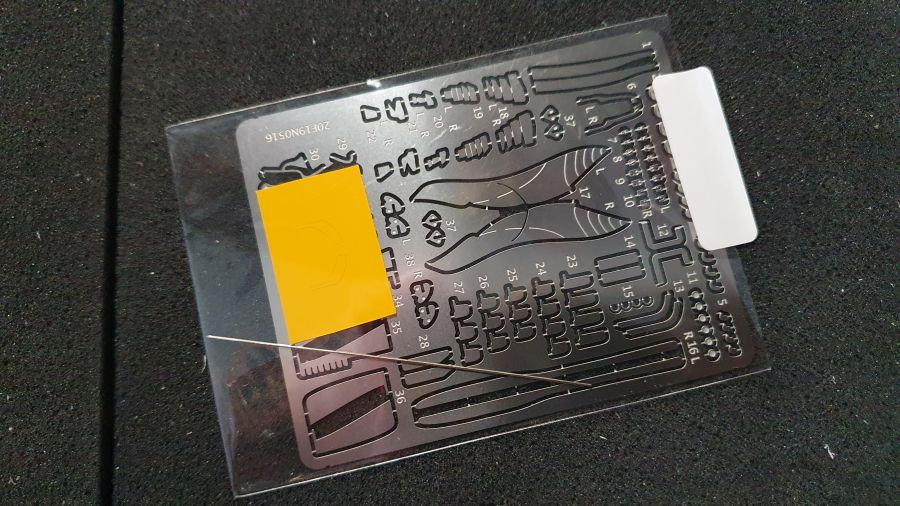
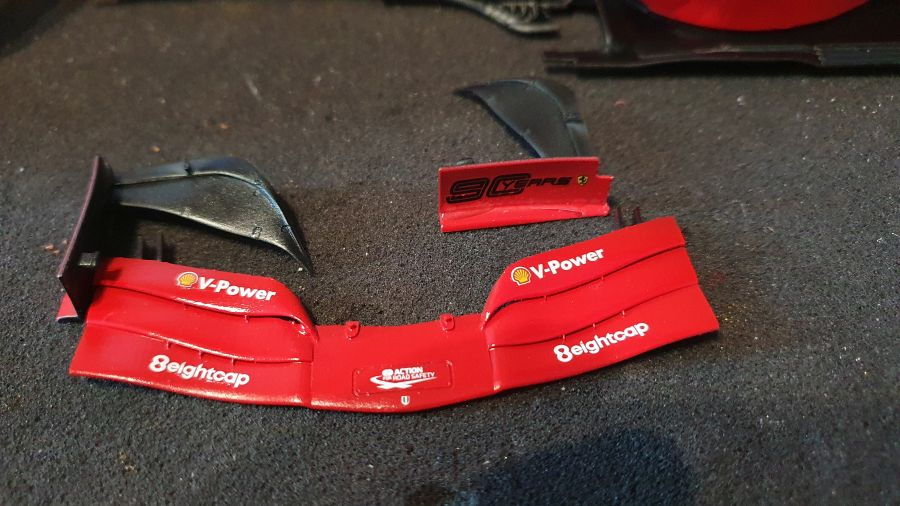
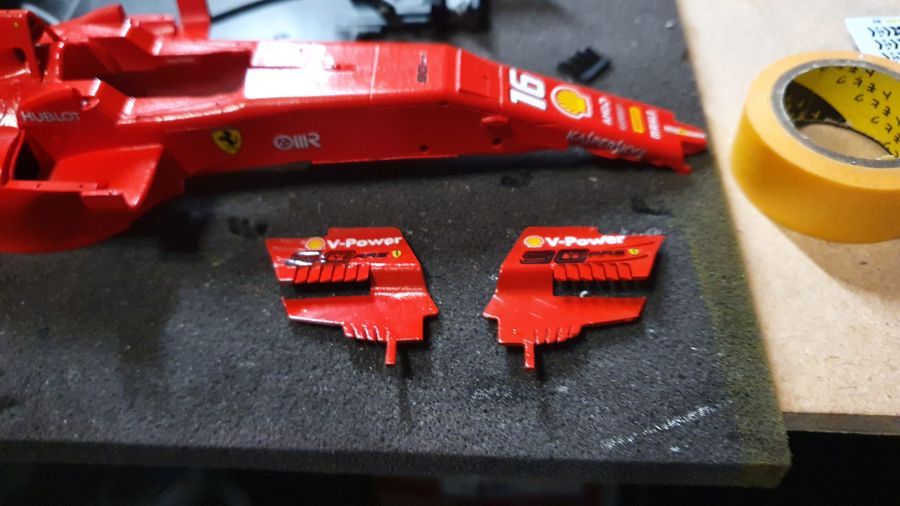
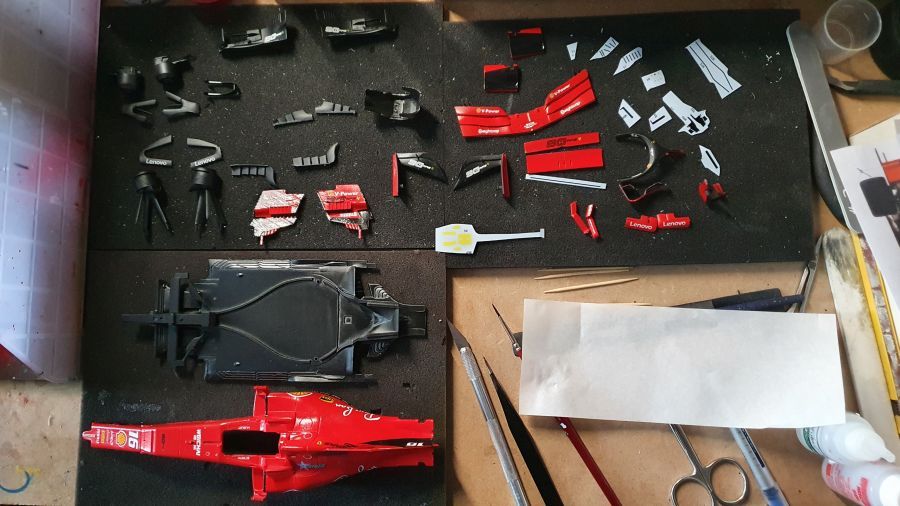
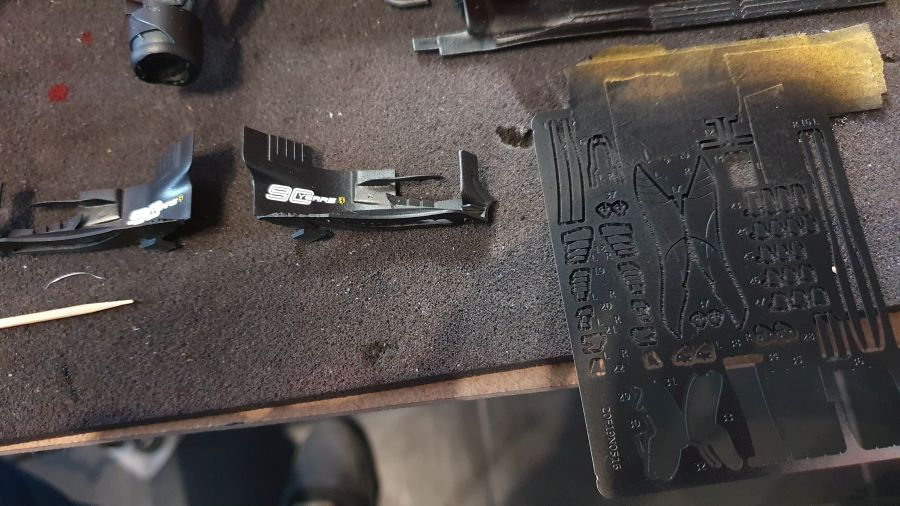
Daarna een hoop kleine etched delen gespoten... Deels voor de vleugels en deels voor de bargeboards.
Then painted a lot of small etched parts... Parts for the wings and parts for the barge boards.
Eerst de achtervleugel in elkaar zetten.
First combining the rear wing.
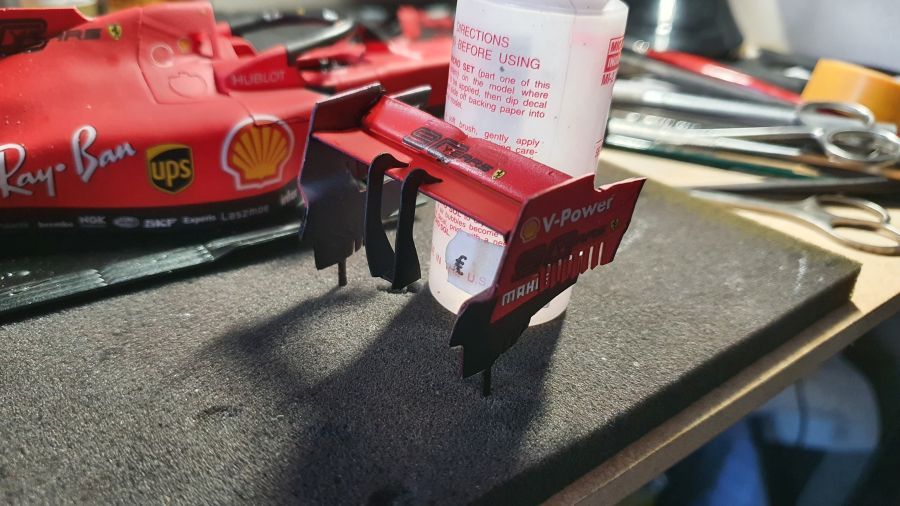
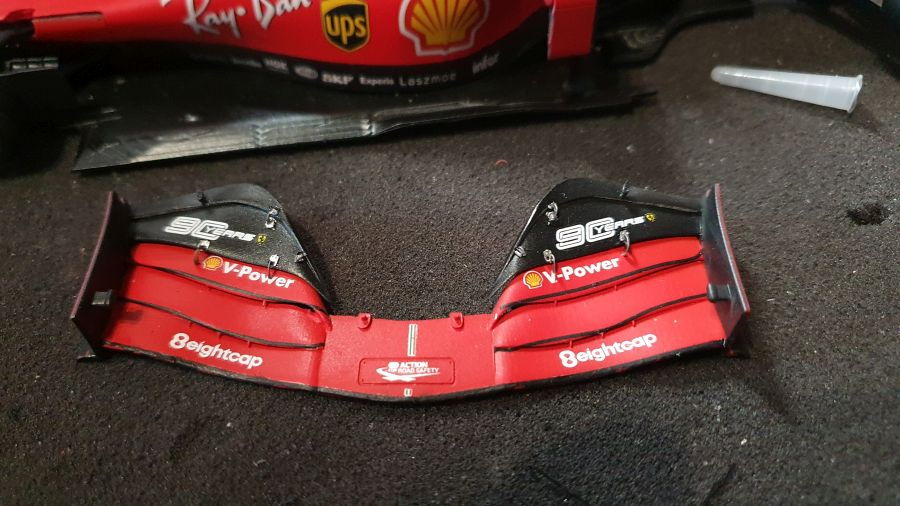
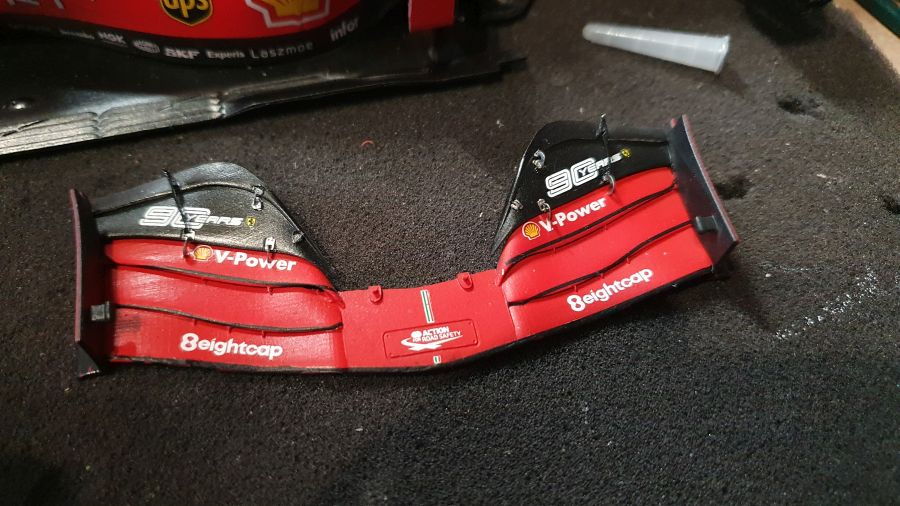
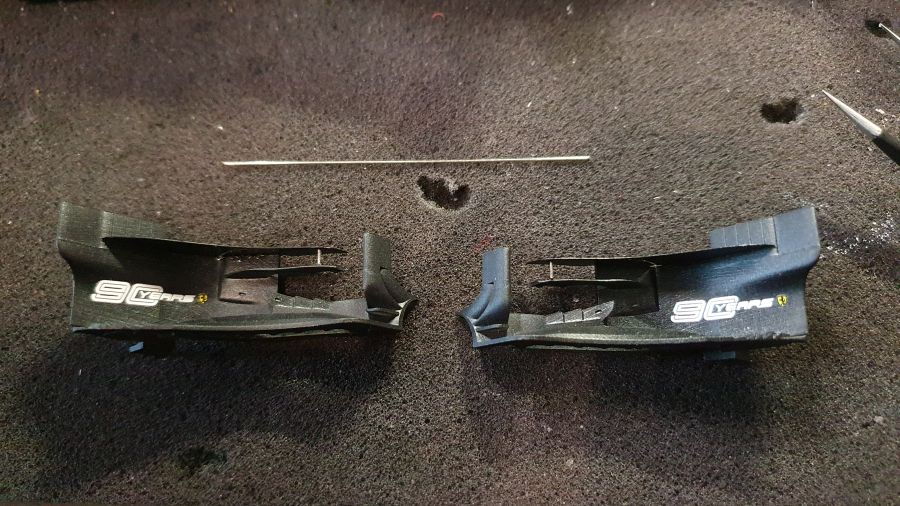
Dan de voorvleugel...
Then the front wing...
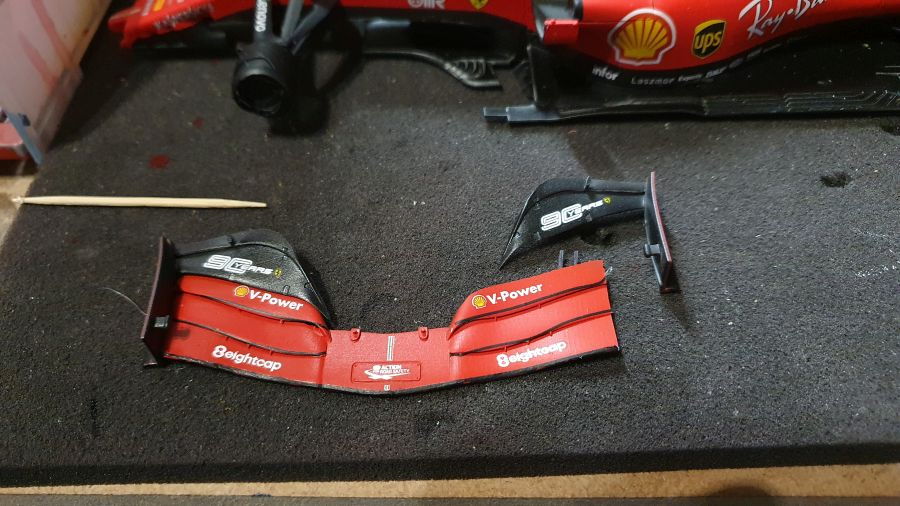
Meer aerodynamische onderdelen...
More aerodynamic parts...
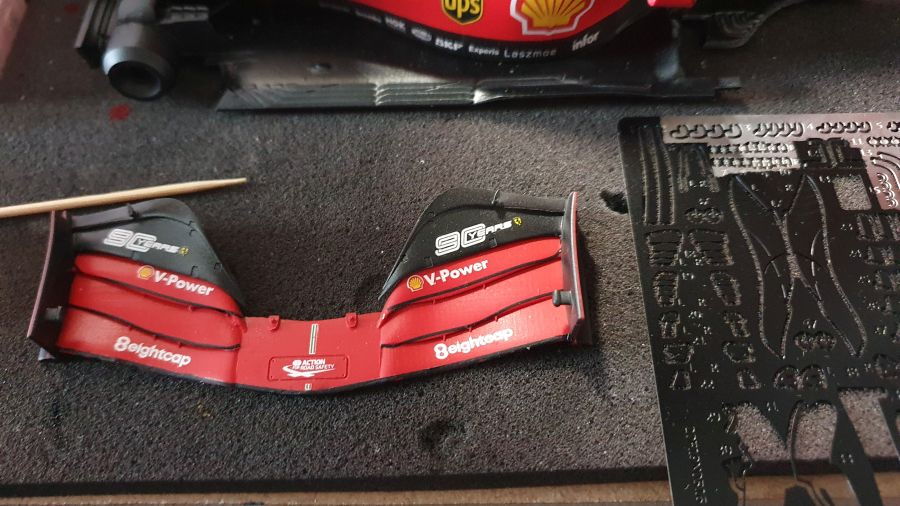
Kleine onderdelen, veel werk...
Small parts, much work...
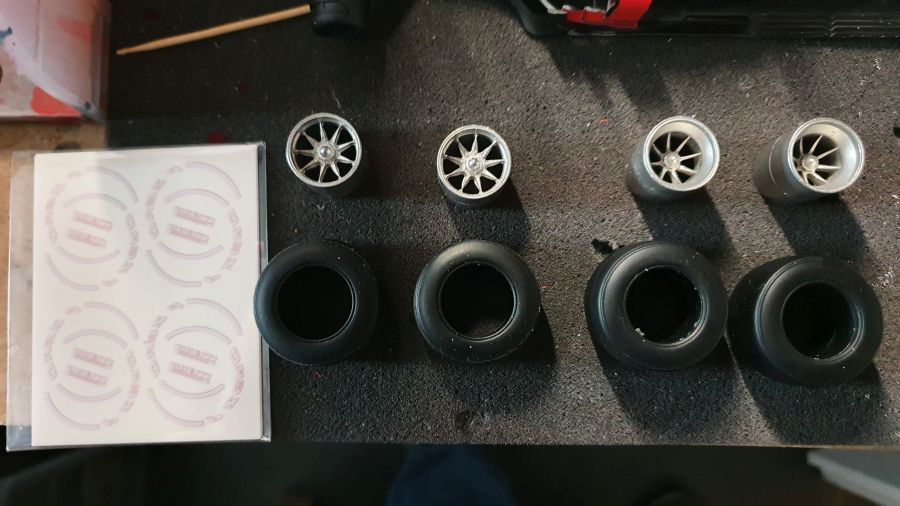
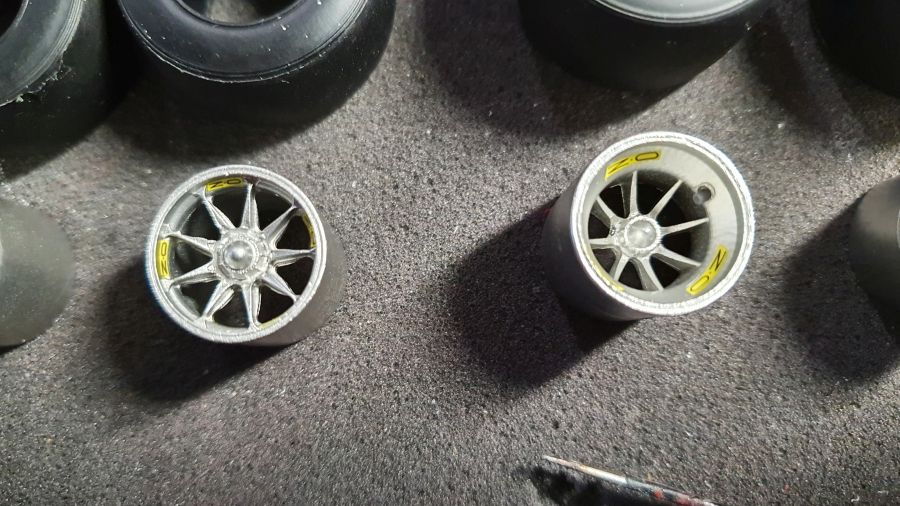
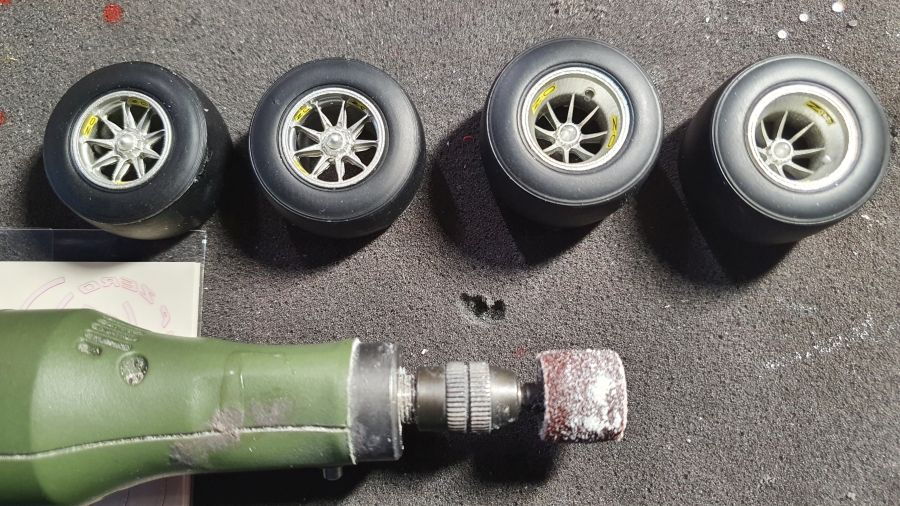
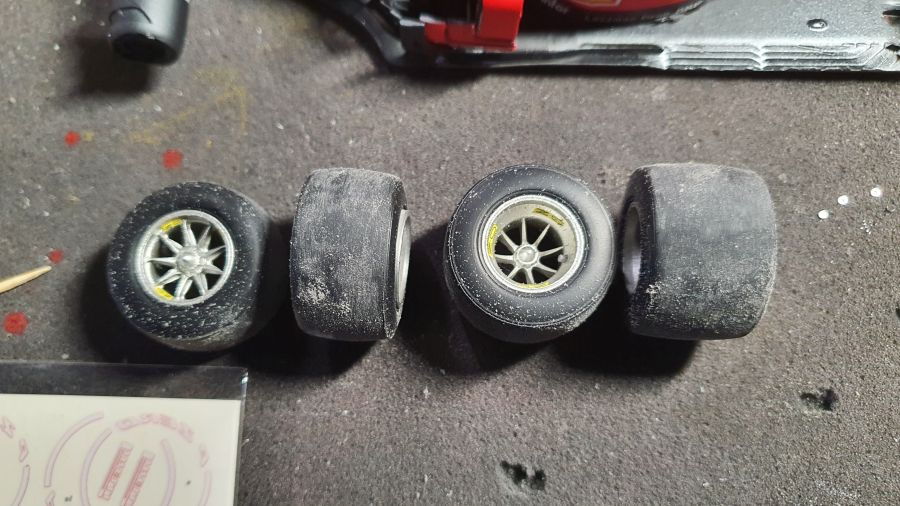
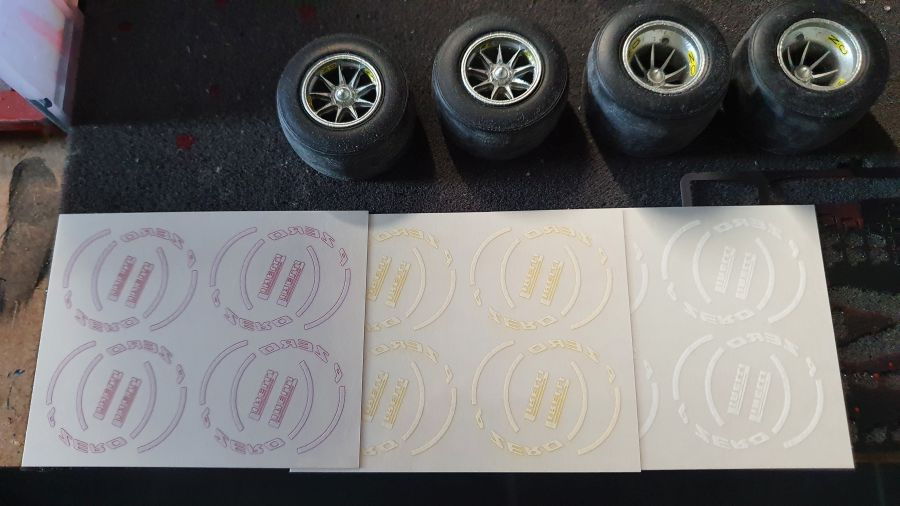
Dan naar de velgen en banden...
On to the rims and the tires...
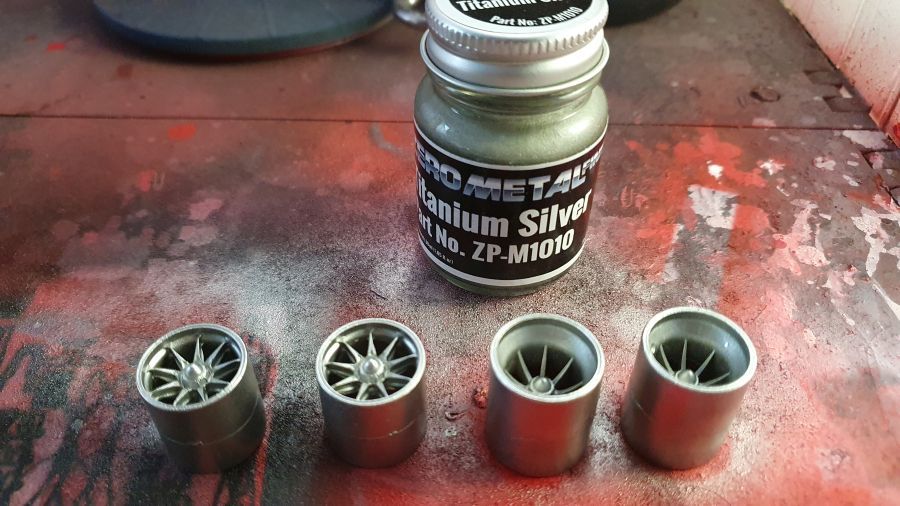
Na het aanbrengen van metaal primer spuit ik Zero Paints Titanium Zilver.
After spraying metal primer i paint with Zero Paints Titanium Silver.
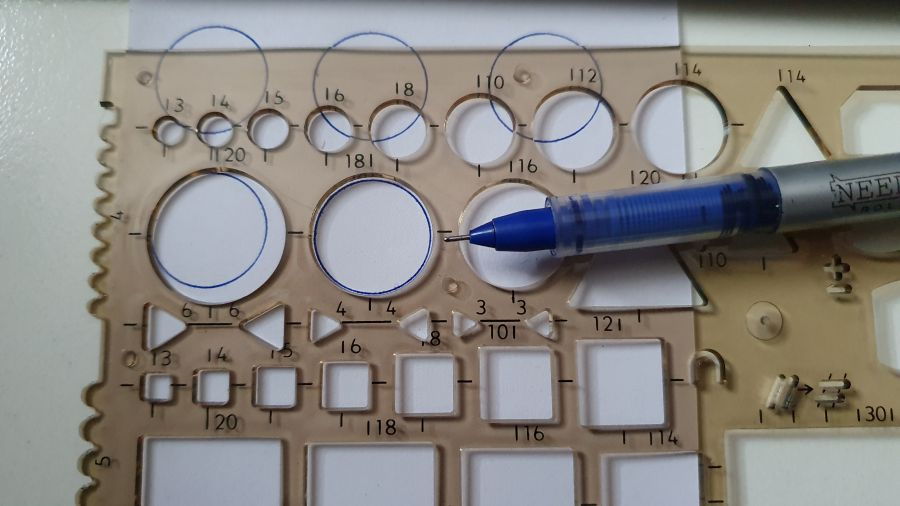
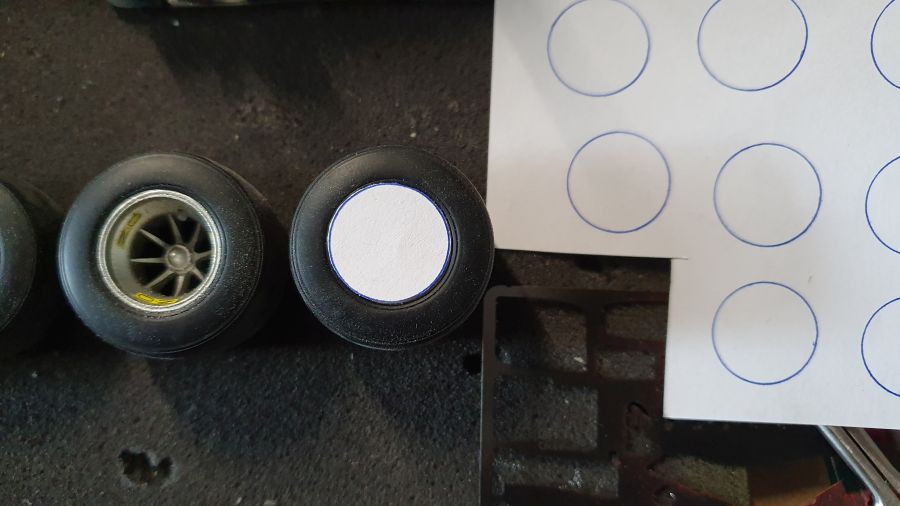
Dan alvast templates maken voor later.
Creating templates for later.
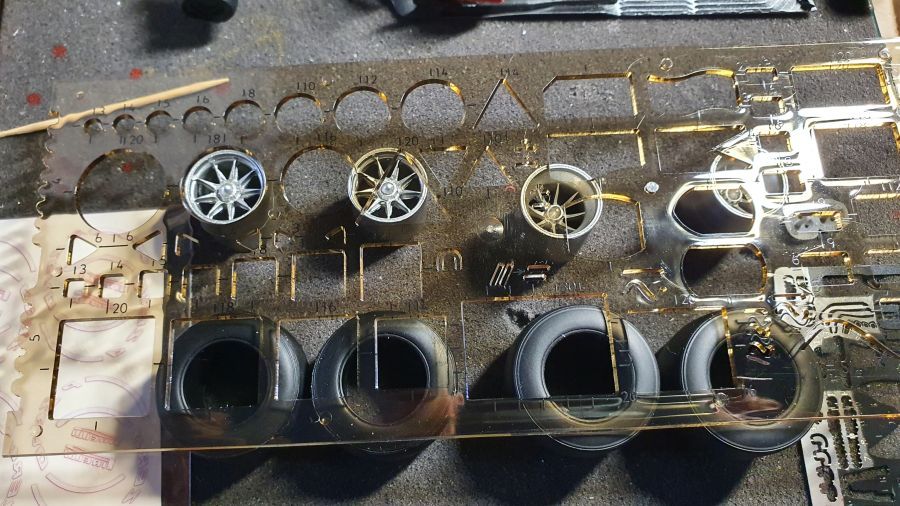
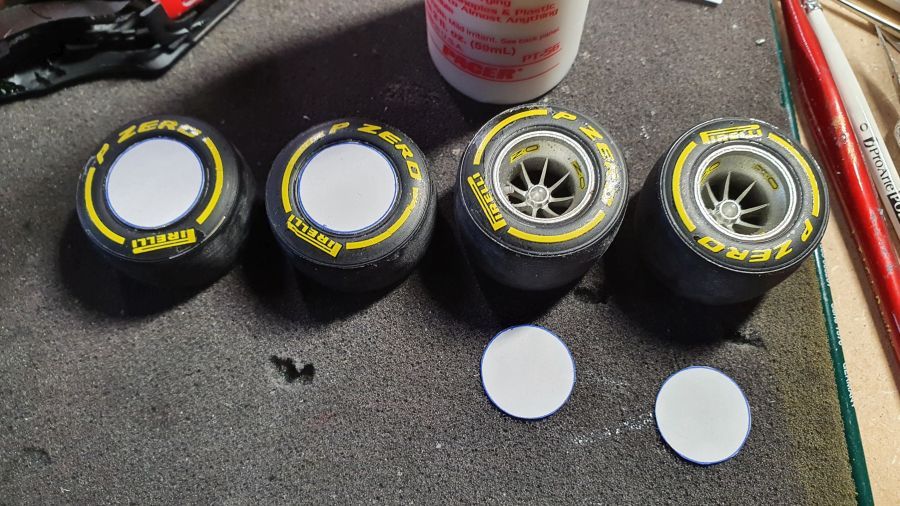
Decals en glanzende lak.
Decals and gloss lacquer.
Dezelfde procedure als altijd, James.
Same procedure as always, James.
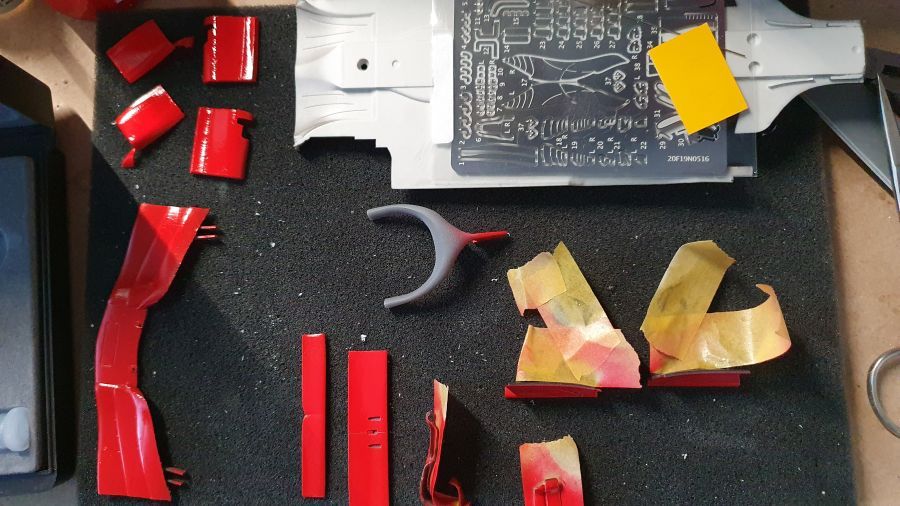
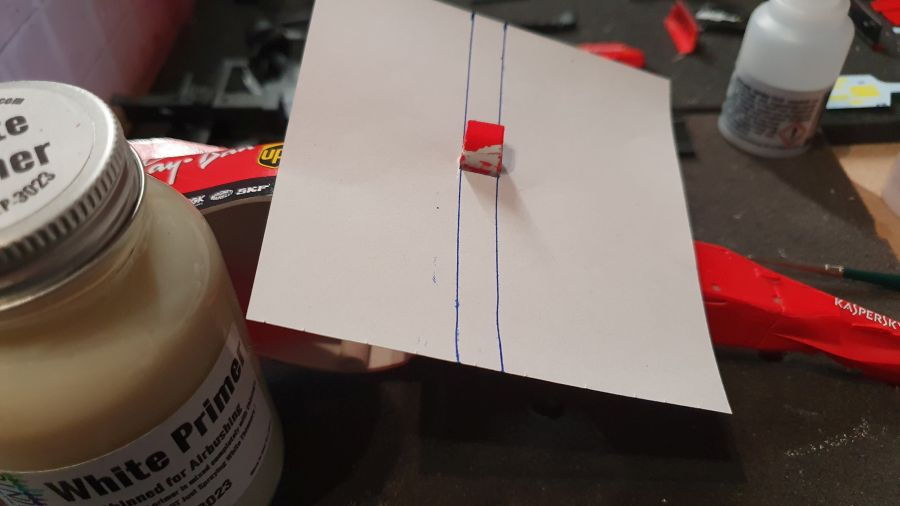
Keuzes: rood, geel of wit.
Choices: red, yellow or white.


Templates zeer licht gelijmd met houtlijm.
Templates have been glued slightly with canopy glue.
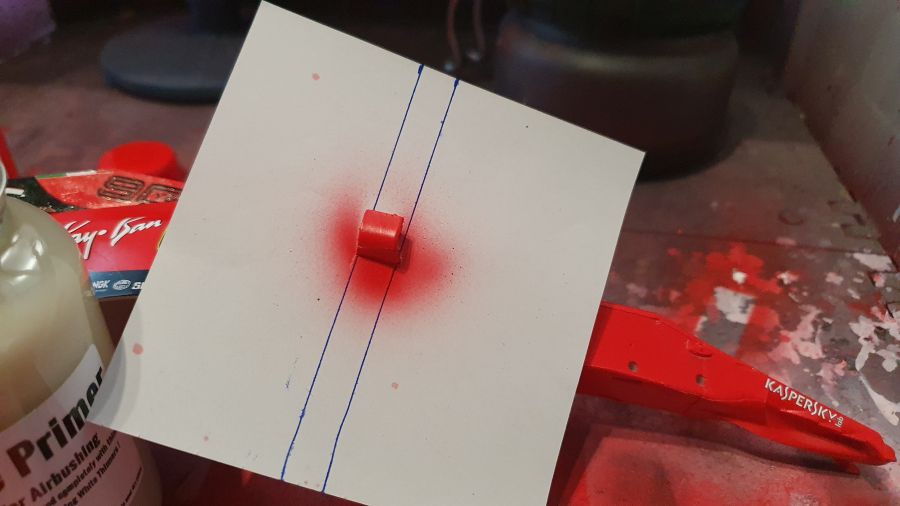
Een mist van zijdeglans lak erop.
A mist coat of semi gloss sprayed.
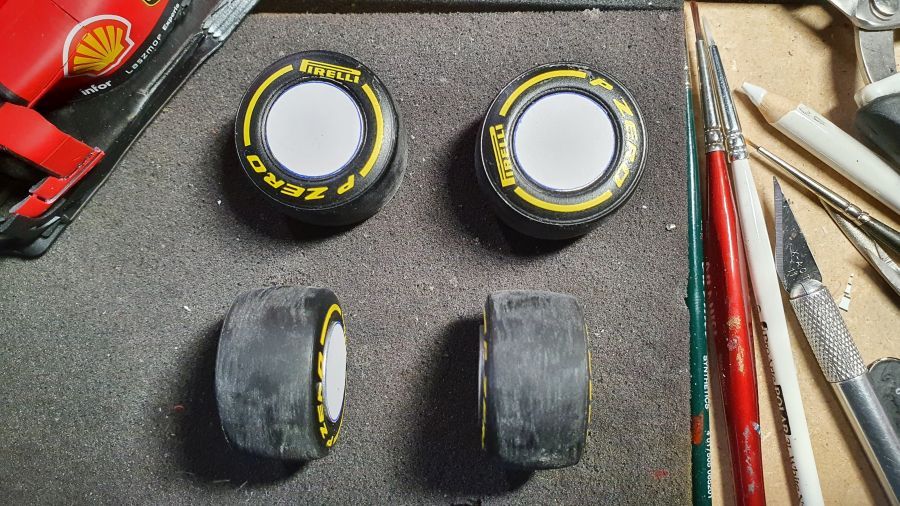
De wielen worden geplaatst en de vleugels...
The rims were added and the wings...
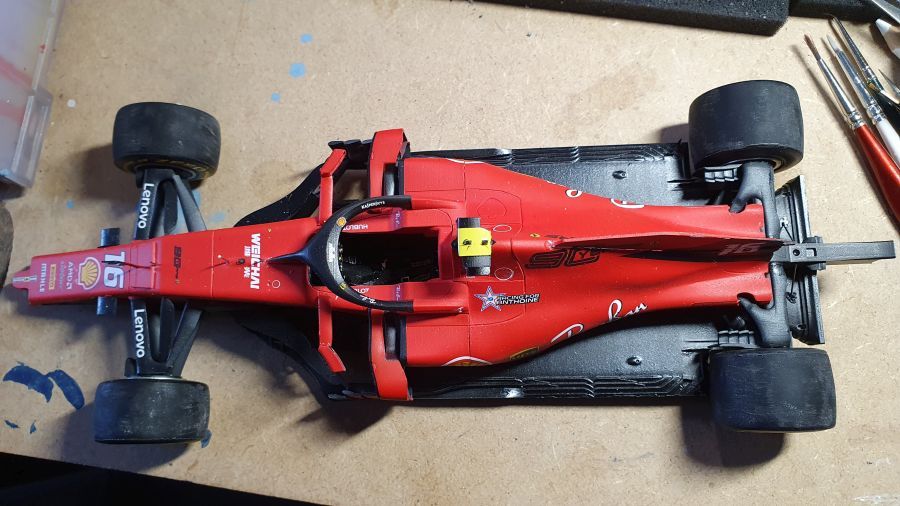
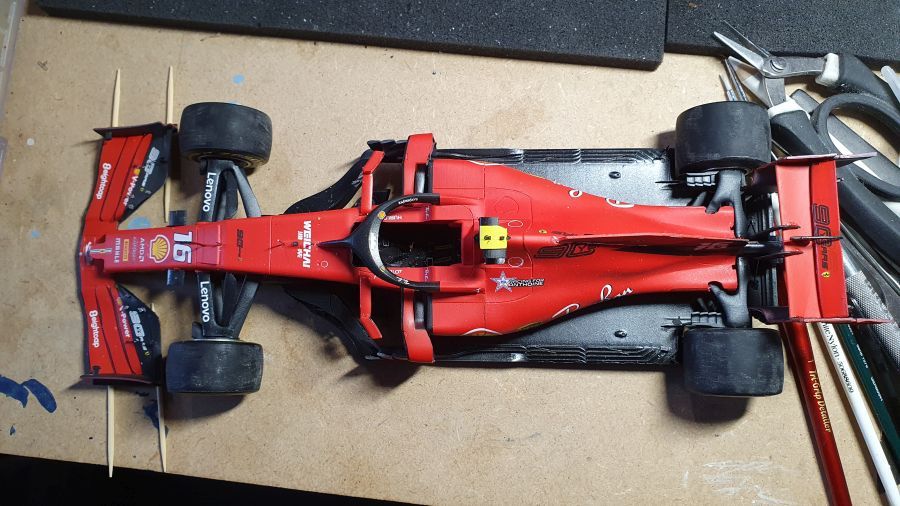
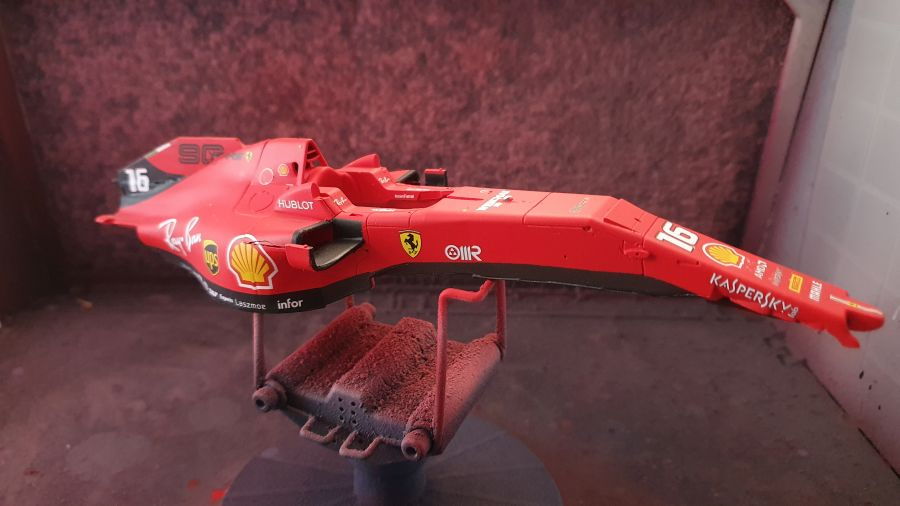
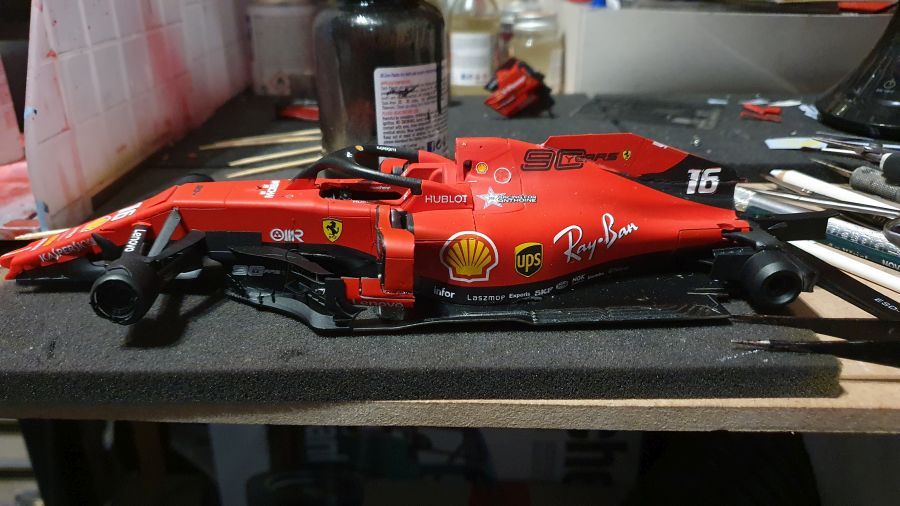
En na nog wat kleine werkzaamheden, beschouw ik deze ook weer als klaar.
And after some more small work, i consider this one done too.
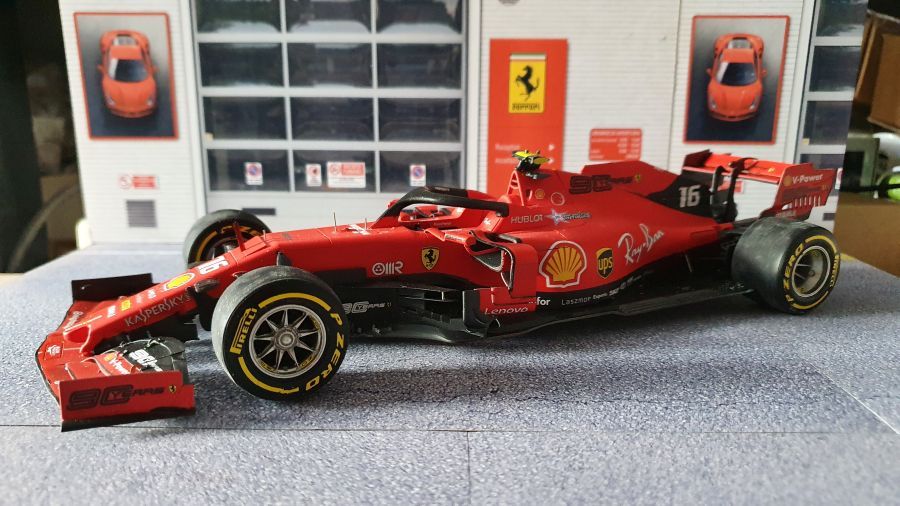
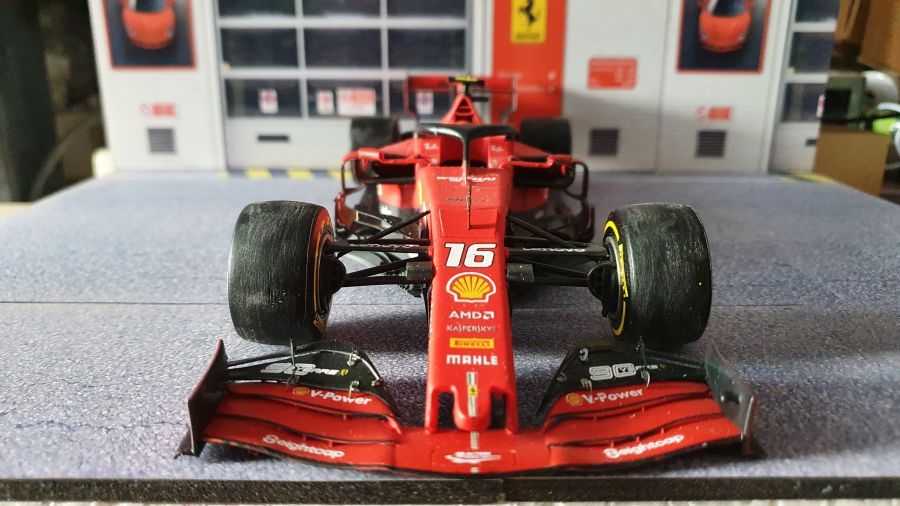
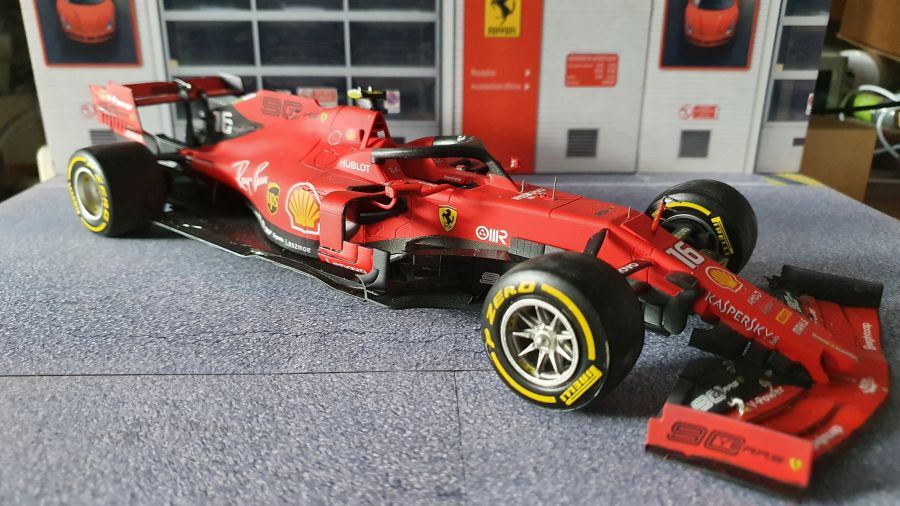
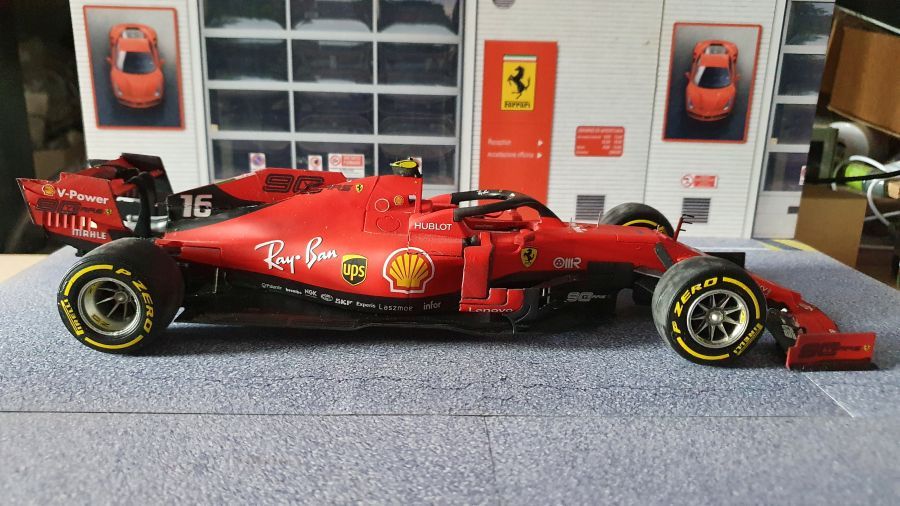
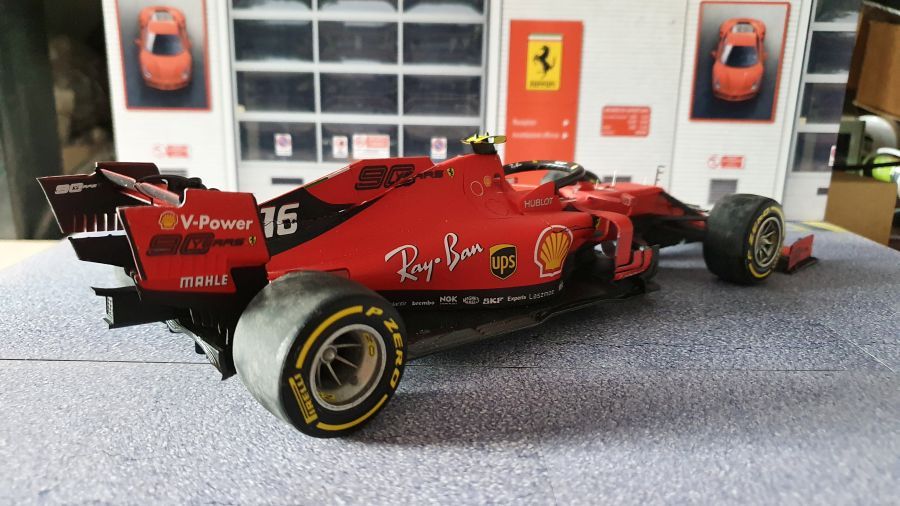

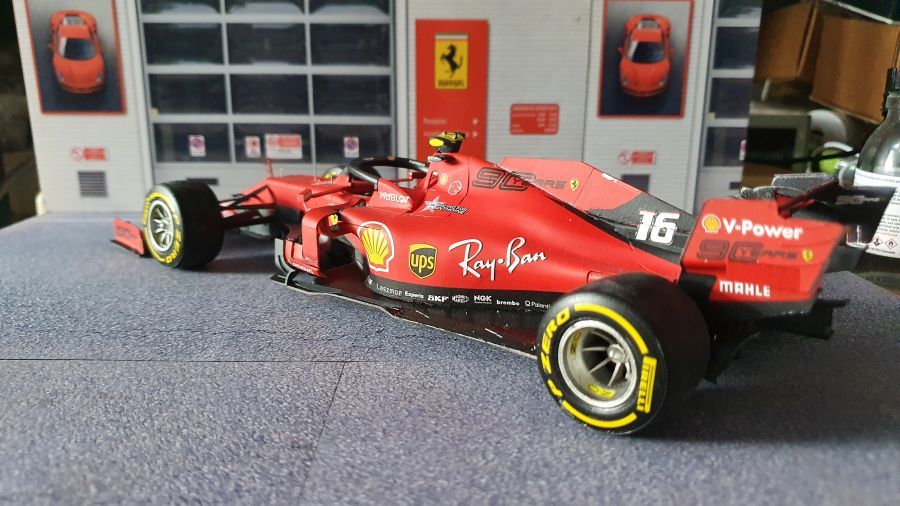
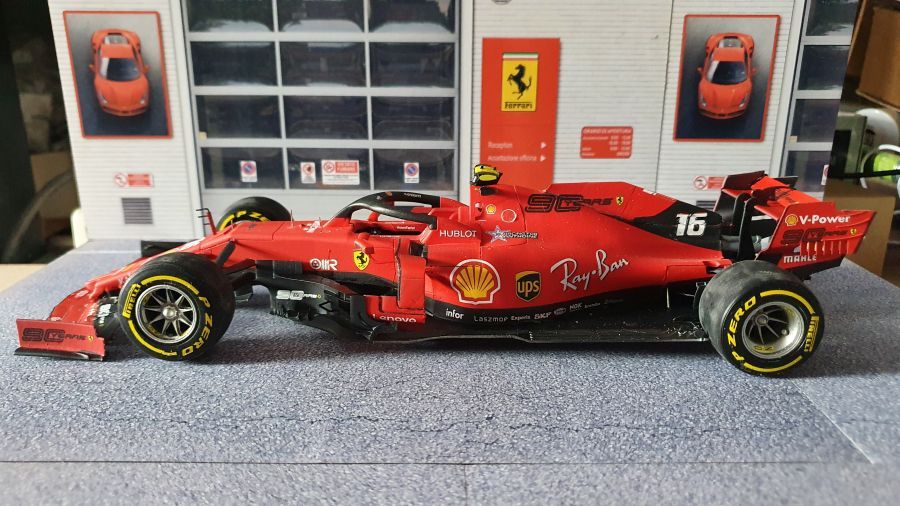
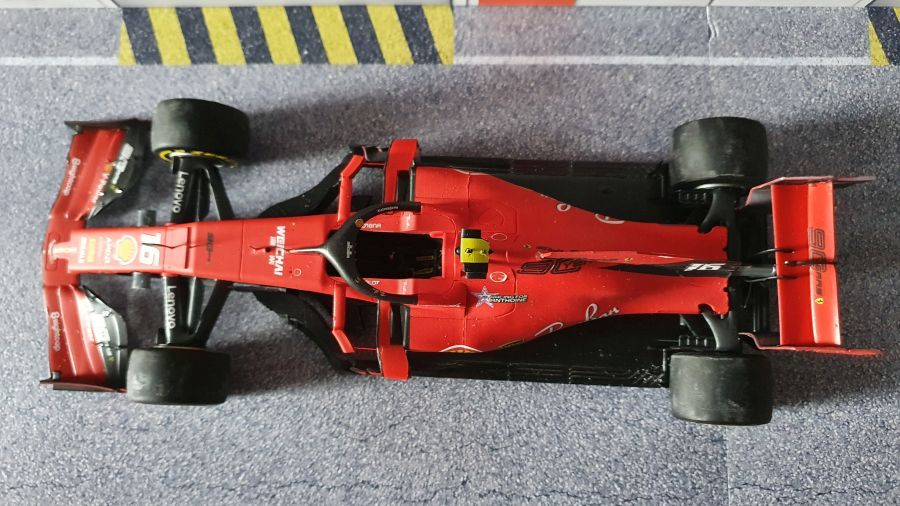
In mijn optiek een fantastische kit. Alles past goed. Wel oppassen, want sommige onderdelen zijn erg breekbaar. Ik denk erover om nog een te bestellen en dan een Mission Winnow versie te maken. Hopen dat die me dan niet uit de handen valt. Dat was even een domper.
In my view a great kit. Everything fits like a glove. But be careful, some parts are very fragile.I am thinking of buying another one to do a Mission Winnow version. And let's hope i will not drop that one. That was a bit a shame.