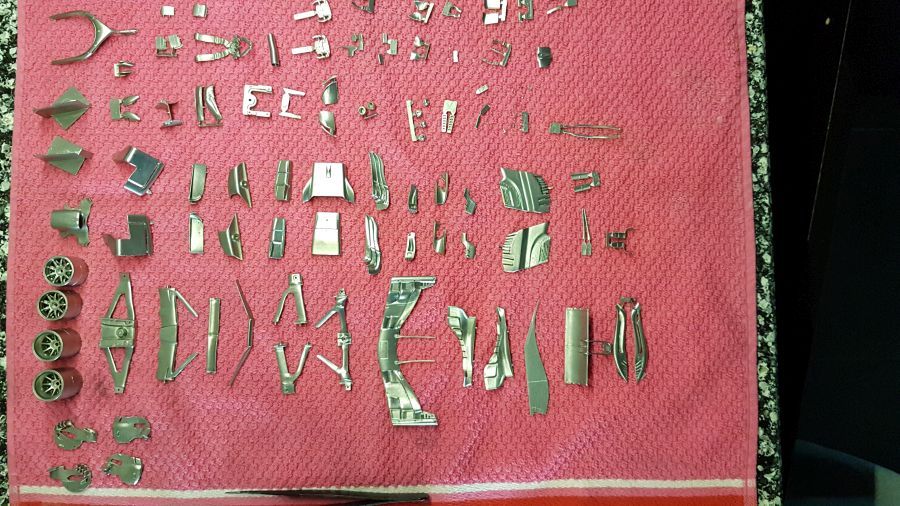
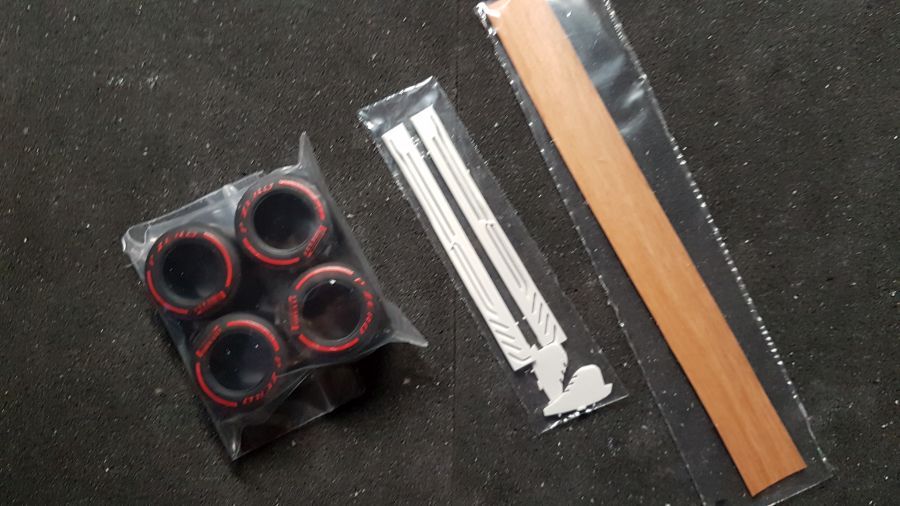
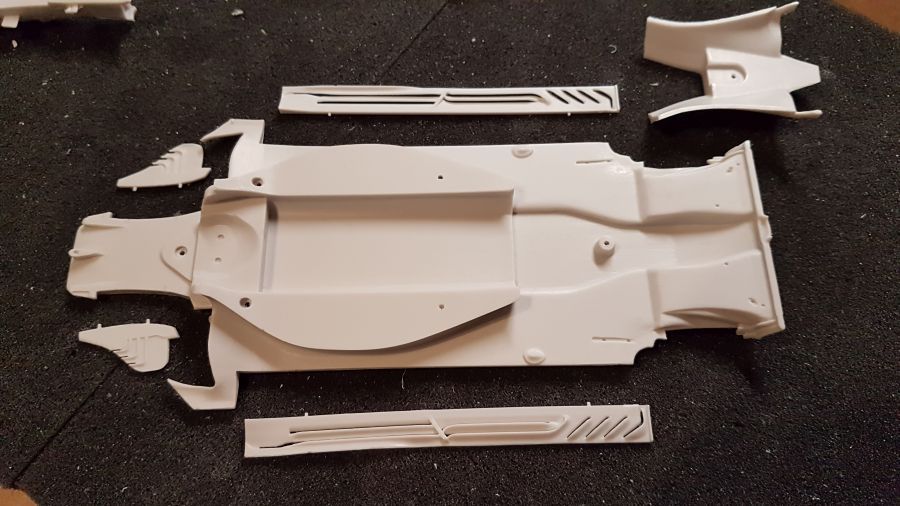
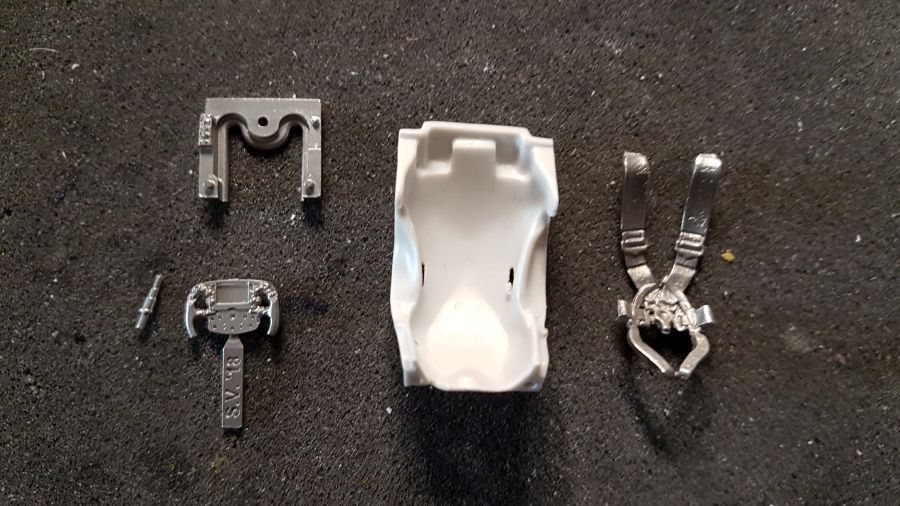
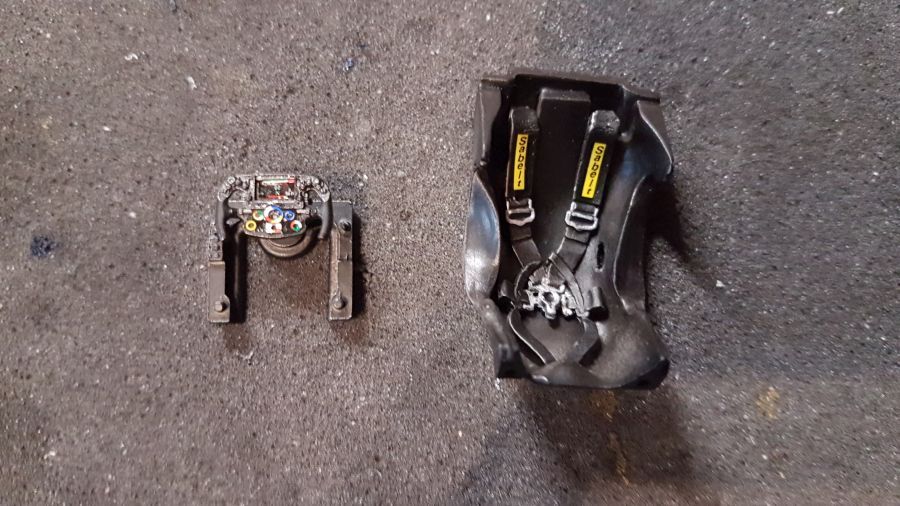
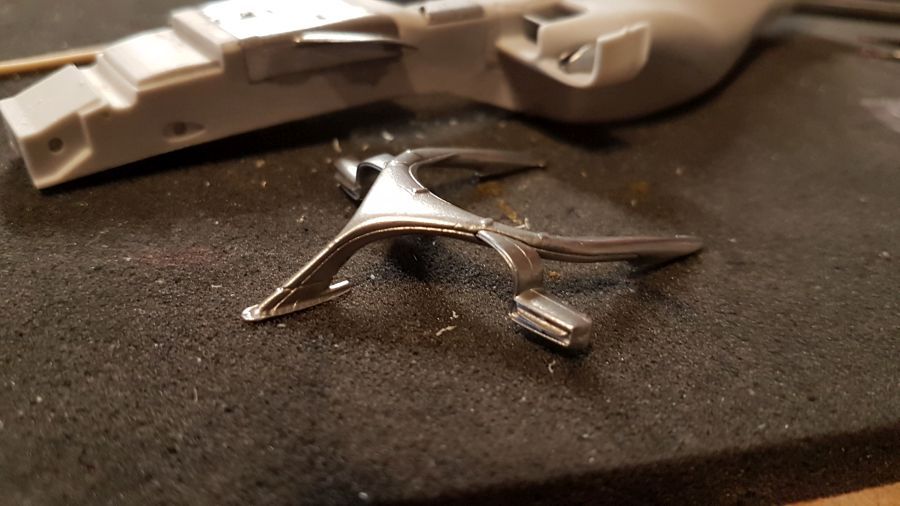
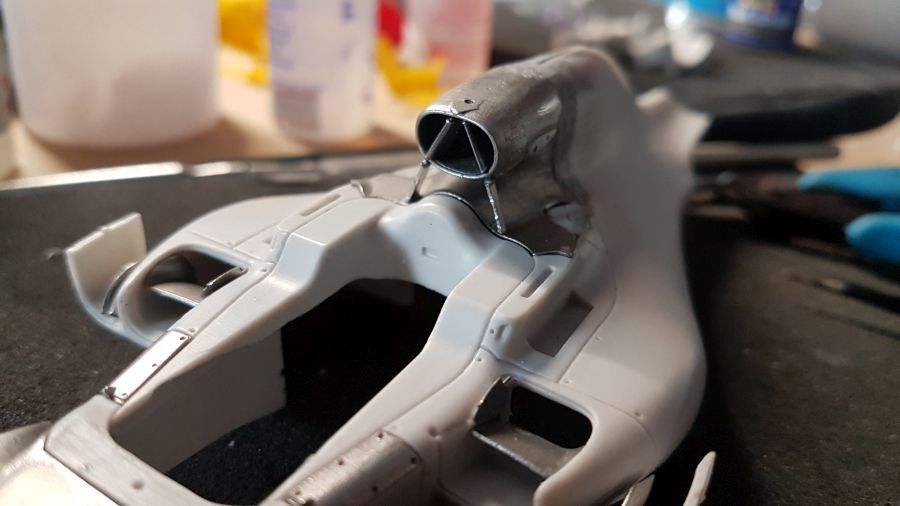
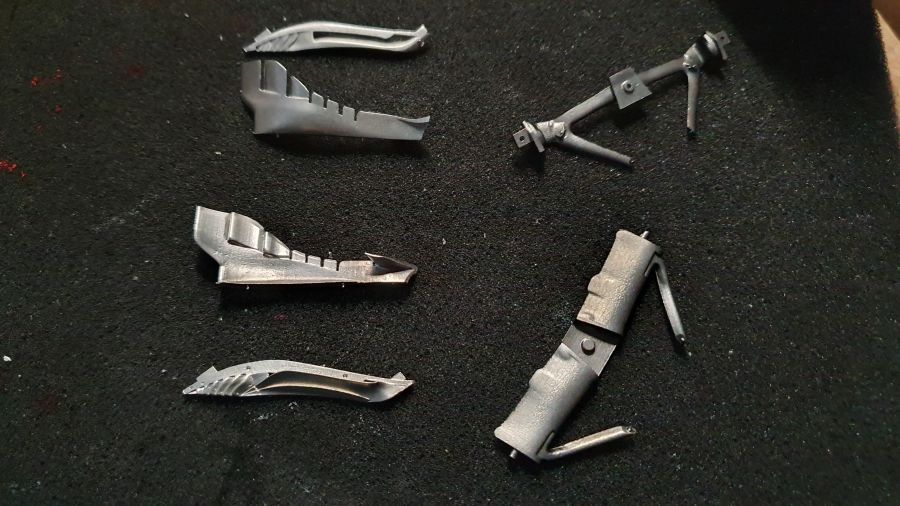
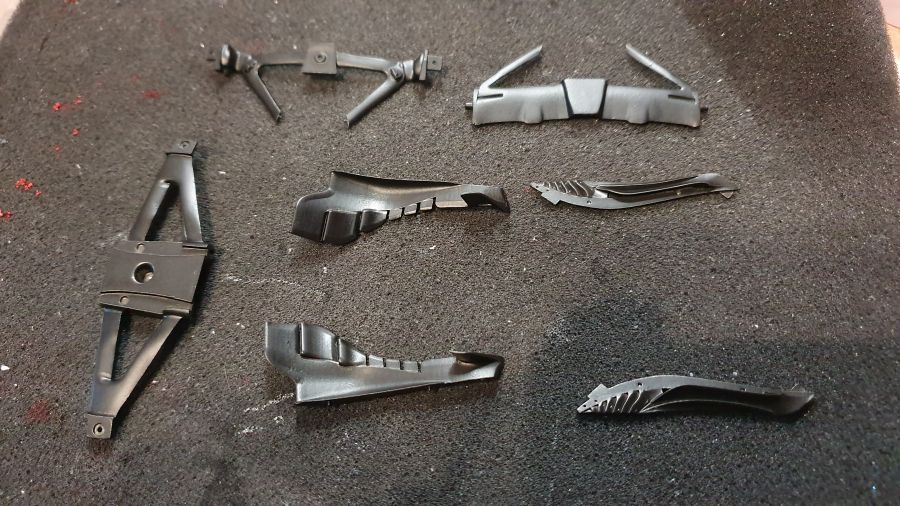
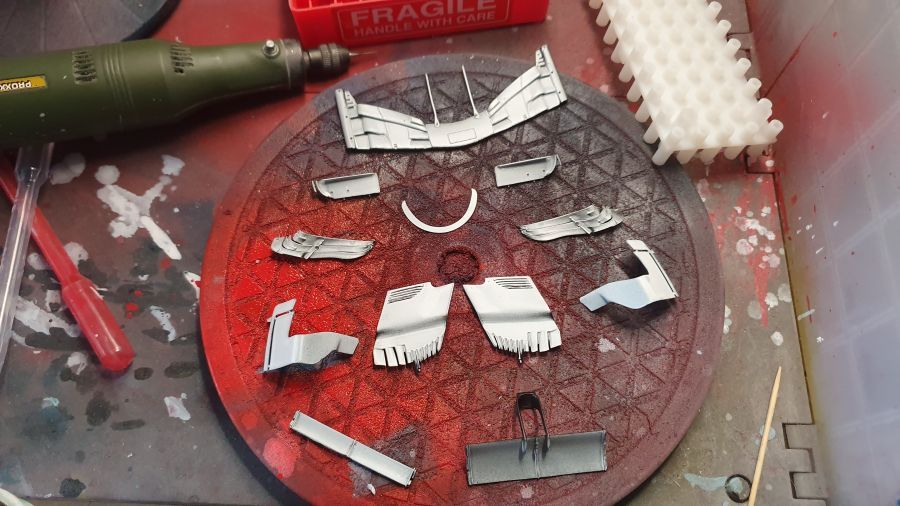
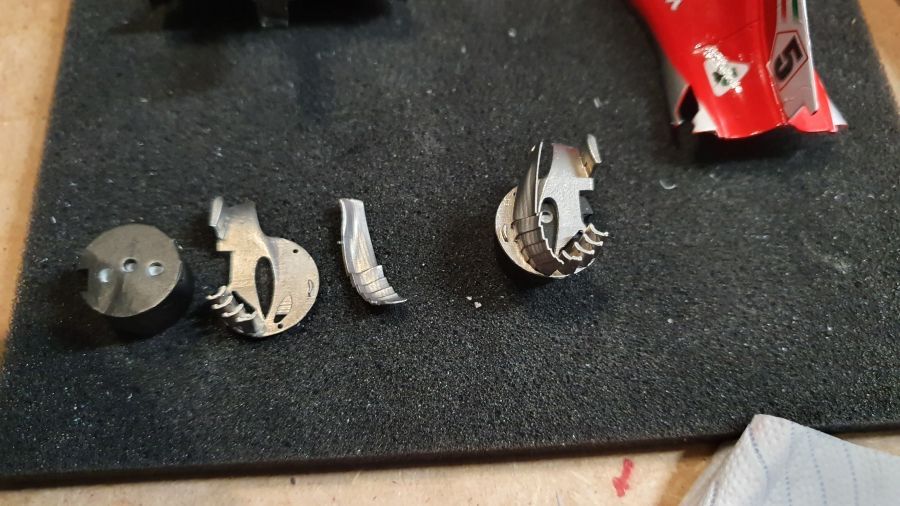
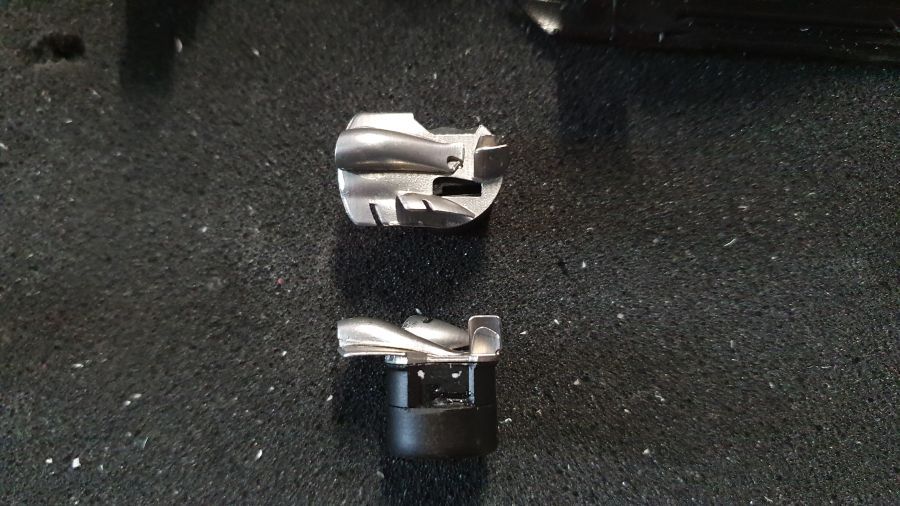
Maar weer even tijd voor een F1 model. Nu de 2018 Ferrari SF71H van DTM. Ik ga de Canada versie ombouwen naar een USA versie met de bekende Mission decals. Deze decals komen van Grand Prix Decals. De metalen onderdelen komen net uit de polisher.
Time for another F1 model. Now the 2018 Ferrari SF71H by DTM. I will change the Canada version into an USA version with the well known Mission decals. These are from Grand Prix Decals. The metal parts just came out of the polisher.
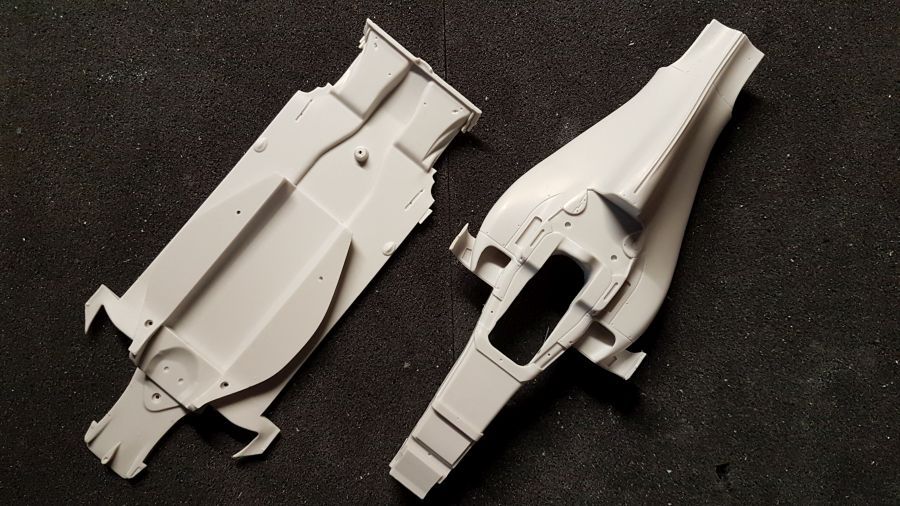
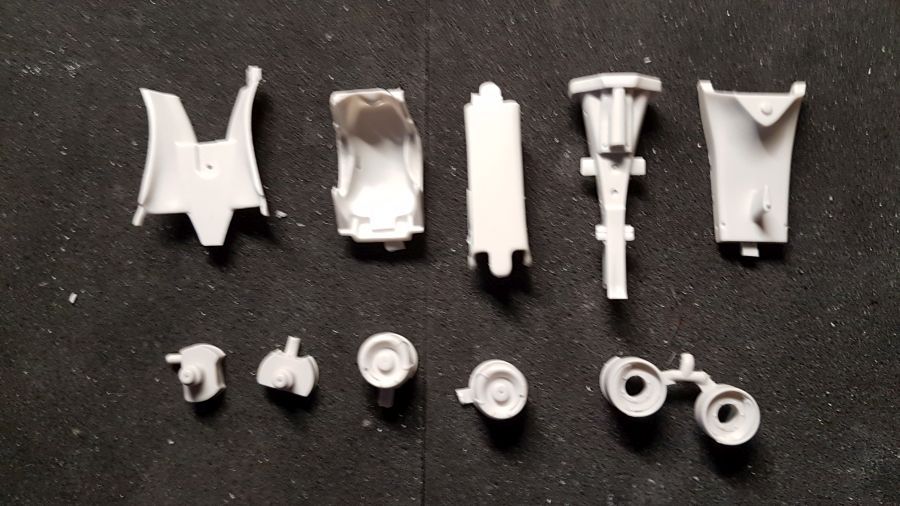
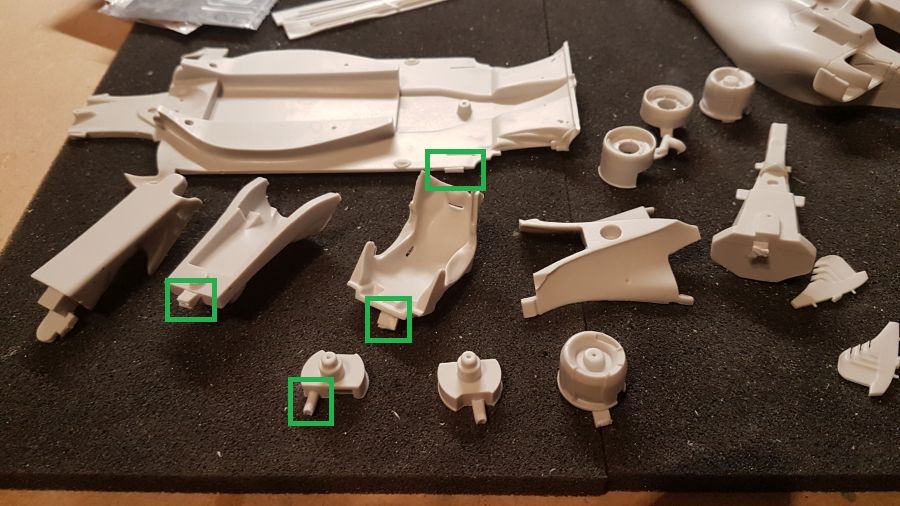
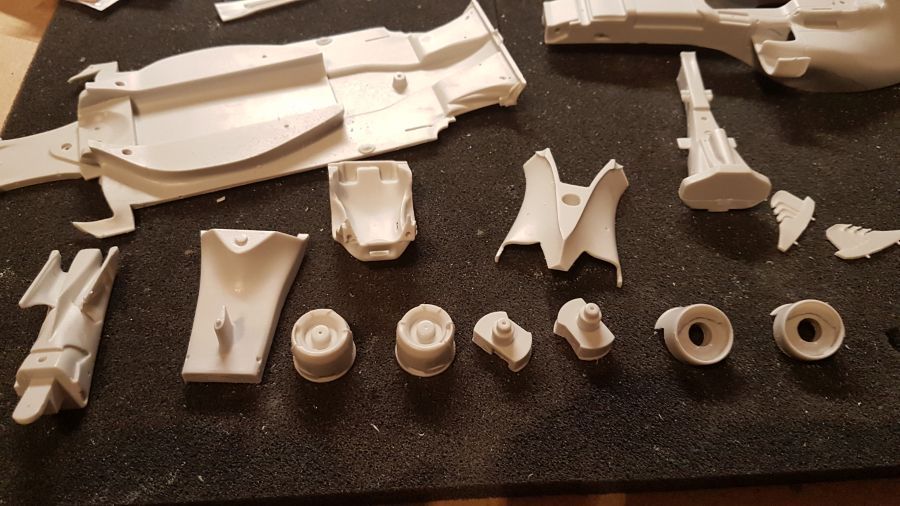
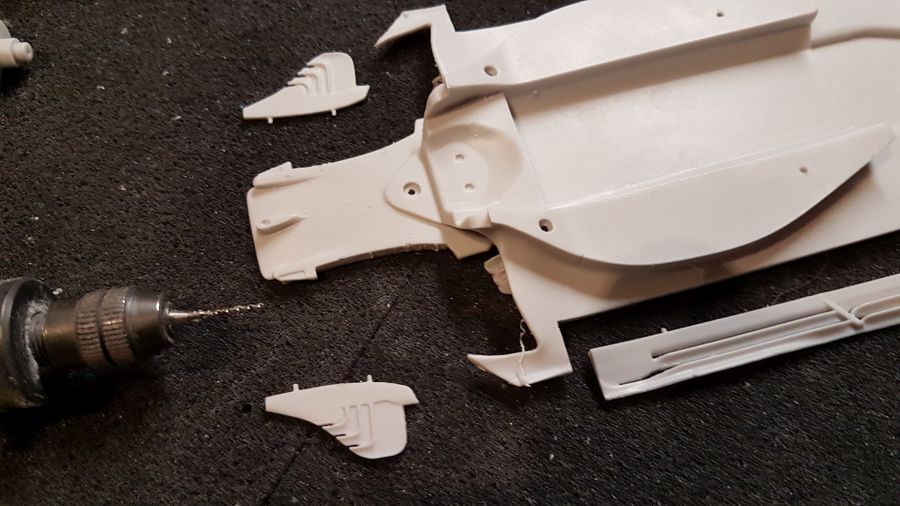
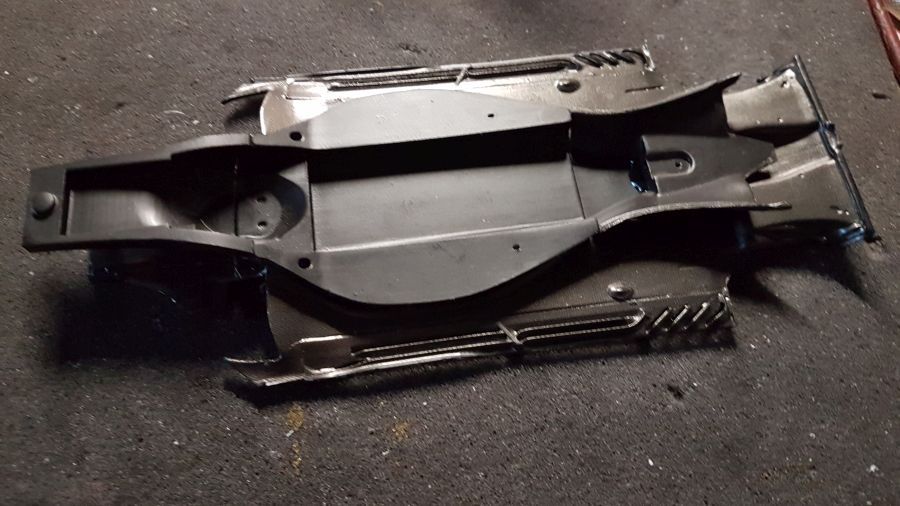
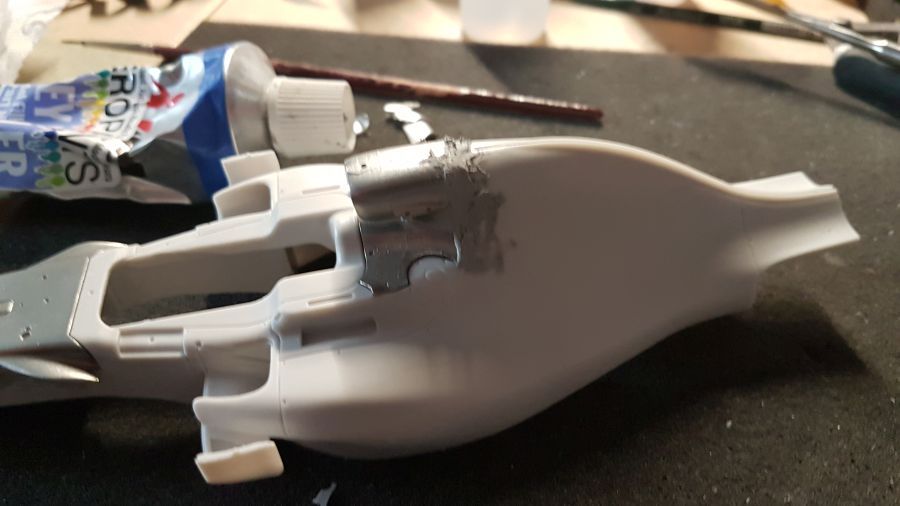
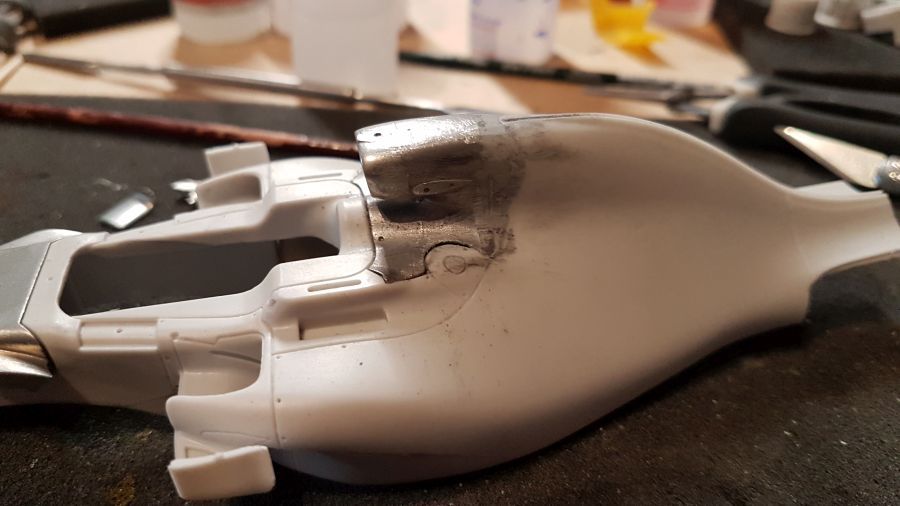
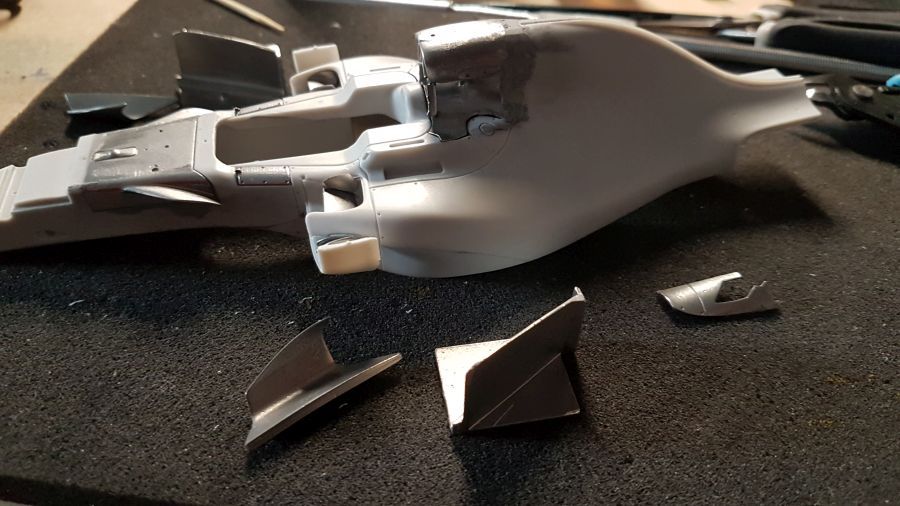
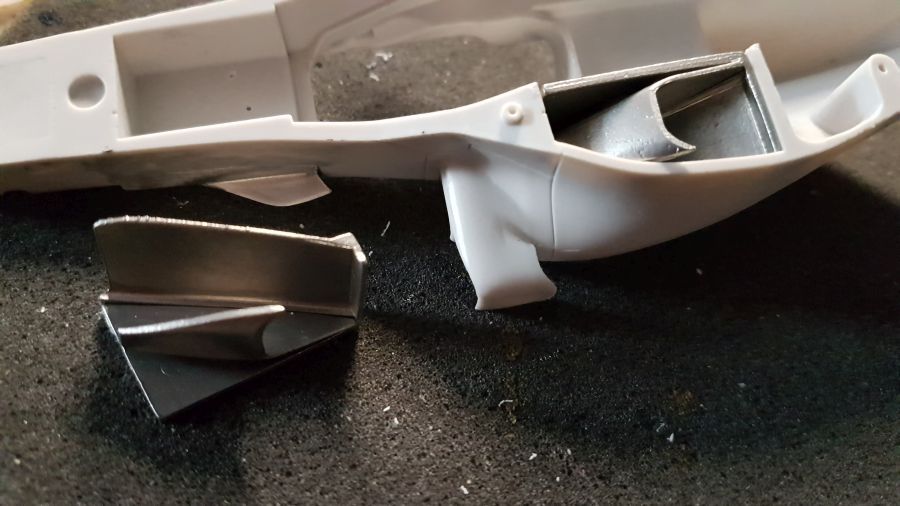
Nadat alles is ontvet, ga ik de overtollige kunsthars verwijderen.
After degreasing everything, i am starting to deleting the resin residue.
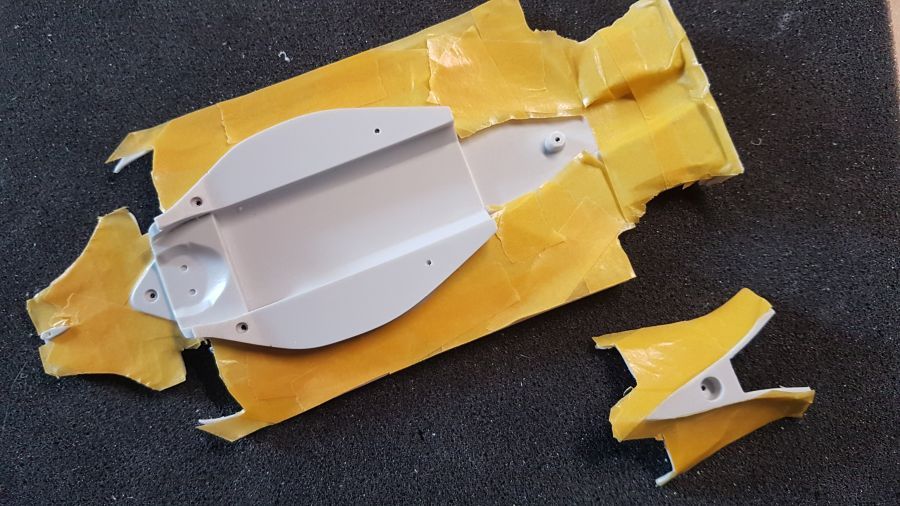
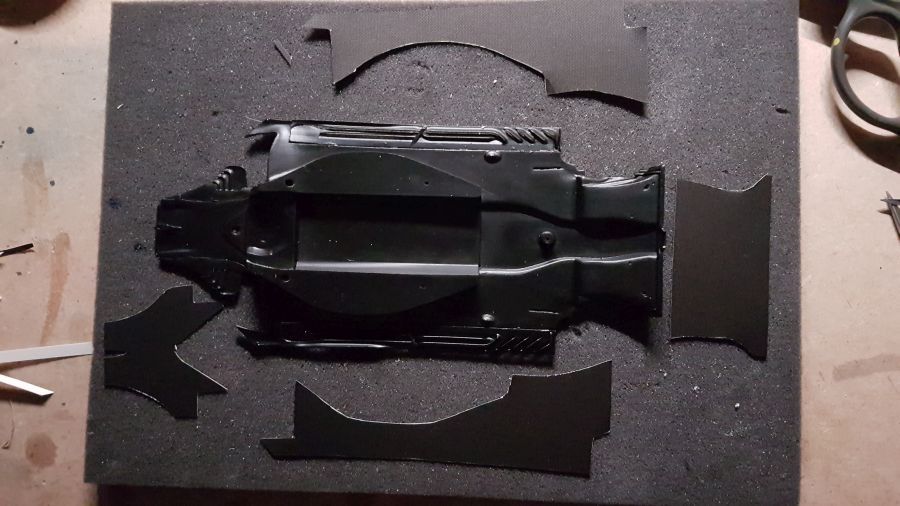
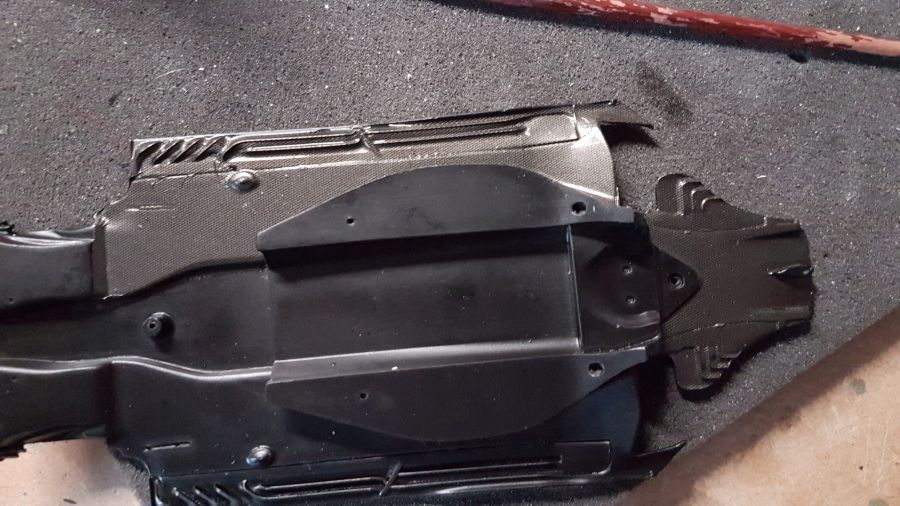
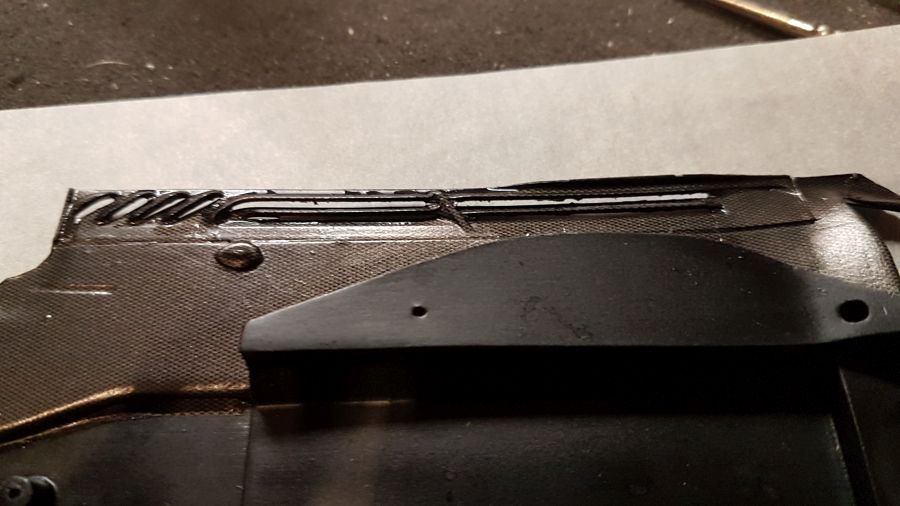
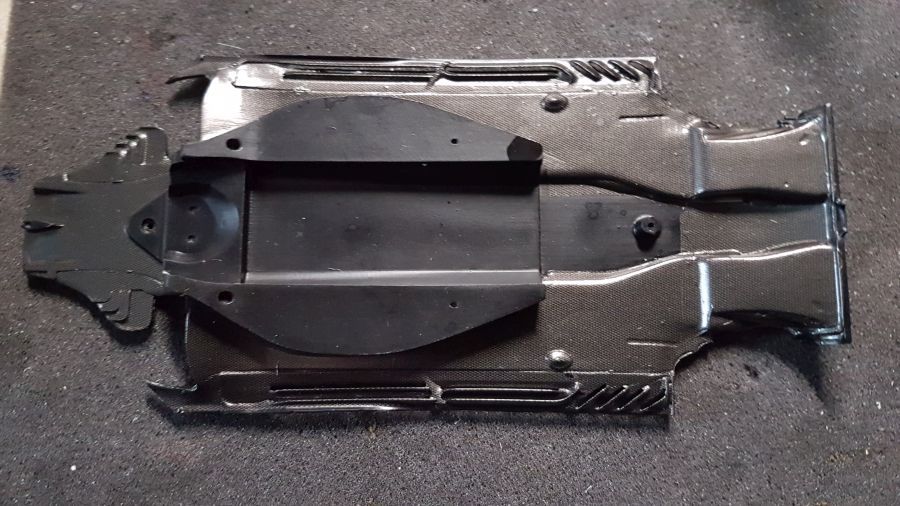
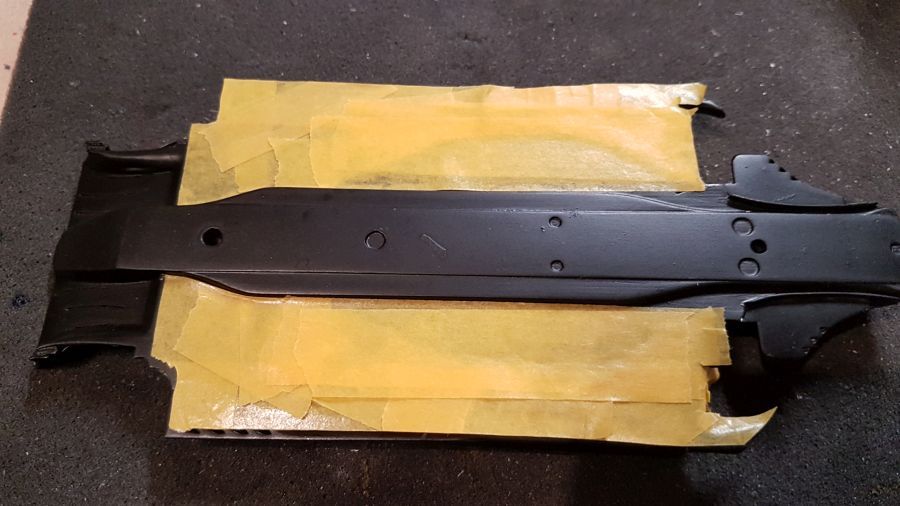
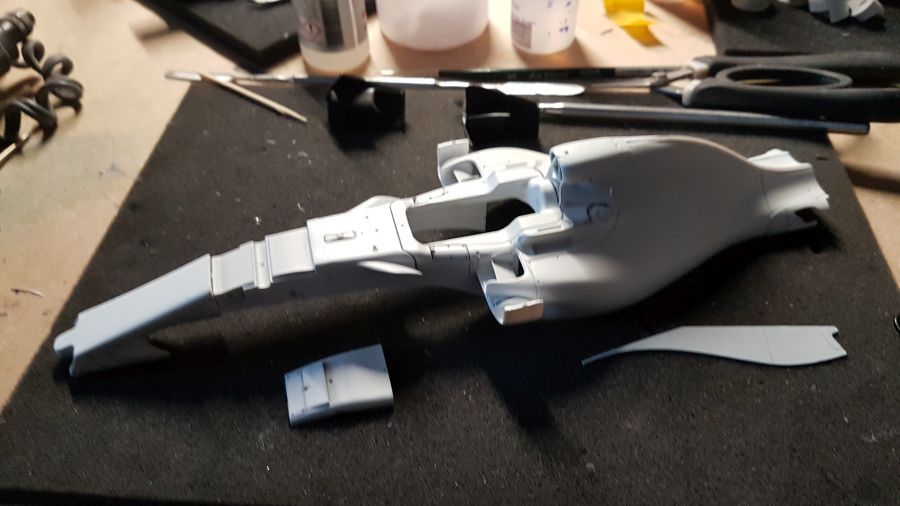
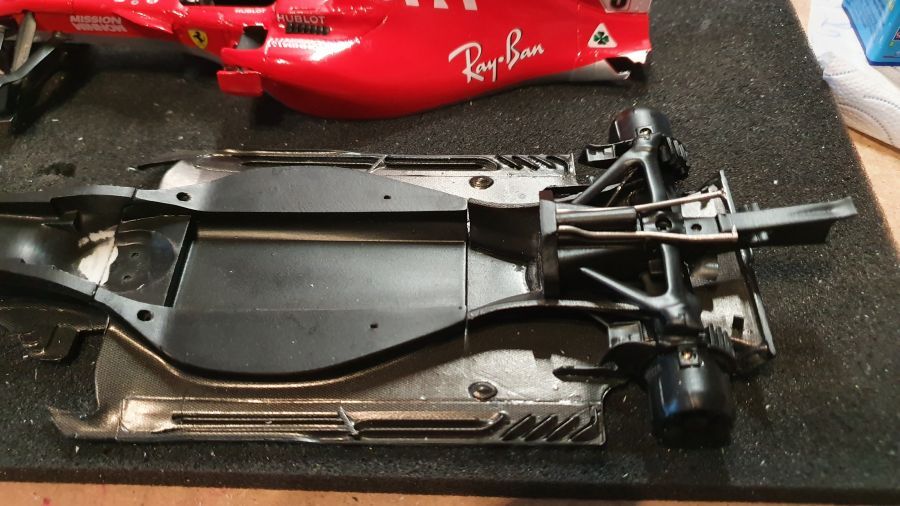
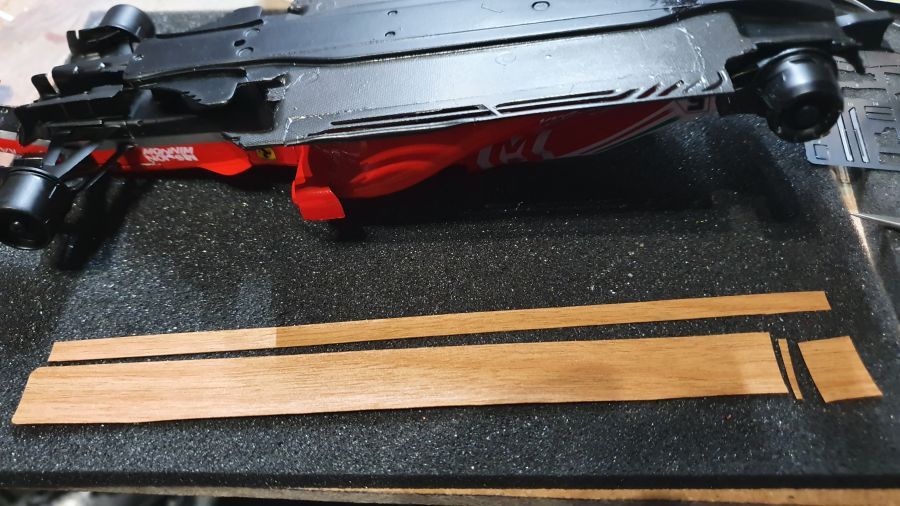
Ik begin met wat werk aan de vloer. Daarna kan ik eventueel templates maken voor de carbon fiber decals.
I am starting with some work to the floor. After this i might make some templates for the carbon fiber decals.
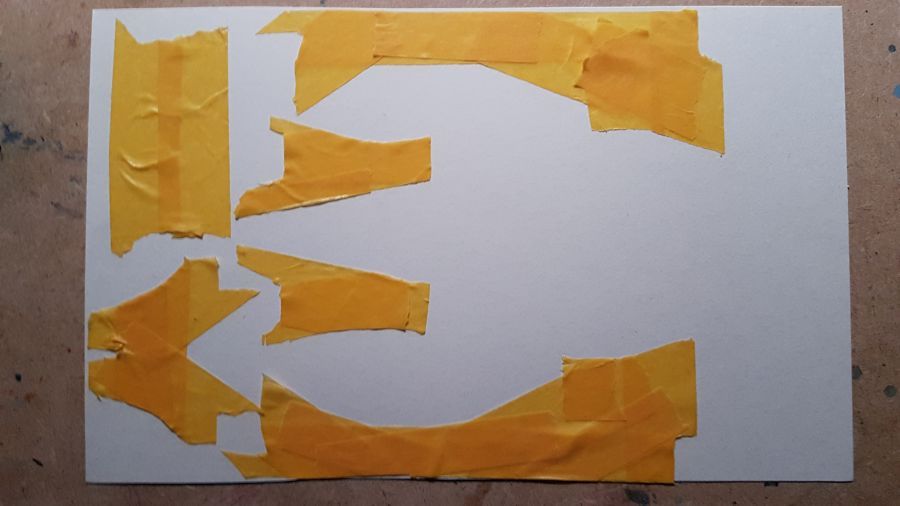
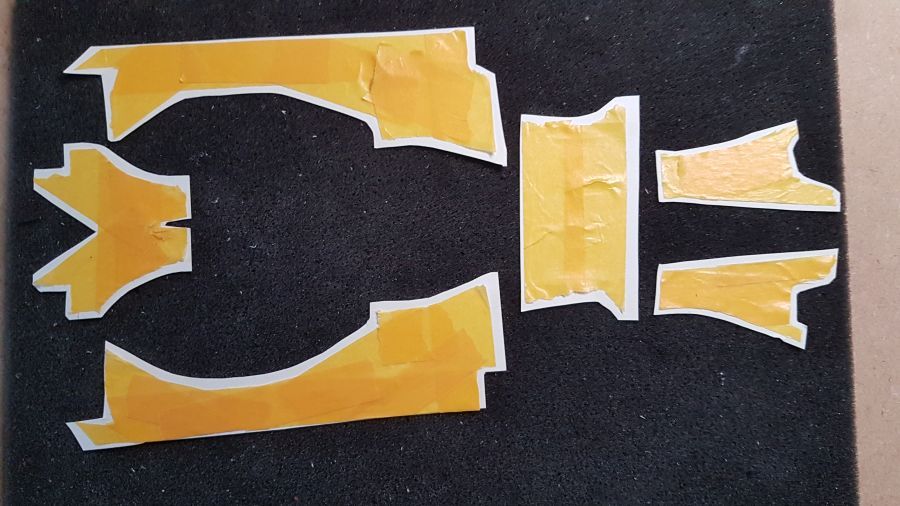
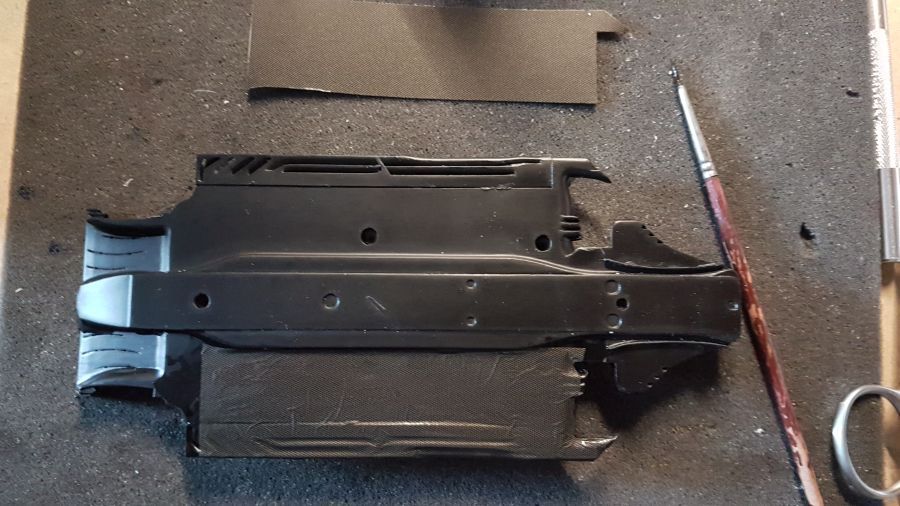
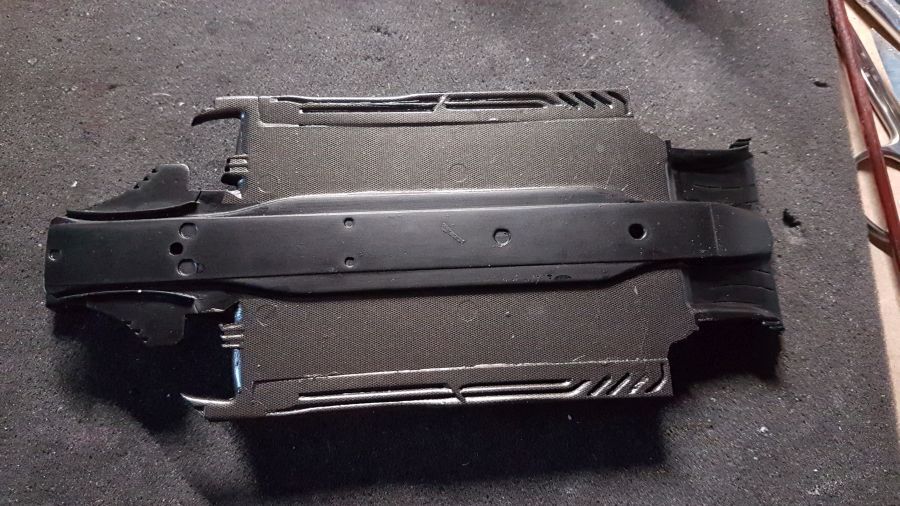
Werken aan het maken van templates voor de carbon fibre decals.
Working on the templates for the carbon fibre templates.
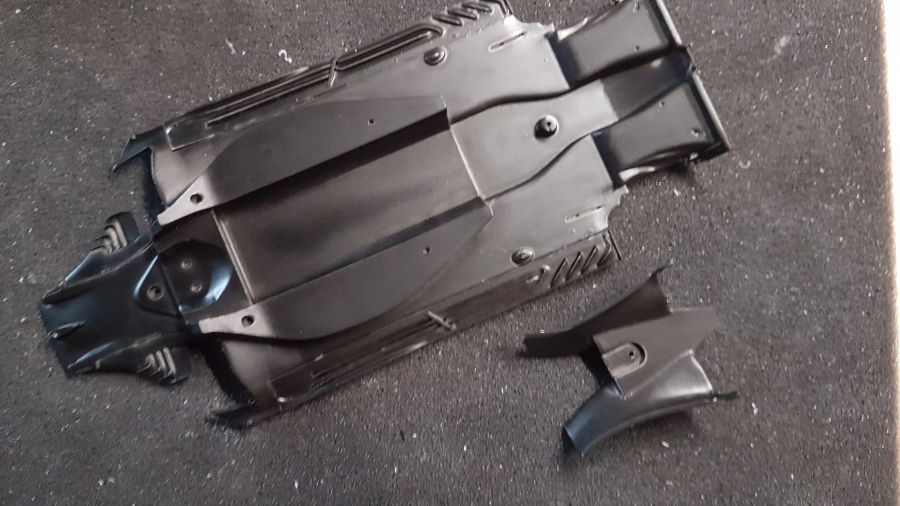
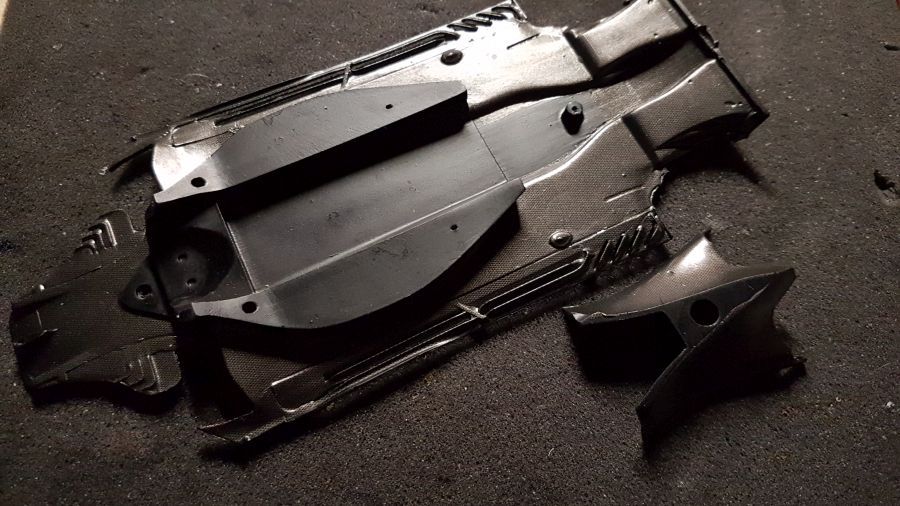
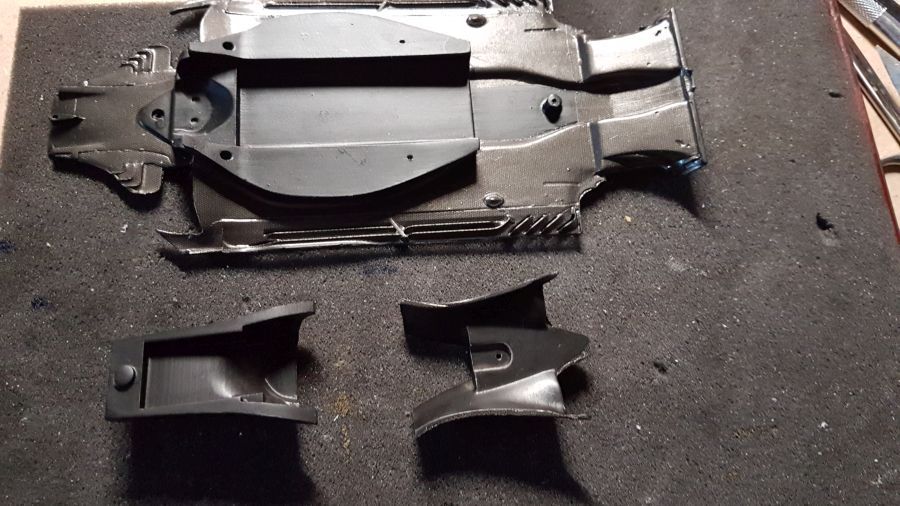
De ondergrond is zwart gespoten.
The black base coat has been applied.
De eerste decals...
The first decals...
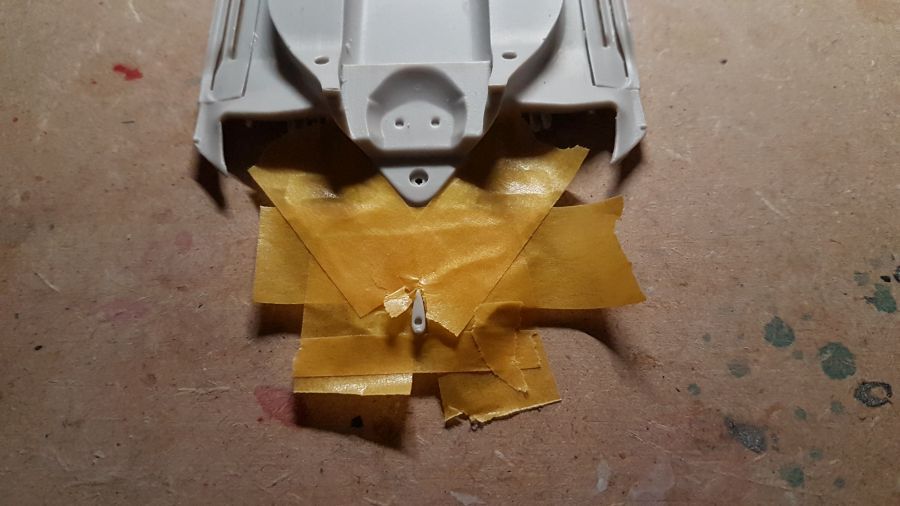
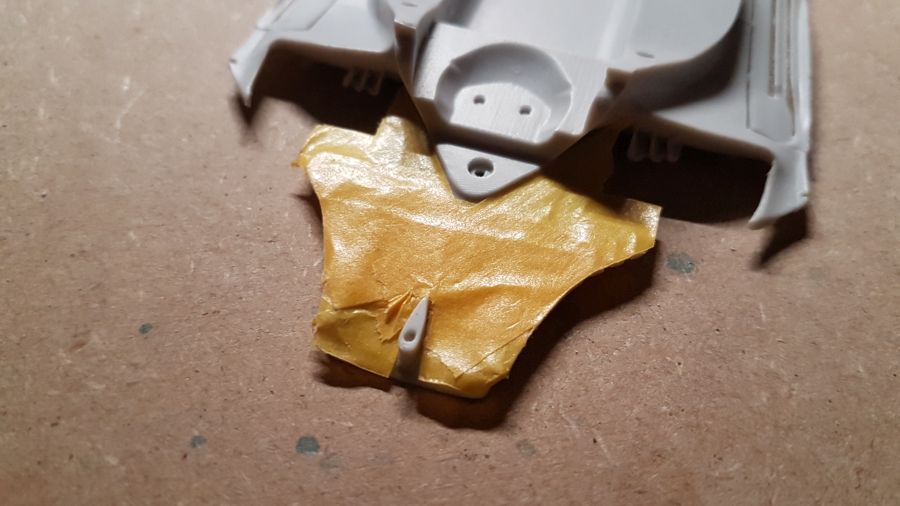
Dan de openingen maken...
Creating the openings...
Dezelfde procedure voor de onderkant.
The same procedure to the downside.
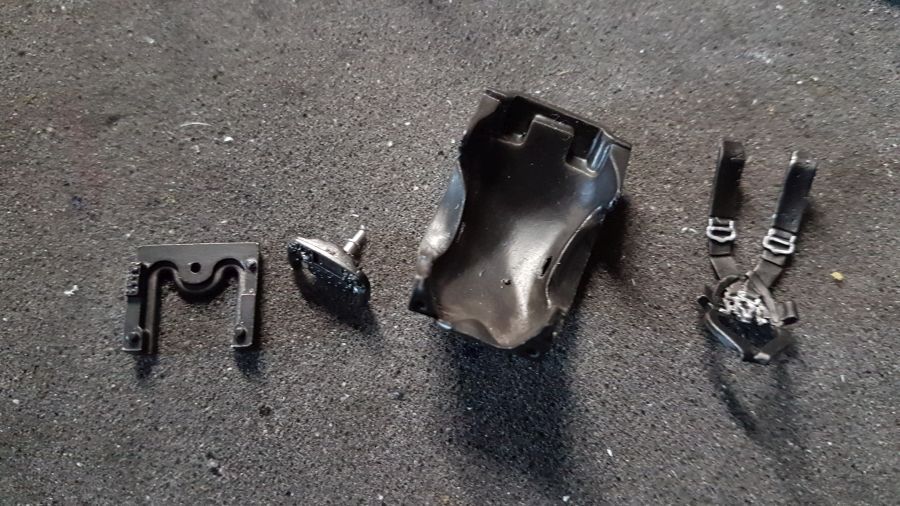
Ik laat de vloer nu even met rust en ga verder met de stoel.
I will leave the floor for what it is for now and continue with the seat.
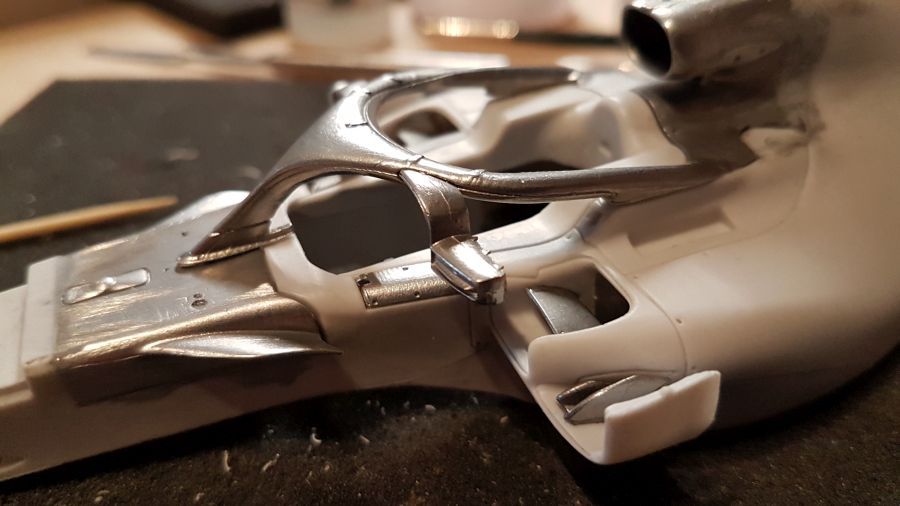
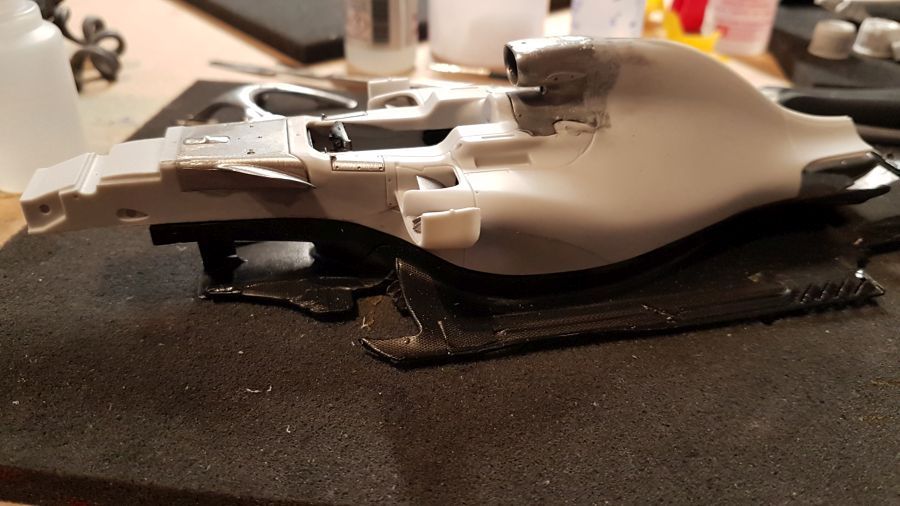
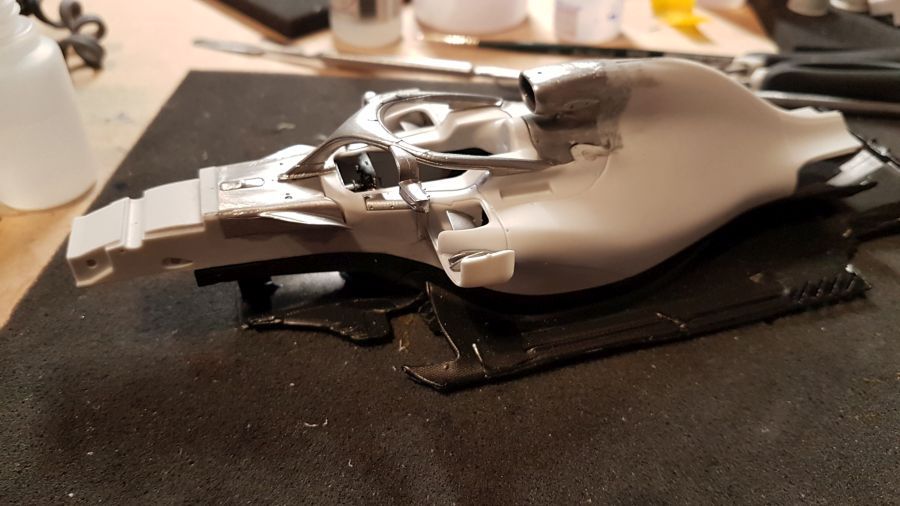
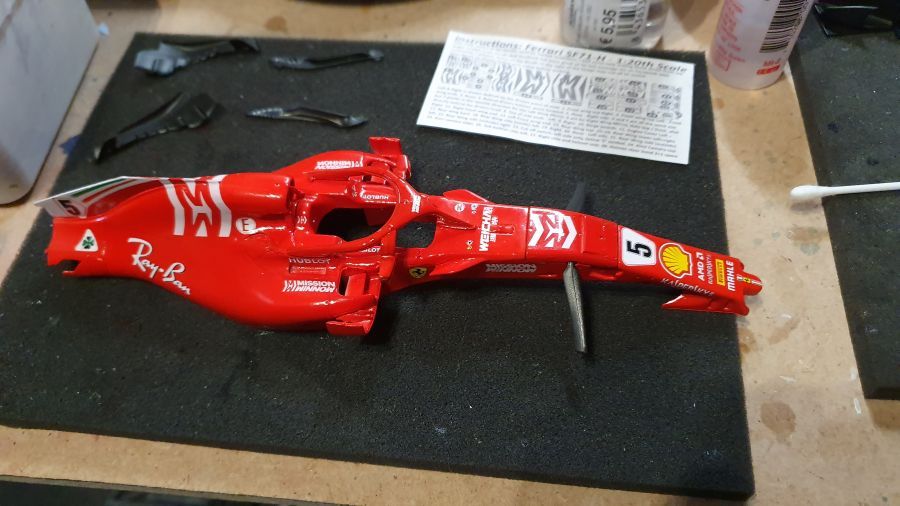
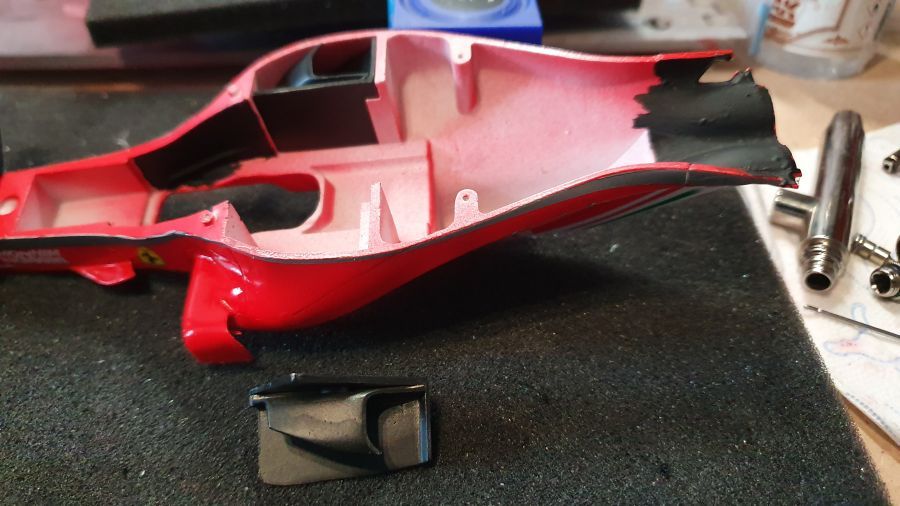
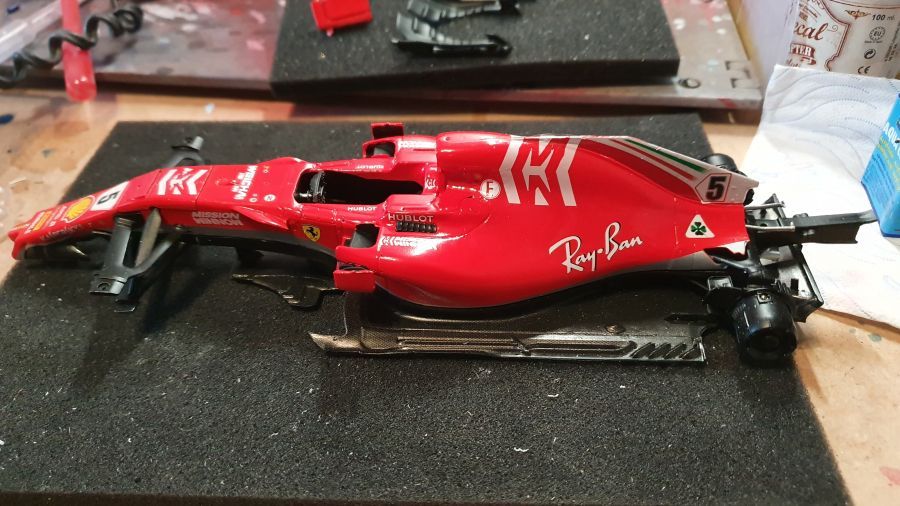
Nu naar de body...
Turning to the body now...
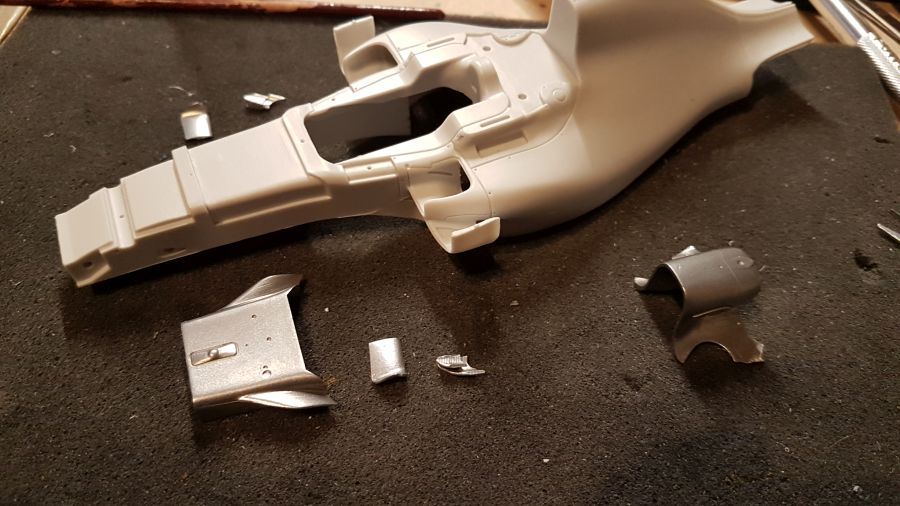
Hier is duidelijk vulling nodig.
Clearly this needs filling.
Tijd voor putty.
Putty time.

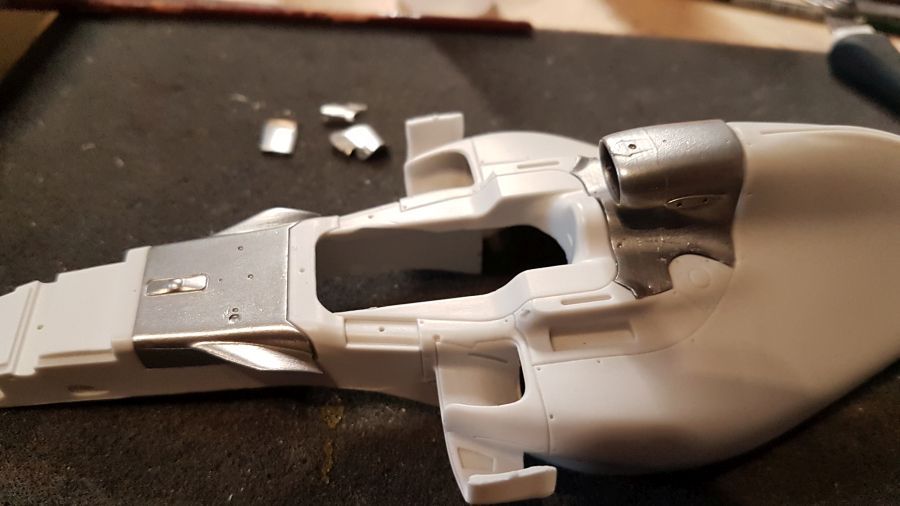
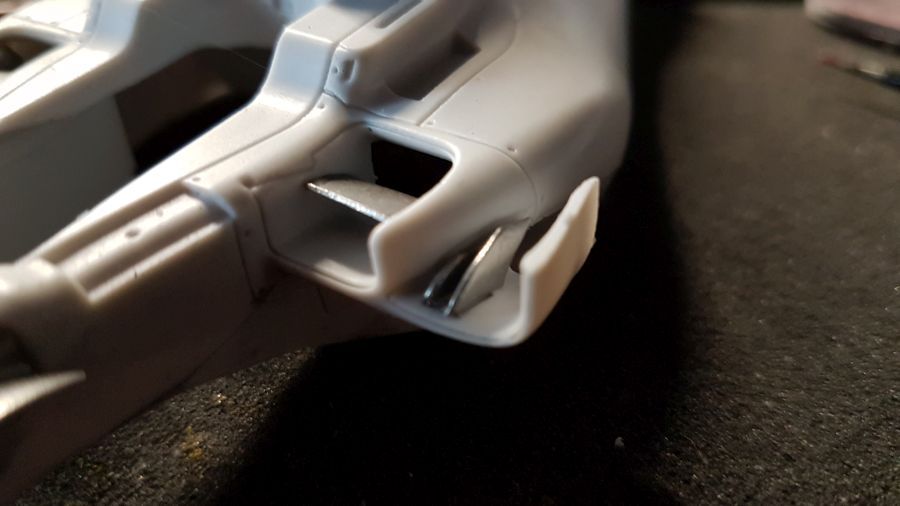
Toevoegingen aan de sidepods en de body.
Additions to the side pods and the body.
Passen.
Test fit.
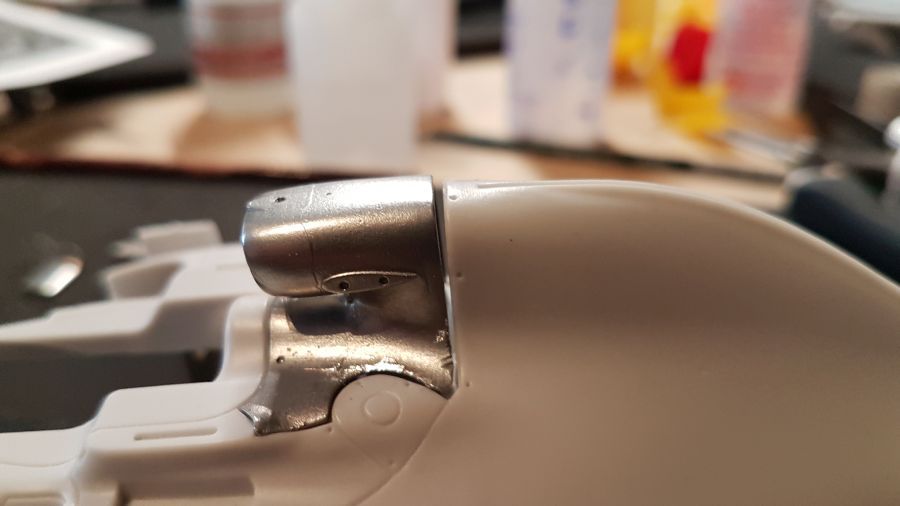
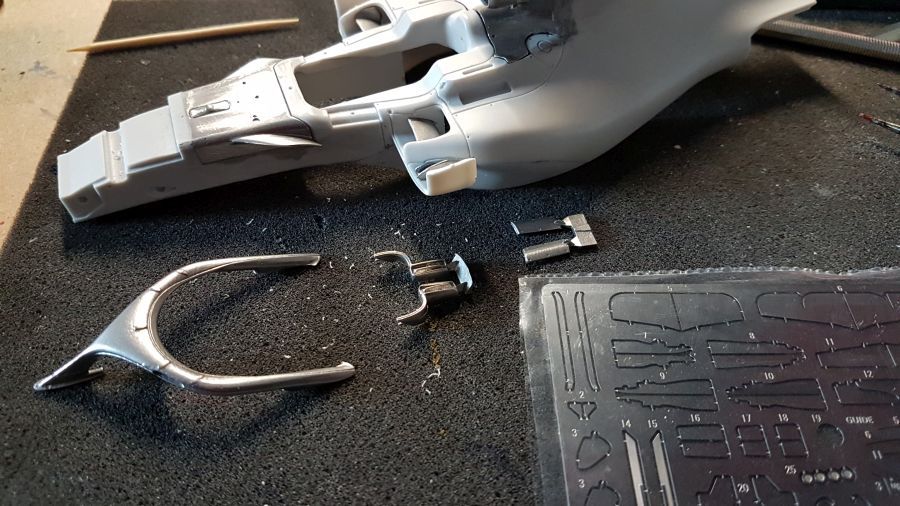
De steunen aan de luchtbox.
The supports for the airbox.
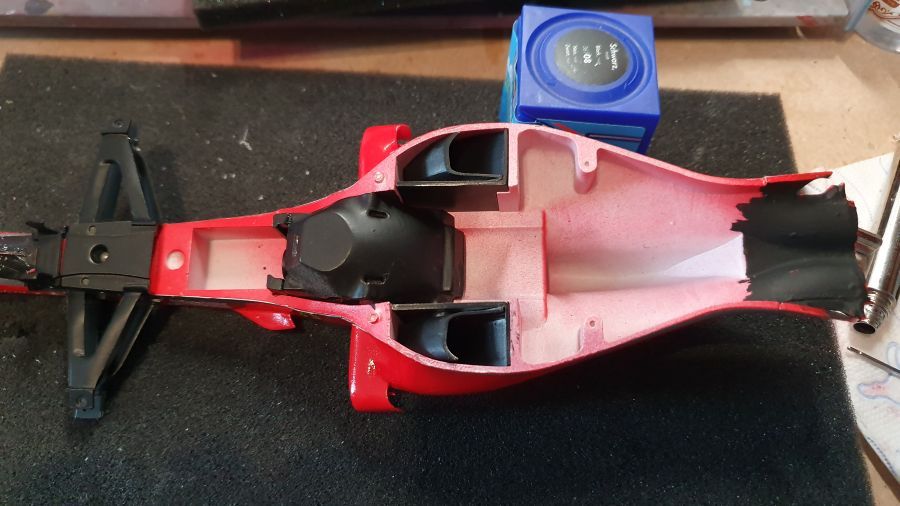
Dan de binnenkanten van de sidepods voorbereiden.
Next is preparing the insides of the side pods.
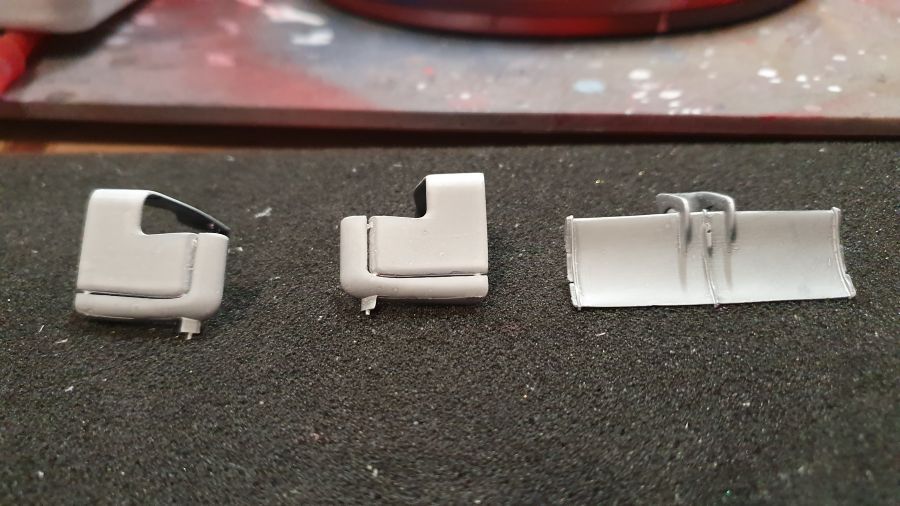
Dan eerst wat grondverf om de onregelmatigheden beter te kunnen zien.
Then some primer to be able to spot the imperfections.
Meer schuren...
More sanding...

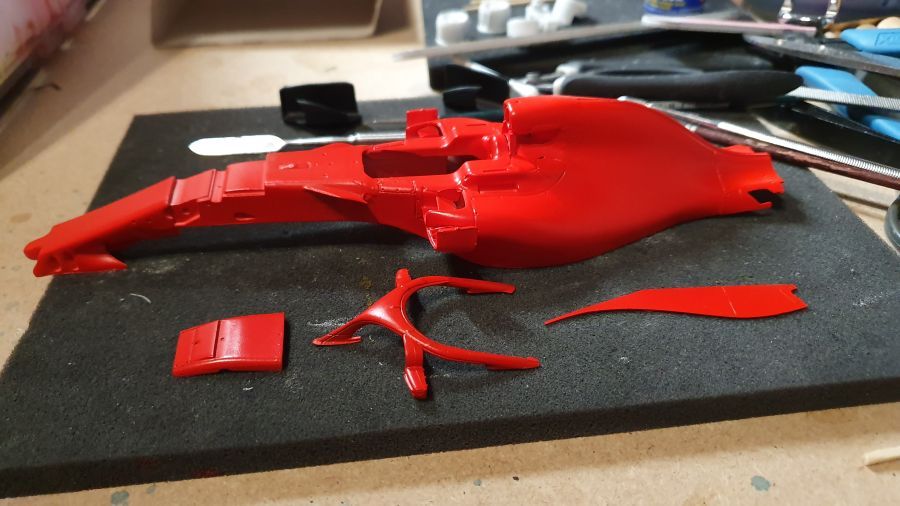
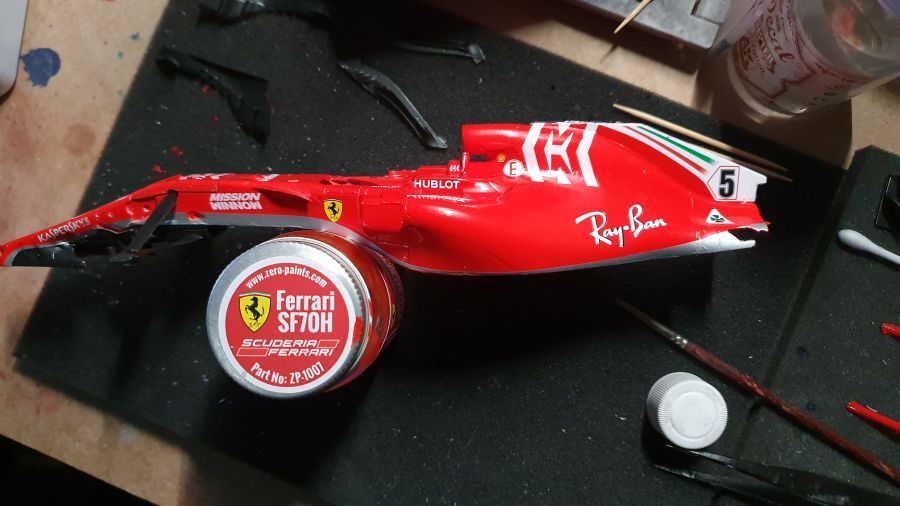
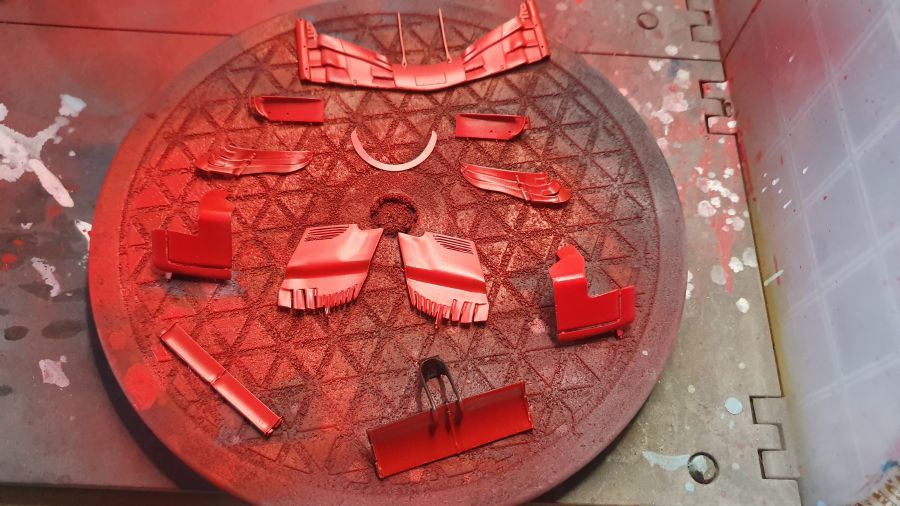
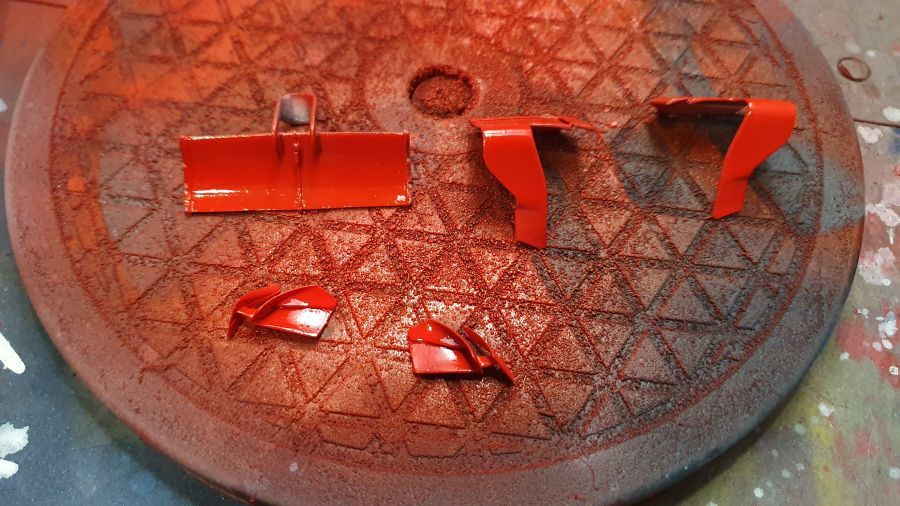
Eindelijk het eerste rood... Zero Paints ZP-1007 Ferrari SF70H.
Finally the first red... Zero Paints ZP-1007 Ferrari SF70H.
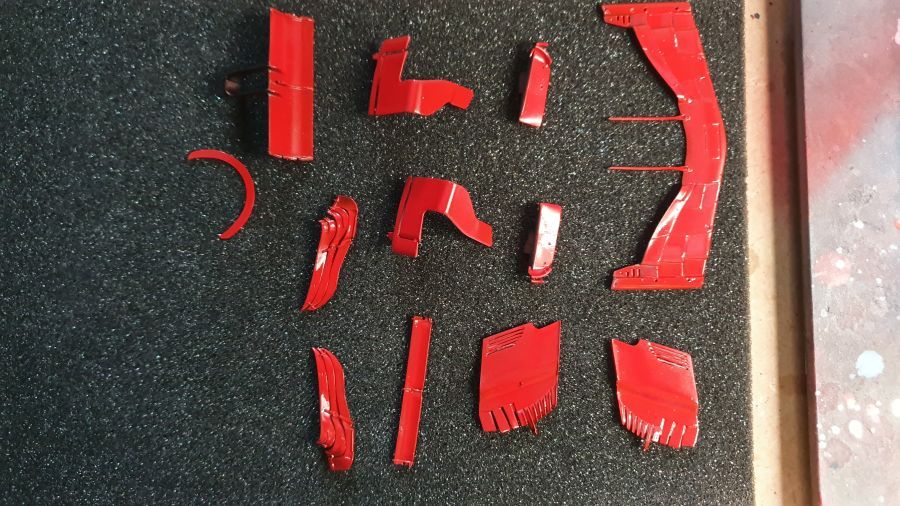
En 2K lak...
And 2K clear...

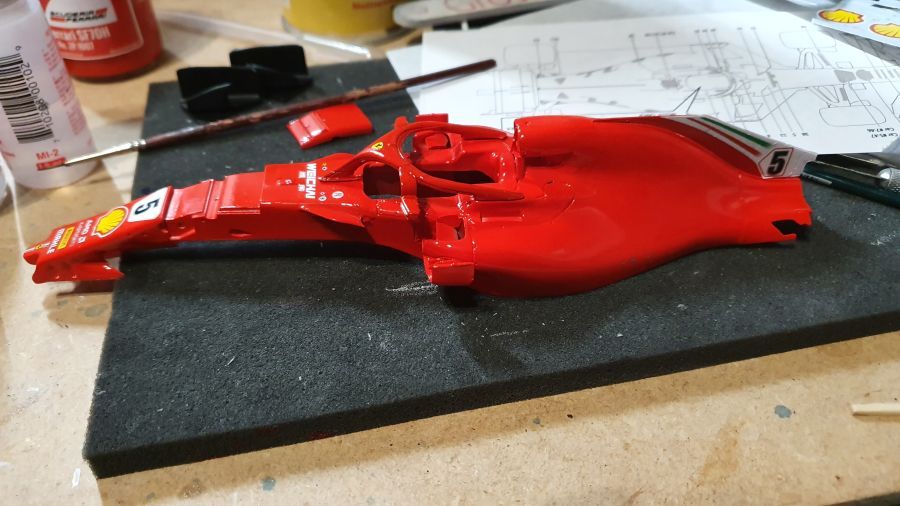
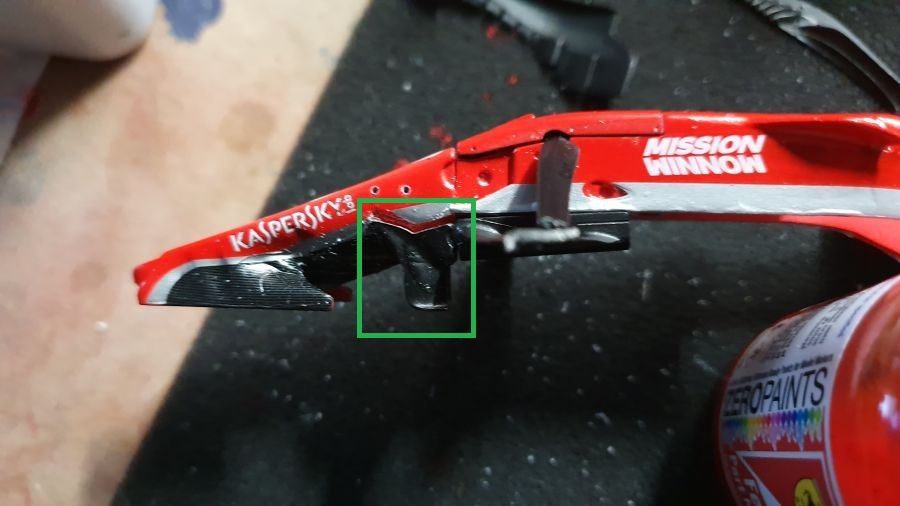
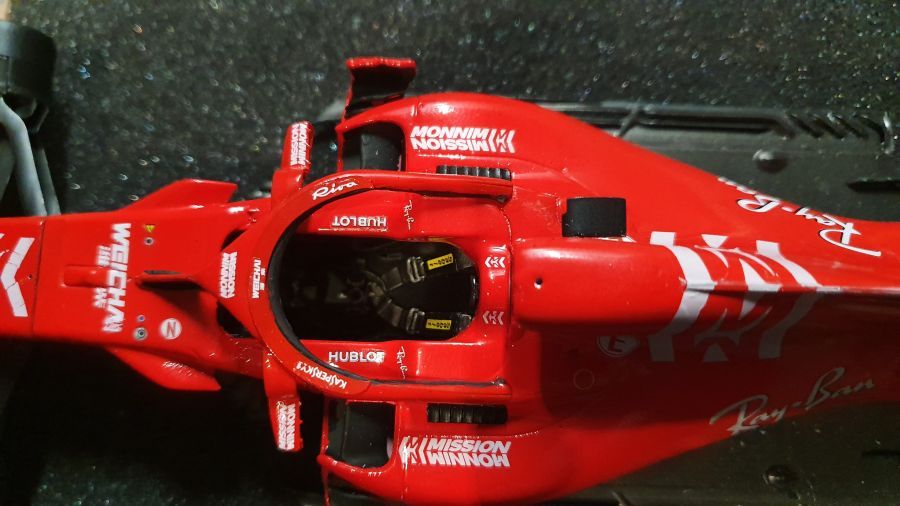
Tijd voor de eerste decals... (Edit: Het Ferrari label op de halo wordt vervangen door een Mission label.)
Time for the first decals.. (Edit: The Ferrari label on the halo will be replaced bij a Mission label.)
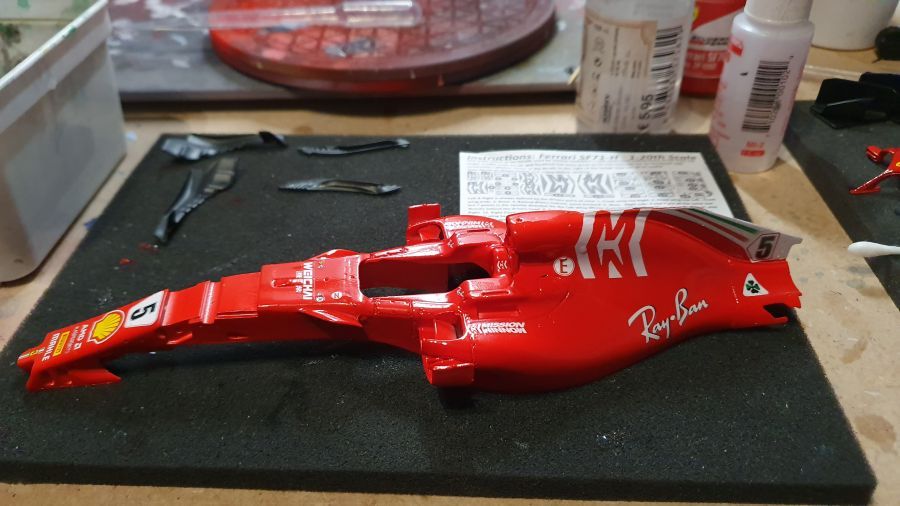
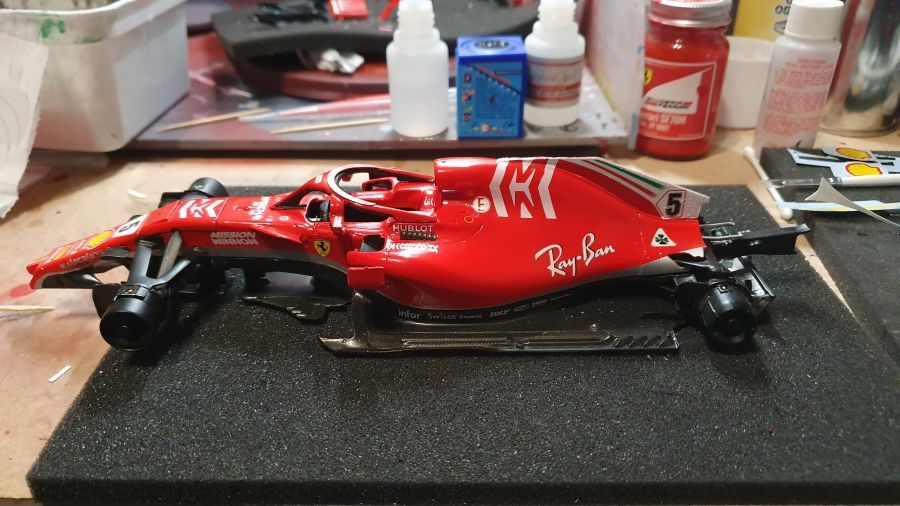
Tweede batch...
Second batch...
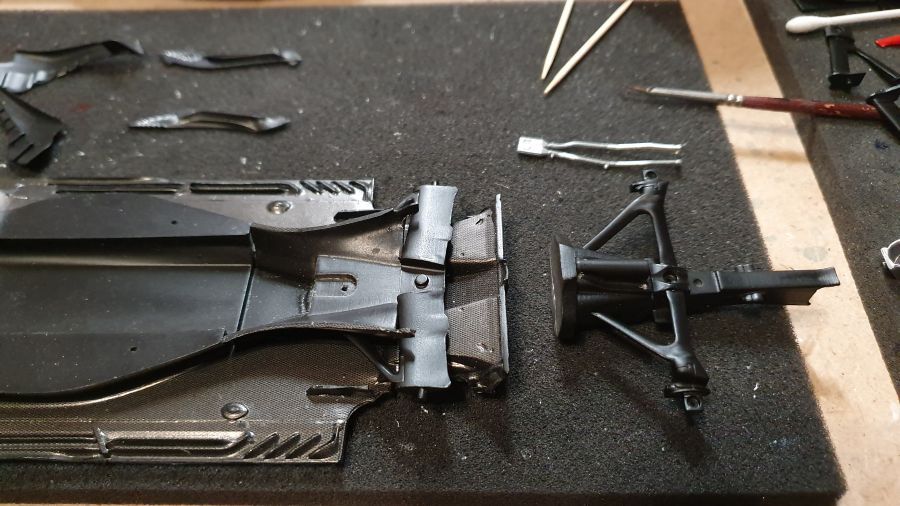
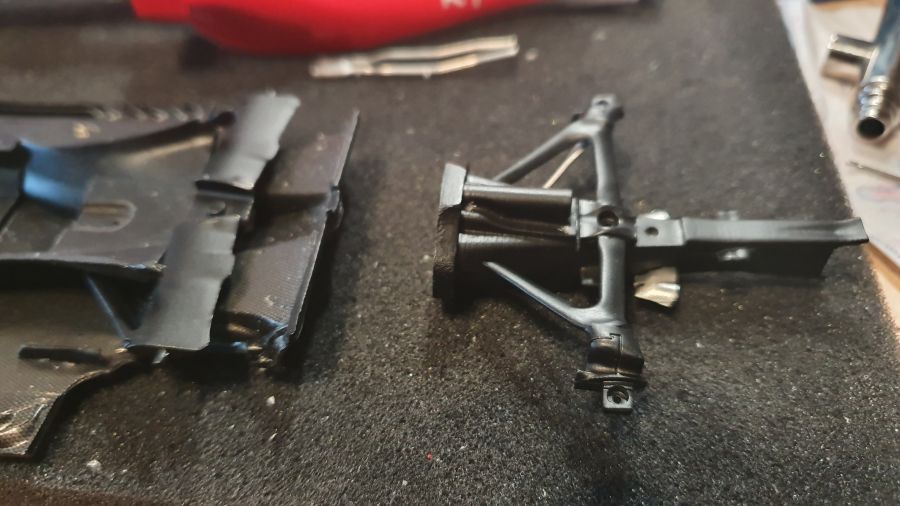
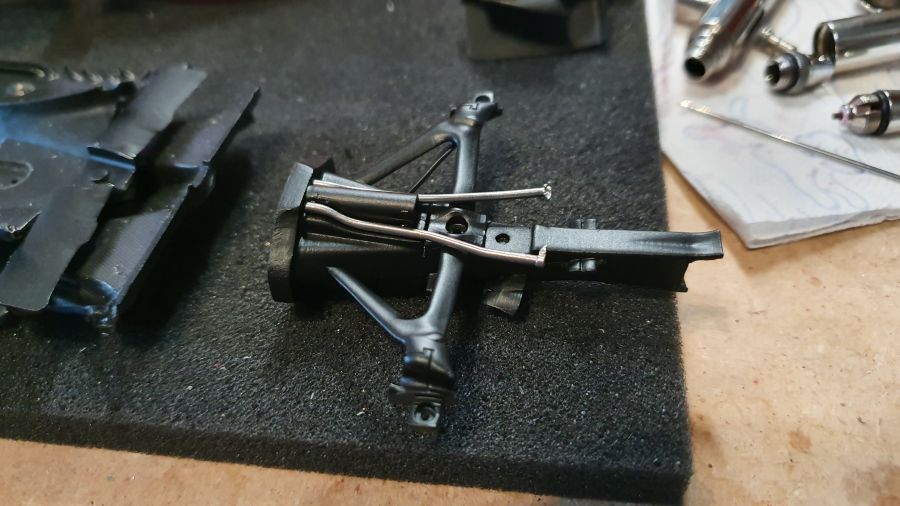
Intussen alvast wat spuitwerk aan de ophanging.
In the meantime some painting to the suspension.
Derde batch...
Third batch...
Dan de carbon fiber decals van de kit.
Next are the kit's carbon fiber decals.
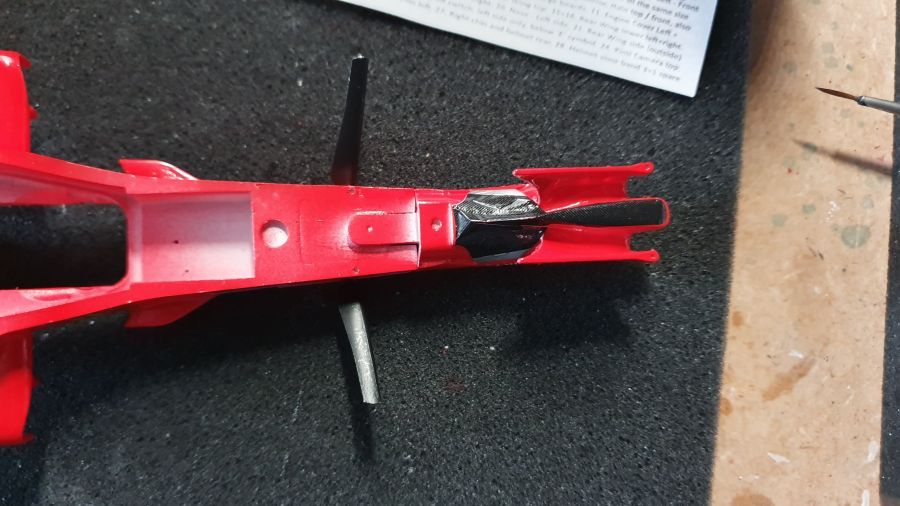
Ik krijg dit deel niet perfect passend. Wat ik ook doe. Volgens mij is het iets te klein vormgegeven.
I can't get this piece fit perfectly. No matter wat i do. I think it's been shaped a little too small.
Meer decals. Normaal gesproken zou ik weer een laag lak spuiten. De carbon decals zijn echter zo stug, dat ik het er niet op waag.
More decals. Normally i would spray more clear. The carbon decals are that tough, that i will not risk it.
Terwijl dit droogt, ga ik even verder met de ophanging en de vloer.
While this dries , i will continue with the suspension and the floor.
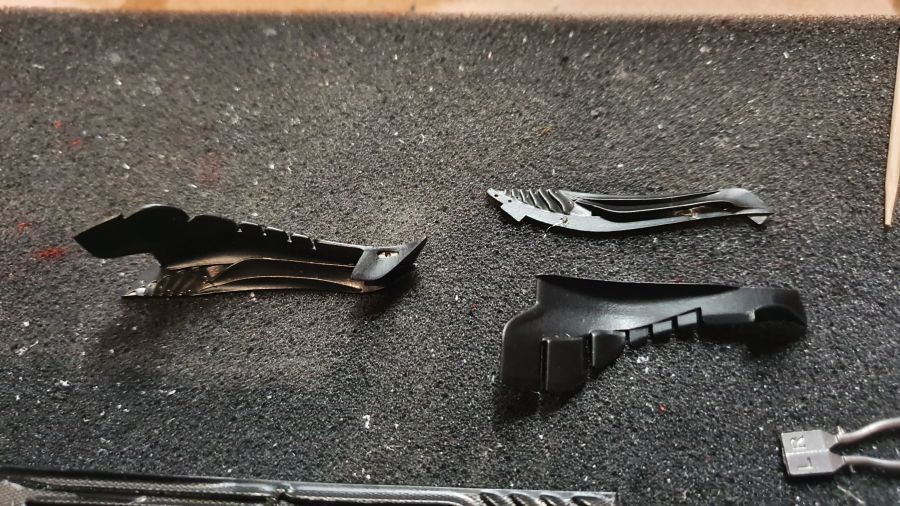
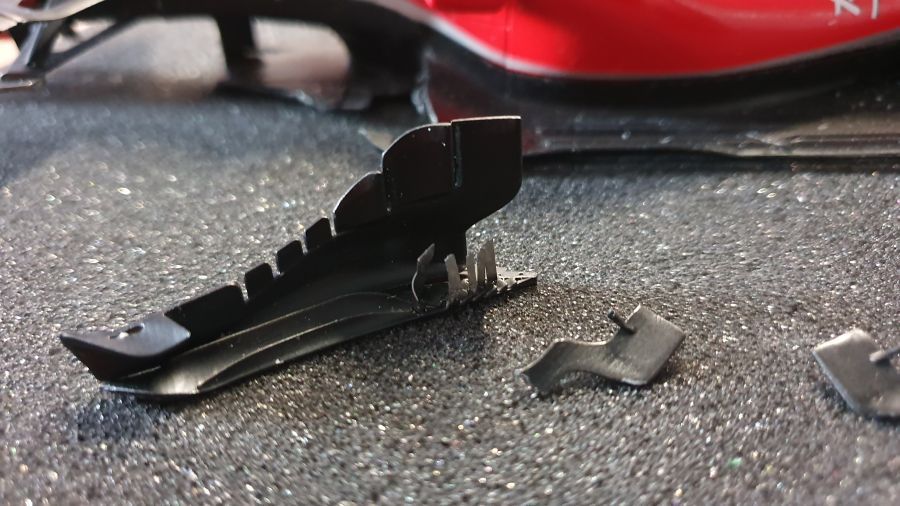
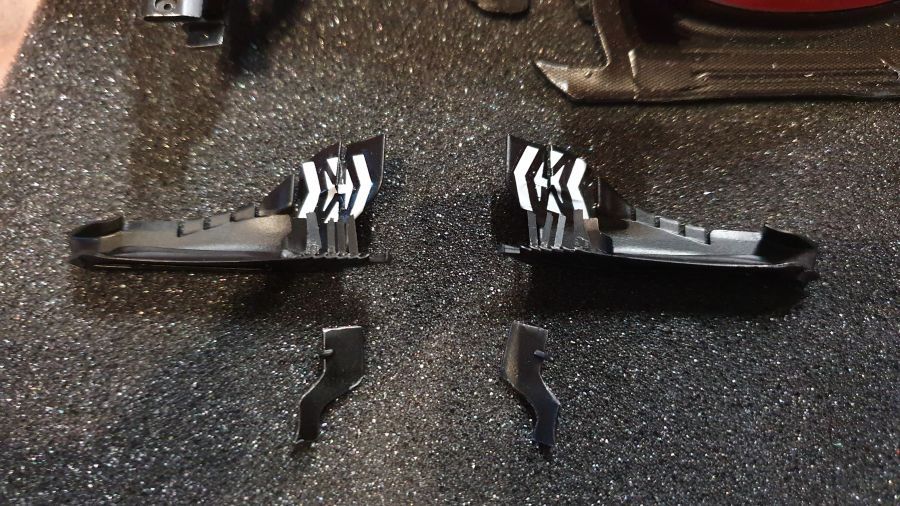
En de barge boards...
And the barge boards...
Terwijl dit droogt krijgen een paar onderdelen vast wat kleur.
While this dries some parts will get some color.
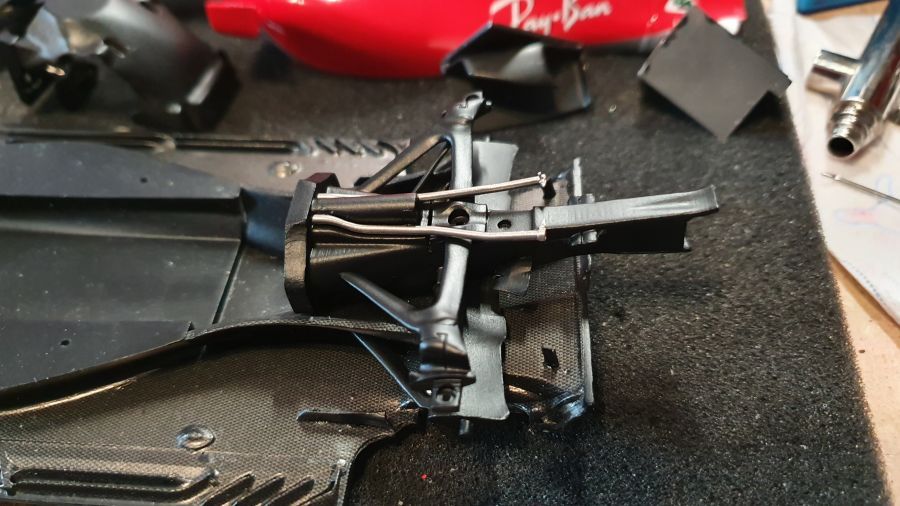
En weer terug naar de ophanging...
And back to the suspension...
De stoel en de binnenkant van de side pods worden geplaatst.
The seat and the inside of the side pods are being added.
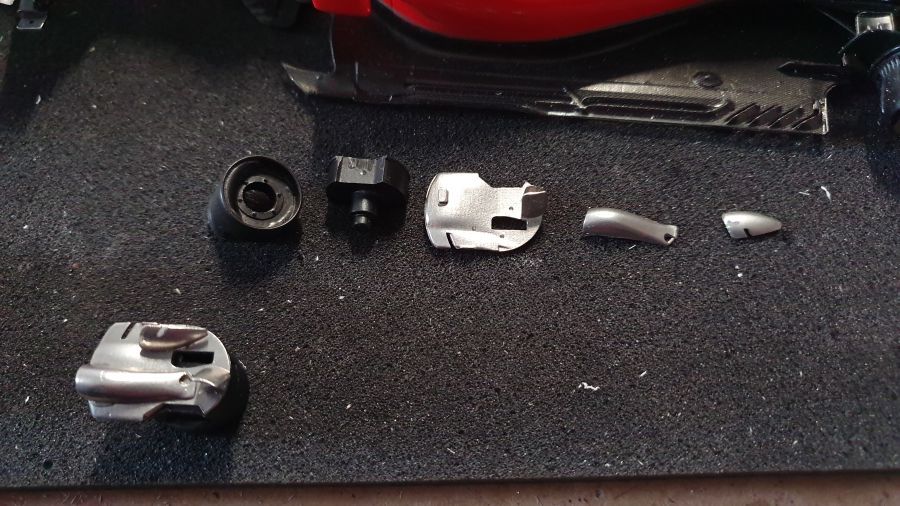
De achterremmen in elkaar zetten....
Completing the rear brakes...
En de body kan erop...
And the body can be attached...
Dan kunnen de voorremmen worden geassembleerd.
Then the front brakes can be assembled.
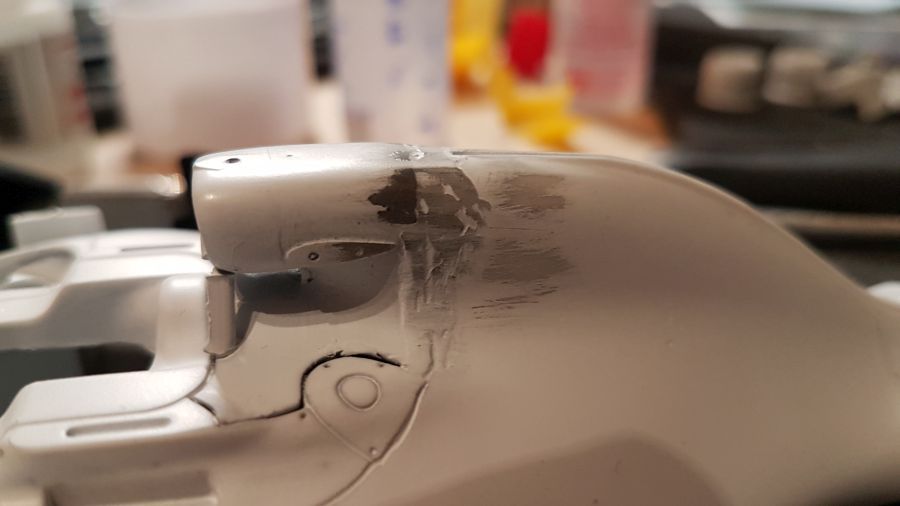
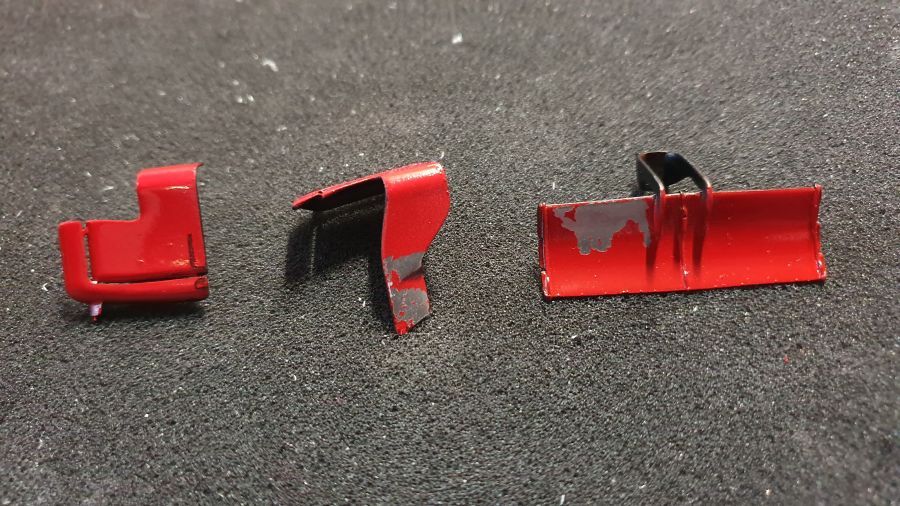
Schade bij het verwijderen van de afplaktape. Alles moet weer kaal worden gemaakt en opnieuw gespoten.
Damage when taking away masking tape. Everything needs to be cleaned and sprayed again.
Meer werk aan de barge boards.
More work to the barge boards.
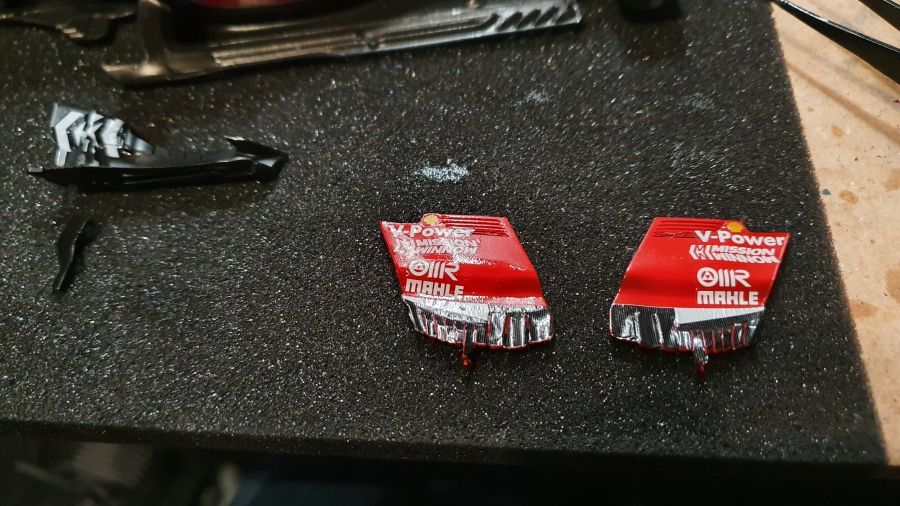
En de zijkanten van de achtervleugel...
And the rear wing side panels...
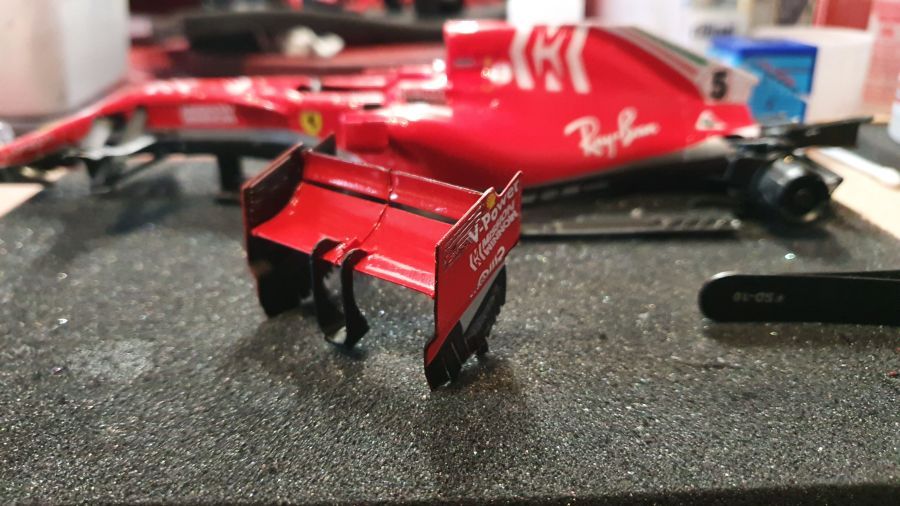
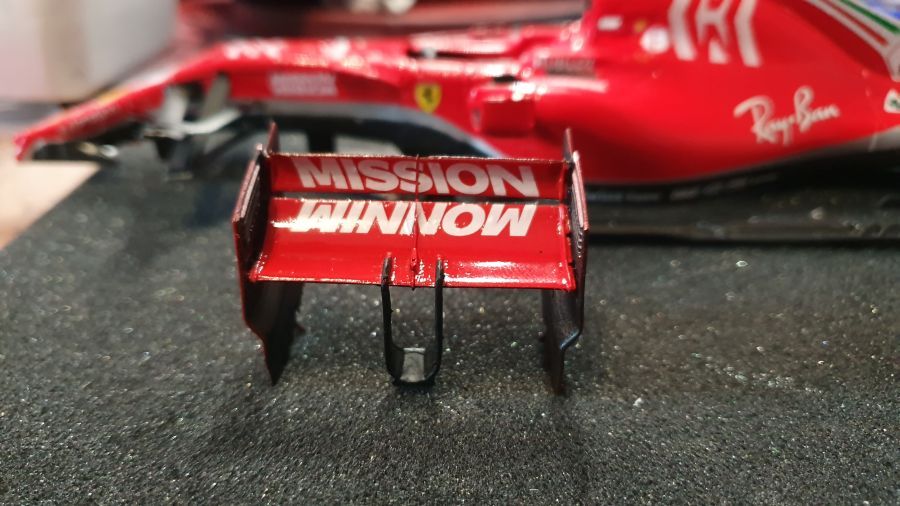
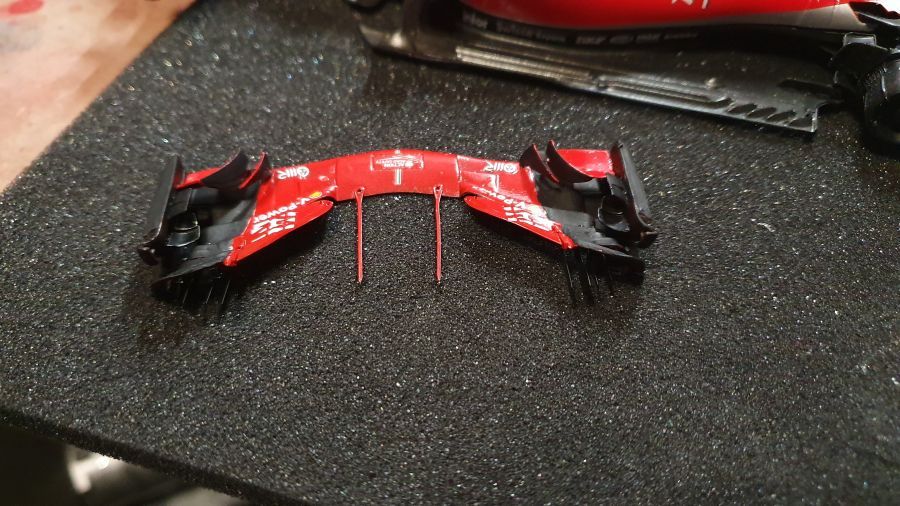
Weer terug naar de voorvleugel...
Back to the rear wing...


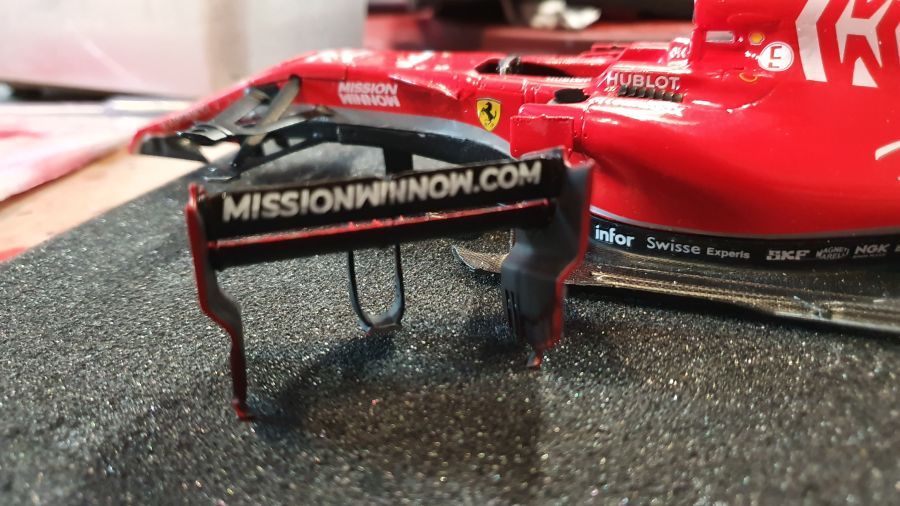
Dan maar door naar de achtervleugel...
To continue with the rear wing...

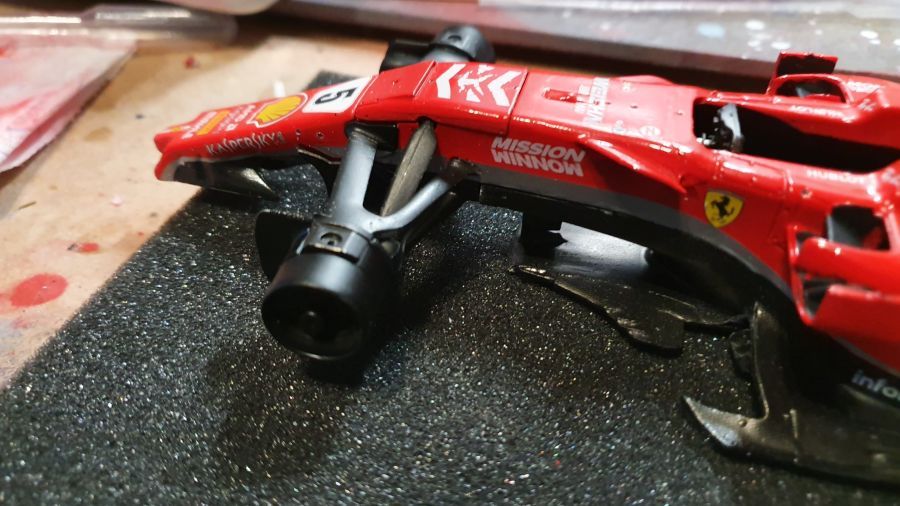
De voorste remtrommels zitten er op.
The front brake drums were added.
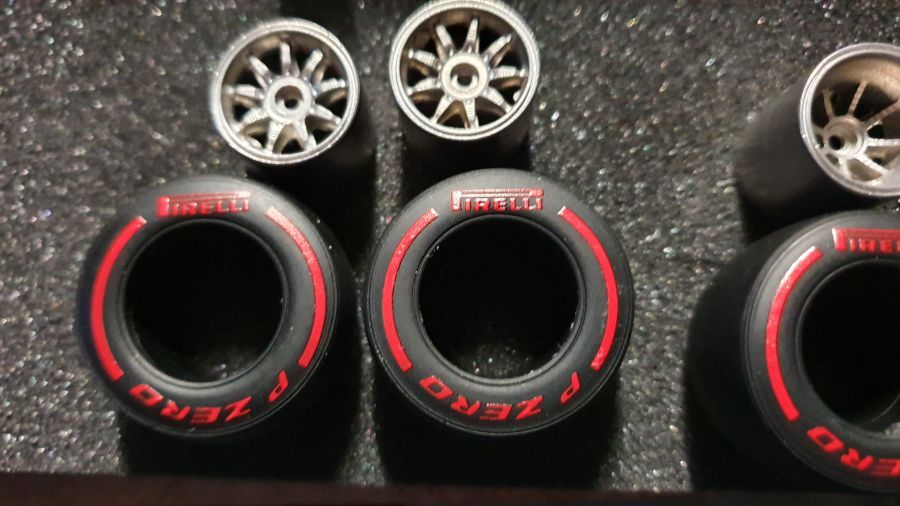
De Pirelli logo's zitten er niet mooi op. Hier en daar wat scheef. Het moet maar.
The Pirelli logo's are not well aligned. It is what it is.
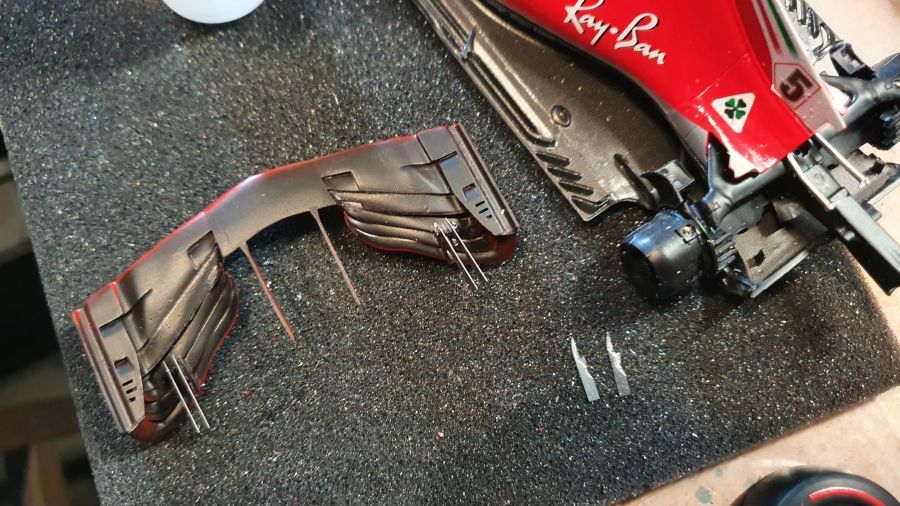
Meer vleugeltjes op de voorvleugel.
More fairings to the front wing.
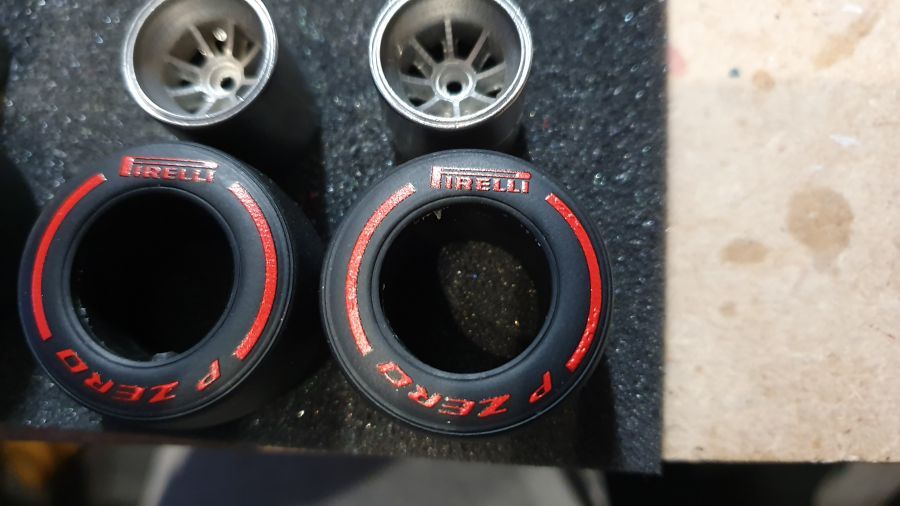
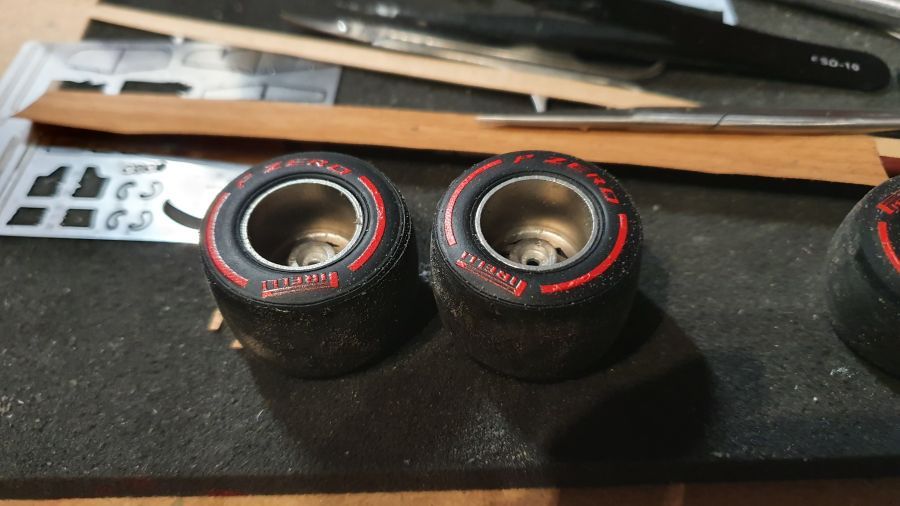
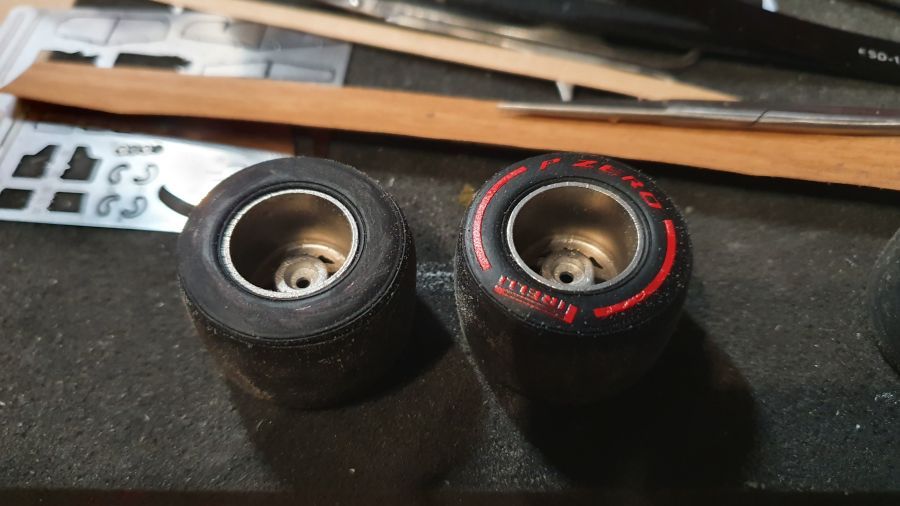
Al een paar jaar maakt Hiro de fout met de achterbanden. De binnenkant behoort geen Pirelli logo te hebben. Dus correctie.
A couple of years Hiro makes a mistake with the rear tires. The insides do not wear the Pirelli logo. So corrected.
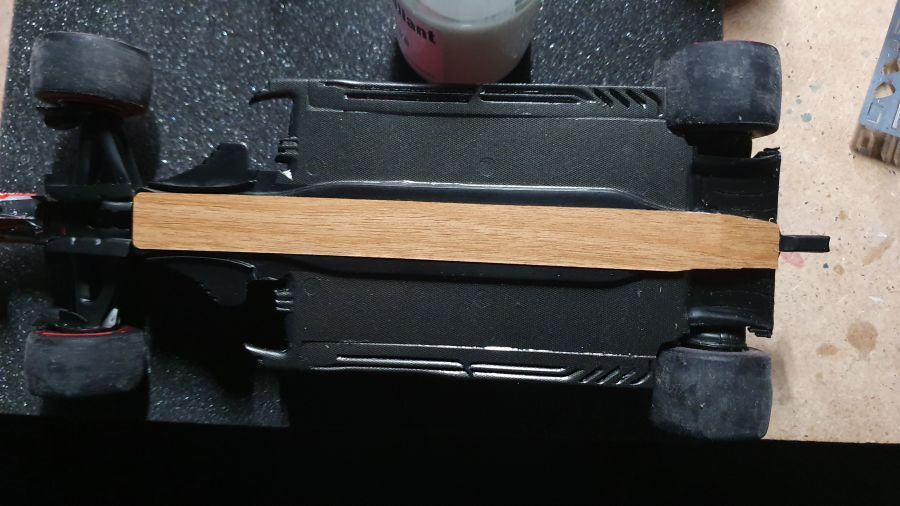
Dan de plank...
Next is the plank...
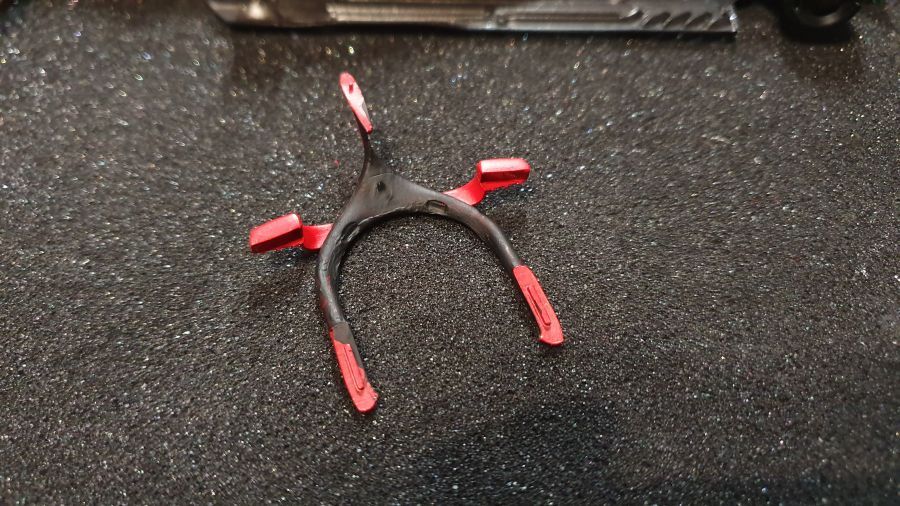
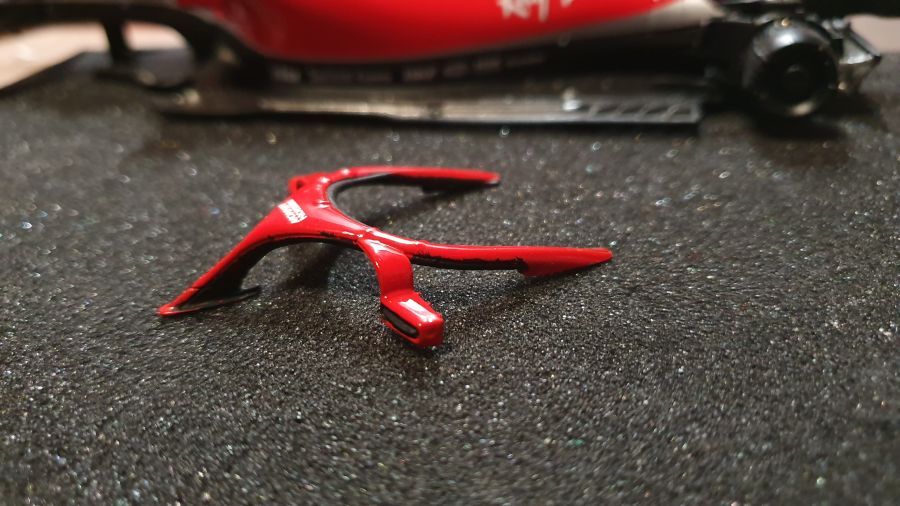
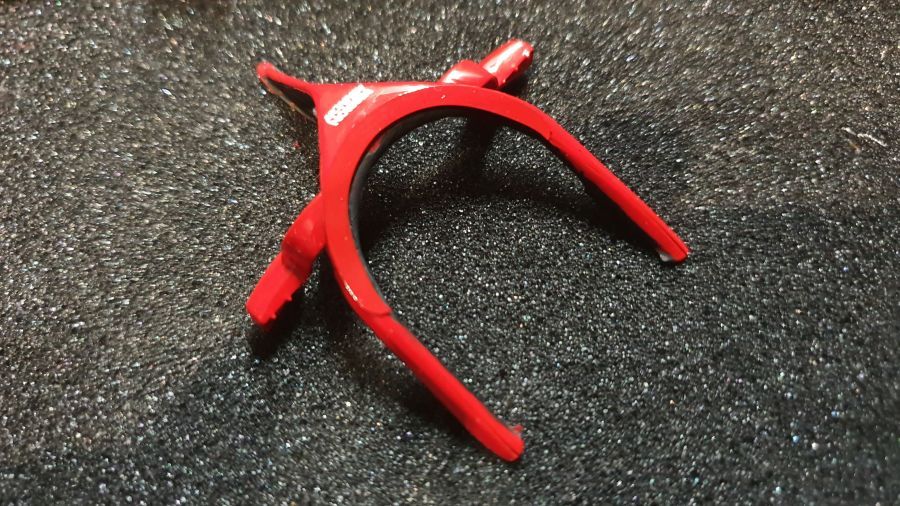
En dan verder met de halo. Ik verf het zwart met de hand, want afplakken en spuiten is geen doen.
To continue with the halo. I paint the black by hand, because masking and airbrushing will be too tough.
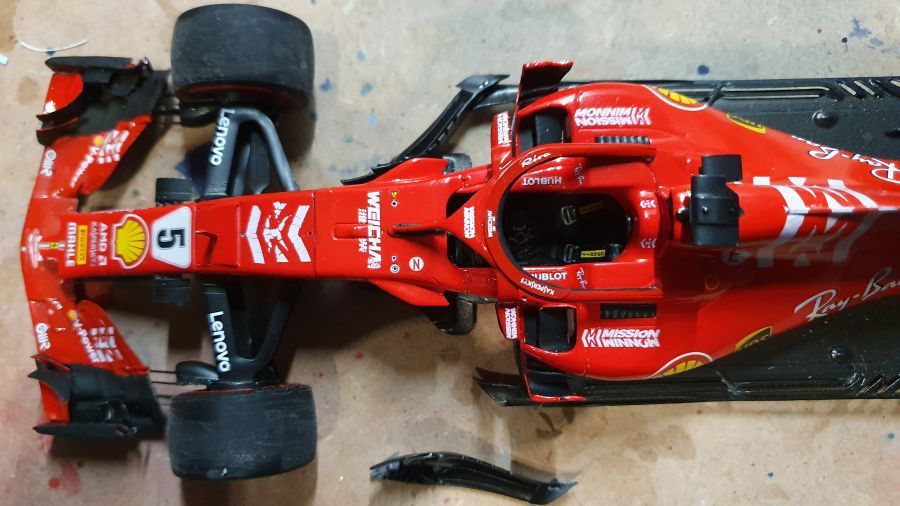
De wielen erop...
Mounted the wheels...
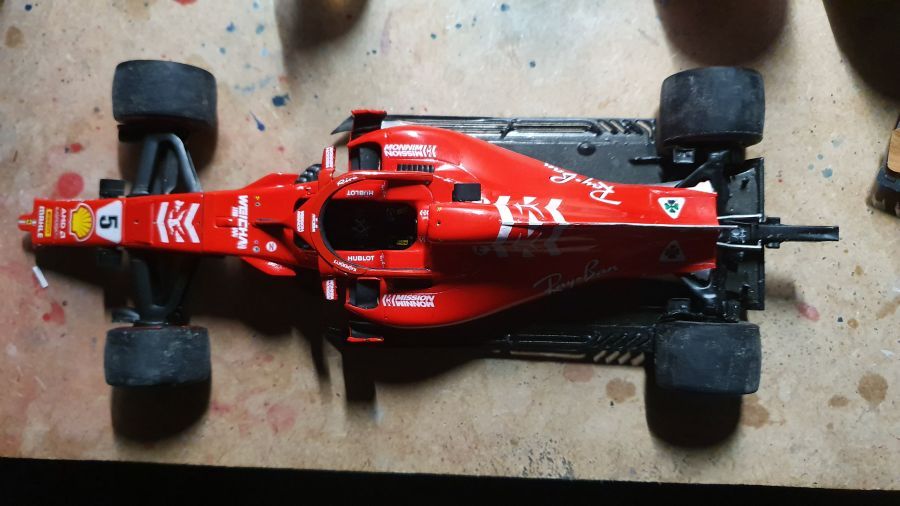
Omdat het model nu nog nauwelijks opgepakt hoeft te worden, gaan nu de laatste decals erop. De setting vloeistof moet zijn werk nog doen.
Because the model now hardly needs to be picked up, the last decals can be added. The setting fluid has still to do it's work.
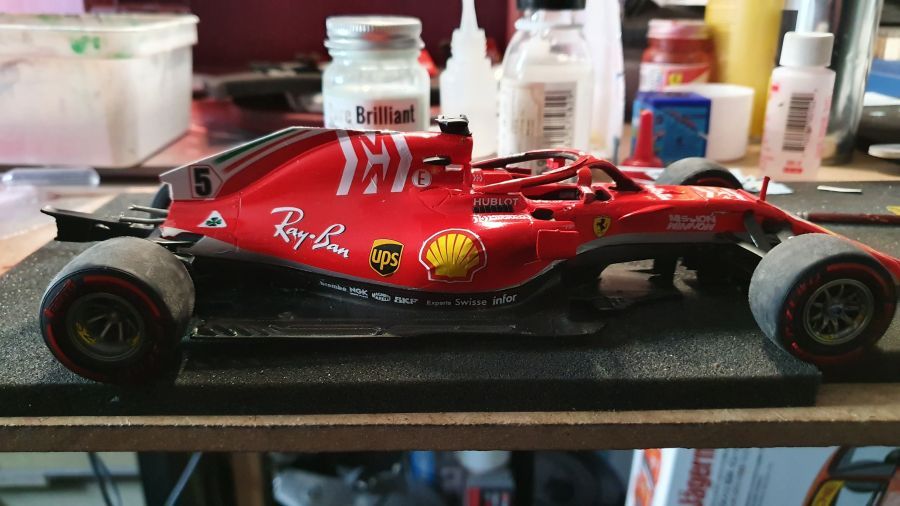
De vleugels gaan erop en daarna de barge boards en de vleugels aan de side pods.
The wings will be added and thenthe barge boards and the wings to the side pods.

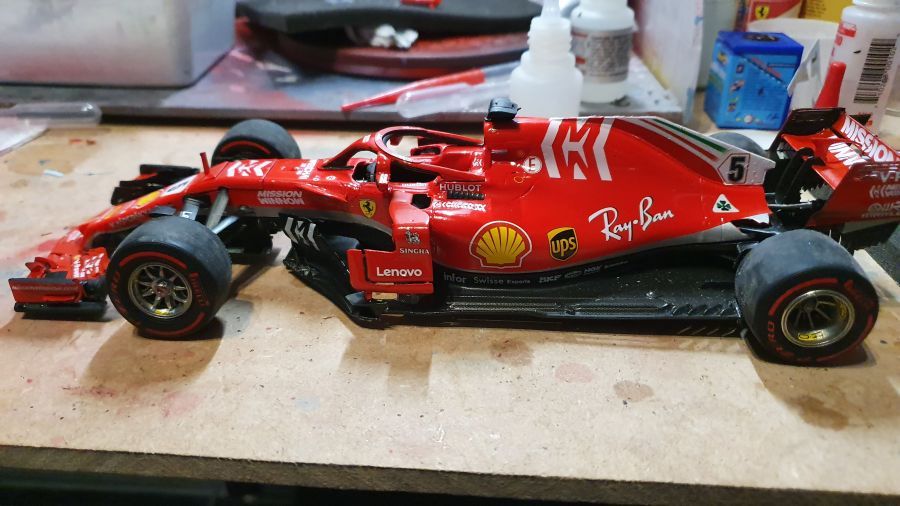
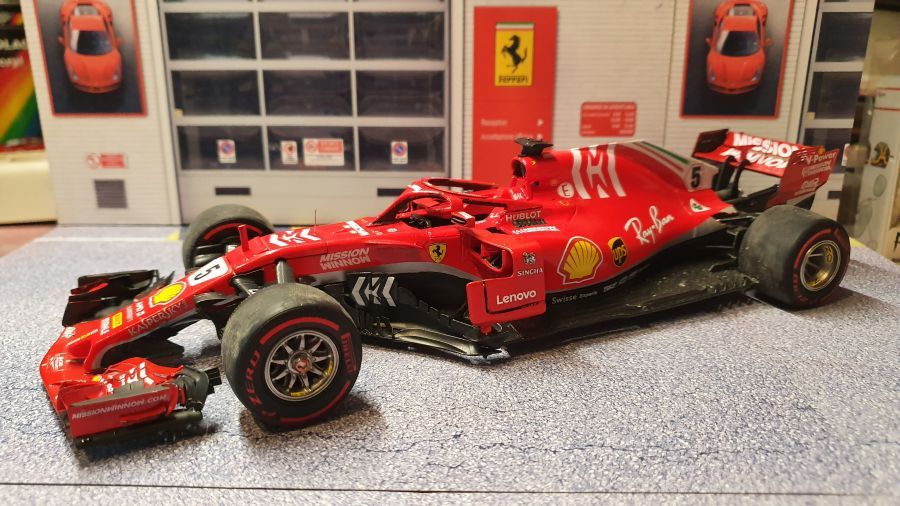
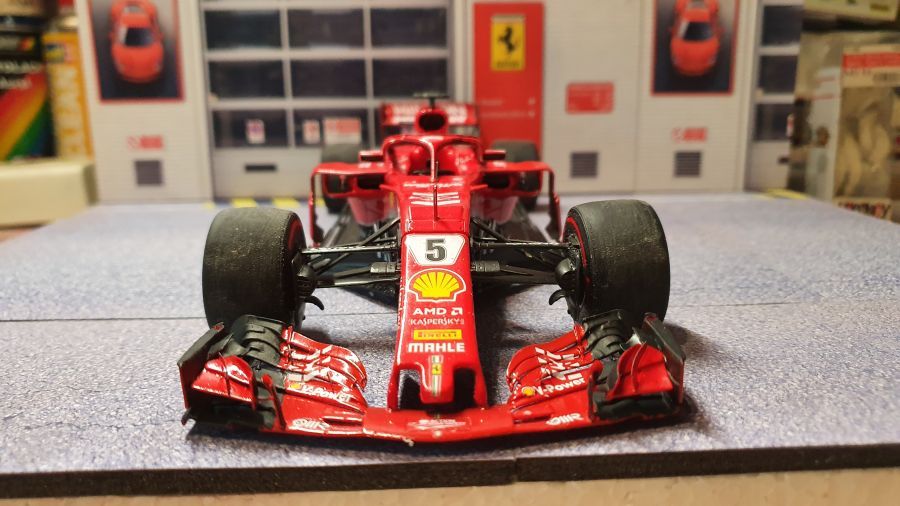
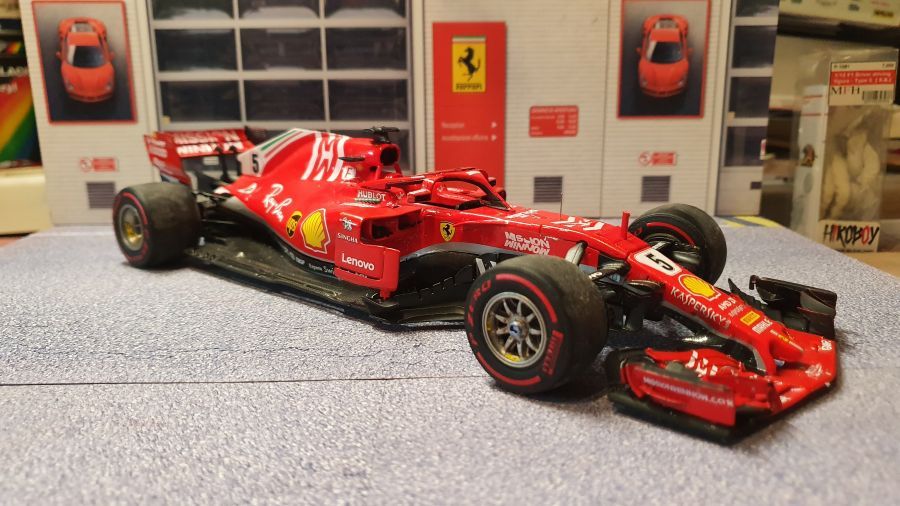
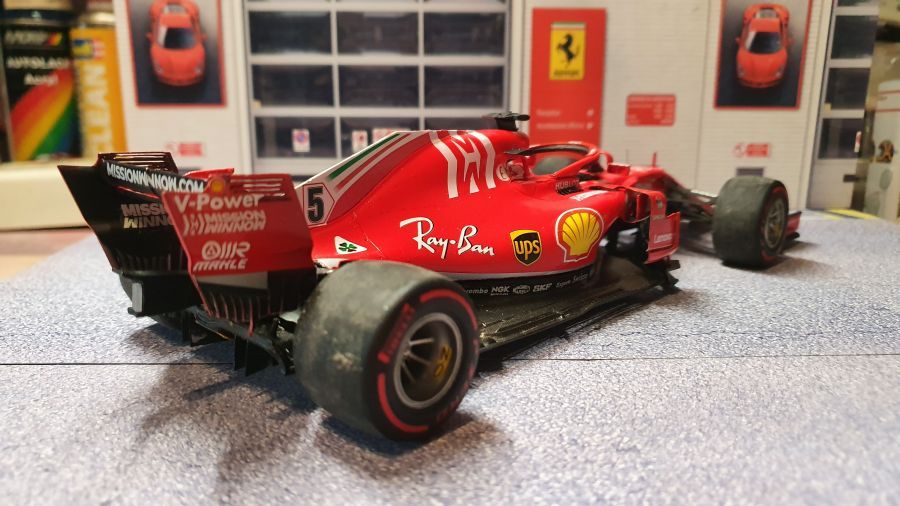
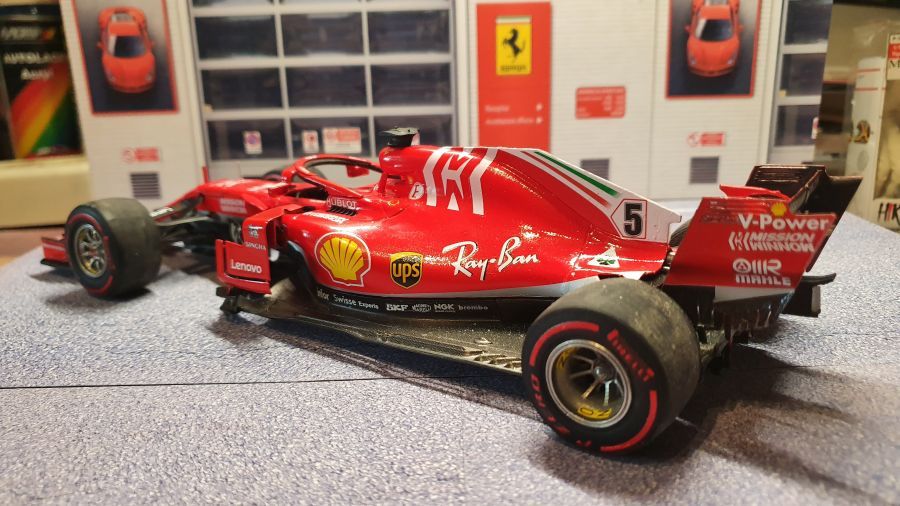
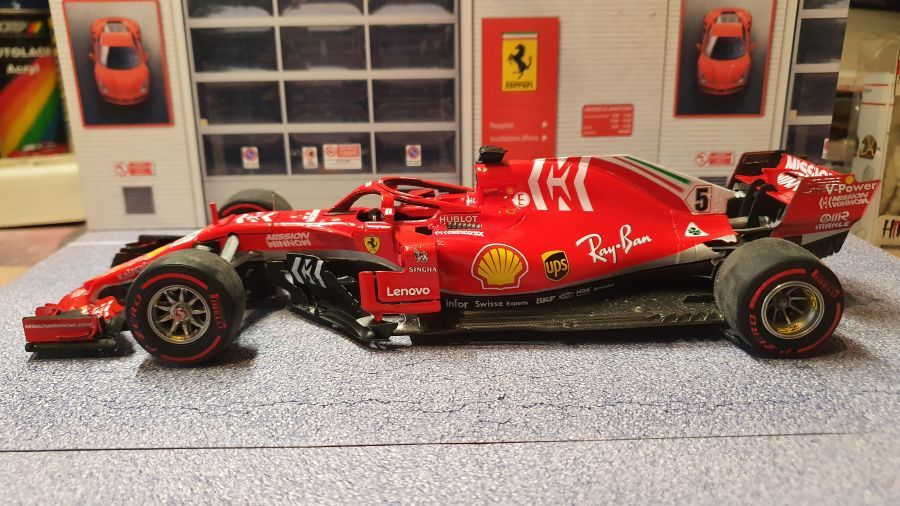
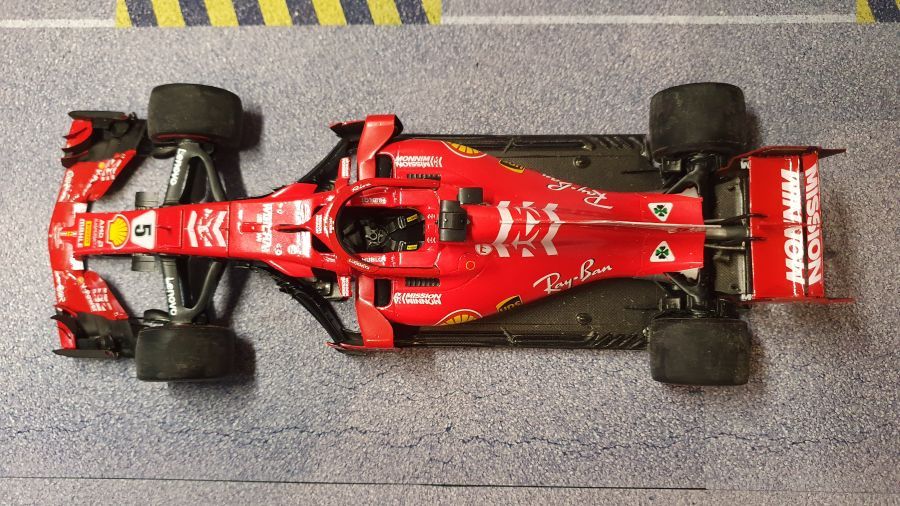
Na het plaatsen van nog wat meer kleinigheden beschouw ik hem als klaar.
After adding minor parts i think it is ready.