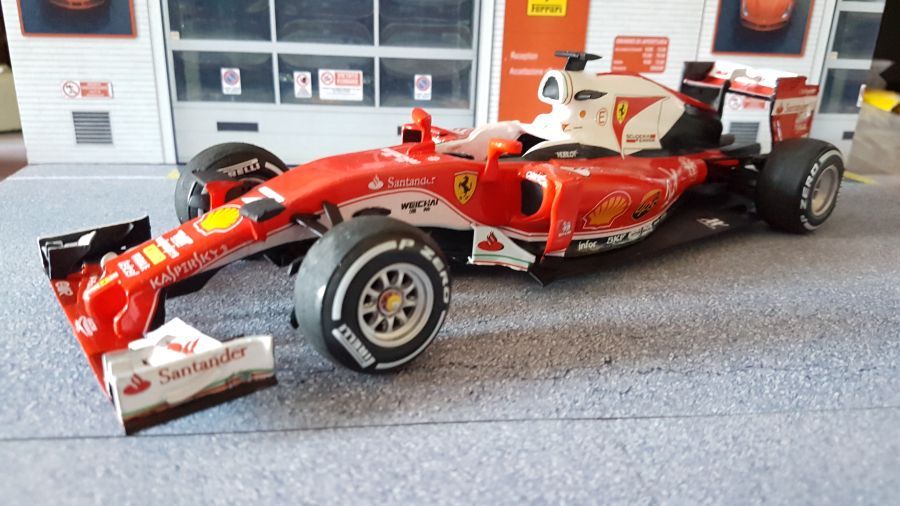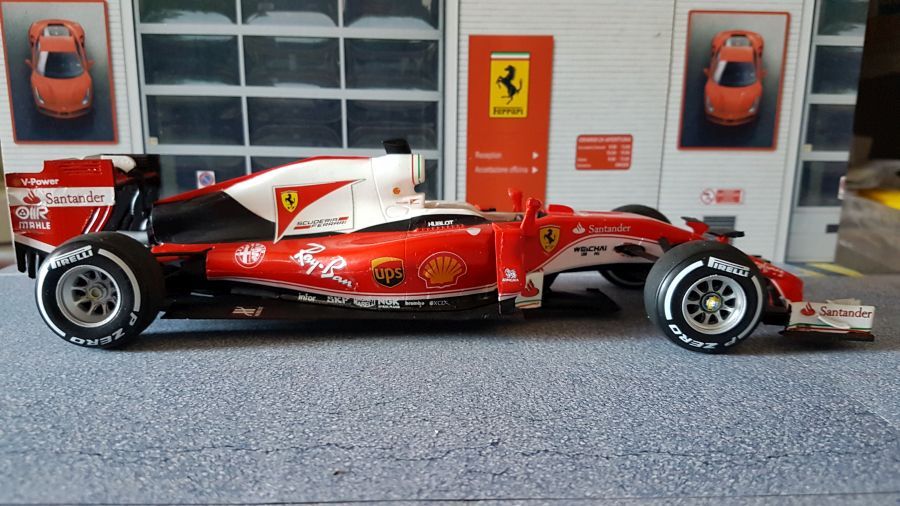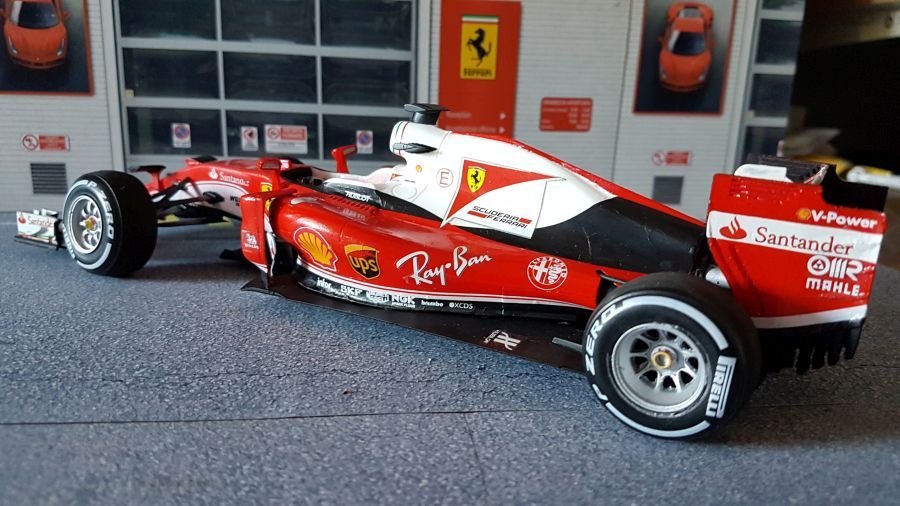
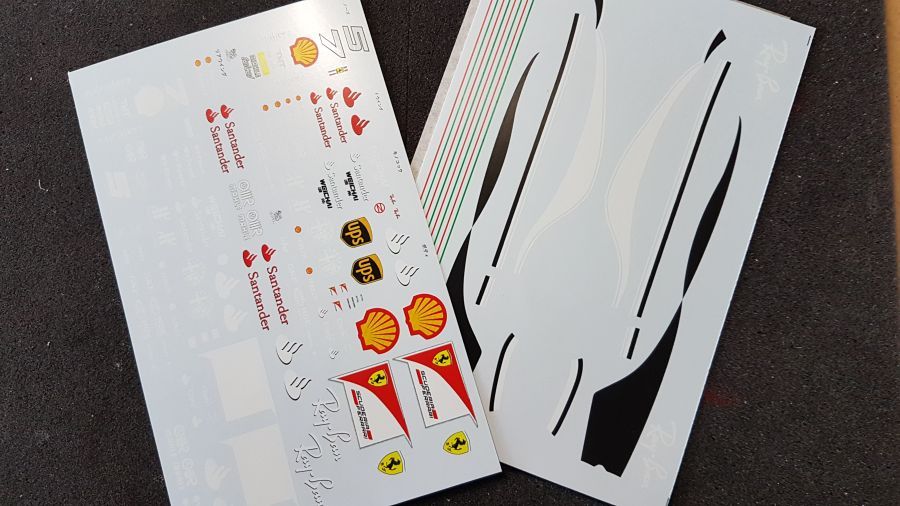
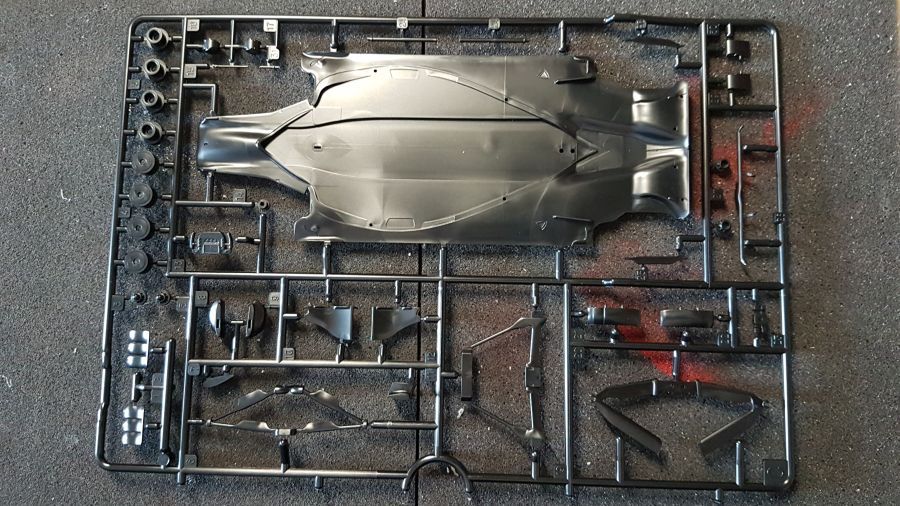
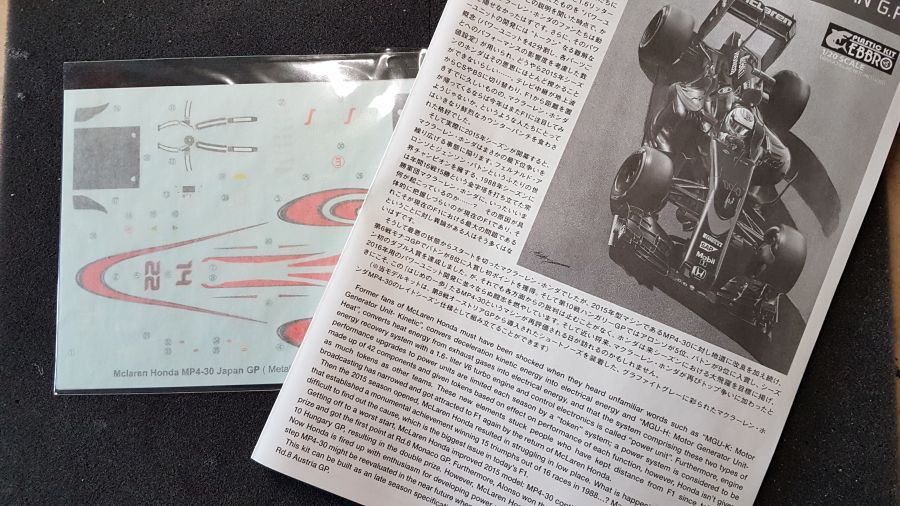
Maar weer even 1 toevoegen aan de rode F1 verzameling. Deze keer de Ferrari SF16-H uit 2016. Het is niet duidelijk van welke race dit model is. Ik ga voor de Belgë Spa versie. Deze heeft Ray Ban decals en banden met witte wangen. De Ebbro kit is weer de donor. Eerst maar weer de foto's van de inhoud. Eerst de Diald Model kit...
Adding another one to the F1 reds collection. This time the Ferrari SF16-H from 2018. I am not sure which race this one represents. I will go for the Belgium Spa version. It has Ray Ban decals and tires with white markings. The Ebbro kit is the donor again. First the content photo's. First the Diald Model kit...
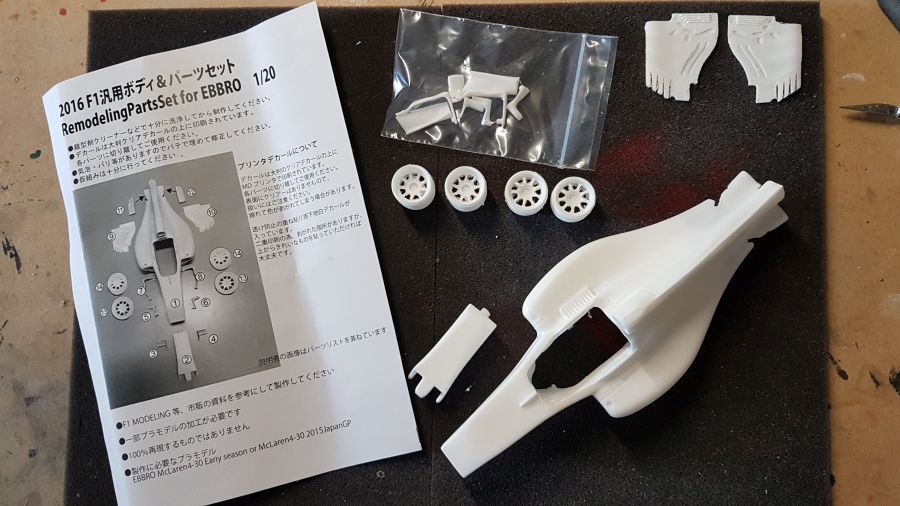
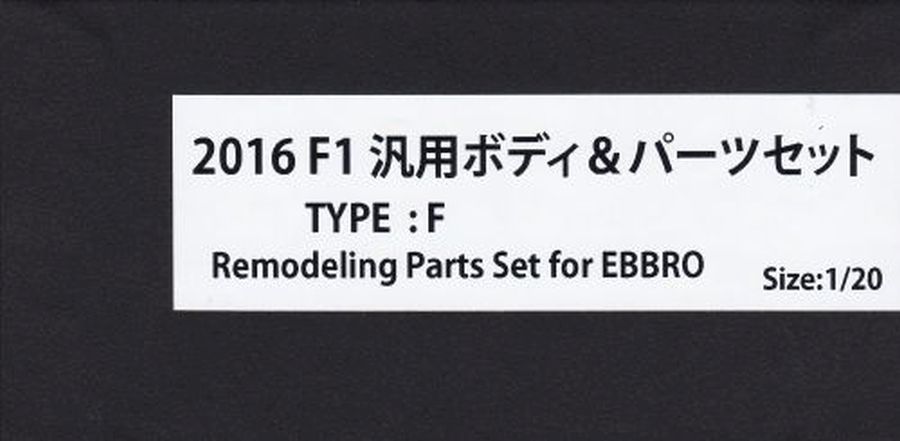
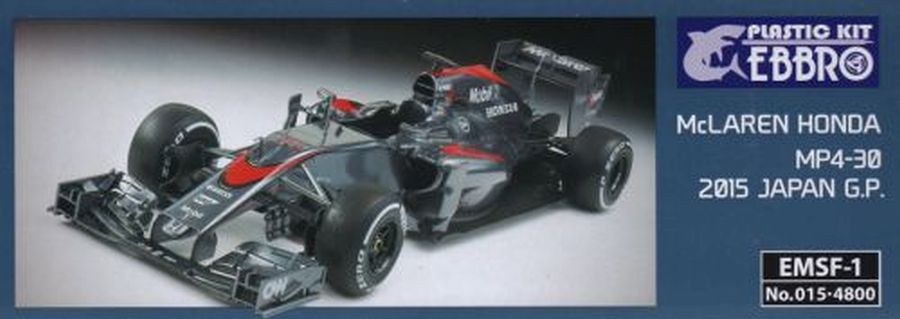
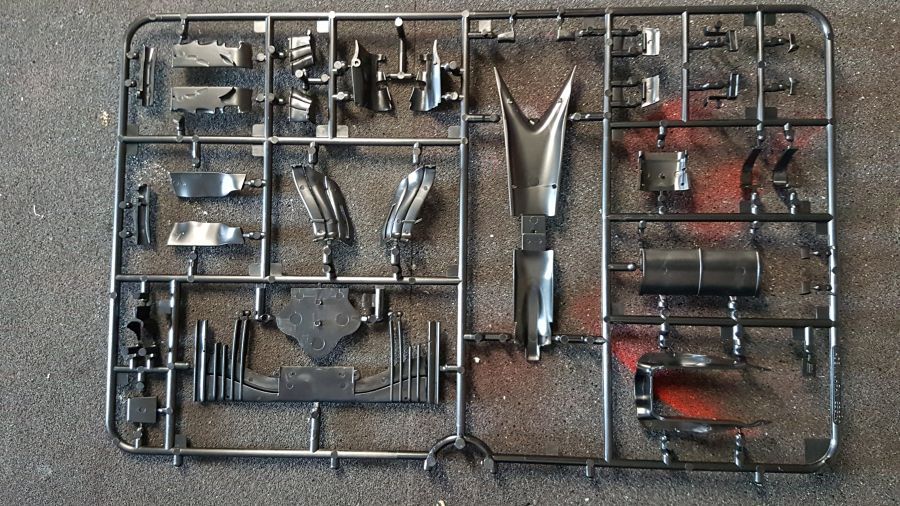
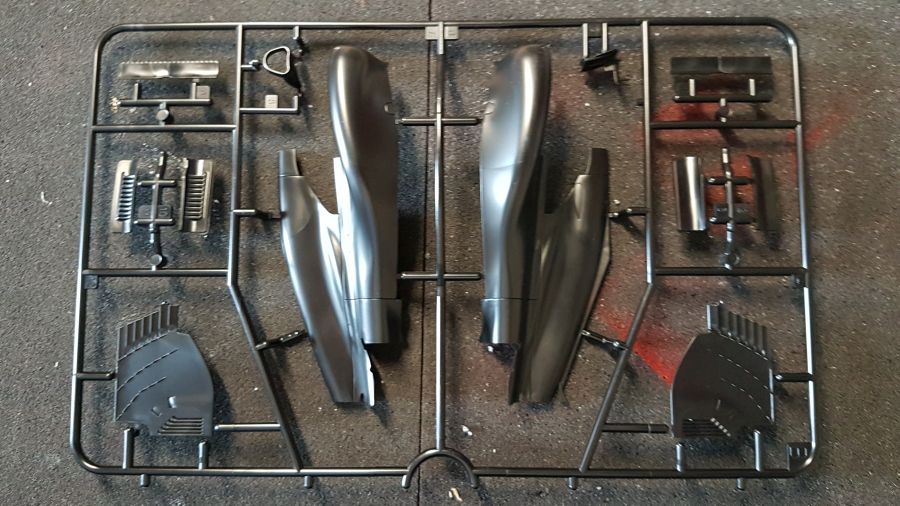
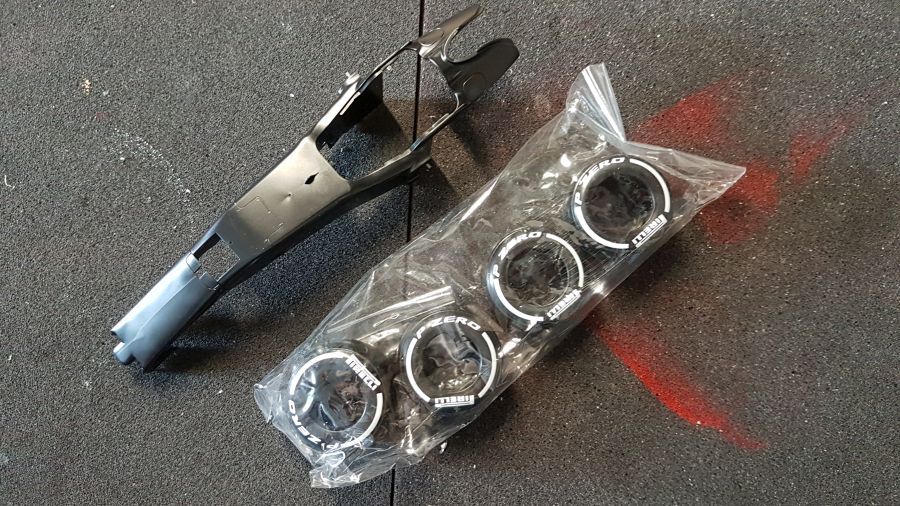
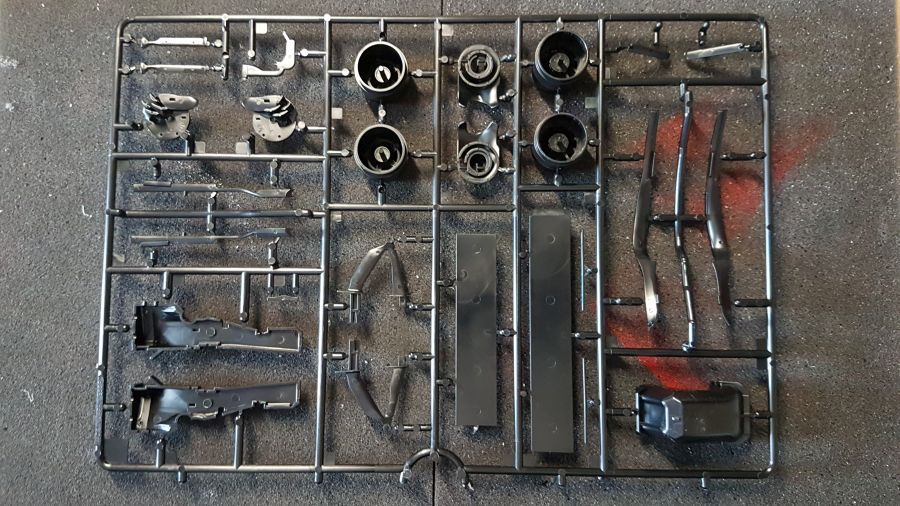
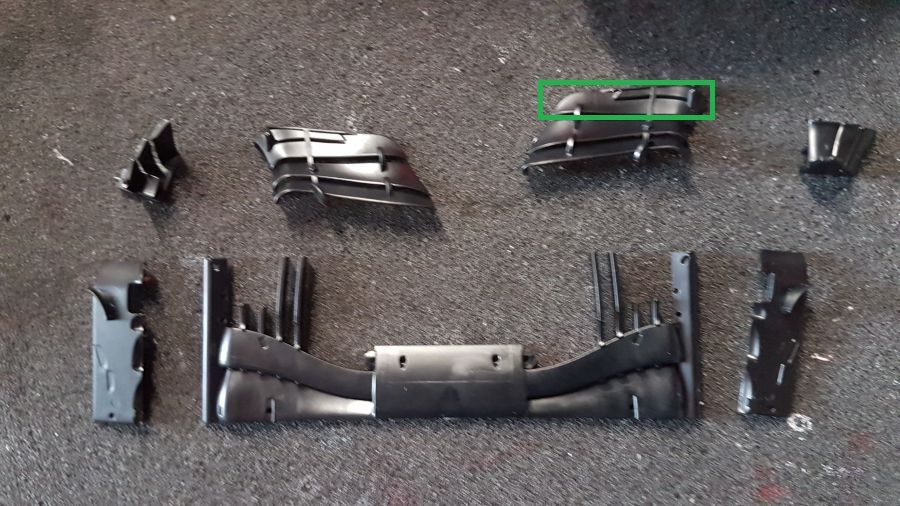
... en de inhoud van de Ebbro kit.
... and the content of the Ebbro kit.
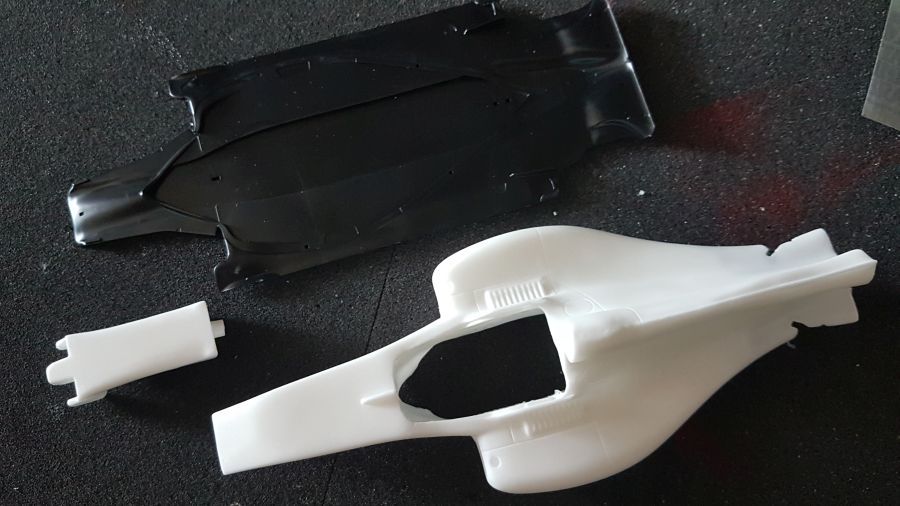
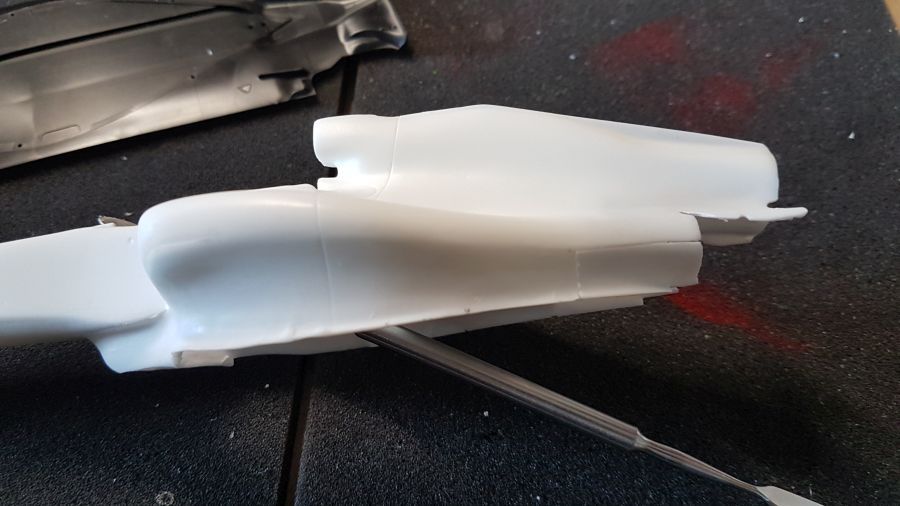
Eerst zien dat deze 3 onderdelen een beetje goed op elkaar aansluiten.
First lets get these 3 parts connect nicely.
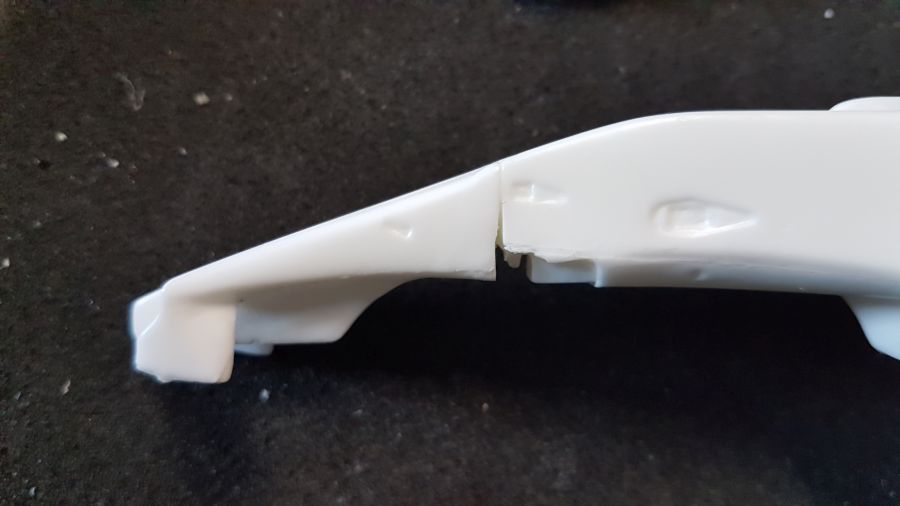
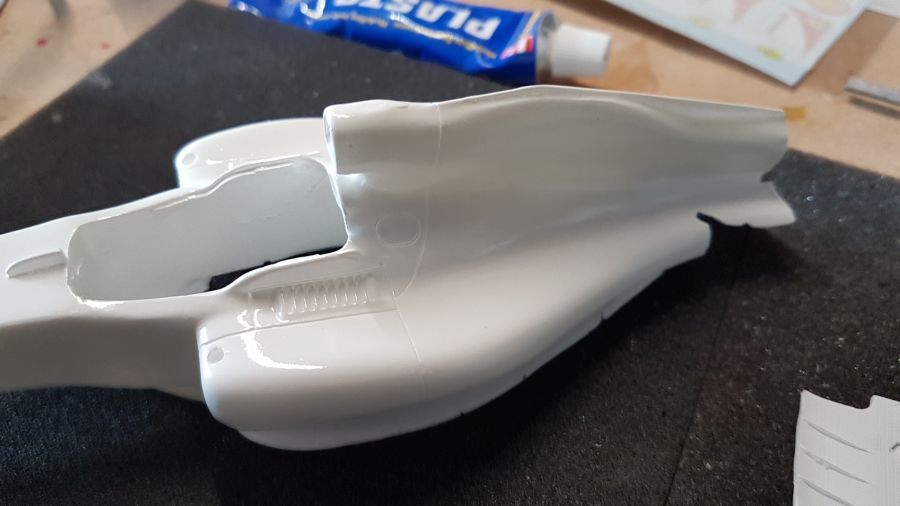
Hier komt wat vuller aan te pas.
This needs some putty.
Nog een paar onderdelen geplaatst.
Some more parts added.
Dan primer op de hele body en tenslotte witte verf op de bovenkant.
Then some primer to the full body and some white paint to the top.
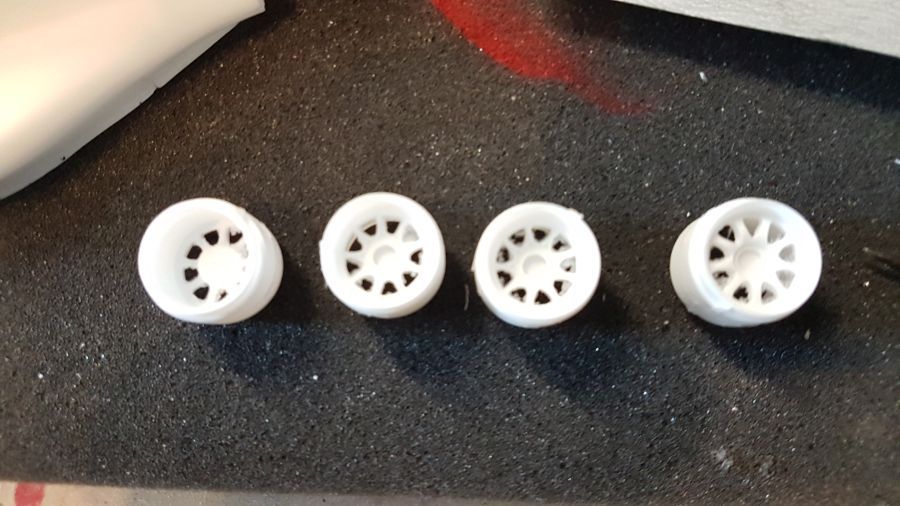
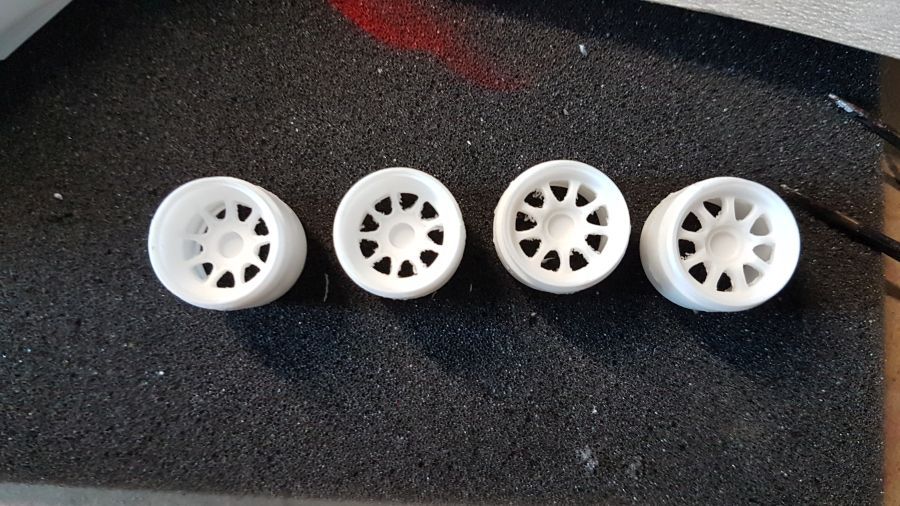
Intussen worden de velgen wat opgeschoond...
In the meantime the rims are being cleaned...
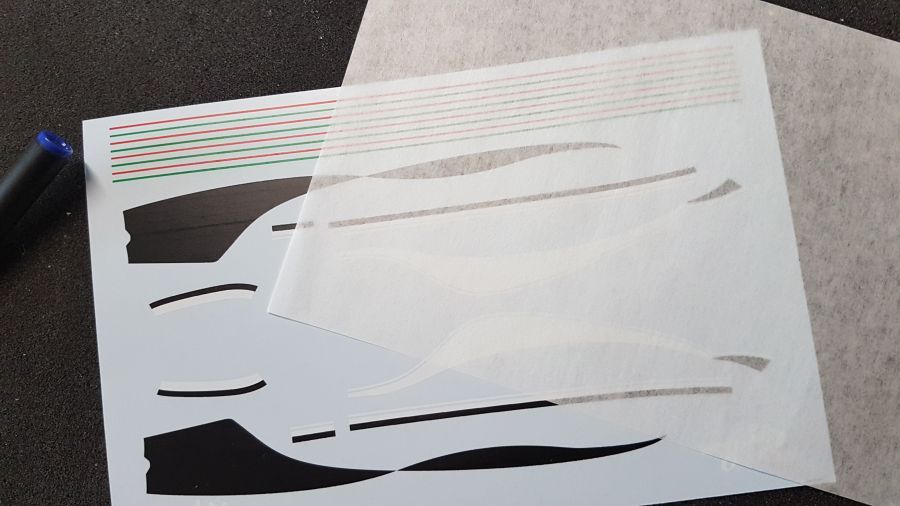
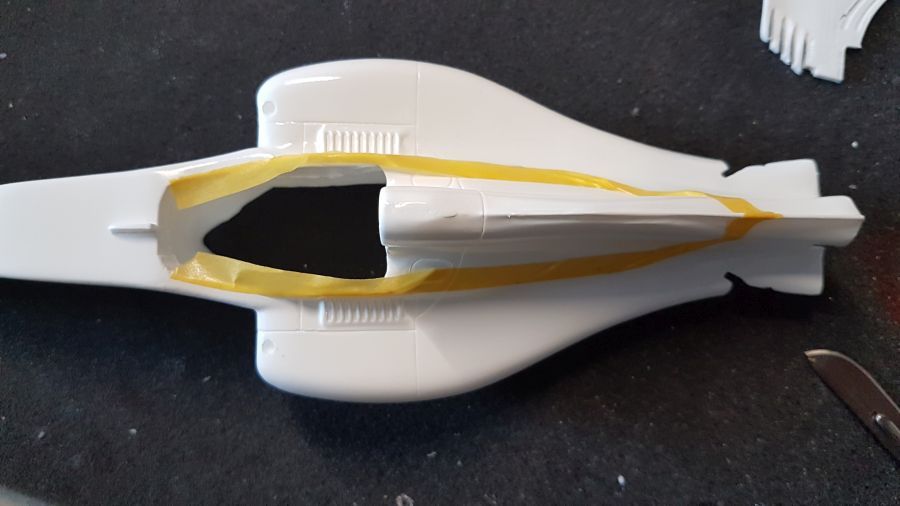
Ik gebruik de decalbescherming om een template te maken. Dit moet me helpen te bepalen waar de scheiding tussen rood en wit moet komen.
I use the decal protection to create a template. This should help me to decide where the red white seperation should come.
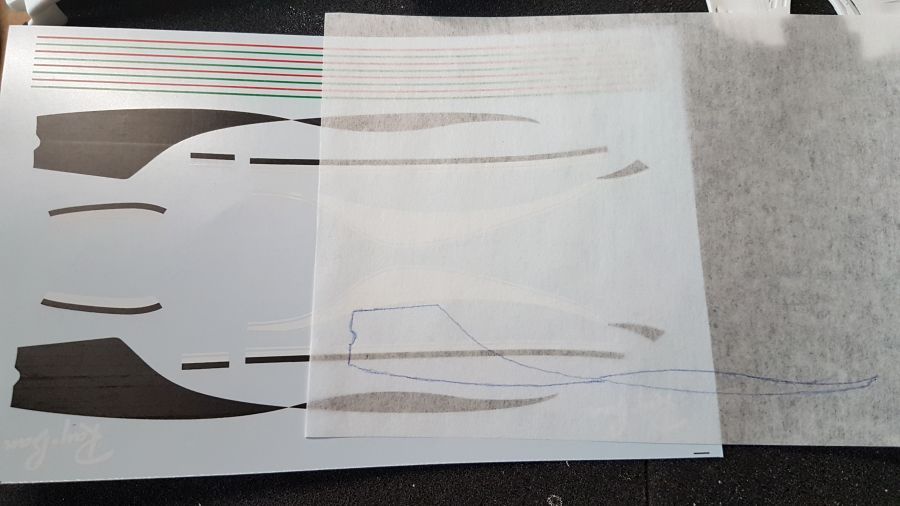
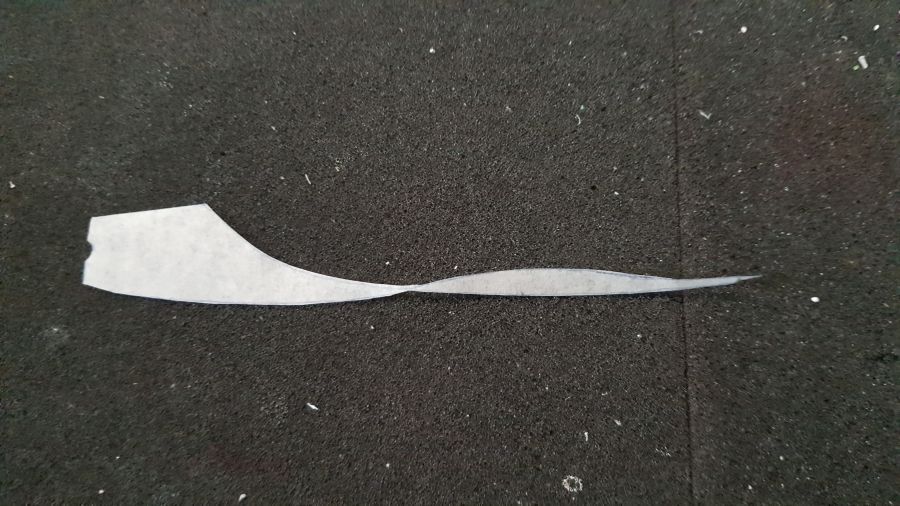
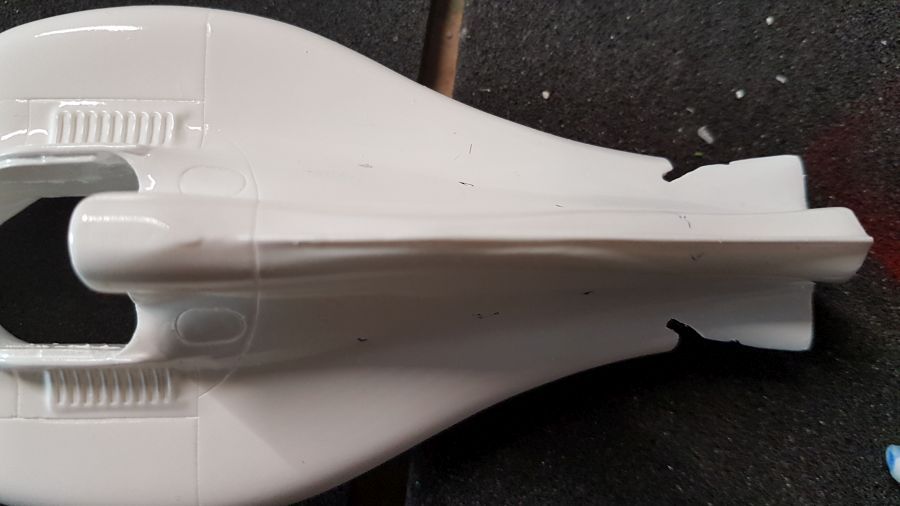
Moeilijk, vooral bij dat smalle stuk. Met de template wat kleine punten markeren.
Tough, especially at the narrow line. Using the template to make small marks.
Dan maskeertape.
Then masking tape.
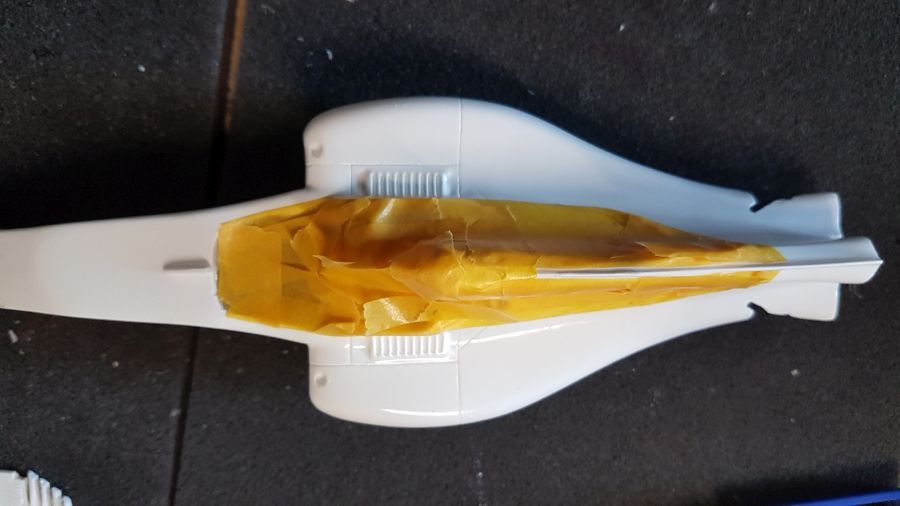
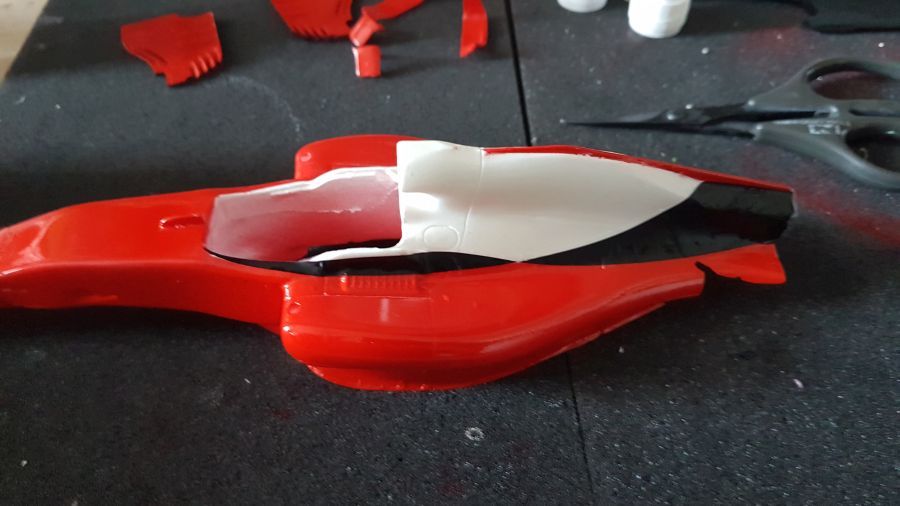
Rood erop. Ik gebruik Zero Paints ZP-1007 Ferrari SF70H.
Red applied. I use Zero Paints ZP-1007 Ferrari SF70H.
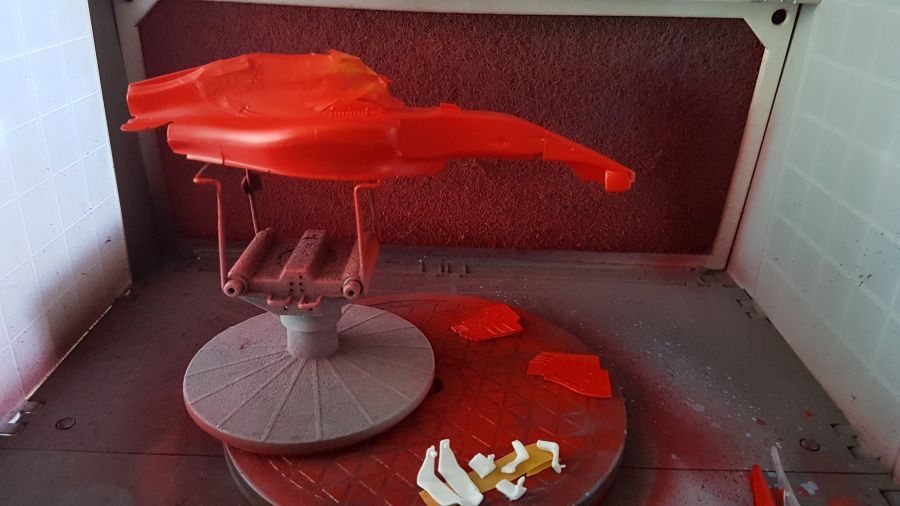
Tape eraf voordat het zich teveel aan de witte verf hecht.
Remove the tape before it attached too much to the white paint.

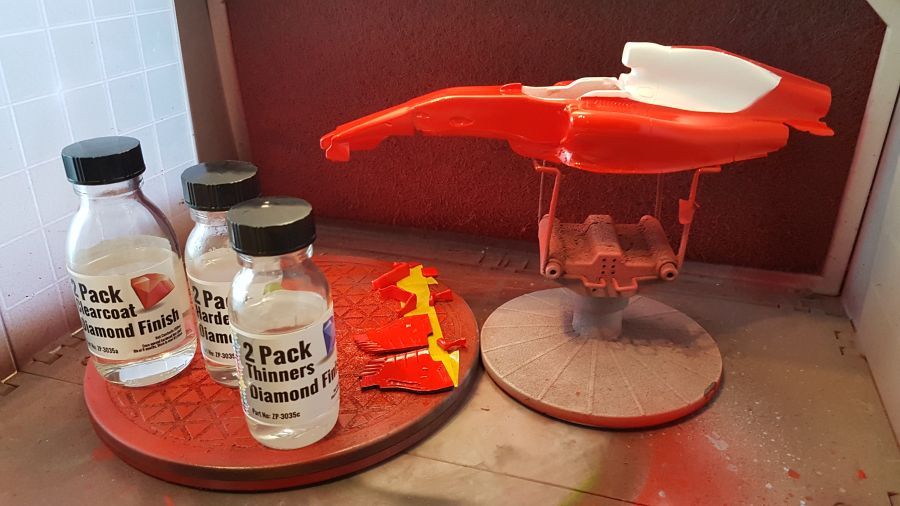
Ik gebruik Tamiya Red Polishing Compound om wat overspray te verwijderen.
I use Tamiya Red Polishing Compound to remove some light overspray.
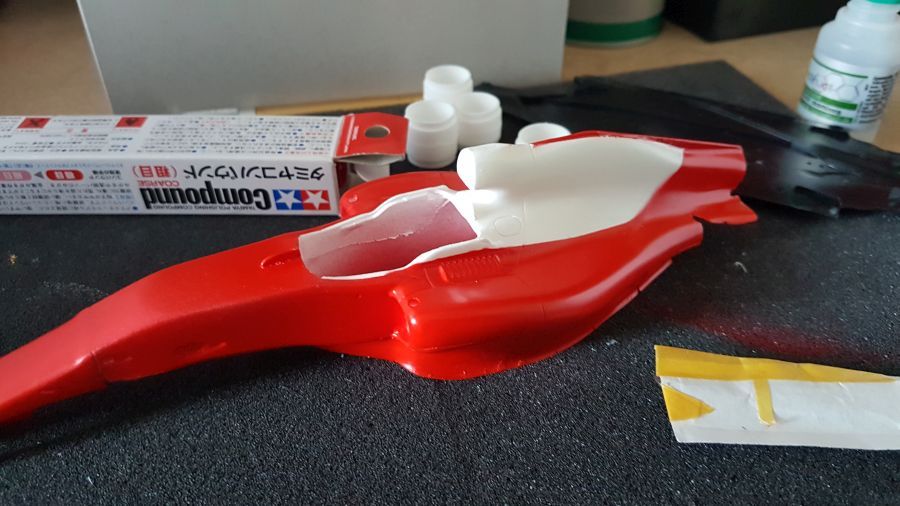
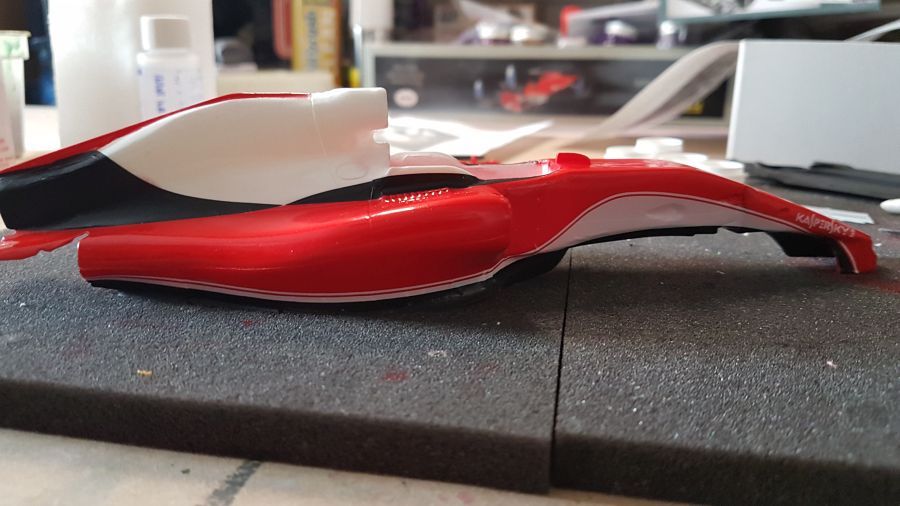
Dan Zero Paints 2K Clear.
Then Zero Paints 2K Clear.
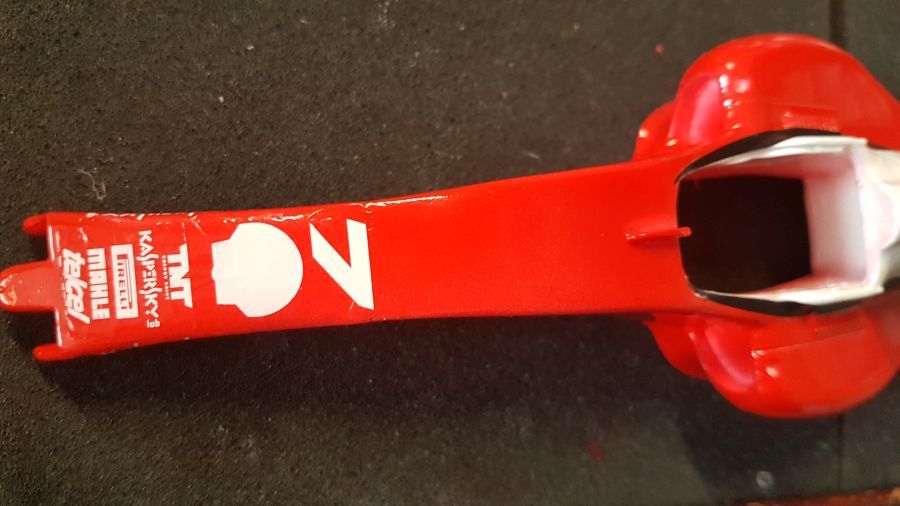
De eerste decal lijkt goed te gaan...
The first decal looks to be promising...
En de 2e...
And the 2nd...

Meer decals... Kijk niet naar de bobbeltjes... Die verdwijnen nog.
More decals... Don't mind the wrinkles... They will disappear.

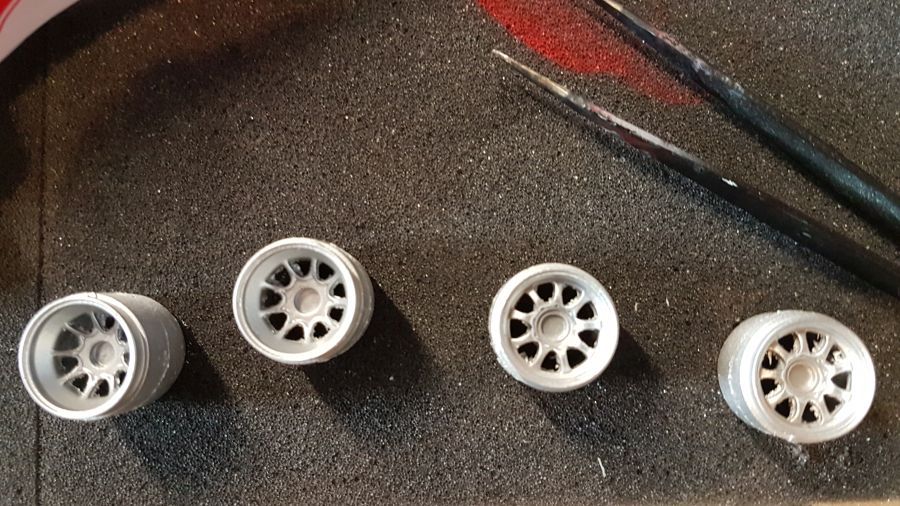
De velgen krijgen intussen wat verf.
The rims receive some paint.
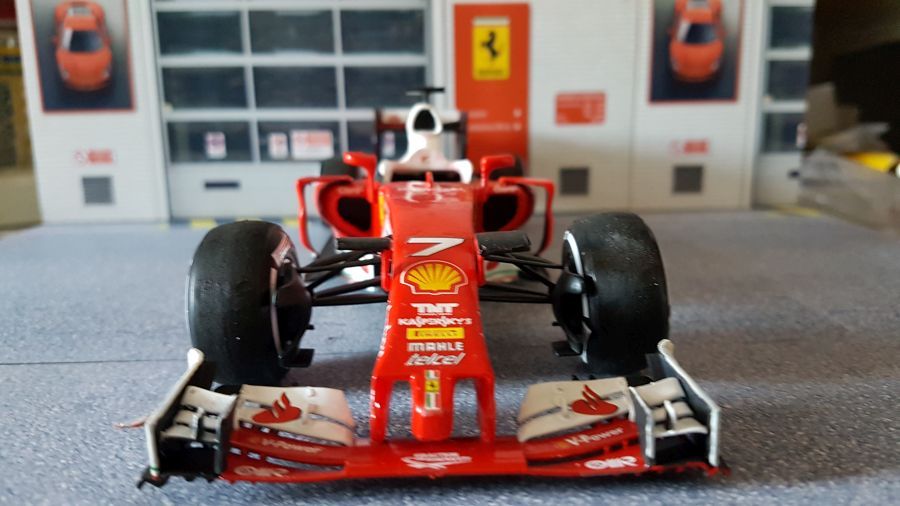
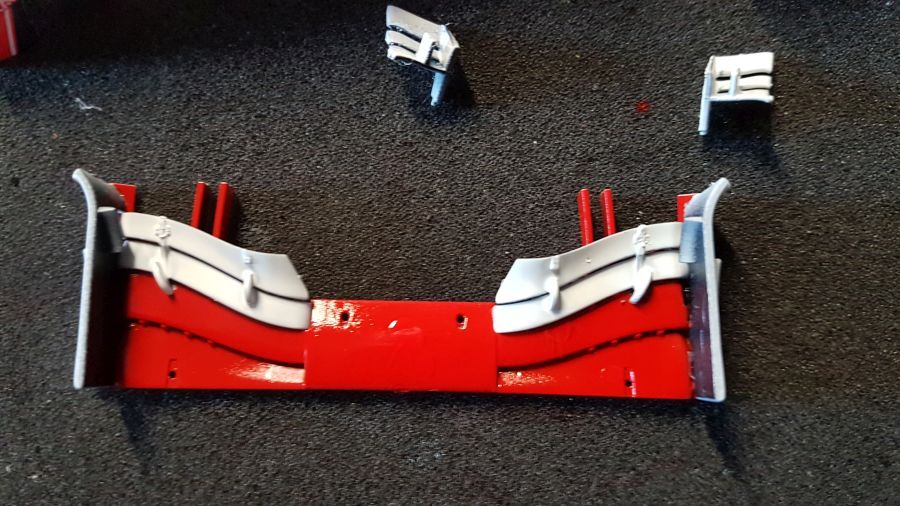
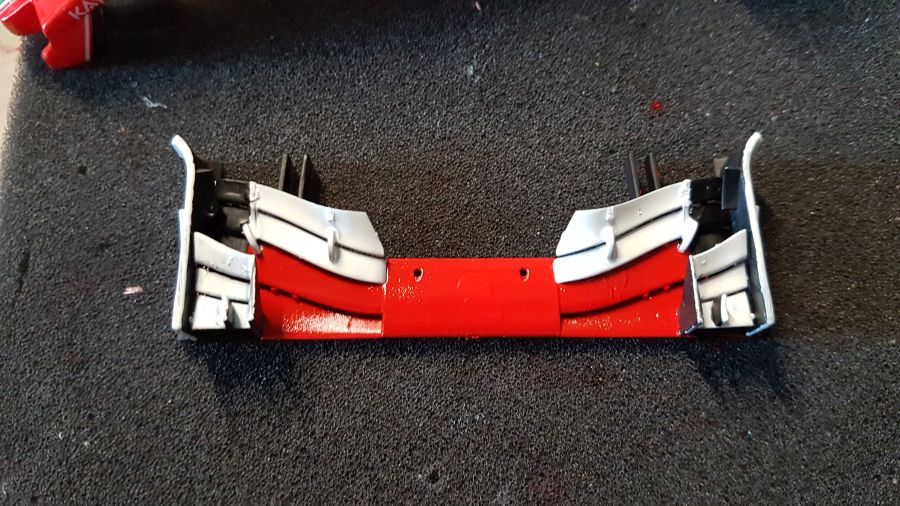
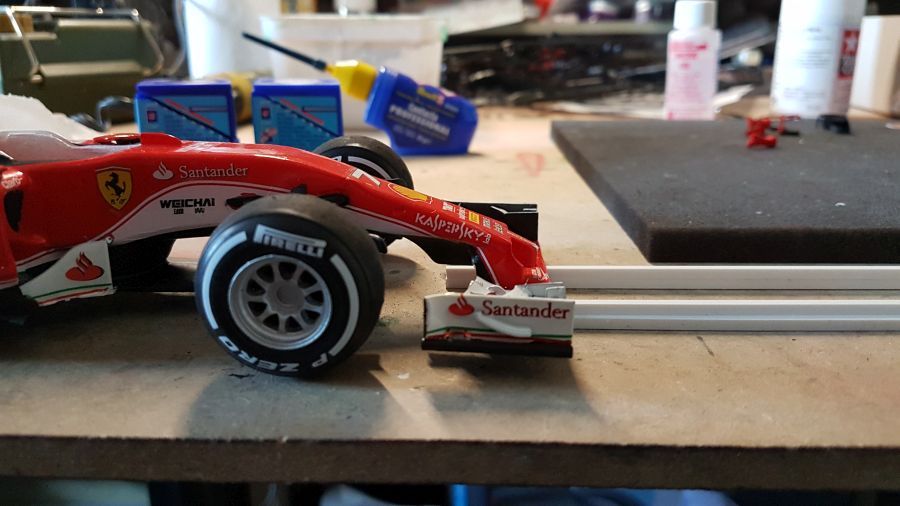
Verder met de voorvleugel. Deze moet worden aangepast aan de Belgische GP. Een stukje moet van de bovenste delen worden verwijderd (dat deel dat wit wordt gespoten).
To continue with the front wing. It needs to be adjusted to the Belgian GP. A piece of the upper part needs to be removed (the part that receives white paint).

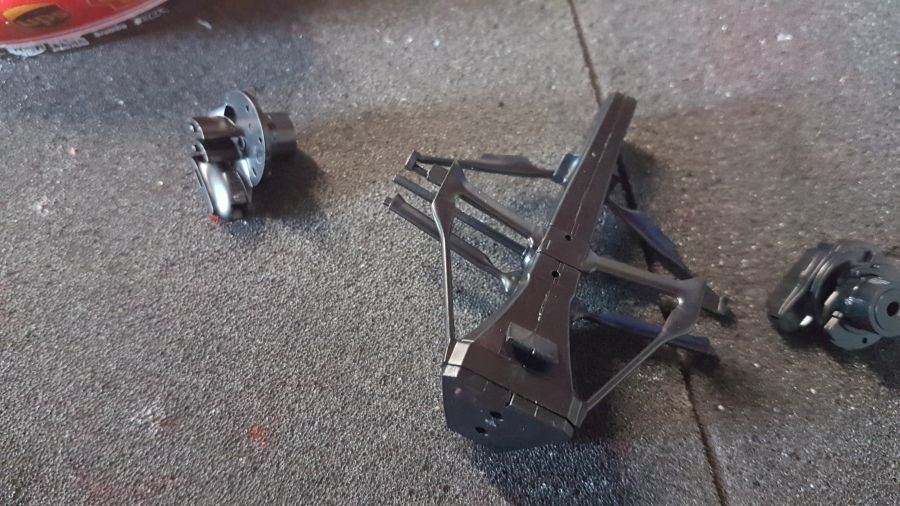
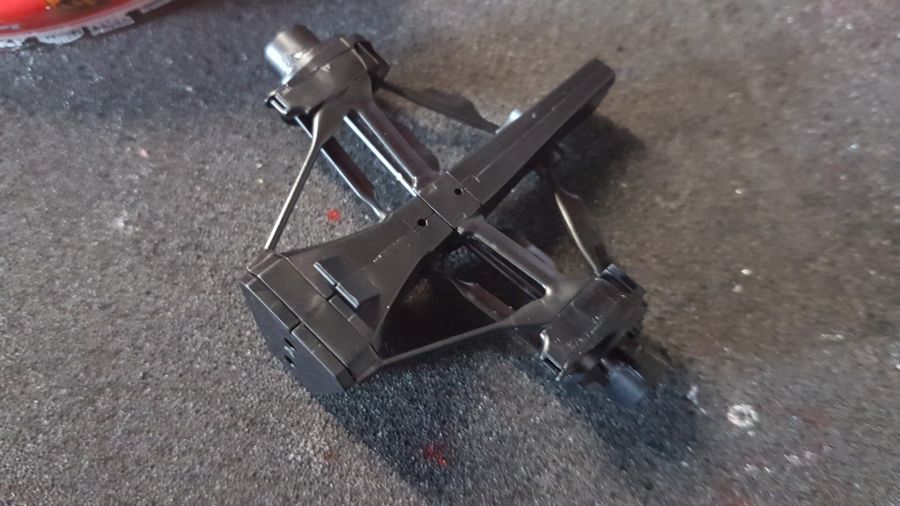
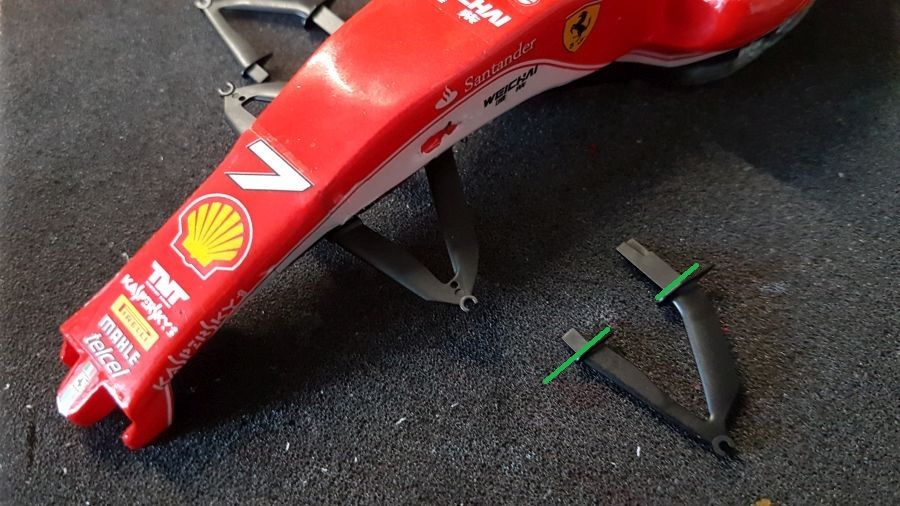
Dan de achterwielophanging. Geen aanpassingen.
Then the rear wheel suspension. No adjustment.

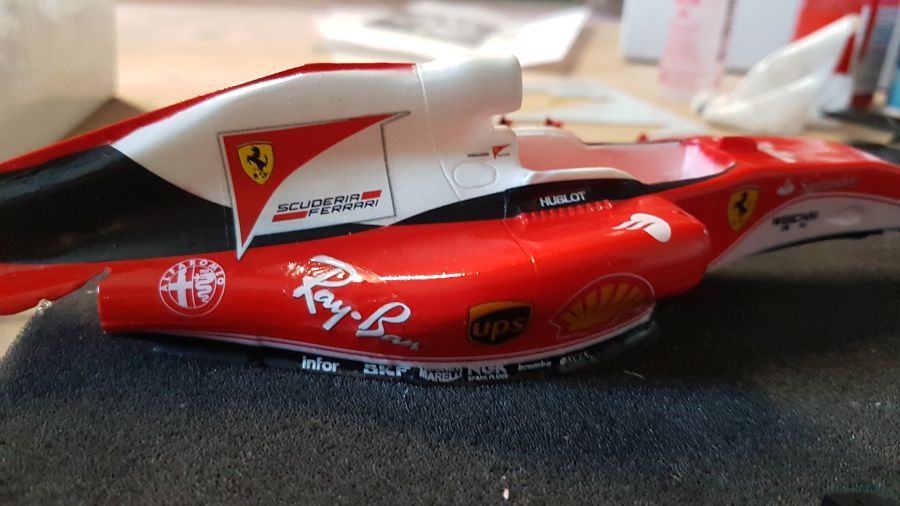
Omdat de wielen de witte wangen hebben, kan ik niet de Australische versie maken. Daarom moet nu alsnog de Ray Ban decal worden geplaatst aan beide kanten voor de Chinese versie.
Because the wheels have the white tire markings, it's not possible to build the Australian version. Therefore the Ray Ban decals need to be added for the Chinese version.
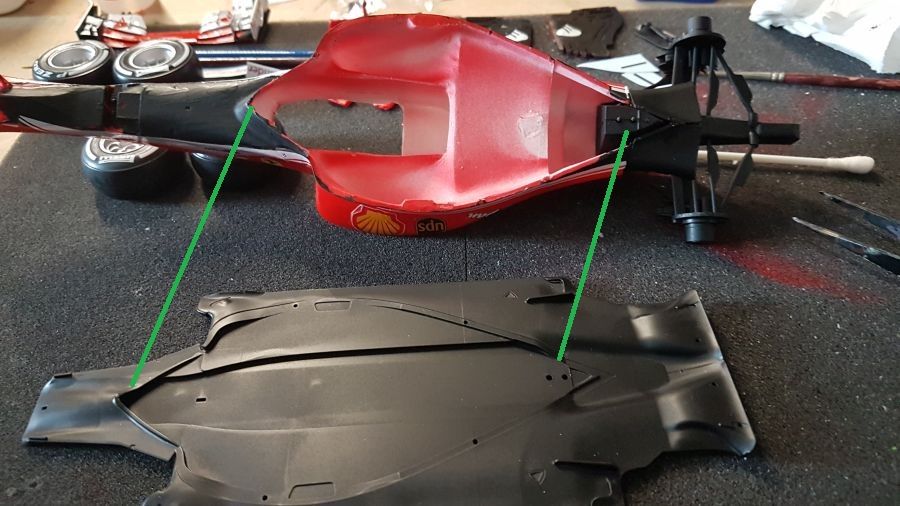
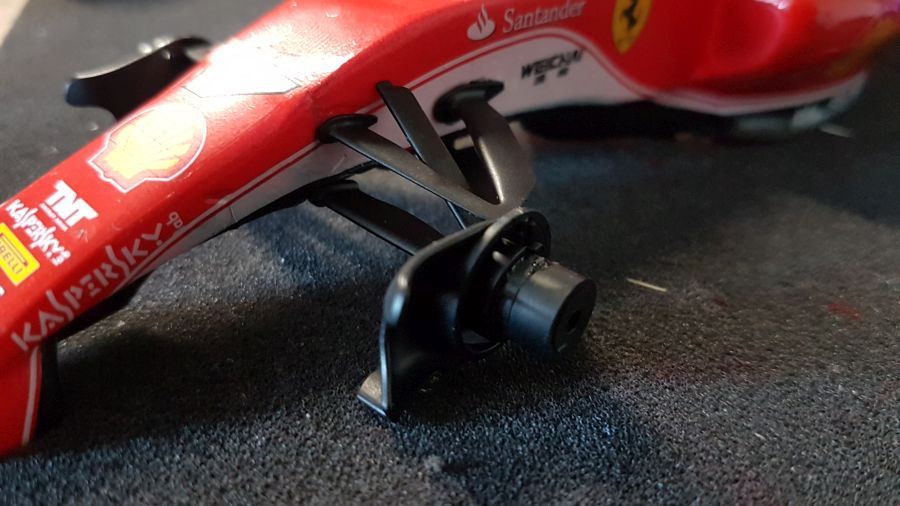
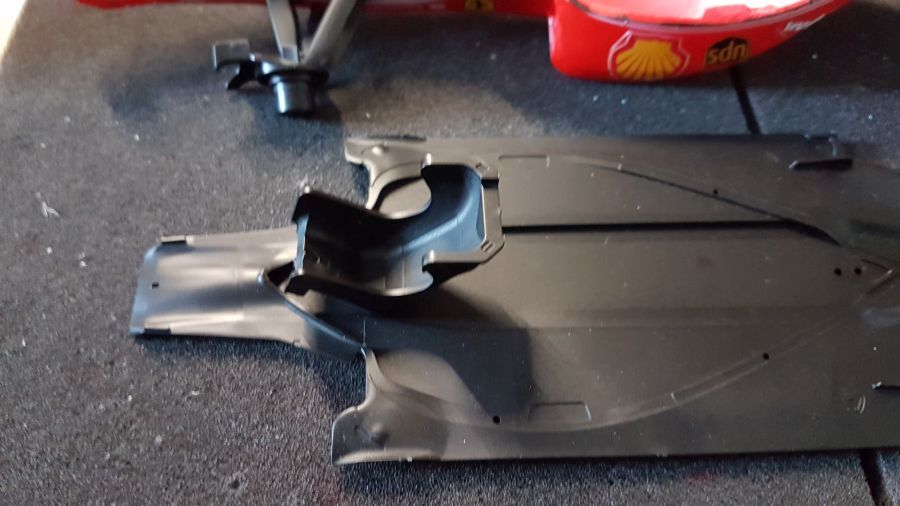
De achterwielophanging wordt aan de body bevestigd. Hier moet ik goed de maten in de gaten houden. De body moet goed aansluiten aan de bodemplaat en de ophanging moet in de gaten vallen.
The rear wheel suspension gets attached to the body. I have to be careful about the measurements. The body needs to fit the floor and the suspension needs to fit the holes.

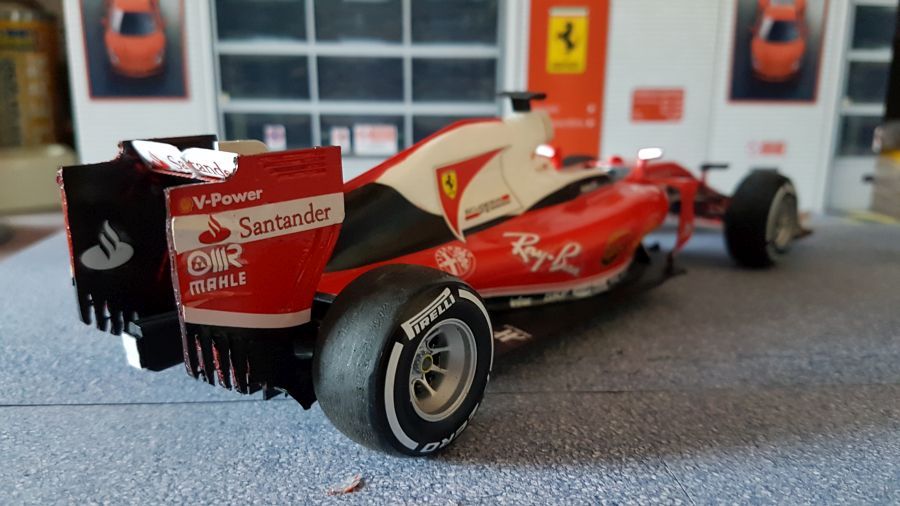
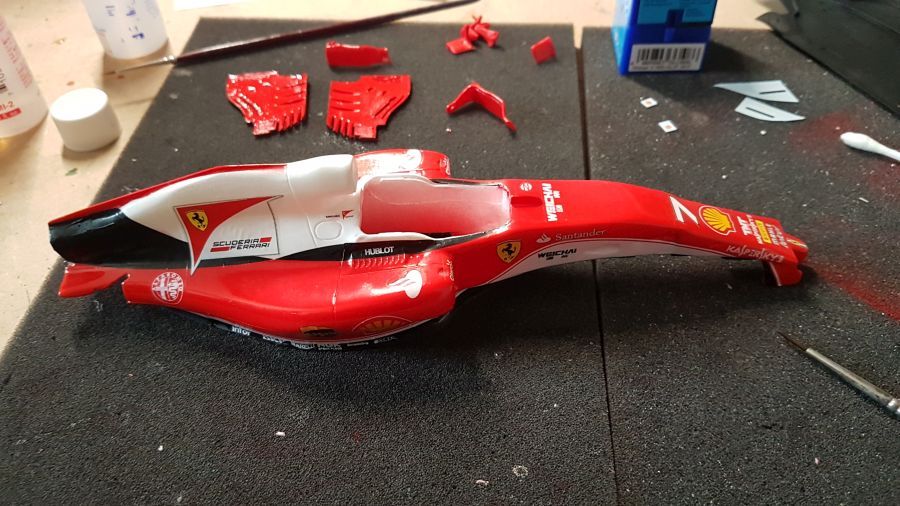
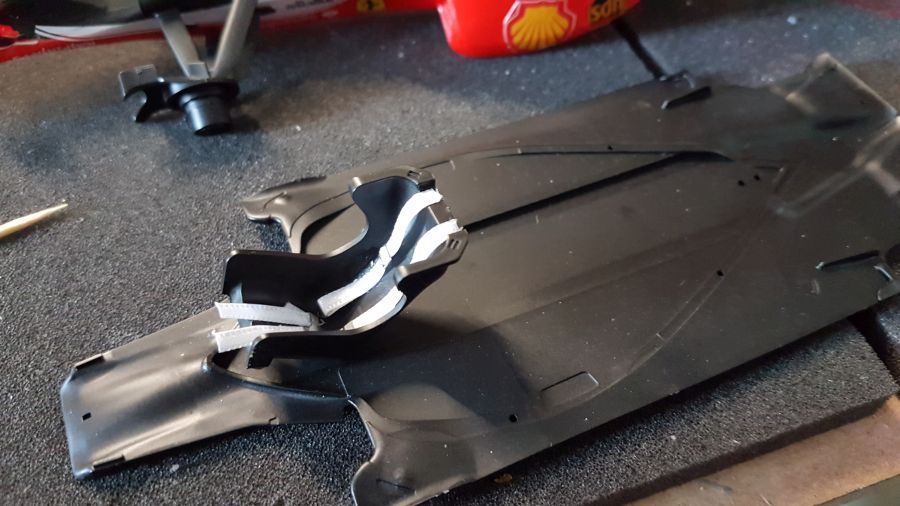
De uitlaat is ingekort en het deel dat de vleugel een beetje moet dragen eveneens. Een klein stukje wordt nog aan de body gelijmd om straks nog wat steun voor de vleugel te hebben.
The exhaust has been cut to size and the part that carries the wing too. A small piece has been glued to the body to create some support for the wing later.
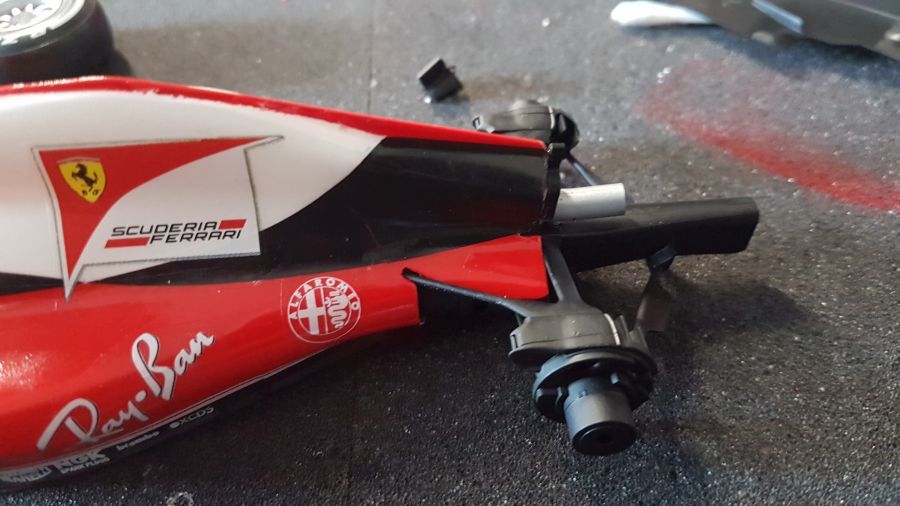
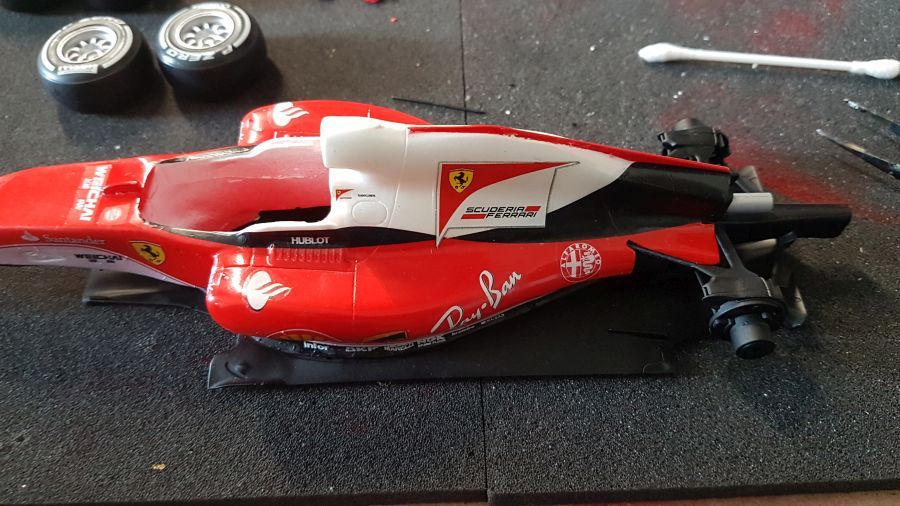
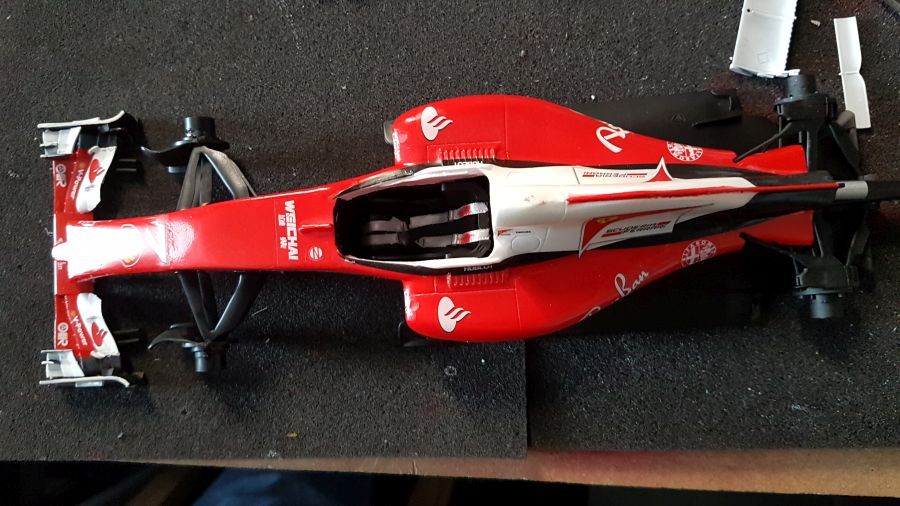
Even passen.
Test fit.
Door naar de voorwielophanging. Wat kleine aanpassingen nodig.
On to the front wheel suspension. Some small adjustments needed.
De stoel... Ik probeerde de 3 rode stippen op de gordels met een stift te doen. Dat ging noet helemaal naar wens.
The seat... I tried to do the 3 dots on the belts with a marker. That didn't go too well.
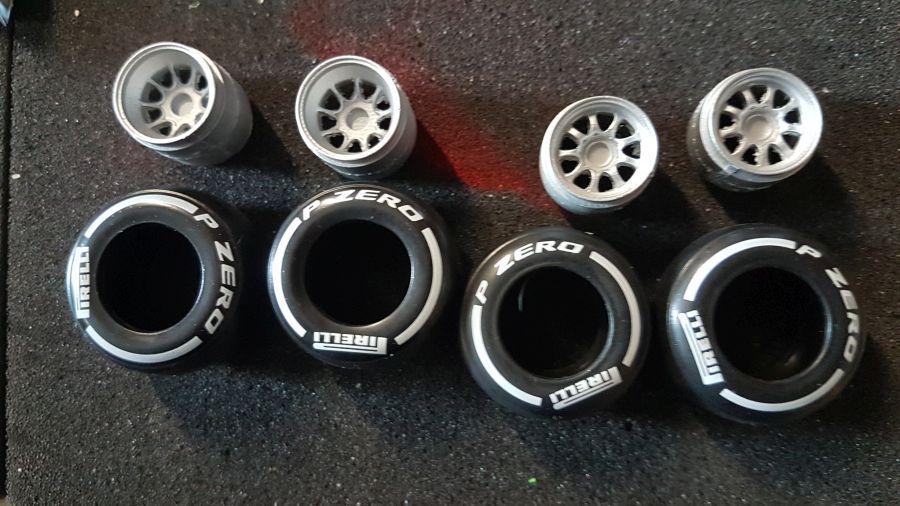
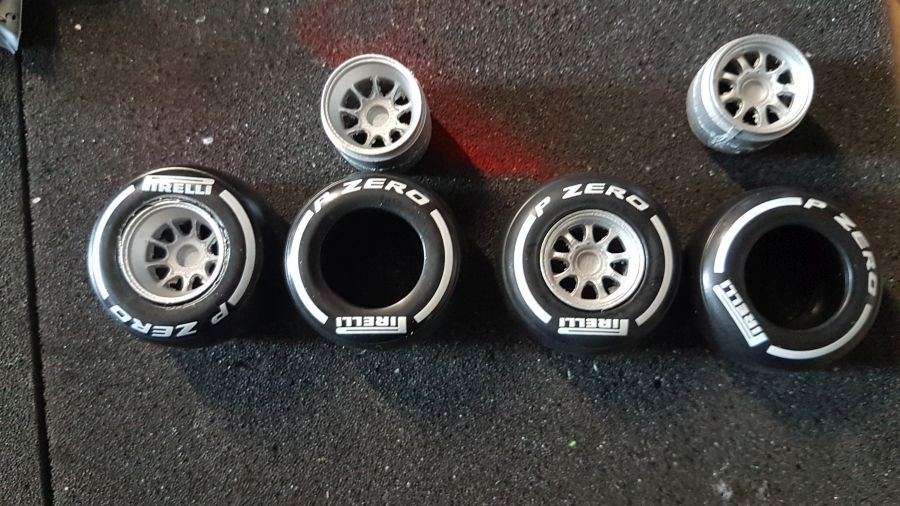
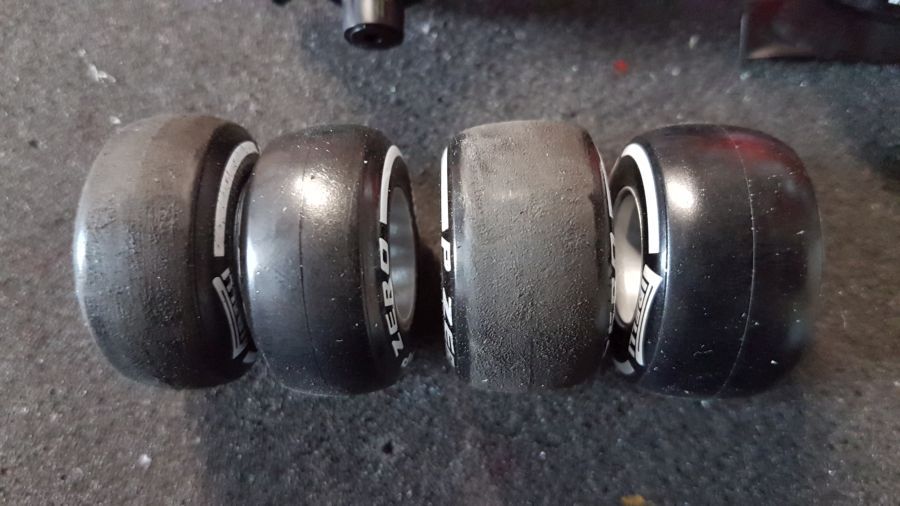
De wielen worden weer opgeruwd.
The wheels get rubbed again.
Laat je niet afleiden door de stand van de wielen. Dit komt door de camera op mijn mobiel.
Don't let the position of the wheels fool you. It's because of the camera on my mobile.
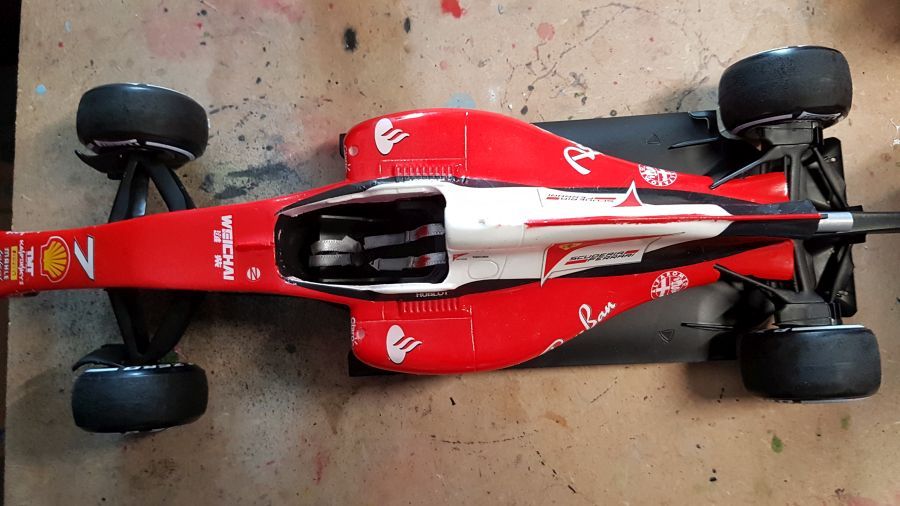
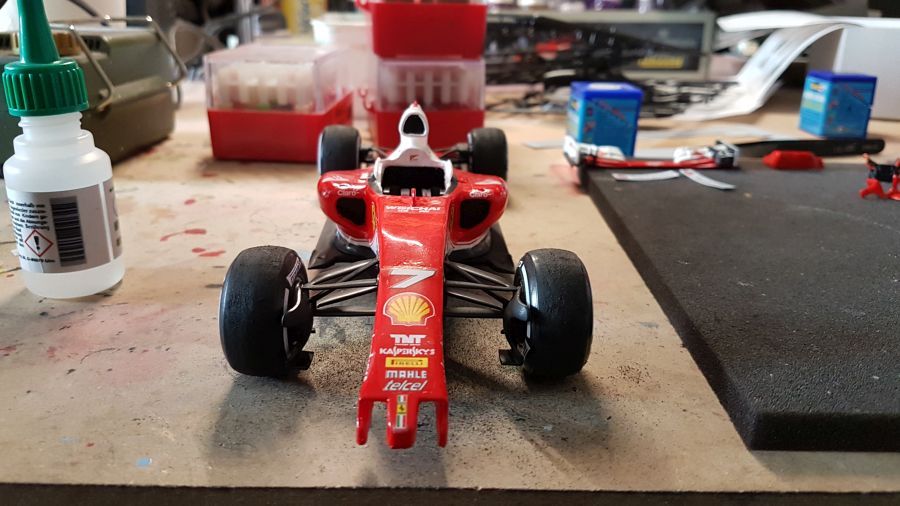
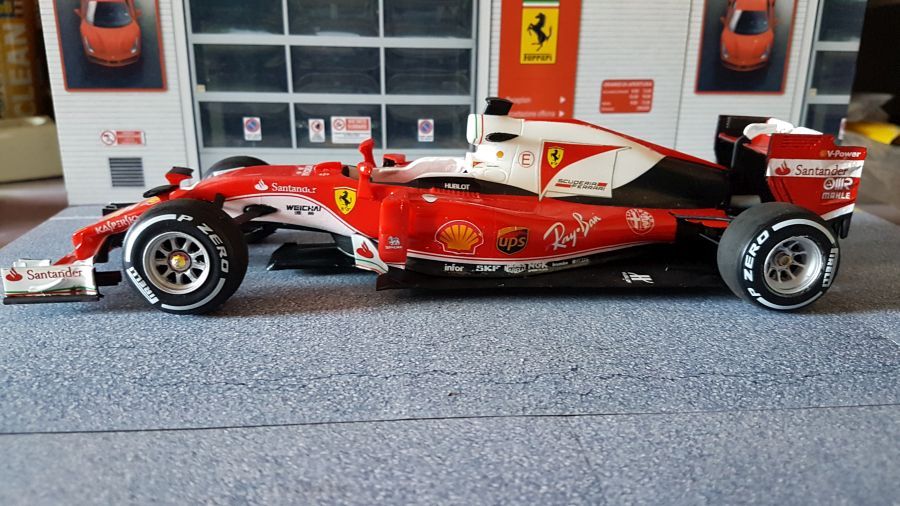
De voorvleugel kan er op..
The front wing to be added..

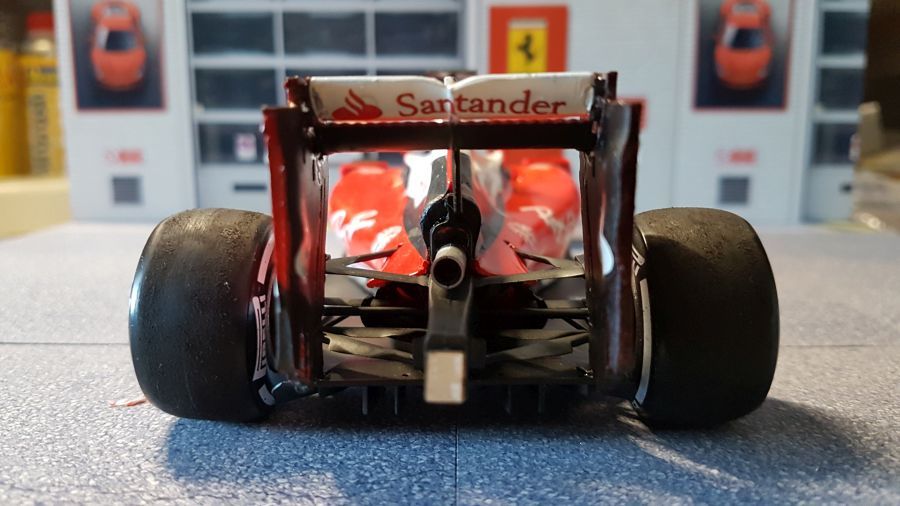
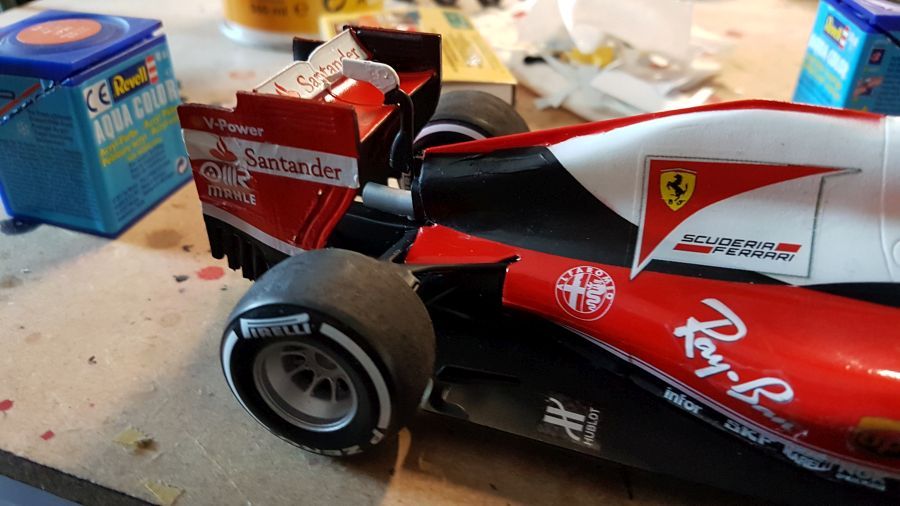
De achtervleugel...
The rear wing...
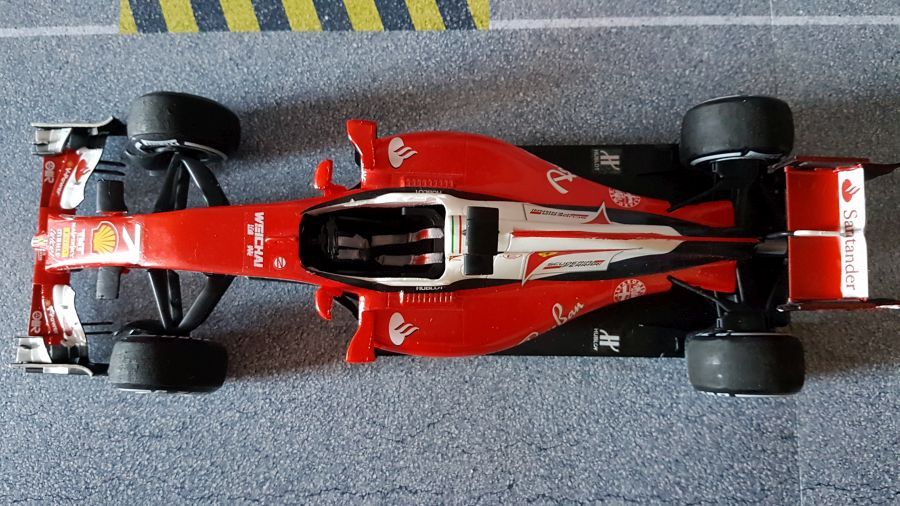
En na vele kleine onderdelen zoals spiegels, barge boards, stuurwiel, kleine decals enz...
And after many small parts like mirrors, barge boards, steering wheel, small decals etc...