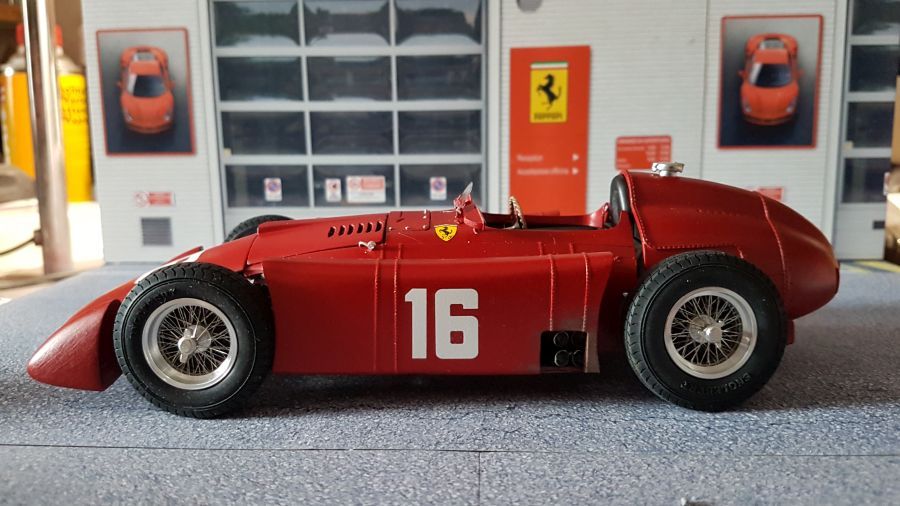
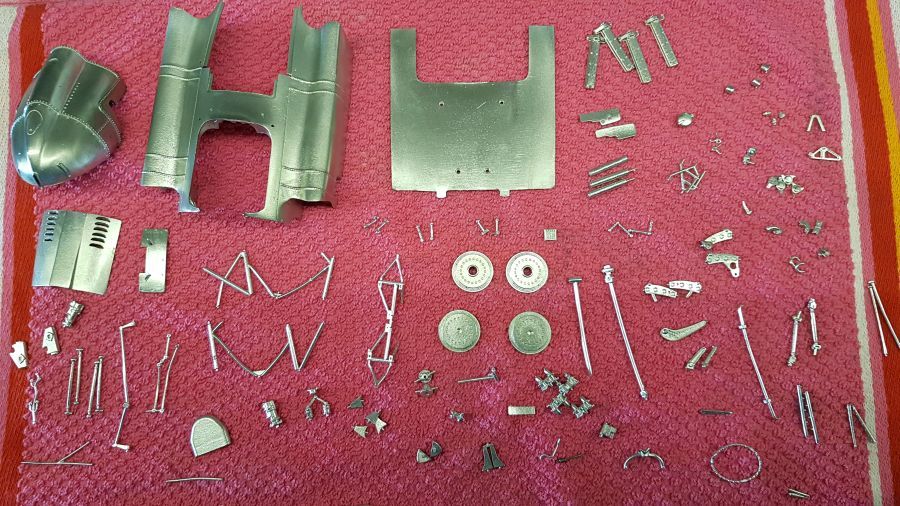
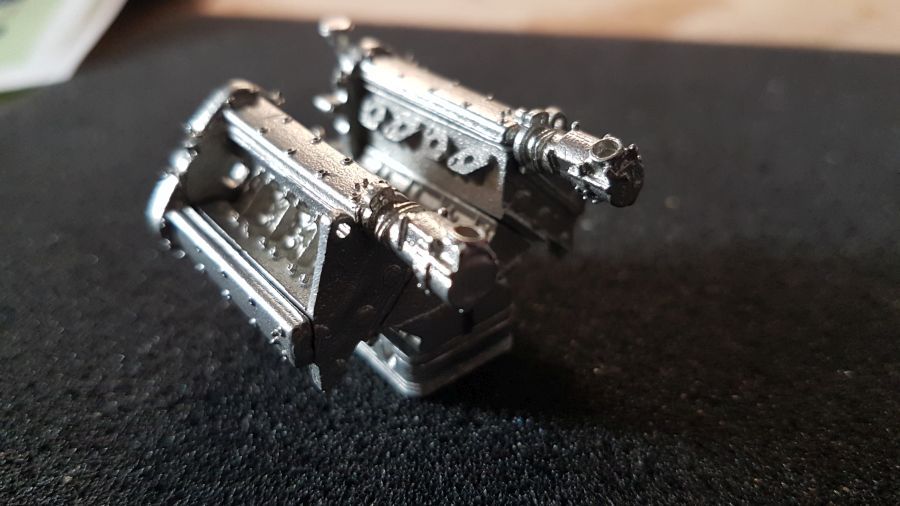
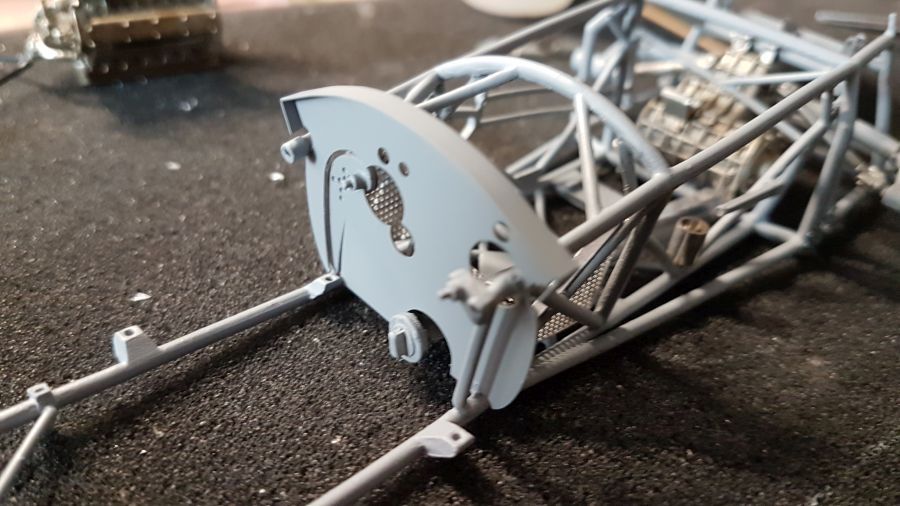
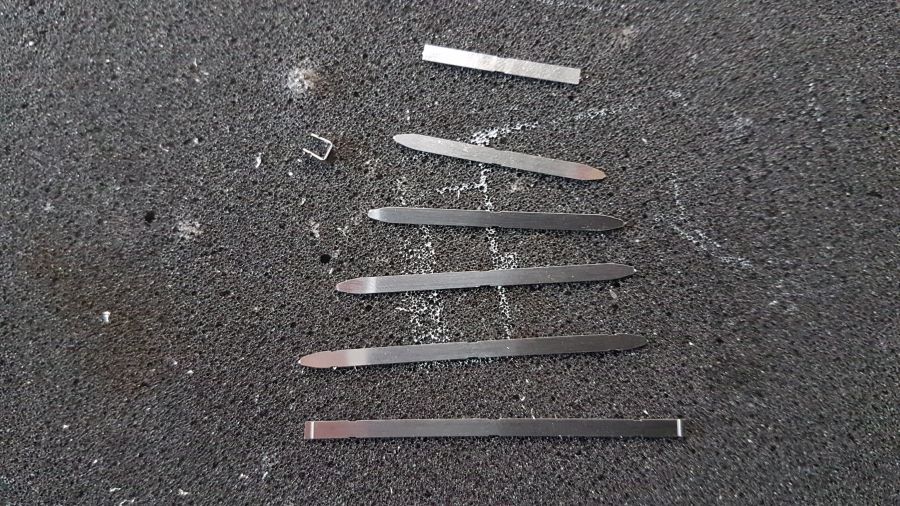
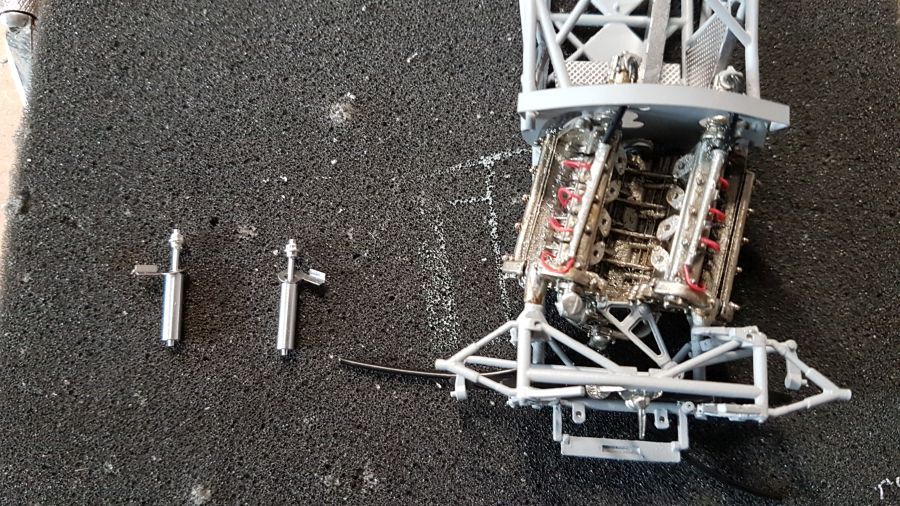
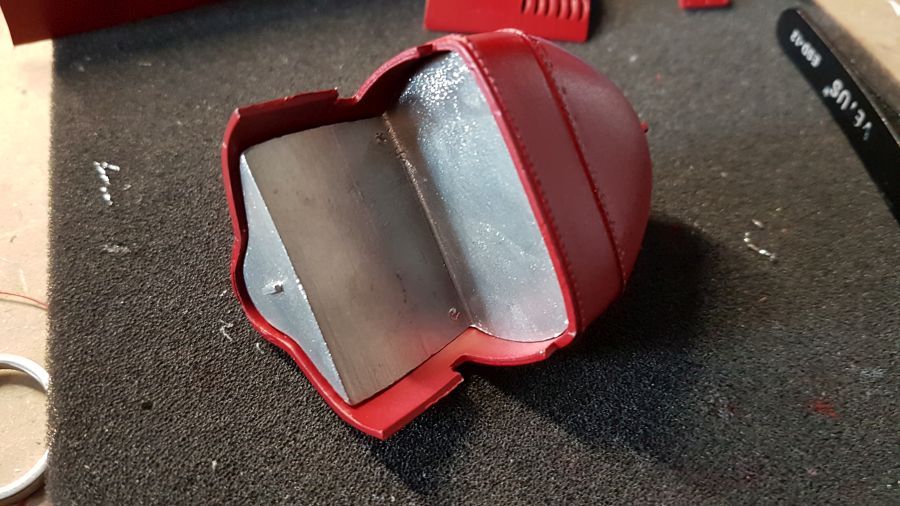
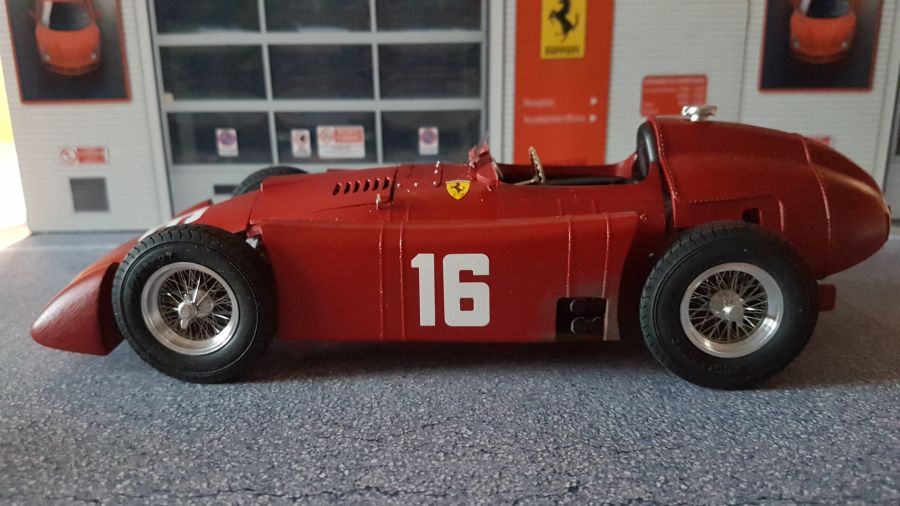
Ik wil eigenlijk al heel lang een Ferrari D50 Streamliner hebben. Helaas heeft geen enkele fabrikant deze uitgebracht. Modelfactory Hiro deed hem wel in 1/12. Prachtig natuurlijk, maar ik heb haast geen plaats voor zulke grote modellen. Gelukkig heb met Sebastiaan kunnen overeenkomen dat hij voor mij een neus ging tekenen. Zo kwam ik aan een 3D geprinte neus. Ik ga nu de Ferrari D50 Streamliner maken zoals deze tijdens de GP van Frankrijk werd bestuurd door Alfonso de Portago in 1956. Dus niet de kende T-car met ook nog eens de achterspatborden. Eerst maar weer de foto's. De metalen delen komen net uit de magnetische polisher.
I wanted to have a Ferrari D50 Streamliner for a long time. Unfortunately no producer ever made this kit. Modelfactory Hiro did it in scale 1/12. Of course beautiful, but i have hardly any space for these big models. Luckily i could make an agreement with Sebastiaan to draw a nose for me. So i have a 3D printed nose cone. I will make the Ferari D50 Streamliner as driven by Alfonso de Portago during the GP of France in 1956. So it's not the well know T-car with the rear fenders as well. First again the pictures. The metal parts just came out of the magnetic polisher.

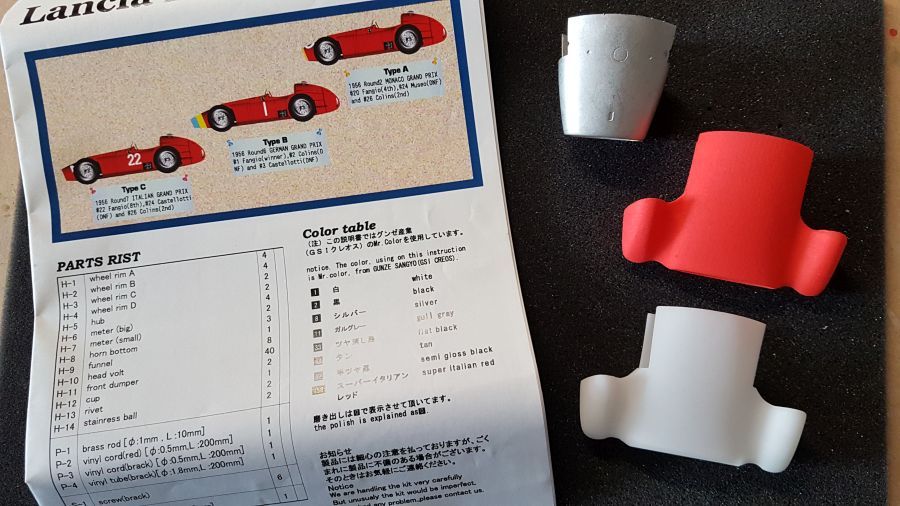
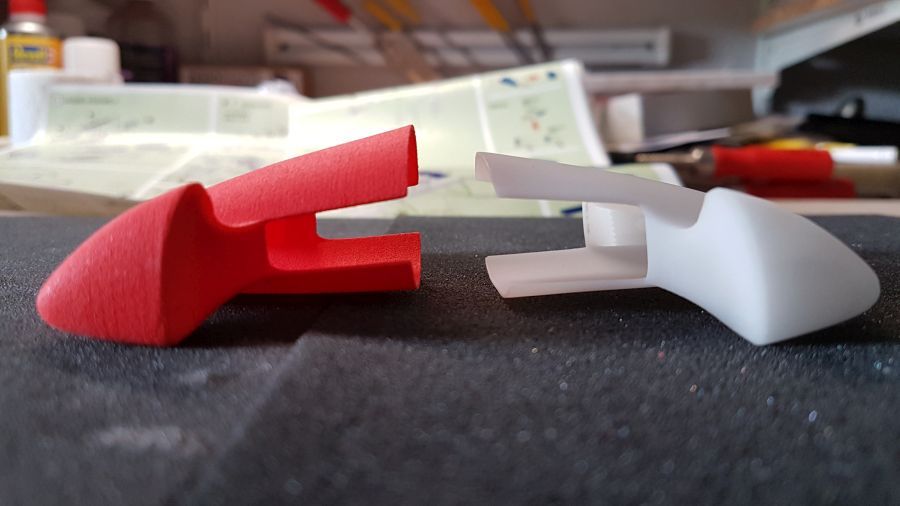
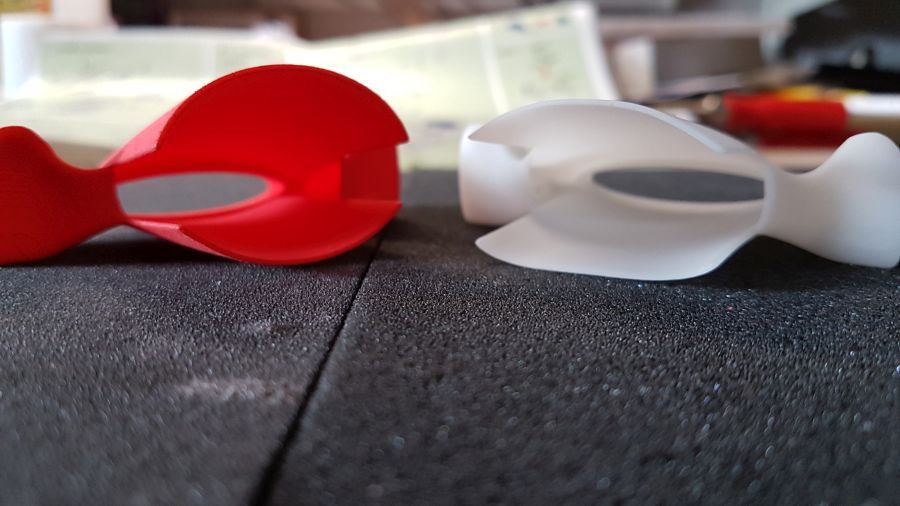
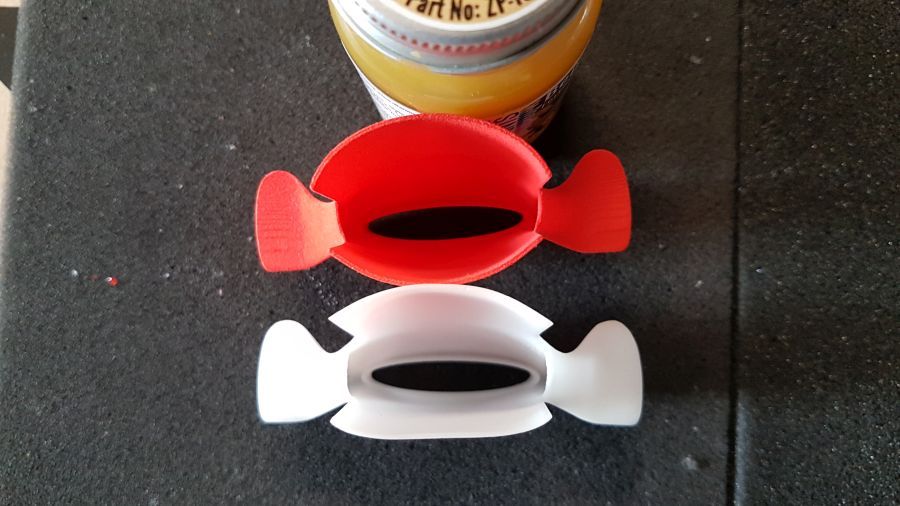
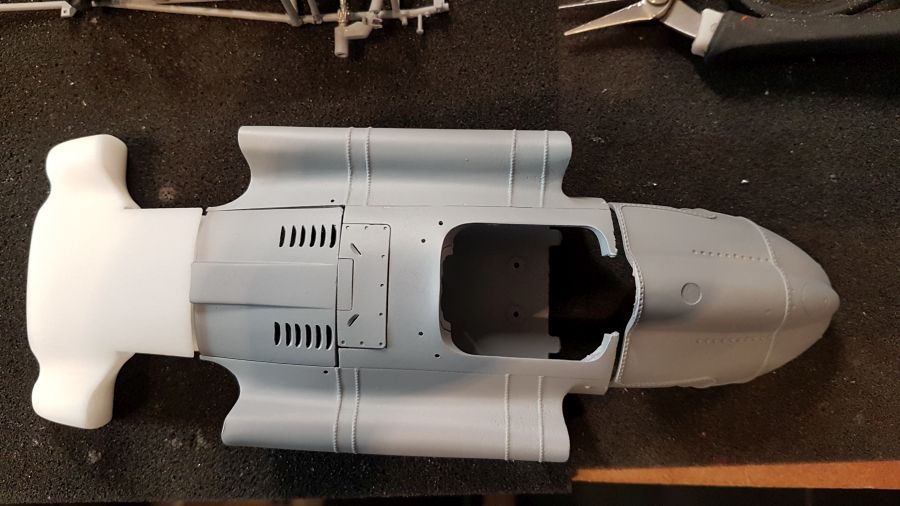
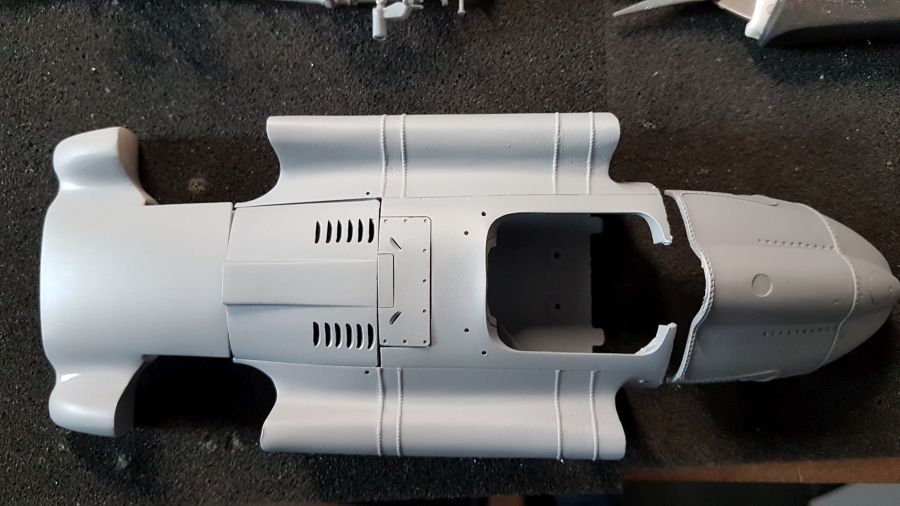
Eigenlijk heb ik 2 neuskegels. Ze zijn onderling wat verschillend. Ik ga bekijken welke het beste past. Mijn voorkeur gaat uit naar de witte, omdat die het meest glad is. Ik weet niet of het gaat werken. Anders kan ik altijd nog de originele neus monteren voor de Monaco versie.
In fact i have 2 nose cones. They are slightly different from each other. I will see which one fits best. My favour goes to the white one, as it it more smooth. I don't know if it will work. If not, i will mount the kits nose to make the Monaco version.
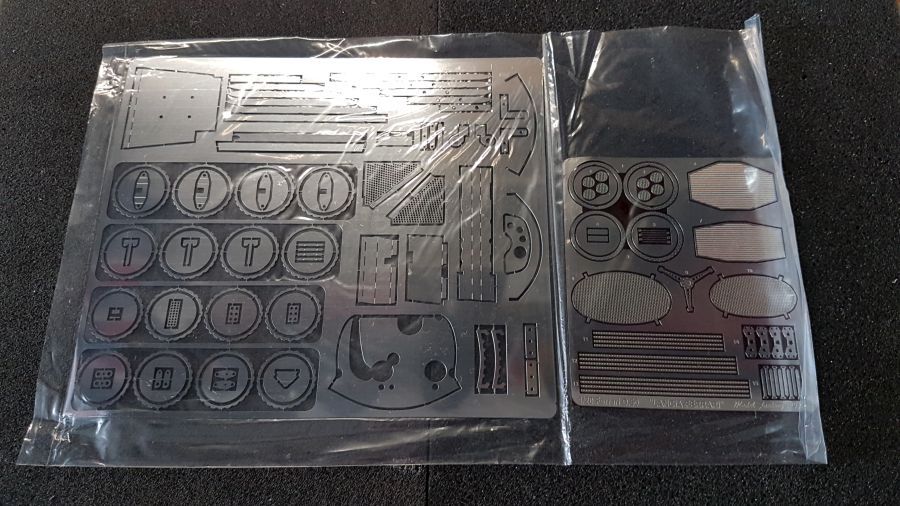
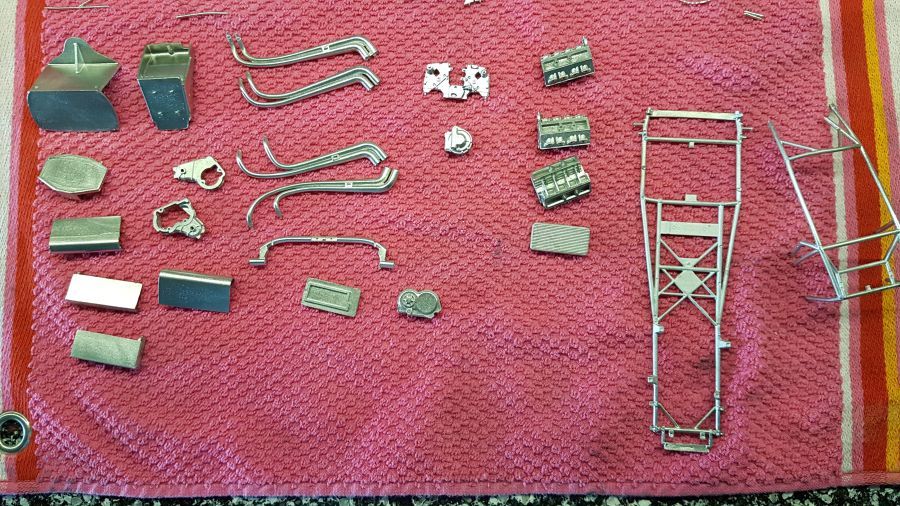
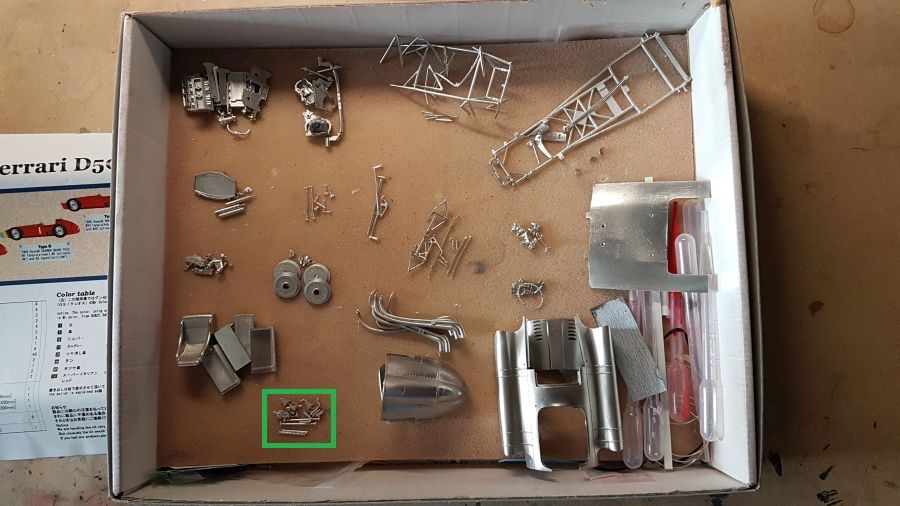
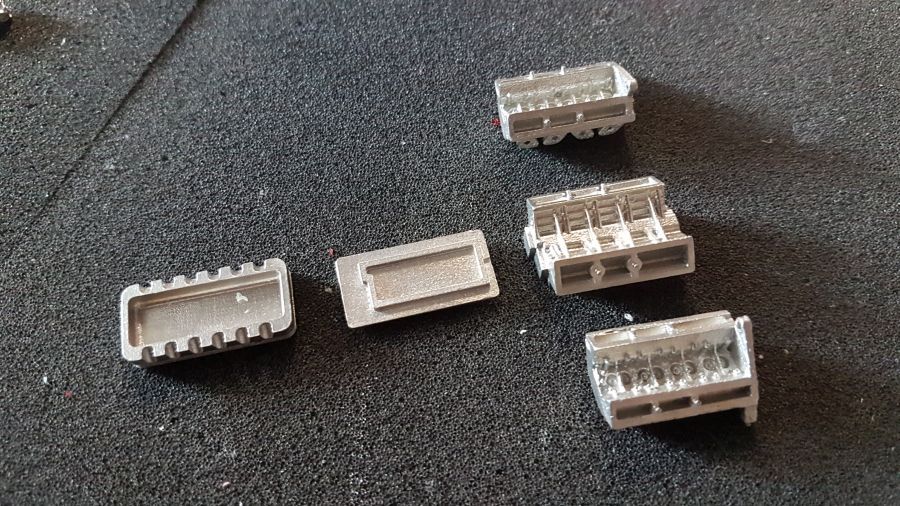
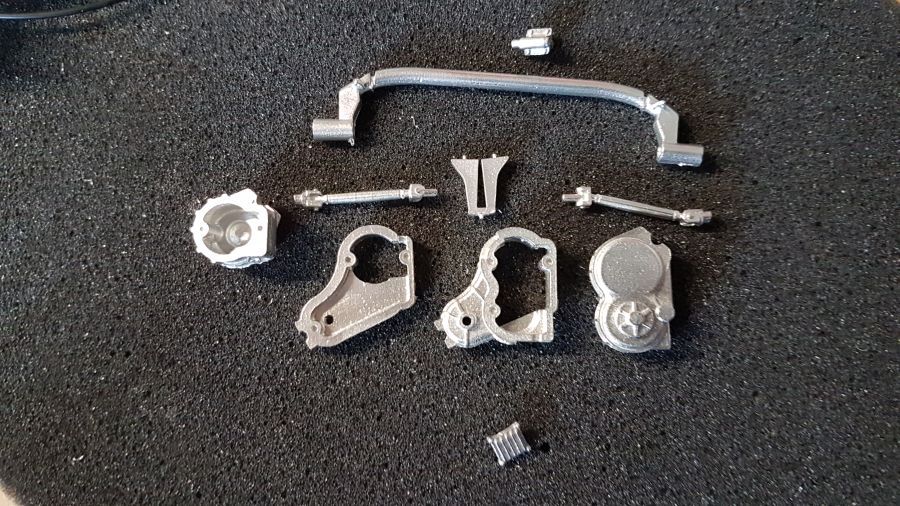
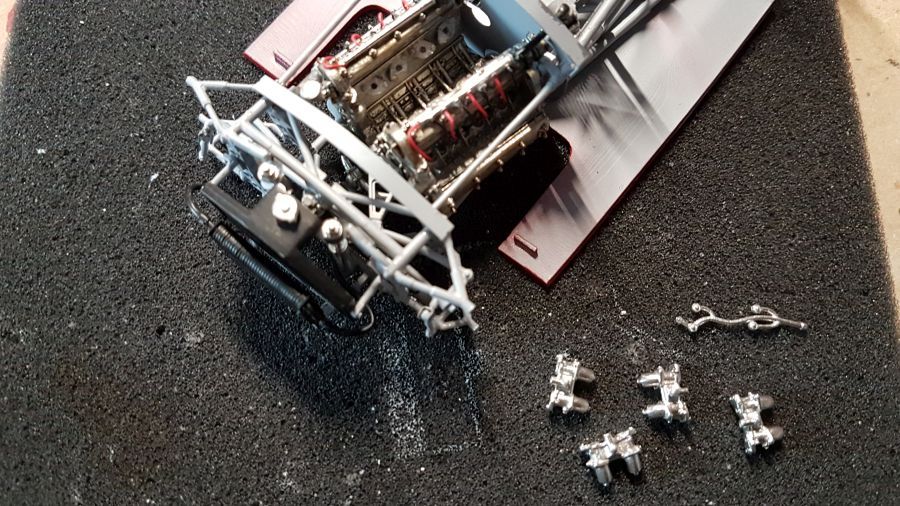
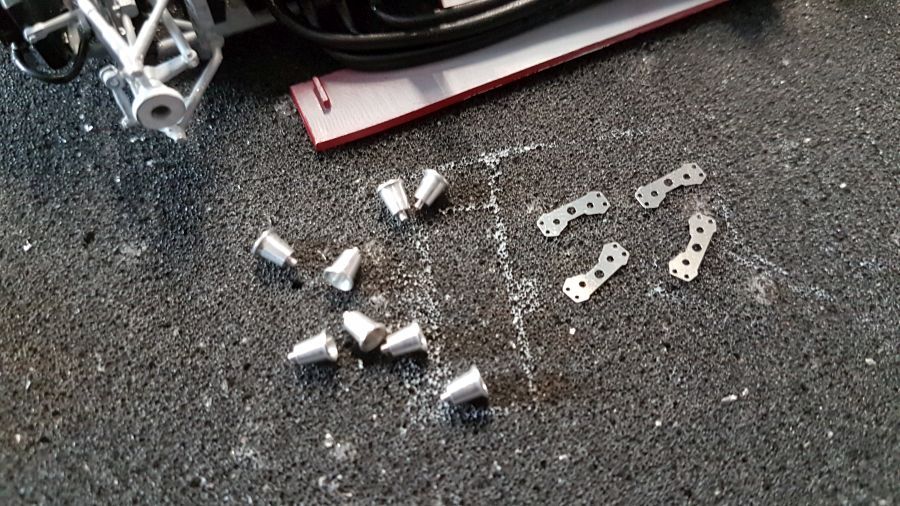
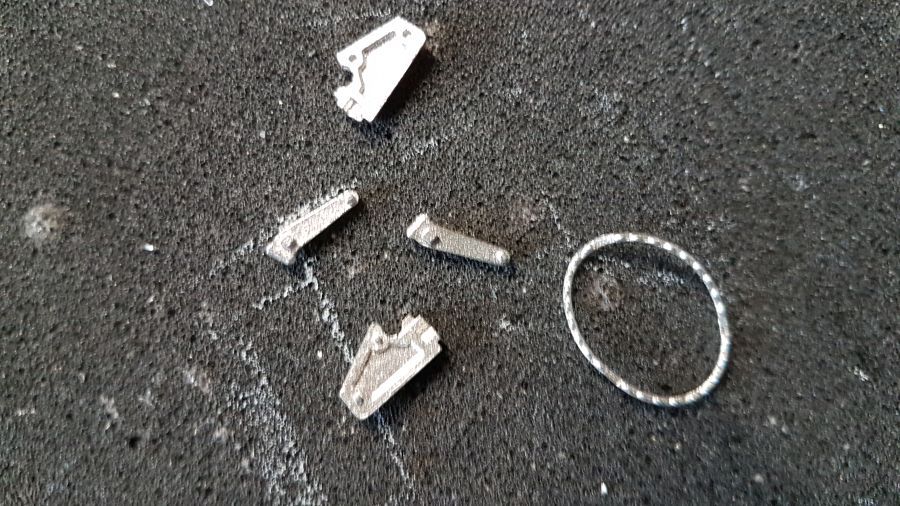
De onderdelen zijn een beetje volgens instructie bij elkaar gezocht. Er is altijd een klein stapeltje van onderdelen die ik niet direct kan thuisbrengen...
The parts have been collected according to the instructions. I always have a small pile of parts i can not find on the drawings immediately...
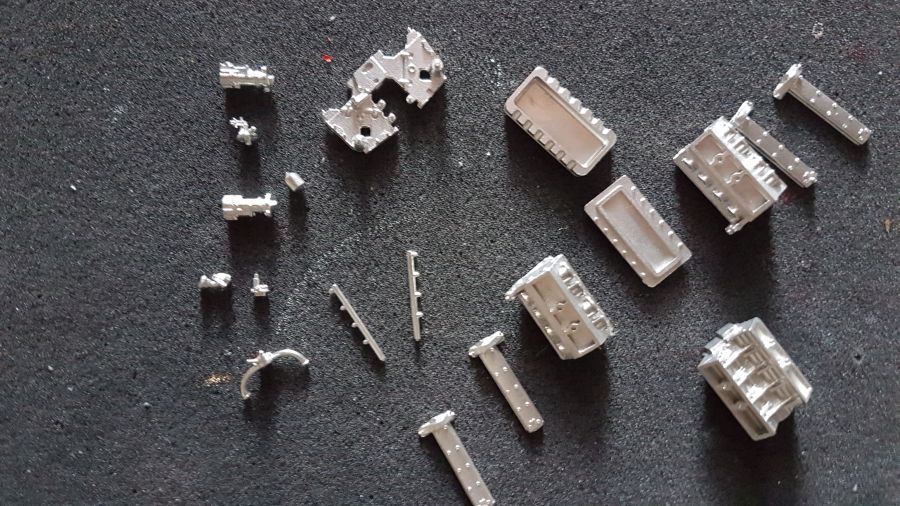
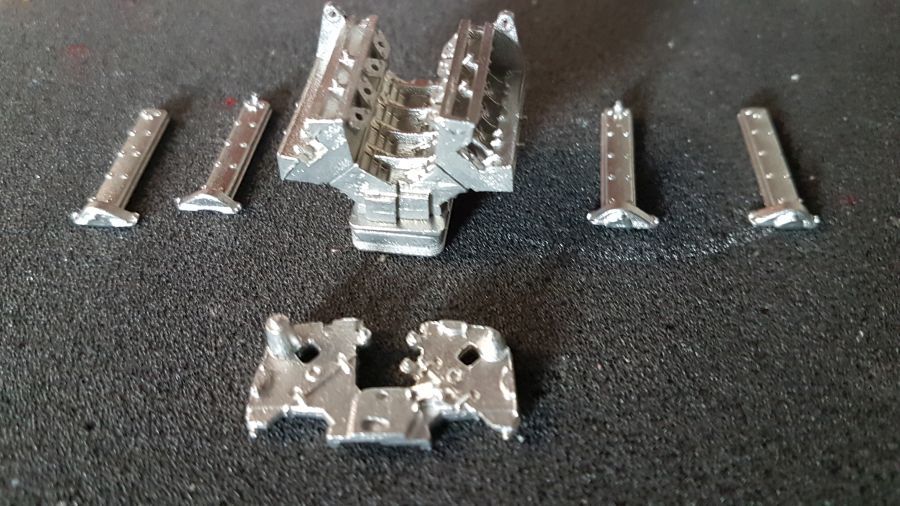
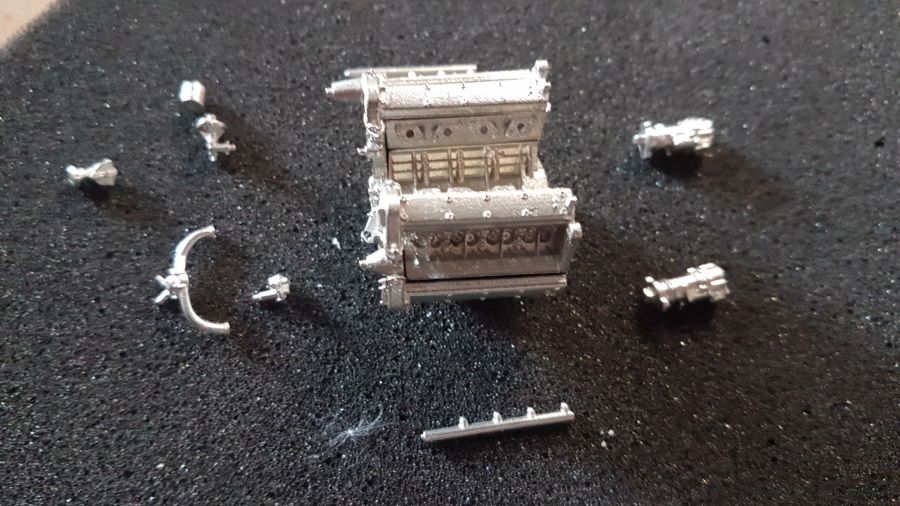
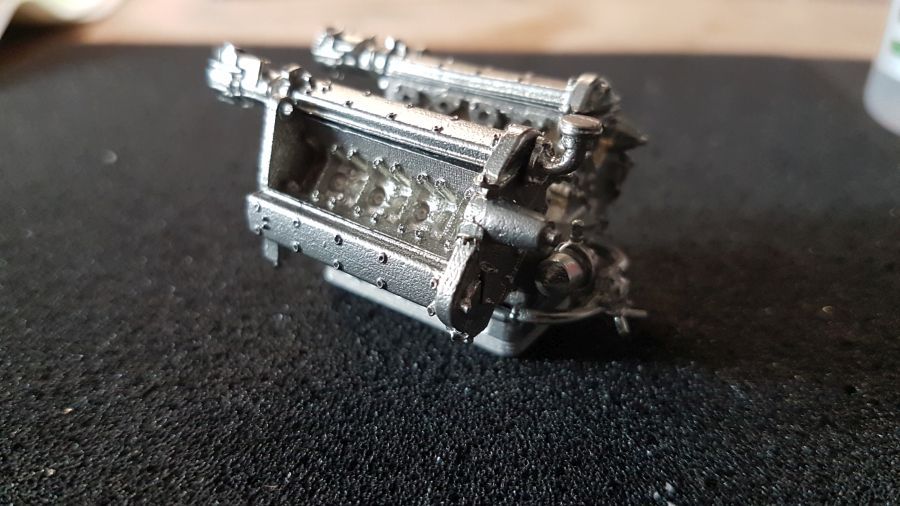
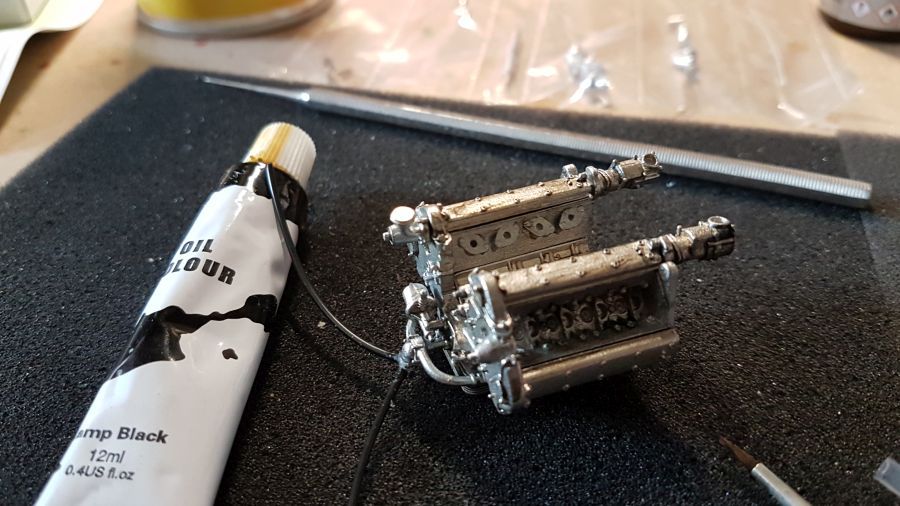
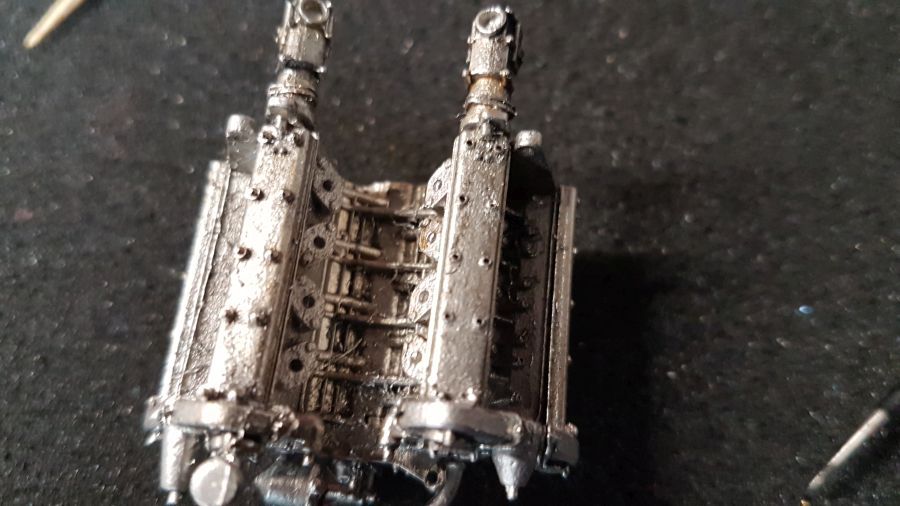
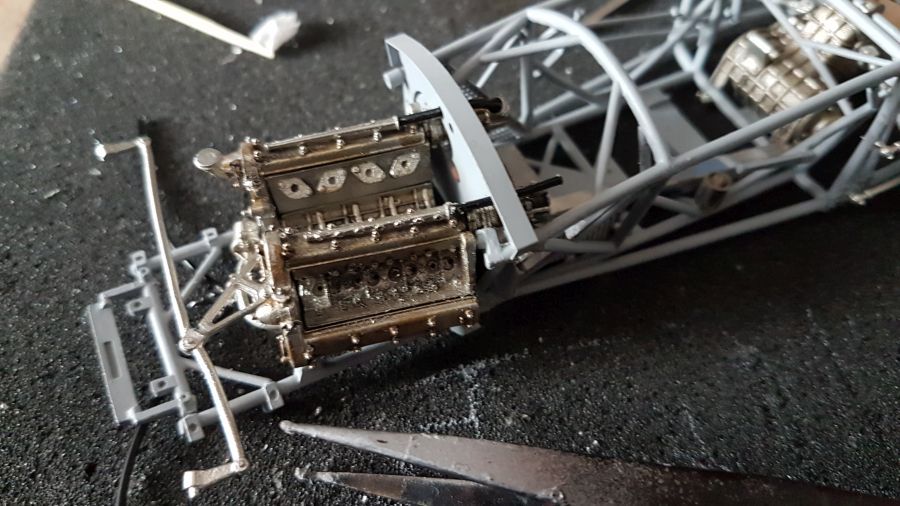
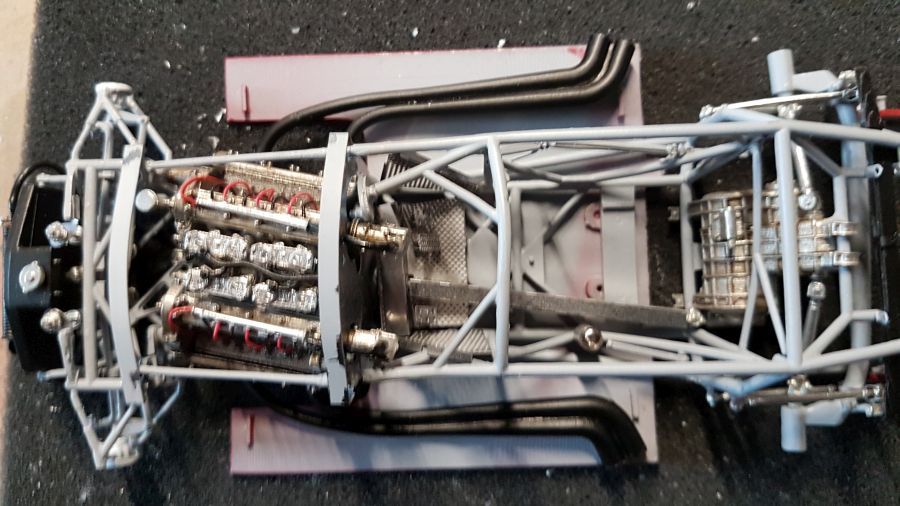
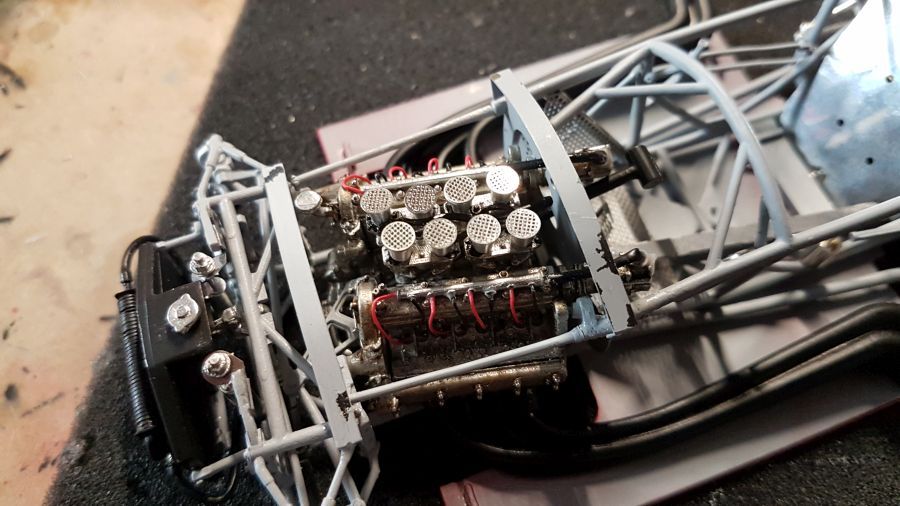
Ik begin met de motor... Uiteraard moet hier en daar de metaalvijl erbij komen.
Starting with the engine... Of course the metal file is needed on some spots.
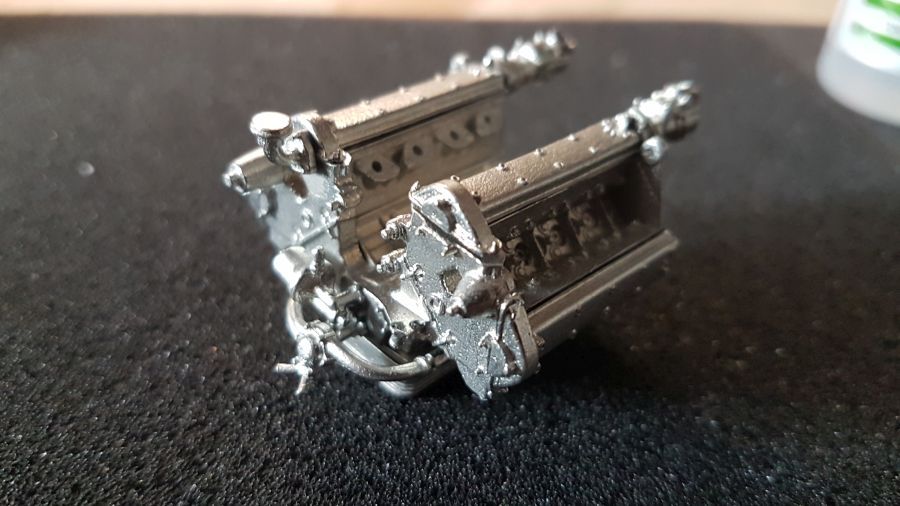
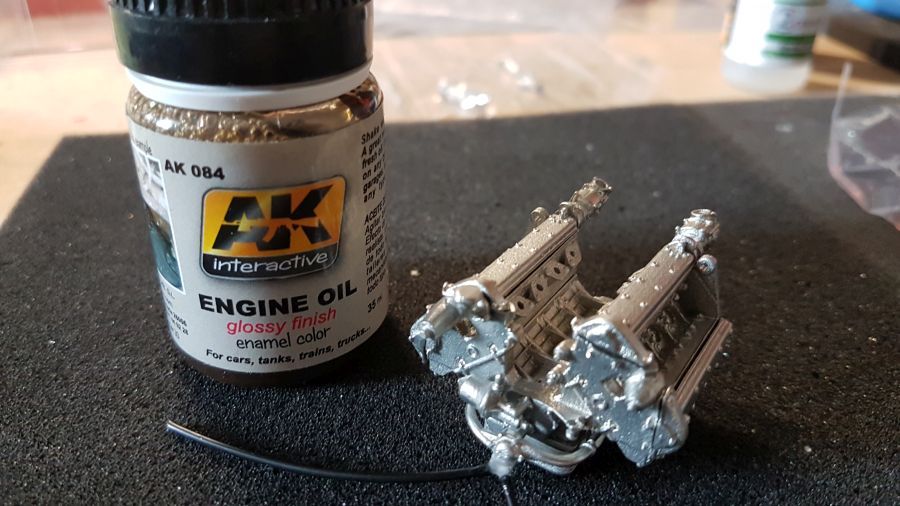
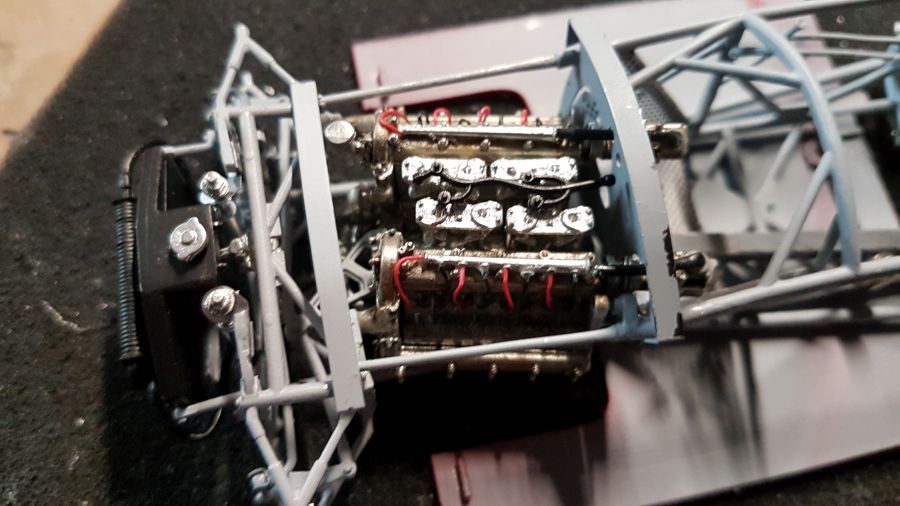
De motor krijgt een wash met AK Motorolie en daarna met verdunde zwarte olieverf...
The engine receives a wash with AK Engine Oil and then deluted black oil paint...
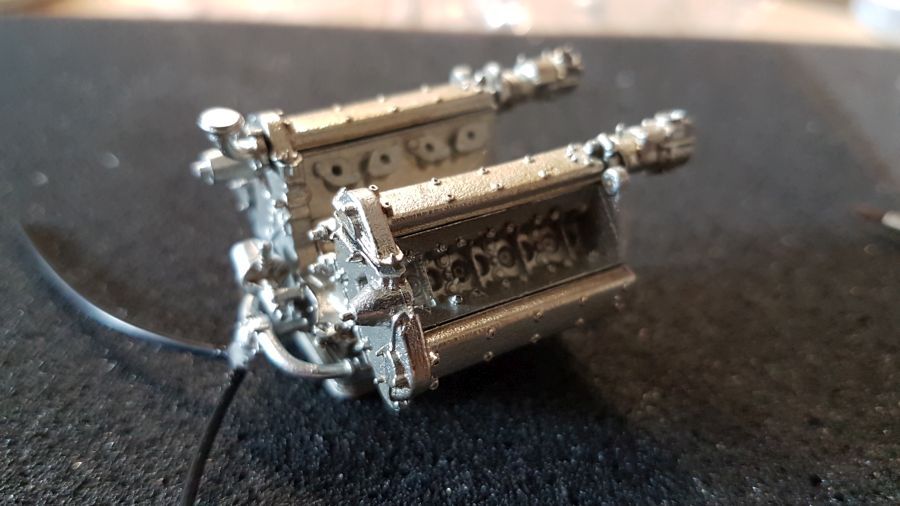
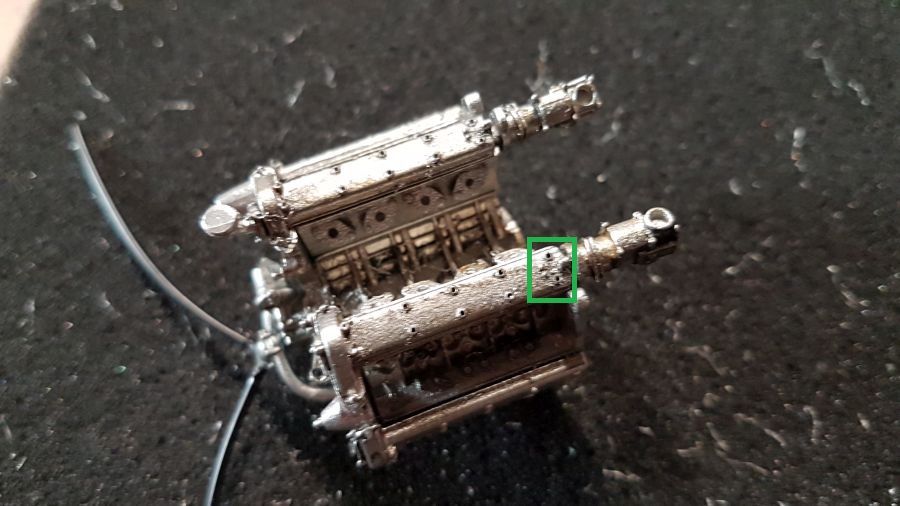
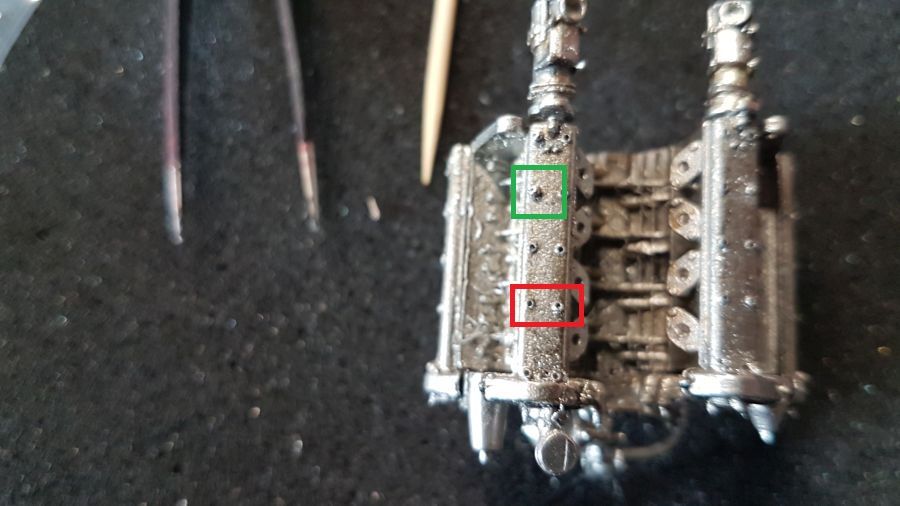
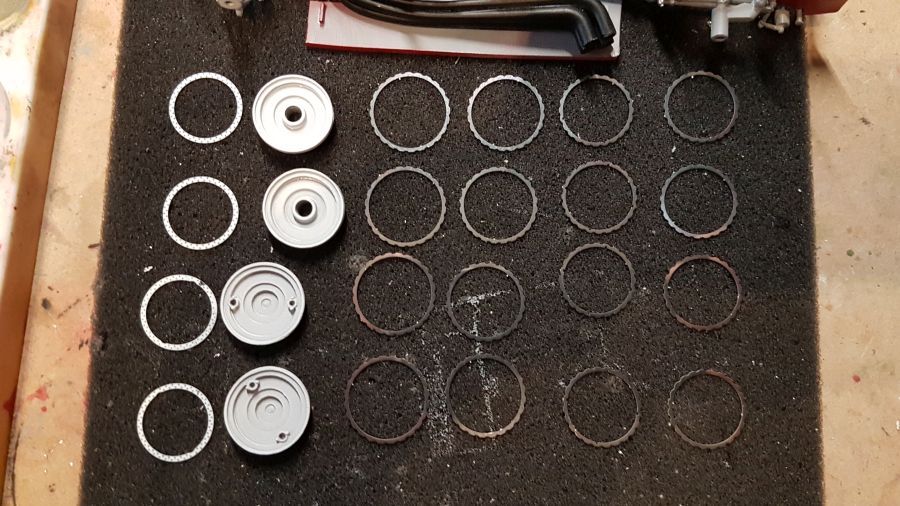
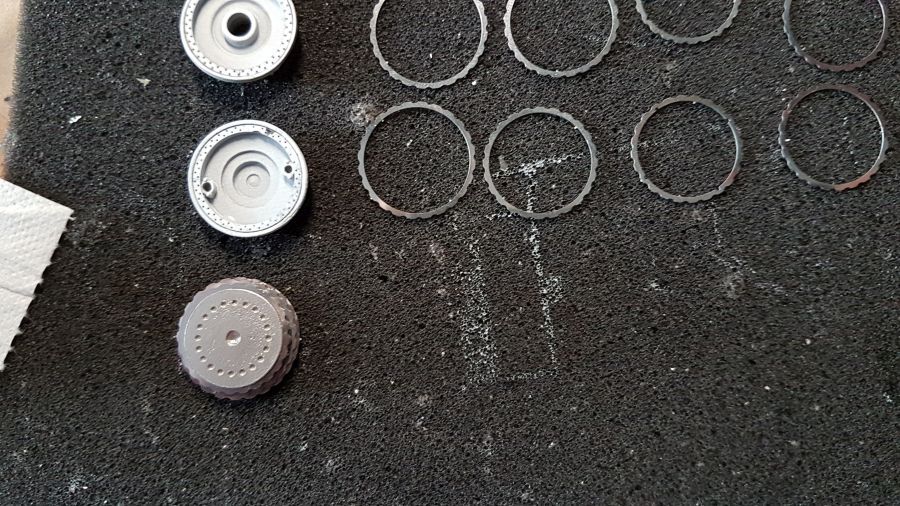
Gaatjes boren met een 0,5 mm boor... Ik moet er 40 doen. Dat zal me wel wat boortje kosten.
Drilling holes with a 0.5 mm drill... I need to do 40 of them. That will probably cost me some drills.
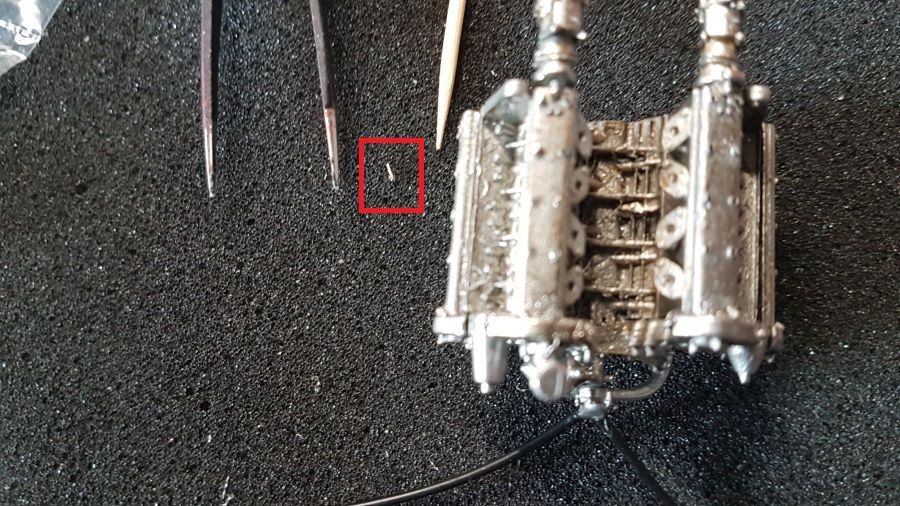
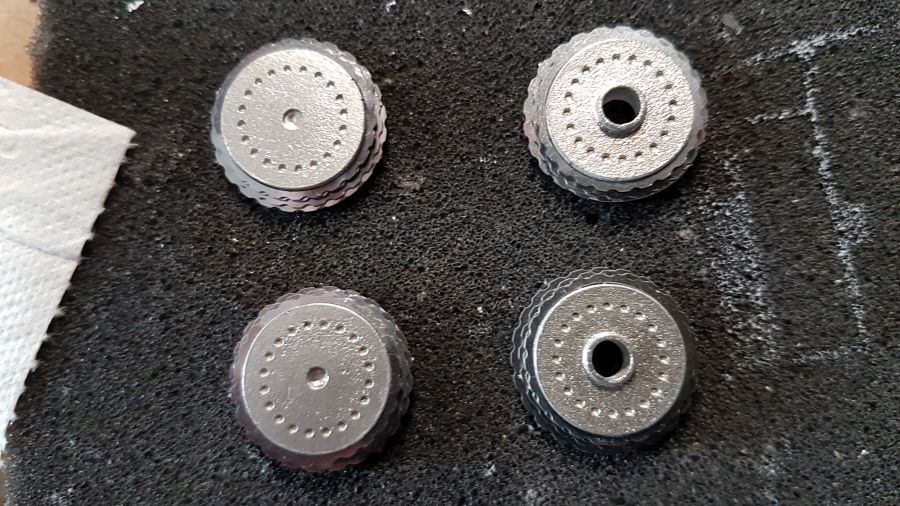
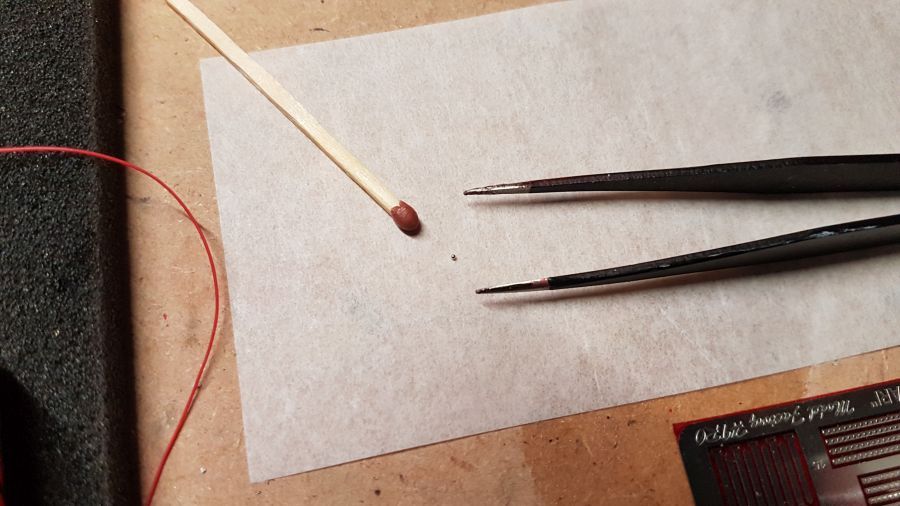
De moeren worden geplaatst... Oppassen met het pincet...
The nutters are being added... Be careful with the tweezers...
Dan de transmissie...
Next is the transmission...
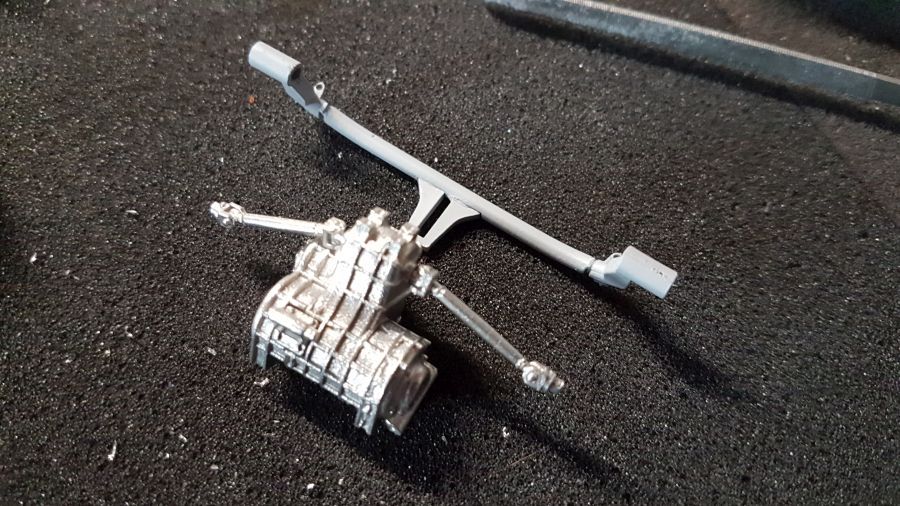
En ook een wash...
And a wash too...

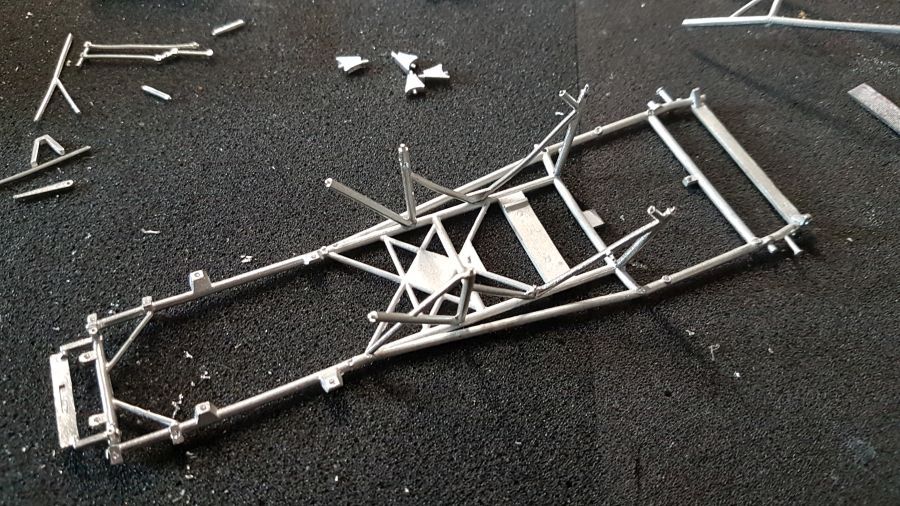
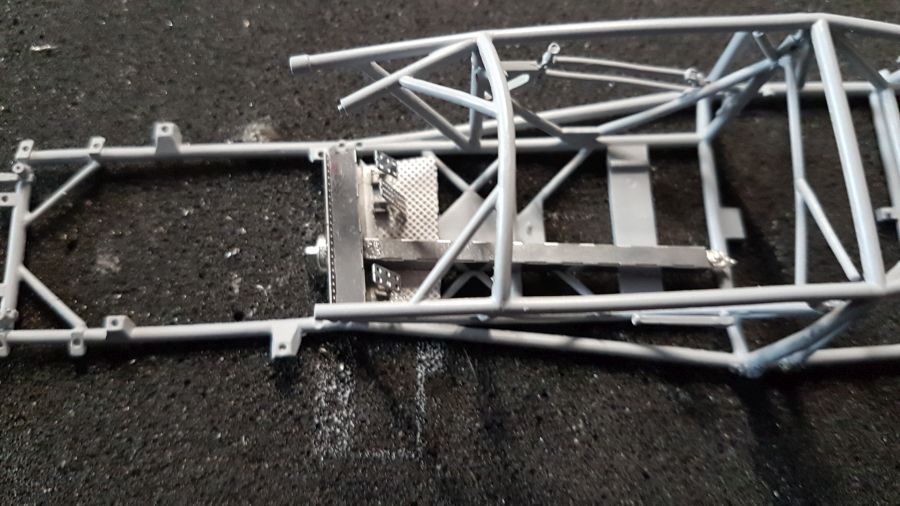
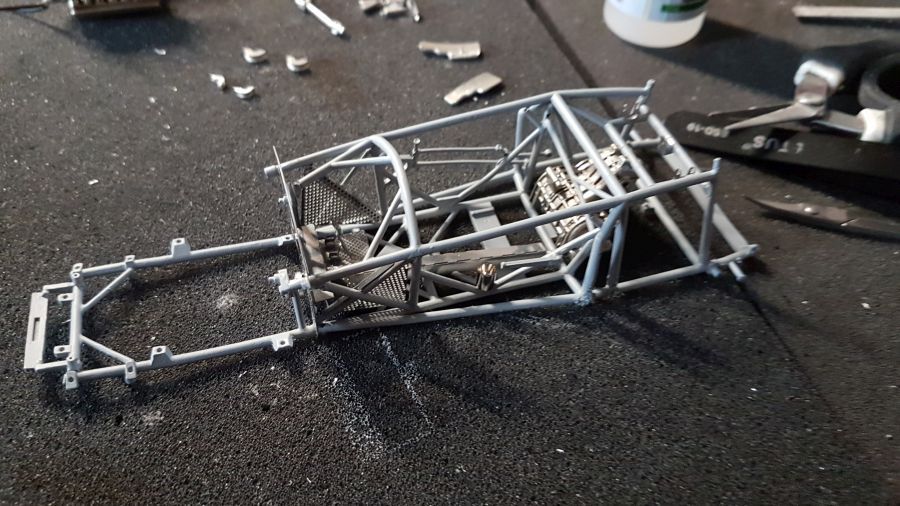
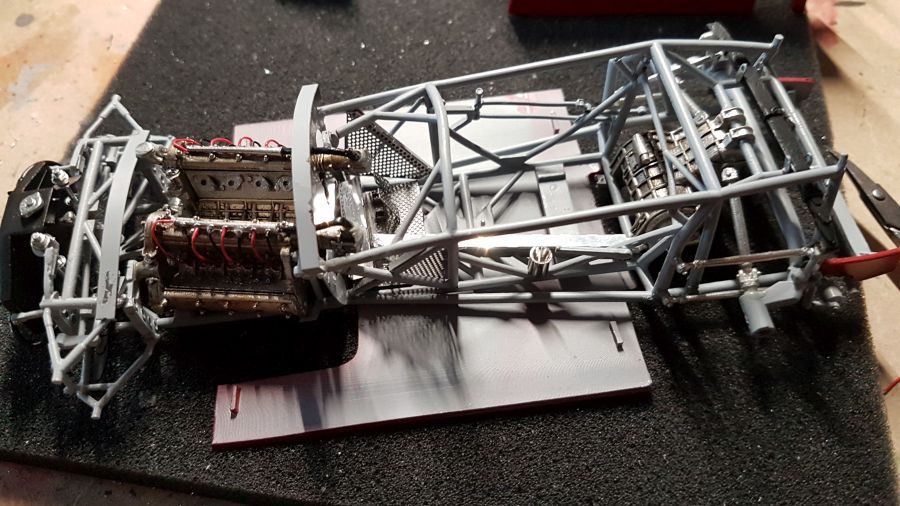
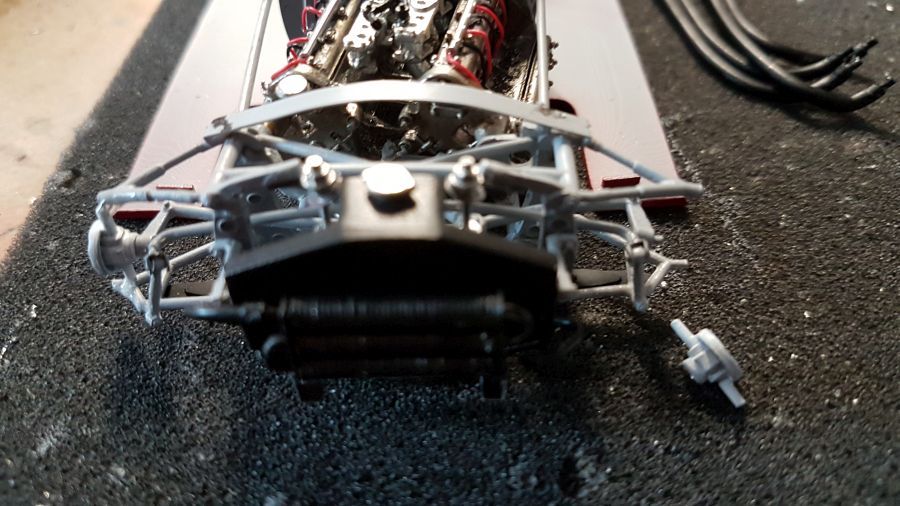
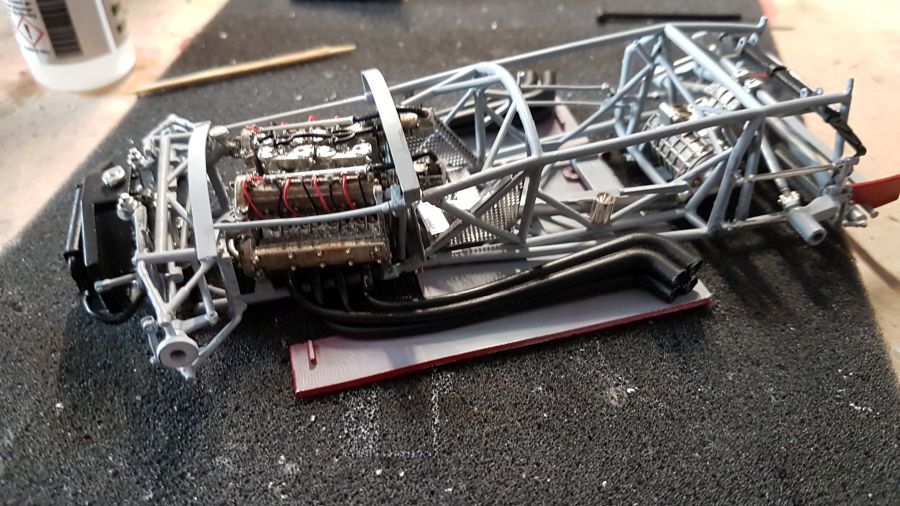
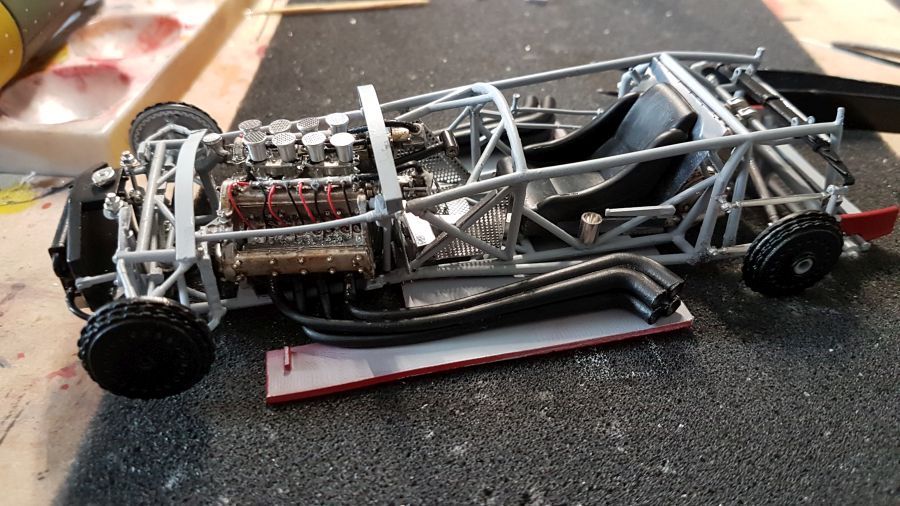
Verder met het chassis... dat gaat lastig worden. Eerst alles een beetje buigen opdat het in elkaar past...
On to the chassis... that will be tricky. First of all bend everything so it fits...
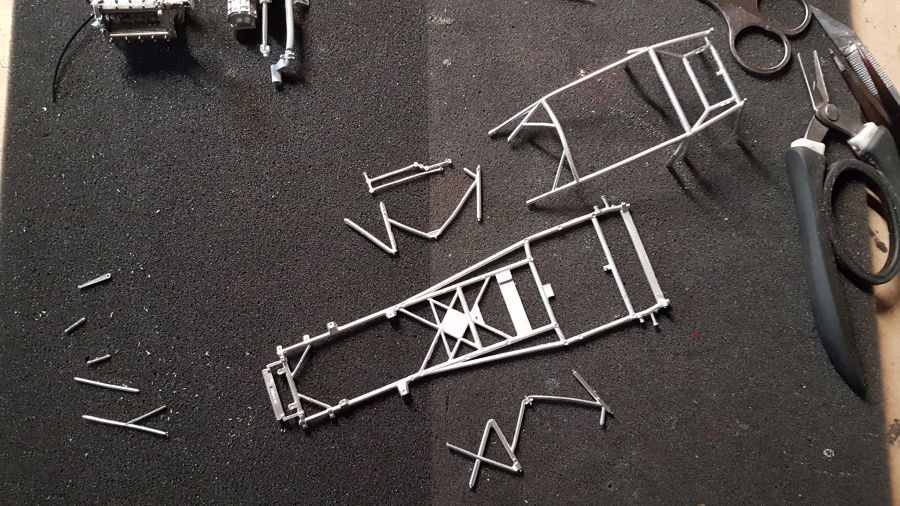
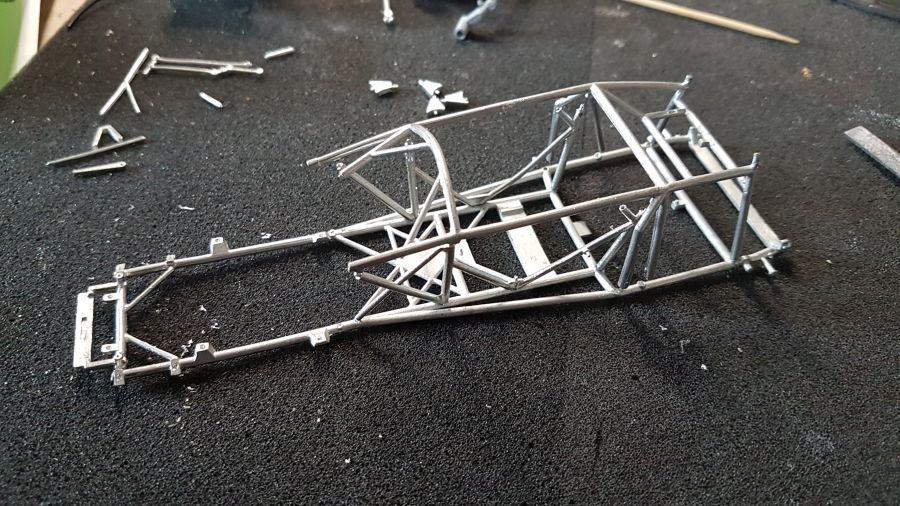
Veel werk om dit spaceframe weer recht te krijgen zodat alles past...
Much work to straighten this spaceframe so everything fits...
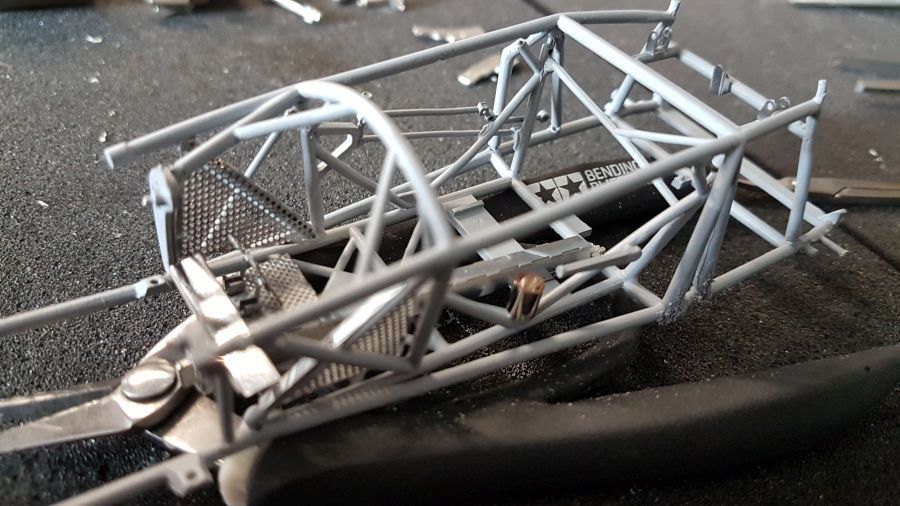
Even tussentijds passen...
Test fit...
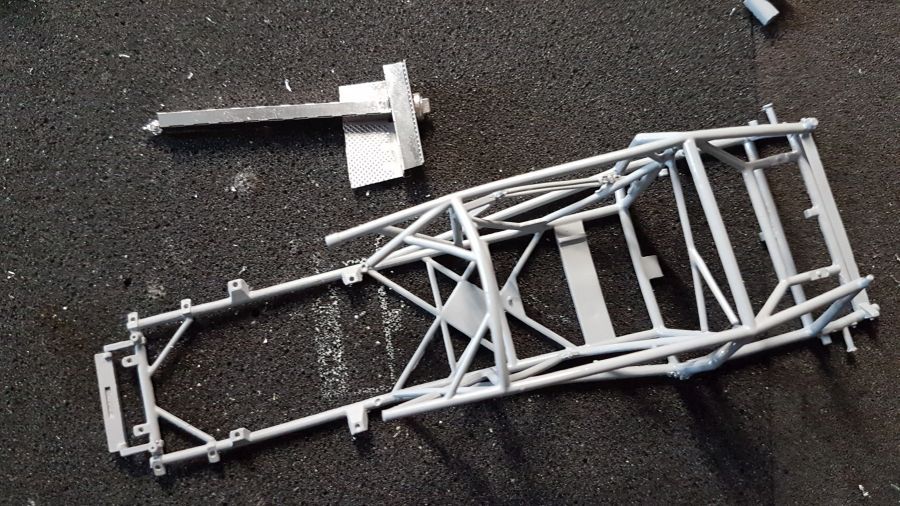
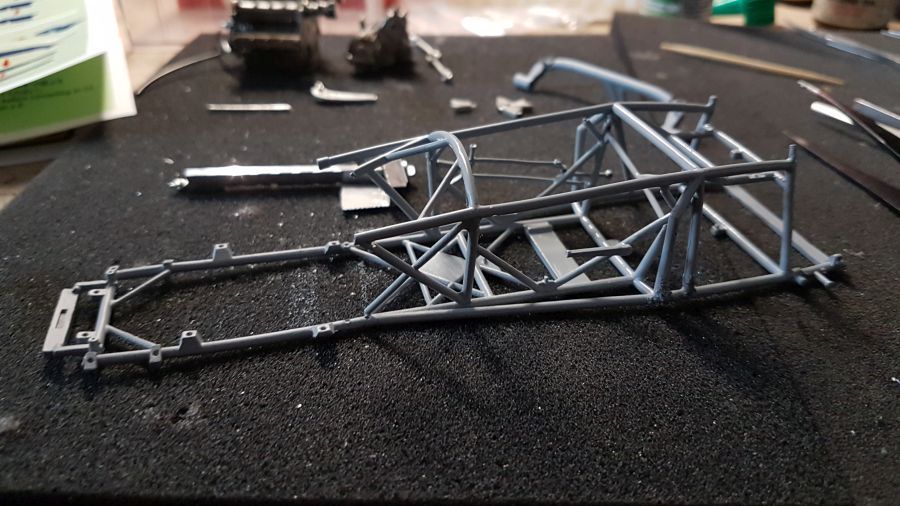
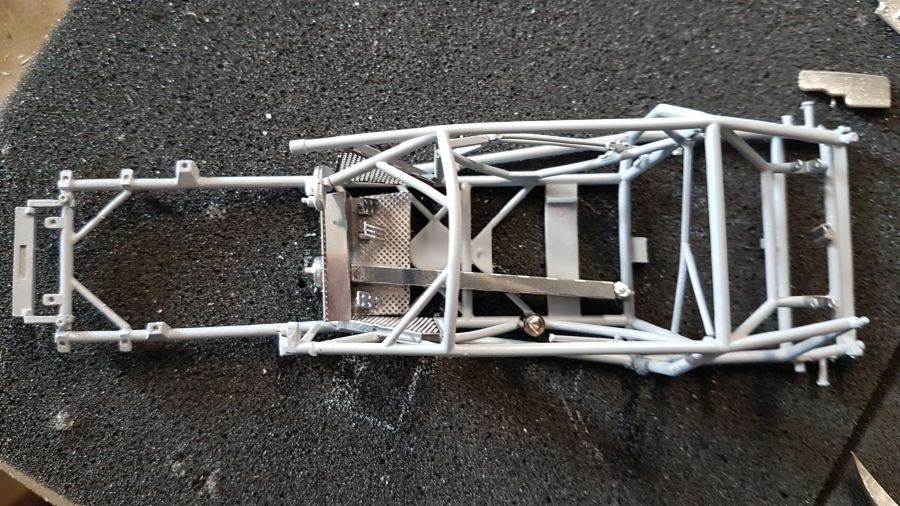
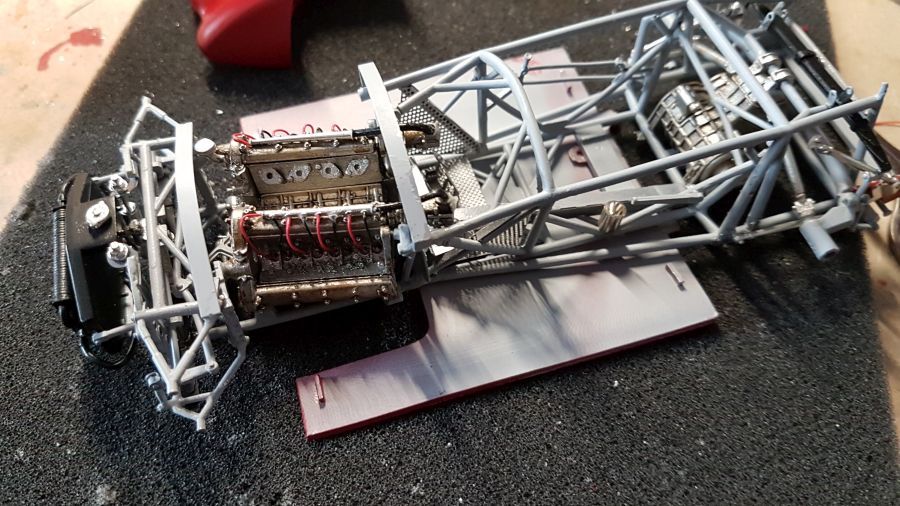
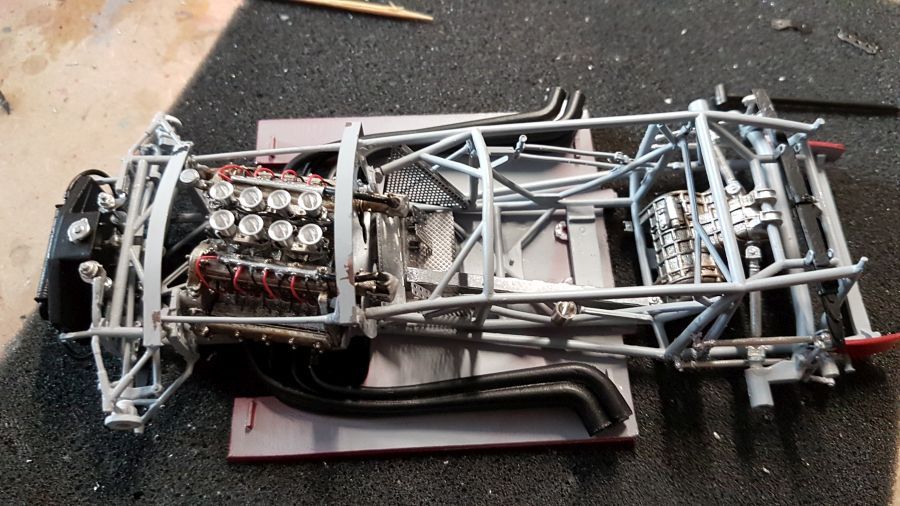
Grijs gespoten en meet onderdelen geplaatst....
Painted grey and more parts added...
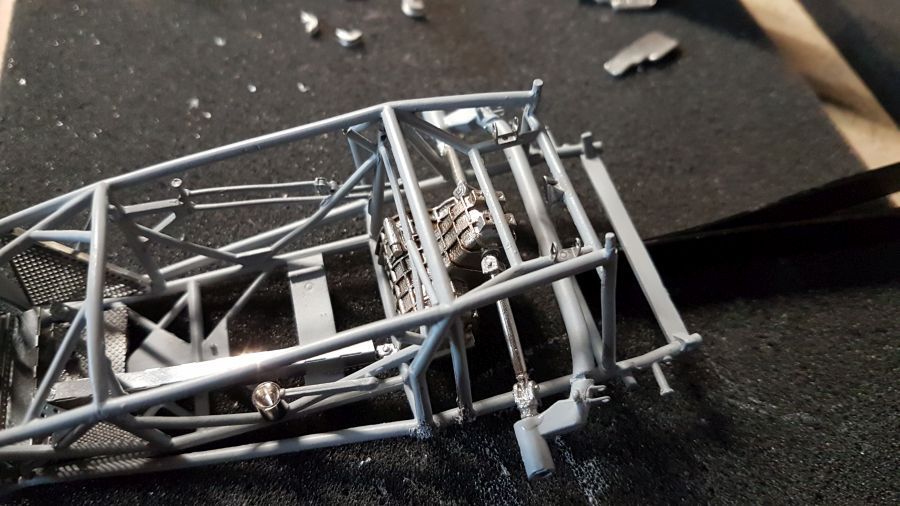
Het werk aan de transmissietunnel en de pedalen...
Working on the transmission tunnel and the pedals...

Meer onderdelen geplaatst...
More parts added...
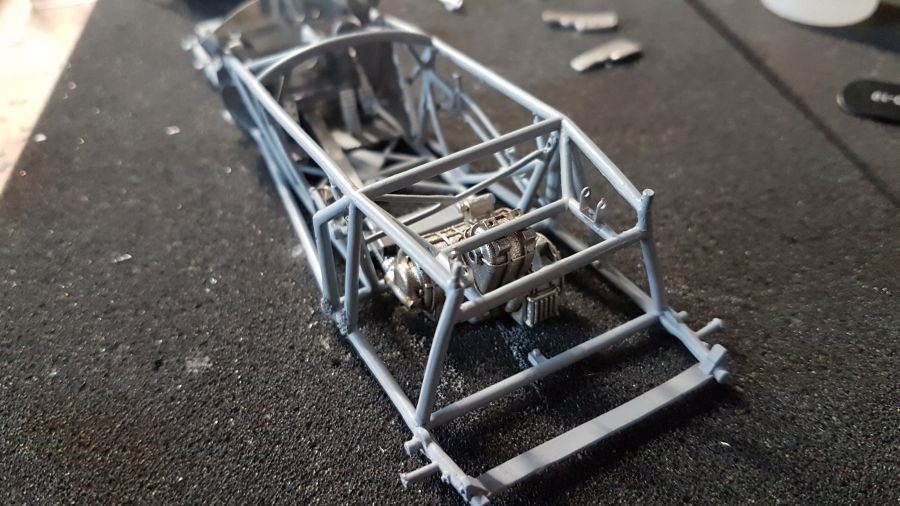
Transmissie geplaatst...
Transmission added...
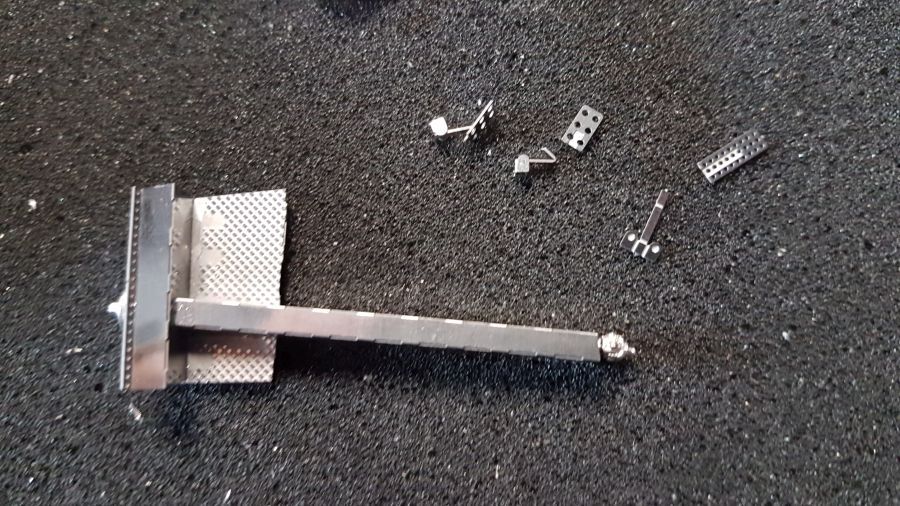
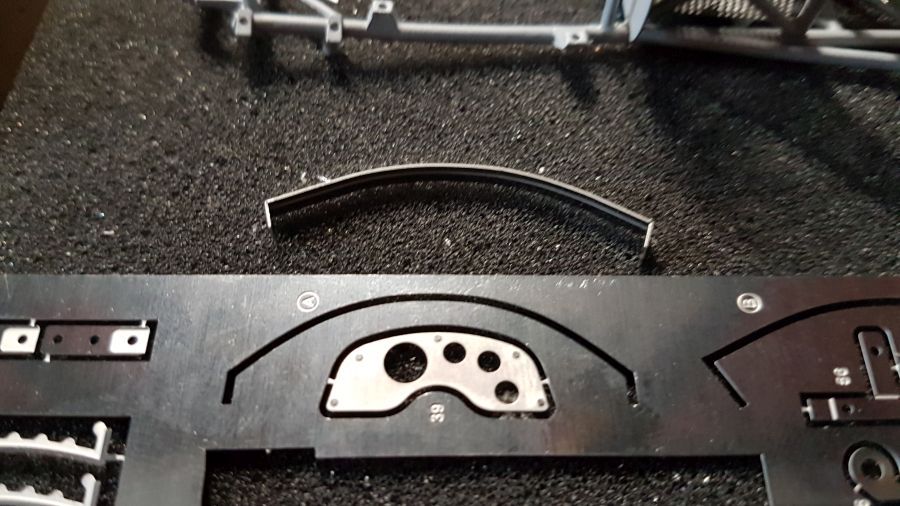
De bovenrand voor het brandschot wordt op maat gebogen met behulp van de mal.
The valkhead for the bulkhead was bent to size by using the template.
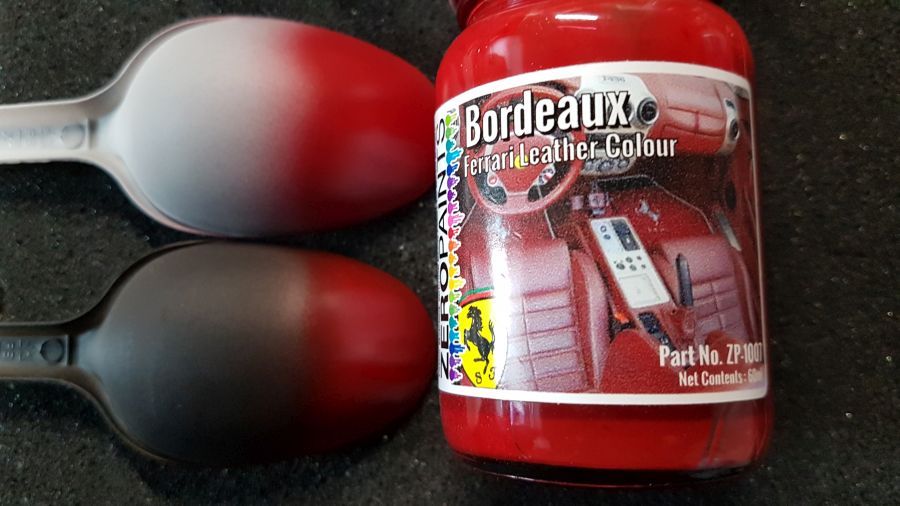
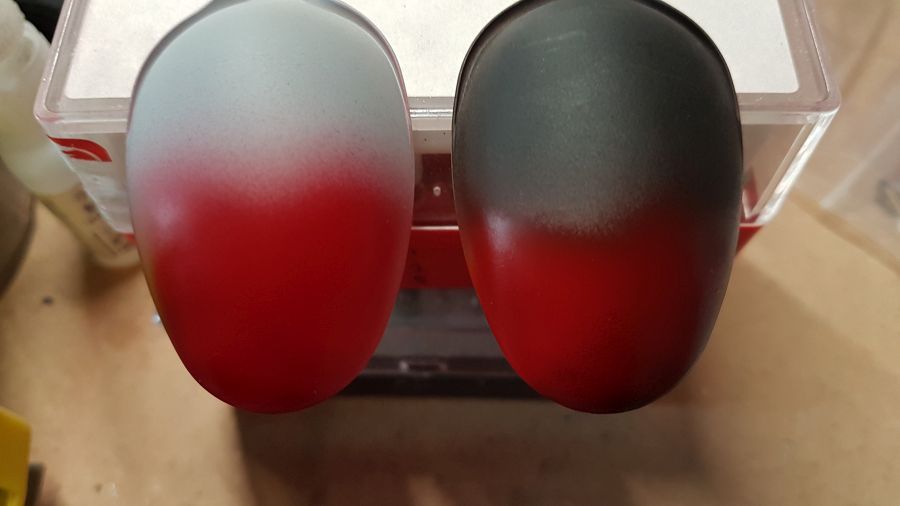
Experimenteren met de kleur...
Experimenting with the colour...
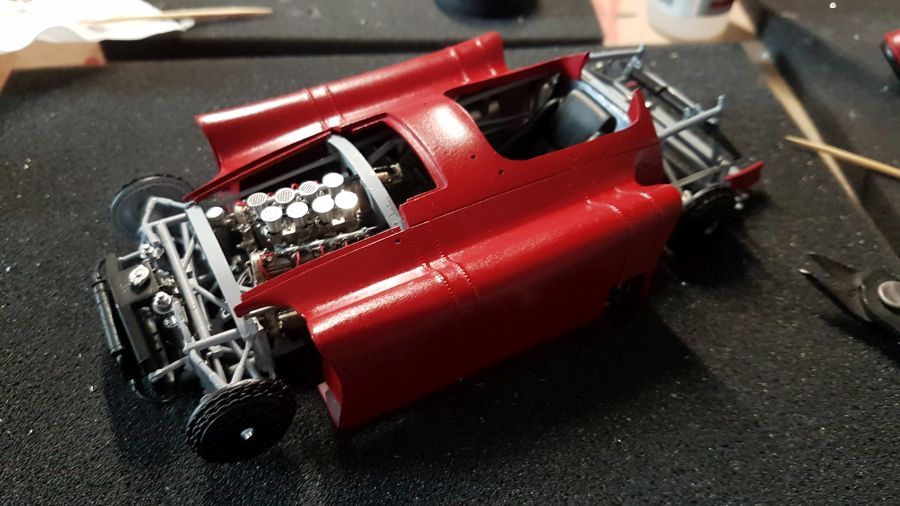
Bodyonderdelen in de primer...
Body parts have been primed...
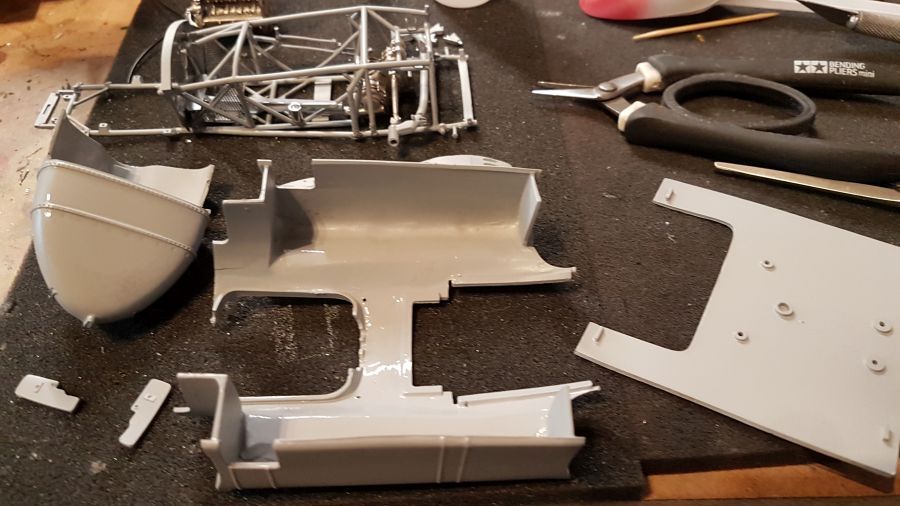
Je krijgt een indruk...
You get an impression...
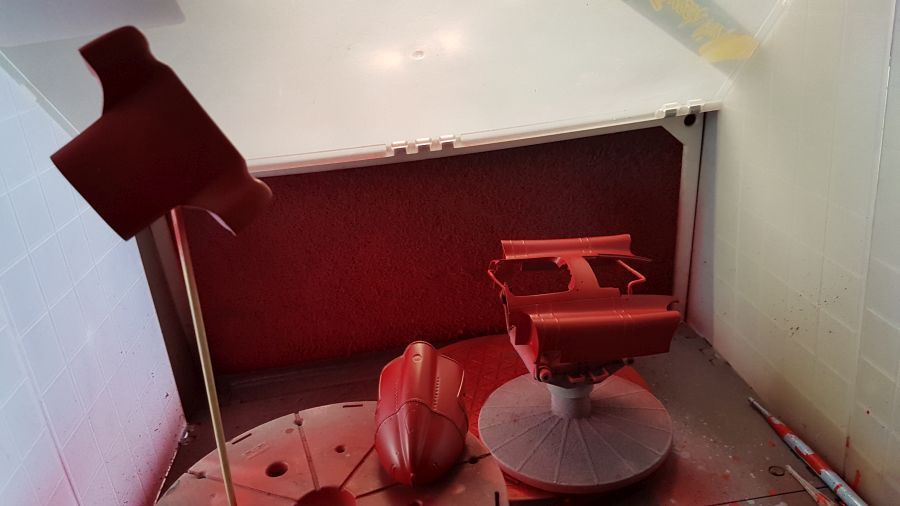
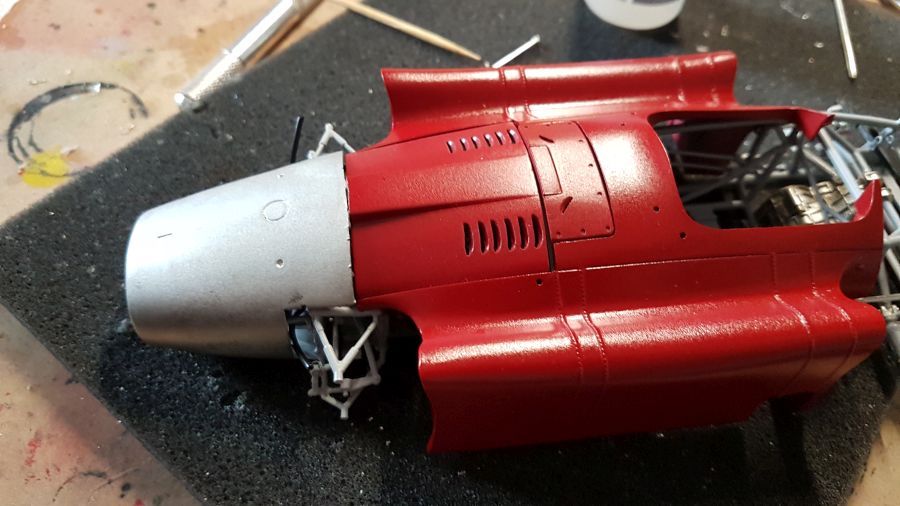
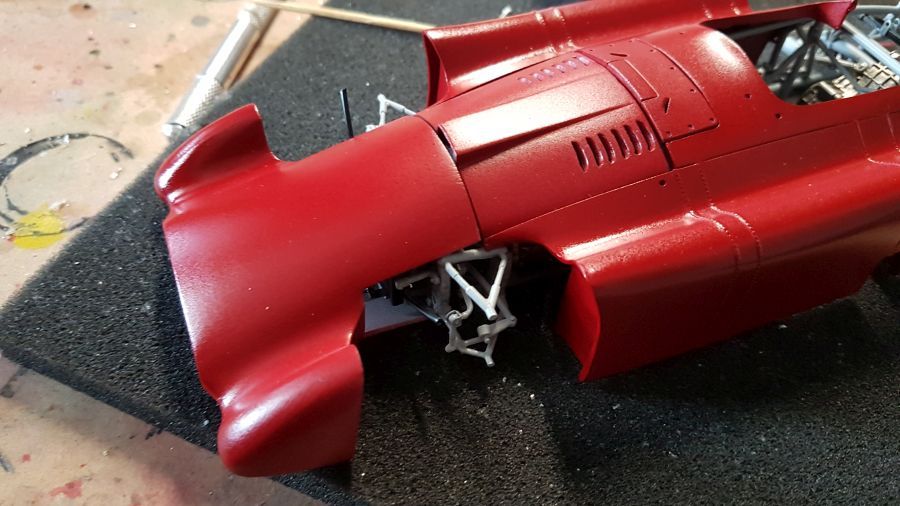
Tijd voor rood...
Time for the red...
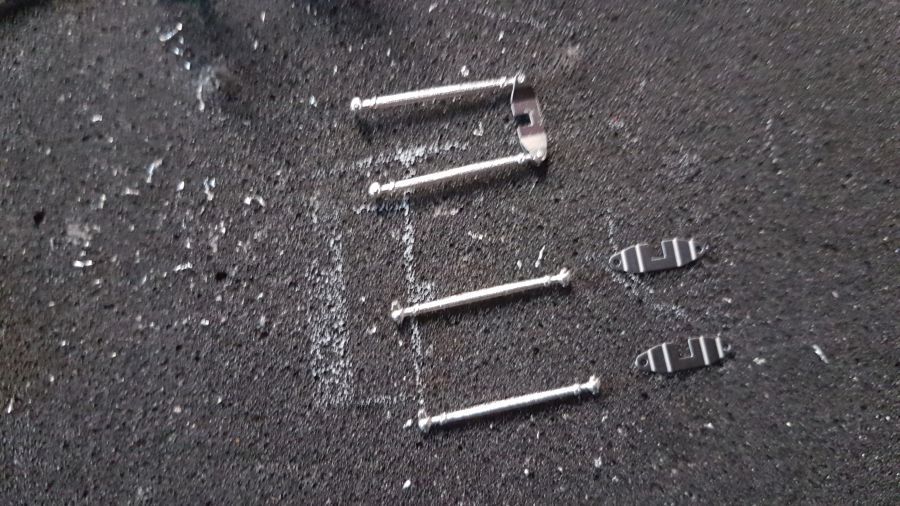
Bladveer achter.
Leaf spring rear.

Bladveer voor.
Leaf spring front.
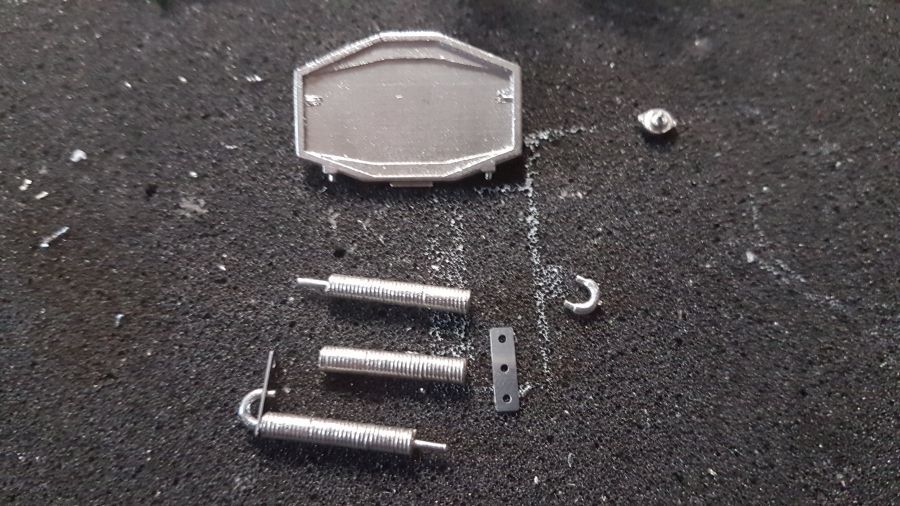
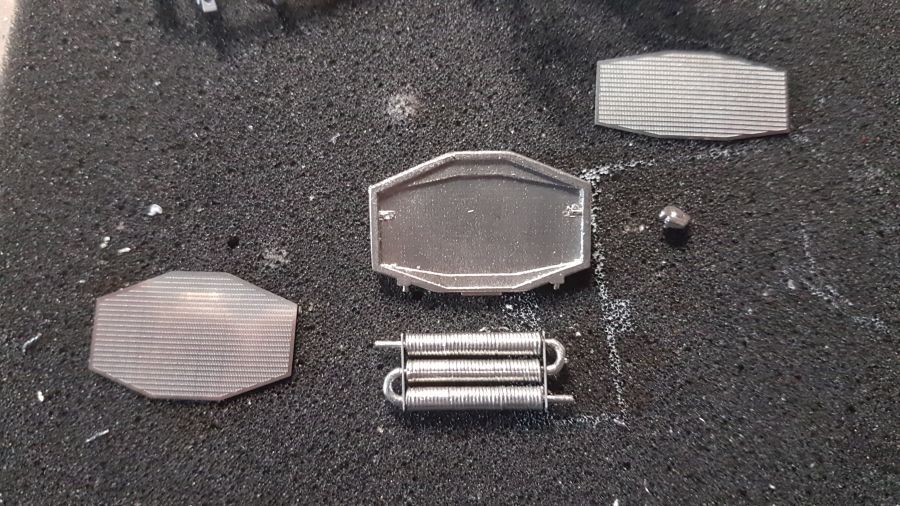
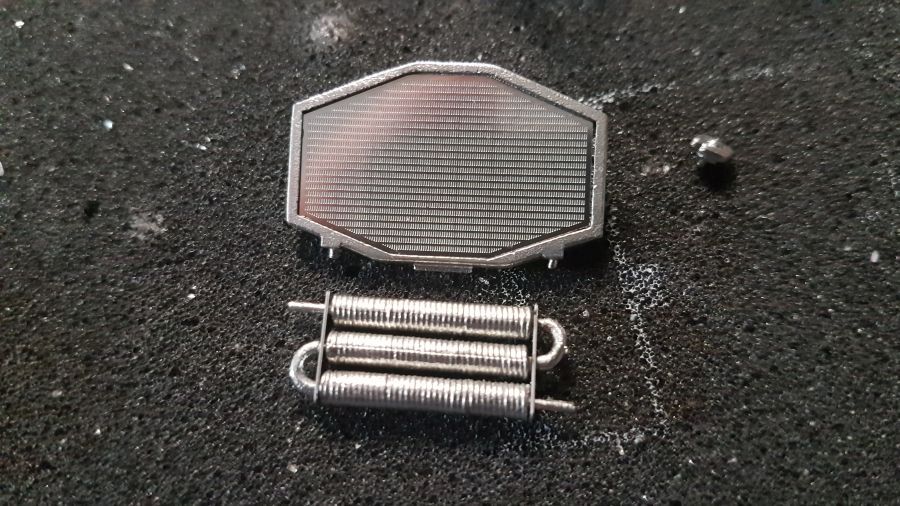
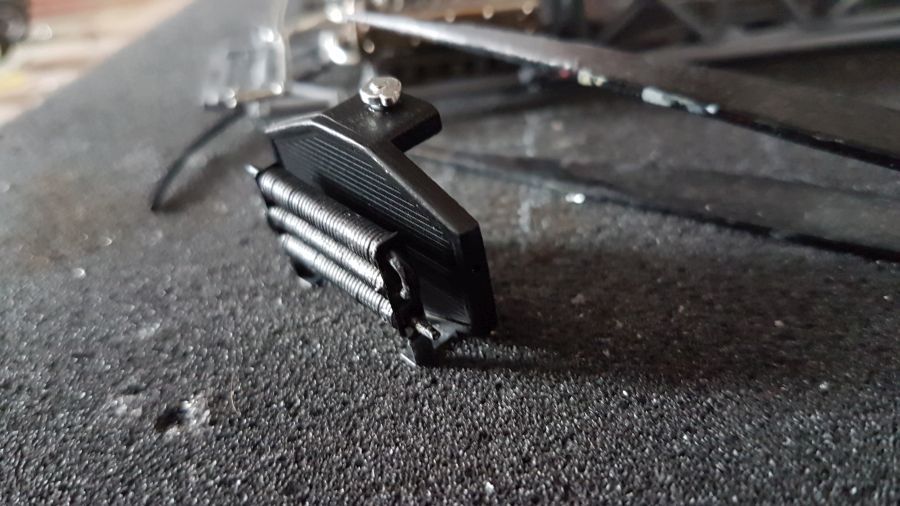
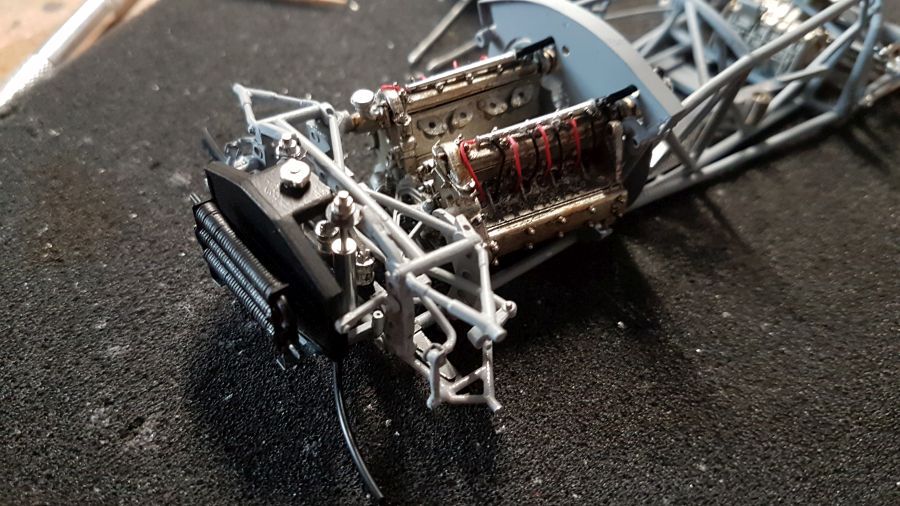
Door met de koeling...
To continue with the cooler...
De achterwielophanging krijgt nog wat onderdelen en de achtervering wordt geplaatst.
The rear wheel suspension receives more parts and the spring leaf is being added.

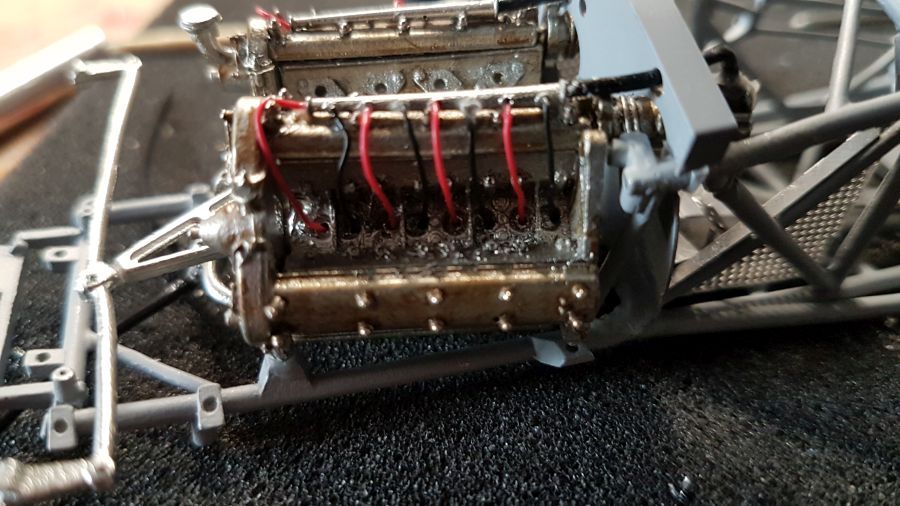
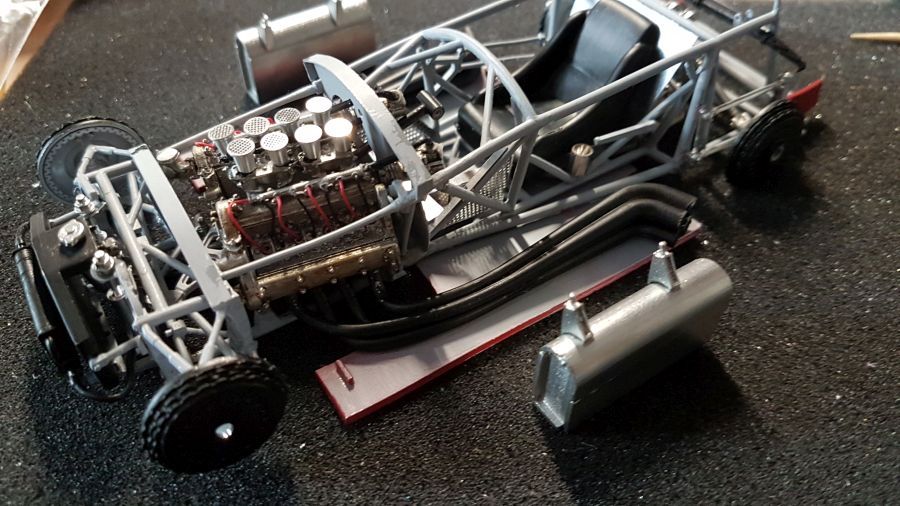
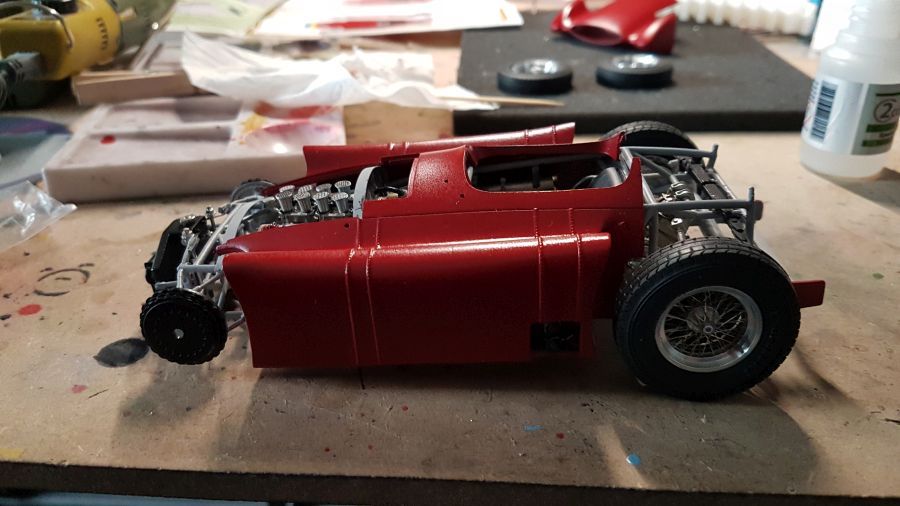
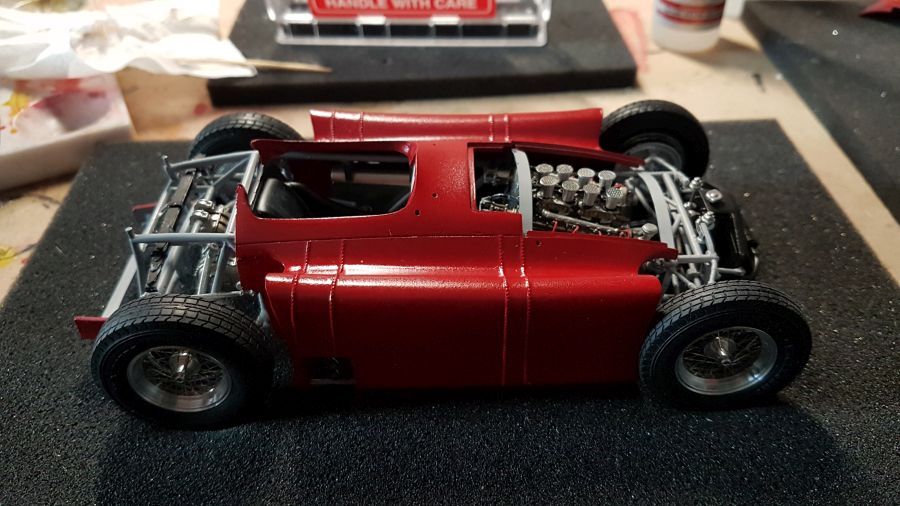
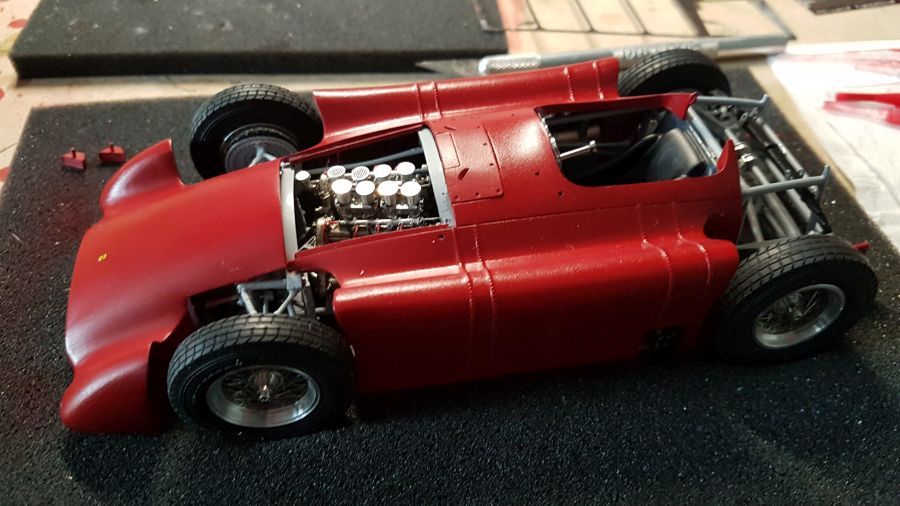
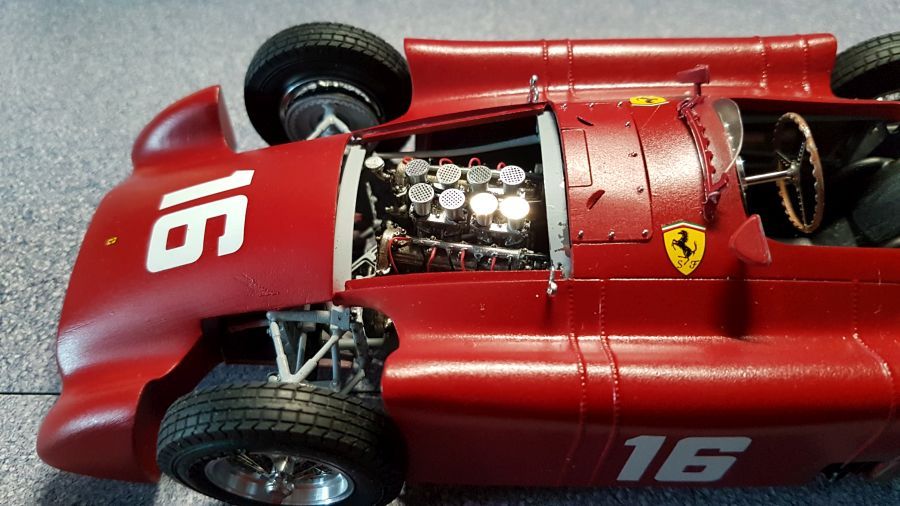
Dan kan de motor erin...
Then the engine is being installed...
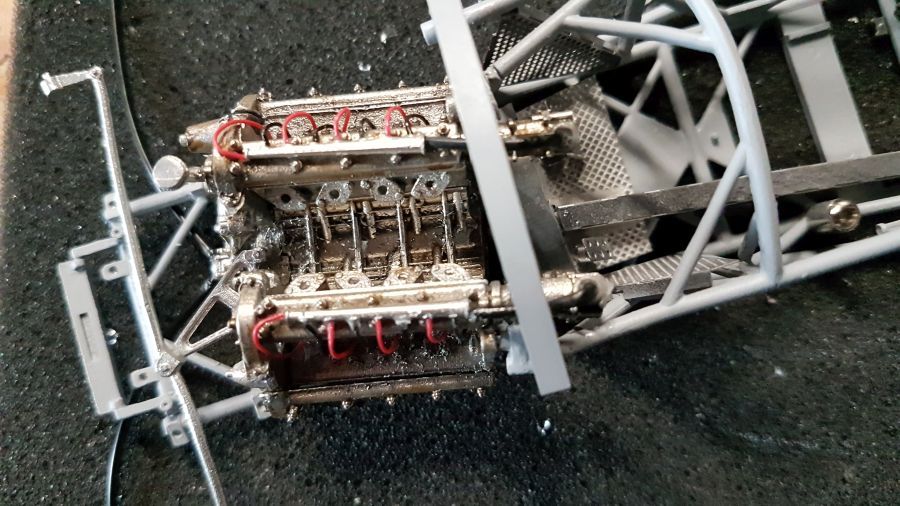
Wat bedrading...
Some wires...
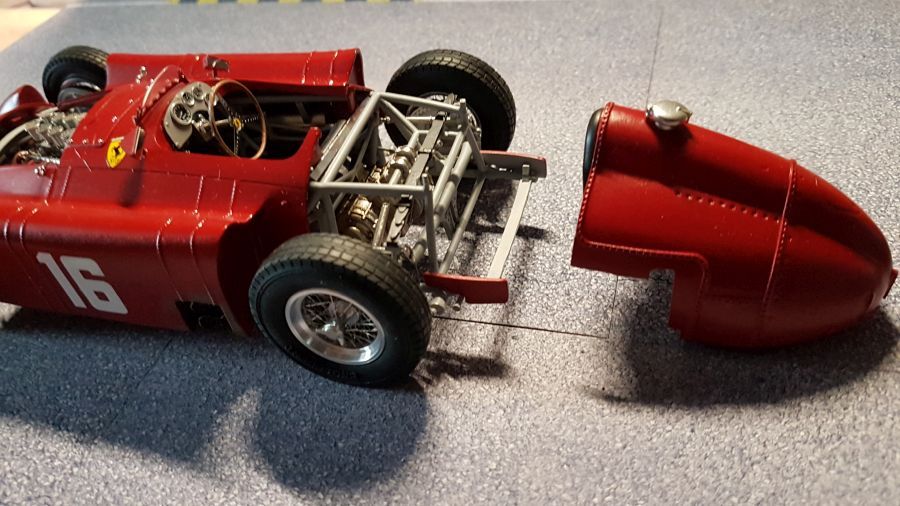
Testen van de originele neus en de nieuwe neus...
test fit of the original nose and the new nose...
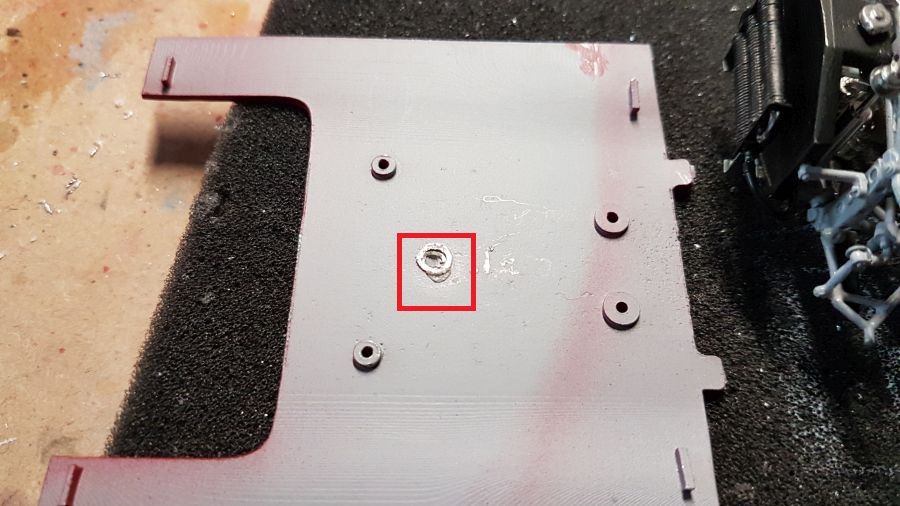
Dan de vloer testen... niet goed... deze zit te ver naar de achterkant...
Next is test fit of the floor... not good... this one is too far to the rear...
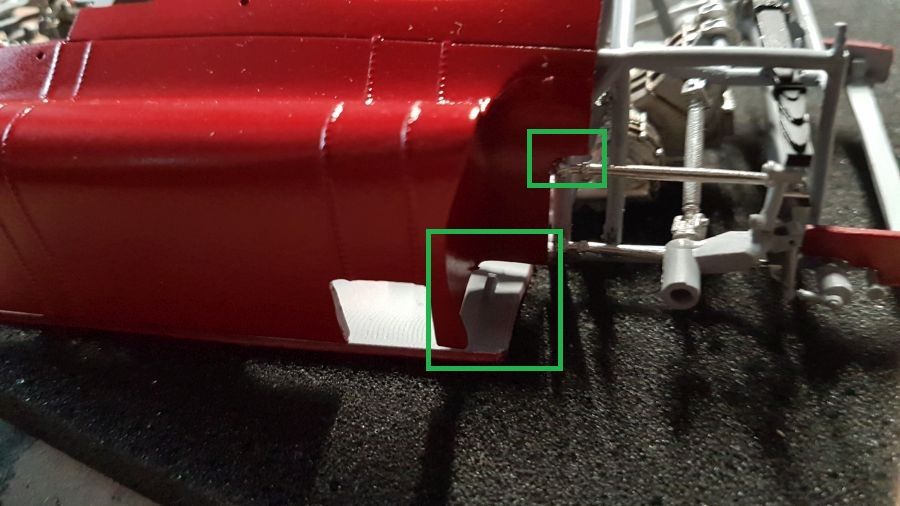
Dus aanpassen... de nok en de kuil verwijderen...
So adjusting it... the pin and the hole are being removed...
De achterkant krijgt zijn brandschot...
The rear receives it's bulk head...
Wat klein werk weer aan de motor...
Some more small work to the engine...
De bevestigingen voor de remmen worden geplaatst...
The uprights to mount the breaks are added...
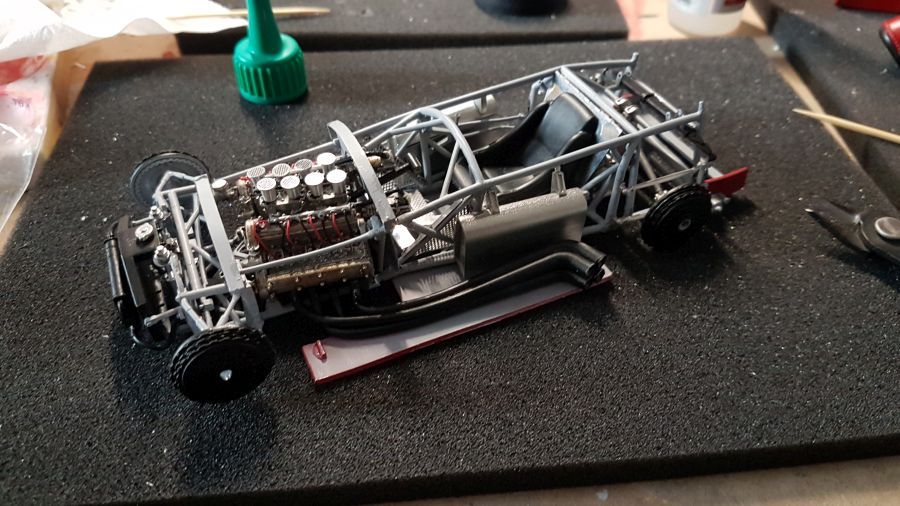
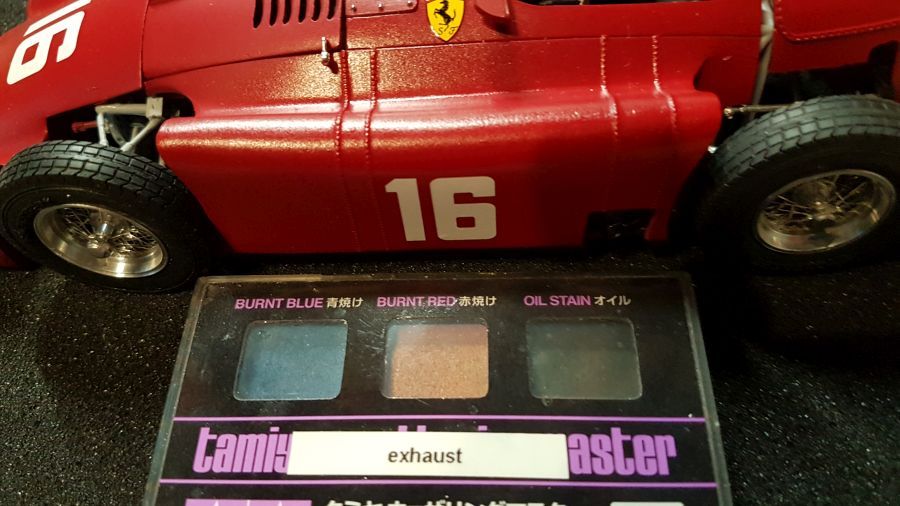
En de uitlaten..
And the exhausts...
En weer naar de motor..
And back to the engine...
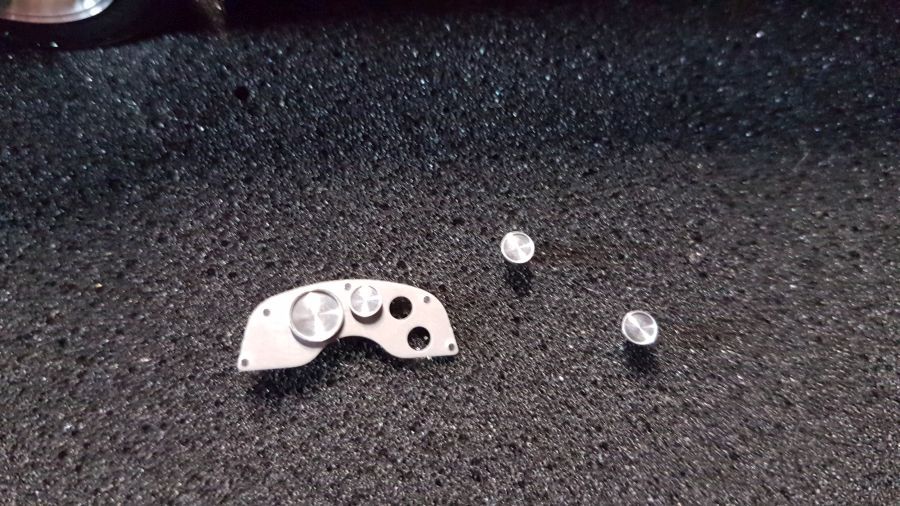
Dan de remmen maken...
Creating the brakes...
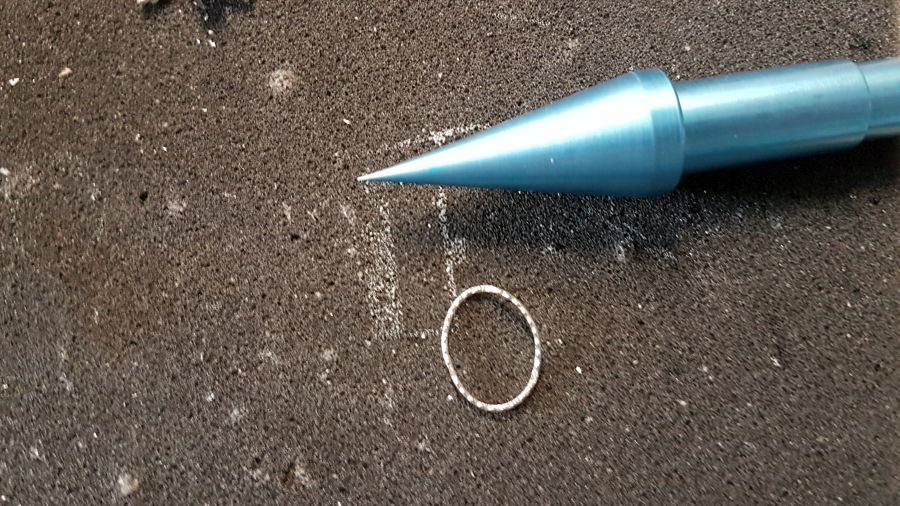
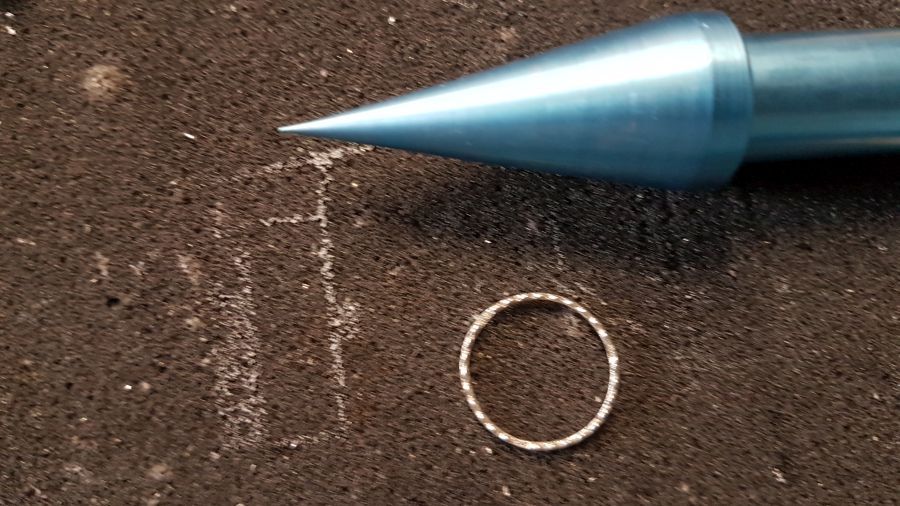
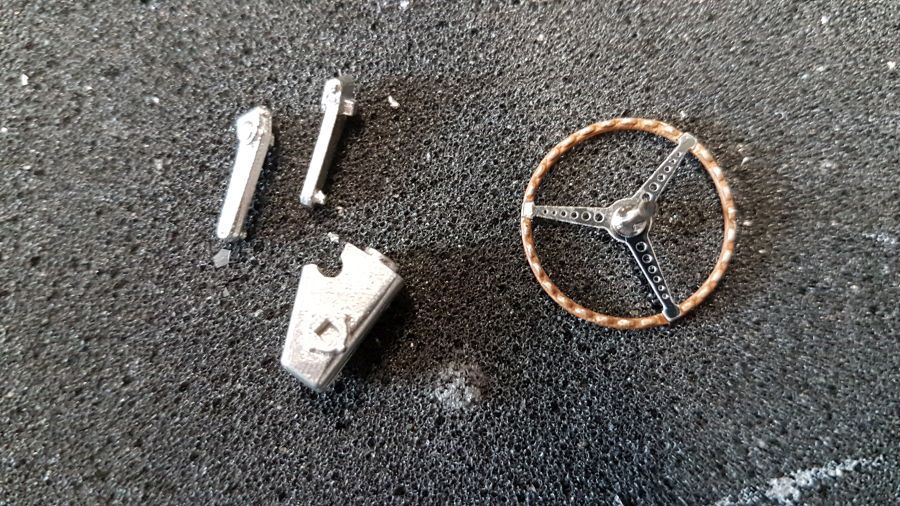
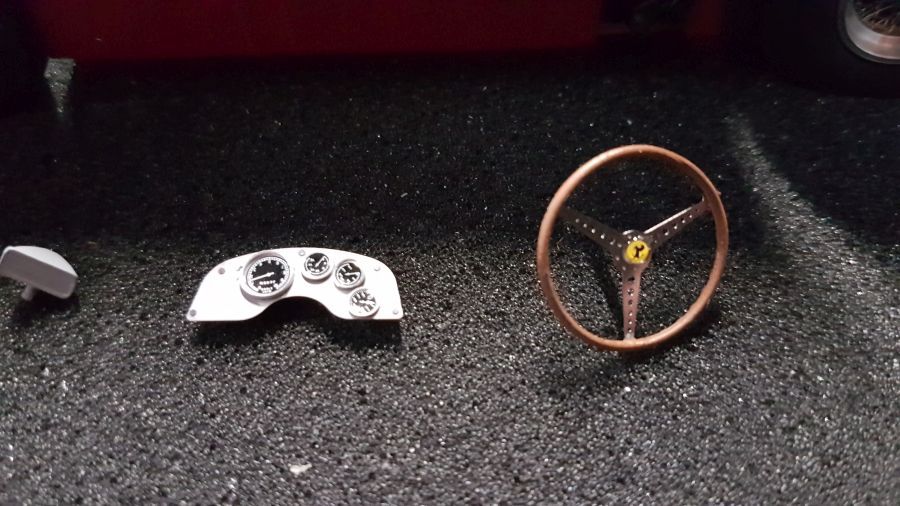
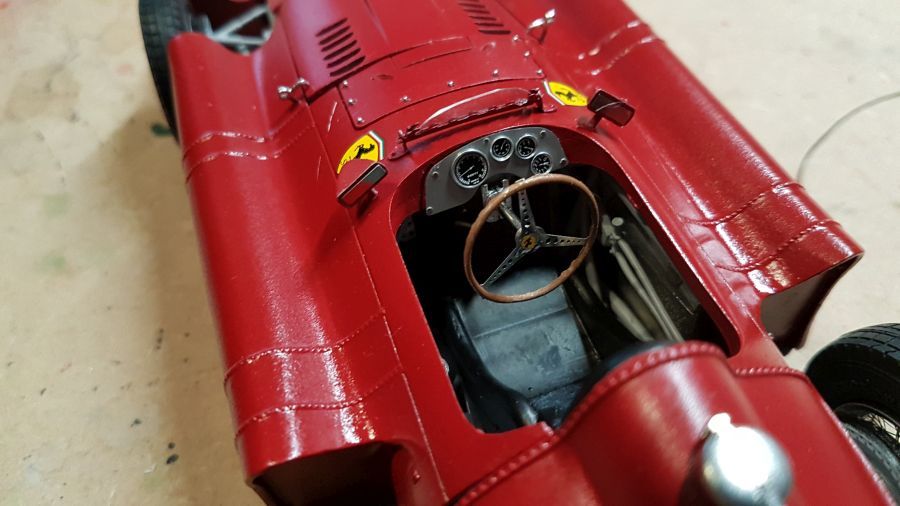
Werken aan een stevig vervormd stuurwiel.
Working on a heavily deformed steering wheel.
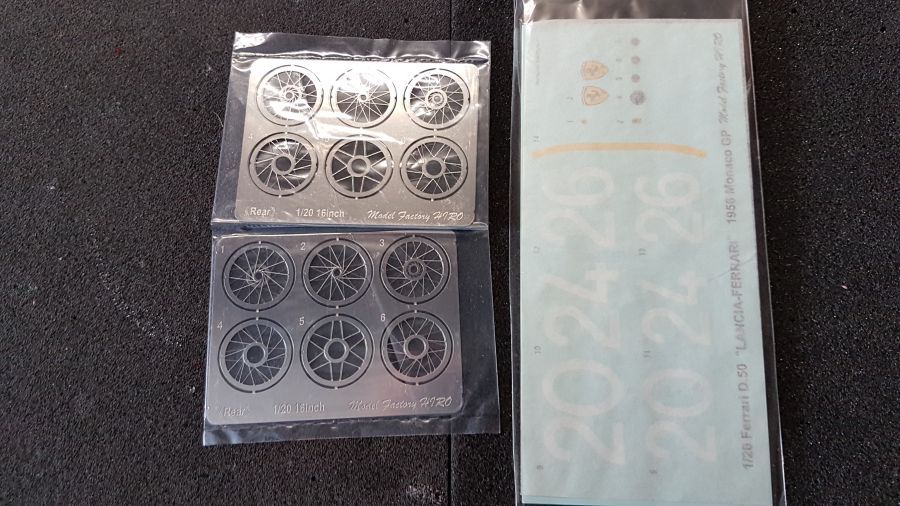
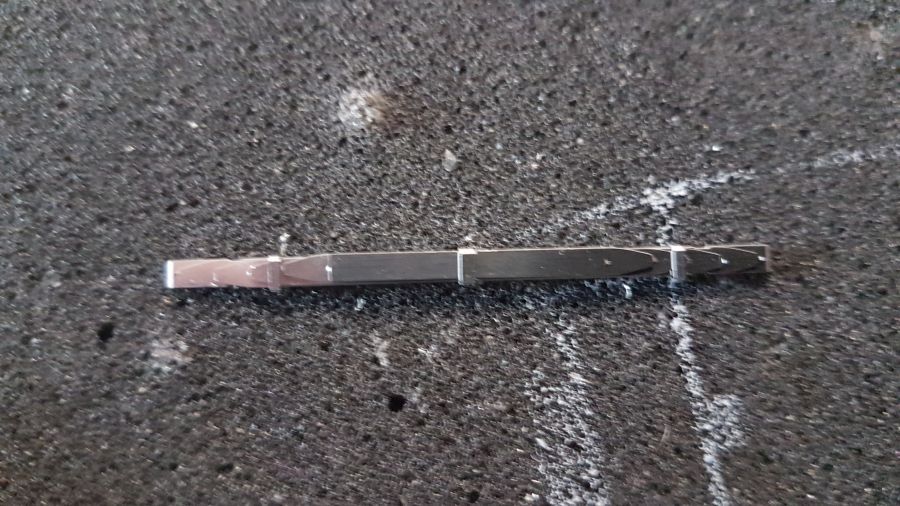
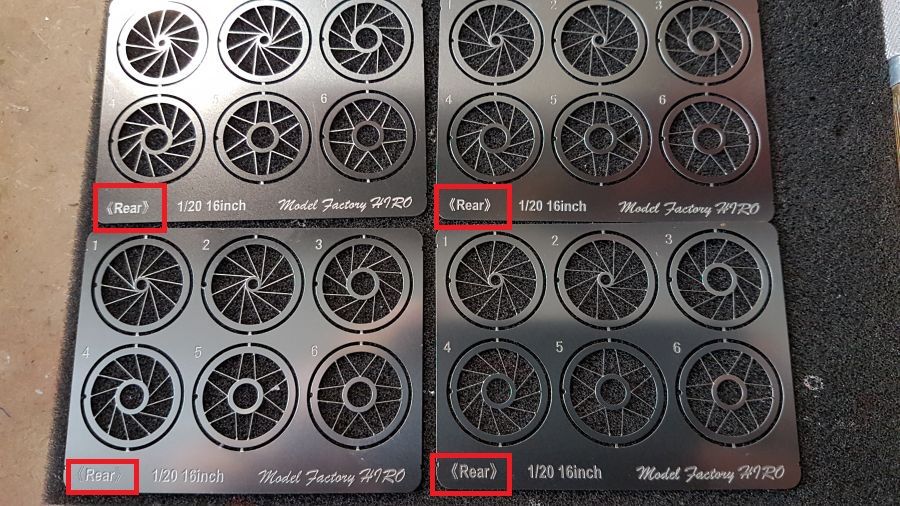
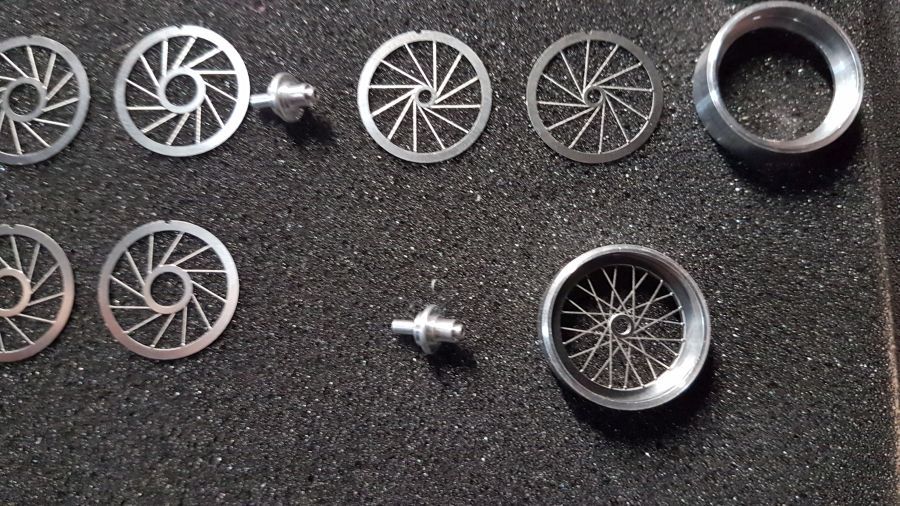
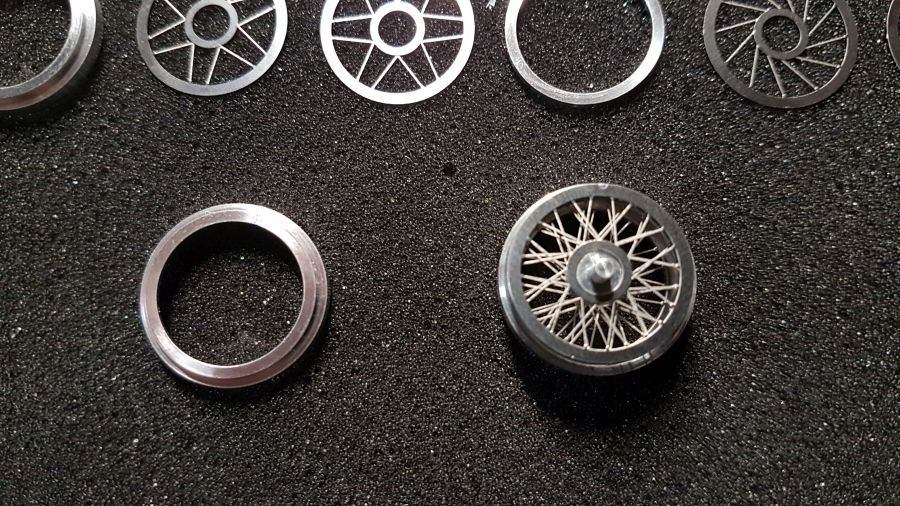
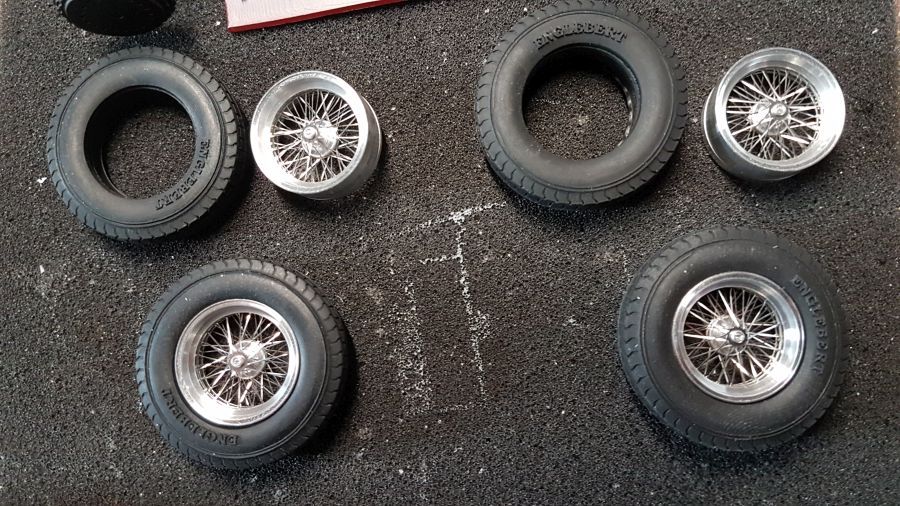
Dan de velgen. Vier etched met de markering 'Rear'. Als dat maar goed gaat. Van de bouw van mijn Ferrari D50 heb ik geleerd dat alles pas een drup lijm nodig heeft als alle onderdelen bijelkaar zijn gevoegd. Anders knappen de spaken zo uitelkaar.
Then the rims. Four etched plates with the marking 'Rear". I hope this works out. From the build of the Ferrari D50 i have learned it needs a drop of glue only after all parts have been assembled. Otherwise the spokes will snap just like that.
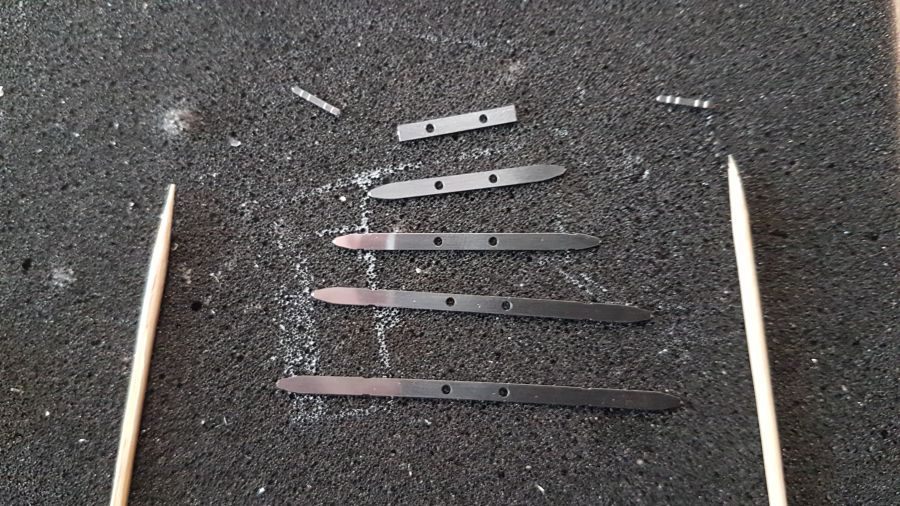
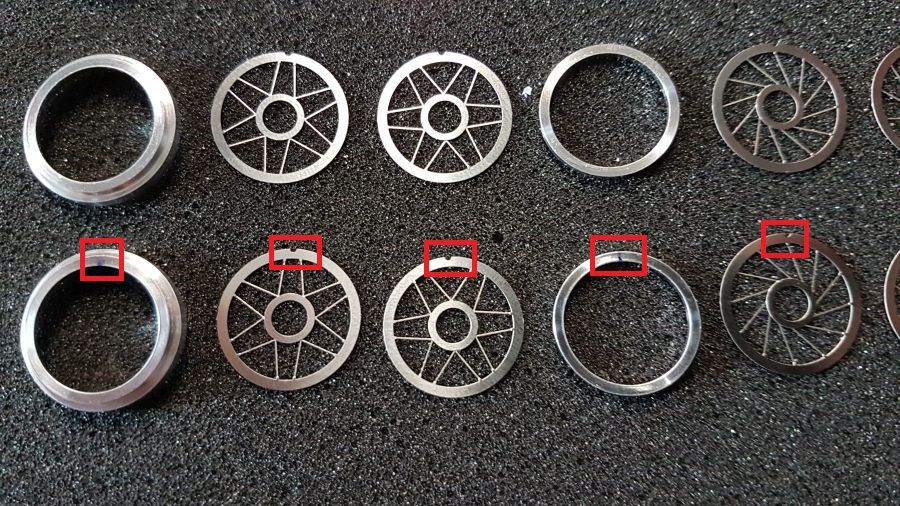
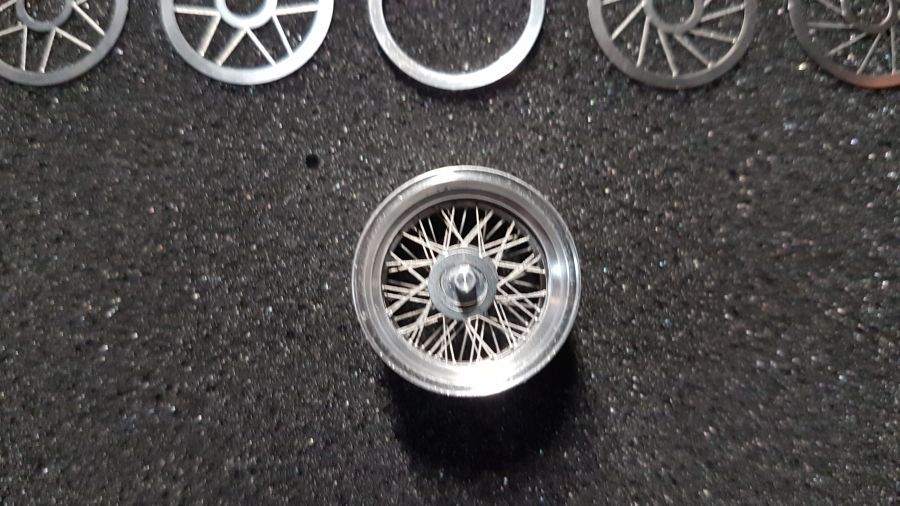
Pas ook op dat alle nokjes gelijk moeten zitten. Voor het gemak maak ik markeringen met een stift.
Also be sure all notches are lined up correct. I find it easy to make some markings with a fineliner.
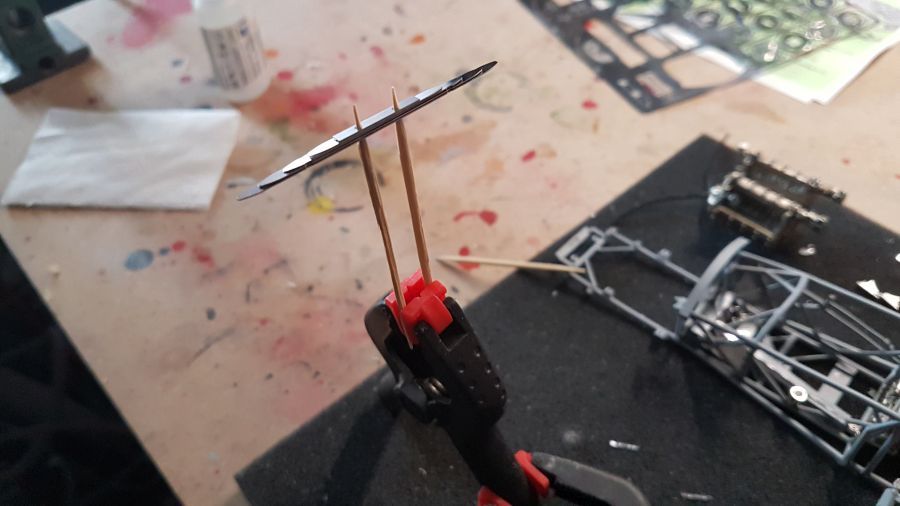
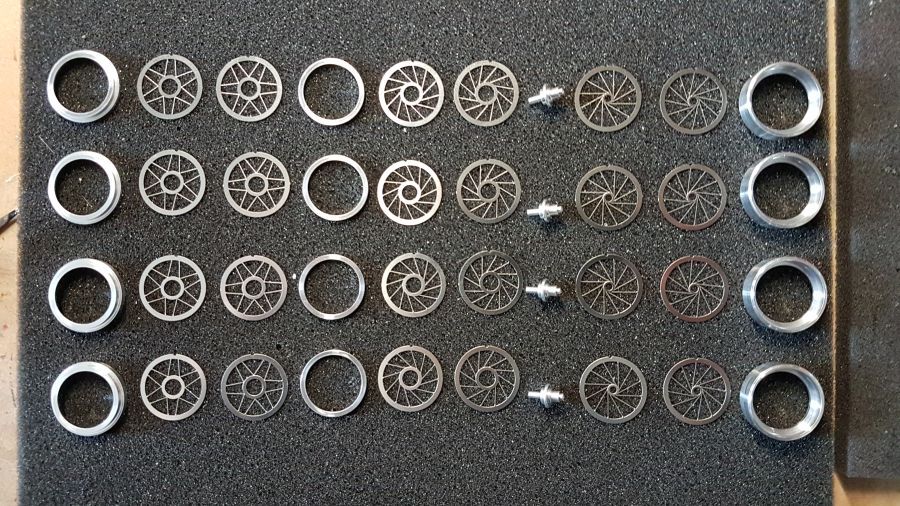
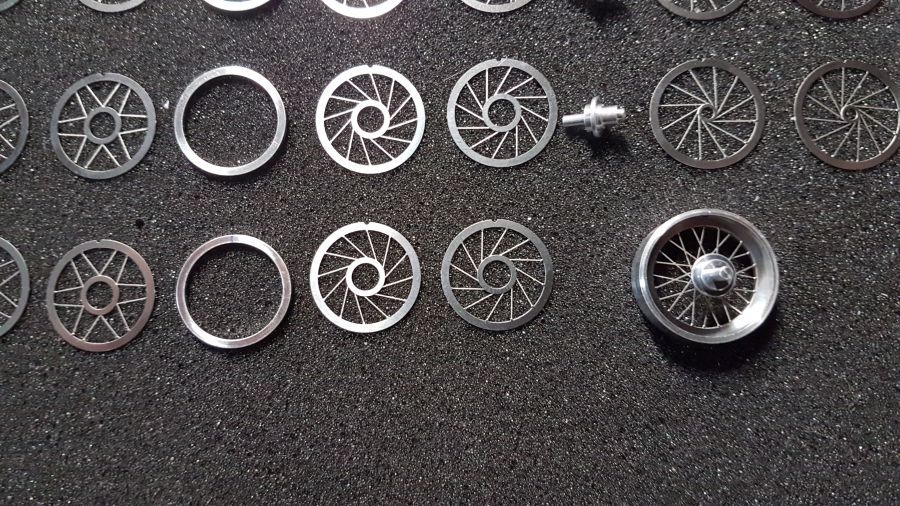
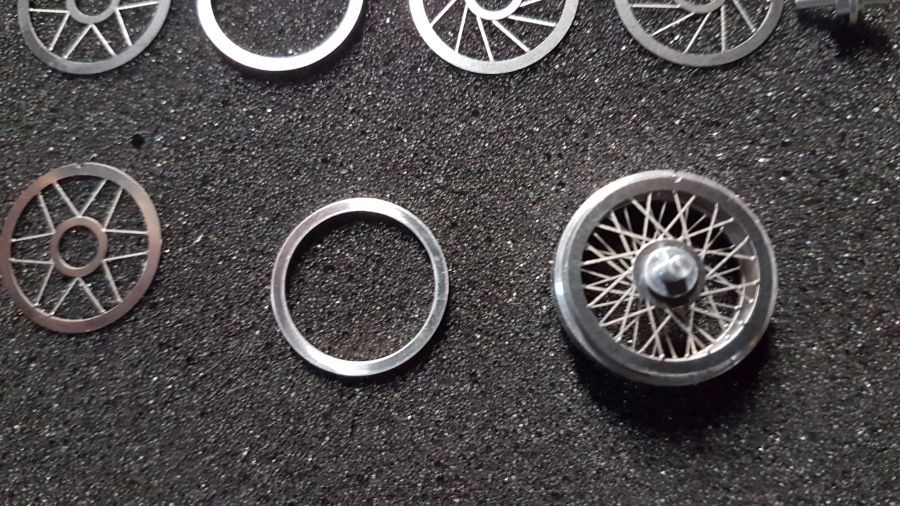
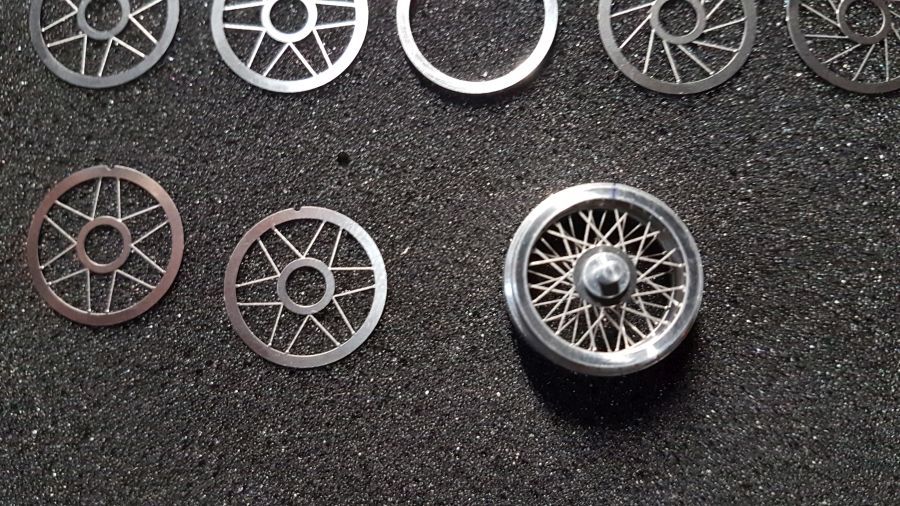
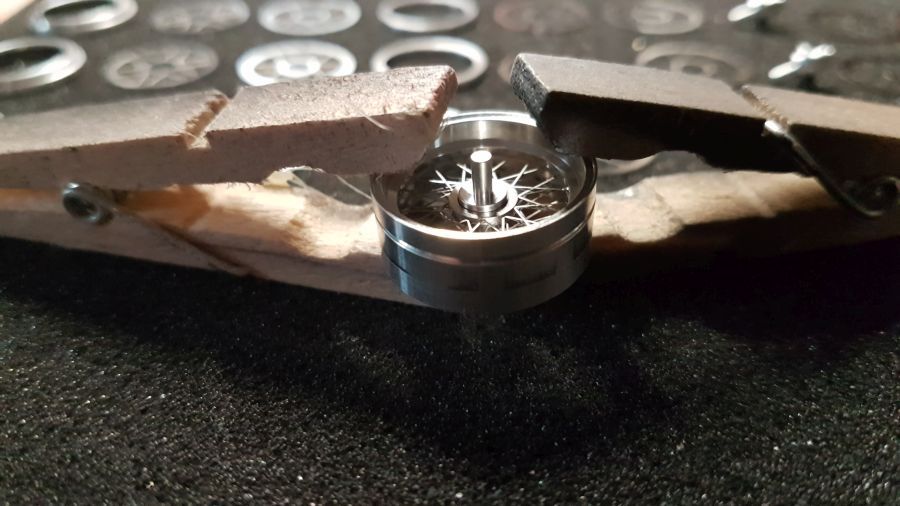
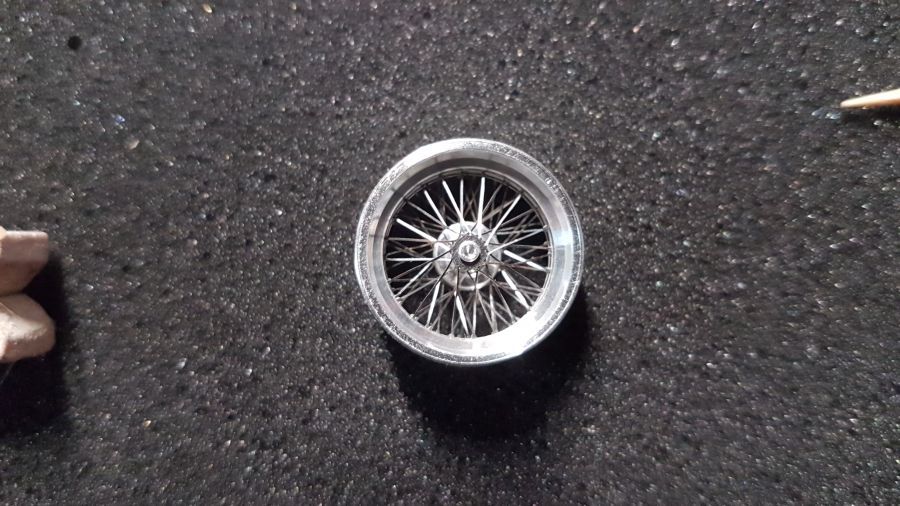
Daar gaat ie, van rechts naar links de onderdelen bijelkaar voegen... Pas tussen de knijpers voeg ik wat secondenlijm toe.
There we go, from right to left adding the parts together... When keeping everything together with the clothes peg i will add some superglue.
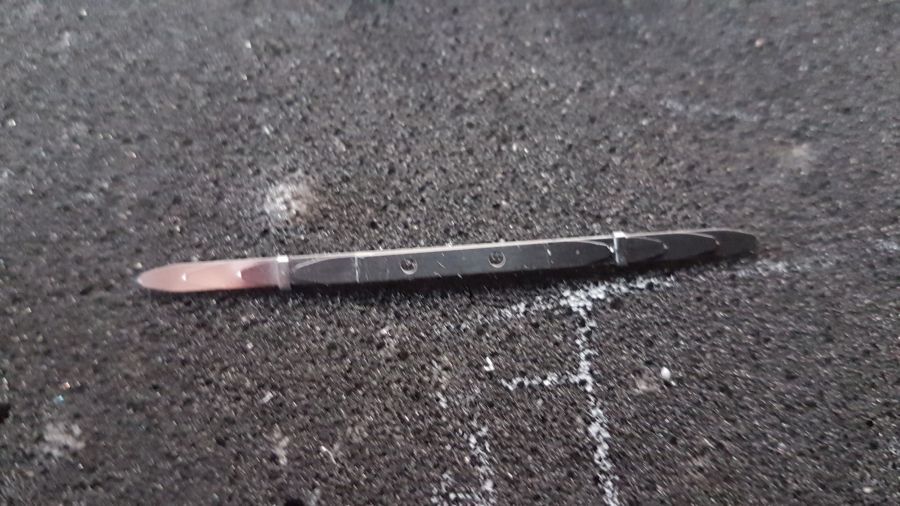
Dan worden de tanks geplaatst..
Then the tanks are being added..
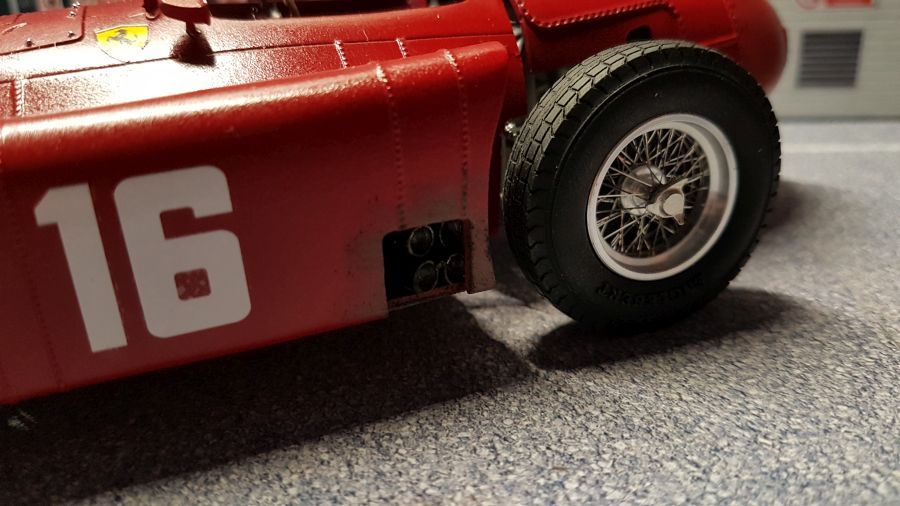
De wielen kunnen erop... Niet helemaal zoals ik zou willen, maar het is wat het is...
Then the wheels are mounted... Not quite as i wanted to, but it is what it is.
Het dashbord wordt gemaakt.
The dash is being made.
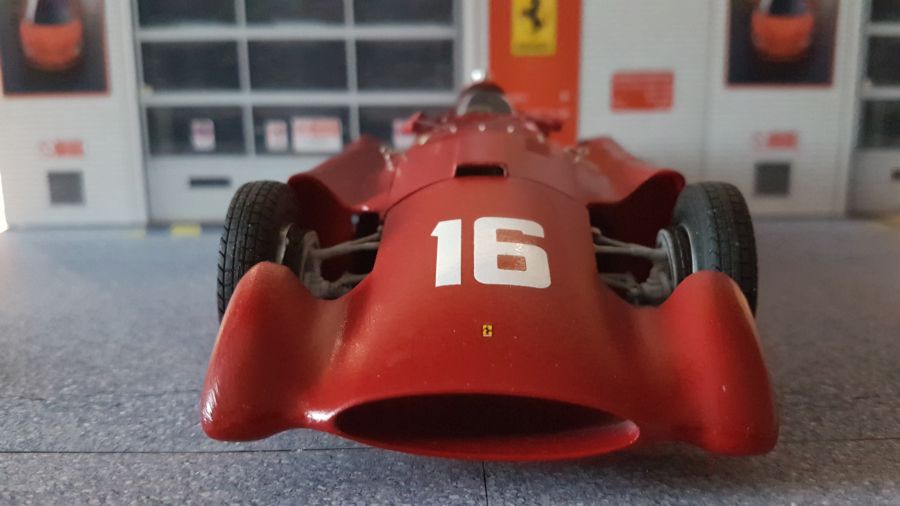
De neus gaat erop...
The nose was added...
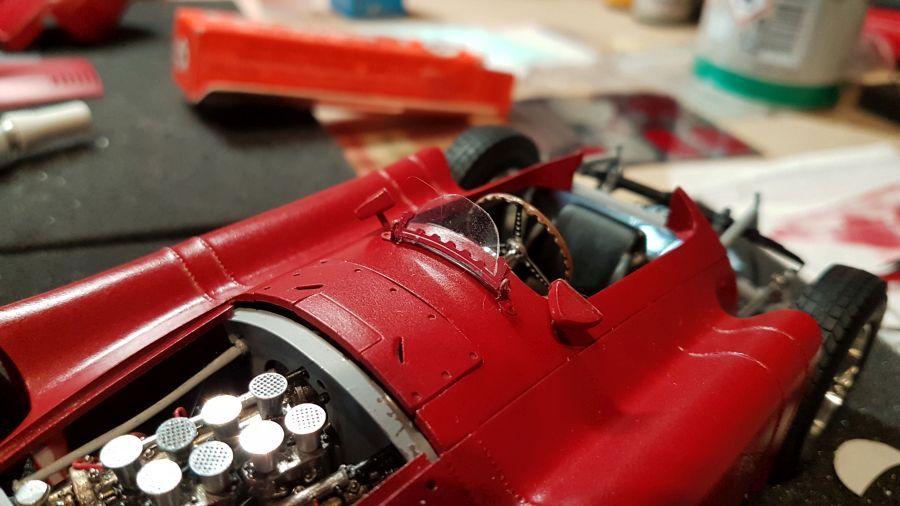
Spiegels en ruitje...
Mirrors and windshield...
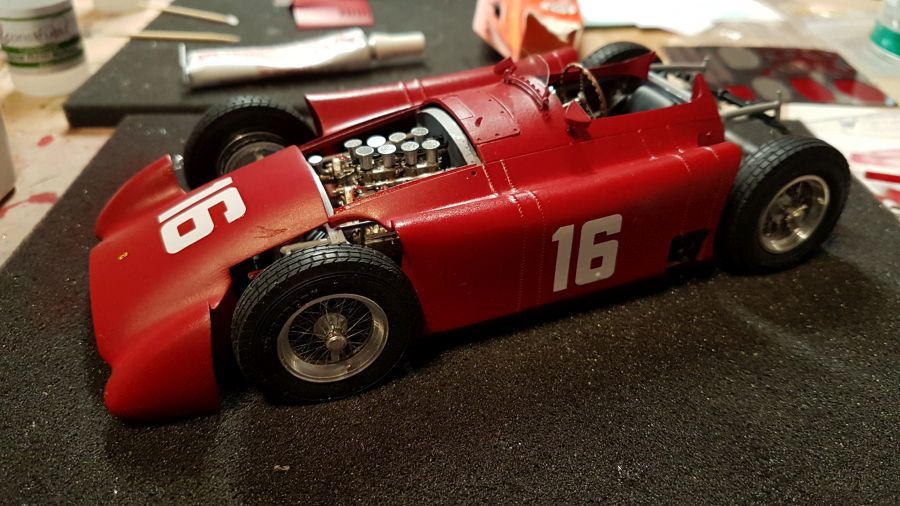
Tijd voor decals...
Decal time...
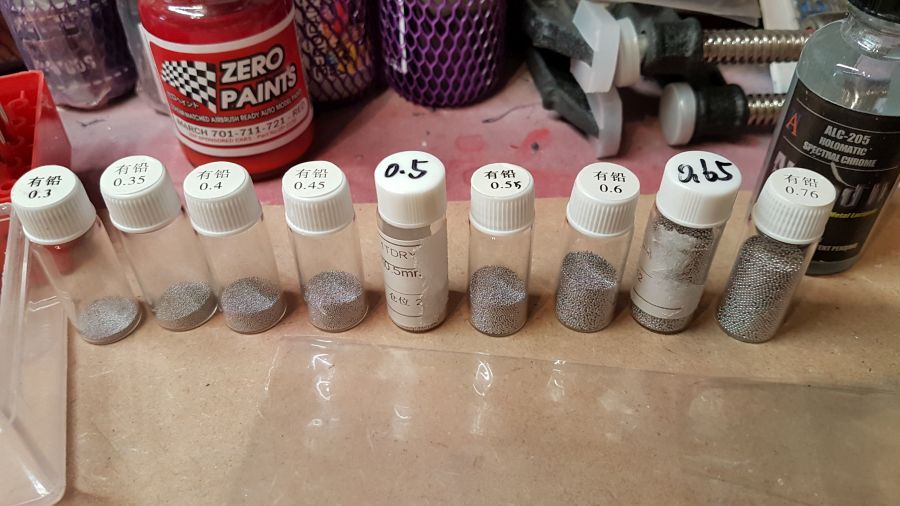
Inplaats van het boren van gaatjes en plaatsen van popnagels, gebruik ik deze soldeerballetjes... Ik heb deze op Ebay gekocht.
Instead for drilling holes and adding rivets, i am using these soldering balls... I bought them on Ebay.
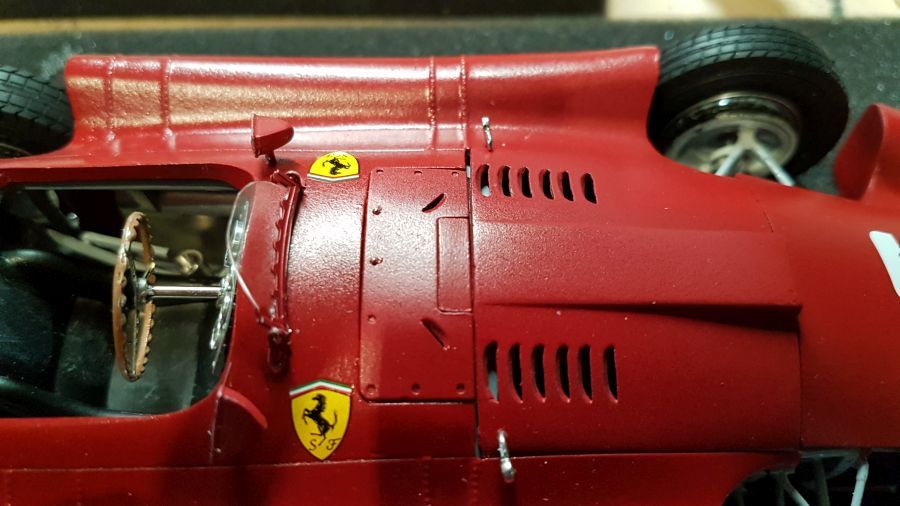
En na het aanbrengen van wat uitlaatroet...
And after adding some exhaust dirt...
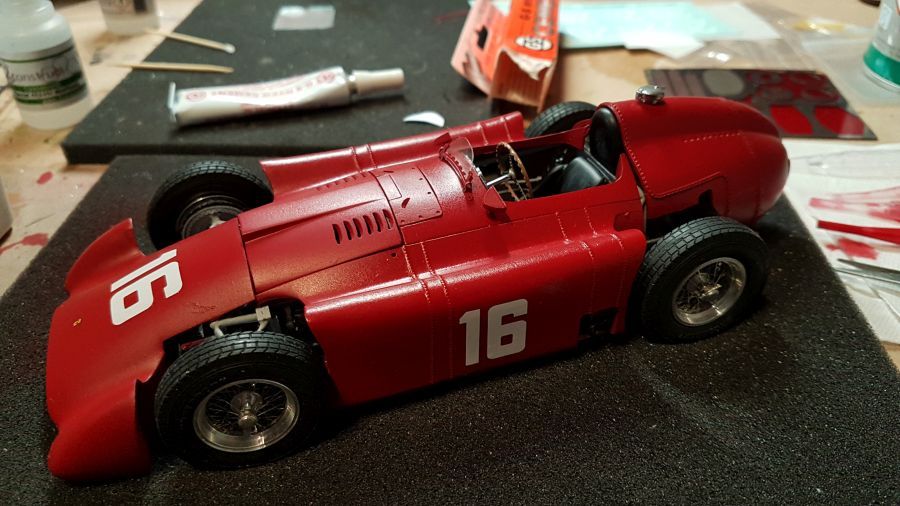
Ik ik beschouw hem als klaar...
And i consider it done...
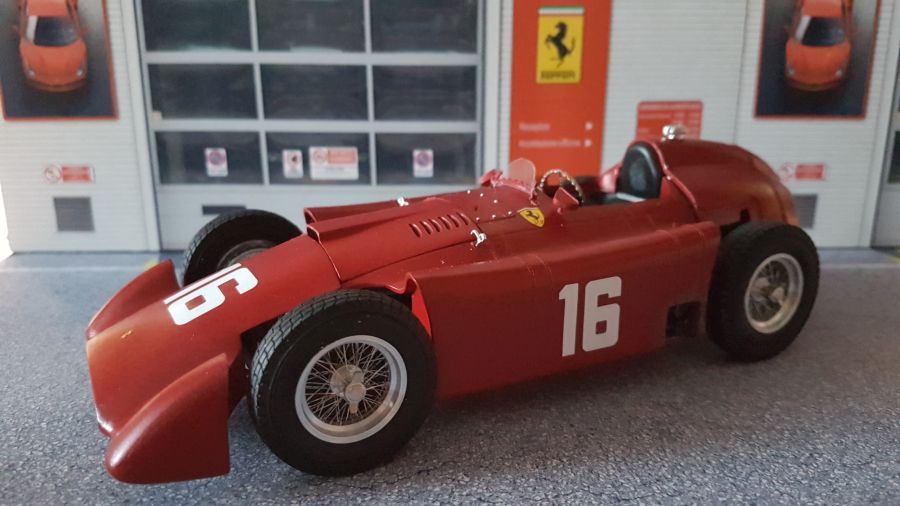

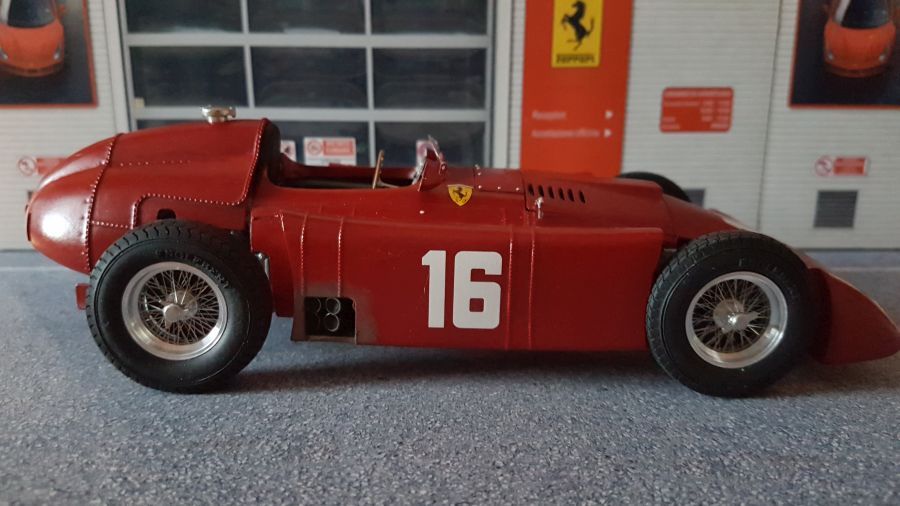
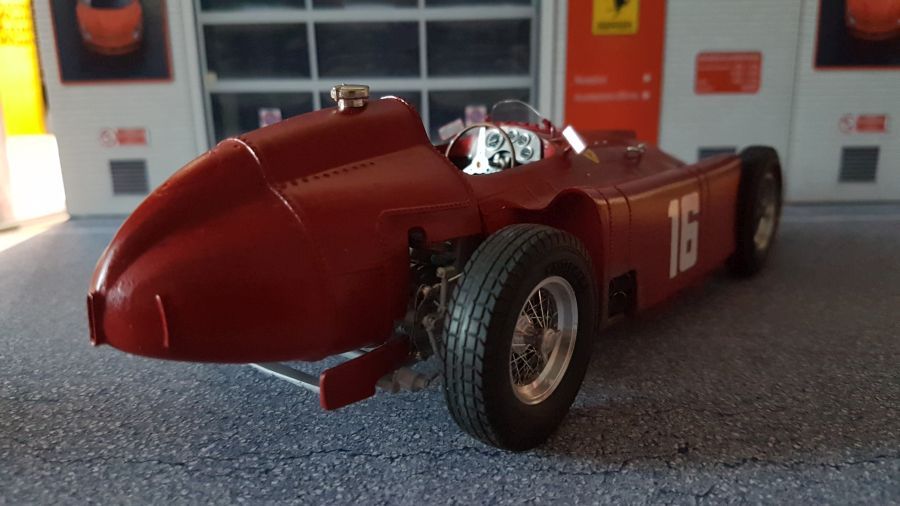
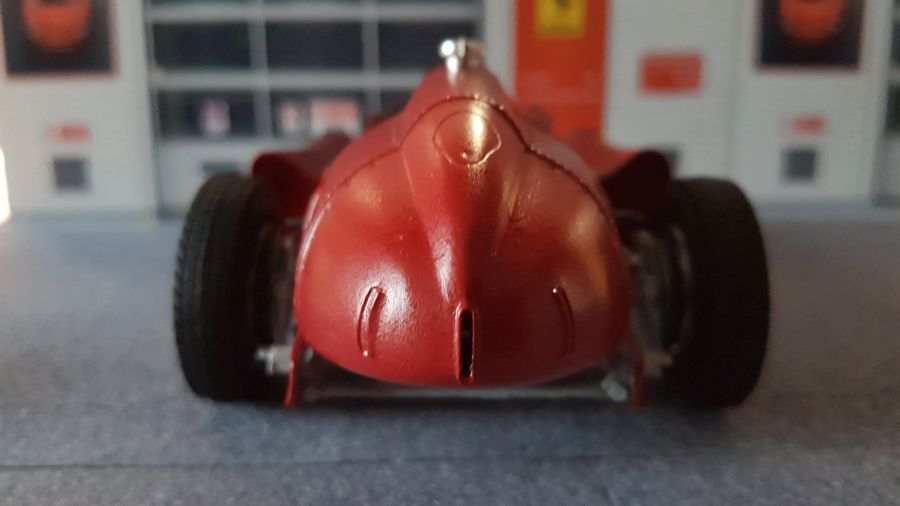
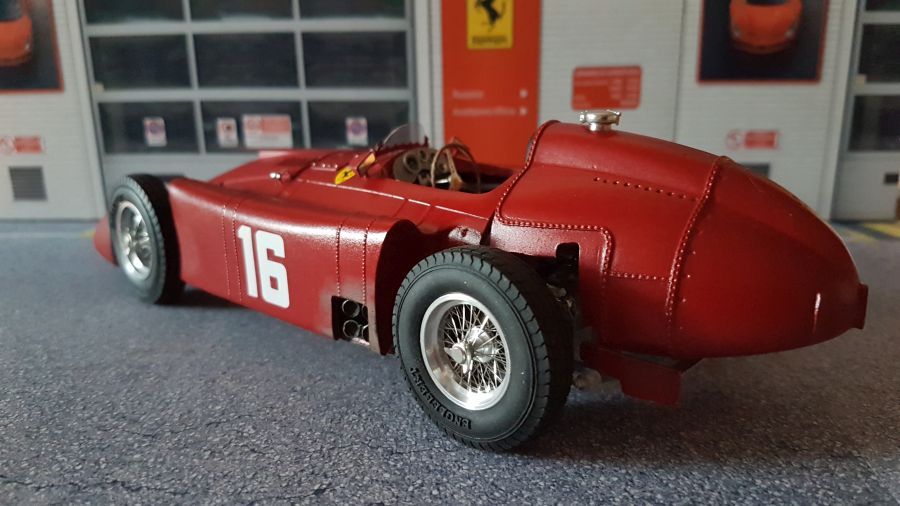
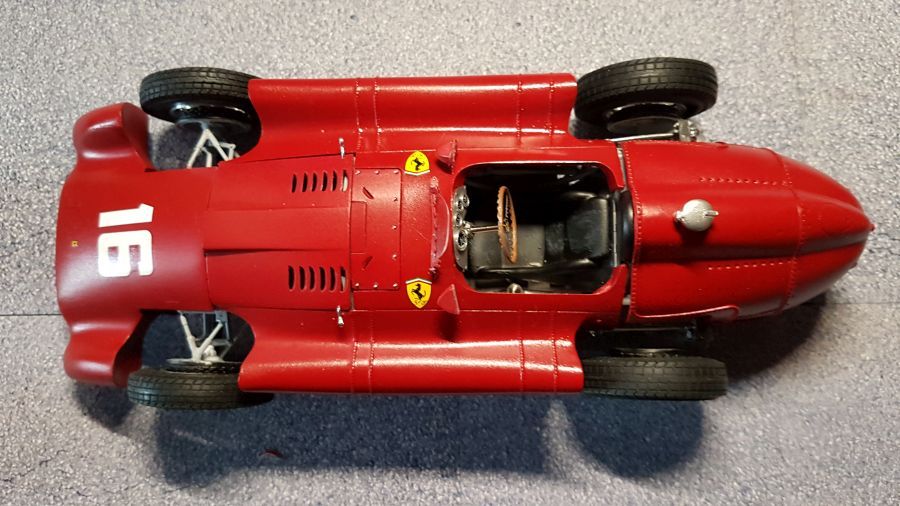
Al met al ben ik best tevreden met het resultaat. Een paar dingen hadden iets anders gemoeten. De bodemplaat paste niet helemaal, raar! En eigenlijk steken de wielen iets te ver naar buiten. Het is wat het is... Bij het publiceren van de foto's zag ik dat de wagen van achteren iets te hoog stond. Hieronder gecorrigeerd.
All in all i am quite content with the result. A few things should have gone better. The floor didn't fit that good, weird! And actually the wheels are a little too far outside . It is what it is... When publishing the photos i noticed a pitch. below the correction.