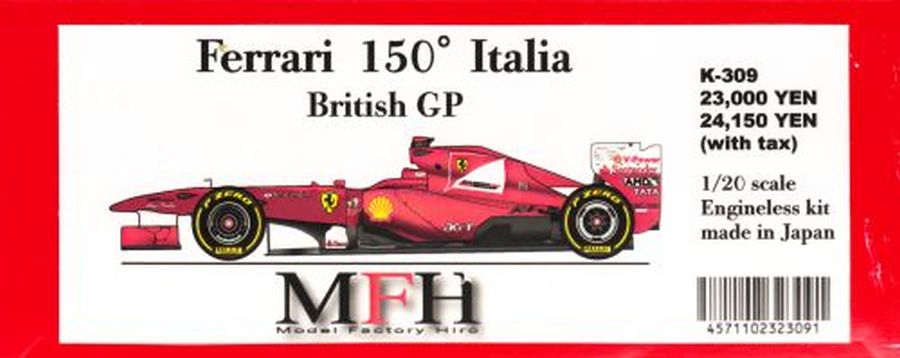
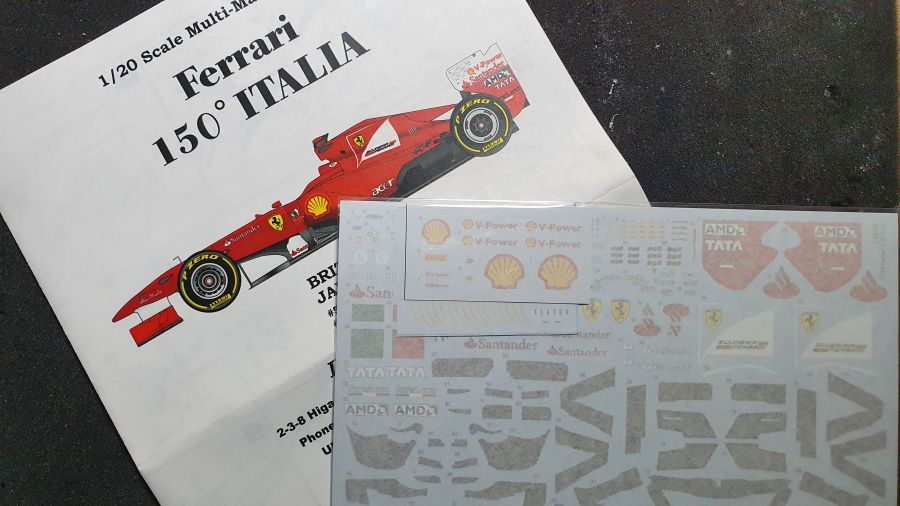
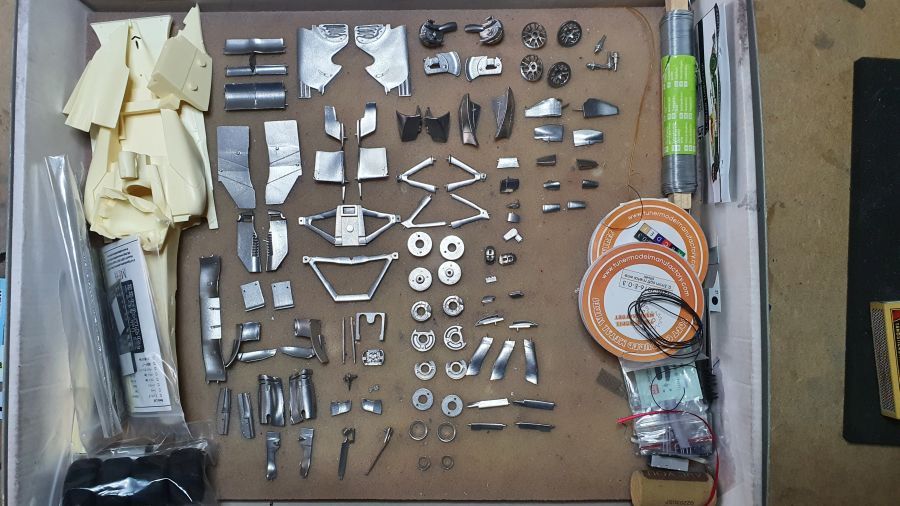
Ik wil maar weer een F1 auto maken. Een beetje afwisselen. Na een paar auto's van Nederlandse coureurs maar weer eens een Ferrari, daar heb ik er per slot van rekening veel van. Deze keer de Ferrari 150° Italia (F662) uit 2011 zoals bestuurd door Felippe Massa tijdens de GP van Groot Brittannië. Dit is een motorloze kit van MFH (Modelfactory Hiro) uit Japan (kit nr. K-309) in schaal 1/20. Ik hoop dat alles compleet is.
I want to do a F! car again. After a few Dutch driven cars i am going to do a Ferrari, after all i have a lot of these. This time the Ferrari 150° Italia (F662) from 2011 driven by Felippe Massa during the GP of Great Britain. This is an engineless kit from MFH (Modelfactory Hiro) from Japan (kit no. K-309). I hope it's complete.
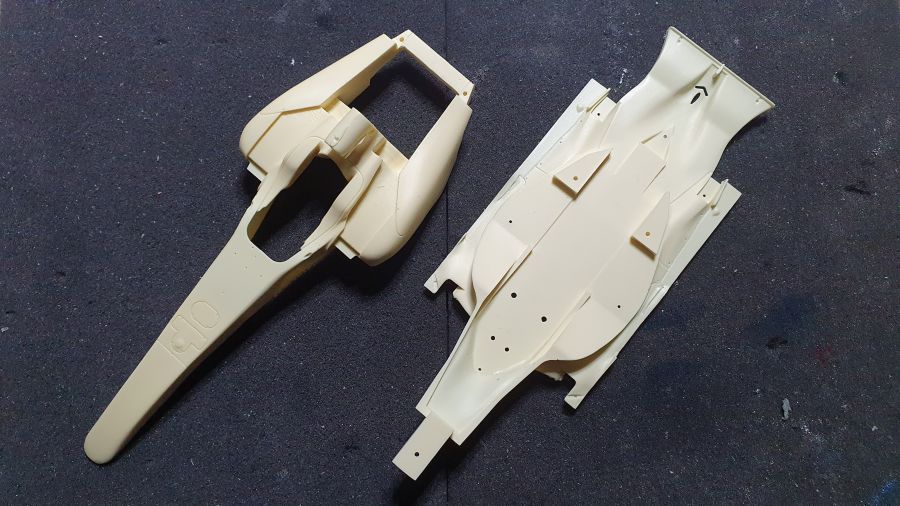
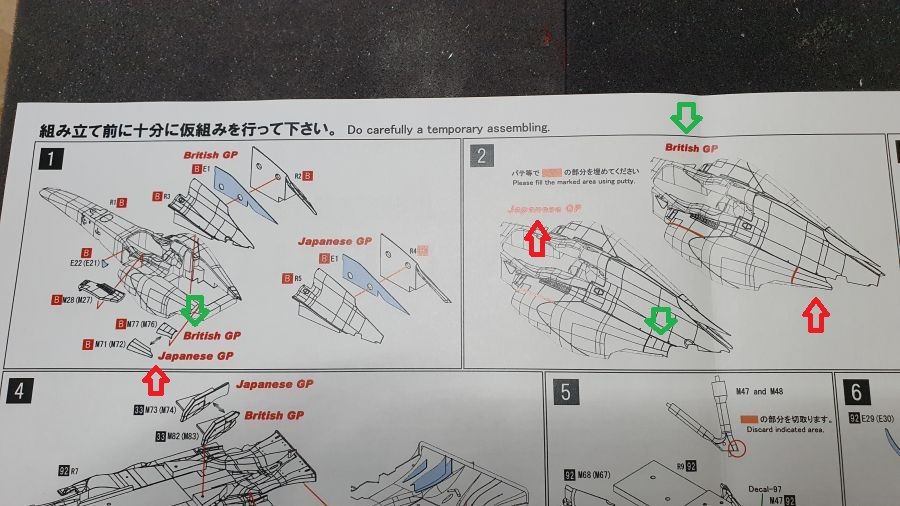
Al bij de eerste twee tekeningen inconsistent. Gelukkig zijn in deze kit alleen de GB onderdelen bijgevoegd.
Inconsistency at the first two drawings. Luckily this kit has only the GB parts.
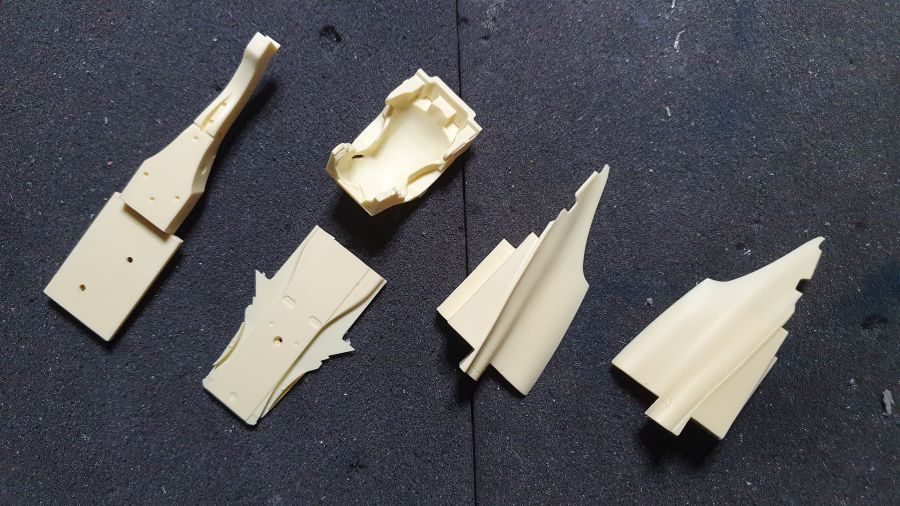
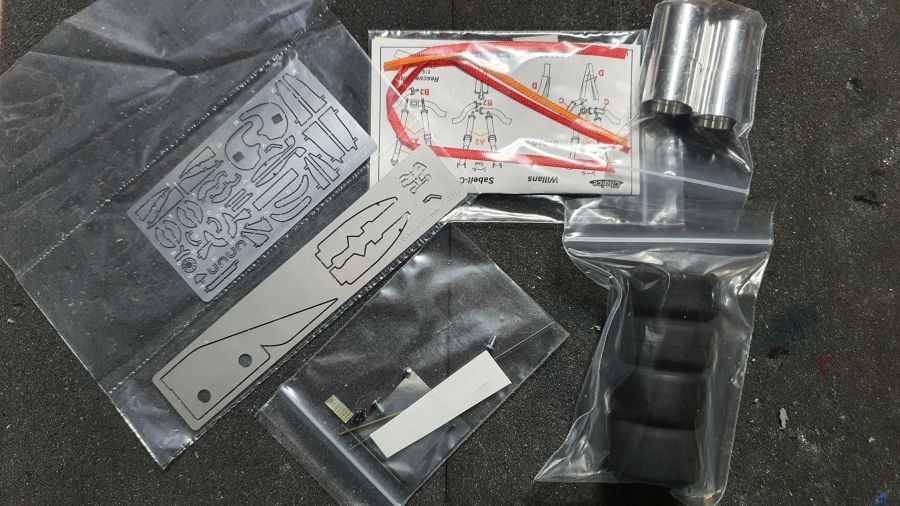
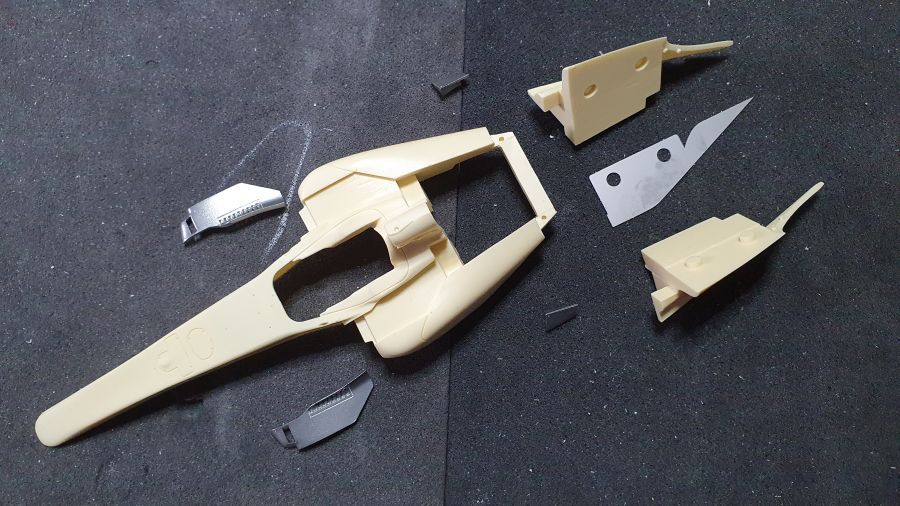
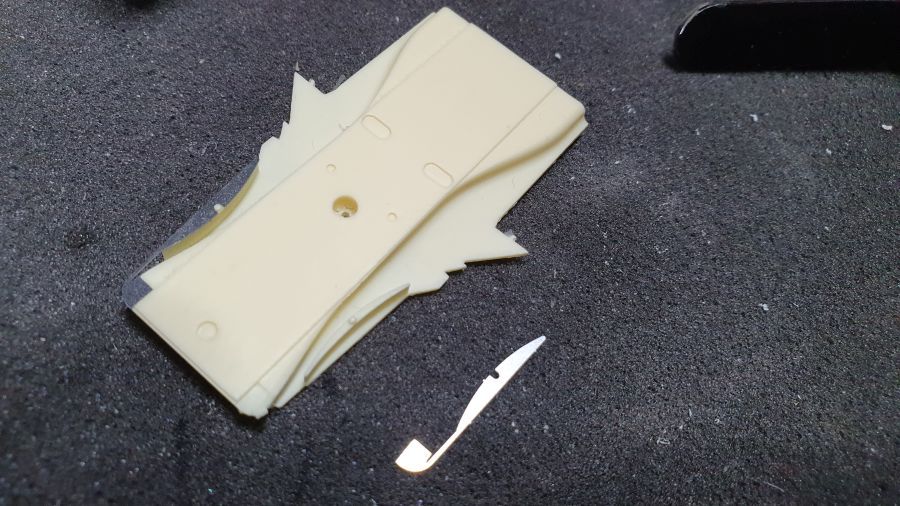
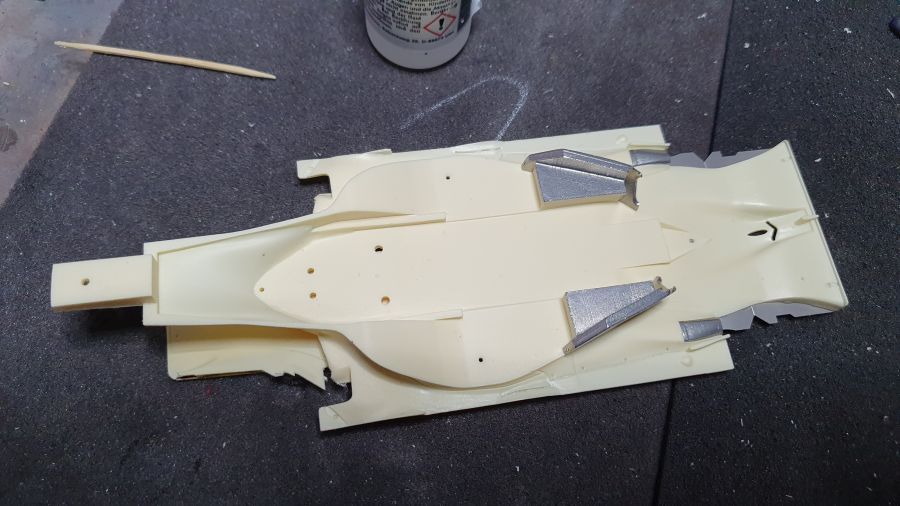
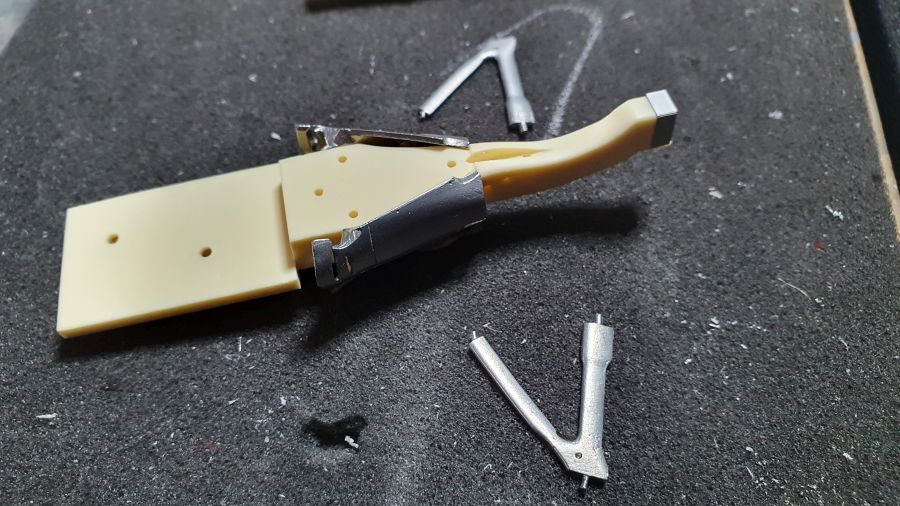
De eerste stappen...
The first steps...
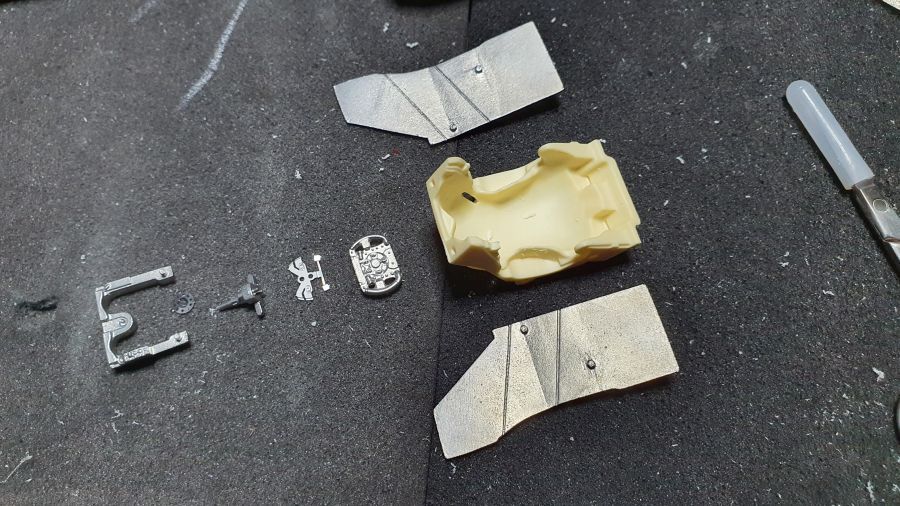
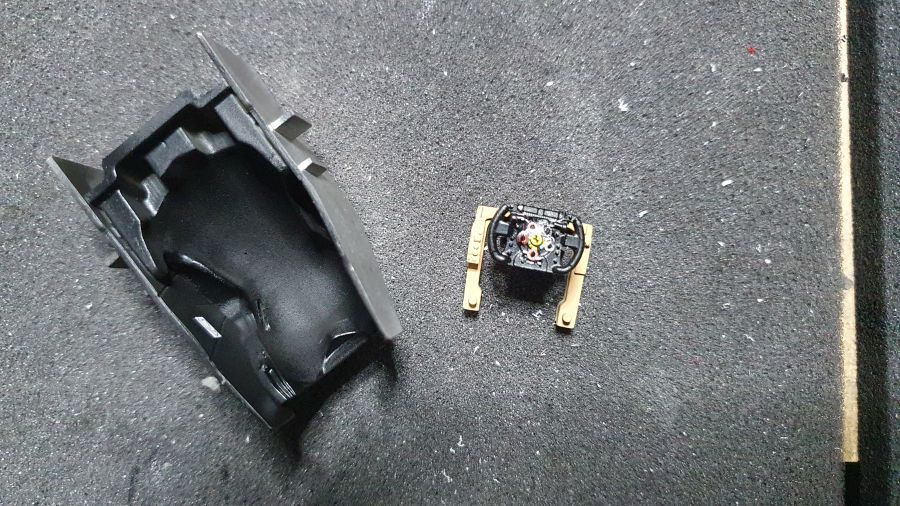
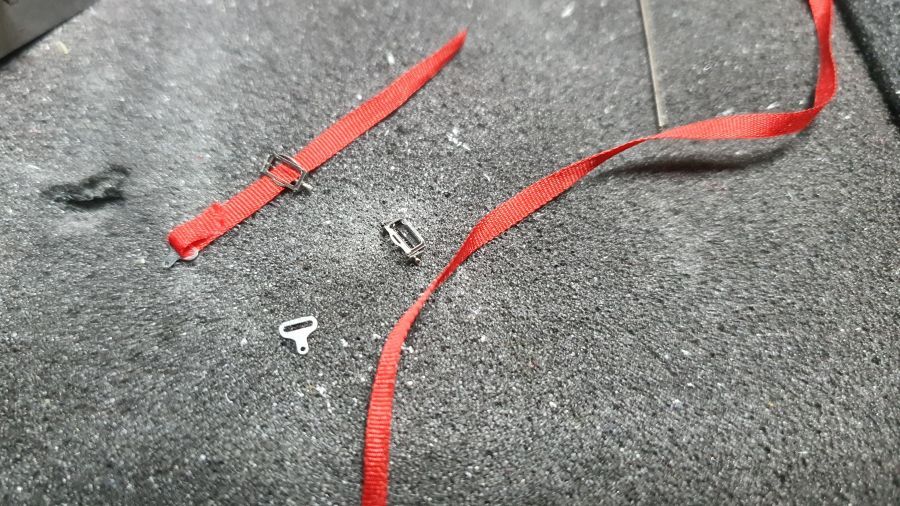
Terwijl dit in de primer staat, ga ik door met de stoel.
While this received it's primer, i will continue with the seat.
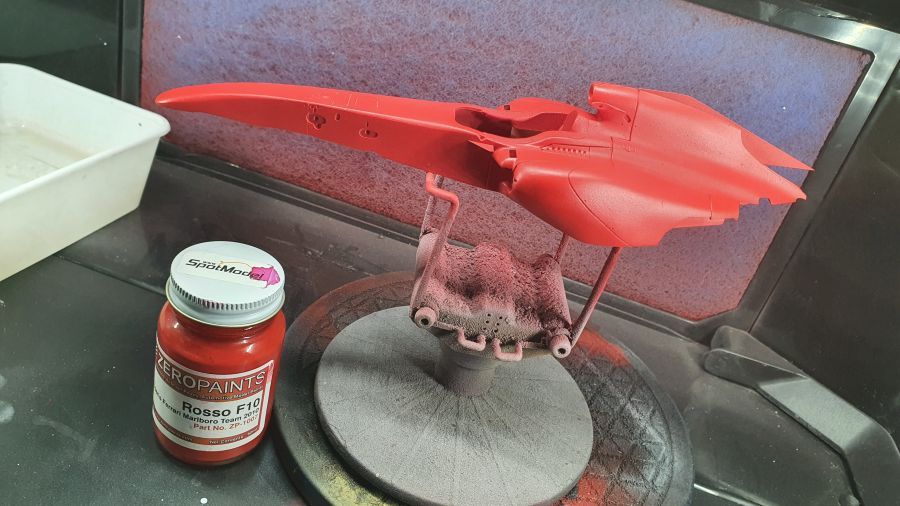
De body krijgt het rood en 2K glanslak.
The body receives the red and 2K clear gloss.
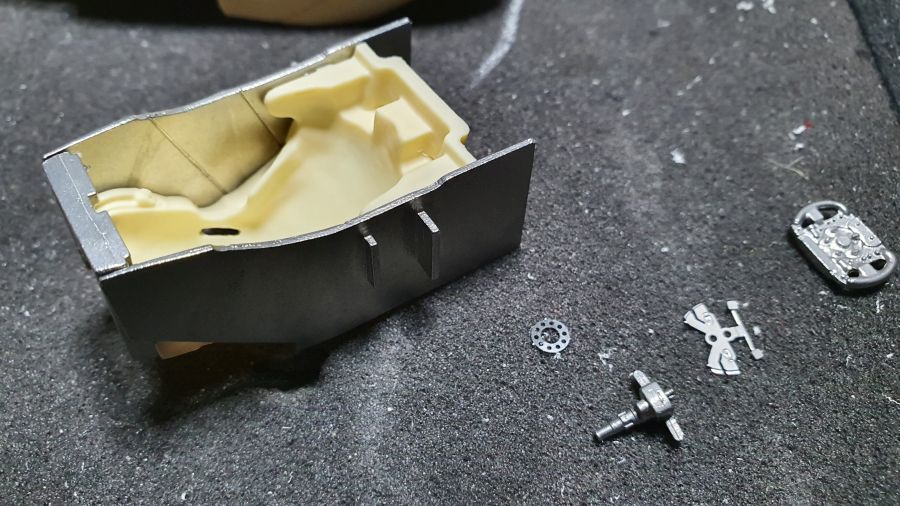
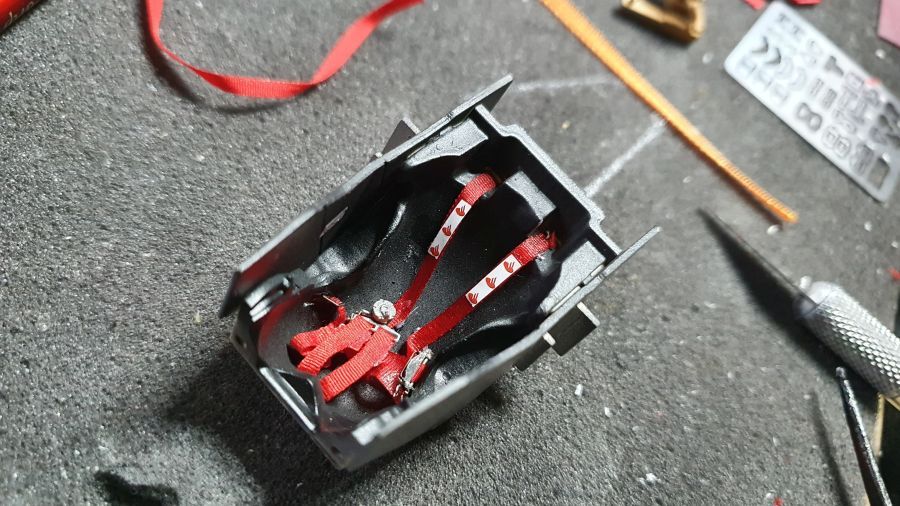
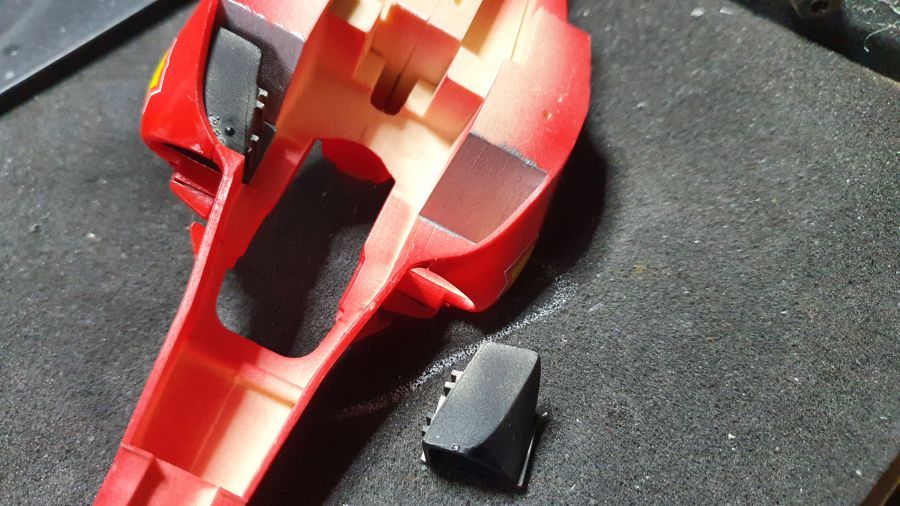
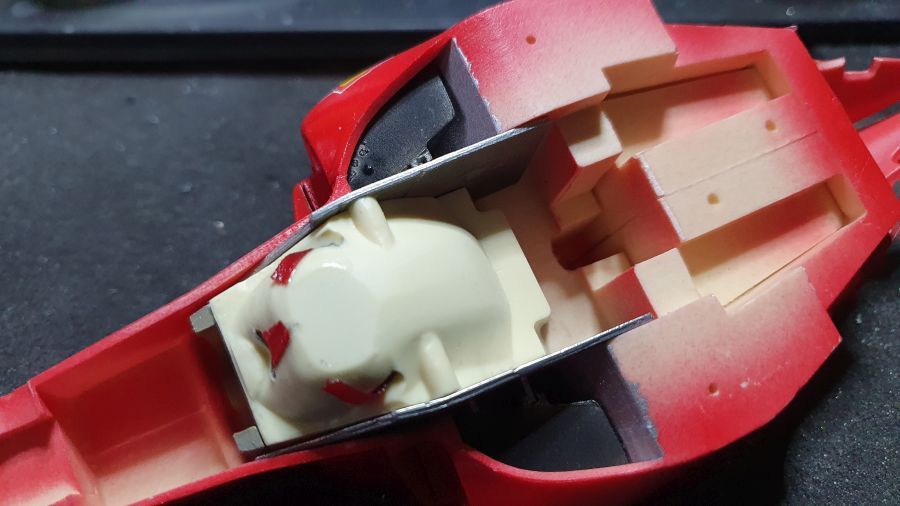
Terwijl dit droogt werk ik verder aan de stoel.
While this dries i continue working on the seat.
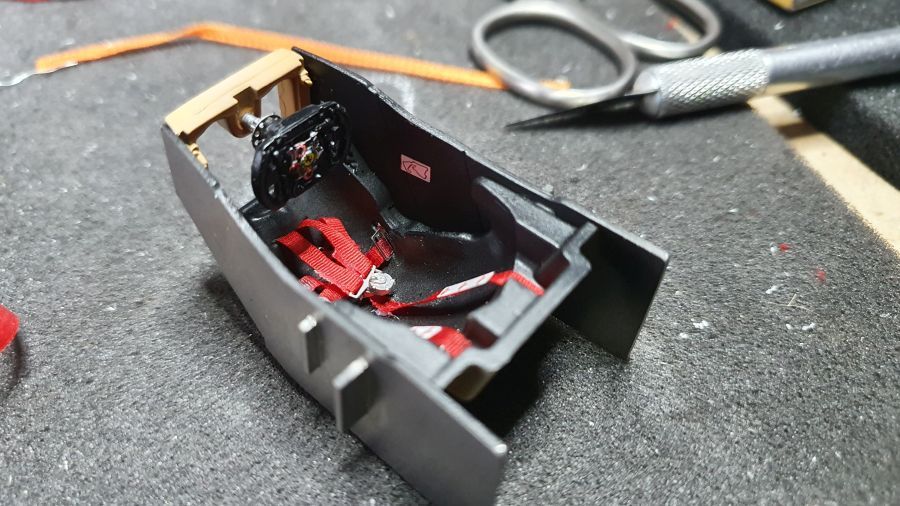
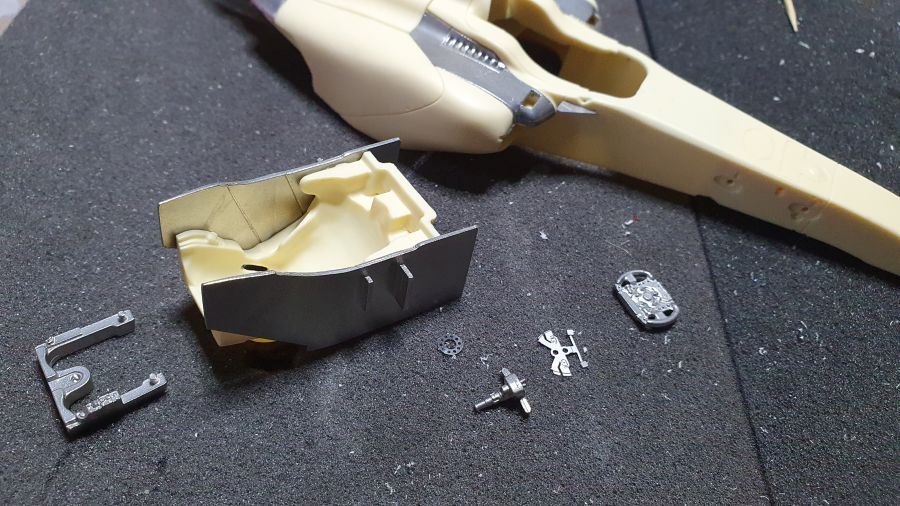
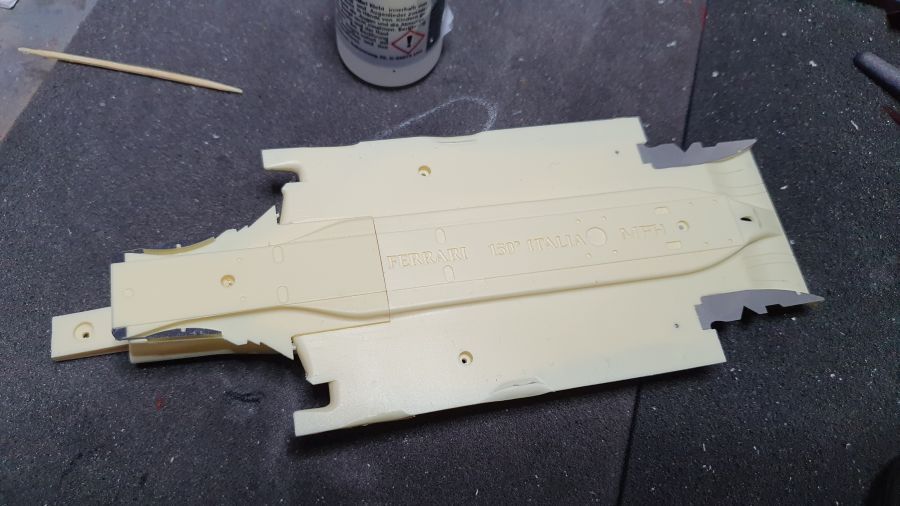
Dan de vloer...
Then the floor...
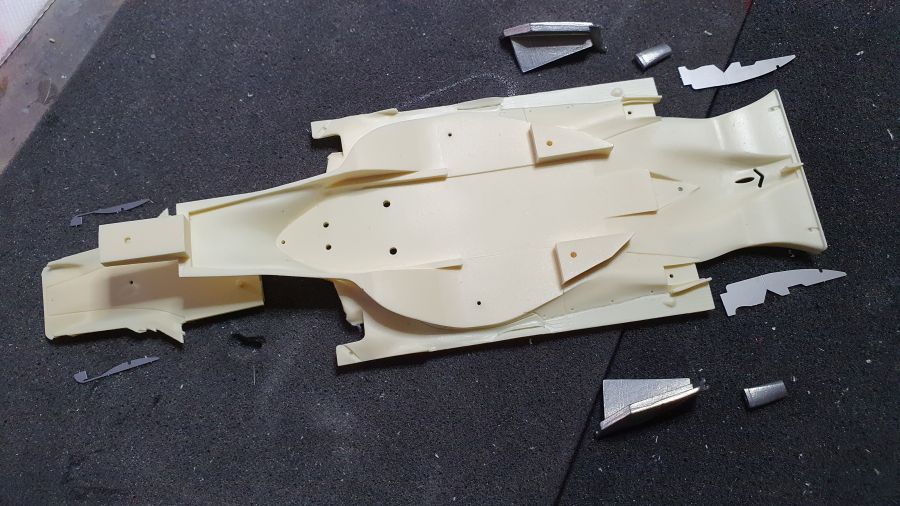
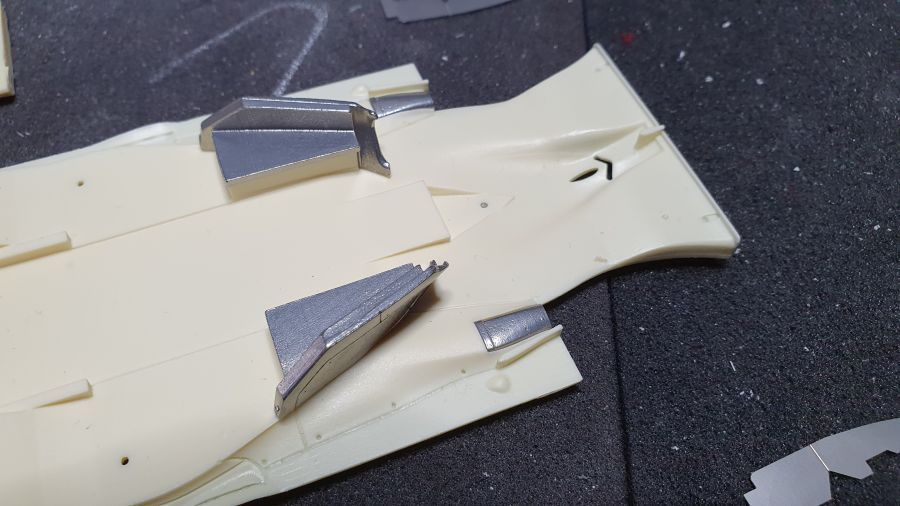

Vervolgens verder met de achterkant.
Then on to the rear.
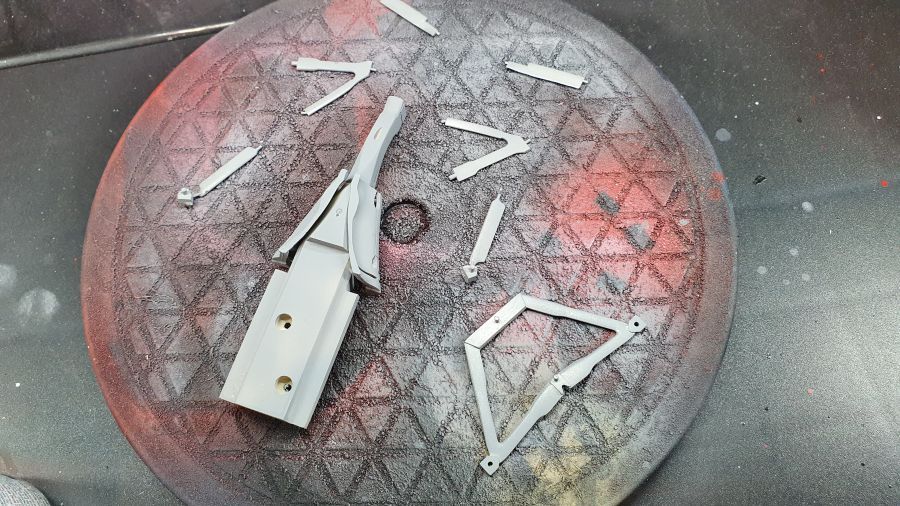
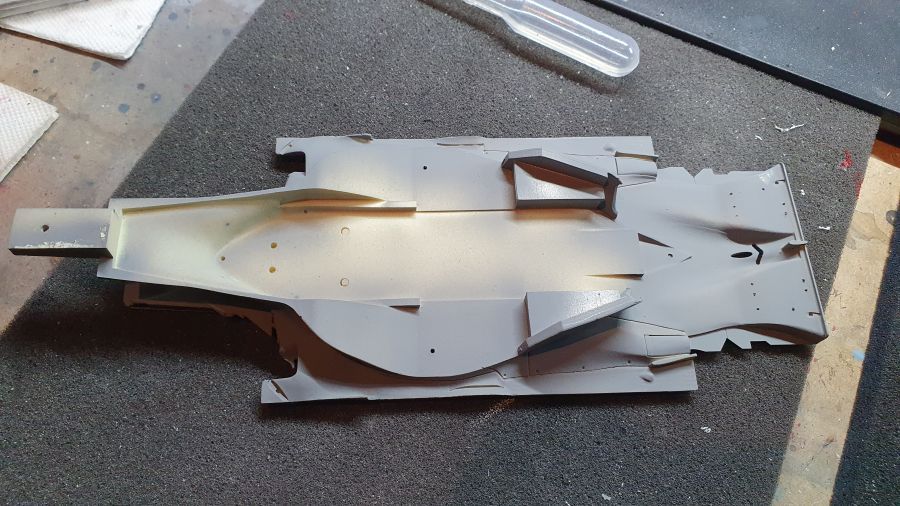
Grijze Primer erop.
Grey primed.
Zero Paints Metallic Black (ZP-1113) toegevoegd.
Zero Paints Metallic Black (ZP-1113) added.
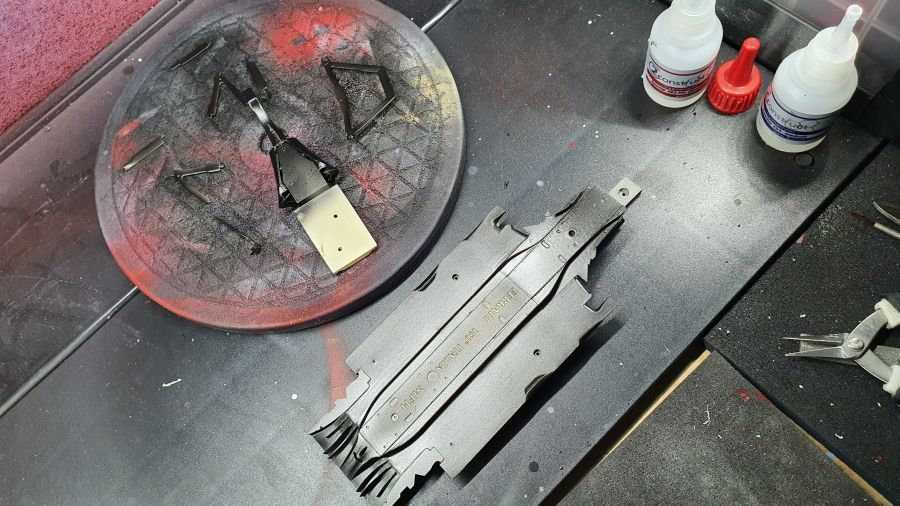
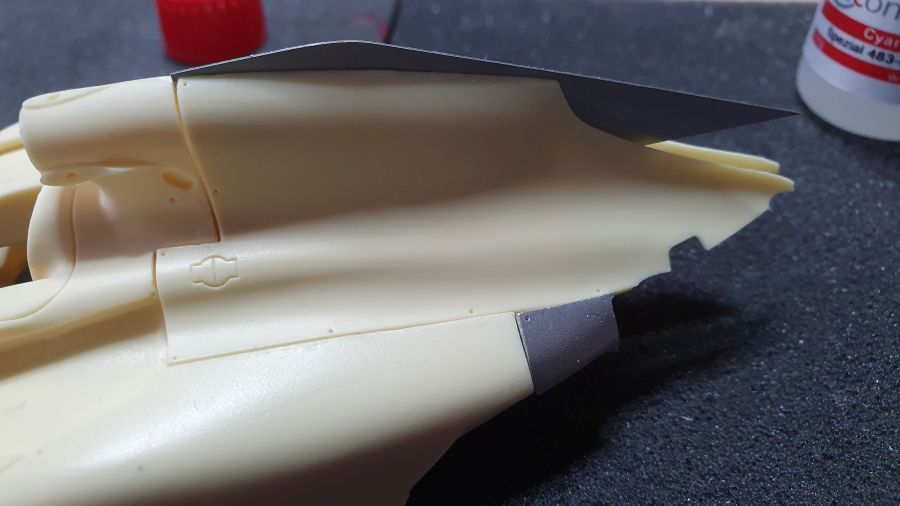
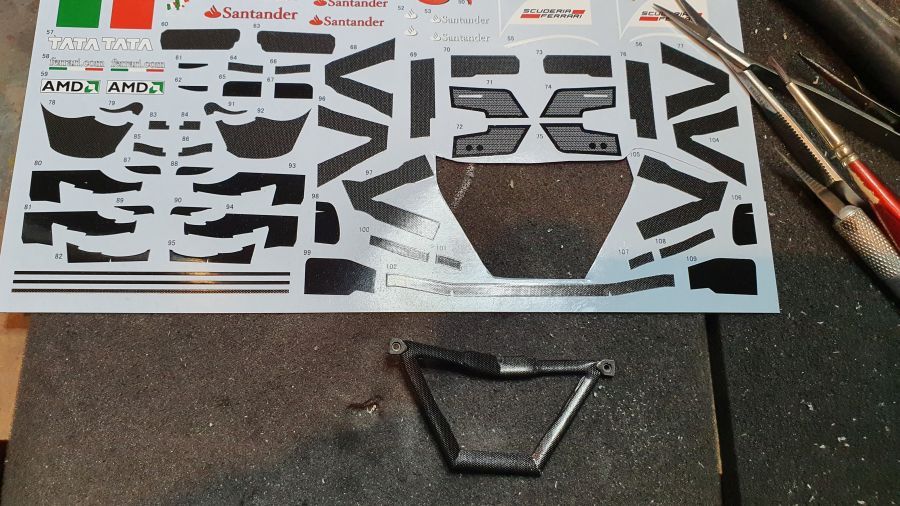
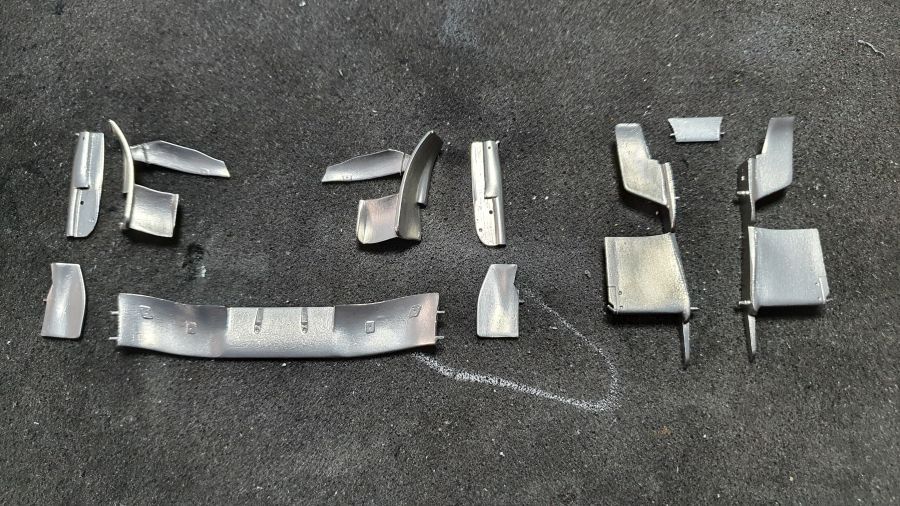
Carbon tijd.
Carbon time.
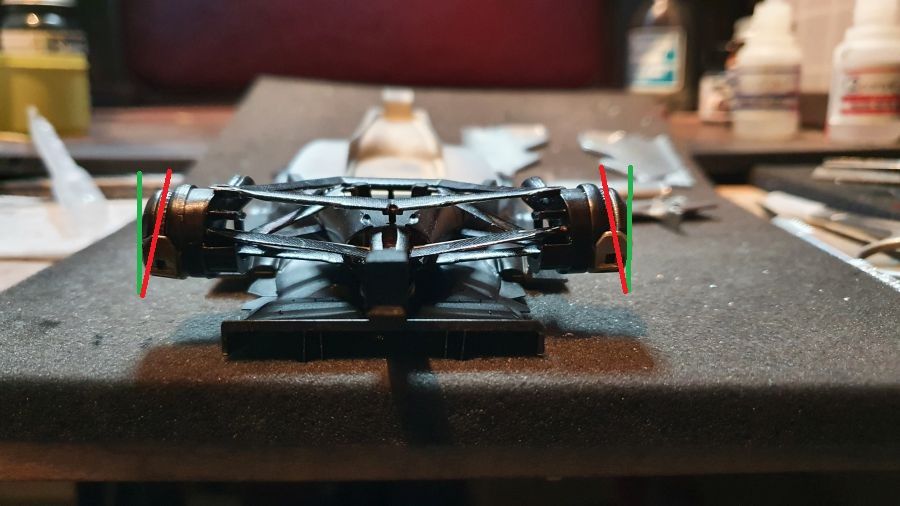
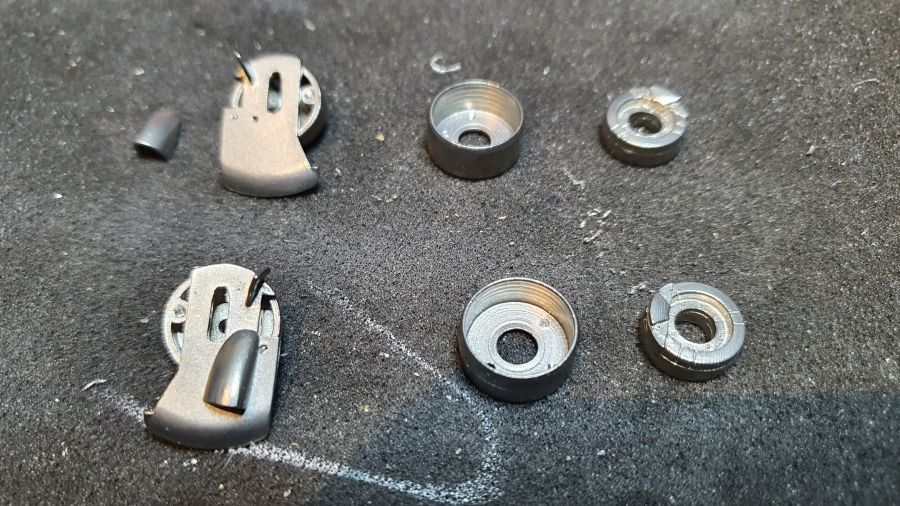
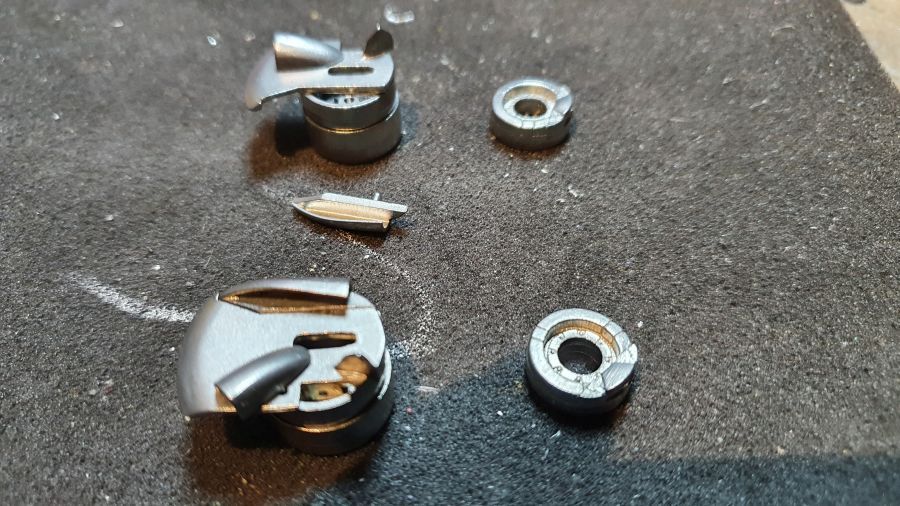
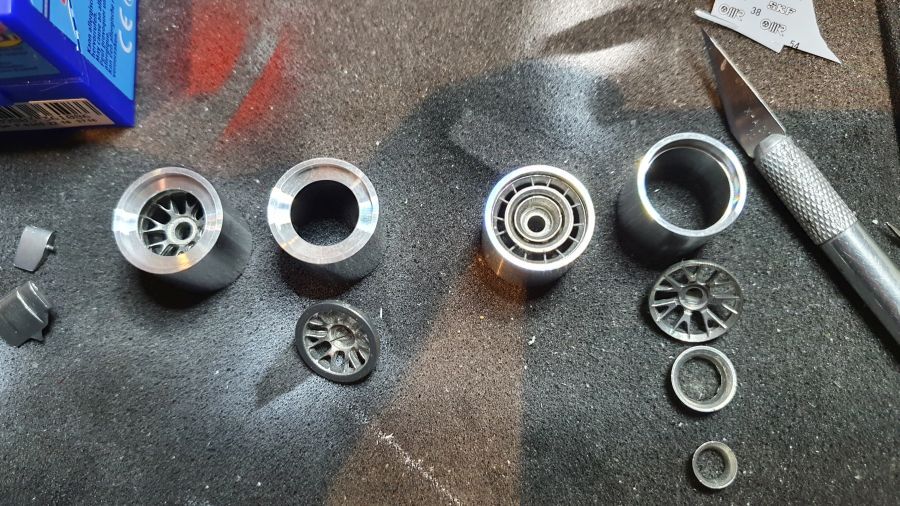
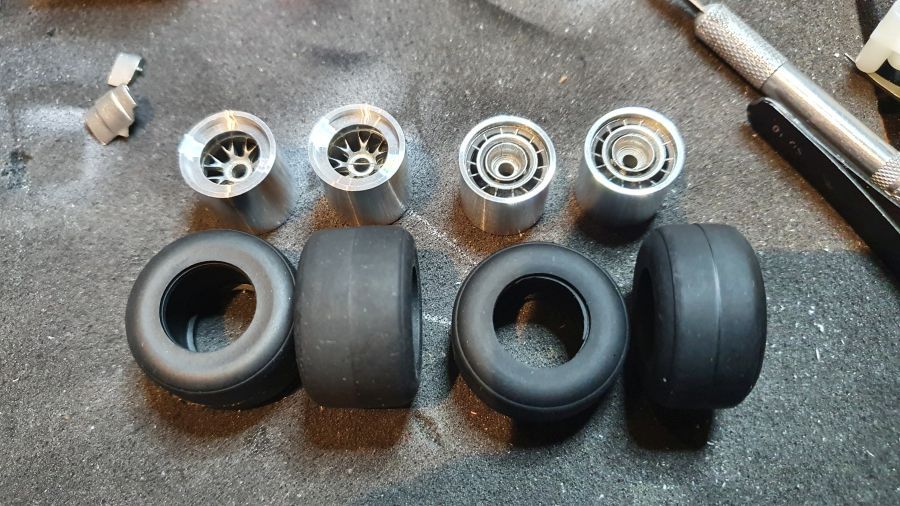
Met de achterwielen heb ik wat geïmproviseerd. Er was wel heel veel camber.
I improvised a bit on the rear wheels. It had a real lot of camber.
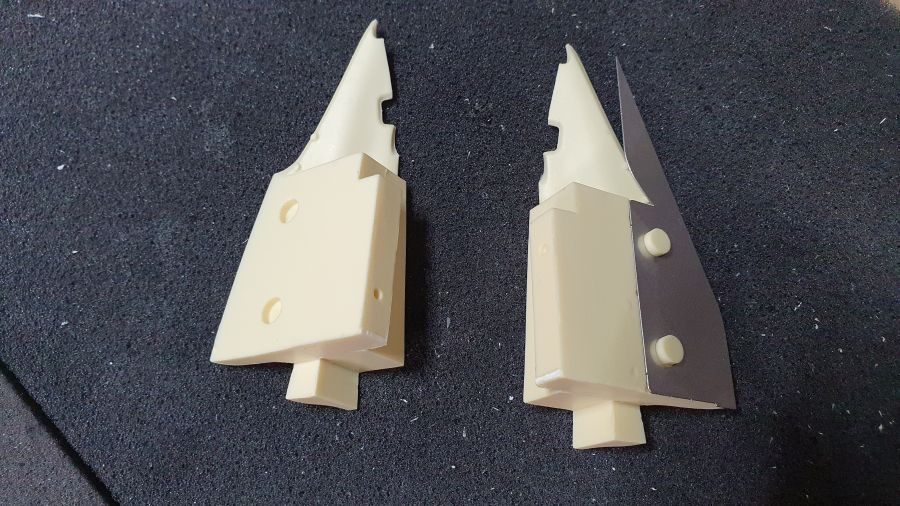
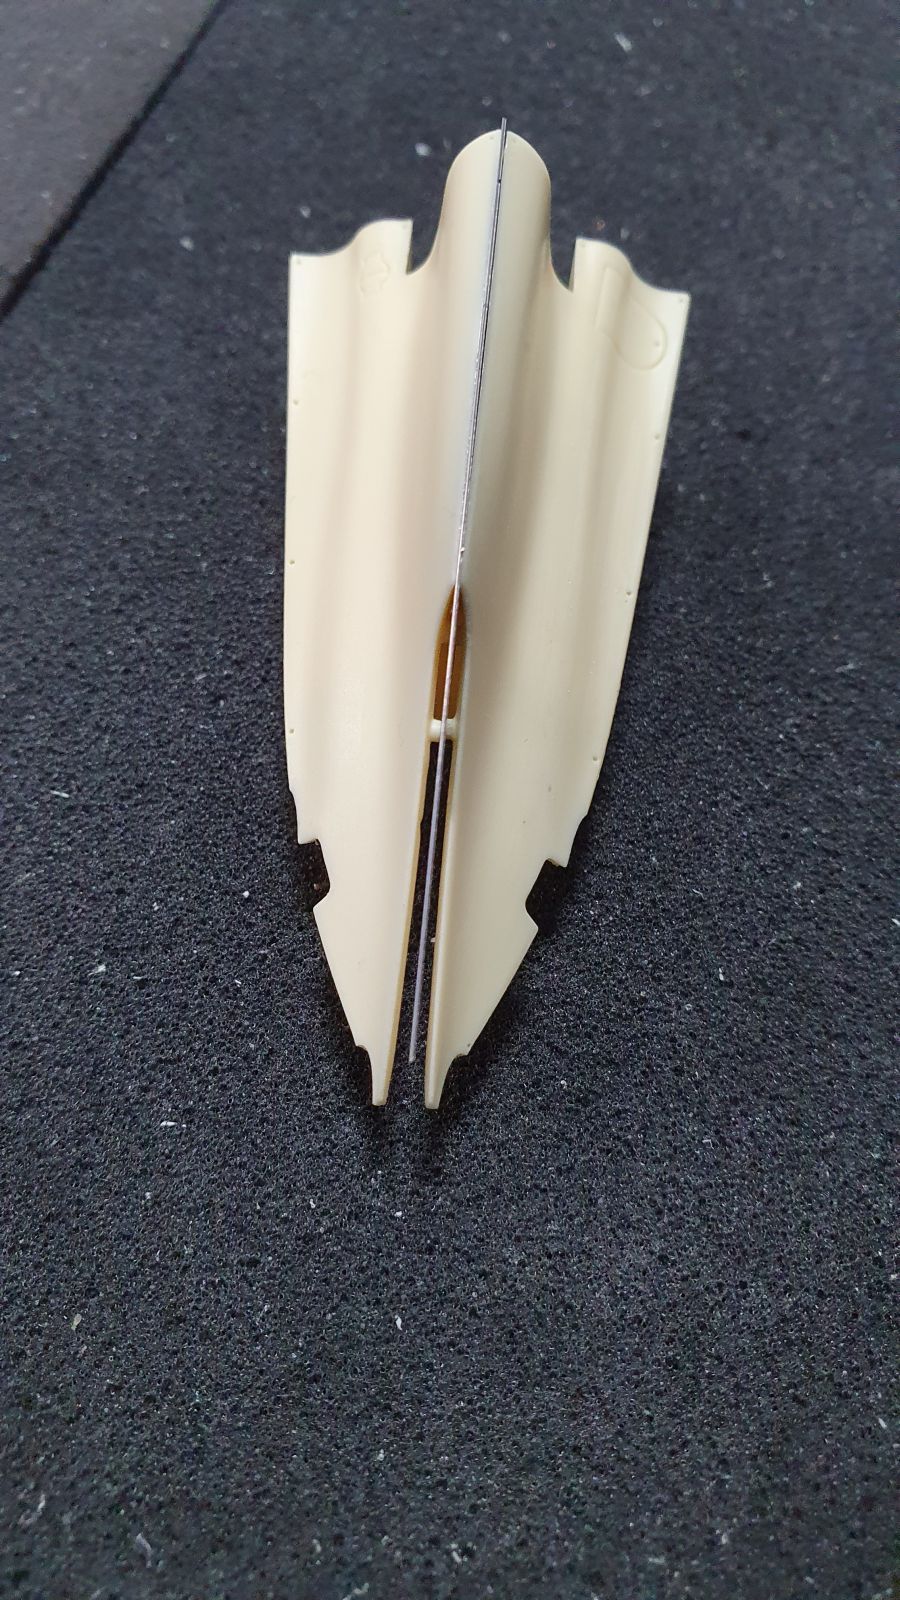
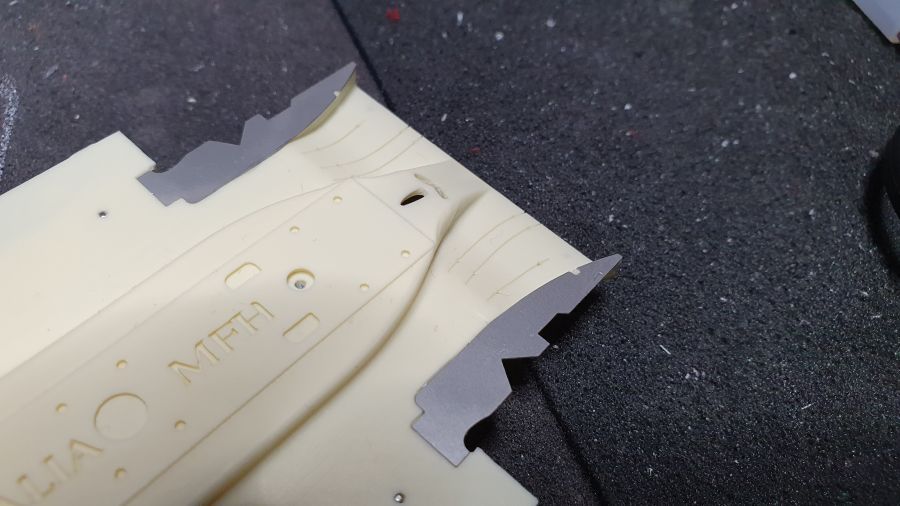
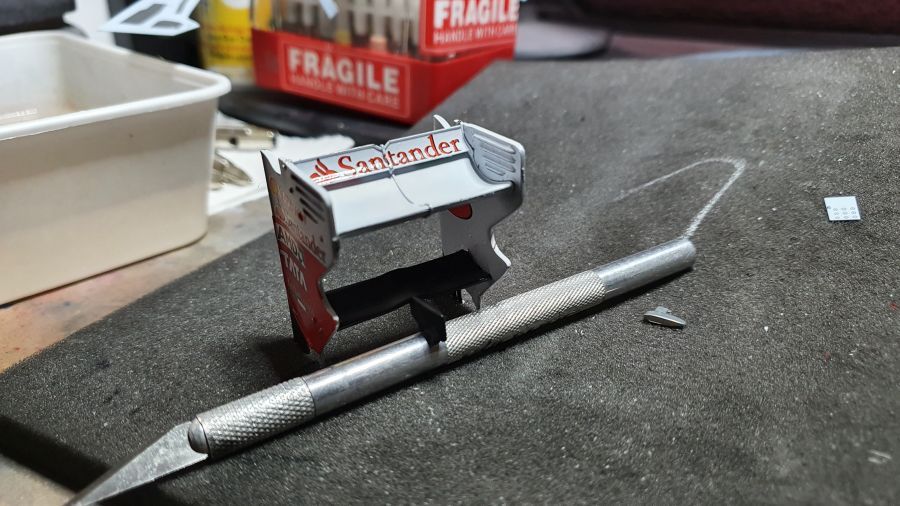
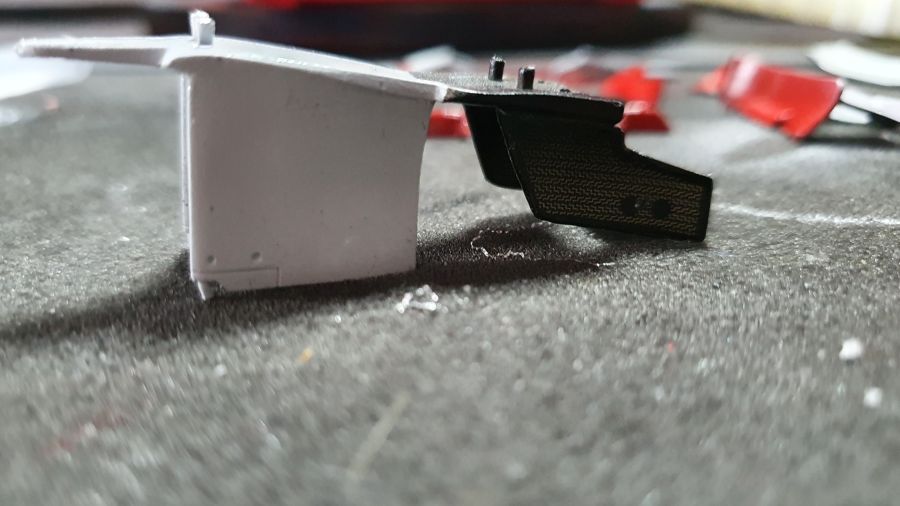
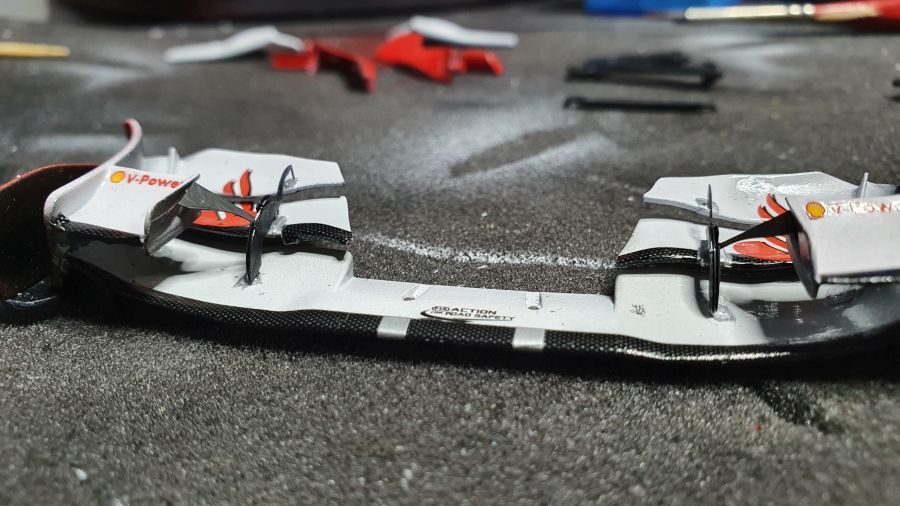
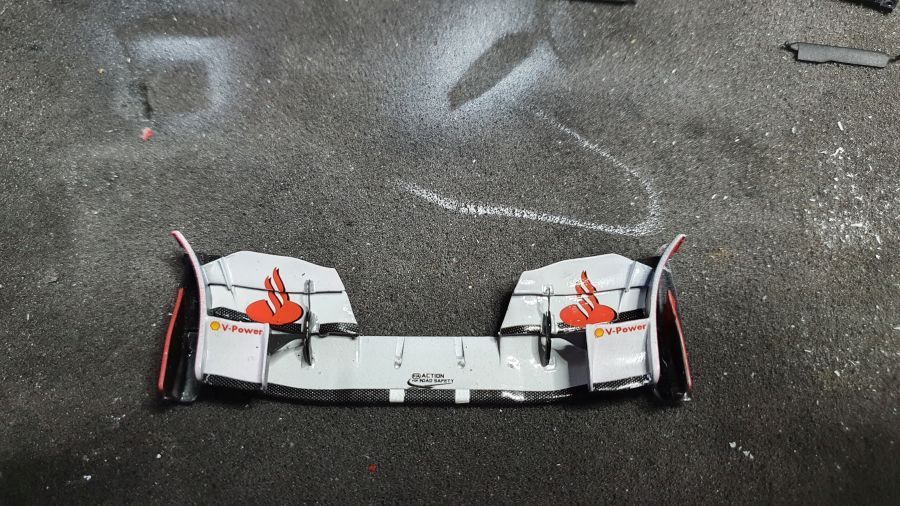
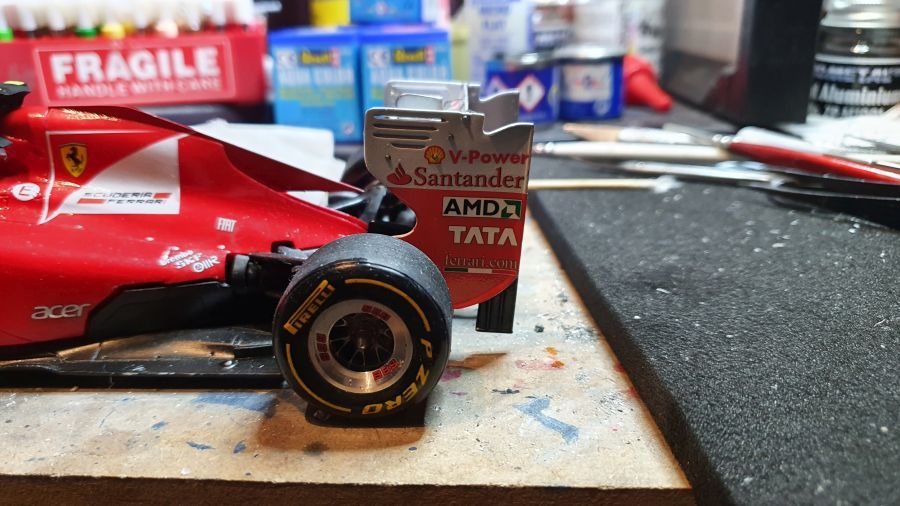
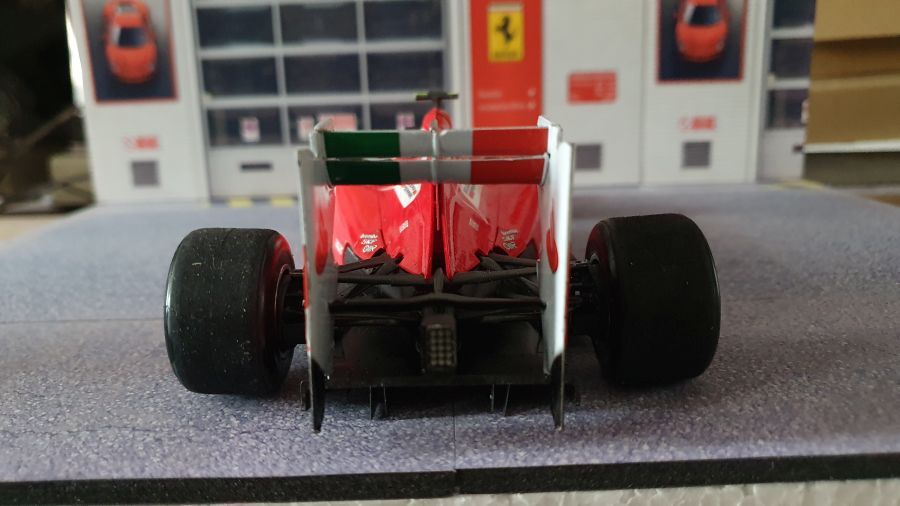
De achtervleugel wordt weer een lastpost.
The rear wing will be a pita.
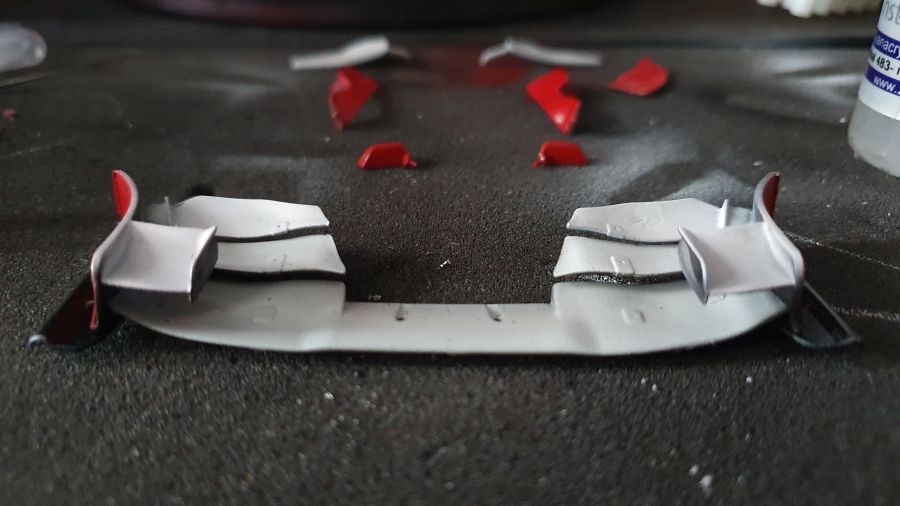
De eerste stappen naar de GB uitvoering.
The first steps to the GB livery.
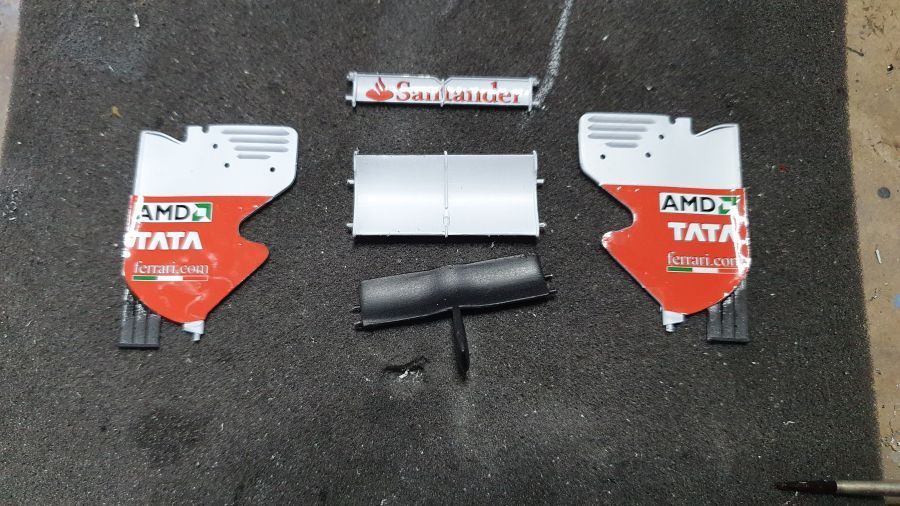
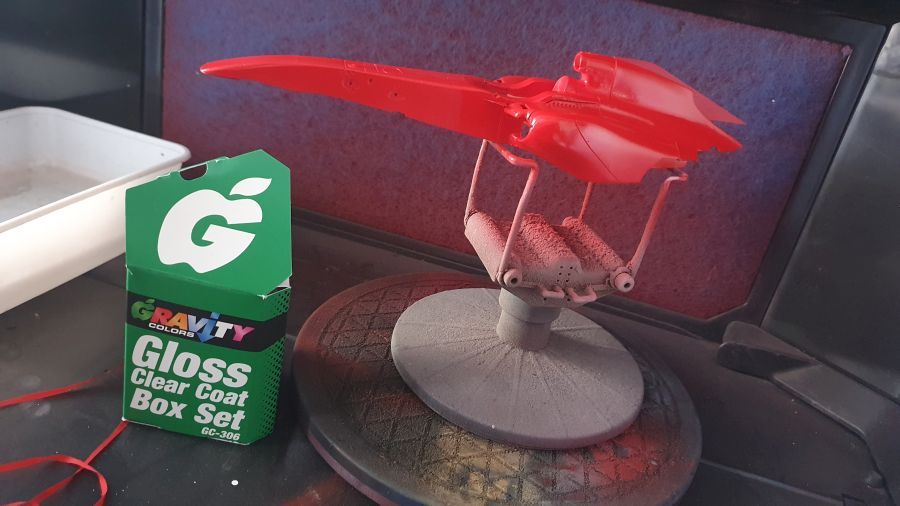
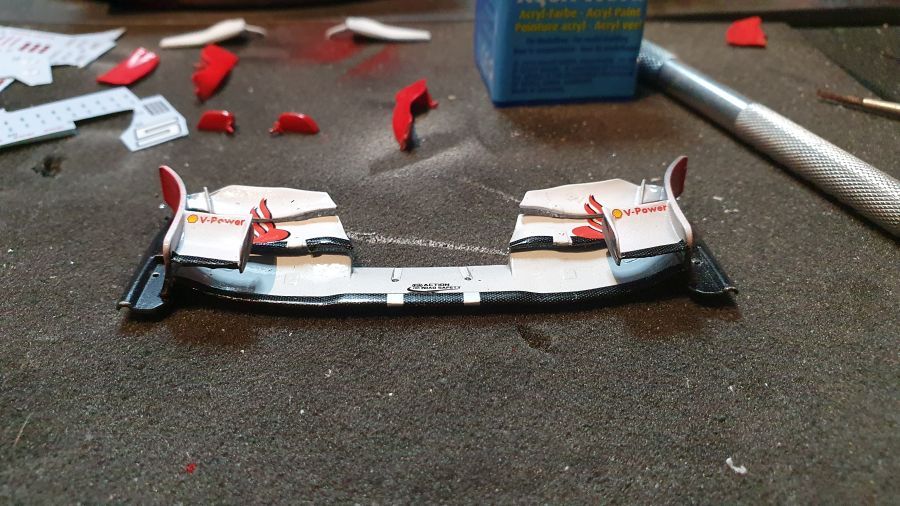
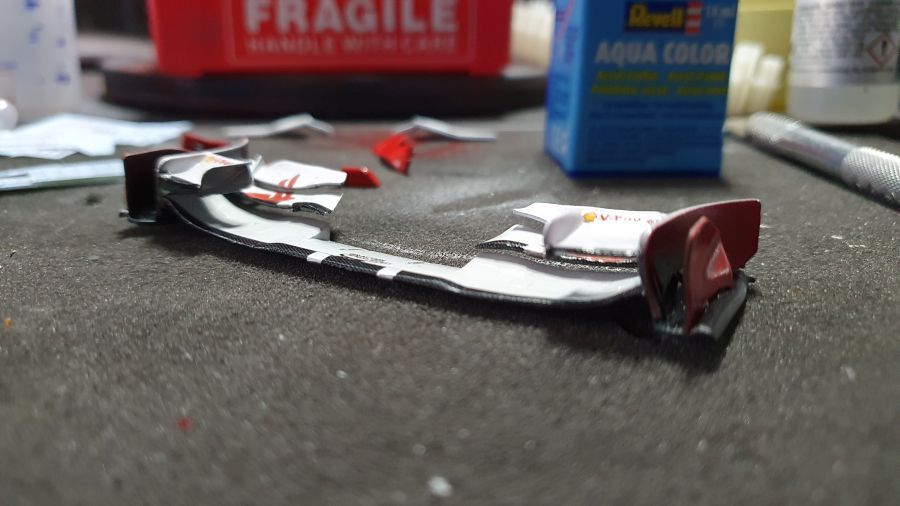
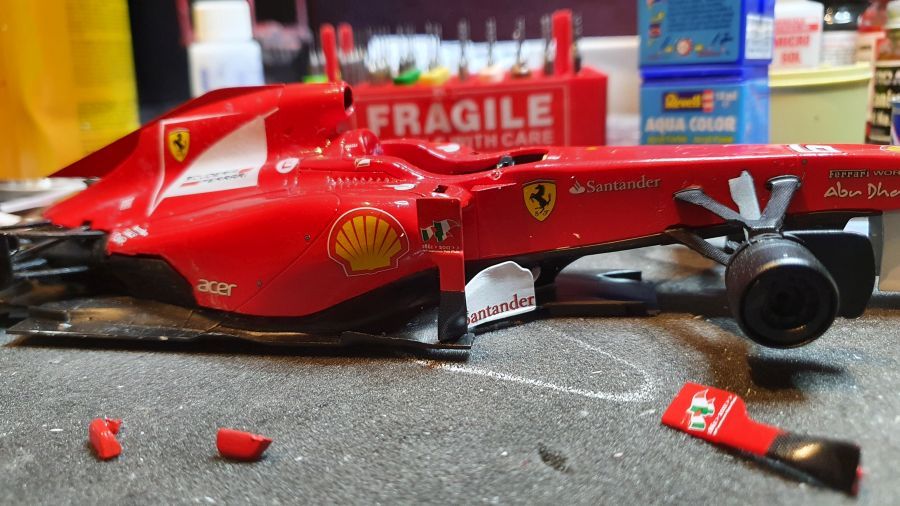
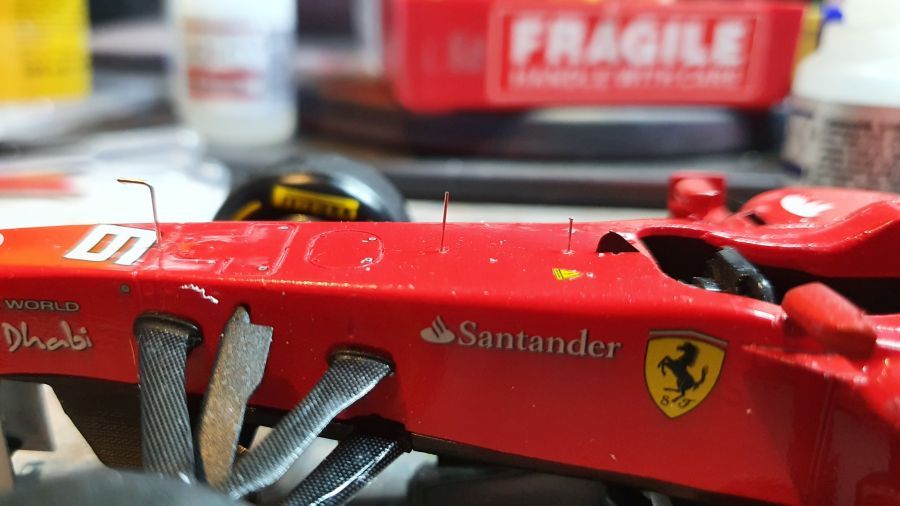
Na alle decals te hebben geplaatst, is het weer tijd voor een paar goede lagen 2K lak.
After adding all the decals, it's time for a couple of layers of 2K clear.
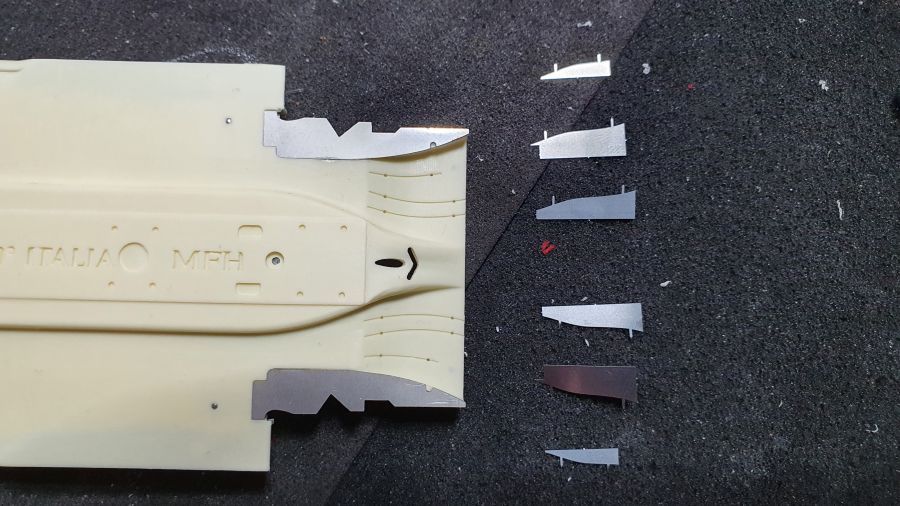
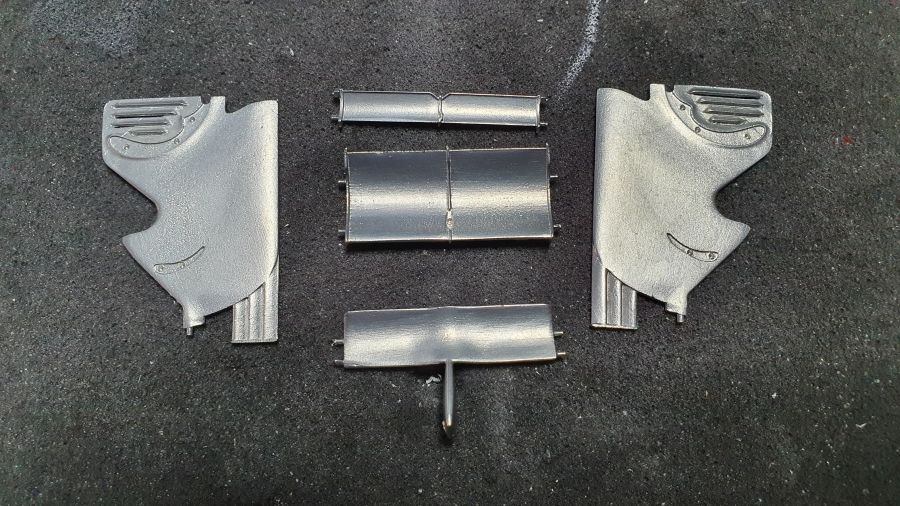
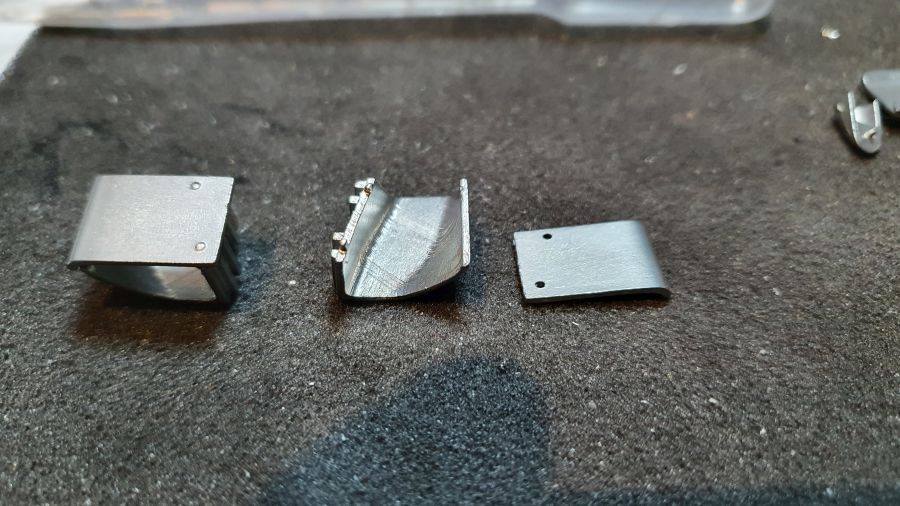
Door naar de inserts in de sidepods.
On to the inserts for the sidepods.
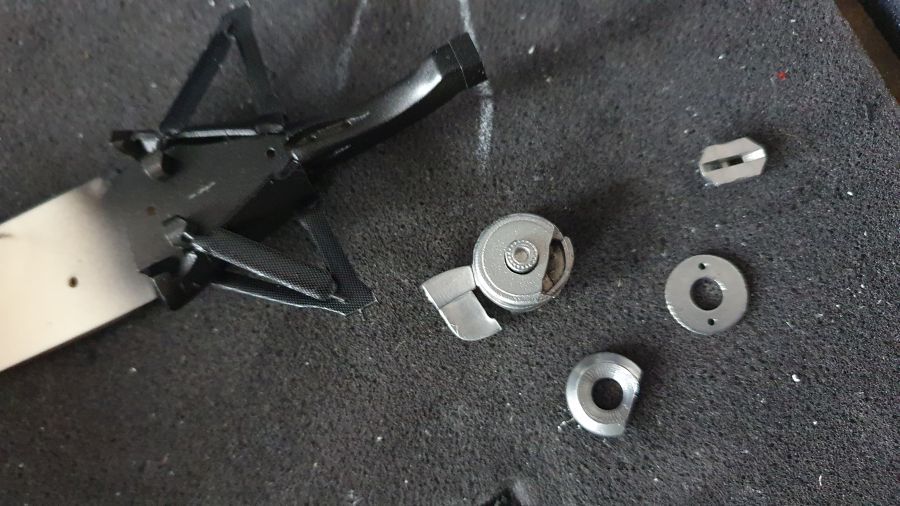
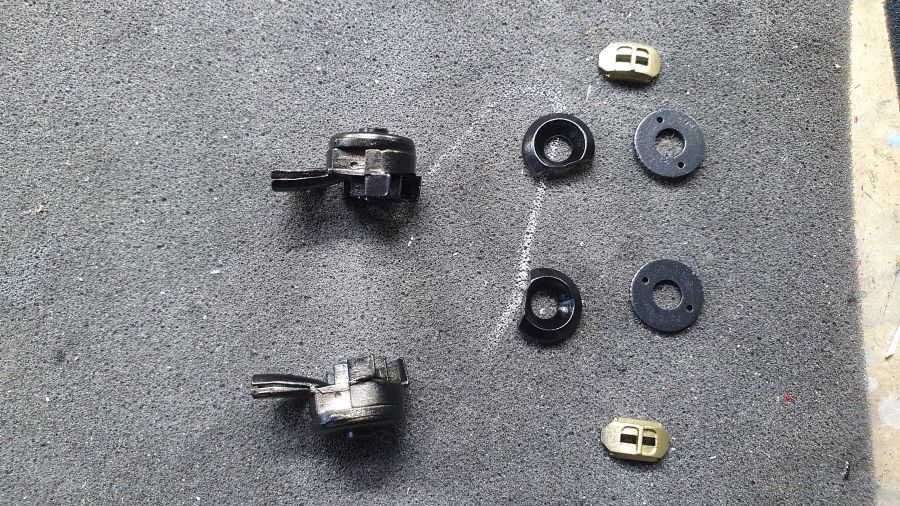
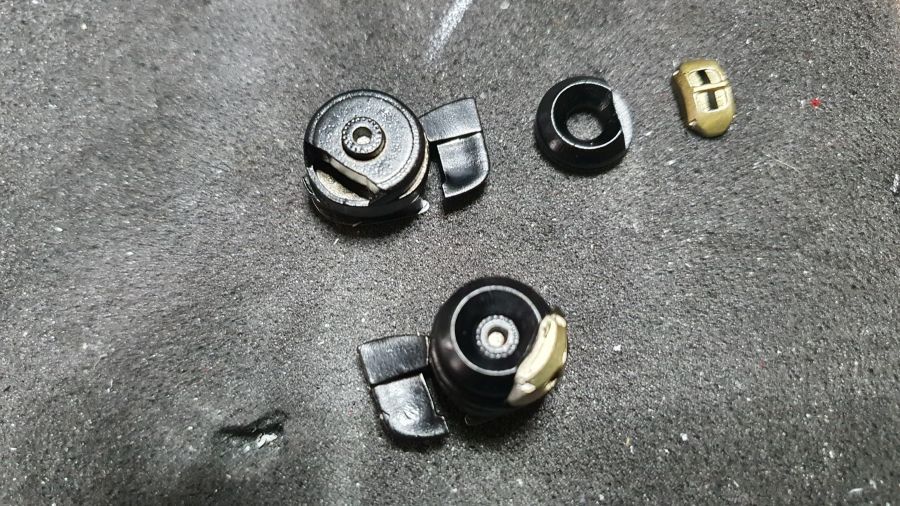
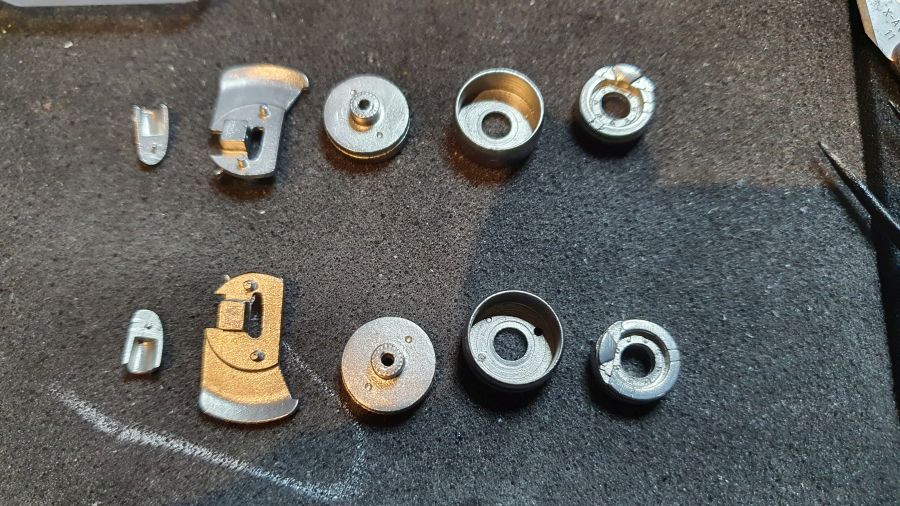
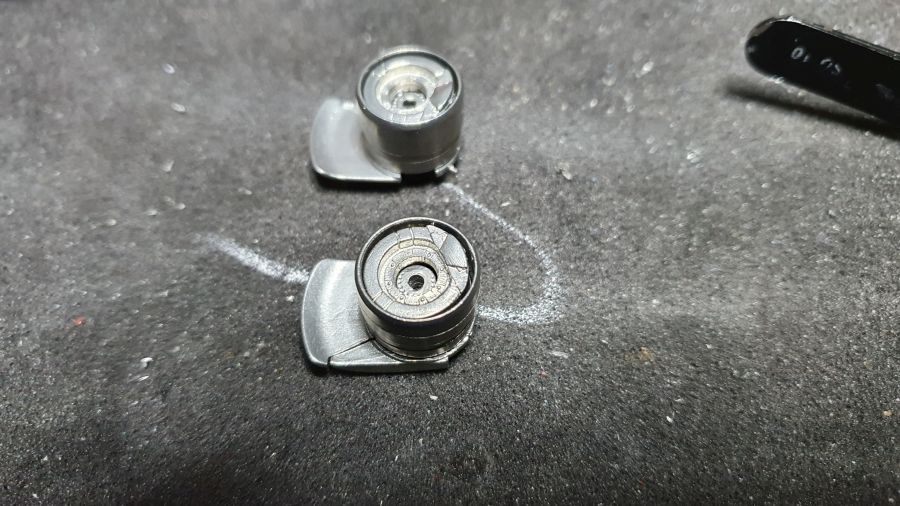
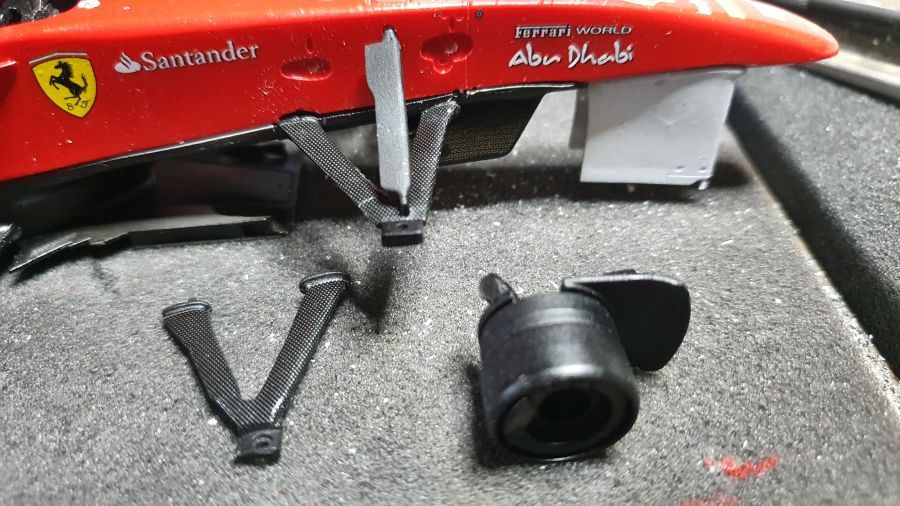
En de voorremmen.
And the front brakes.
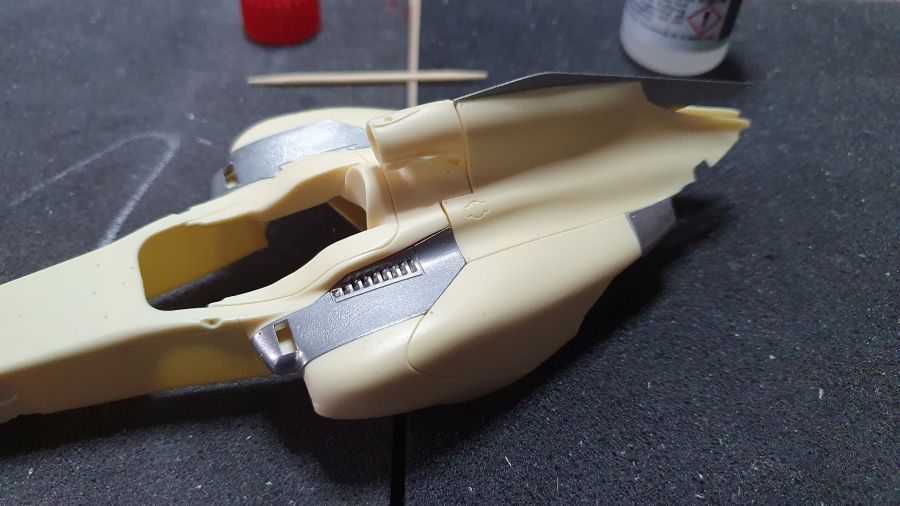
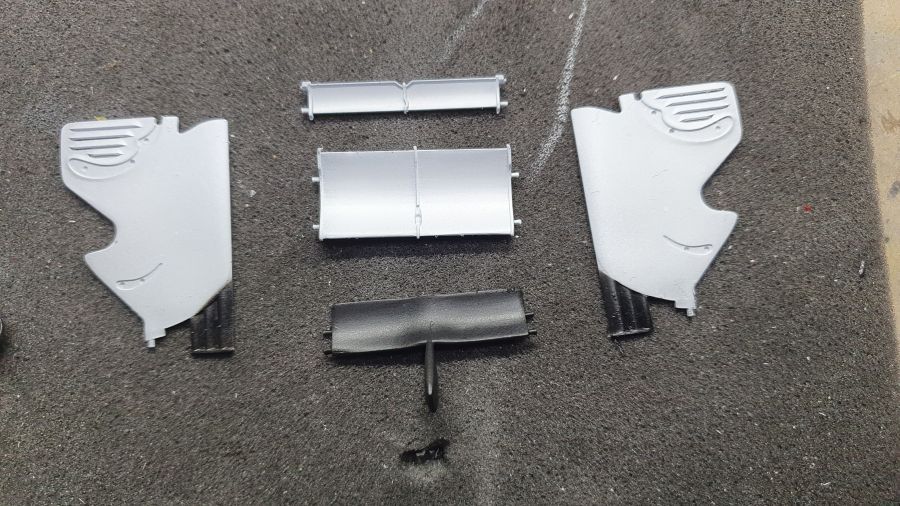
Dan de boel zwart spuiten voor de carbon decals.
Then paint it black before adding the carbon decals.
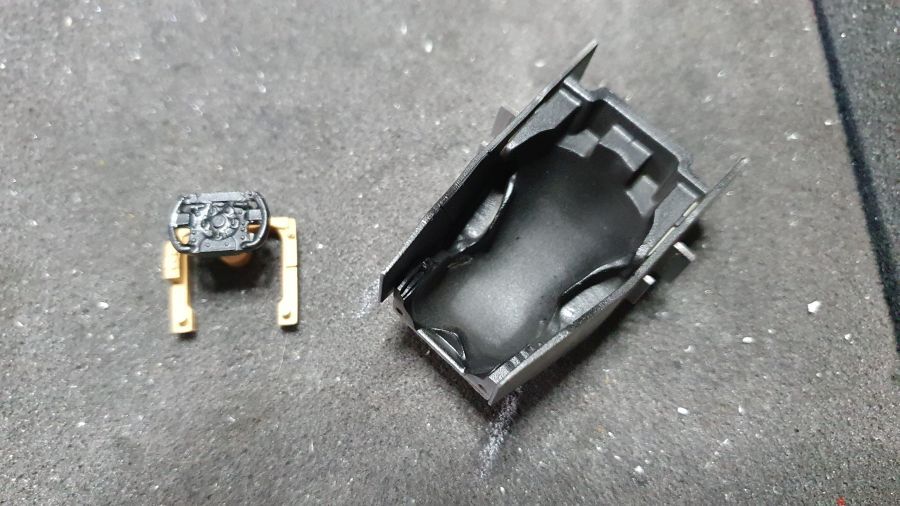
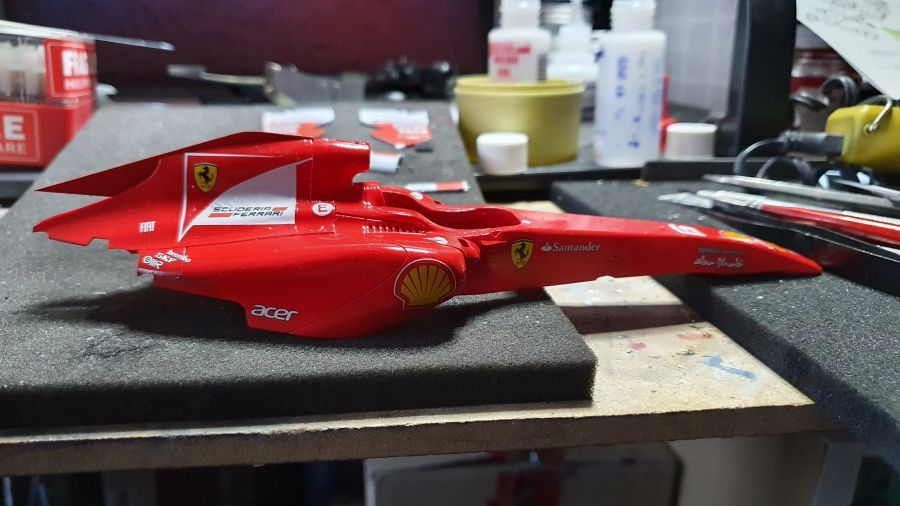
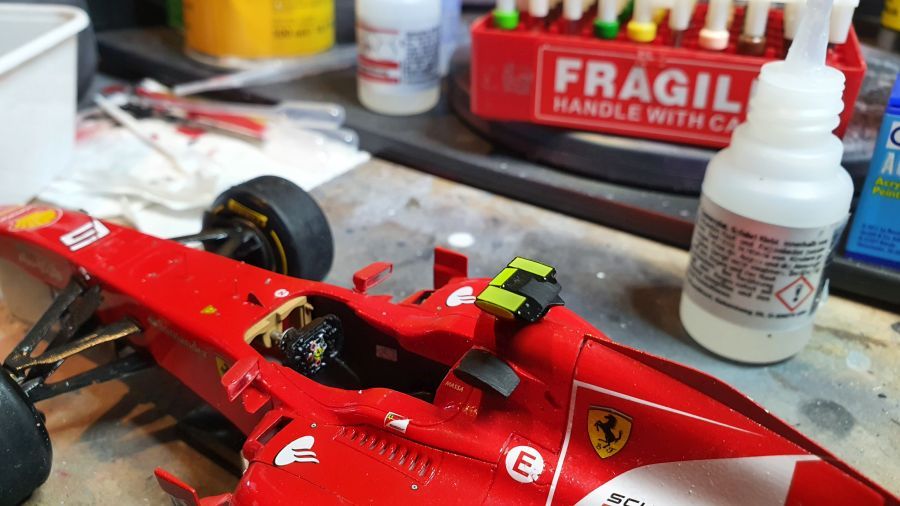
De inserts en de stoel gaan in het bodywerk.
The inserts and the seat go into the body work,
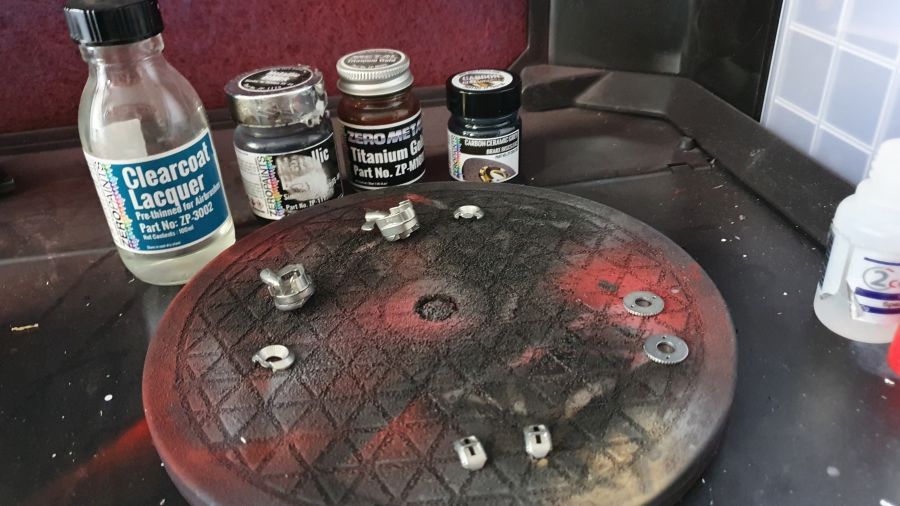
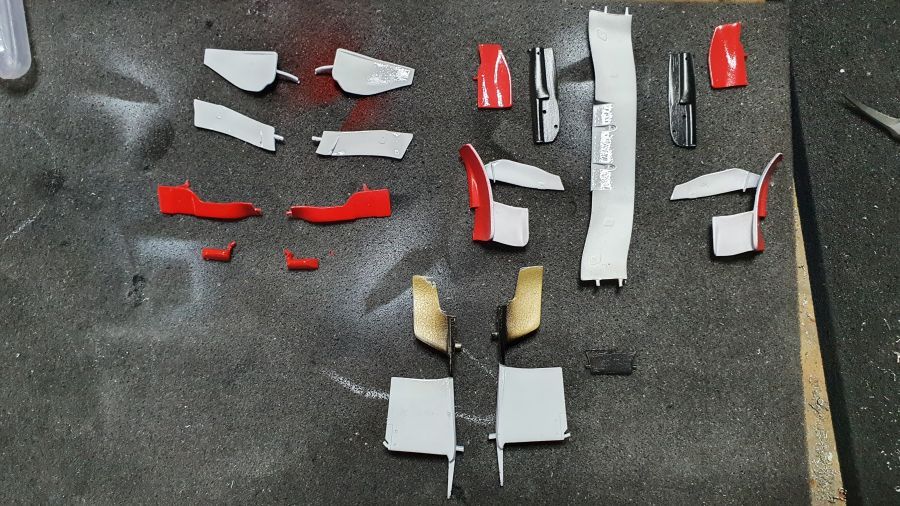
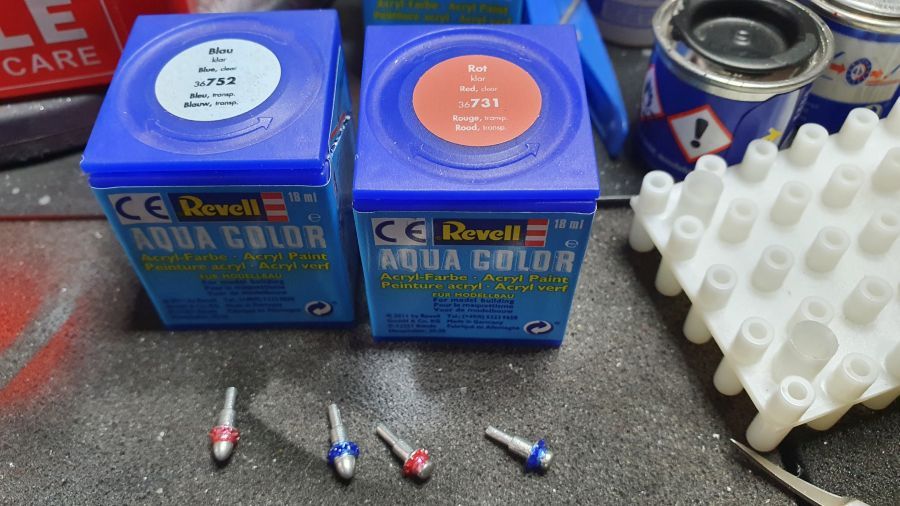
Meer onderdelen om met meerdere kleuren te spuiten. Neemt wat tijd.
More parts to airbrush multicolor. Takes some time.
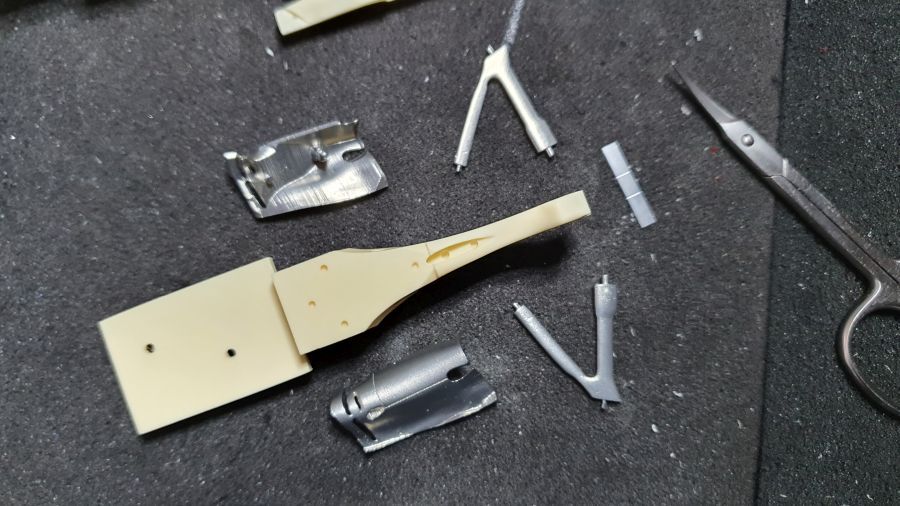
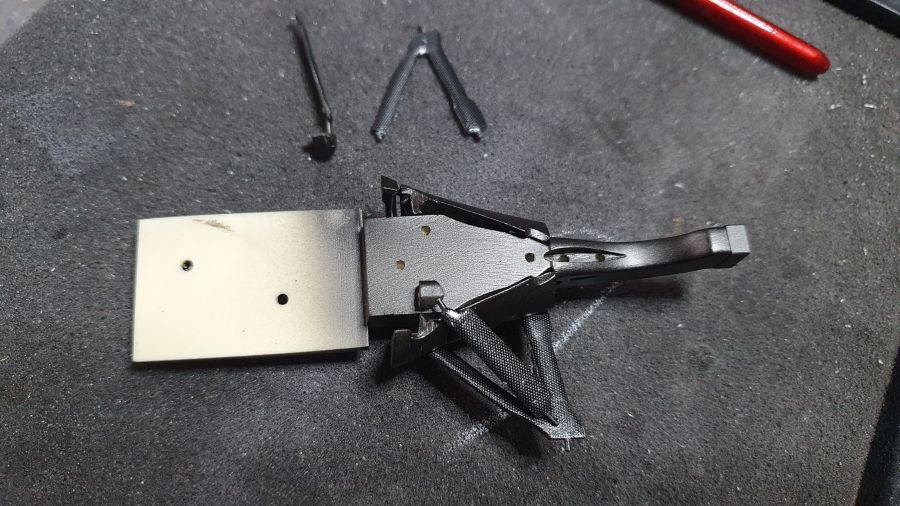
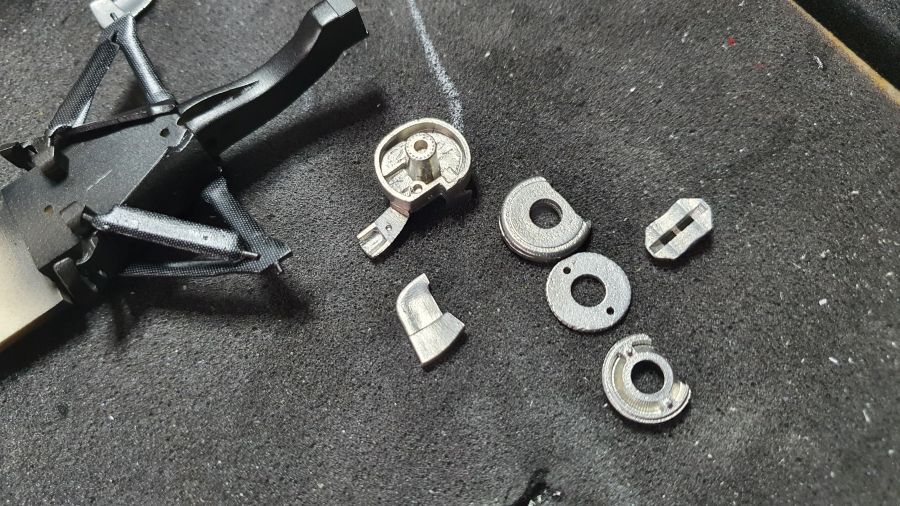
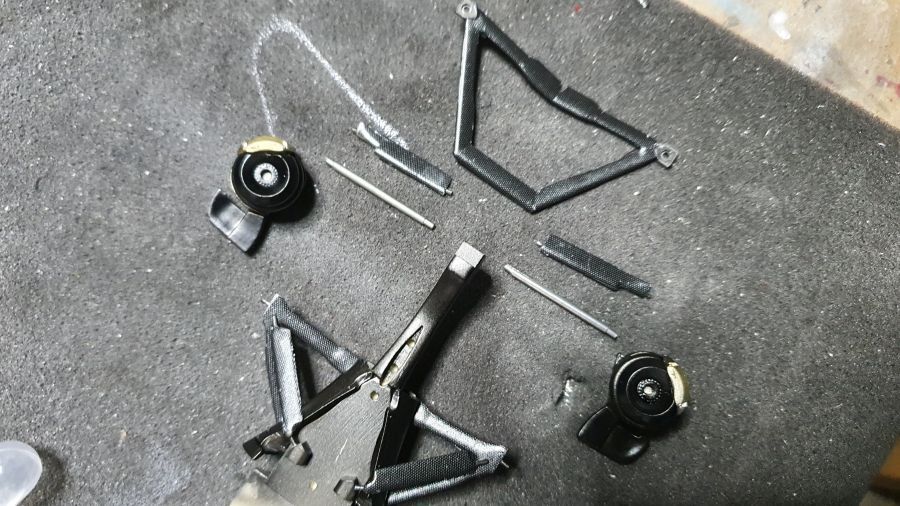
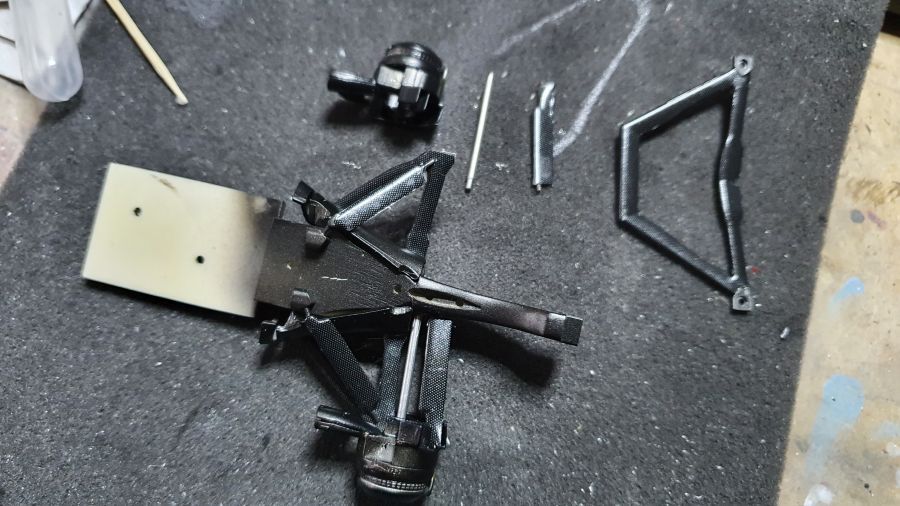
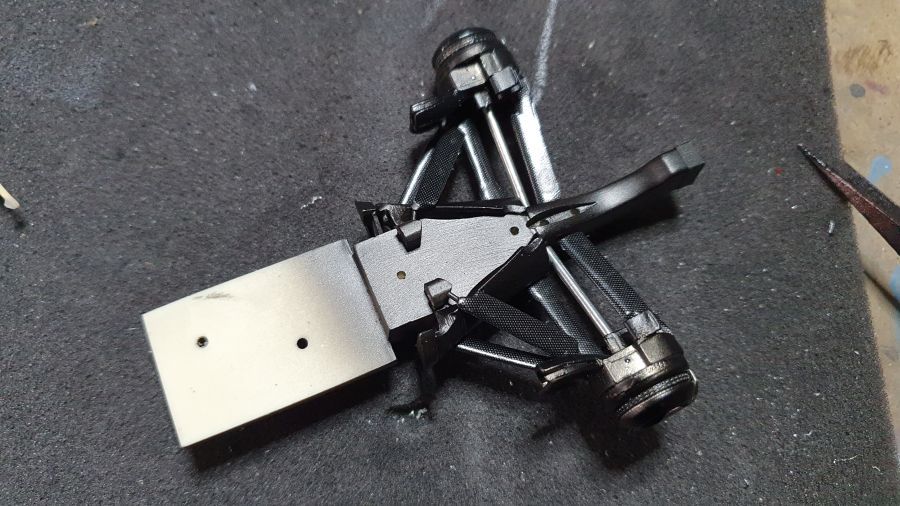
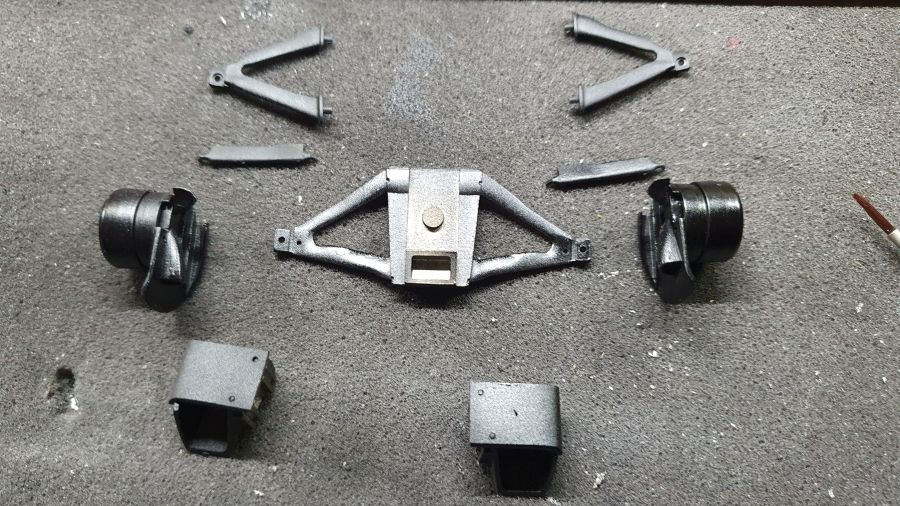
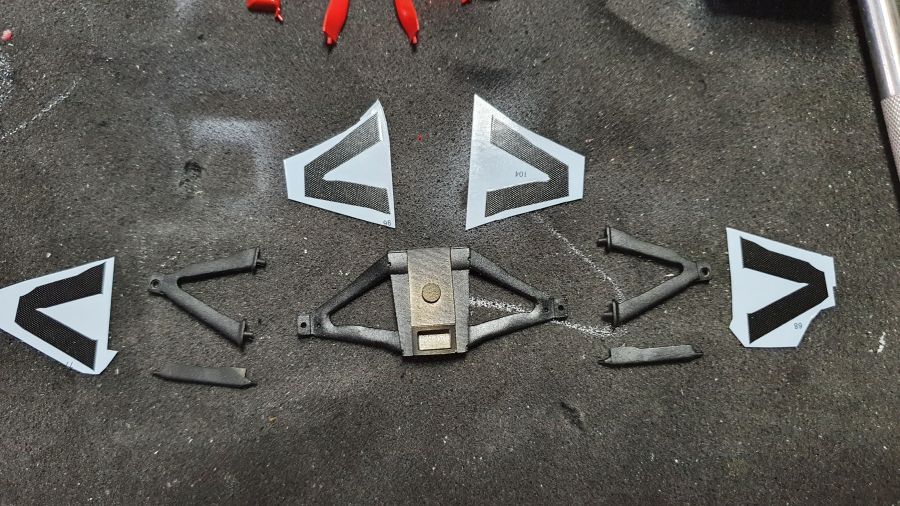
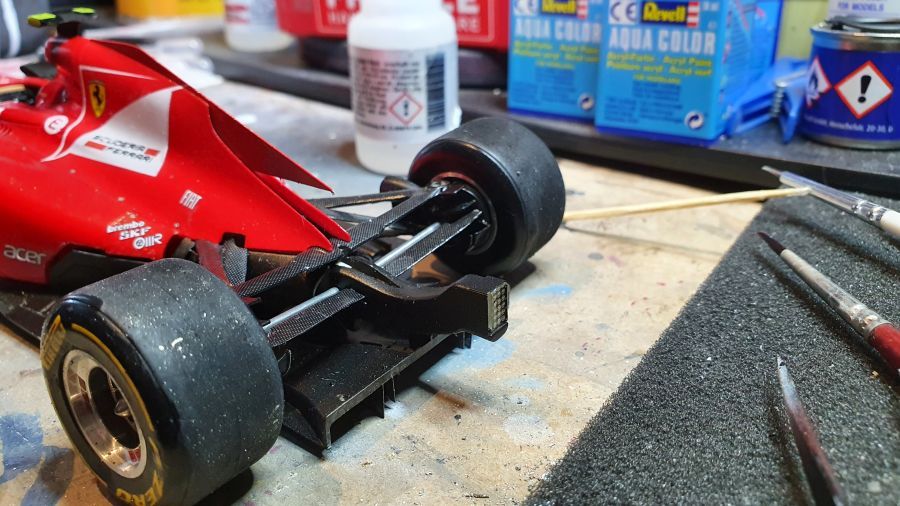
Carbon voor de voorwielophanging.
Carbon for the front wheel suspension.
Terwijl de Micro Sol droogt weer terug naar de vleugel.
Back to the wing, while the Micro Sol dries.
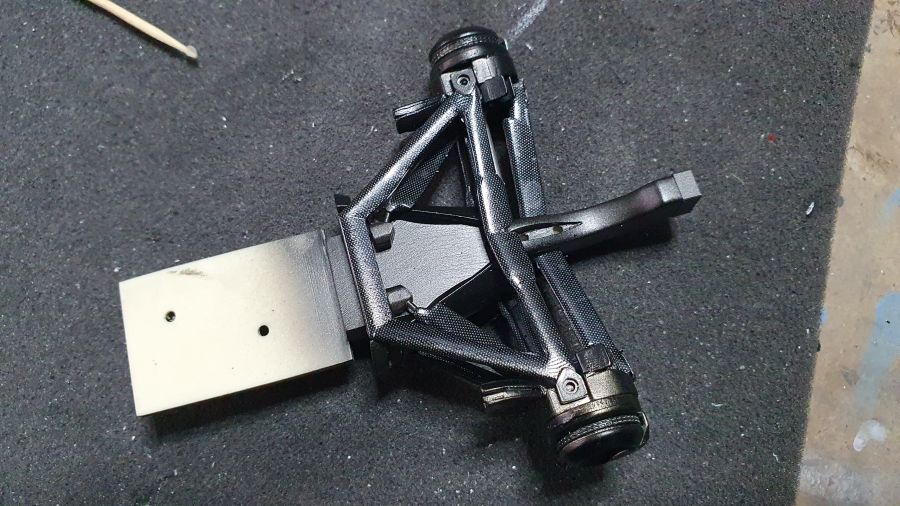
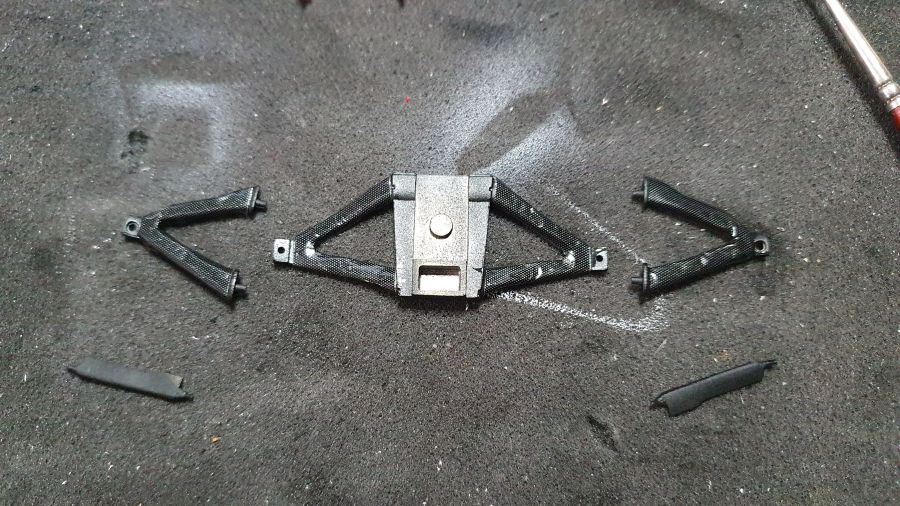
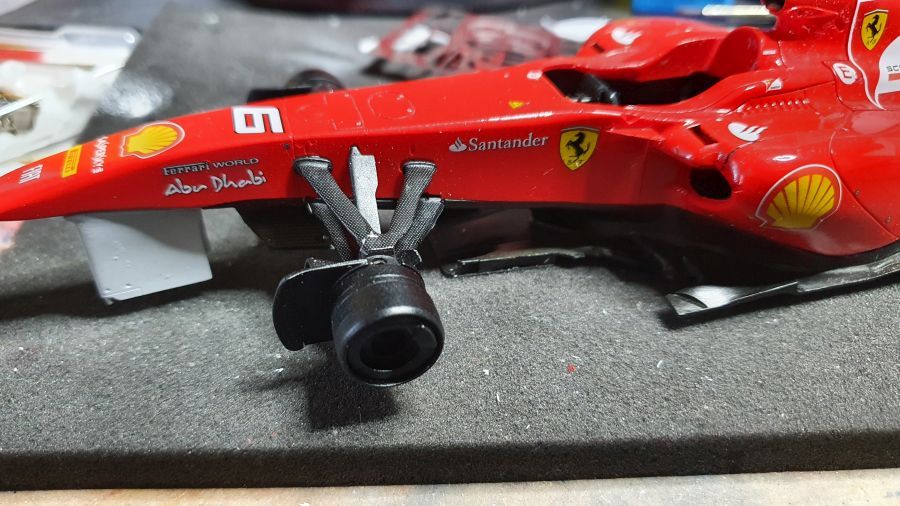
En de voorwielophanging plaatsen.
And mounting the front wheel suspension.

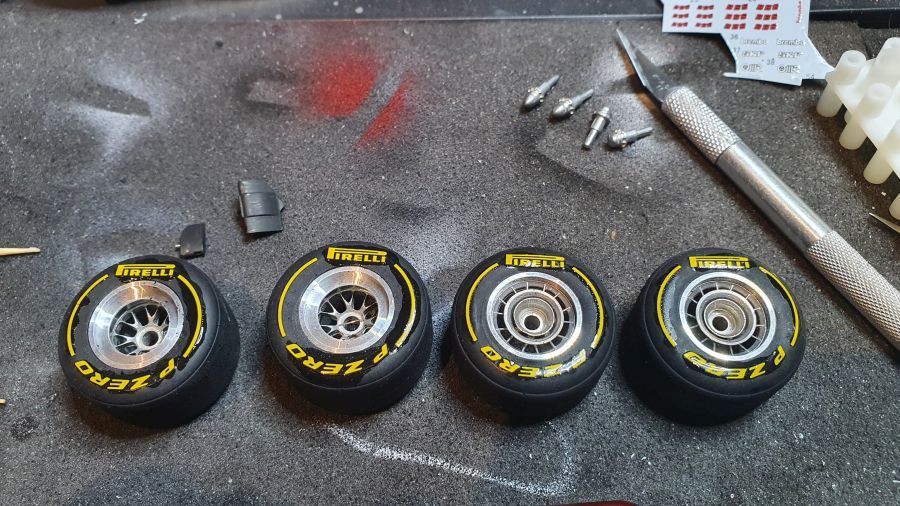
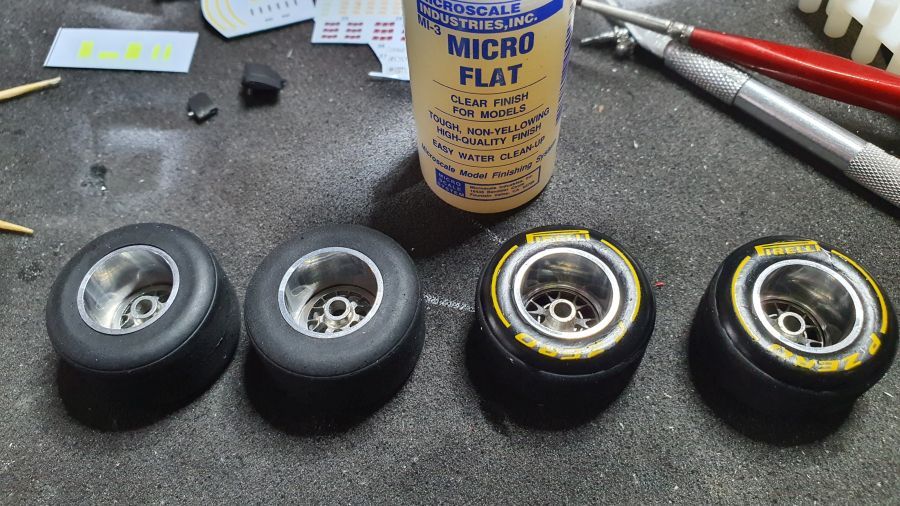
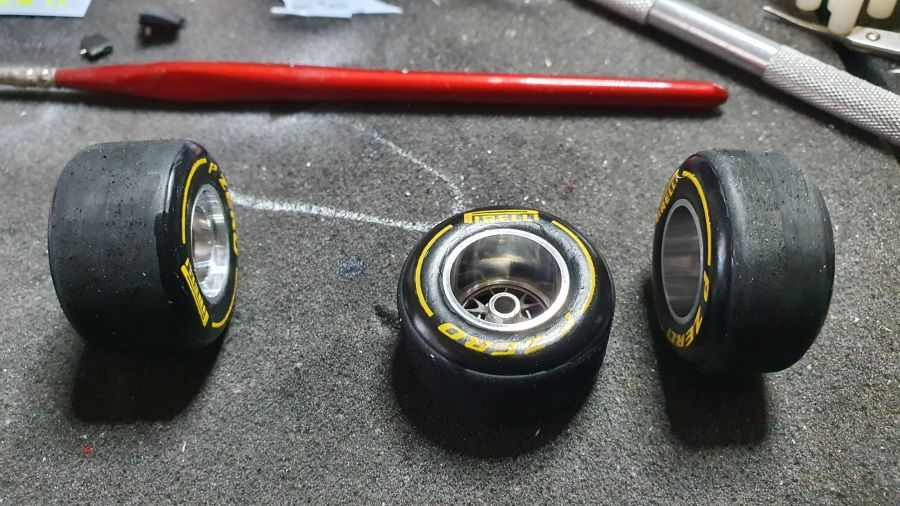
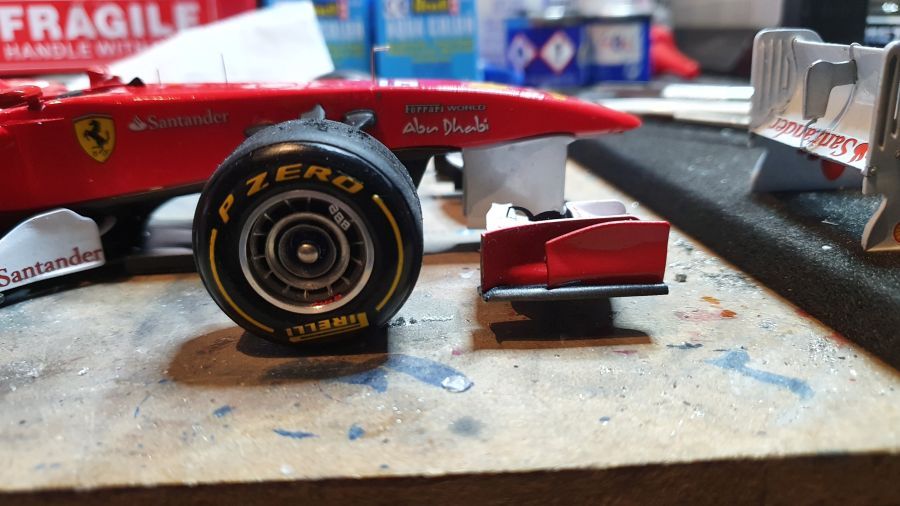
Dan naar de banden... Decals aanbrengen, behalve de achterbanden aan de binnenkant, Micro Flat er overheen en de naad wegwerken.
On to the tires... Adding decals, except on the inner side of the rears, brushing Micro Flat and sanding the seem.
Op zijn voeten..
On it's feet..
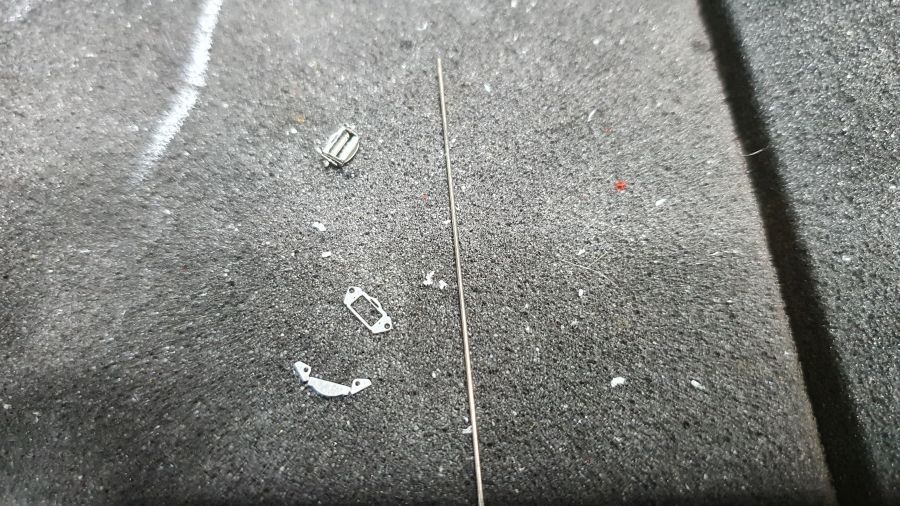
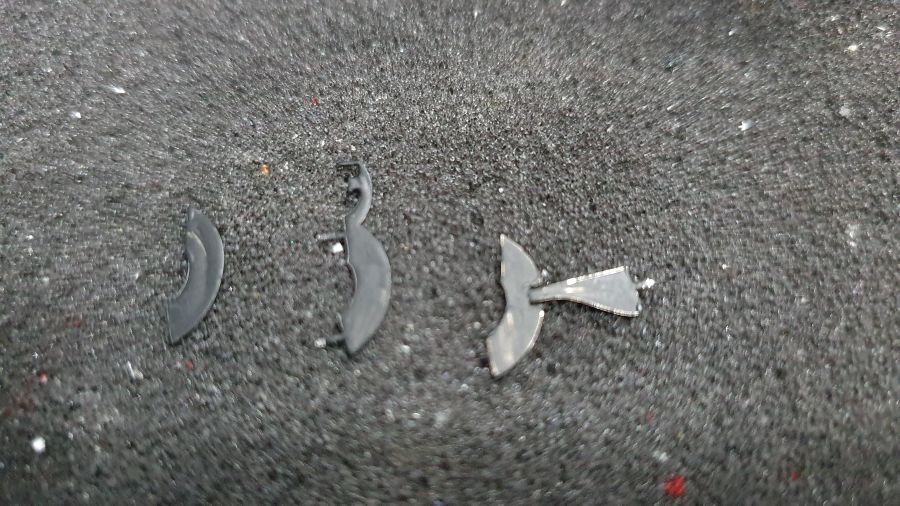
Wat kleine onderdelen geplaatst.
Some small parts added.
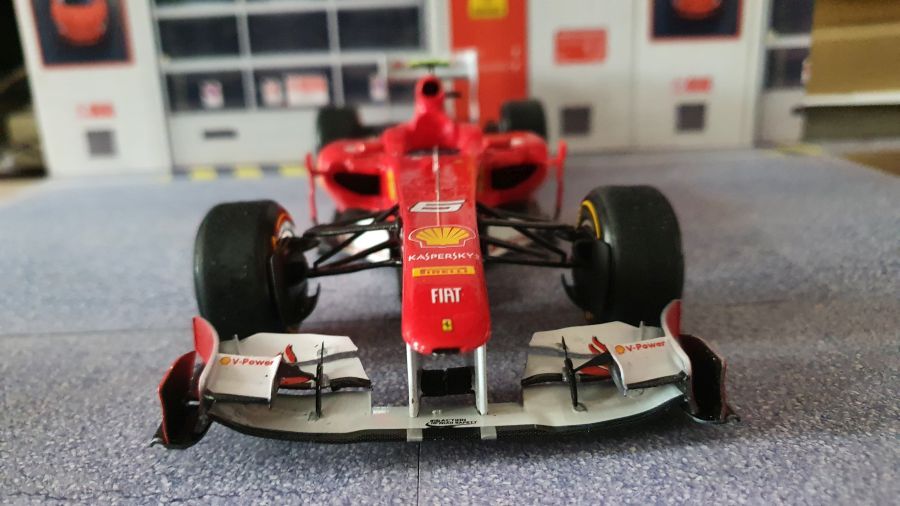
Monteren...
Mounting...
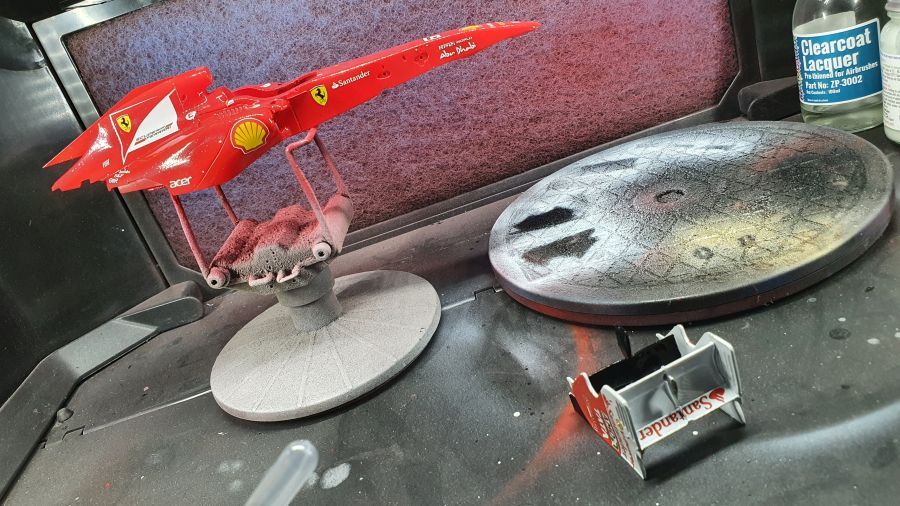
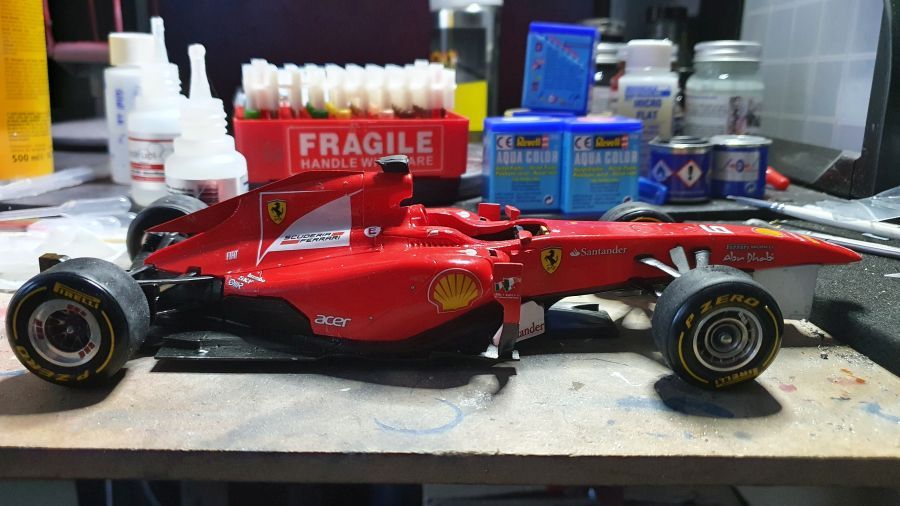
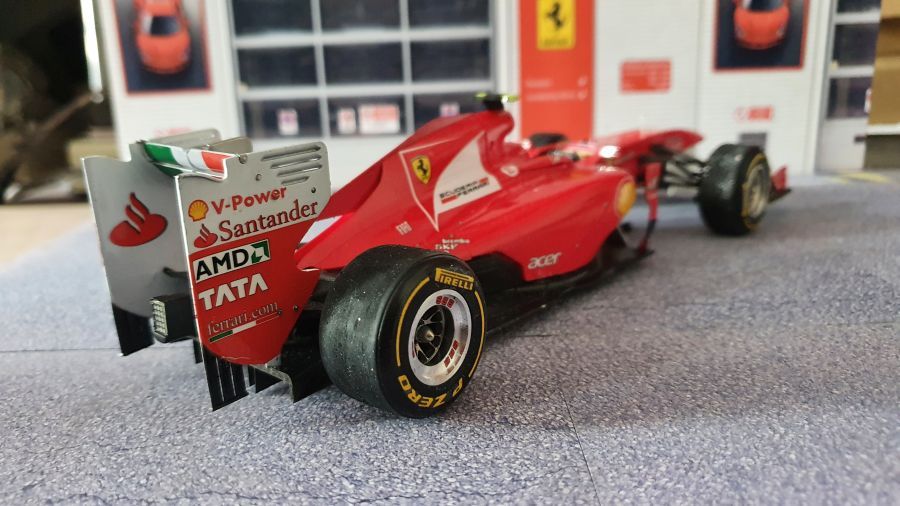
Na het plaatsen van het ruitje, denk ik dat deze weer klaar is.
After adding the wind shield, i think this one is done.
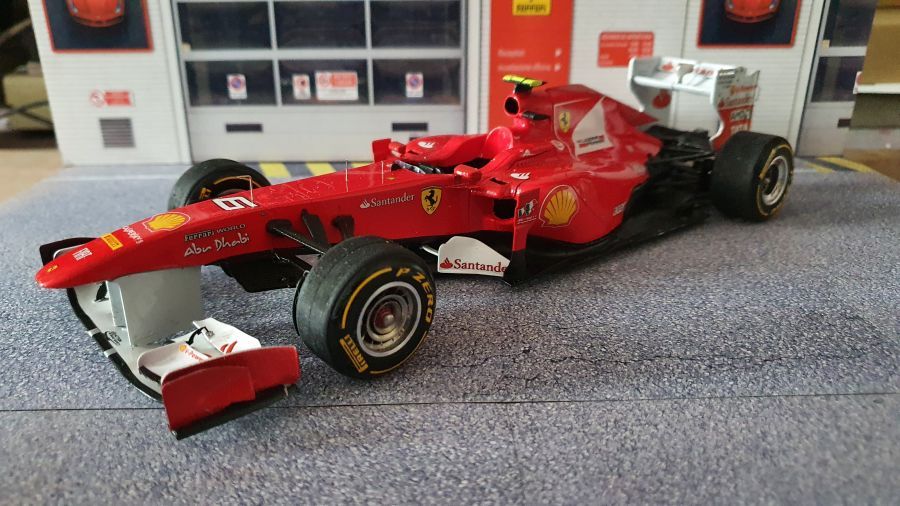

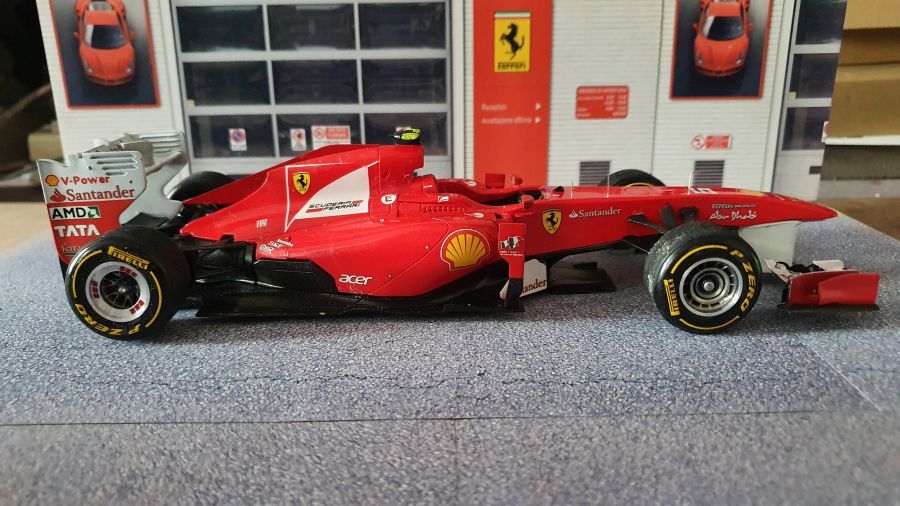
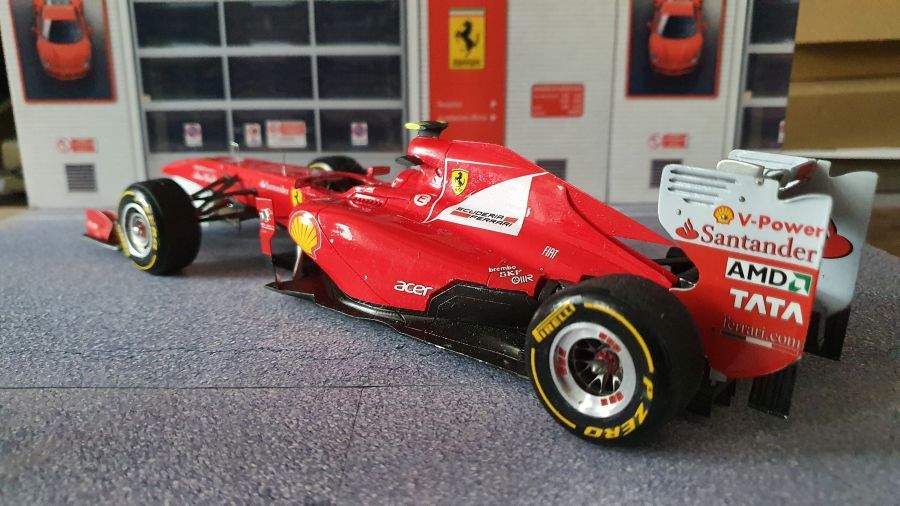
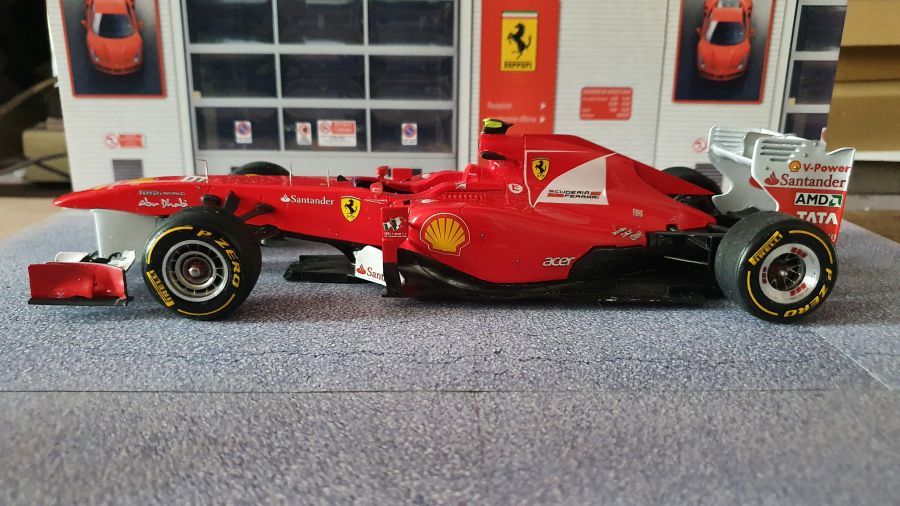
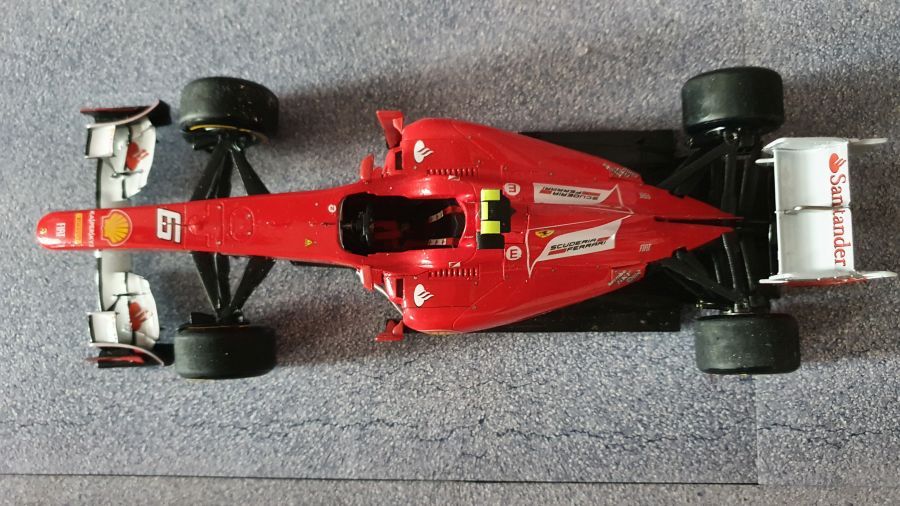
Prachtige kit. Geen noemenswaardige problemen.
Beautiful kit. No problems worth to mention.