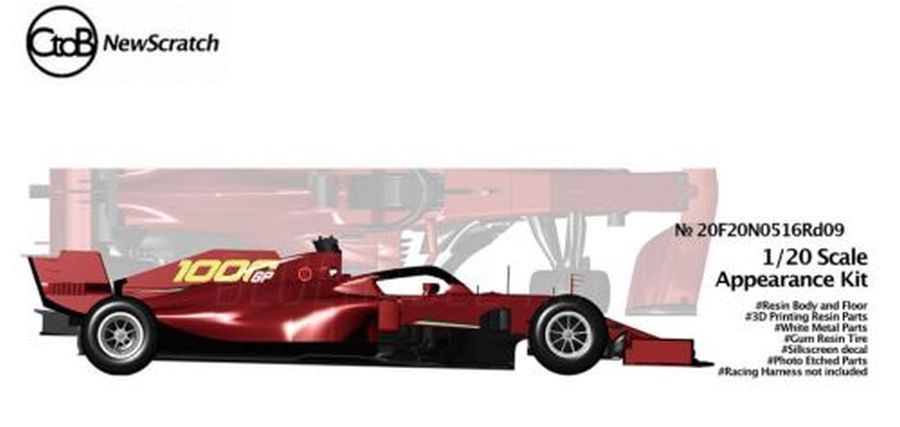
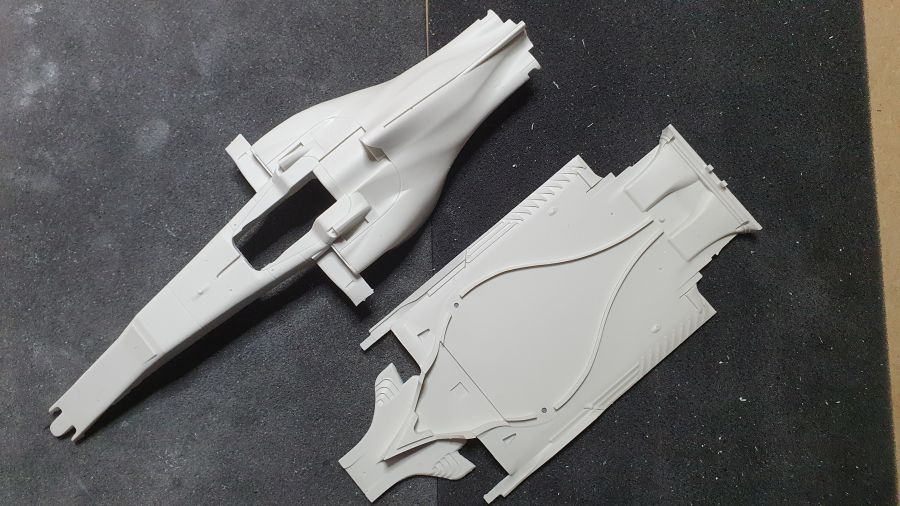
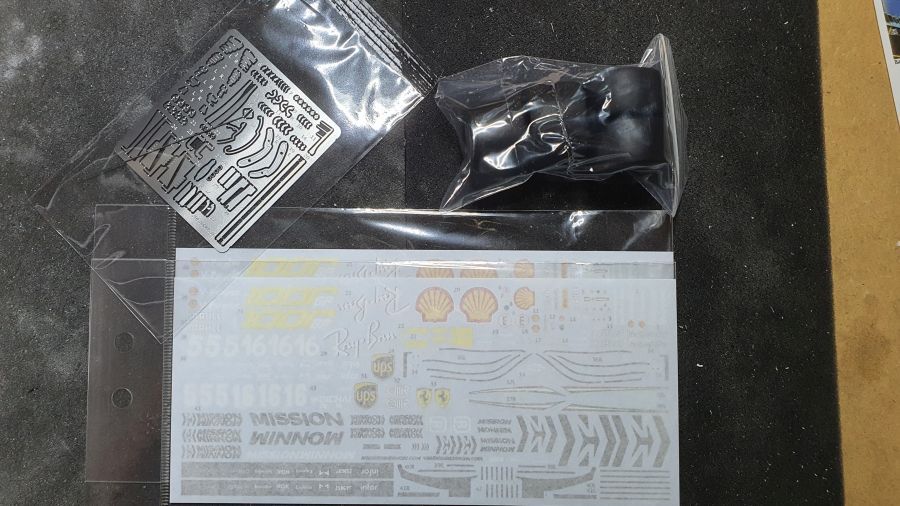
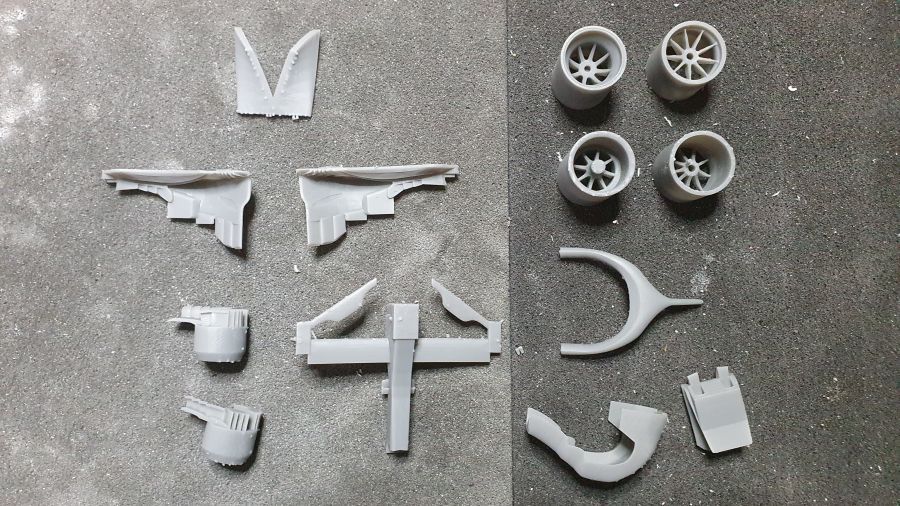
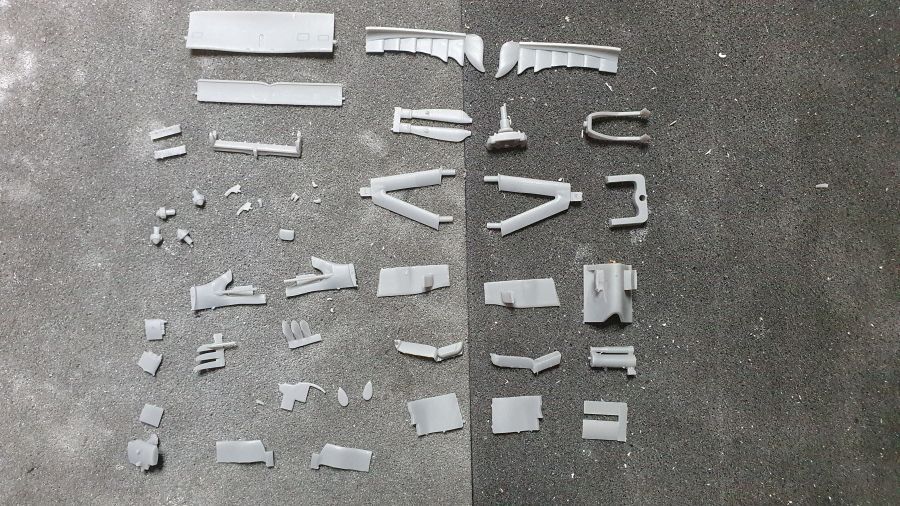
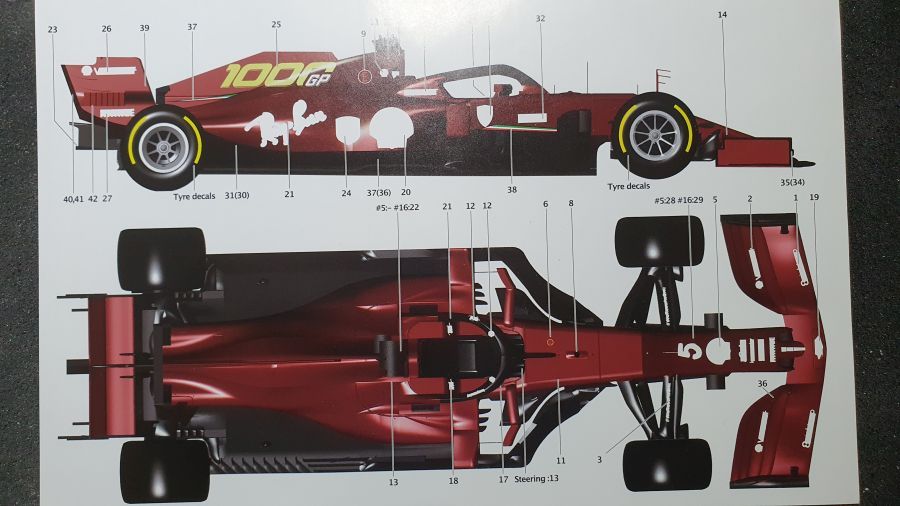
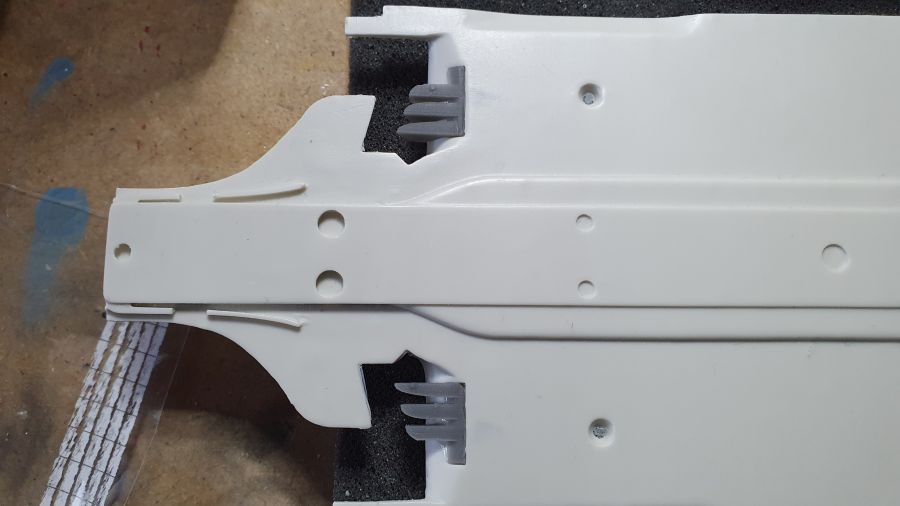
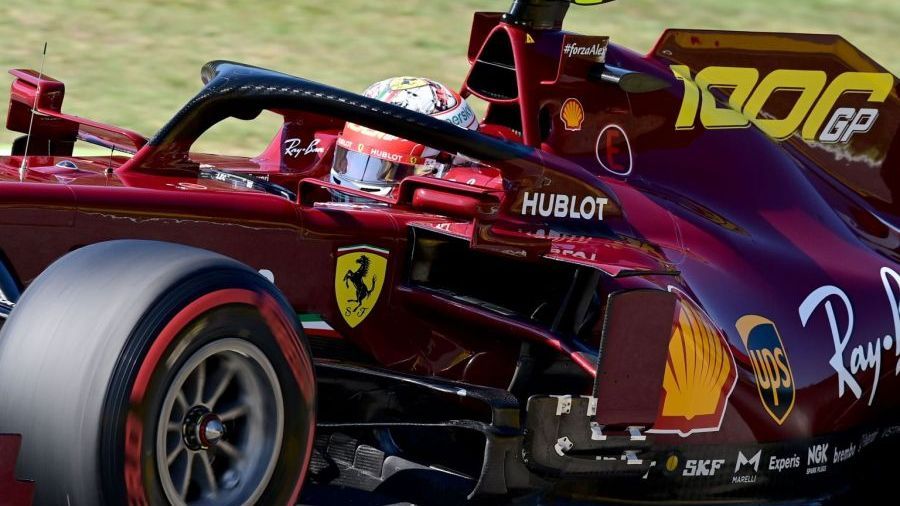
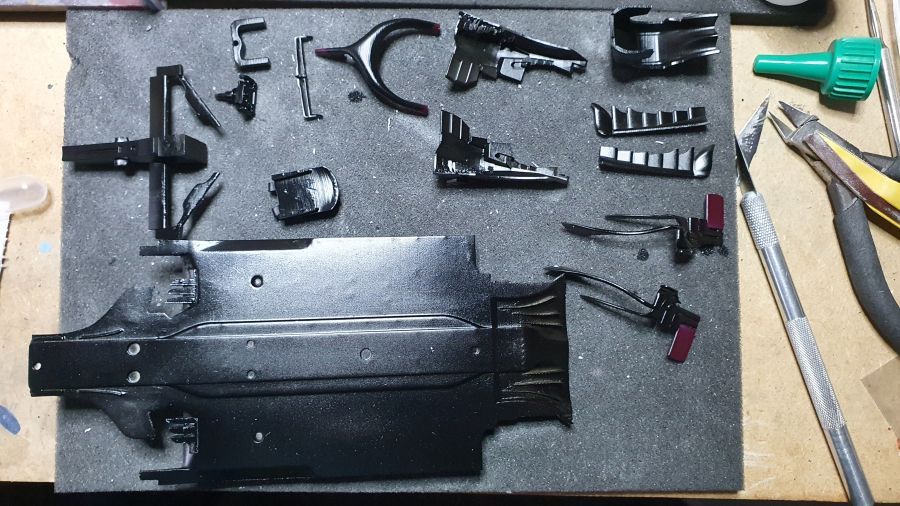
Het volgende project. Maar weer eens tijd voor een F1 auto. En om een beetje bij te blijven maar een later type. Nu dan de 2020 Ferrari SF1000 Toscaanse GP, bestuurd door Sebastian Vettel. Zijn laatste jaar bij Ferrari. Het team reed daar hun duizendste GP. Dat verdient natuurlijk wat aandacht. Voor een deel bestaat deze kit van New Scratch (kit nr. 20F20N0516Rd09) uit 3D geprinte onderdelen. Altijd even oppassen, want die zijn natuurlijk zeer breekbaar. Onder weer de foto's van de inhoud.
The next project. It's time for a F1 car again. And it will be one of the later types to keep up a bit. So now the 2020 Ferrari SF1000 Tuscan GP, as driven by Sebastian Vettel. His last year at Ferrari. The team had it's 1000th GP at Tuscany. That deserves soem attention. The kit from New Scratch (kit no. 20F20N0516Rd09) has partly 3D printed parts. I need to be careful, because these are very fragile. Below the pictures of the content.
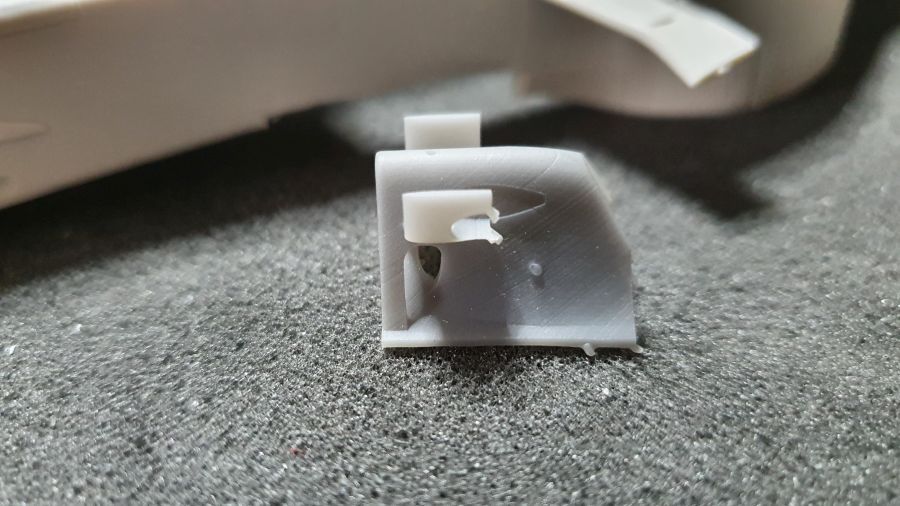
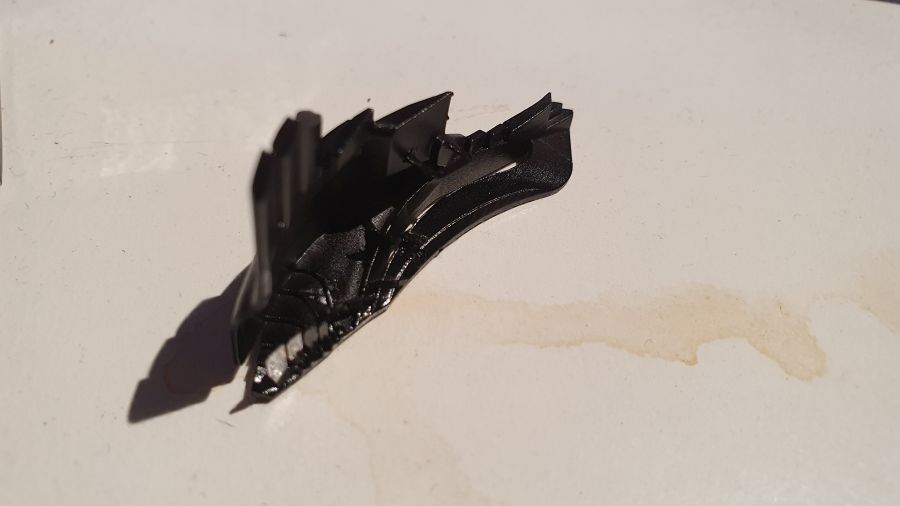
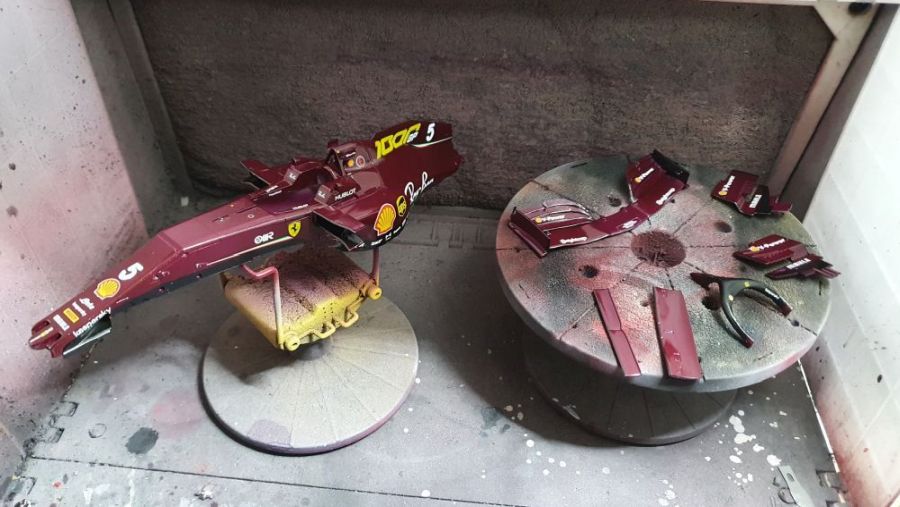
Wat transportschade...
Some transport damage...
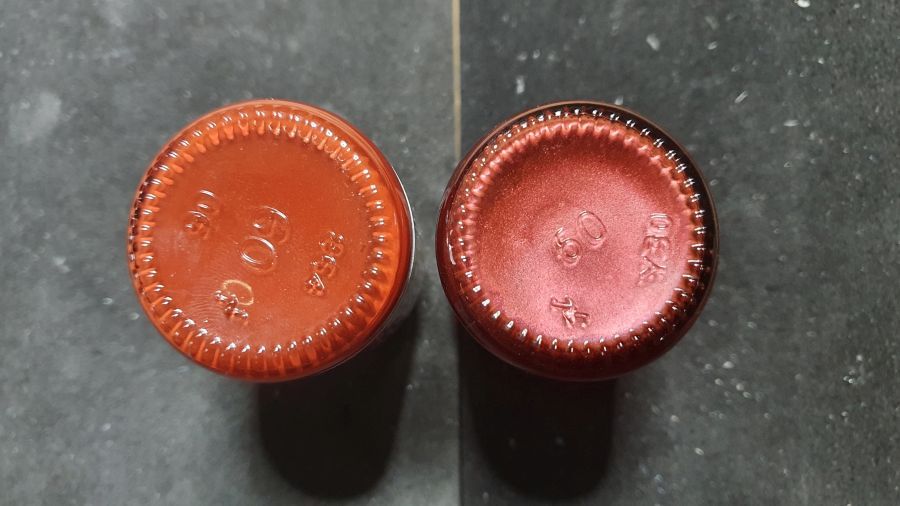
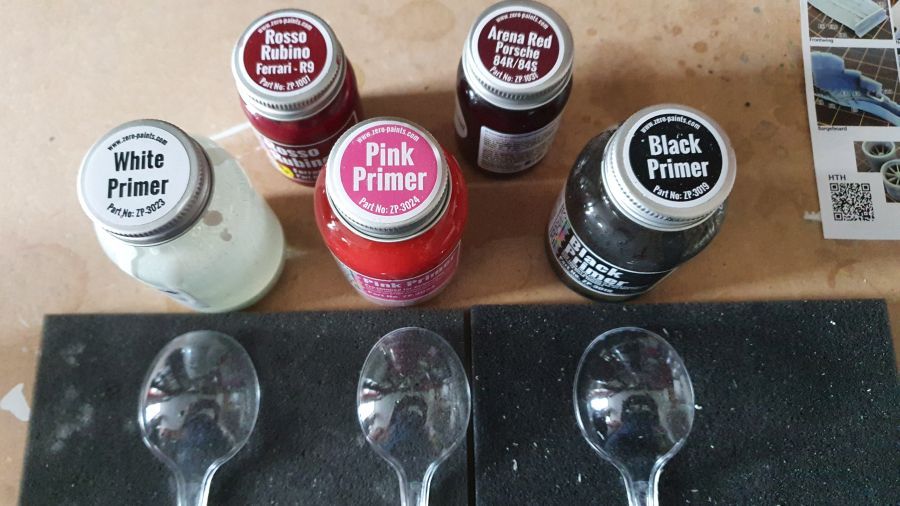
Verf testen... (niet blij met het resultaat). Ik heb nieuwe verf besteld.
Testing paints... (not happy with the result). I have ordered some new paint.
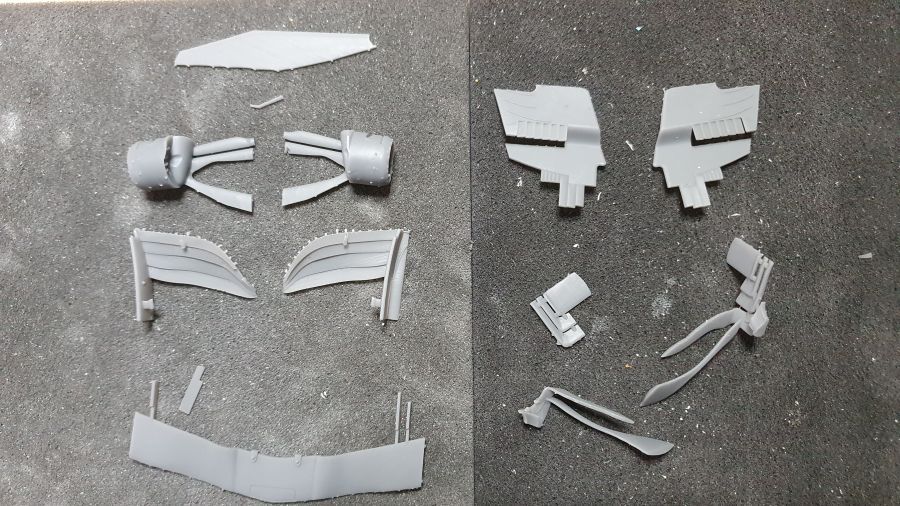
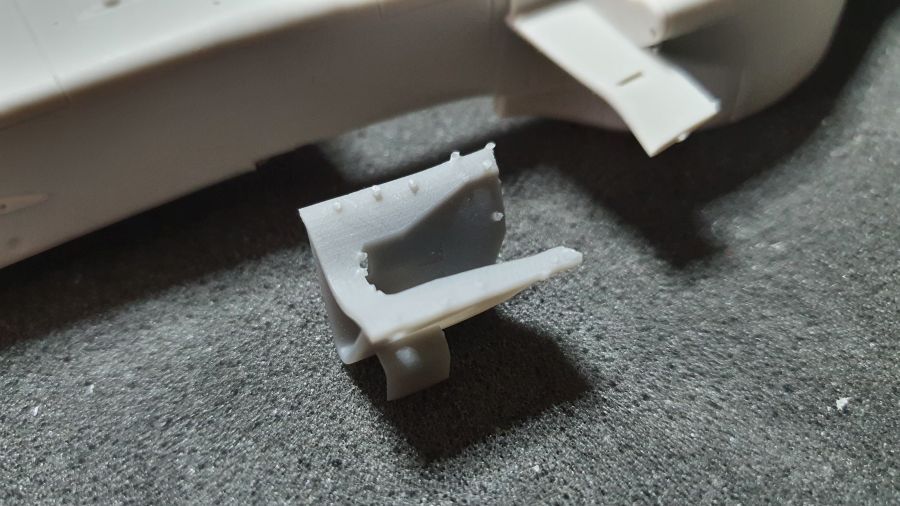
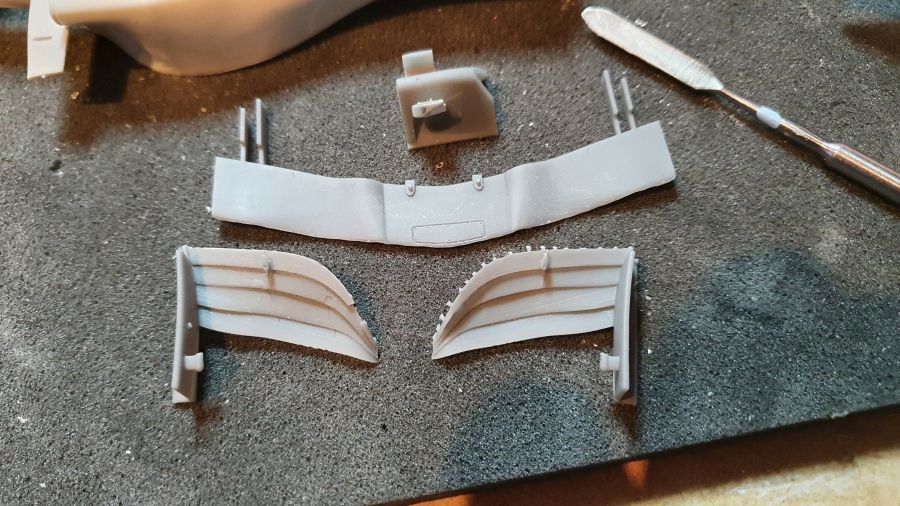
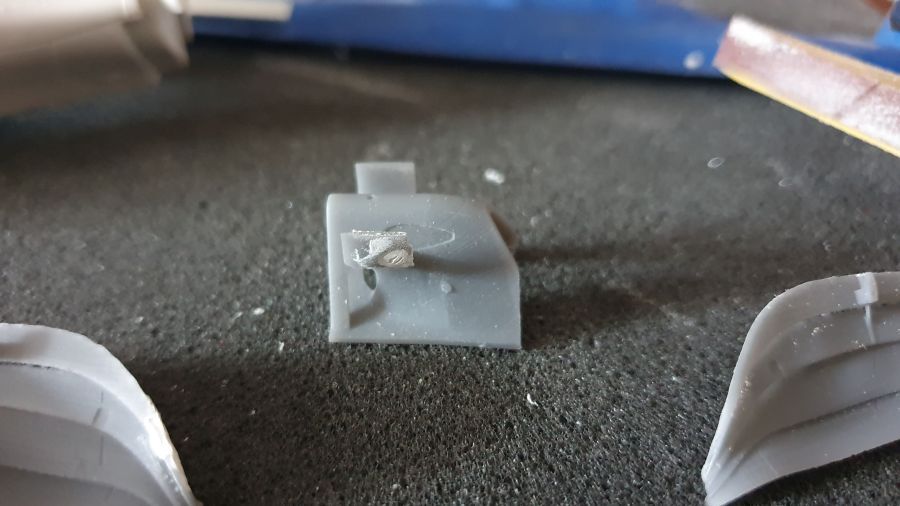
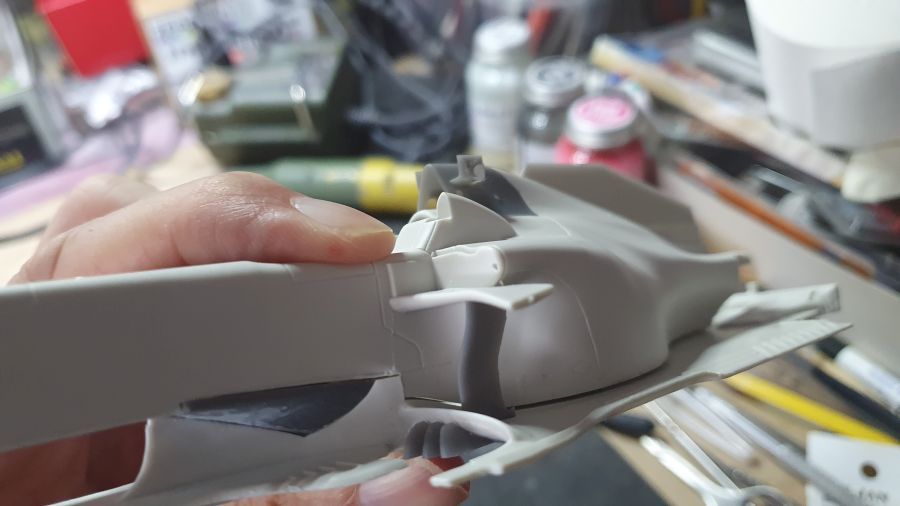
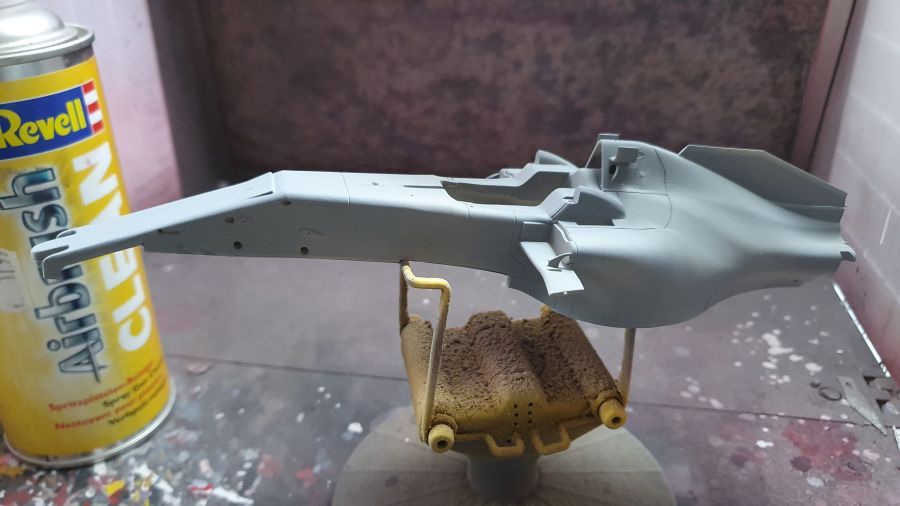
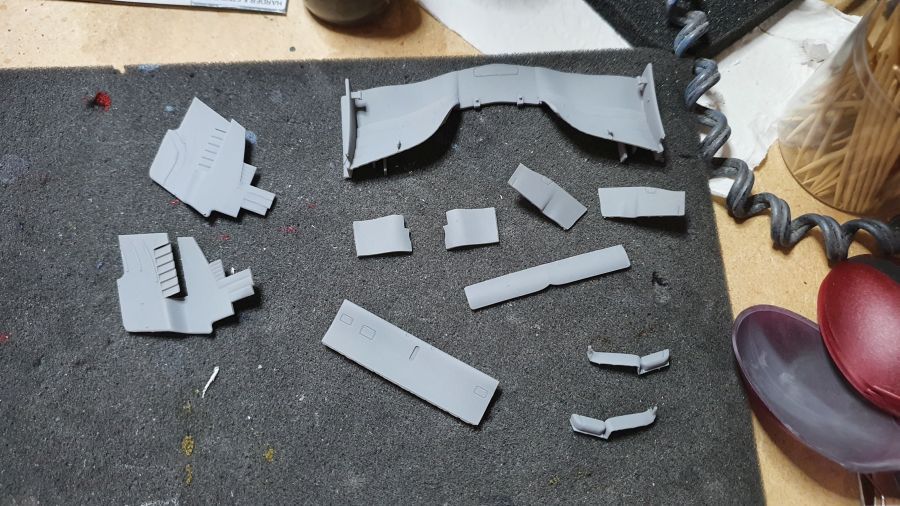
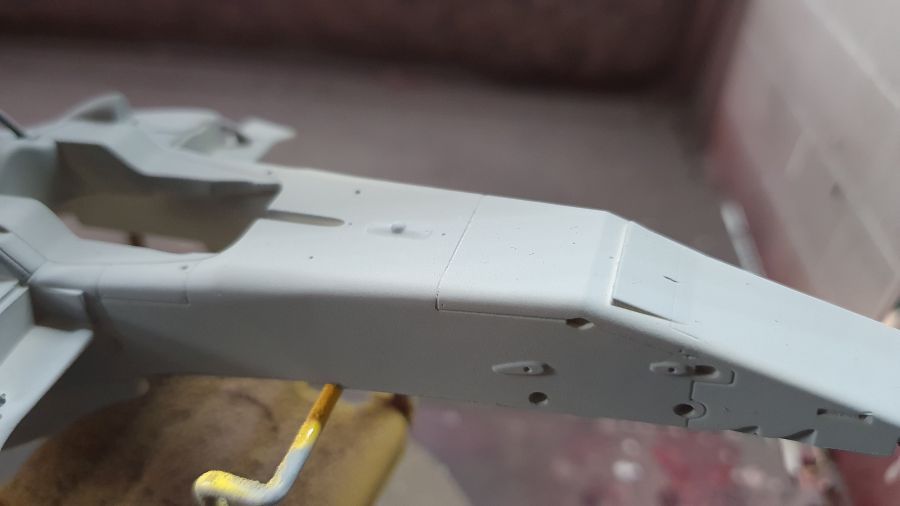
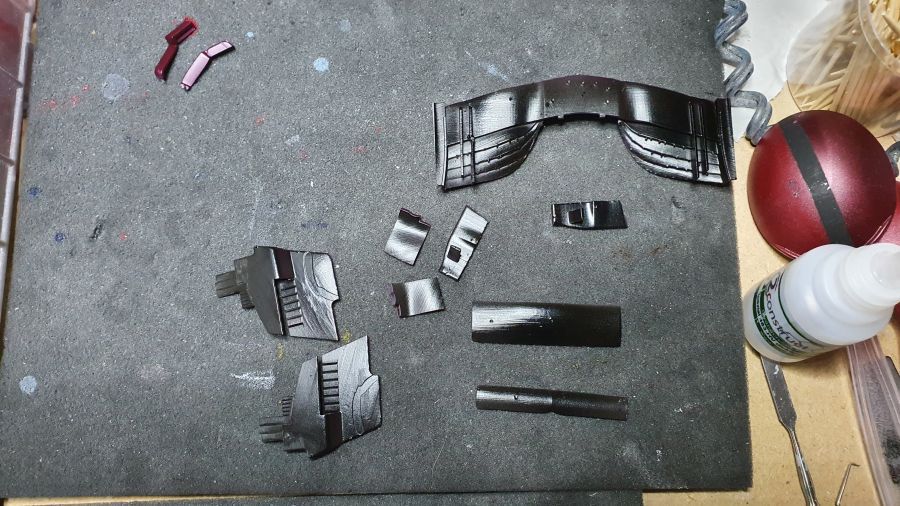
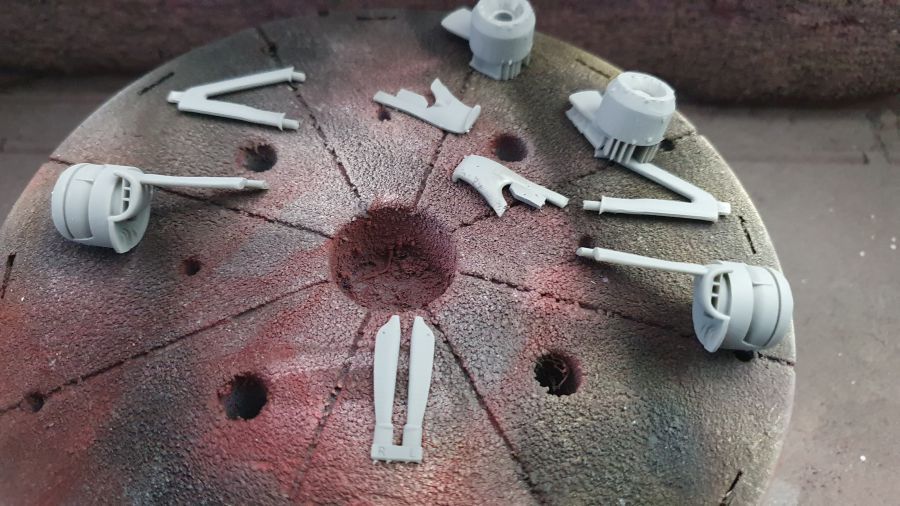
Een paar onderdelen moeten gerepareerd. Daarna de aanhechtingen van de print steunpunten weghalen.
A few parts need repairs. Then some cleaning of the points of printing supports.
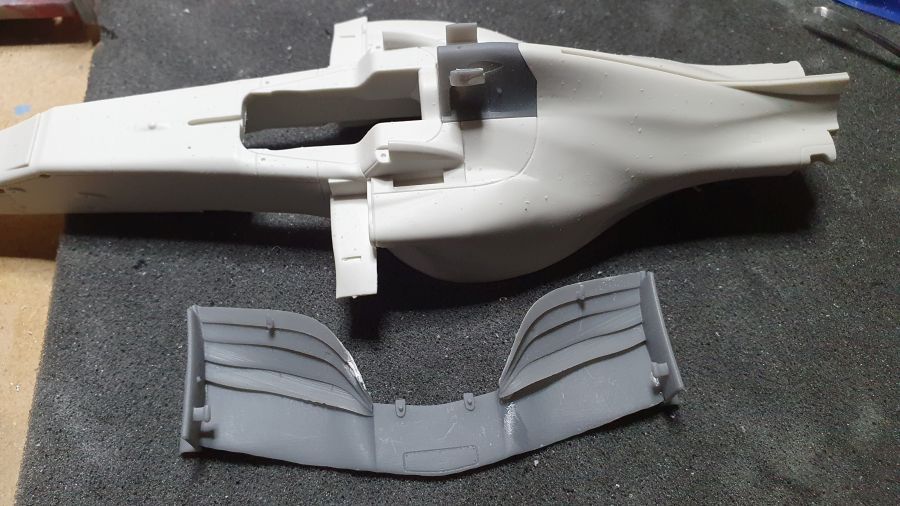
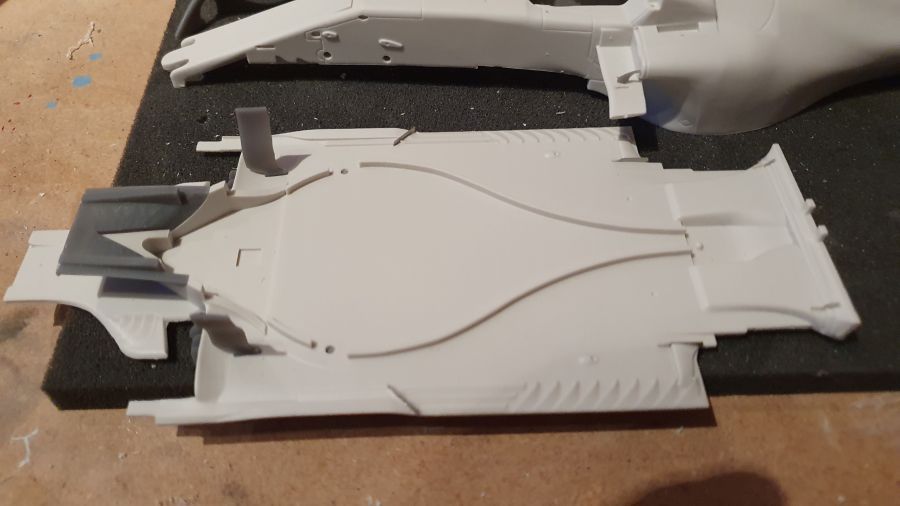
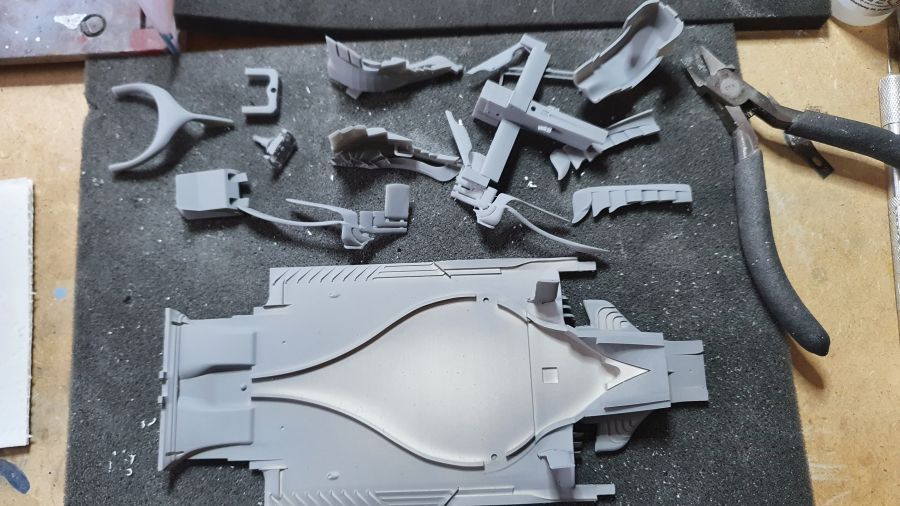
Eerst verder met de vloer...
For now to continue with the floor...
De steunen voor de ingangen van de sidepods worden vast uitgelijnd.
The supports for the side pod entries are being lined up.
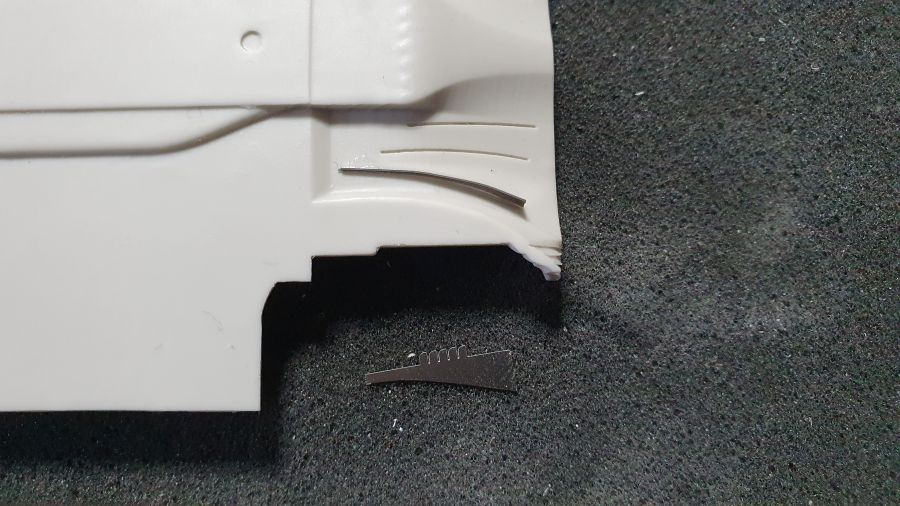
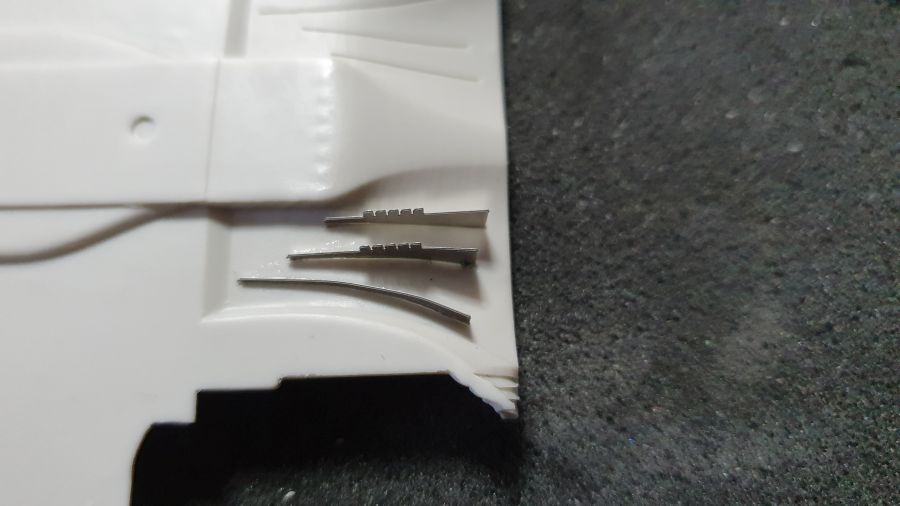
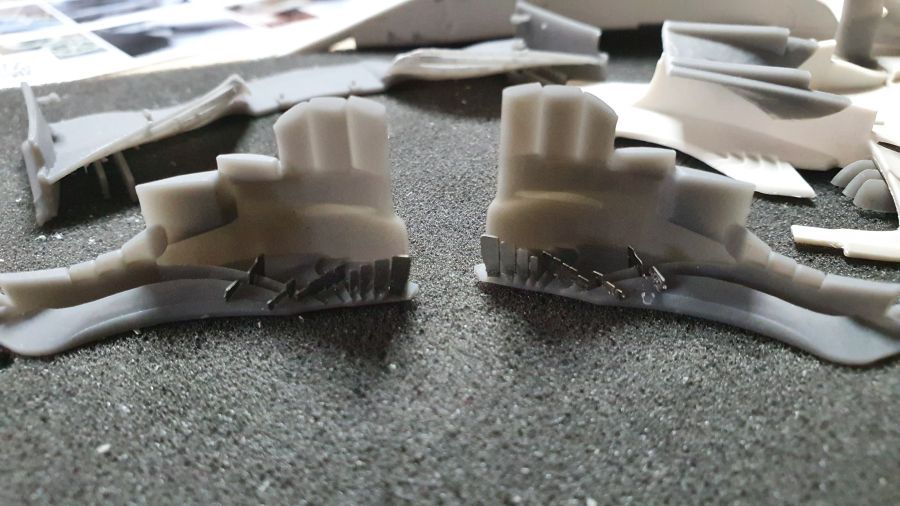
En vast etched werk aan de barge boards.
And some etched added to the barge boards.
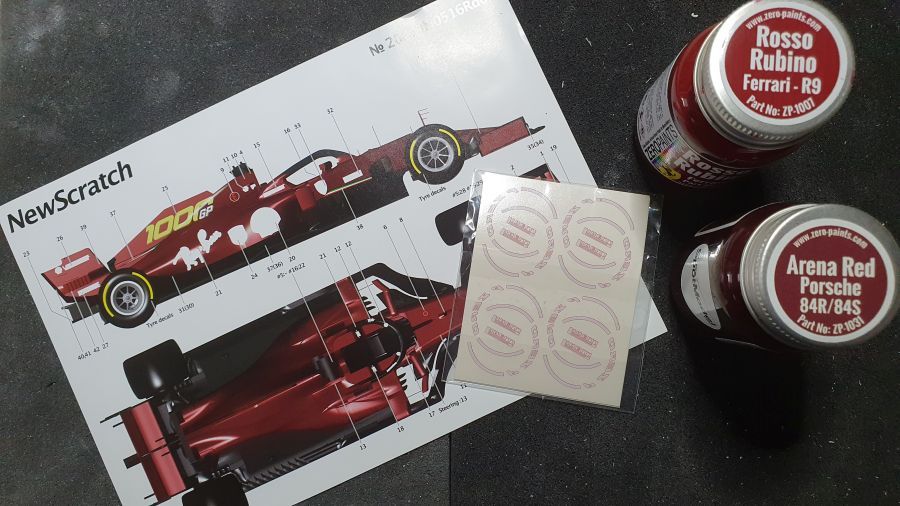
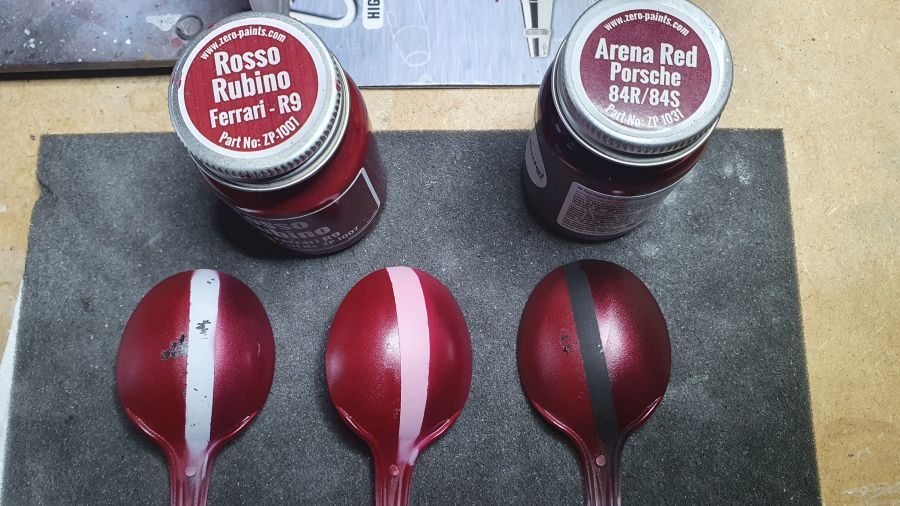
Na de Brexit is het zeer lastig om Zero Paints te kopen. Het bedrijf (Hiroboy) heeft zelf de verkoop aan EU-klanten stilgelegd. Verschillende kleuren moet ik nu soms bij verschillende bedrijven kopen met extra verzendkosten tot gevolg. Daarom ga ik deze wagen eens spuiten met Gravity Colors. Maar eens zien of dat bevalt. Eerst een test van het gekochte rood helemaal op rechts.
After the Brexit is is tough to buy Zero Paints. The company (Hiroboy) stopped sale to EU-customers. Different colors now sometimes need to be bought from different companies with extra shipping costs as a result. That's why i will try Gravity Colors for this car. First a test of the red i bought, to the most right.
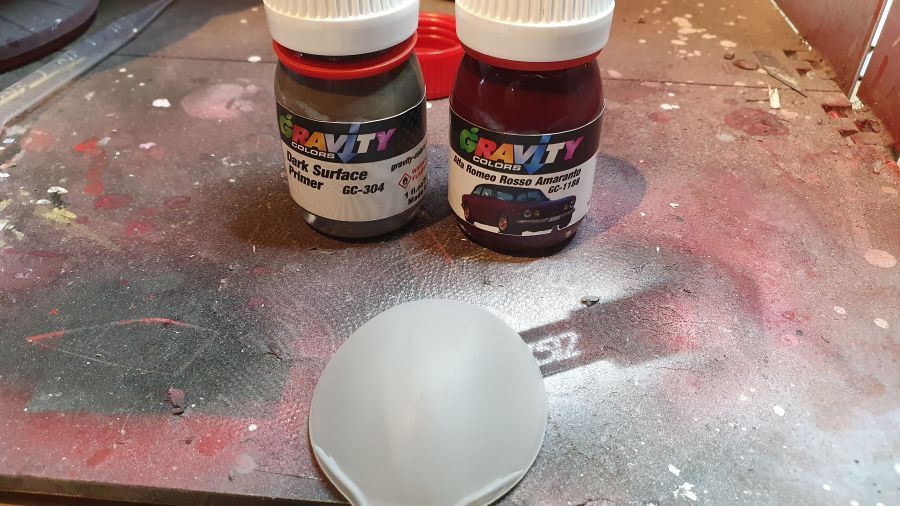
Eerst de primer. Ik moet zeggen dat me dat niet tegen valt. Ik gebruik de donkere primer (in verband met het donkerrood) van Gravity Colors (GC-304) en die spuit prachtig.
First of all the primer. I must say this is no disappointment. I am using the dark primer (because of the dark red) from Gravity Colors (GC-304) and it sprays wonderful.
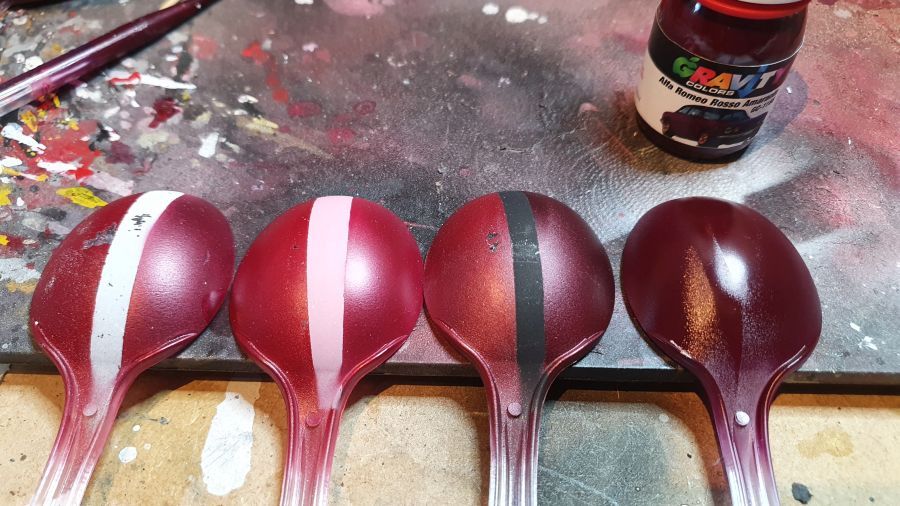
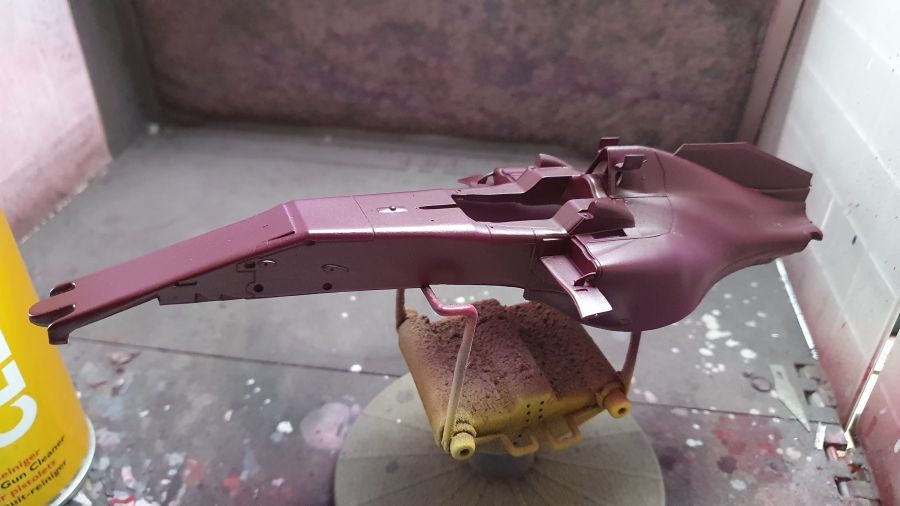
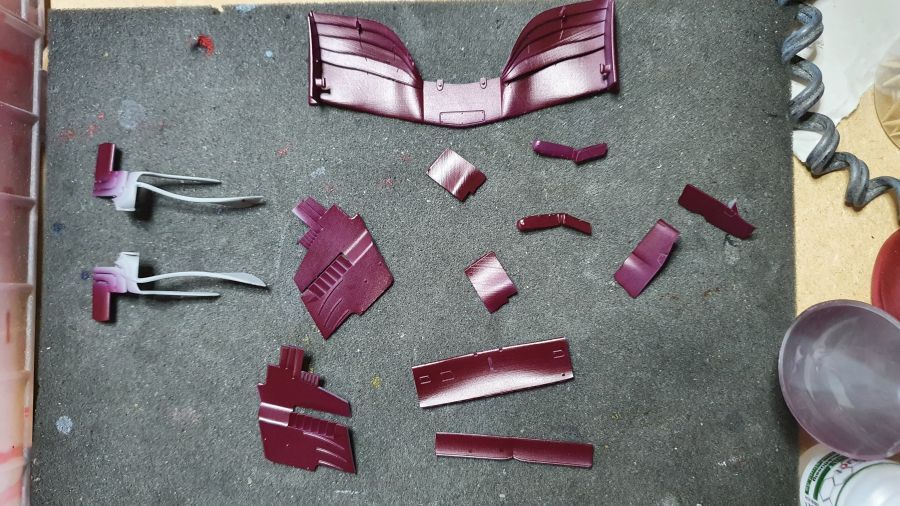
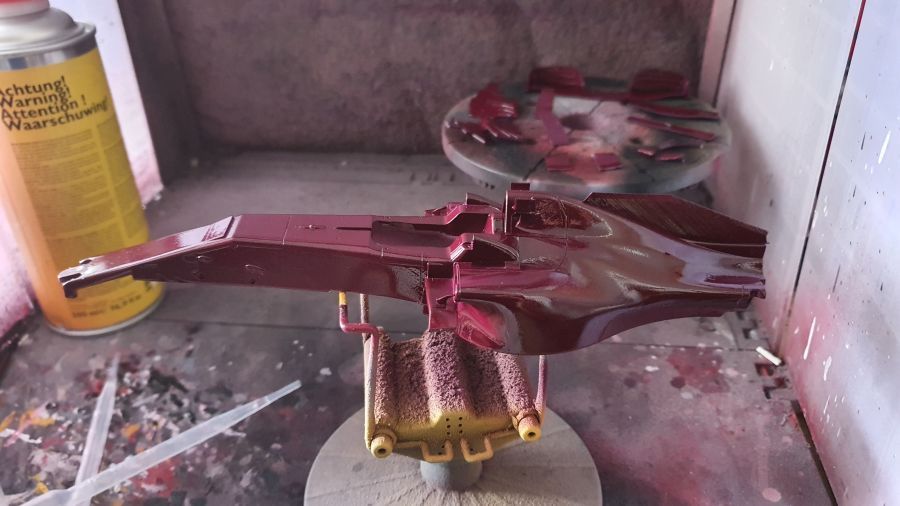
En dan het rood van Gravity Colors, Alfa Romeo Rosso Amaranto GC-1188.
And then the red from Gravity Colors, Alfa Romeo Amaranto GC-1188.
Dan door met het zwart. Ik gebruik Gravity Colors GC-101 Anthracite Black. Heeft zonder lak een satijn glans finish.
On to the black. I will use Gravity Colors GC-101 Anthracite Black. Without any lacquer it has a satin silk finish.
Voor het rood gebruik ik 2K lak van Gravity Colors GC-306. Een mooi resultaat.
For the red i will use 2K clear from Gravity Colors GC-306. A nice finish.

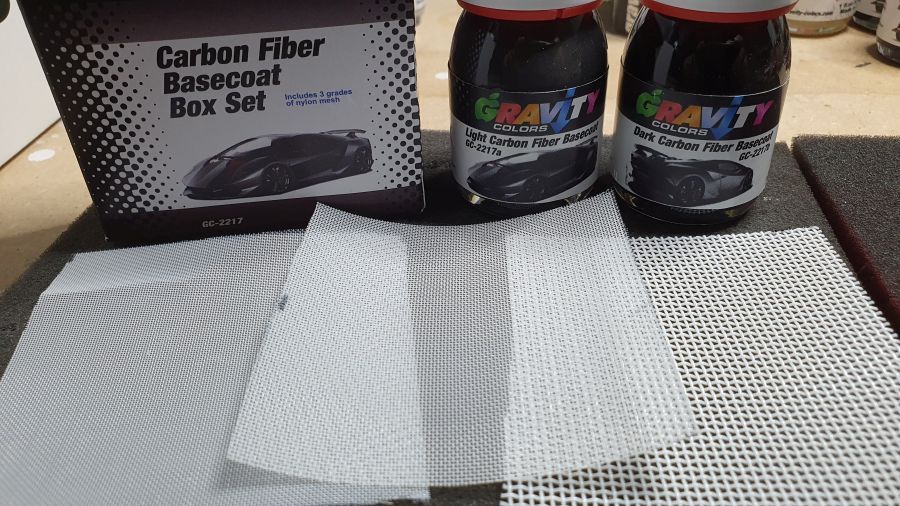
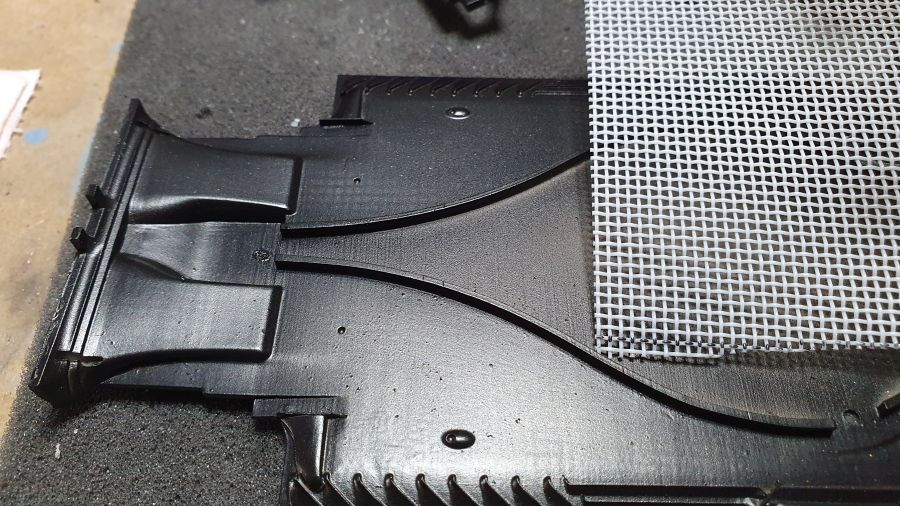
Ik heb ook deze 'armelui's carbonset' gekocht. Voor een goed effect moet het gaas strak over het onderdeel worden geplaatst. Dat gaat je niet lukken met zo'n barge board. Ik ga wel proberen wat te improviseren met de vloer.
I also bought this 'poor man's carbon set'. For a good result one has to put the mesh tight over the part. That will not work with a barge board like this. But i will try to improvise with the floor.
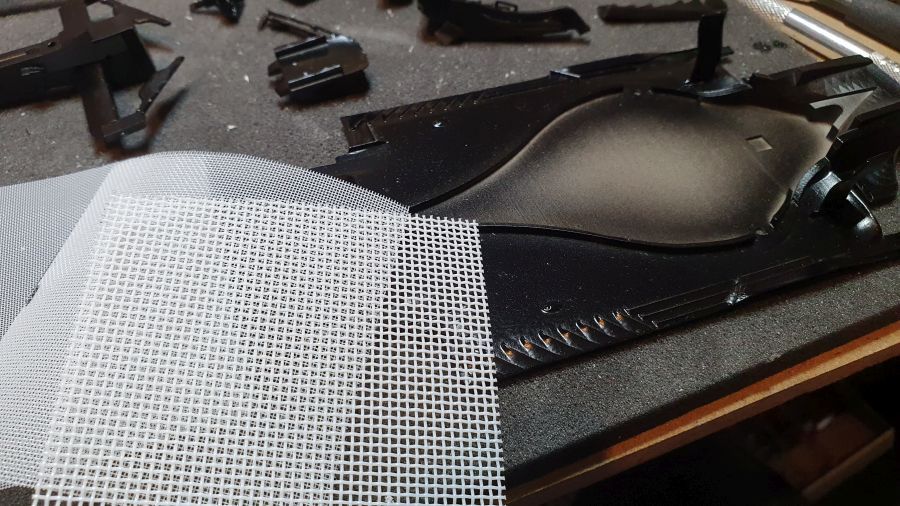
Ik heb gespoten met het grove mesh en de lichte kleur GC-2217B. Een hele lichte mist. Het resultaat is nauwelijks zichtbaar. Allen bij een juiste lichtinval. Juist goed naar mijn mening. Maar of ik het als vervanging ga gebruiken? Ik denk het niet. Misschien hier en daar voor wat kleuraccenten.
I sprayed with the large mesh and the light color GC-2217B. A mist coat. The result is hardly visible. Only on a certain light fall. Good in my opinion. But will i use it from now on? I don't think so. Maybe here and there to have some colorc accents.
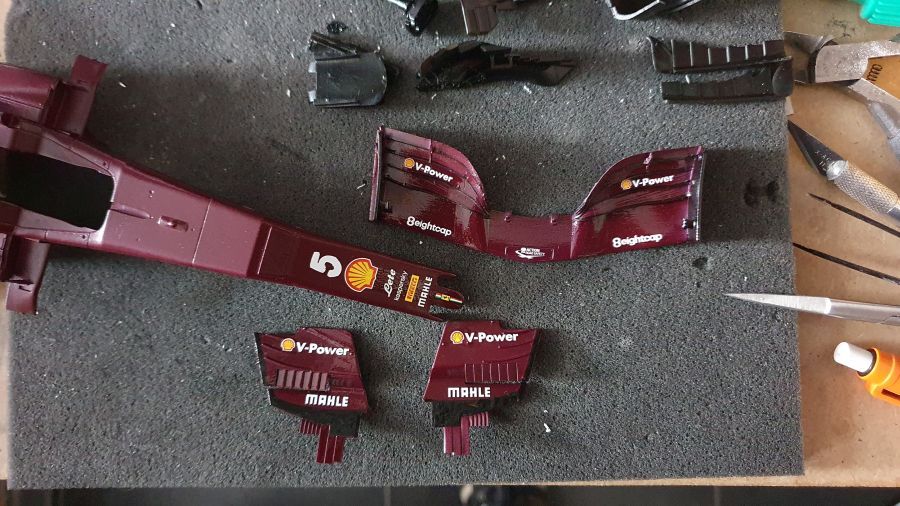
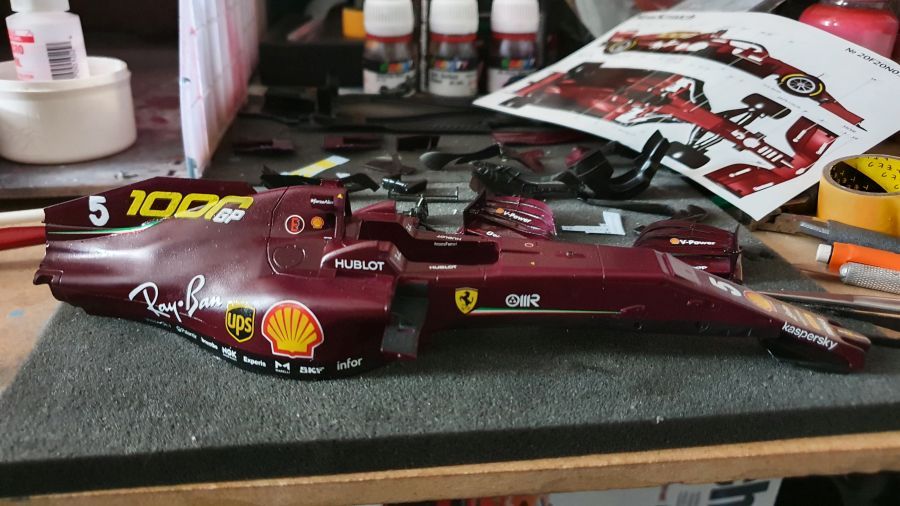
Tijd voor decals.
Decal time.
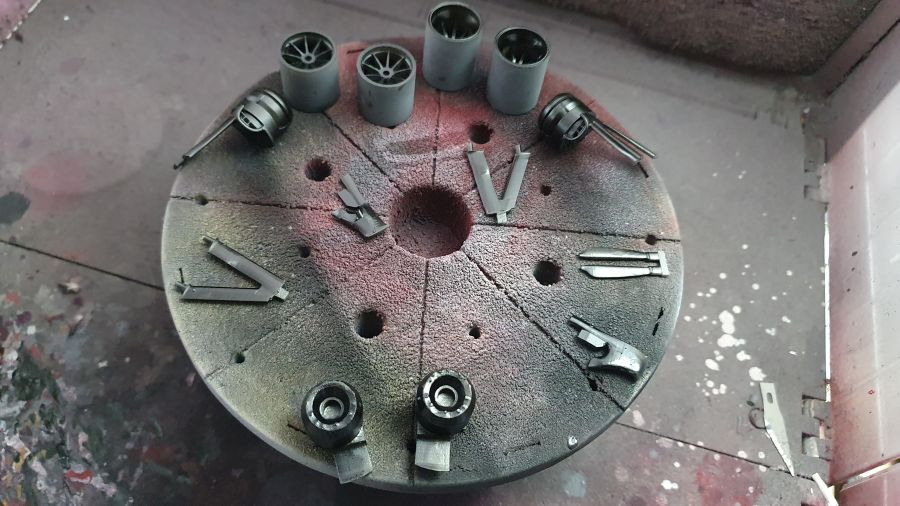
Primer en zwart voor de wielophanging.
Primer and black to the wheel suspension.
Hoewel het buiten wat vochtig is (raam open), heb ik toch de 2K lak van Gravity Colors gespoten. Het is een risico.
Although it's a bit moist outside (open window), i still sprayed the 2K clear from Gravity Paints. It's a risk.
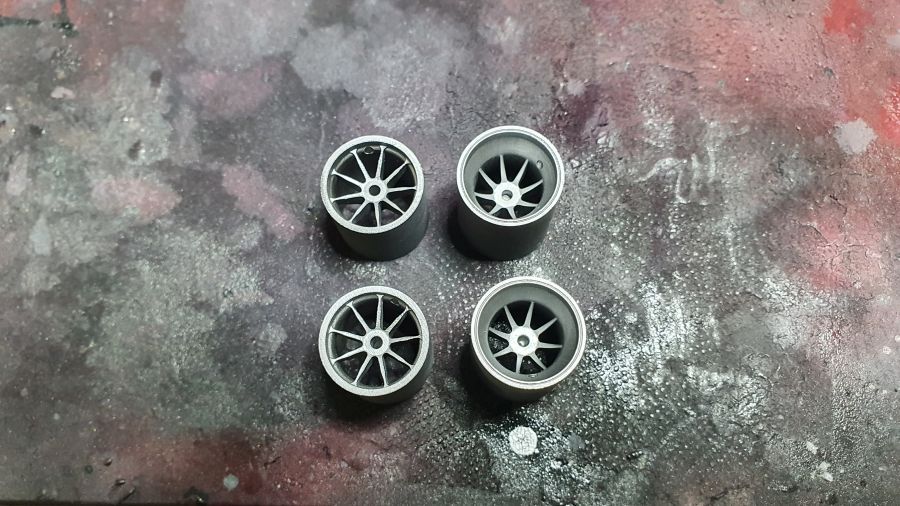
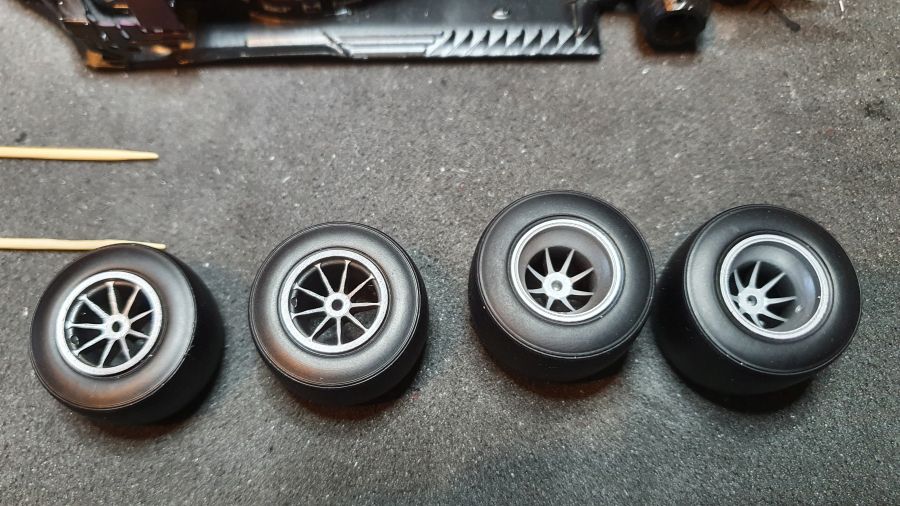
De velgen worden aluminium gespoten met Alclad II.
The rims get painted aluminium with Alclad II.
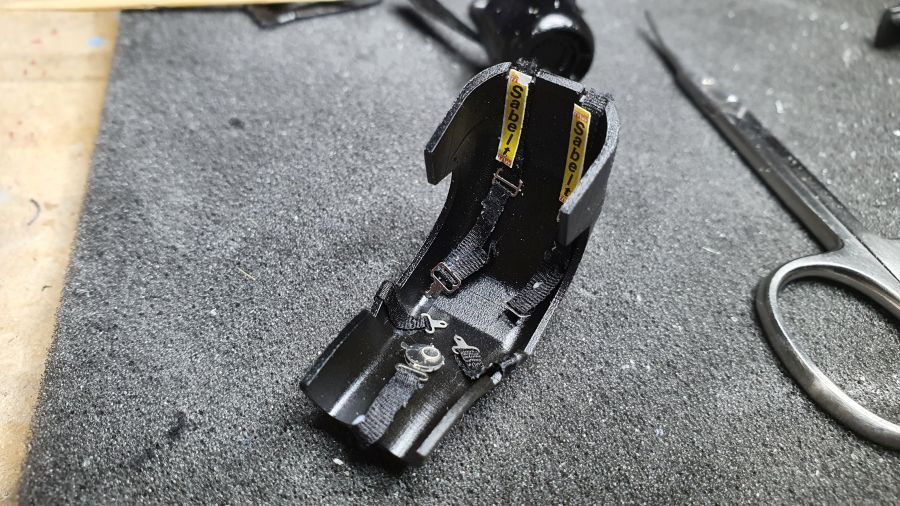
De stoel klaarmaken met de gordels...
Getting the seat ready with the belts...
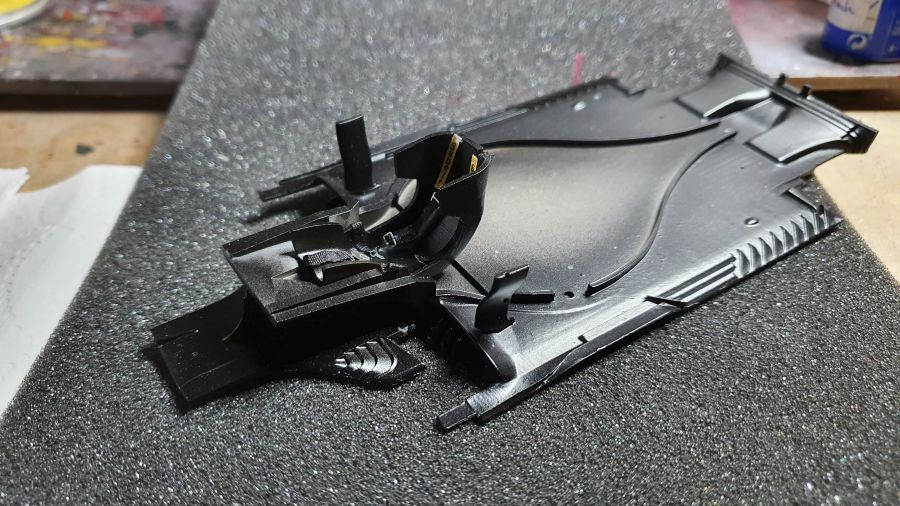
... op de vloer plaatsen...
... add it to the floor...
... en de body erop plaatsen. De motor en de achterwielophanging zijn al aan het bodywerk bevestigd.
... and attach the body to it. The engine and the rear wheel suspension have already been attached to the body.
De voorwielophanging gaat erop. Niet veel mogelijkheid om het 'af te stellen'.
The front wheel suspension gets mounted. Not many options to 'adjust it'.

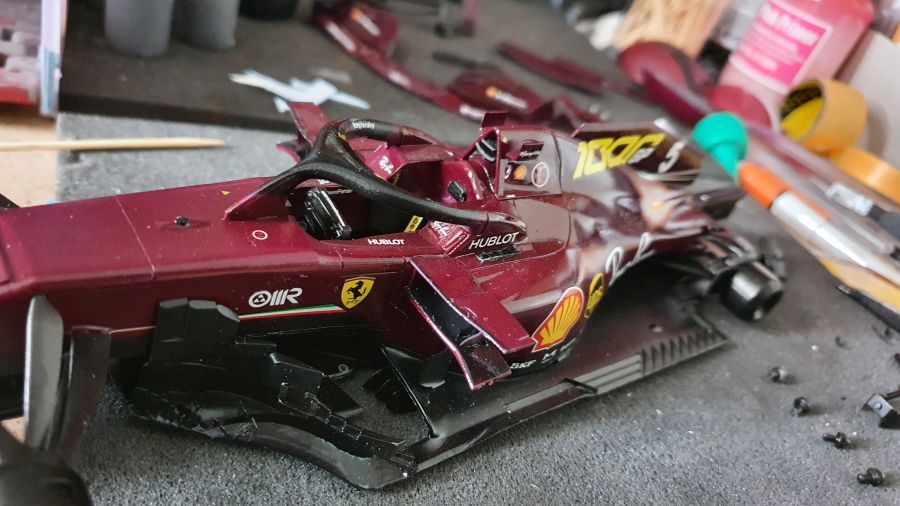
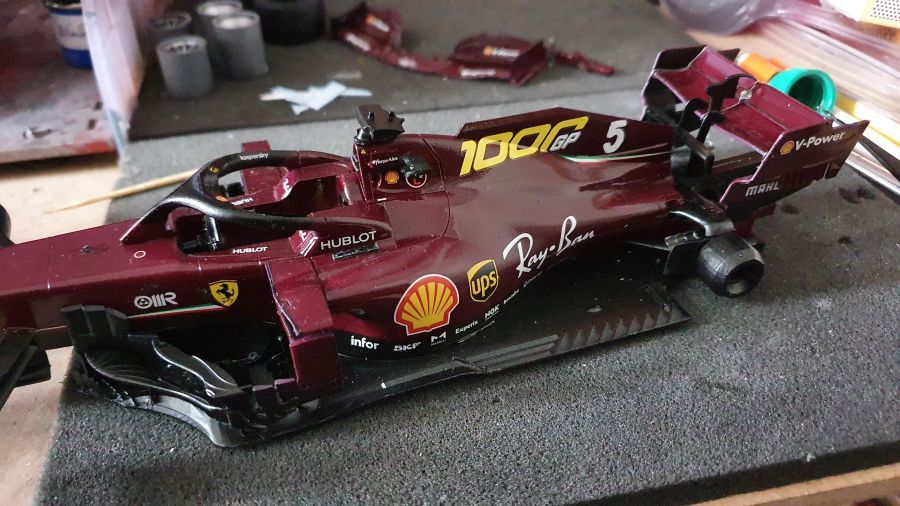
Onderdelen geplaatst: halo, binnenkant airbox, hoofdsteun, barge boards, luchtgeleiding neus.
Parts added: halo, inside airbox, head support, barge boards, air guide nose section.
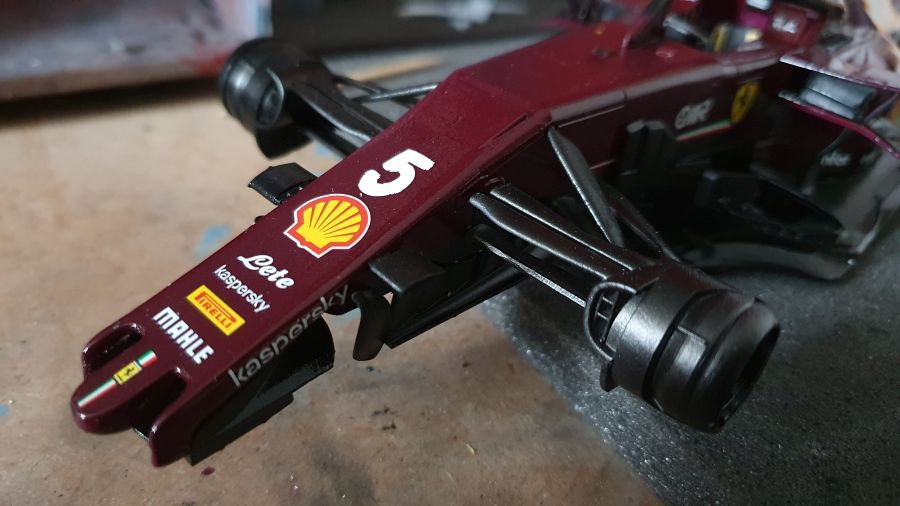
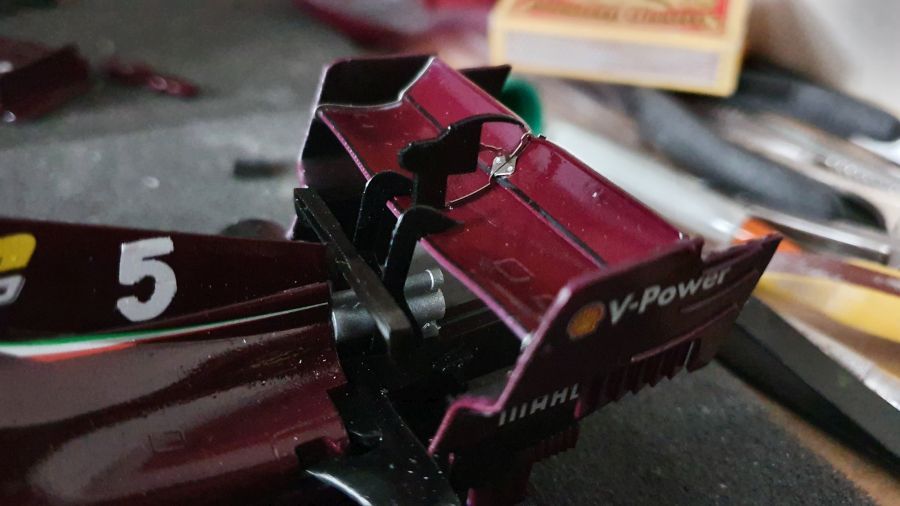
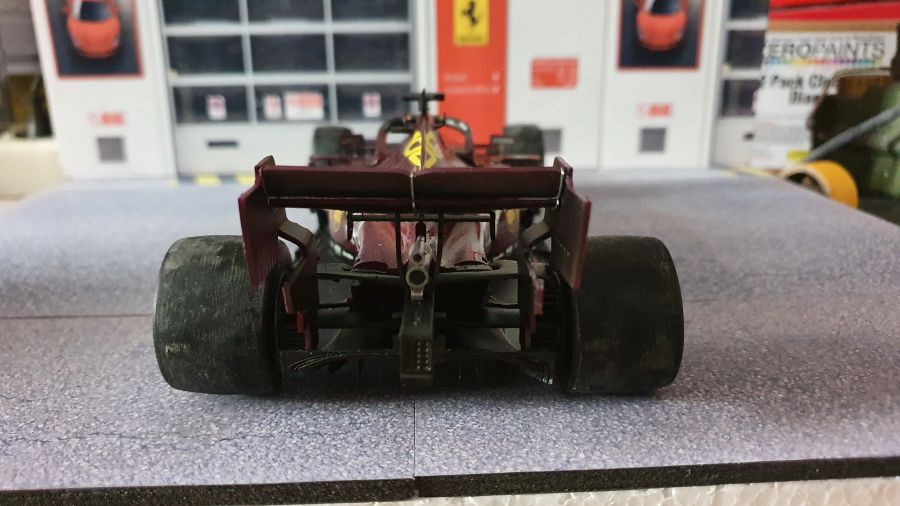
Verder met de achtervleugel, voor mij altijd lastig... en de DRS maakt het niet gemakkelijker.
On to the rear wing, to me always a pita... and the DRS doesn't make it simpler.
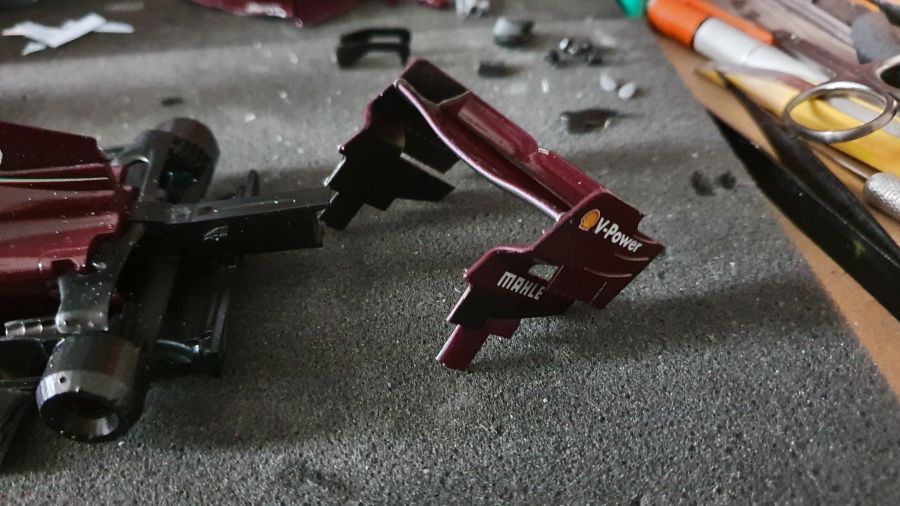
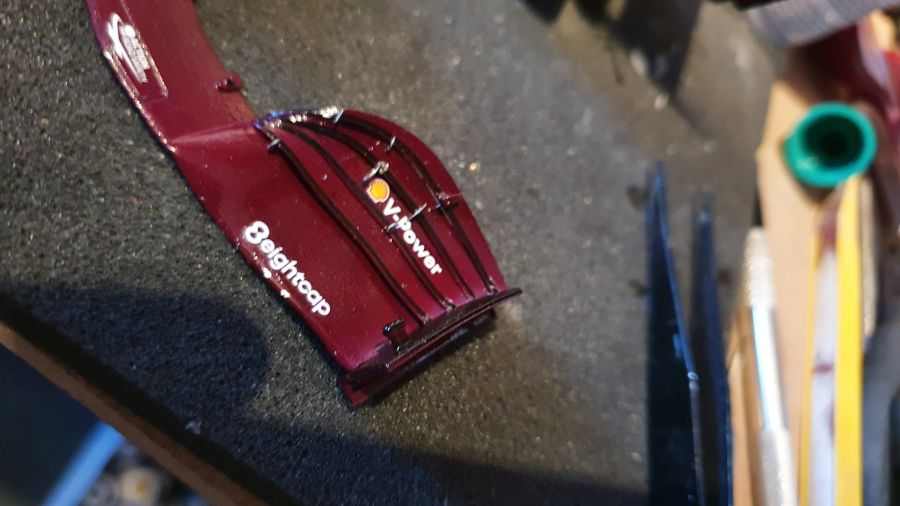
Meer vleugels aan de barge boards. Het schiet al op.
More wings to the barge boards. It's going to look like it.
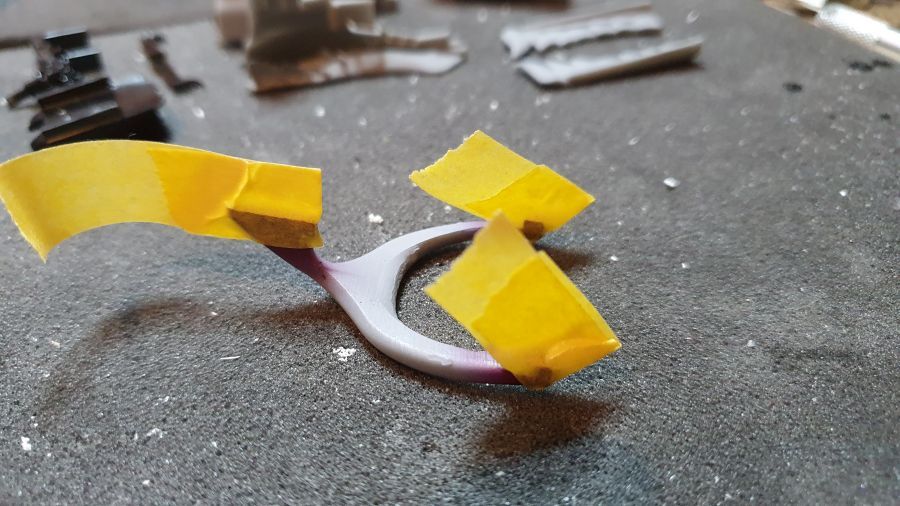
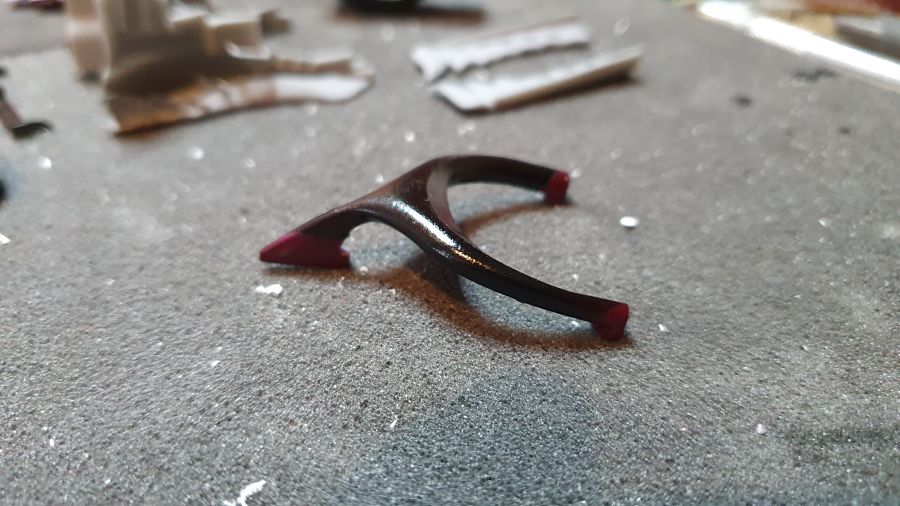
De steunen aan de voorvleugel plaatsen.... leuk... @#$%
Adding supports to the wings.... nice... @#$%
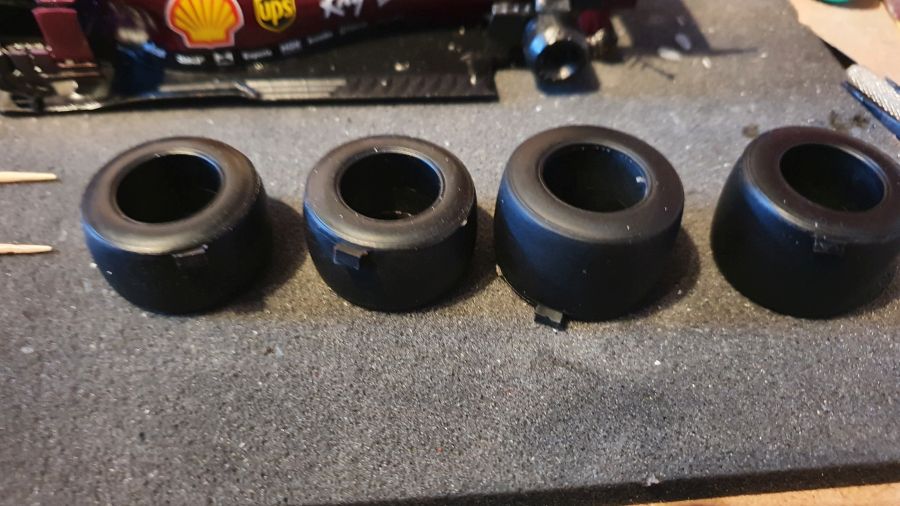
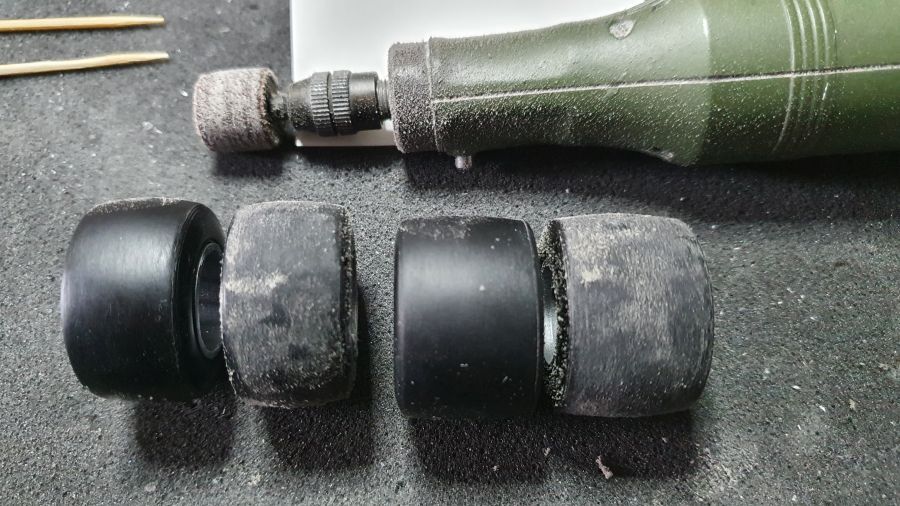
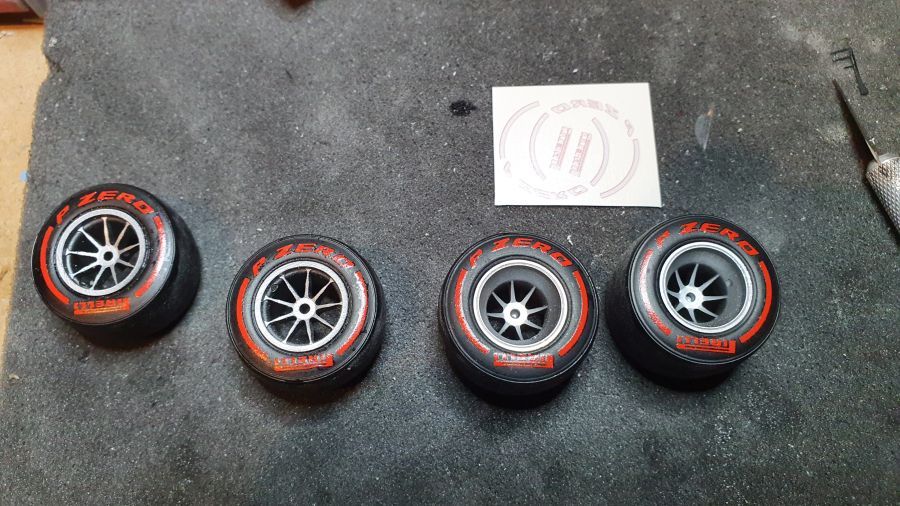
Door met de banden en velgen.
To continue with the tires and rims.
Ik wilde de markering voor hard (wit) plaatsen, maar helaas waren deze decals beschadigd.
I wanted to add the markings for hard (white), bur unfortunately these decals were damaged.
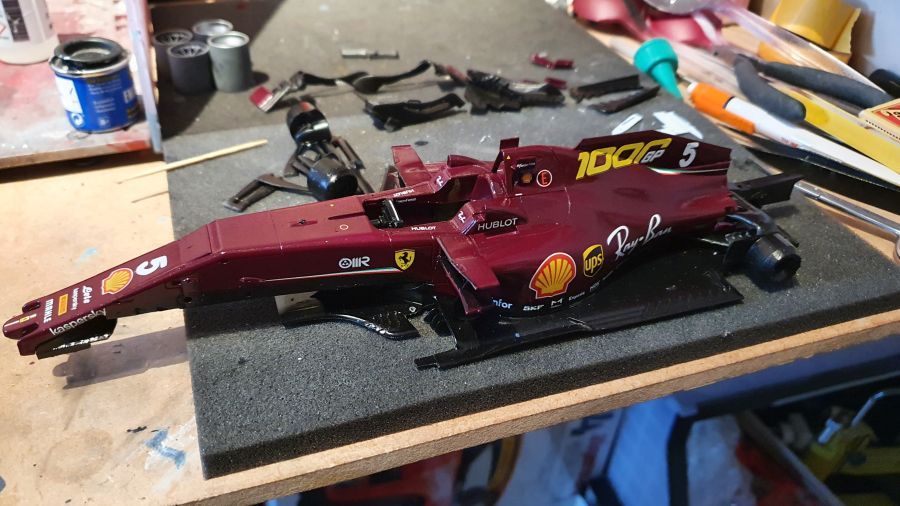
Nog wat onderdelen geplaatst. Ik denk dat deze weer klaar is.
Some parts added. I think this one is done.
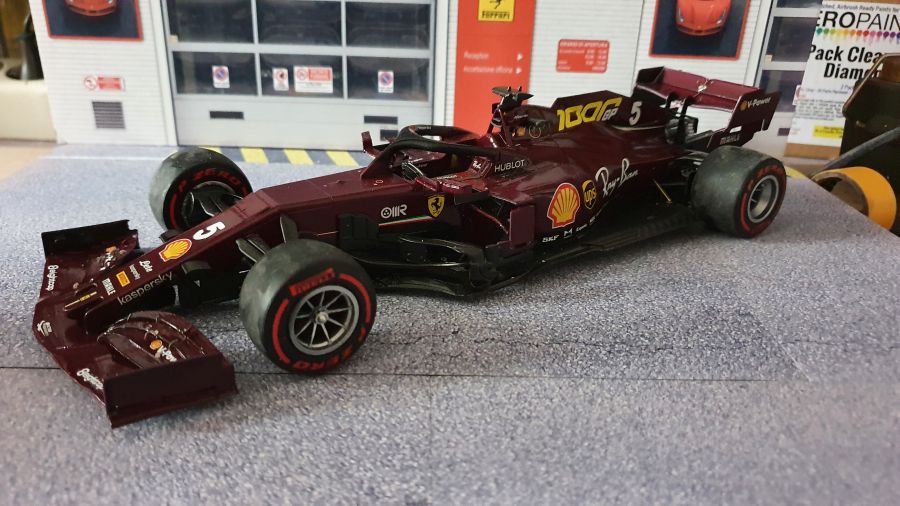
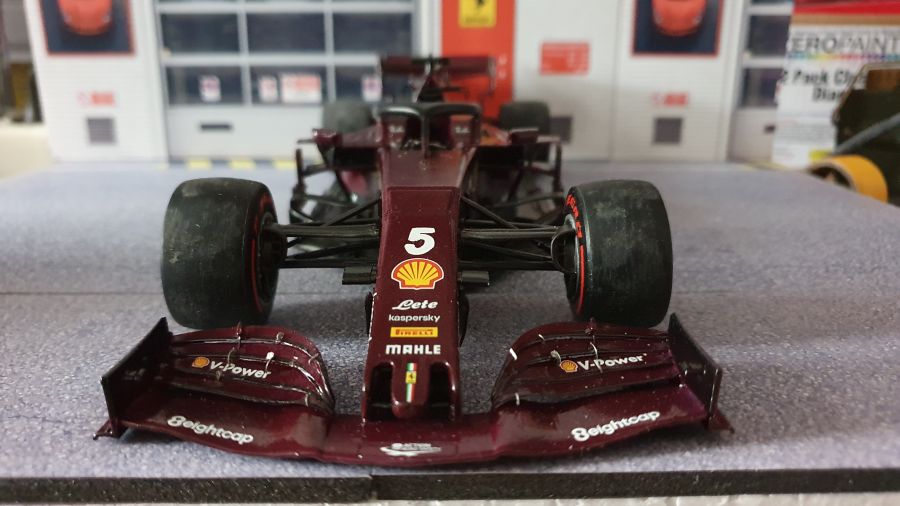
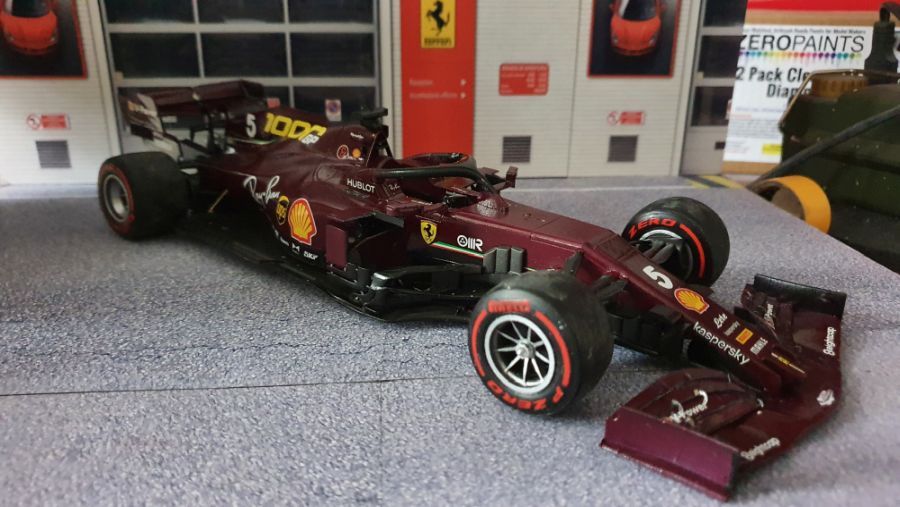
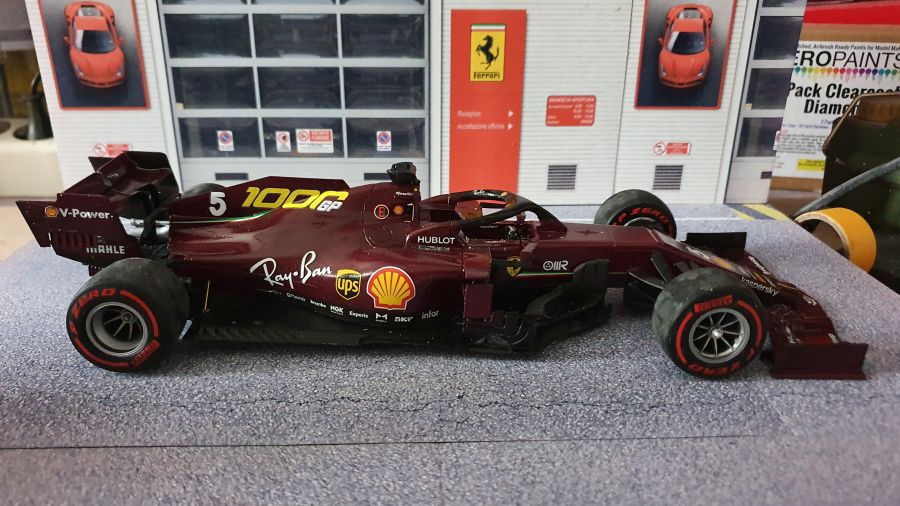
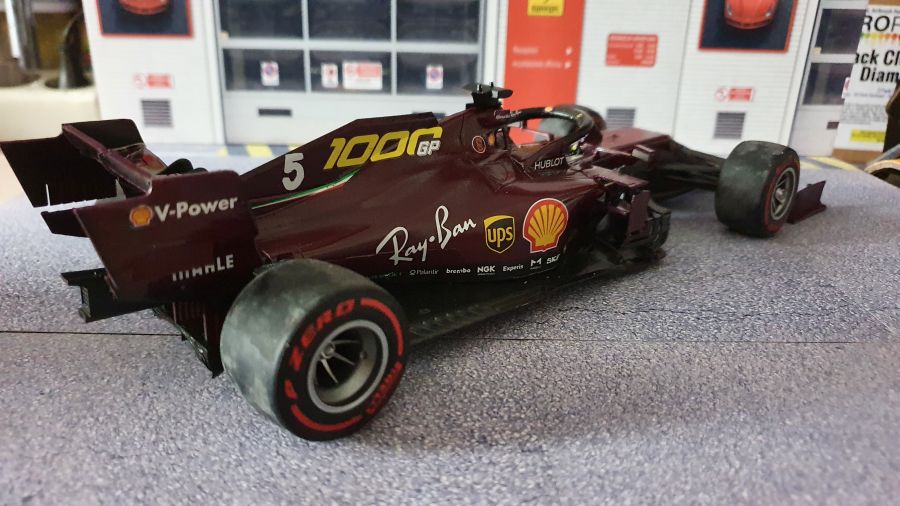
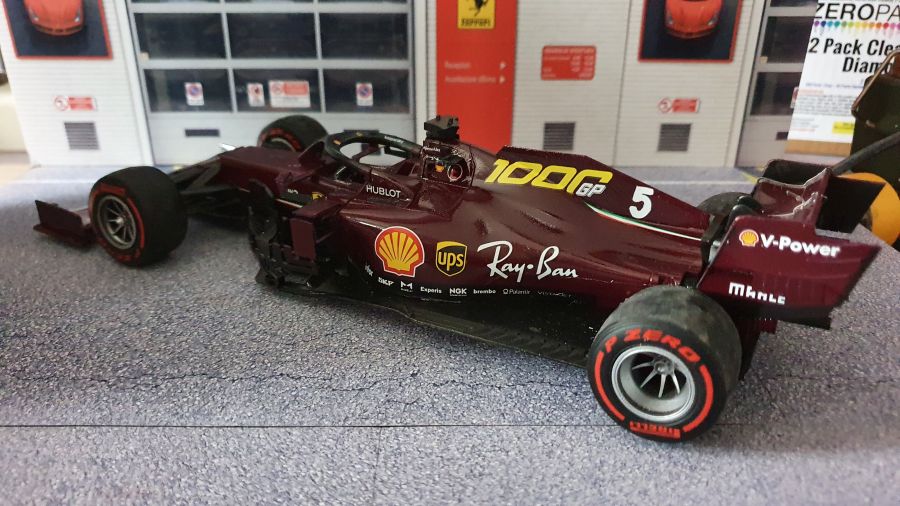
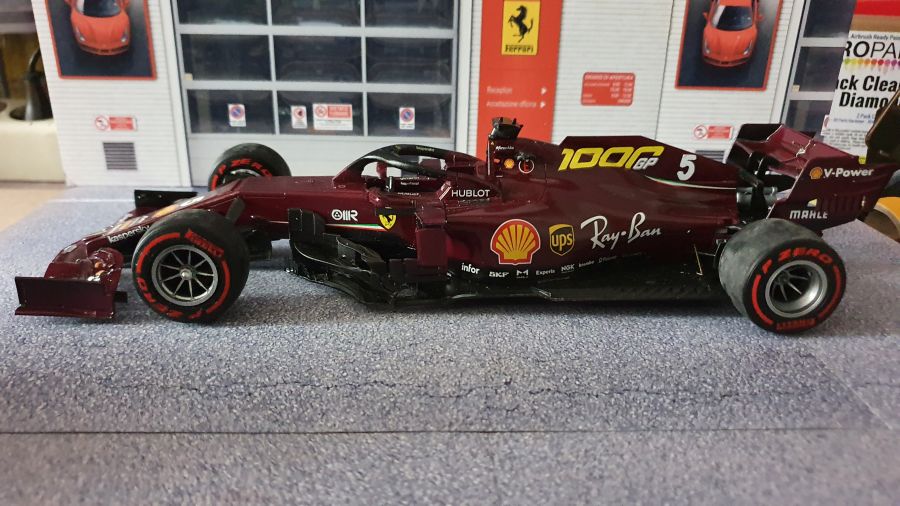
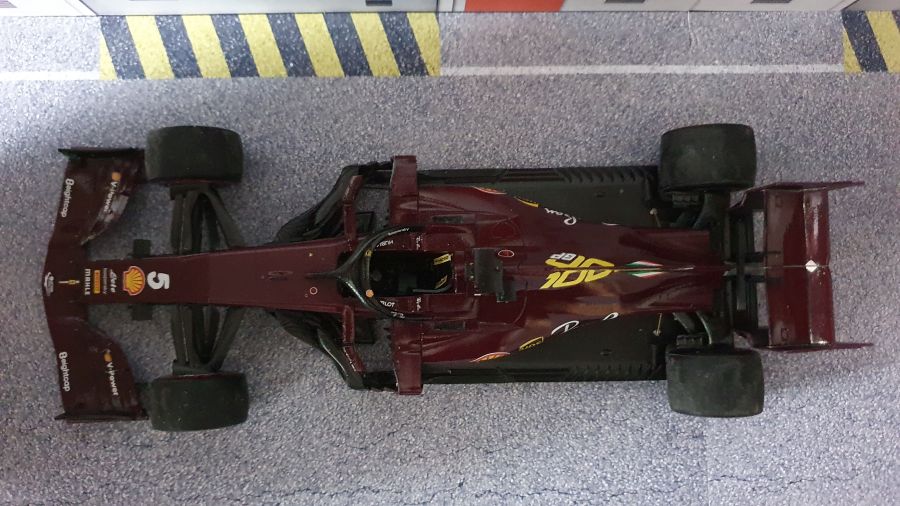
Geen specifieke problemen met de kit. Wel is het raadzaam op te passen, want de onderdelen zijn zeer breekbaar.
No specific problems with this kit. But is is advised to be carefull, as the parts are very fragile.