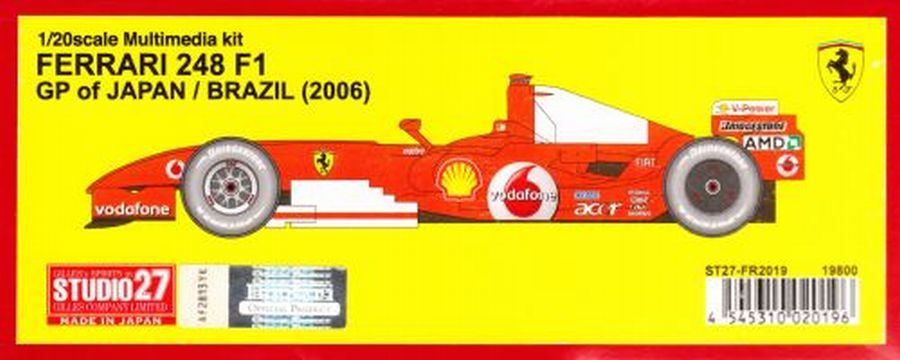
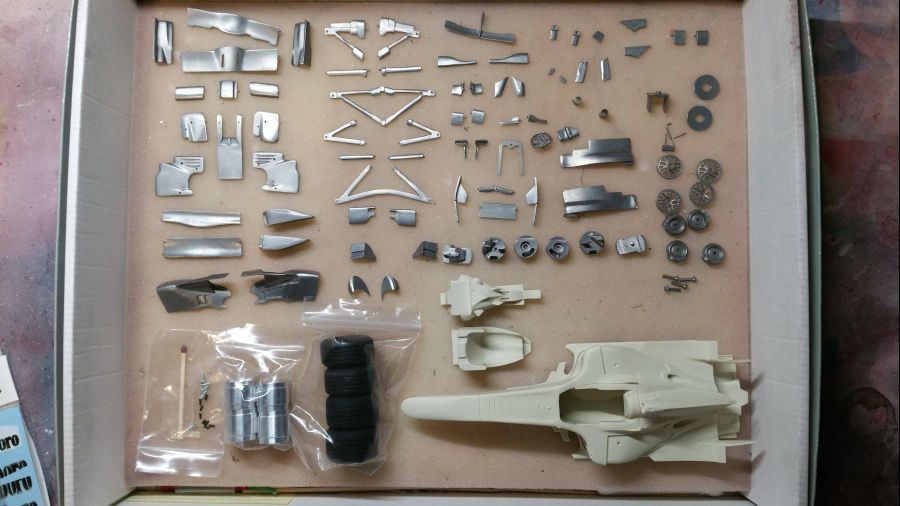
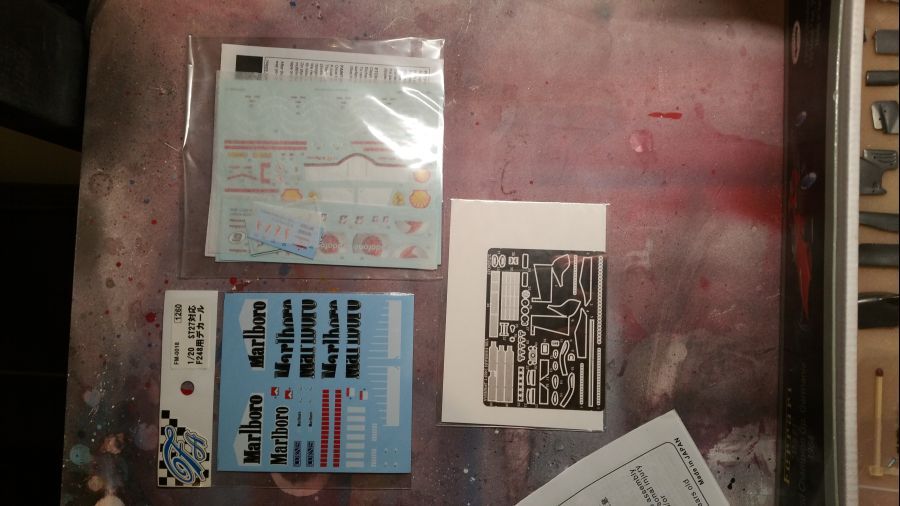
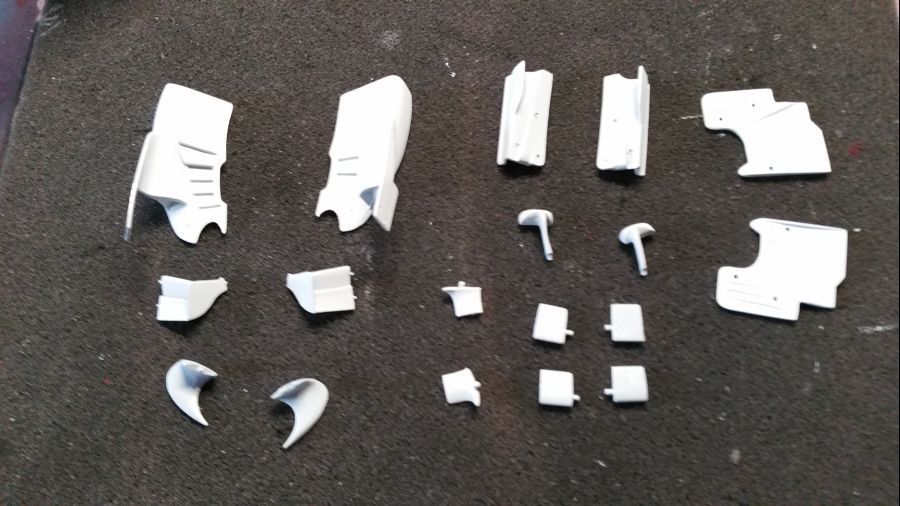
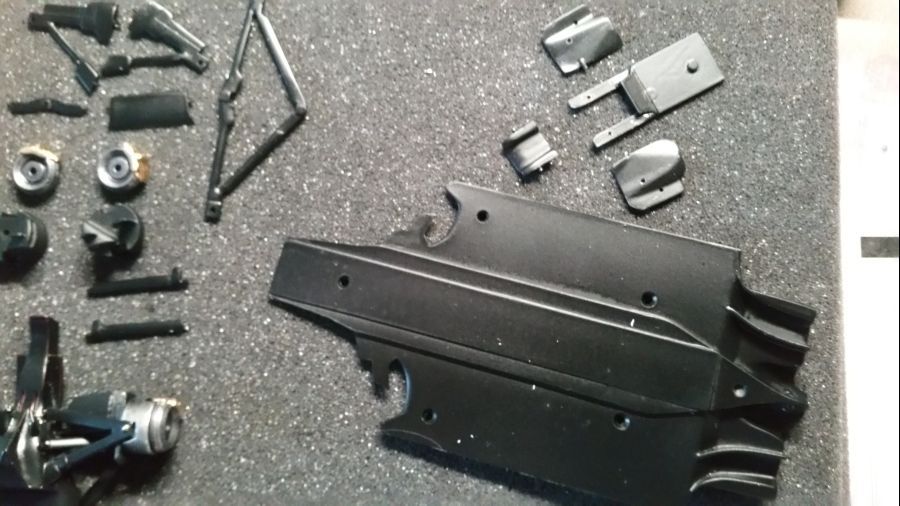
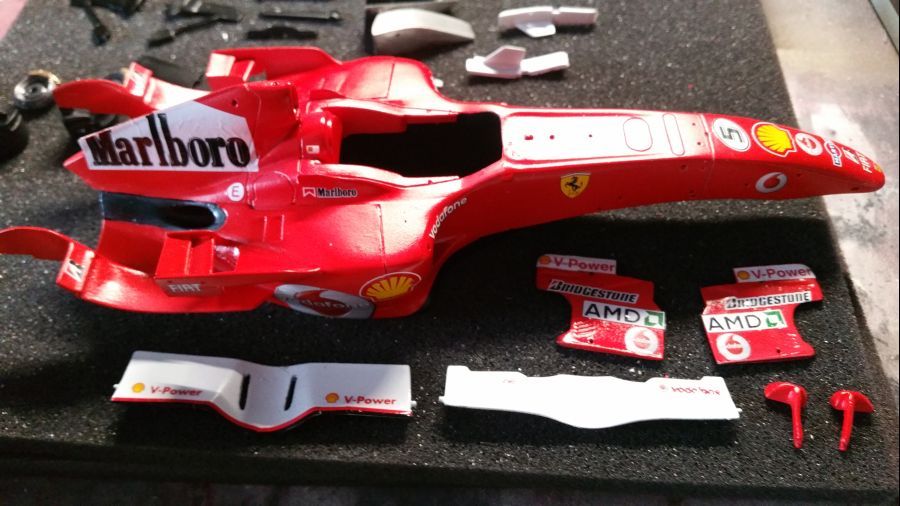
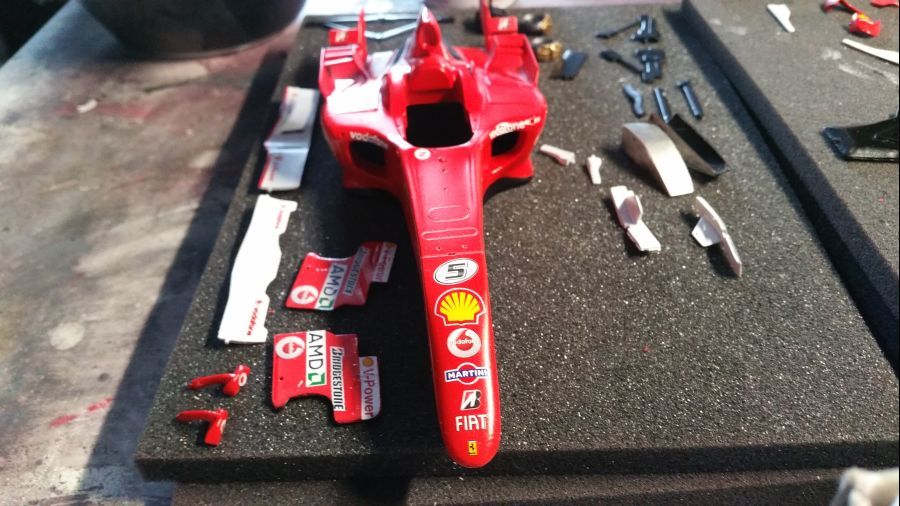
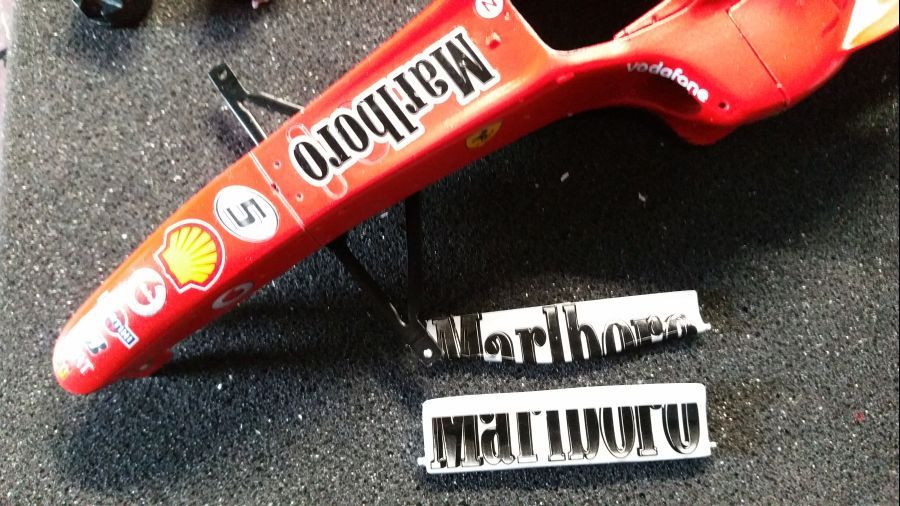
Nu verder met een wat 'nieuwer' model. Deze keer de Ferrari 248 F1 Japanse versie. Deze wagen werd door Michael Schumacher bestuurd in 2006. Ik heb ook nog dezelfde kit van Modelfactory Hiro. Deze ga ik later bouwen. Dat wordt dan de Braziliaanse versie van deze Ferrari. Ik heb wat extra decals gekocht voor deze wagen. Het betreft die van het bekende cigarettenmerk. Volgens mij was dit merk zichtbaar bij de Japanse GP. Al met al moet het dus weer een mooi compleet model worden. Eerst weer alle foto's van de inhoud en extra's.
Next is a 'newer'model. This time the Ferrari 248 F1 Japanese version. This car was driven by Michael Schumacher in 2006. I have the same kit from Modelfactory Hiro too. I will build that one at a later time. That one will be the Brazil version of the Ferrari. I bought some extra decals for this car. Those of the famous cigarette brand. To my knowledge this was visible during the Japanese GP. So it should turn into a nice model. First of all, all pictures of the content and extras.
Er moeten besluiten worden genomen. Normaal gesproken zet ik delen van de body in elkaar voordat ik ga spuiten. Daarmee kun je naden wegwerken. Eventueel nog met putty. Vaak houdt dat in, dat je meerdere keren met de airbrush moet spuiten om in alle hoekjes te komen. Dat is precies wat ik deze keer niet kan gebruiken. De verf moet er echt in 2 of 3 dunne lagen perfect op zitten.
Decisions need to be made. Normally i glue parts of the body before airbrushing. It's a nice way to get rid of seems. Sometimes work with putty is necessary. This often means you have to spray multiple times with the airbrush to get in all corners. That's exactly something i cannot use this time. The paint has be be on in 2 or 3 perfect layers.
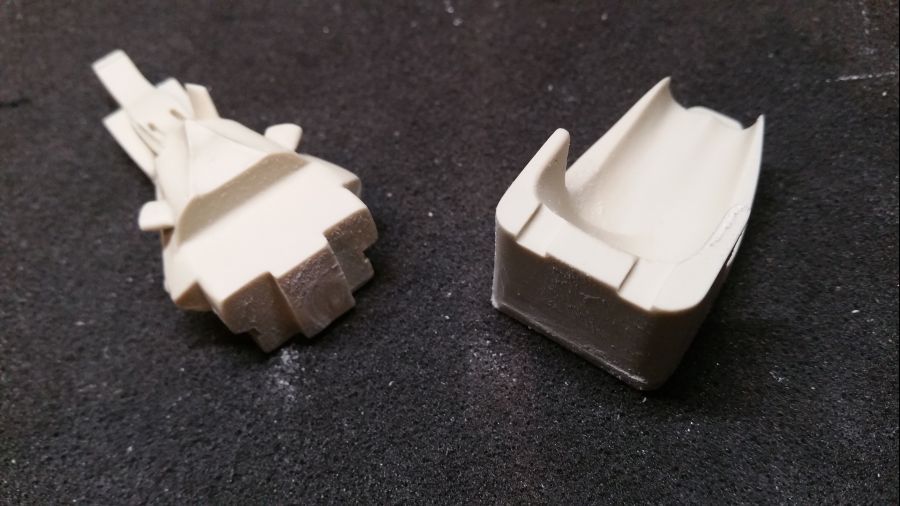
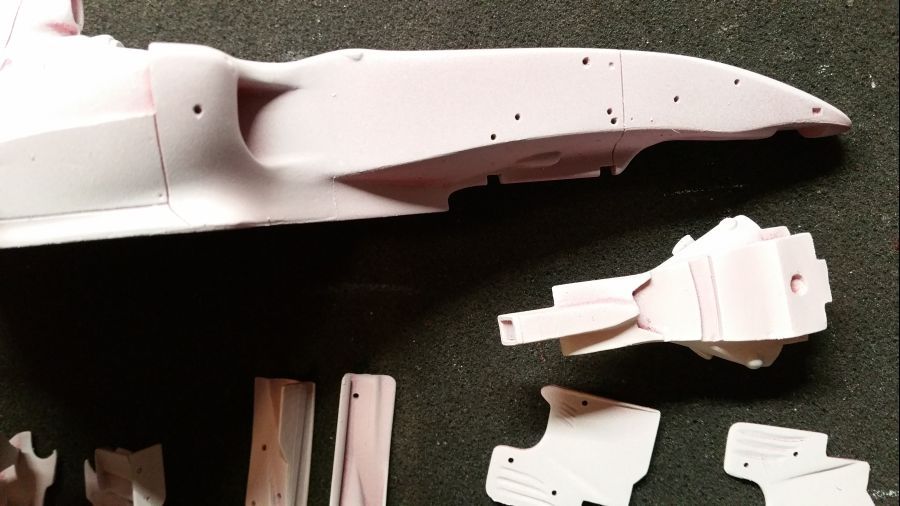
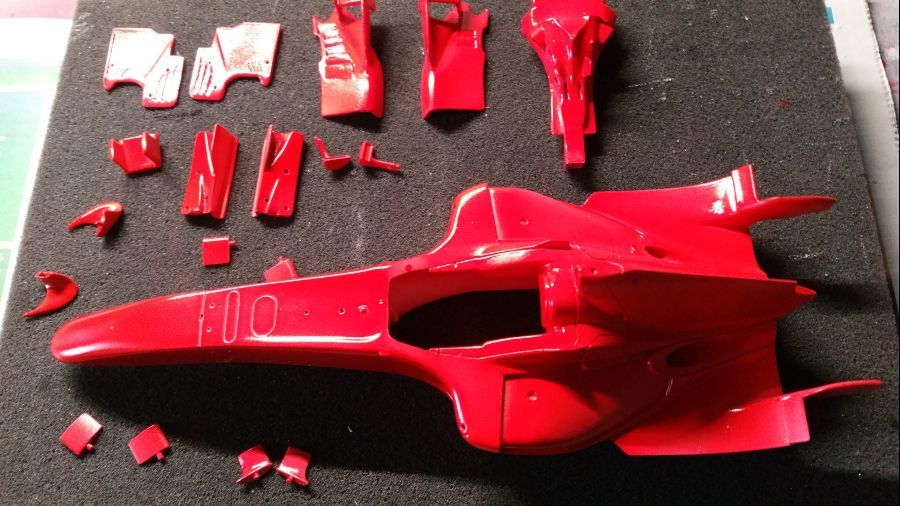
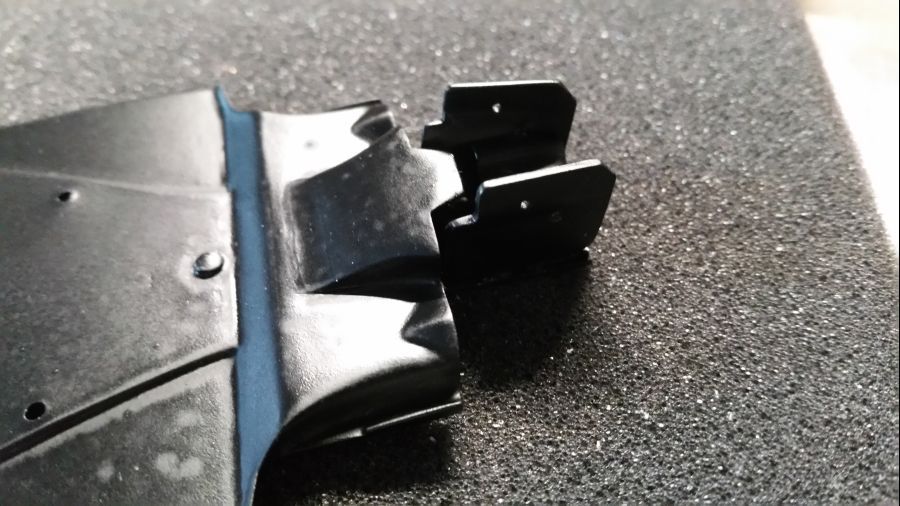
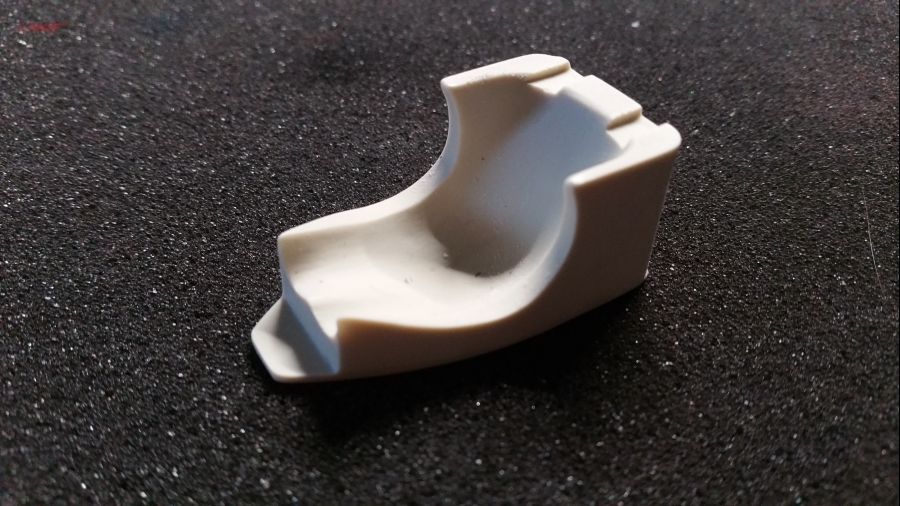
Allereerst ga ik wat overbodig resin verwijderen. Dat maakt het straks wat gemakkelijker.
First i will cut off some excess resin. Makes it easier during the process.

Volgens Zero Paints is de ZP-1007 2004-2006 Rosso Fluoresent F1 de juiste kleur voor deze wagen.
According to Zero Paints ZP-1007 2004-2006 Rosso Fluoresent F1 is the correct colour for this car.
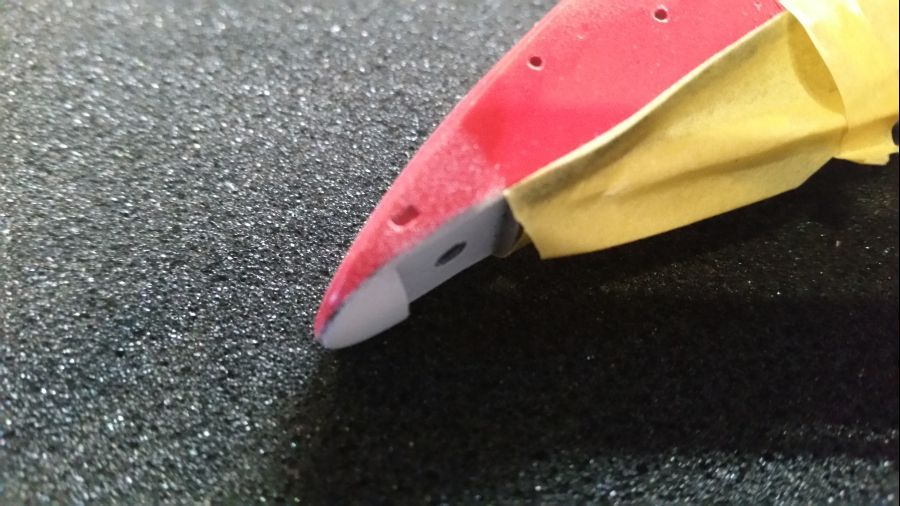
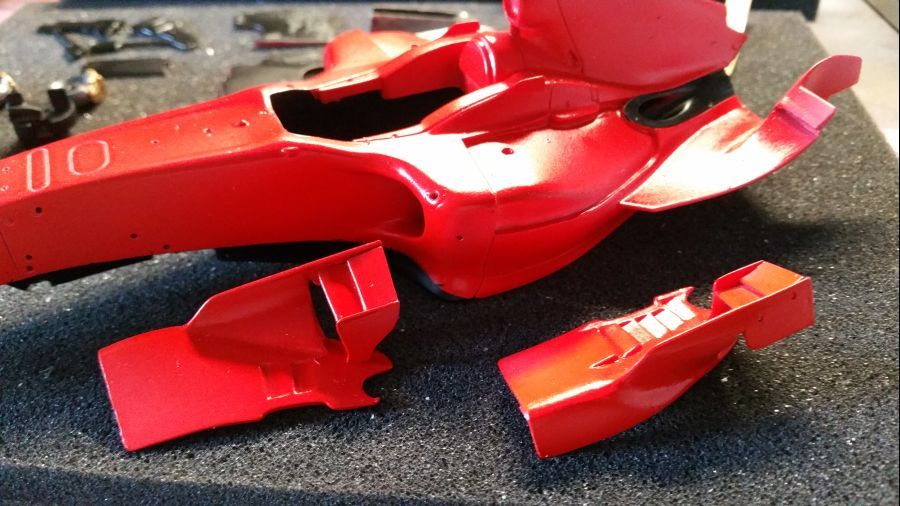
Wat gaatjes worden geboord voordat de rode verf erop gaat en de vinnen worden in elkaar gezet.
Some holes get drilled before painting red and the fins are prepared.
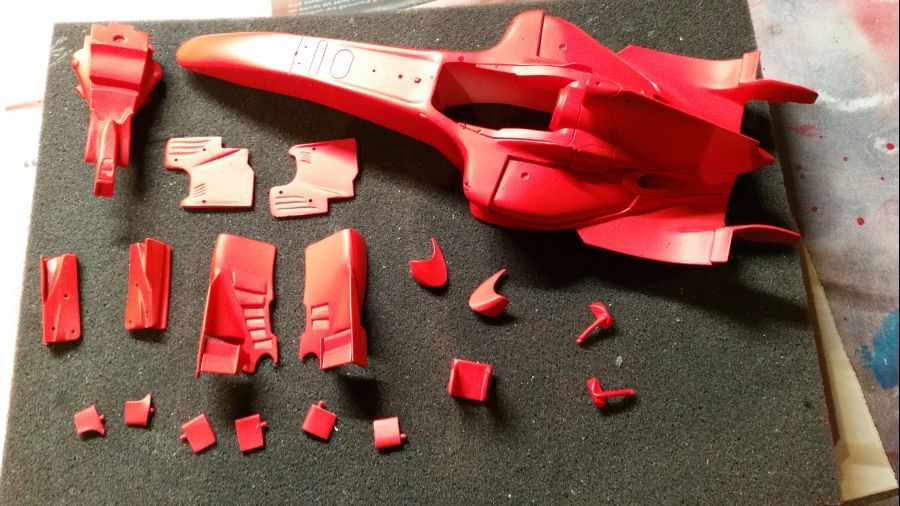
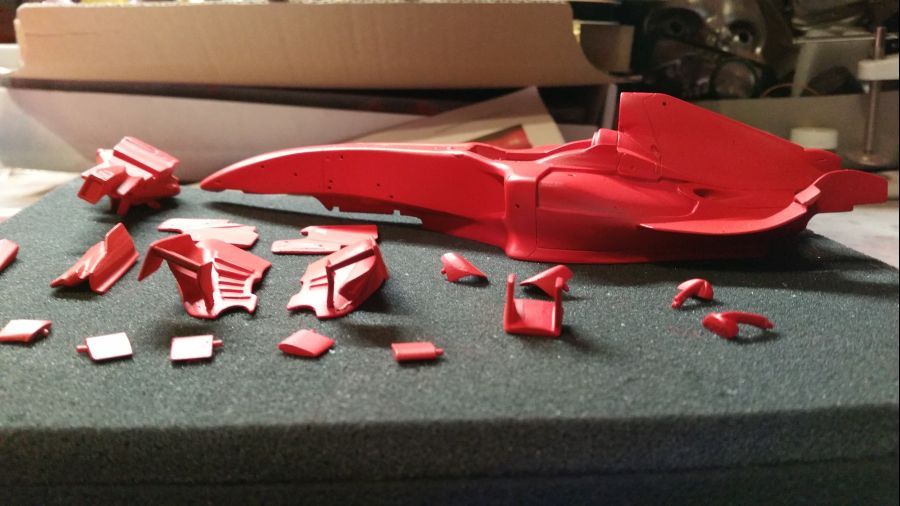
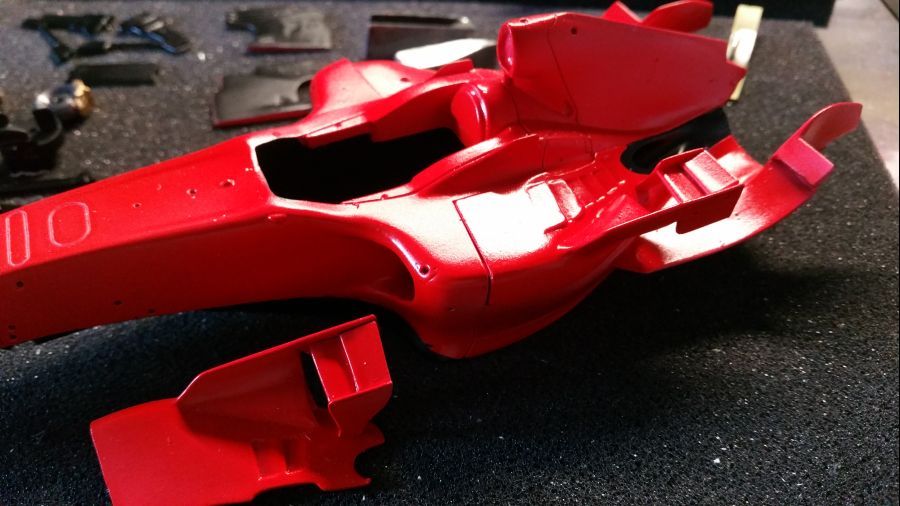
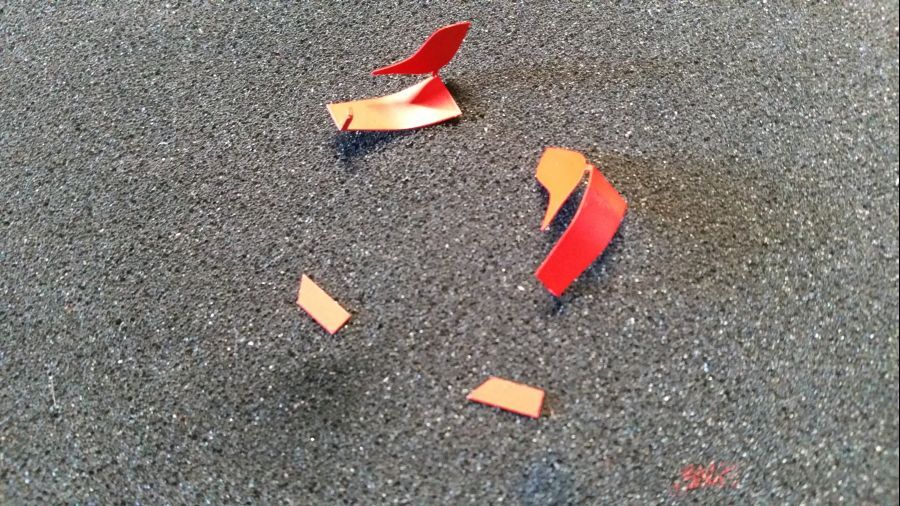
Dan gaat het rood erop.
Then the red gets being sprayed.
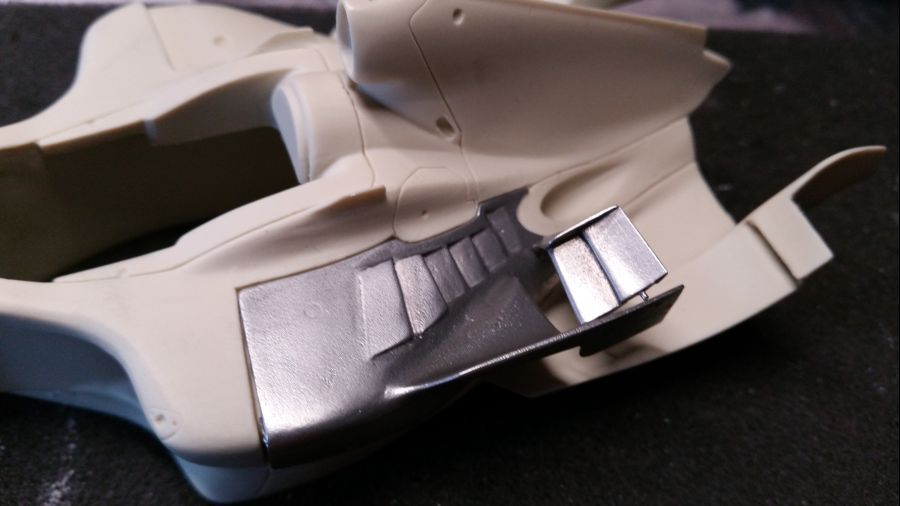
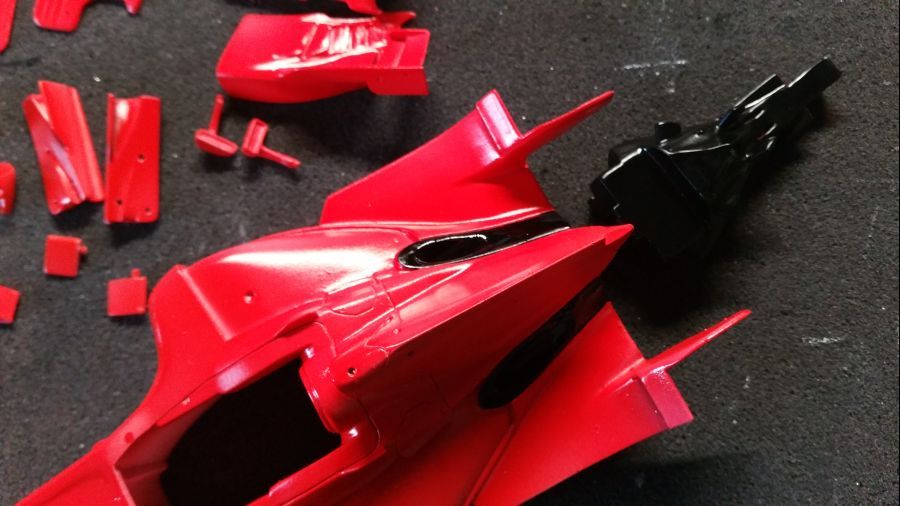
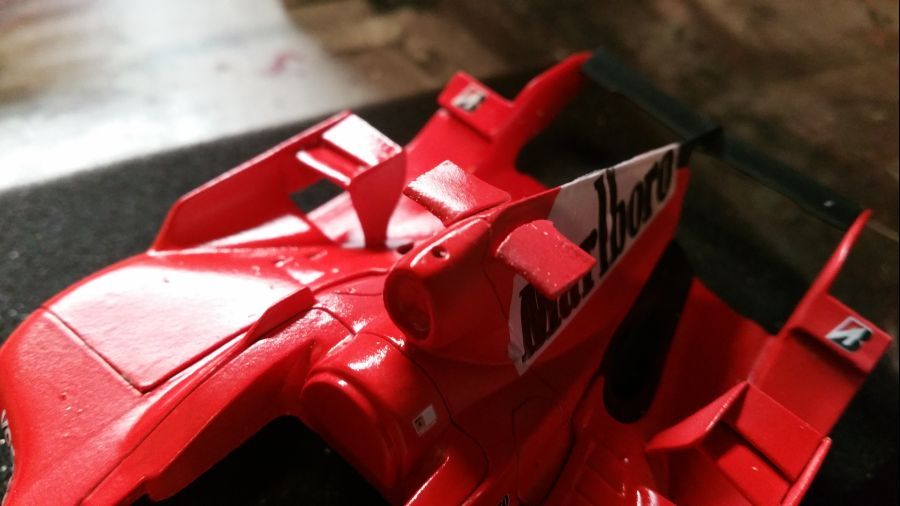
Dan verder met de heldere glanslak. Zoals je ziet heb ik het achterdeel rood gespoten. Dit is het advies van Studio27. Wanneer ik foto's bekijk, zie ik dat dit deel zwart is. Ik ga het alsnog zwart spuiten. Ook de plekken bij de uitlaten worden aangepakt.
Next is the clear gloss. As you can see i painted the rear part red. This according to the advice of Studio27. When i see pictures, i noticed the part is black. I will change it. Also the spots of the exhausts are worked on.
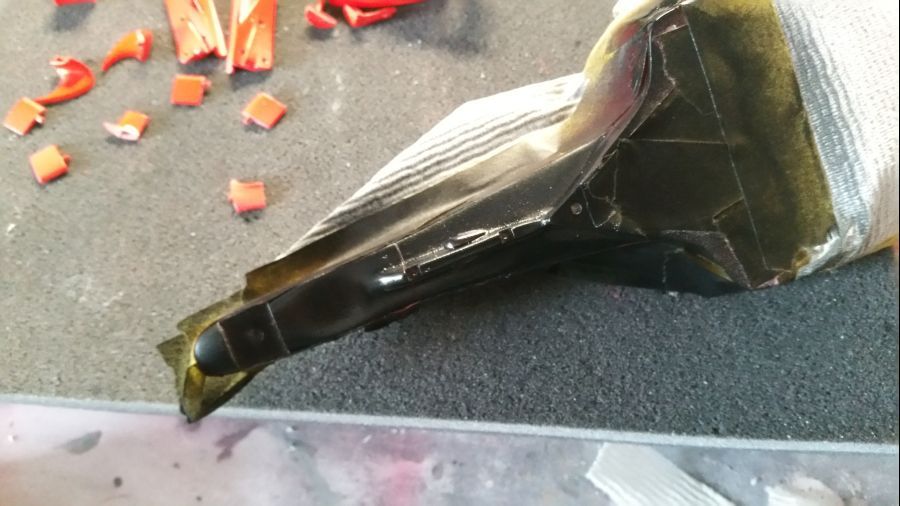
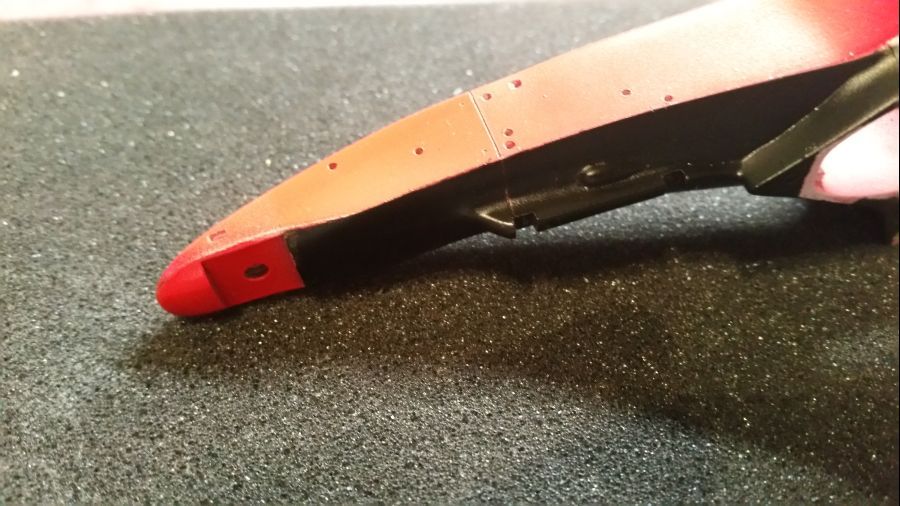
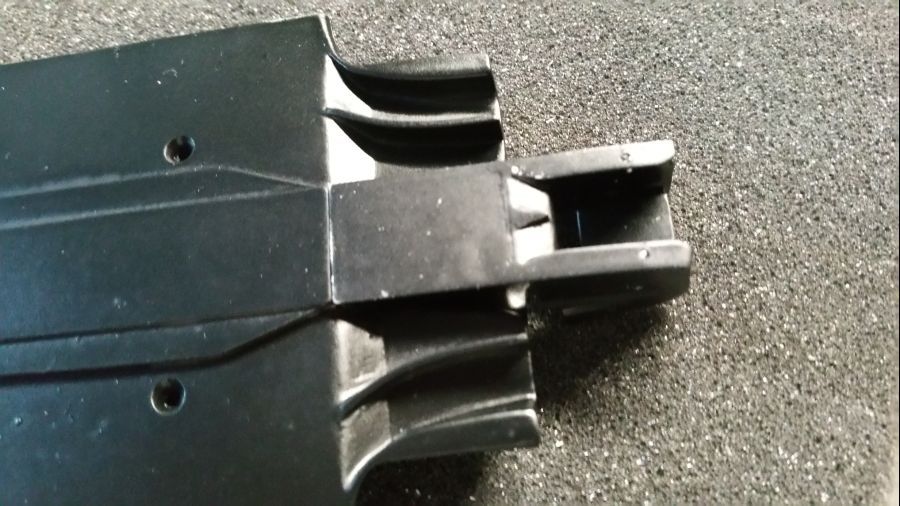
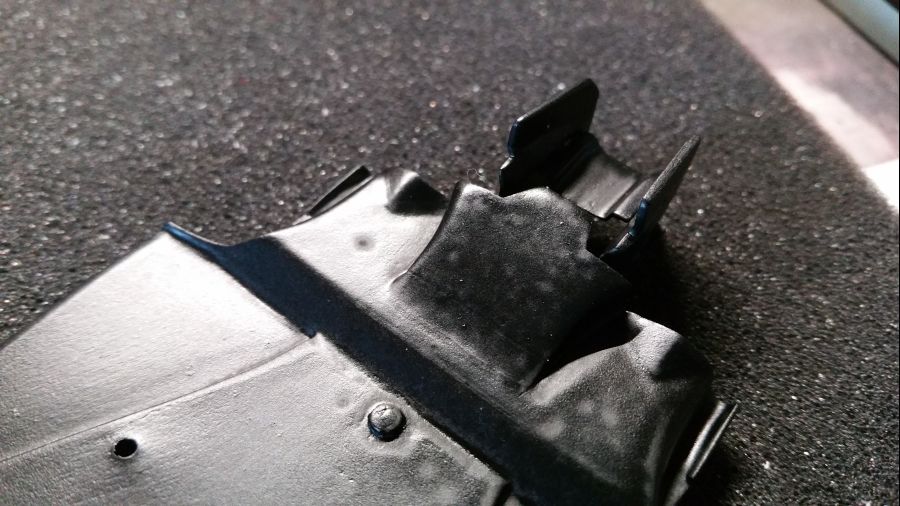
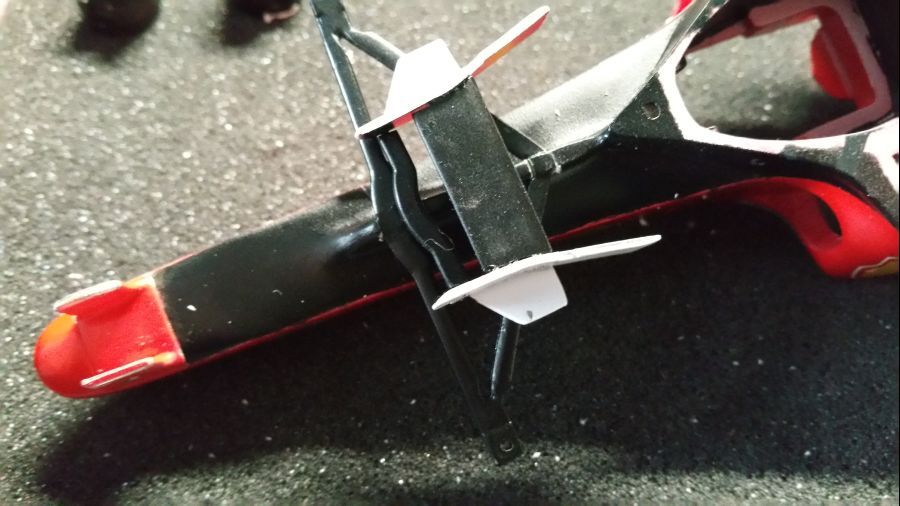
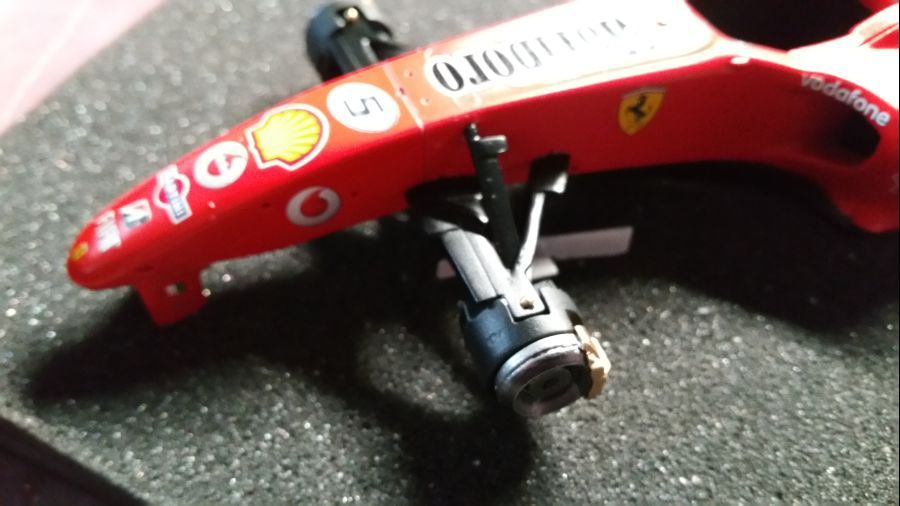
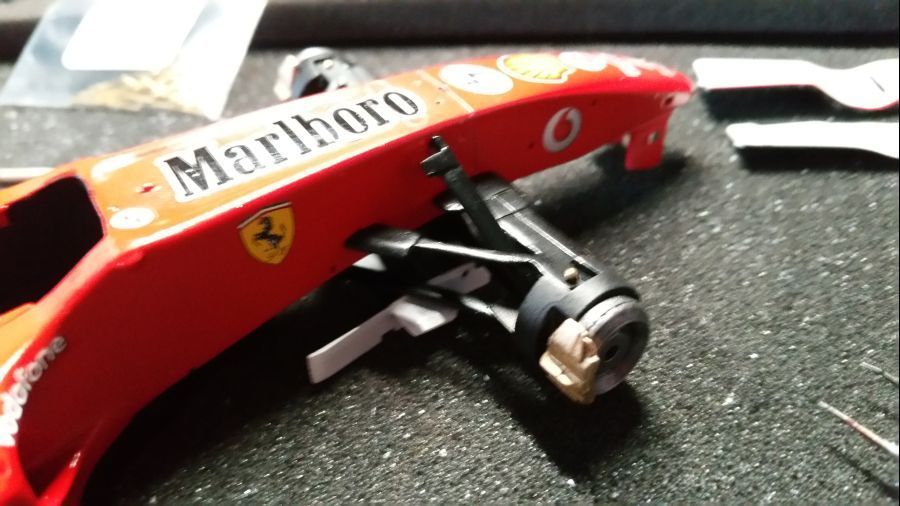
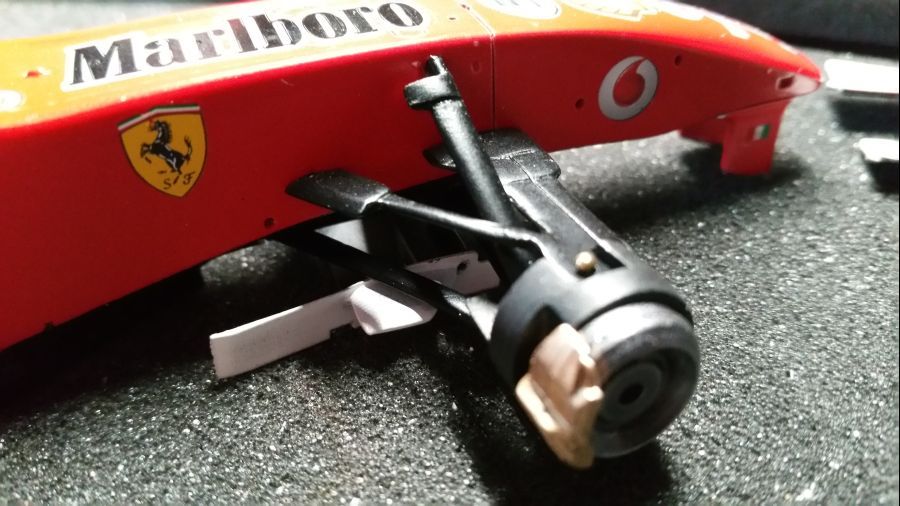
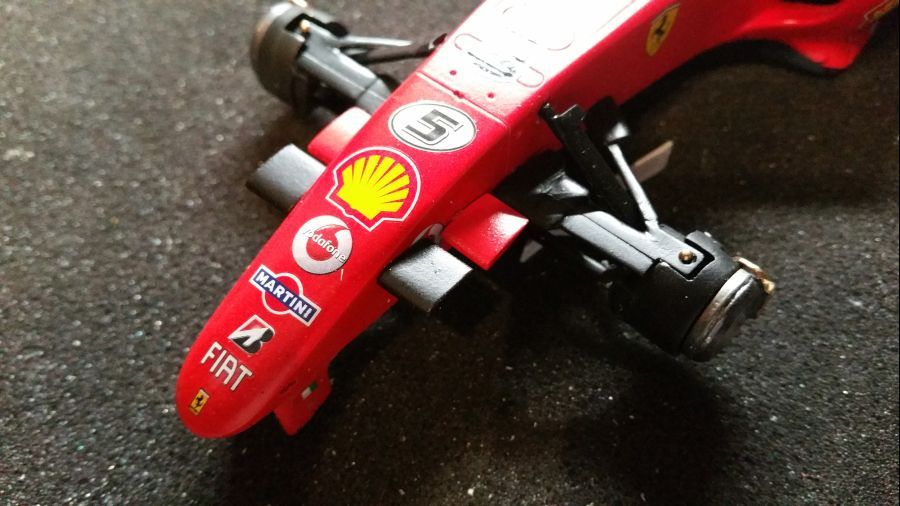
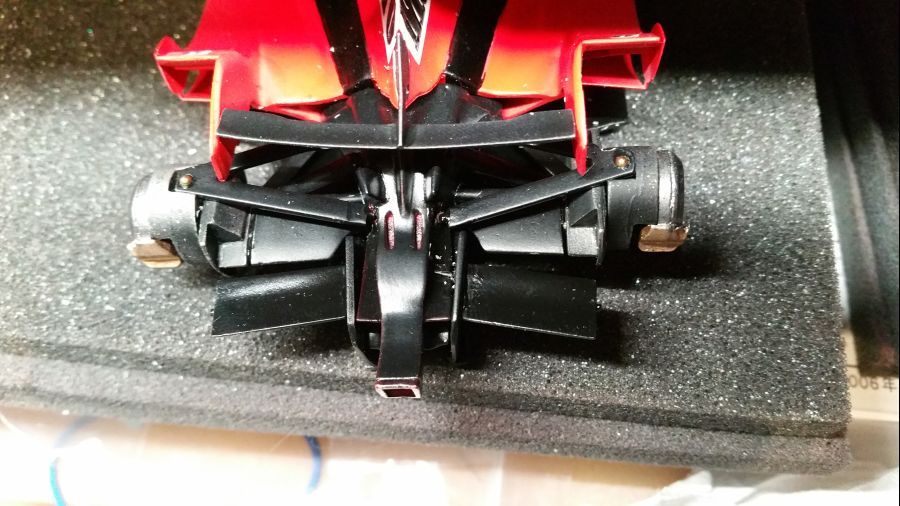
Dan een deel van de onderkant... en wat aanpassingen. Het zwart hoort niet tot aan de tip, maar tot aan de steun van de voorvleugel. Een foutje in de instructies.
Then a part of the downside... and some adjustments. The black should not be to the tip, but until the front wing support. A mistake in the instructions.
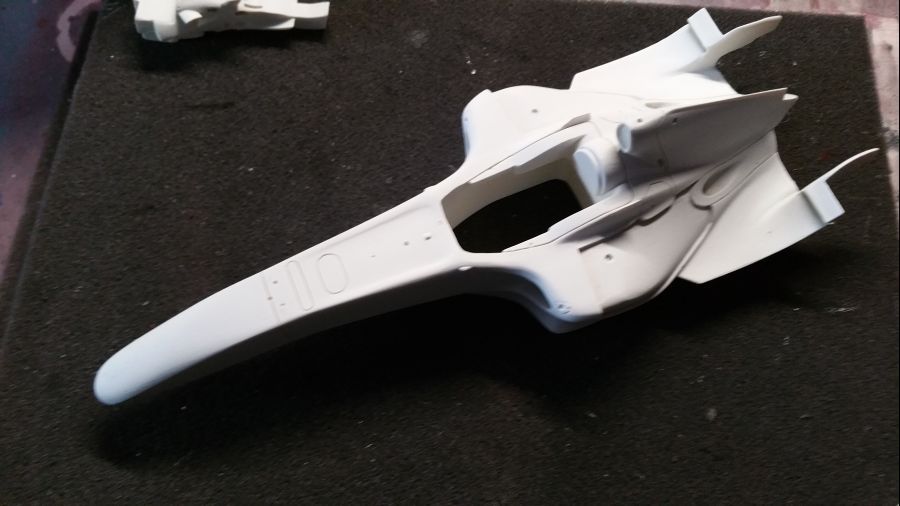
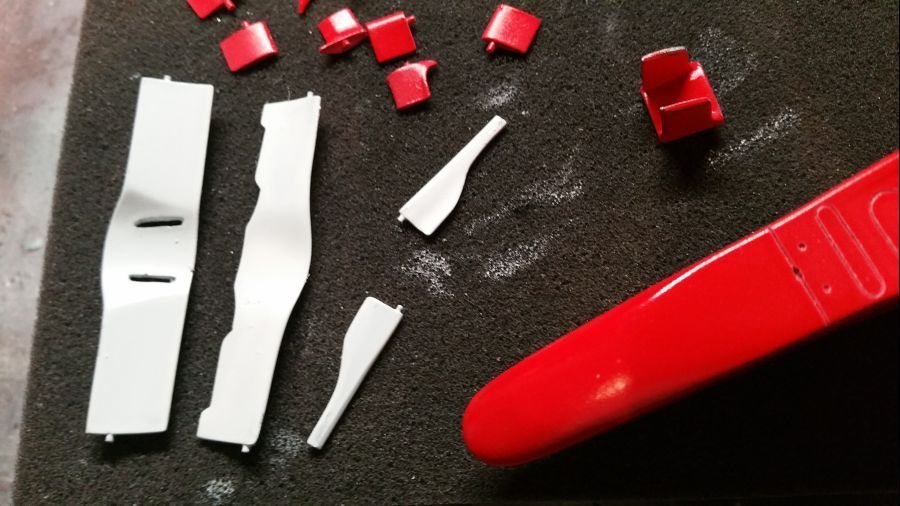
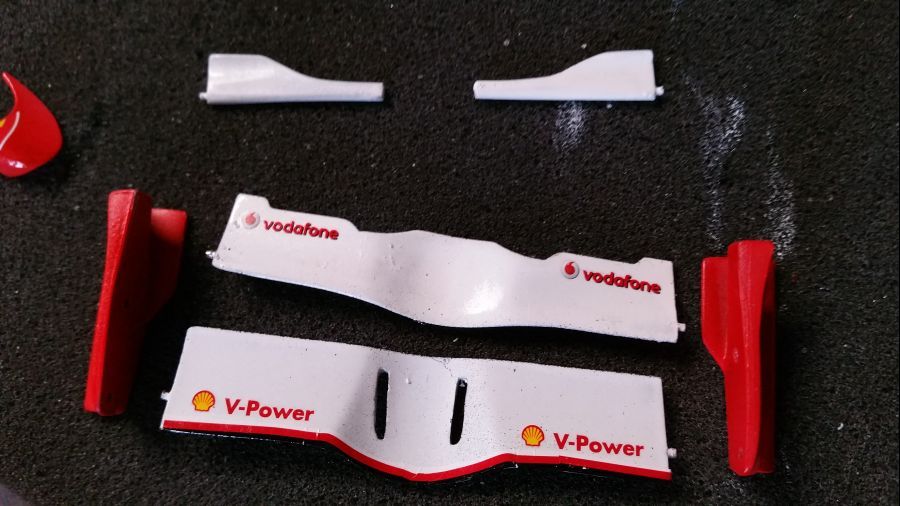
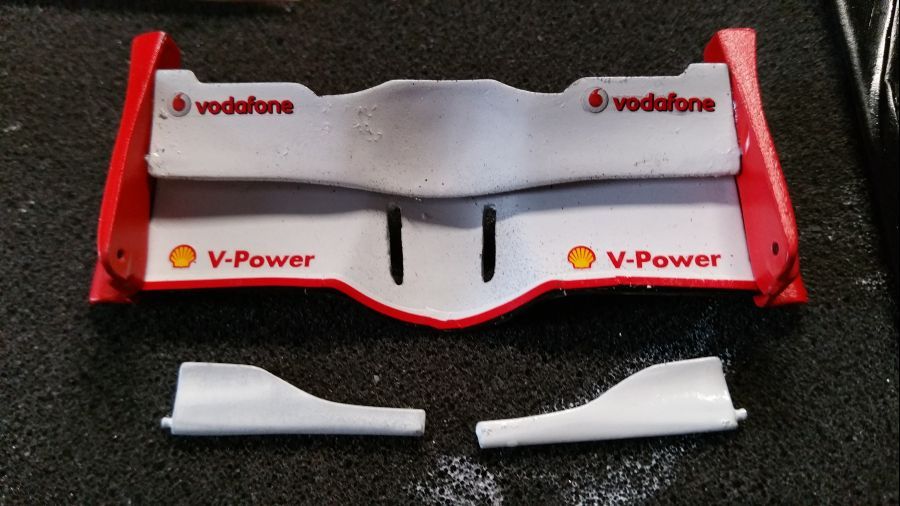
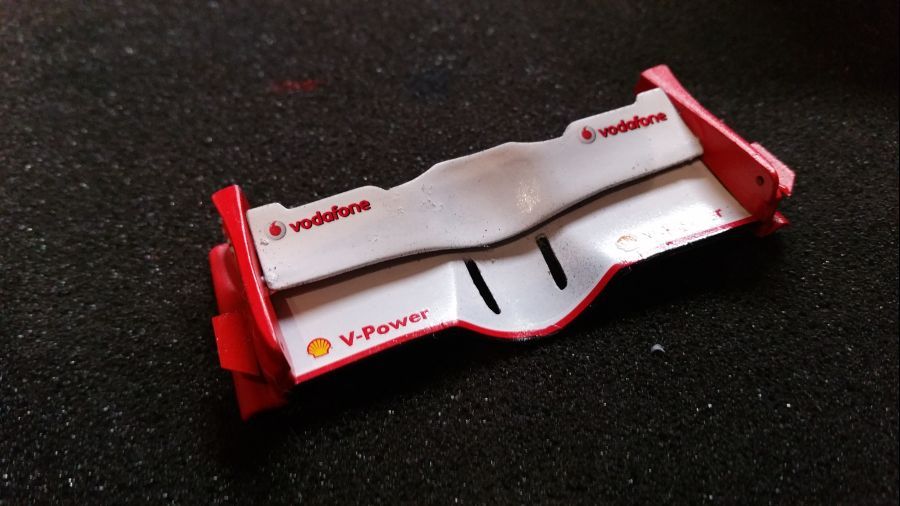
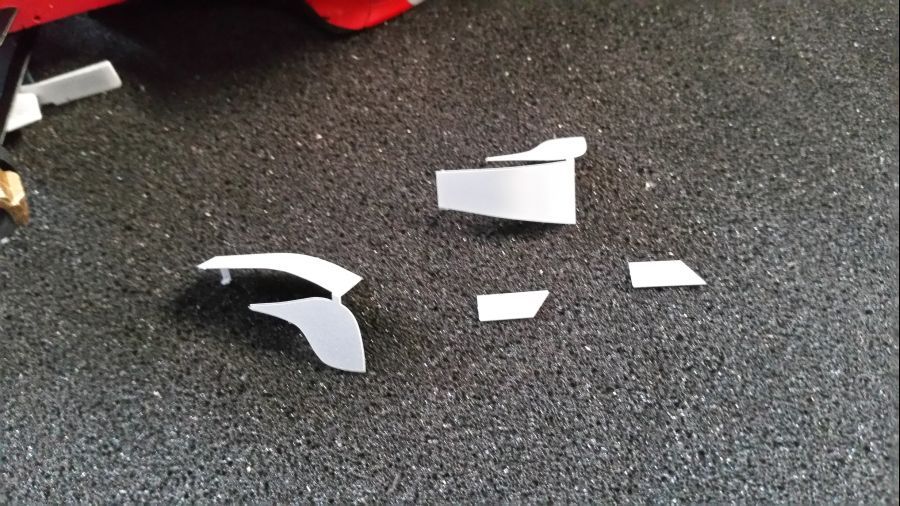
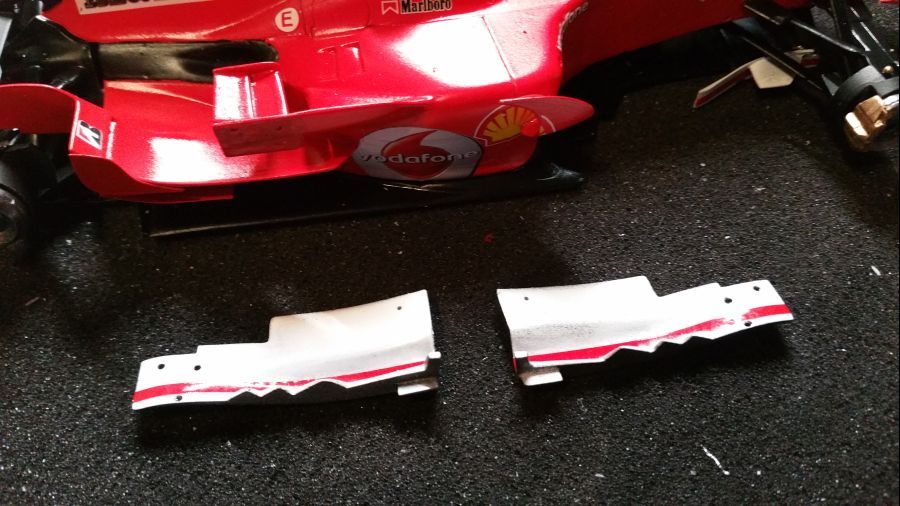
Dan alvast het wit op de onderdelen van de voorvleugel.
Next is some white on the parts of the front wing.
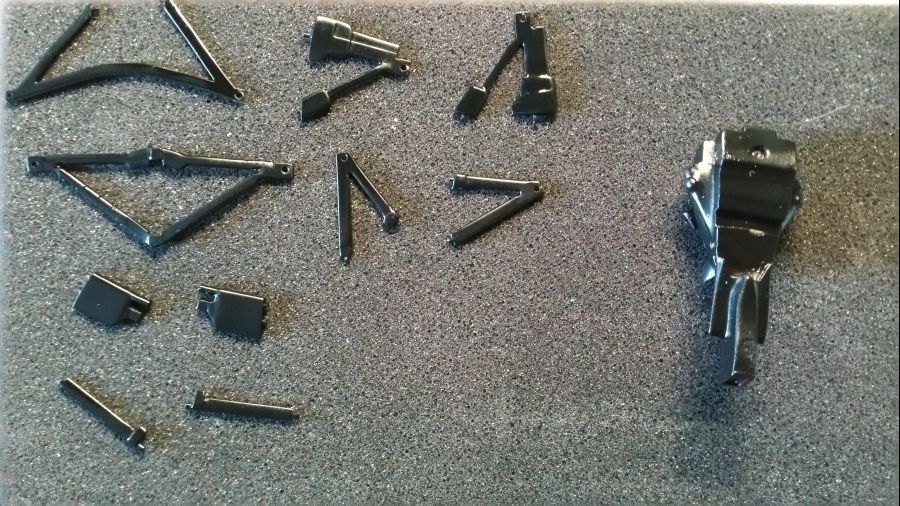
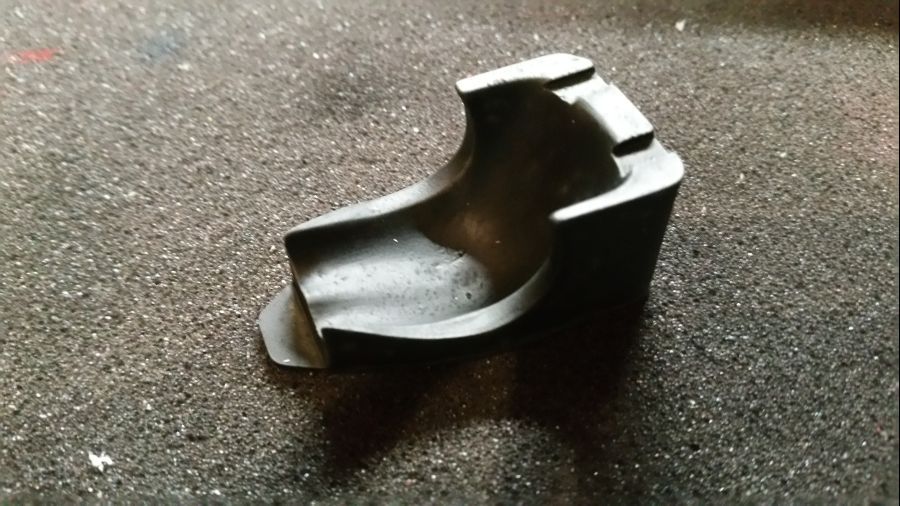
Zwarte primer en zijdemat zwart van Tamiya op de onderdelen voor de wielophanging.
Black primer and silk matt from Tamiya applied to the parts of the front wheel suspension.
Hetzelfde voor de onderdelen van de remmen...
Same procedure for the break parts...

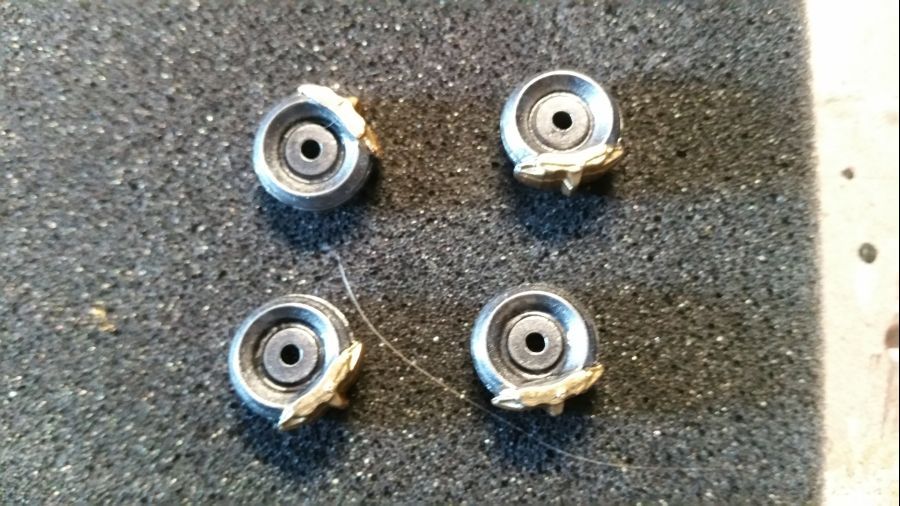
Goud op de remklauwen...
Gold applied to the callipers...
En daar gaat ie... tekening 1 van de instructies.
And off we go... drawing 1 of the instructions.
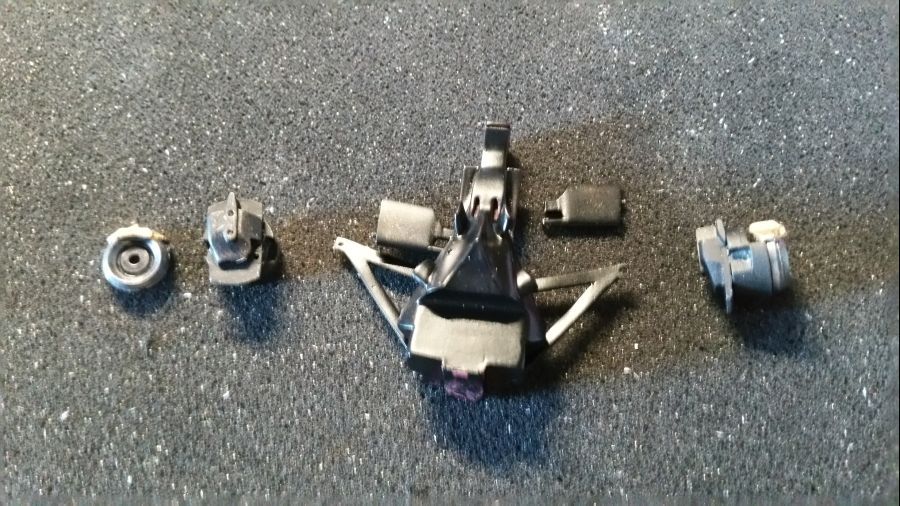
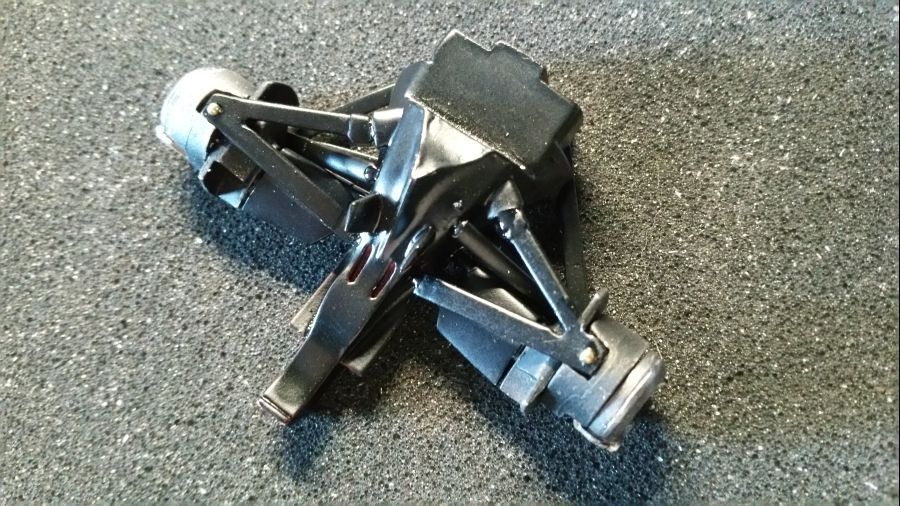
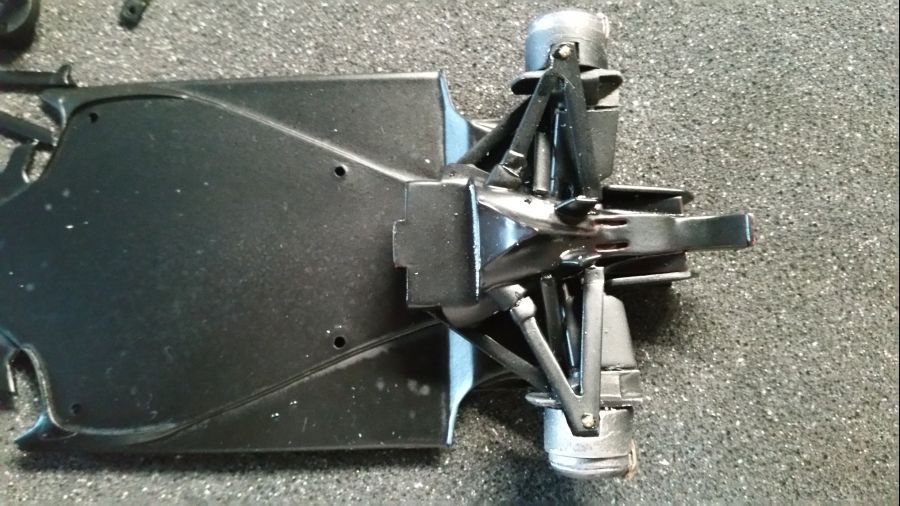
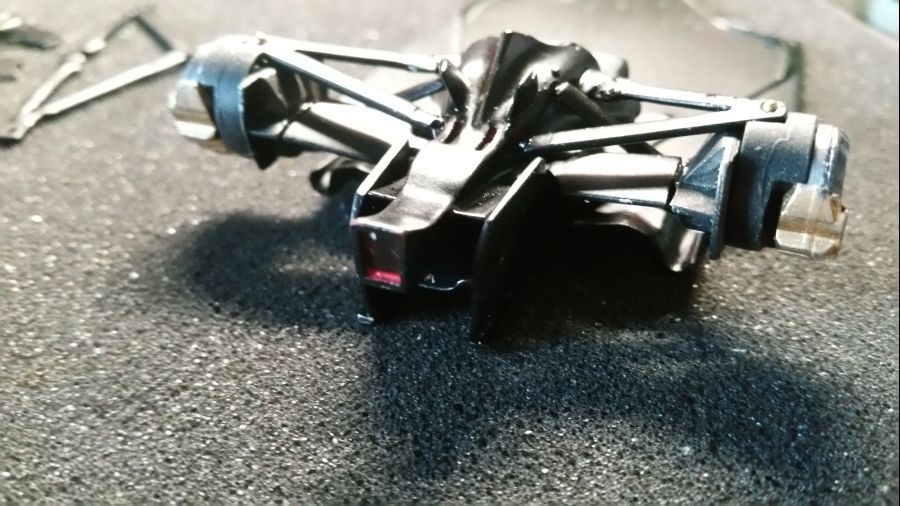
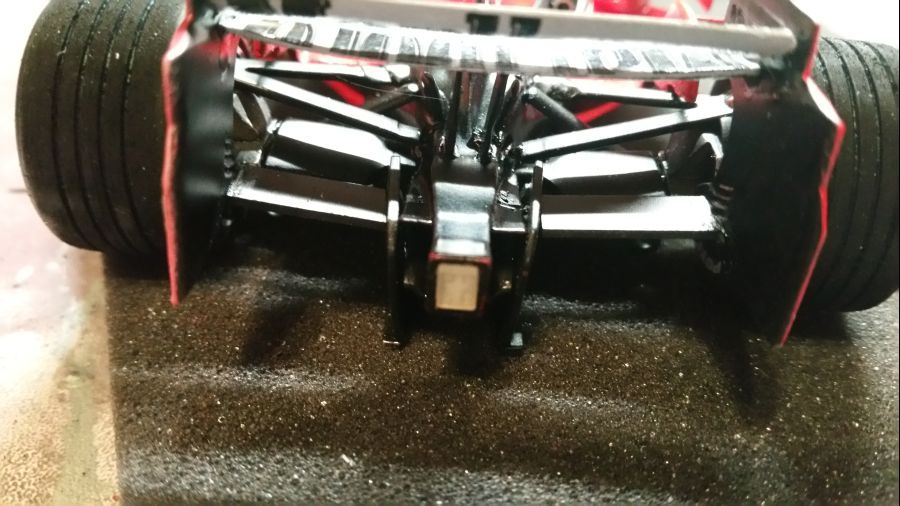
Nu ga ik eerst verder met de bodemplaat. Eerst alles zijdemat zwart spuiten (na zwarte primer), dan een paar onderdelen plaatsen van de venturi en vervolgens de motor bevestigen. Daarna alles goed laten drogen.
Next i will continue with the undertray. First paint everything black matt silk (after black primer), then attach a few parts of the venturi and then attach the engine. Then let it all dry.
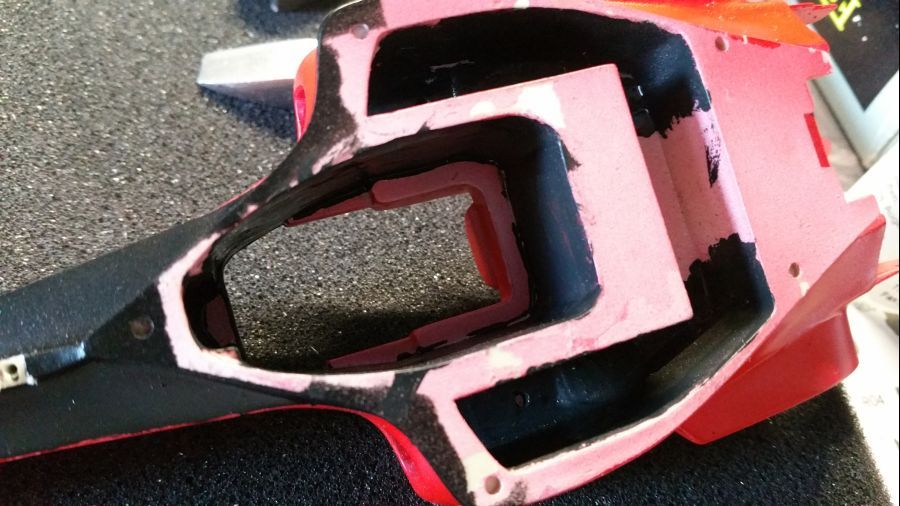
Ik ga niet de inserts voor de side pods gebruiken. Ik vind het er niet mooi uitzien. Je kijkt vanaf de voorkant tegen een dikke rand aan. Daarom verf ik de side pods aan de binnenkant en uiteraard ook de zijwanden van de cockpit.
I will not use the inserts for the side pods. I think these don't look good. From the front you will look at a big ledge. So i paint the side pods on the inside and of course the side walls of the cockpit as well.
Voordat het decalproces begint, moeten eerst een paar onderdelen worden bevestigd aan de body. Dit omdat de decals daaroverheen worden geplakt. Je kunt het ook apart doen, maar ik wil er zeker van zijn dat alles goed ten opzichte van elkaar staat.
Before the proces of decals starts, a few parts need to be attached to the body. This because the decals need to be applied over them. You could do everything separate, but i want to be sure everything fits well.
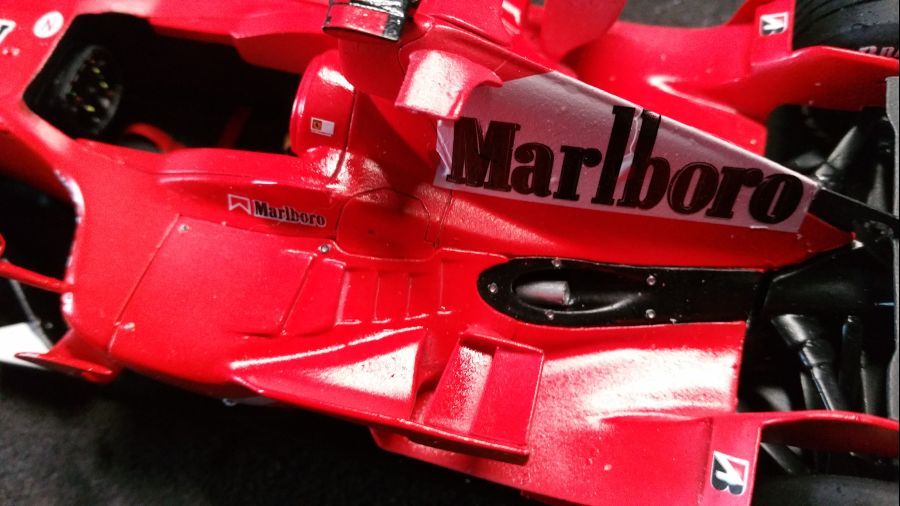
Daarna is het tijd voor de decals...
Then it's time for the decals...
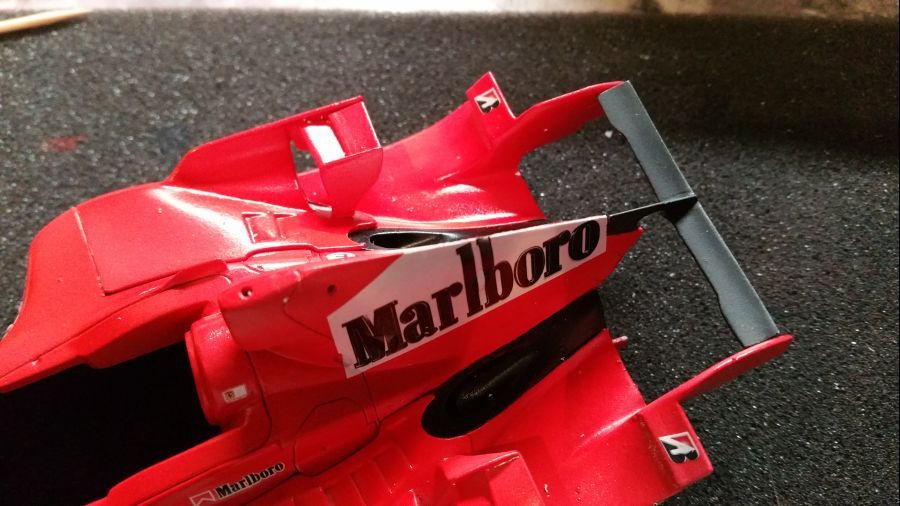
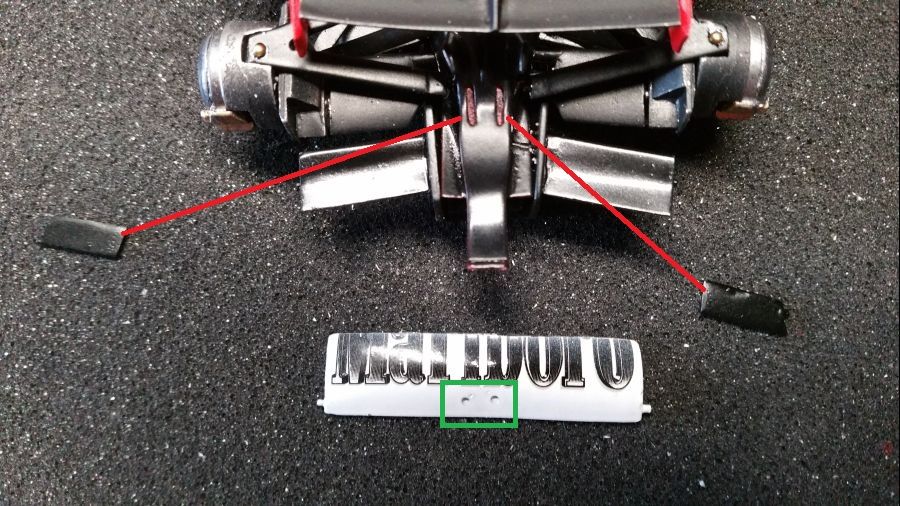
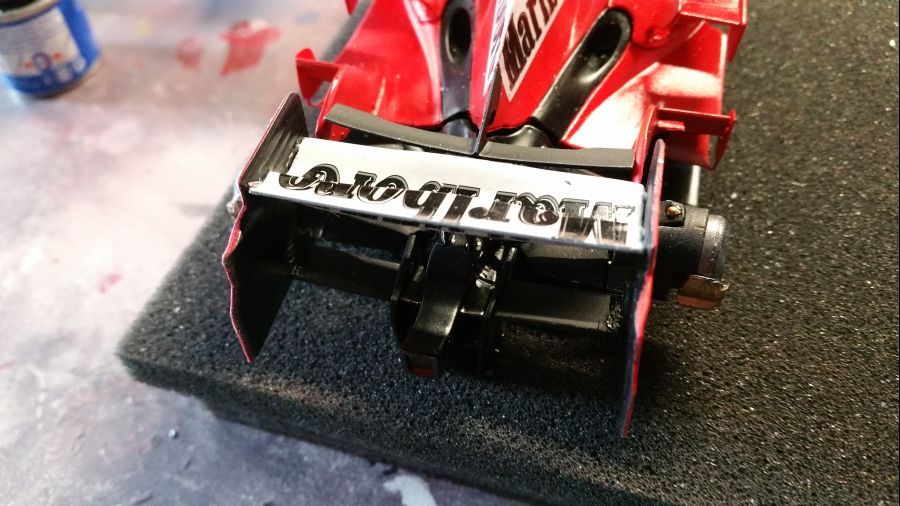
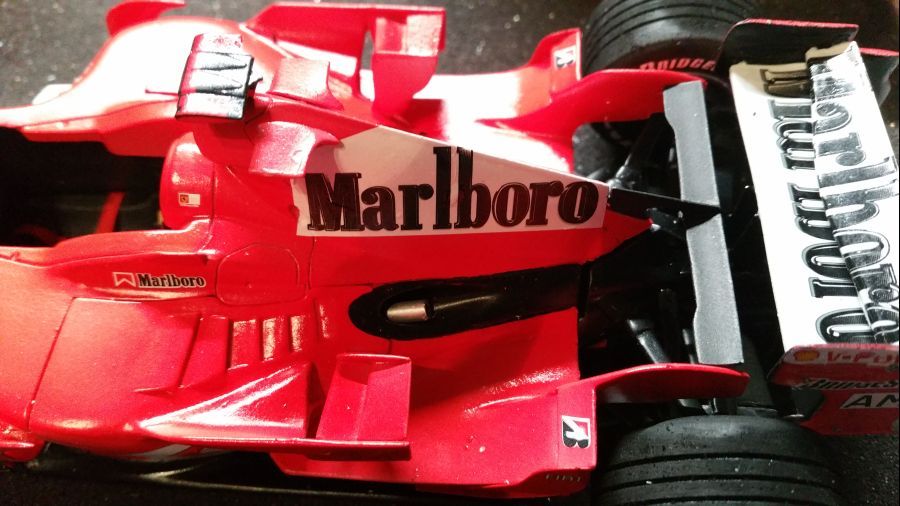
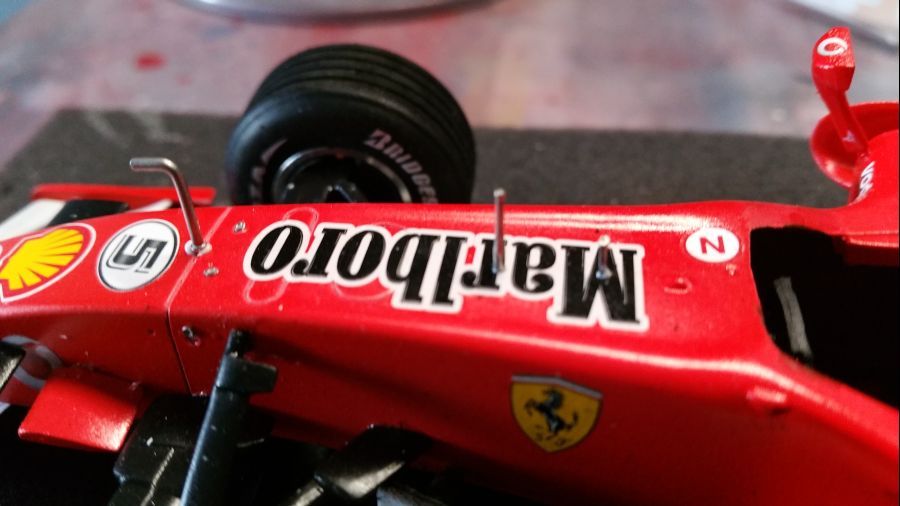
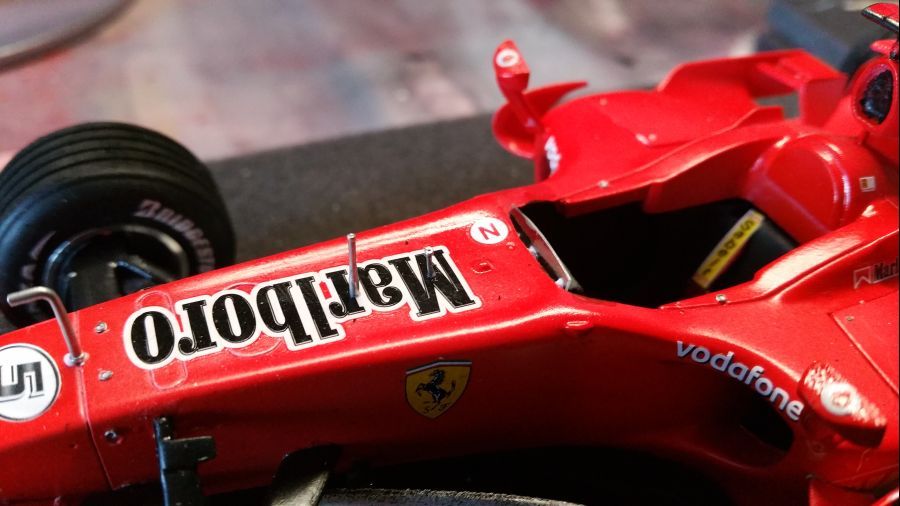
Nog wat meer decals, kleine onderdelen, werk aan de barge boards en voorwielophanging. Edit: denk erom dat de cigaret decal op het rechthoekige deel van de vleugel naar de bovenste rand moet in plaats van de onderste rand zoals op de foto.
Some more decals, small parts, work on the barge boards and front wheel suspension. Edit: Please mind the cigarette decal on the rectangle part of the wing should be placed to the top edge instead of the down edge like the photo shows.
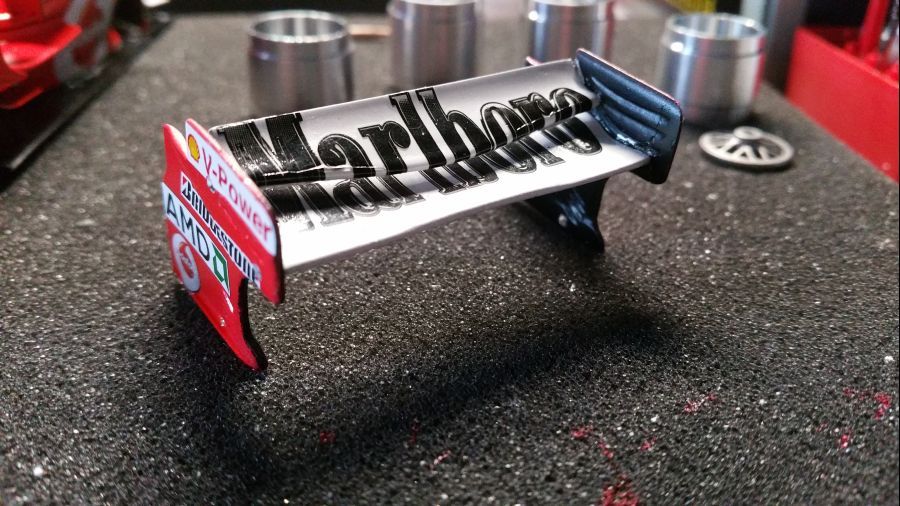
Dan volgt alvast een voorbereiding van de voorvleugel... Een paar kleine etched onderdelen volgen later. Deze moeten eerst gespoten worden.
Next is a sub-assembly of the front wing... Some small etched parts will be attached later. These need some paint first.
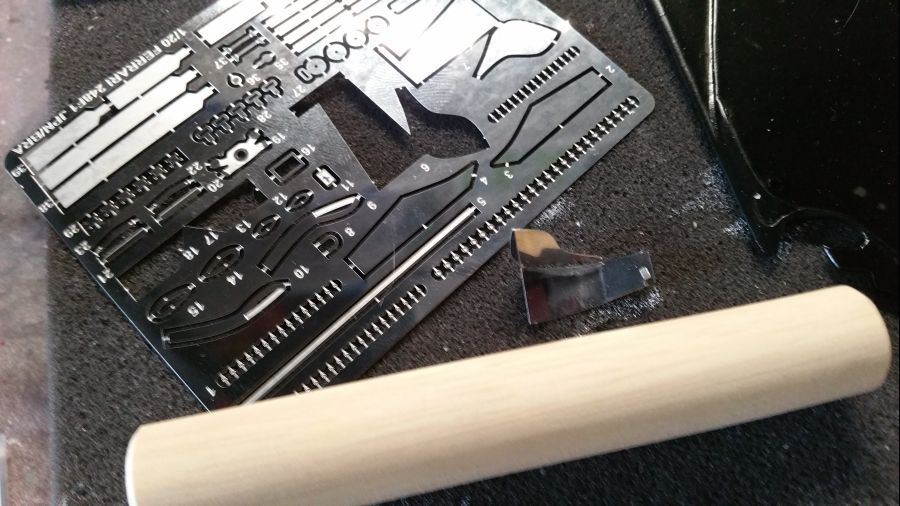
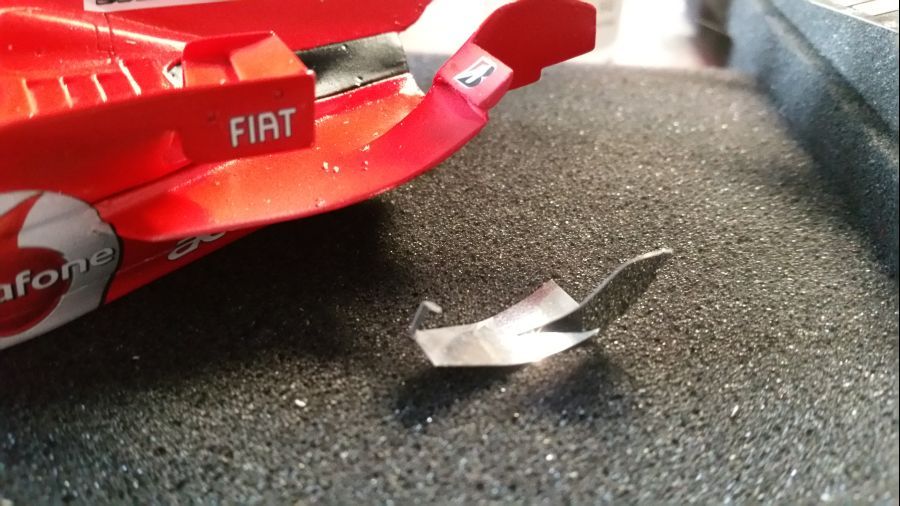
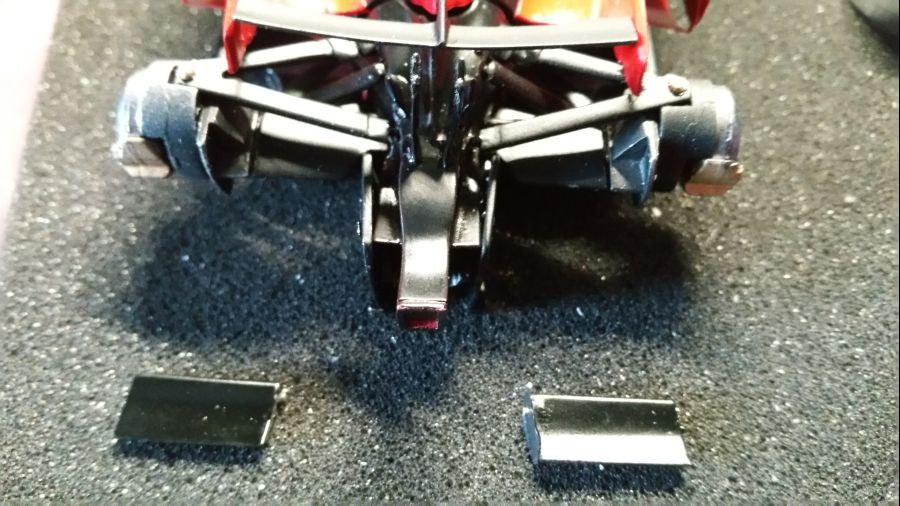
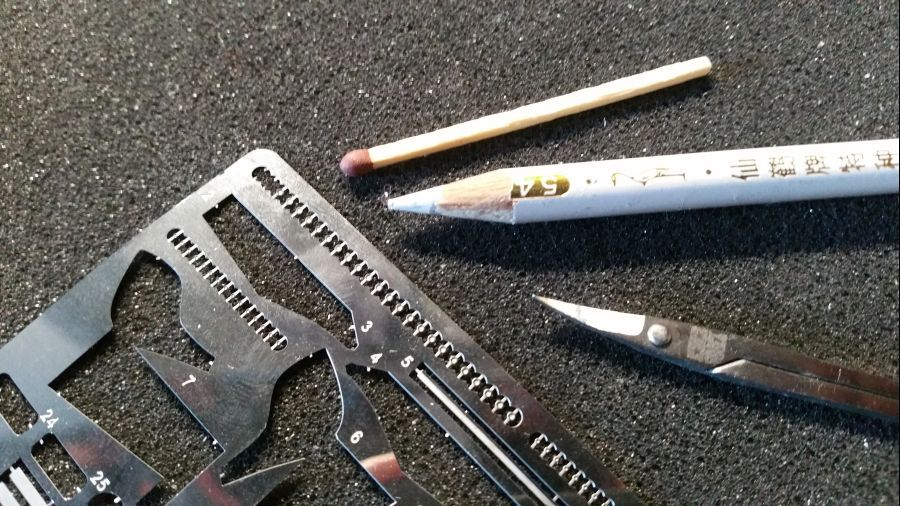
Ook de zijkanten moeten nog worden voorzien van etched onderdelen. Deze worden eerst op maat gebogen met de rolling tool en vervolgens gespoten.
The sides also need some etched parts. These will be bent first with use of the rolling tool and then painted.
Vervolgens worden wat kleine onderdelen aan de neus, the airbox en de staart bevestigd.
Then some parts are attached to the nose, the airbox and the tail.
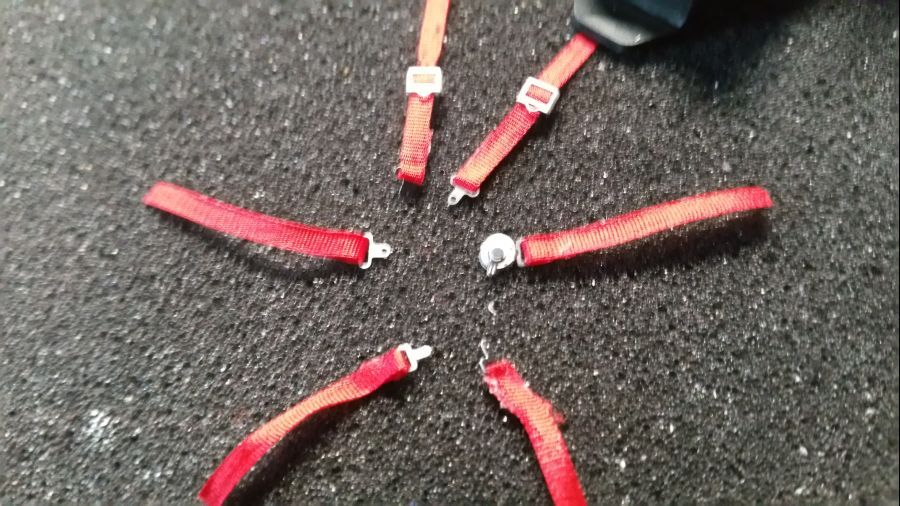
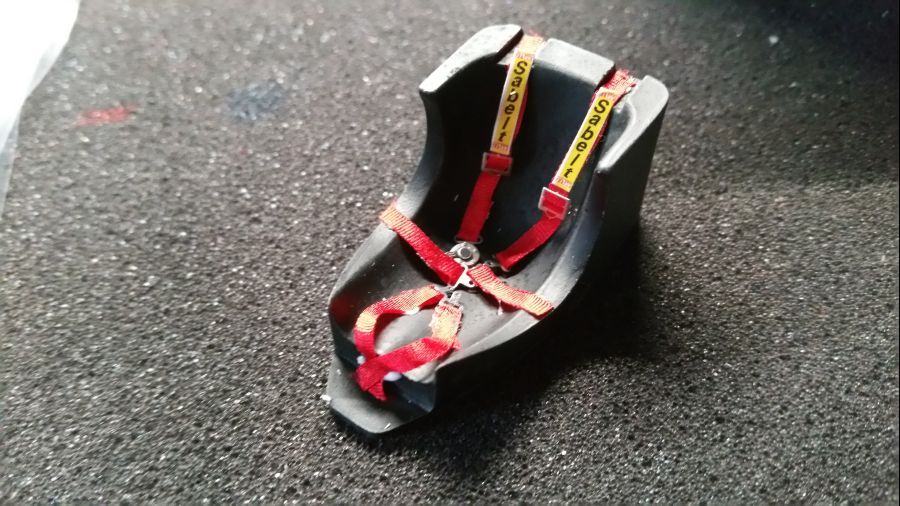
Daarna weer verder met de stoel. Zoals altijd gebruik ik weer de zijdeband en etched gespen van KA-Models.
Next is the seat again. As always i will use the silk ribbon and the etched buckles from KA-Models.
Het dashbord...
The dash...
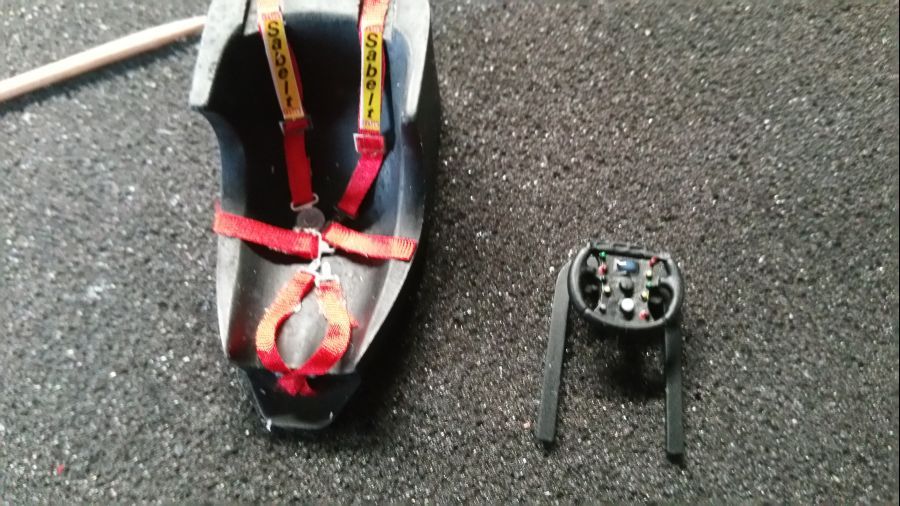
Na het plaatsen van het dashbord en de stoel in het bodydeel, wordt het geheel aan de bodemplaat geschroefd.
After attaching the dash and the seat to the body part, everything gets connected with the under tray.
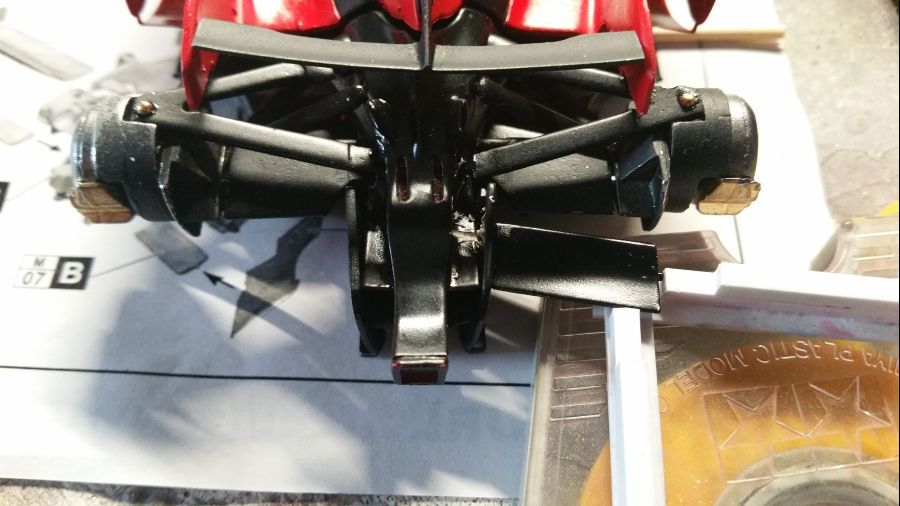
Dan de eerste stappen aan de steunen voor de achtervleugel. Mijn gevoel zegt dat dit lastig gaat worden. De steun bestaat uit meerdere delen. Zie dat alles maar eens goed te lijnen. Edit: Dit gaat niet lukken, zie verderop in de beschrijving.
Then the first steps to the supports for the rear wing. I have a feeling this will be a pain in the ... The supports consists of multiple parts. It will be tough to line up. Edit: This will not work, see further down in the description.
Dan wat decalwerk aan de barge boards en het bevestigen daarvan.
Then some decal work to the barge boards and the attaching of these.
Vervolgens moeten de 2 rechtopstaande onderdelen worden geplaatst. Ik zie al wel dat de gaatjes van de vleugel niet gelijk zijn. Daar moet dus iets aan gedaan worden.
Then the 2 uprights need to be attached. I noticed the holes in the wing are not equal. This needs some attention.
De achtervleugel ga ik vast voormonteren. Ik zie geen andere optie om de boel goed recht te lijnen.
I will pre-assemble the rear wing. I think there is no other option to be sure everything will be straight.
Waar ik al bang voor was komt nu uit. Het is vrijwel onmogelijk om de achtervleugel te bevestigen wanneer de 2 horizontale stukjes vooraf zijn geplaatst. Deze heb ik nu eerst verwijderd.
It happened what i was afraid of. It is nearly impossible to attach the rear wing when the 2 horizontal pieces are attached. So i de-attached them now.
Dan wordt de achtervleugel geplaatst. Ik gebruik een stapeltje visistekaartjes om de juiste hoogte te bereiken.
Then the rear wing gets mounted. I use a couple of business cards to reach the correct height.
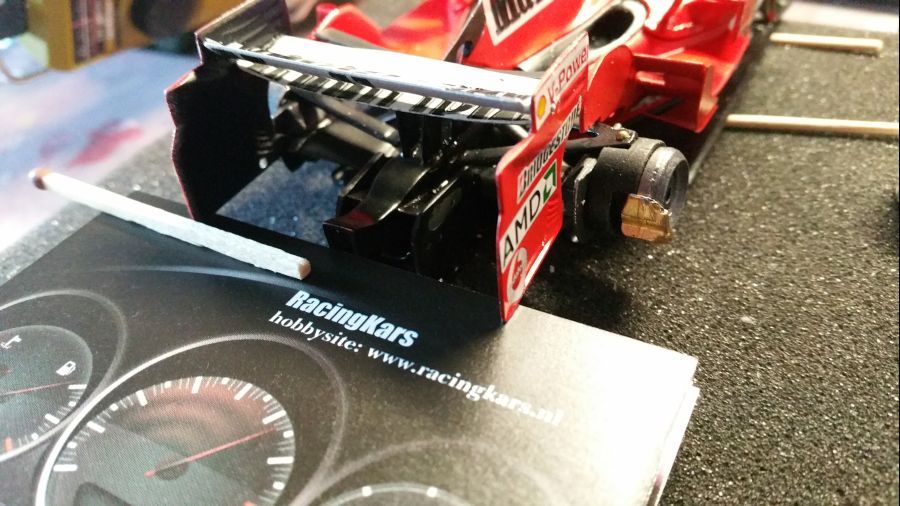
Veel beter...
Much better...
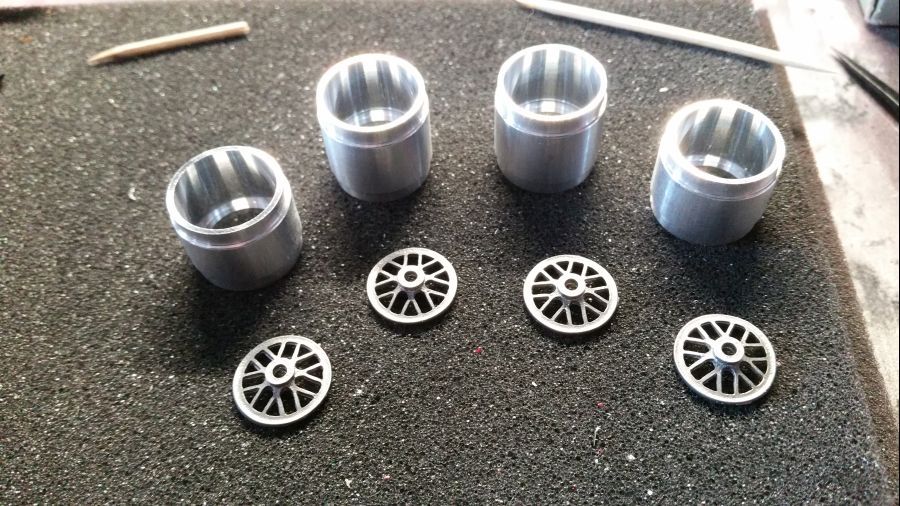
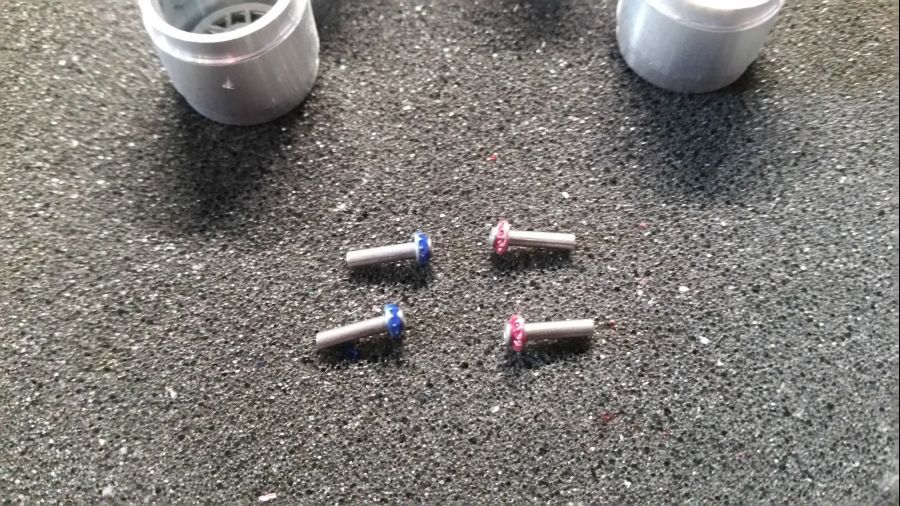
Dan zijn de velgen aan de beurt. Ze worden in elkaar gezet en de wielmoeren krijgen hun kleurtje.
Then the rims are worked on. They are combined and the nutters get their colour.
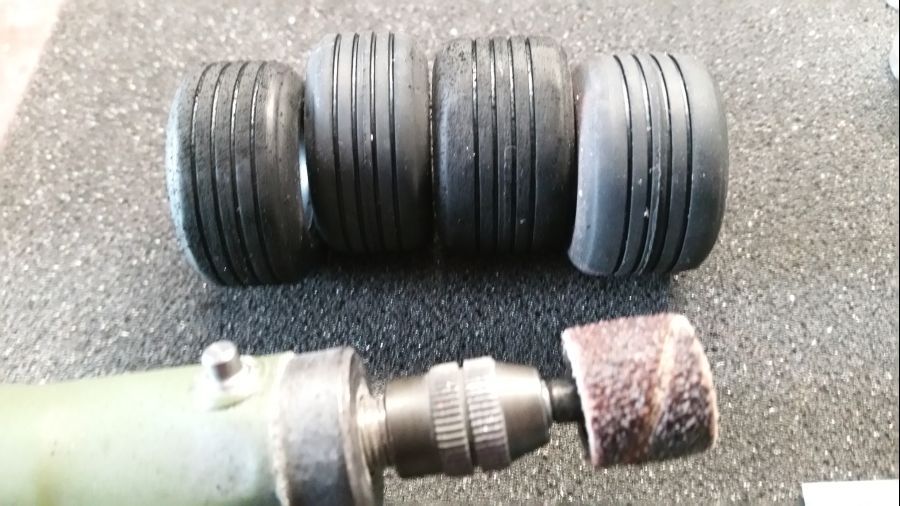
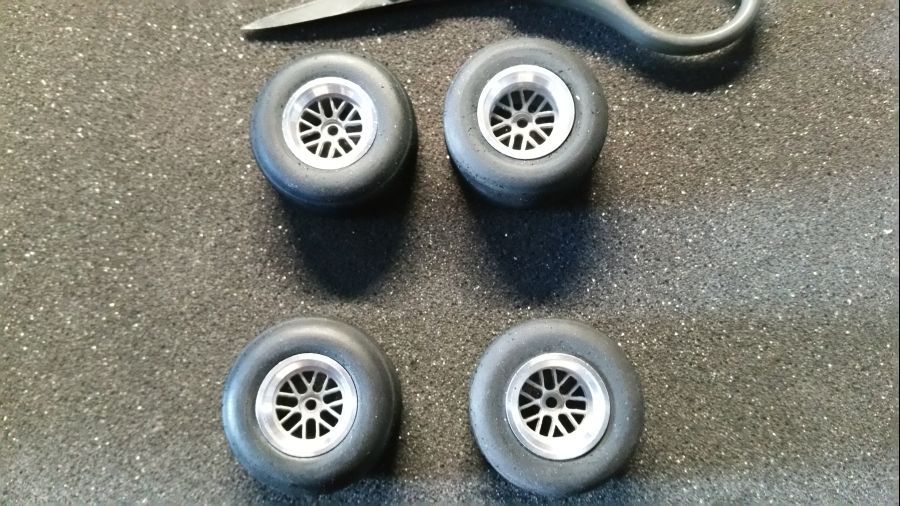
Tijd om het rubber te ruwen. De glans gaat dan van het loopvlak af. Je ziet het verschil al wel.
Time to roughen the rubber. Get rid of the shine. You'll notice the difference.
Dan om de velgen...
Then put it around the rims...
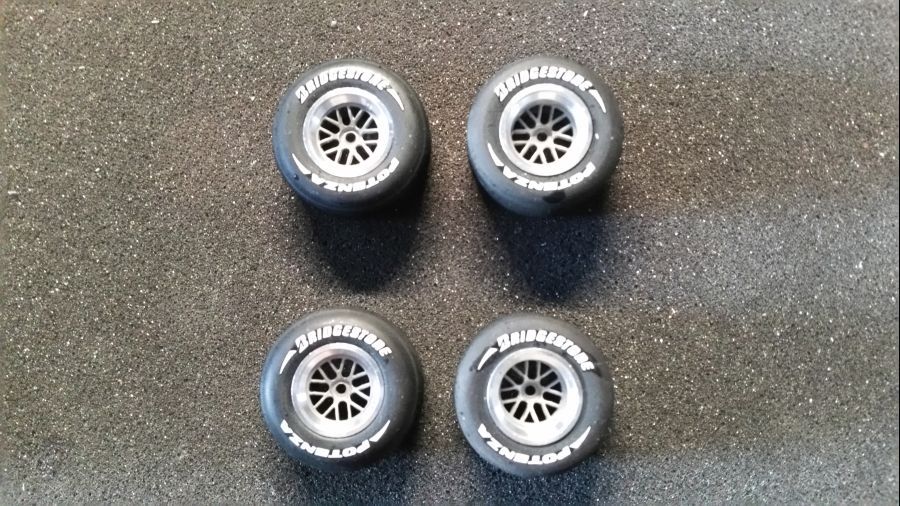
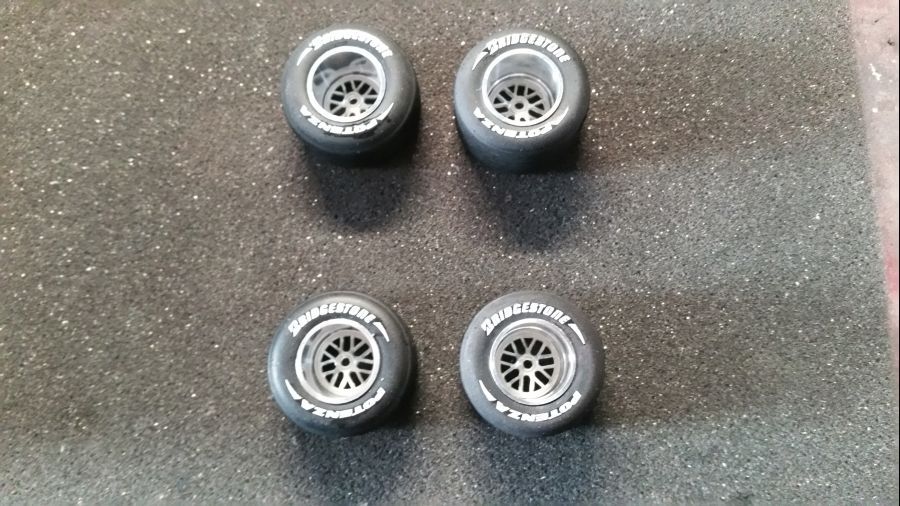
Dan de decals aanbrengen. Let op de draairichting van de wielen en de pijlen op de decals... De 1e foto is de voorkant van de wielen met de rechterwielen op de bovenste rij en de linkerwielen op de onderste rij. De 2e foto is hetzelfde, maar de binnenkant van de wielen.
Then apply the decals. Mind the turning direction of the wheels and the arrows on the decals... The 1st pic shows the front side of the wheels with right wheels on the top row and the left wheels on the down row. The 2nd pic is the same, but the inside of the wheels.
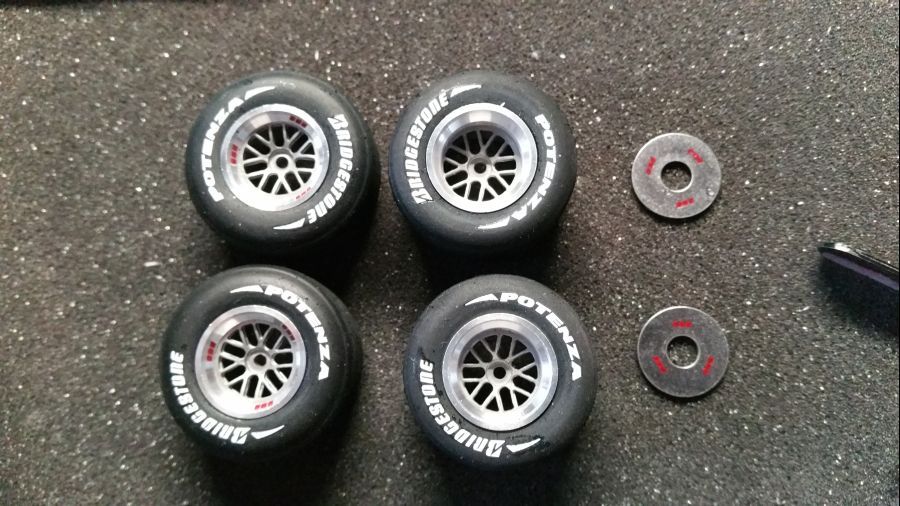
Dan de BBS decals. De voorwielvelgen krijgen de decal op de velg, de achterwielvelgen krijgen de decal op de afdekplaat.
Next are the BBR decals. The front wheel rims get it on the rim, the rear wheel rims get it on the cover plate.
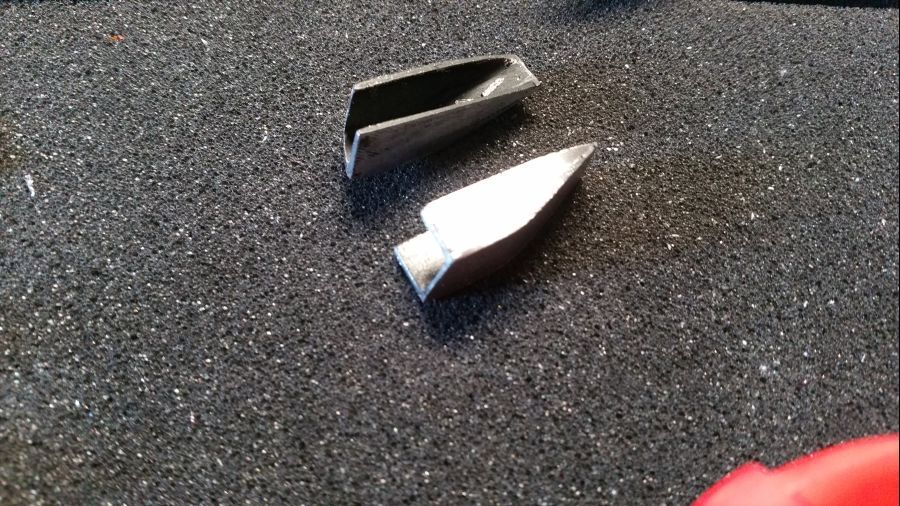
De uitlaatpijpen passen niet. Ik ga zien of ik zelf een paar kan maken van 3 mm aluminium buis.
The exhausts do not fit. I will see if i can make my own from 3 mm aluminium tube.

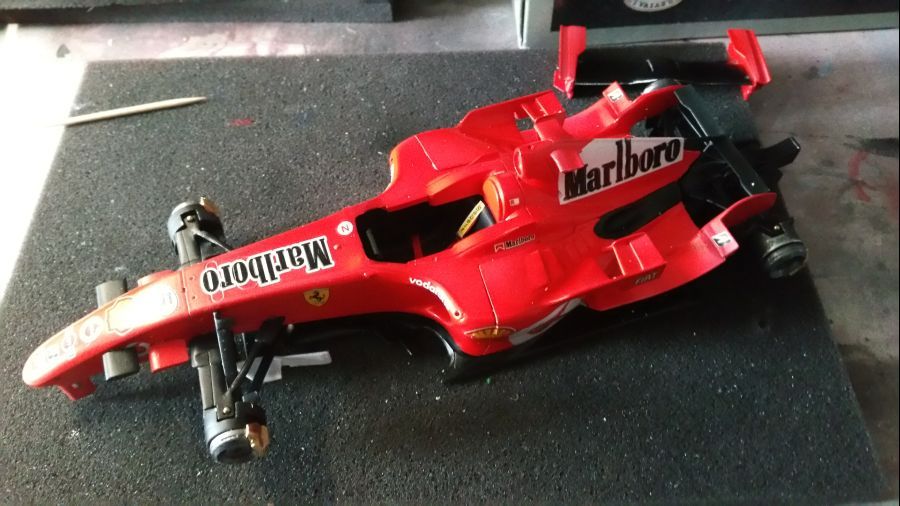
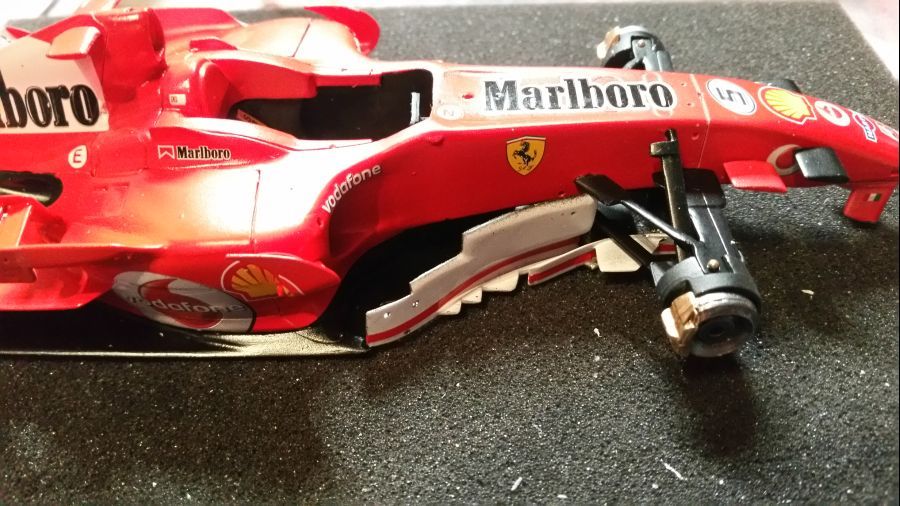
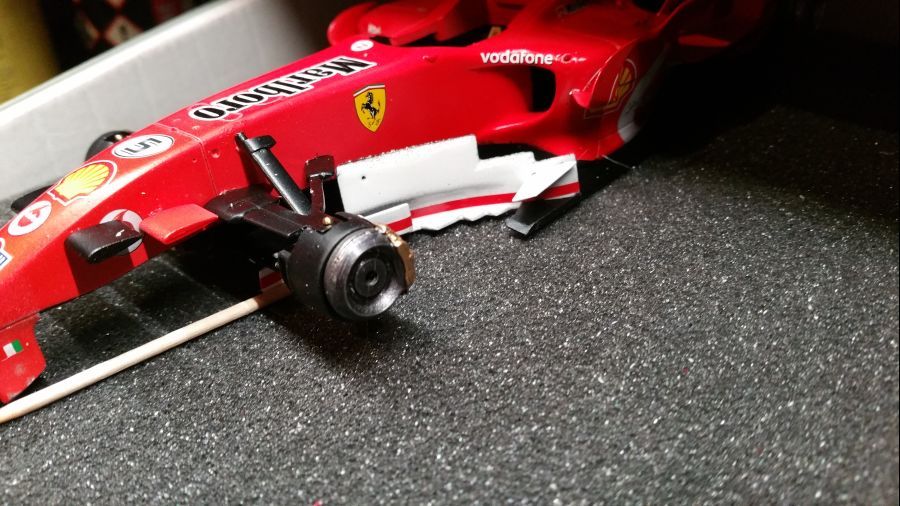
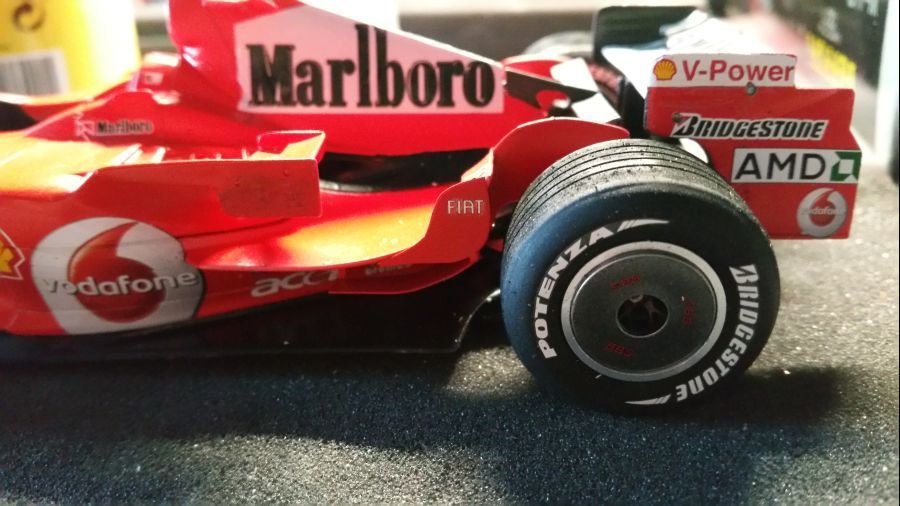
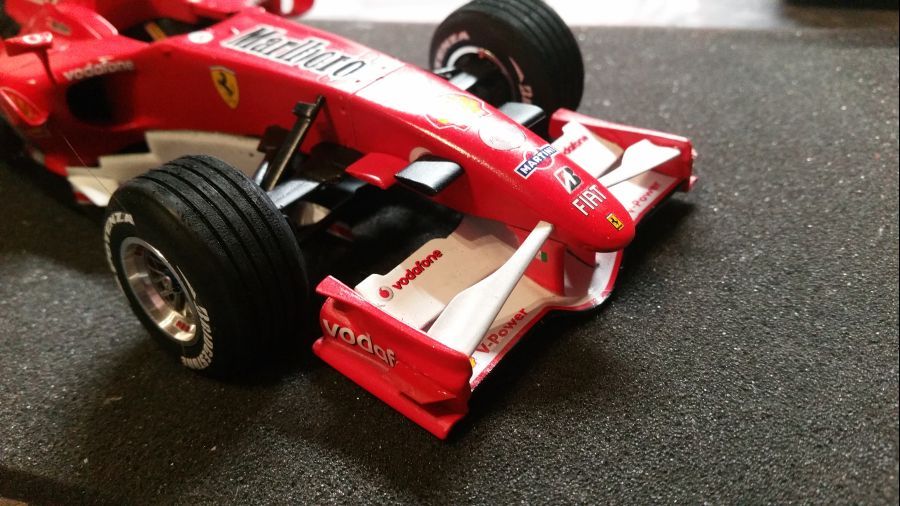
Dan wordt de voorvleugel geplaats.
Then the front wing gets attached.
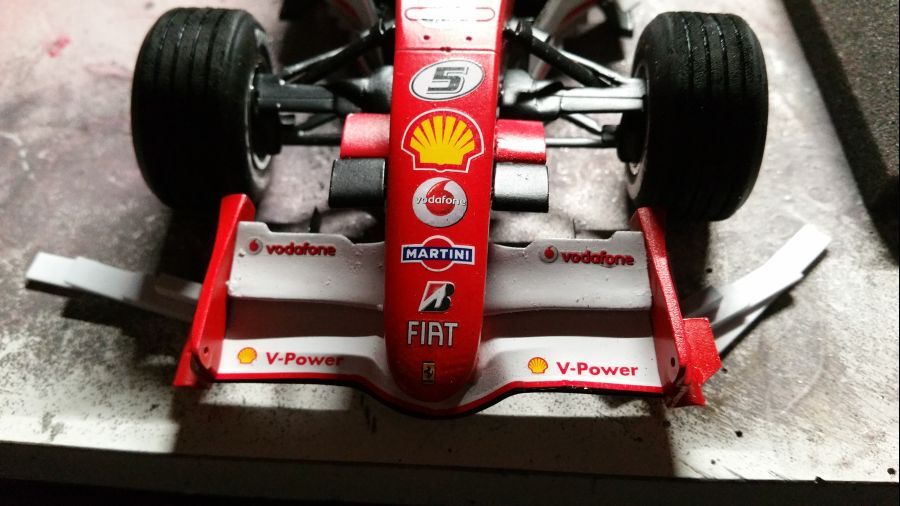
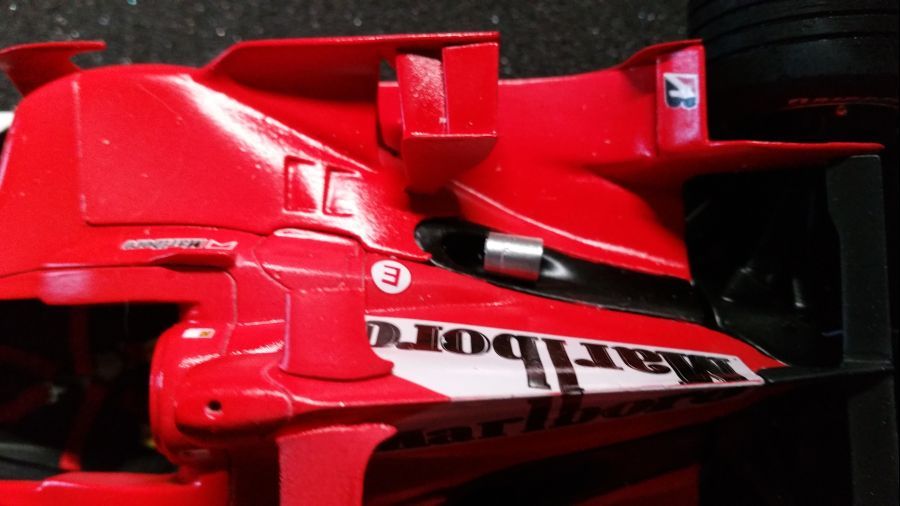
De spiegels en andere kleine zaken...
The mirrors and other small stuff...
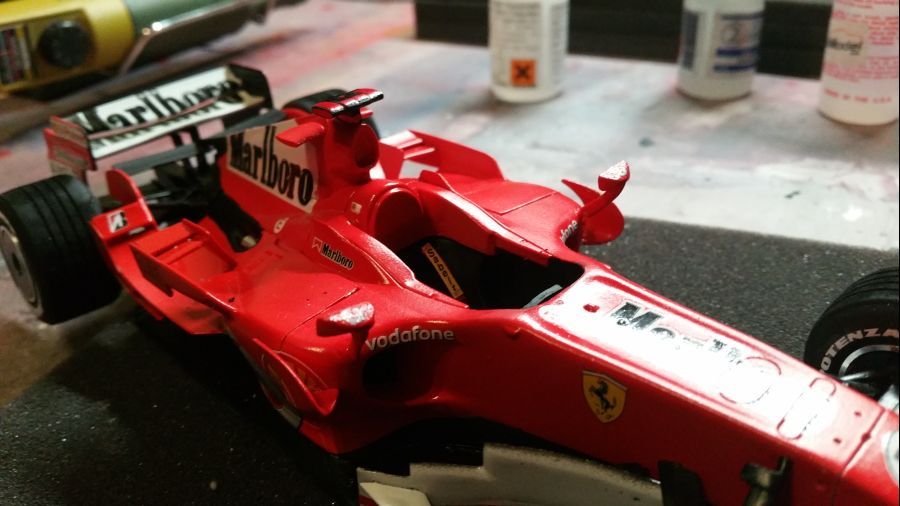
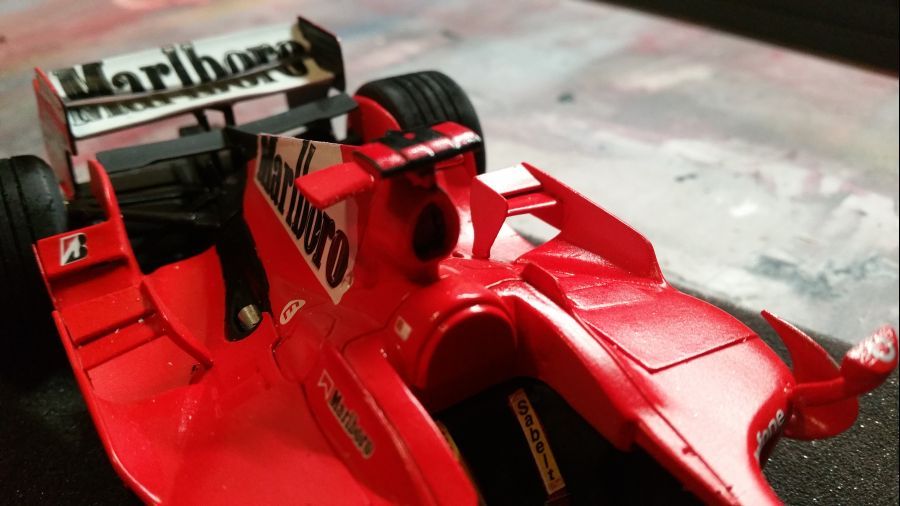
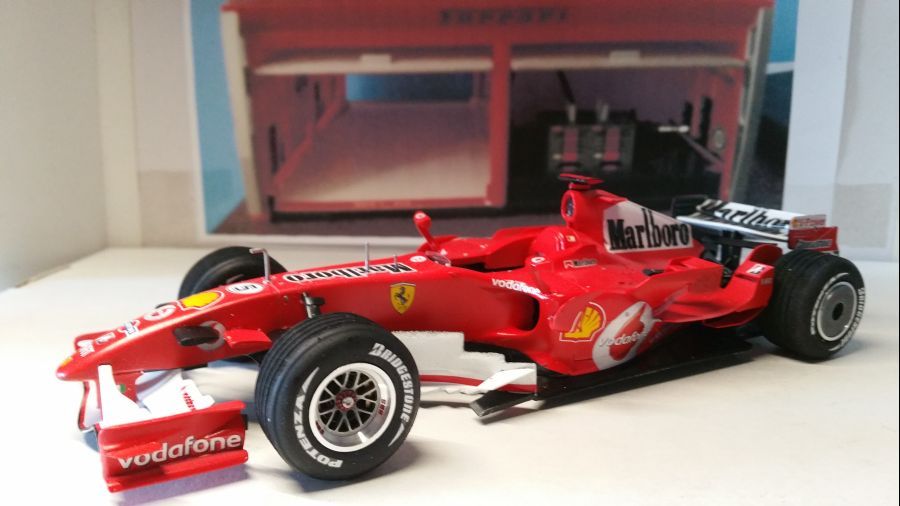
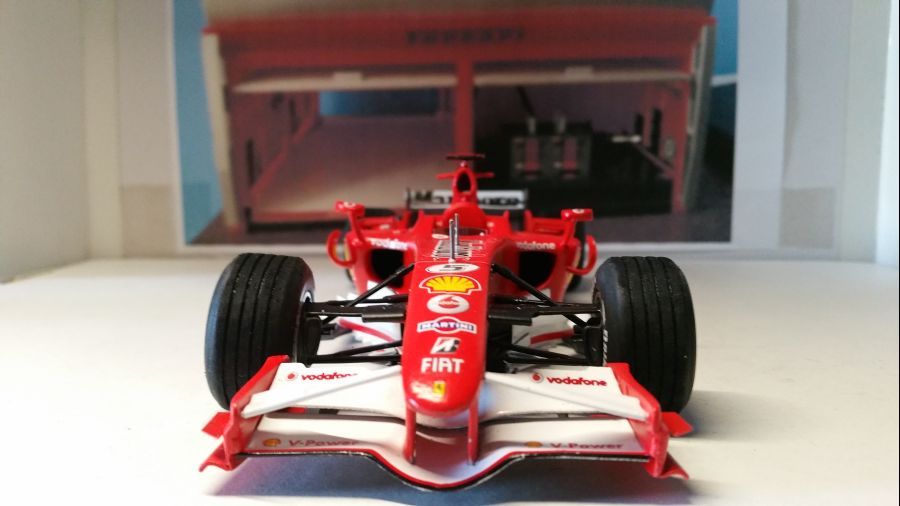
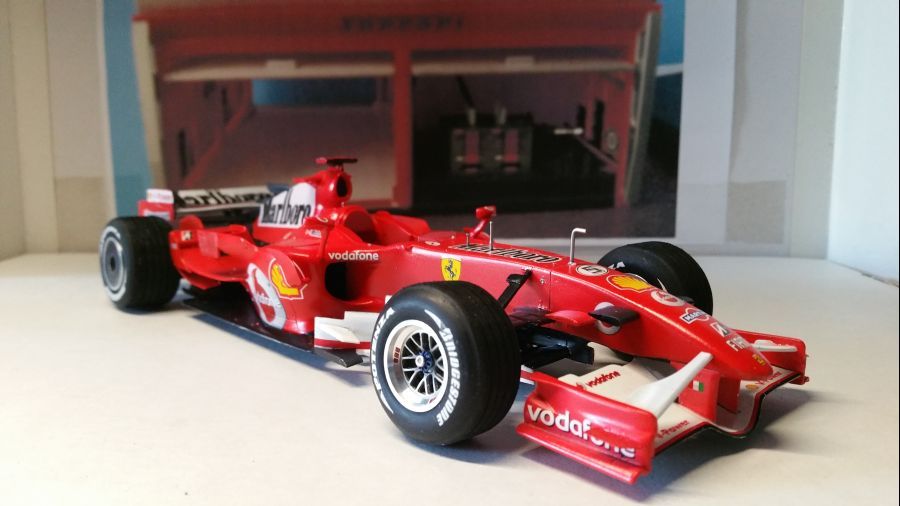
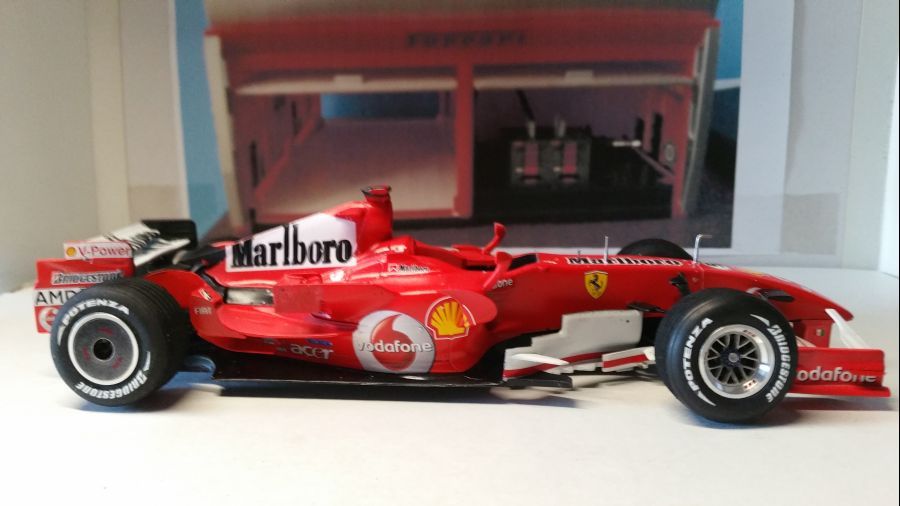
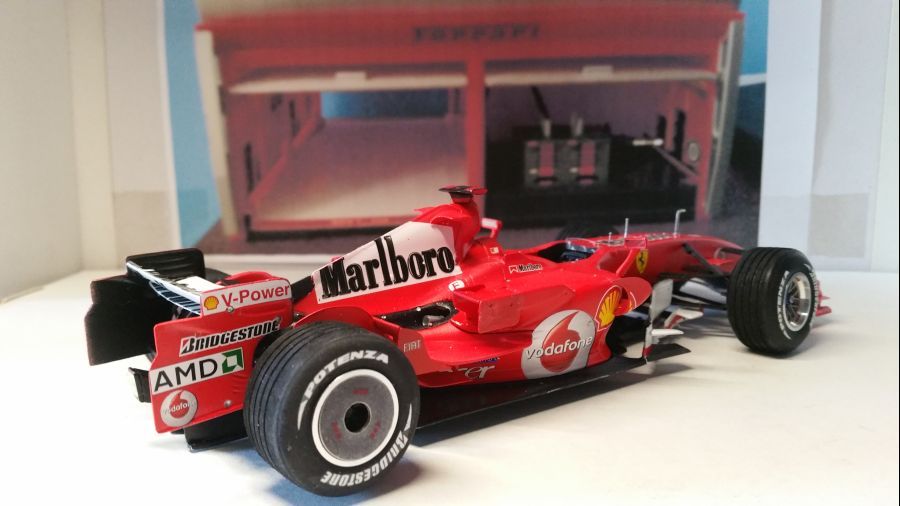
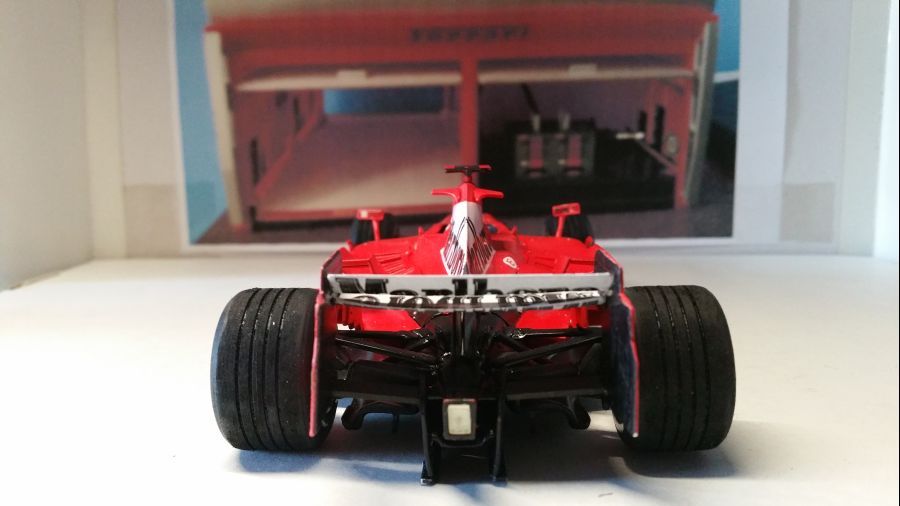
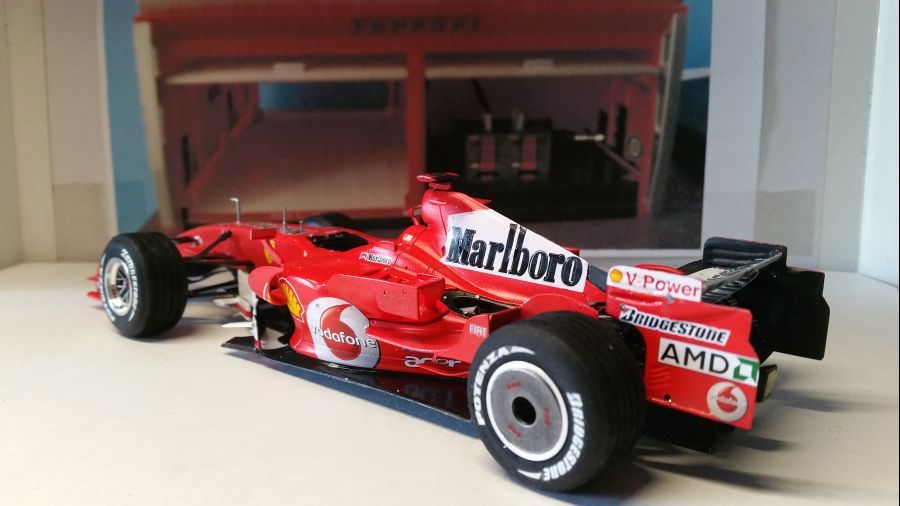
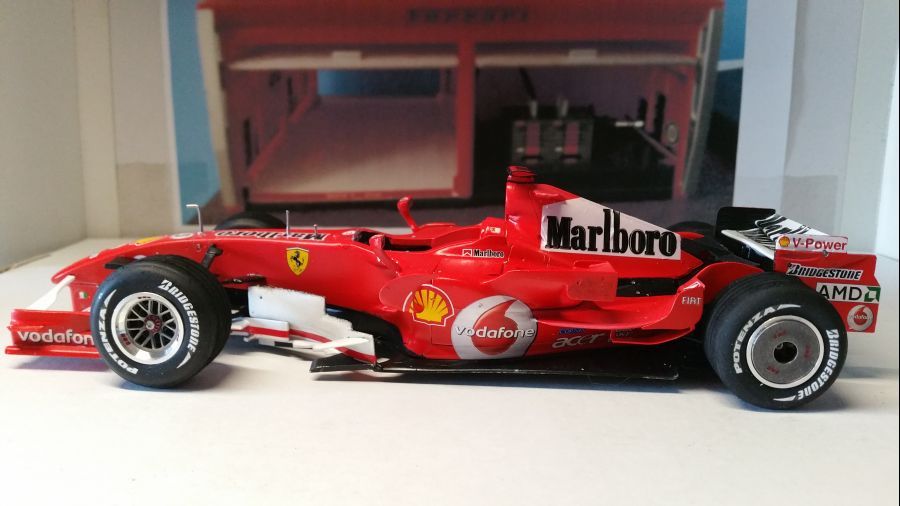
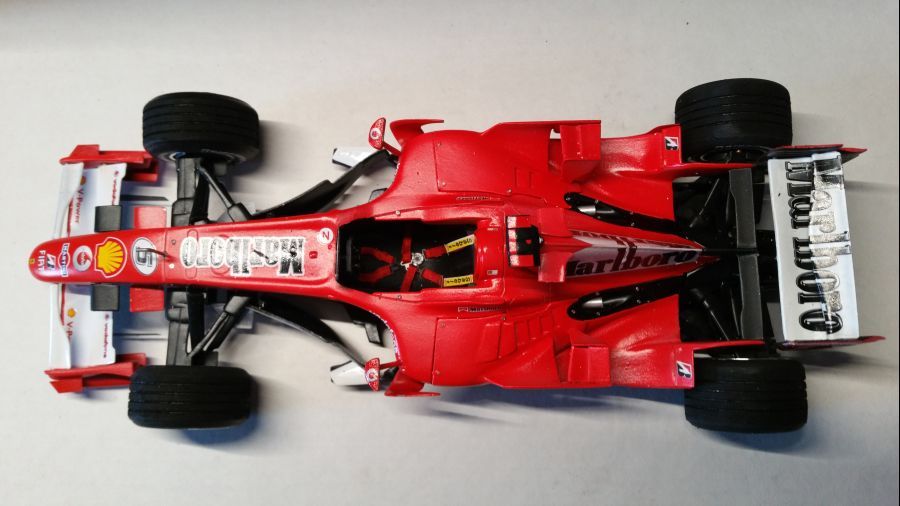
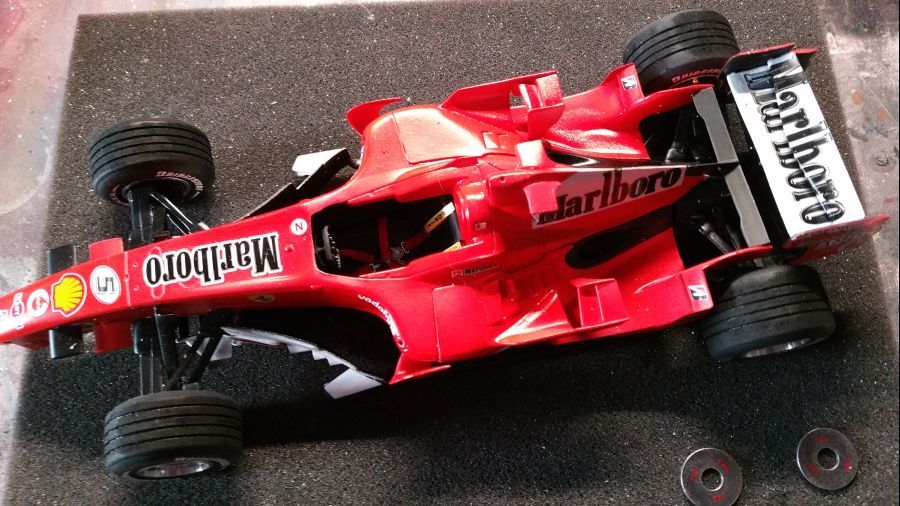
En de 45e Ferrari kan op de plank....
And Ferrari no. 45 can be placed on the shelf...