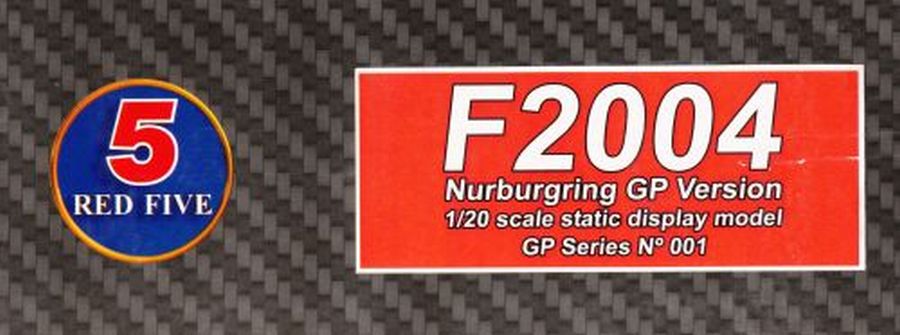
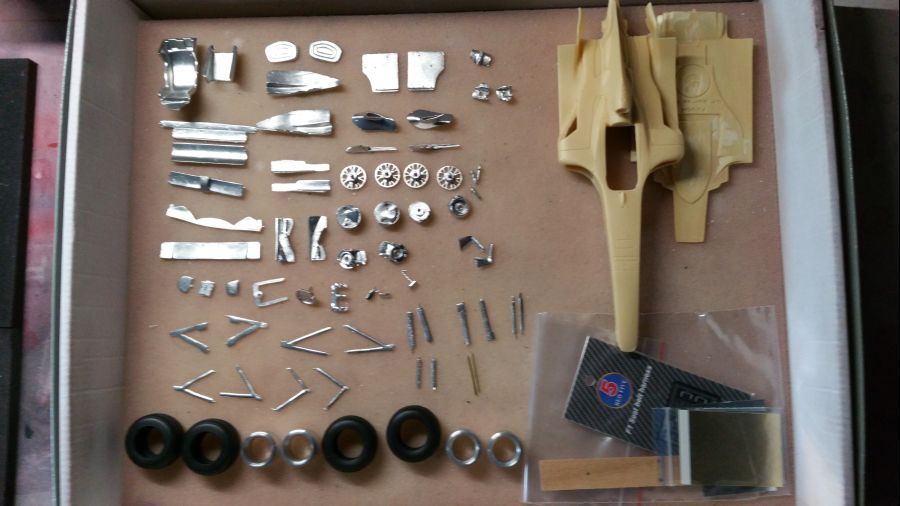
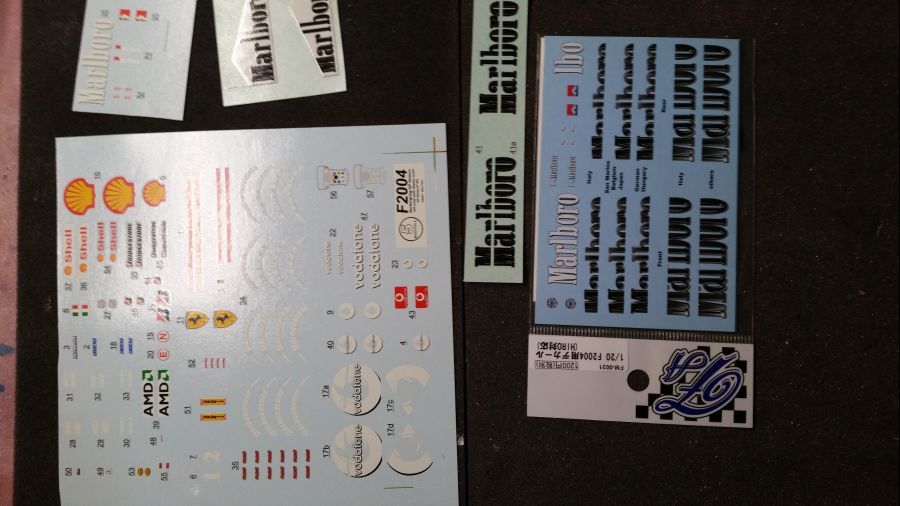
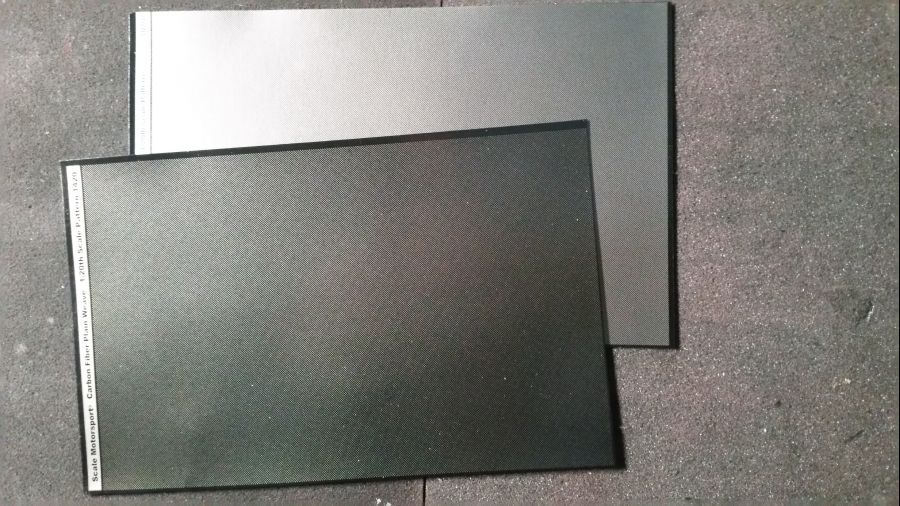
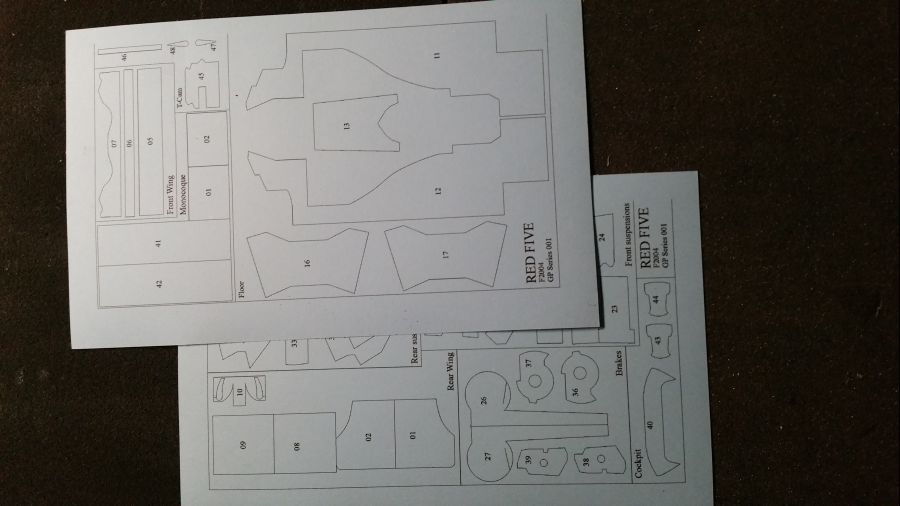
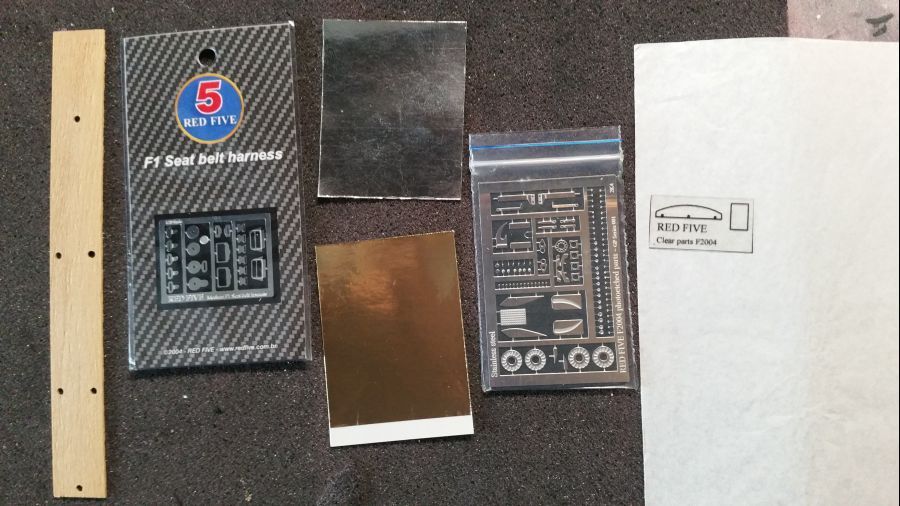
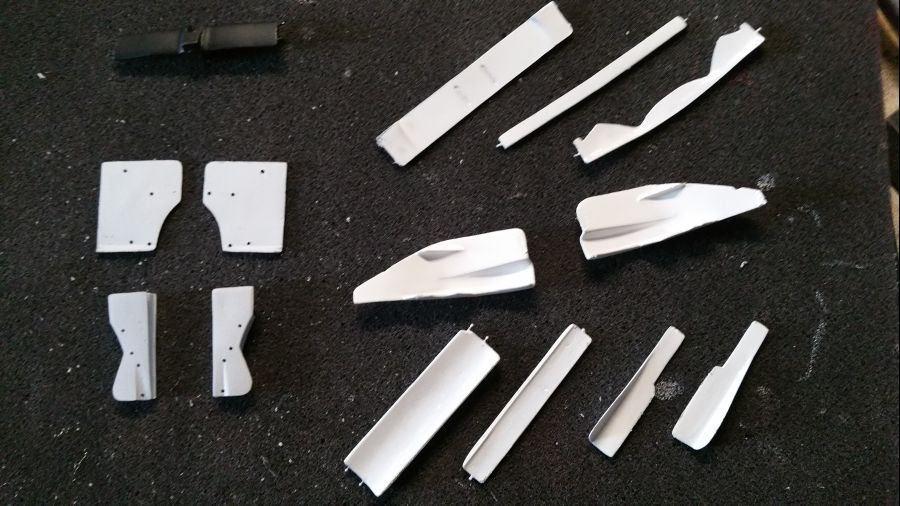
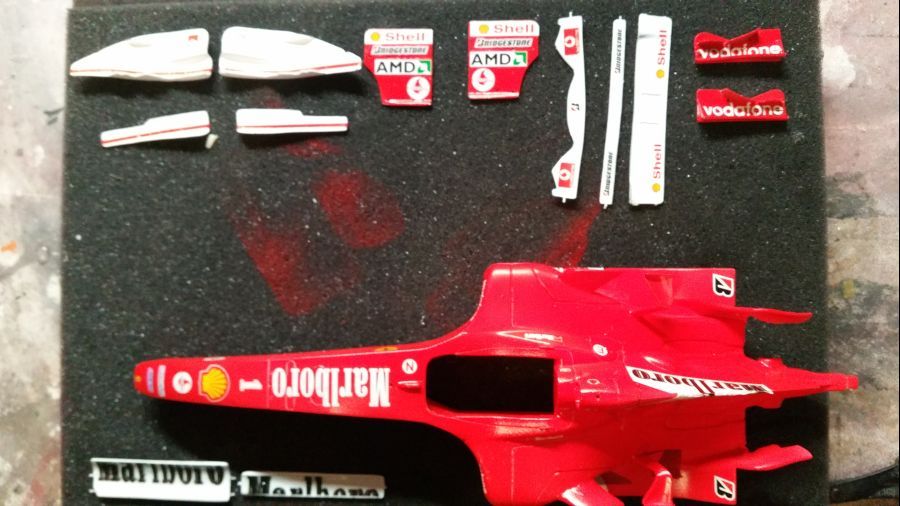
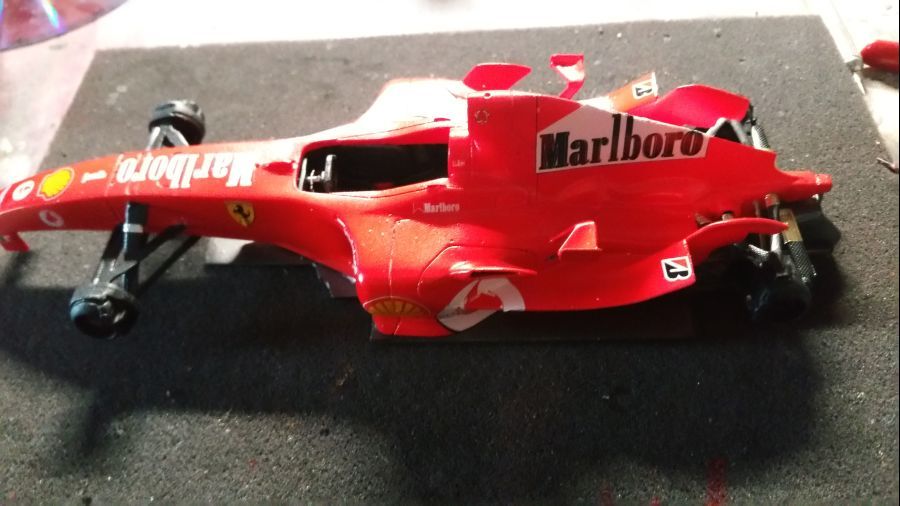
Vandaag begin ik met een lang uitgesteld project. De bouw van de Ferrari F2004 Duitse GP versie. Ik maak de F2004 zoals deze toen werd bestuurd door Michael Schumacher in 2004. Het is de eerste productie van Red Five (kit nr 001). Ik heb de bouw lang uitgesteld vanwege de slechte kwaliteit van de kit. Het witmetaal is echt van slechte kwaliteit. Ik weet nog niet hoe ik dat moet oplossen. De decals zien er wel weer aardig uit. Ook nog eens carbon fiber decals. Misschien kan dat de slechte kwaliteit wat verhullen. Eerst maar weer de foto's met de inhoud van de kit. Ik heb nog een extra set cigaretdecals gekocht.
Today i will start a long postponed project. It's the build of the Ferrari F2004 German GP version. I will make the car as driven by Michael Schumacher in 2004. It's the first production of Red Five (kit no 001). I postponed it because of the poor quality of the kit. The white metal is really of poor quality. I don't know how to solve it. The decals look pretty nice. Also carbon fiber decals are included. Maybe that will cover up the poor quality. First of all the photos with the content of the kit. Also i bought some extra cigarette decals.
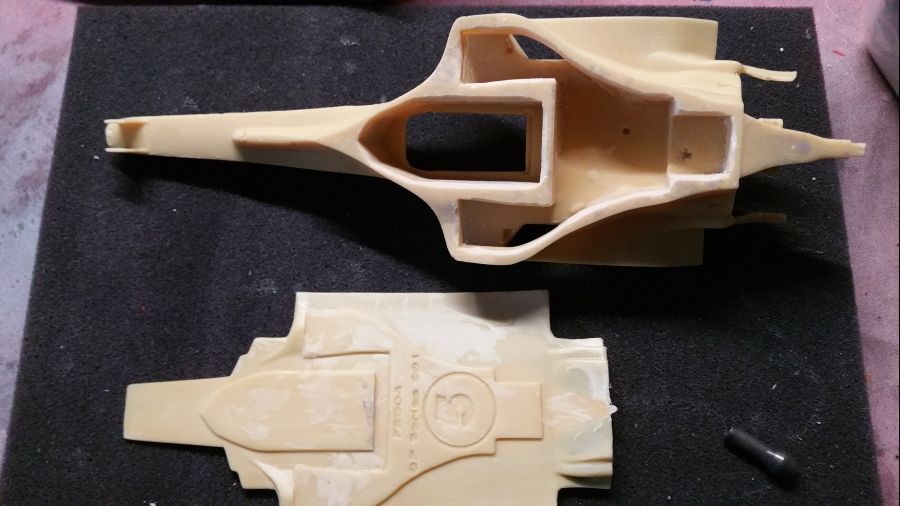
Het resin moet eerst bijgewerkt wordem. Alle scherpe randjes eraf.
The resin needs some work. All edges need to be cut.
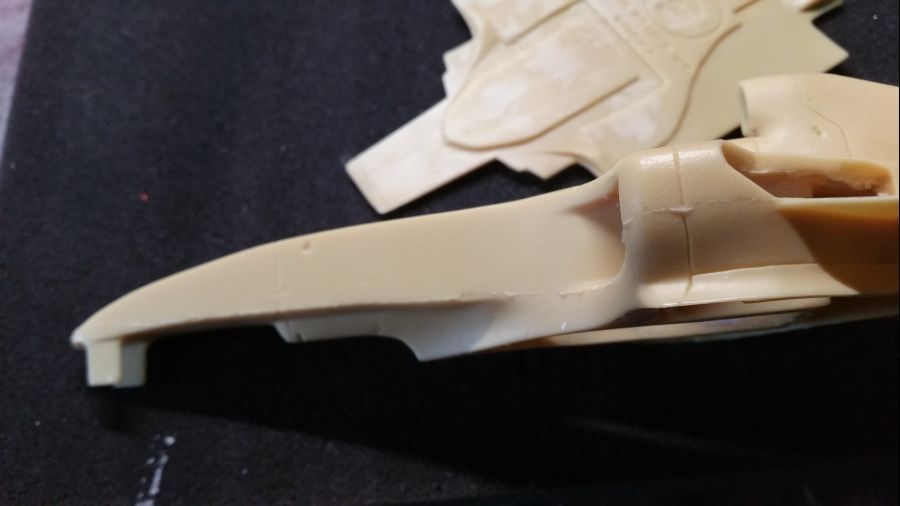
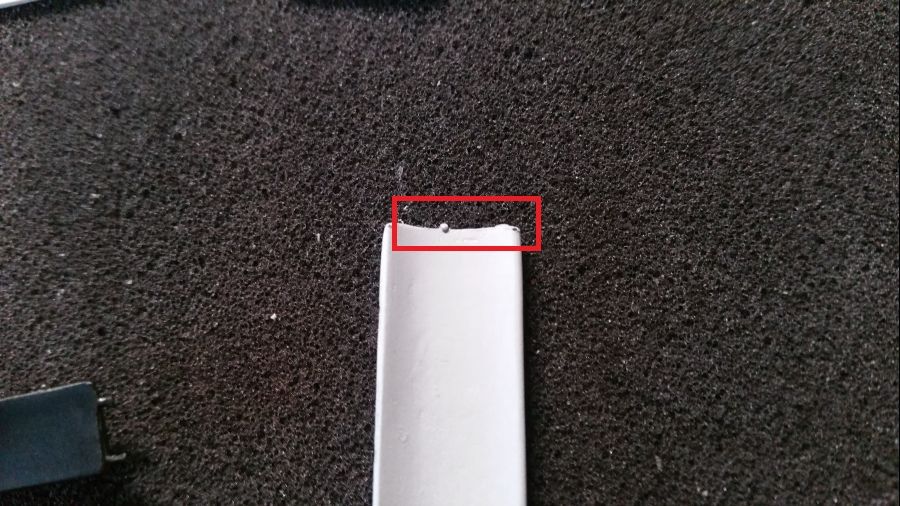
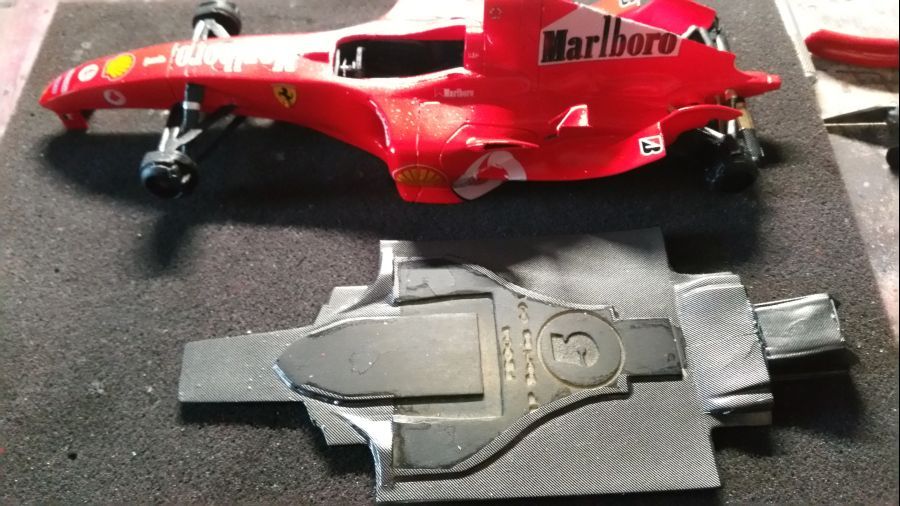
De body past niet goed op de vloer. Nu alvast wat aan werken dus.
The body doesn't fit the floor. I will work on it now.
De vloer heeft een indekping waar het bodywerk in moet vallen. Wanneer dit niet precies past, heb je natuurlijk het probleem. Ik ga daarom de randen van de body wat afschuren. Daarna zal alles beter passen.
The floor has some kind of trench to fit the body. If it doesn't fit exactly, you will have the problem of corse. That's why i will shape the edges of the body a bit. It should fit better after that.

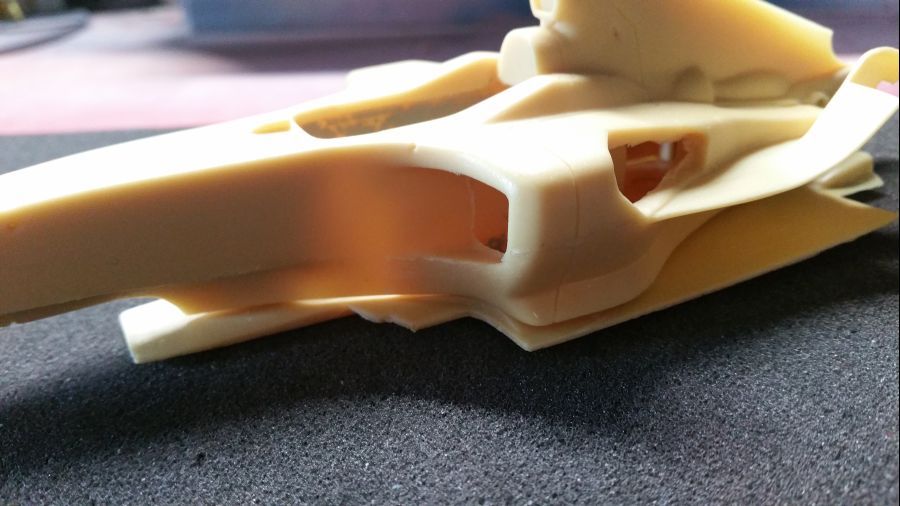
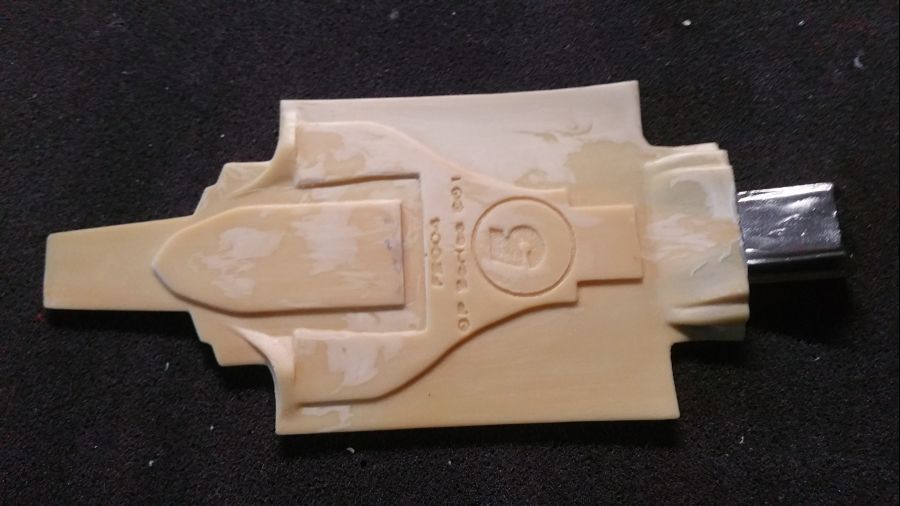
Eerst de vloer klaarmaken.
First is finishing the floor.

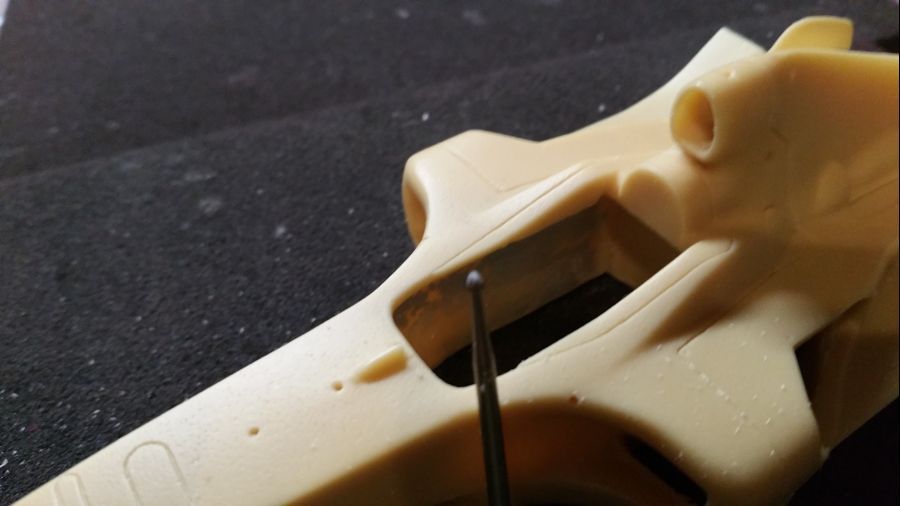
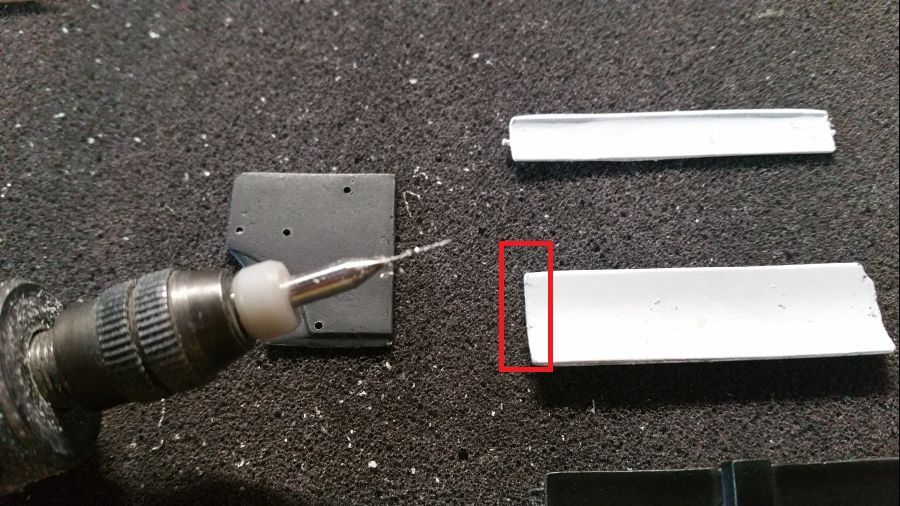
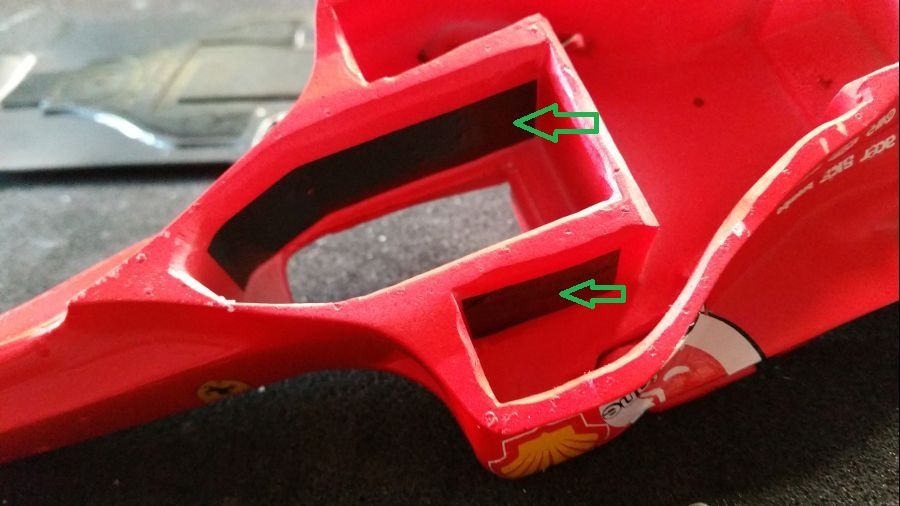
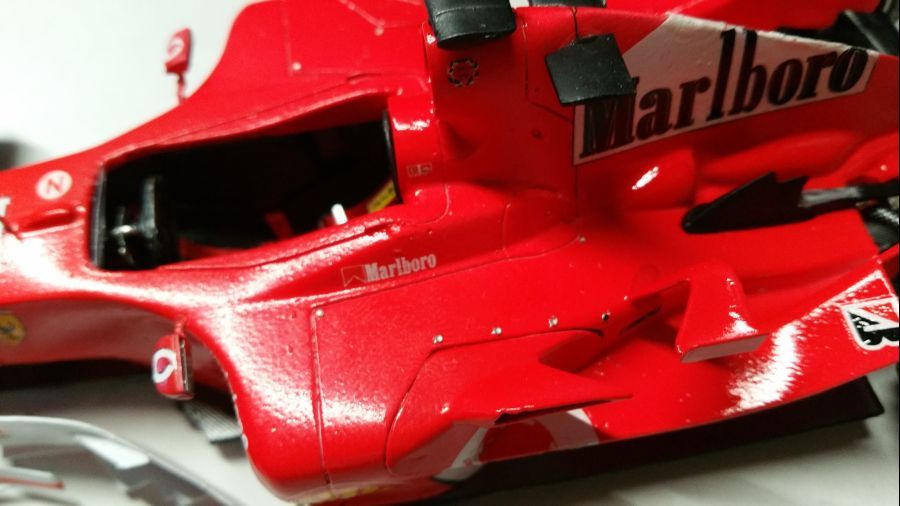
Door met de body. De gaatjes voor de ophanging enz. worden geboord. De luchtintake boven de hoofdsteun wordt wat uitgediept meet een frees.
Next is the body. The holes are being drilled for the suspension etc. The air intake above the headrest was made deeper with a cutter.
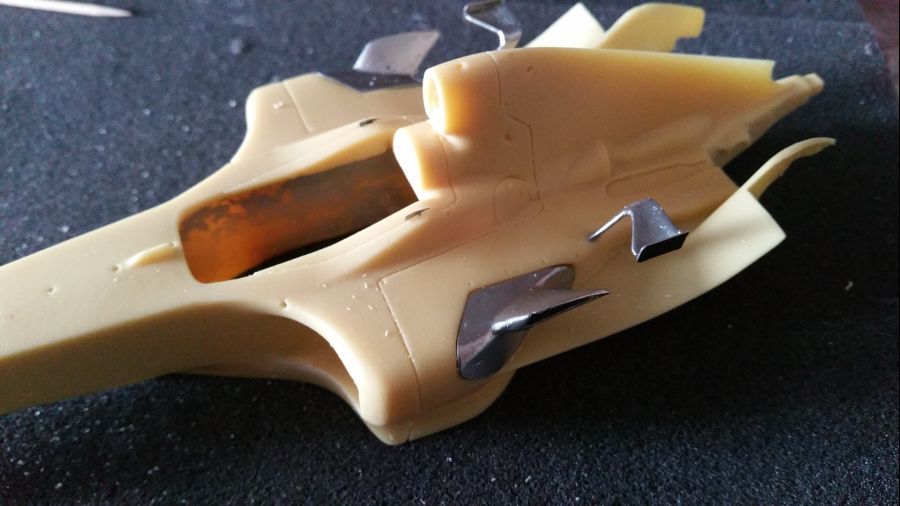
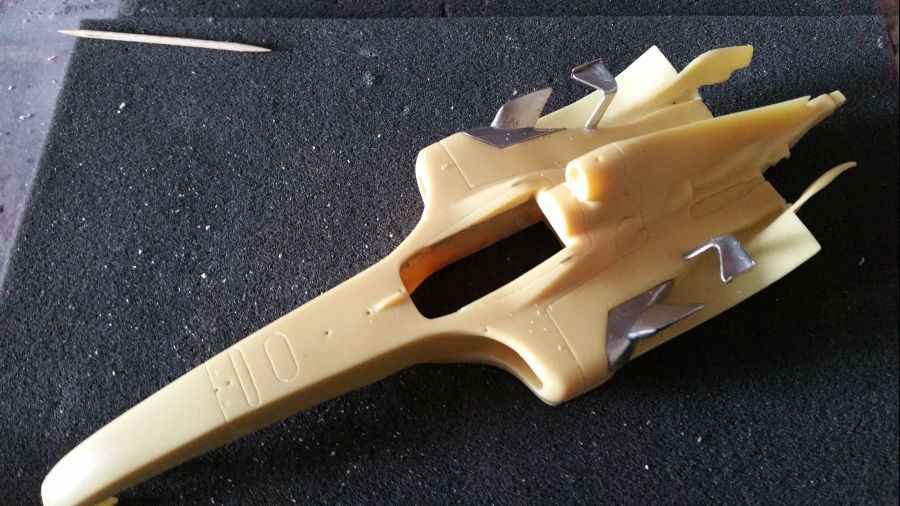
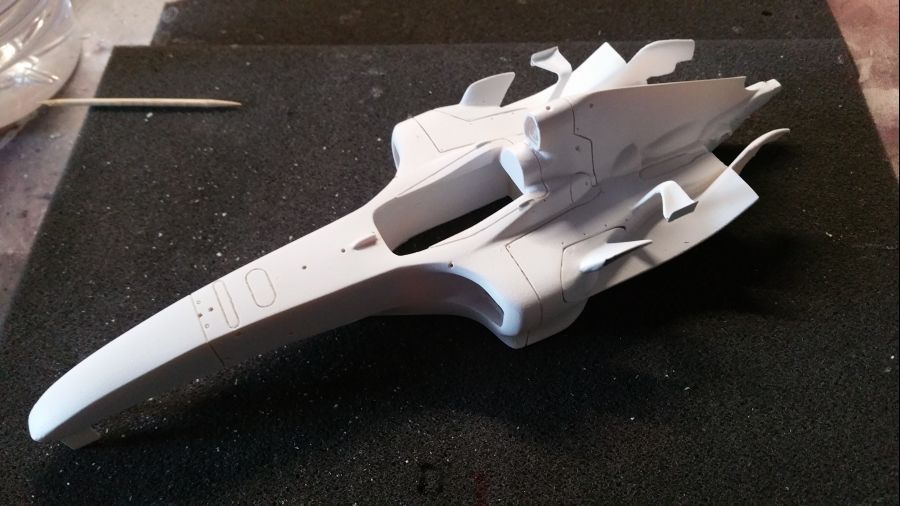
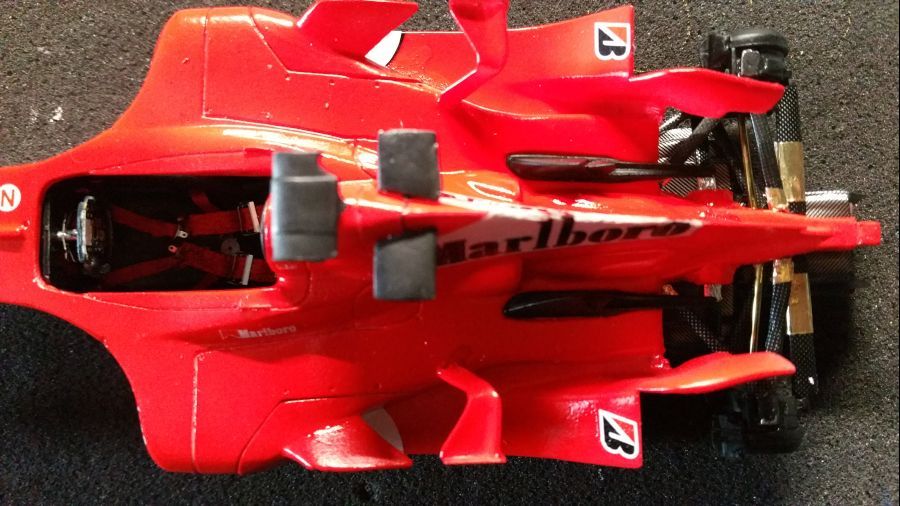
Een aantal onderdelen worden aan de body bevestigd voordat alles in de primer wordt gezet.
Some parts are being attached to the body before painting it with primer.
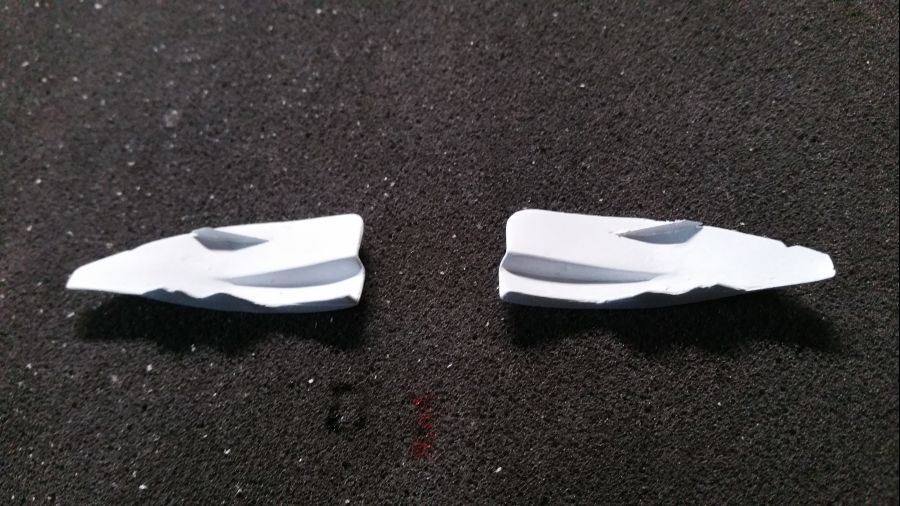
Terwijl dit droogt, ga ik verder met de voorvleugel...
While getting dry, i will continue with the front wing...
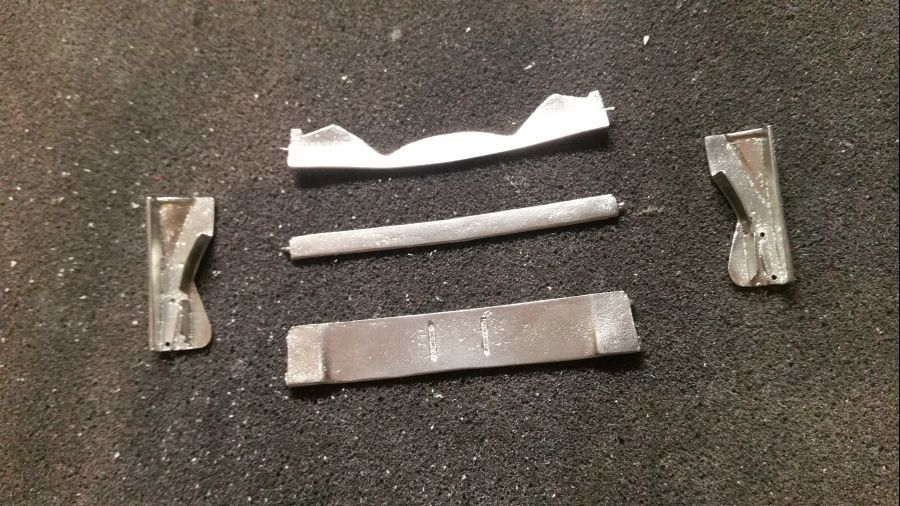
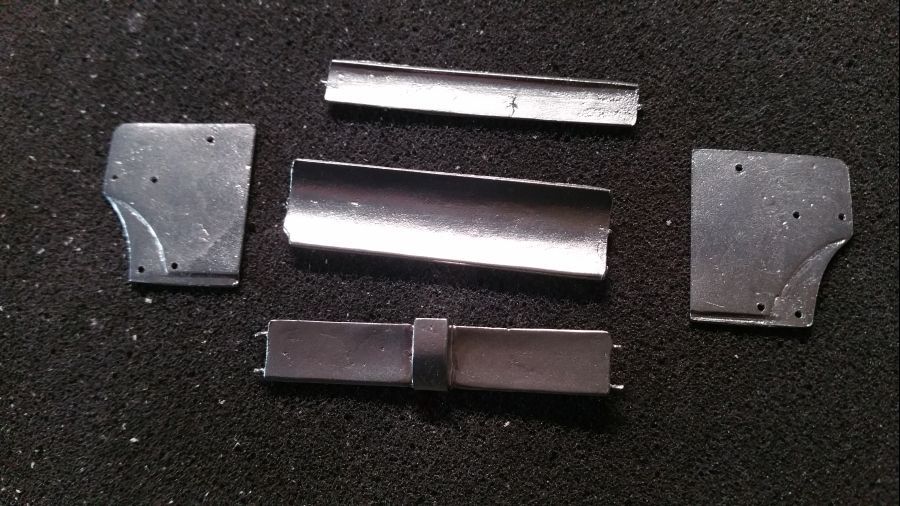
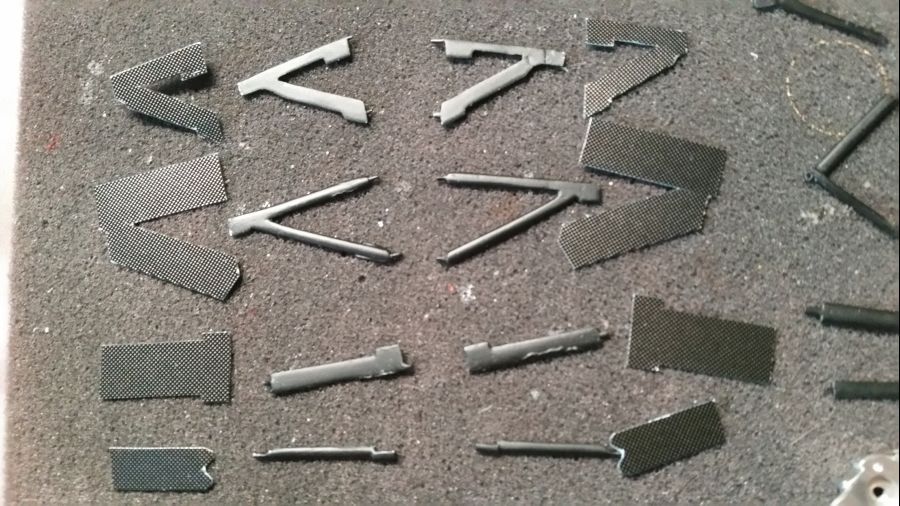
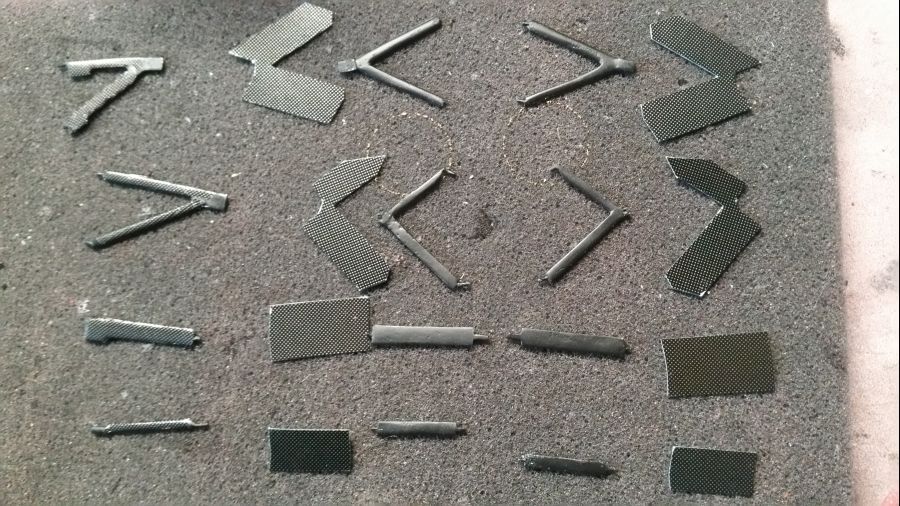
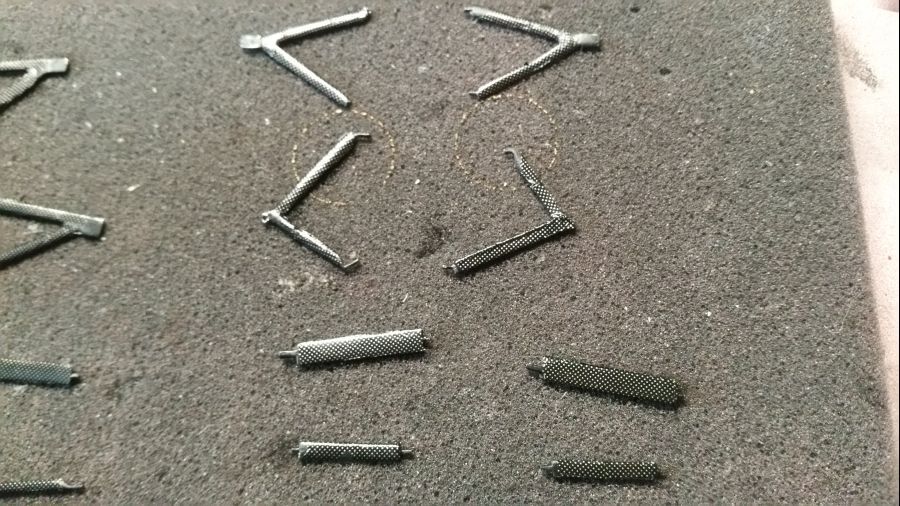
Dan de voorbereiding van de barge boards.
Next is getting the barge boards ready.
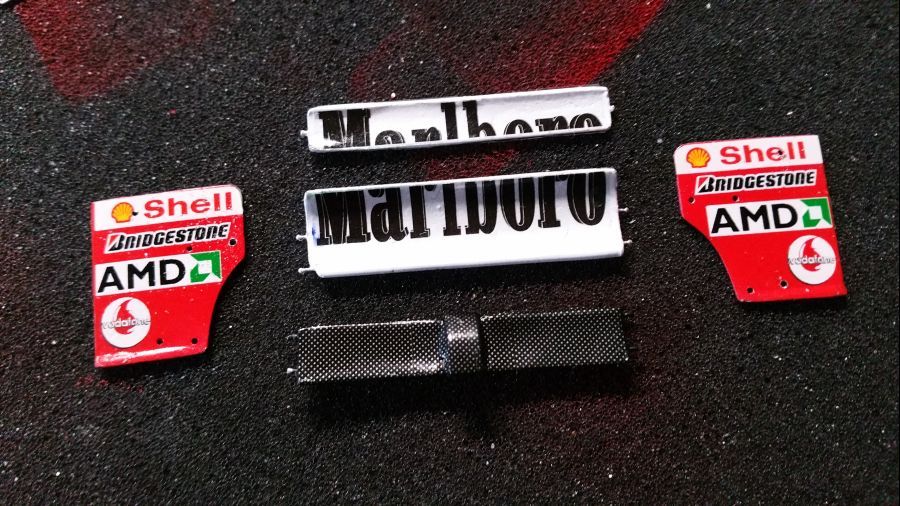
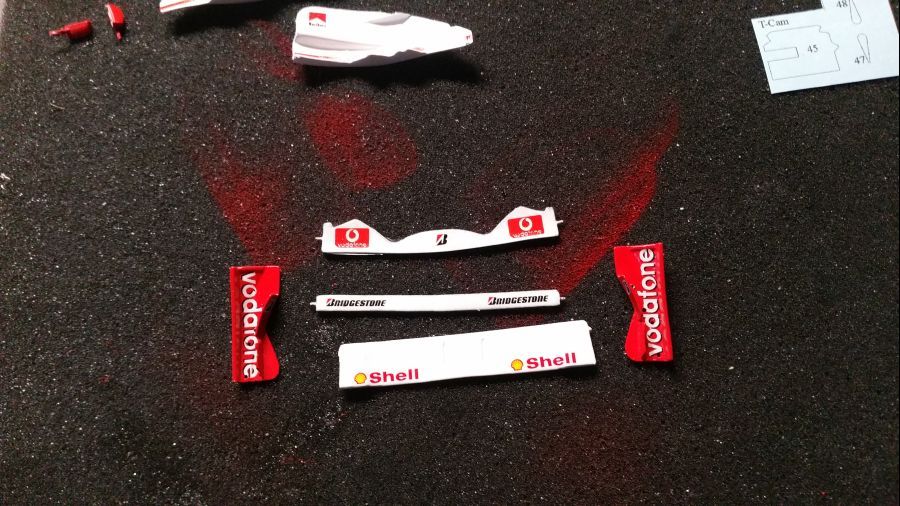
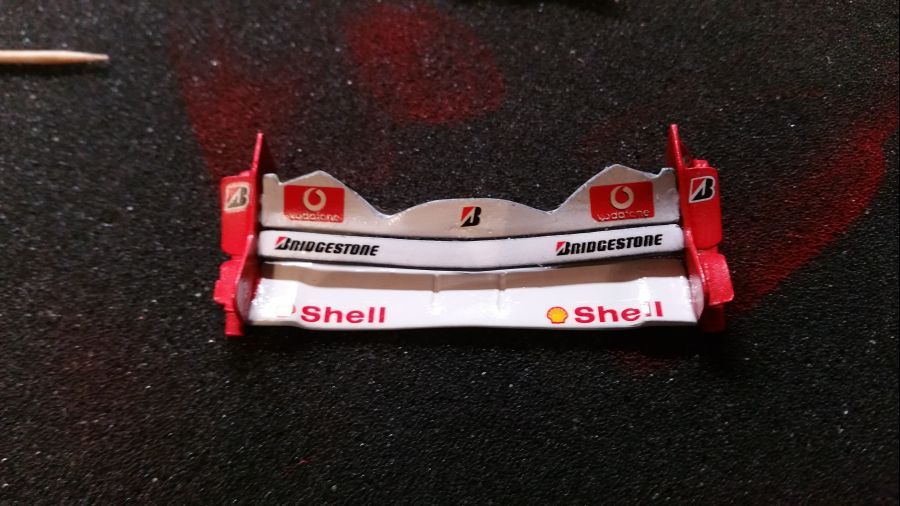
En de onderdelen van de achtervleugel. Sommige onderdelen wit, sommige zwart en sommige zwart/wit.
And the parts of the rear wing. Some parts white, some black and some black/white.
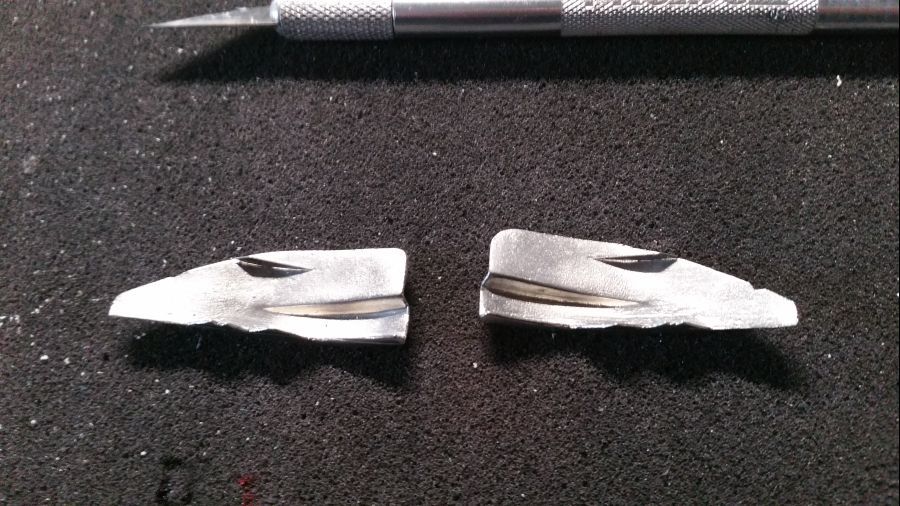
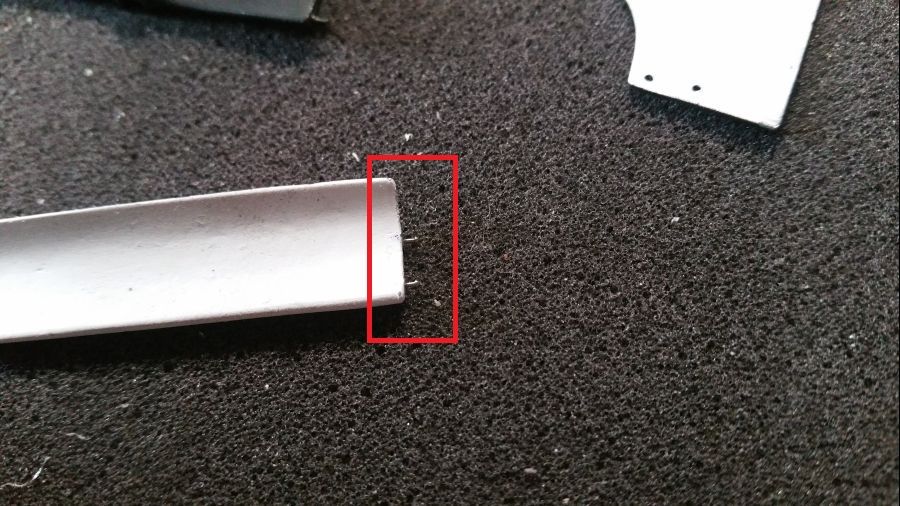
De aansluitpunten van de vleugel zijn niet echt goed. Deze vijl ik af en boor gaatjes voor pinnetje.
The attaching points arot good. I will file them off and drill holes for pins.
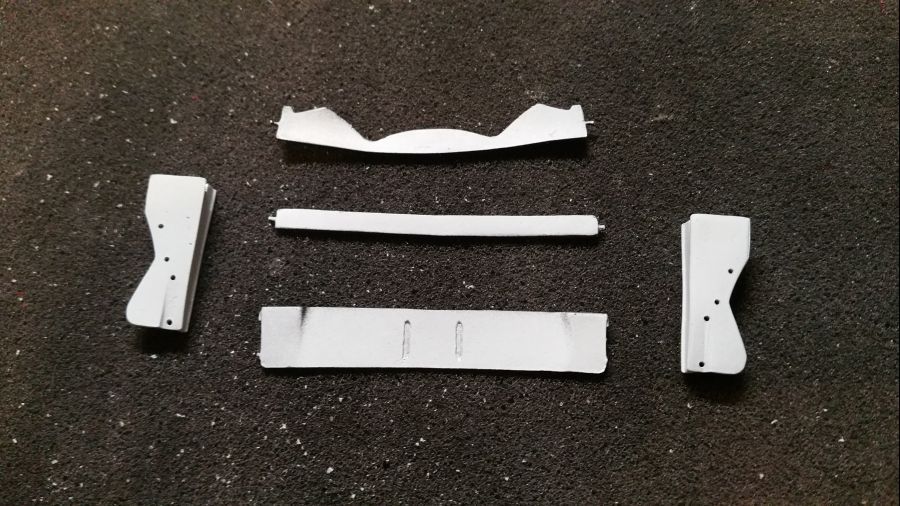
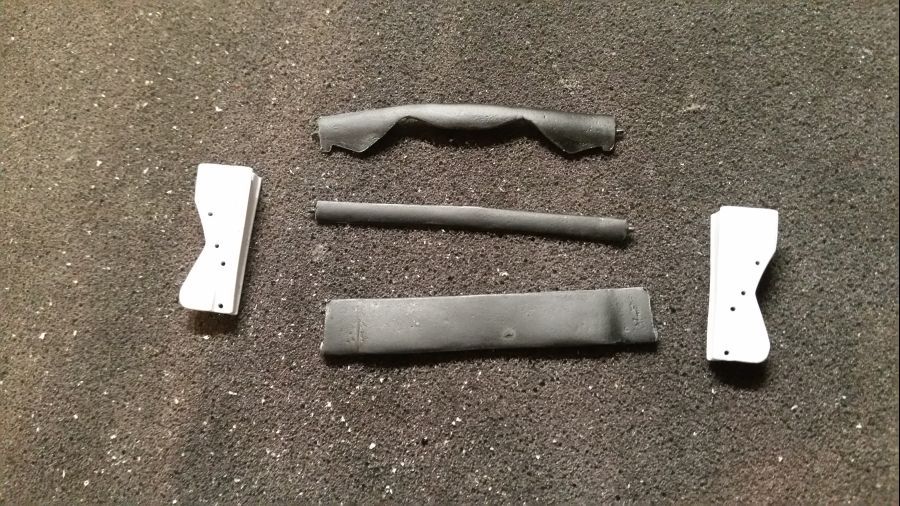
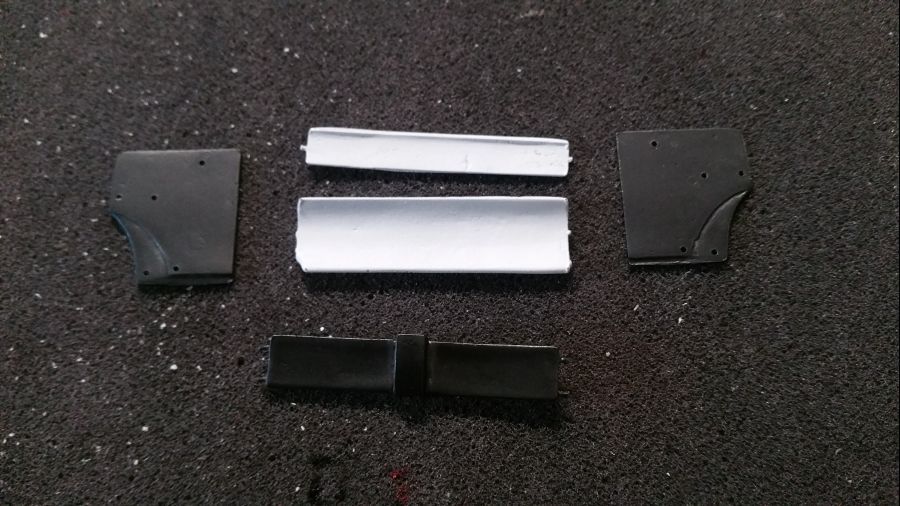
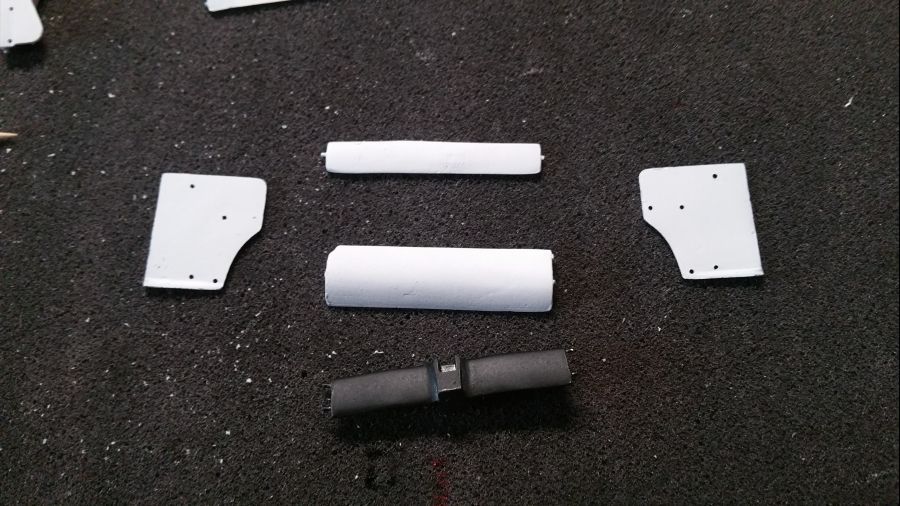
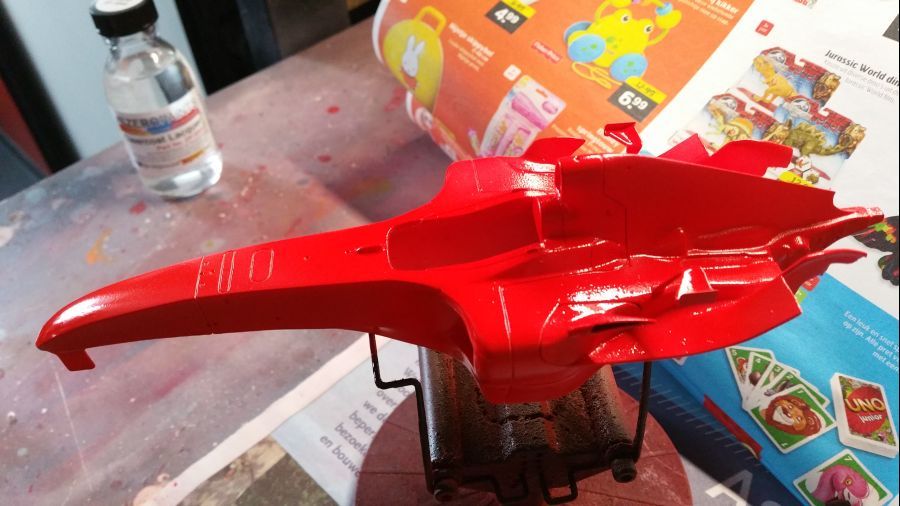
Klaar voor het rood, wit en zwart.... Eerst het wit... Het zwart...
Ready for the red, white and black.... First the white... The black...
En het rood... Deze keer Zero Paints ZP-1007 Rosso Fluoresent F1.
And the red... This time the Zero Paints ZP-1007 Rosso Fluoresent F1.
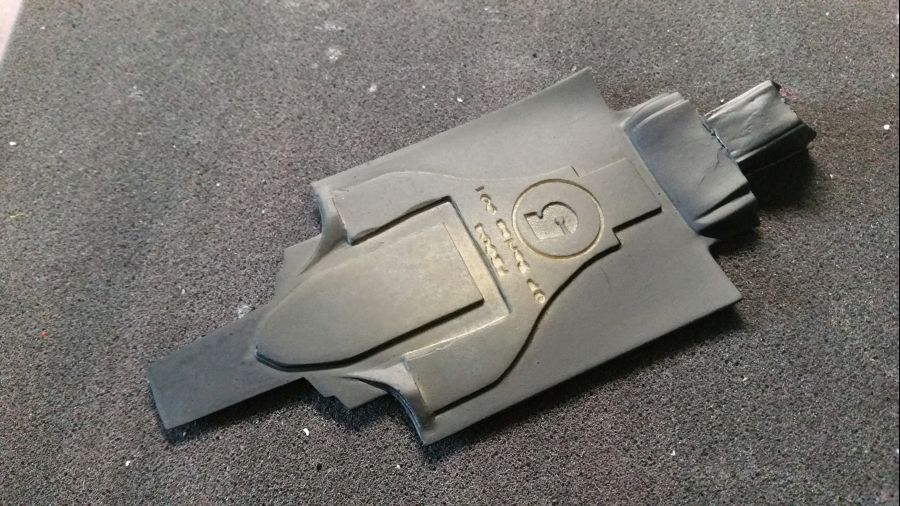
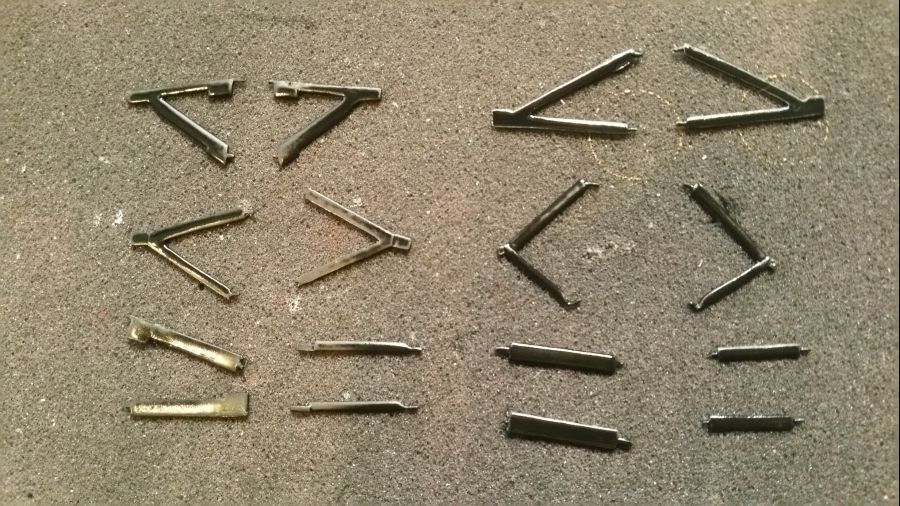
De onderdelen van de ophanging worden geverfd met zwarte primer...
The suspension parts get a coat of black primer...
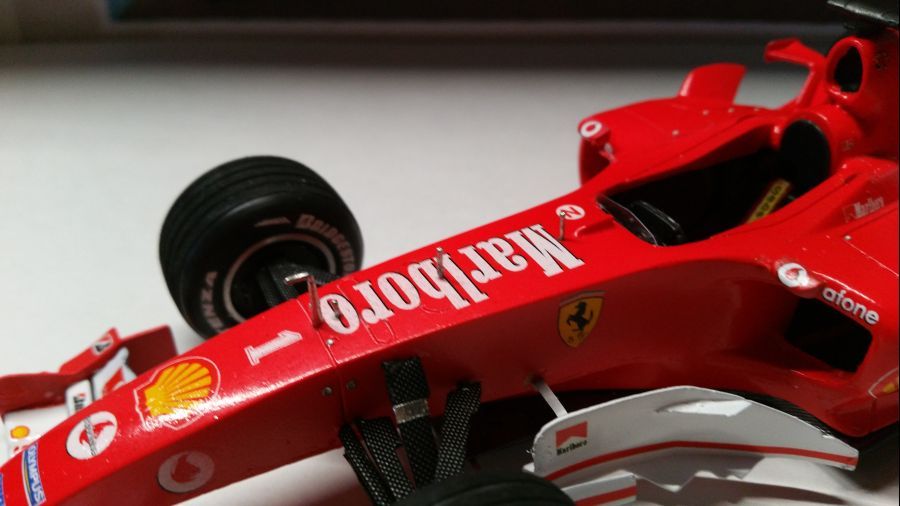
Decaltijd...
Decal time...
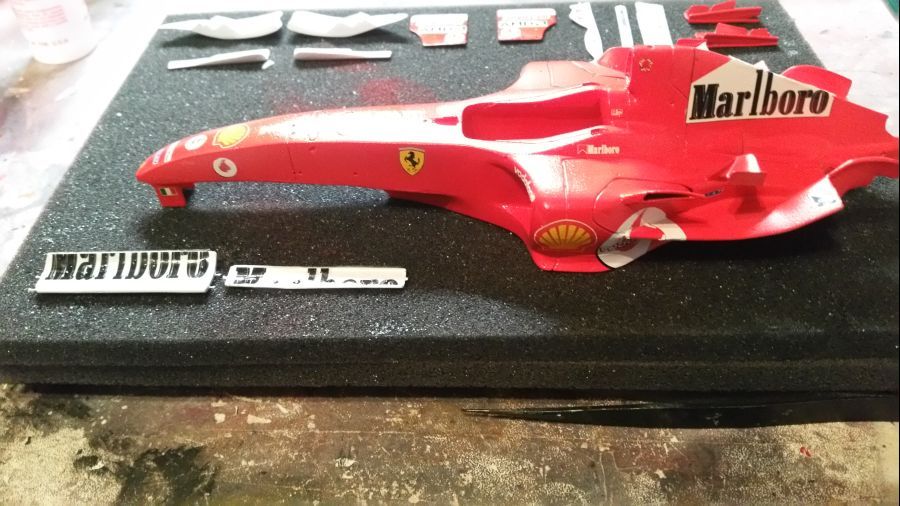
Aan de binnenkant worden de carbon fibre decals geplaatst.
The carbon fibre decals are applied to the inside.
Hetzelfde aan de onderdelen van de voorwielophanging.
The same to the parts of the front wheel suspension.

Hetzelfde voor de achterwielophanging.
For the rear wheel suspension it's the same.
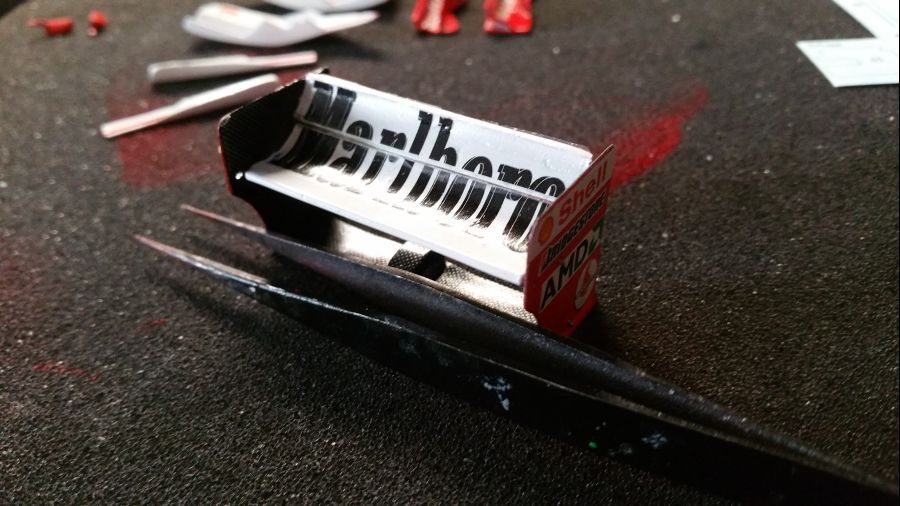
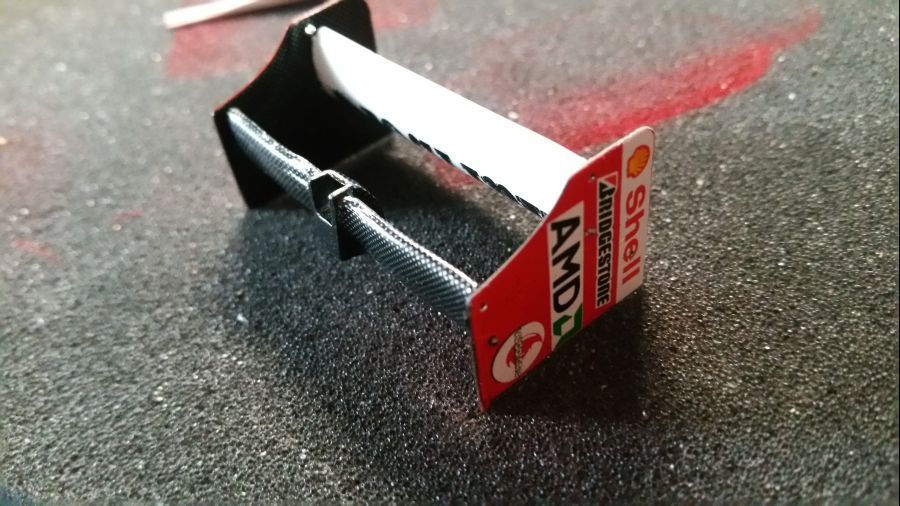
Wat onderdelen van de achtervleugel...
Some parts of the rear wing...
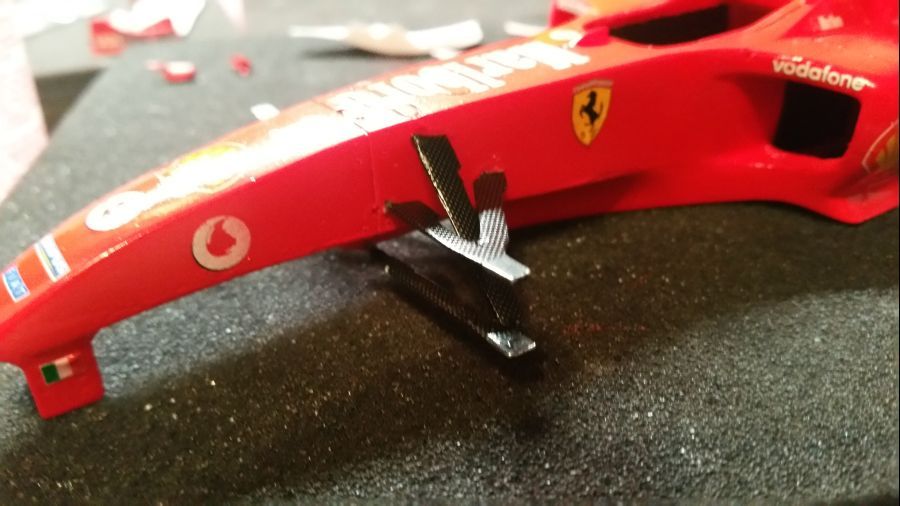
De voorvleugel kan in elkaar worden gezet...
The front wing can be assembled...
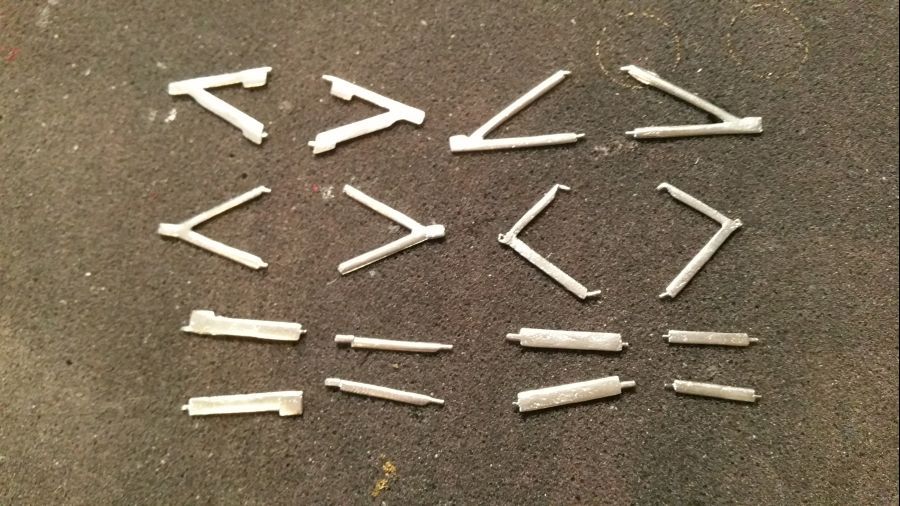
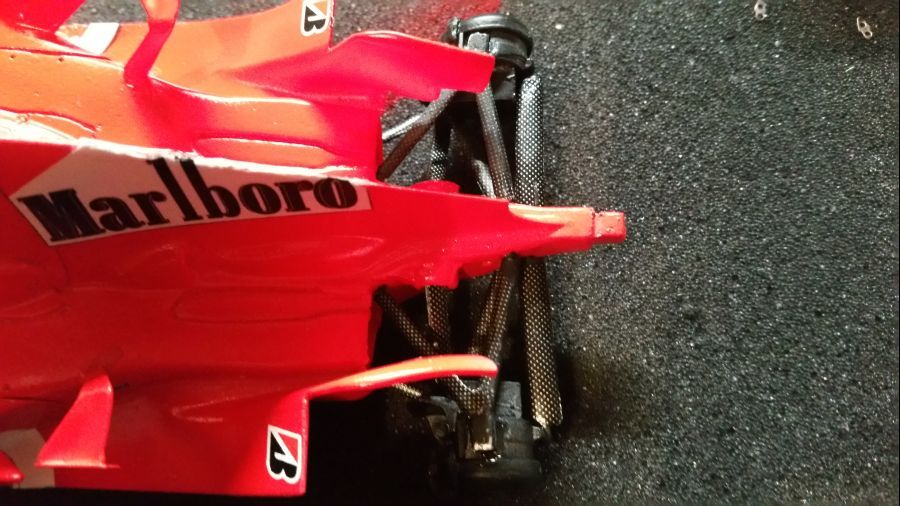
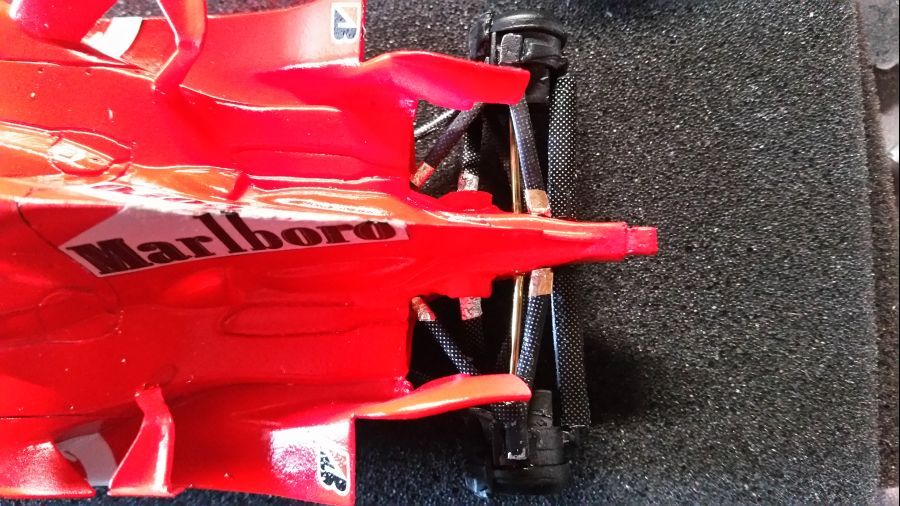
Dan verder met het plaatsen van de voorwielophanging...
Next is attaching the front wheel suspension...

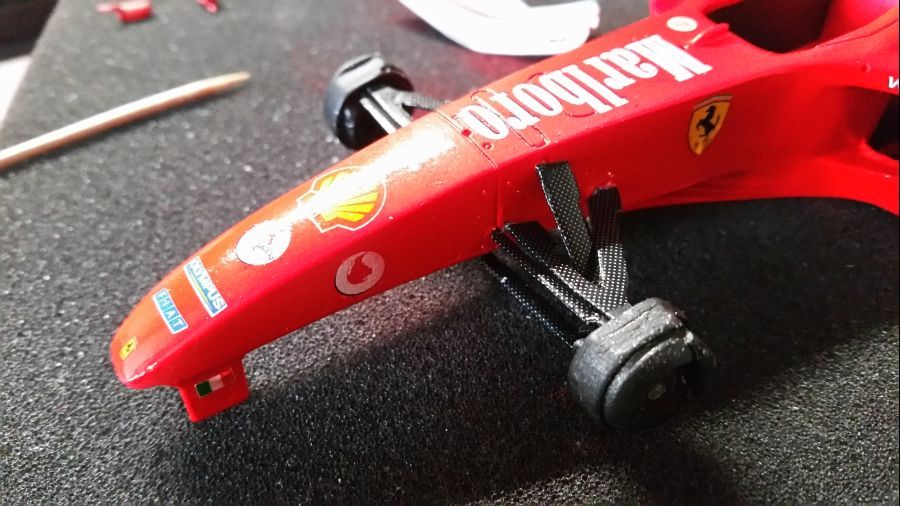
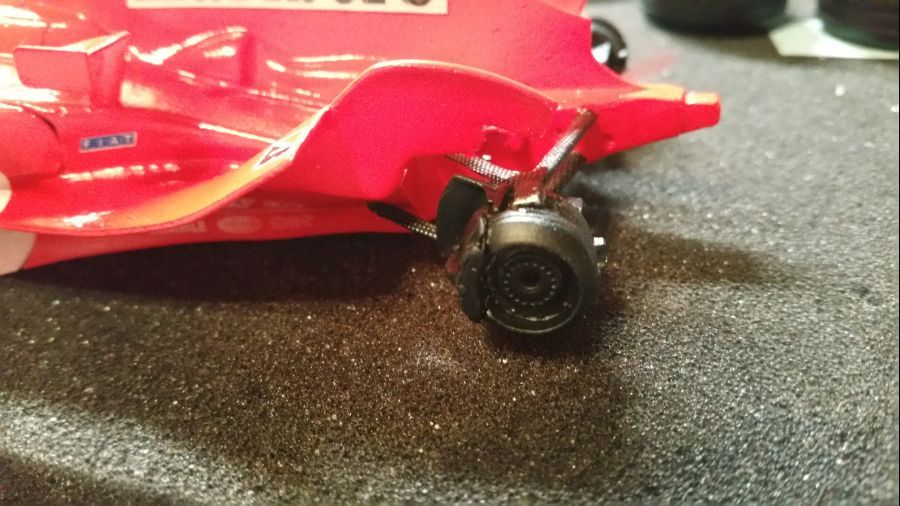
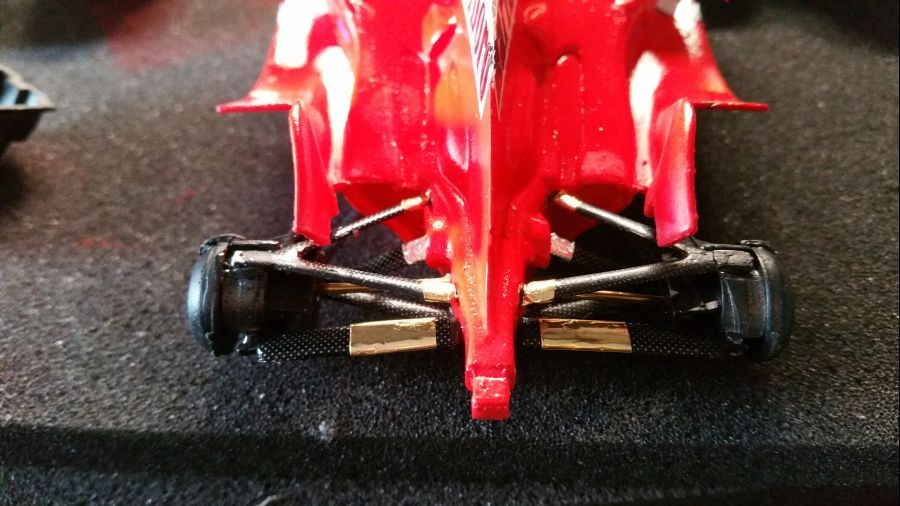
De achterwielophanging en de remtrommels...
The rear suspension and the brake drums...
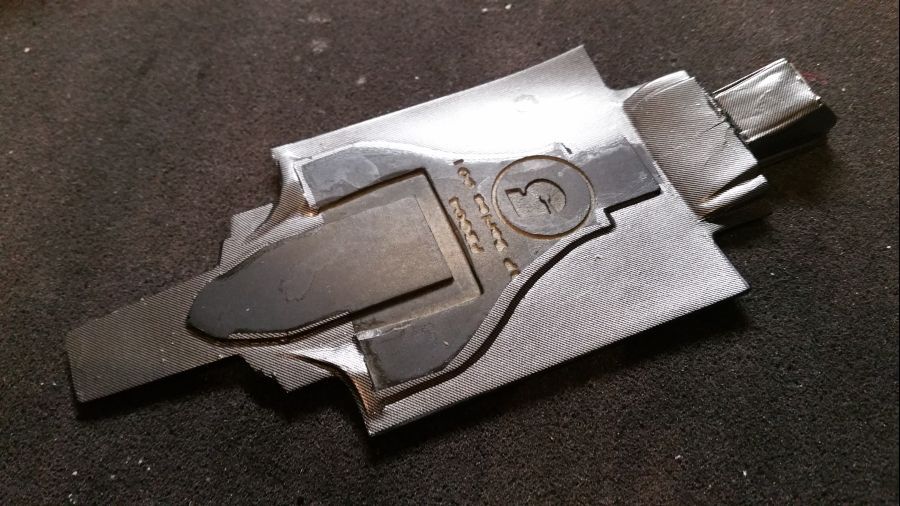
Dan de assen en de goud- en zilverfolie... De volgende keer deze folie maar even plaatsen voordat de boel aan de body wordt bevestigd.
Then the axles and the gold and silver foil... The next time i need to apply the foil before everything gets attached to the body...
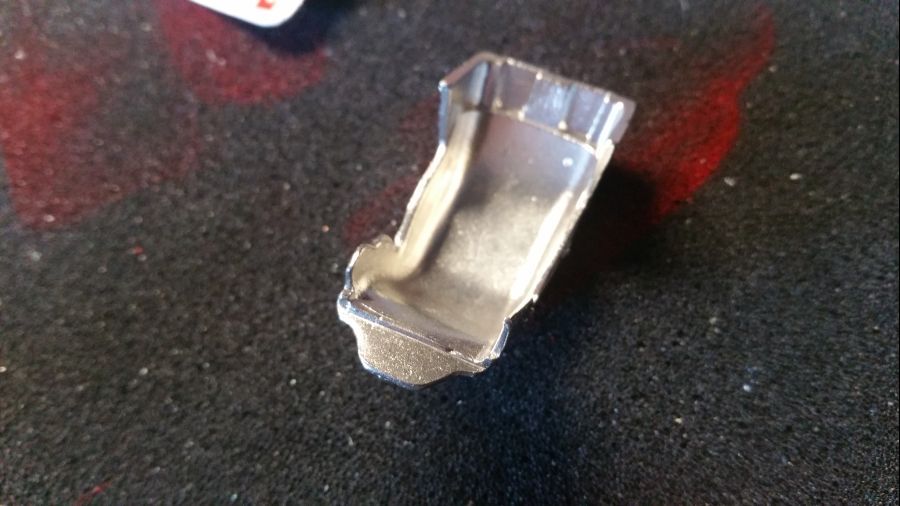
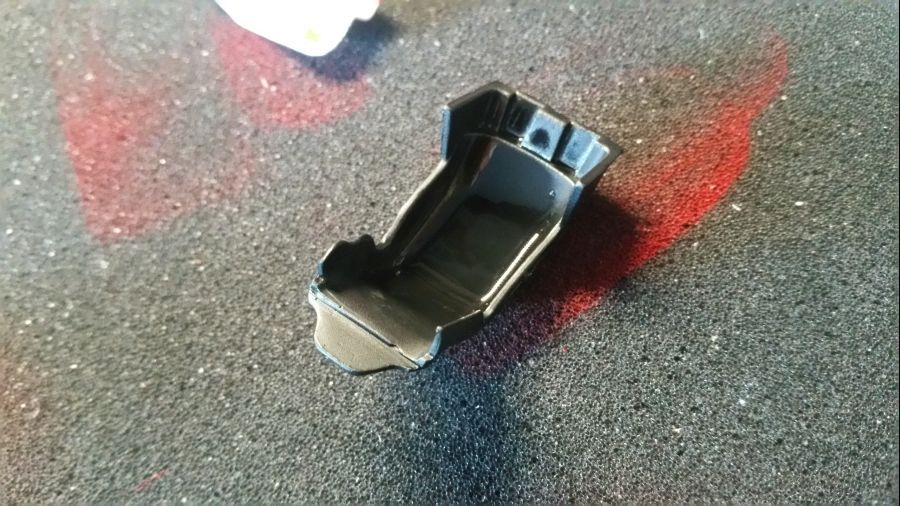
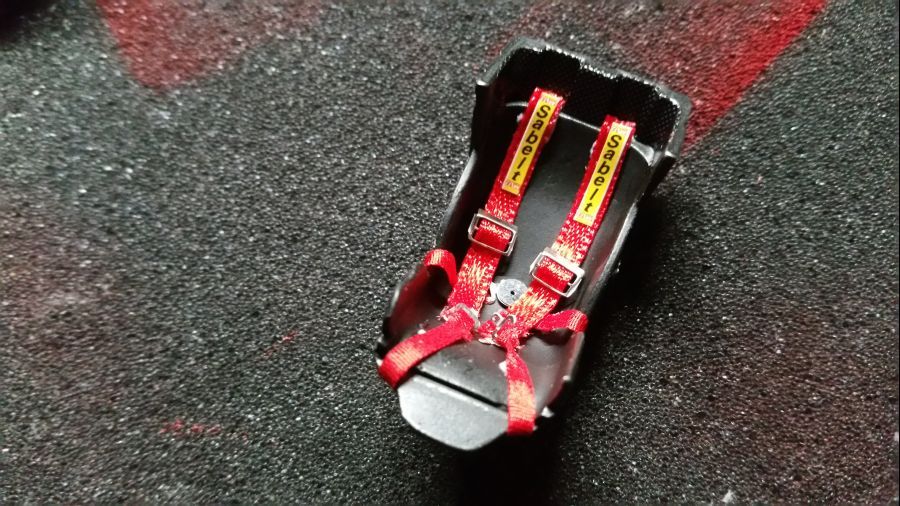
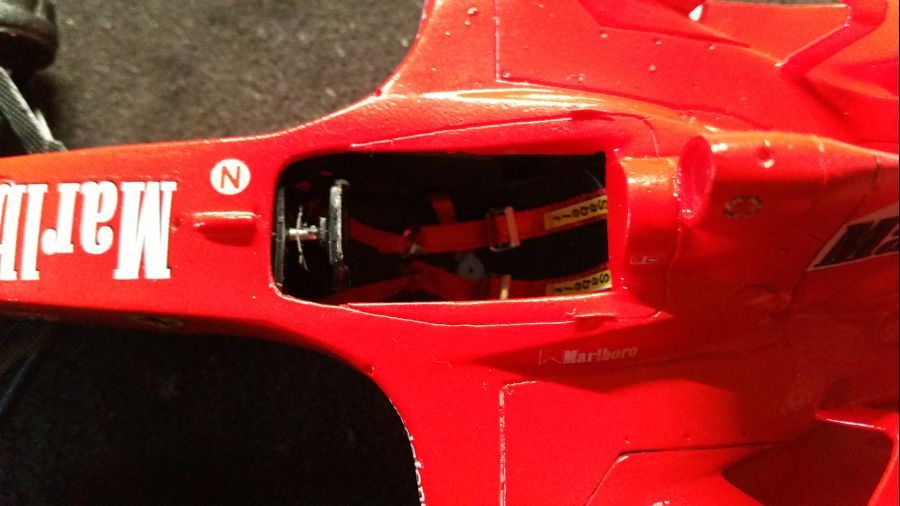
Verder met de stoel...
To continue with the seat...

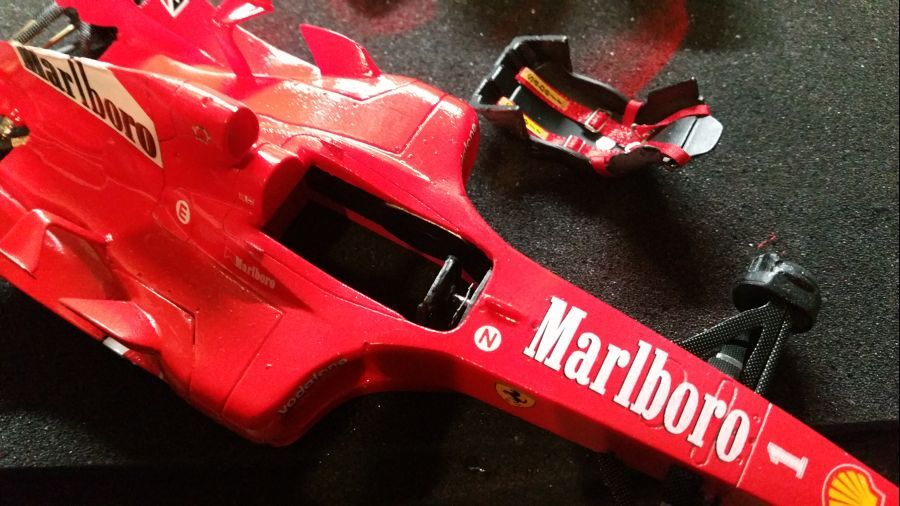
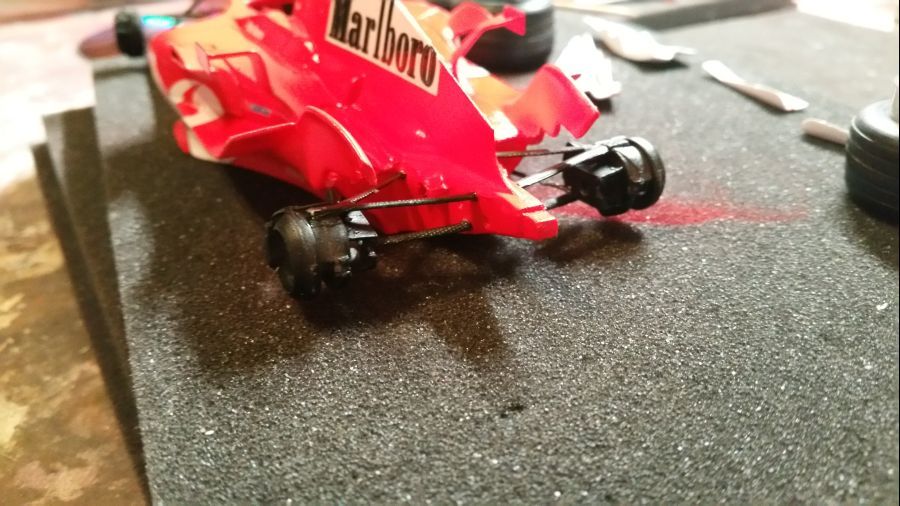
De vloer kan aan de body worden geplaatst.
The floor is ready to be attached to the body.
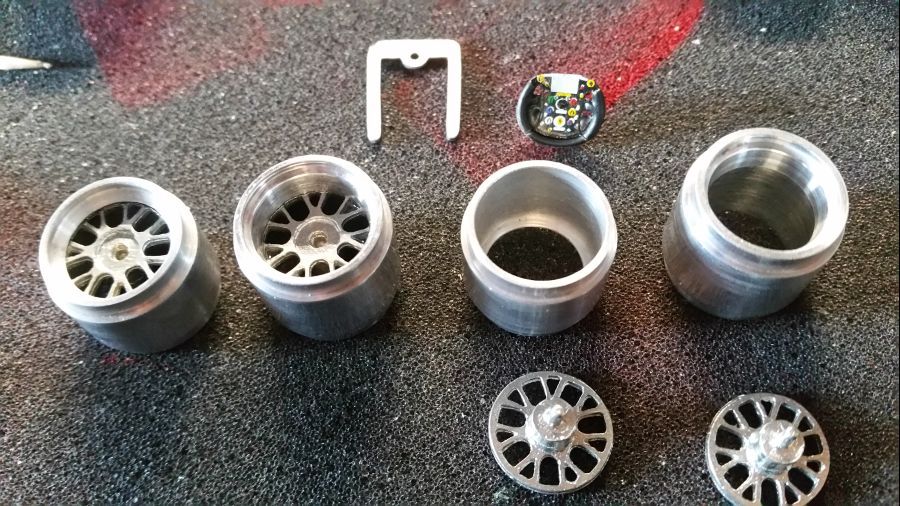
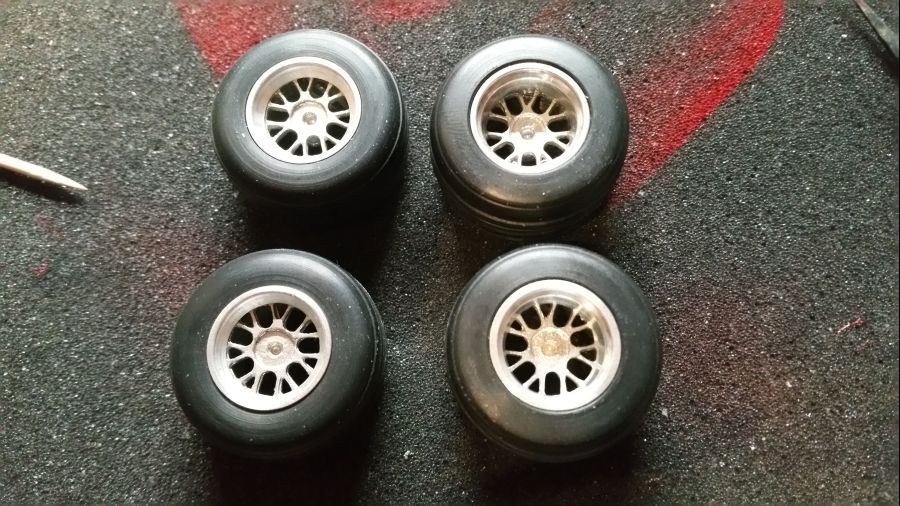
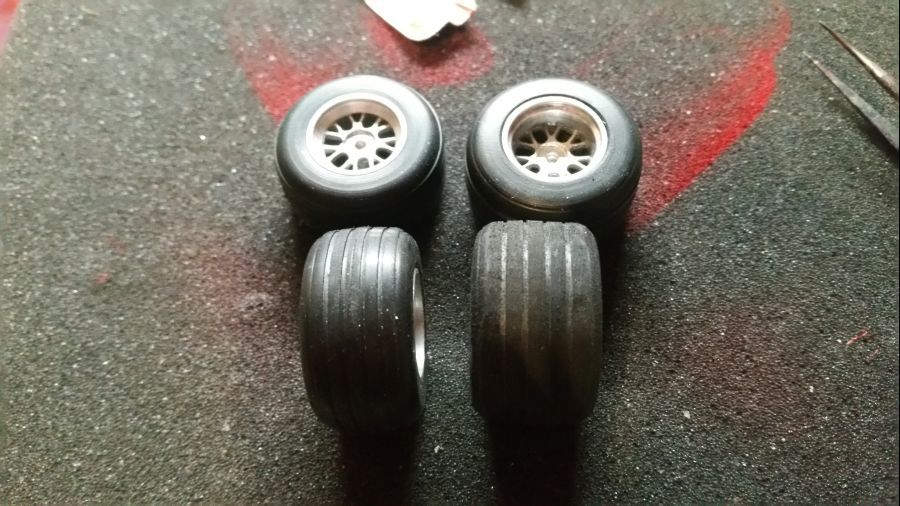
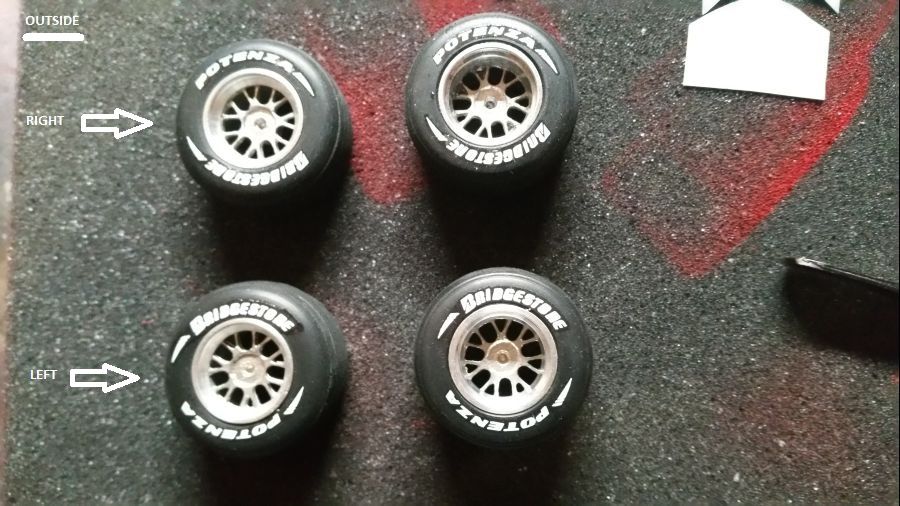
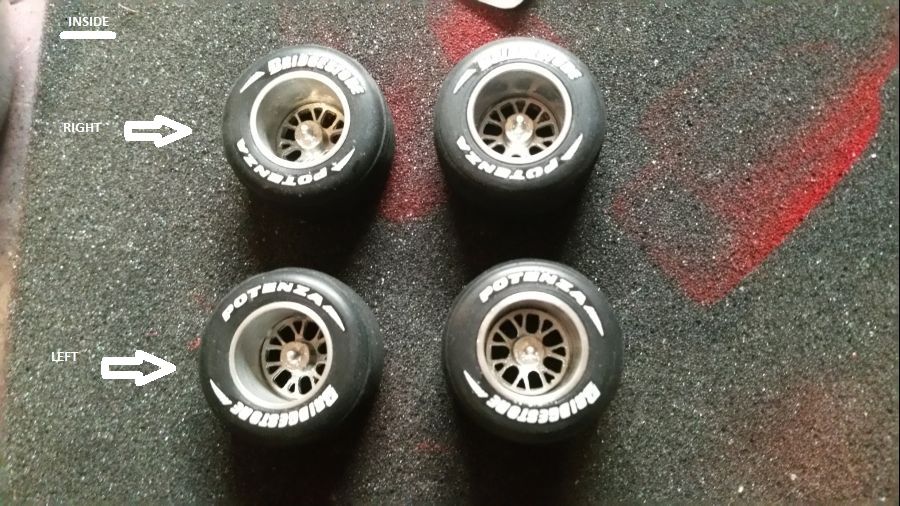
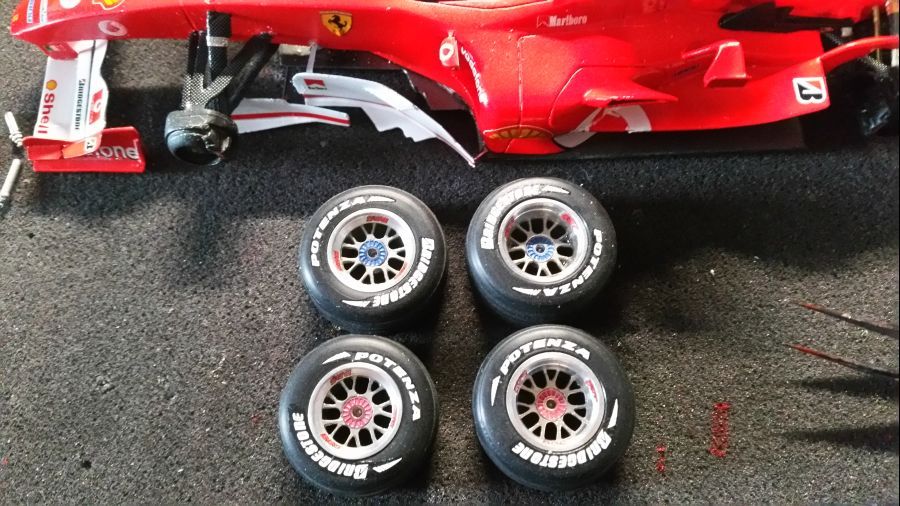
De velgen worden geassembleerd, de banden krijgen een gebruikt uiterlijk en de decals gaan erop. Let op dat de pijlen van het merk de juiste kant opwijzen. Dit verschilt voor links, rechts en binnenkant of buitenkant.
The rims get assembled, the tires get a worn look and the decals are being applied. Be sure the arrows of the brand point the correct way. This differs for the left, the right, the inside and the outside.
De uitlaten en de camera gaan erop.
The exhausts and the camera are attached.
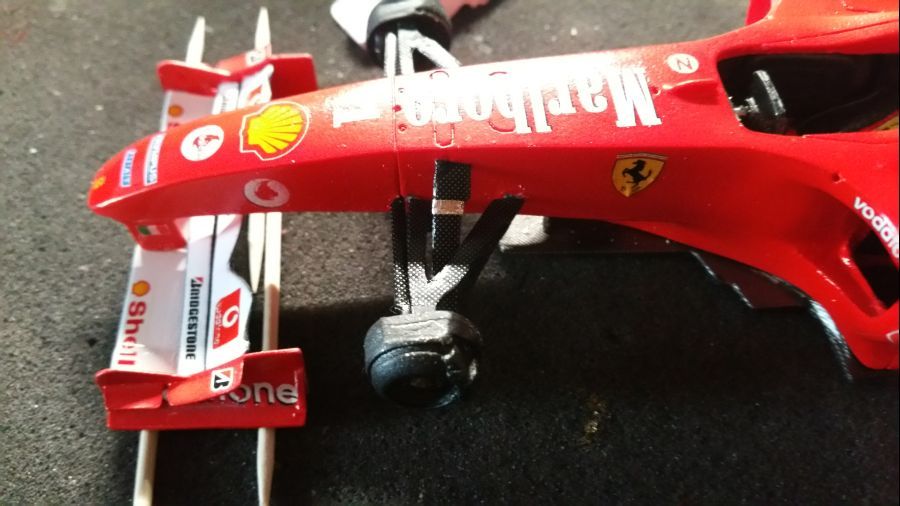
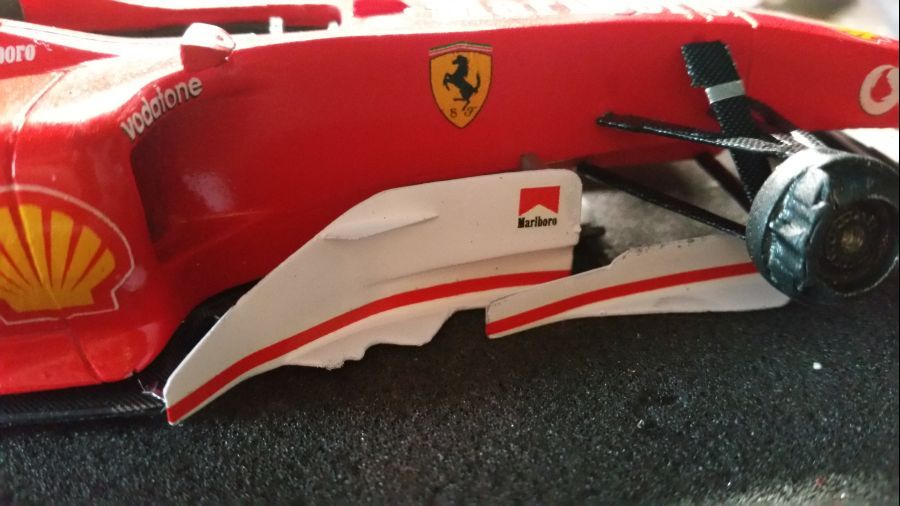
Tijd voor de voor- en de achtervleugel.
Time for the front and the rear wing.


De barge boards gaan erop.
The barge boards are being mounted.
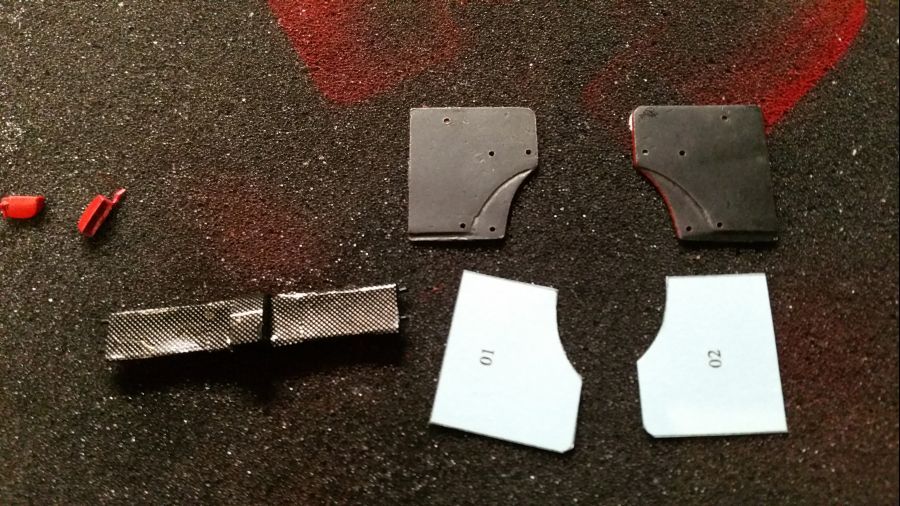
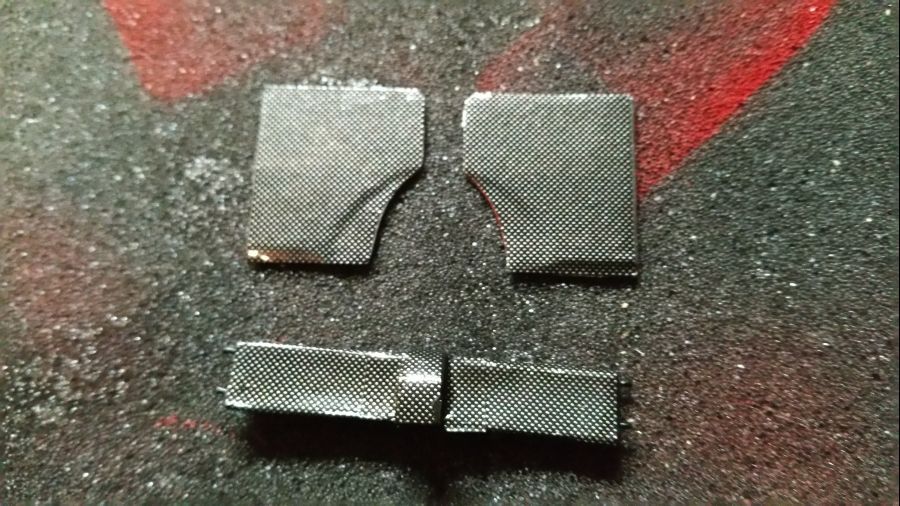
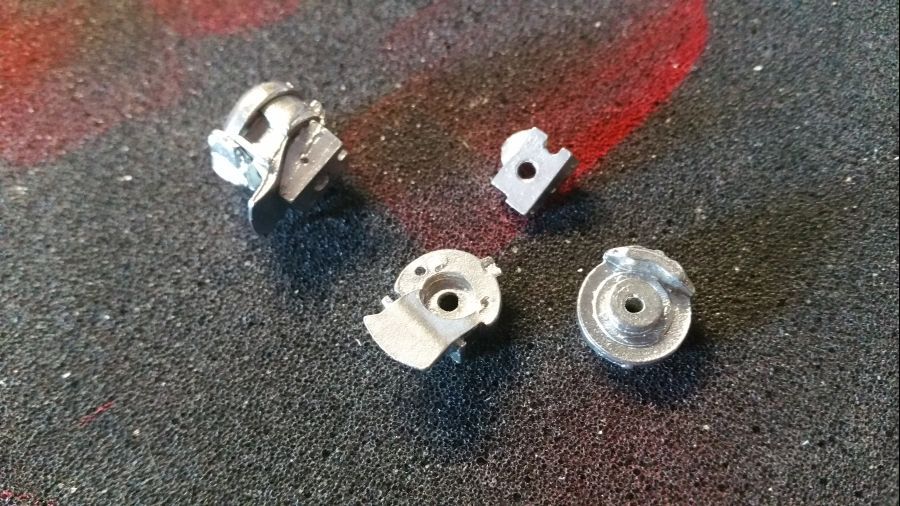
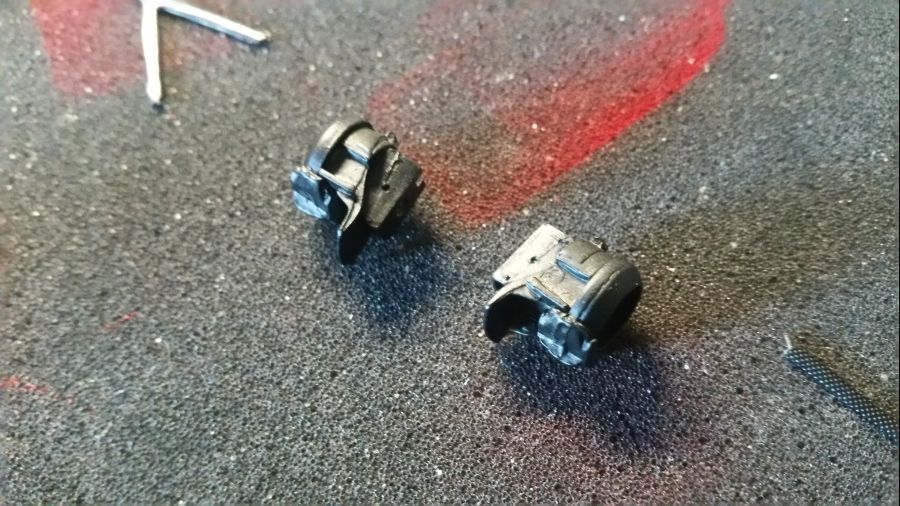
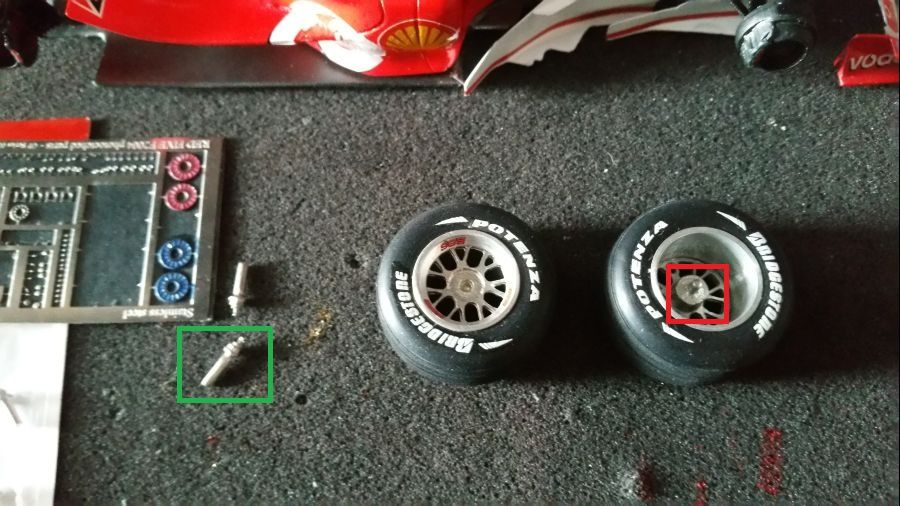
De wielmoeren lijken een beetje een dom systeem te hebben. Het bestaat uit lange pinnen (groen), maar de velgen hebben al montagepunten (rood). Afknippen lijkt de beste optie.
The wheel nuts seem to be a little dumb. They consist of large pins (green), but the rims have mounting pins of their own (red). Cutting off seems to be the best.
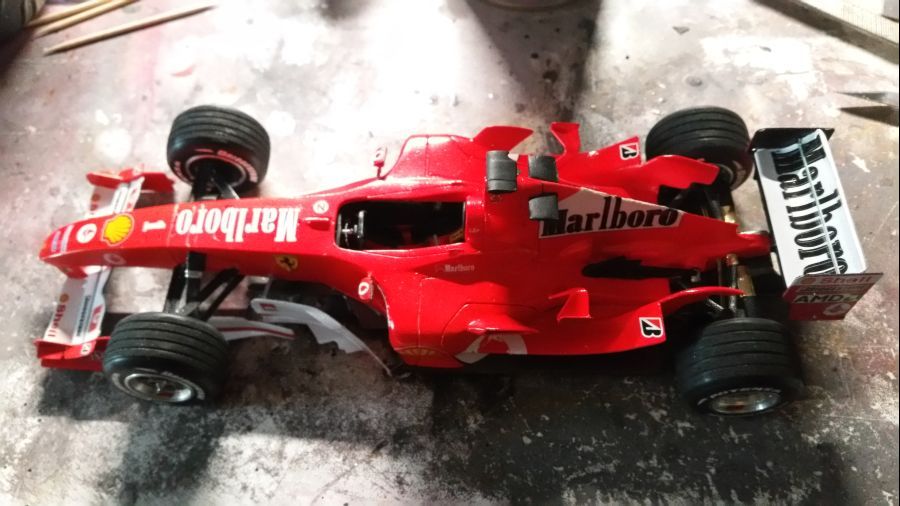
Nog een paar kleine onderdelen zoals de antennes en de snelsluiters en ook deze kan weer op de plank...
Some small parts like antennas and fasteners and this one can be added to the shelf...
Ferrari F1 nr. 50...
Ferrari F1 no. 50...
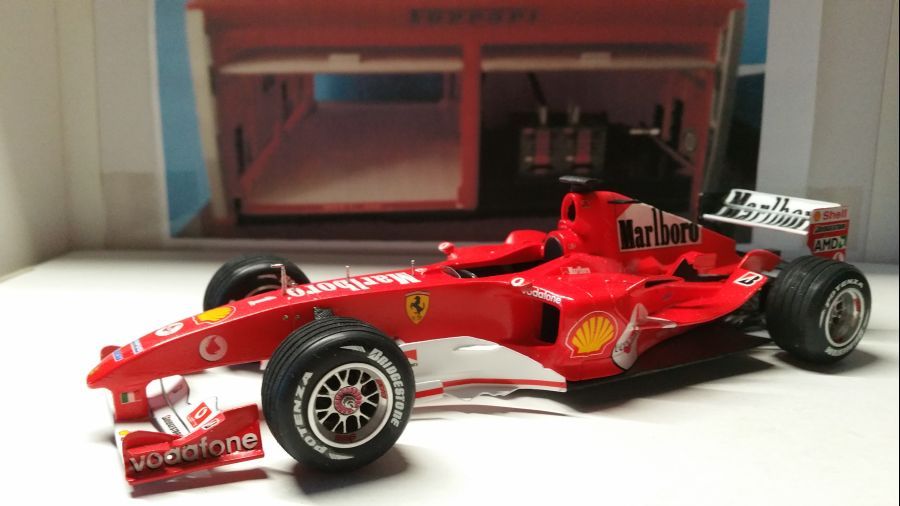
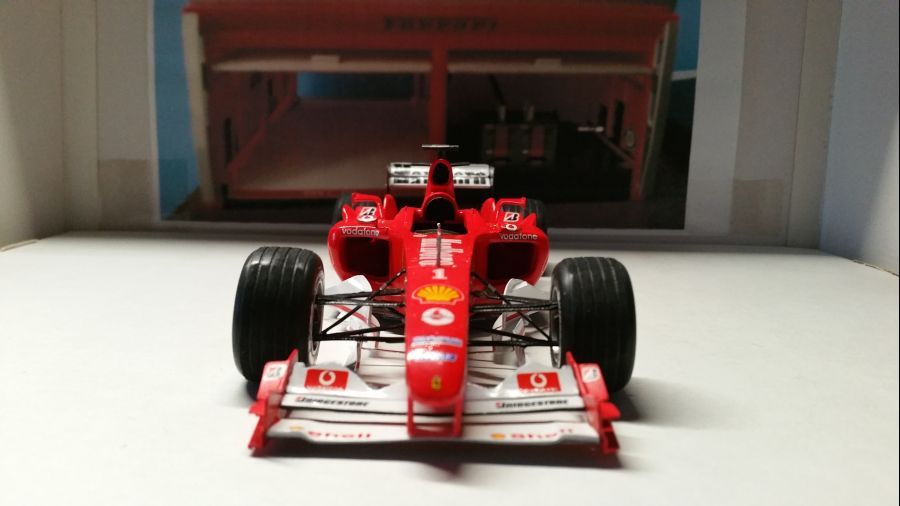
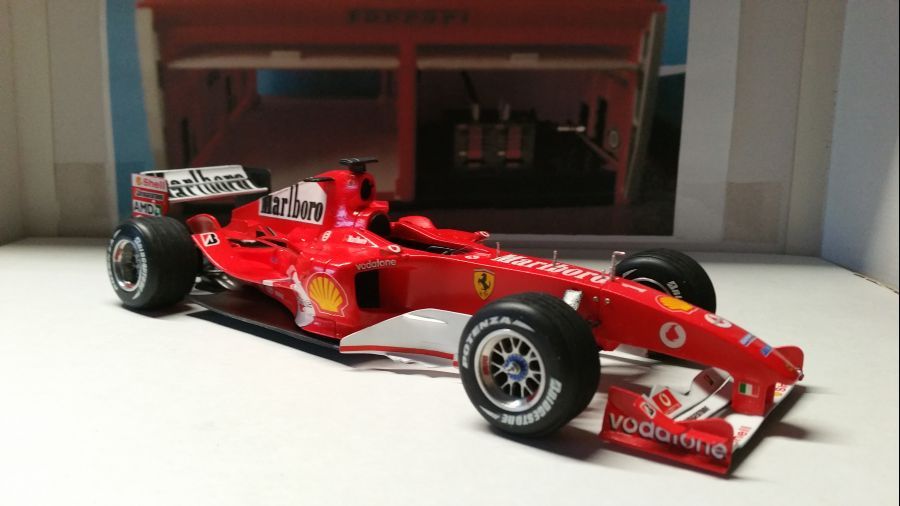
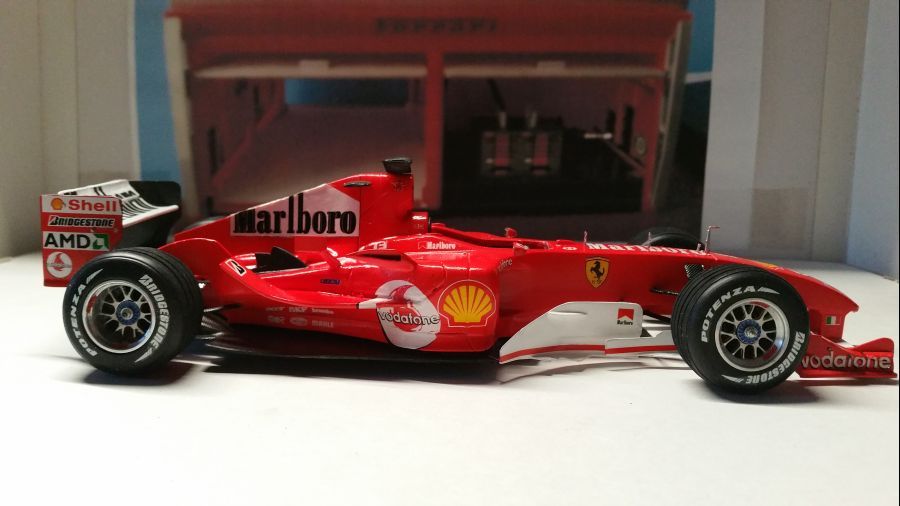
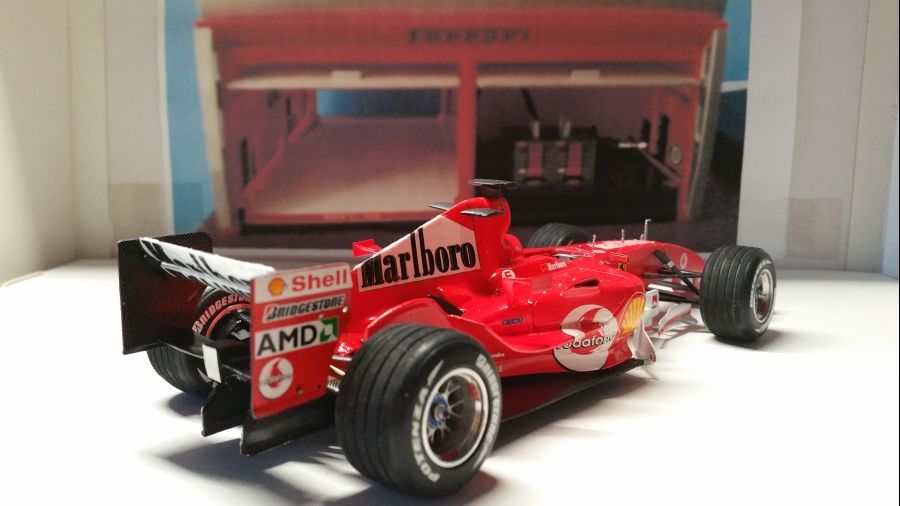

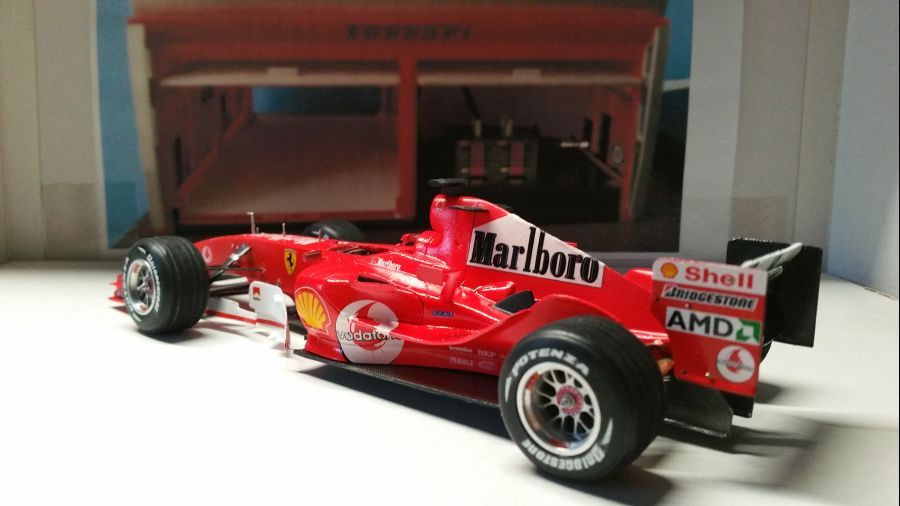
Niet de meest gemakkelijke kit van Red Five. In 1e instantie leek het me allemaal redelijk o.k. toen ik hem kocht. Bij nadere bestudering viel het wat tegen. Met name het witmetaal is van slechte kwaliteit. Verder niet echt bijzonder aandachtspunten anders dan normaal.
Not the most easy one this kit from Red Five. At first glance it looked o.k. to me when i bought it. But at a close look it was a bit so-so. Especially the white metal is of a poor quality. There are no special points of attention, other then normal.