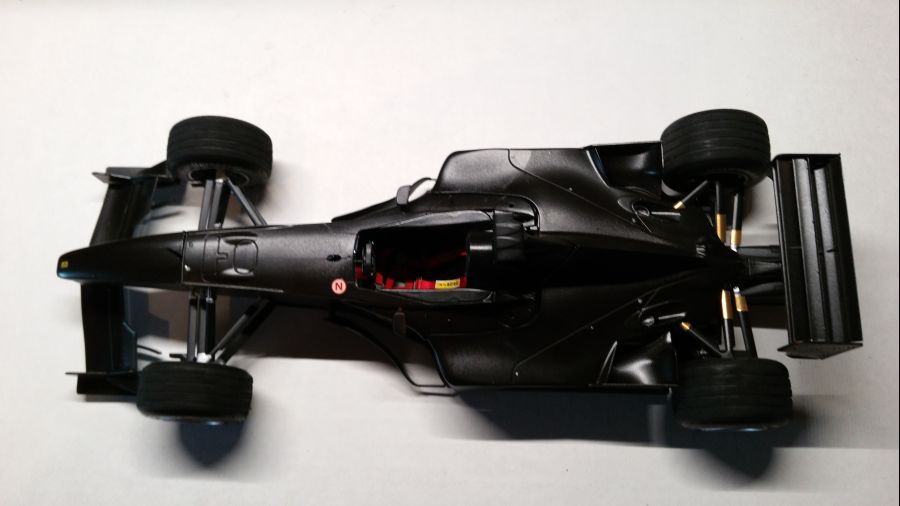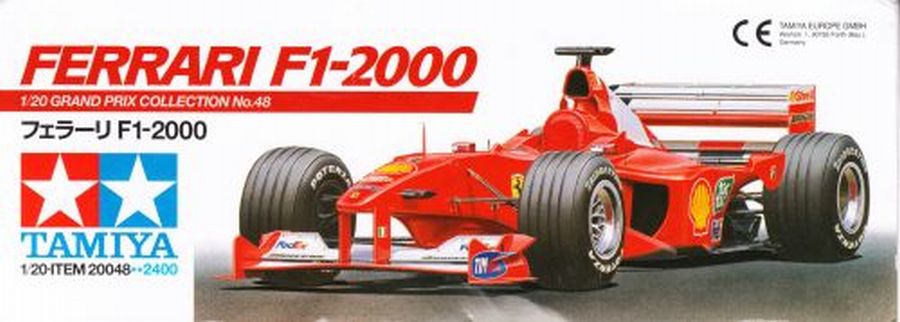
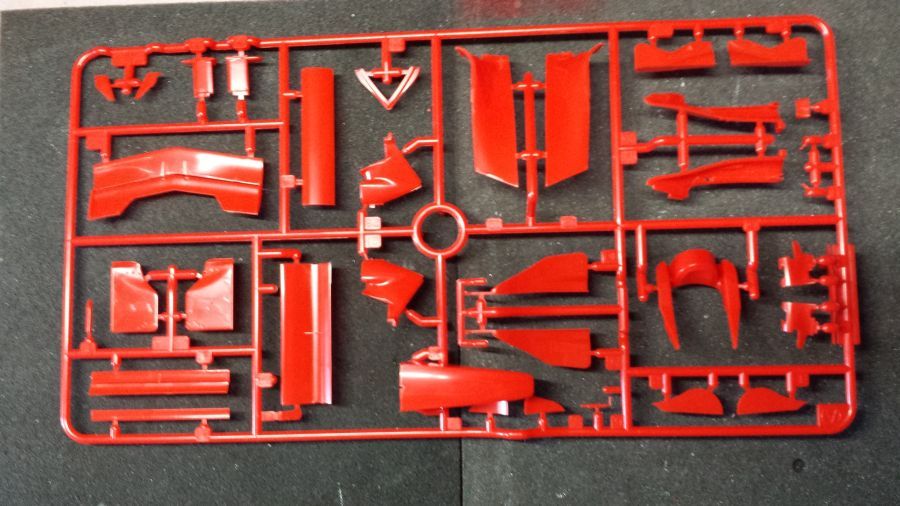
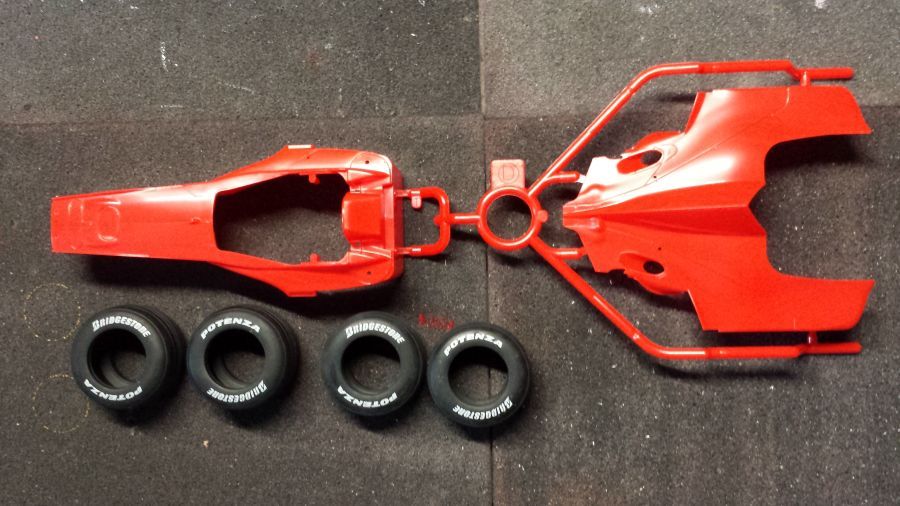
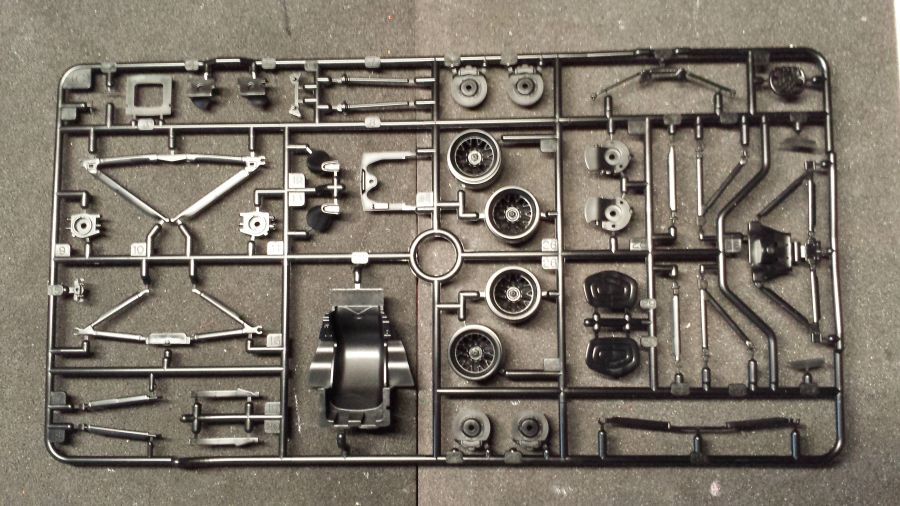
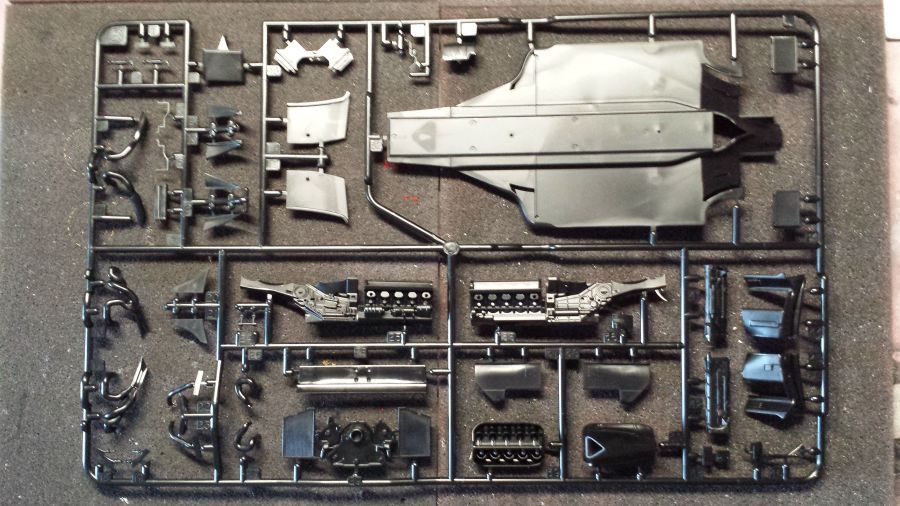
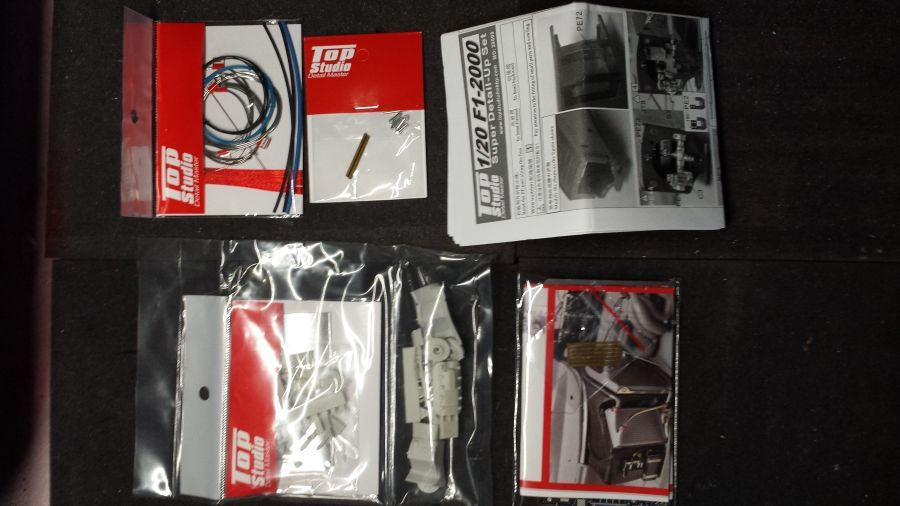
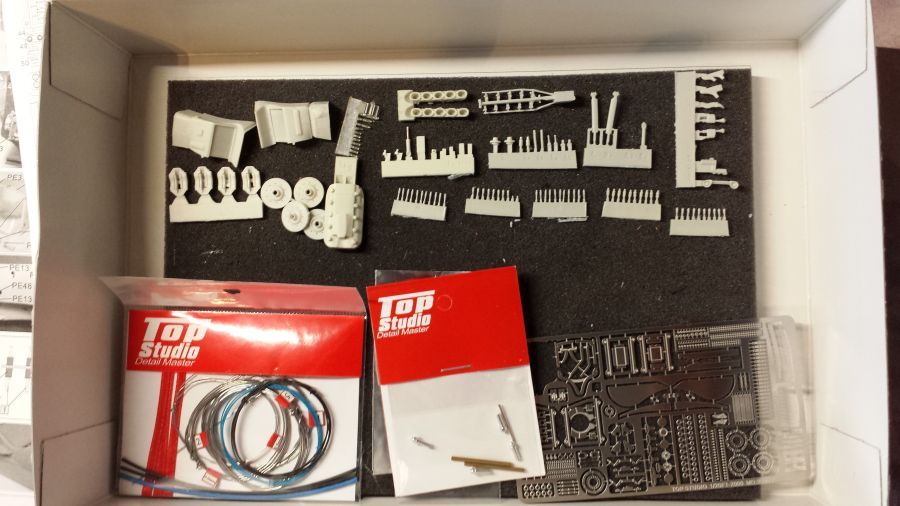
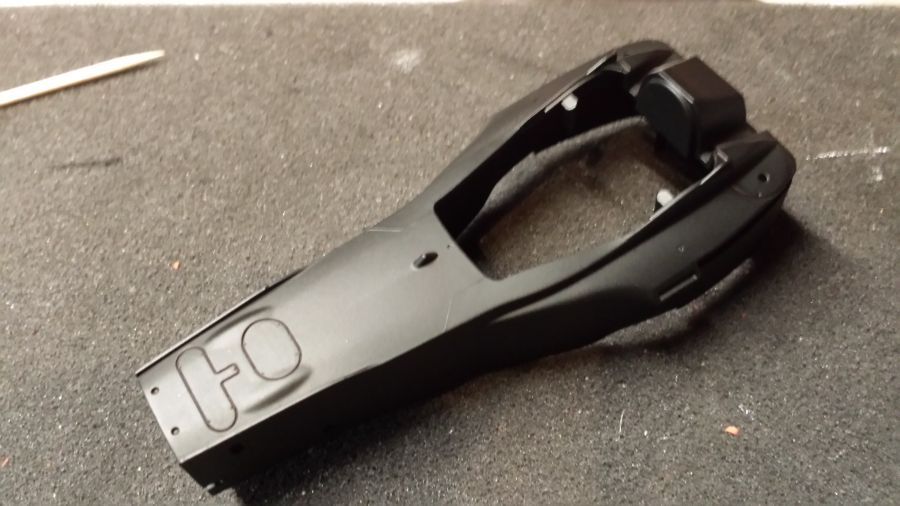
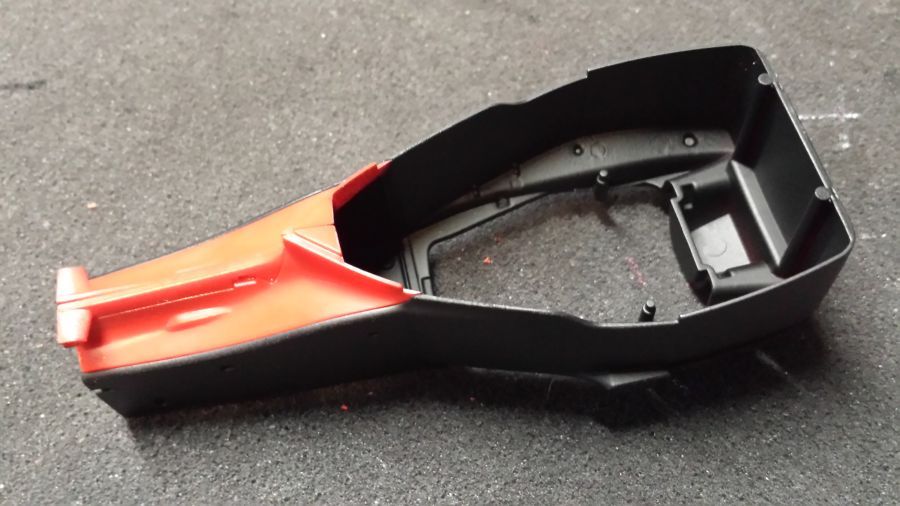
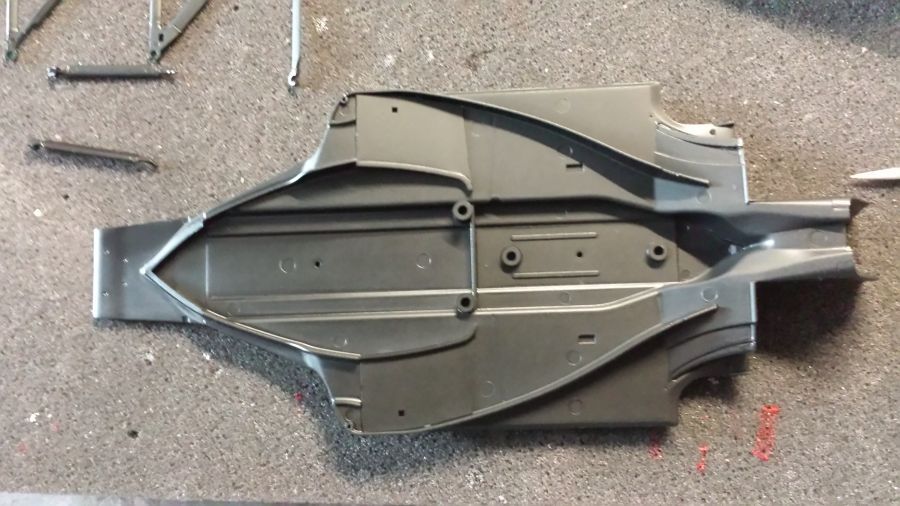
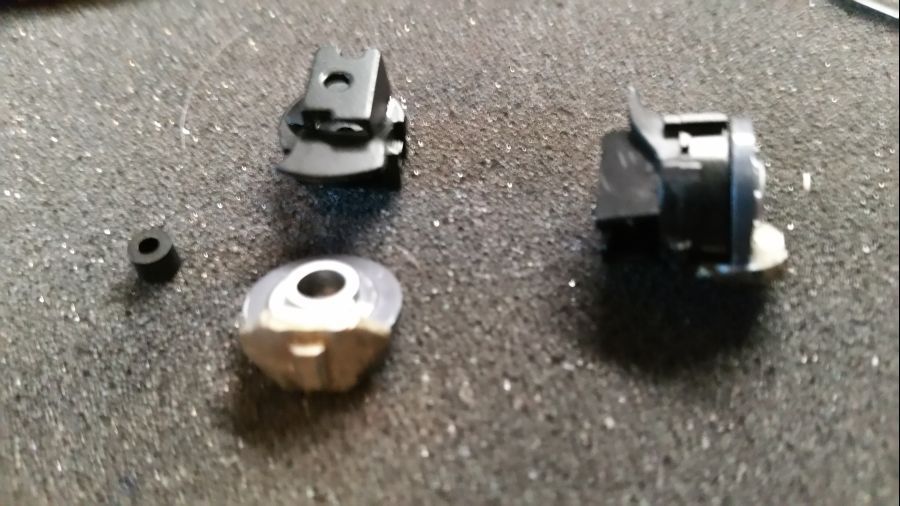
Op het internet vond ik een model van deze auto van GeBra43 (Gert Brand). Ik dacht dat het een bestaand model was en begon dolenthousiast te bouwen. De kit is de Ferrari F1-2000 van Tamiya (kit nr. 20048) en een uitbreidingsset van Top Studio (nr. MD 29003). Groot was mijn teleurstelling toen uit onderzoek bleek dat deze auto helemaal niet heeft bestaan. Het was een fantasy model. Daarom heb ik de bouw toen stilgelegd. Ik heb nu toch besloten om de wagen af te bouwen. Ik maak hem helemaal zwart, dus niet met de rode neus en het wordt een Michael Schumacher versie. Al is het alleen maar omdat de boel anders zo de prullenbak in kan. Zonde, niet waar? Eerst foto's van de kit en de inhoud.
On the internet i found a model from this car made by GeBra43 (Gert Brand). I thought it was a model of a really existing car, so i started with full speed. The kit is the Ferrari F1-2000 from Tamiya (kit no. 20048) and a super detail-up set from Top Studio (no. MD 29003). I was very disappointed when i found out the car never existed. It was a fantasy model. That's why i decided to terminate the build. Now i have decided to finish it. I wll make afull black one, so not with the red nose and it will be a Michael Schumacher version. It would be a waste to throw everything in the garbage bin, right? First pictures of the kit and the content.


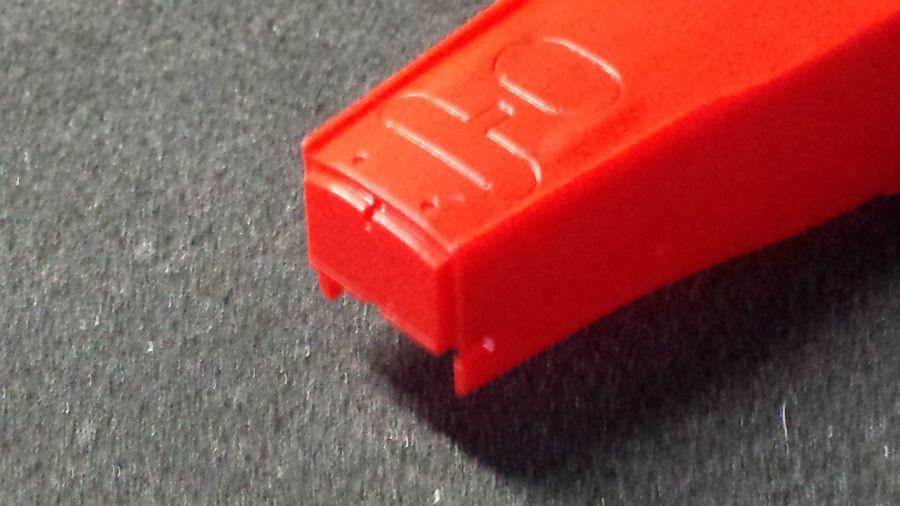
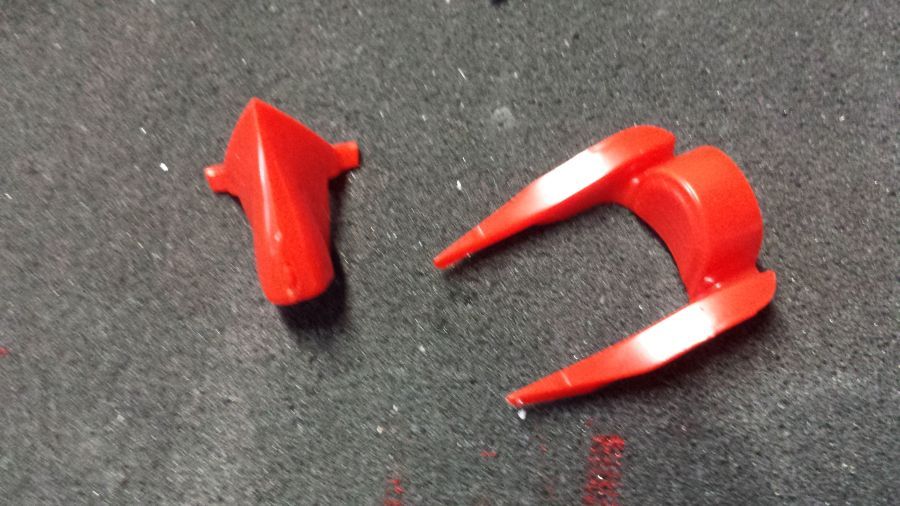
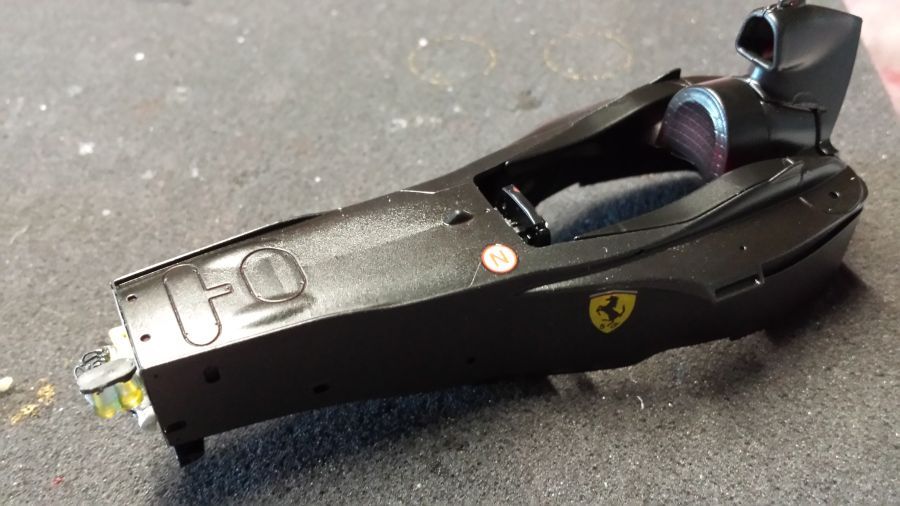
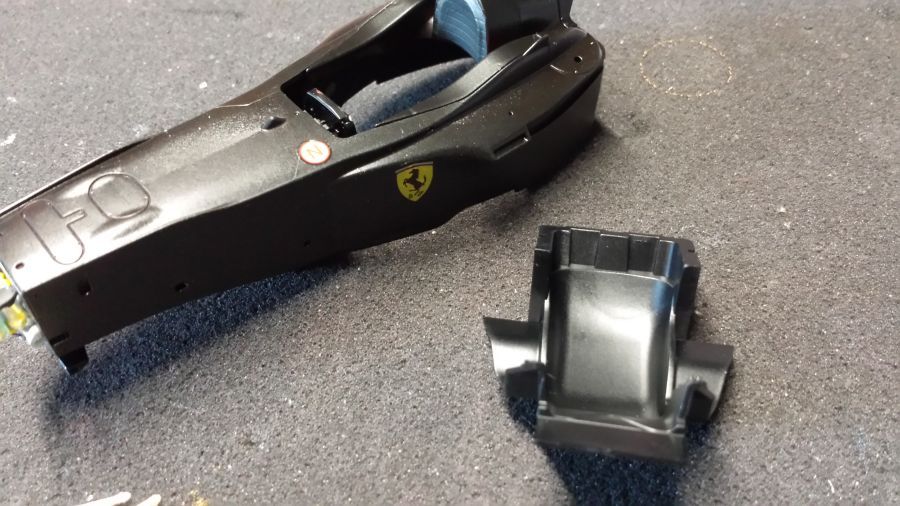
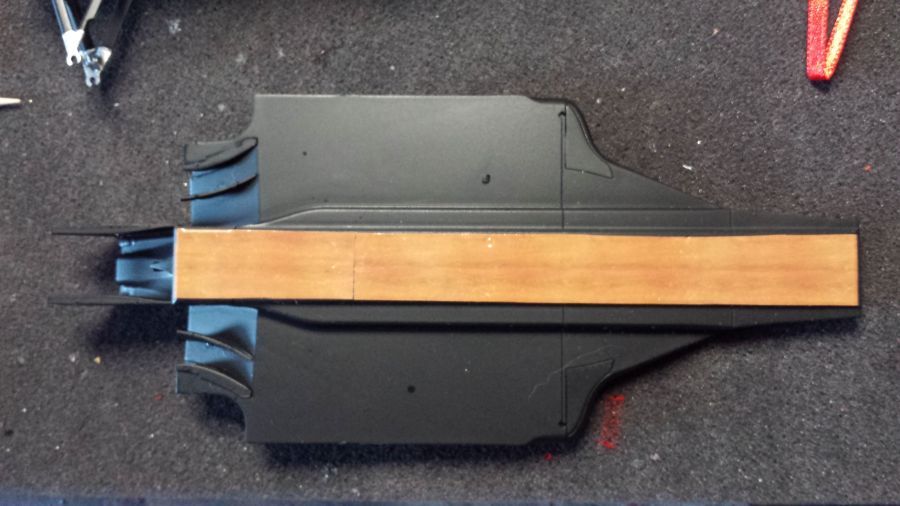
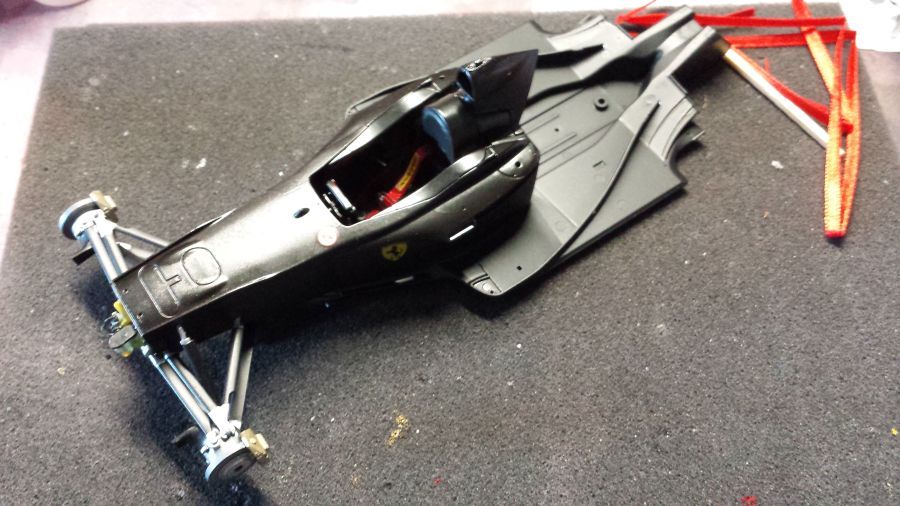
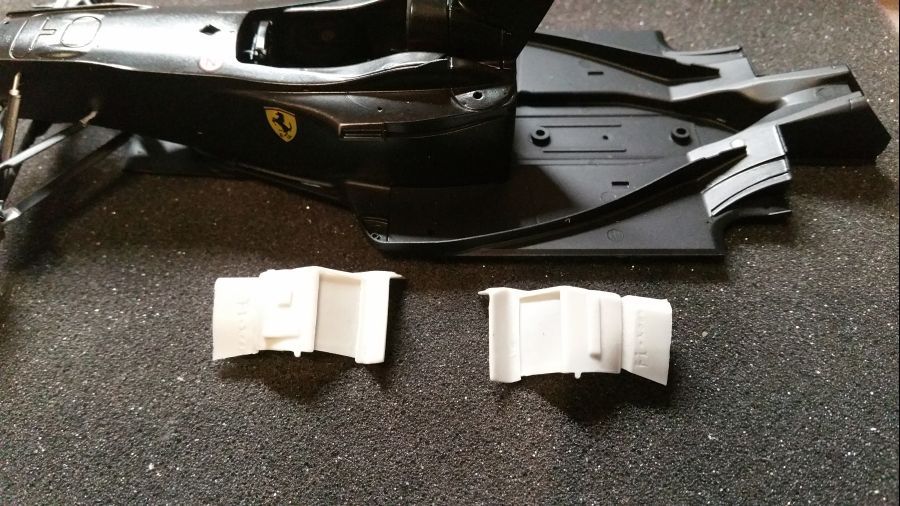
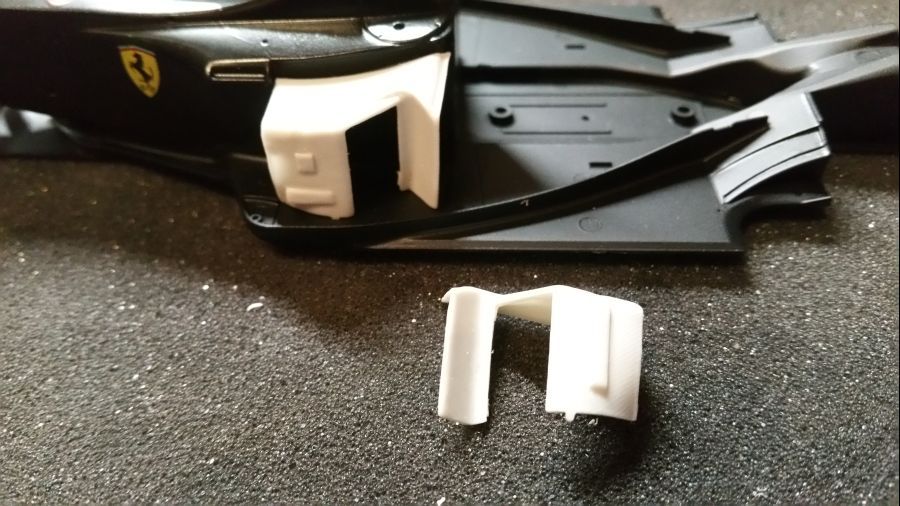
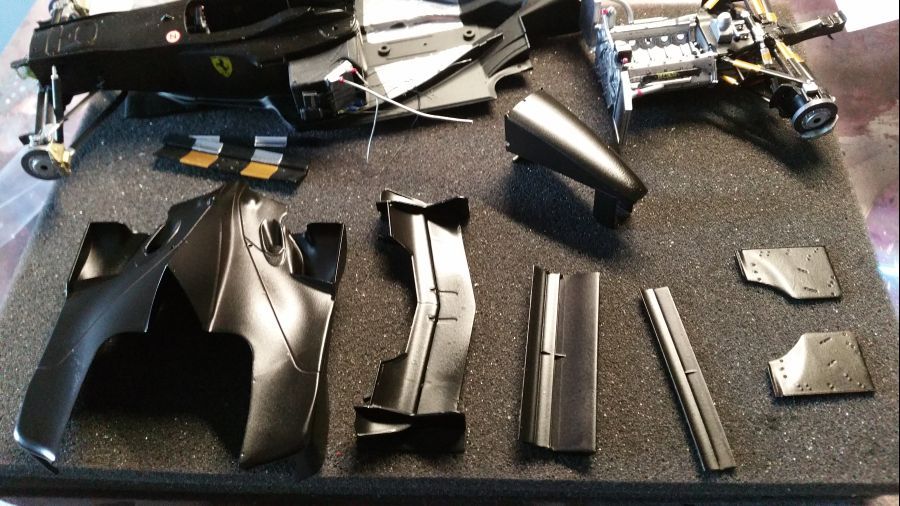
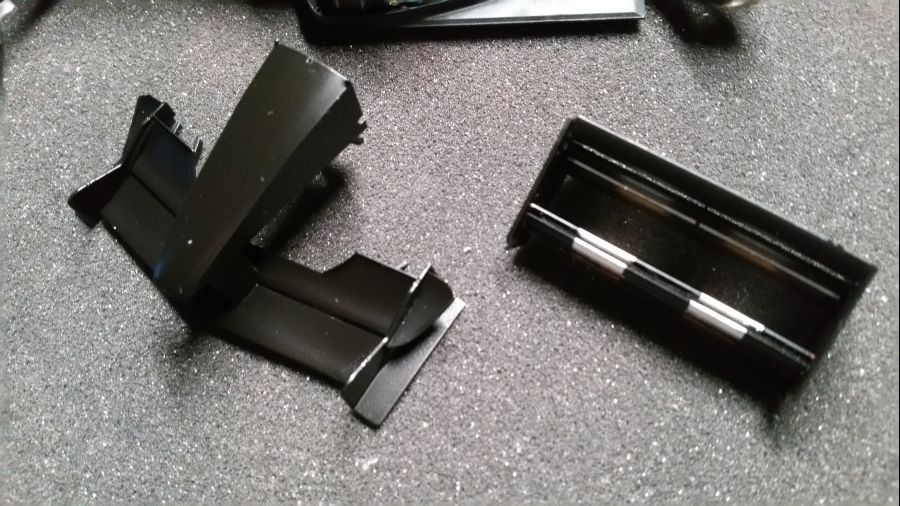
Eerst wordt de neussectie aangepast.
First the nose gets alterations.
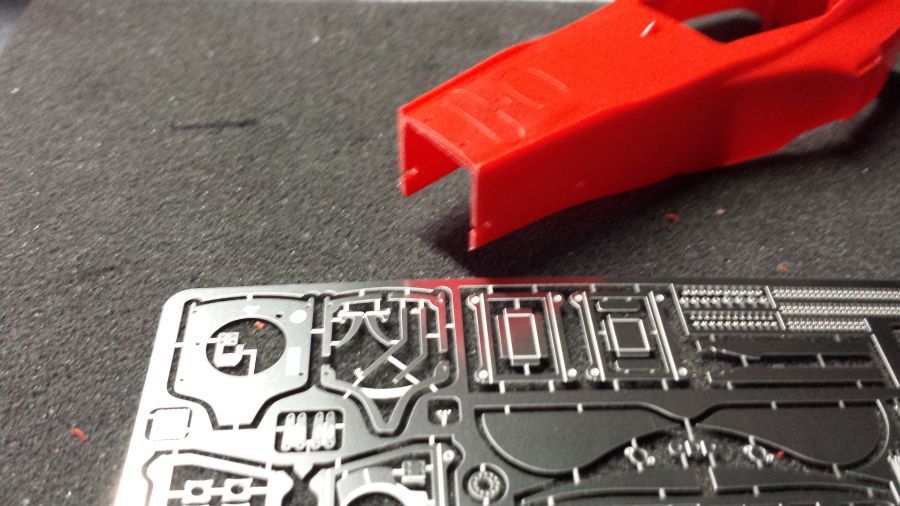
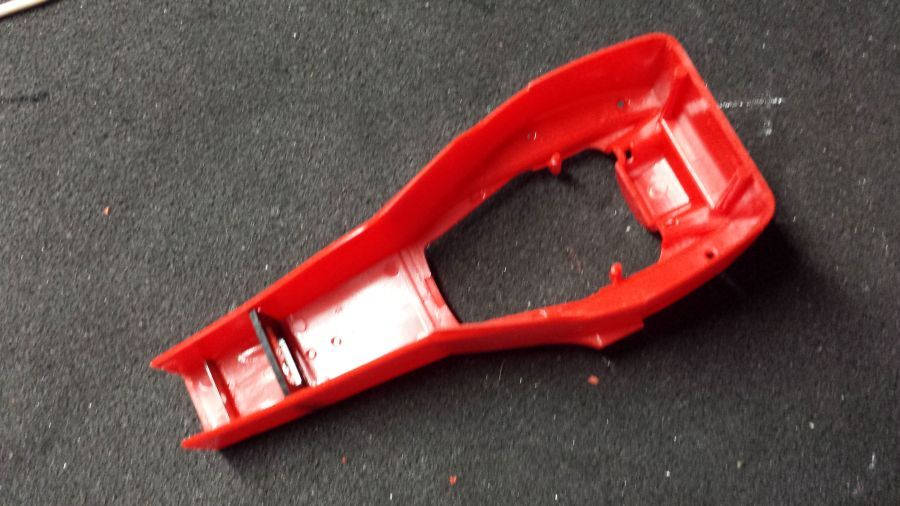

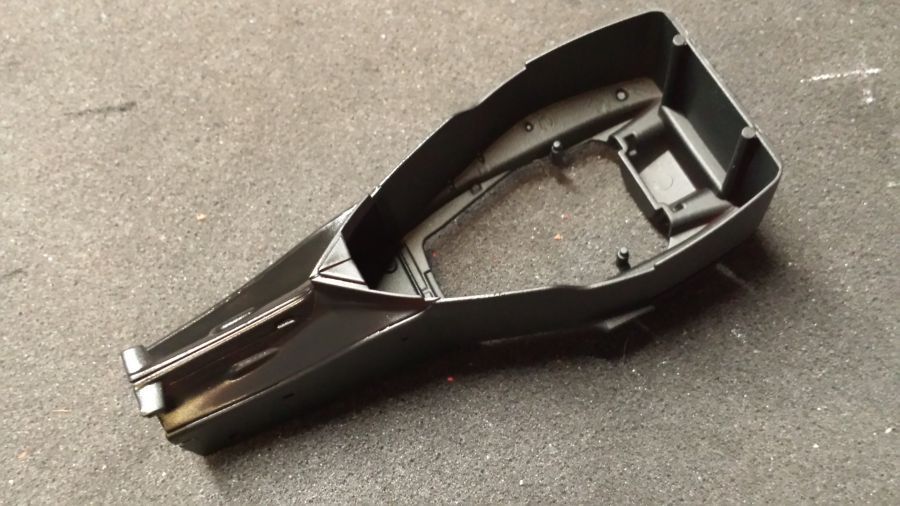
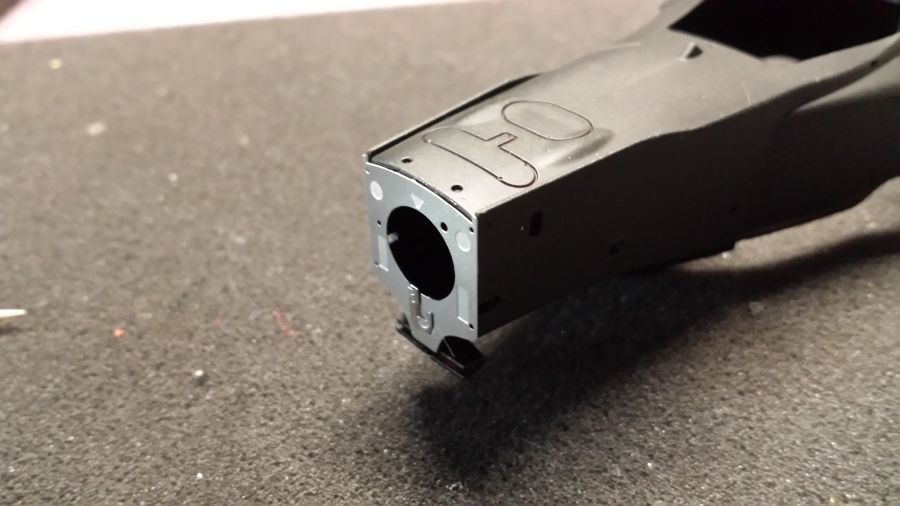
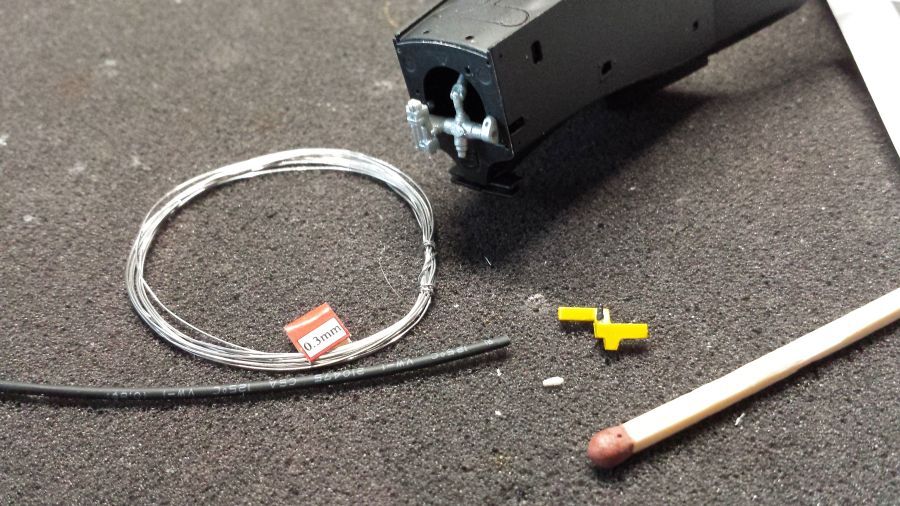
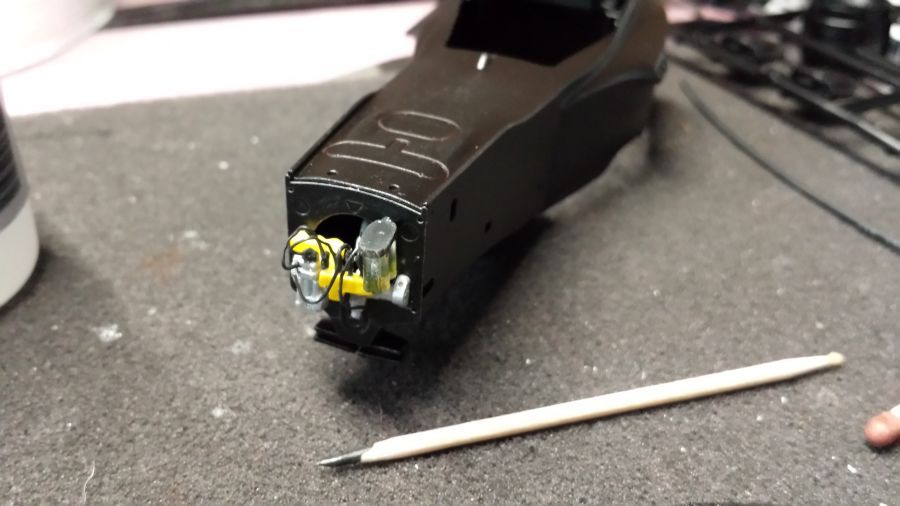
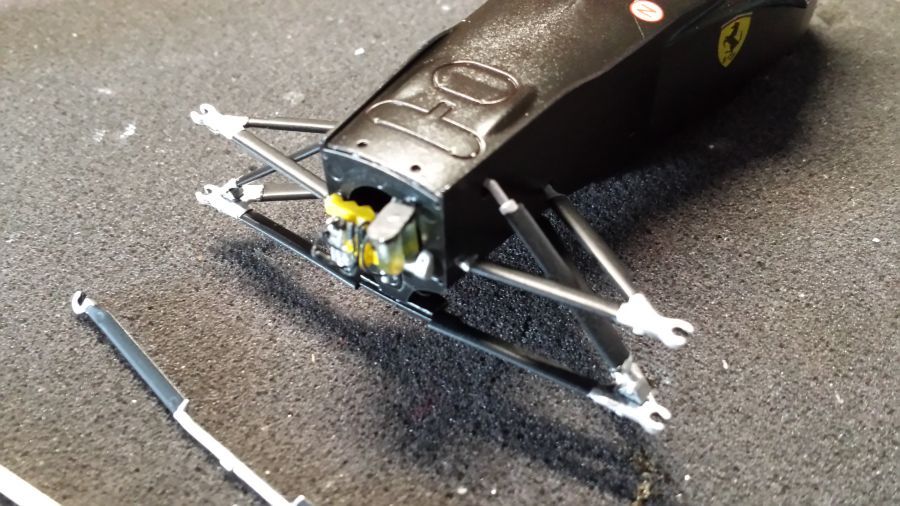
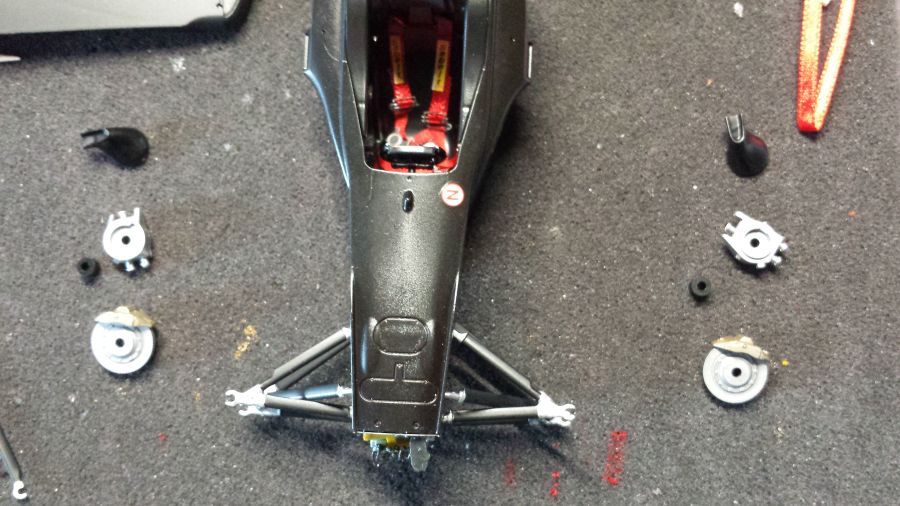
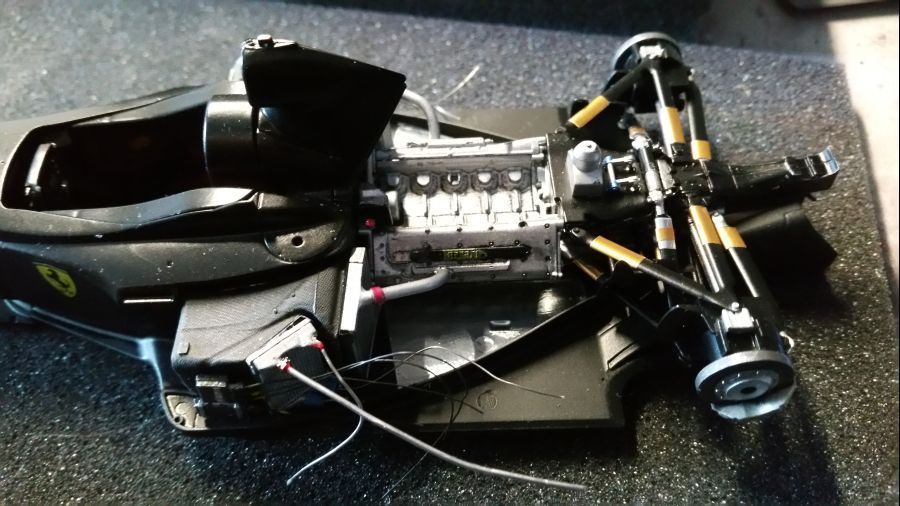
Goed opletten dat alles goed past. De neus moet er straks ook op. Verder met het 'interieur'van de neus. Dit is nog niet definitief geplaatst maar even voor een test. De wielophanging moet eerst klaar voordat definitief kan worden geplaatst.
Watch out everything fits correct. The nose needs to be attached later. Now continue with the 'content' of the nose. This has not been attached yet, but a test fit. The front wheel suspension should be finished first before attaching it.
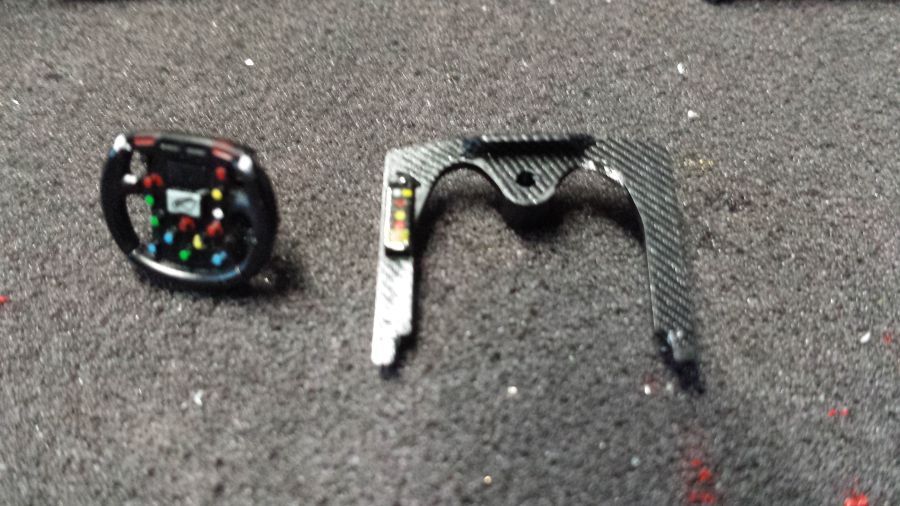
Door met het dashbord en het stuur.
Next is the dashboard and the wheel.
De hoofdsteun. Dan alvast een paar decals geplaatst en met heldere zijdematlak gespoten.
The headrest. Then some decals got applied and everything was sprayed with silk matt clear coat.
De stoel is aan de beurt.
Next is the seat.
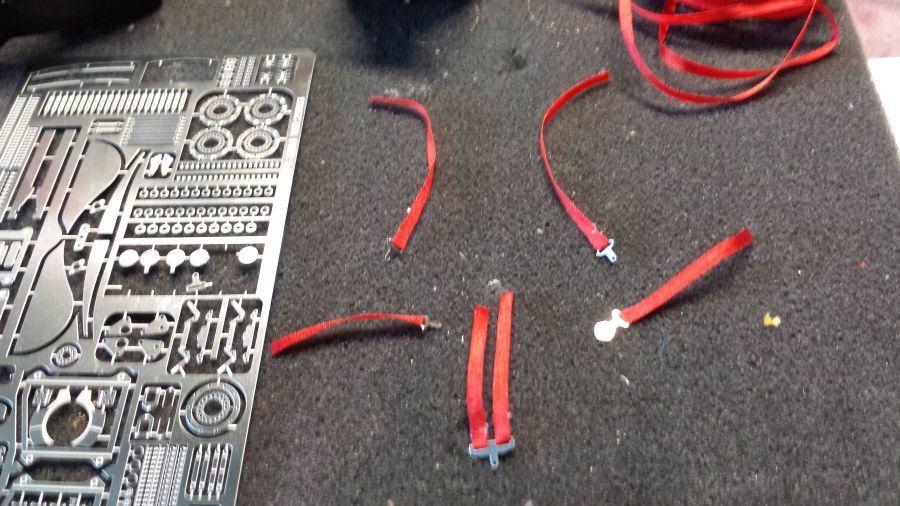
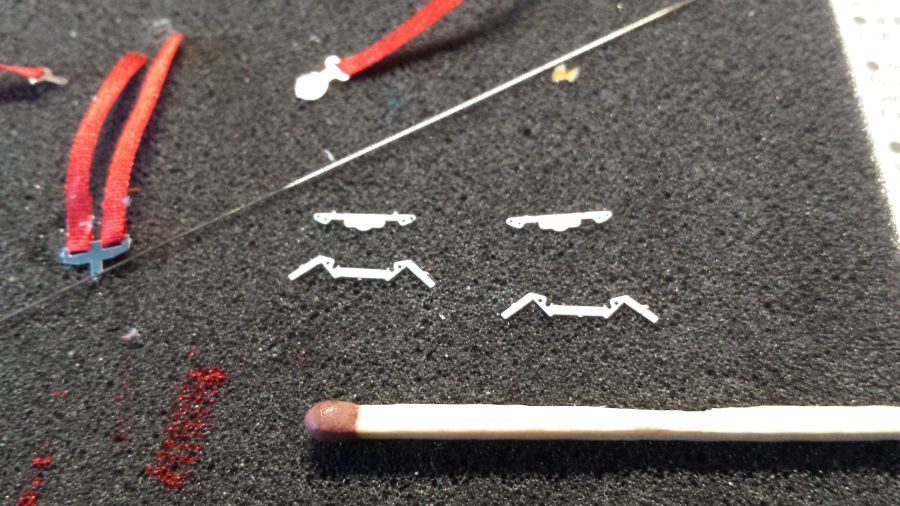
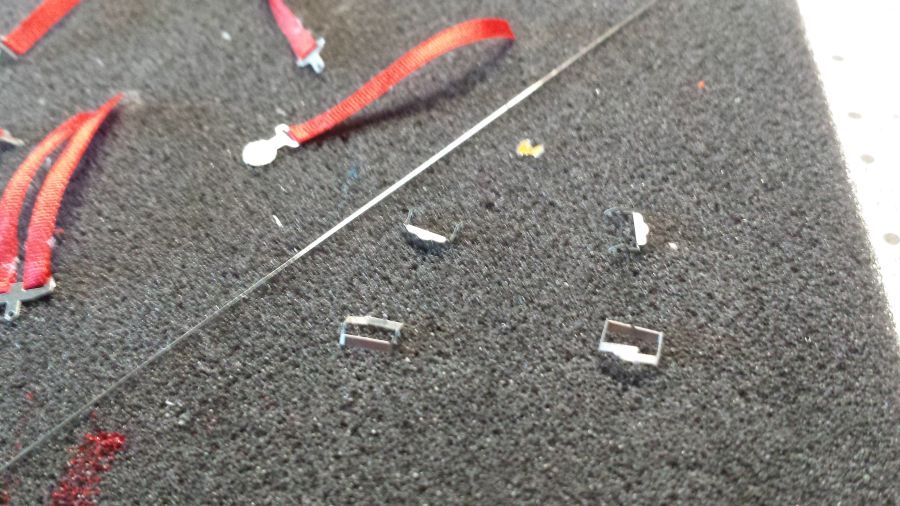
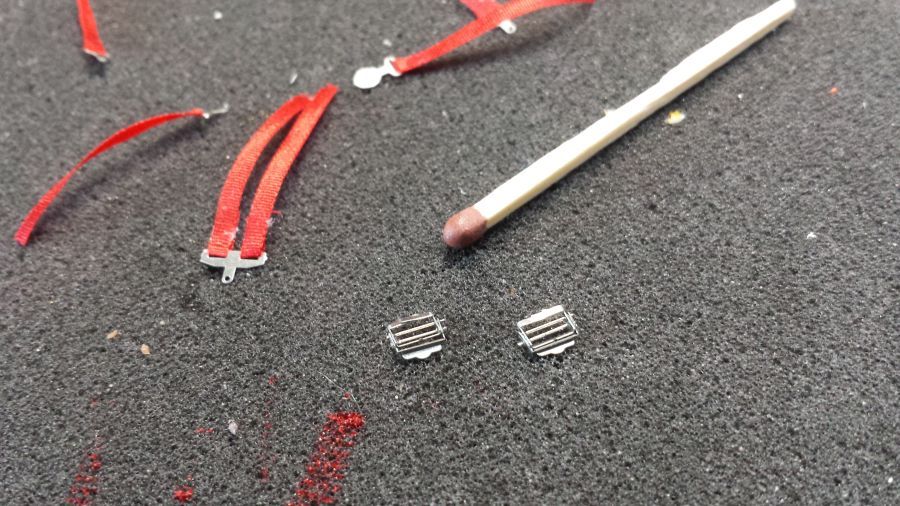
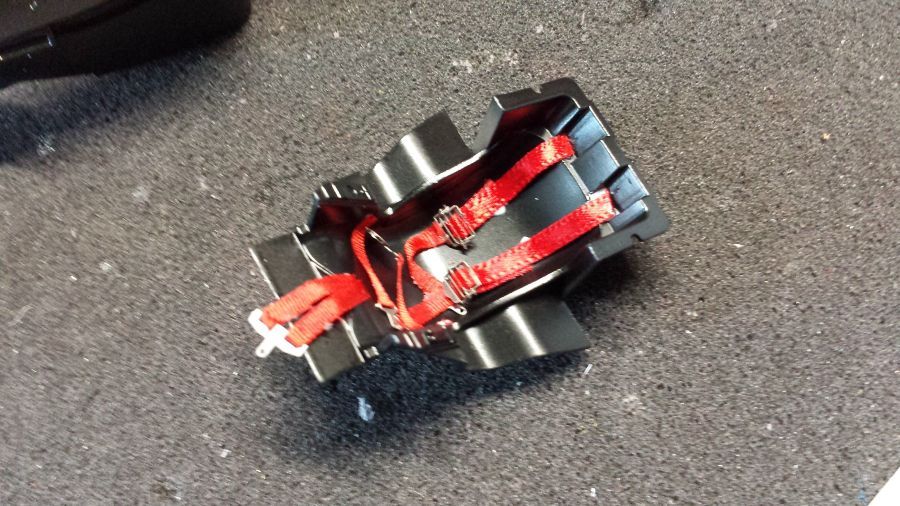
Ik gebruik weer het zijdelint voor de gordels. Dit nam wel een paar uurtjes. Zeer kleine gespen.
I will use silk ribbon again to create the belts. This took a couple of hours. Very small buckles.
Dan wat carbon fiber aan de stoelen aangebracht.
Then some carbon fiber was added to the seat.
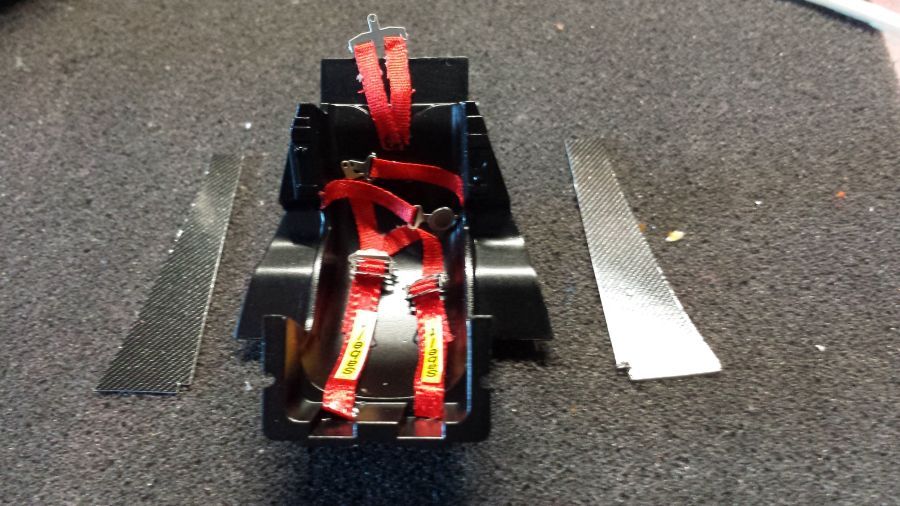
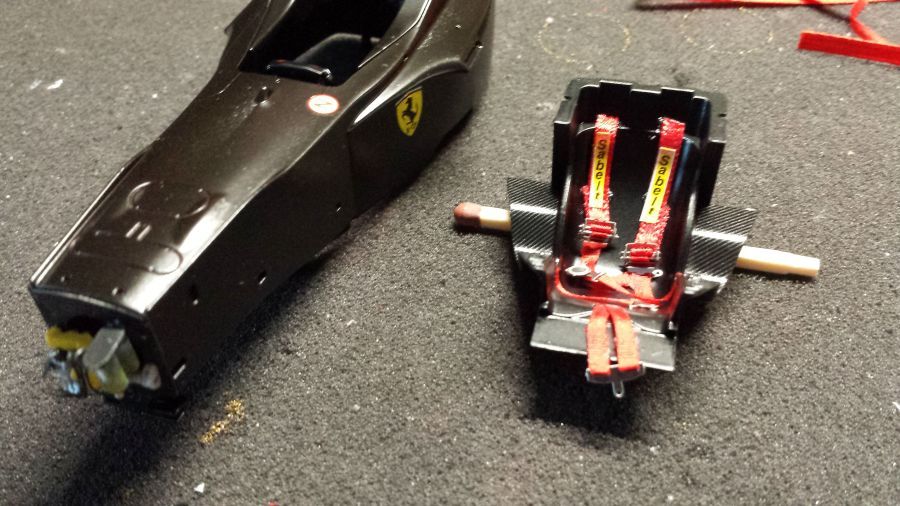
Na dit ga ik verder met de vloer.
After this i continue with the floor.


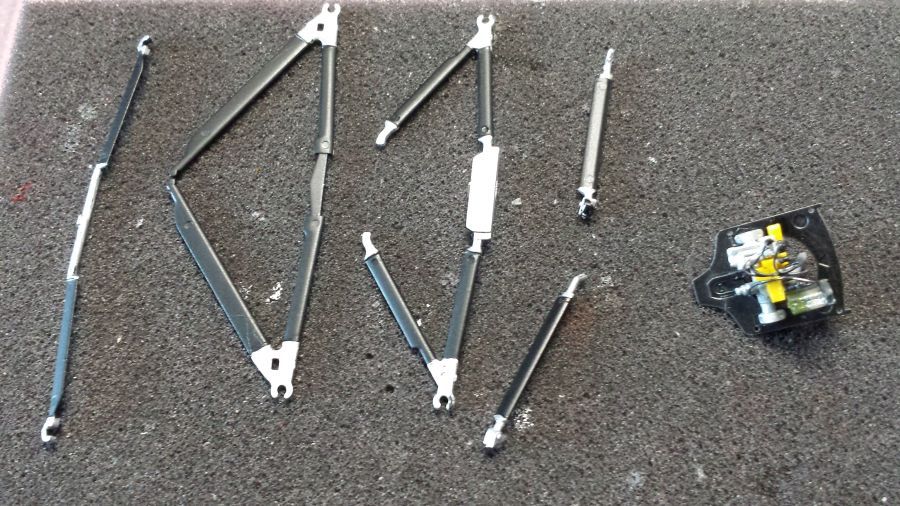
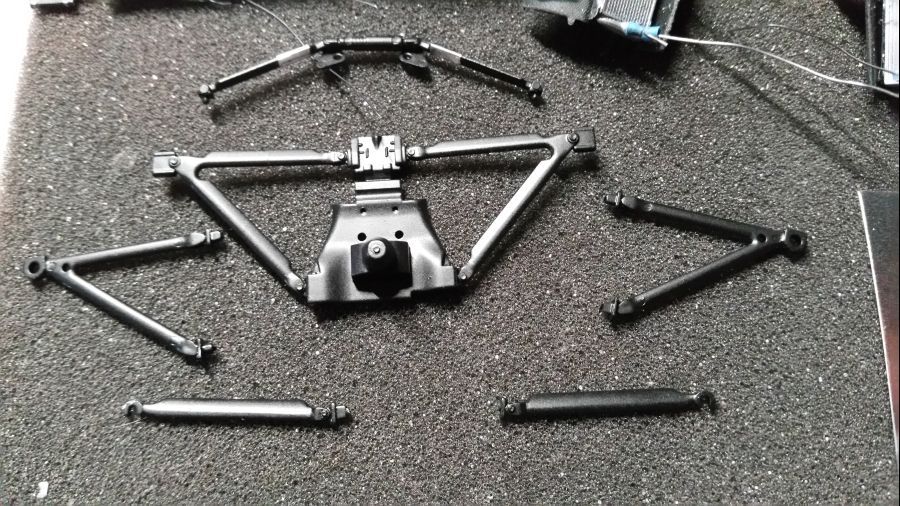
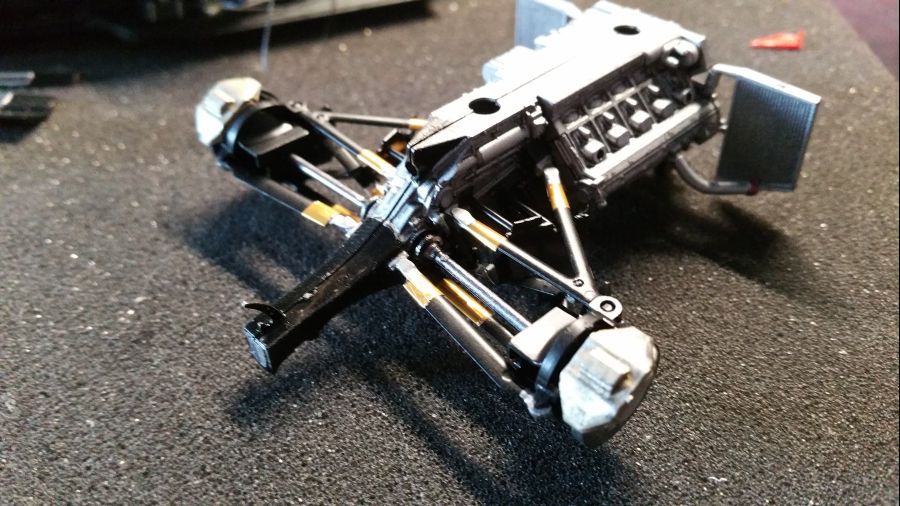
Nu is de voorwielophanging aan de beurt.
Now the front wheel suspension gets prepared.
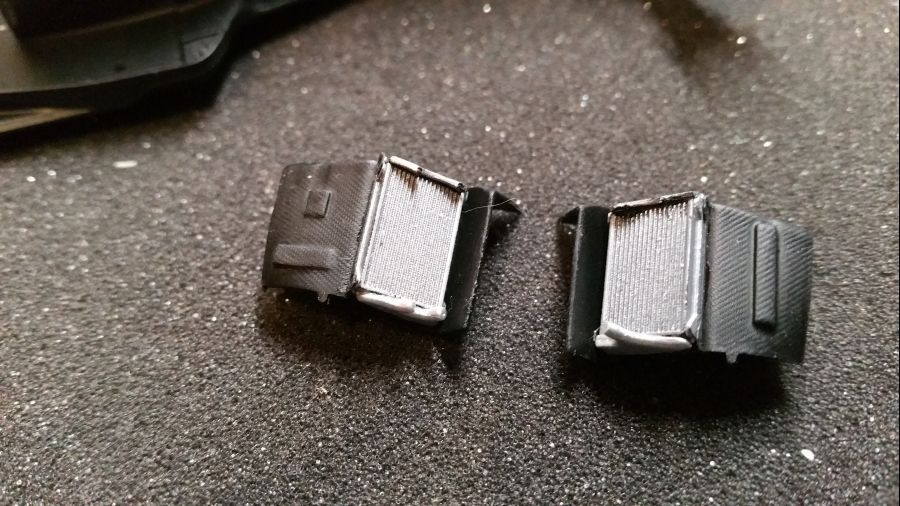
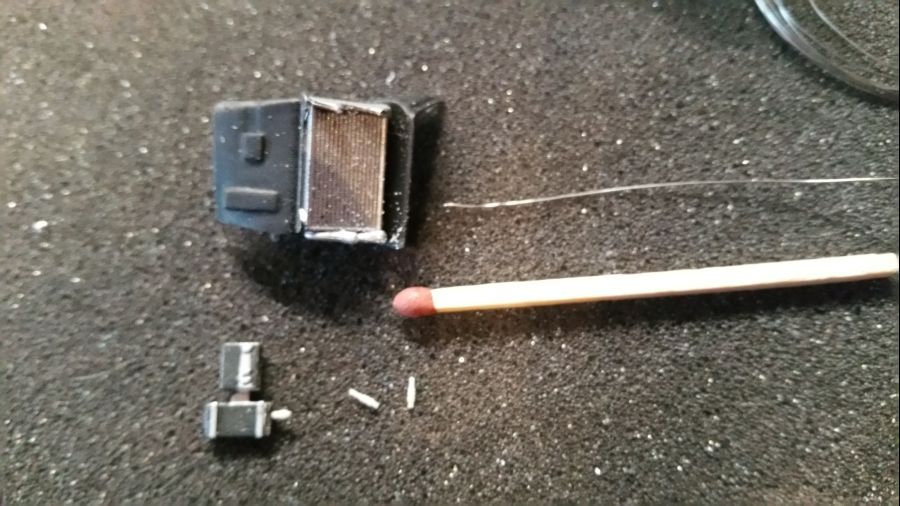
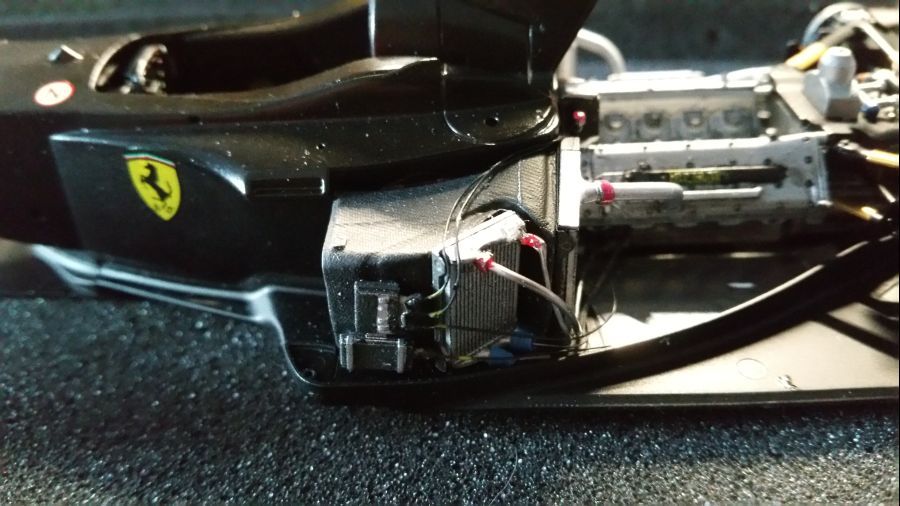
Nu het binnenwerk van de sidepods. Eerst de koeling.
Now the interior of the side pods. First the coolers.
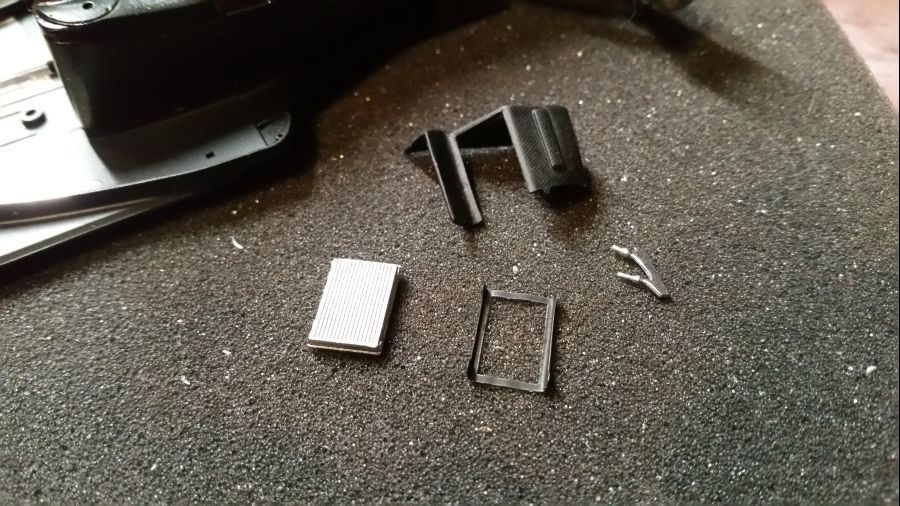
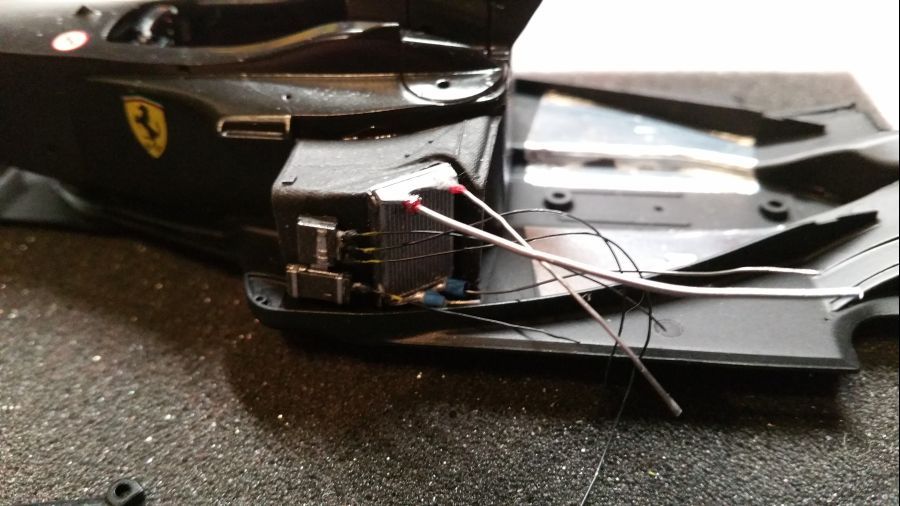
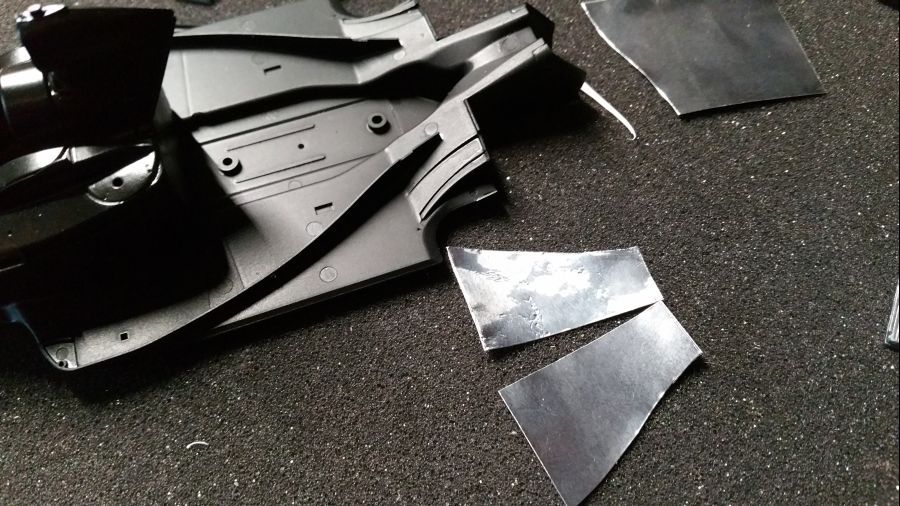
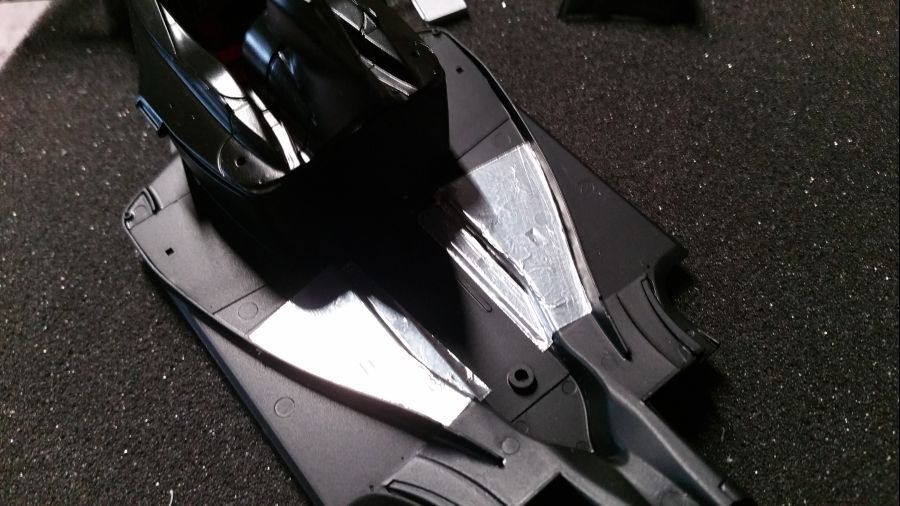
Terwijl de lijm moet drogen, maak ik vast het hitteschild klaar.
While the glue dries, i will create the heat shield.
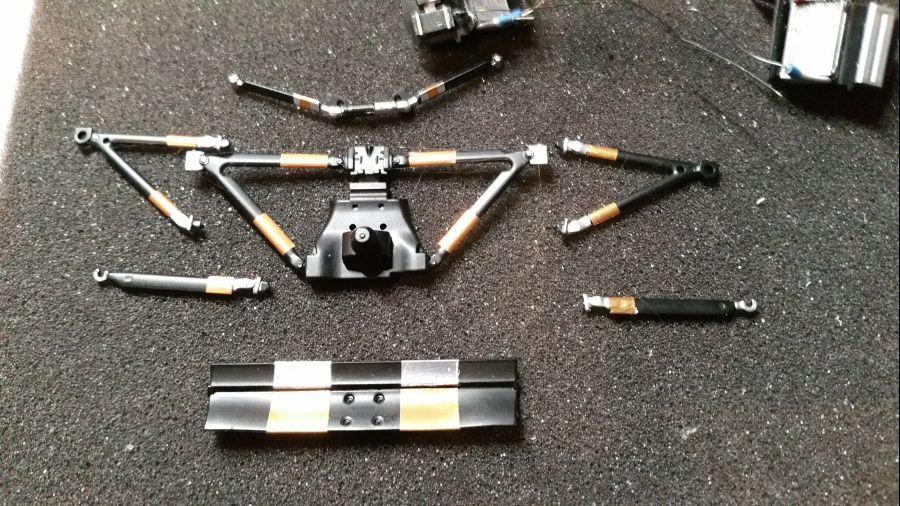
Vervolgens worden onderdelen van de achterwielophanging voorbereid. Alles wordt gespoten en de Bare Metal Foil wordt aangebracht.
Next is the preparation of parts from the rear wheel suspension. Everything is being painted and the Bare Metal Foil is applied.
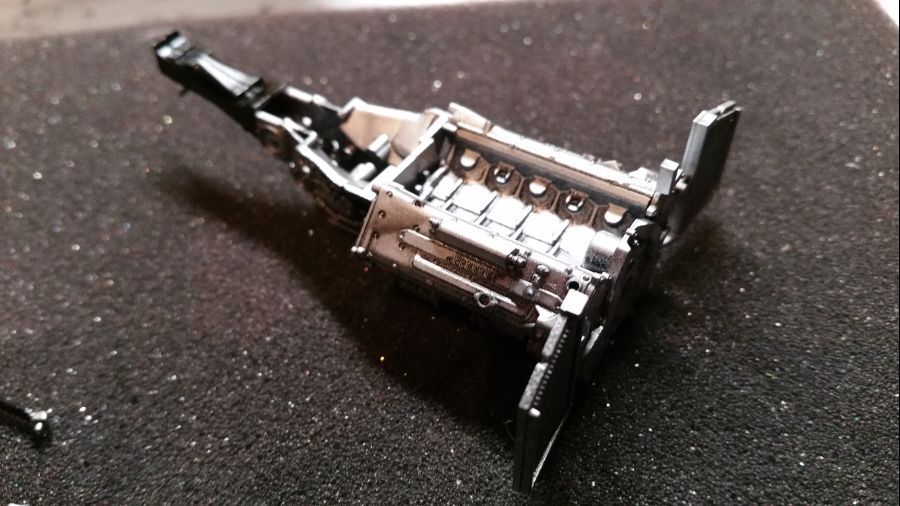
De eerste stappen aan de motor.
The first steps to the engine.
Meer onderdelen zijn klaar om zijdemat zwart te worden gespoten.
More parts are ready to be painted semi gloss black.

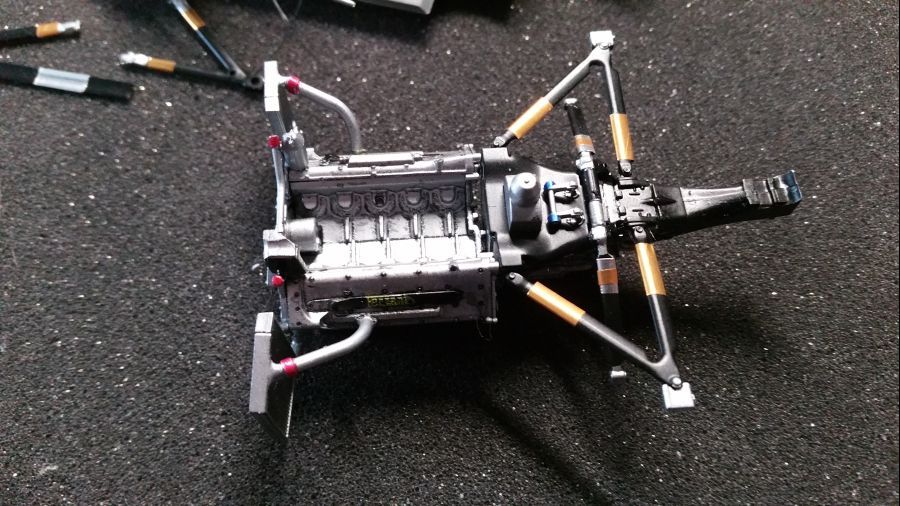
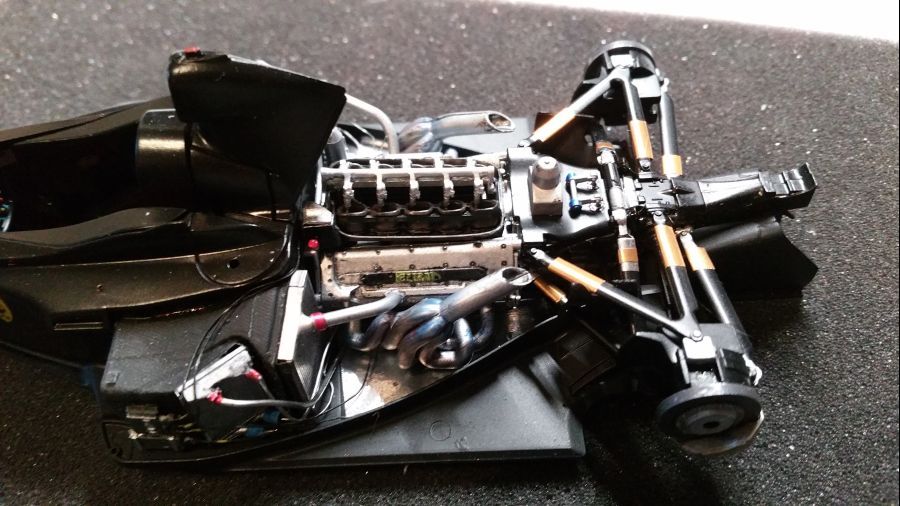
De motor wordt gemonteerd.
The engine has been mounted.
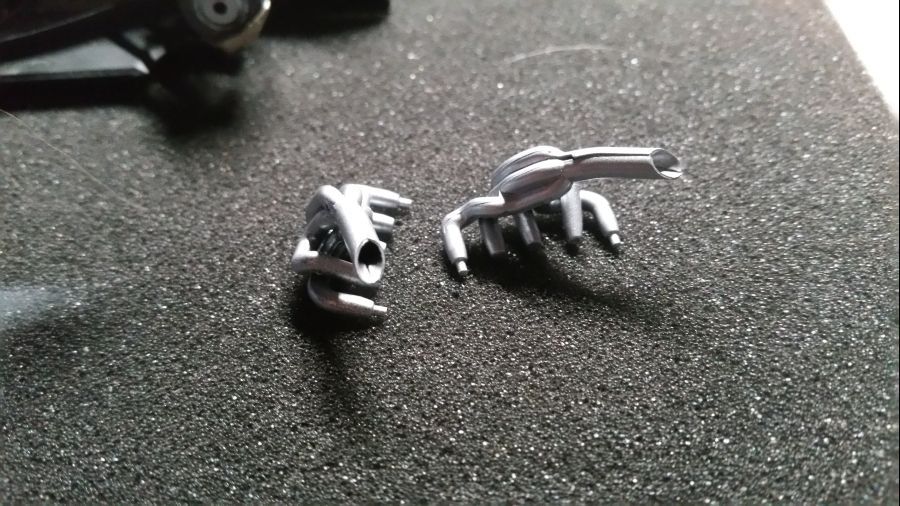
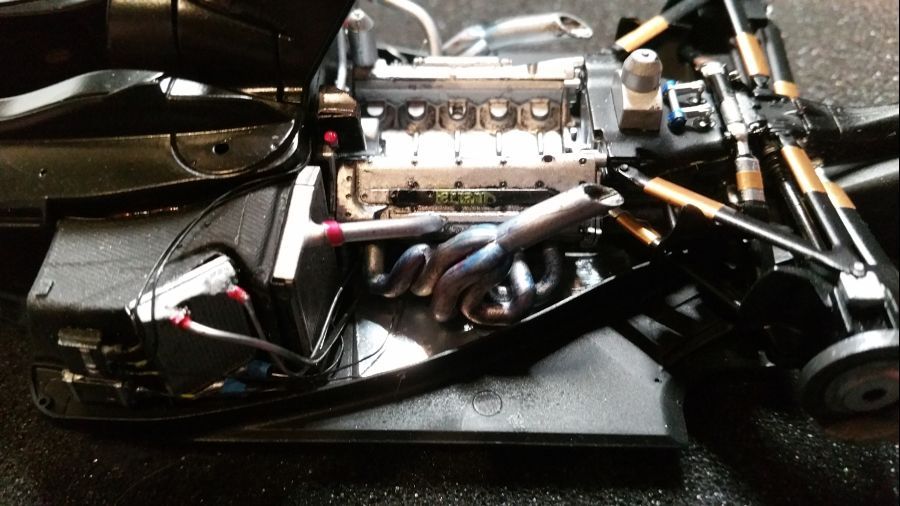
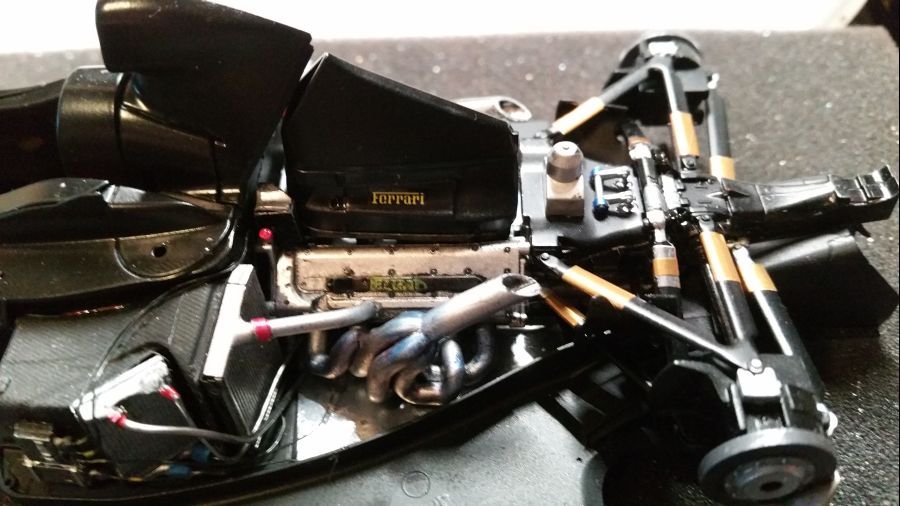
De uitlaten worden klaargemaakt. Ik geef ze een beetje een gebruikt uiterlijk en vervolgens worden ze gemonteerd.
The exhausts are being prepared. I will give them a used look en will mount them.
De neus en de achtervleugel zijn vast in elkaar gezet.
The nose and the rear wing have been assembled.
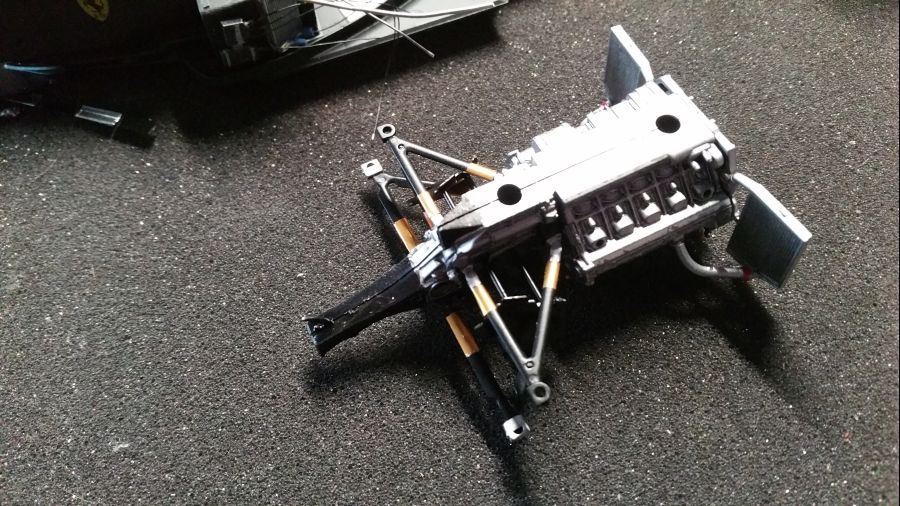
Meer werk aan de motor.
More work to the engine.
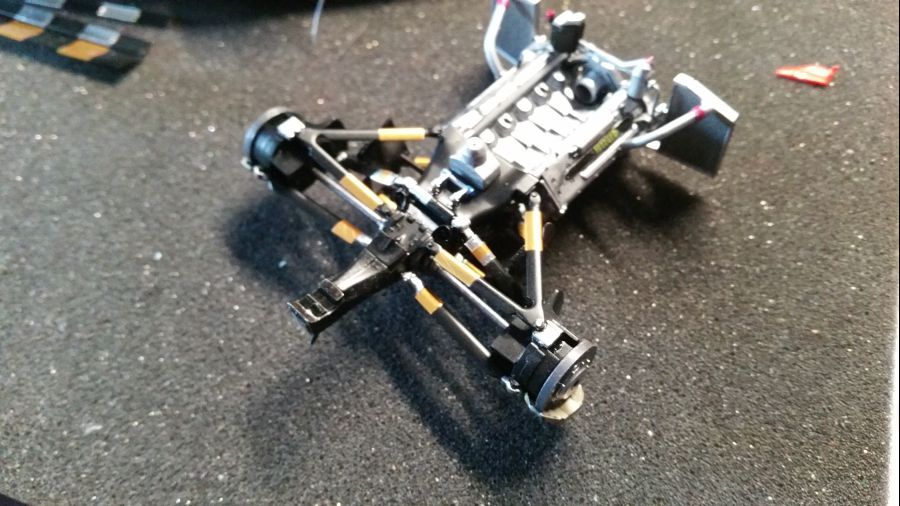
Terwijl de lijm droogt ga ik verder met de velgen.
While the glue dries i will continue with the rims.

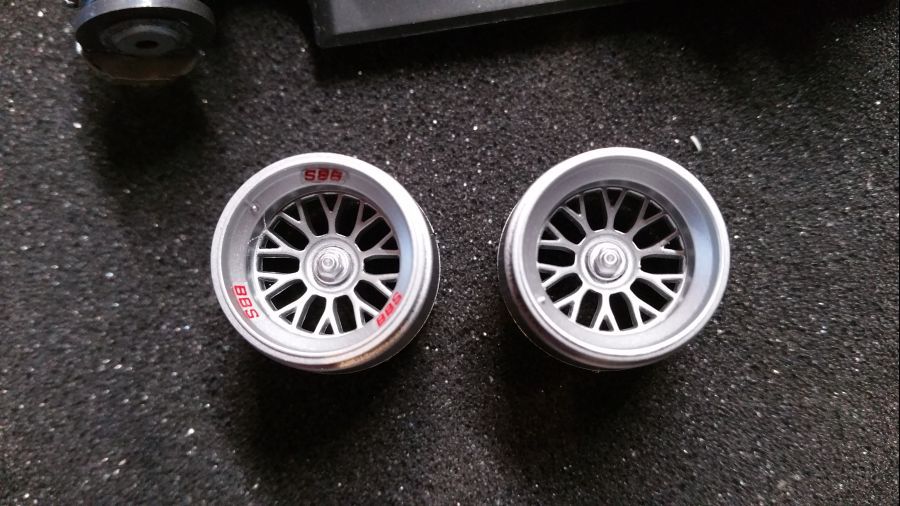
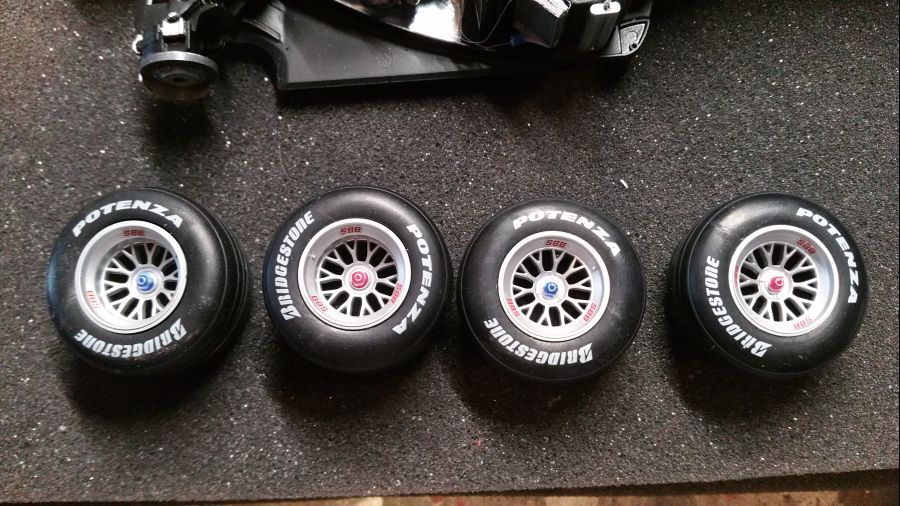
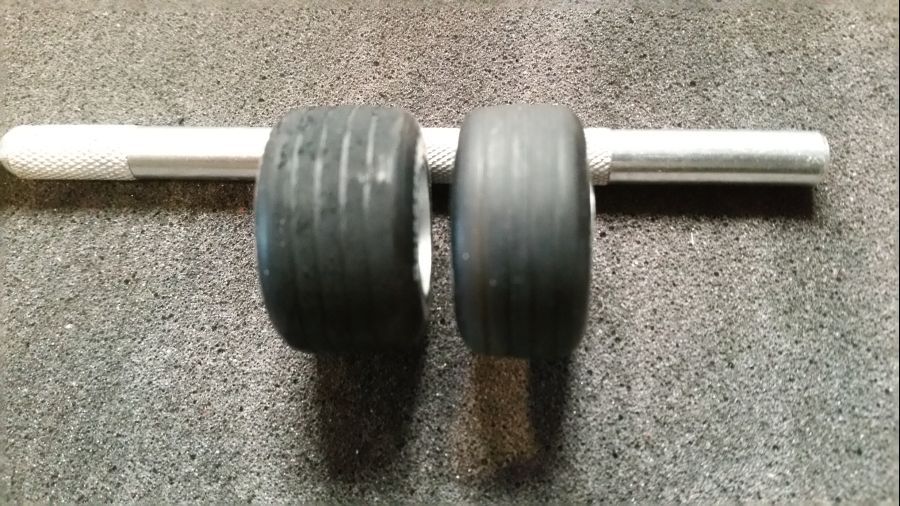
De banden een beetje opruwen. Niet teveel, anders verdwijnt het pofiel.... Als de glans er maar een beetje af is.
Making the tires a bit rough. Not too much, otherwise you'll lose the profile.... Just get rid of the glossy look.
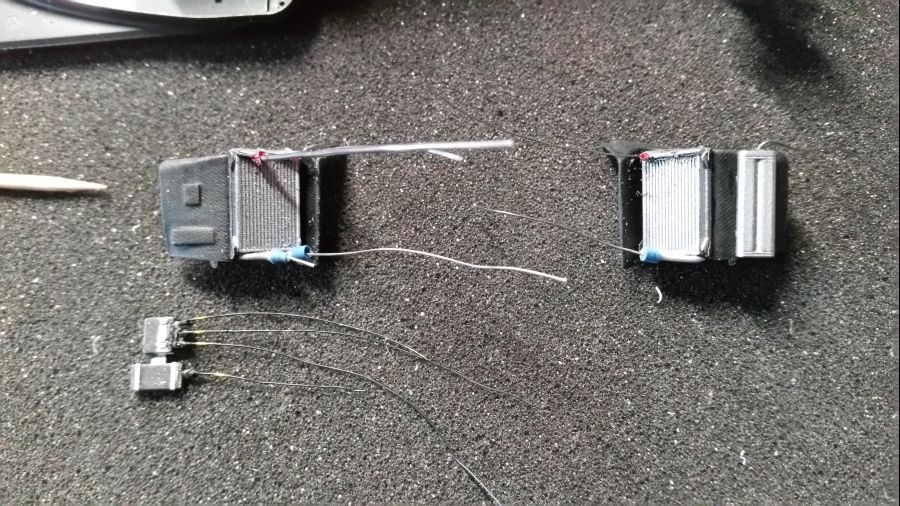
Een beetje meer bekabeling...
Some more wiring...
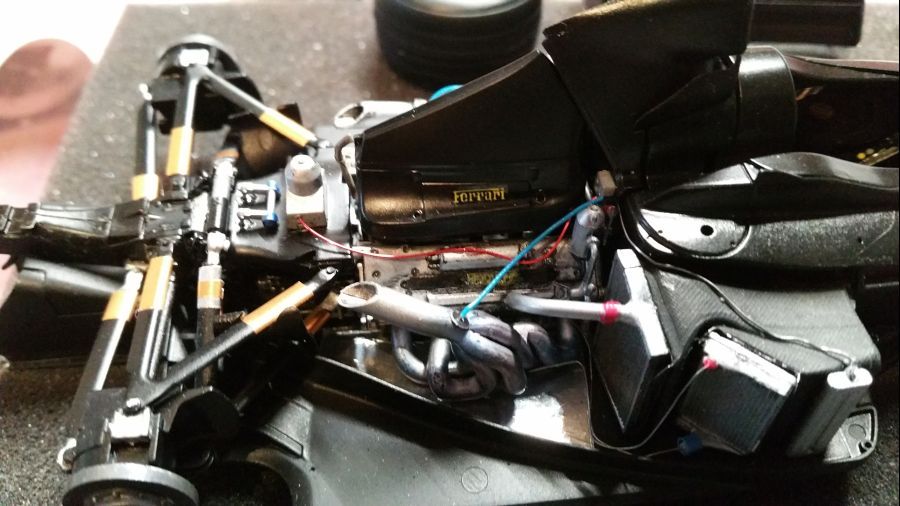
De motor wordt afgedekt...
The engine is being covered...
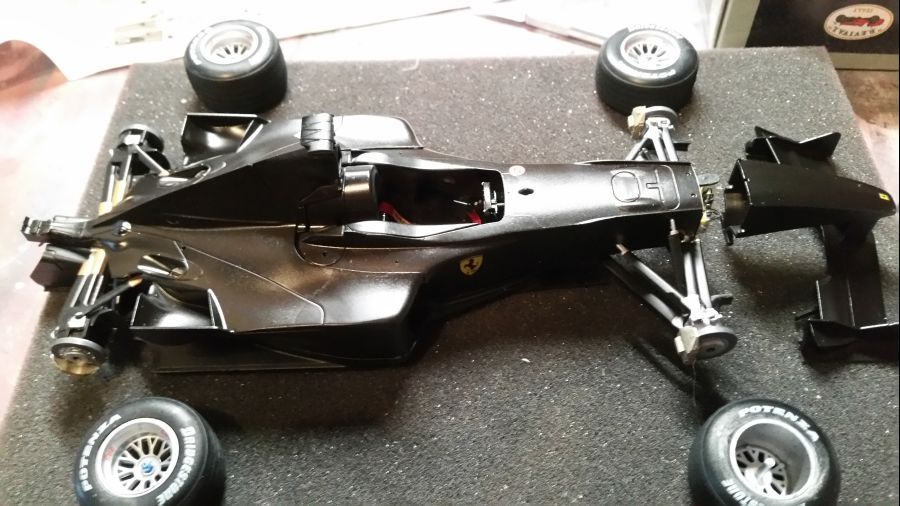
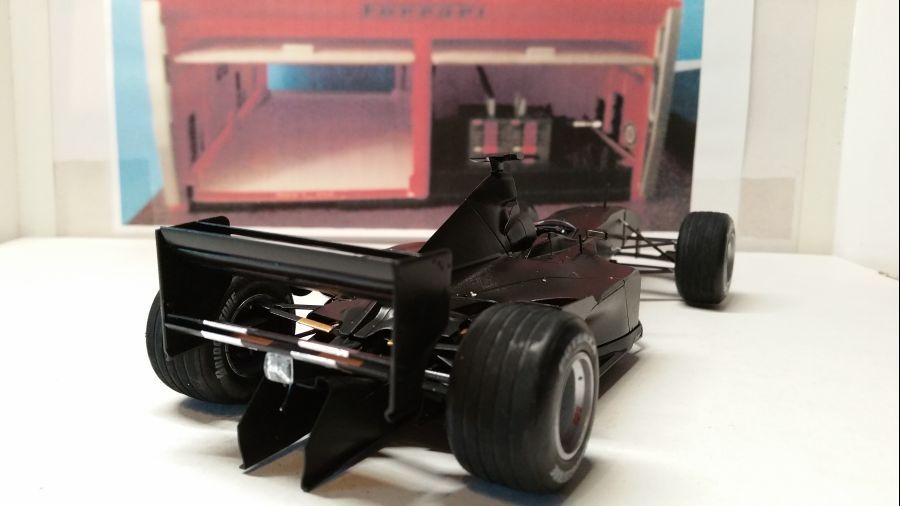
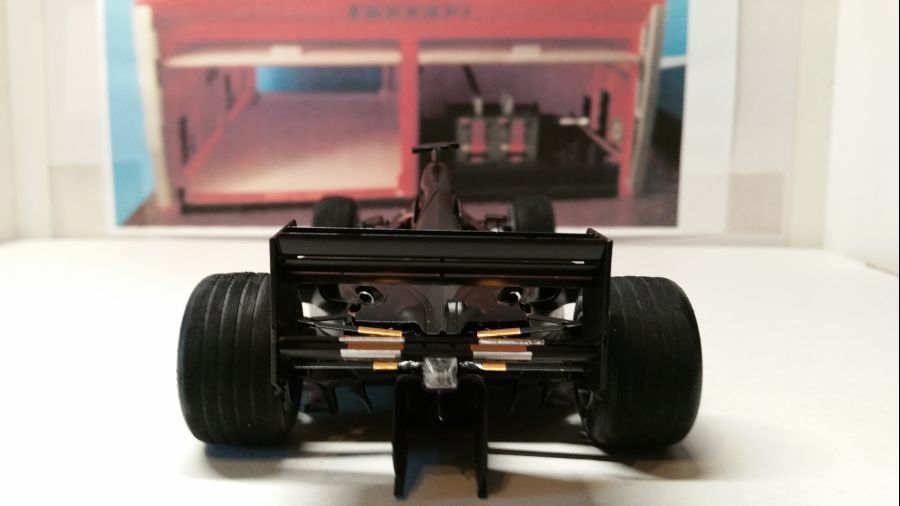
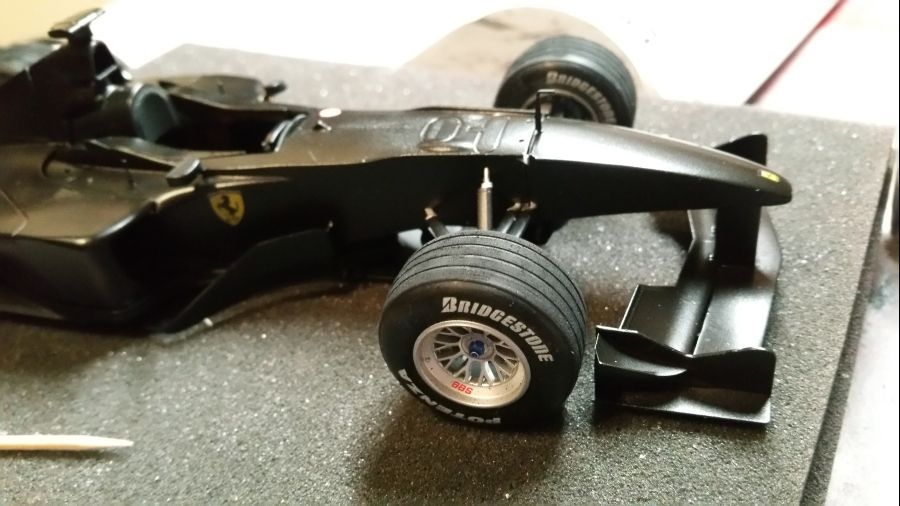
De wielen en de achtervleugel tgaan er op. Ook de barge boards.
The wheels and the rear wing are being mounted. And the barge boards.
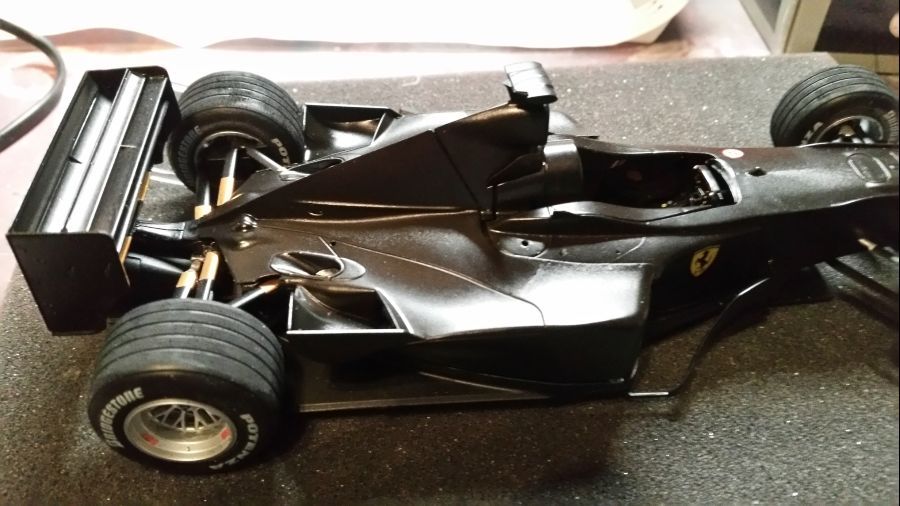
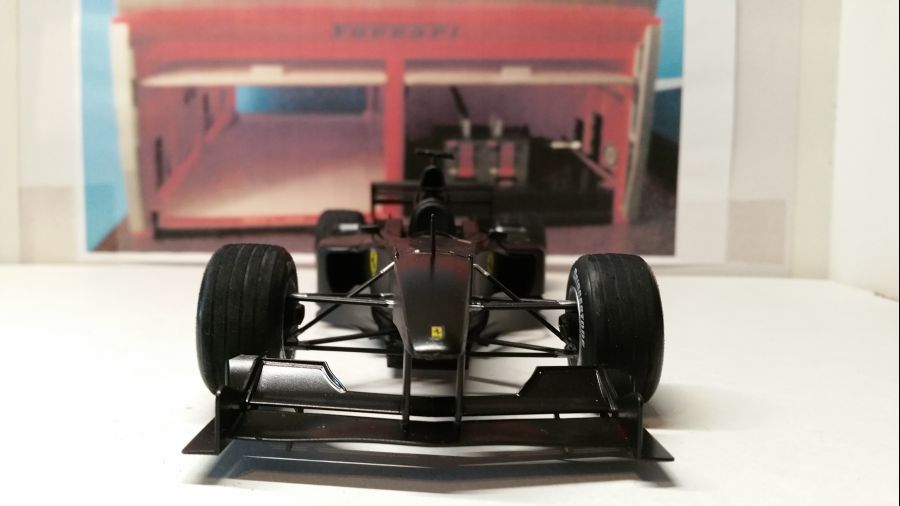
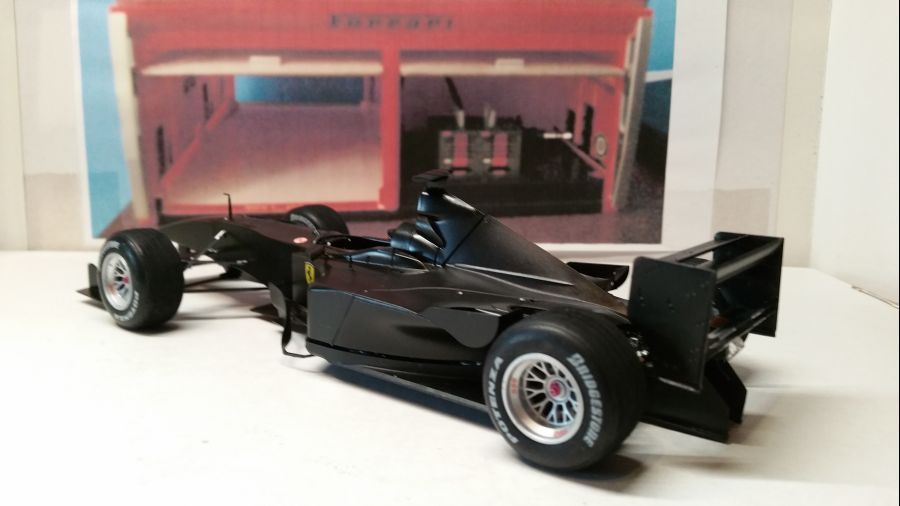
Dan de voorvleugel, de spiegels, het raam en antennes...
Then the front wing, the mirrors, the wind shield and antennas...
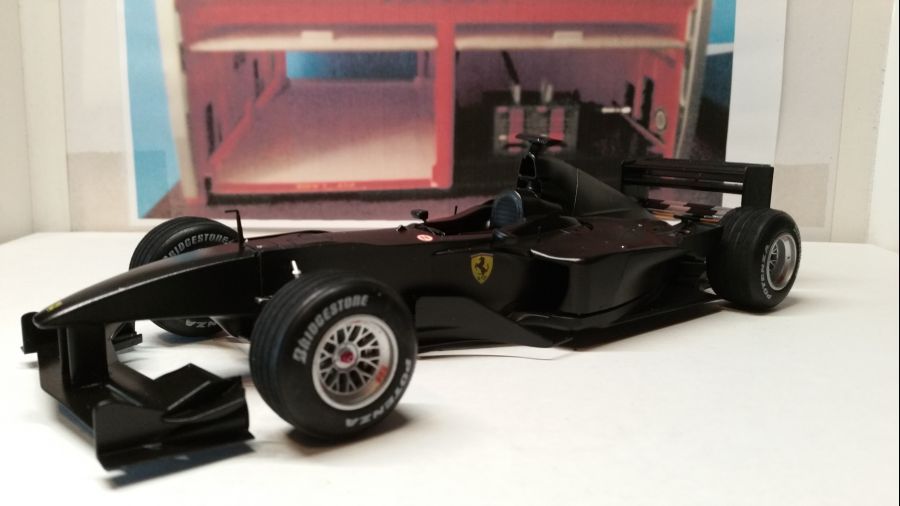
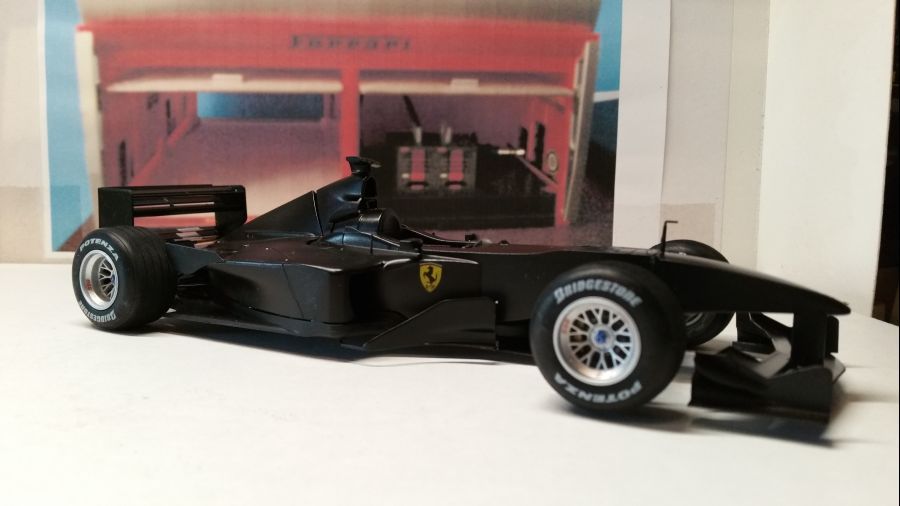
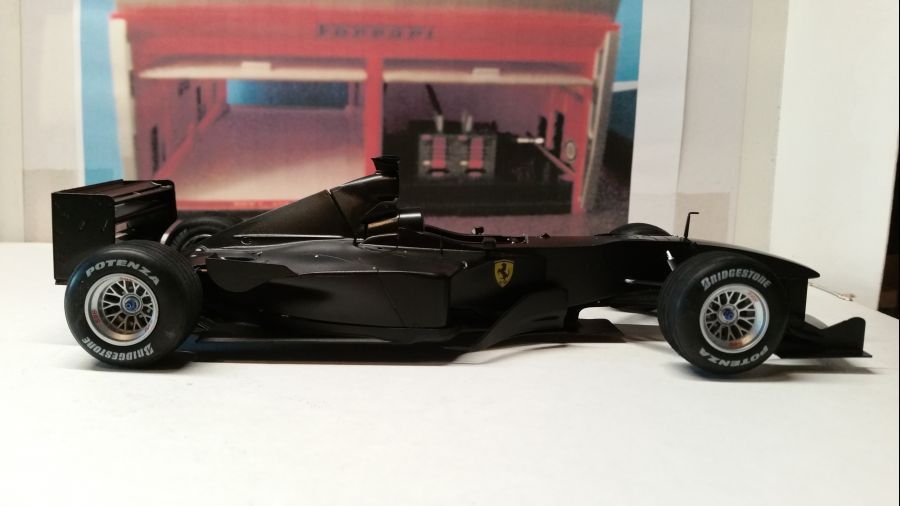
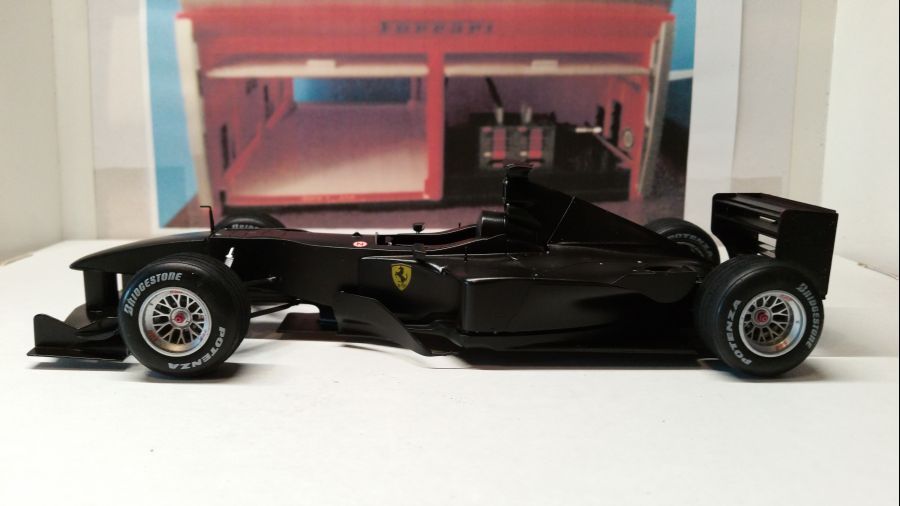
En na wat details, zoals snelsluiters, is er weer 1 klaar voor in de kast...
And after some more detail, like fasteners, another one is finished to be put on the shelf...