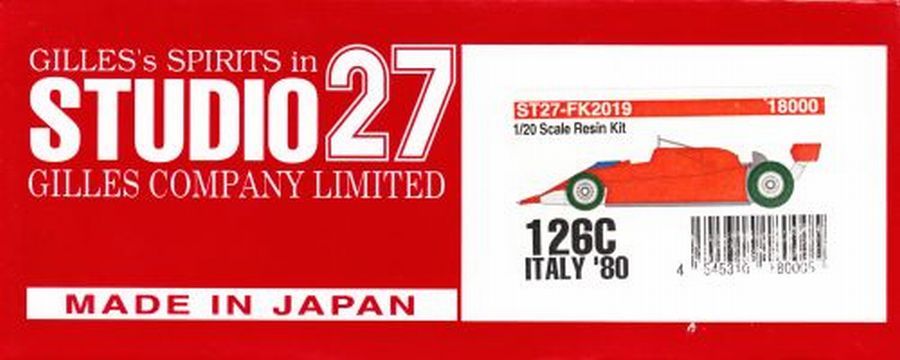
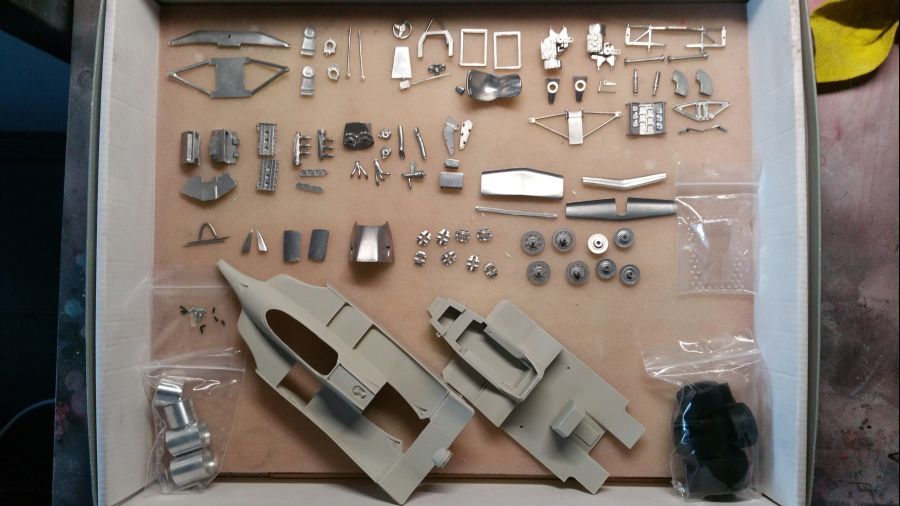
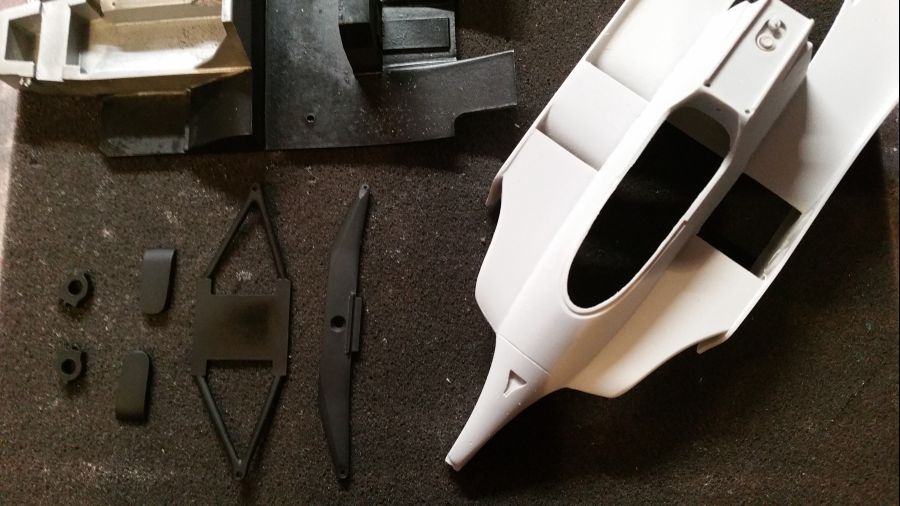
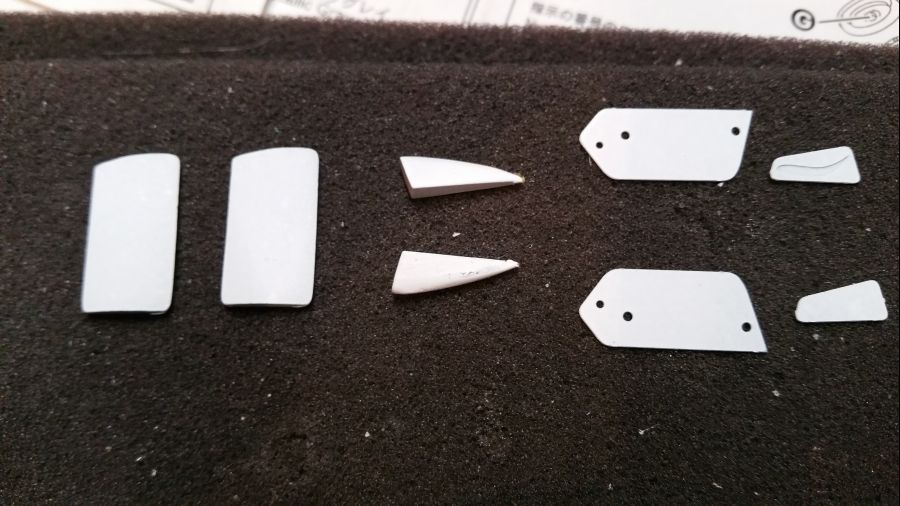
Deze keer weer een Ferrari van Studio27 op de werkbank. Nu de Ferrari 126C Italiaanse versie zoals deze werd gereden tijdens de training door Gilles Villeneuve in 1980. Volgens mijn gegevens betreft het hier een testversie. De werkelijke GP van Italië werd nog gereden met een Ferrari 312T5. Deze 126C onderging later nog heel wat uiterlijke veranderingen. Ik wilde eigenlijk de Jody Scheckter versie maken, maar kan nergens info vinden dat hij deze auto heeft gereden tijdens deze training. Eerst maar weer de foto's van de inhoud van de kit.
This time again a Ferrari from Studio27 on my bench. Now the Ferrari 126C Italian version as driven during practice by Gilles Villeneuve in 1980. To my knowledge this was a test version. The real GP from Italy was driven in a Ferrari 312T5. This 126C had a lot of visual changes to come. I wanted to do the Jody Scheckter version, but cannot find any info on him driving this version during this practice. First again, the pictures of the content of the kit.


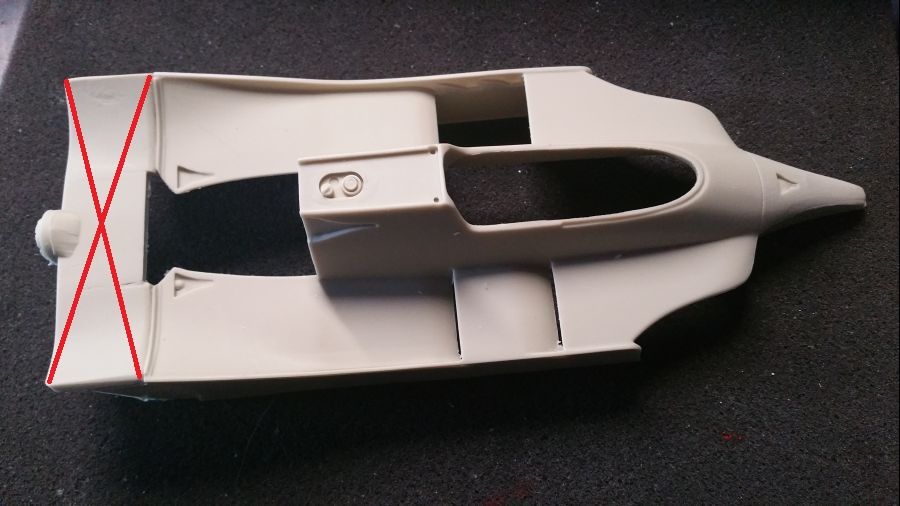
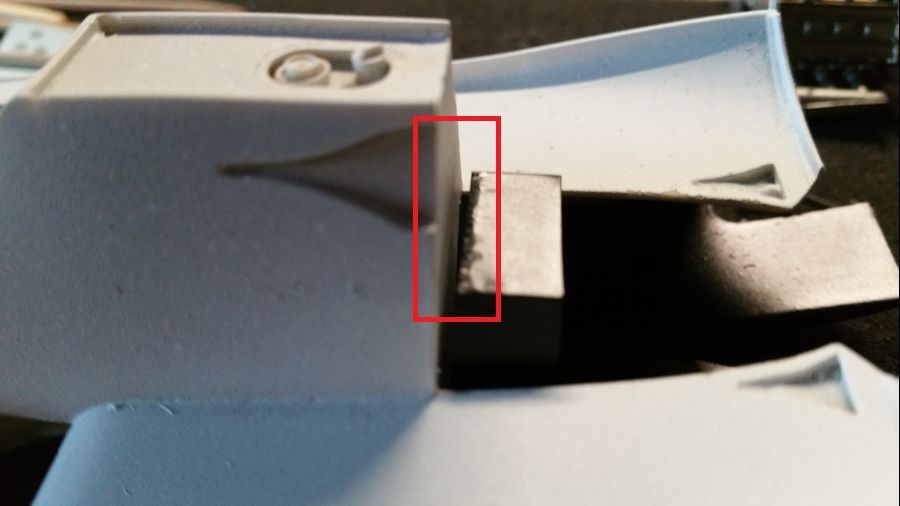
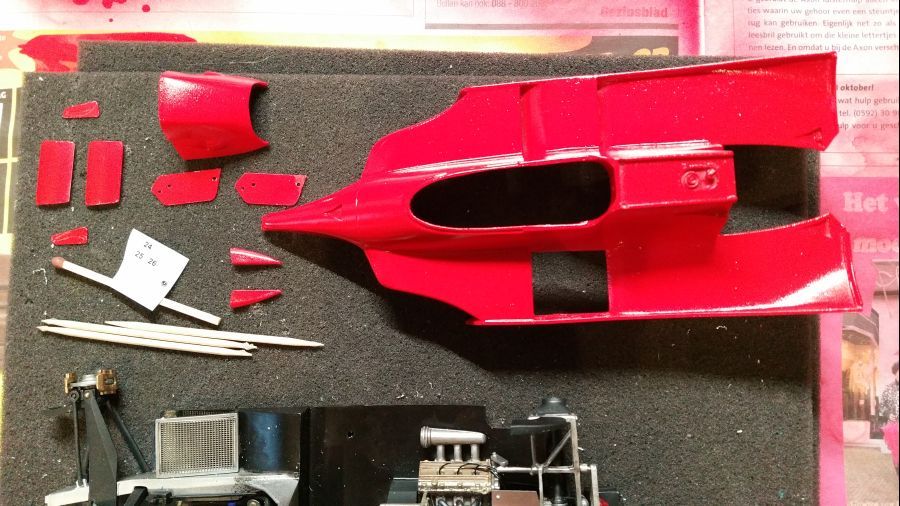
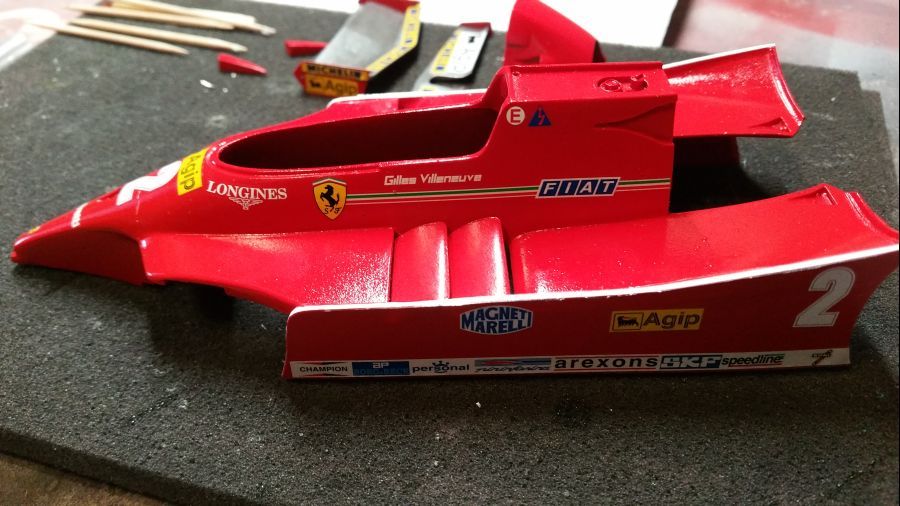
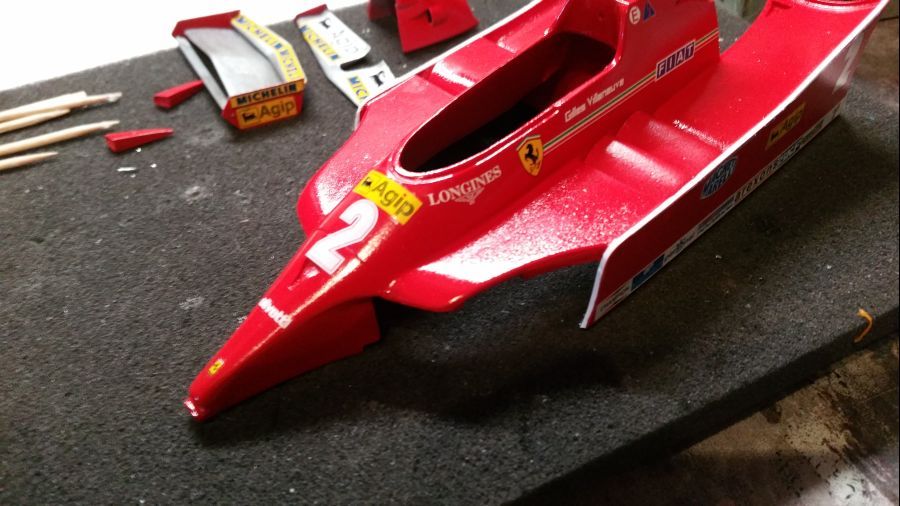
 Eerst wat werk aan de body. Een paar delen moeten worden verwijderd en er is wat schuurwerk.
First some work to the body. A few parts need to be cut off and there is some sanding needed.

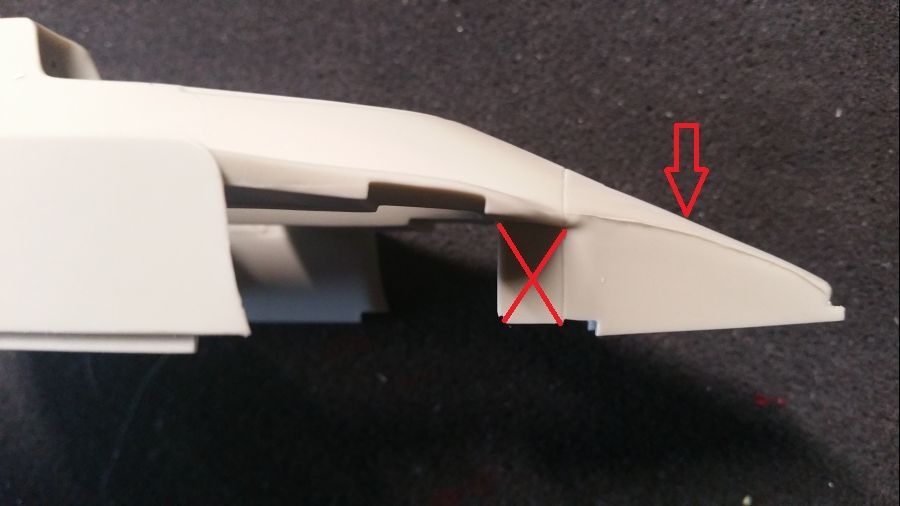

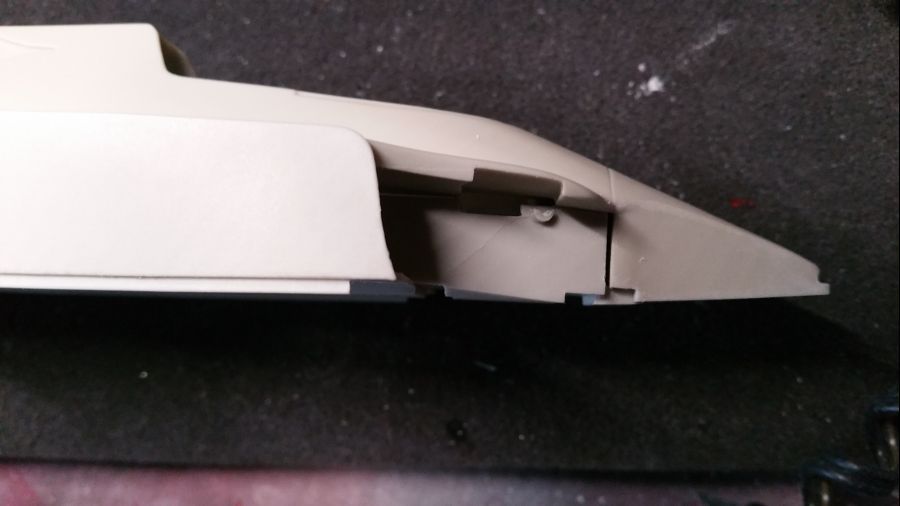
Na het verwijderen is het duidelijk dat hier en daar wat moet ruimte worden opgevuld. Hiervoor gebruik ik wat Evergreen styreen.
After removal it is clear there needs to be some filling at certain points. I will use some Evergreen styrene for this.


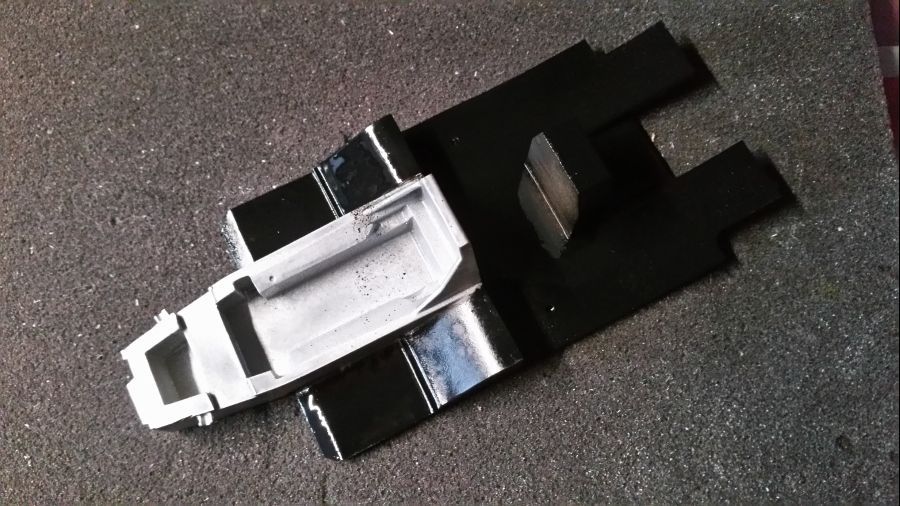
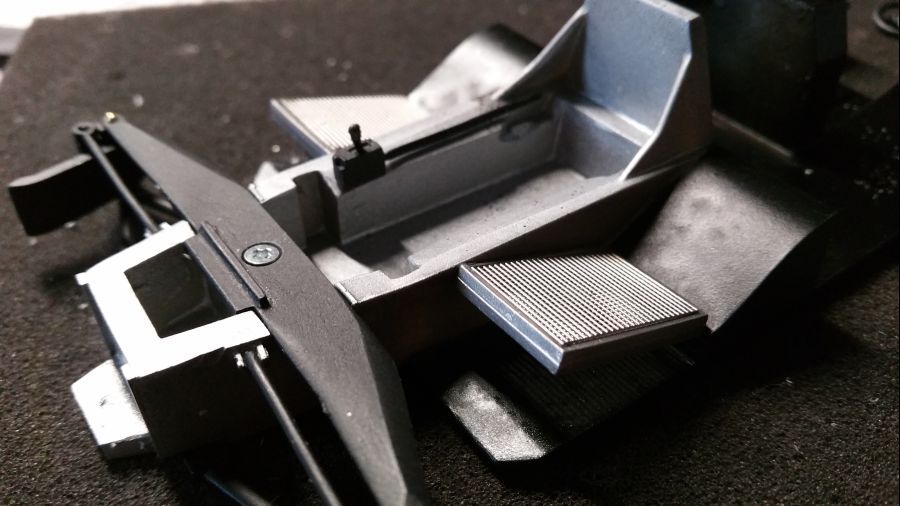
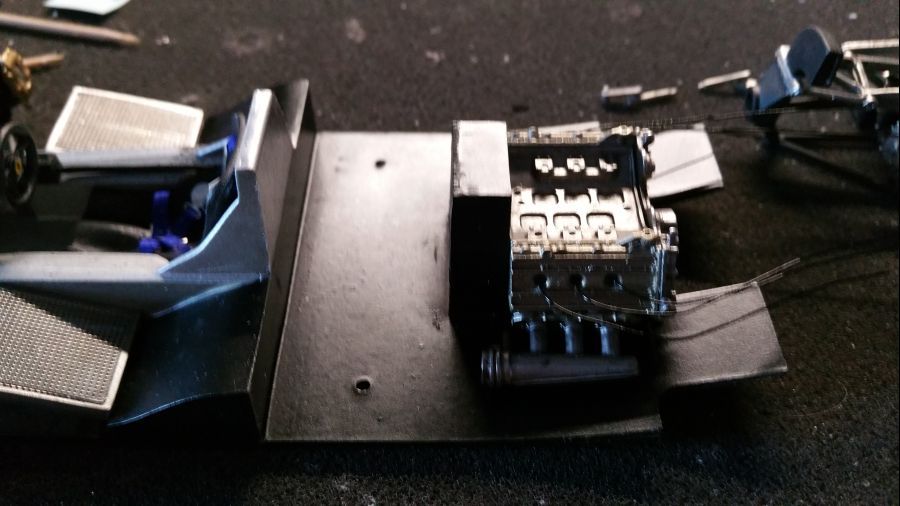
Dan de bodemplaat spuiten met Tamiya TS-29 Semi Gloss Black en TS-17 Gloss Aluminum.
Next is painting the floor with Tamiya TS-29 Semi Gloss Black and TS-17 Gloss Aluminum.

Wat delen van de voorwielophanging zijn zwart gespoten en de body is gespoten met witte grondverf.
Some parts of the front wheel suspension have been painted black and the body work has been sprayed with white primer.

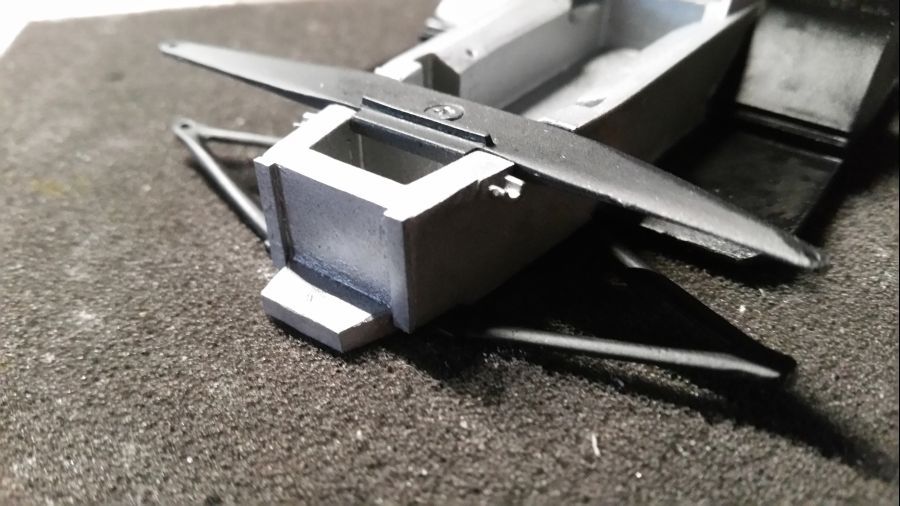
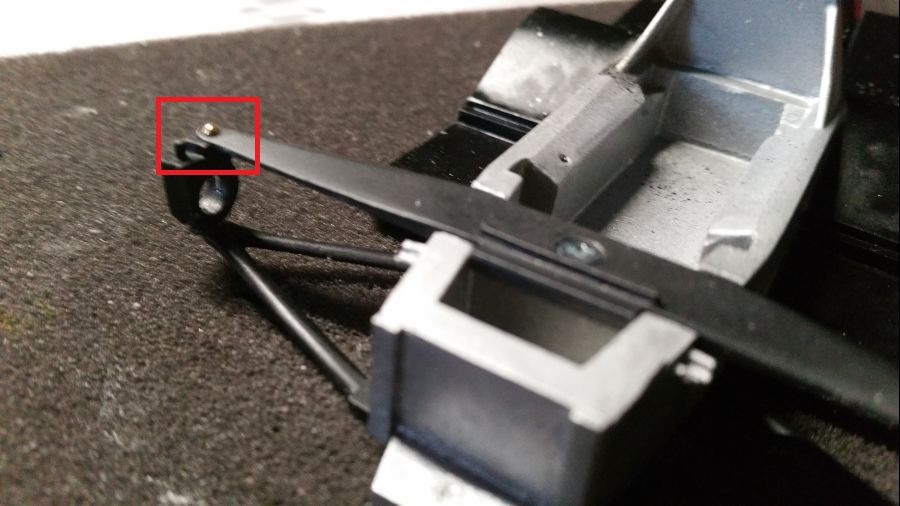
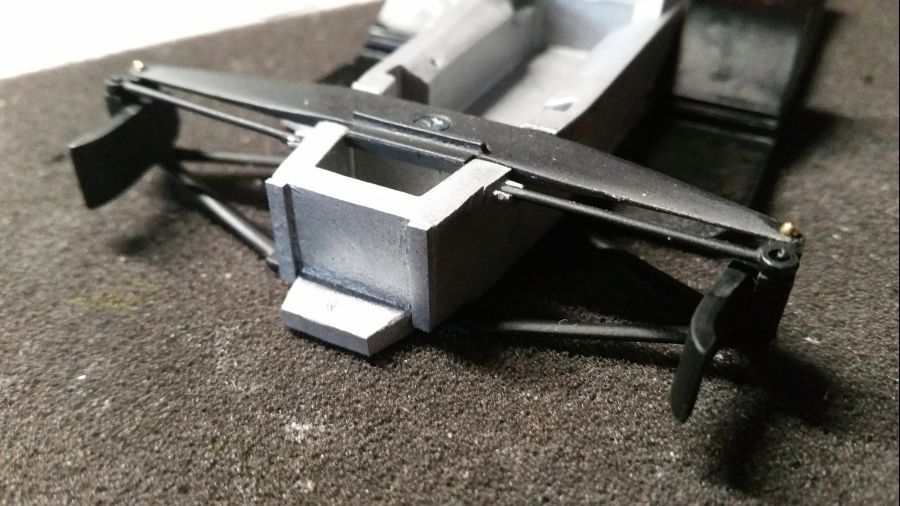
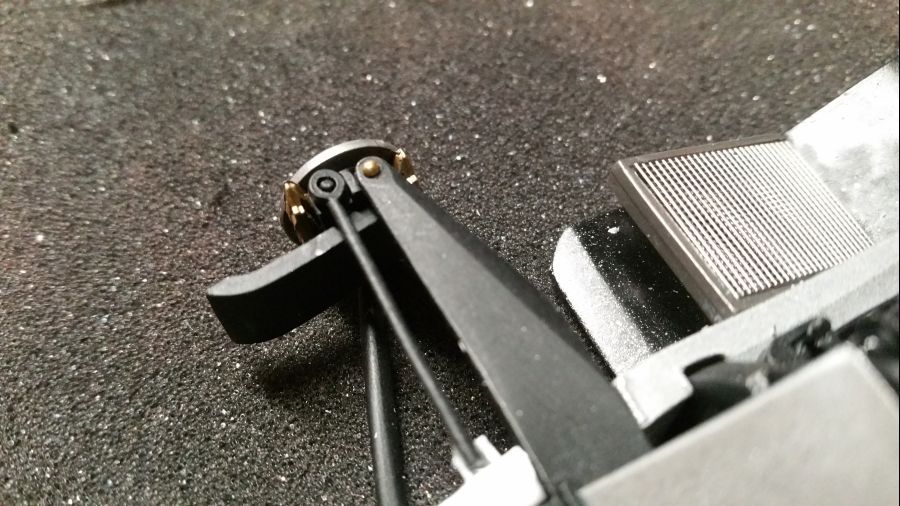
Daarna volgt het in elkaar zetten van de ophanging. Ik gebruik popnagels in plaats van de zwarte schroeven.
Then the parts of the suspension are combined. I use rivets instead of the black screws.


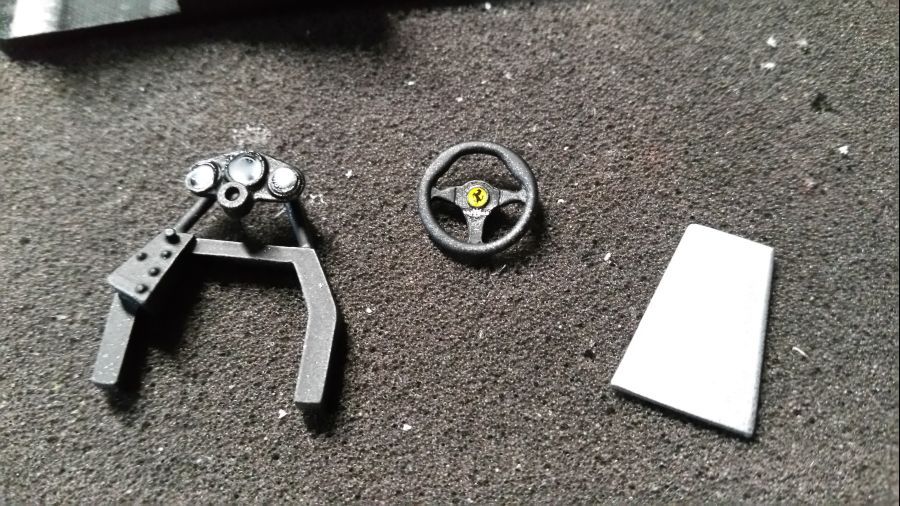
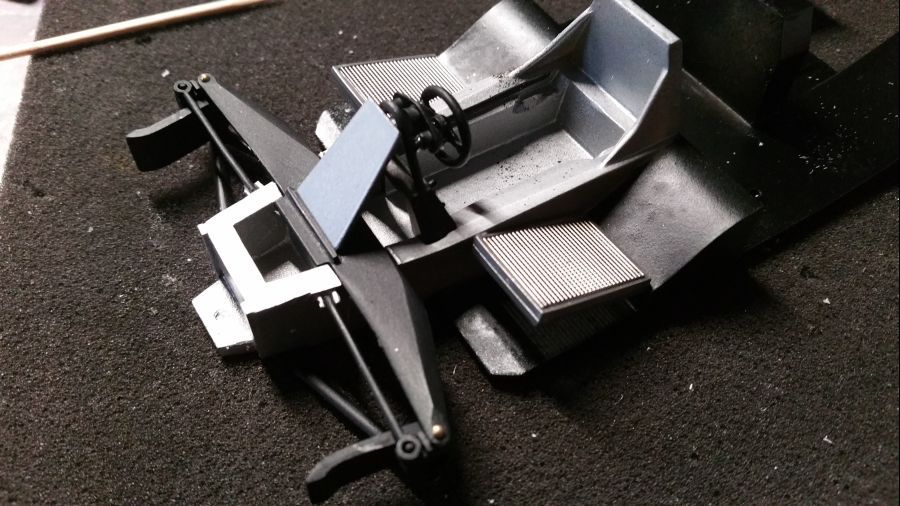
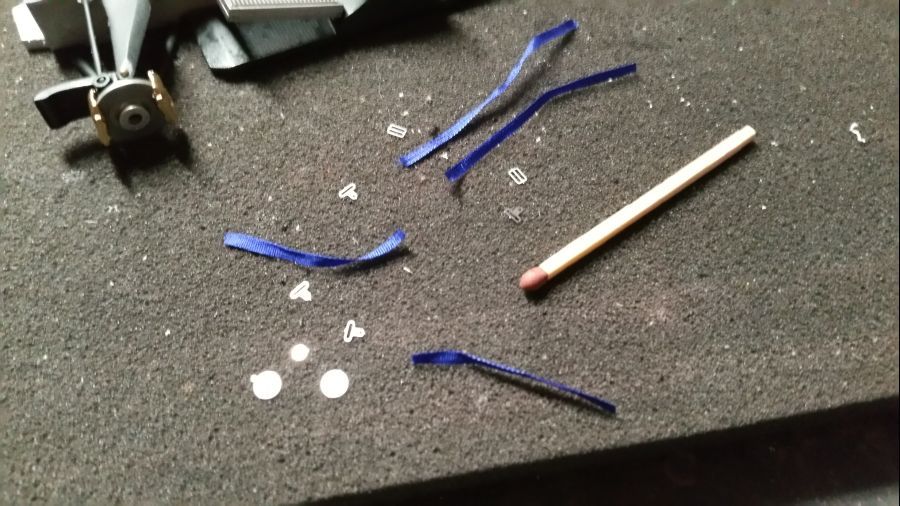
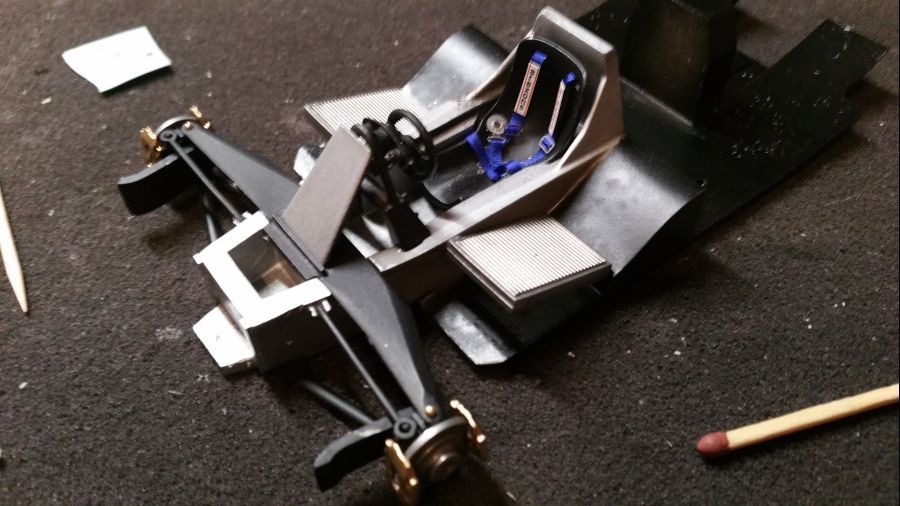
Vervolgens verder met de stoel en een paar andere onderdelen. Alles spuiten en daarna weer de gordels plaatsen.
Next is the seat and some other parts. Everything will be painted en the belts are attached.


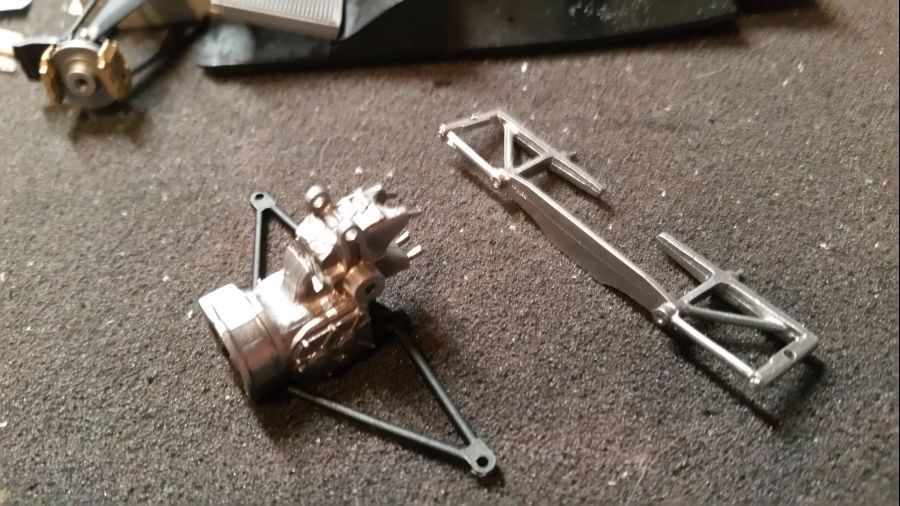
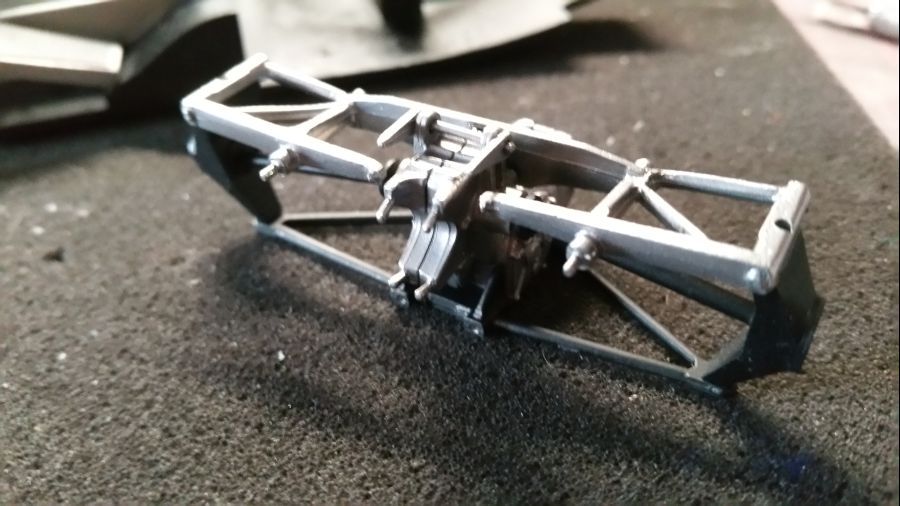
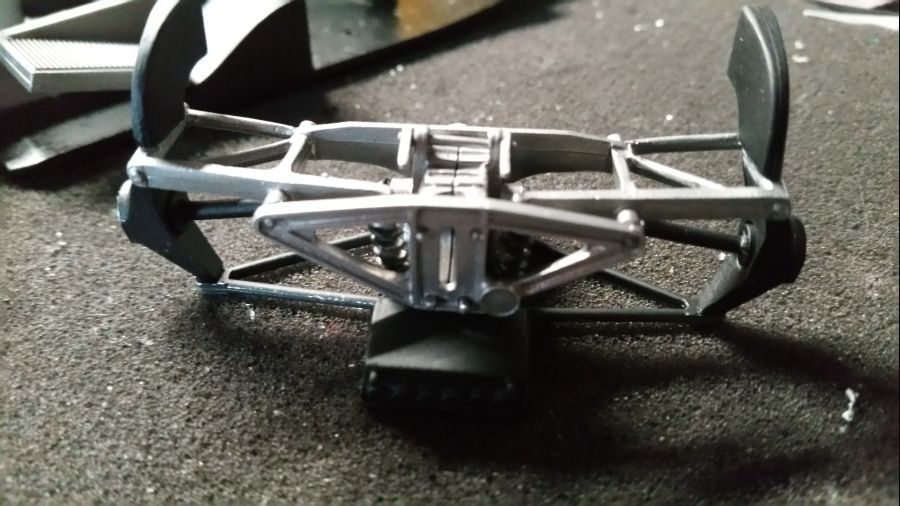
Dan verder met de achterwielophanging en de versnellingsbak.
Then continuing with the rear wheel suspension and the gearbox.


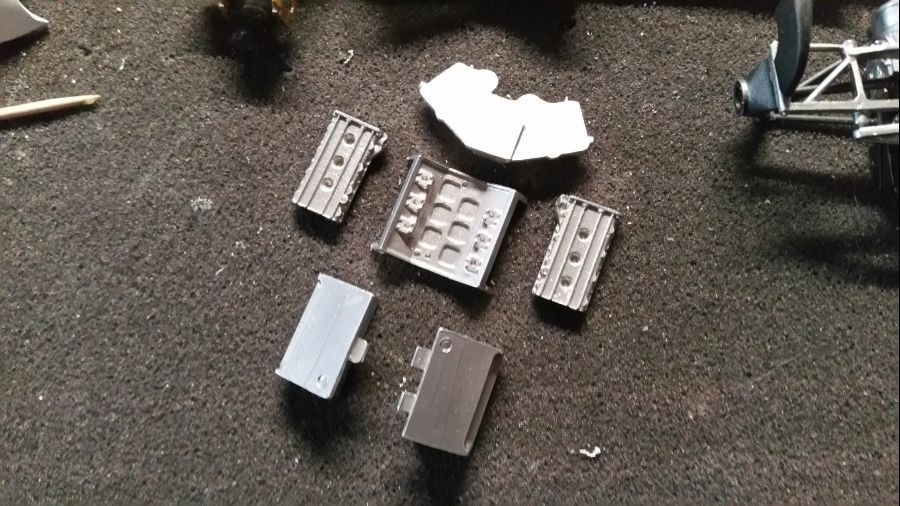
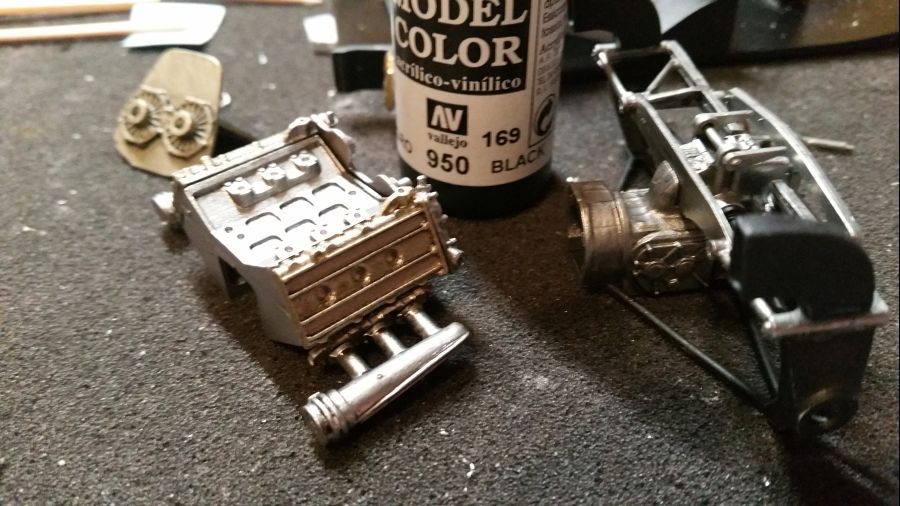
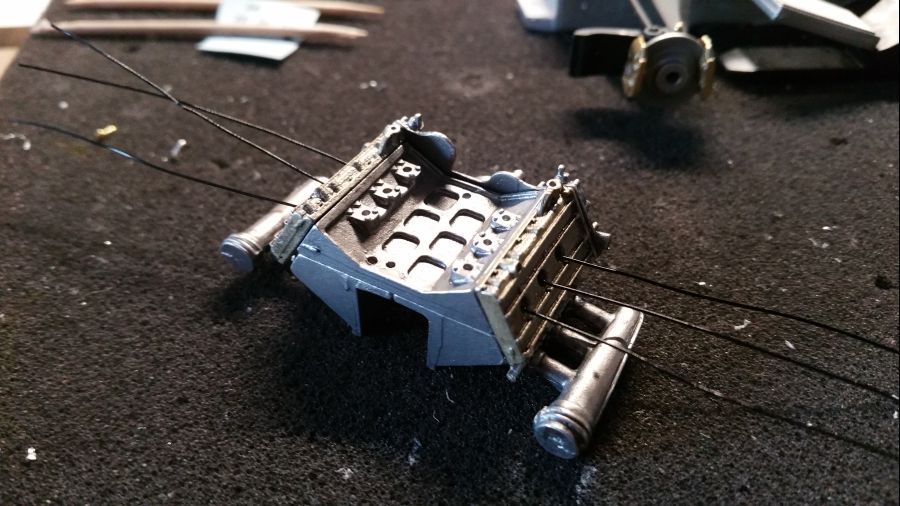
Dan verder met de motor. Deze is een beetje basic, dus ik ga hem hier en daar wat opleuken. Waarschijnlijk zie je er uiteindelijk niet veel meer van. De kleppendeksels worden champagne goud gespoten.
Next is the engine. This one is a bit basic, so i will add some small detail. You probably will not notice a lot of it in the end. The engine covers are painted champagne gold.

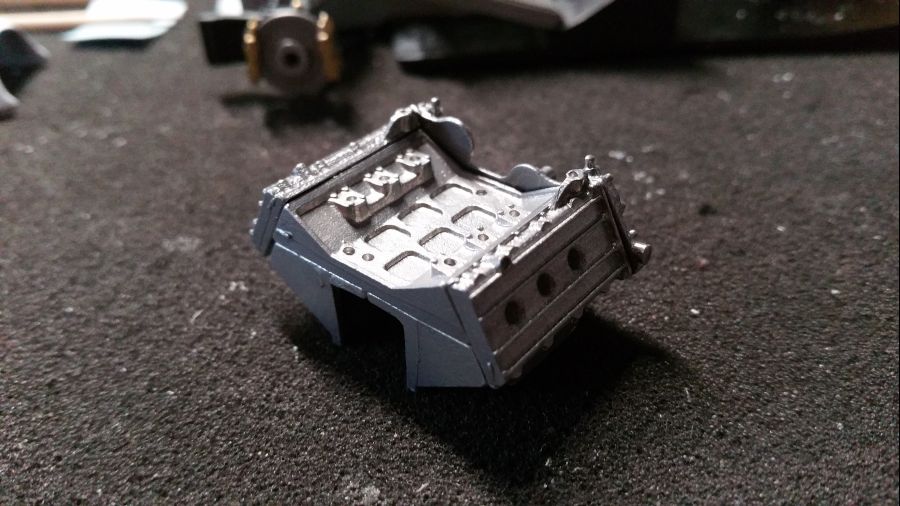


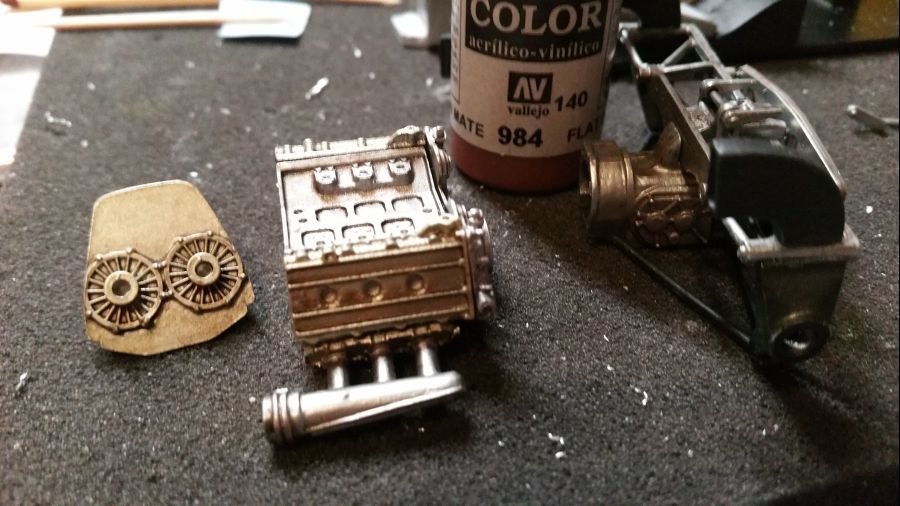
Daarna een wash voor de motor om het een beetje in gebruikte staat te brengen.
Then a wash for the engine to make it look used a bit.


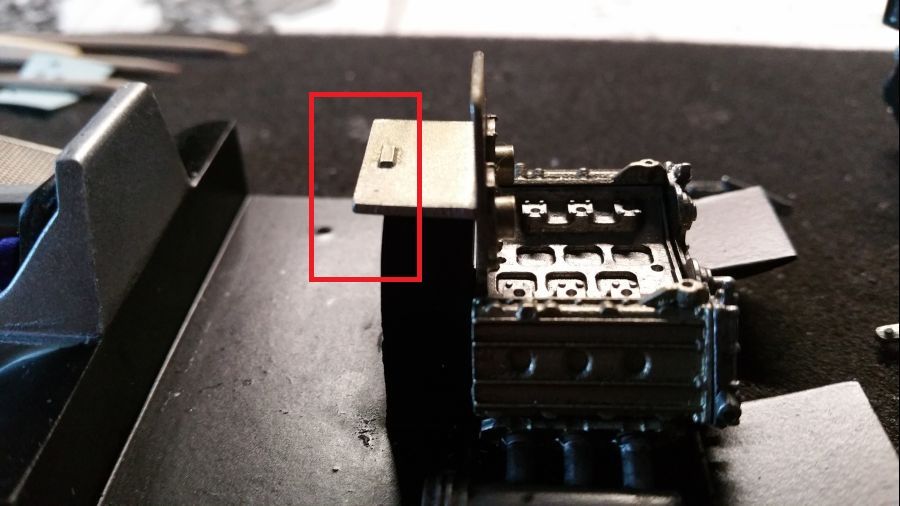
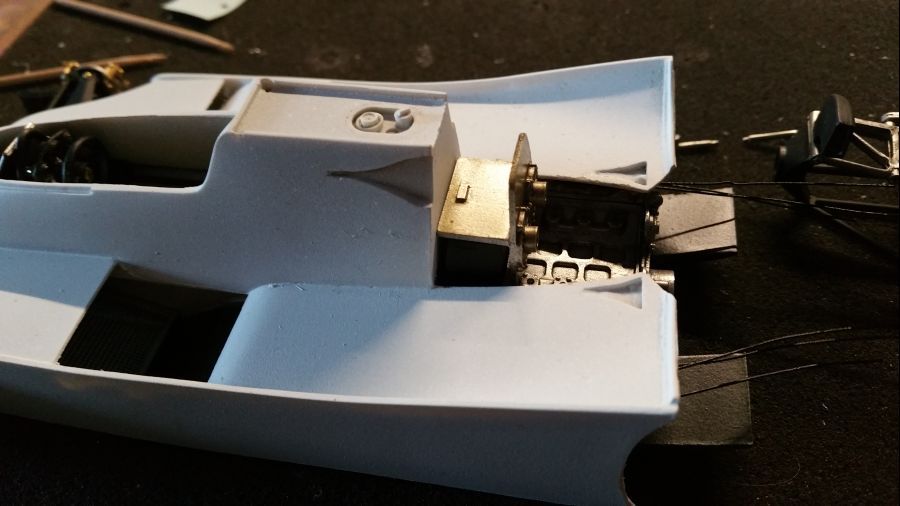
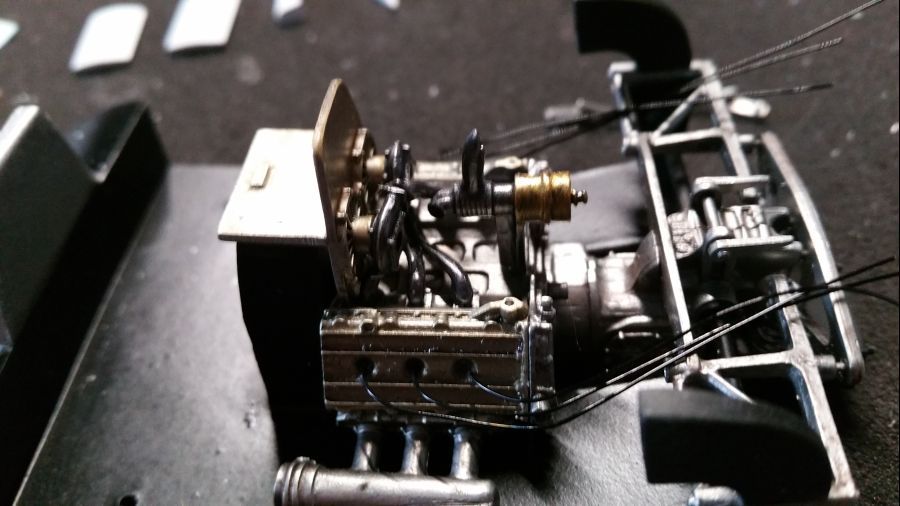
Het plaatsen van de plaat waar de turbo's aan worden bevestigd is een beetje tricky. Er zijn wat verschillen mogelijkheden. Bij een test fit van de body is duidelijk dat er wat ruimte ontstaat aan de achterkant. Wees dus voorzichtig.
The attachment of the bulkhead with the turbo's is a bit tricky. There are more possibilities. When doing a test fit of the body it is clear there is some space at the backside. So be careful.


Eerst een beetje bedrading aanbrengen en dan het plaatsen van de motor en het plaatwerk voor de turbo's.
First some small wiring and then attaching the engine and the bulkhead for the turbo's.


Dan de versnellingsbak...
Next is the gear box...
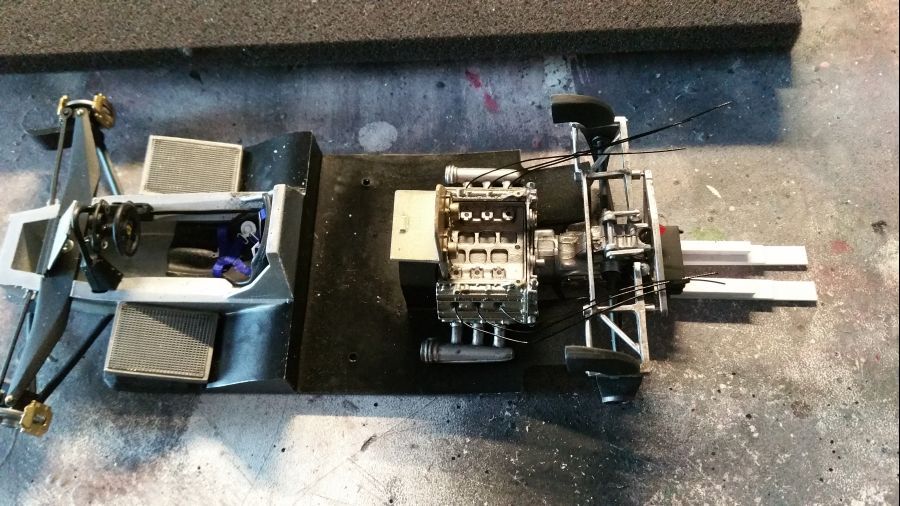

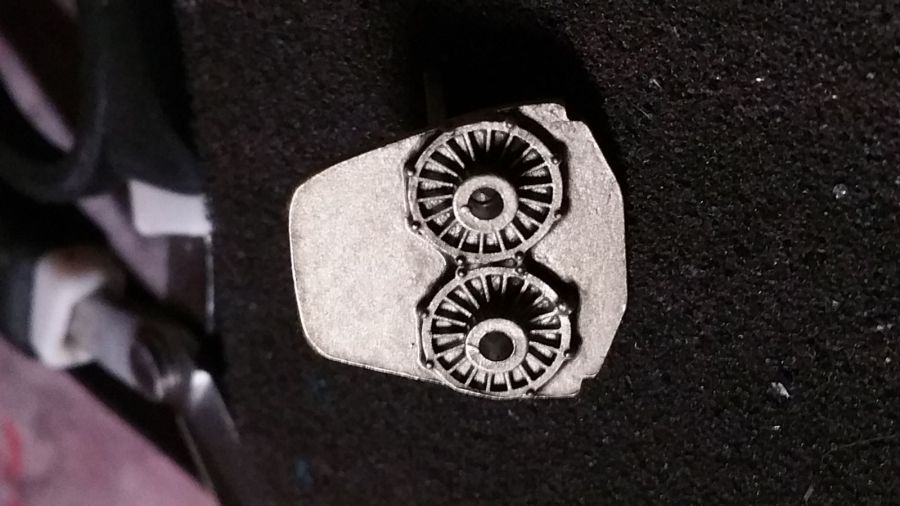
Verder met de turbo's...
Then the turbo's...

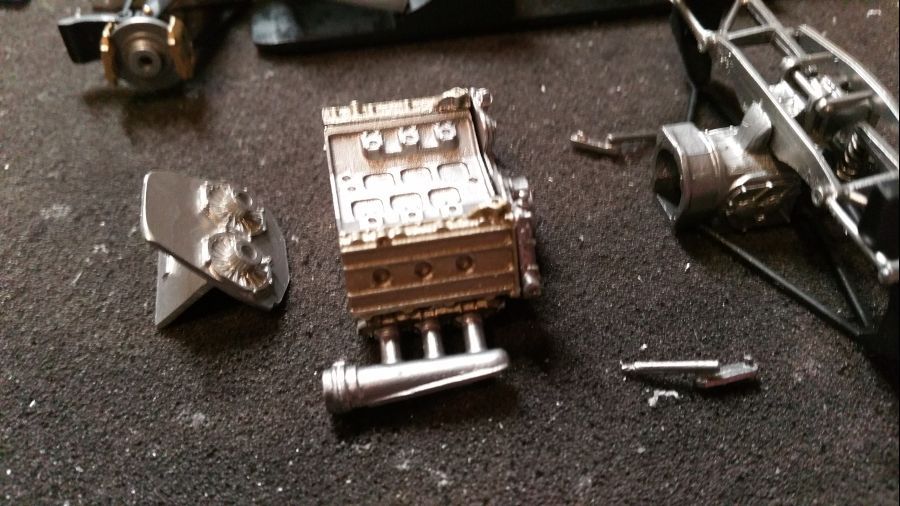
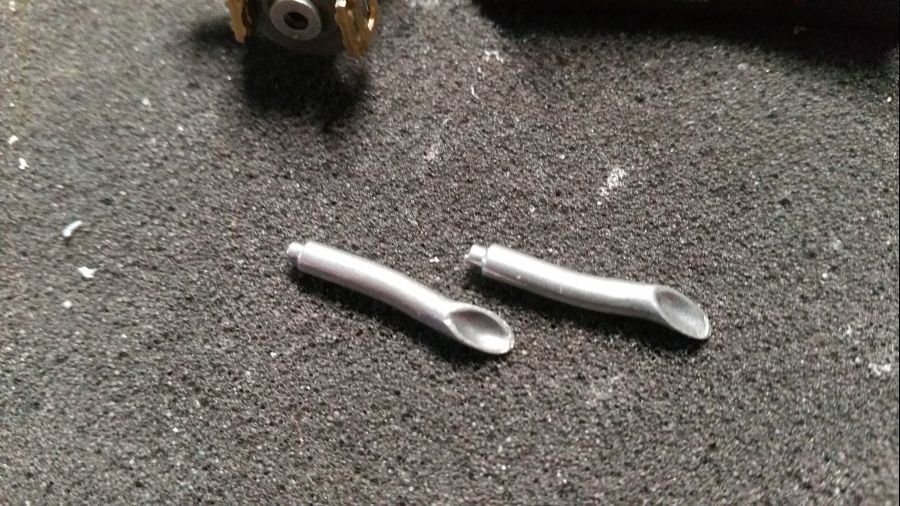
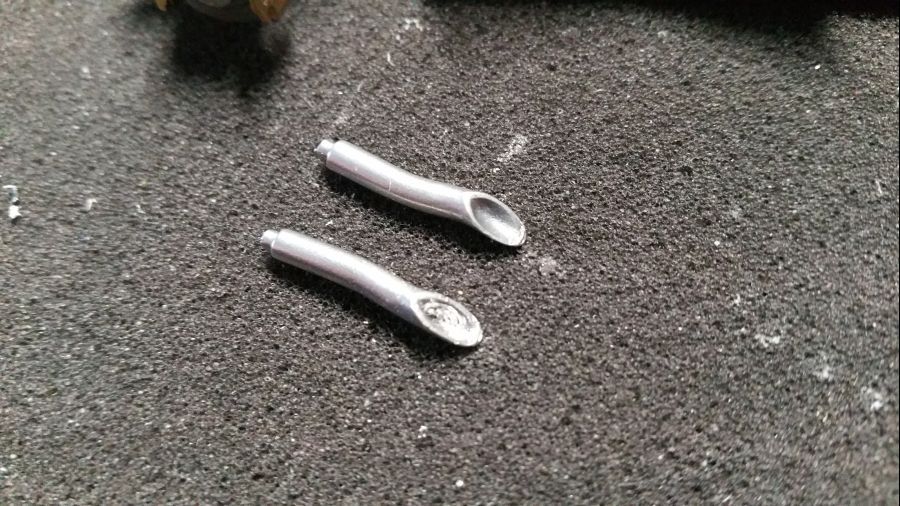
De uitlaten worden wat verouderd door achtereenvolgens doorzichtig oranje, rood en blauw aan te brengen. Ook worden ze wat uitgeboord.
The exhausts are being weathered by applying clear orange, red and blue. Also some drilling has been applied.


Wat meer onderdelen zitten in de grondverf voordat het rood wordt gespoten.
Some more parts got a coat of primer before the red is applied.

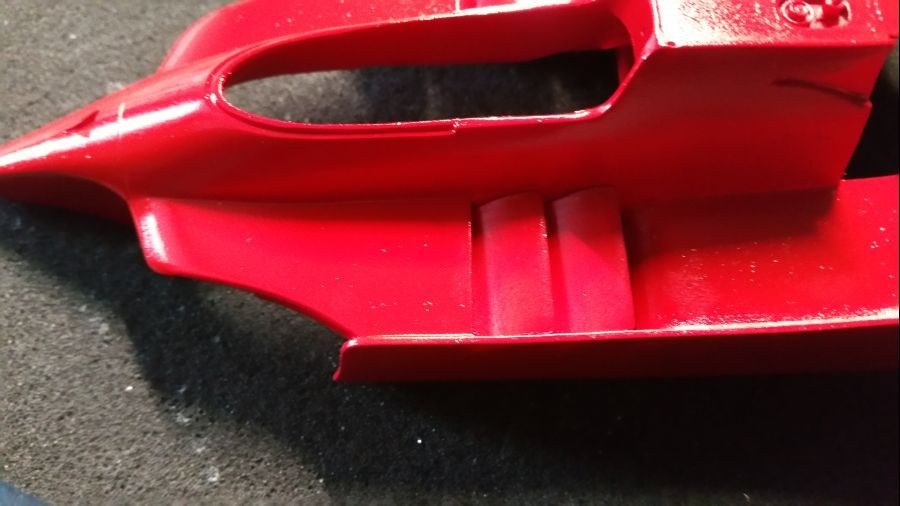
Het rood zit er weer op. Deze keer Zero Paints ZP-1007 1970's-1980's Rosso Formula 1.
The red is on again. This time Zero Paints ZP-1007 1970's-1980's Rosso Formula 1.

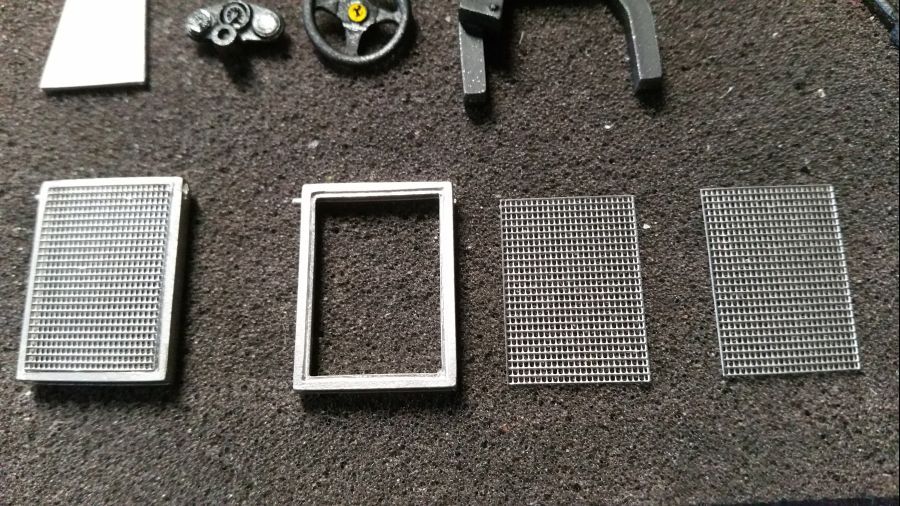
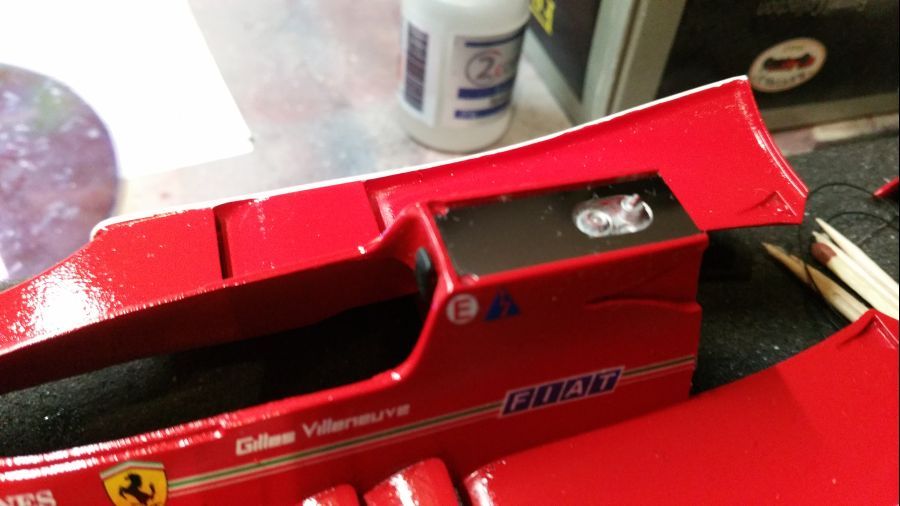
De sidepod wordt klaargemaakt.
The side pod is being finished.

Dan worden de voorvleugel en achtervleugel in elkaar gezet.
Then the front and rear wings are combined.

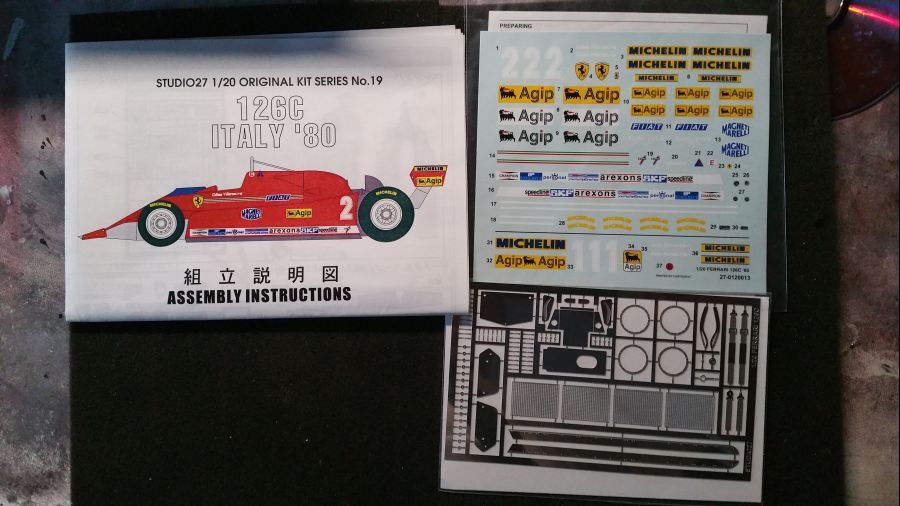
Tijd voor de decals. Ik wilde dus eigenlijk een Jody Scheckter versie maken. Op de foto kun je zien dat er decals zijn bijgevoegd voor de Scheckter versie. Het is niet helemaal duidelijk wat waar geplaatst moet worden. Ook op het web kan ik geen foto's vinden. Daarom ga ik voor de Villeneuve versie.
Time for the decals. I wanted to make a Jody Scheckter version. On the picture you can see there are decals for the Scheckter version. It is not clear which decal should go where. Neither on the web pictures can be found. Therefore i will make the Villeneuve version.


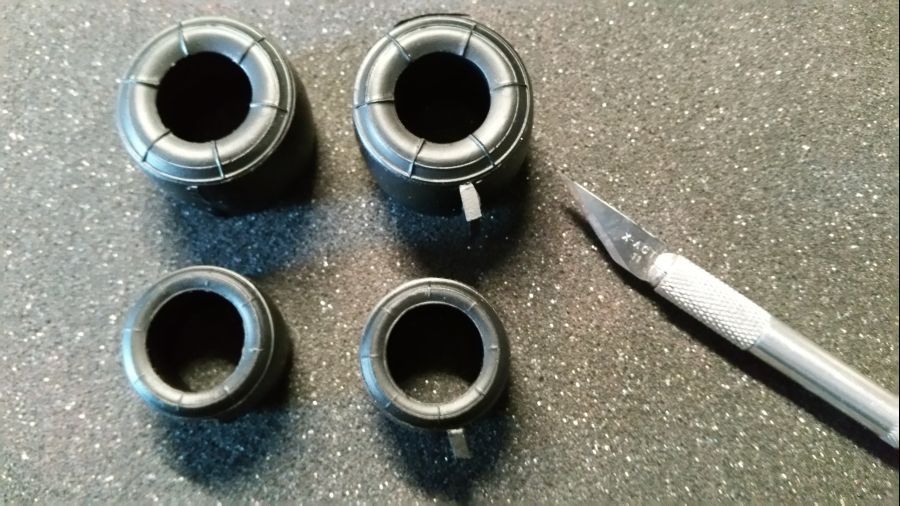
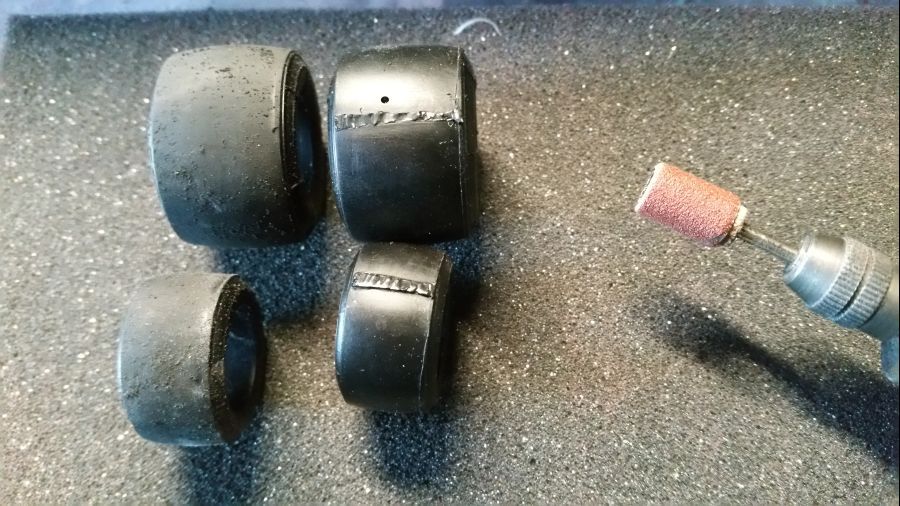
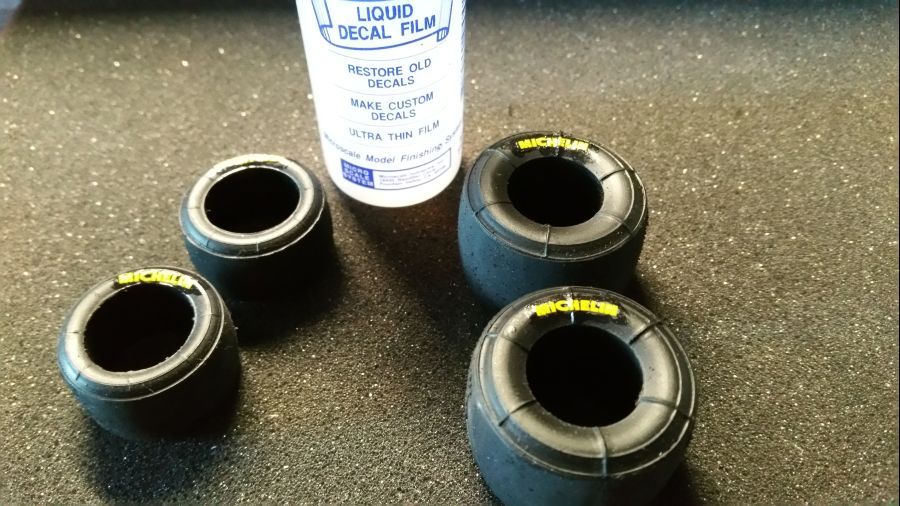
 Terwijl de heldere glanslak droogt, ga ik verder met de banden en velgen. Rommel eraf snijden, banden opruwen, decals aanbrengen. Helaas plakken deze slecht. Ik lijm ze daarom met een laagje Liquid Decal Film van Microscale.
While the gloss clear coat dries, i will continue with the tires and rims. Cut off the excess, roughen the tires, apply the decals. Unfortunately they stick not well. Therefore i will apply a coat of Liquid Decal Film from Microscale.


Intussen wat kleine onderdelen geplaatst.
In the meantime some small parts were attached.

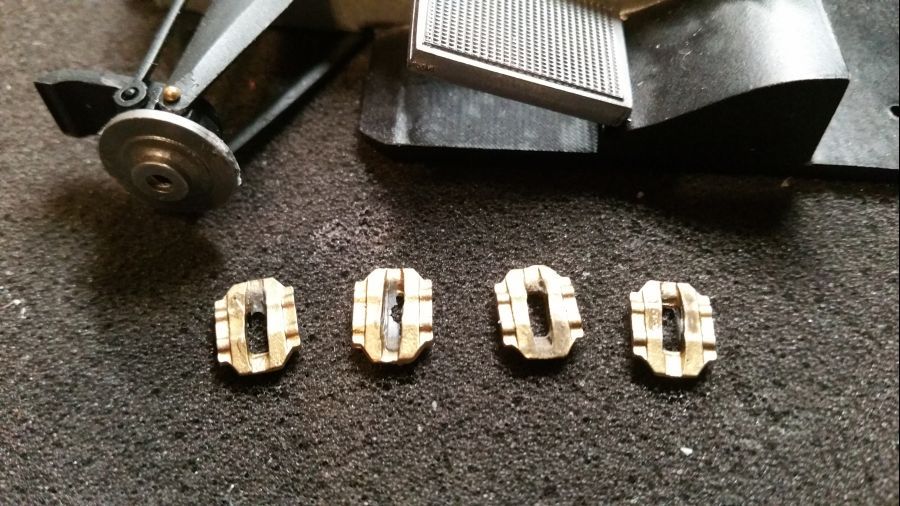
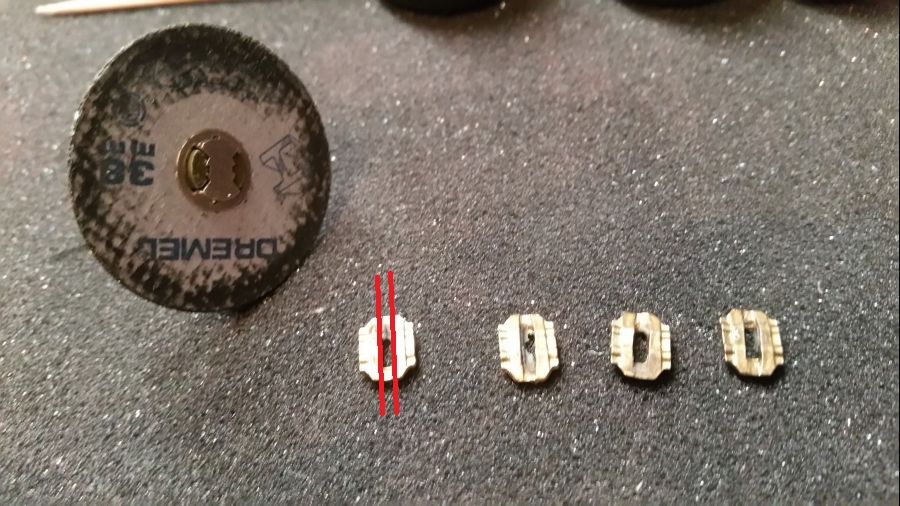
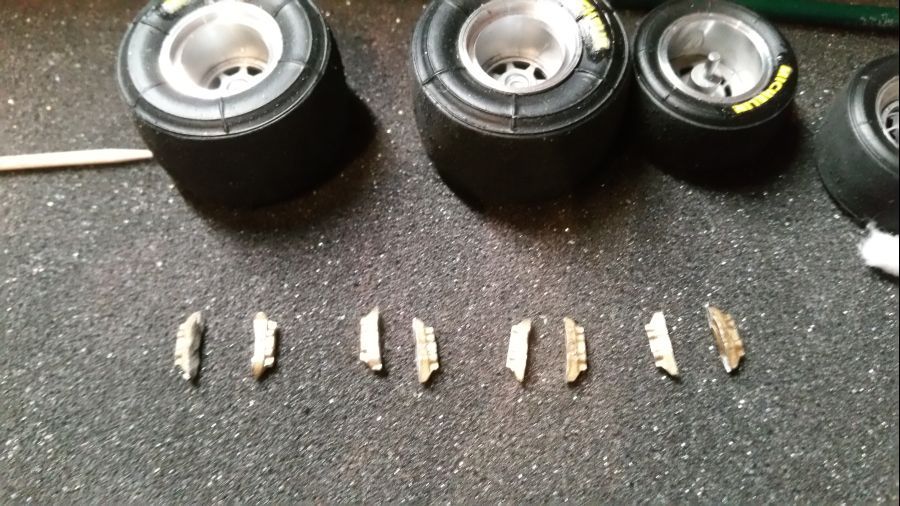
Probleem. De velgen passen niet wanneer de remklauwen zijn geplaatst. Gewoon geen ruimte. Improviseren dus. Ik ga de remklauwen opdelen en appart aan de remschijven bevestigen.
Problems. The rims do not fit when the brake callipers are attached. There's simply no space. So i need to improvise. I will split the calipers and attach them to the brake discs separately.


Het body work gaat erop.
The body work is attached.

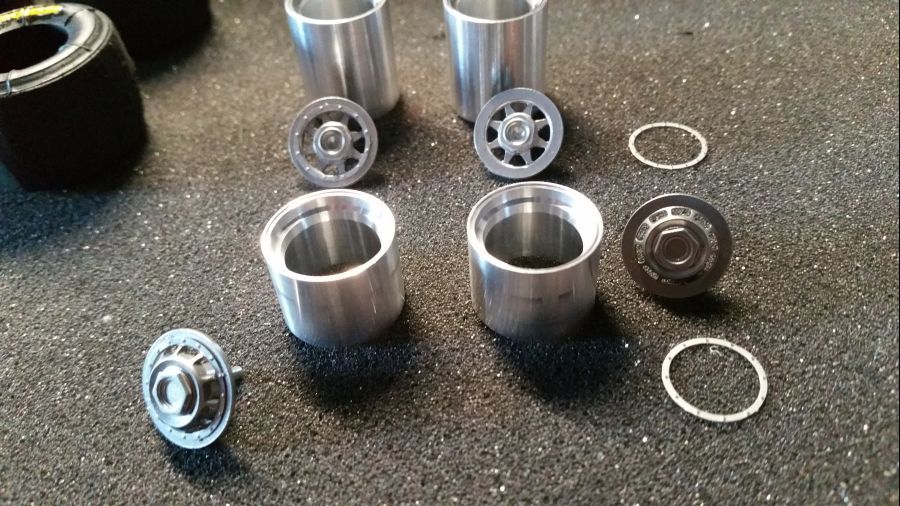
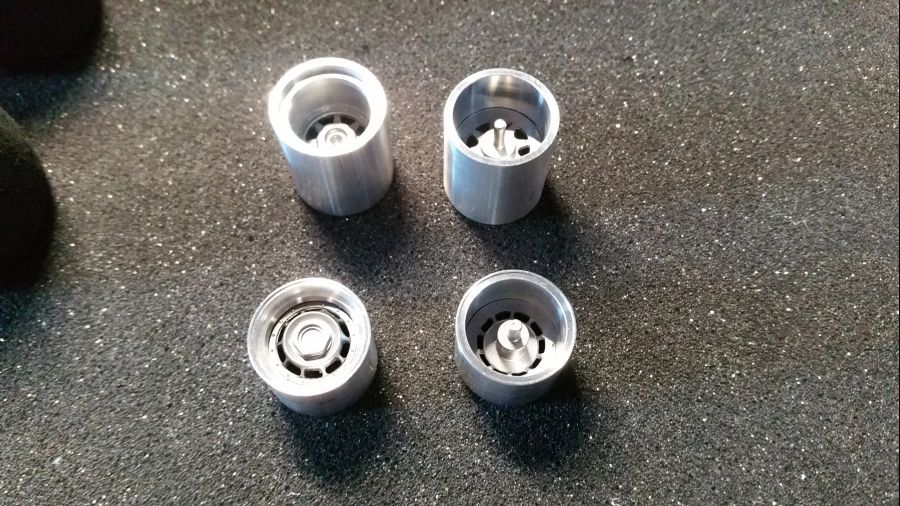
Dan de wielen.
Next are the wheels.

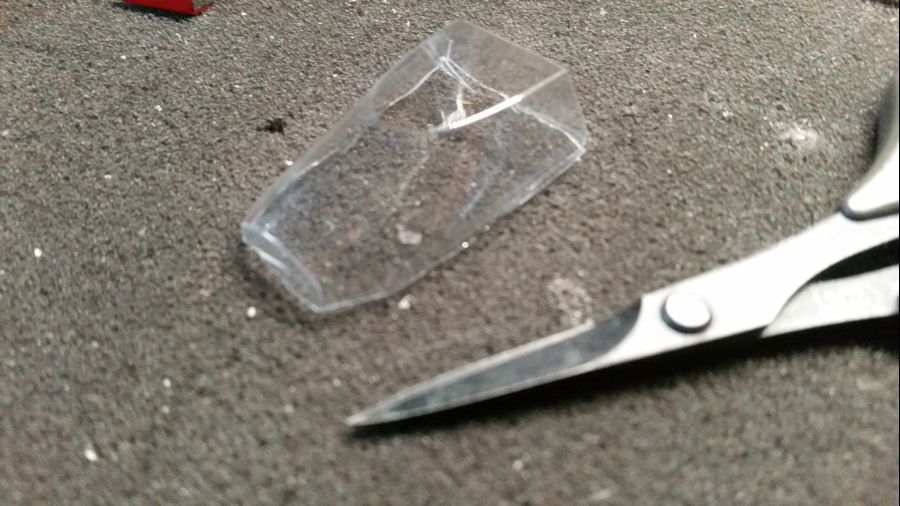
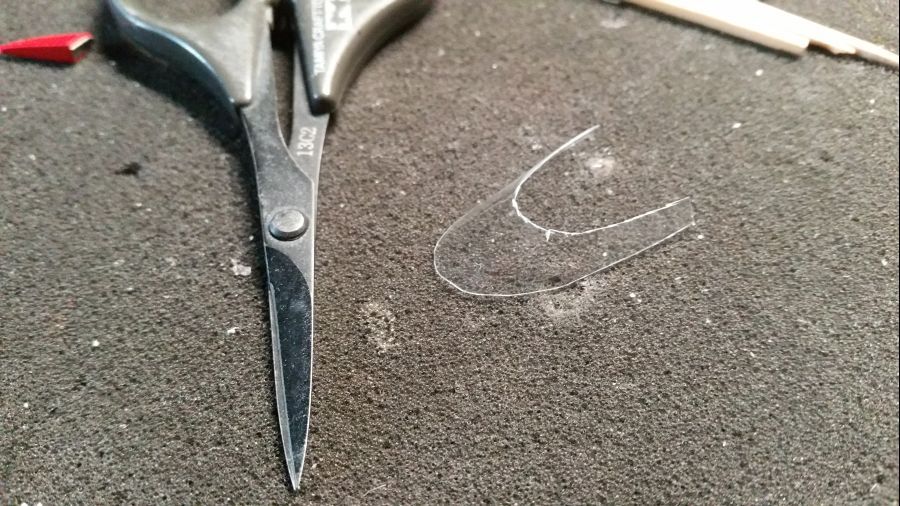
Dan moet het raampje worden geknipt. Altijd lastig. Daarna wat glad maken met een nagelvijl.
Then the window needs to be cut. Always tricky. Then smoothen it a bit with the use of an emery board.


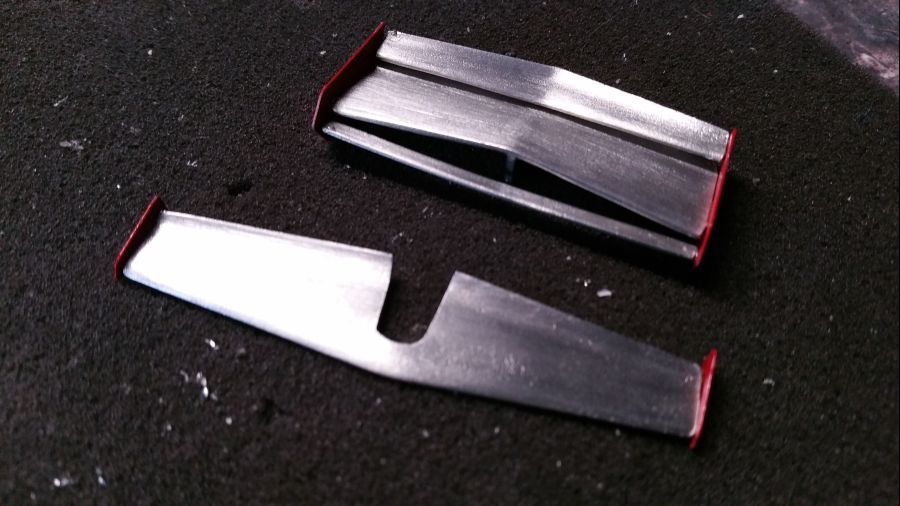
De voorvleugel en de skirts worden gemonteerd.
The front wing and the skirts are being mounted.
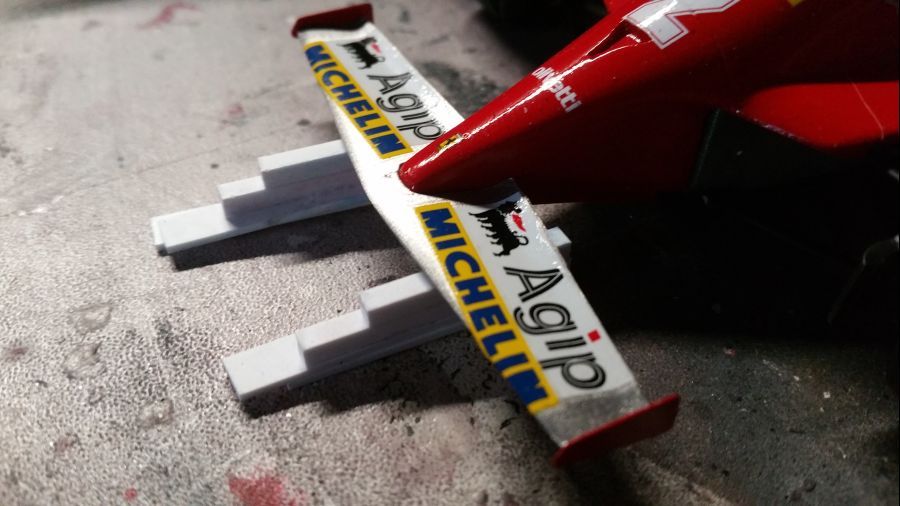


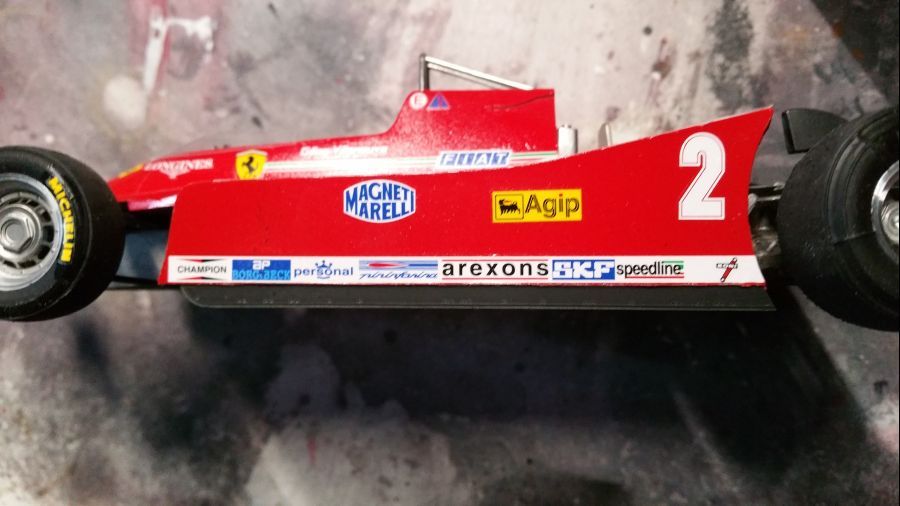
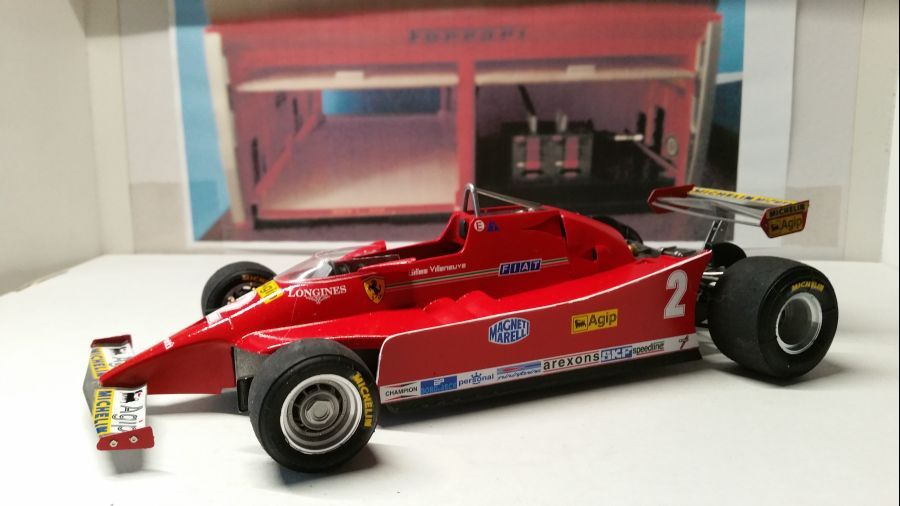
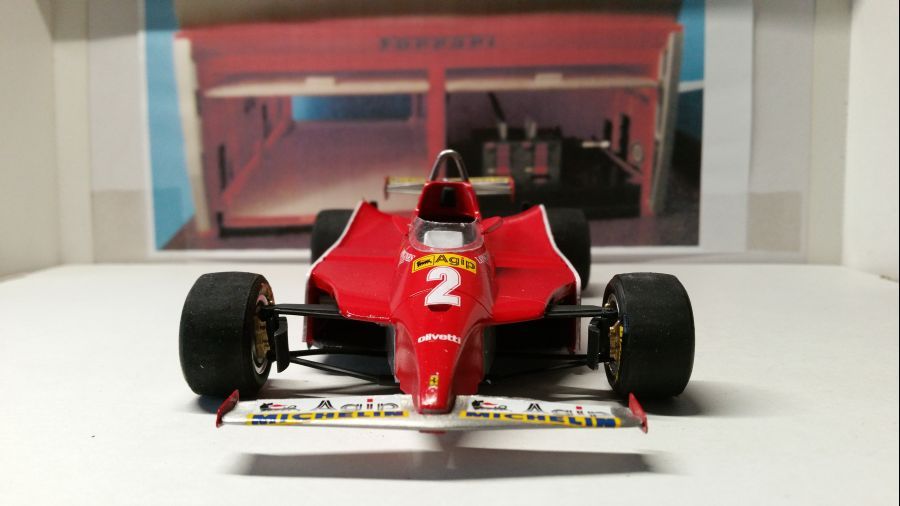
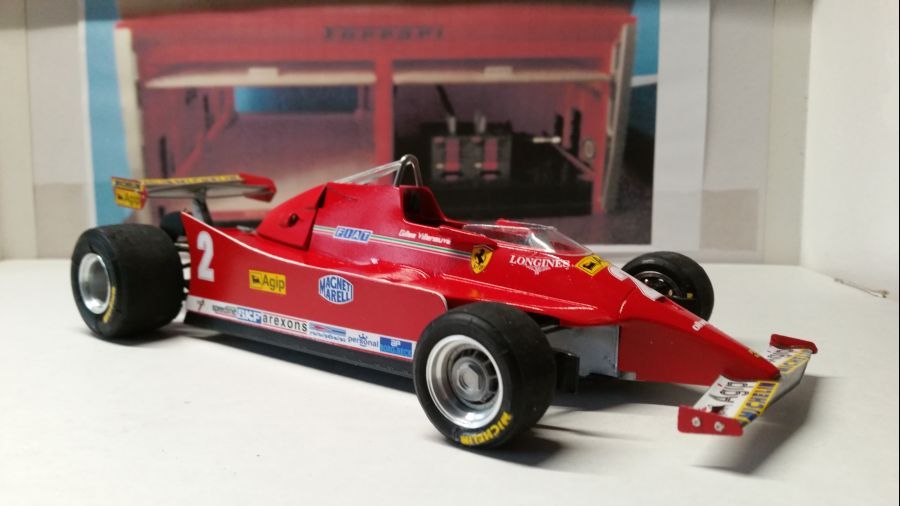
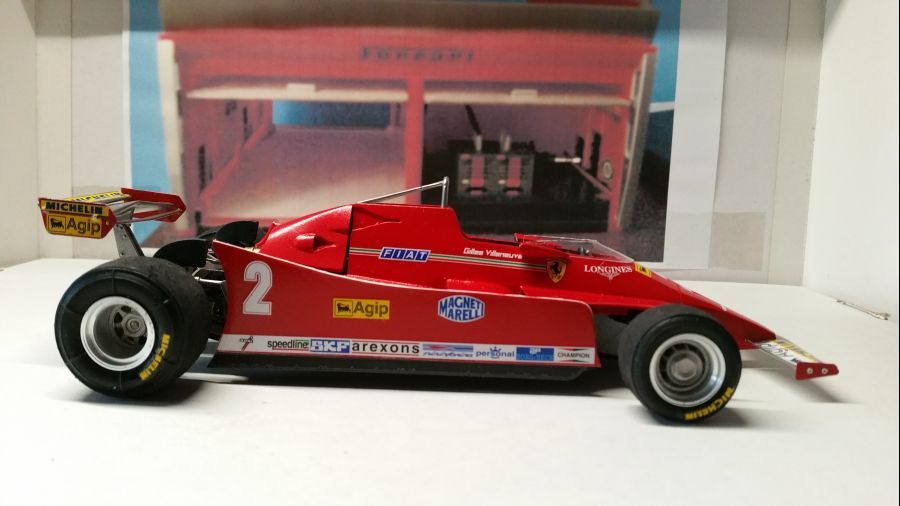
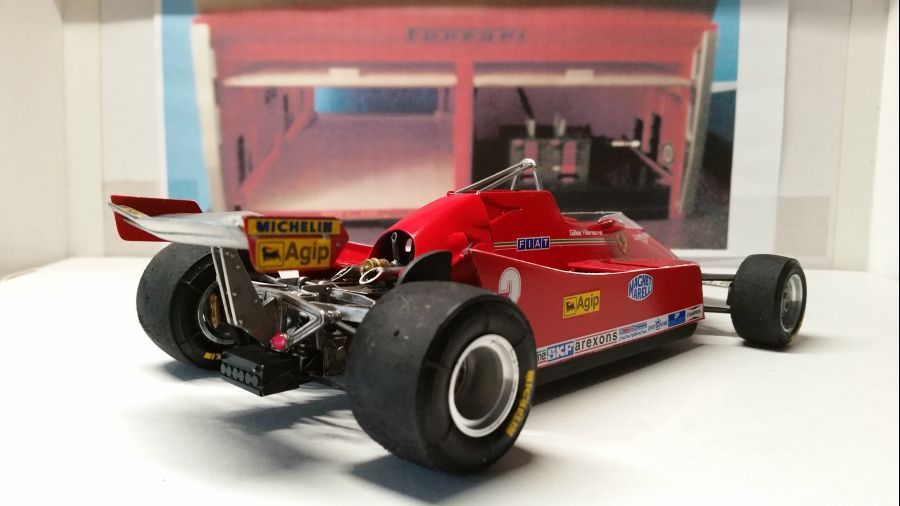
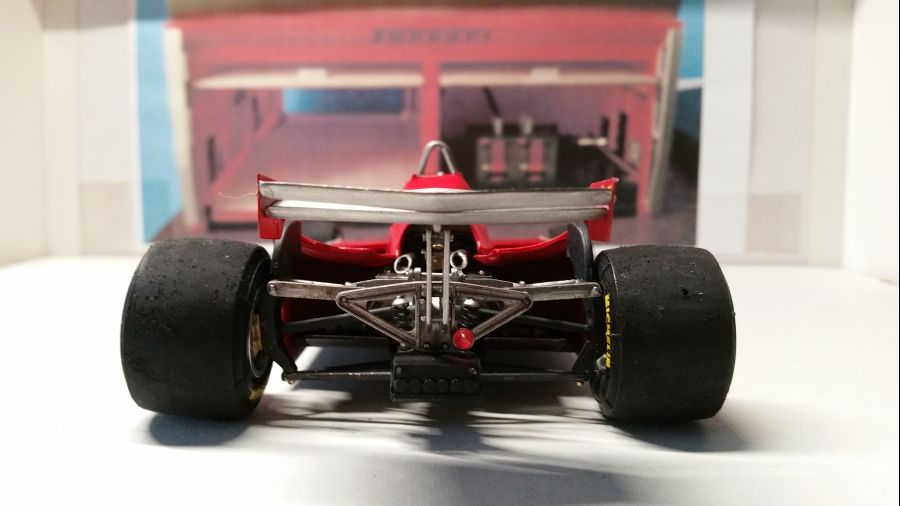
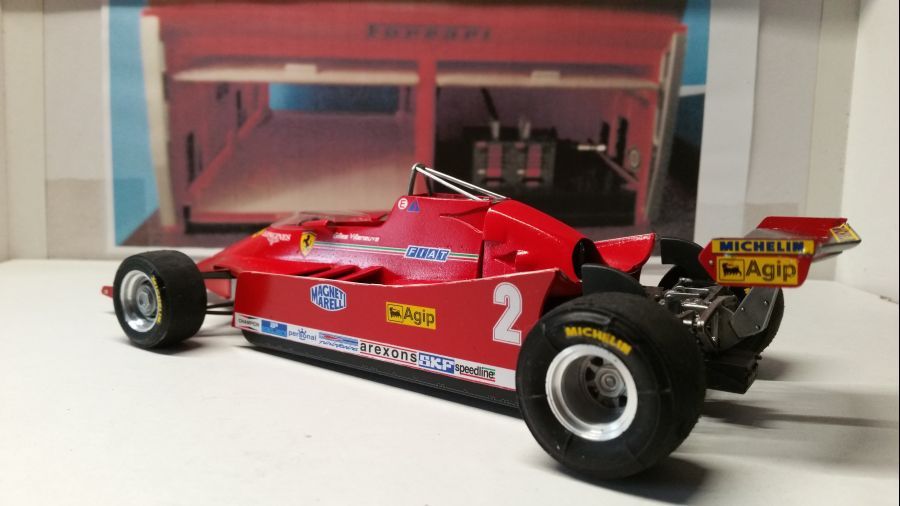
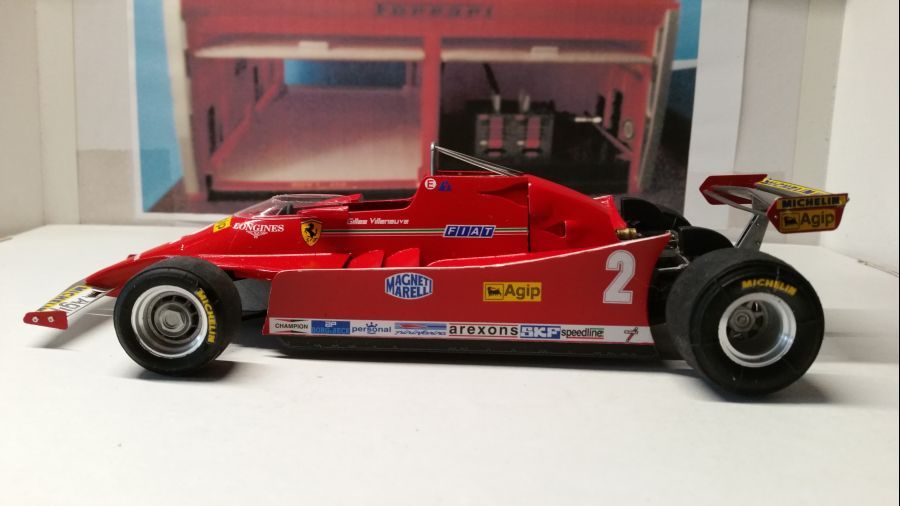
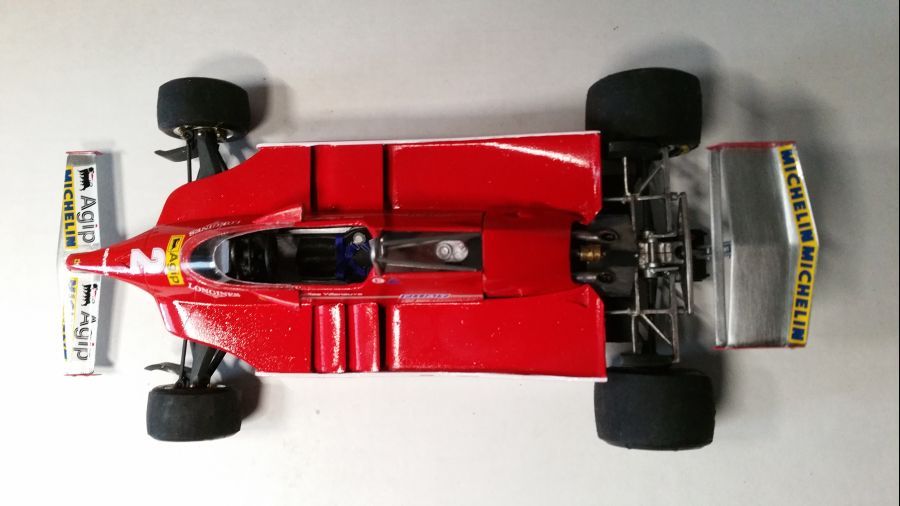
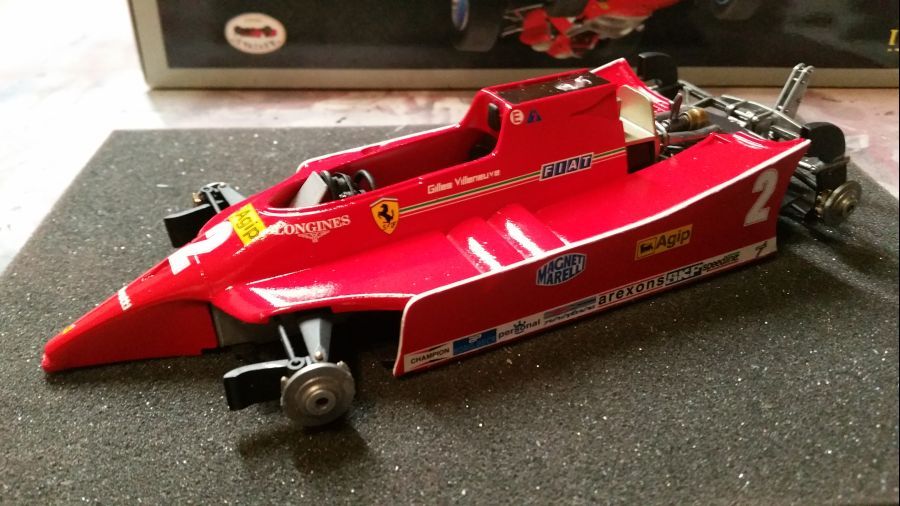
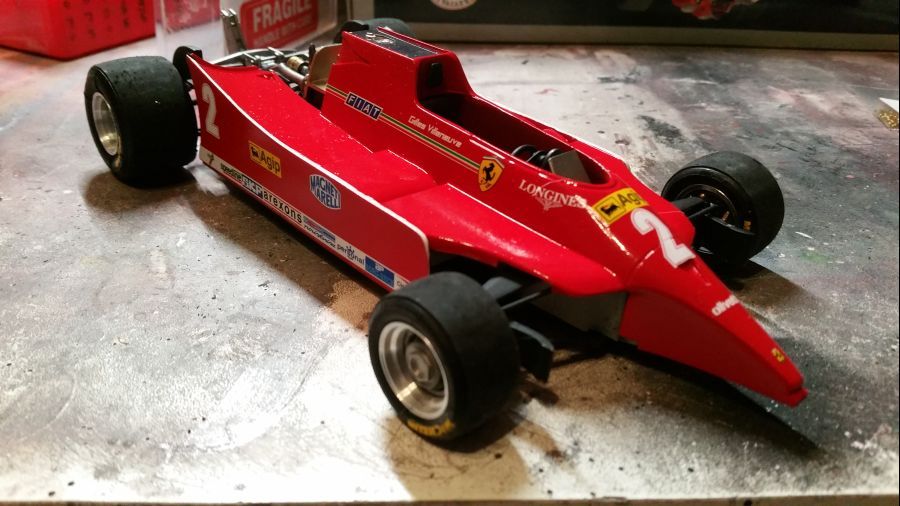
Nog een paar kleine details zoals spiegels en snelsluiters op de voorvleugel en weer 1 voor de kast.
Some more details like the mirrors and the fasteners on the front wing and we have another one for the cabinet.