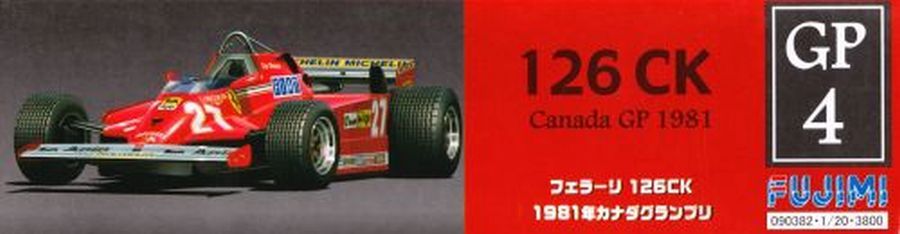
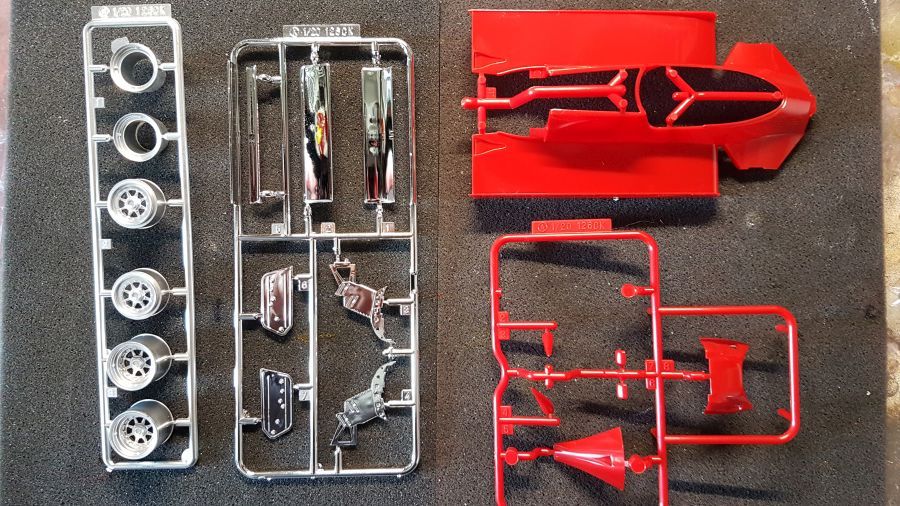
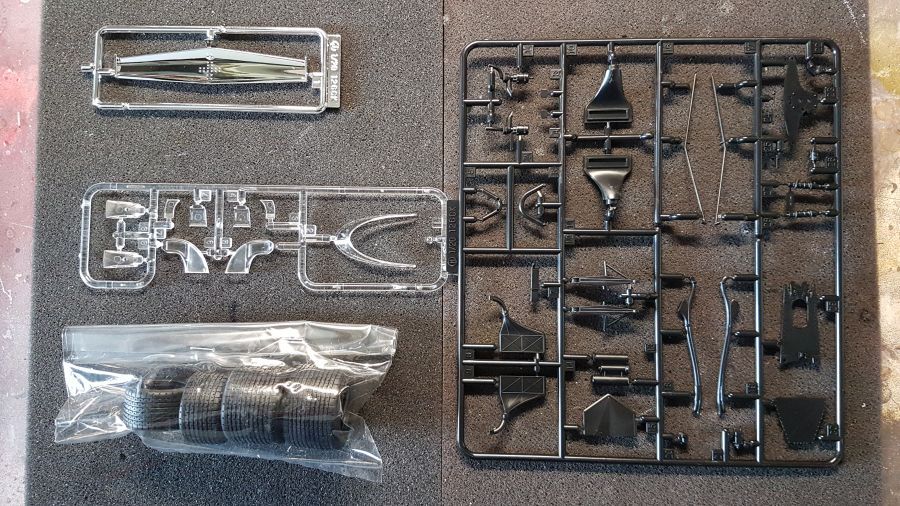
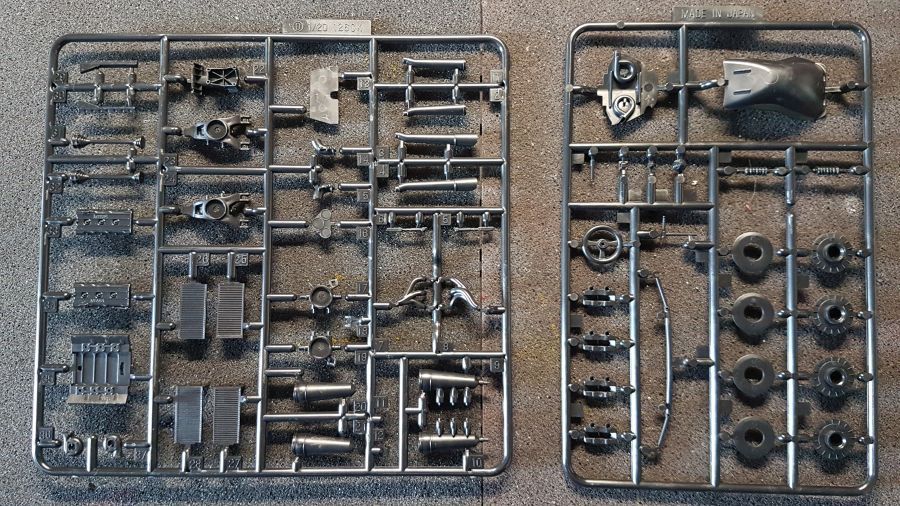
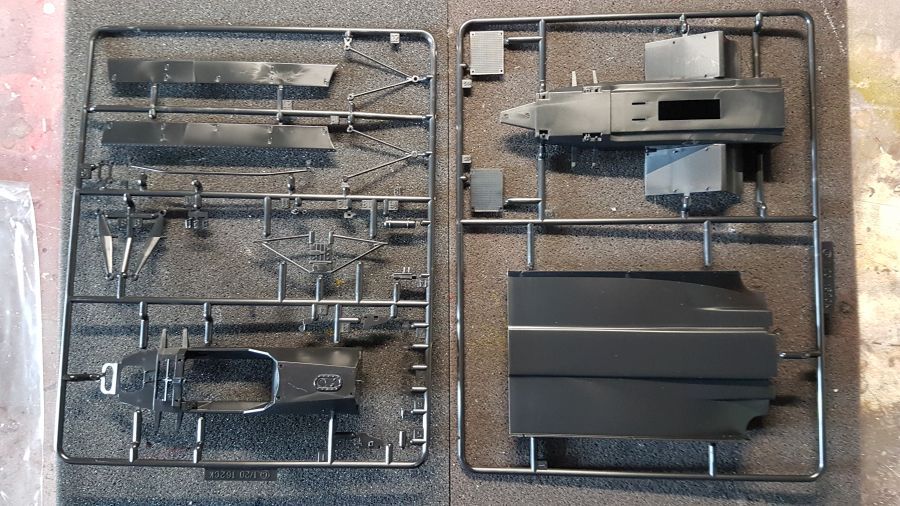
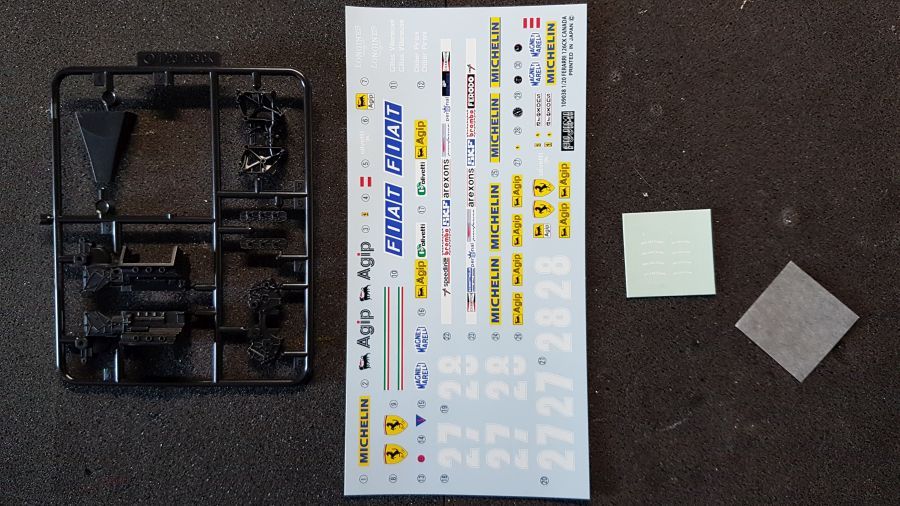
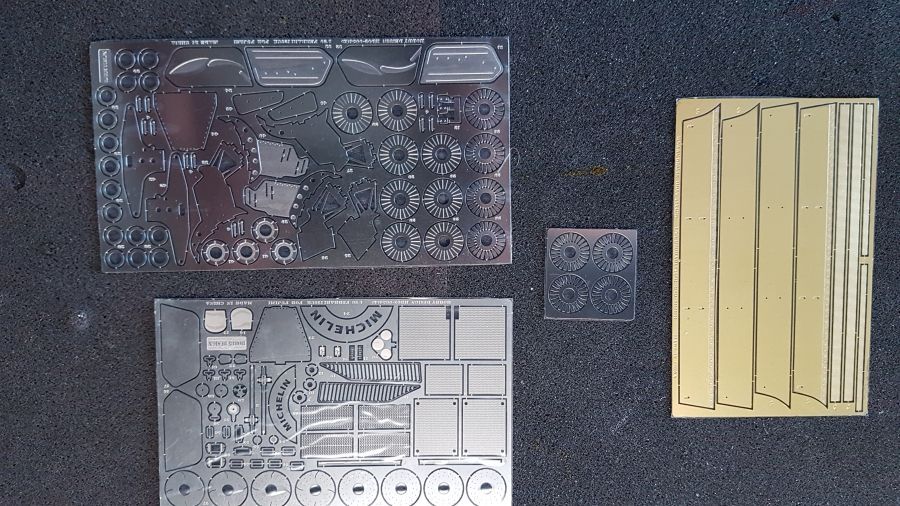
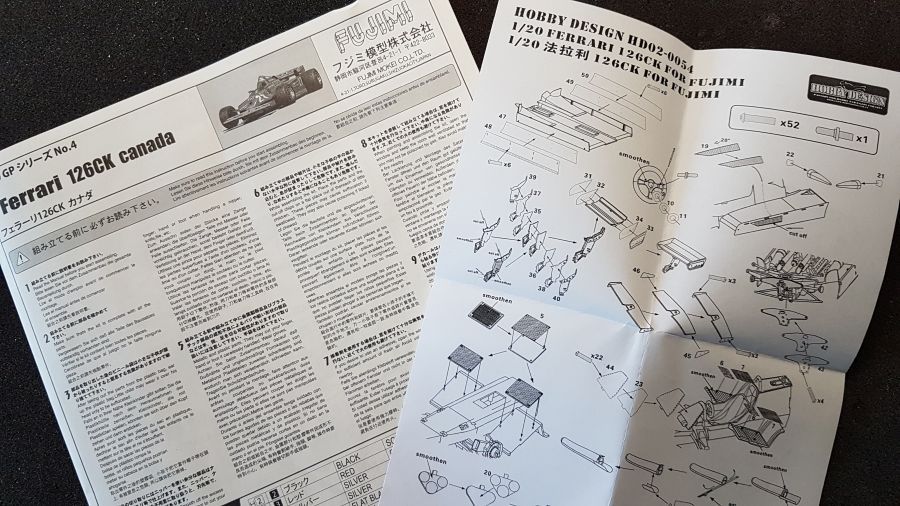
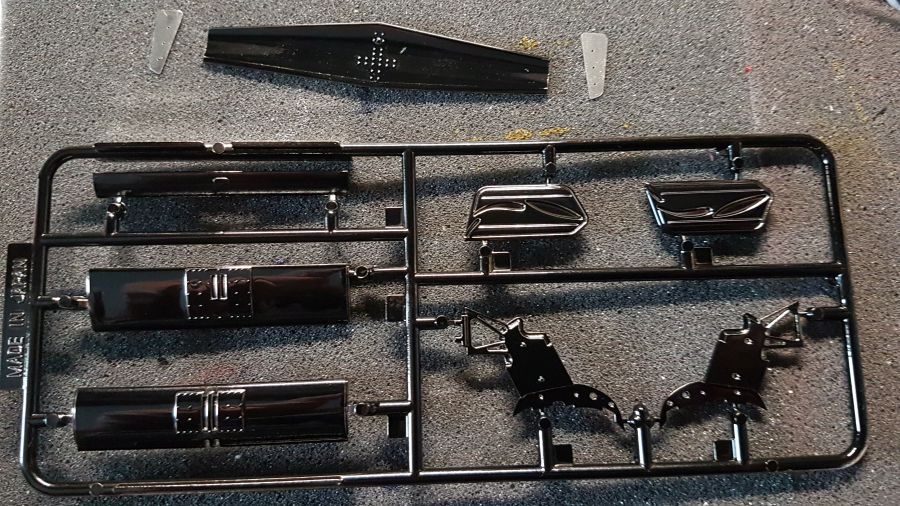
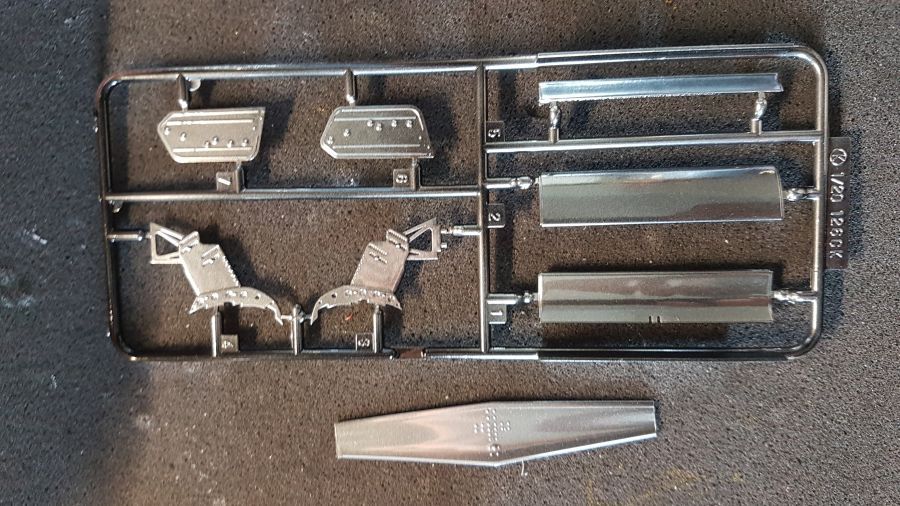
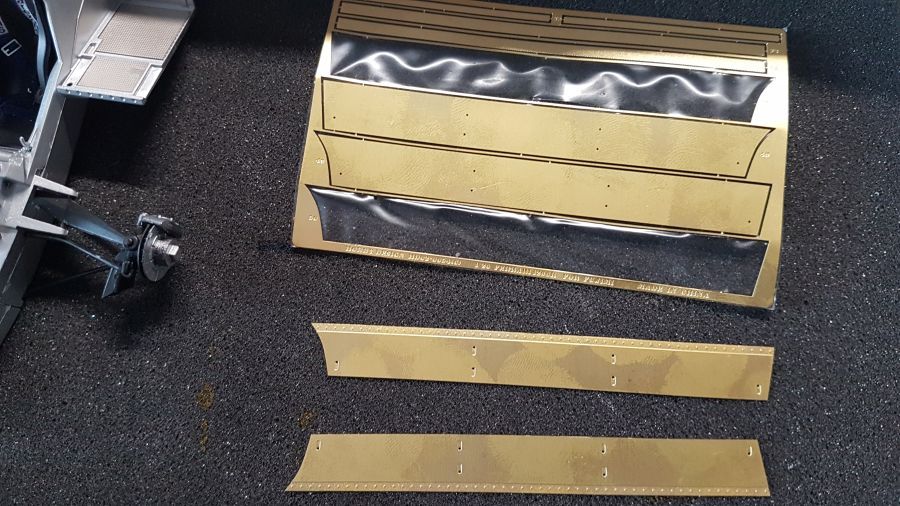
Het schaal 1/4 project gaat een stuk langzamer dan ik dacht. Ik moet nog vaak op materiaal wachten. Daarom start ik intussen vast dit project. Het gaat straks misschien wat langzamer (2 tegelijk) maar goed. Deze keer de Ferrari 126 CK Canadese versie zoals gereden door Didier Pironi in 1981. Het is een kit van Fujimi (kit nr. 090382) weer in mijn favoriete schaal 1/20. Als extra heb ik een etched set van Hobby Design (HD02-0054). De foto's van de inhoud maar weer?
The scale 1/4 project is going much slower than expected. I have to wait for parts often. That's why i am starting this project in the meantime. Maybe it will go slower later on (2 projects at a time) but so be it. This time the Ferrari 126 CK Canadian version as driven by Didier Pironi in 1981. It's a kit from Fujimi (kit no. 090382) in my favorite scale 1/20. As an extra i have the etched set from Hobby Design (HD02-0054). Now the photo's from the content?
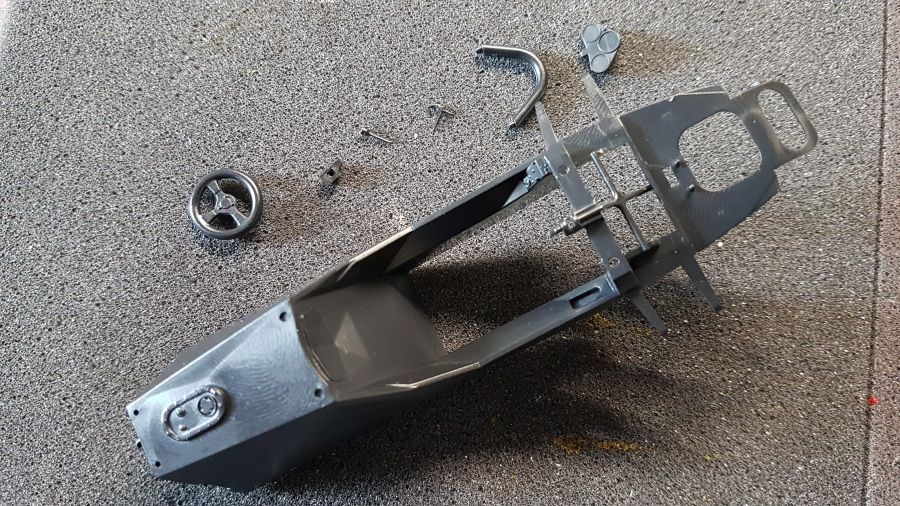
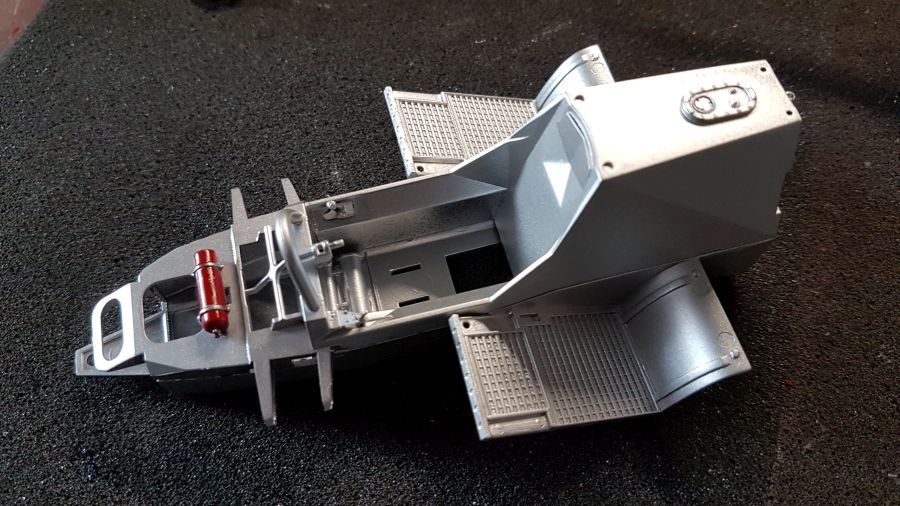
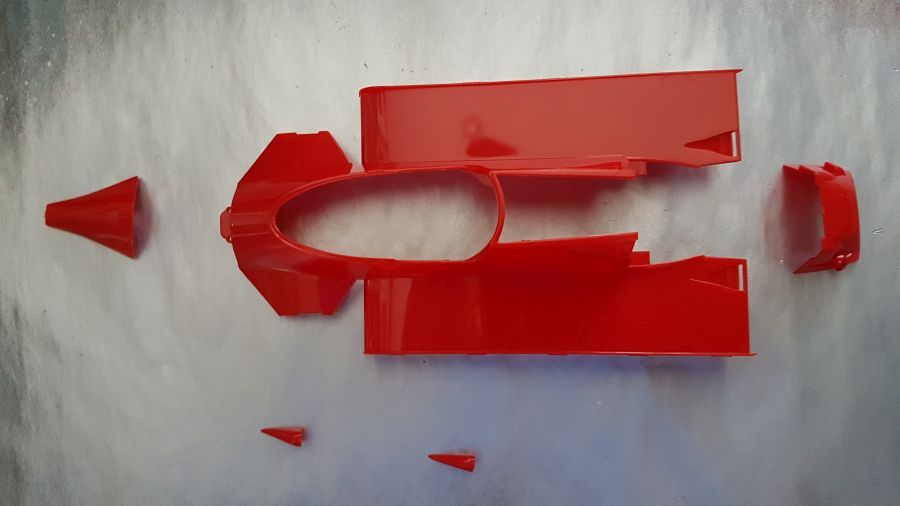
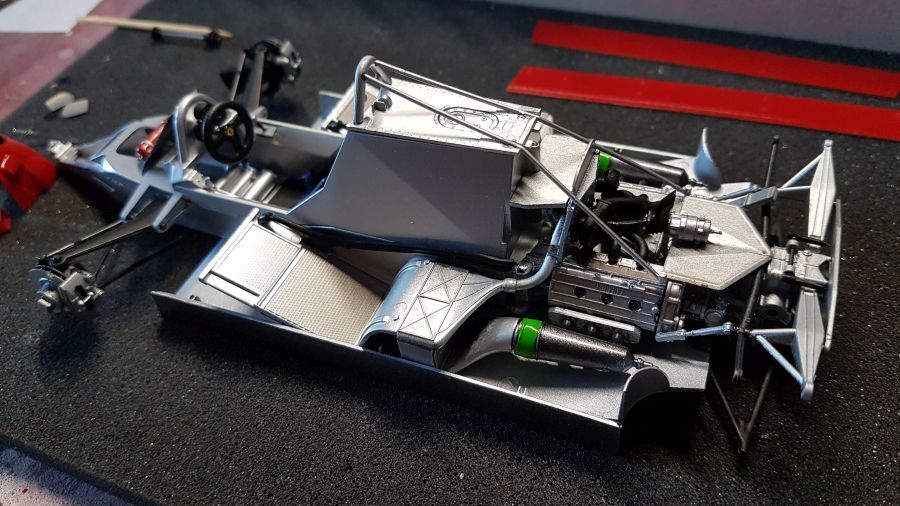
De eerste stappen van het werk aan de kuip.
The first steps of working on the tub.
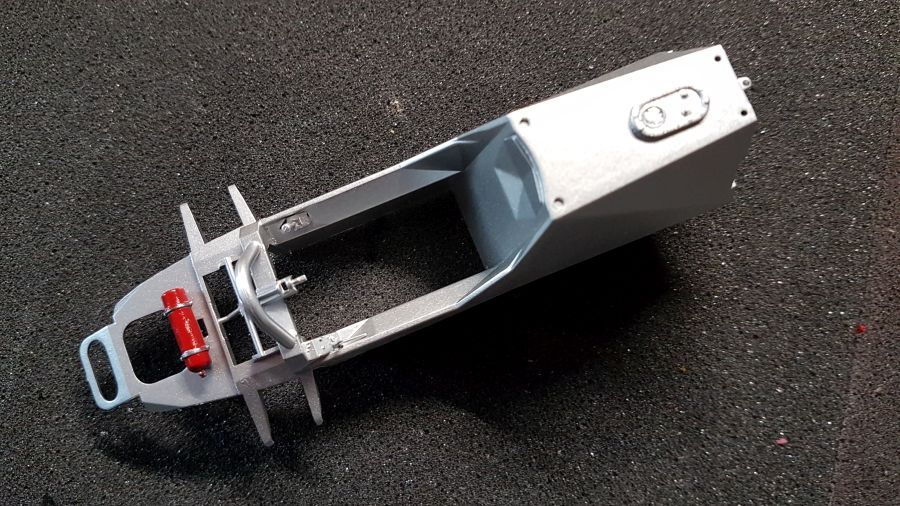
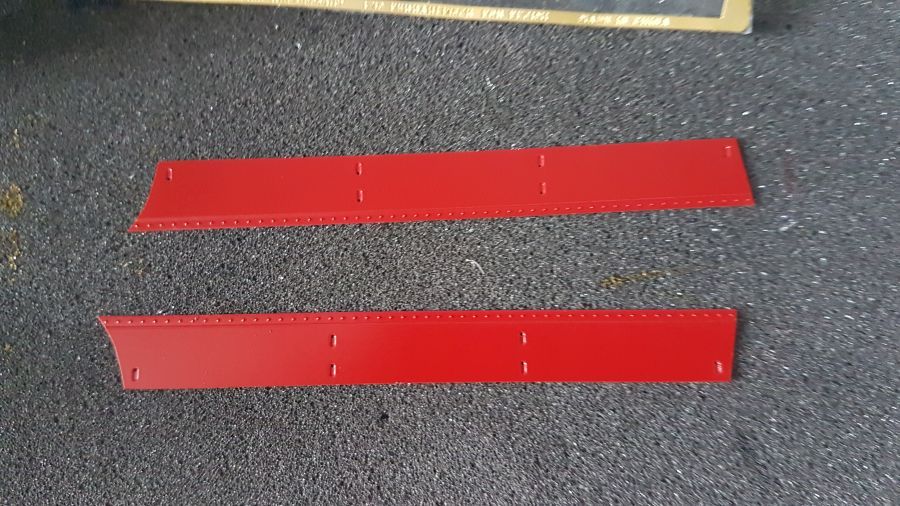
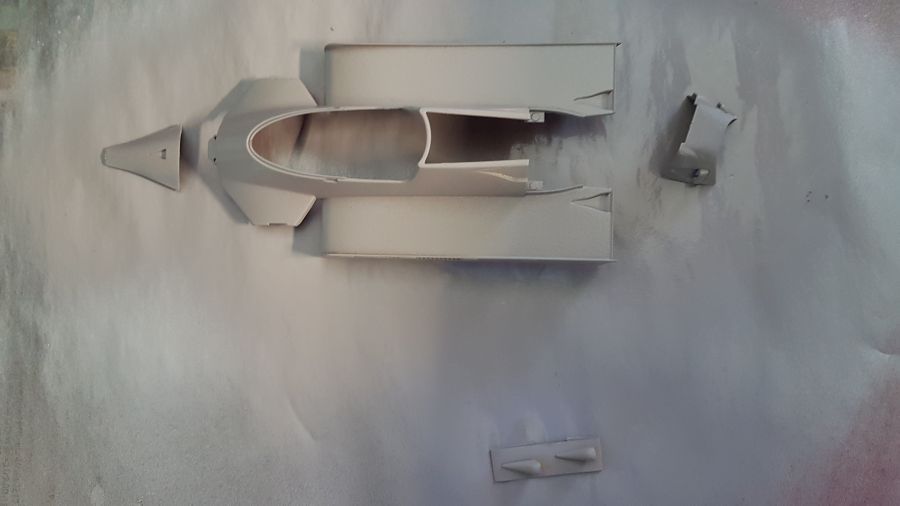
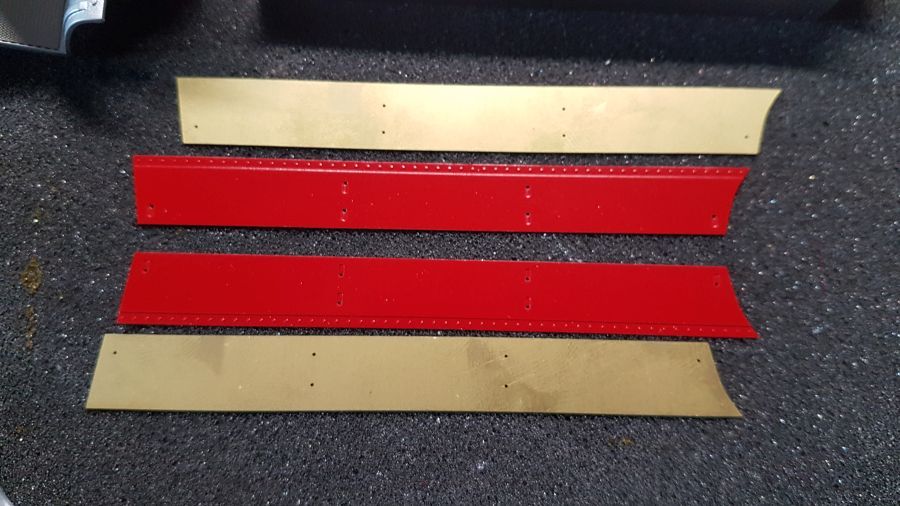
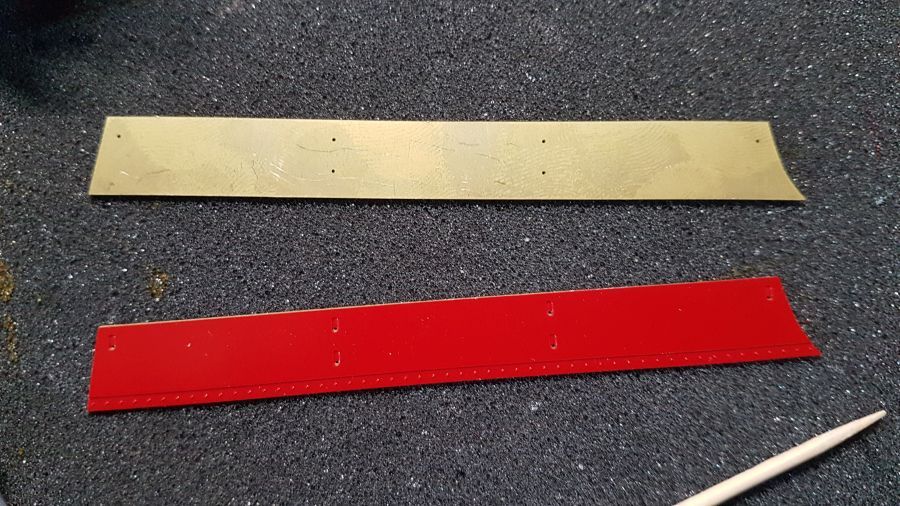
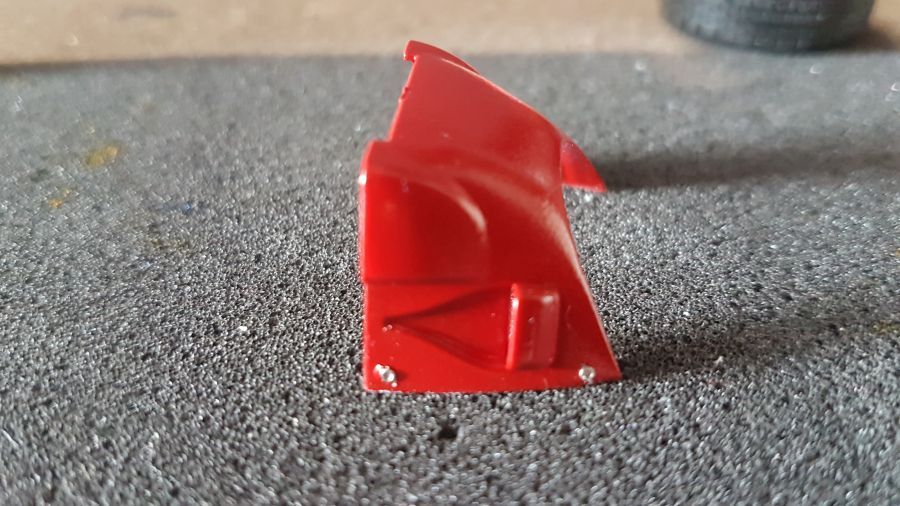
De tekening geeft aan dat het zwarte stuk rood moet worden geverfd, alle foto's van de GP van Canada laten zien dat het zilver van kleur is.
The drawings show the black piece should be painted red, all pictures of the GP from Canada show it's silver.
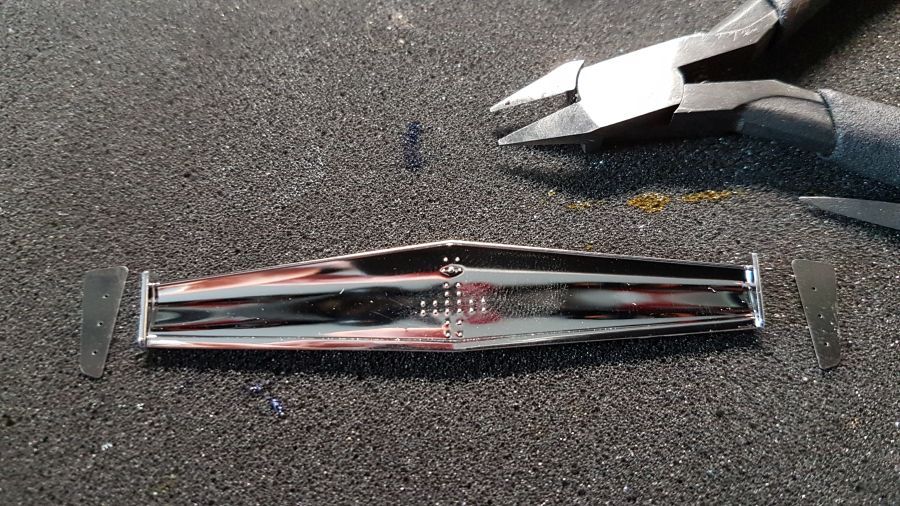
Dan de vleugel. Het standaard chrome staat me niet aan. Dus voorbereiden met glanzend zwart en daarna Alclad II Chrome erop. De zijkanten van de voorvleugel worden ook vervangen.
Next is the wing. The standard chrome is not satisfying to me. So i prepare it with gloss black and then spray Alclad II Chrome. The end plates of the font wing will be changed too.
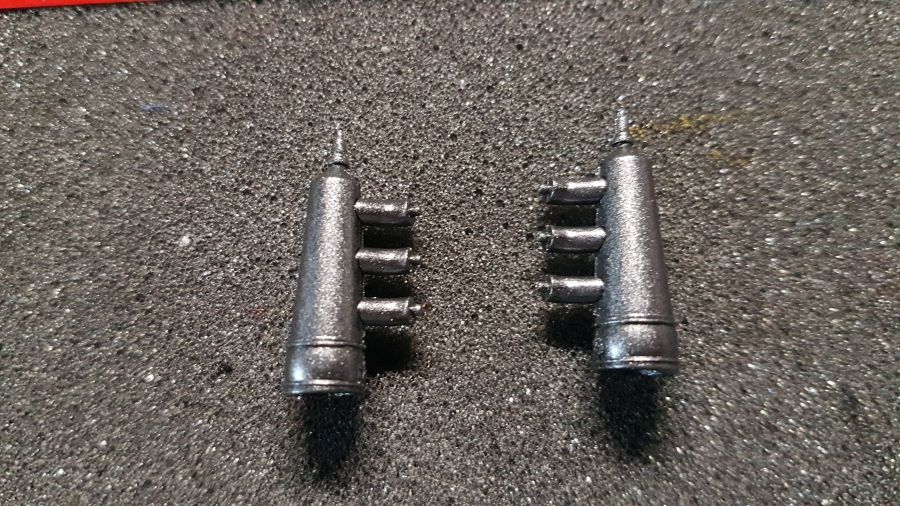
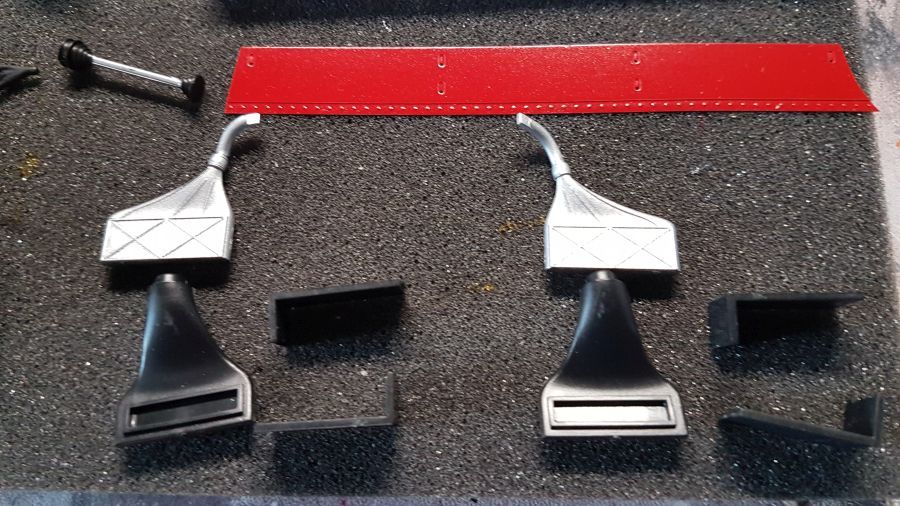
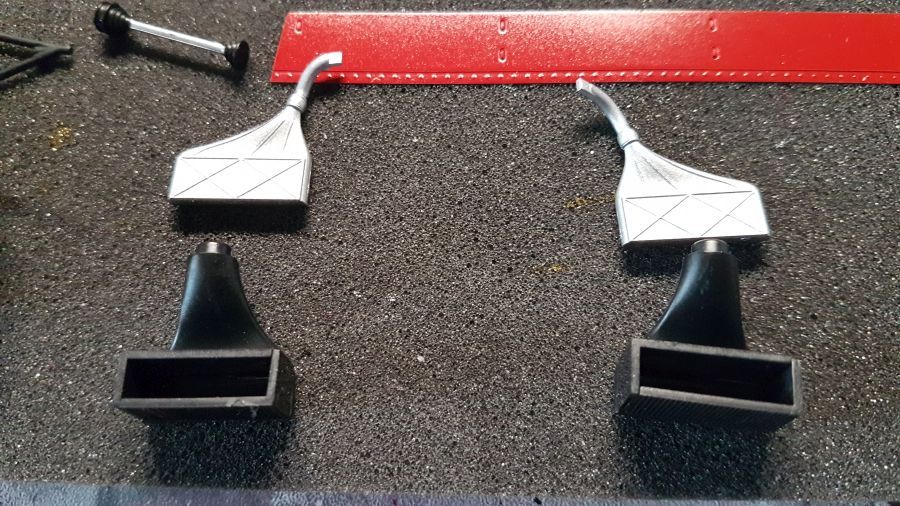
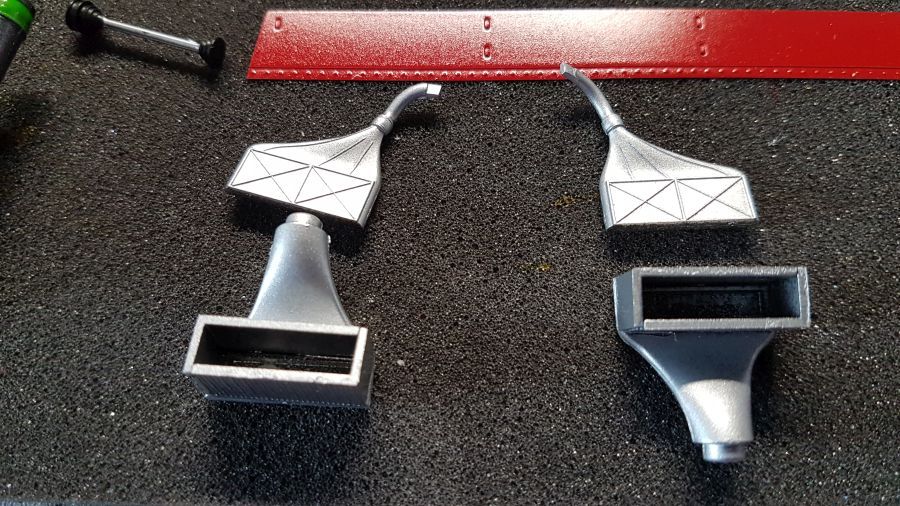
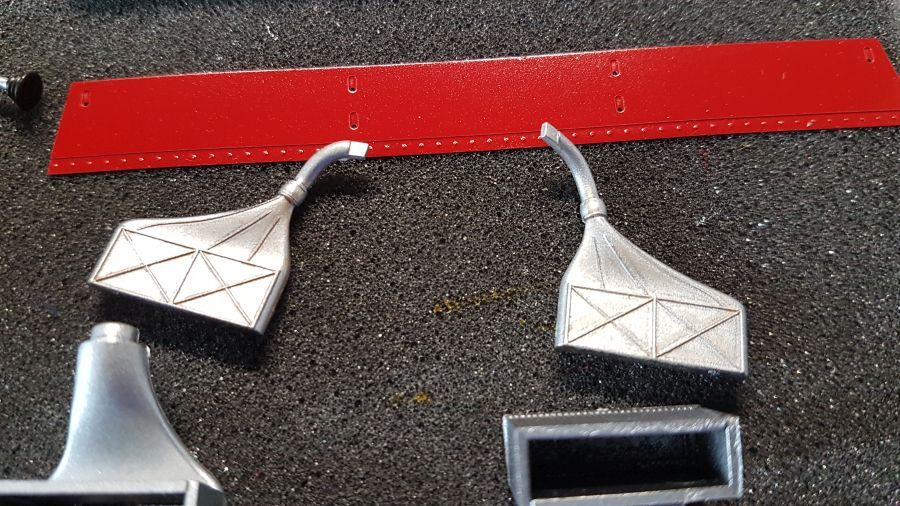
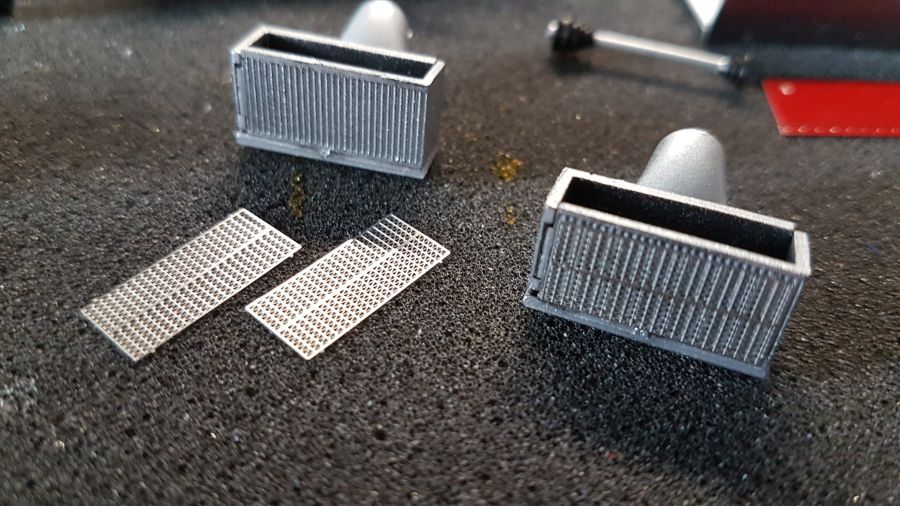
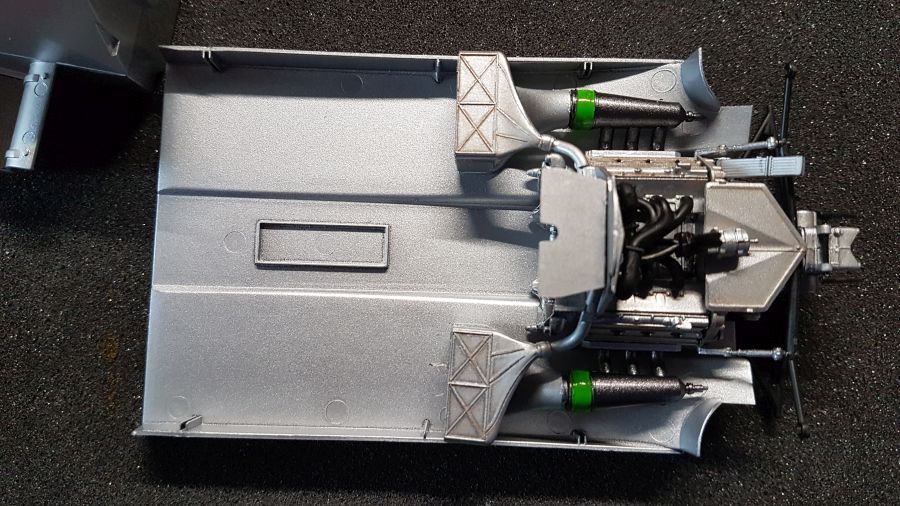
Door met wat werk aan de koeling....
To continue with some work to the coolers...

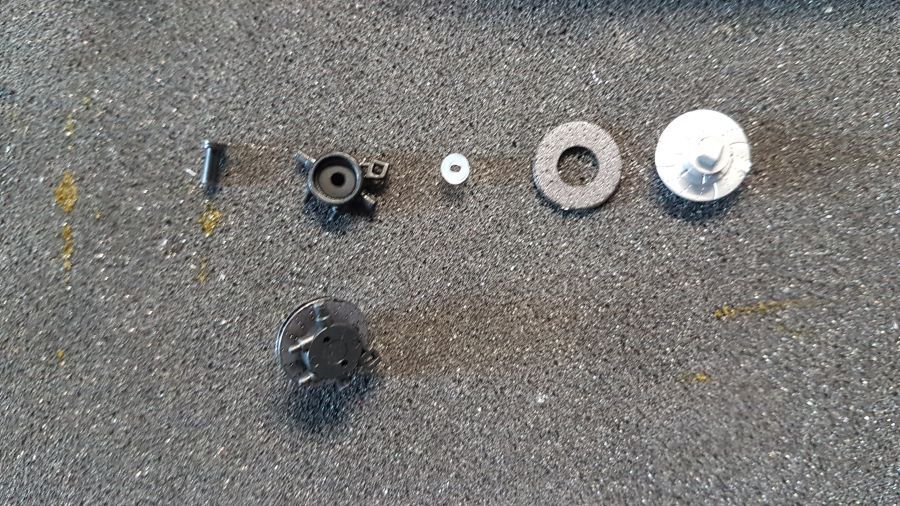
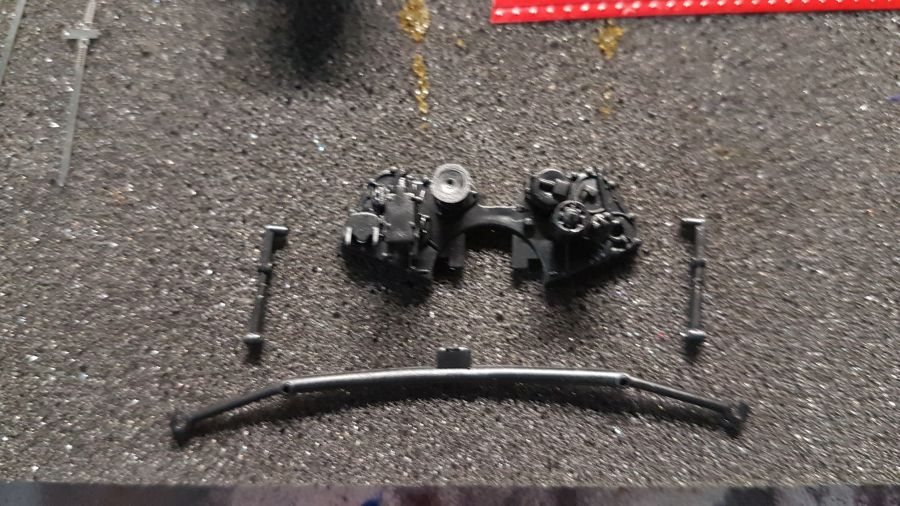
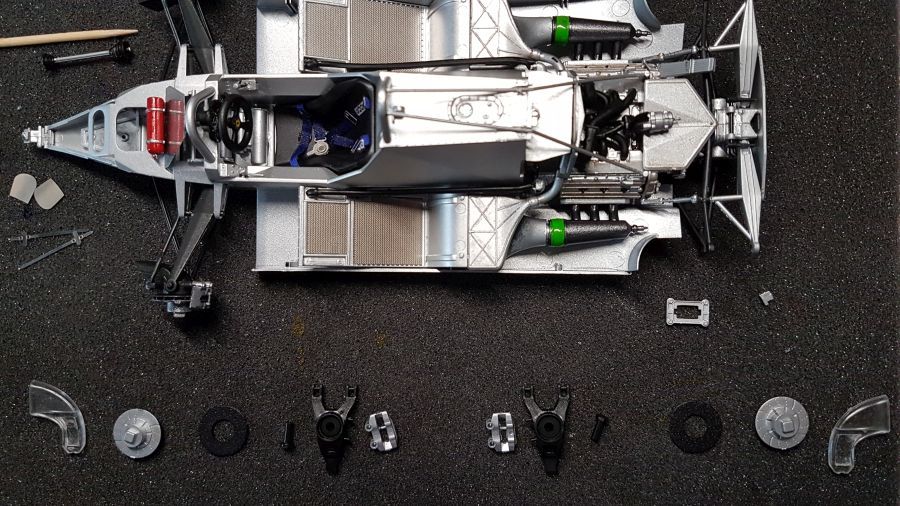
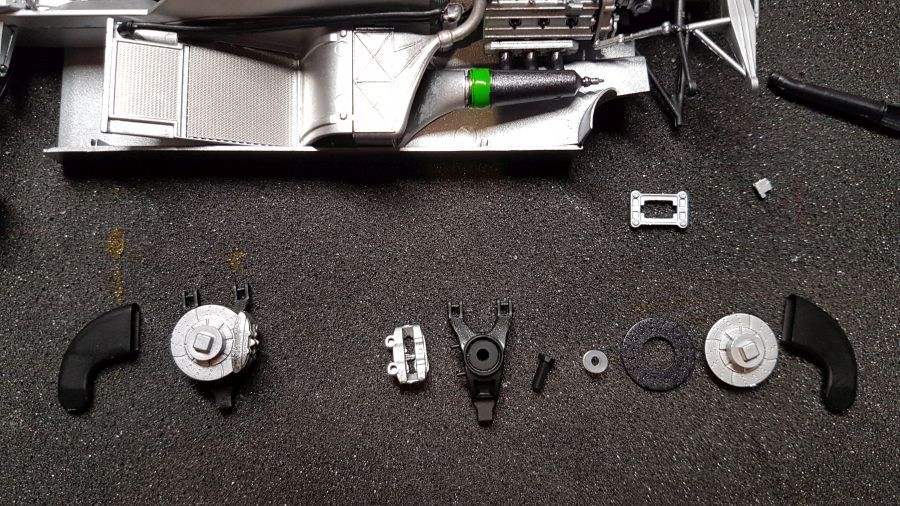
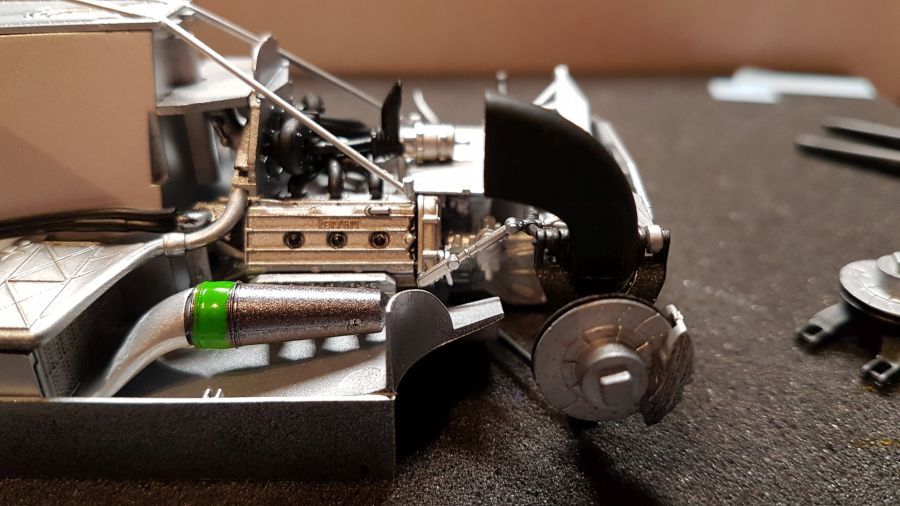
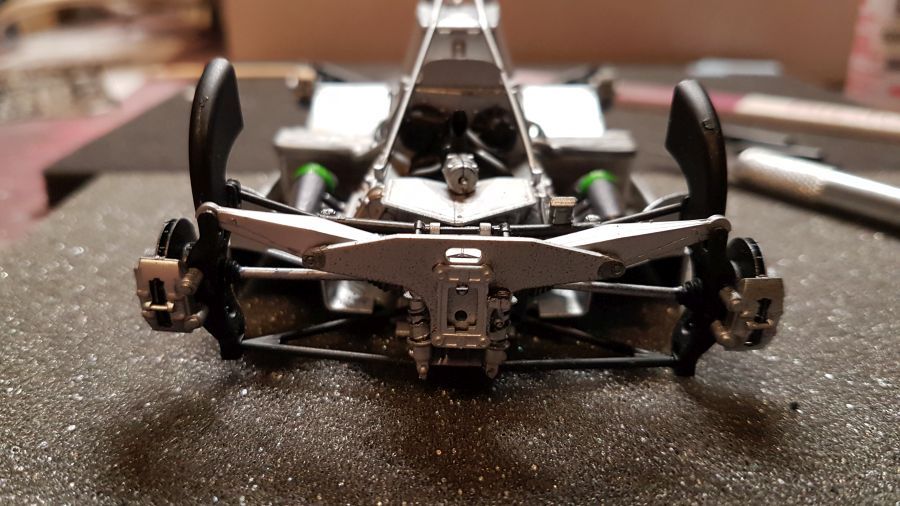
Dan de remmen...
Then the brakes...
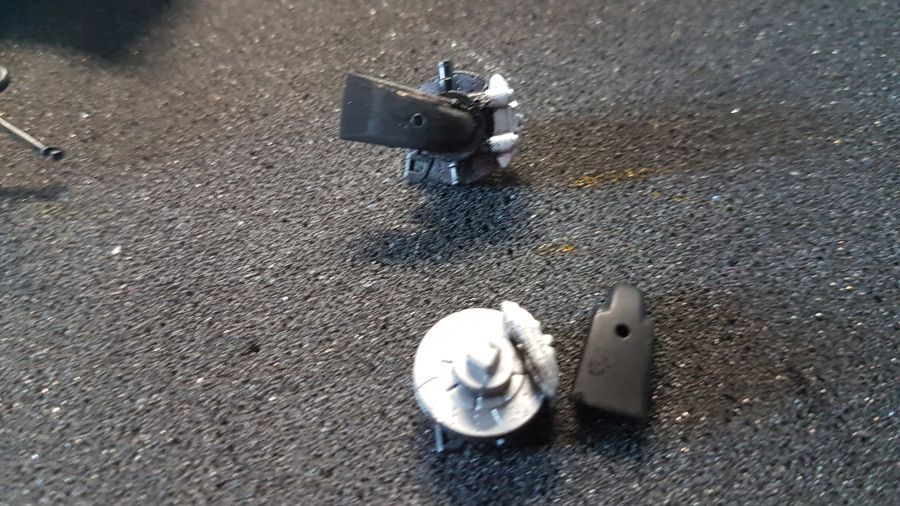
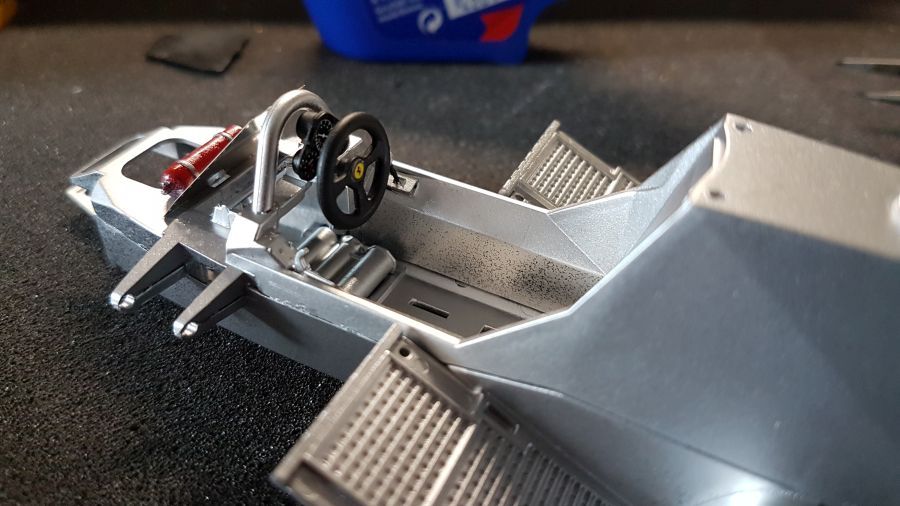
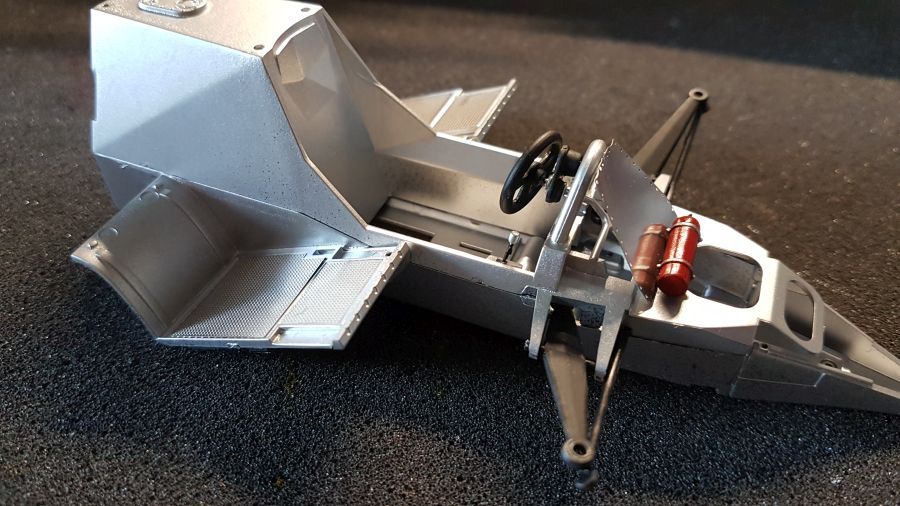
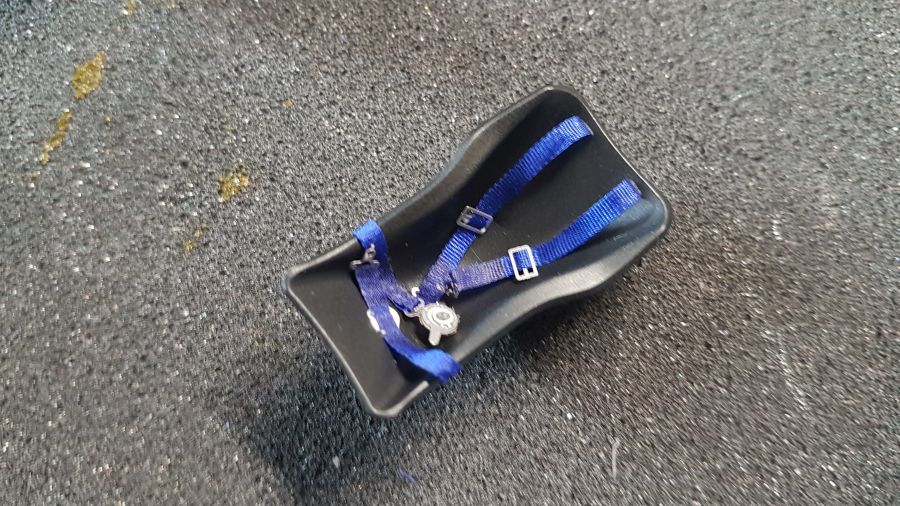
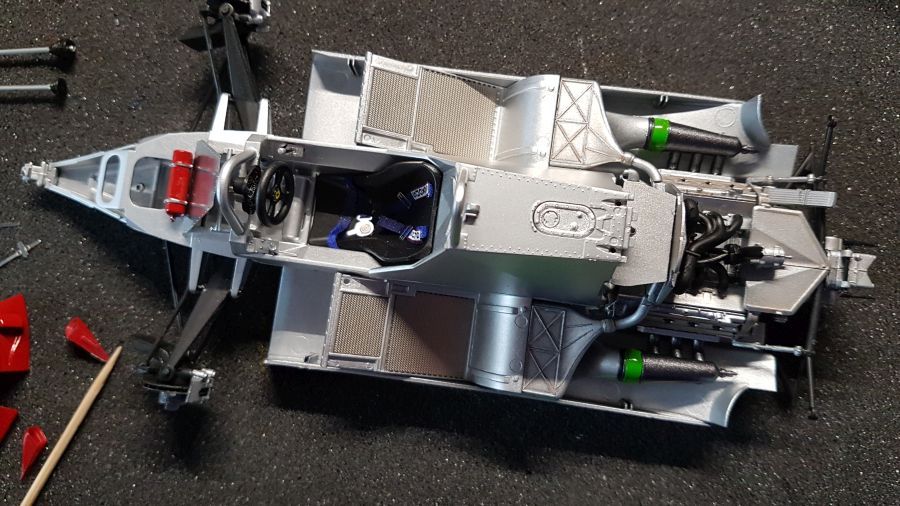
Nu eerst de stoel...
Now first the seat...
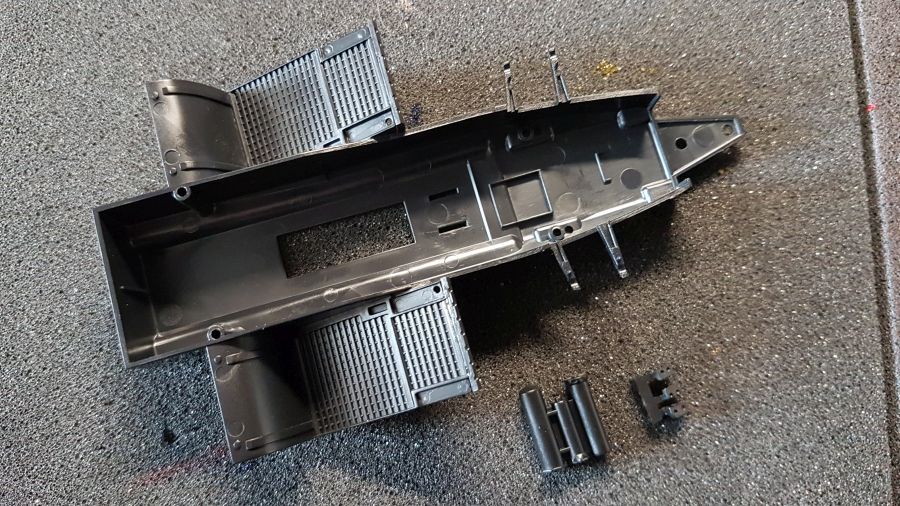
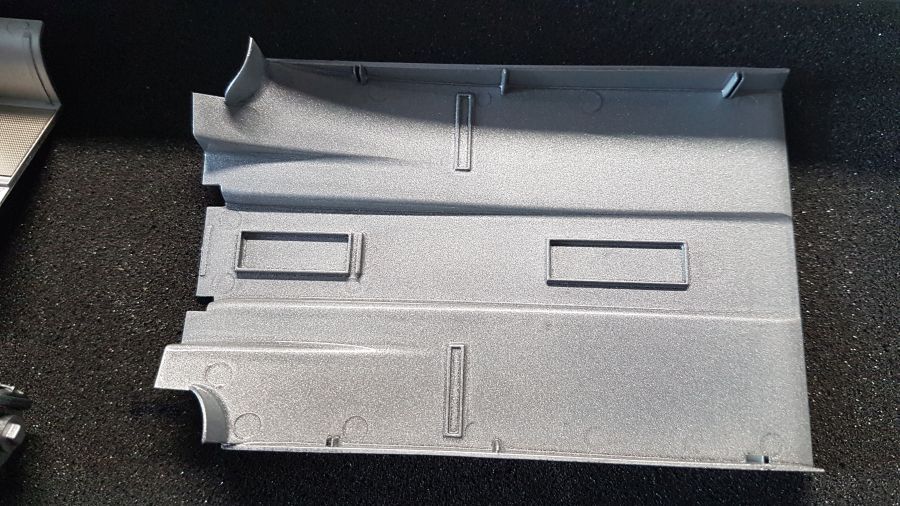
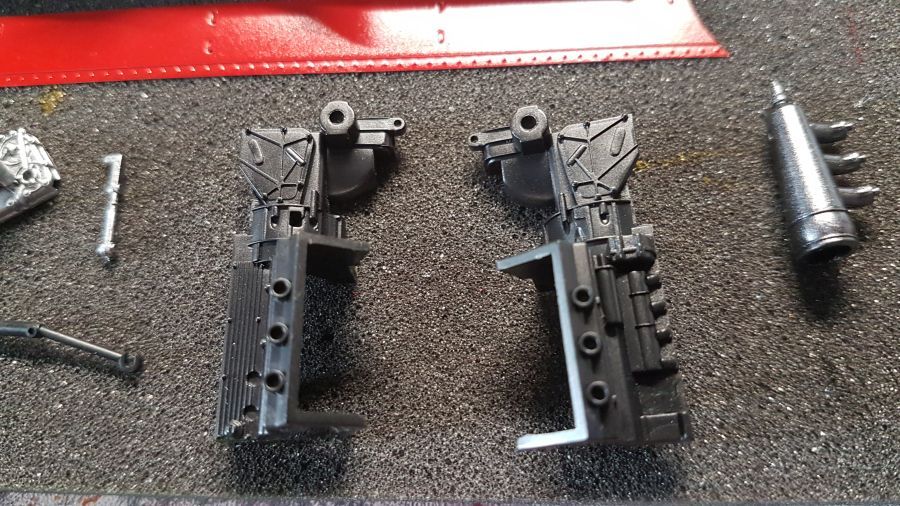
Nu de vloer voorbereiden...
Now preparing the floor...
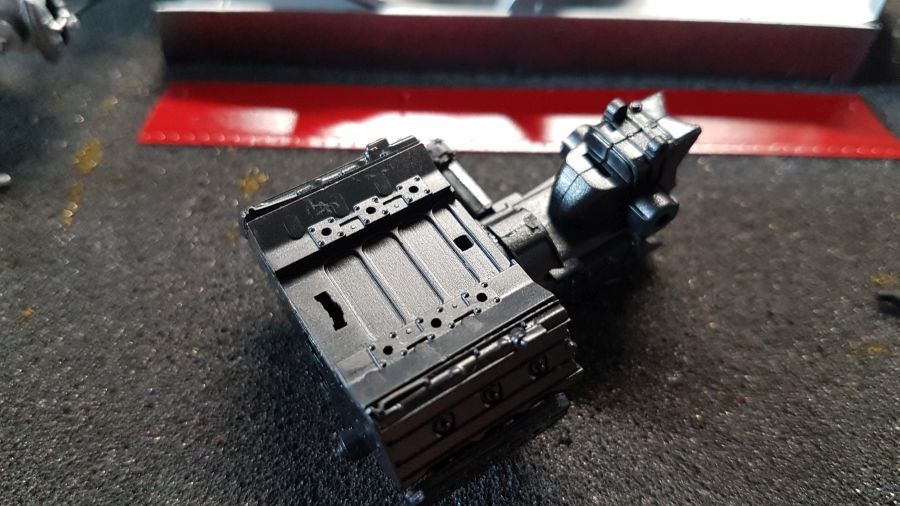
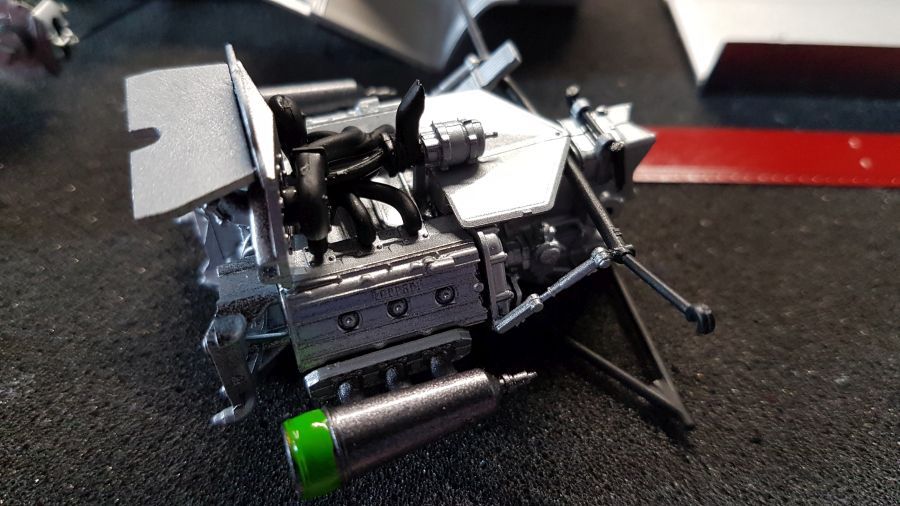
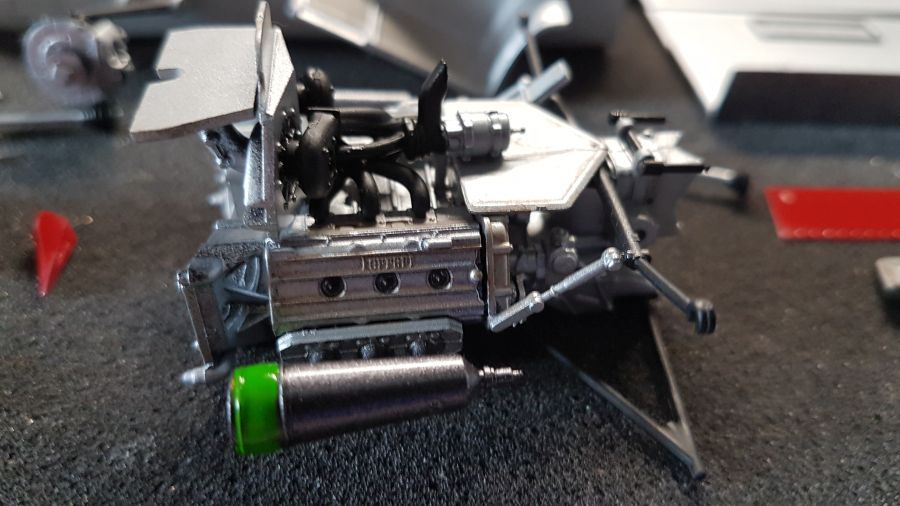
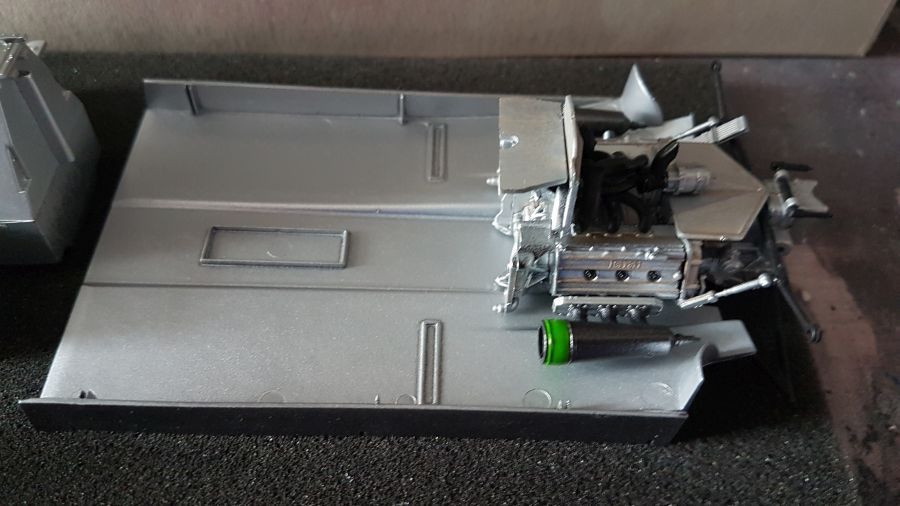
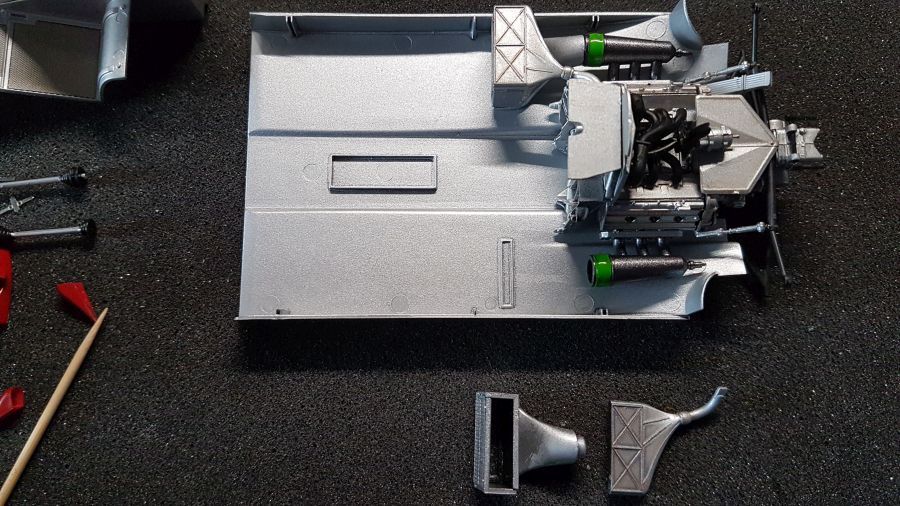
Terwijl dit allemaal droogt begin ik aan de motor.
While all this is set to dry i am starting with the engine.

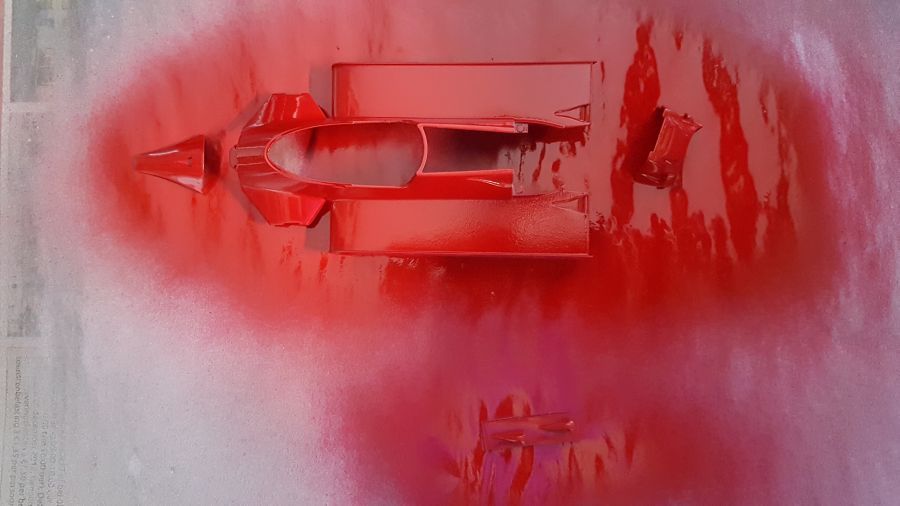
Omdat het weer vandaag nog goed is, ga ik vast de body spuiten. De eerste keer dat ik gebruik maak van de UMP primer.
Because the weather is still good today, i will spray the bodywork. It's the first time i will use the UMP primer.
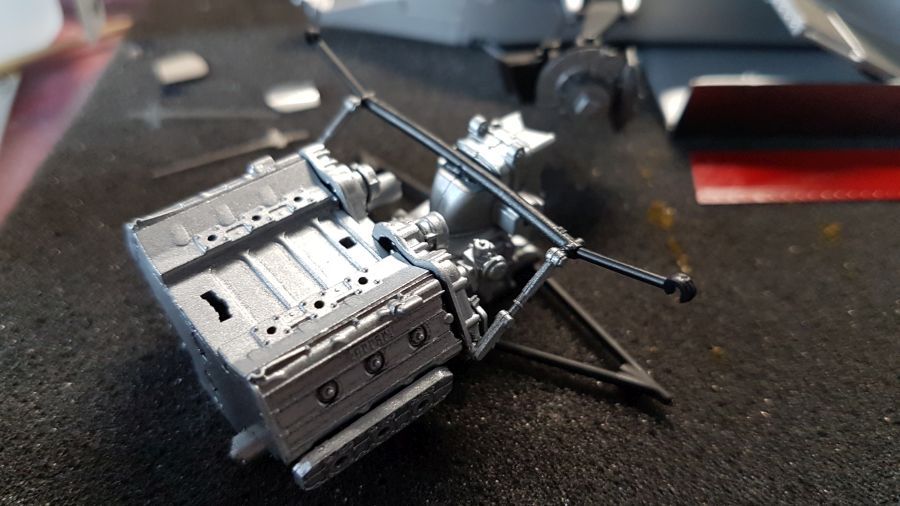
Terwijl de verf droogt maar weer verder met de motor.
While the paint sets more work to the engine.
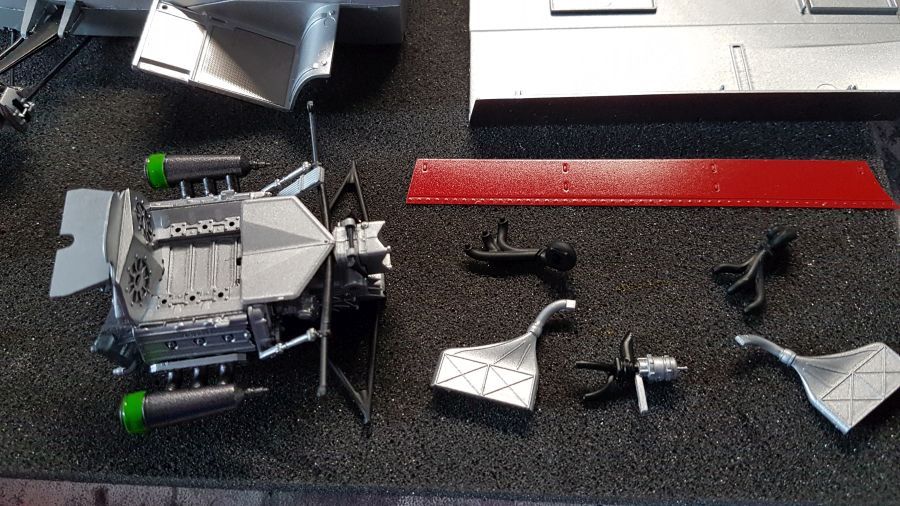
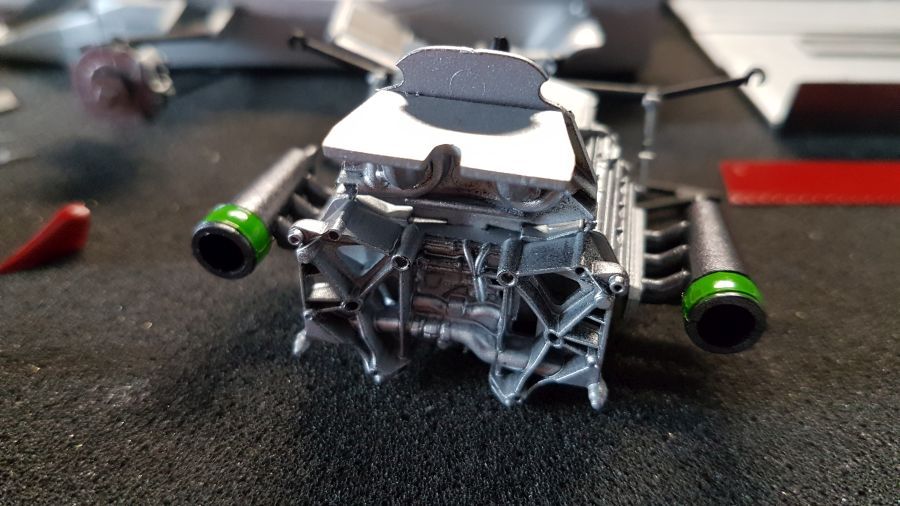

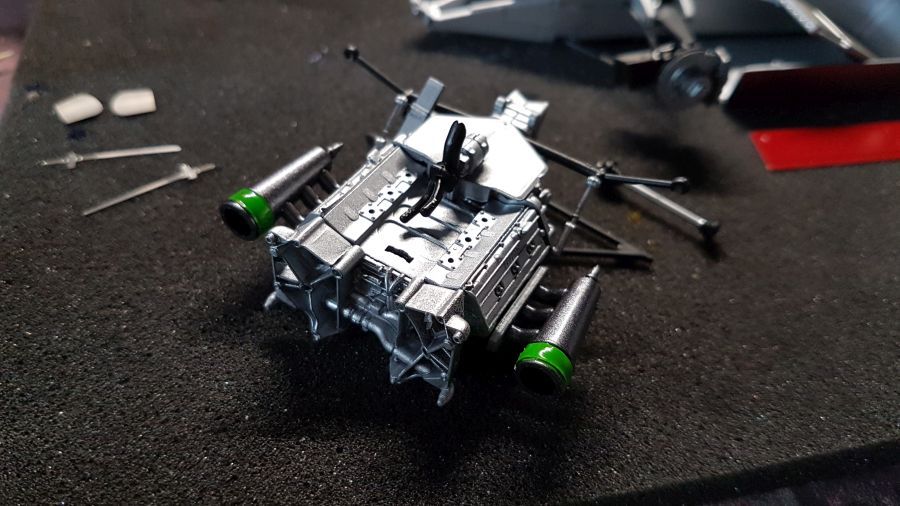
Terug naar de koeling...
Back to the coolers...
De motor en de koeling krijgen een wash met verdunde Valejo Model Color 875 Beige Brown.
The engine and the cooling get a wash of diluted Valejo Model Color 875 Beige Brown.
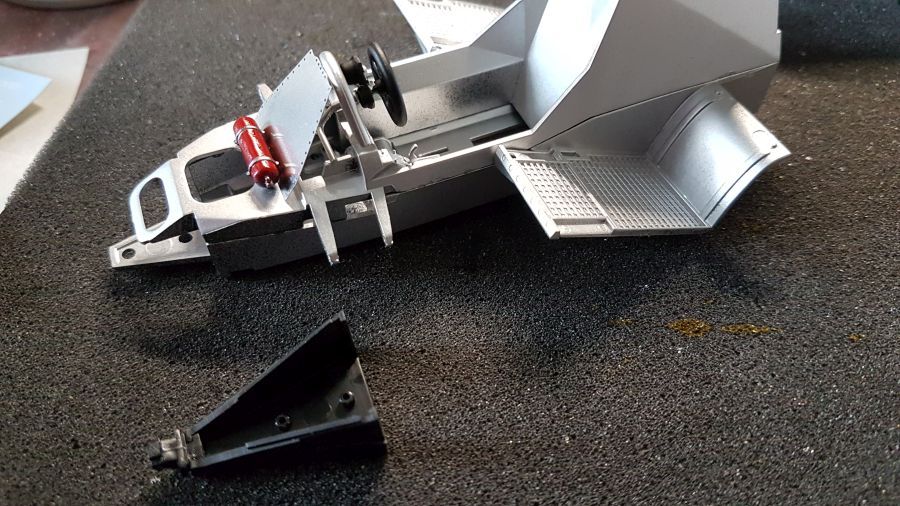
De skirts worden dikker gemaakt door een extra plaatje metaal.
The skirts are made thicker by using an extra sheet of metal.
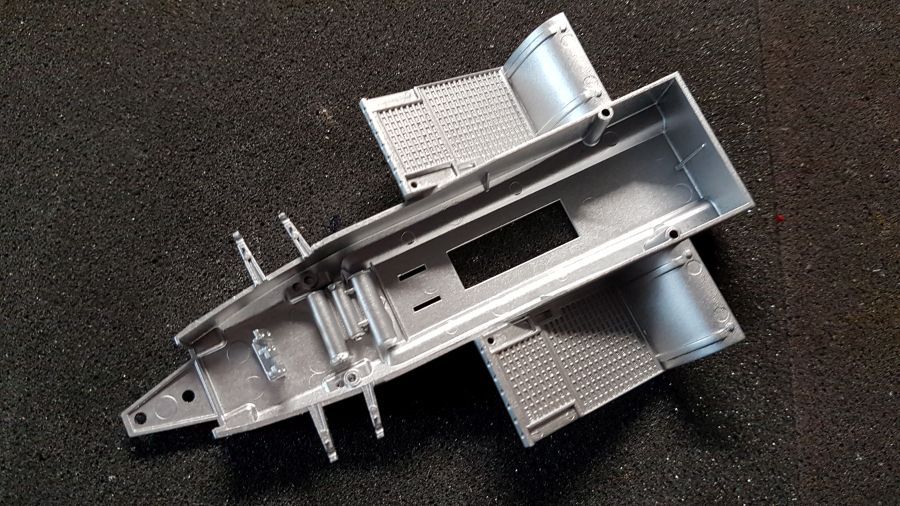
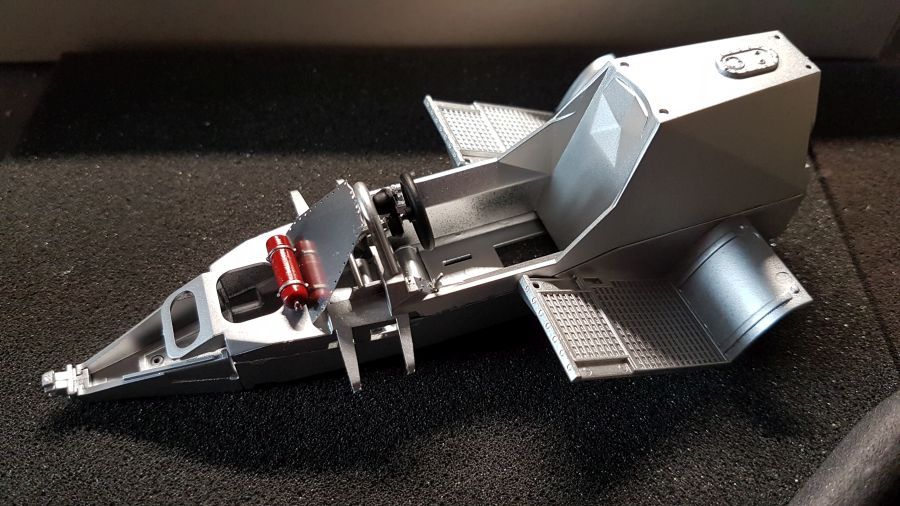
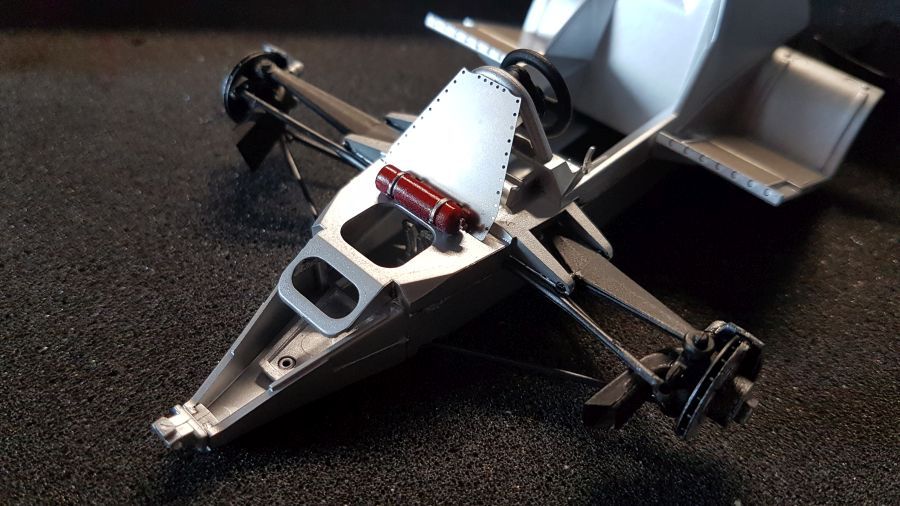
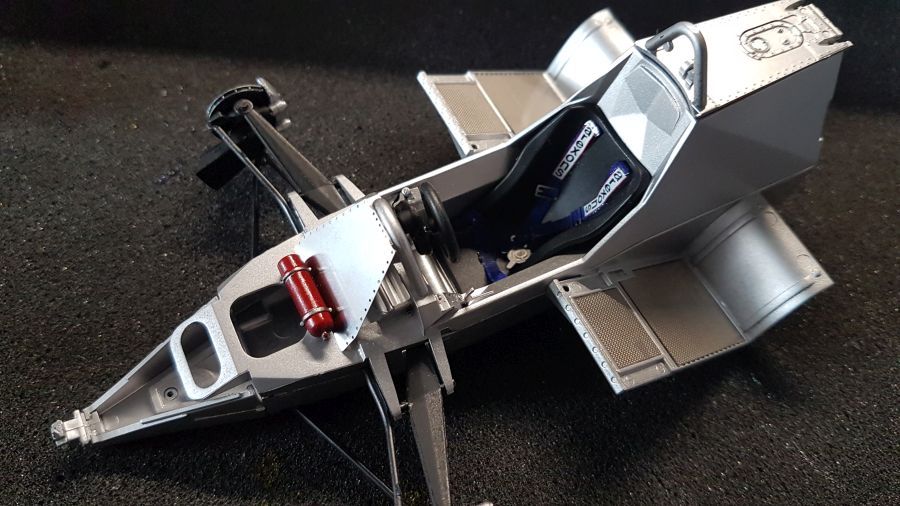
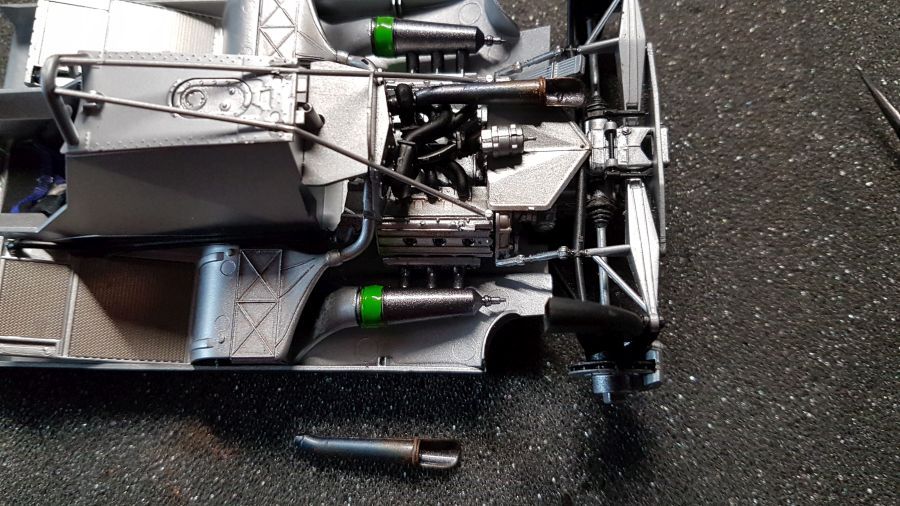
Dan kan de motor op de bodem worden geplaatst. De koeling ook.
Then the engine can be attached to the floor. The coolers as well.
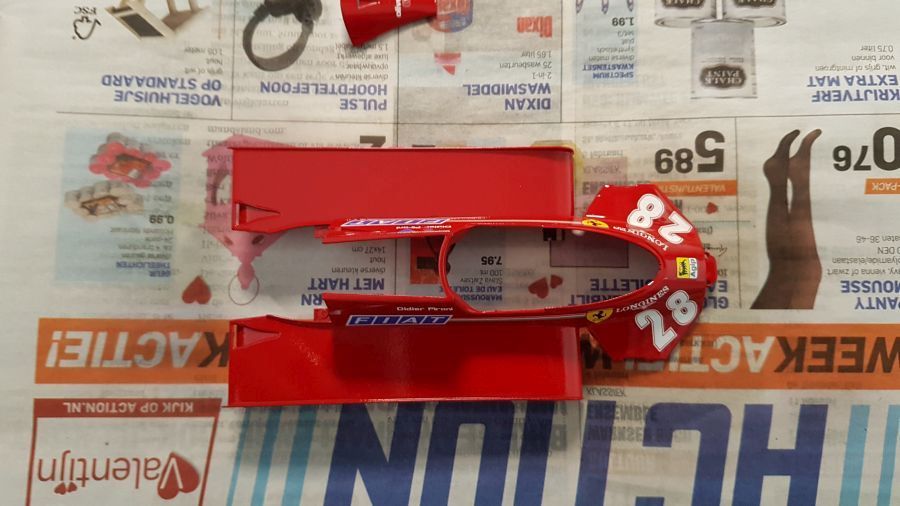
Vervolgens de kuip.
Then the tub.
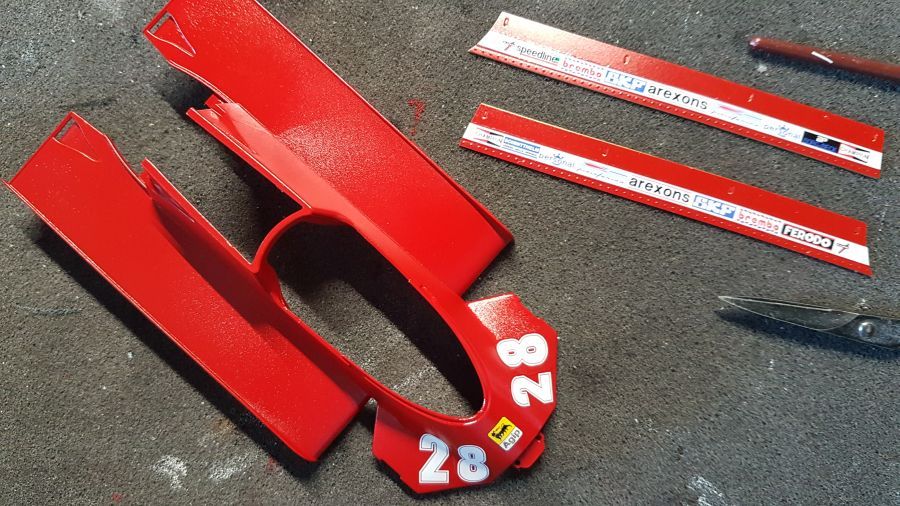
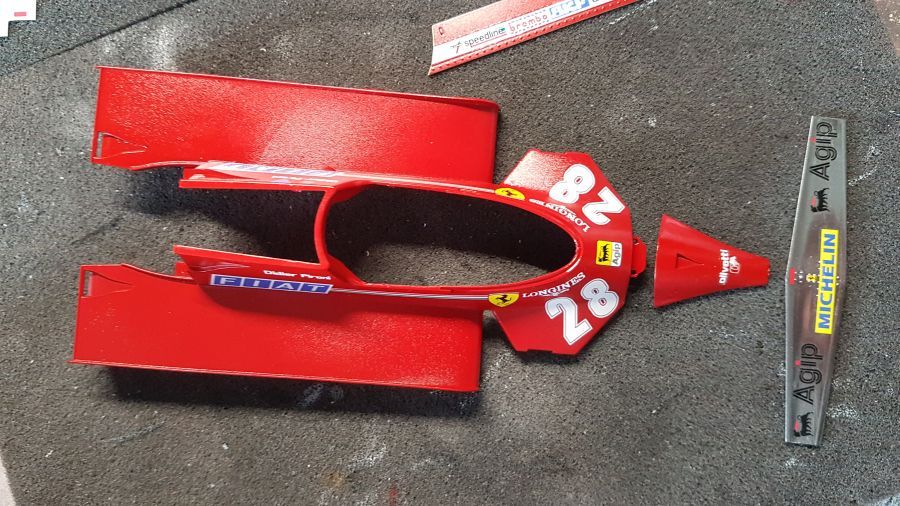
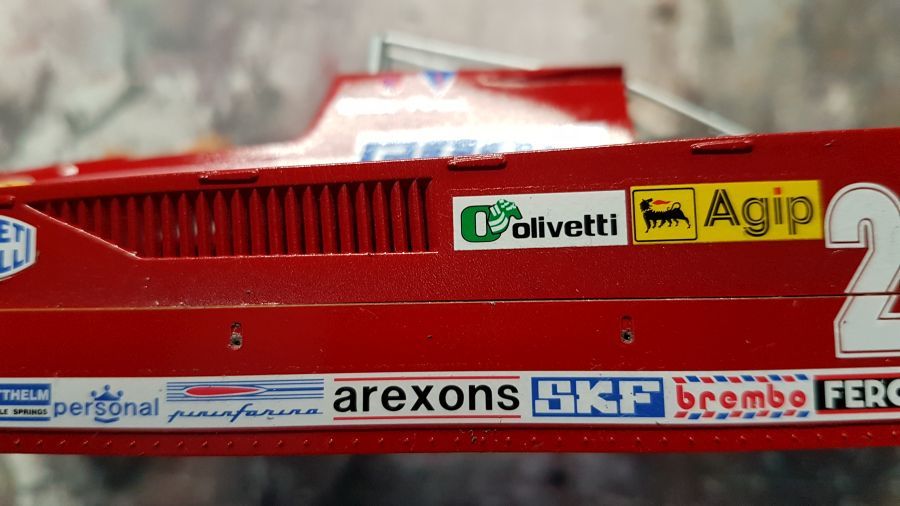
Intussen begin ik ook alvast met het decalproces.
In the meantime i am starting the decal process too.
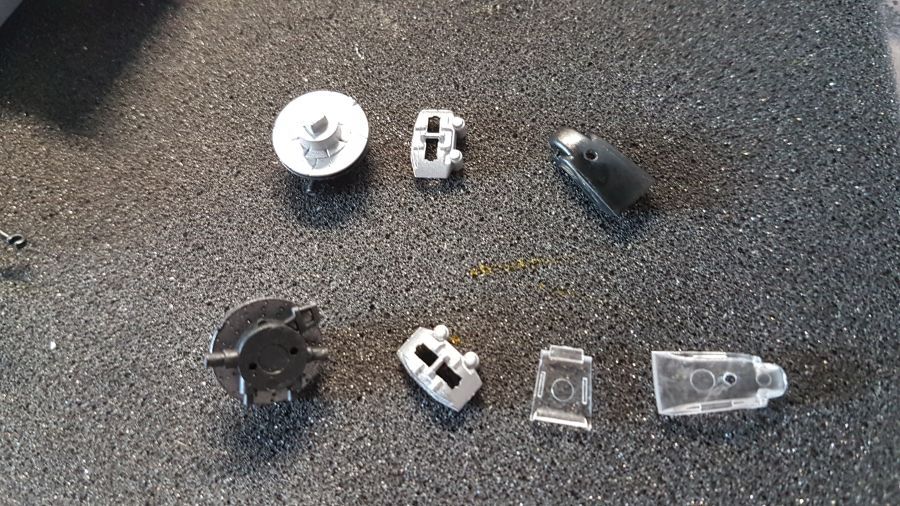
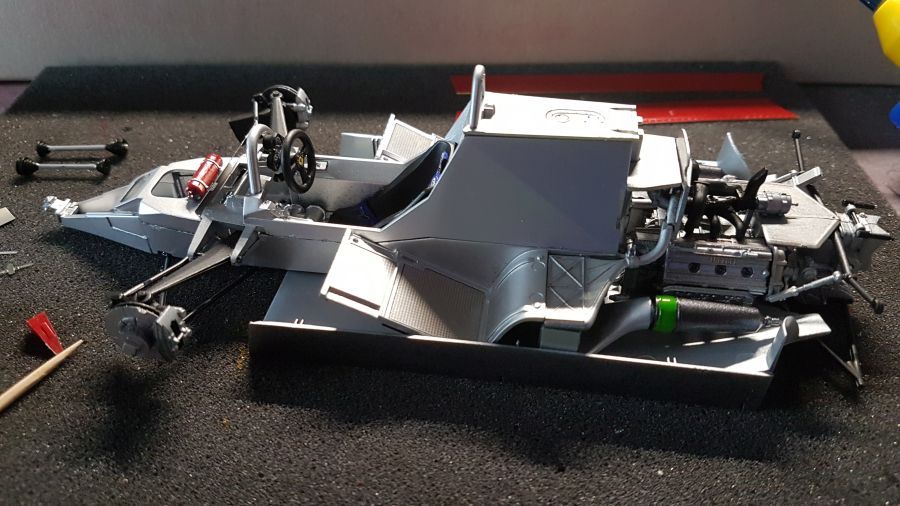
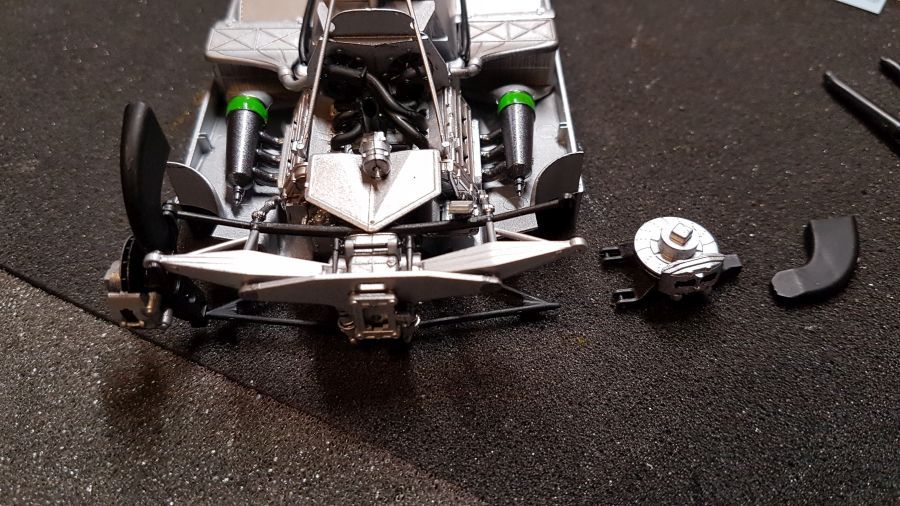
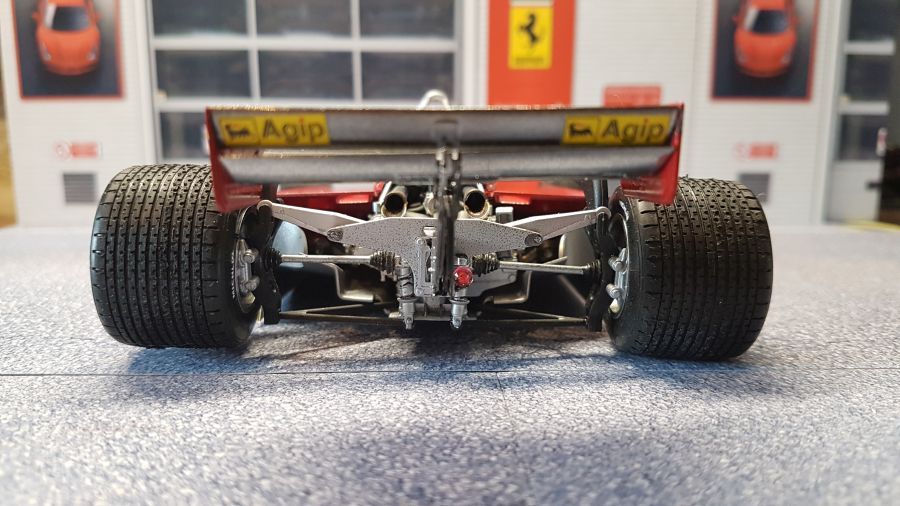
Dan eerst verder met de achterwielophanging...
Next to continue with the rear wheel suspension...
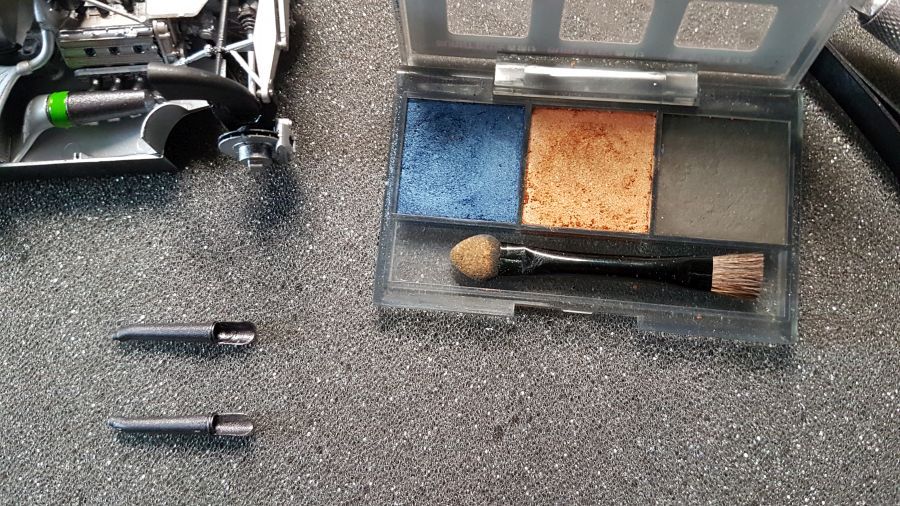
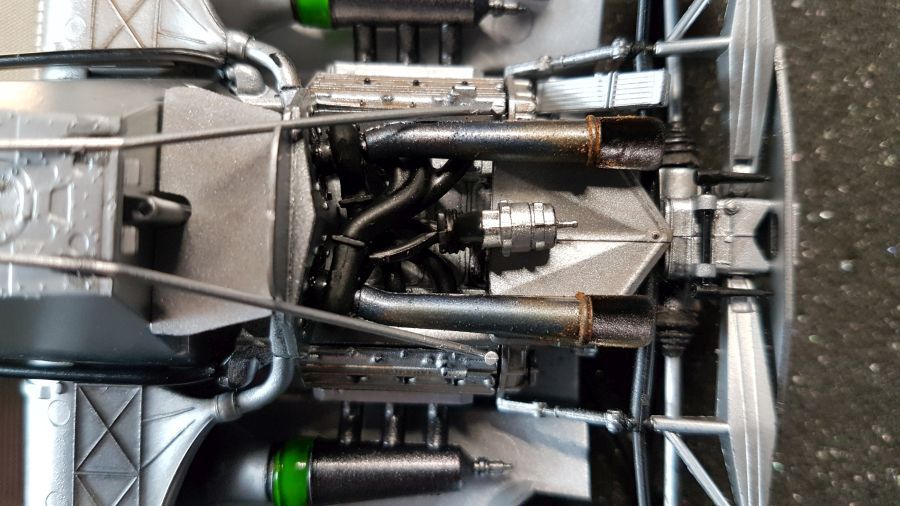
De uitlaten krijgen een veroudered uiterlijk...
Weathering the exhausts...
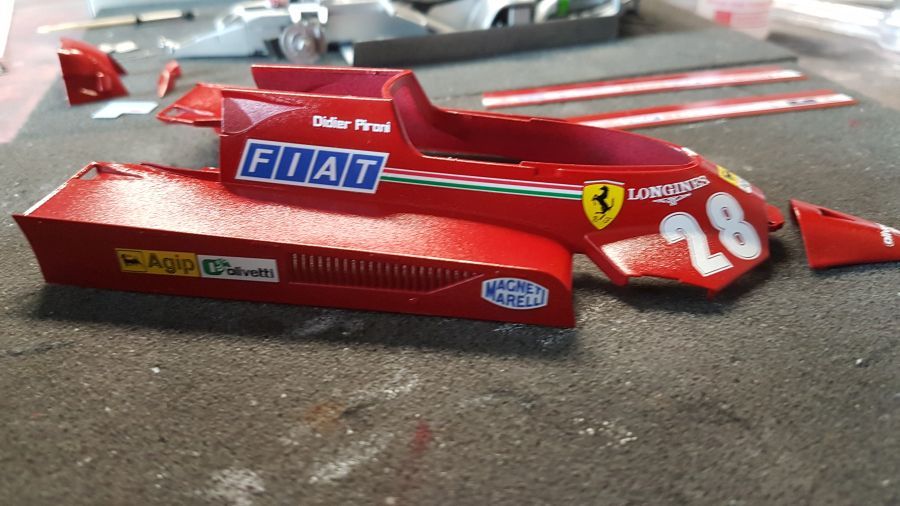
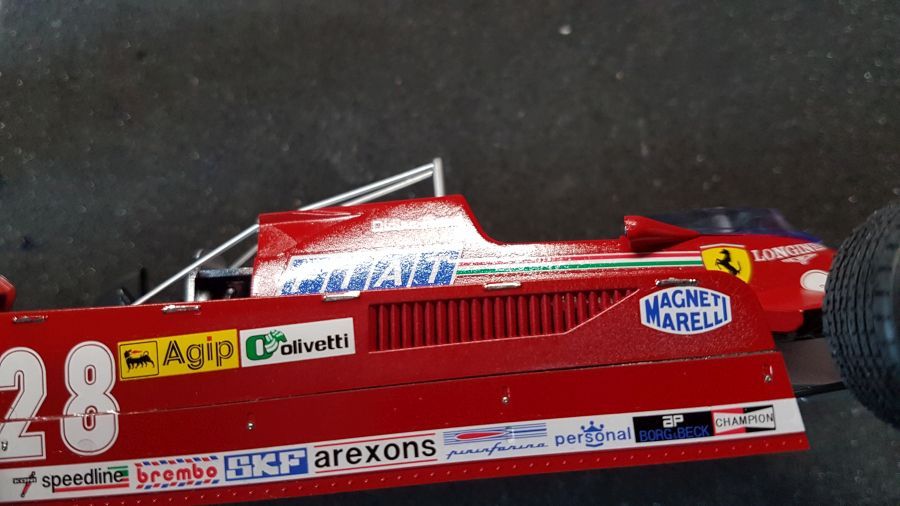
De body krijgt een laagje lak over de decals. Niet teveel, want uit ervaring weet ik dat deze decals niet van Tamiya TS-13 houden.
The body gets some clear gloss over the decals. Not too much, in my experience these decals do not like Tamiya TS-13.
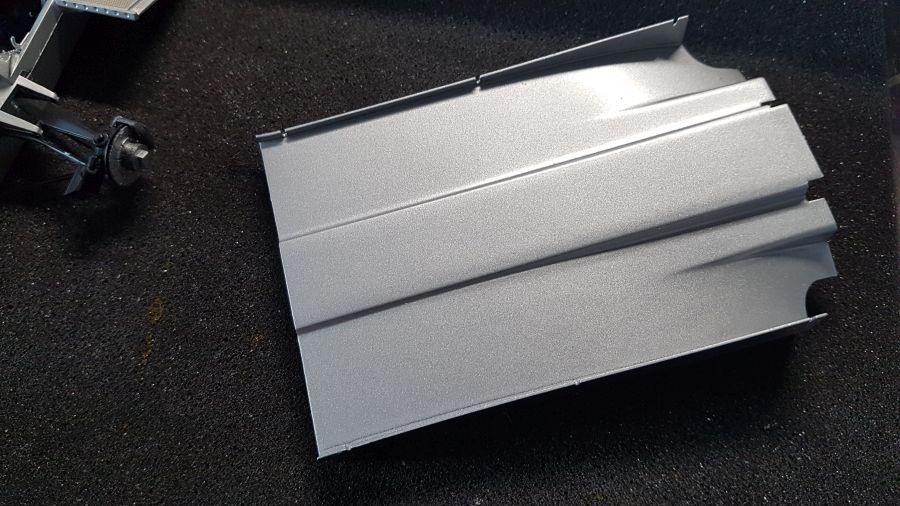
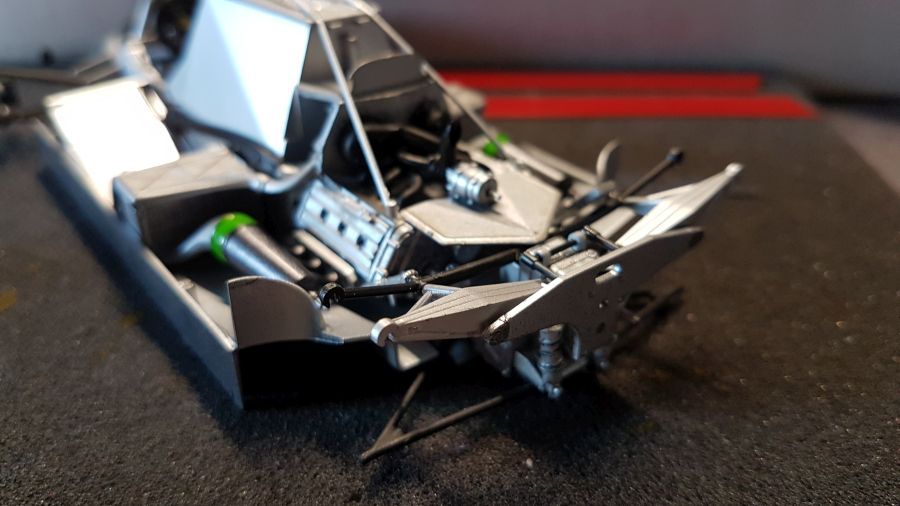
De vloer krijgt zijn skirts...
The floor gets it's skirts...

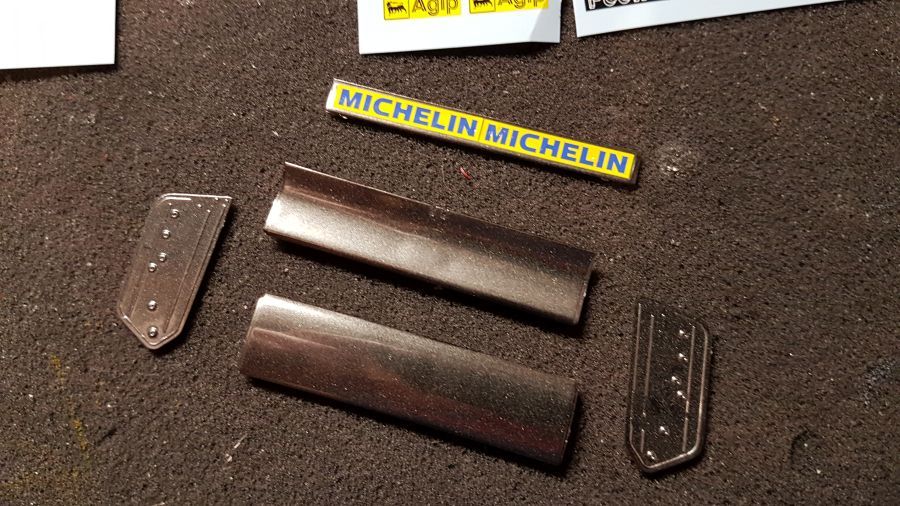
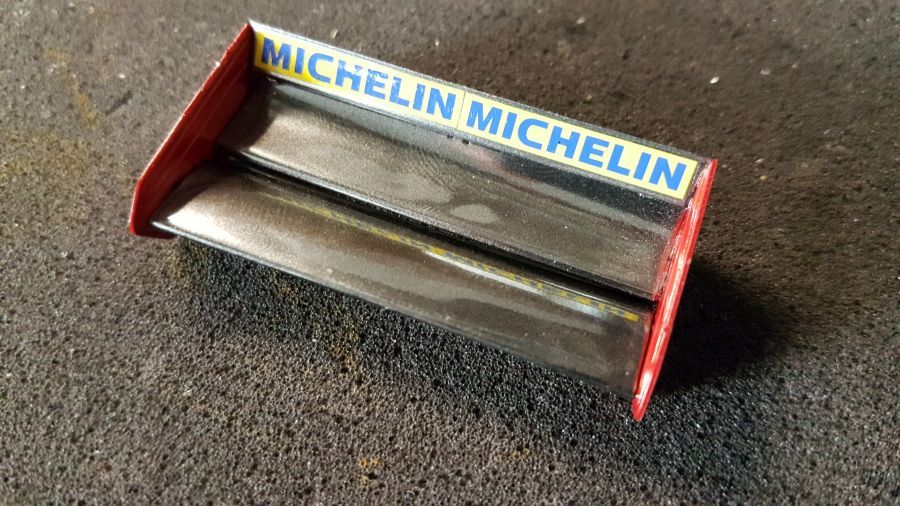
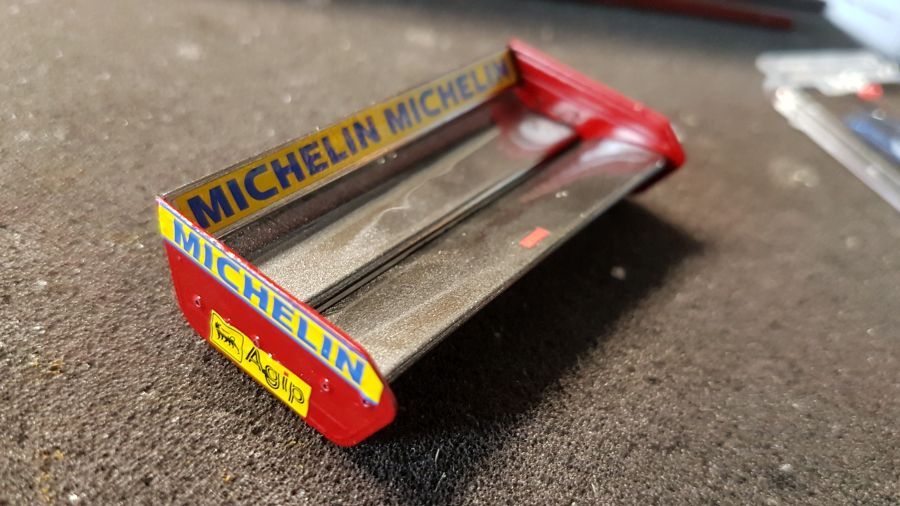
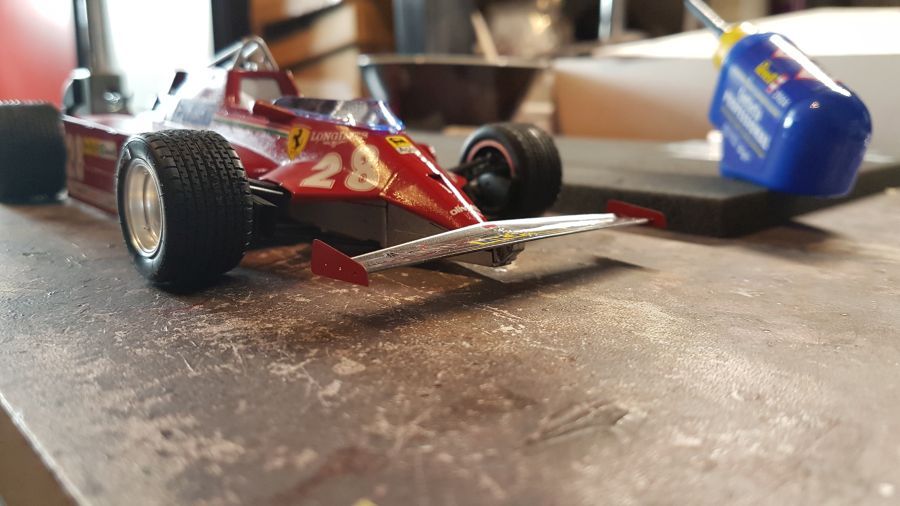
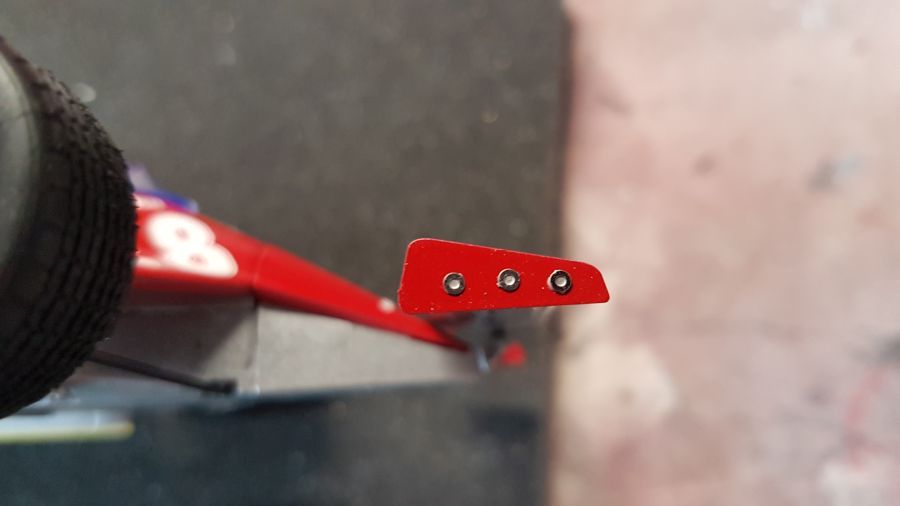
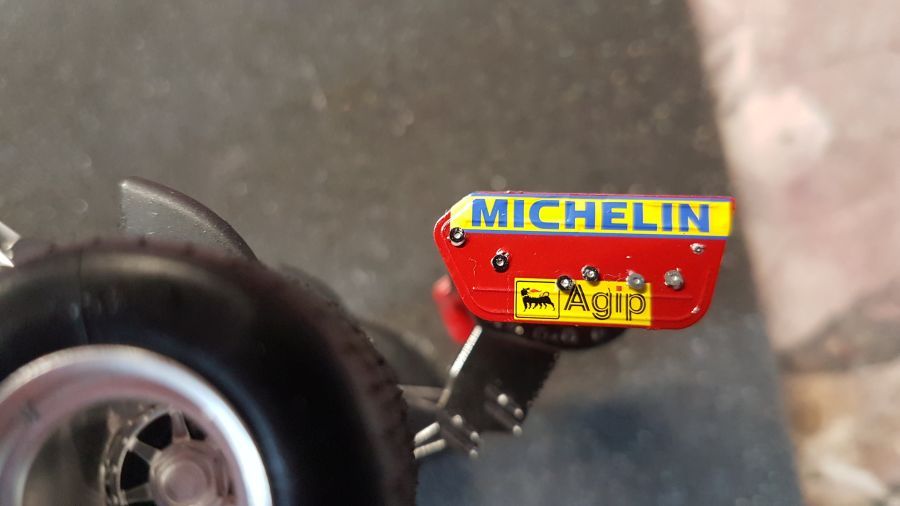
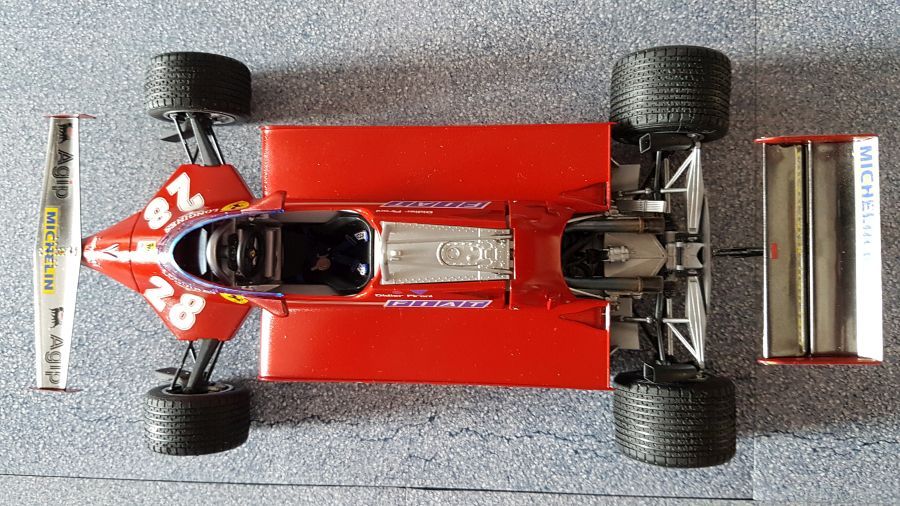
De voorvleugel de wing end plates.
The front wing it's wing end plates.

En de velgen de banden... Ik heb nog even getwijfeld of ik de velgen met Alclad II Chrome zou spuiten, maar heb besloten het niet te doen. Het bestaande verfwerk heeft een hoger chroom gehalte.
And the rims it's tires... I had doubts weather i should paint the rims with Alclad II Chrome, but i decided not to. The existing paint work has a better chrome effect.
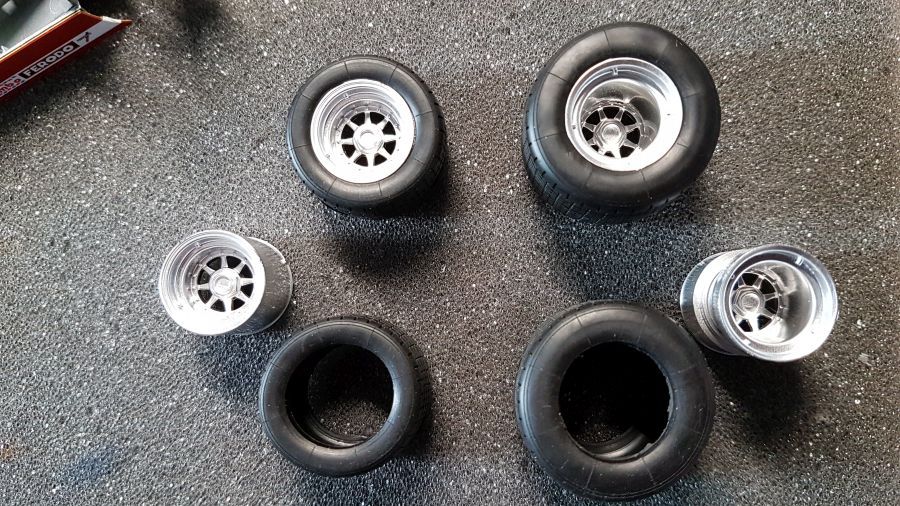
De banden worden weer wat gebruikt gemaakt om de glans eraf te halen.
The tires are treated to get a used look and get the shine off.

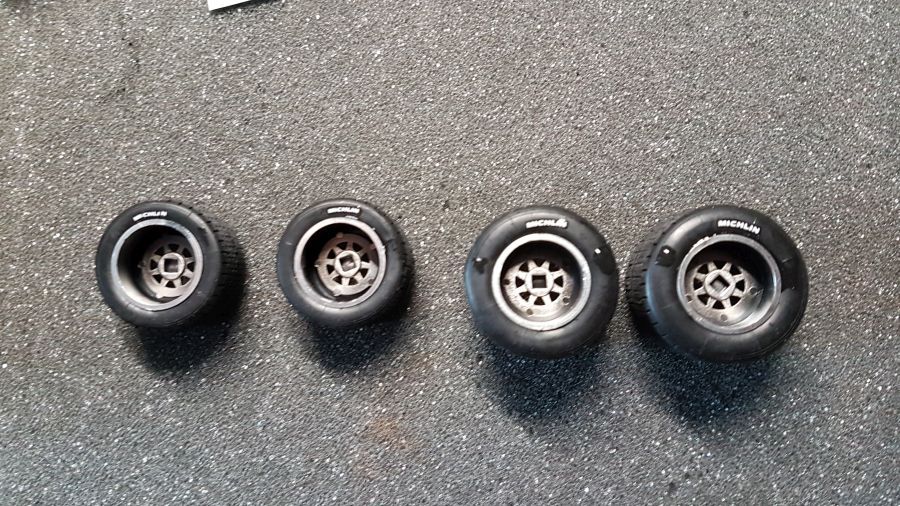
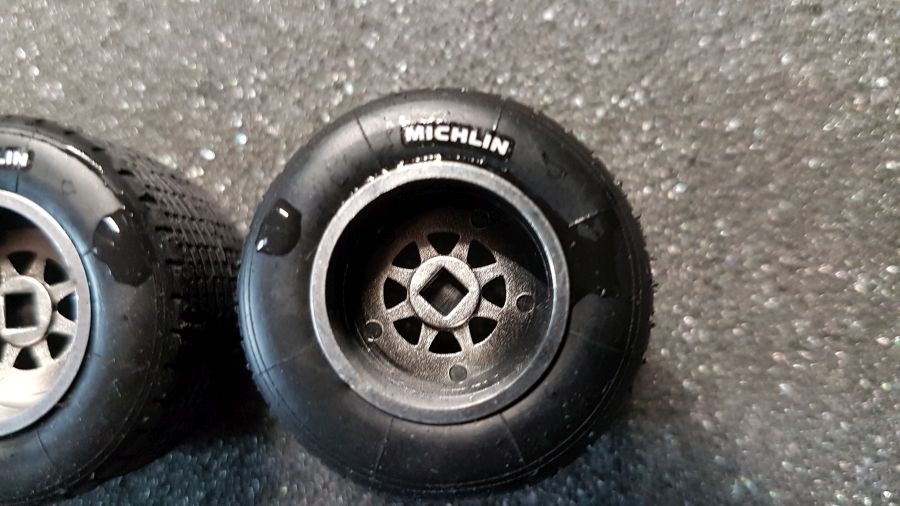
Dan de decals. Fujimi heeft een eigen merk banden....
Next are the decals. Fujimi uses it's own brand of tires....
Dan gaat de cover erop..
The cover is being added..
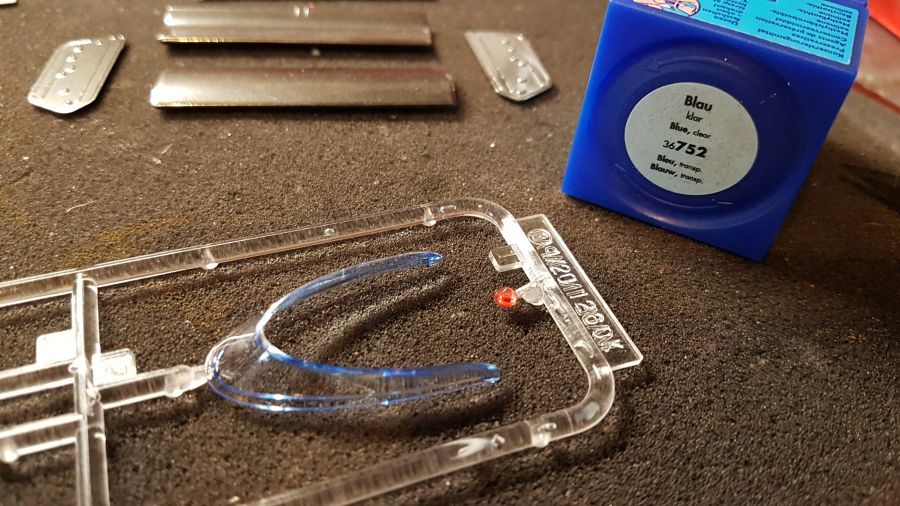
Het achterlicht en het venster krijgen een kleurtje met een heldere verf.
The rear light and the window get some colour with clear paint.
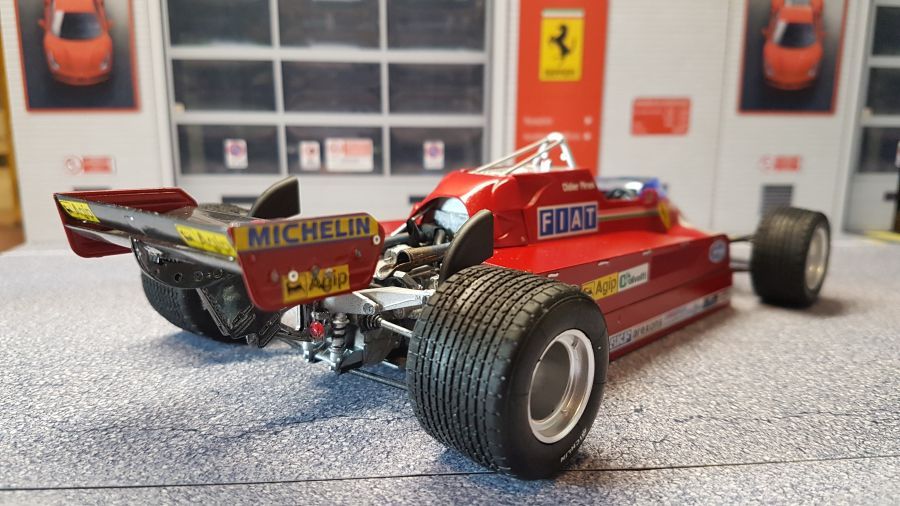
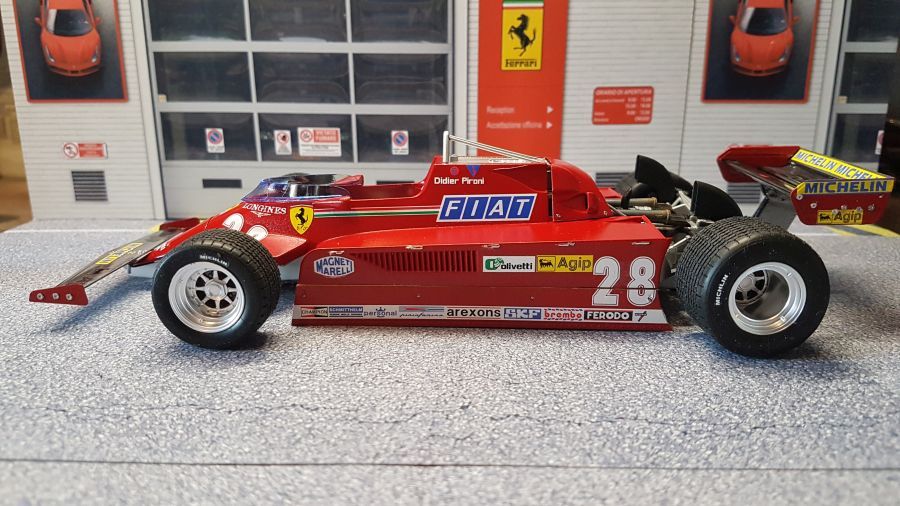
Verder met de achtervleugel...
To continue with the rear wing...
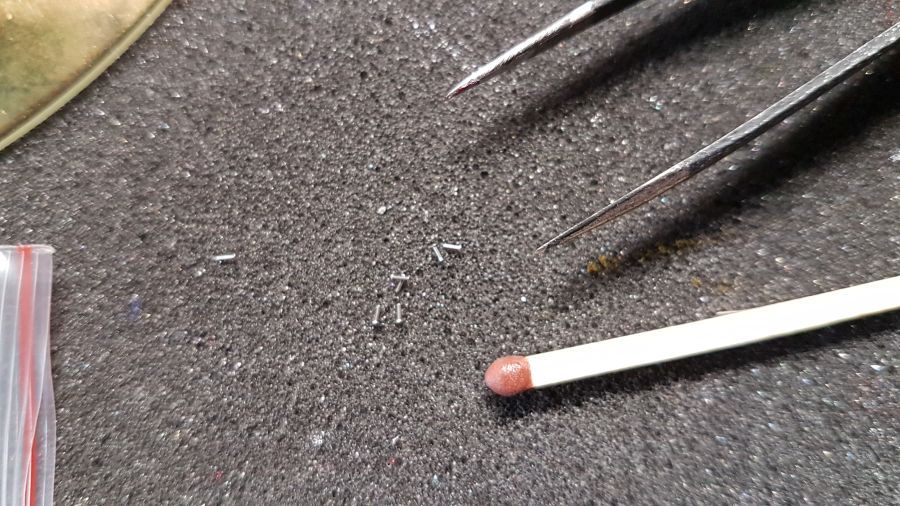
Met een 0.4 mm boortje maak ik de gaatjes om de popnagels te plaatsen.
I am drilling holes with a 0.4 mm drill for the rivets.

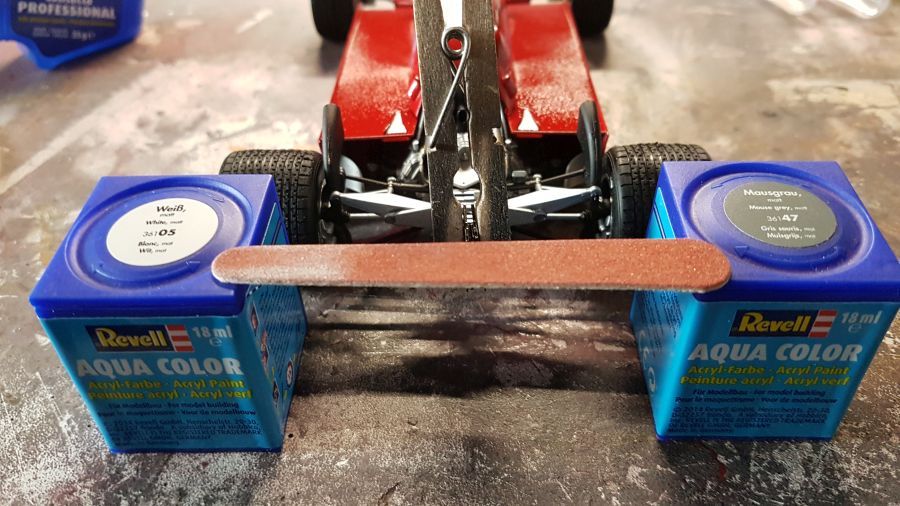
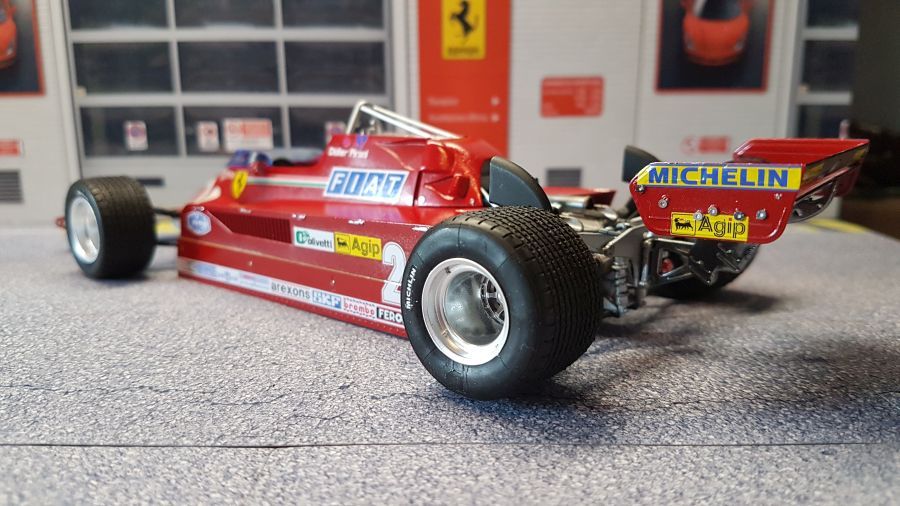
Dan worden de vleugels geplaatst. Voor de achtervleugel gebruik ik altijd een hulpje om te zorgen dat alles recht zit.
Then the wings are added. For the rear wing i always use some tools te be sure everything is mounted straight.
Dan nog wat kleine details met etched snelsluiters en de vloeibaar chroom pen...
Then some small detail with etched fasteners and a liquid chrome pen...
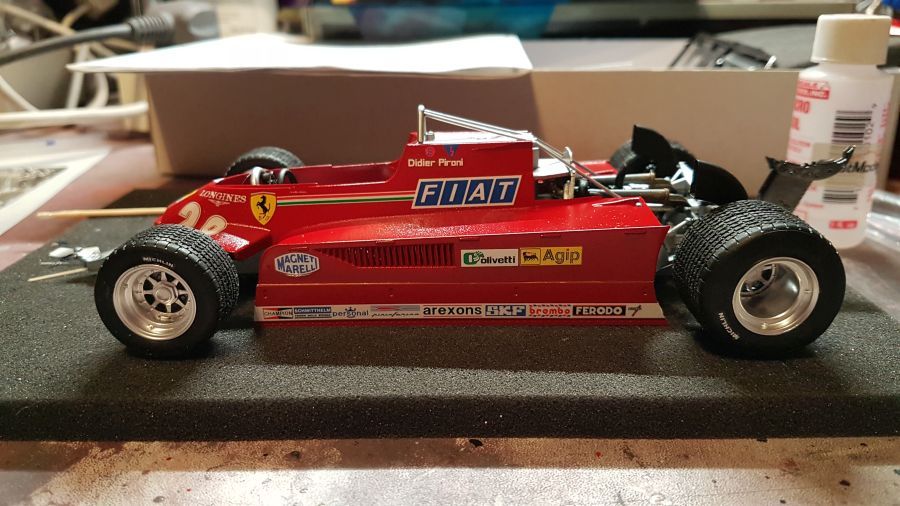
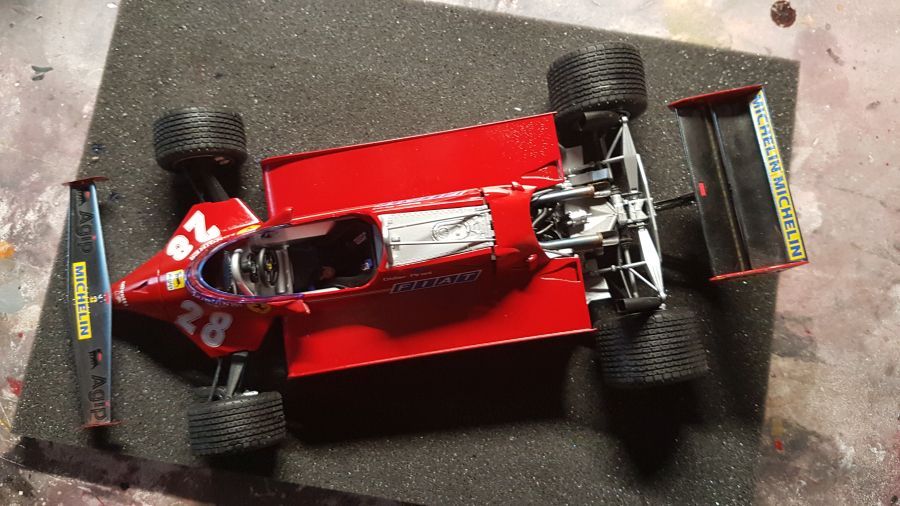
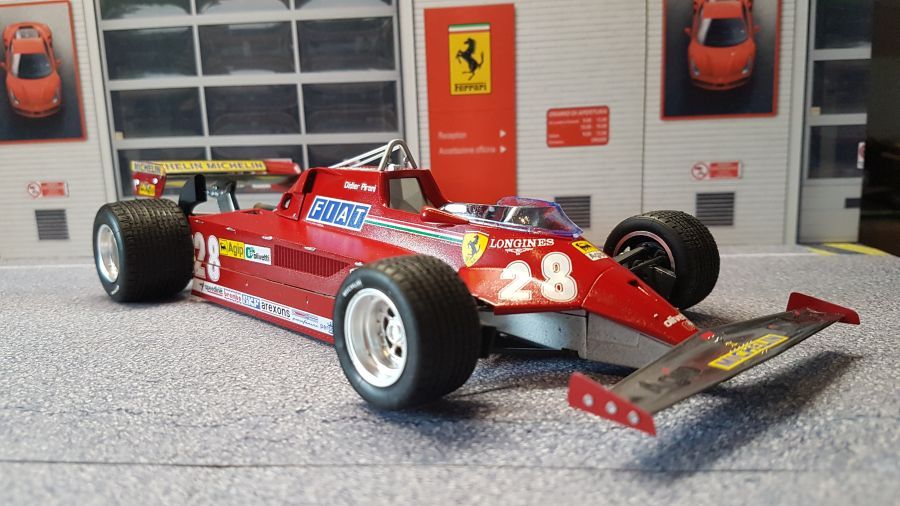
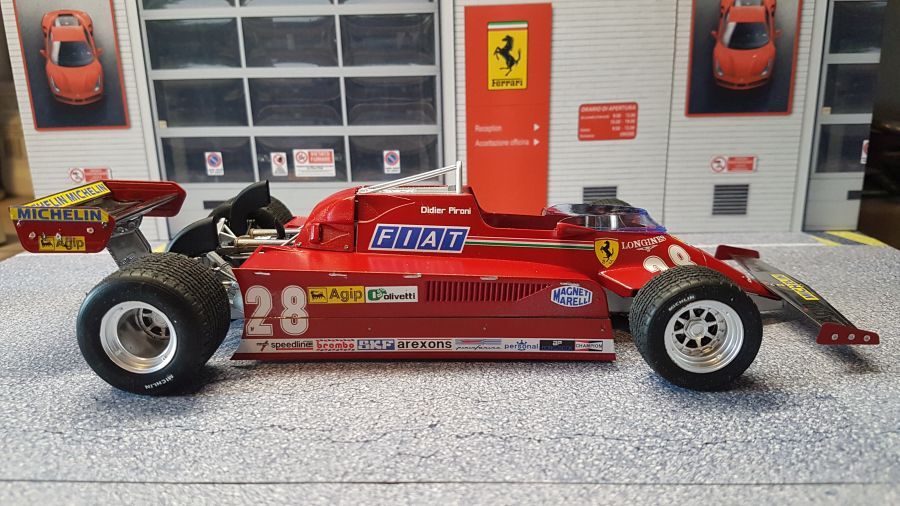
En klaar...
And done...
Speciale dingen waar je op moet letten? In ieder geval voorzichtig met de decals wanneer je Tamiya TS-13 Clear gaat gebruiken. Voor de kit op zich eigenlijk niet veel. Alles past goed. Hooguit even oppassen bij het plaatsen van de koeling. Anders past de cover er niet goed overheen.
Anything that needs attention? Be careful with the decals when using Tamiya TS-13 Clear. For the kit not really. Everything fits well. Just be careful when adding the coolers. Otherwise the cover might not fit well.