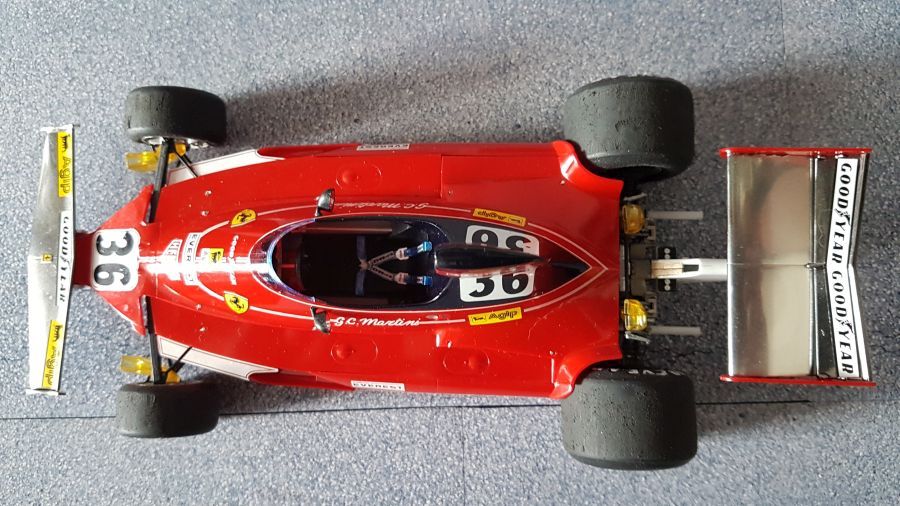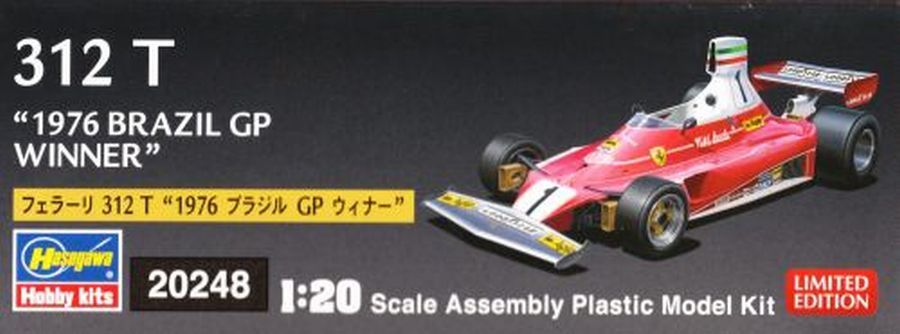
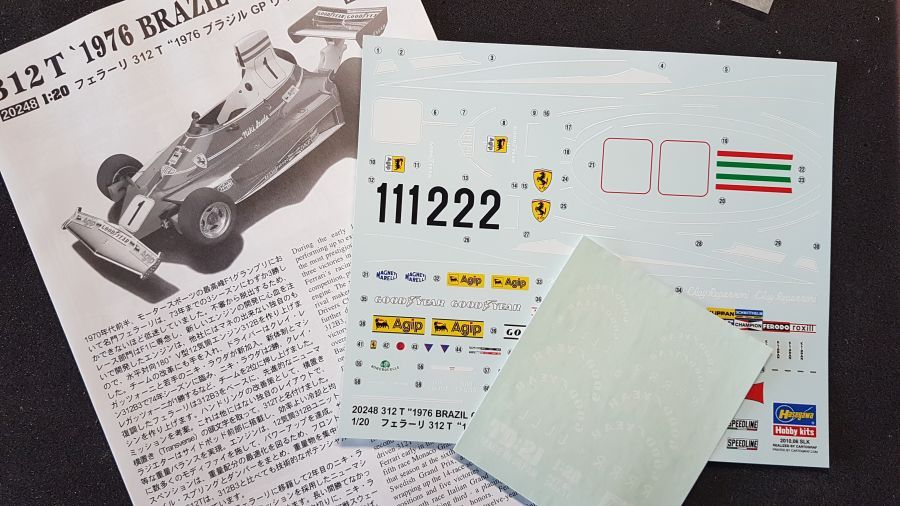
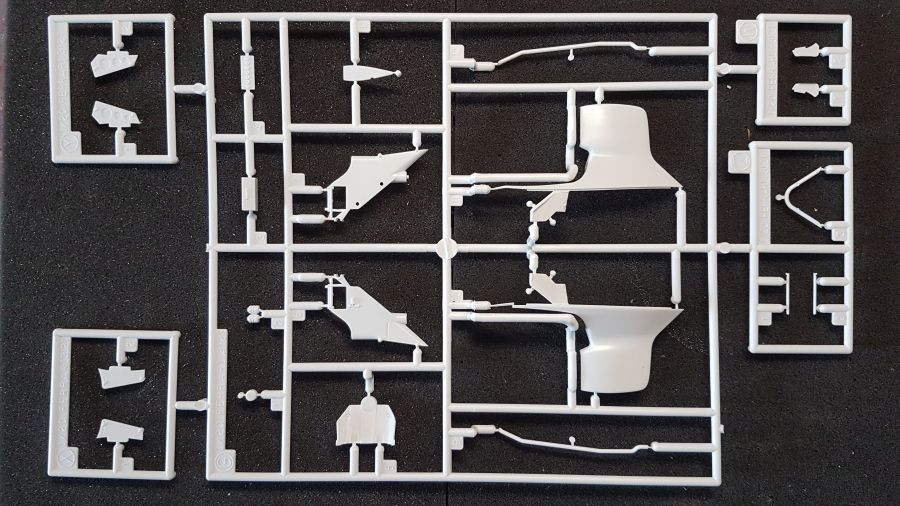
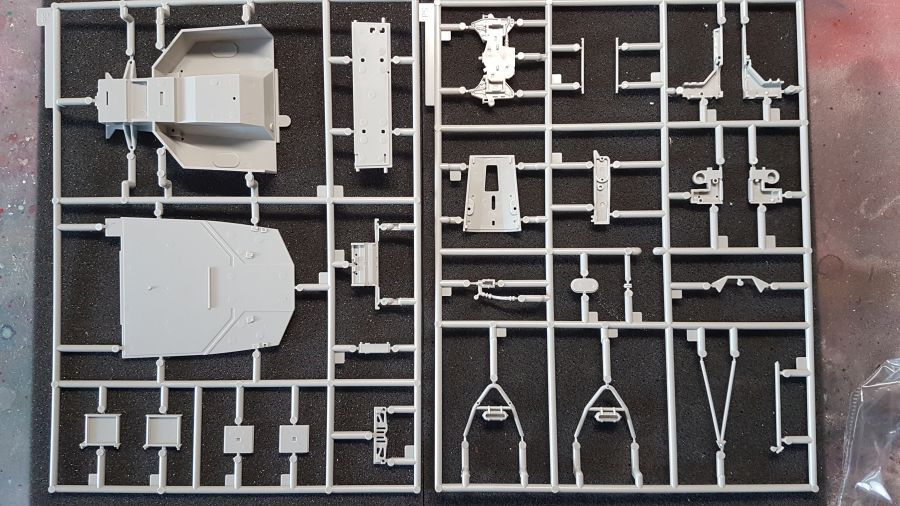
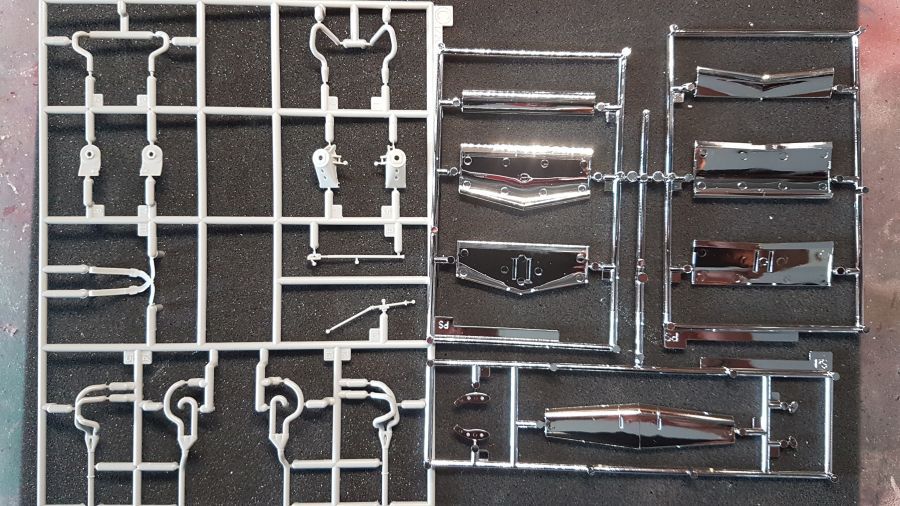
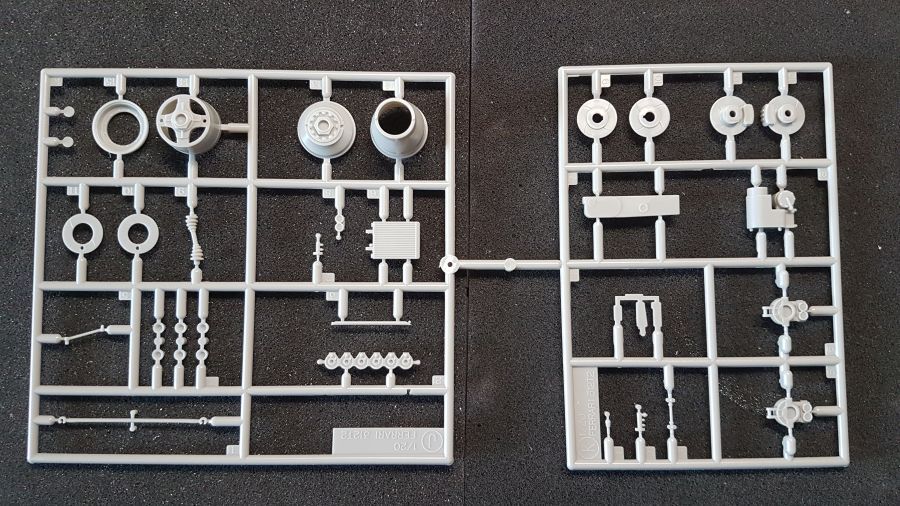
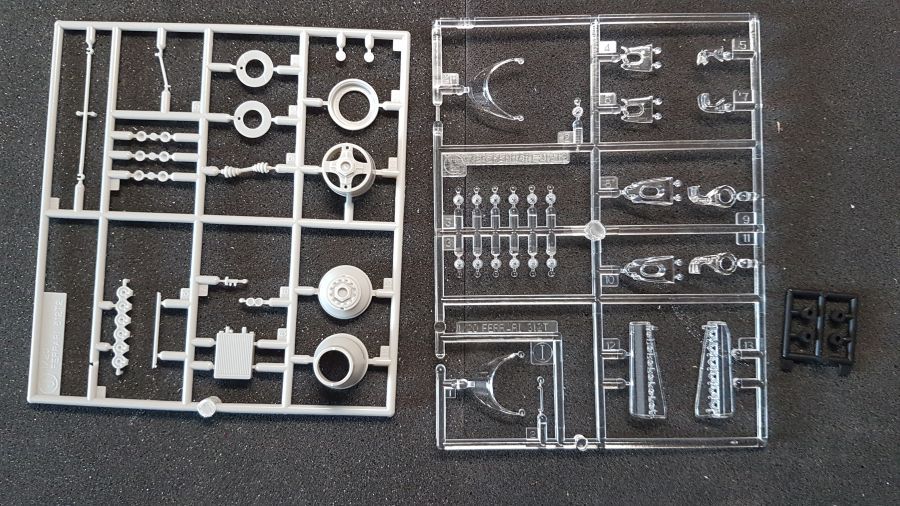
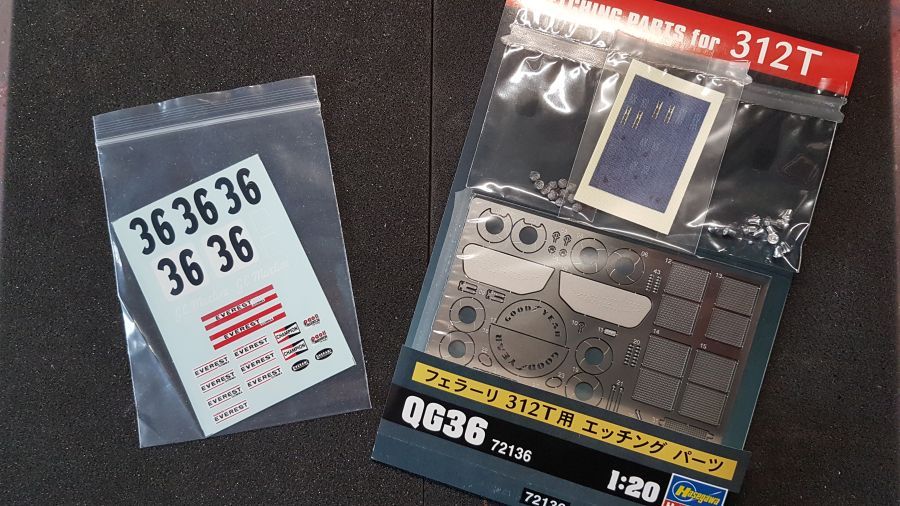
Van 1965 tot en met 1979 (behalve 1966 en 1978) werd er tijdens het Formule 1 seizoen 2 wedstrijden gereden die niet meetelden voor het kampioenschap. Voor deze wedstrijden in 1976, leende Ferrari de 1975 Ferrari 312T van Clay Regazzoni uit aan Giancarlo Minardi. Deze had inmiddels de Scuderia Everest opgericht. De auto's werden bestuurd door Giancarlo Martini. Ik gebruik de Hasegawa Ferrari 312T Brazilië (kit nr. 20248) schaal 1/20 als donor voor de uitvoering die ik ga bouwen. Ik maak nu de Graham Hill International Trophy versie met de donkerblauwe topsectie zoals deze reed op Silverstone. Ik ga nog even bekijken of ik ook de Race of The Champions versie van Brands Hatch ga bouwen. Eerst maar weer de gebruikelijke foto's van de inhoud en de extra's. Voor de liefhebbers, er is nog een decal in mijn shop te koop.
From 1965 to 1979 (except 1966 and 1978) there were 2 GP's during the Formula 1 season that didn't count for the championship. For these races in 1976, Ferrari provided the 1975 Ferrari 312T from Clay Regazzoni to Giancarlo Minardi. He had founded the Scuderia Everest. The cars were driven by Giancarlo Martini. I will use the Hasegawa Ferrari 312T Brazil (kit no. 20248) scale 1/20 as a donor to build my version. I will now make the Graham Hill International Trophy version with the dark blue top section as raced on Silverstone. I will decide later if i will build the Race of The Champions version as raced at Brands Hatch too. First of all as usual the pictures of the content and the extra's. For who wants it. There's a decal in my shop for sale.

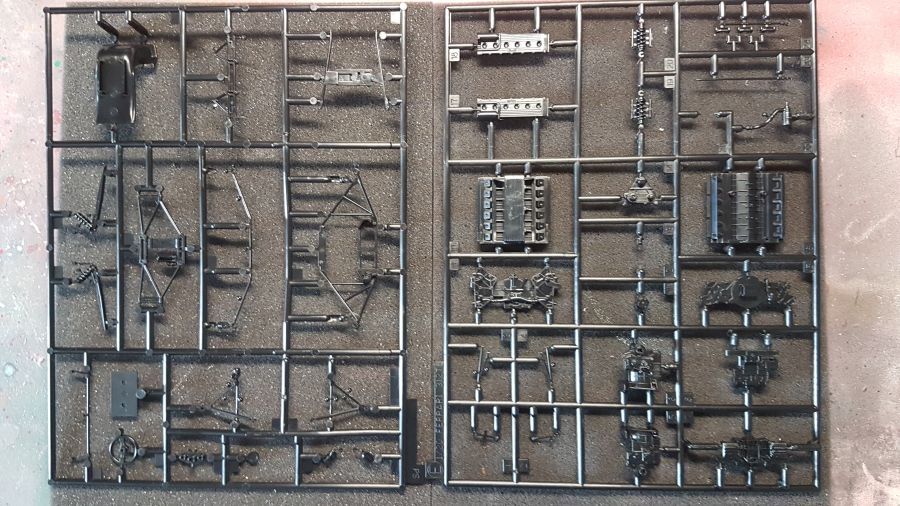
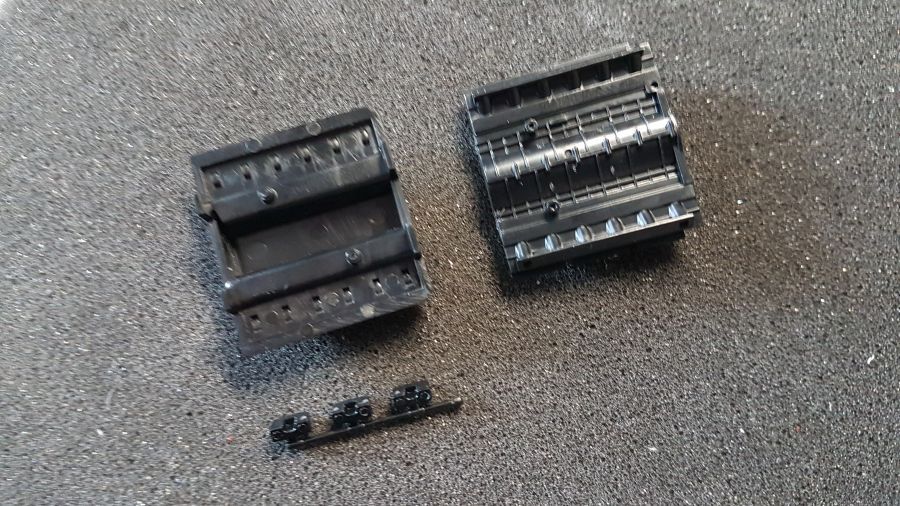
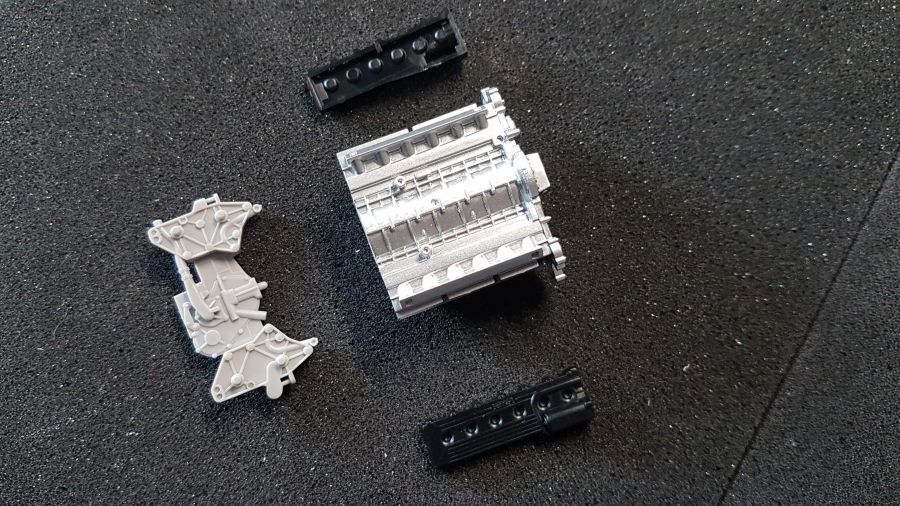
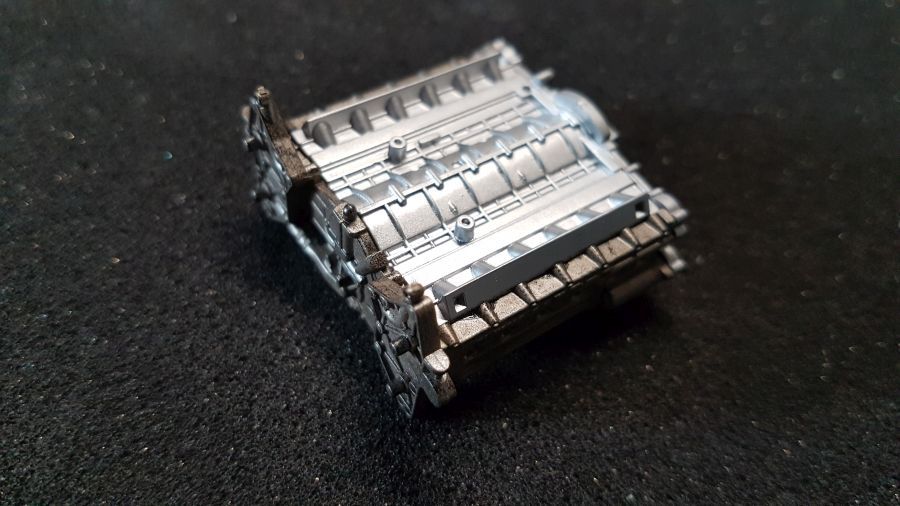
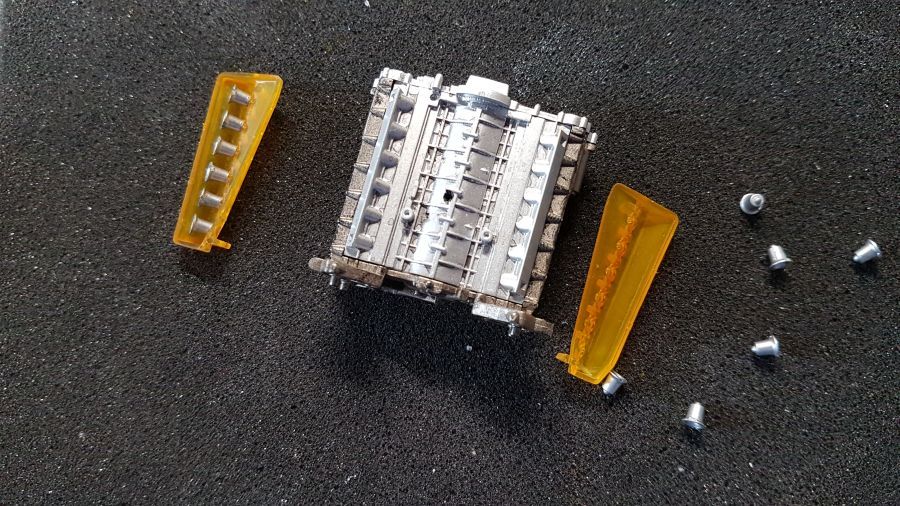
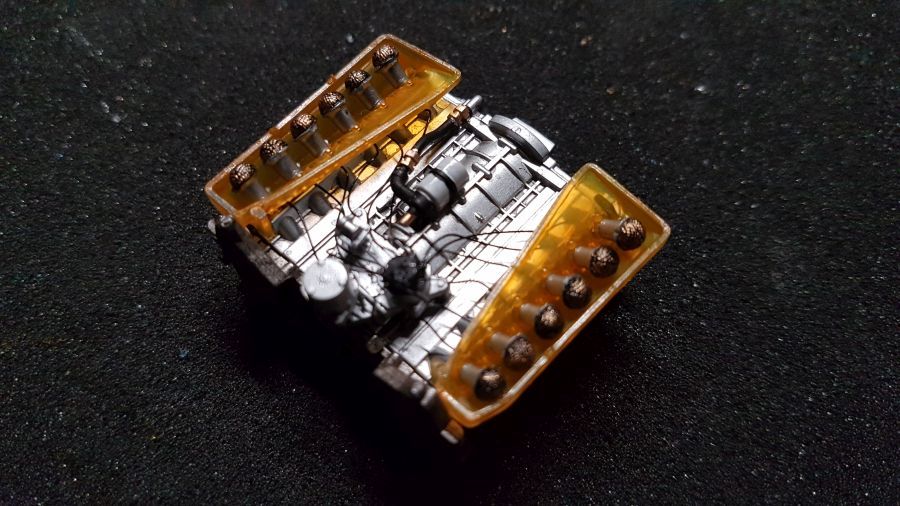
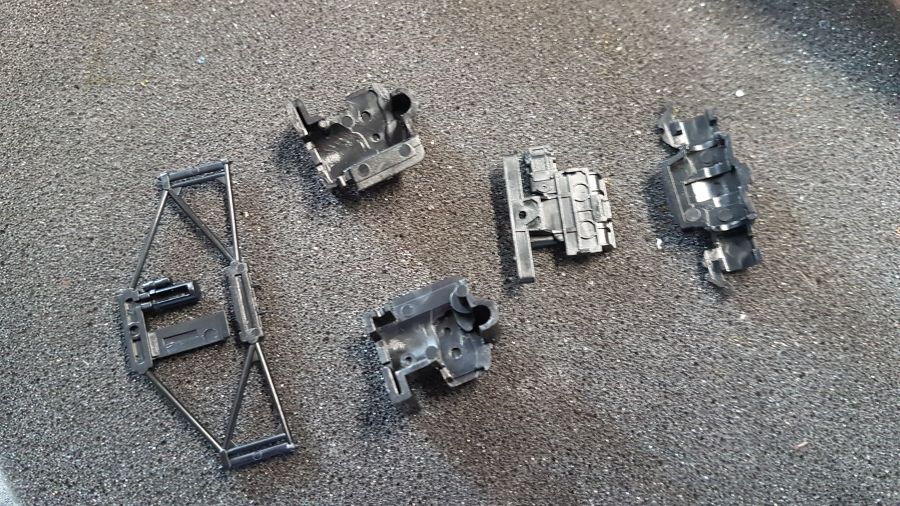
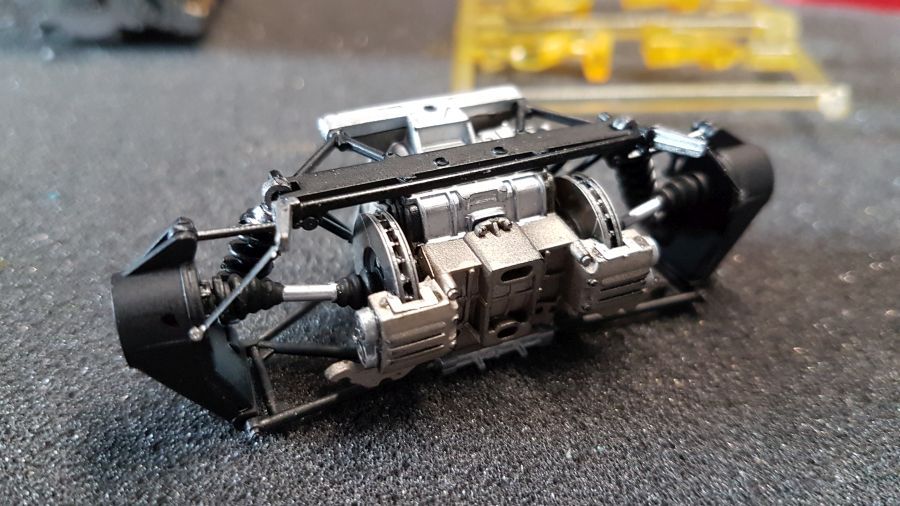
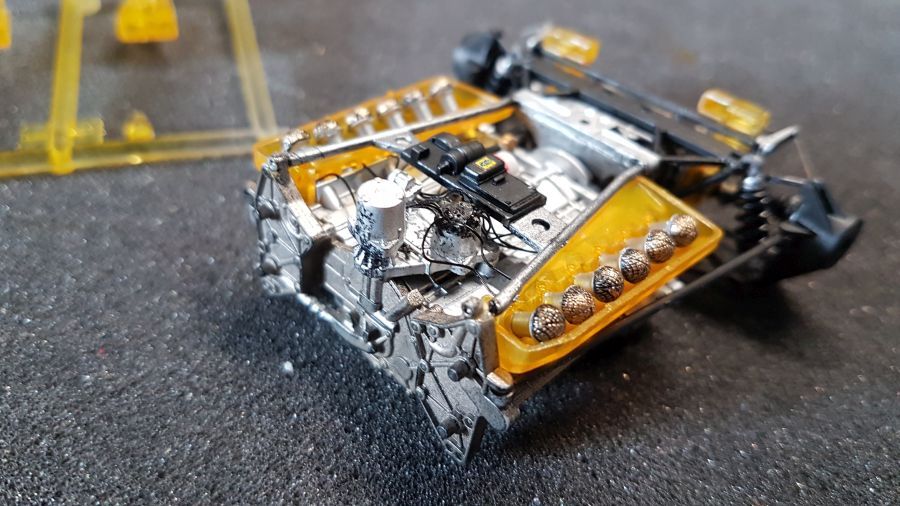
Daar gaat ie dan. Eerst de motor. Een paar delen worden samengevoegd en gespoten met Tamiya Silver Leaf TS-30. Een paar andere onderdelen worden glanzend zwart gespoten en krijgen dan een laag Alclad II Gold Titanium met de airbrush.
There we go. First of all the engine. A few parts are combined and sprayed with Tamiya Silver Leaf TS-30. A few other parts are painted gloss black and then airbrushed with Alclad II Gold Titanium.
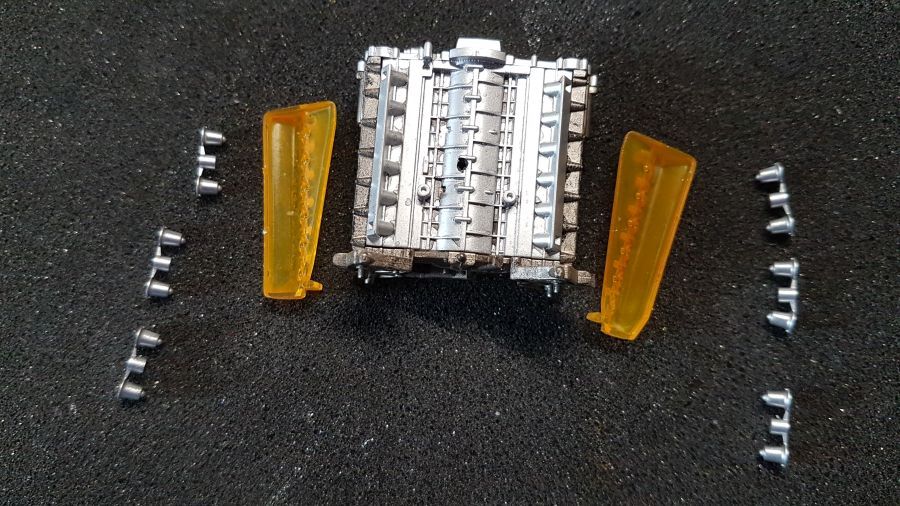
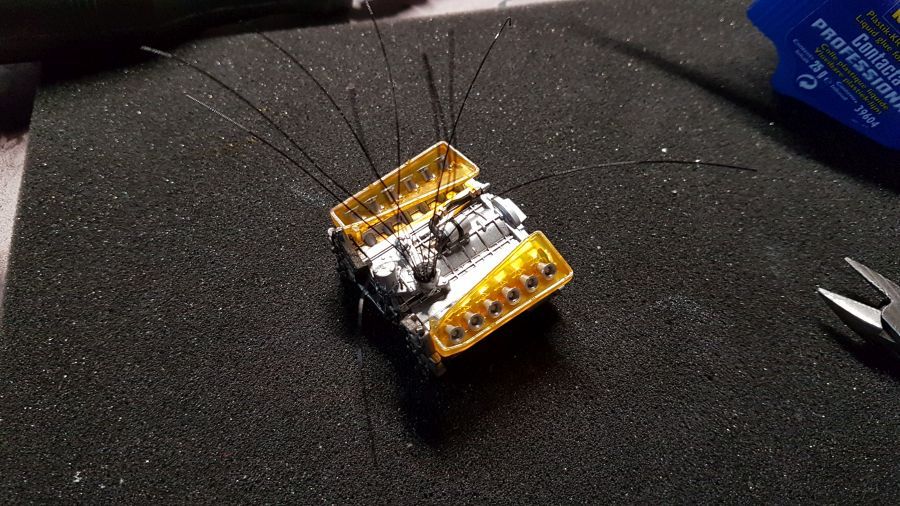
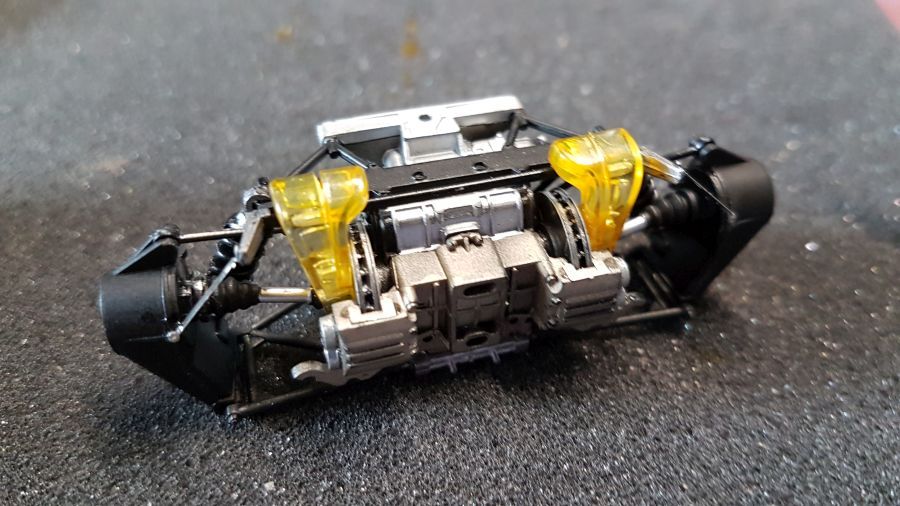
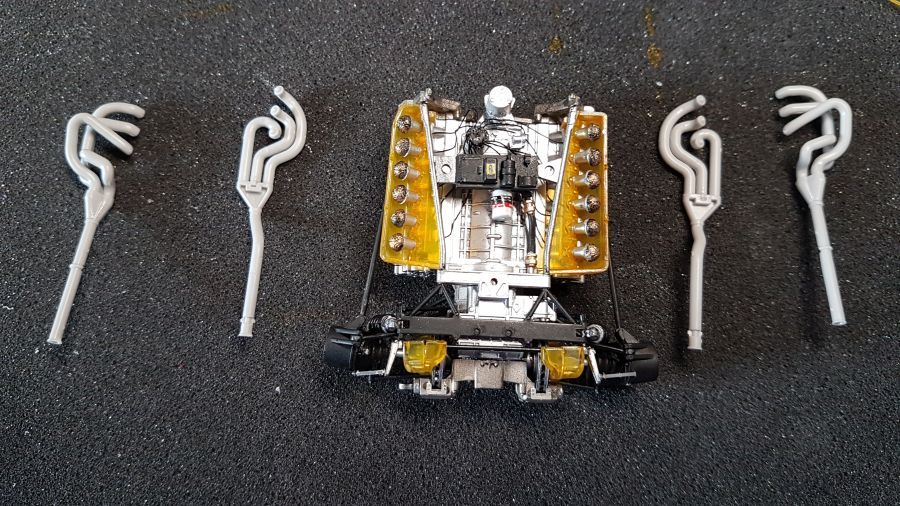
De luchtinlaten worden gespoten met een mengsel van helder geel, helder oranje en mat lak.
The intakes are painted with a mixture of clear yellow, clear orange and matt lacquer.
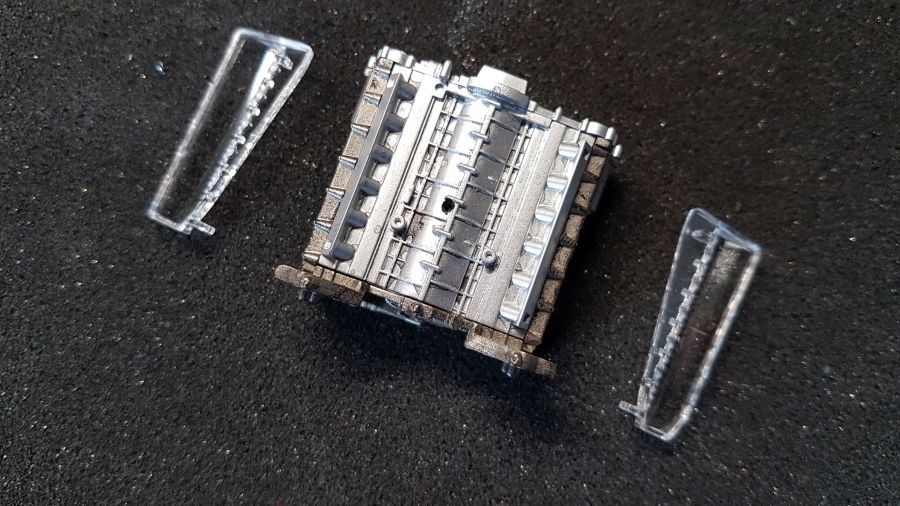

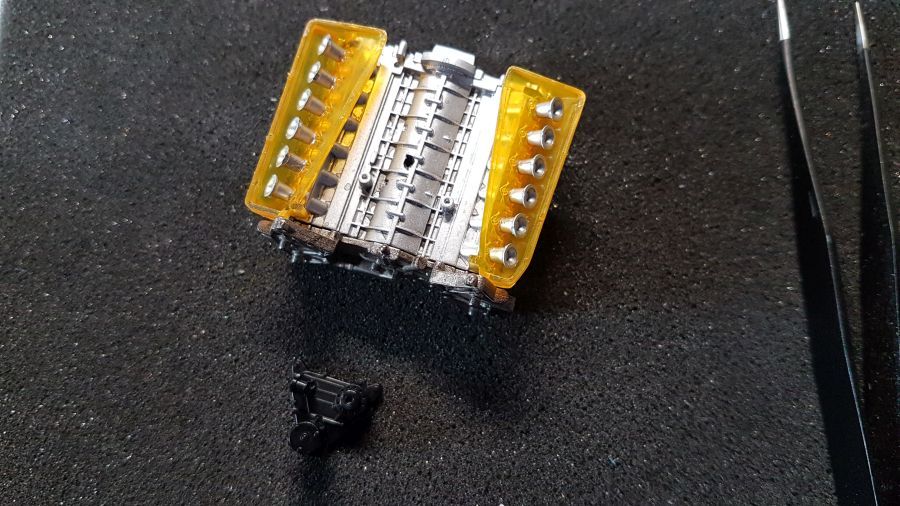
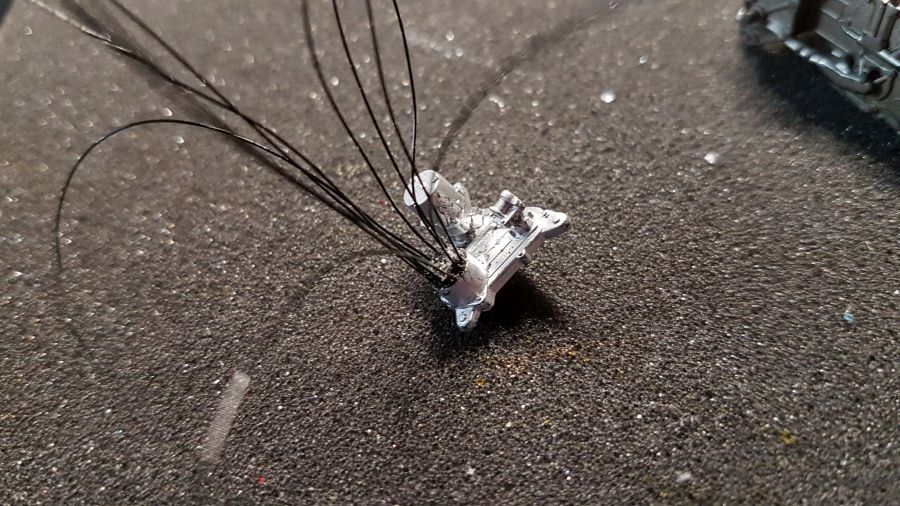
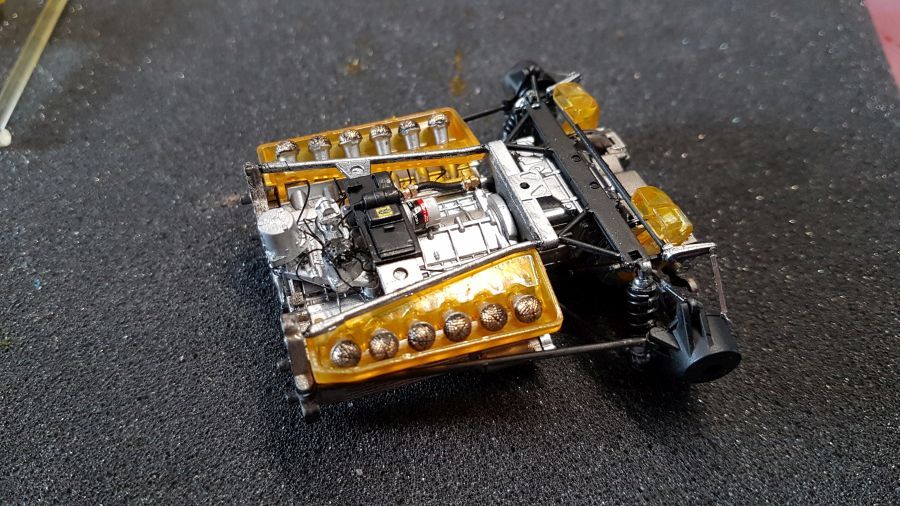
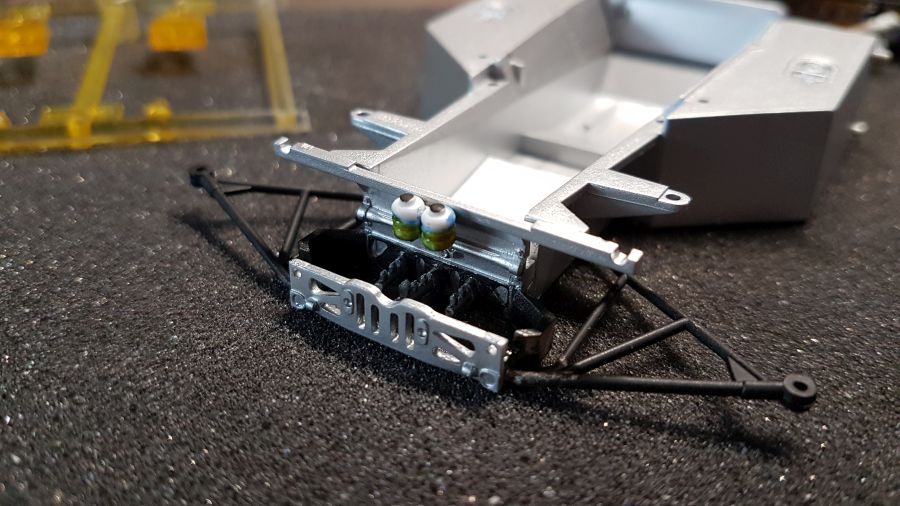
Ik ga weer wat werk maken van de ontsteking. Weer wat bedrading aanbrengen. De gaatjes worden geboord met een 0.4 mm boortje en daarna wordt 0.3 mm draad geplaatst.
I am going to work with the ignition. Add some wiring. The holes are drilled with a 0.4 mm drill and then 0.3 mm wire has been added.
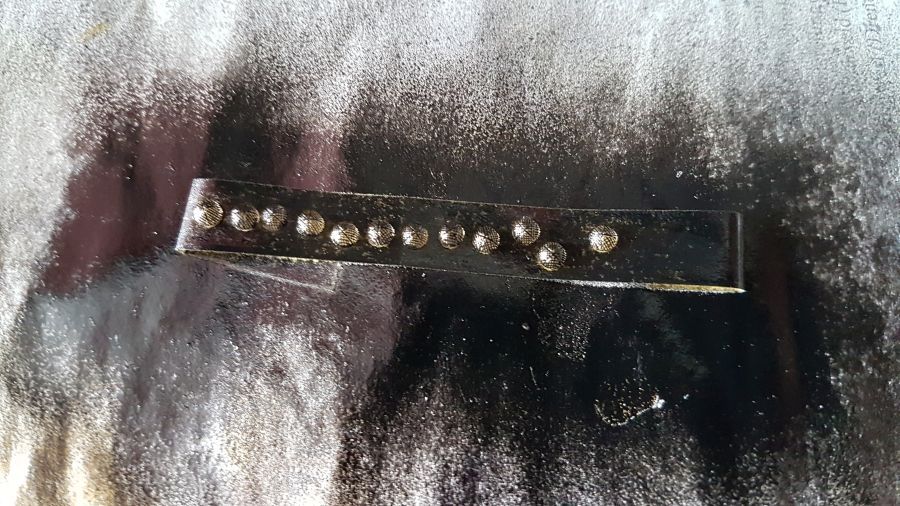
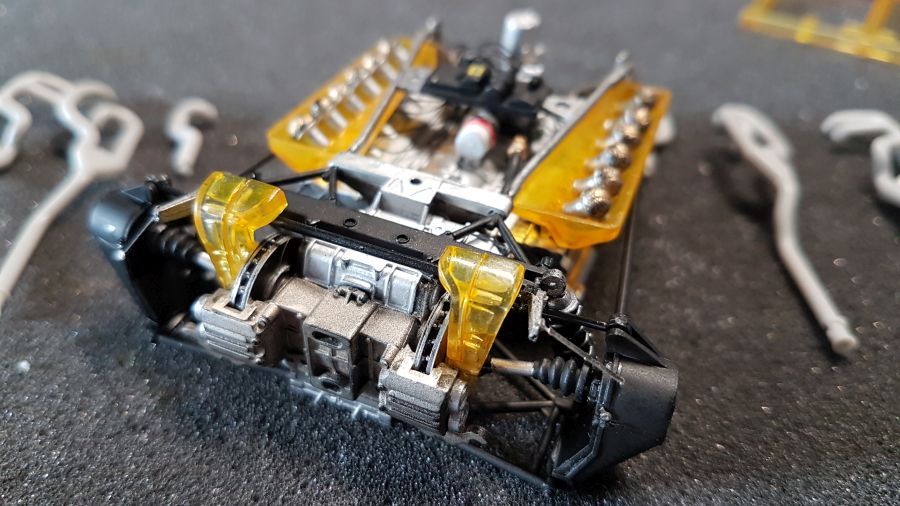
Voor de afdekking van de luchtinlaten gebruik ik de standaard onderdelen zoals ze in de kit zitten. Omdat het een curbside model wordt, heeft het geen zin de extra's te gebruiken. Deze ben ik misschien later nog eens nodig bij een andere bouw. Eerst krijgen ze een mist van zwart en daarna een dry brush van goud.
For the funnel covers i will use the standard parts as included in the kit. Because it'will be a curbside model, it's of no use to use the extra's. I might need them later for another build. First they will get a mist of black and then a dry brush of gold.

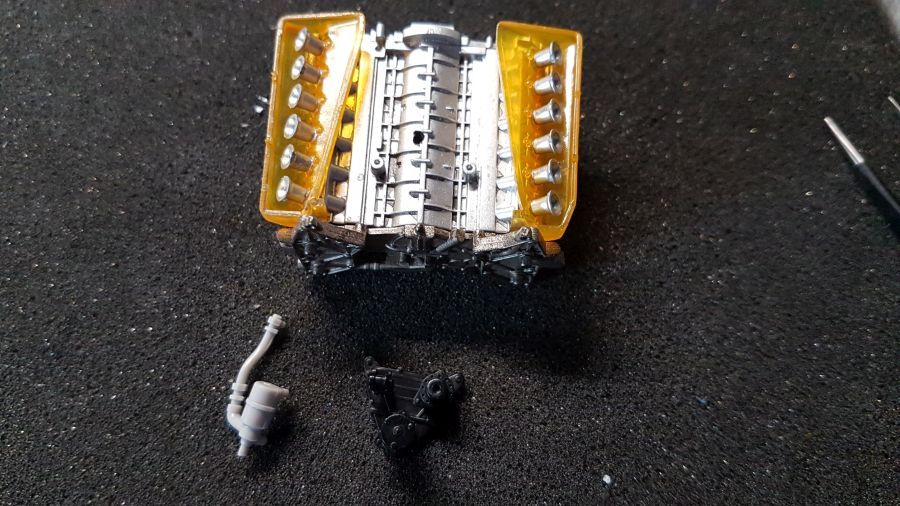
Daarna is de versnellingsbak aan de beurt.
Next is the gear box.
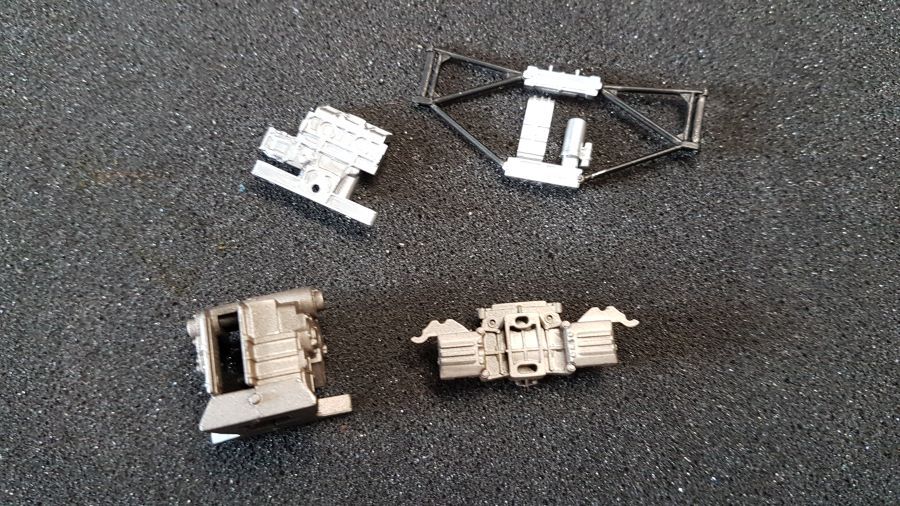

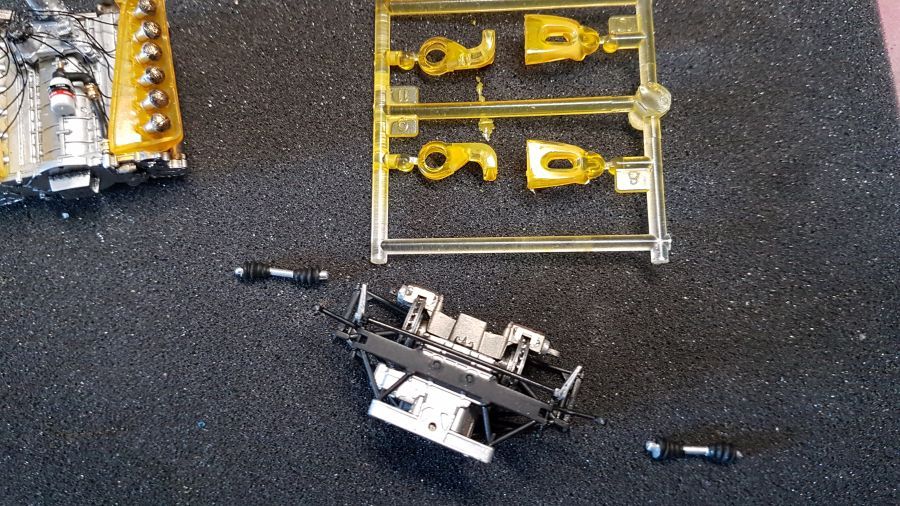
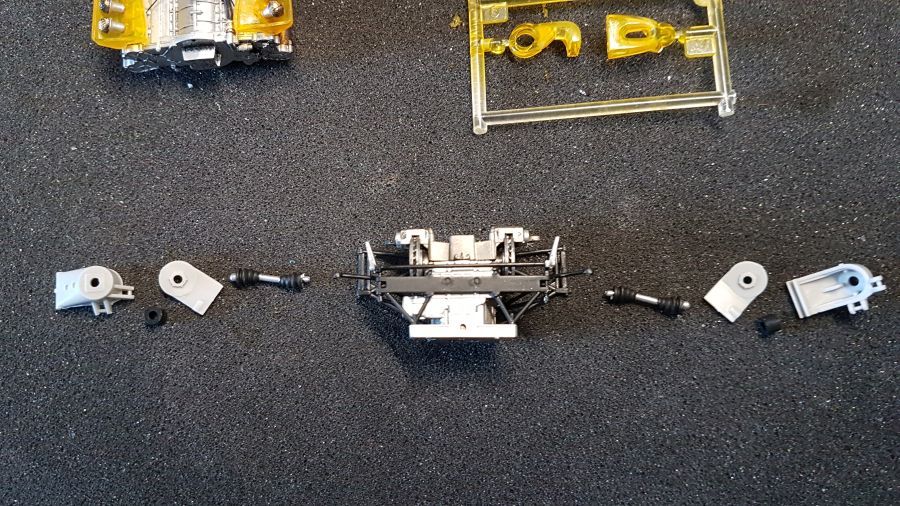
De aandrijfassen en de luchthappers zijn geverfd.
The axles and the air ducts have been painted.
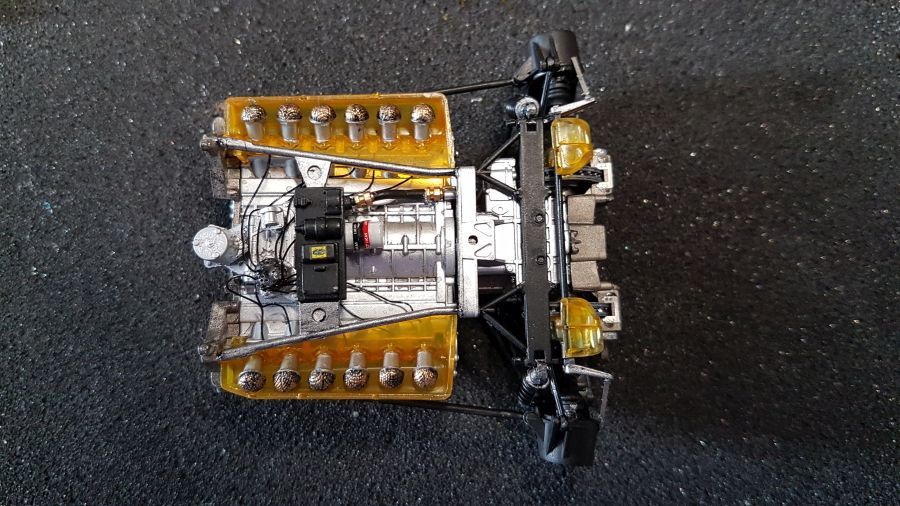
Oeps, vergat ik bijna de luchtinlaten. Gelukkig is de lijm nog niet uitgehard.
Oops, i almost forgot the air ducts. Luckily the glue hasn't fully dried yet.

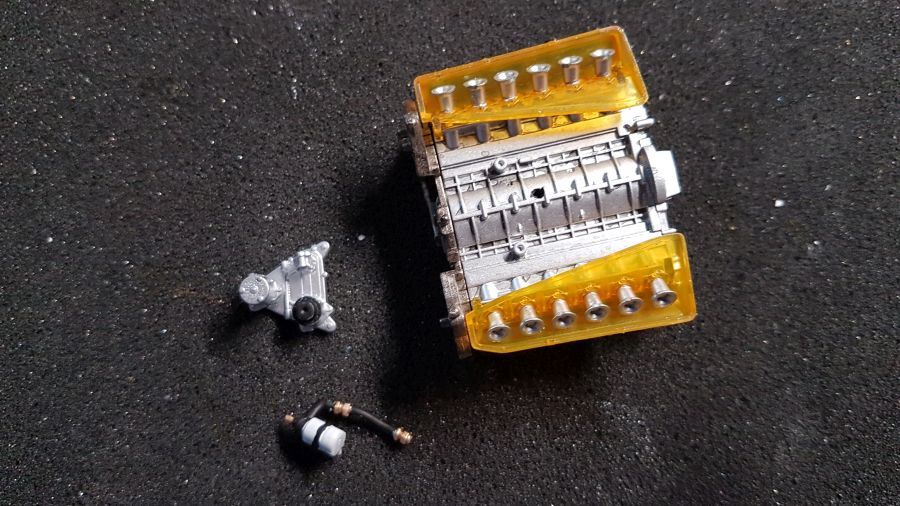
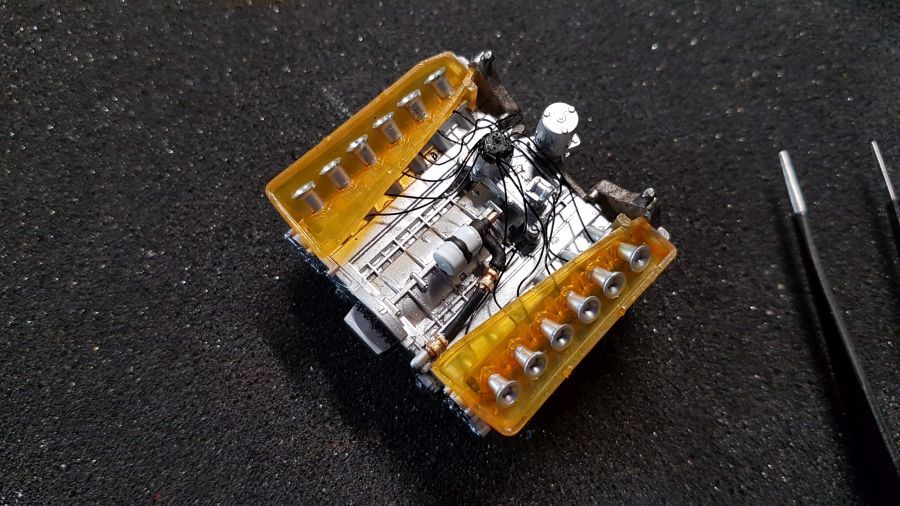
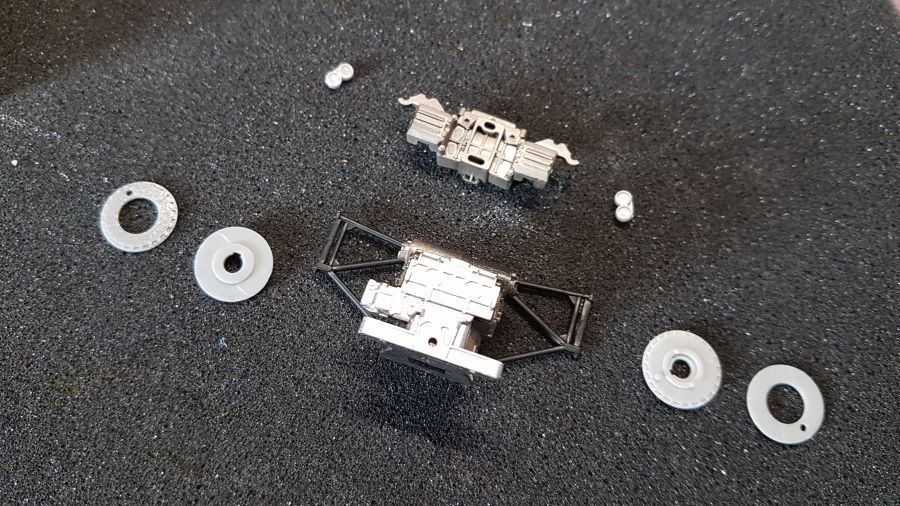
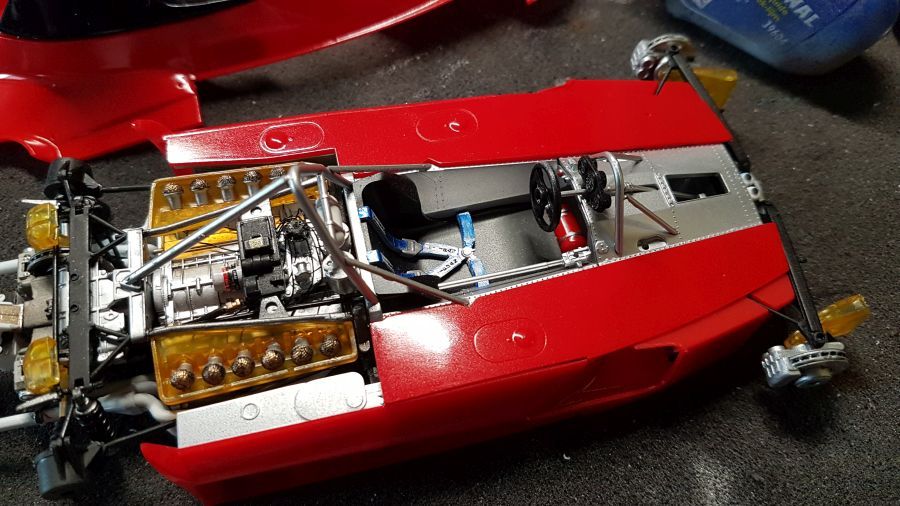
Dan kunnen de motor en de transmissie aan elkaar worden bevestigd.
Then the engine and the transmission can be connected.
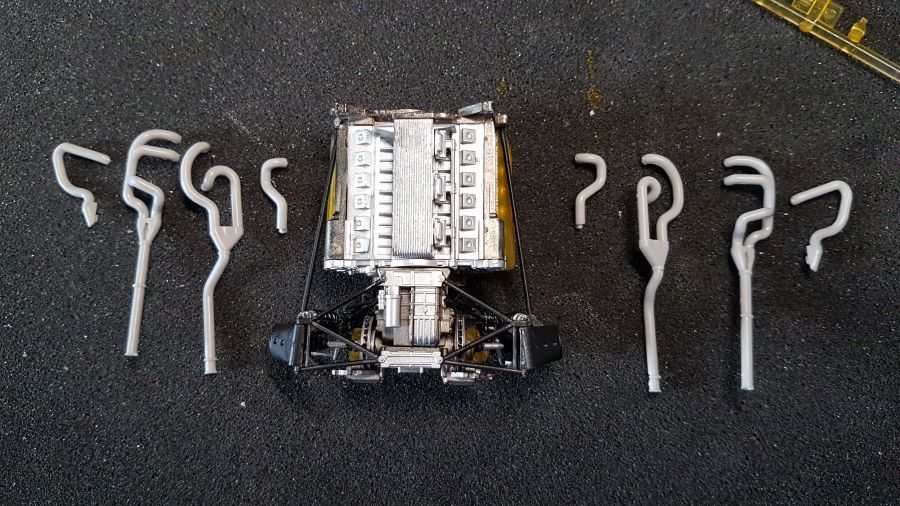
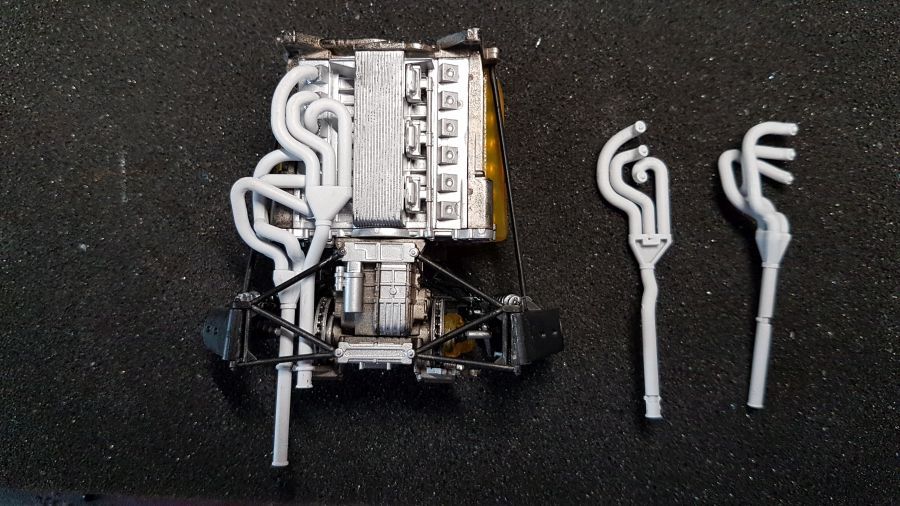
Dan zijn de uitlaten aan de beurt. Eerst spuit ik ze helemaal wit. Later zal ik ze nog wat 'gebruikter' maken.
Then it's time for the exhausts. First i will paint them white. I will do some weathering at a later time.

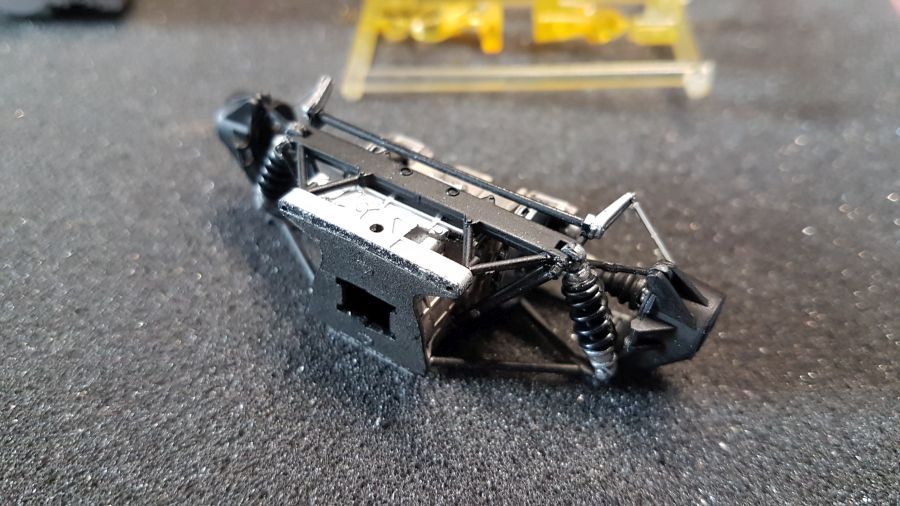
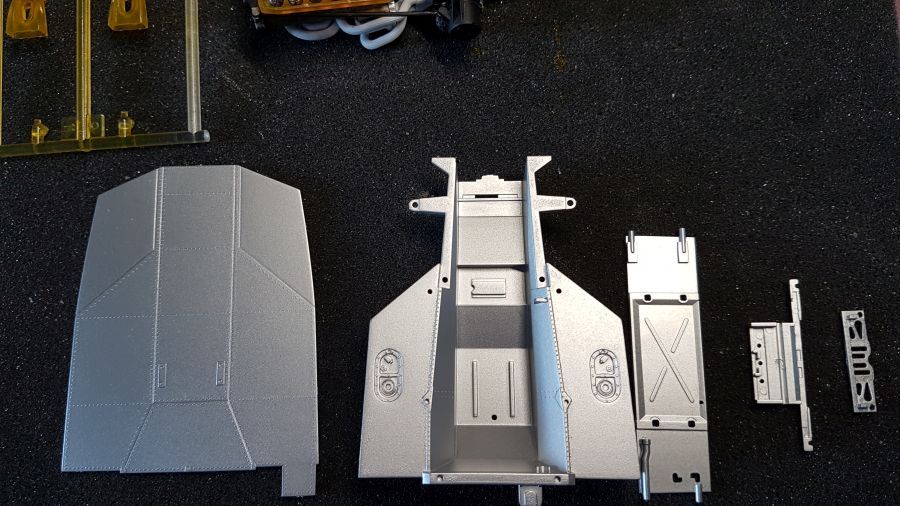
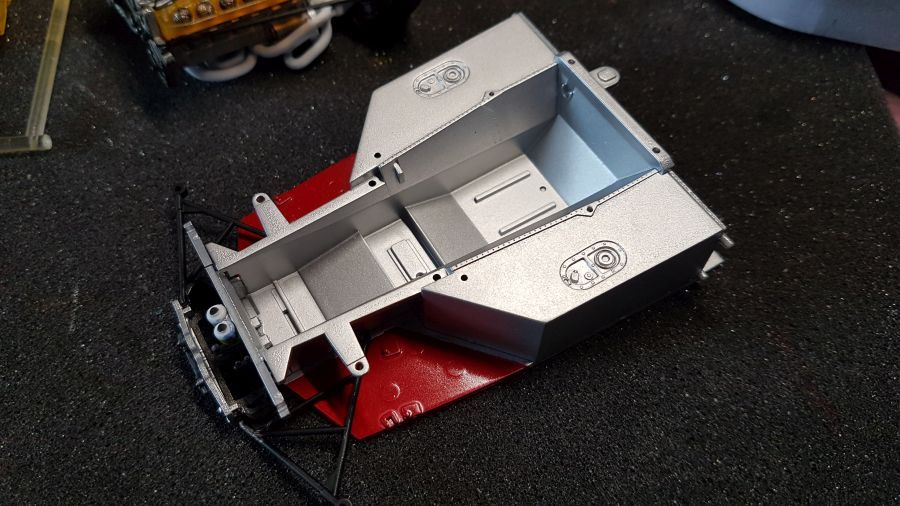
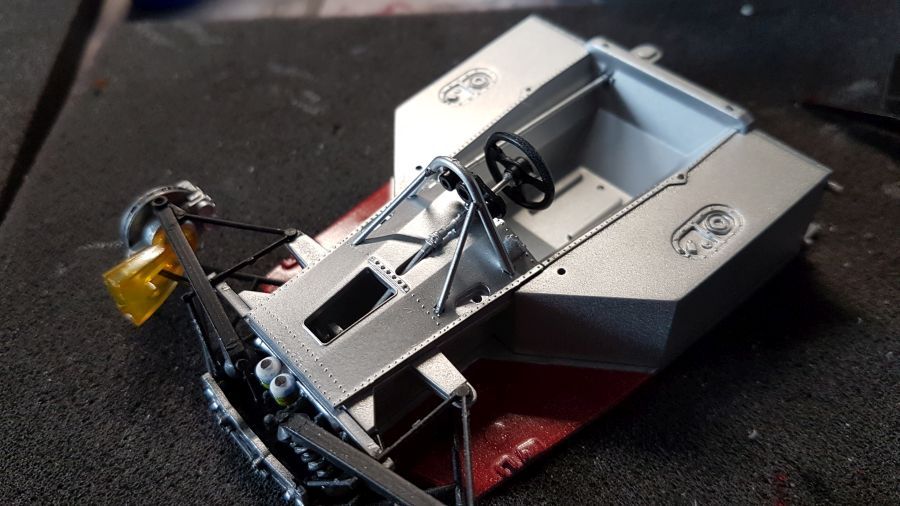
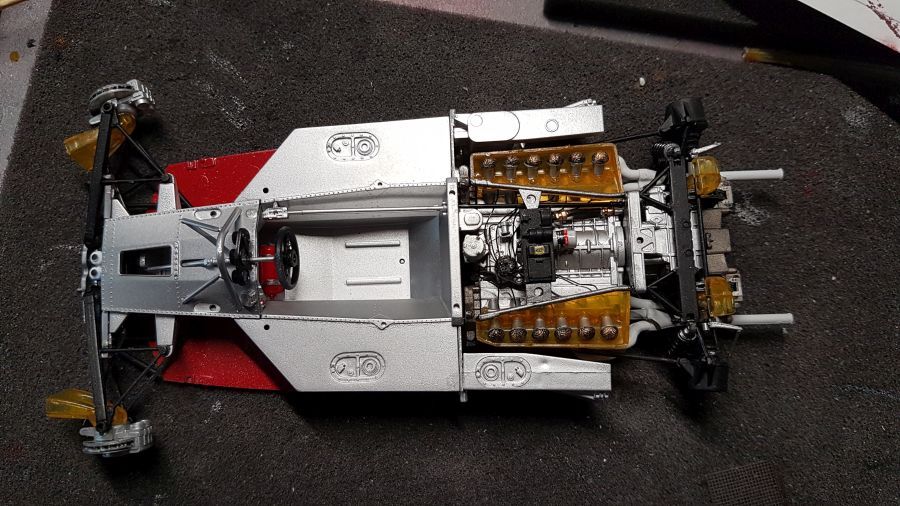
Door met de kuip. Eerst wordt alles aluminium gespoten.
To continue with the tub. First everything gets an aluminium colour.
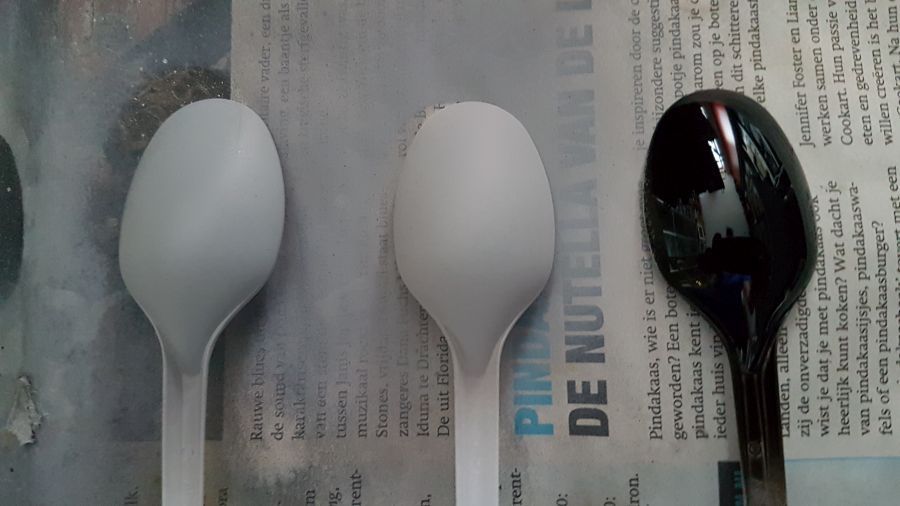
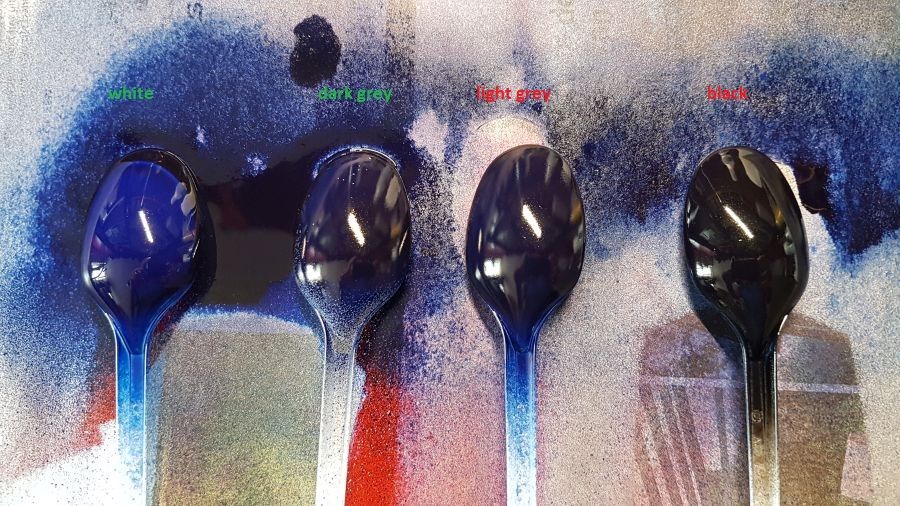
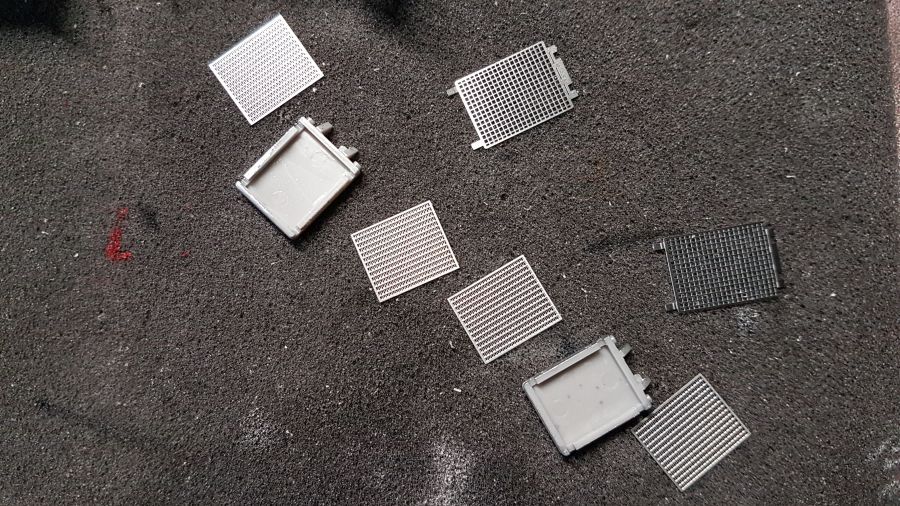
Intussen heb ik even een test gedaan met wat verschillende primers voor de Tamiya TS-55 Donkerblauw. De 3e van links pakt zeer goed uit. Echt diep donkerblauw. De foto geeft het niet helemaal goed weer.
In the meantime i did a test using different primers for the Tamiya TS-55 Dark Blue. The 3rd from the left looks very good. Really deep dark blue. The photo doesn't show the real colour.
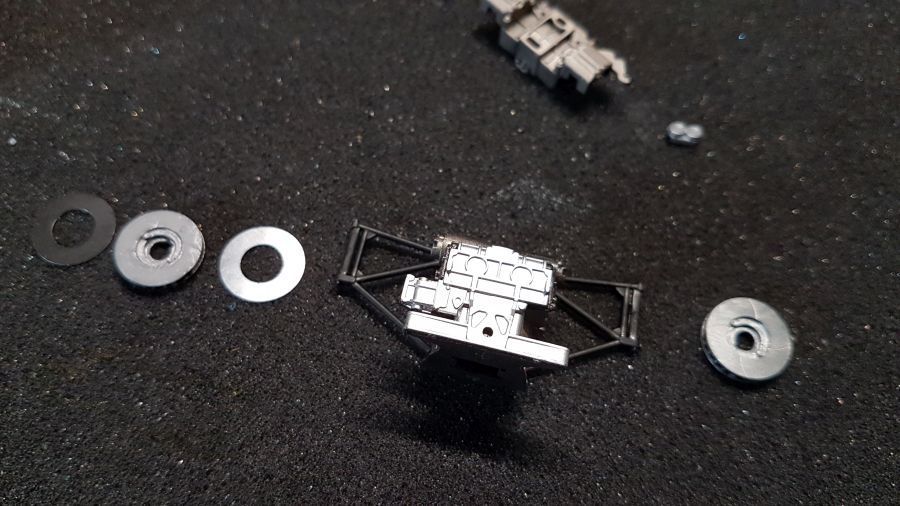
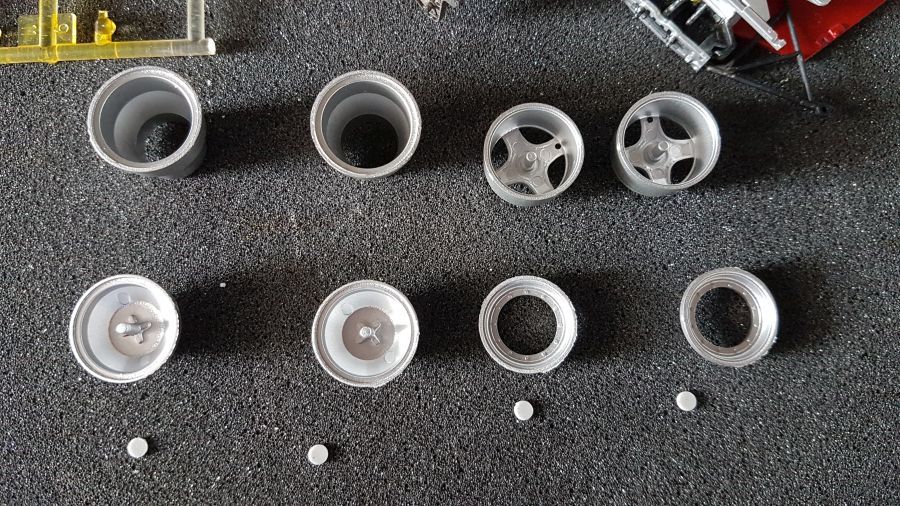
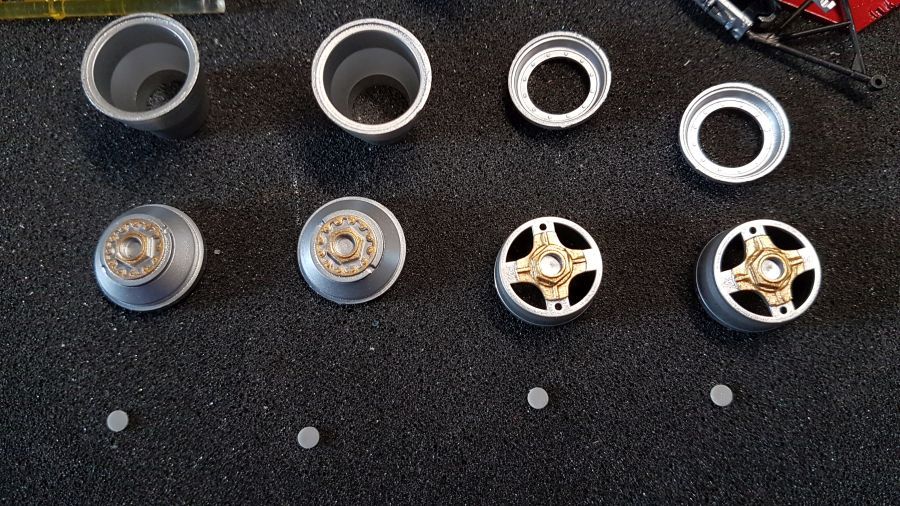
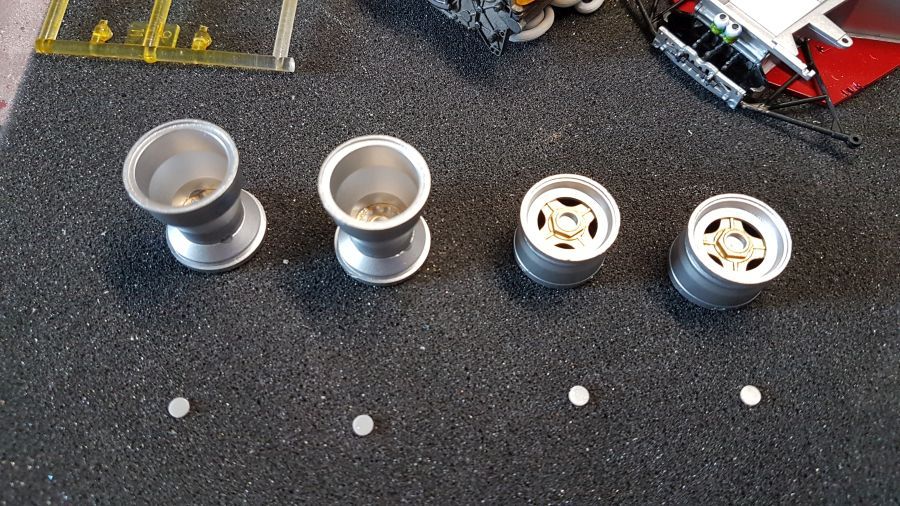
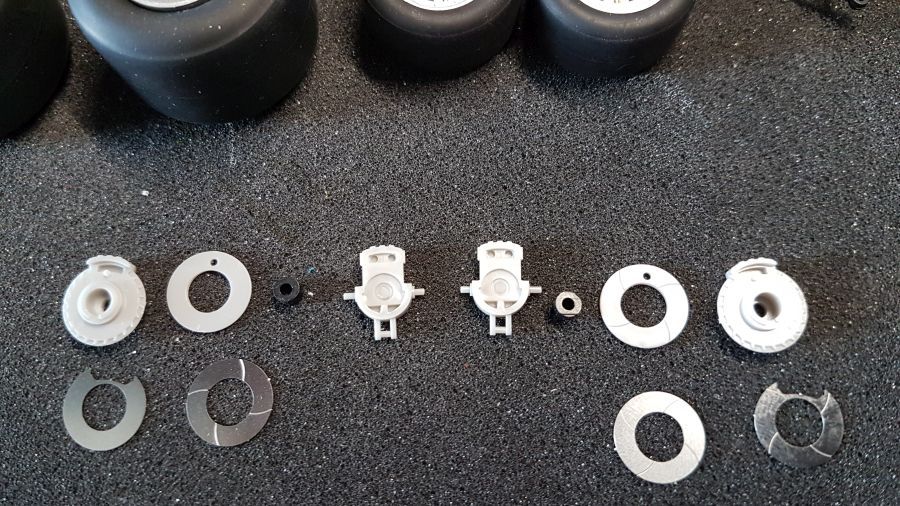
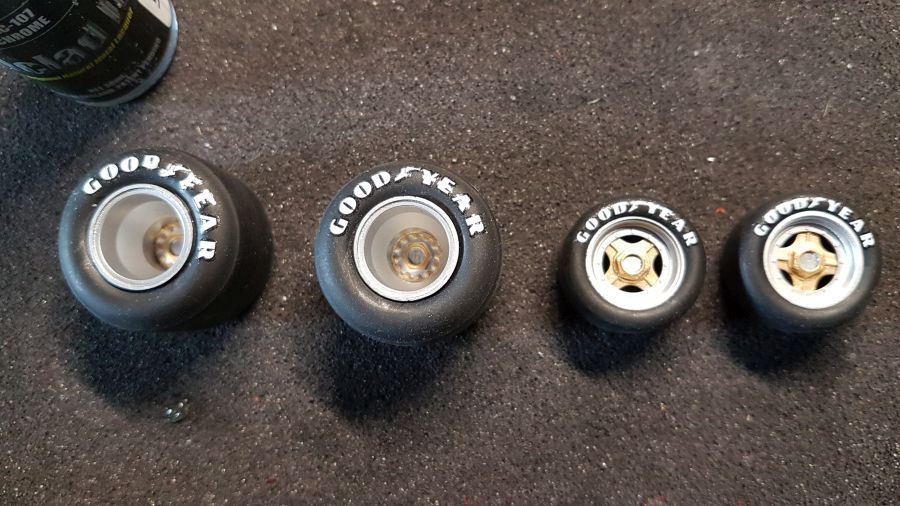
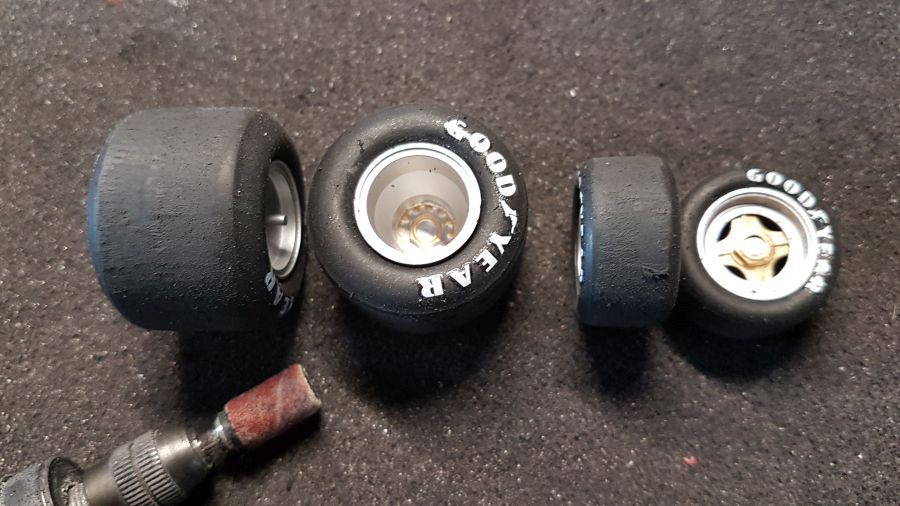
Dan de velgen en de banden.
Then the rims and the tires.
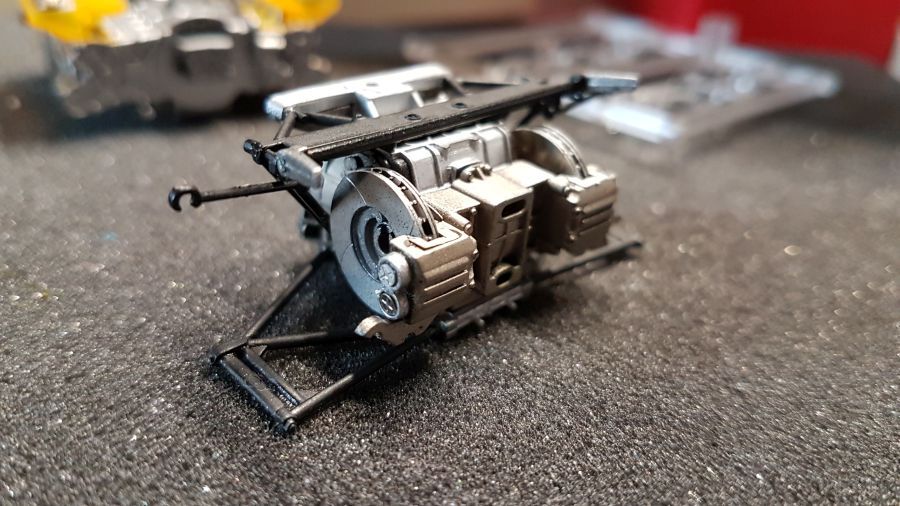
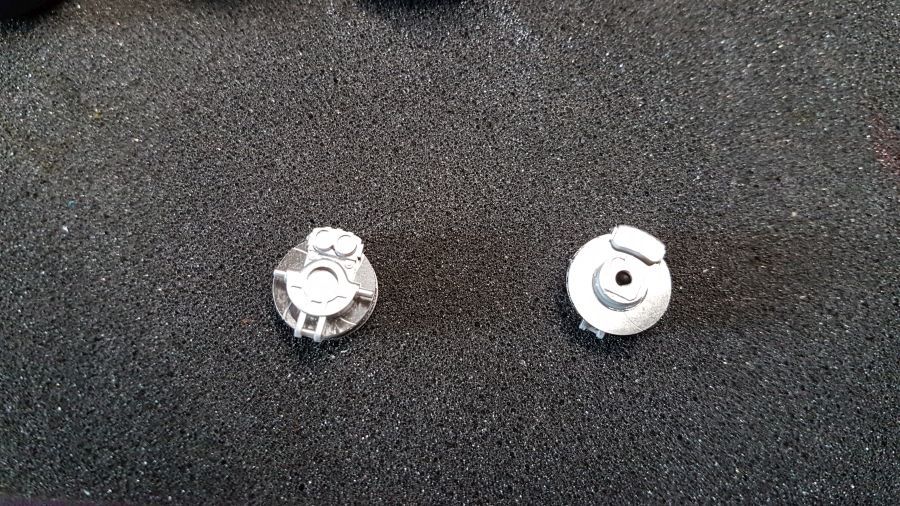
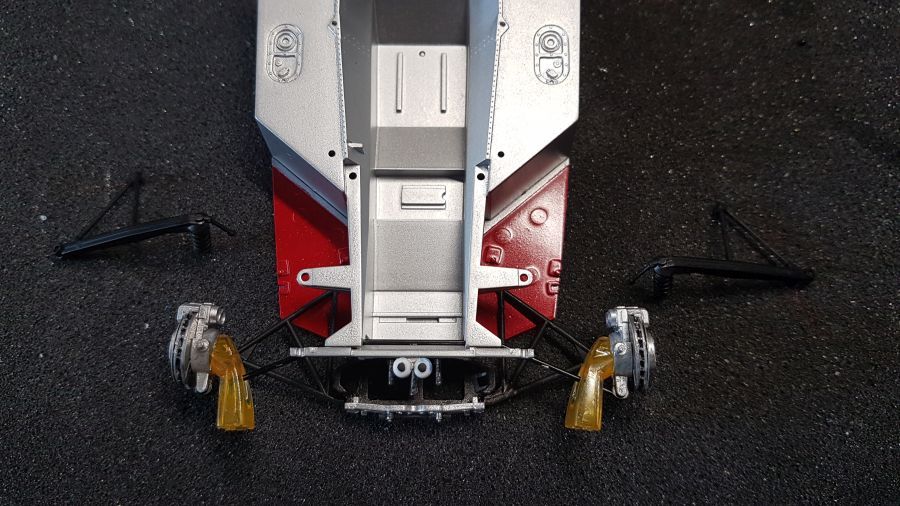
De voorremmen.
The front brakes.
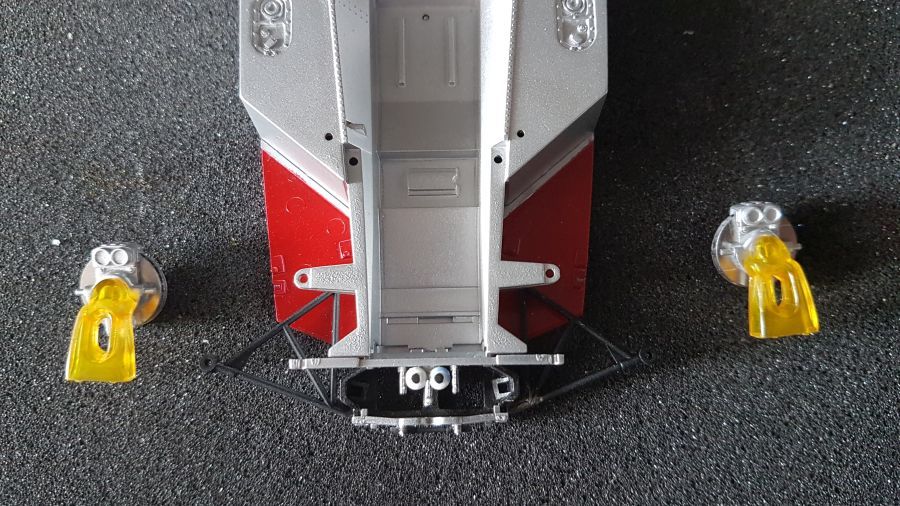
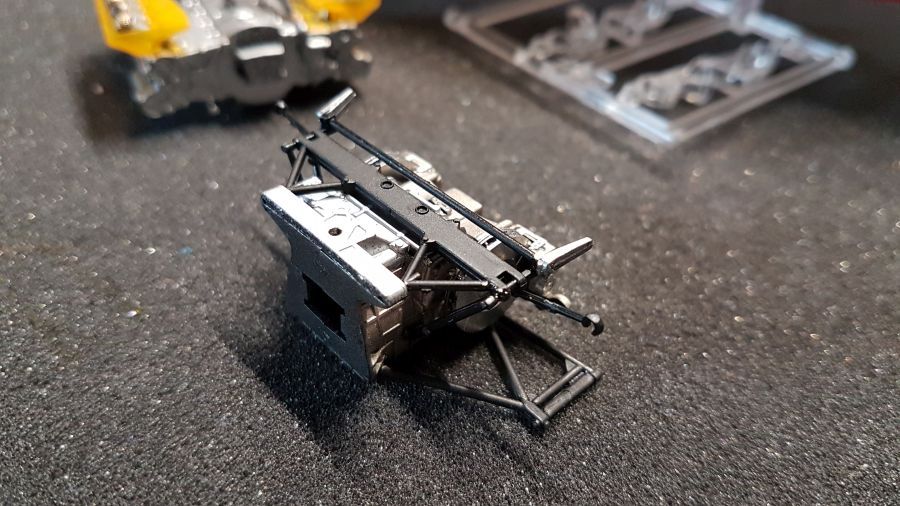
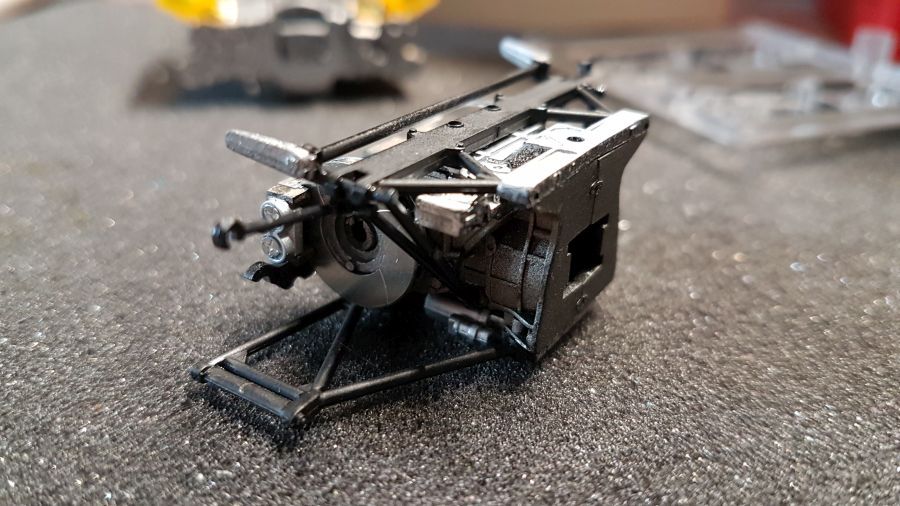
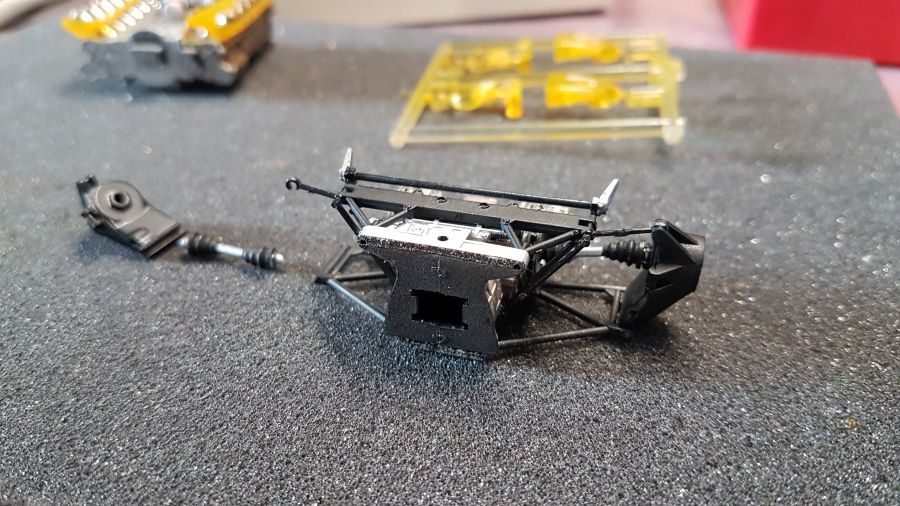
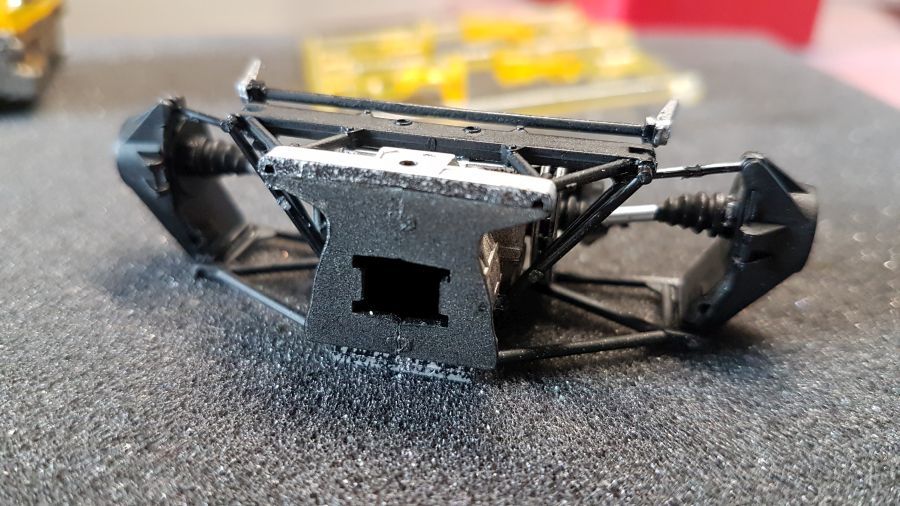
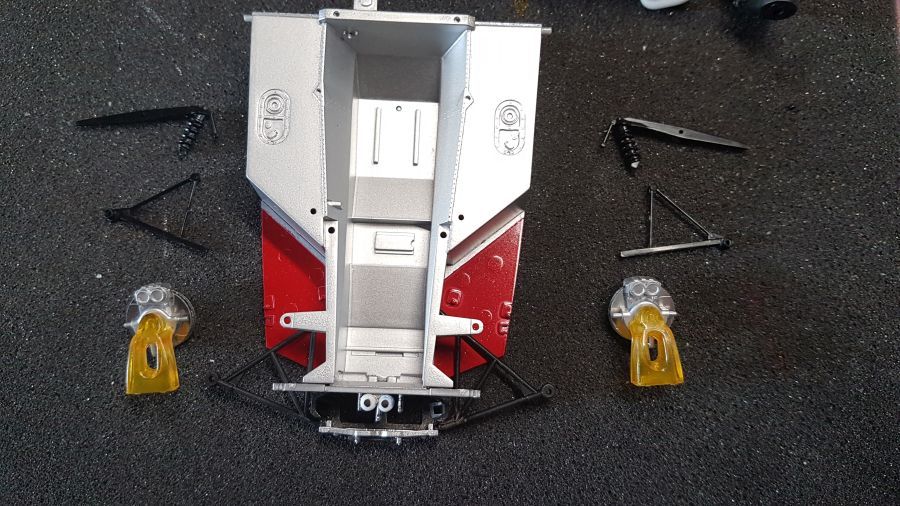
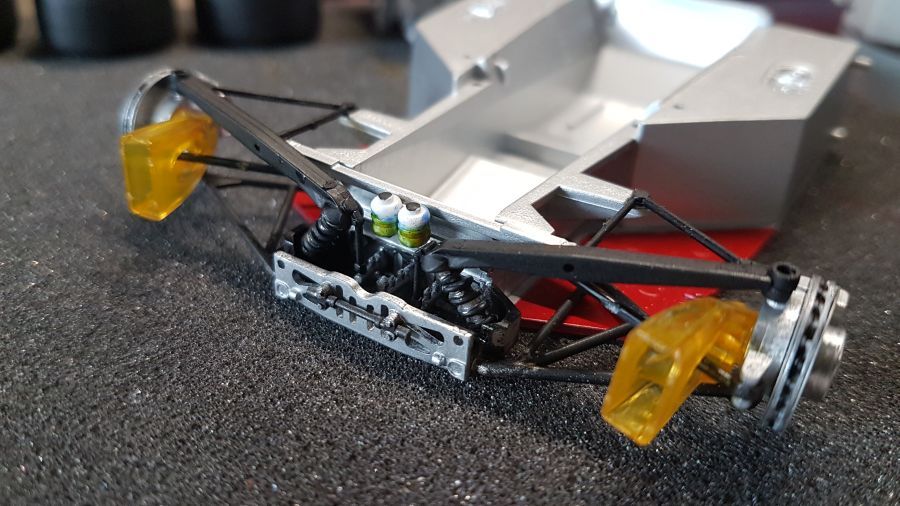
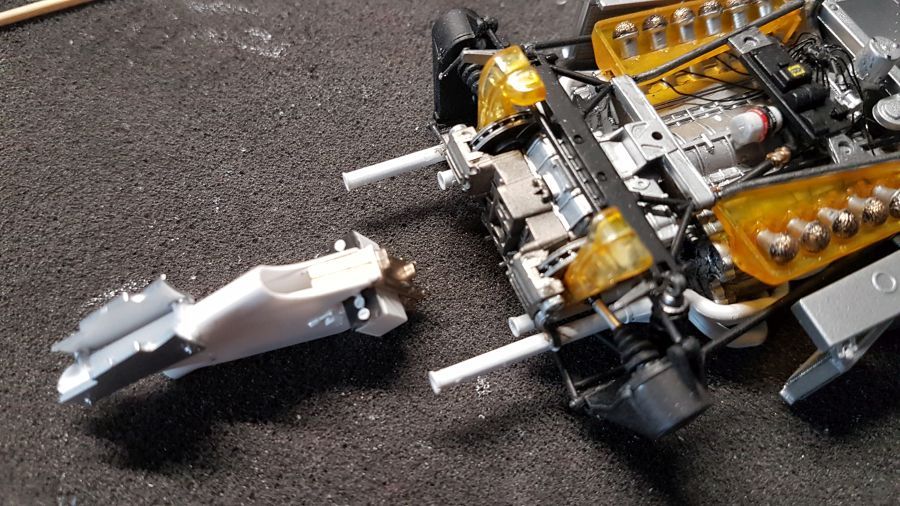
Vervolgens verder met de voorwielophanging...
To continue with the front wheel suspension...
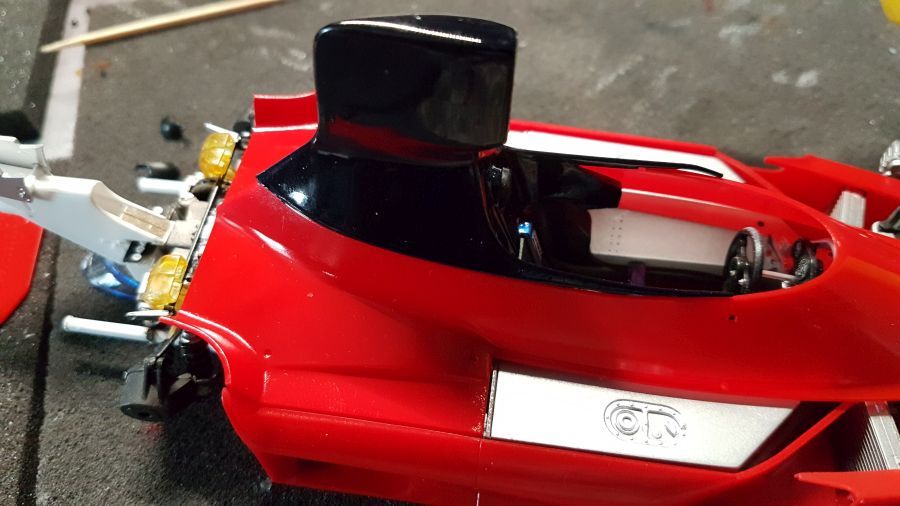
En daarna de cockpit...
And then the cockpit...

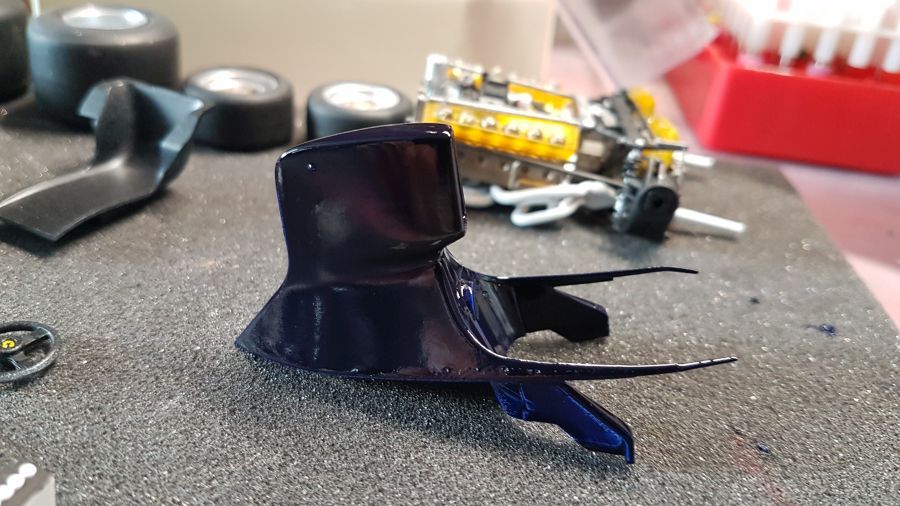
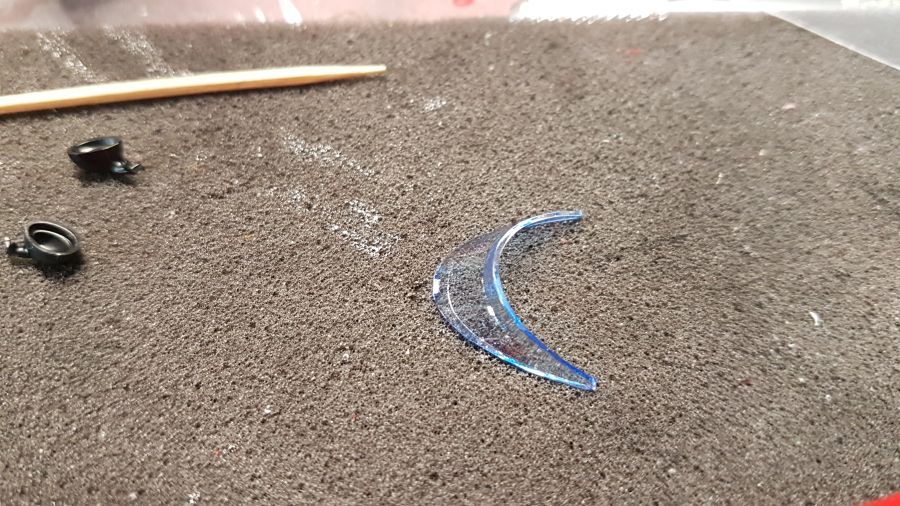
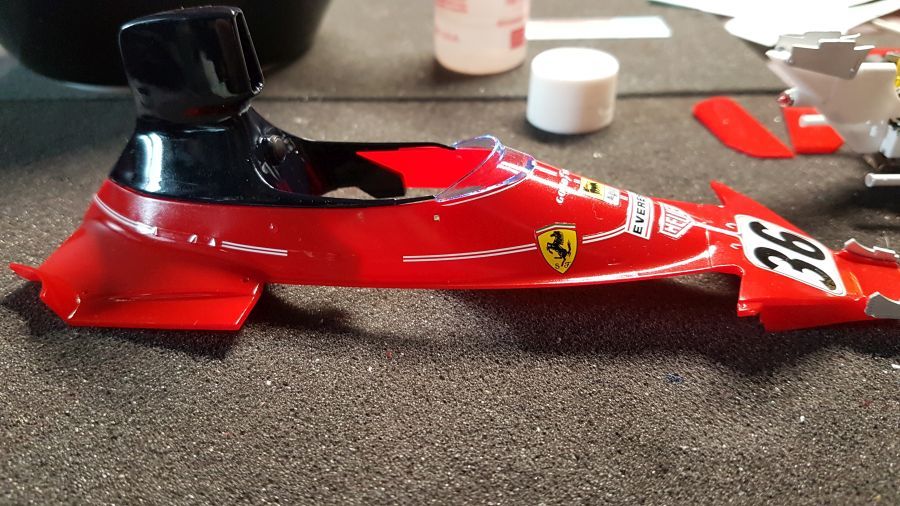
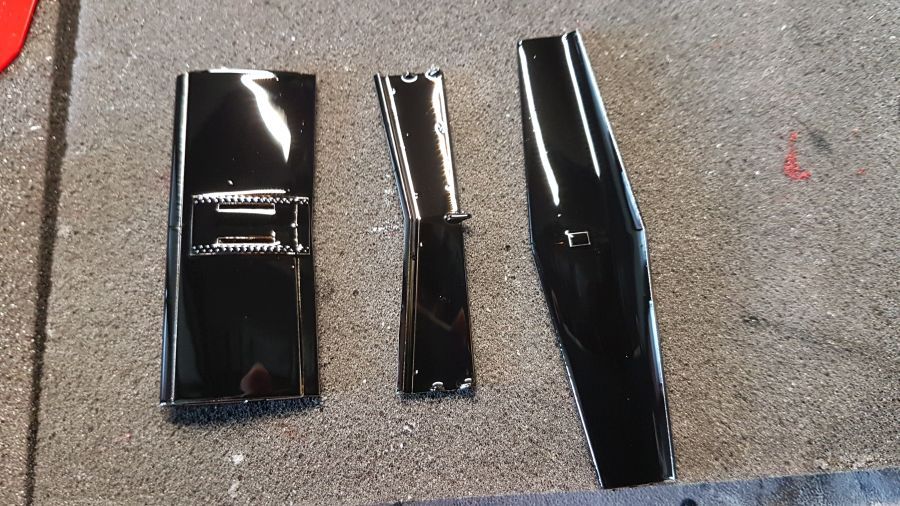
Vandaag heb ik niet zoveel zin in het maken van de gordels, het is nu nog goed weer, dus ik ga maar vast wat verf spuiten. Eerst de luchtinlaat. Het krijgt dus de donkergrijze primer en daarna een paar lagen Tamiya TS-55 Donkerblauw.
Today i don't feel like making belts, the weather is still good, so i will do some painting. First the air duct. It gets the dark grey primer and then a couple of layers Tamiya TS-55 Dark Blue

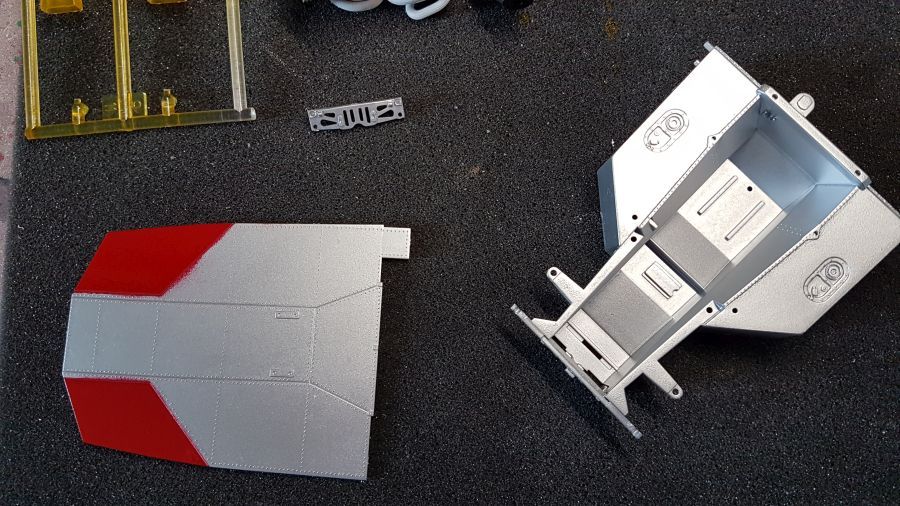
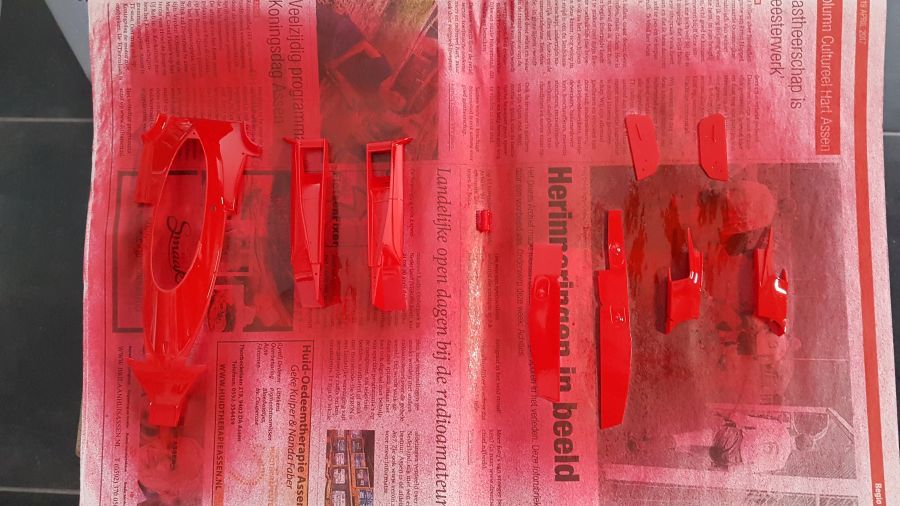
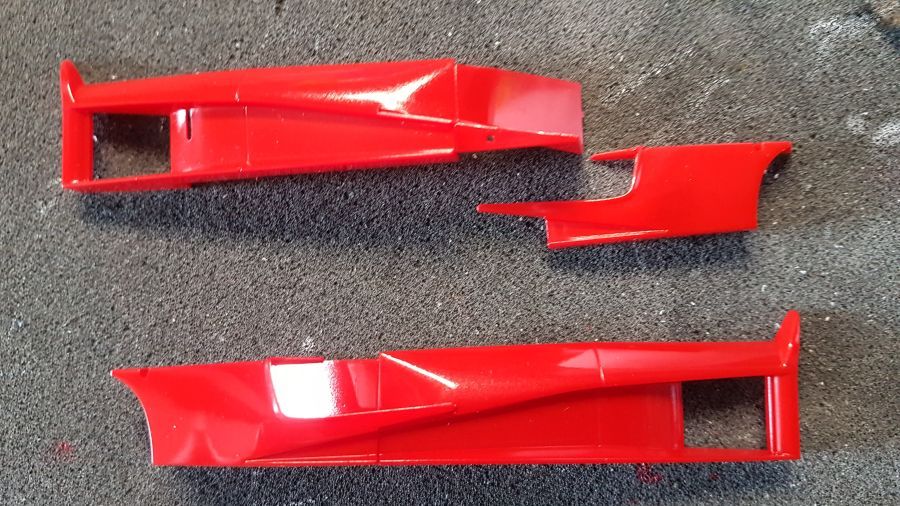
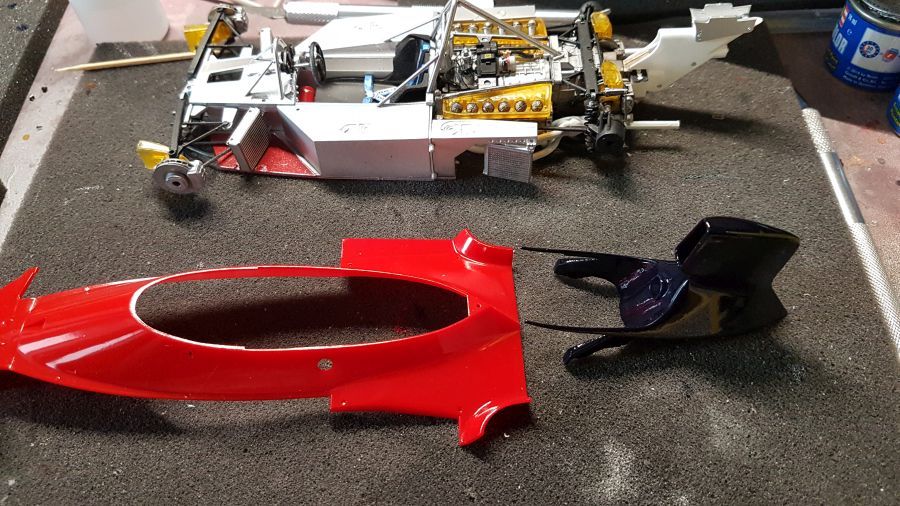
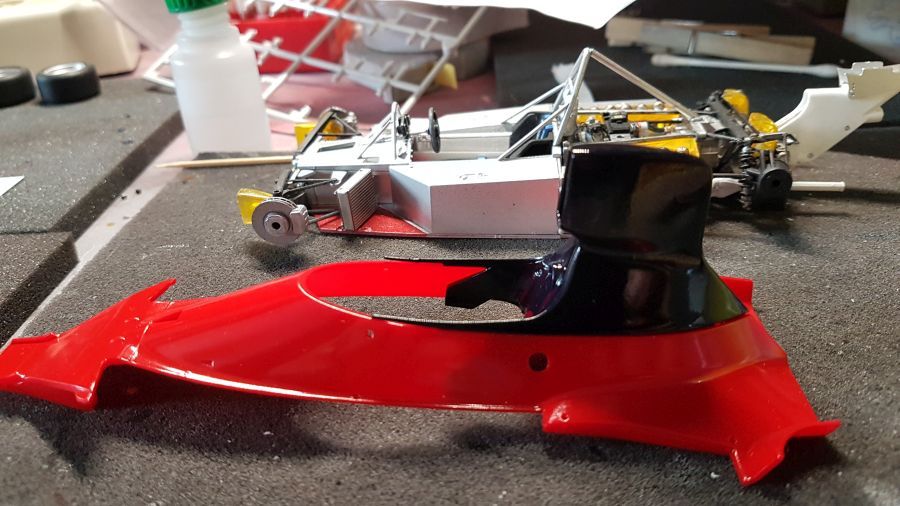
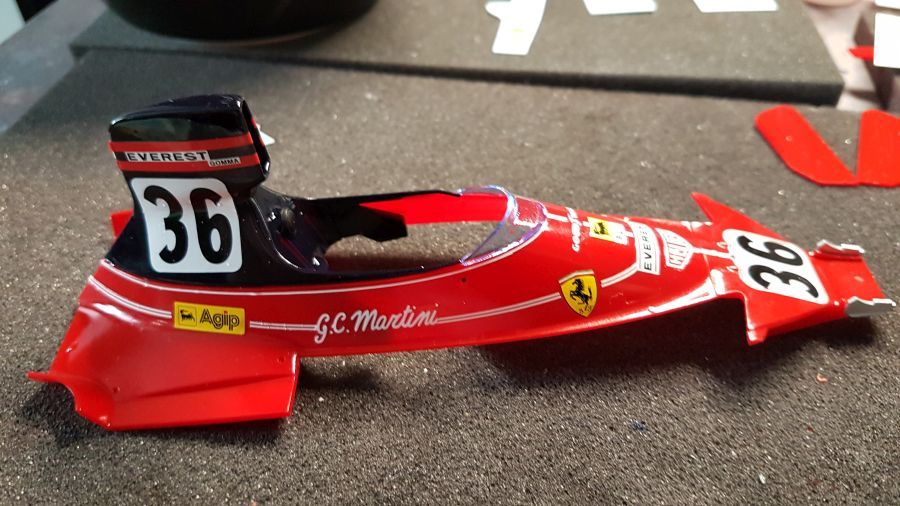
Dan zijn de bodyonderdelen aan de beurt. Ik gebruik hiervoor Tamiya TS-8 Italiaans Rood.
Next are the body parts. I use Tamiya TS-8 Italian Red for them.
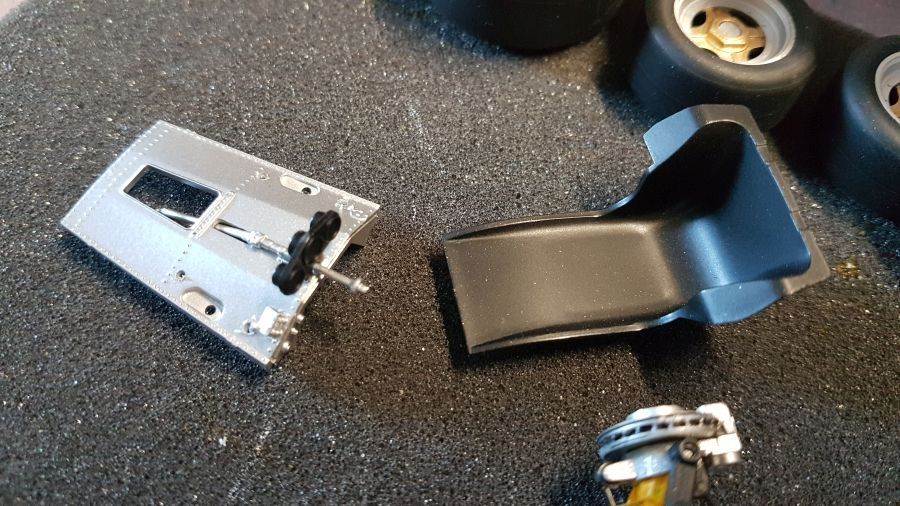
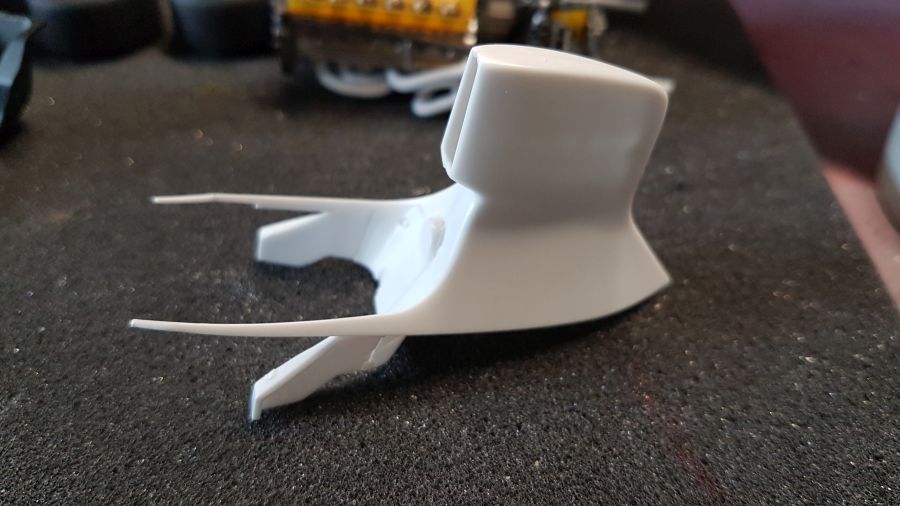
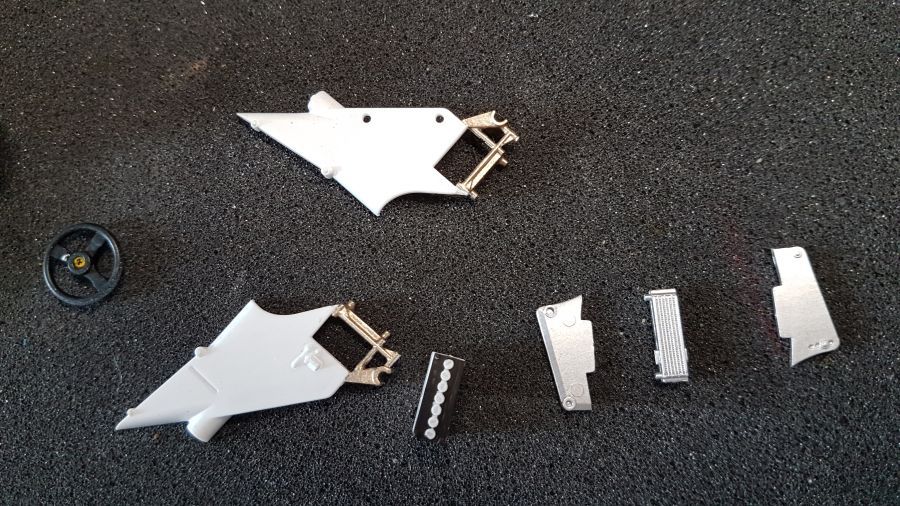
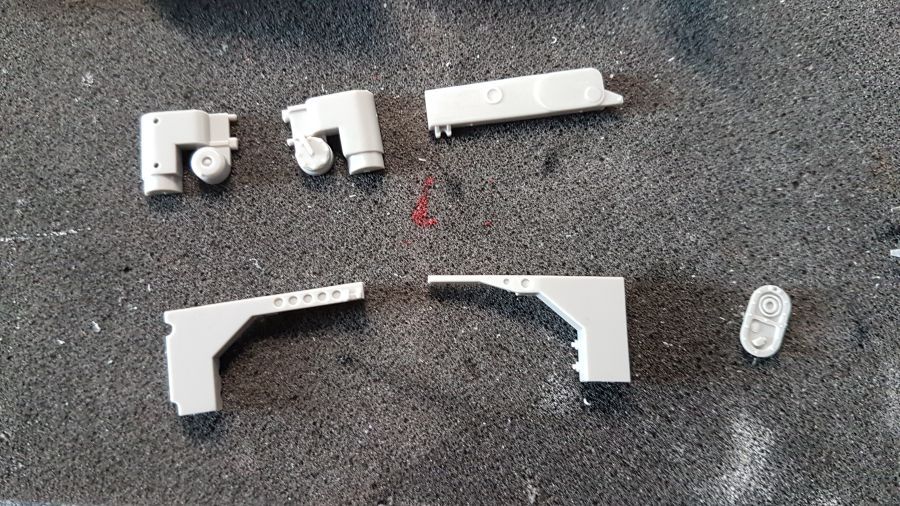
Dan verder met de steun voor de achtervleugel. Deze krijgt Tamiya TS-26 Puur Wit. En hier en daar een mix van zilver en goud. Een paar kleine onderdelen worden zilver en zwart/wit geverfd.
Then the support for the rear wing. This one gets Tamiya TS-26 Pure White. And a mix of silver and gold at some spots. A few small parts are painted silver and black/white.
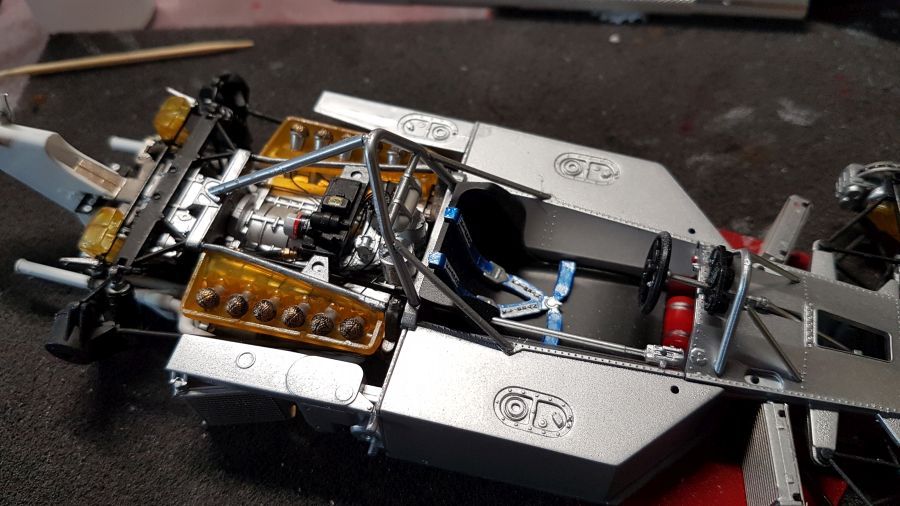
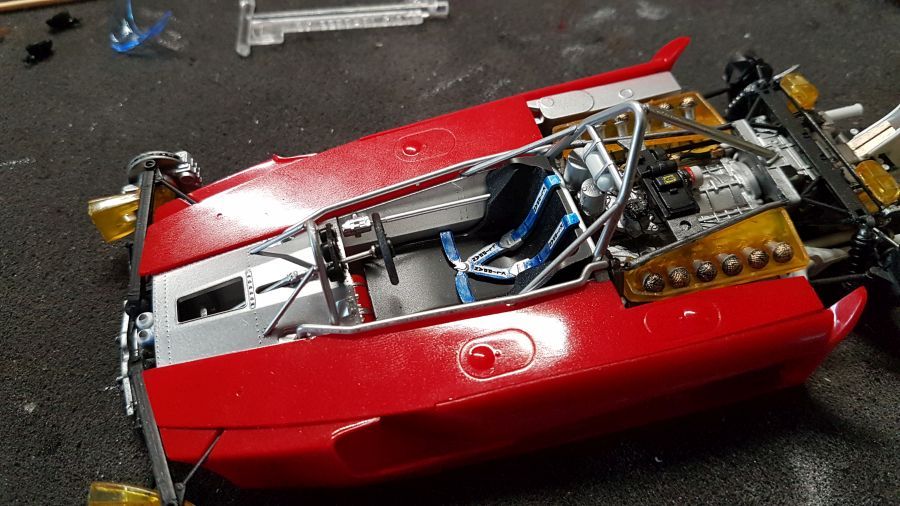
Nog wat werk aan de kuip.
Some more work to the tub.
Een paar delen van het bodywerk worden voorbereid.
A few parts of the bodywork get being prepared.
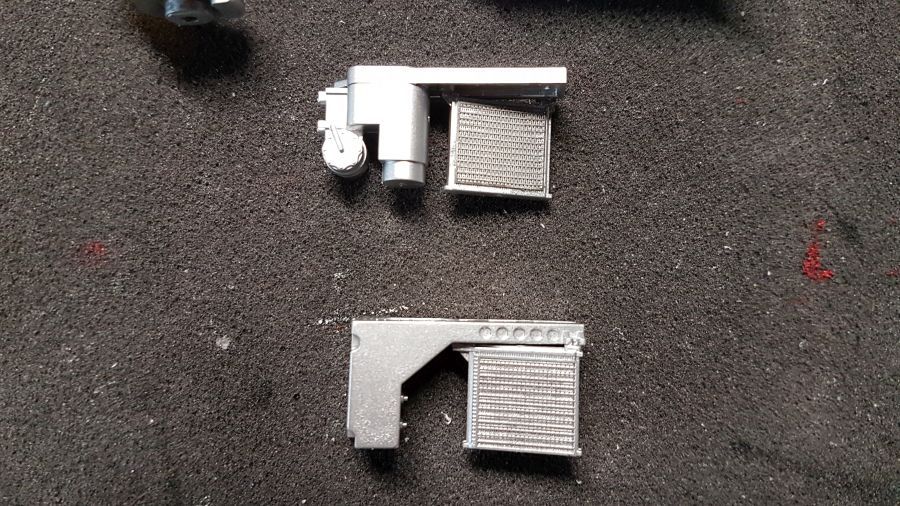
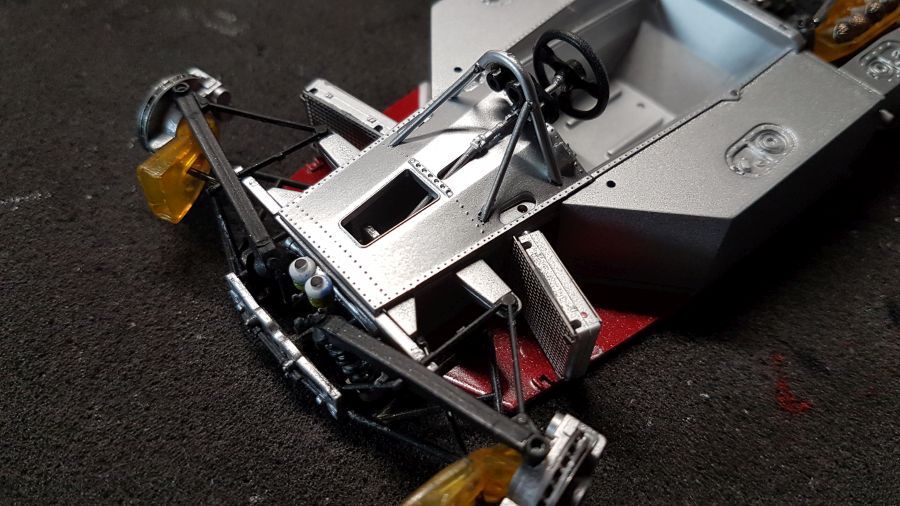
Verder met de koeling.
To continue with the cooling.

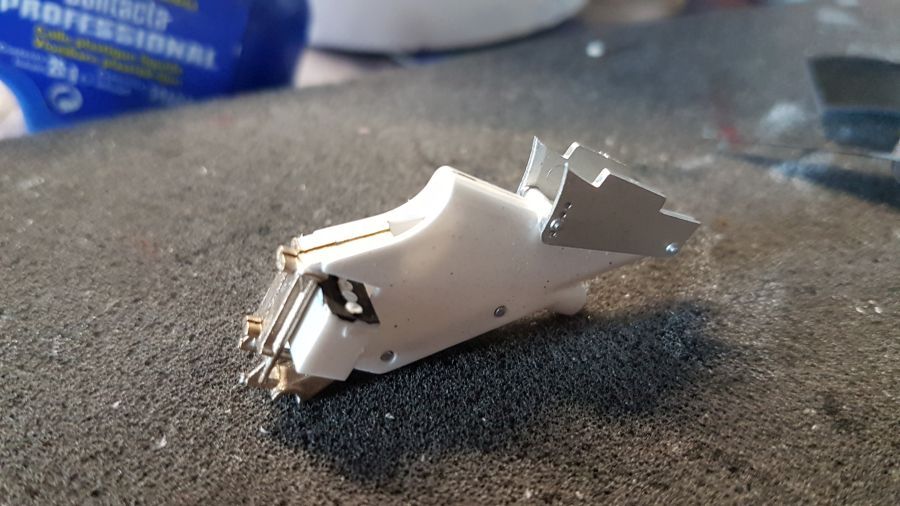
Tijd om de steun van de achtervleugel te plaatsen.
Time to attach the support for the rear wing.

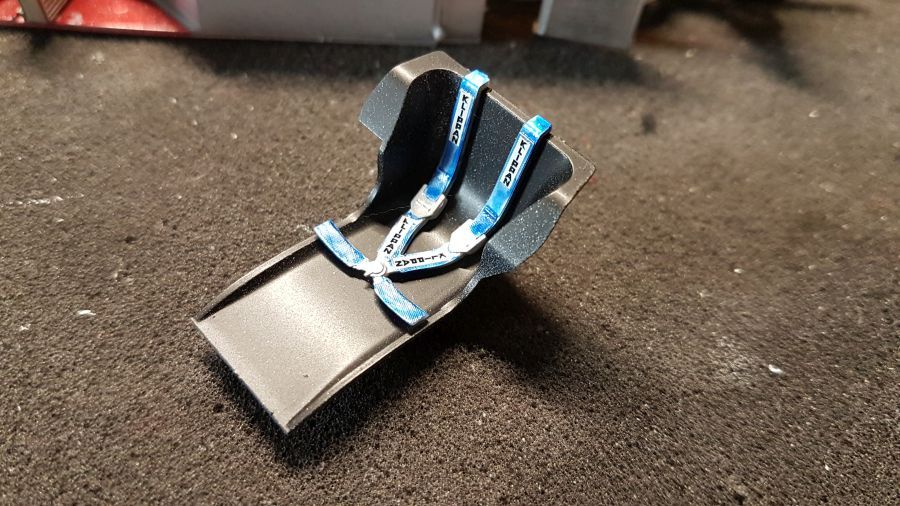
Ik heb het een beetje verknalt met de etched set en de bijbehorende riemen, dus ik ga maar improviseren met de riemen van de kit.
I messed up a bit with the etched set for the belts and the belts itself, so i will improvise with the belts included in the kit.
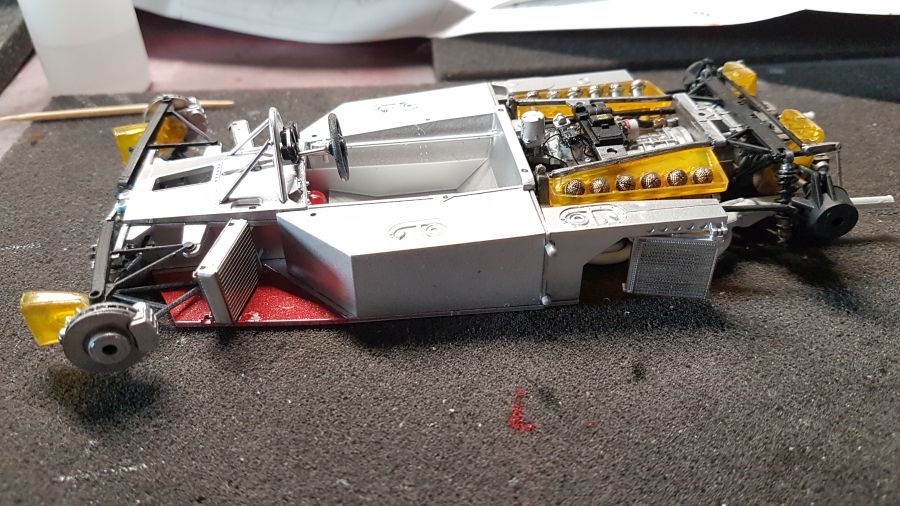
Tijd voor het plaatsen van de luchtinlaat.
Time to connect the air duct.
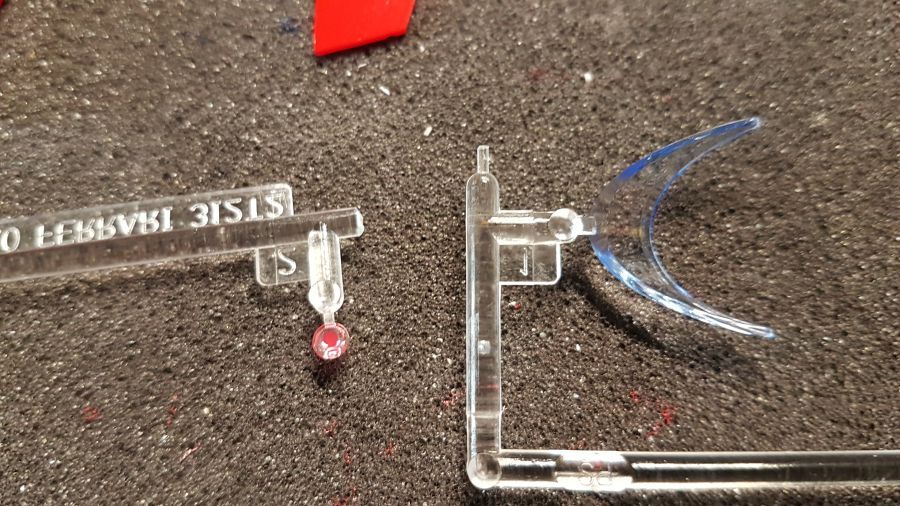
Het achterlicht en het raam krijgen een kleurtje.
The rear light and the window get some colour.
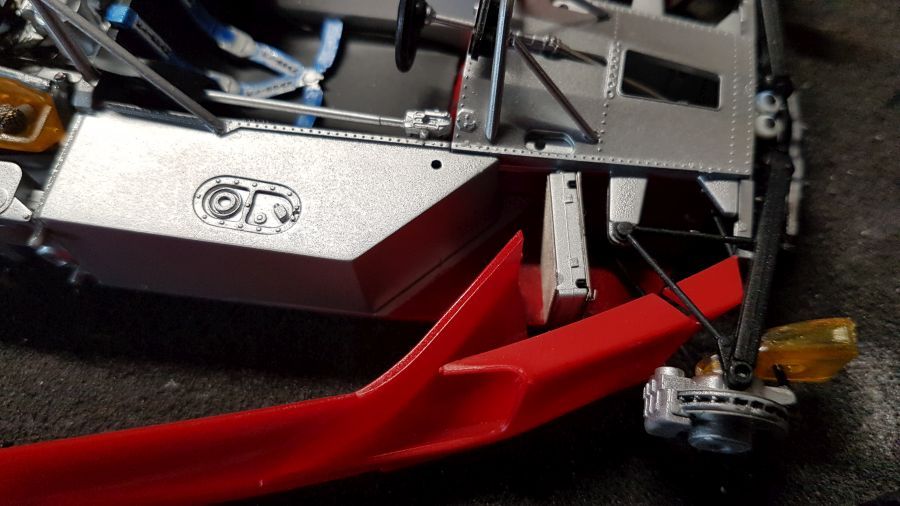
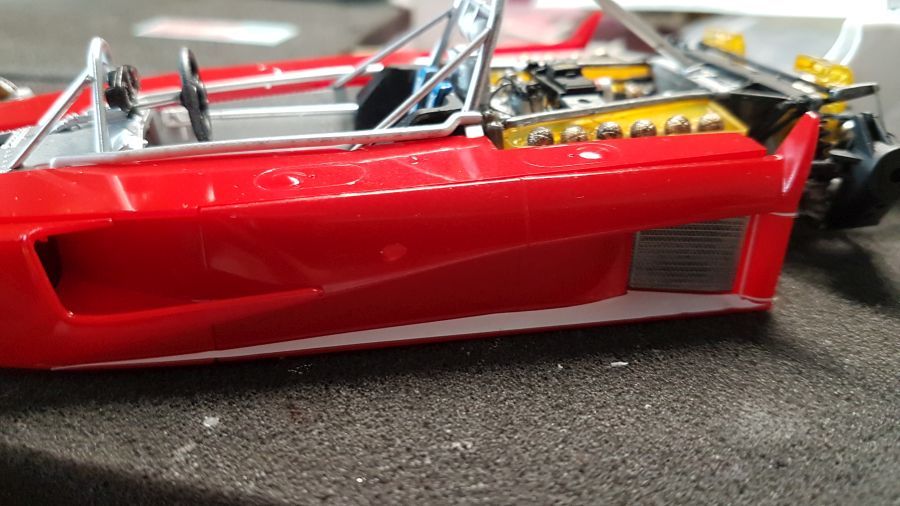
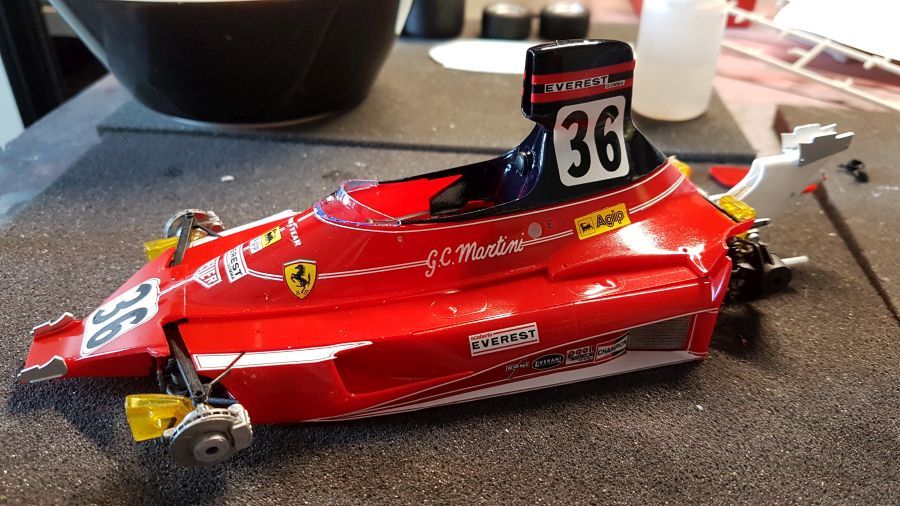
Dan gaan de zijkanten van het bodywerk erop. Let erop dat ze goed geplaatst worden en dat er ruimte genoeg is voor de bovenkant van het bodywerk. Dus veel passen!
Then the sides of the body work get attached. Be sure they are put well into place and there should be enough space for the top of the bodywork. So test fit!
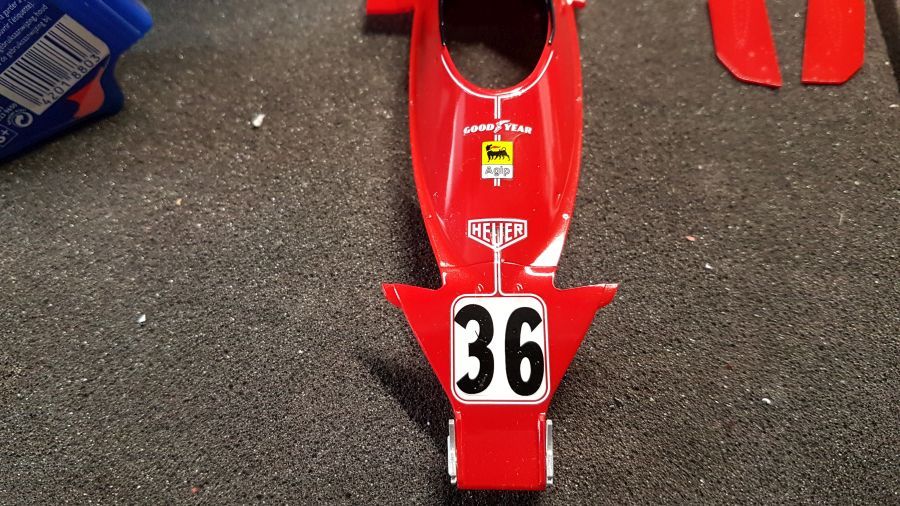
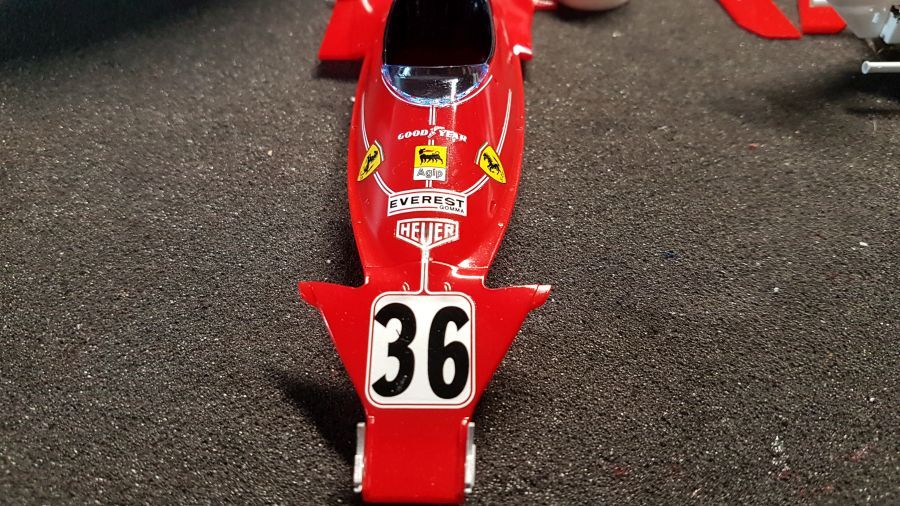
Dan begint het decal proces. Het is allemaal even goed opletten, want sommige decals moeten net even anders worden geplaatst.... Ik moet wat decals knippen om alles op een andere manier te plaatsen. Omdat ik op meerdere plaatsen tegelijk decals aanbreng vanwege het drogen, gaan de foto's een beetje door elkaar.
Then the decal proces starts. I need to pay attention, because some decals need to be attached just slightly different... I need to cut some decals to be able to place them in a different way. Because i am applying decals at multiple spots at the same time because they need to dry, the photo's will mingle a bit.
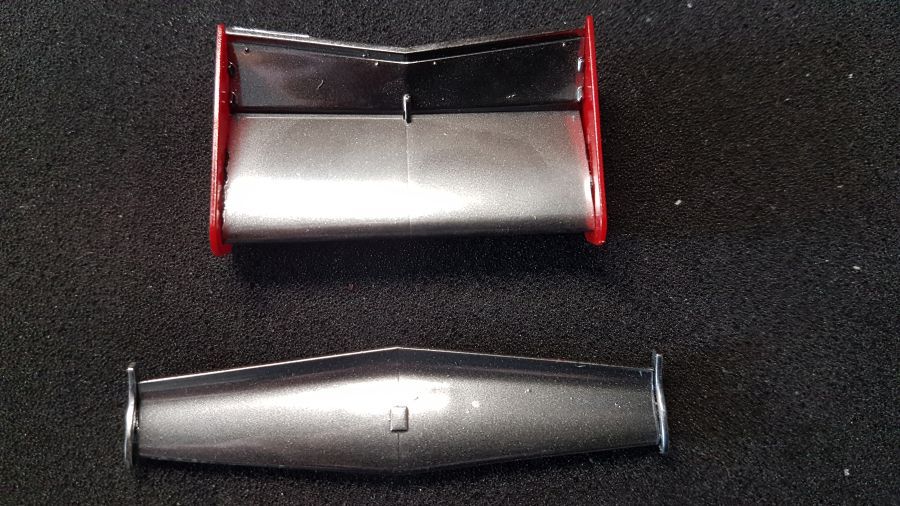
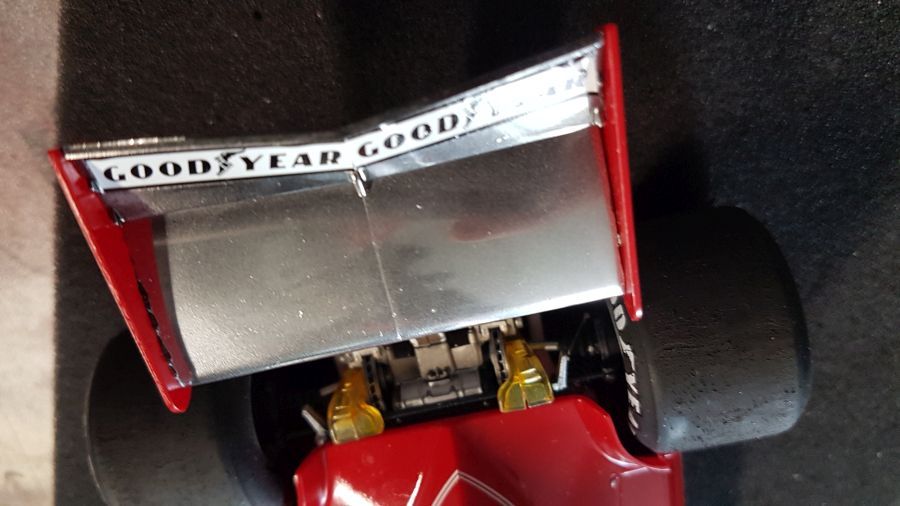
De voorvleugel en de achtervleugel worden glanzend zwart gespoeten en krijgen dan een laag Alclad II Chrome.
The front wing and the rear wing are painted gloss black and will get a coat of Alclad II Chrome.
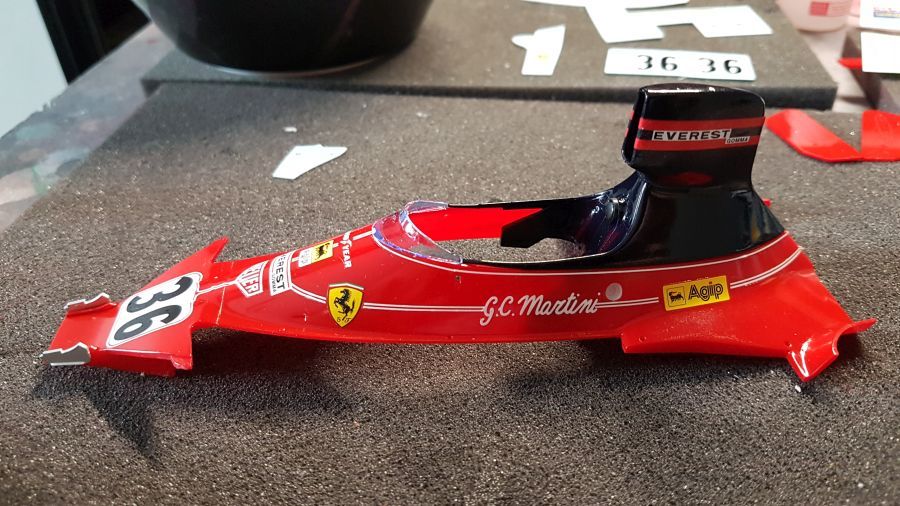
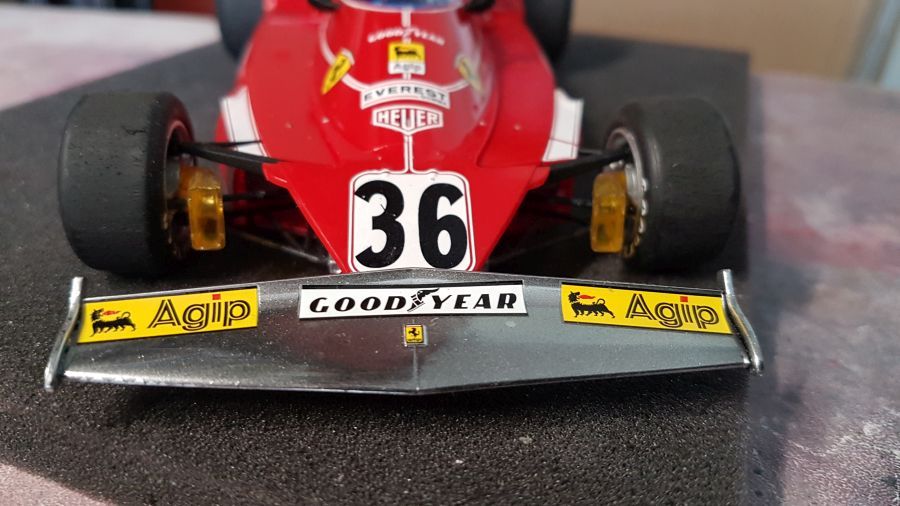
Het bodywerk heeft alle decals en is klaar.
The body has got all the decals and is ready.
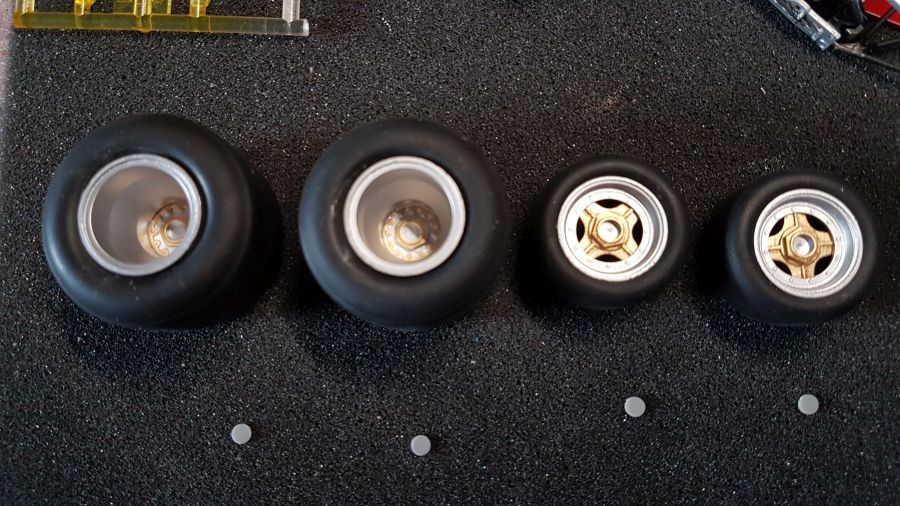
Dan natuurlijk weer de banden...
Then the tires again of course...
Dan weer verder met de vleugels.
Back to the wings.


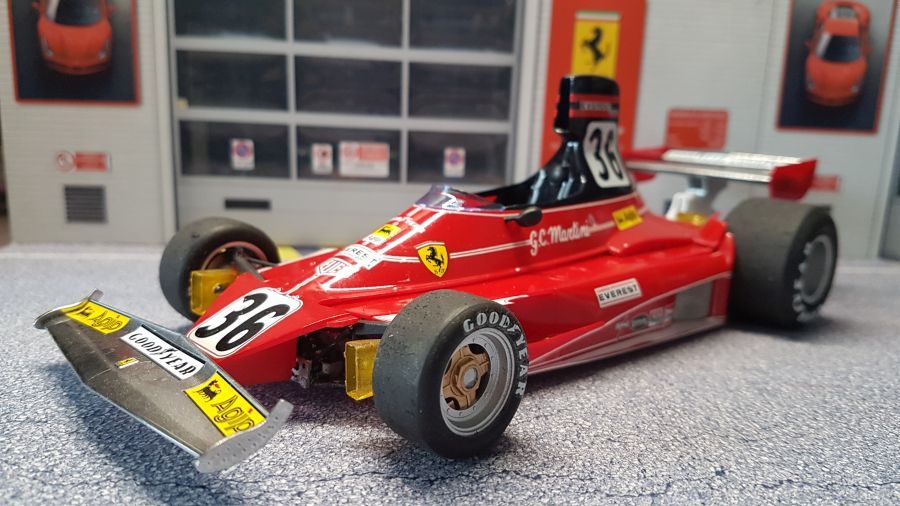
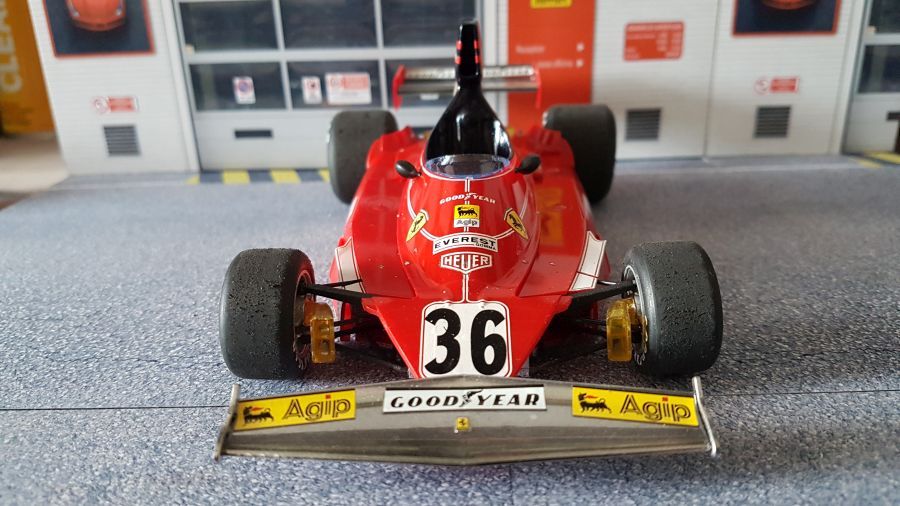
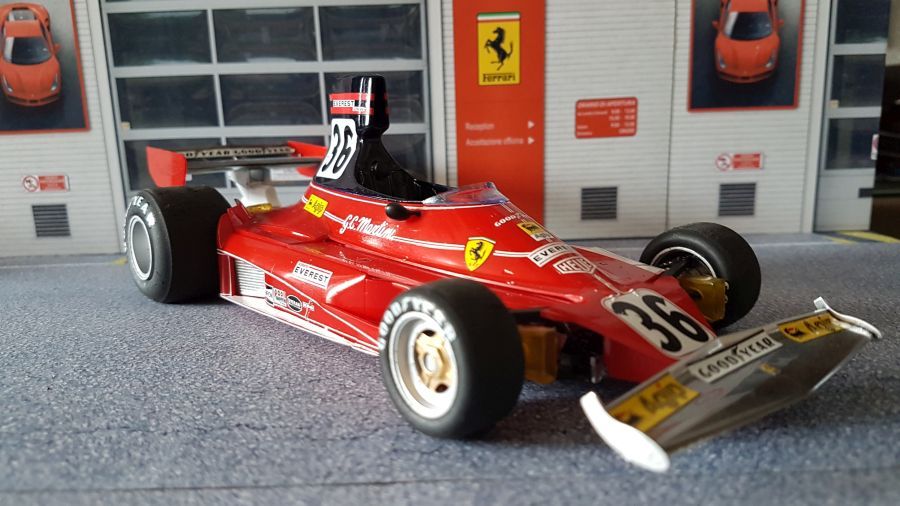
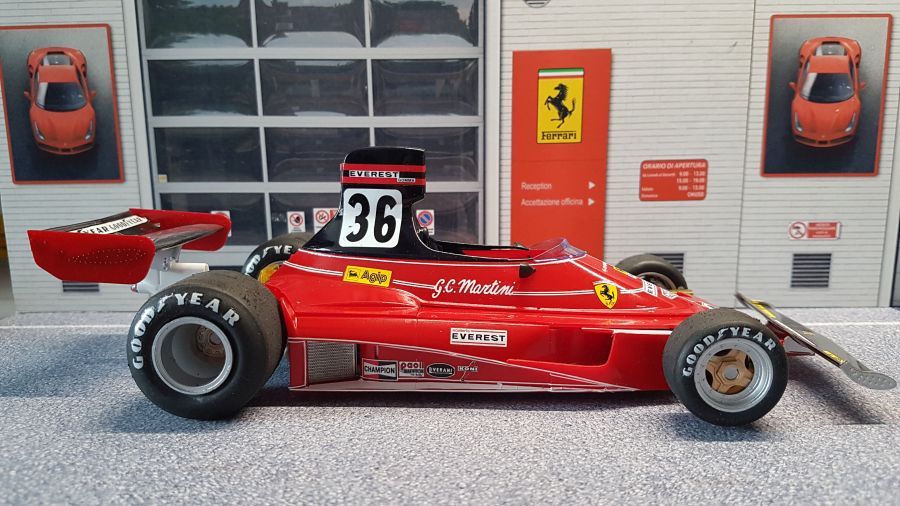
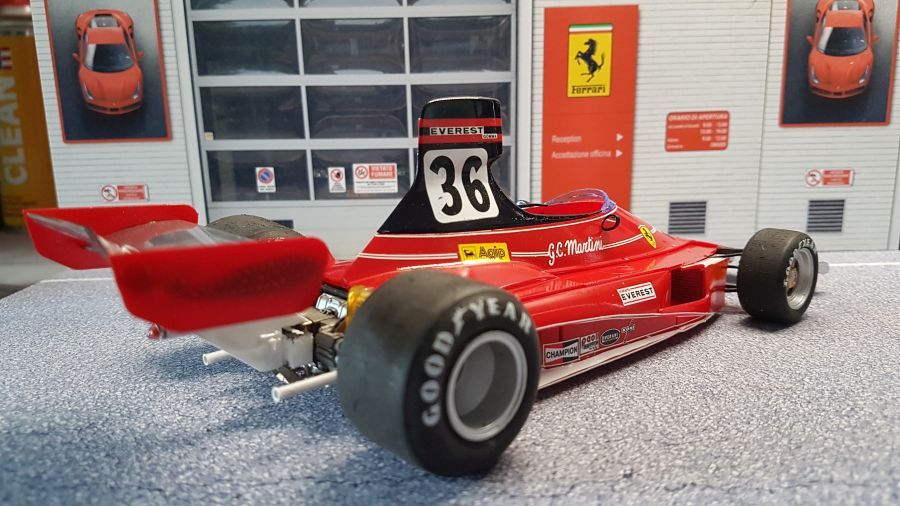
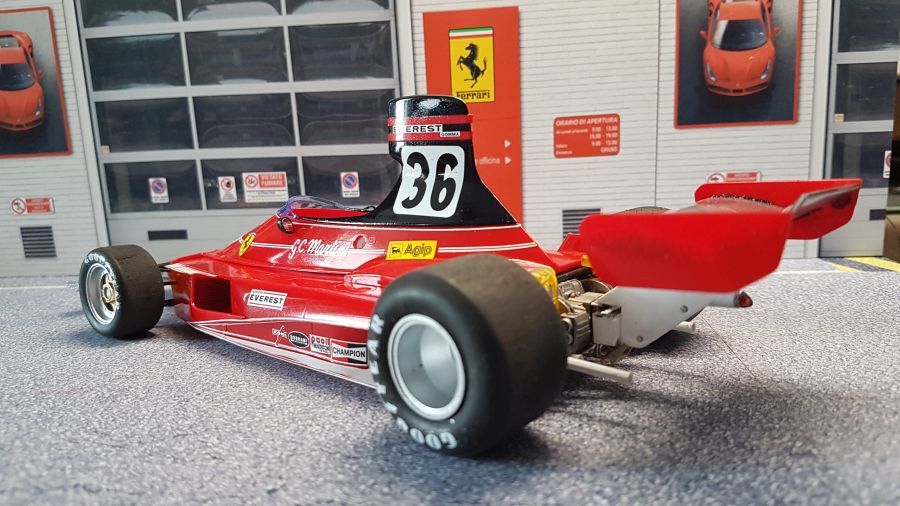
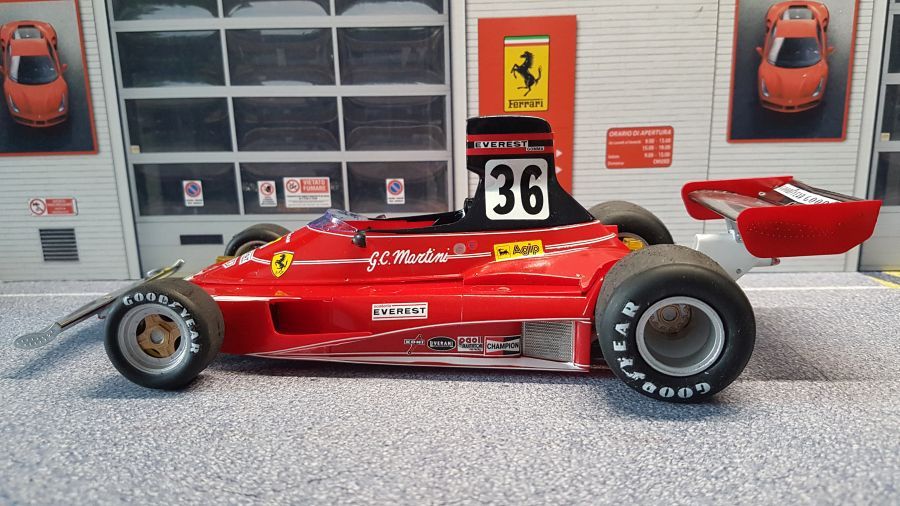
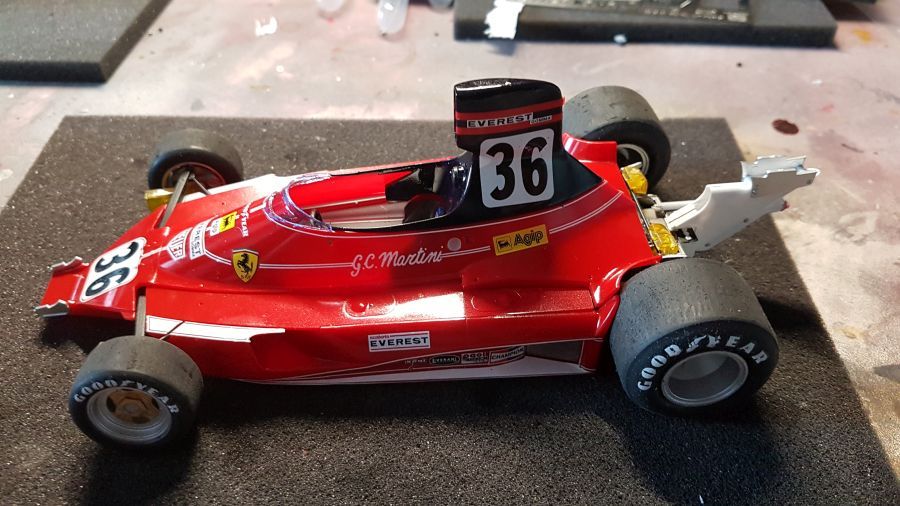
En ook deze krijgt weer een mooie plaats in de kast.
And also this one gets a nice place in the cabinet.