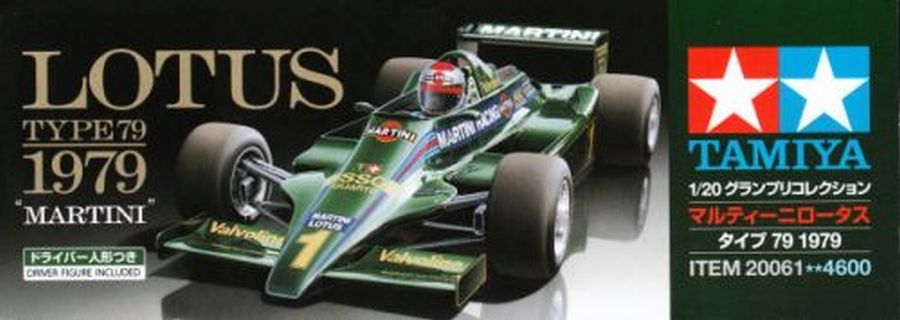
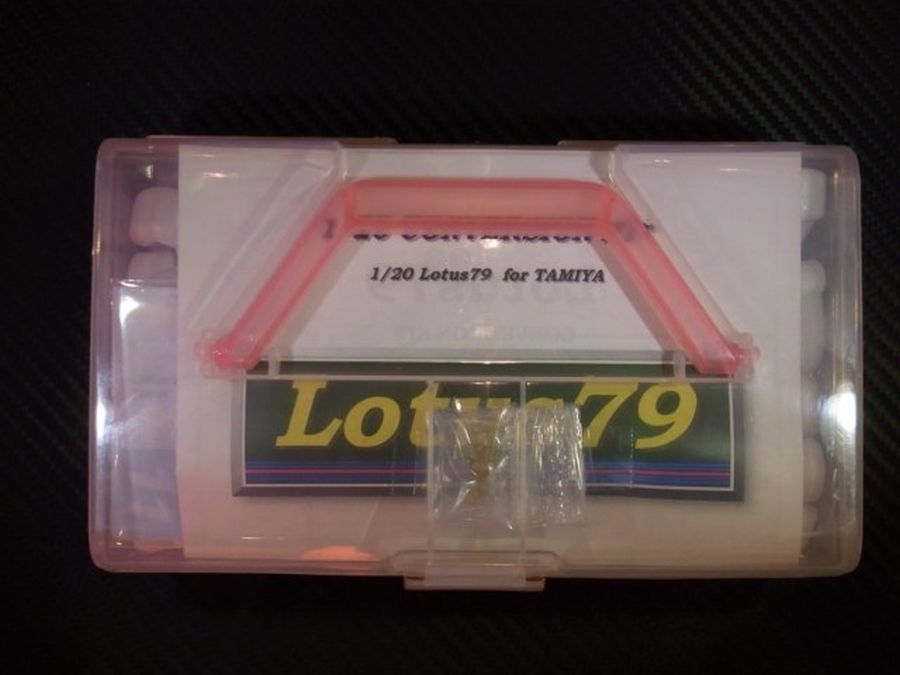
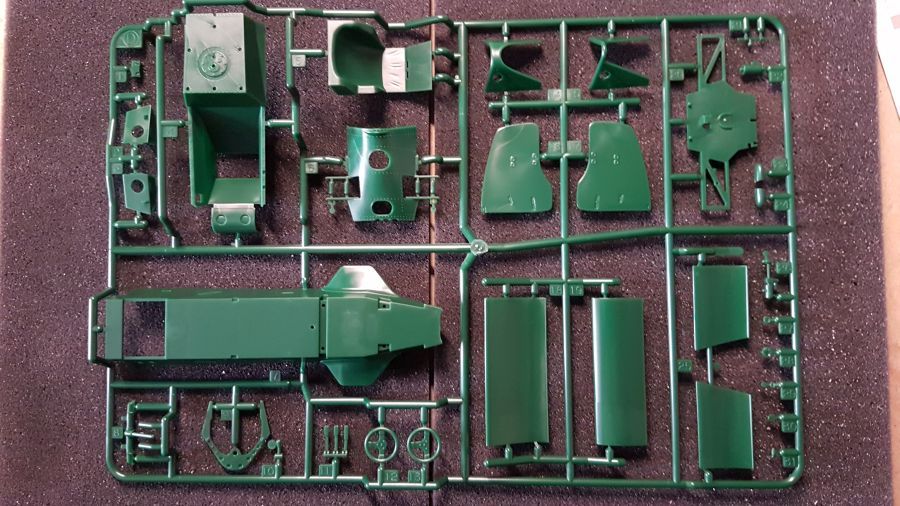
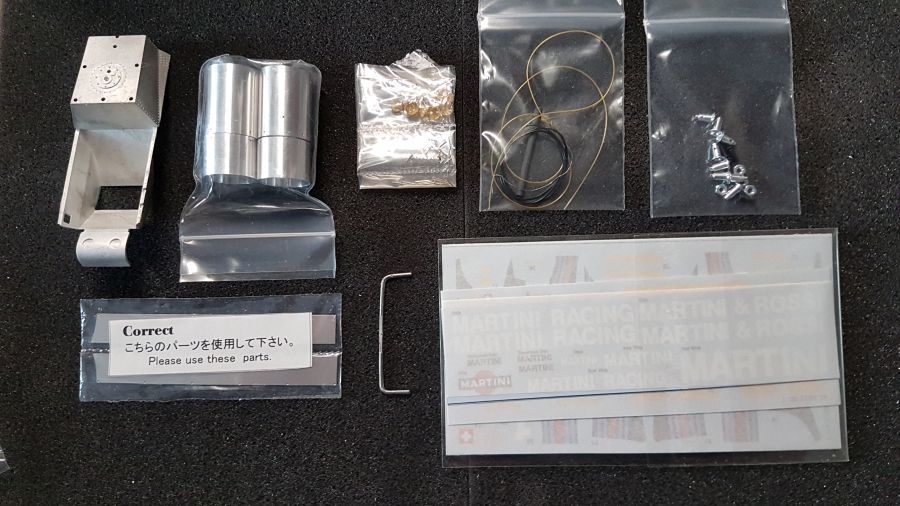
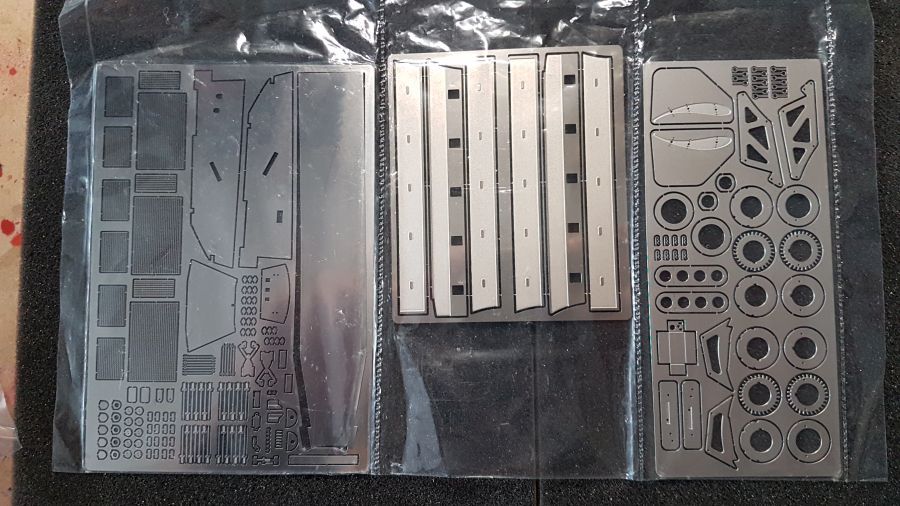
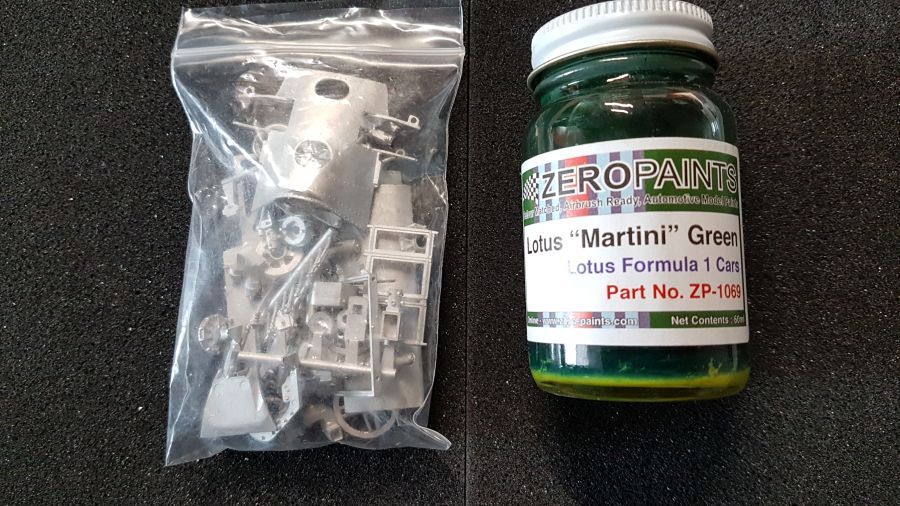
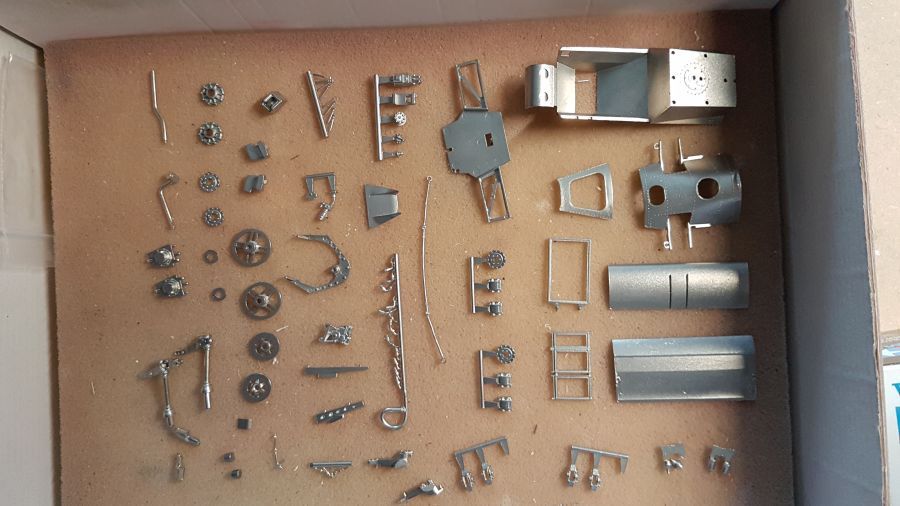
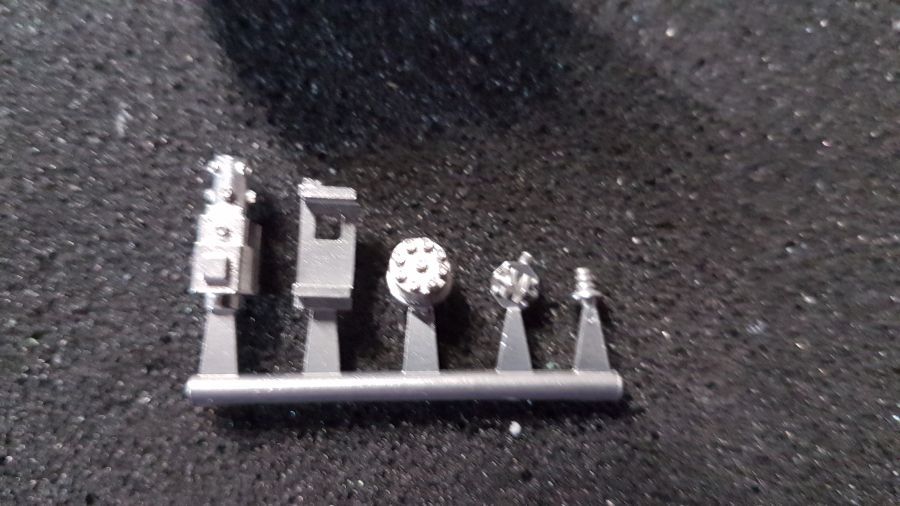
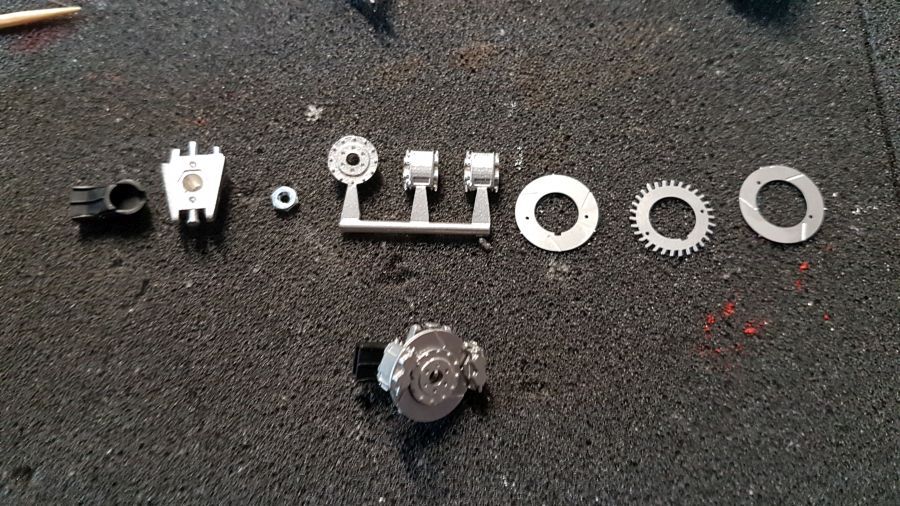
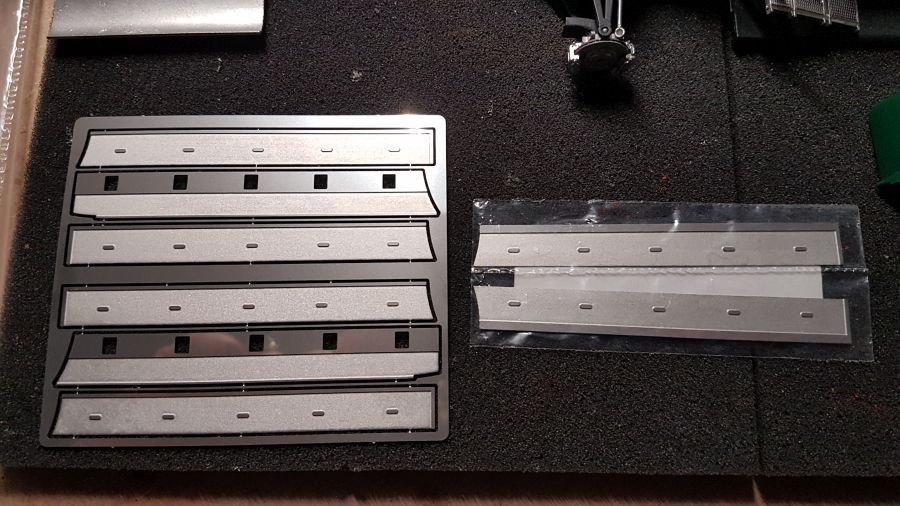
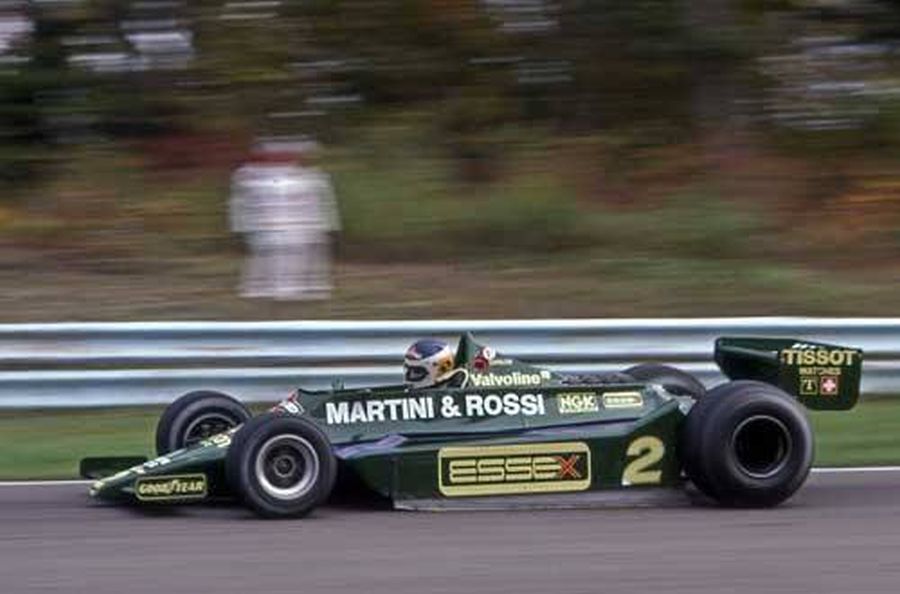
In 1979 deed Jan Lammers een test in een Lotus 79 Martini op het circuit Paul Ricard. Uiteindelijk ging het stoeltje naar Elio de Angelis als 2e rijder en tekende ook Nigel Mansell een contract. Ik gebruik de Taimya kit (kit nr. 20061) als donor en ik heb een uitbreidingsset van E-Jan. Eerst weer de foto's. Wat een set is dat van E-Jan. Het lijkt wel of werkelijk haast niets goed is aan de kit van Tamiya. Niet alleen de gebruikelijke 'leukigheden' zoals remschijven in etched, maar ook zeer veel witmetalen onderdelen.
In 1979 Jan Lammers did a test in a Lotus 79 Martini on Paul Ricard circuit. At the end Elio de Angelis got the seat as second driver and also Nigel Mansell signed a contract. I will use the Tamiya kit (kit no. 20061) and i have an extension set from E-Jan. First of all the photo's again. What a set is this from E-Jan. It looks like nothing is right on the Tamiya kit. Not jest the 'fancy' stuf like photo etched brake discs, but also a lot of white metal parts.


Daar gaat ie...
There we go...
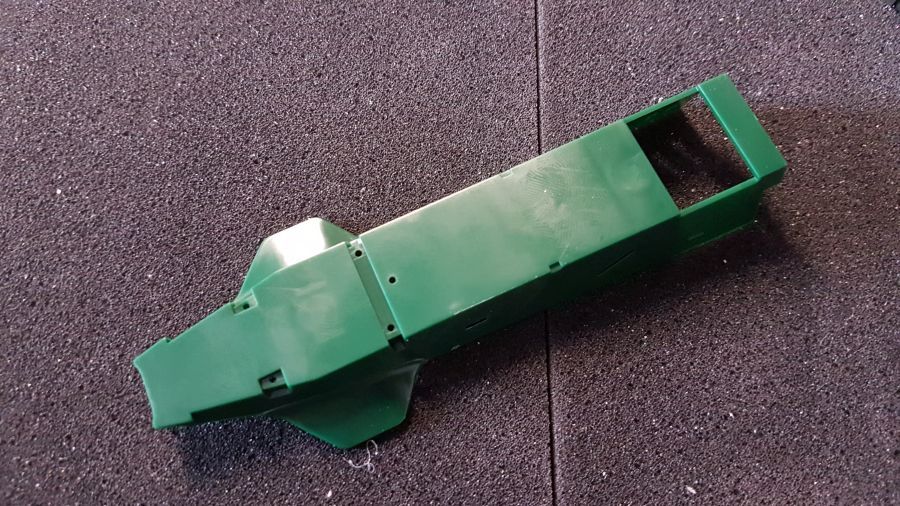
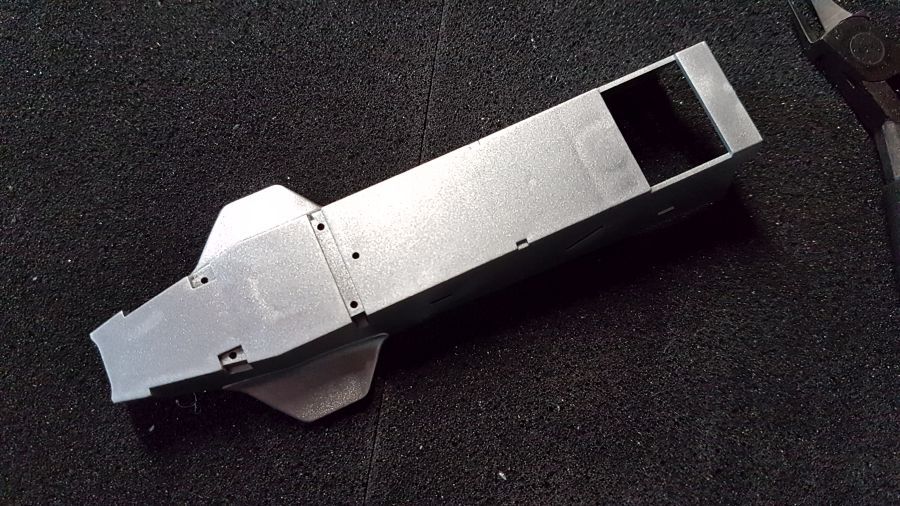
De maskeertape (om het groen te kunnen spuiten) heeft de zilververf aangetast. Dat moet dus weer opnieuw. Een goed begin...
The masking tape (to be able to spray the green) has attacked the silver paint. So i have to do this again. A good start...
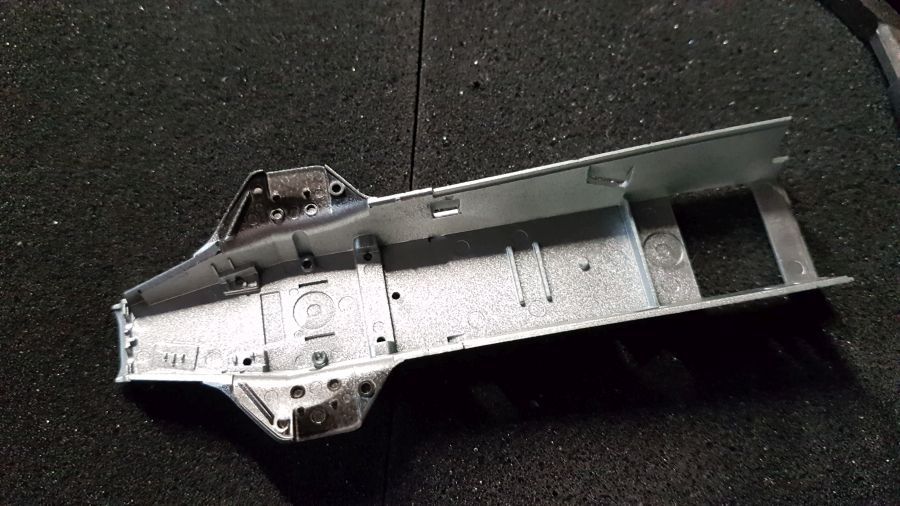
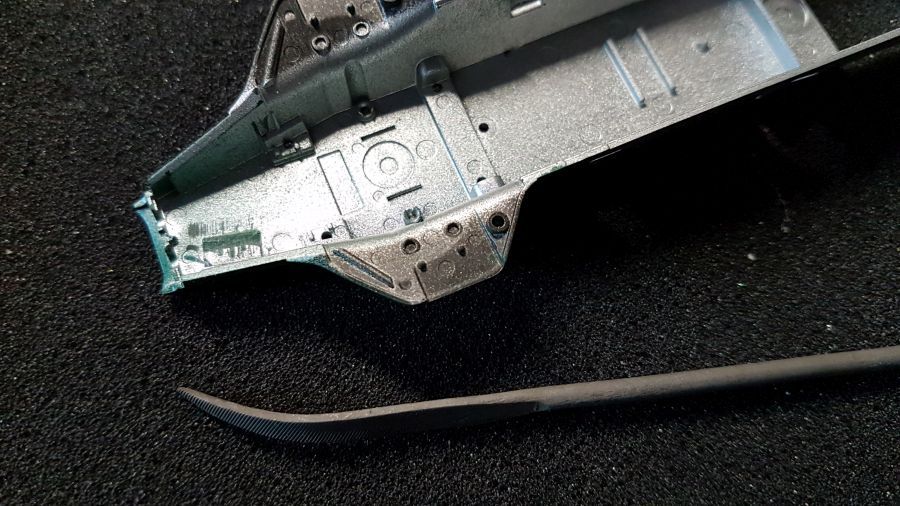
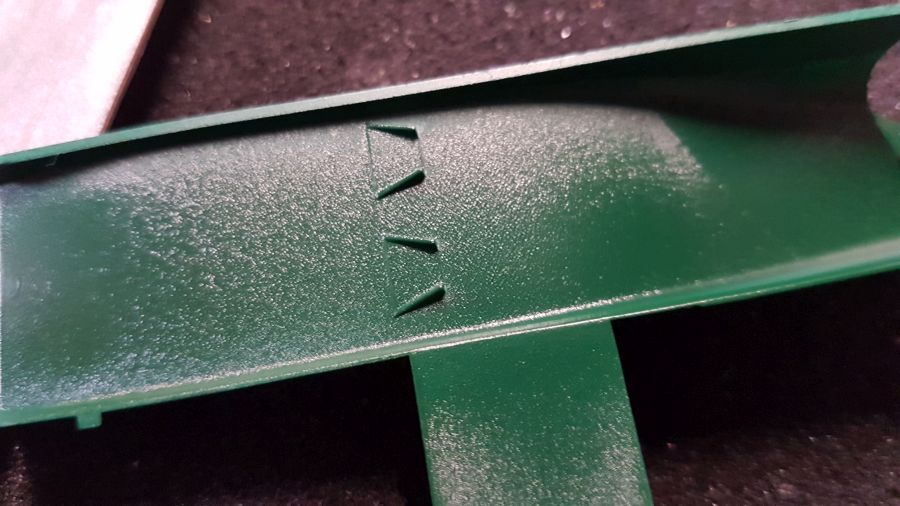
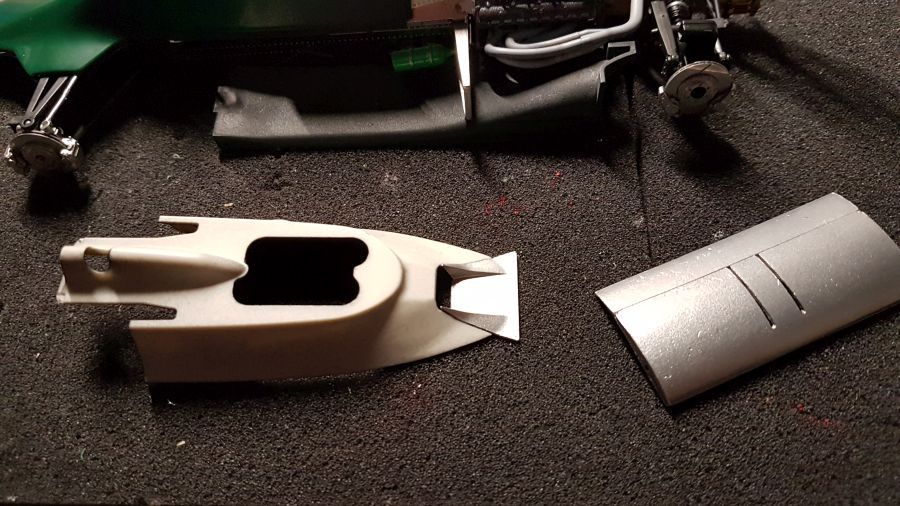
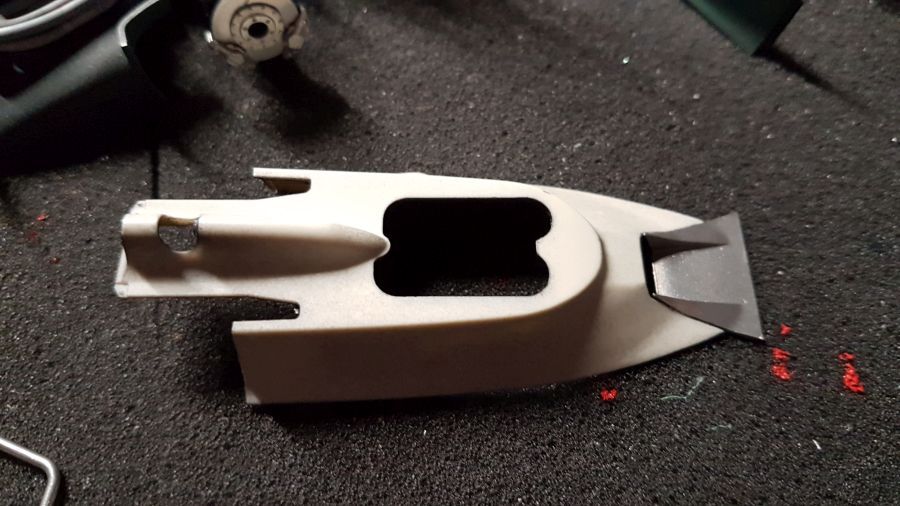
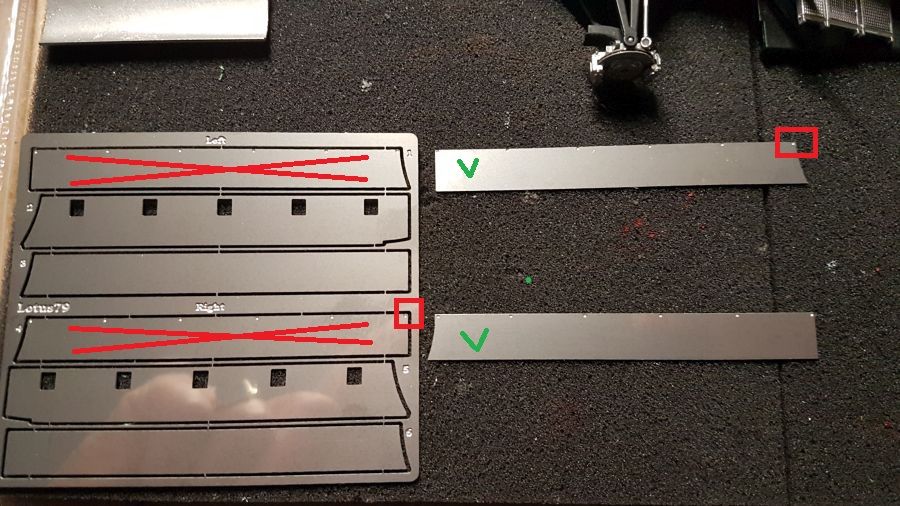
Dan opeens zie ik dat ik niet slim bezig ben. Ik heb nu immers te maken met 2 verschillende bouwtekeningen... De volgorde kan soms heel anders zijn dan die van Tamiya. Oppassen dus. Eerst wat weghalen aan de binnenkant van de kuip.
Then i realise i am not smart. I have 2 instructions to work with... The order of adding parts can be quite different from the Tamiya instructions. I have to be careful. First remove some plastic from the inside of the tub.
Dan moet er nu al etcehd geplaatst worden en een deel van de sidepods. Bij Tamiya is dat pas bij tekening 20, om maar even de alarmbel te rinkelen.
Then some etched needs to be added already and a part of the sidepods. On the Tamiya instruction it should be doe at drawing 20, just to ring your and my alarm.

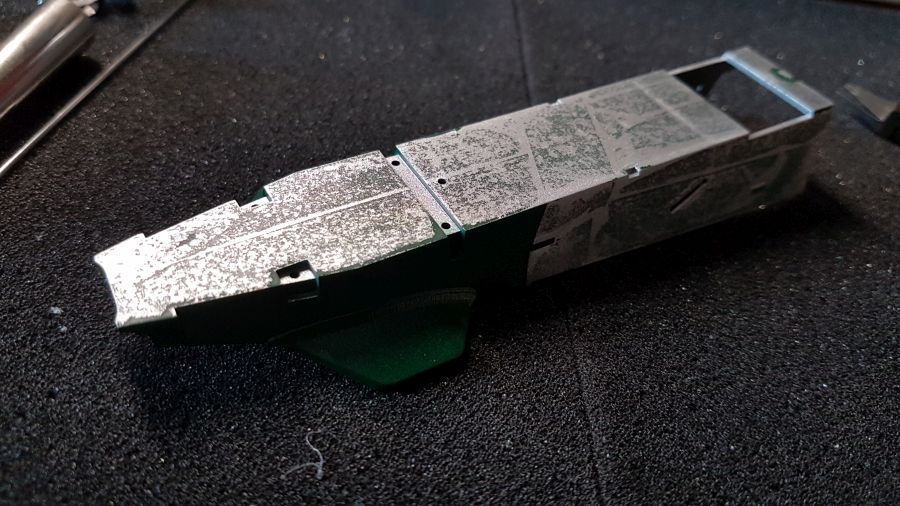
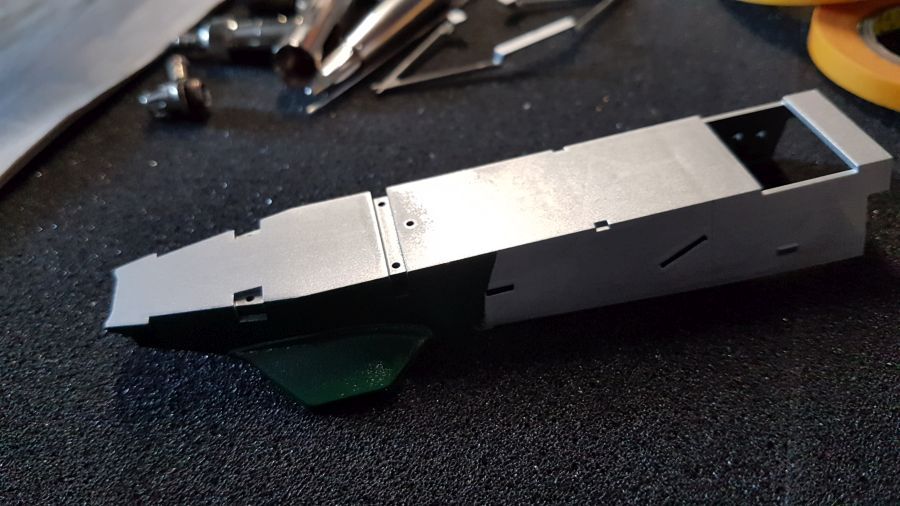
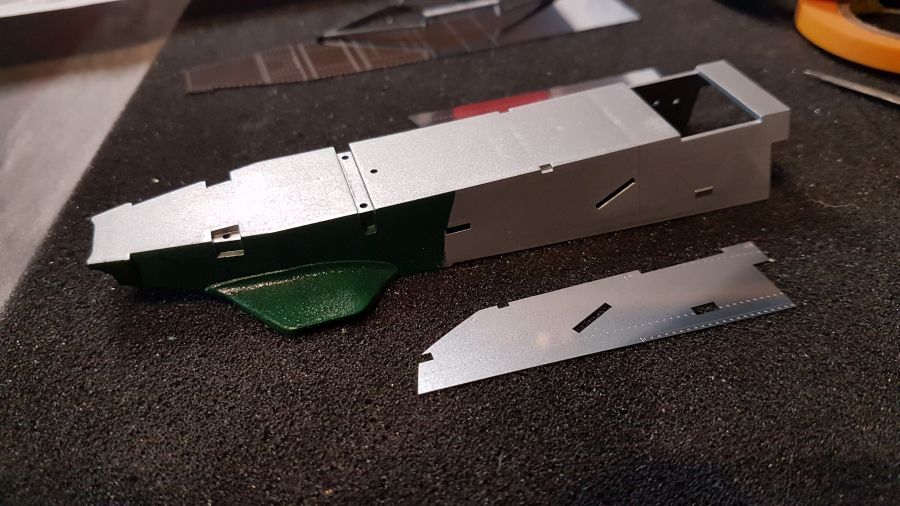
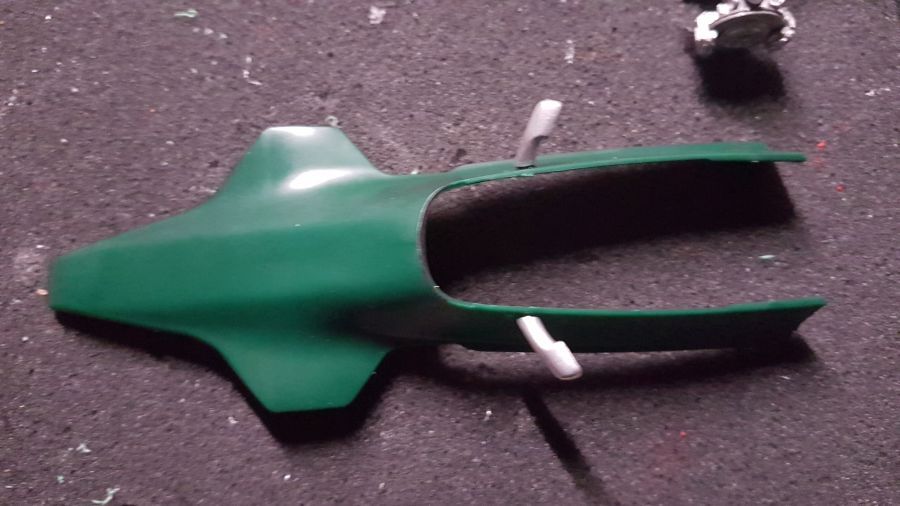
Eerst moeten de zijkanten geplaatst. Daar valt weer op dat de vrom anders is dan de Tamiya tekening. Het groen moet dus overnieuw.
First of all the sides need to be added. It shows that the shape is different from the Tamiya drawing. So the green needs to be re-done.
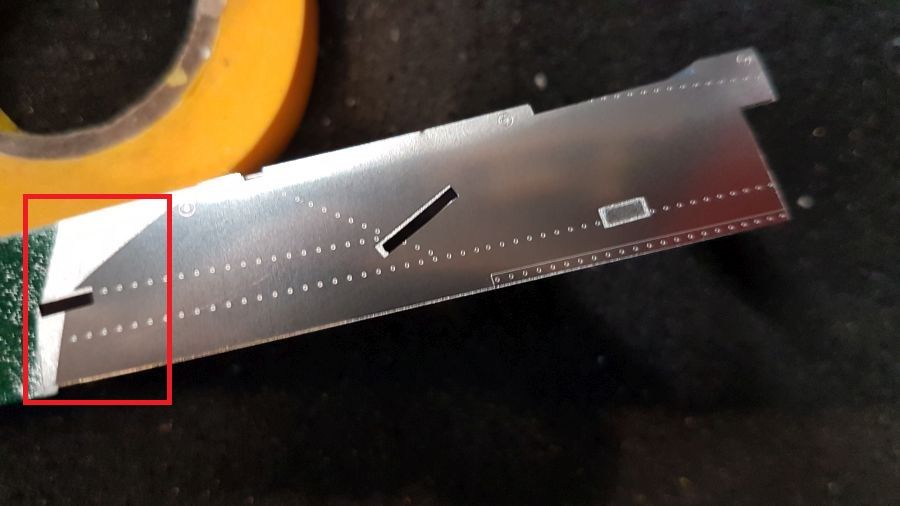
Niet erg blij hier mee. Zero Paints tast weer de kunststof aan. Bijna hetzelfde als bij mijn Ferrari 250 LM Piper. Gelukkig is dit de onderkant van de pods. Eerst maar andere verf bestellen.
Not happy with this. Zero Paints is attacking the plastic again. Almost the same as with my Ferrari 250 LM Piper. Luckily it's the downside of the pods. I will need to order new paint first.
De nieuwe verf is binnen...
The new paint has arrived...

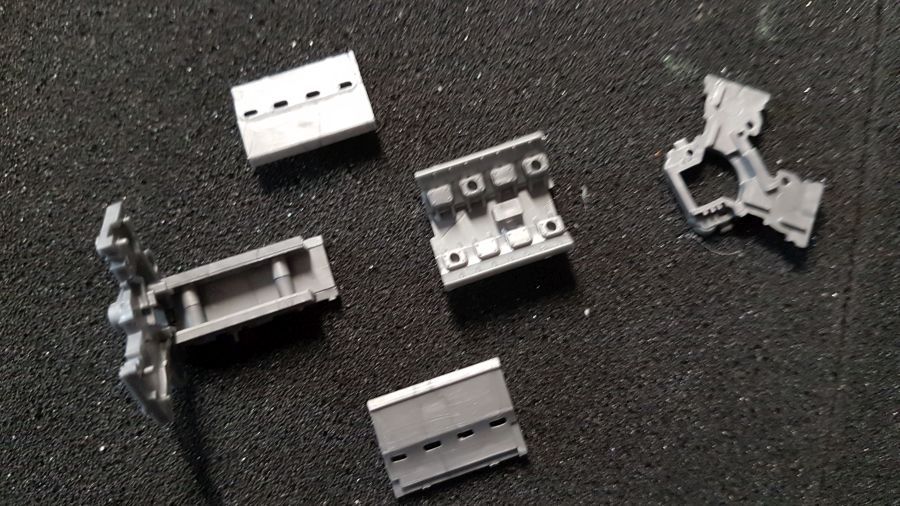
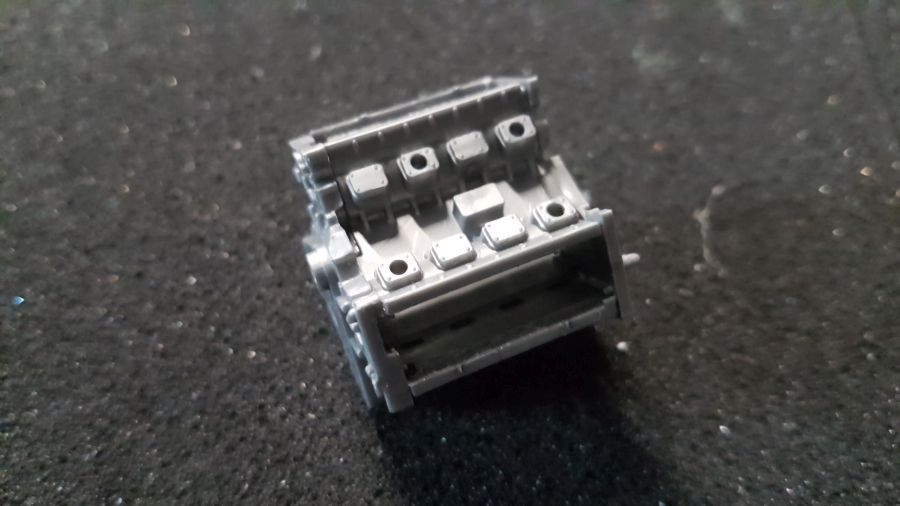
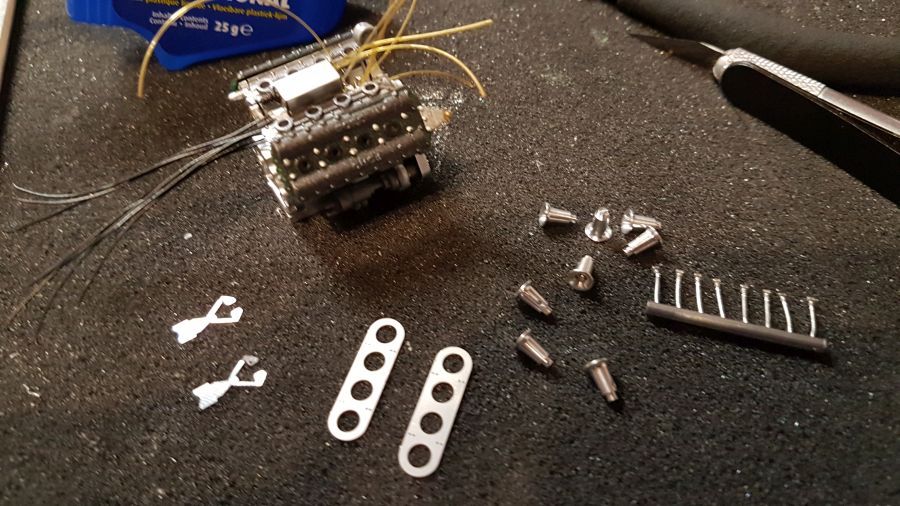
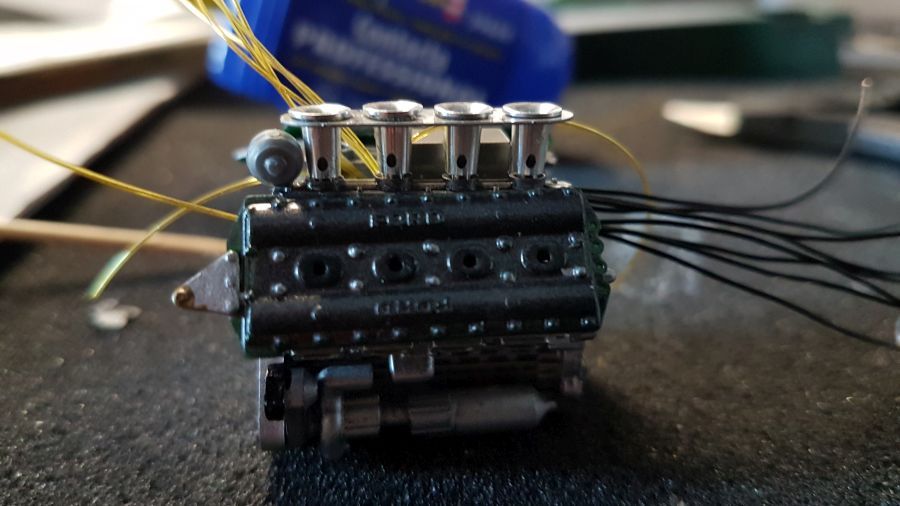
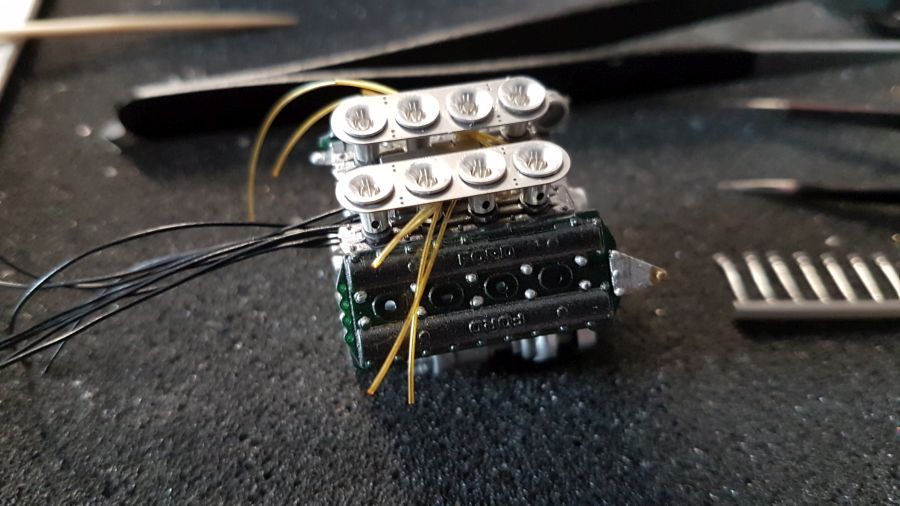
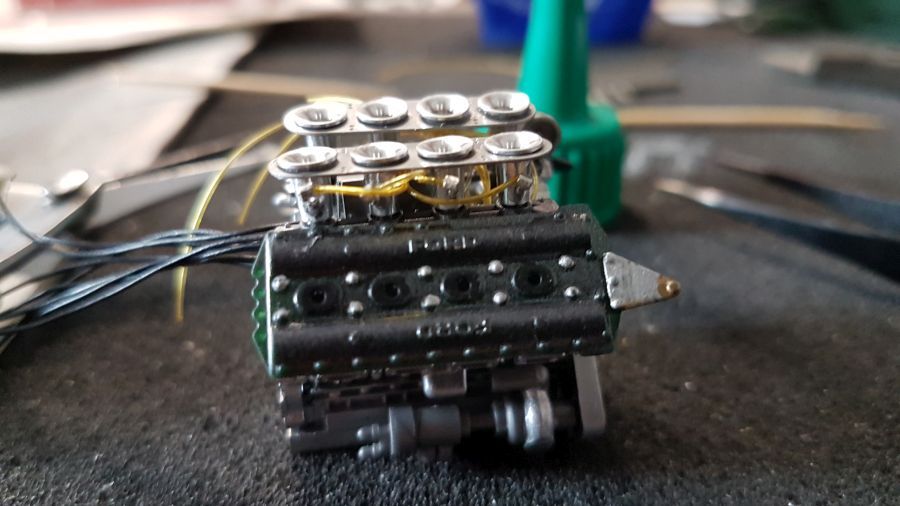
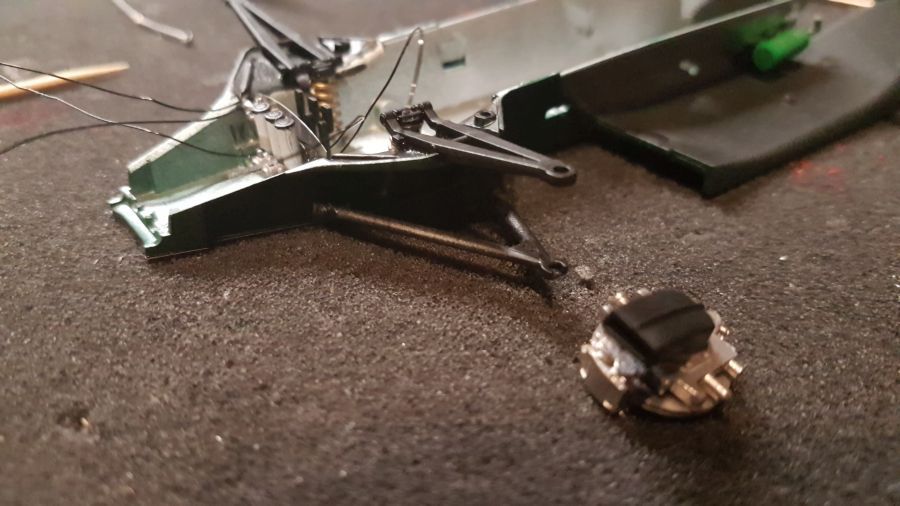
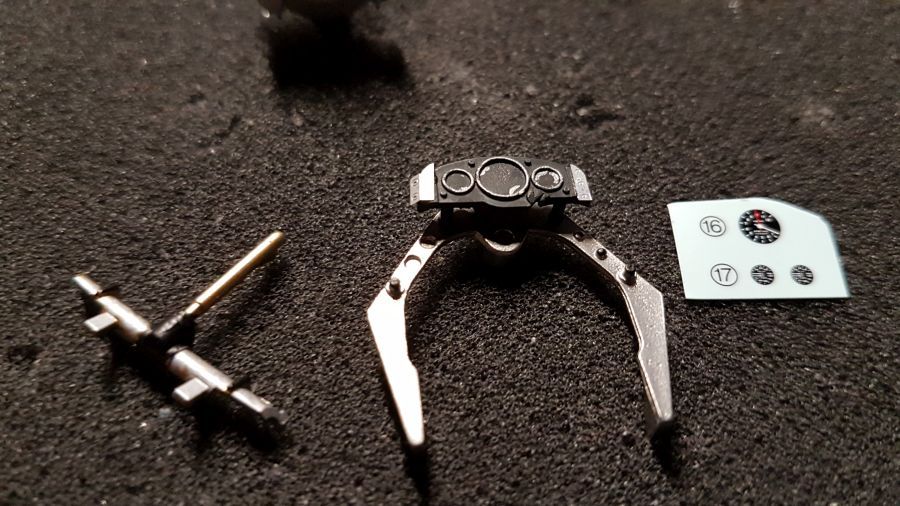
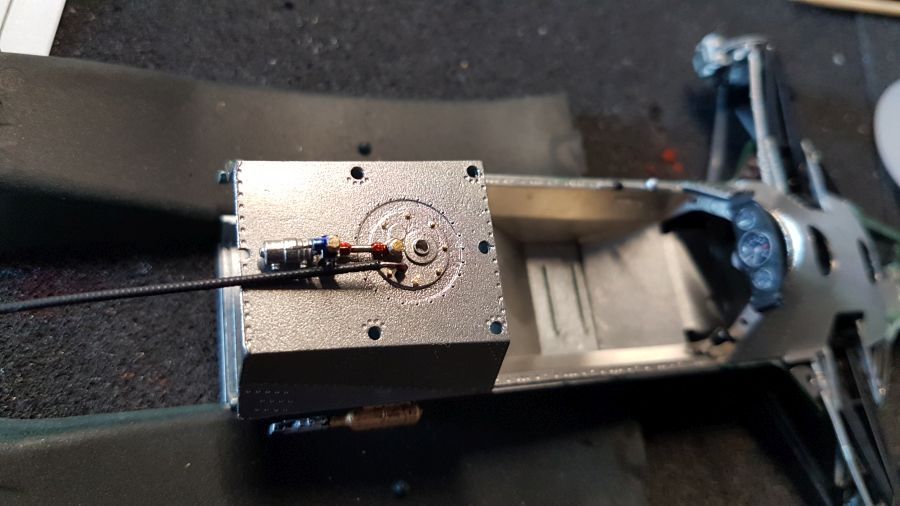
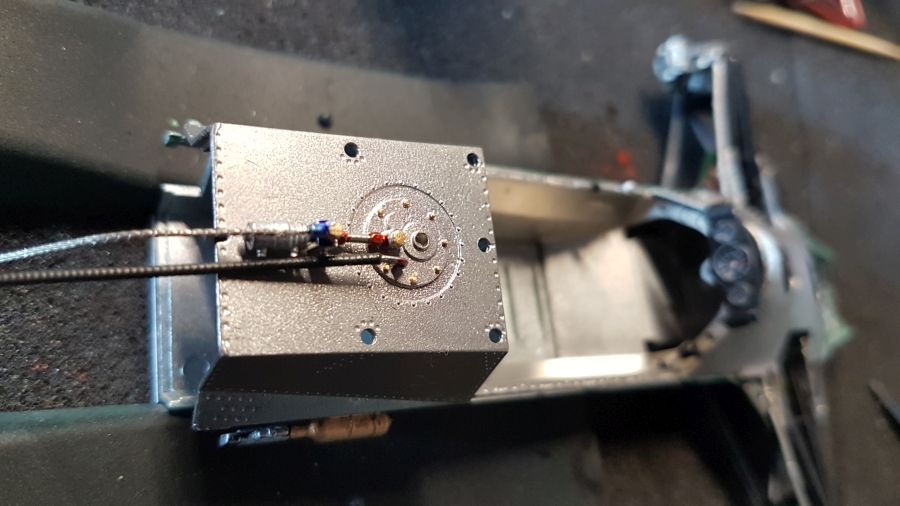
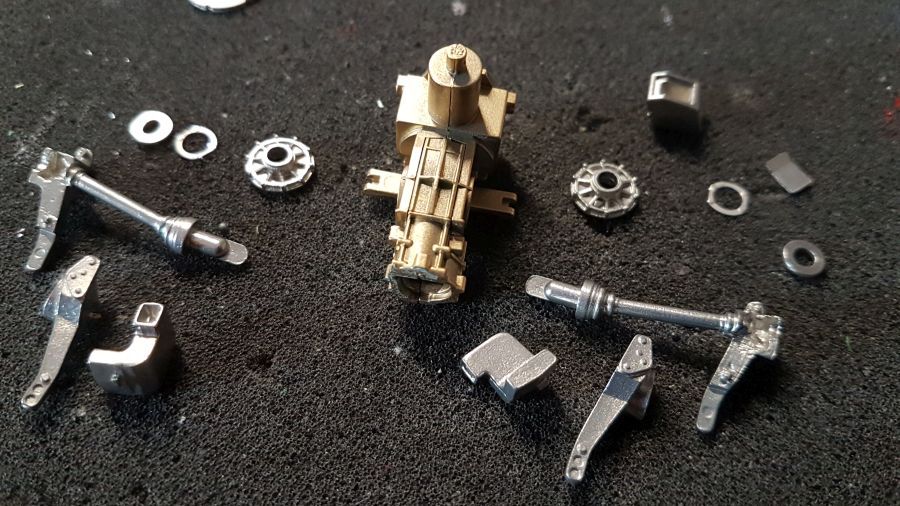
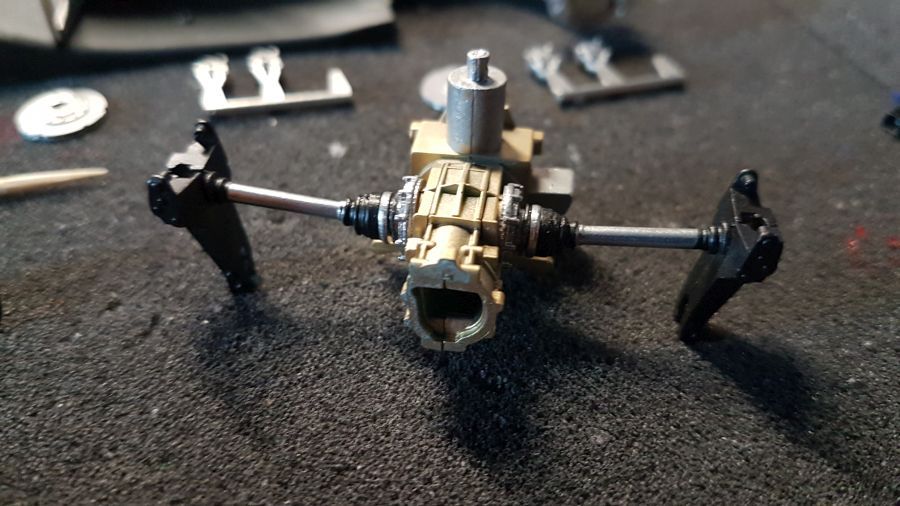
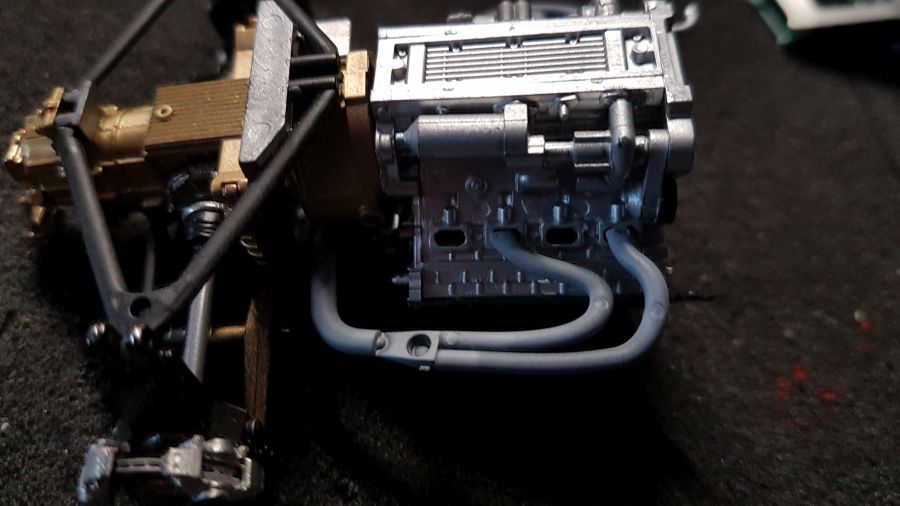
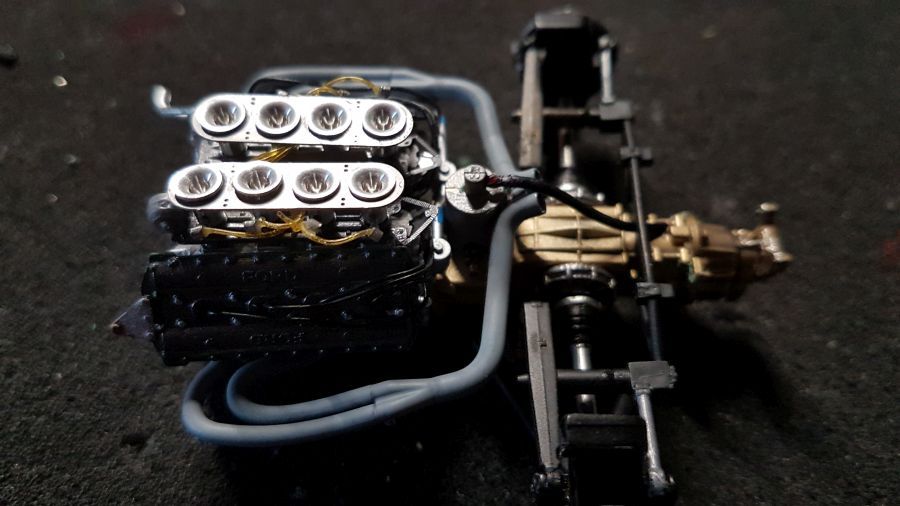
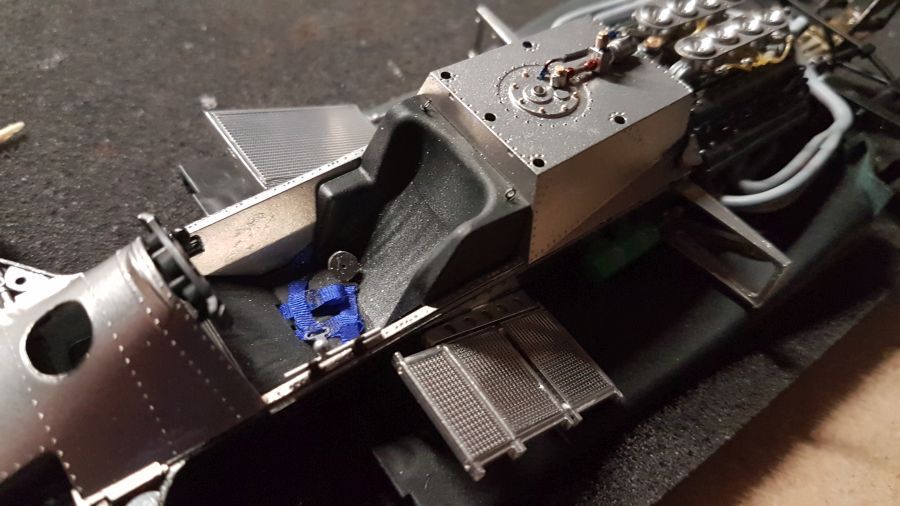
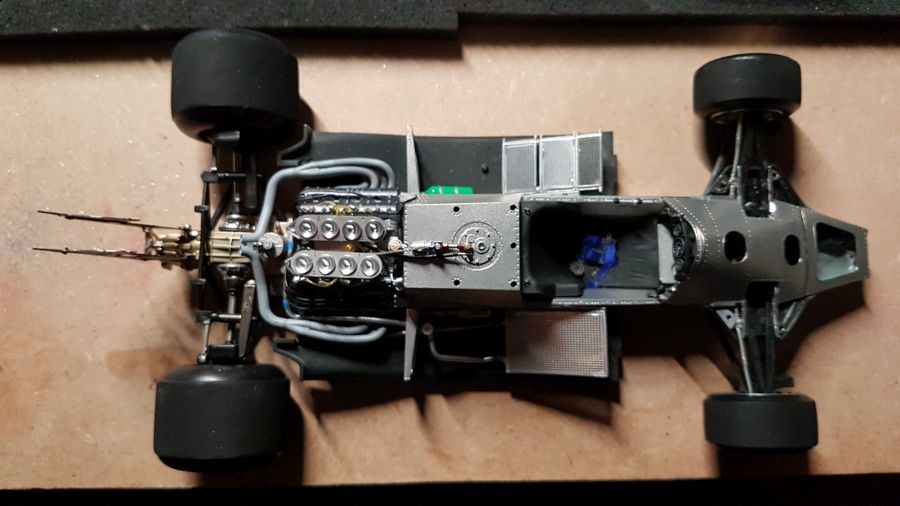
Intussen ben ik vast verder gegaan met de motor...
In the meantime i did continue with the engine...
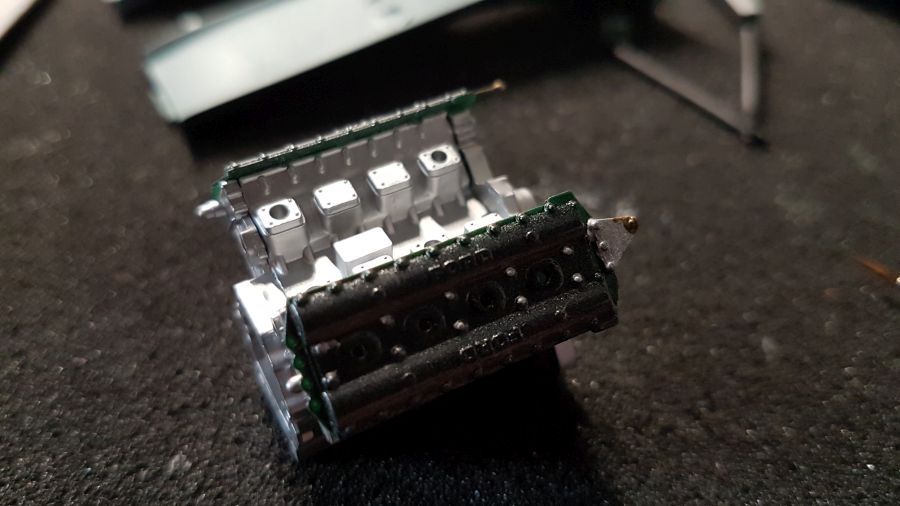
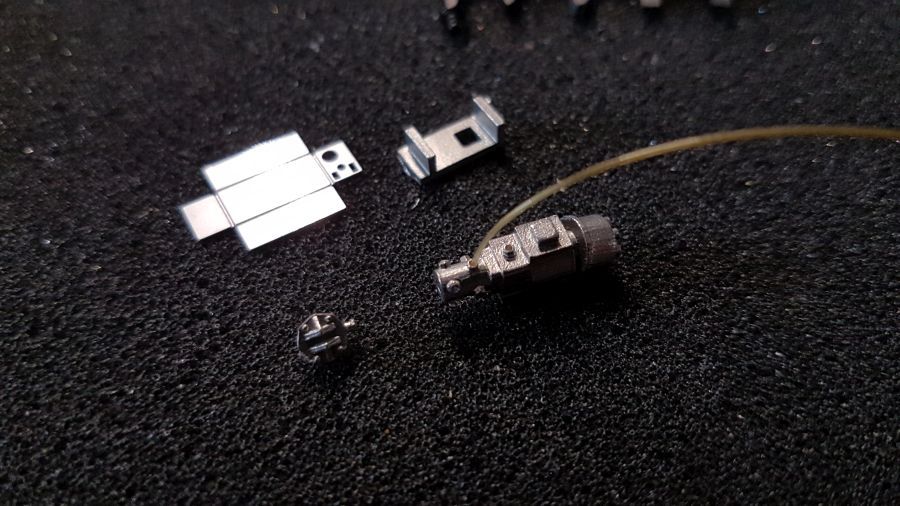
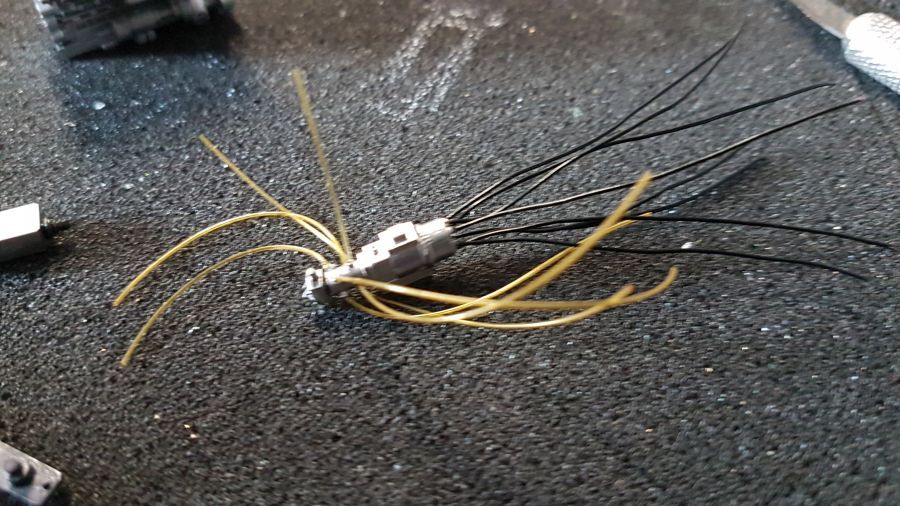
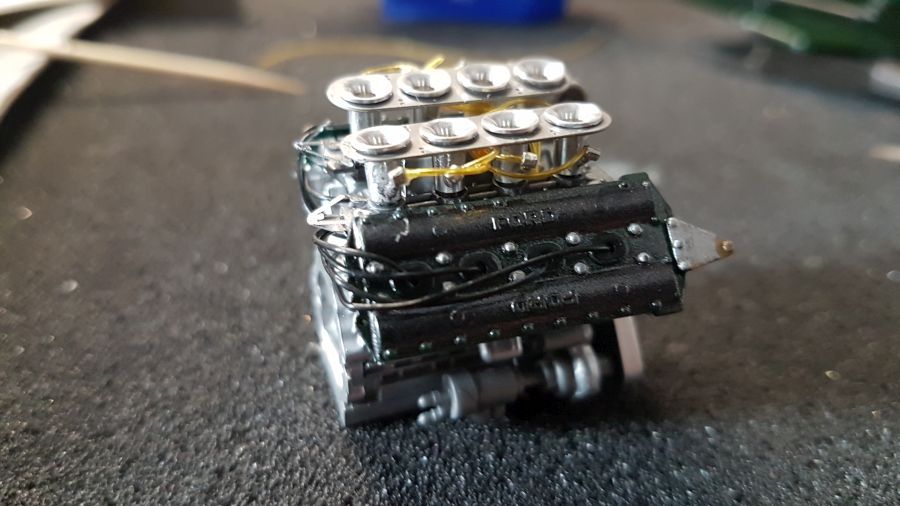
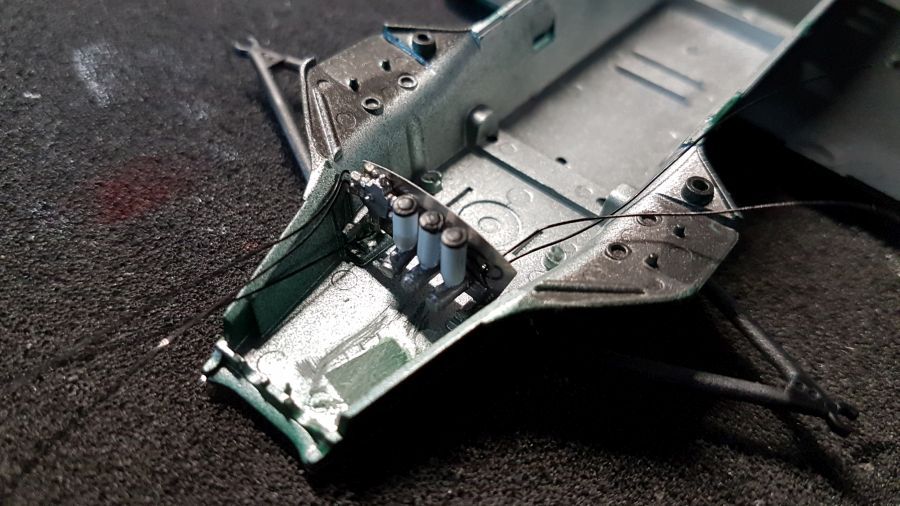
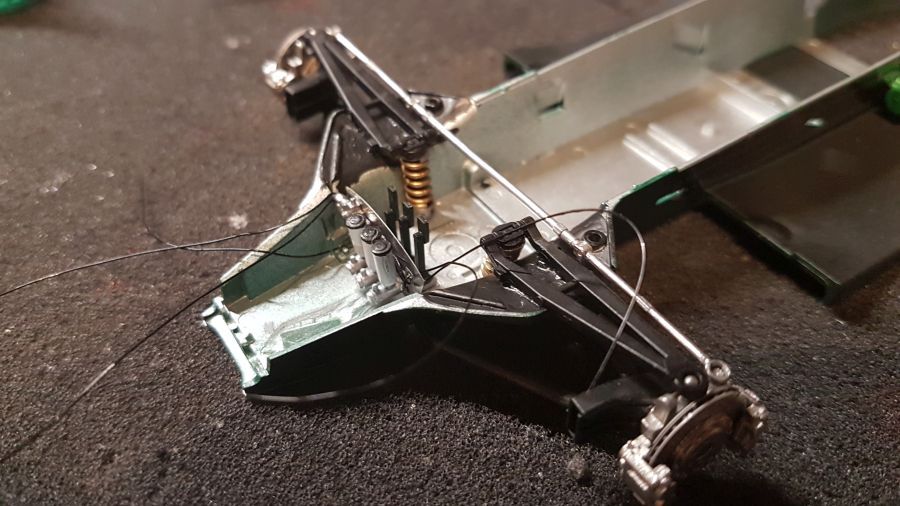
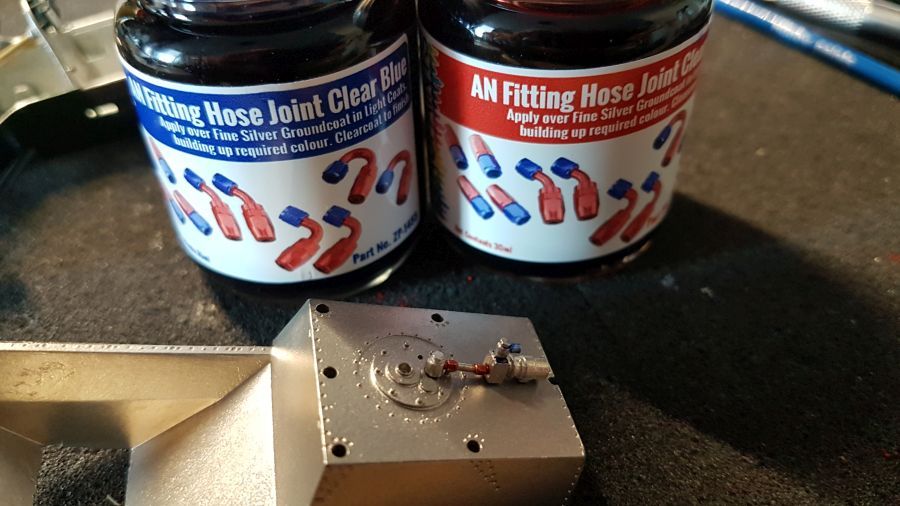
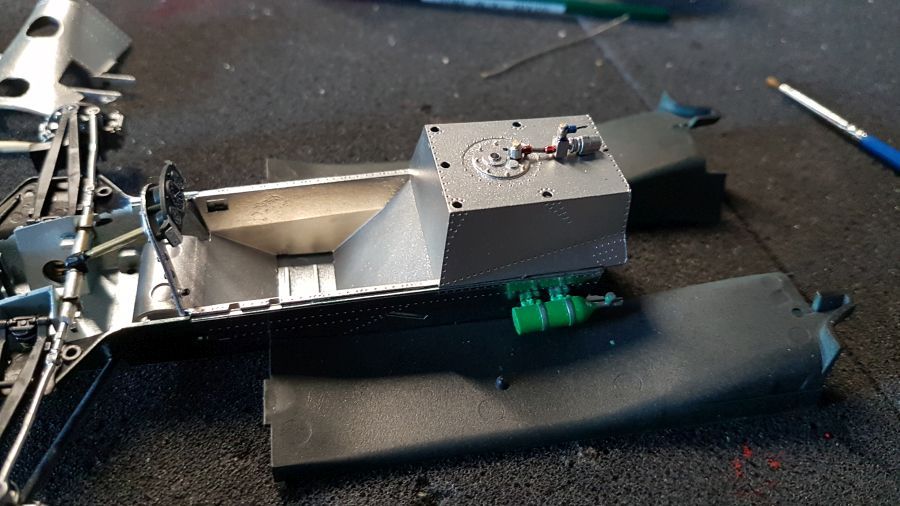
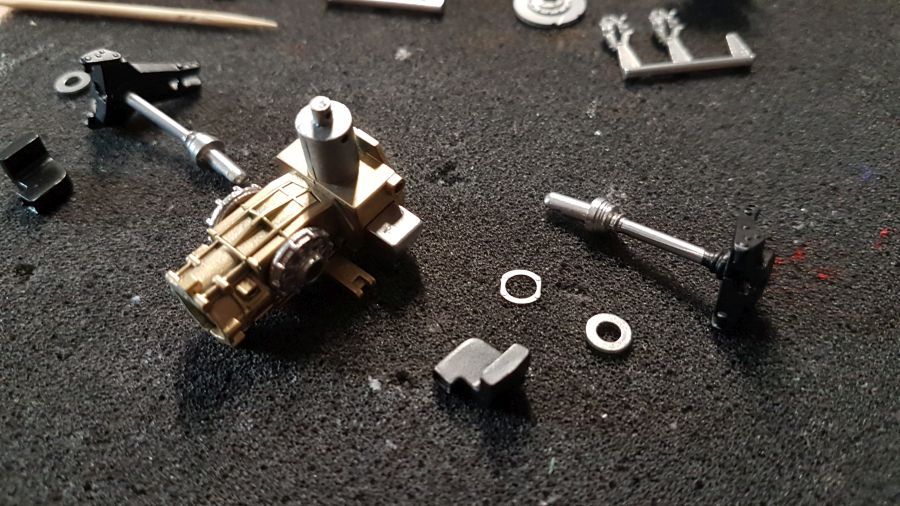
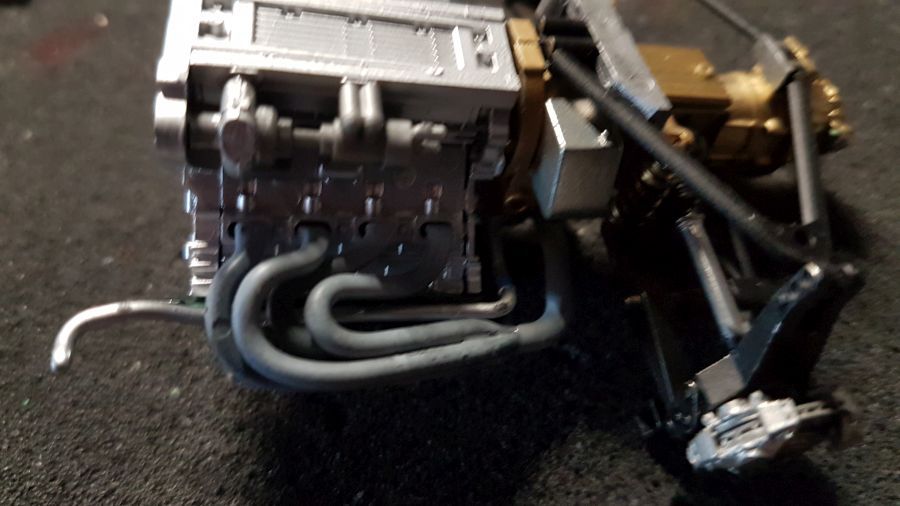
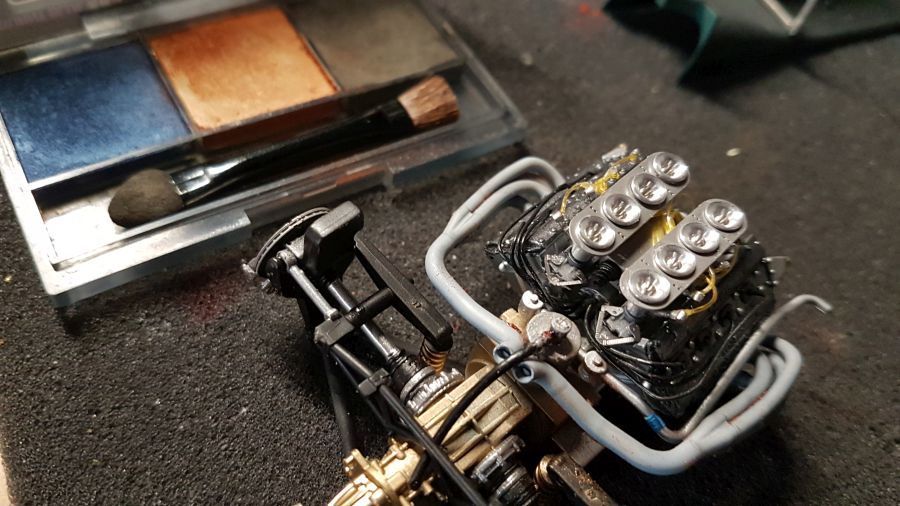
De benzinepomp en de ontsteking worden bedraad...
The fuel pump and the ignition get pipes and wire...
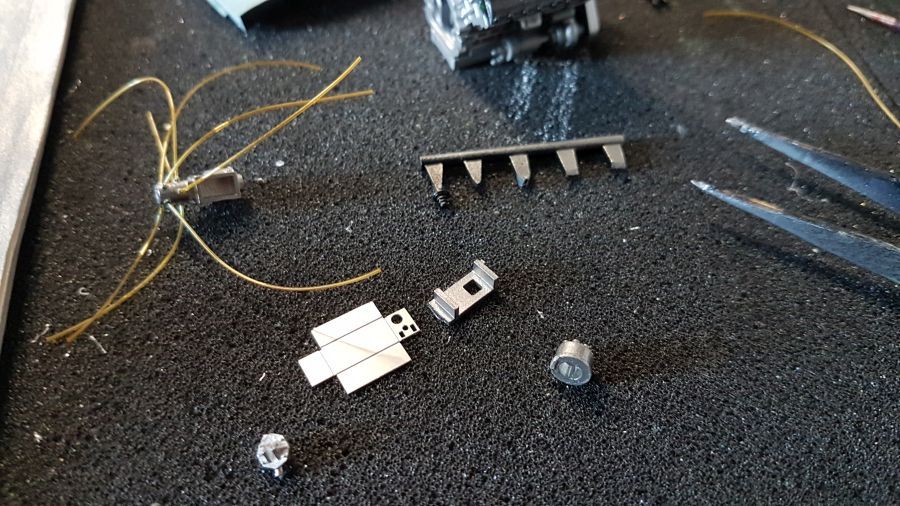
De spin is klaar..
The spider is ready..
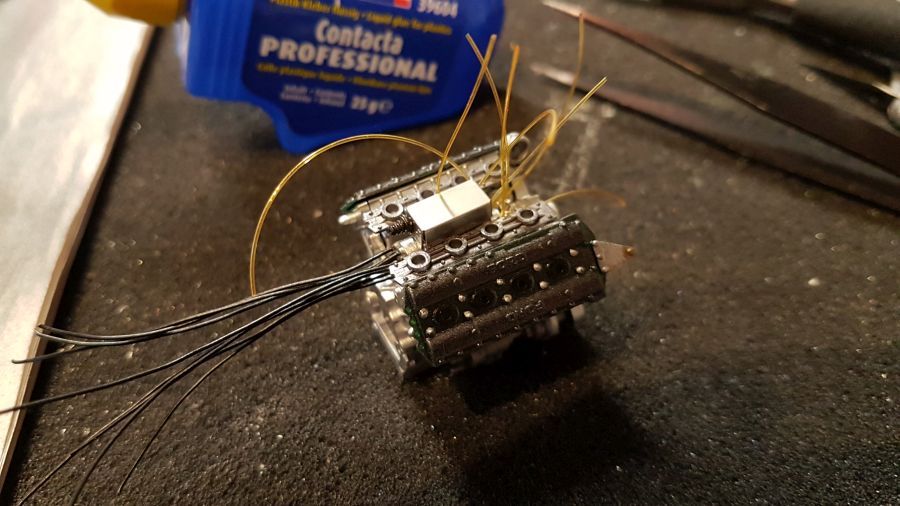
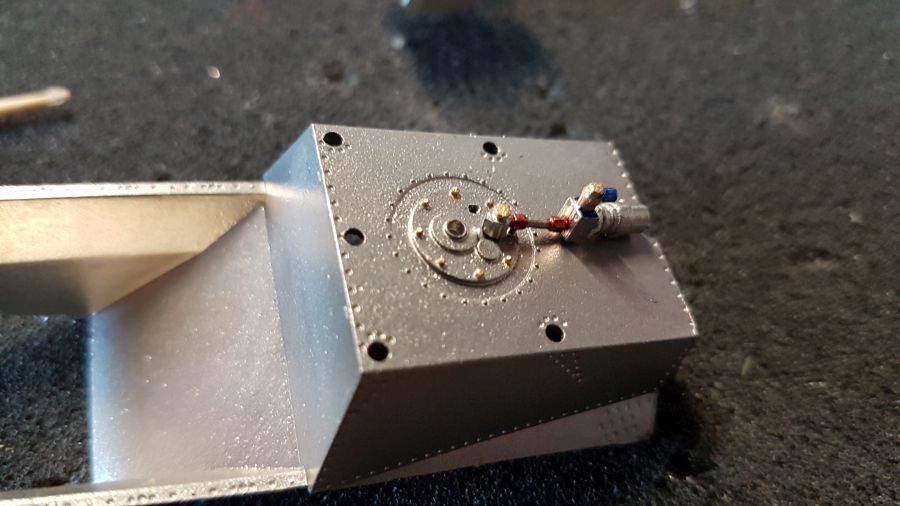
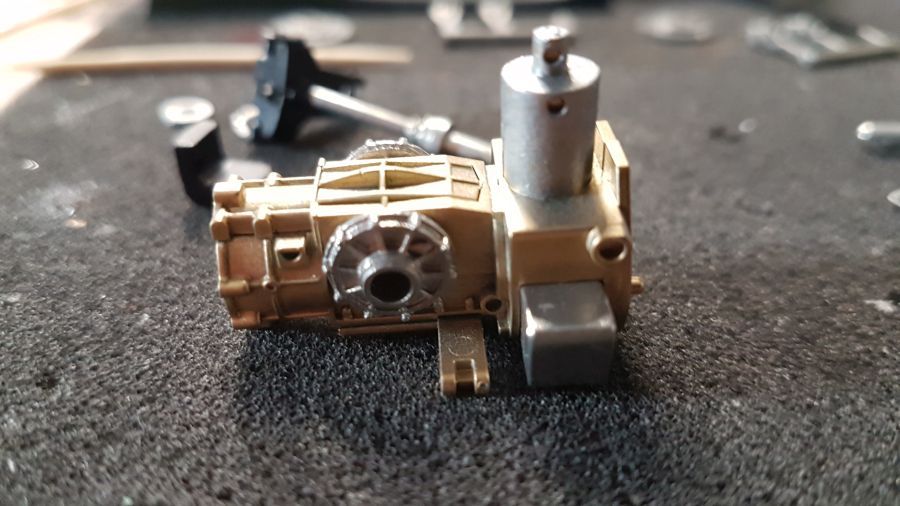
Dit motorblok krijgt aardig wat extra's...
This engine gets quite some extras...
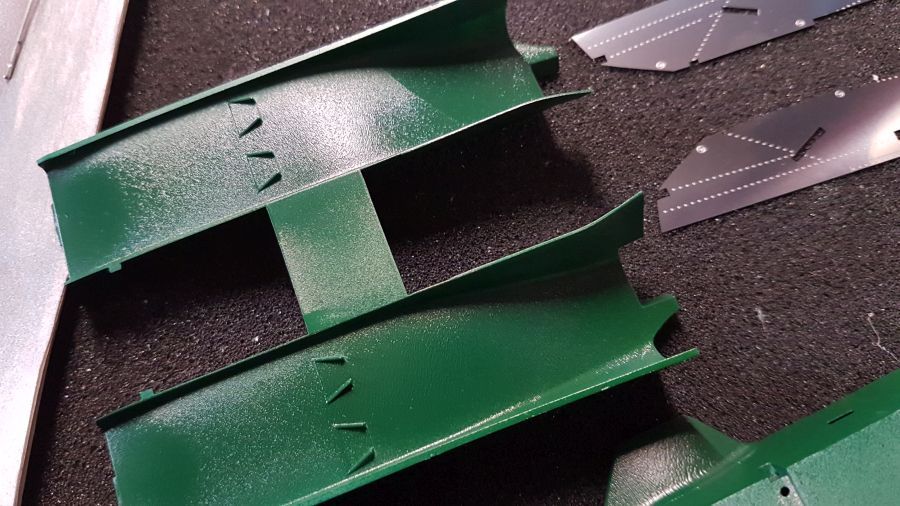
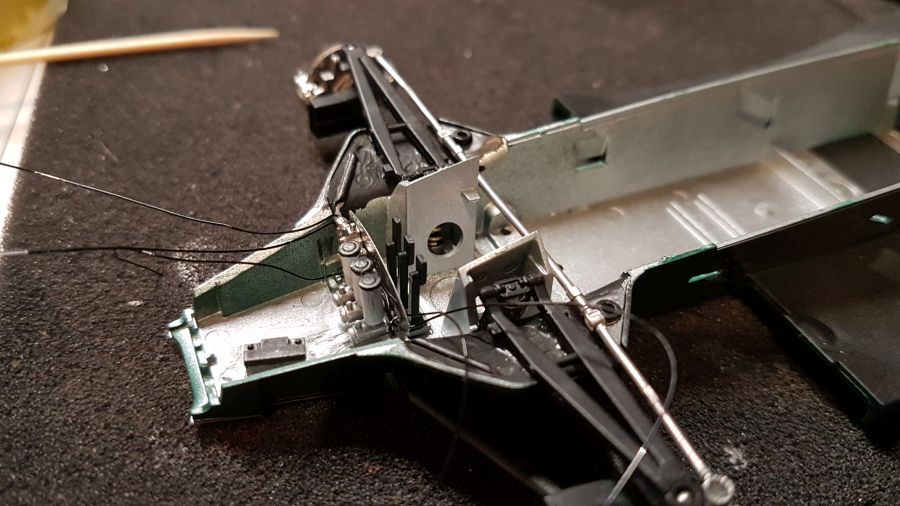
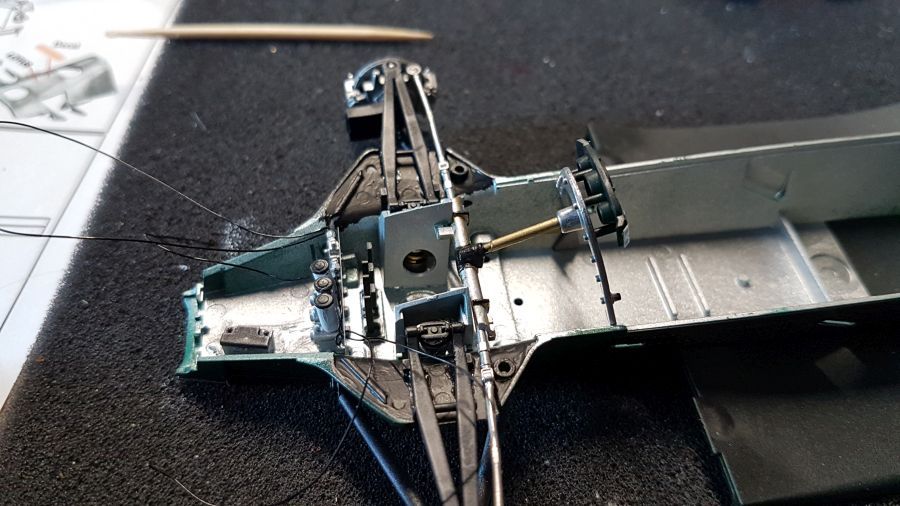
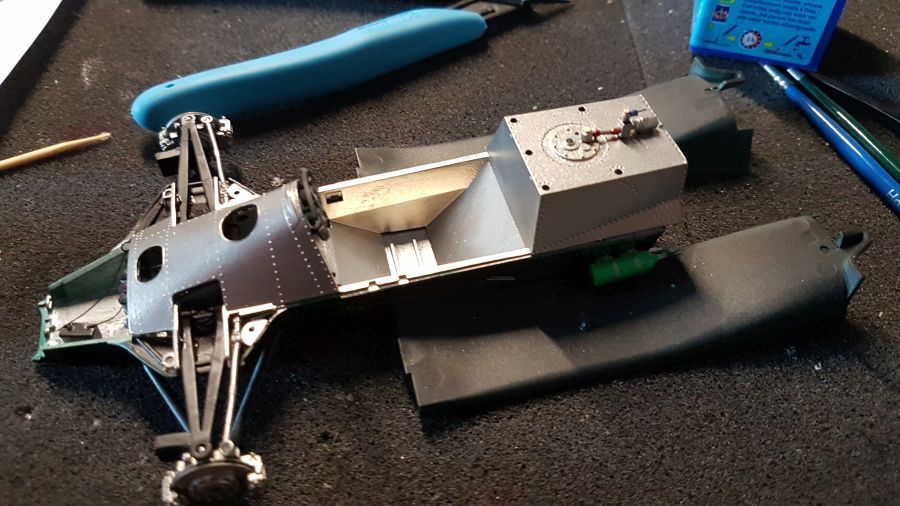
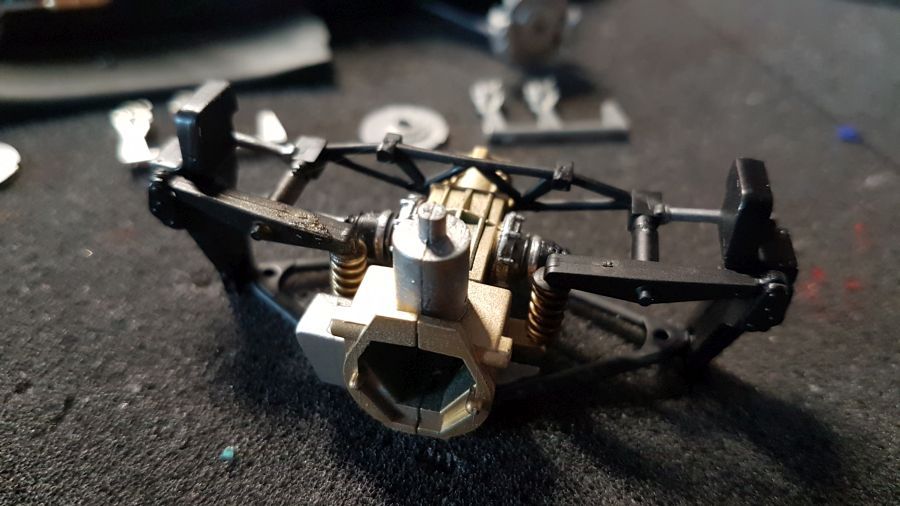
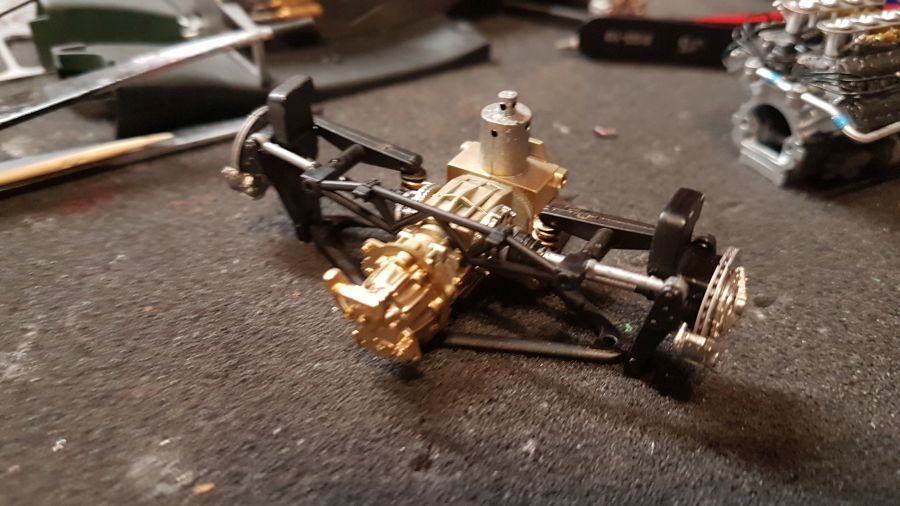
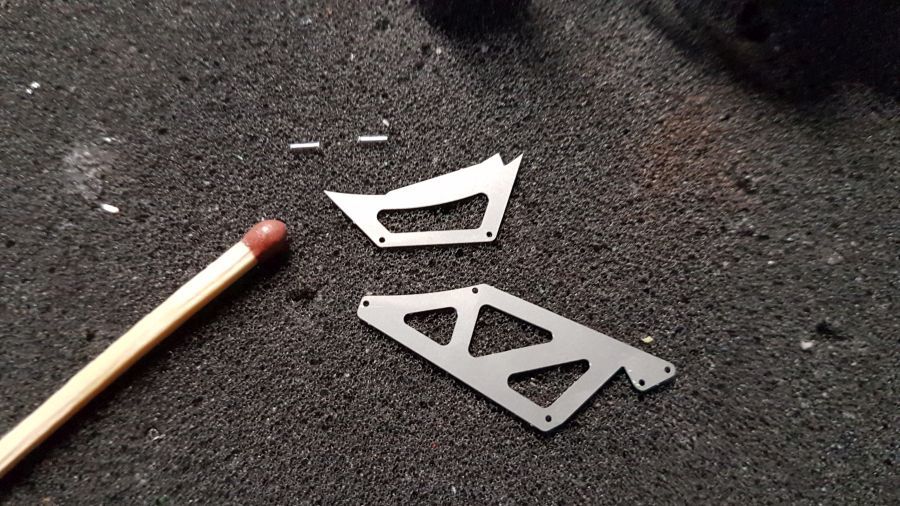
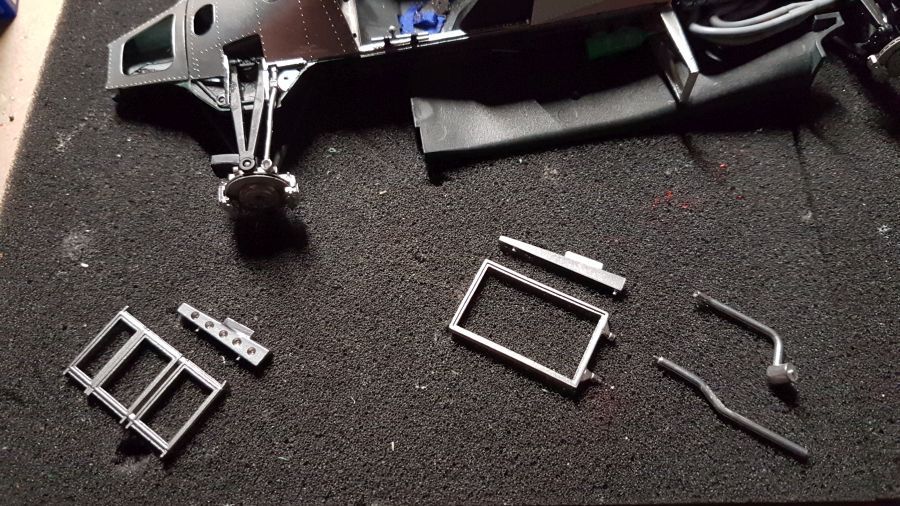
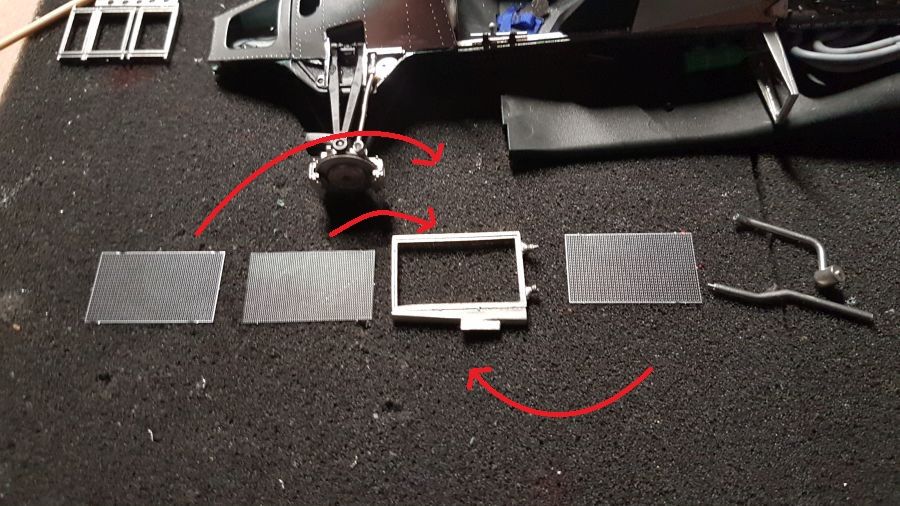
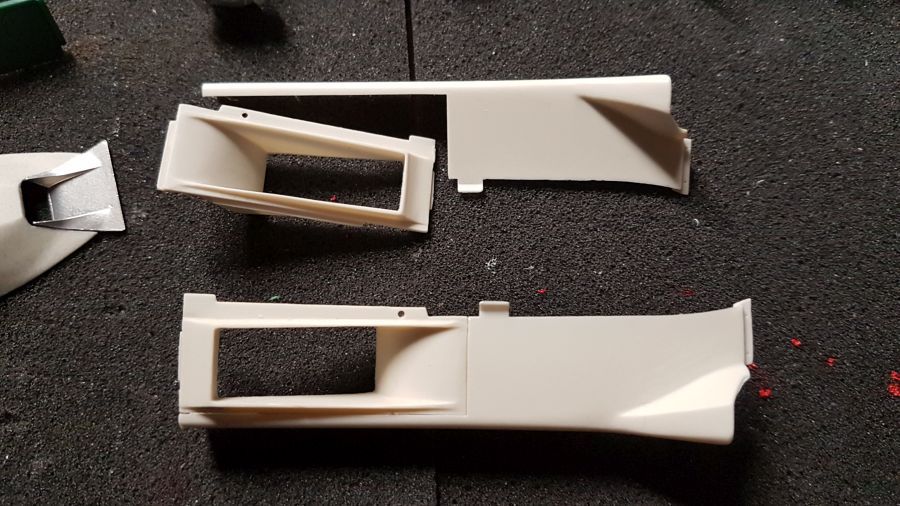
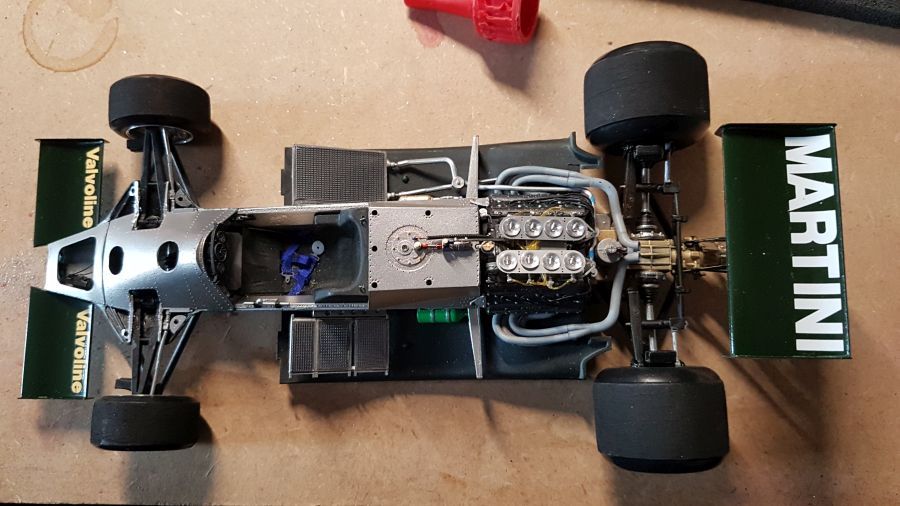
Terug naar de ondervloer... De etched platen gaan erop, voordat ze beschadigen.
Back to the undertray... The etched plates are added, before they get damaged.
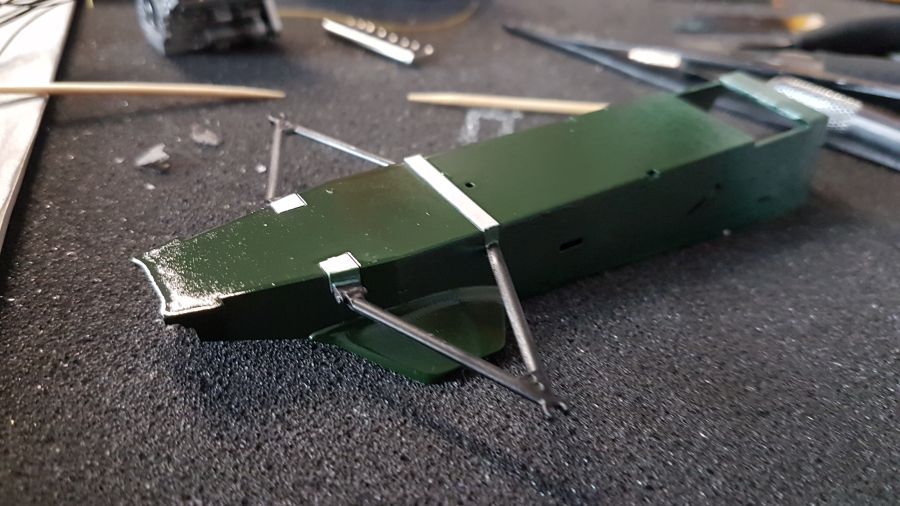
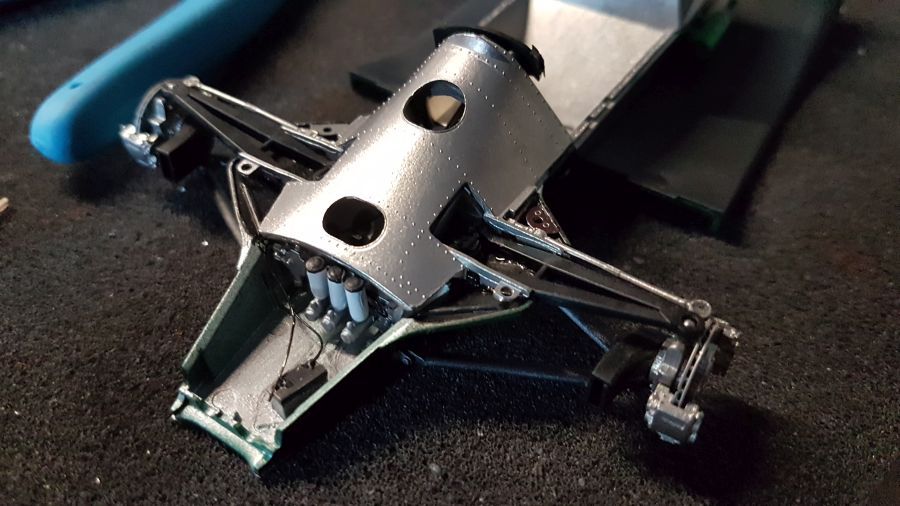
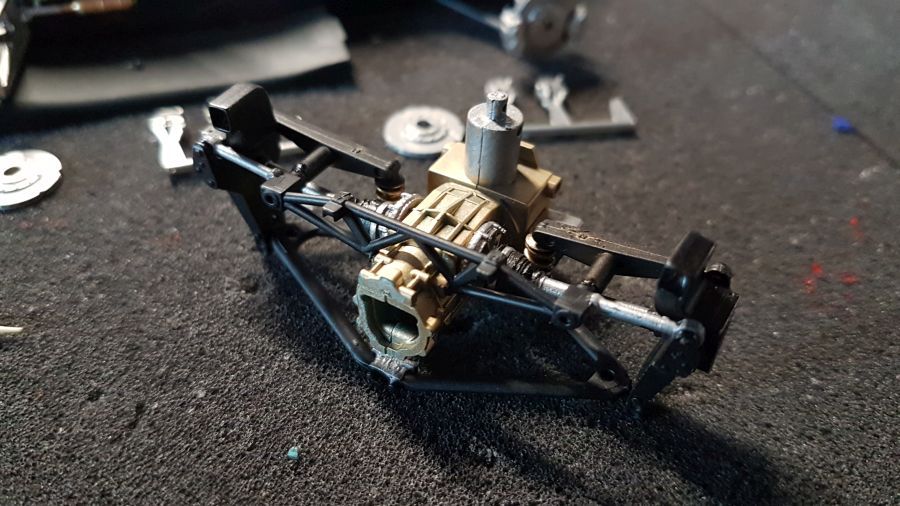
Verder met het 1e schot...
To continue with the 1st bulkhead...
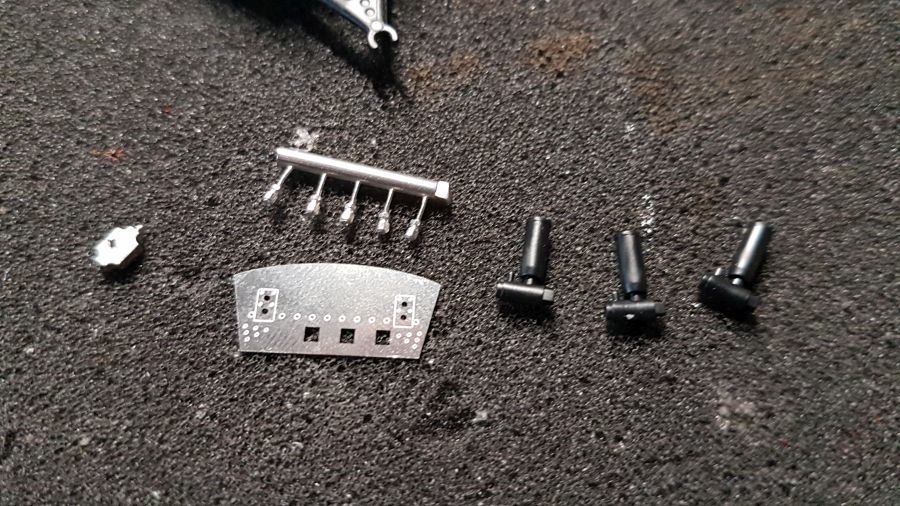
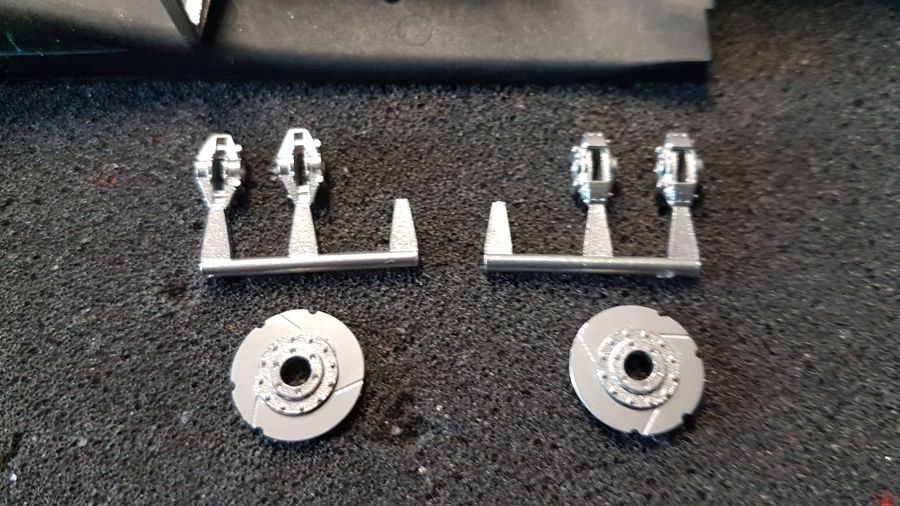
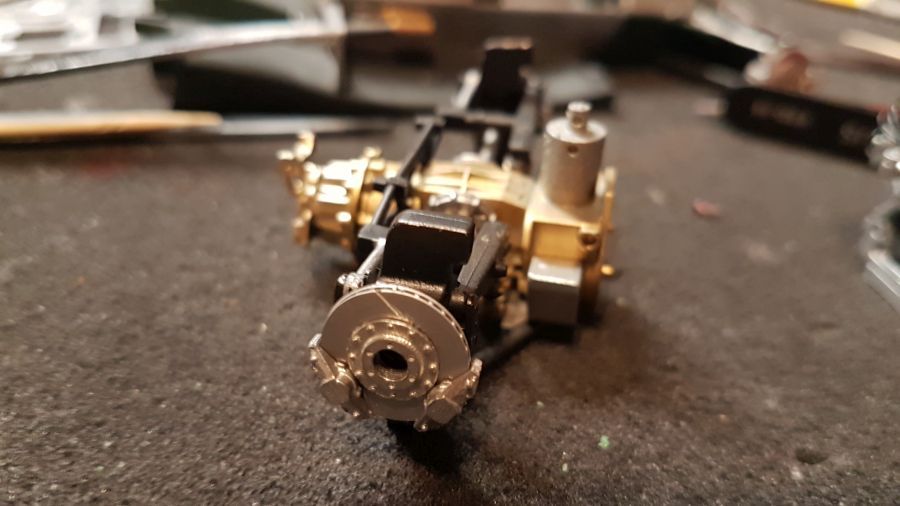
Dan eerst de achterremmen maken. Die in de Tamiya kit bestaat uit 3 onderdelen. Die van E-jan zijn vele malen meer gedetailleerd.
Next are the rear brakes. Thos in the Tamiya kit exist out of 3 parts. Thos of E-Jan are much more detailled.

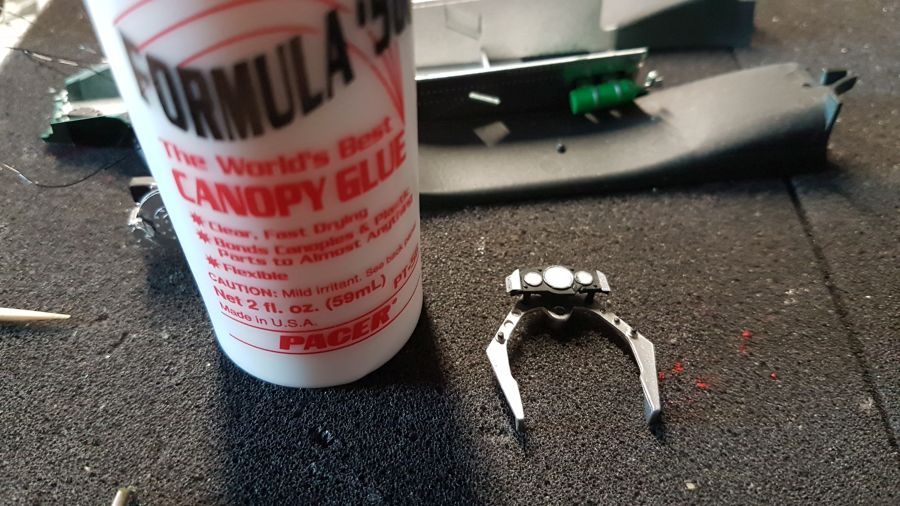
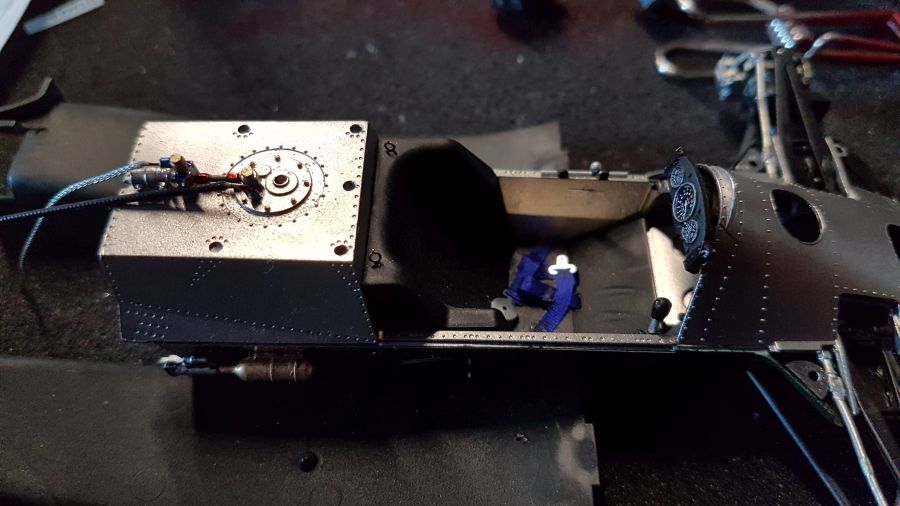
Naar het dashbord... De decals gaan erop en dan een laagje canopy glue om glas te simuleren.
To the dashboard... The decals are added and then a layer of canopy glue to simulate glass.


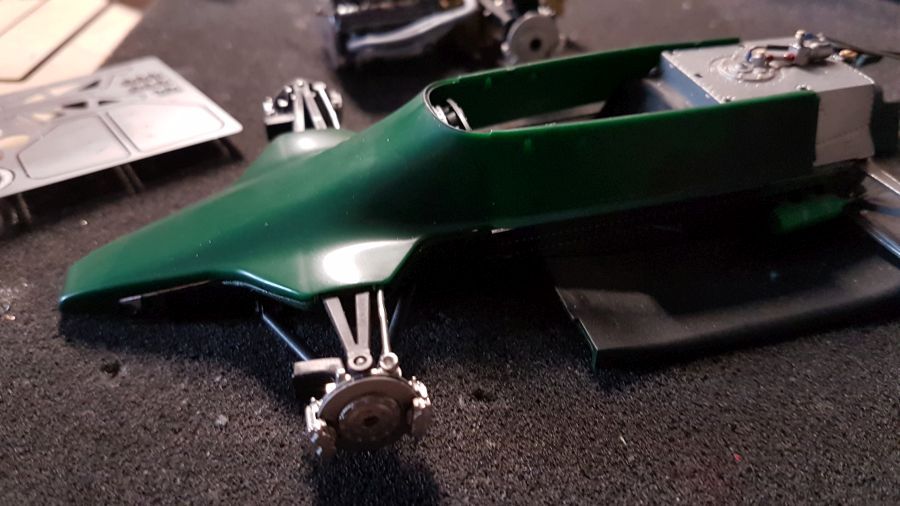
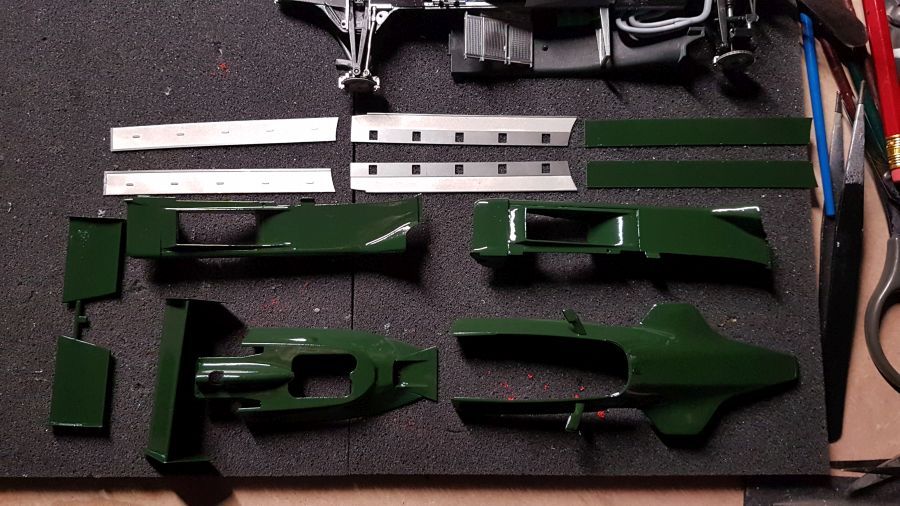
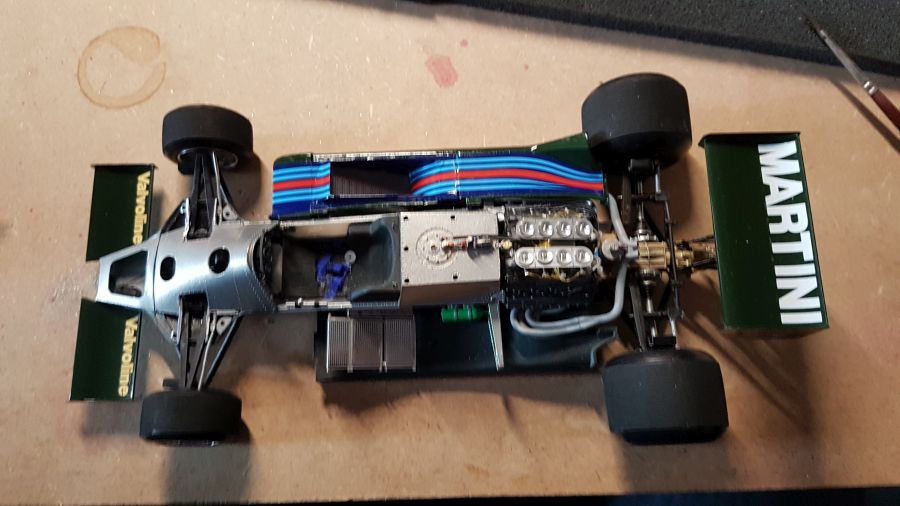
Dan weer door naar de body...
Next to continue with the body...
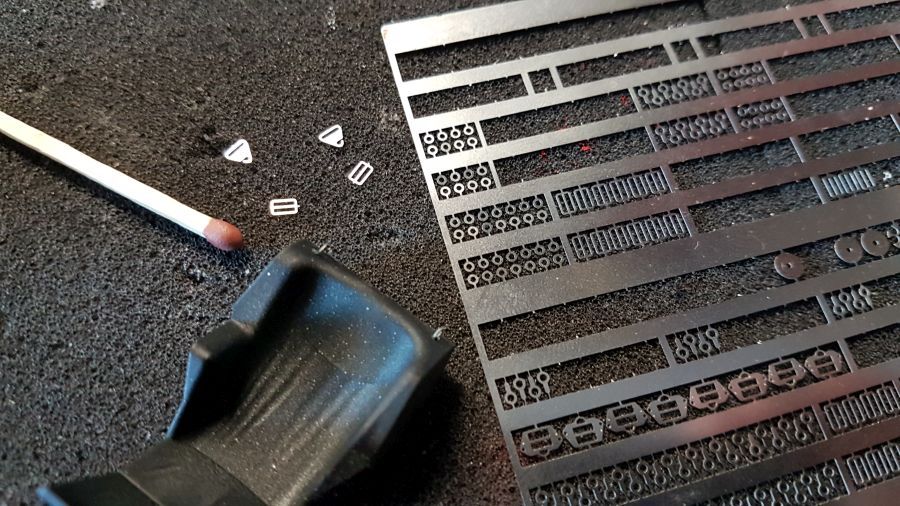
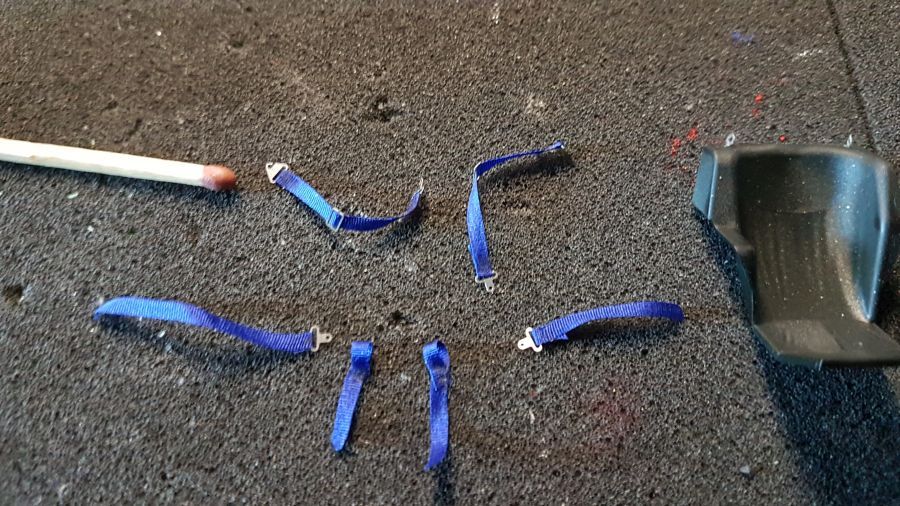
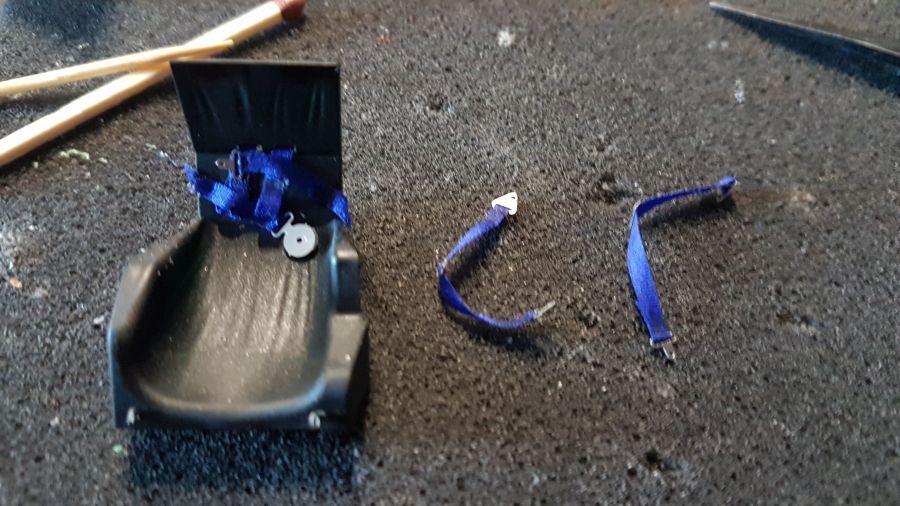
De gordels worden gemaakt, de stoel heeft al de bevestigingsogen geplaatst gekregen. De schoudergordels plaats ik later, omdat ik deze misschien wel achterover wil hebben.
The belts are being made, the seat already received the attaching points. The shoulder belts will be added later, because i might want them to fold back.
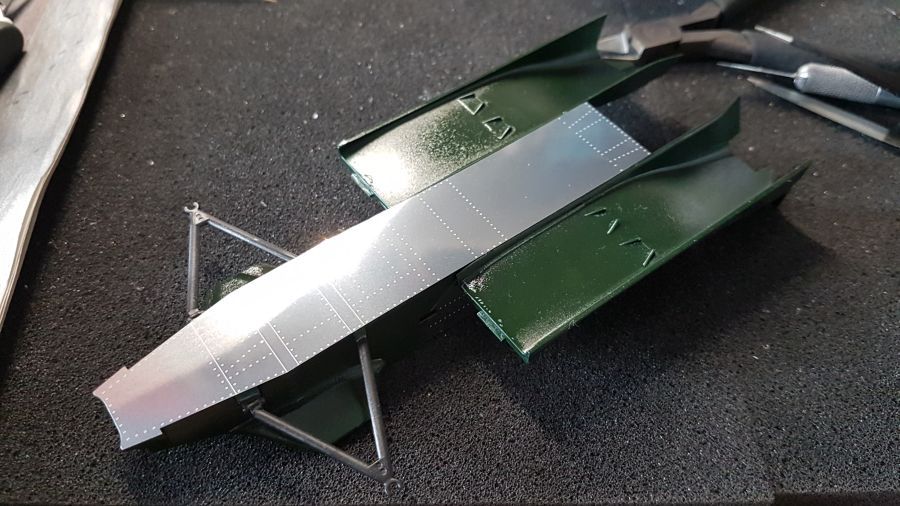
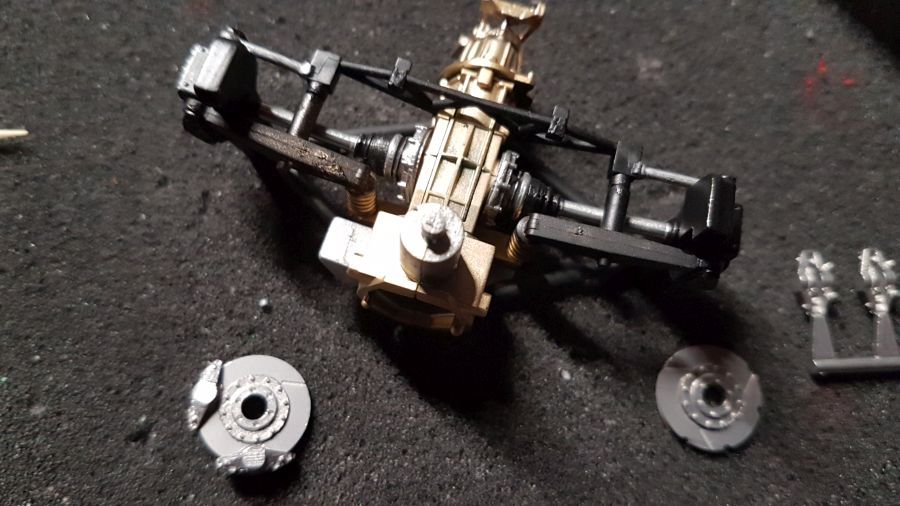
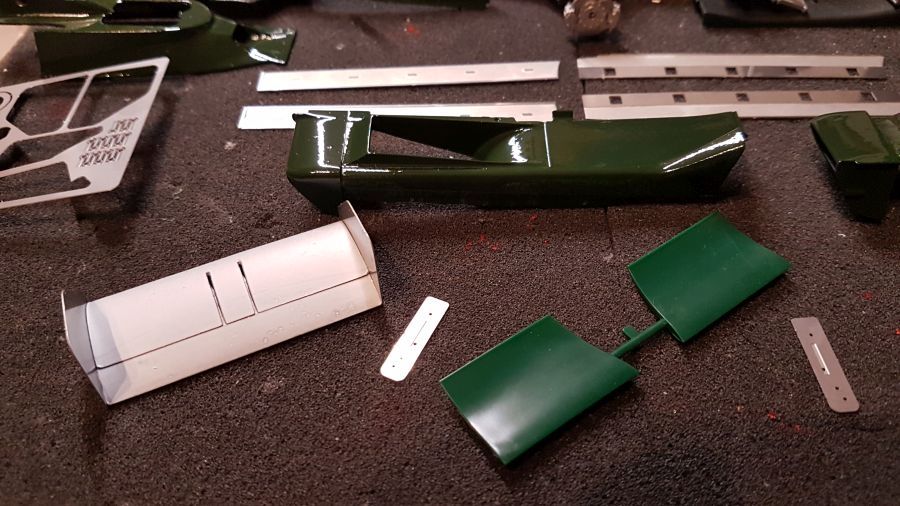
Dan naar de achterkant van de wagen...
Next is the backside of the car...
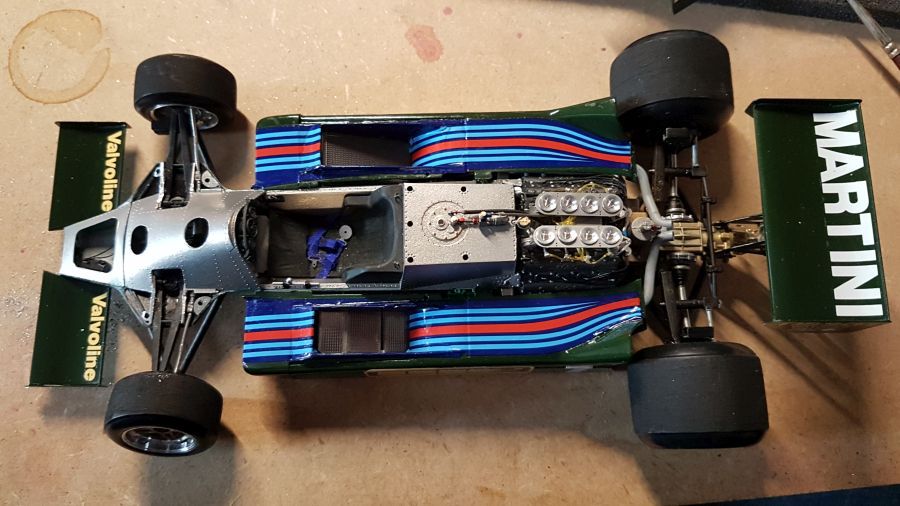
Verder naar de uitlaten...
On to the exhausts..
Ik bewerk zer met een beetje roestpoeder, niet te veel.
I add a bit rust powder, not too much.
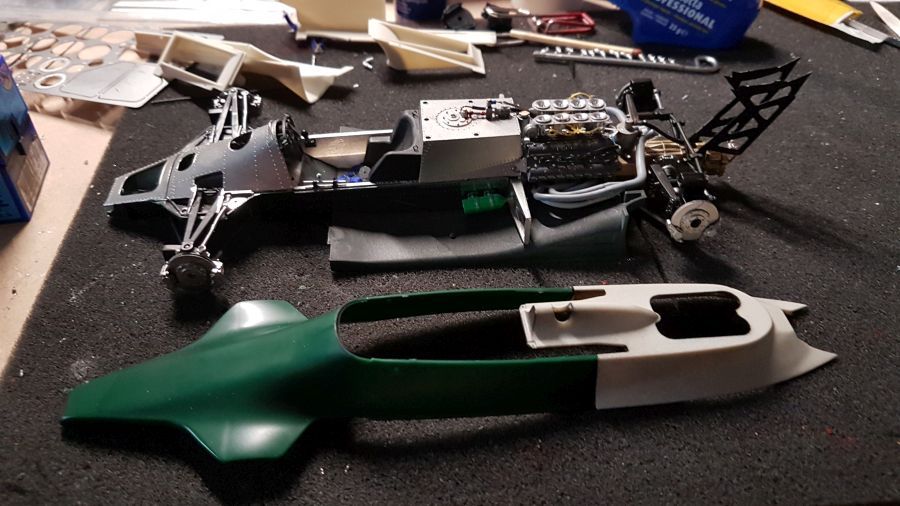
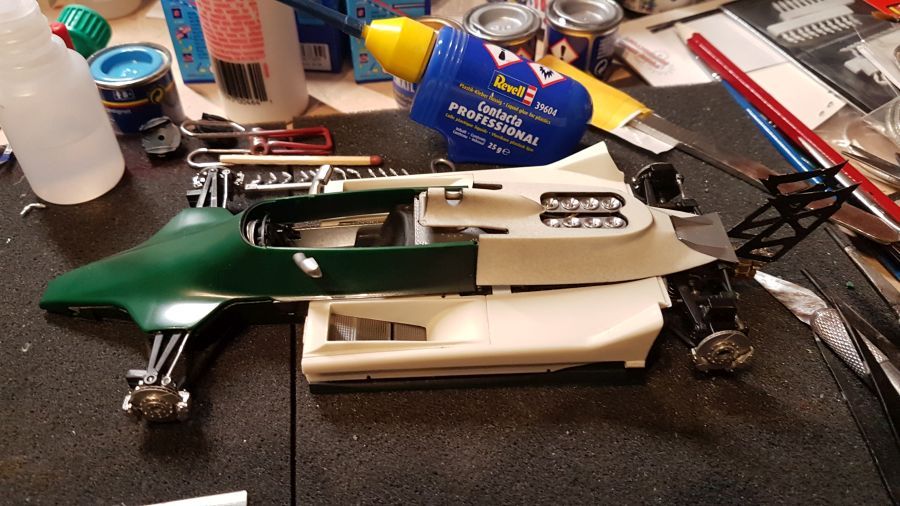
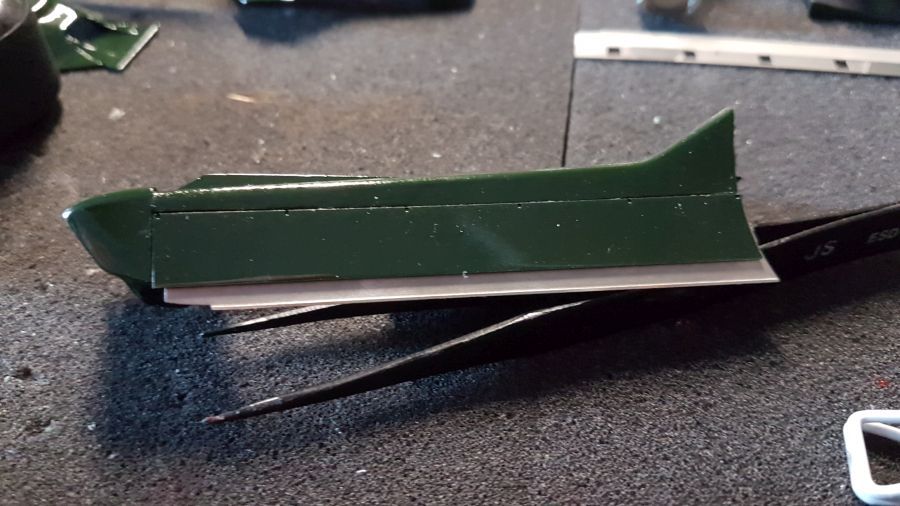
Even een test van de body en de binnenkant verven.
A test fit of the body work and paint the inside.

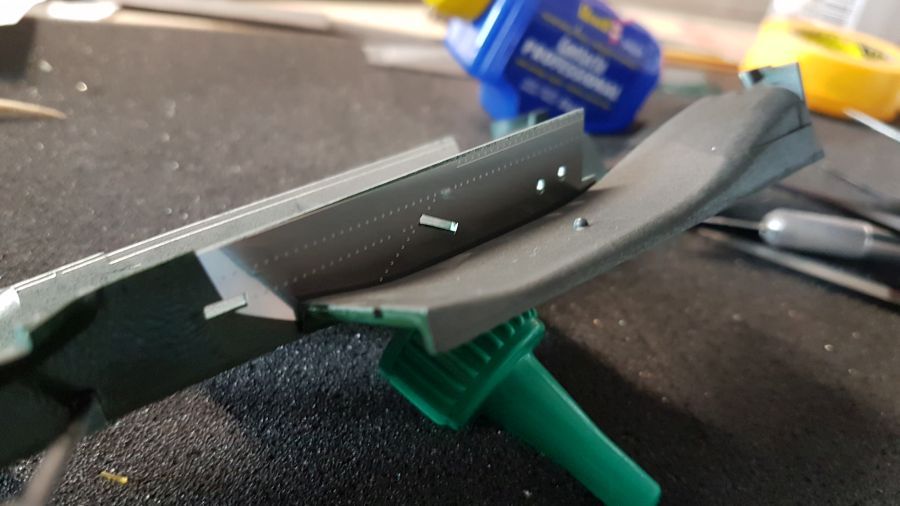
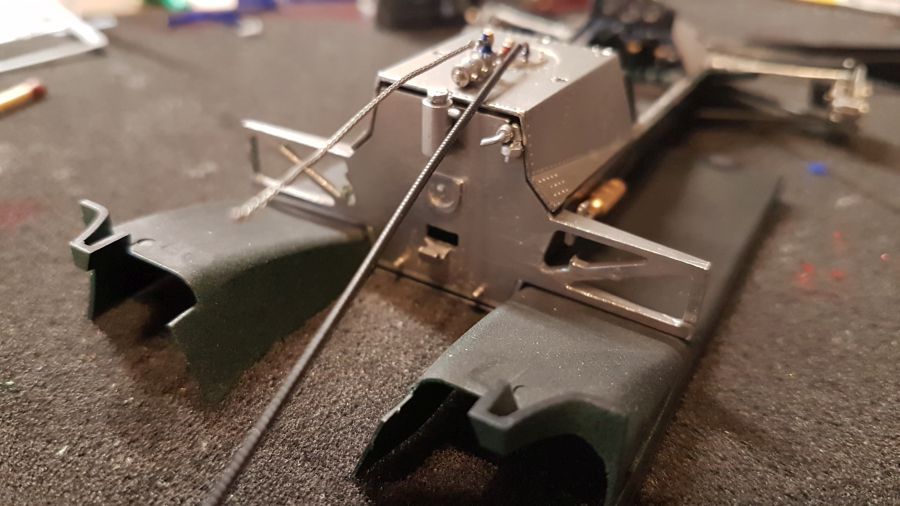
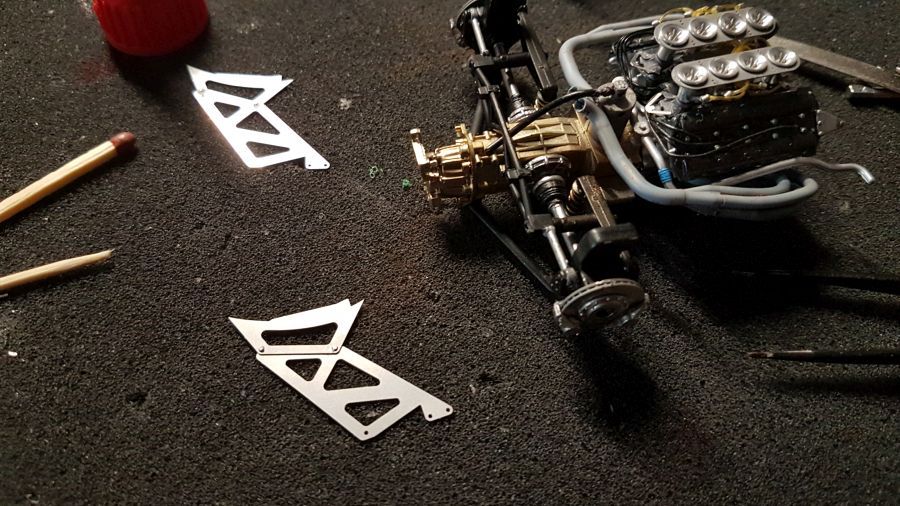
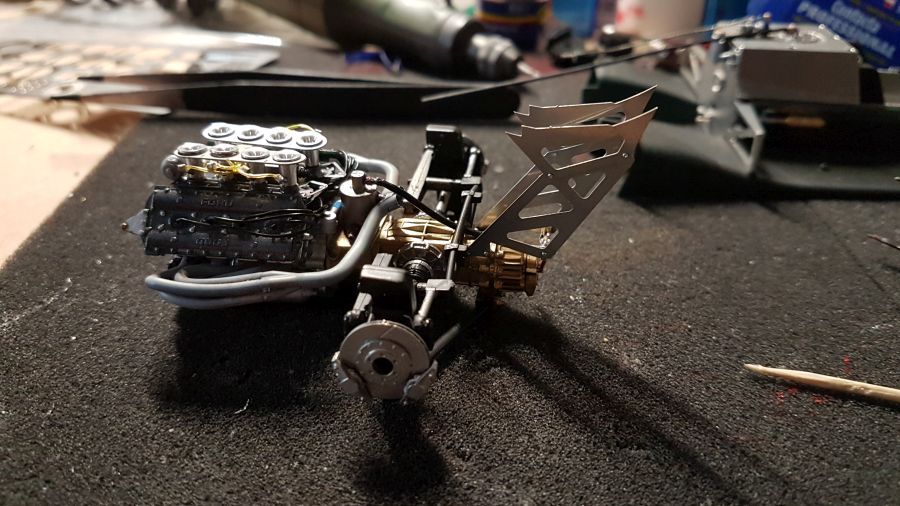
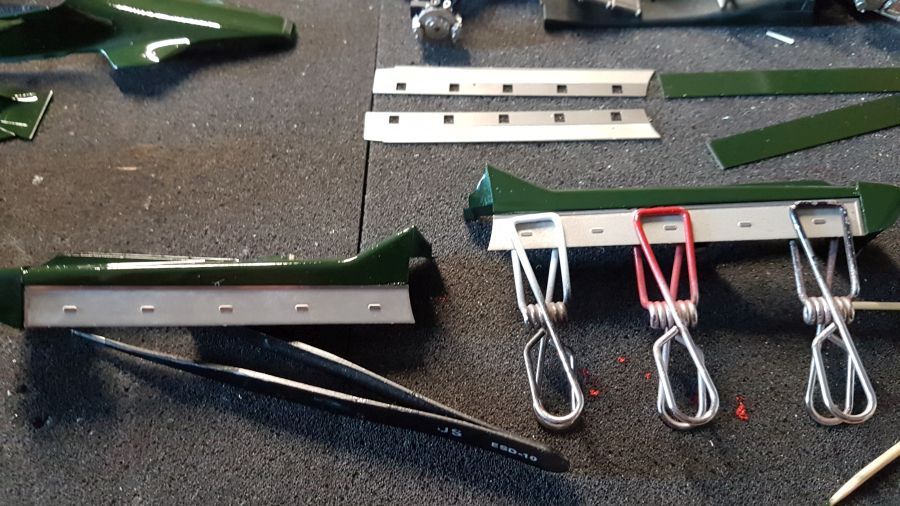
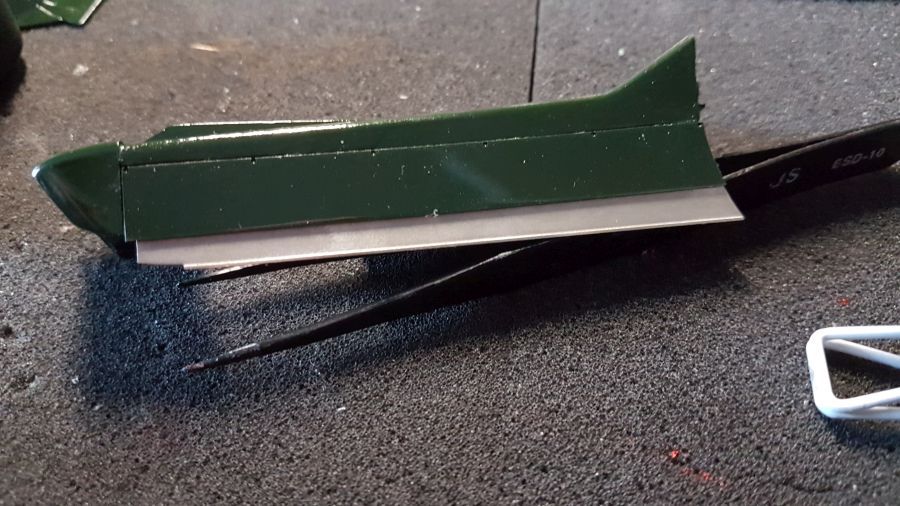
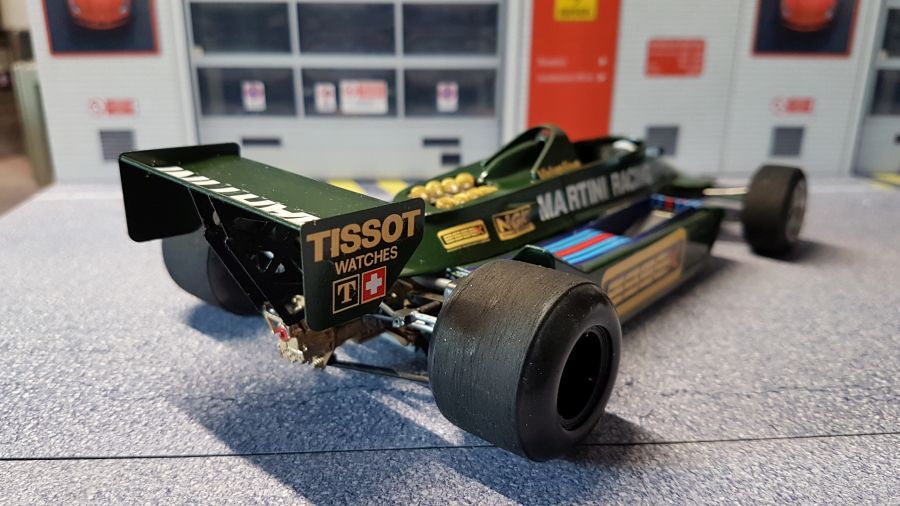
Dan door naar de steun voor de achtervleugel. Dit is waar met name de uitbreidingsset goed voor is. Deze zit niet in de Tamiyadoos in deze vorm.
On to the support of the rear wing. This is why the expansion set is needed. This part is not included in the Tamiya box.
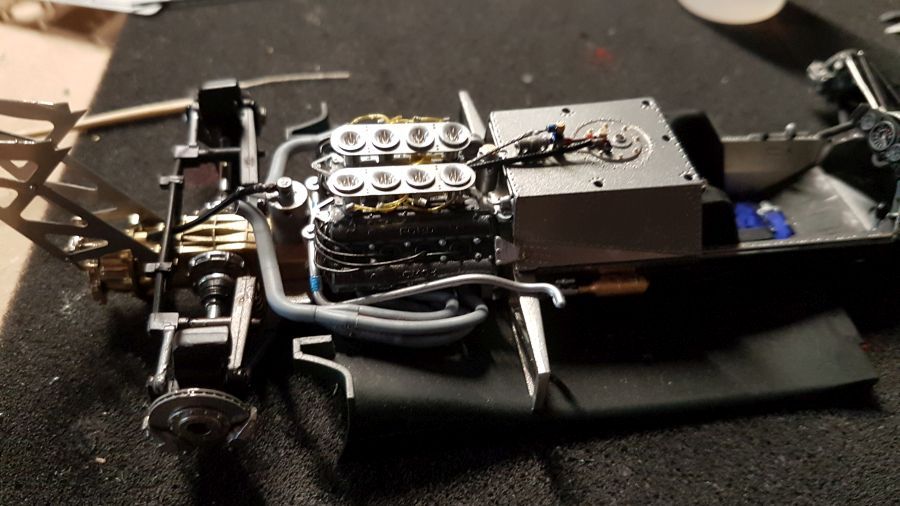

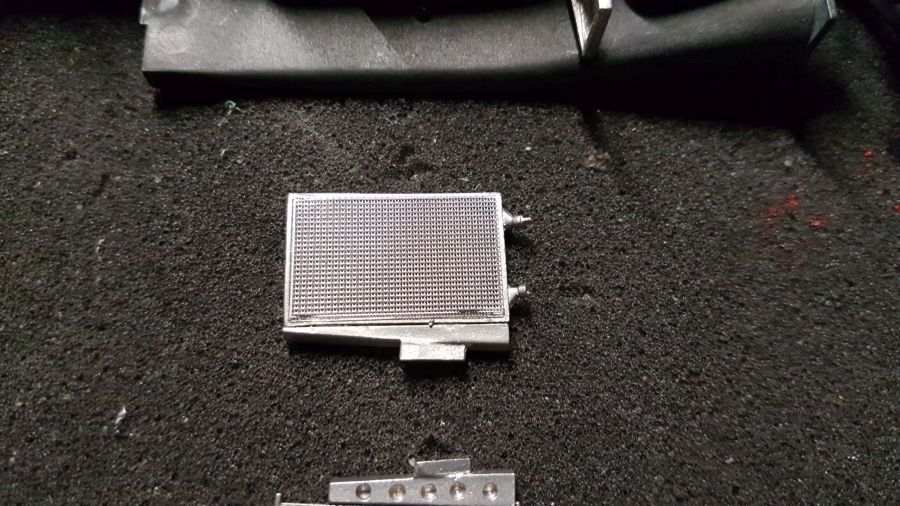
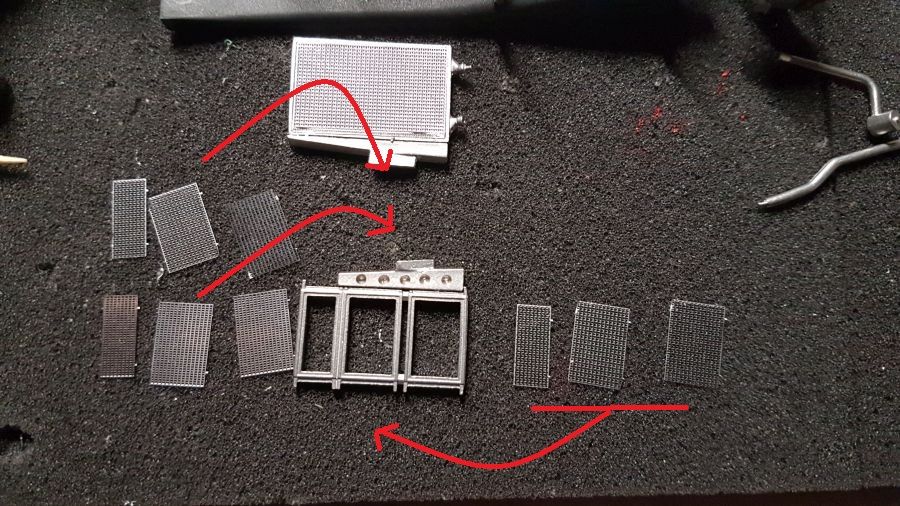
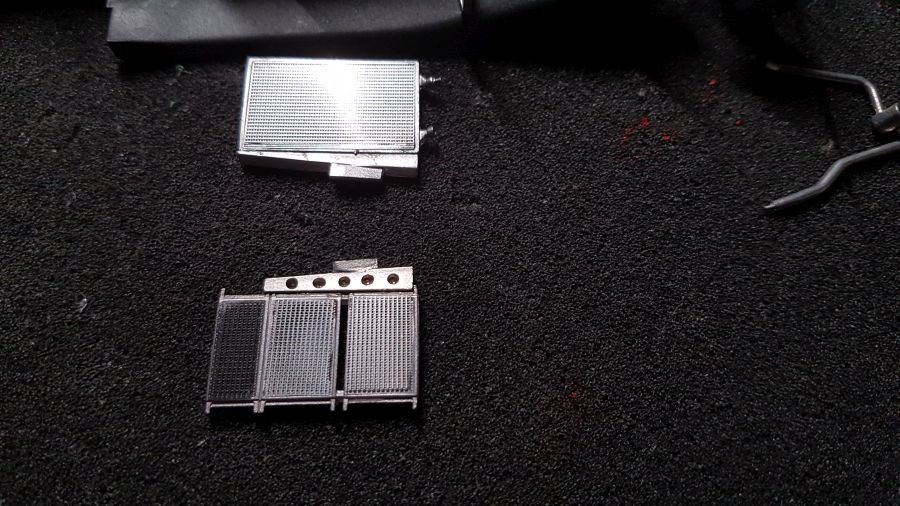
Dan de koeling...
On with the cooling...
Meer werk aan de body... Ik hoop dat alles gaat passen...
More work to the body... I hope everythign will fit...
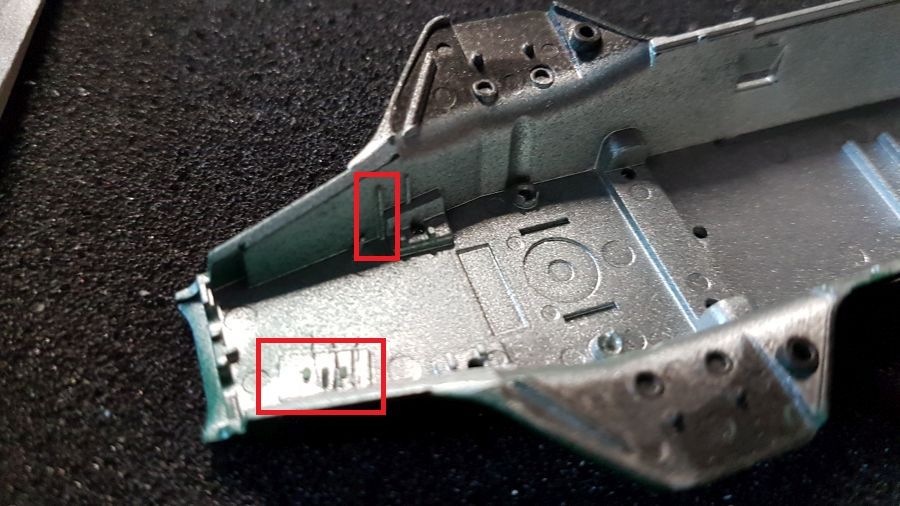
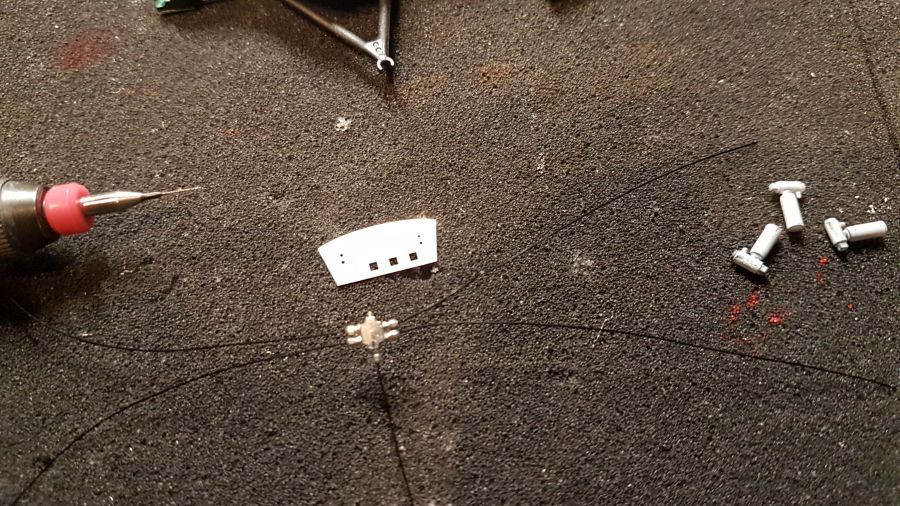
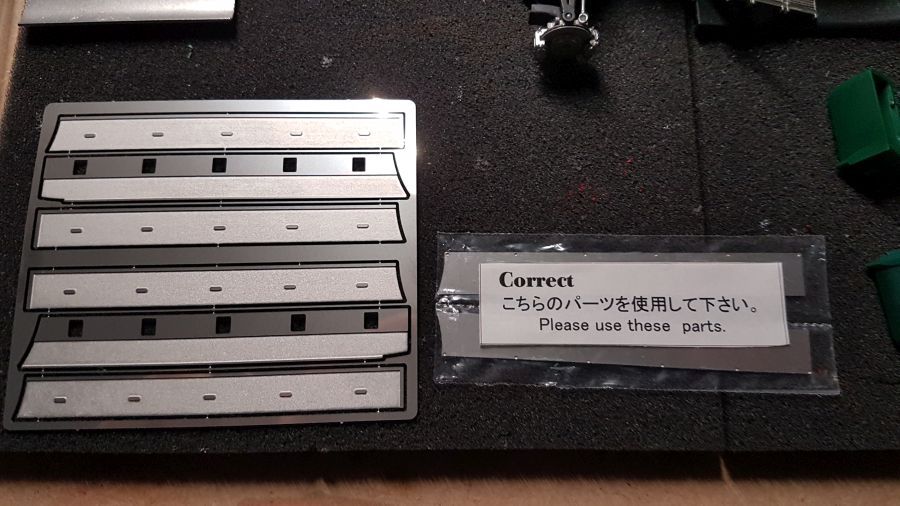
Eerst dacht ik, hoe kan ik nou zien welke je moet vervangen door de juiste. Totdat ik de kleine inkepingen zag.
First i thought, how can i see which one to replace. Until i noticed the small dents.
De onderdelen klaarmaken voor het spuiten...
Preparing the parts for painting...
De vleugels ook...
The wings too...
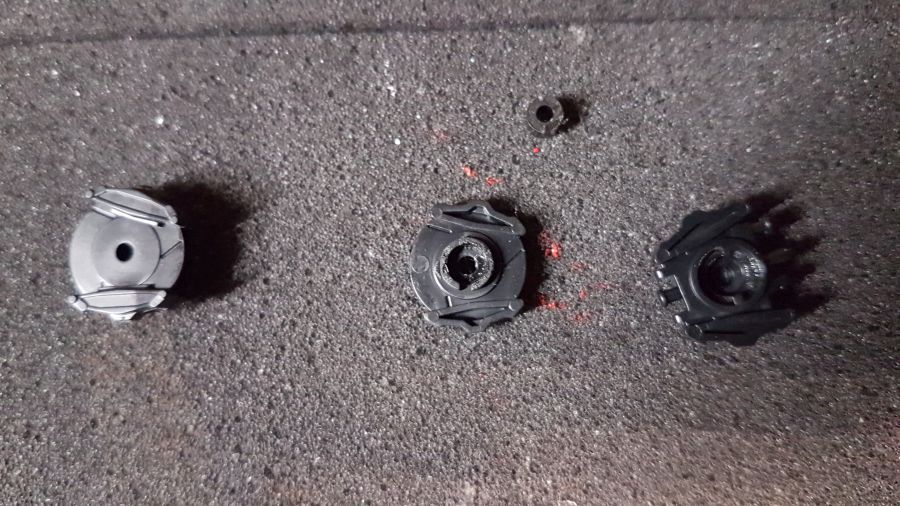
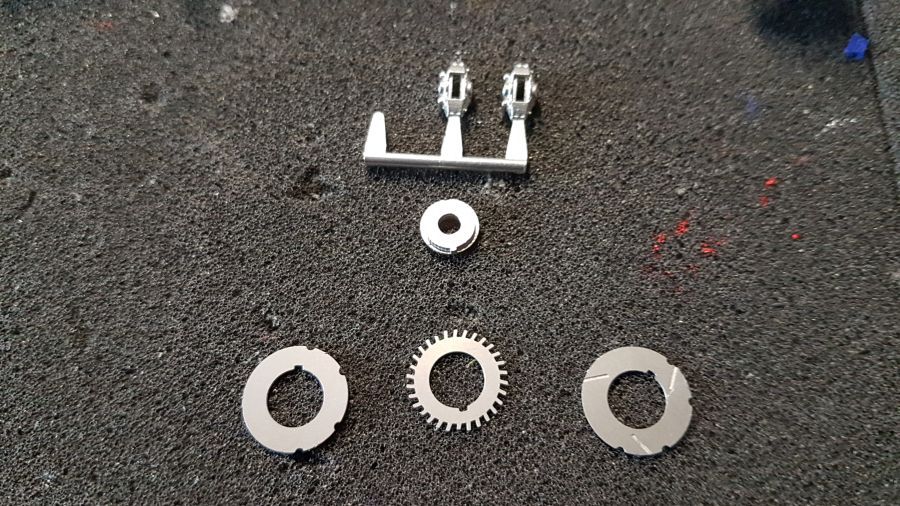
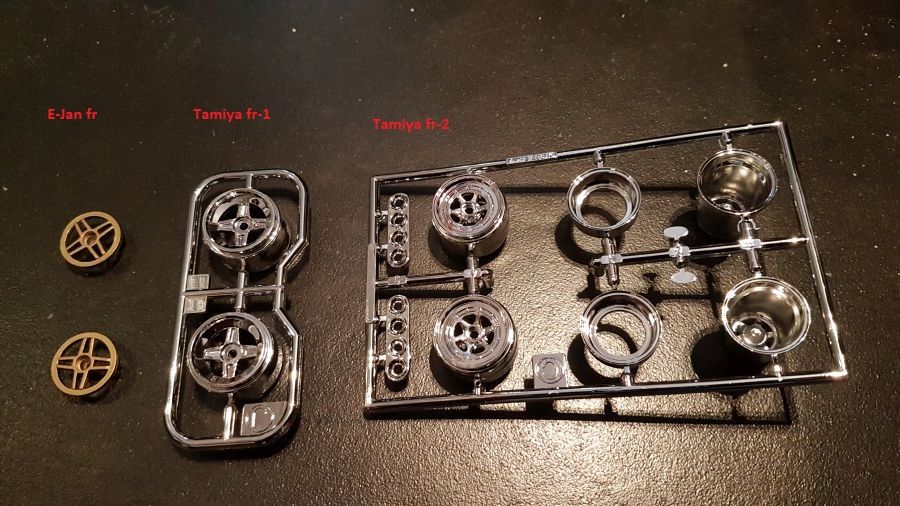
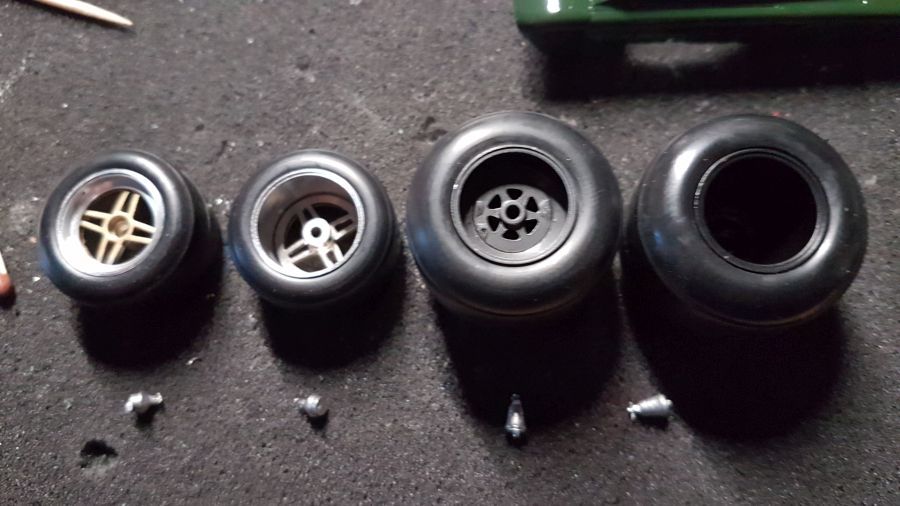
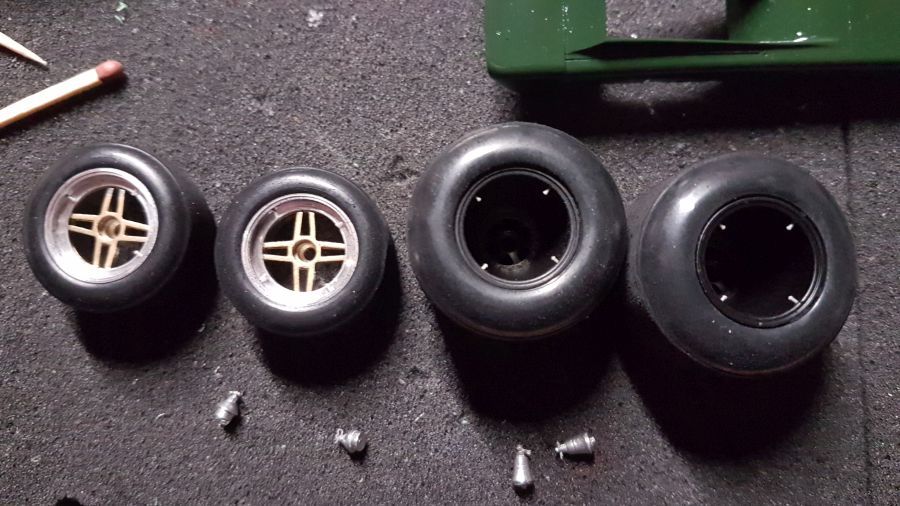
Dan door met de velgen. Ik wil de velgen van E-Jan gebruiken, die zijn met mooiste. Tamiya geeft keuze uit 2 voorvelgen.
Next are the rims. I would like to use the E-jan rims, they are more beautiful. Tamiya offers a choice of 2 front rims.
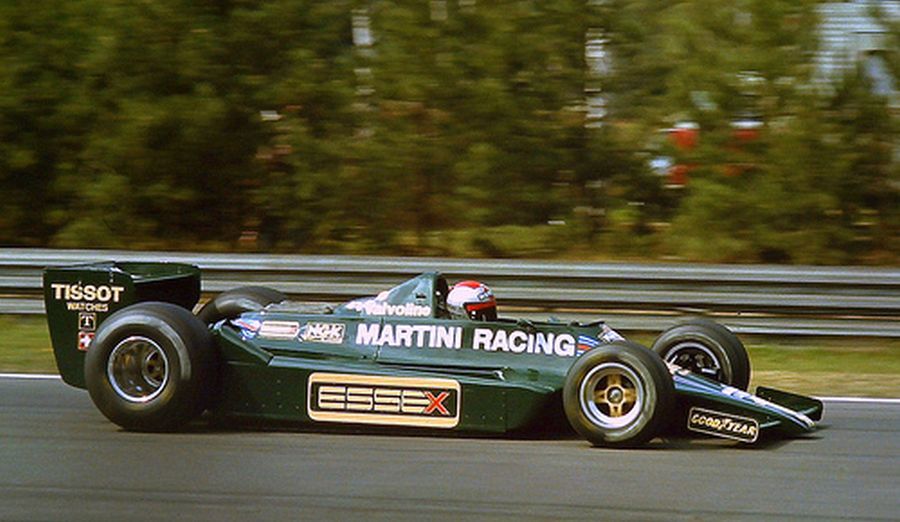
De kleurkeus en de keus voor de juiste velgen is moeilijk. Er zijn veel verschillende foto's op internet, maar maar 1 waarin Lammers in de auto zit en de voorvelg net een beetje te zien is. De E-jan velg is de juiste. De kleur van de achtervelg laat zich raden.
The choice of color and the correct rim is difficult. There are many pictures on internet, but only 1 with Lammers in the car and a front rim that can slightly be seen. The E-Jan rim is the correct one. The color of the rear rim is a guess.

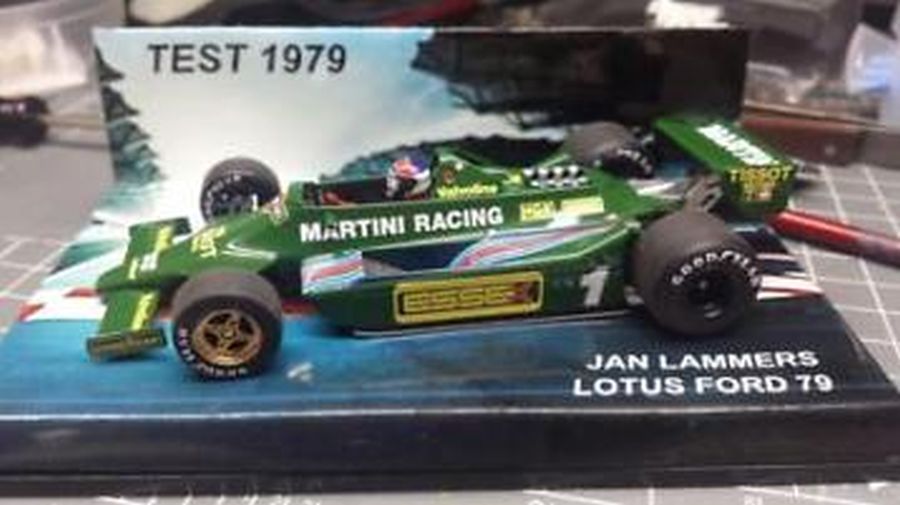
Dit is een modelletje. De voorvelg klopt in ieder geval niet.
This is a small model. The front rim is not correct.
De achtervelg zwart, de voorvelg niet het juiste model.
The rear rim black, the front rim is not the correct model.
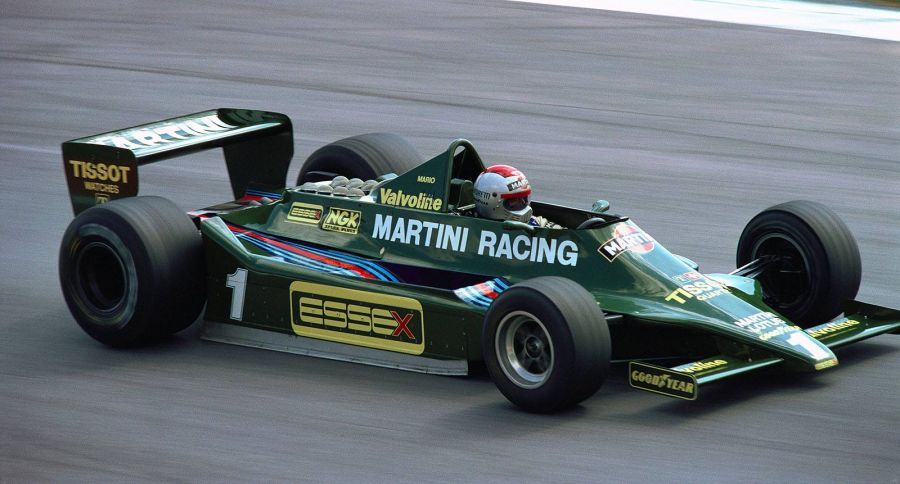
De achtervelg zilver, de voorvelg correct, maar weer niet de juiste auto. Let maar op de achtervleugel.
The rear rim silver, the front rim correct, but not the correct car. Notice the rear wing.
De achtervelg zwart, de voorvelg correct, maar wederom niet de juiste auto.
The rear rim black, the front rim correct, but again not the correct car.
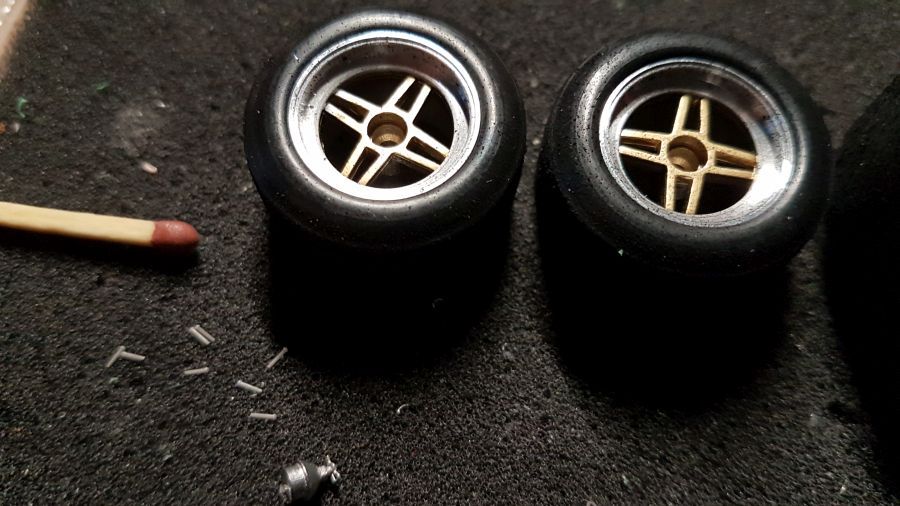
Dit is ook niet de juiste auto, maar de velgen lijken mij het meest juist. Dus ik besluit de voorvelg zilver en goud combinatie en de achtervelg helemaal zwart. Een beetje als de eerste foto dus, maar dan een andere voorvelg.
Again not the correct car, but the rims look o.k. to me. So i decide the front rim a combination of silver and gold and the rear rim full black. A bit like the first photo, but a different front rim.
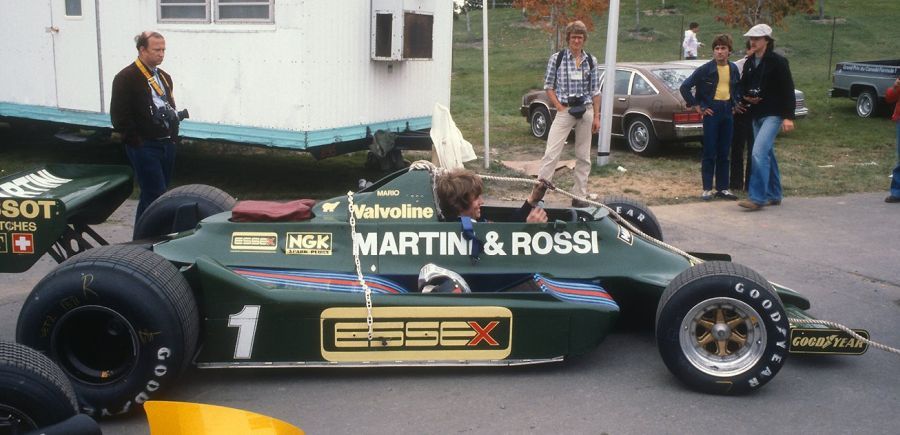
Facebook-vriend Alex komt met een foto van het juiste model.
Facebook friend Alex has a picture of the correct model.
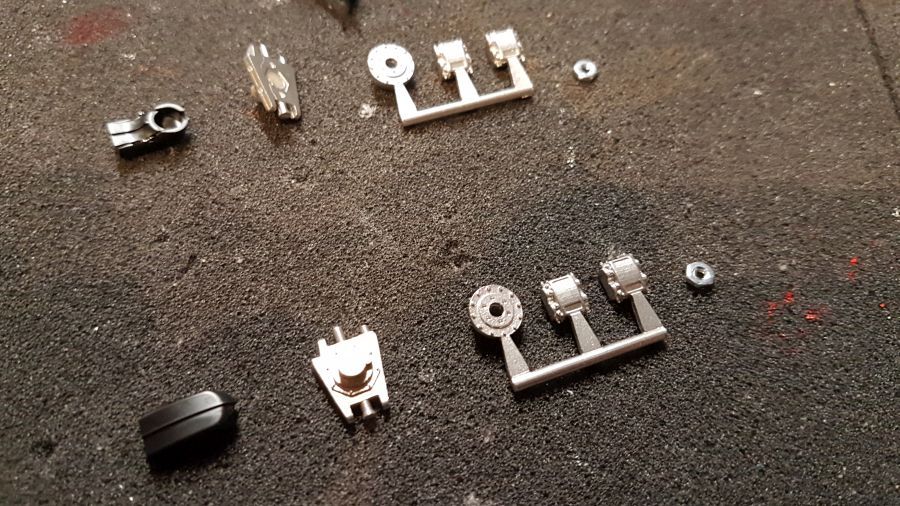
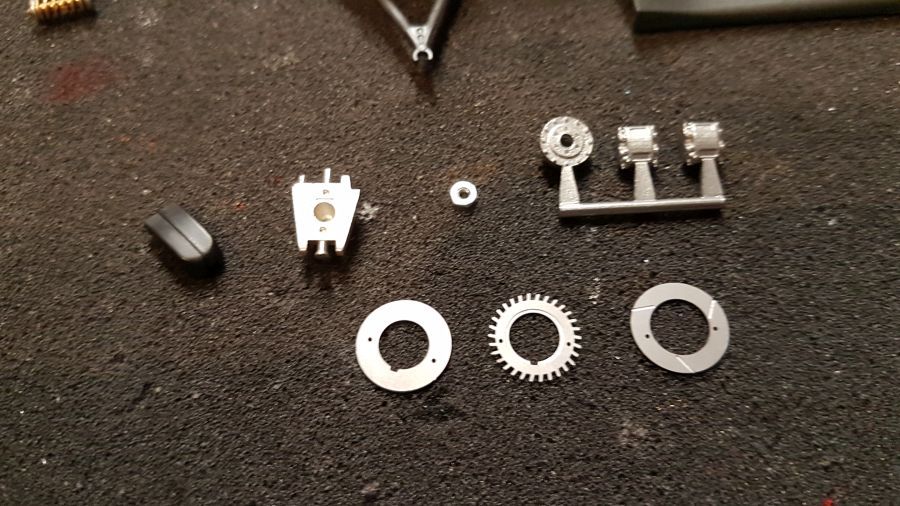
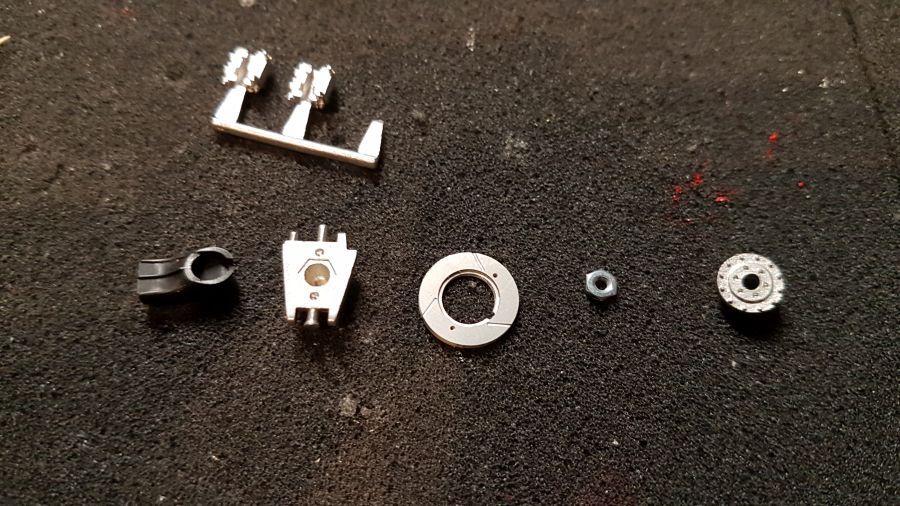
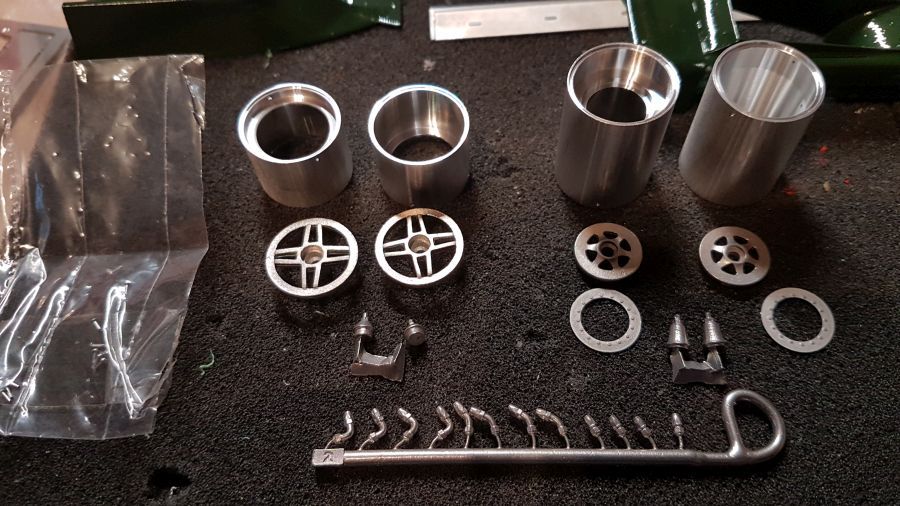
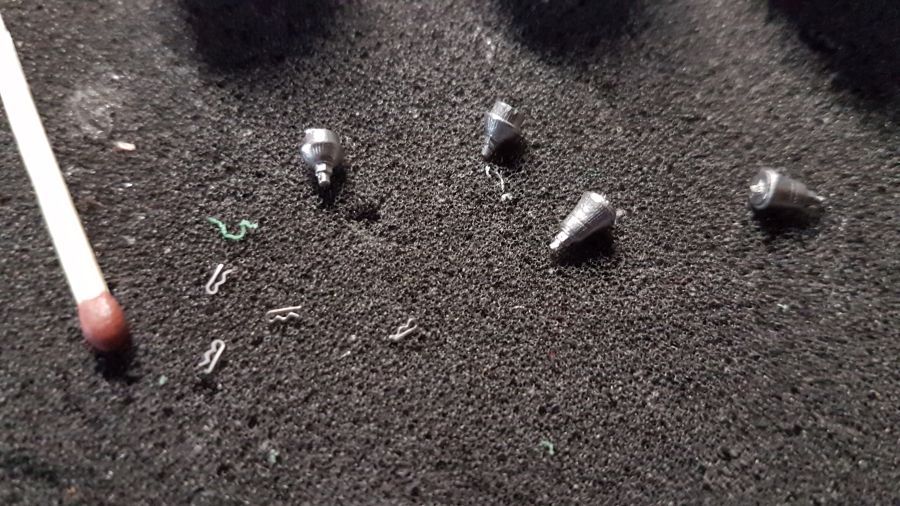
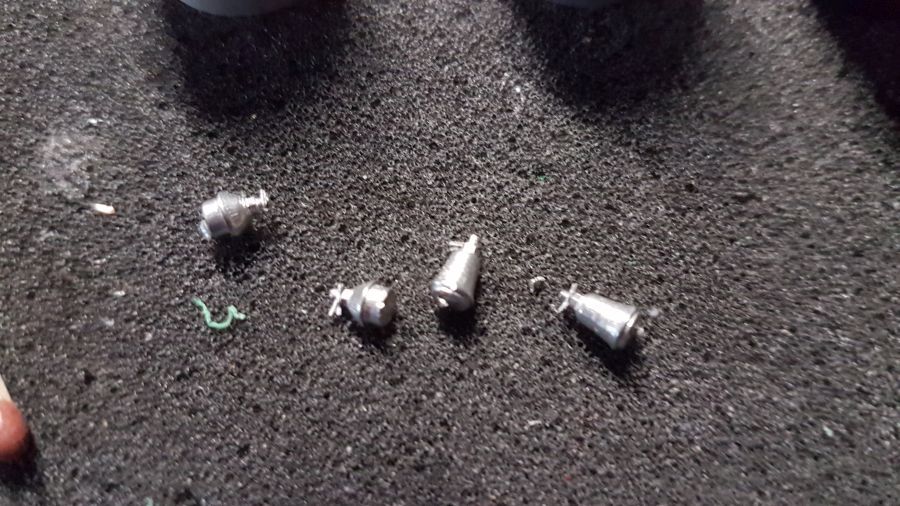
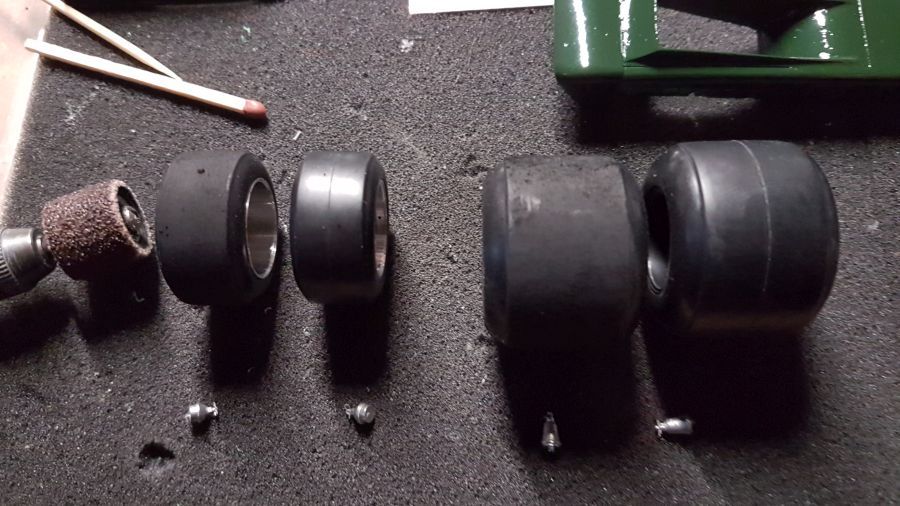
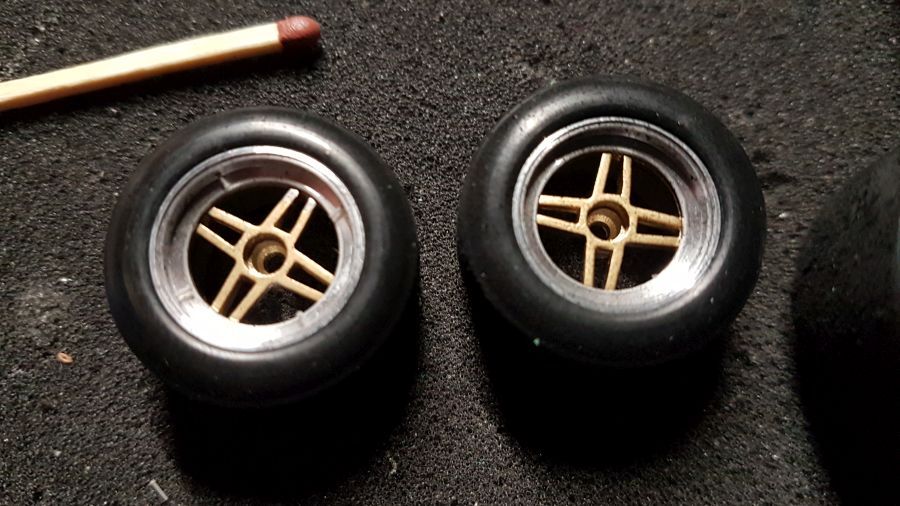
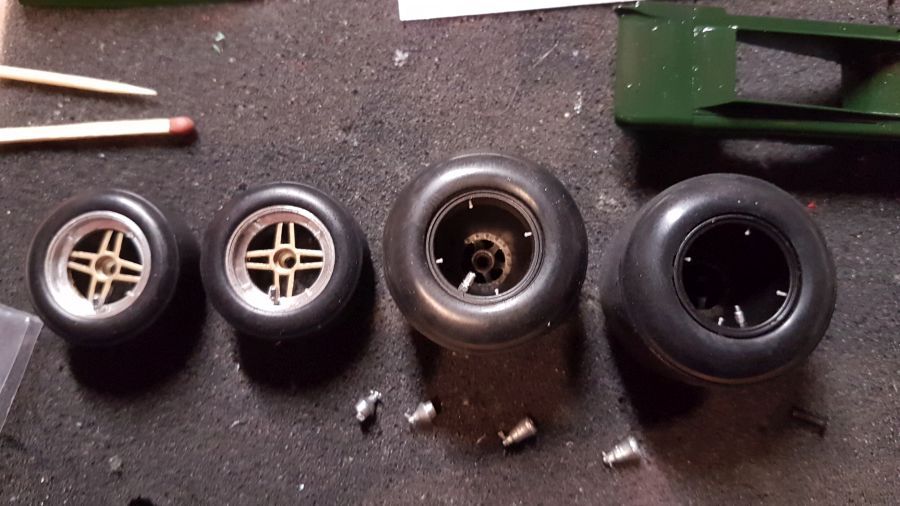
Daar gaat ie met de velgen.... de opsluiters, de afstelschroeven, de ventielen, enz.
There we go with the rims.... the fasteners, the adjusters, the airvalves, etc.
Dan naar de skirts.... Deze wil ik beweegbaar houden.
On to the skirts.... I want to keep them movable.
Het werkt...
It's working...
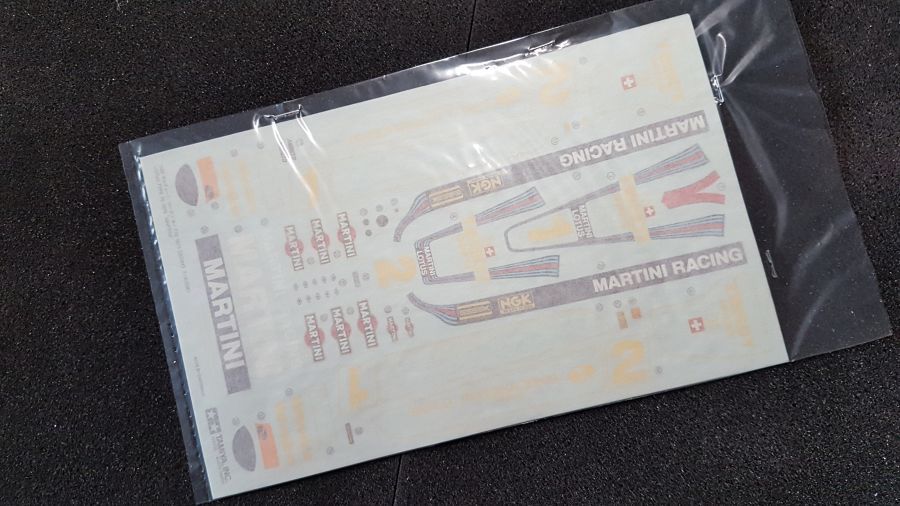
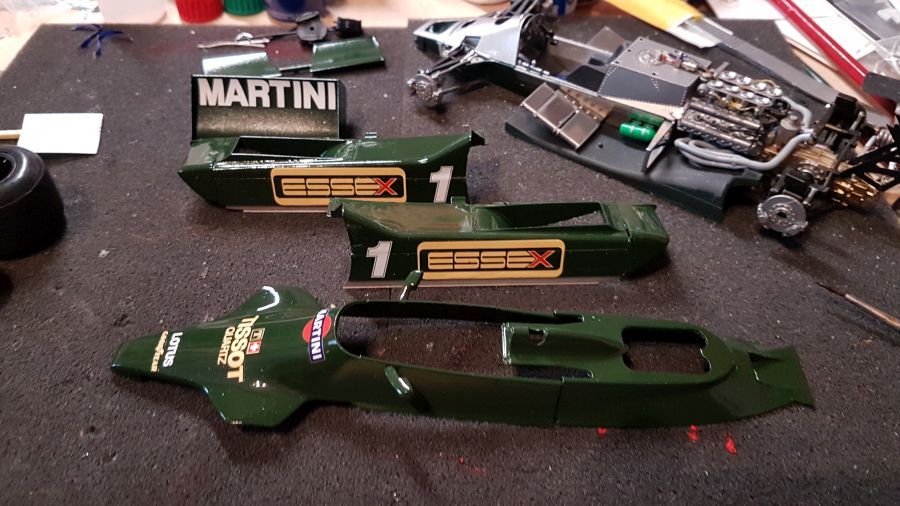
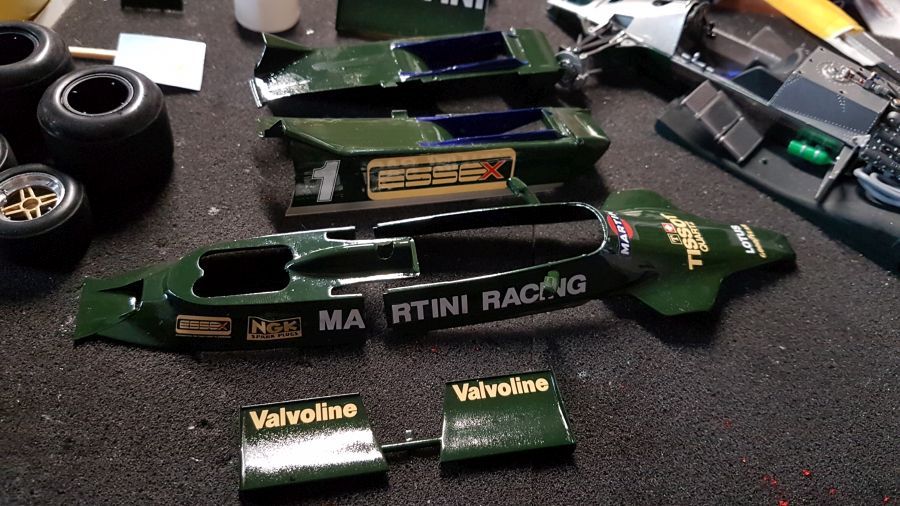
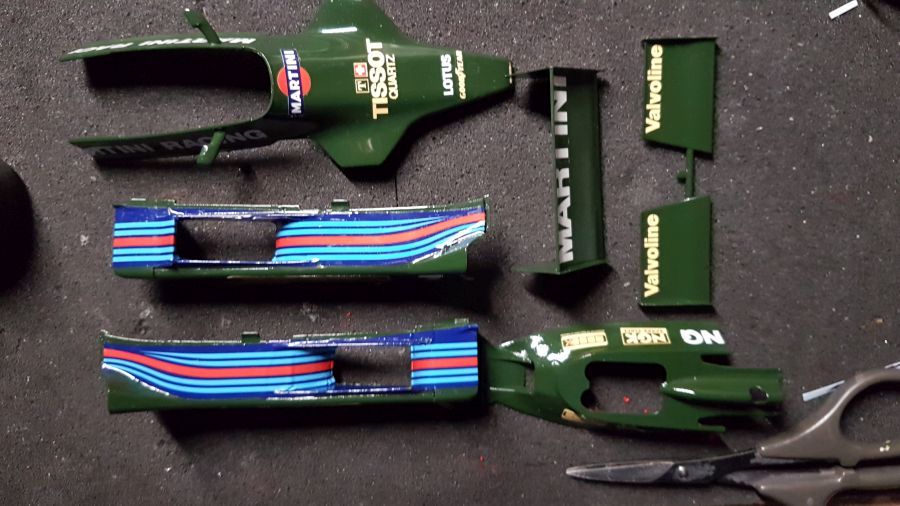
Beginnen met de decals....
Starting with the decals....
De wielen gaan erop.
Mounting the wheels.
Het gewicht van de sidepods trekt een beetje aan de pod. Jammer, dat gaat het naadloos in elkaar zetten vrijwel onmogelijk maken. Tenzij je alles vastlijmt.
The weight of the sidepods tears a bit on the pod. It's a pitty, it makes a good fit nearly impossible. Unless you glue everything together.
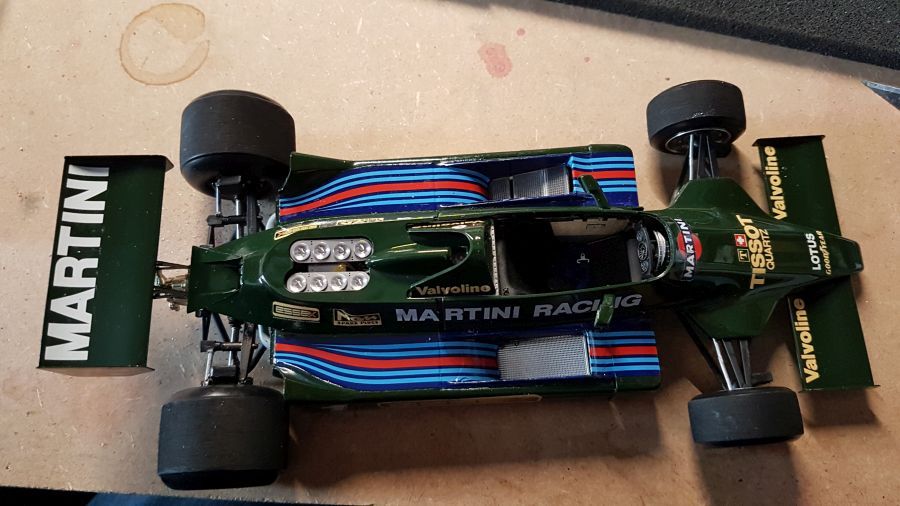

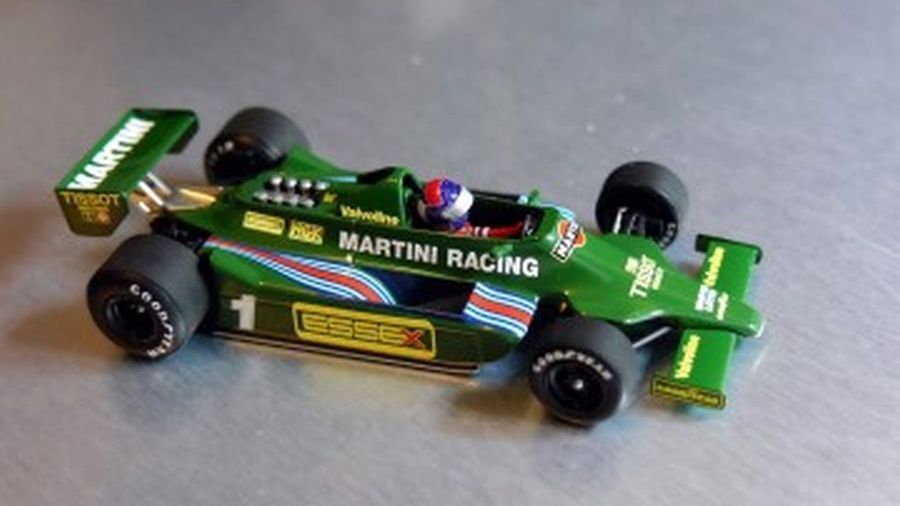
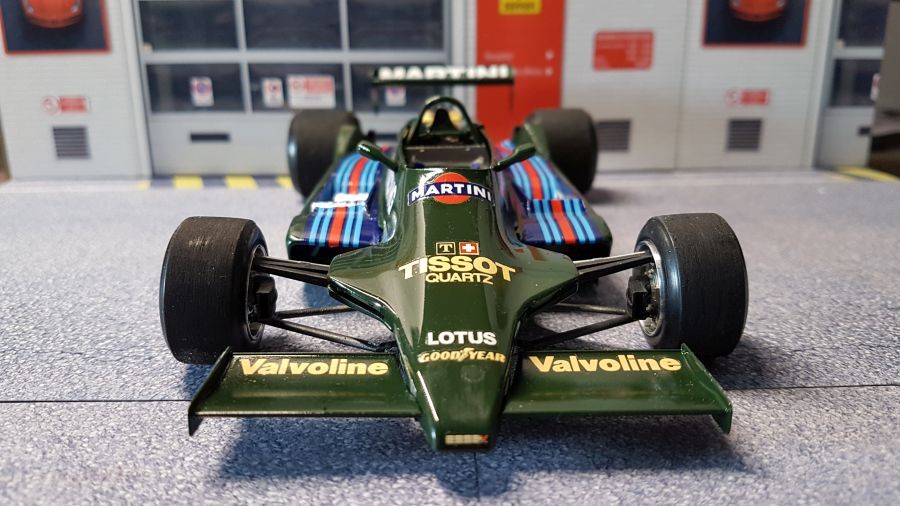
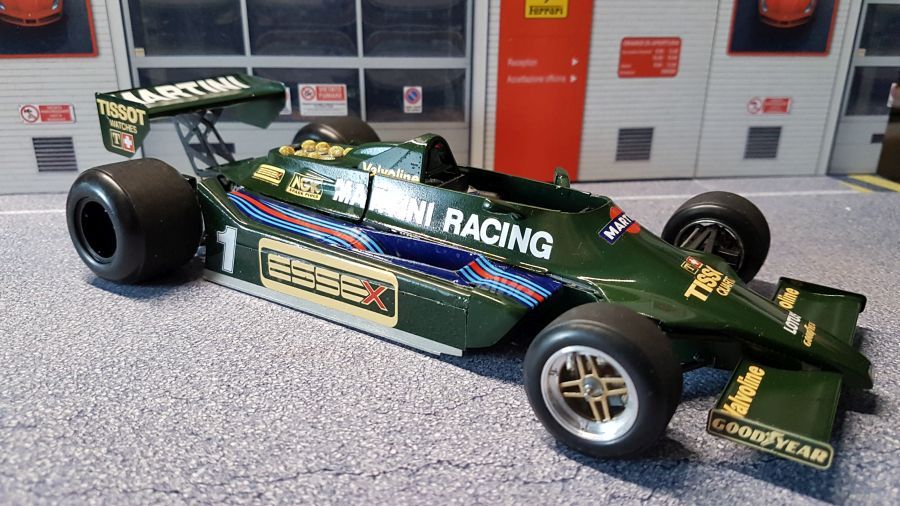
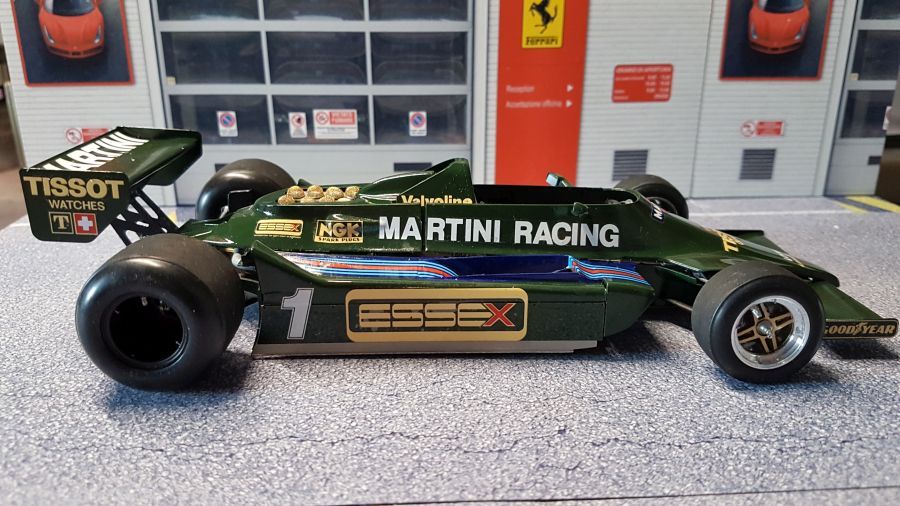
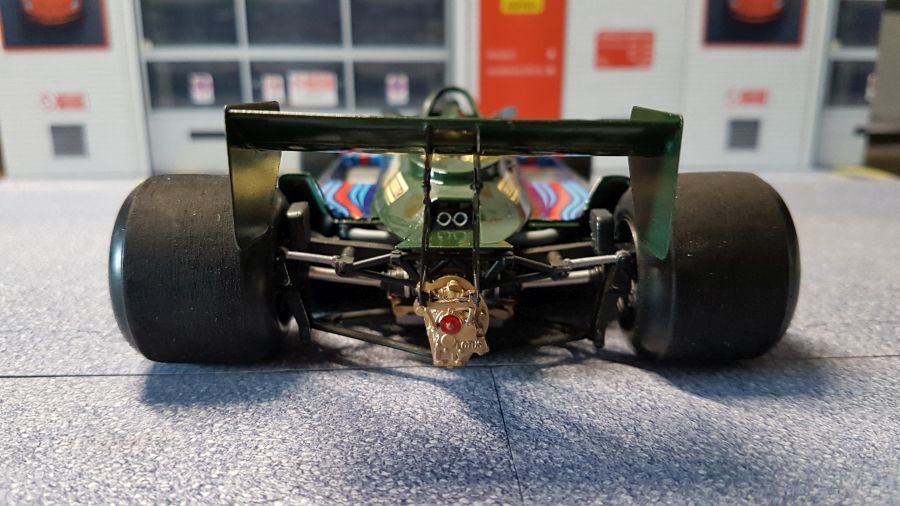
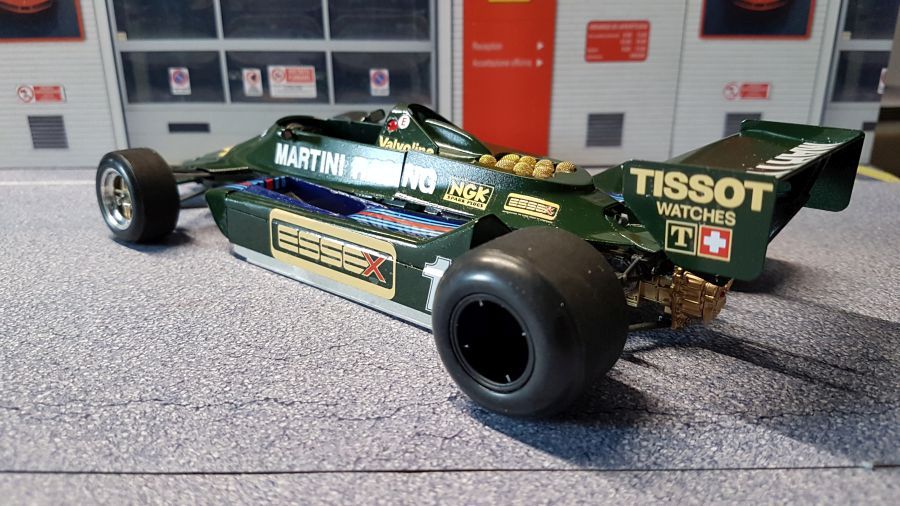
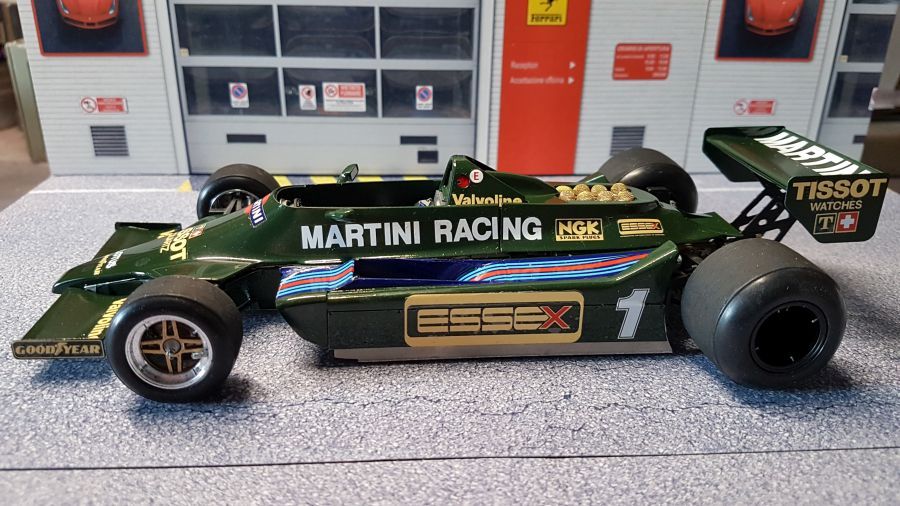
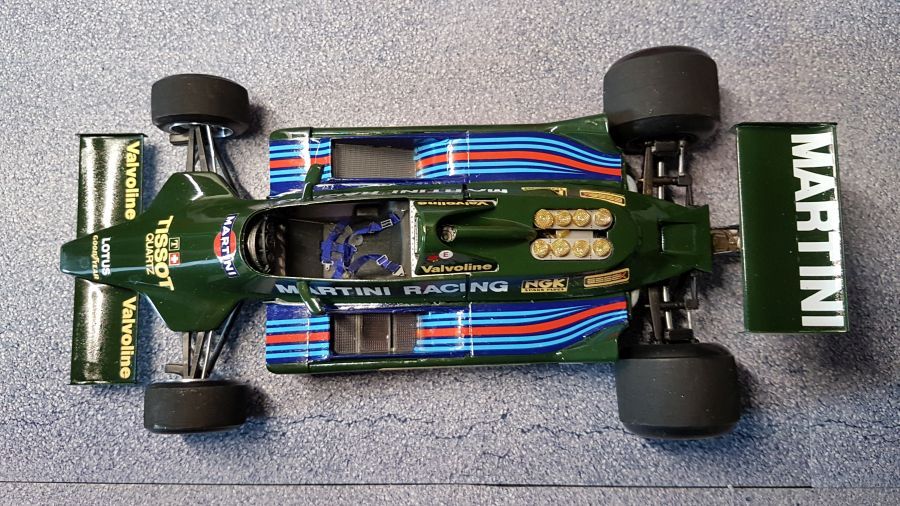
Ik beschouw hem als klaar. Niet helemaal tevreden, maar het moet maar.
I consider it done. Not fully happy, but it will have to do.

Op zich is er niet zoveel te melden over de problemen met deze bouw. Zoals al aangeven zijn de sidepods het grootste probleem. Het gewicht van de skirts trekt een beetje aan de pods. Dat maakt goed in elkaar passen vijwel onmogelijk. Lijmen zou een oplossing kunnen zijn. Ik denk erover na.
rOn itself there not much to tell about problems with this one. As stated the sidepods are the main problem. The weight of the skirts tears a bit on the pods. It makes a good fit nearly impossible. Glueing everything could be an option. I will think about it.