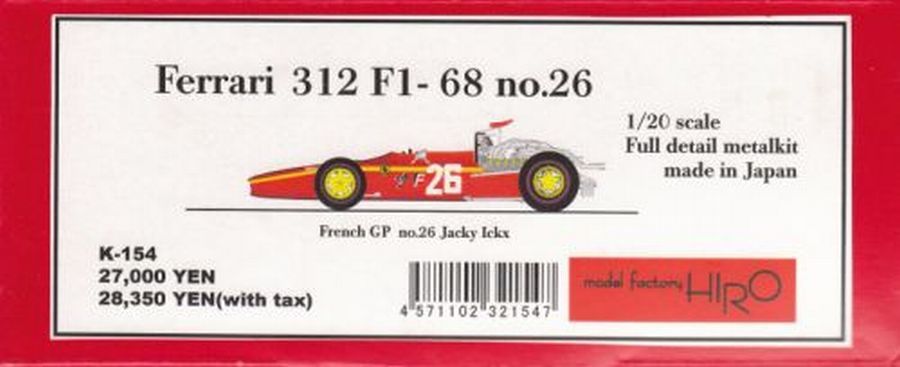
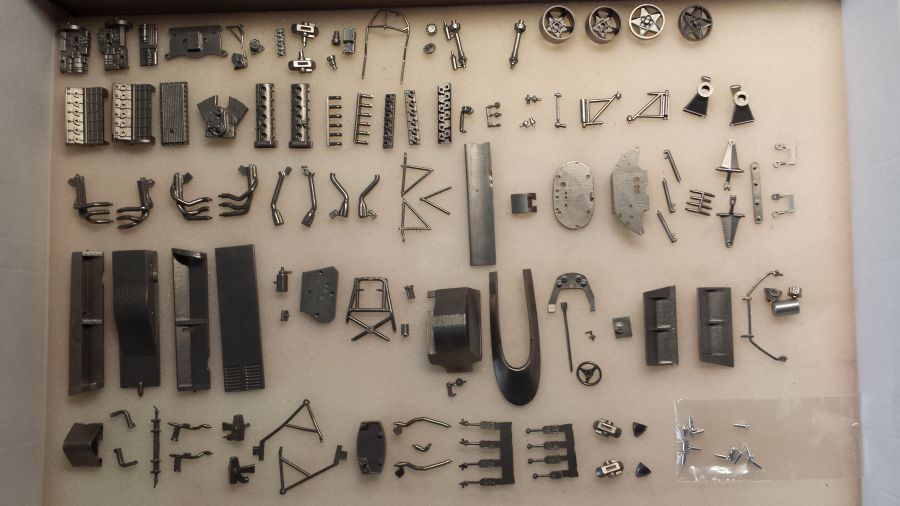
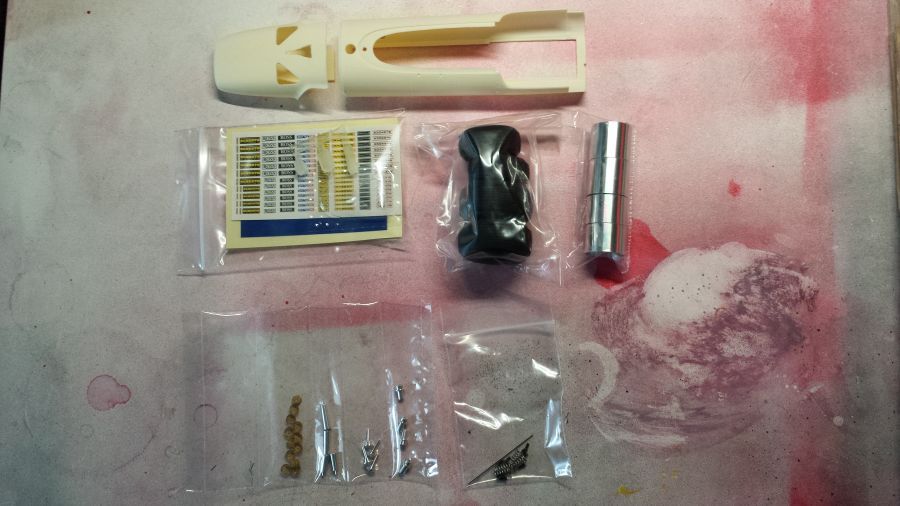
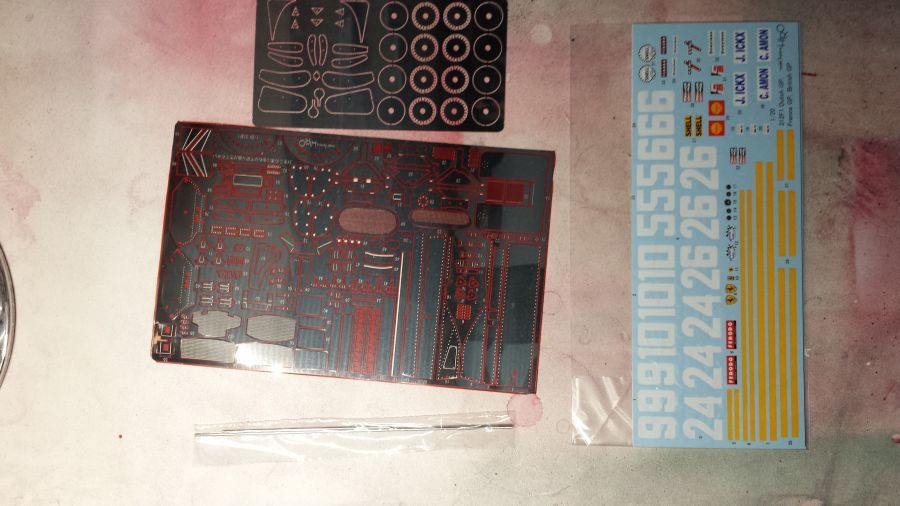
Hier volgt de bouw van de 1968 Ferrari 312F1 Franse versie van Modelfactory Hiro (K-154), zoals gereden door Jacky Ickx. Hieronder weer de eerste foto's met de inhoud van de kit.
Here the build of the 1968 Ferrari 312F1 French version from Modelfactory Hiro (K-154), as driven by Jacky Ickx. Below again the first pictures with the content of the kit.
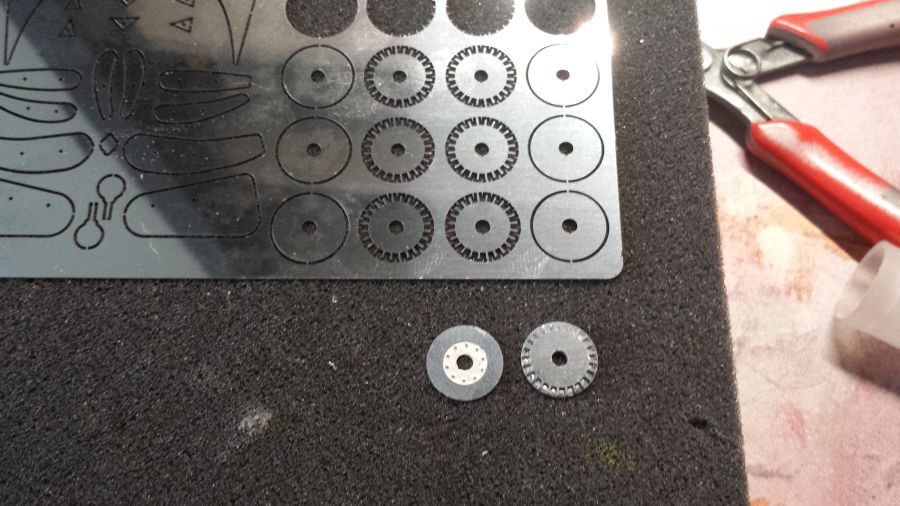
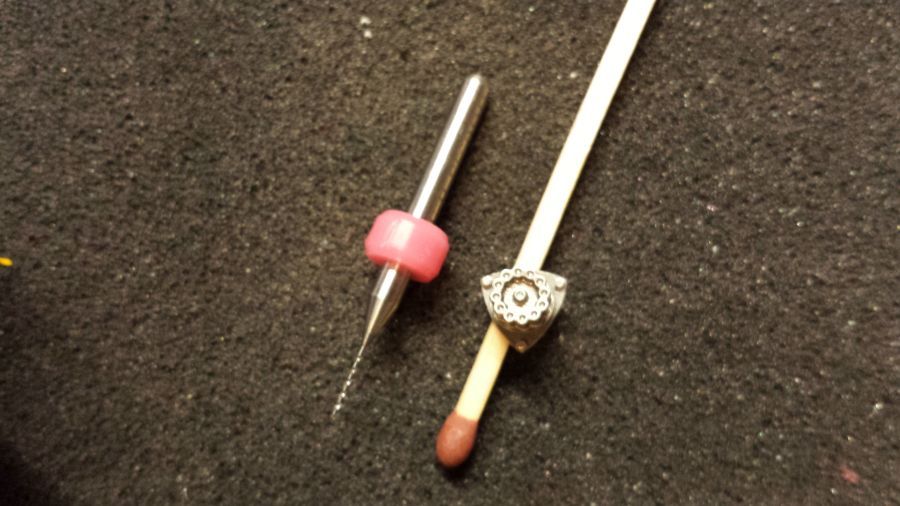
Eerst maak ik alvast de remschijven. Zorg ervoor dat, wanneer je deze verlijmd, de gekartelde randen van de twee middelste schijfjes precies op elkaar liggen. Ik maak de discs eerst omdat mijn ervaring me heeft geleerd, dat deze gelijk met de remklauwen moeten worden gemonteerd. Volg dus niet de MFH instructies.
First i will make the brake discs. Be sure, when you glue these, the serrated edges of the two discs in the middle match each other exactly. I will make these first because my experience told me, these have to be mounted at the same time as the brake calipers. So do not follow MFH instructions.
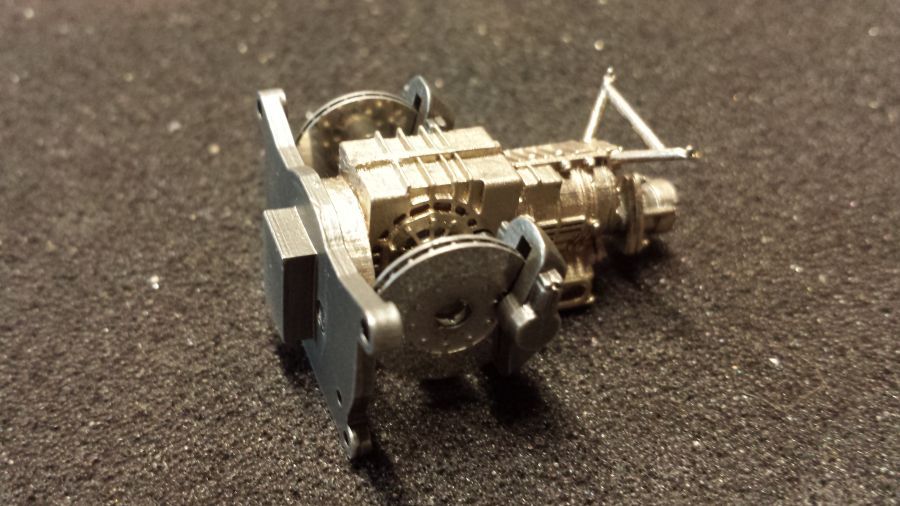
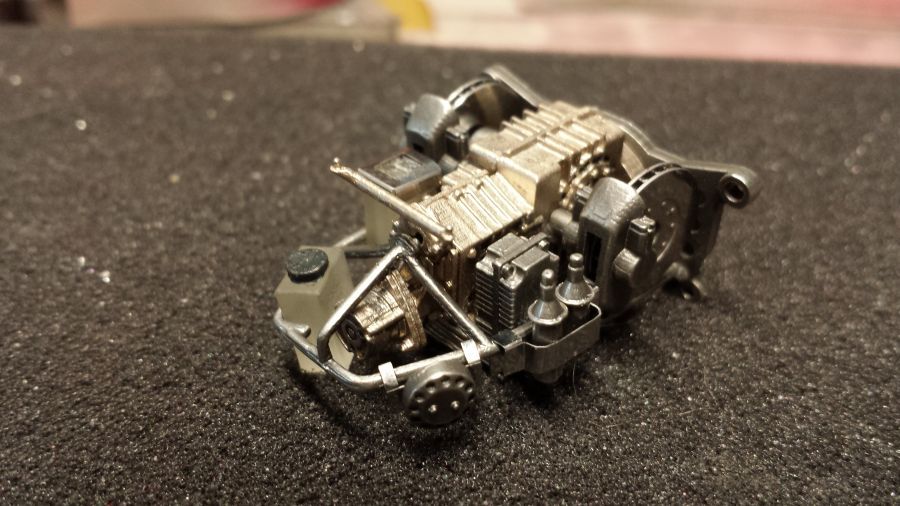
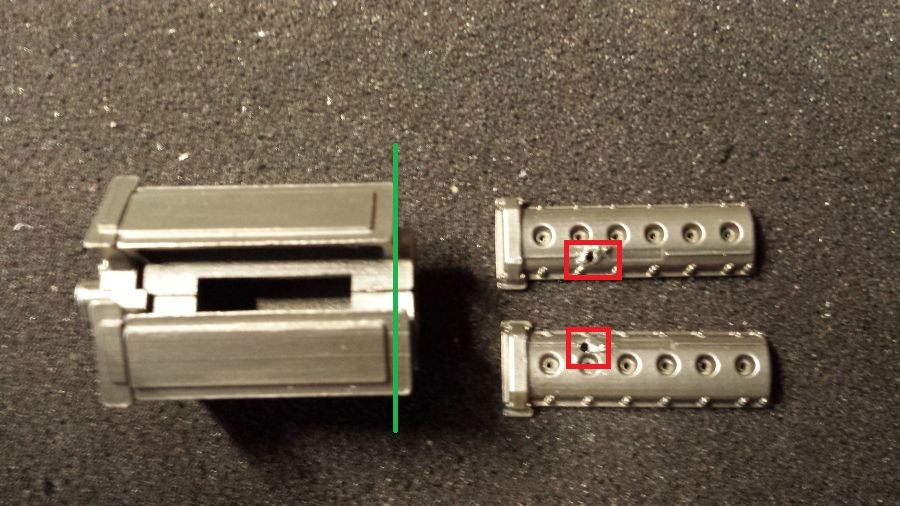
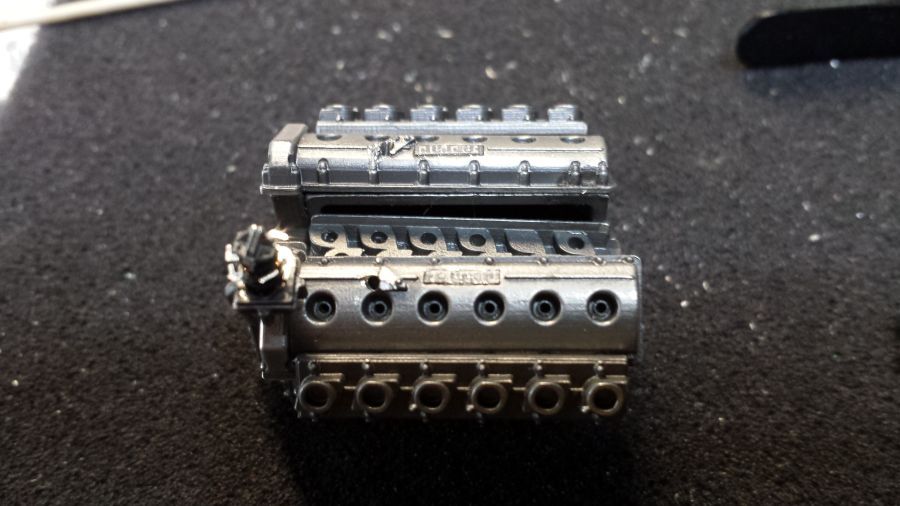
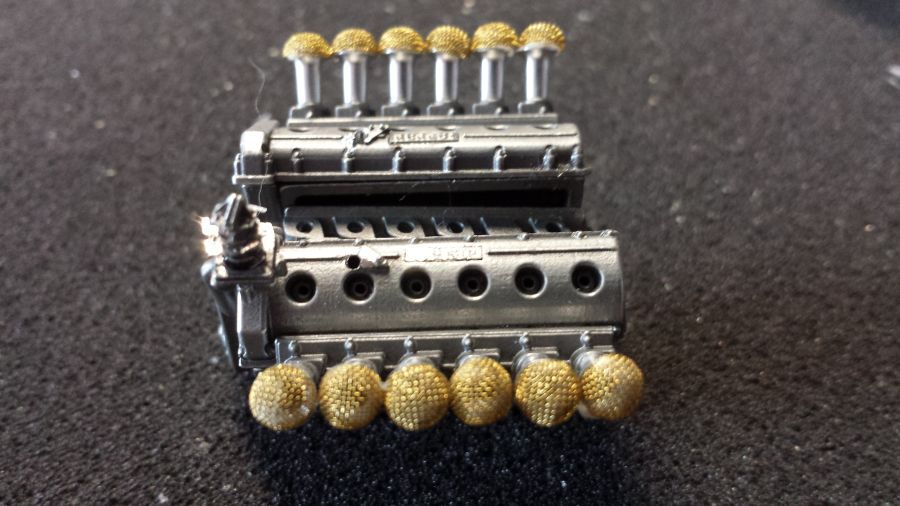
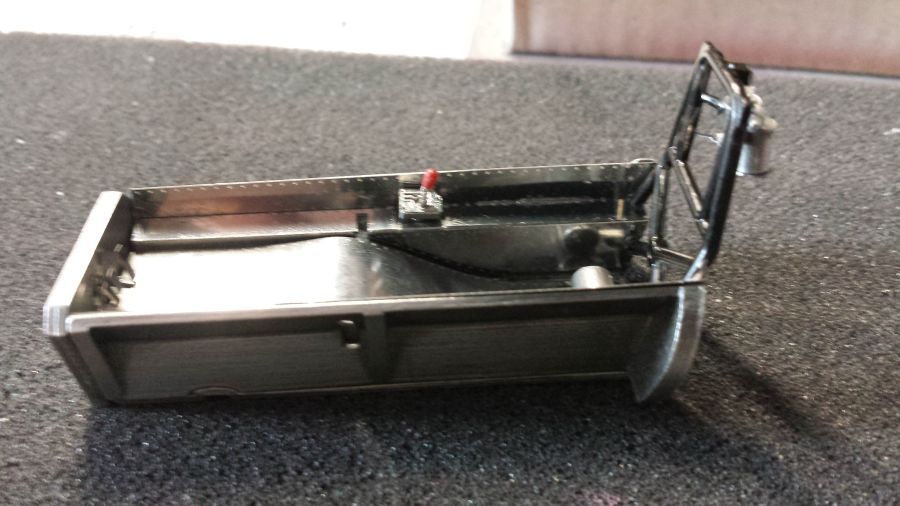
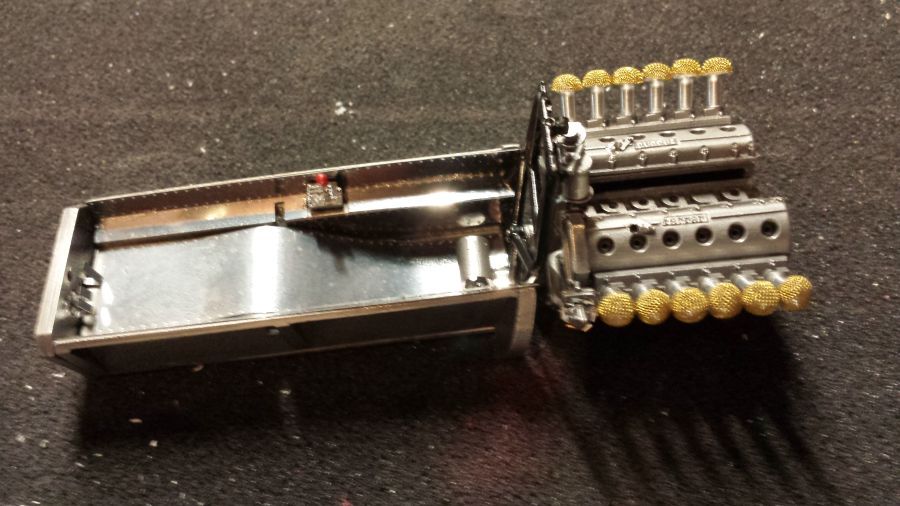
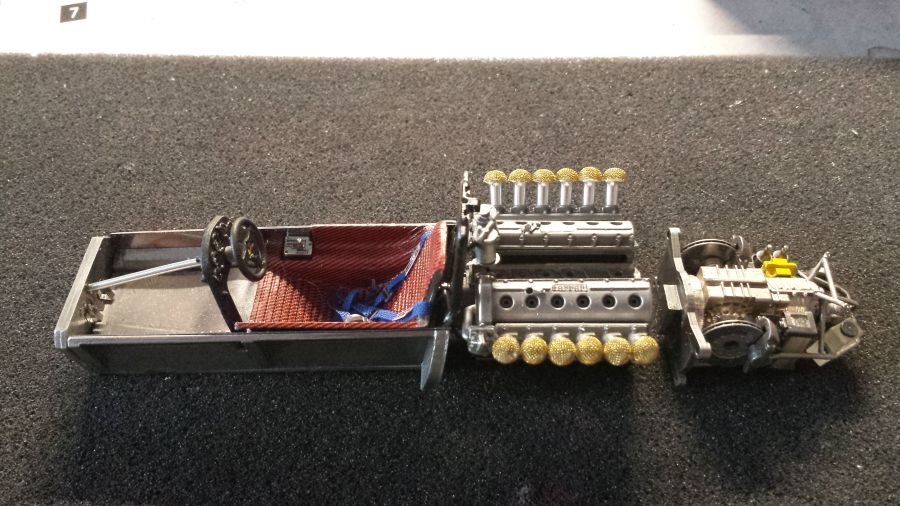
Bij de Ferrari 312F1 Franse versie moet op de rood gemarkeerde plekken de pinnetjes worden verwijderd en vervolgens gaten geboord van 1,2 mm. De gaten zitten op beide deksels niet recht tegen over elkaar. Dat klopt, want de deksels zitten op de motor ook niet recht tegenover elkaar. Na montage moeten de gaten op 1 lijn zijn. Alles van de motor lijm ik met ca-lijm. De inlaat afdekking lijm ik met Micro Cristal Clear.
At the Ferrari 312F1 French version at the red marked spaces the pins have to be cut off and holes of 1,2 mm have to be drilled. These holes are not at the precise opposite of each other. That is correct as the head covers are out of balance on the engine too. After mounting the holes should form 1 line. Everything of the engine is glued with ca-glue. The funnel covers are glued with Micro Crystal Clear.
Een aantal onderdelen van de cockpit worden bekleed met etched plaatjes.
A few parts of the cockpit are to be covered with etched parts.
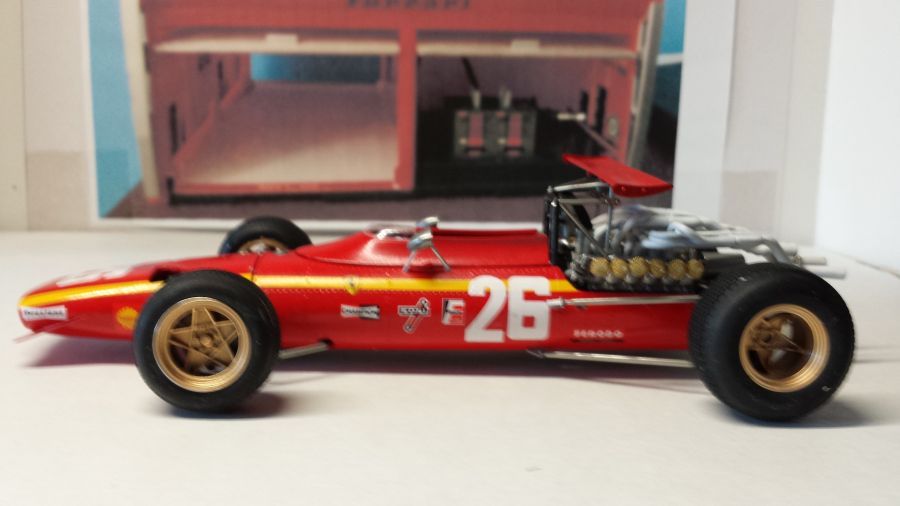
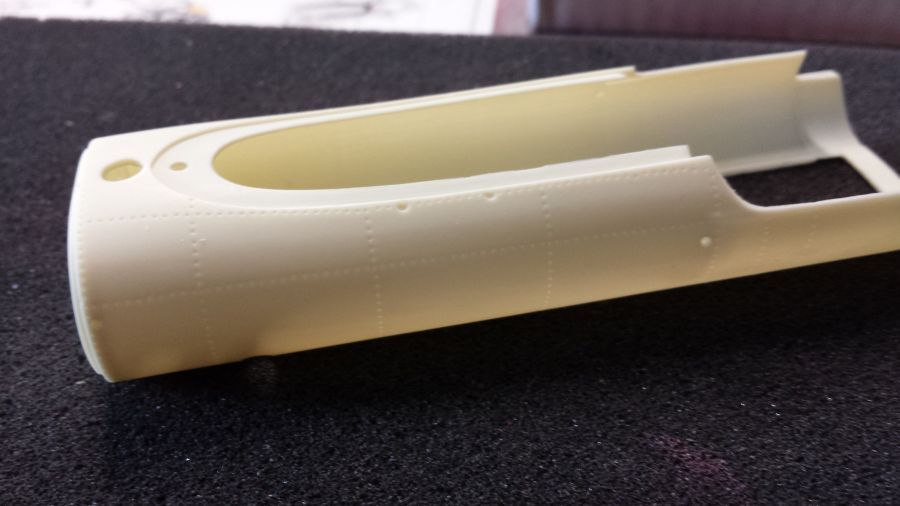
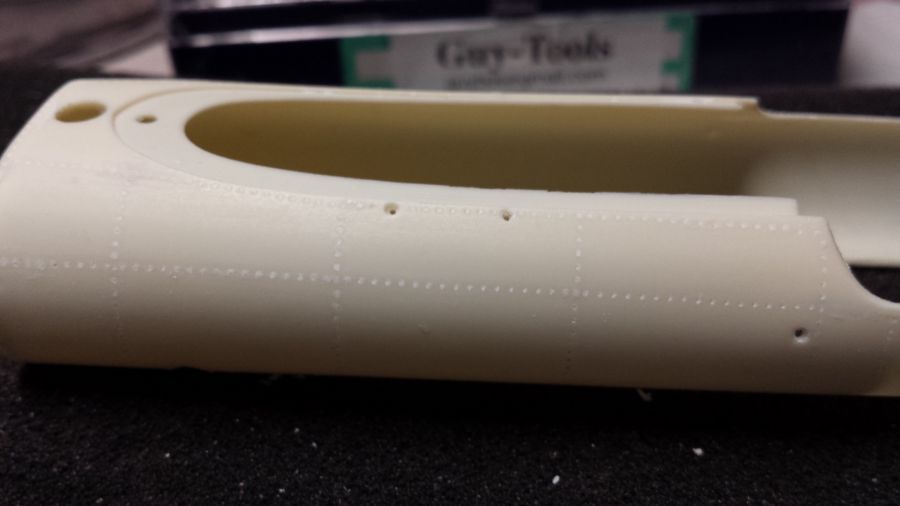
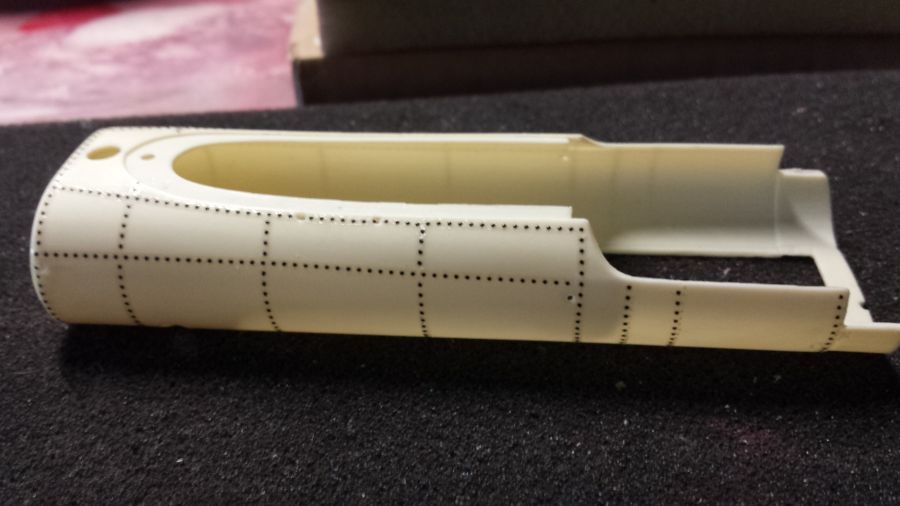
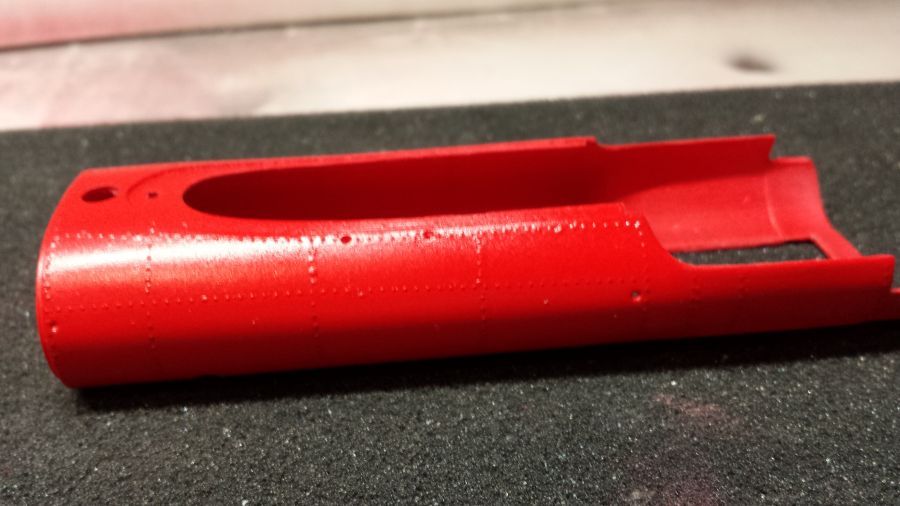
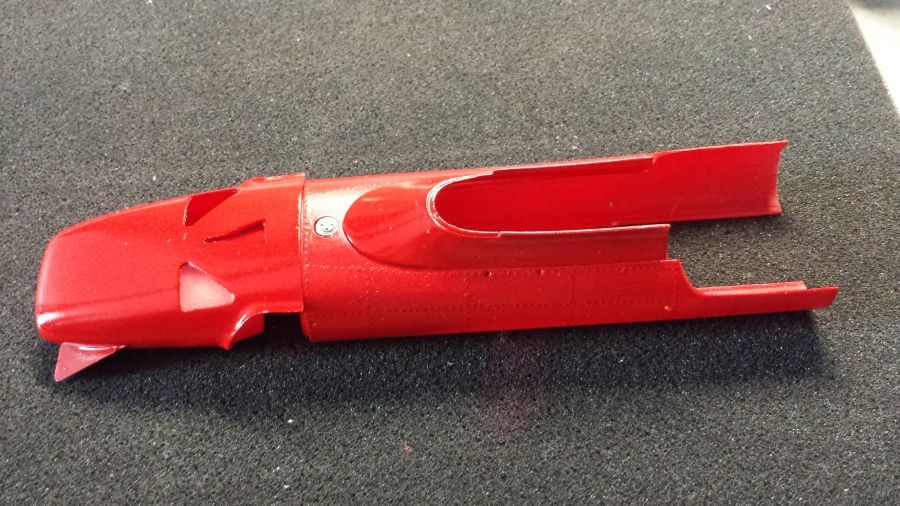
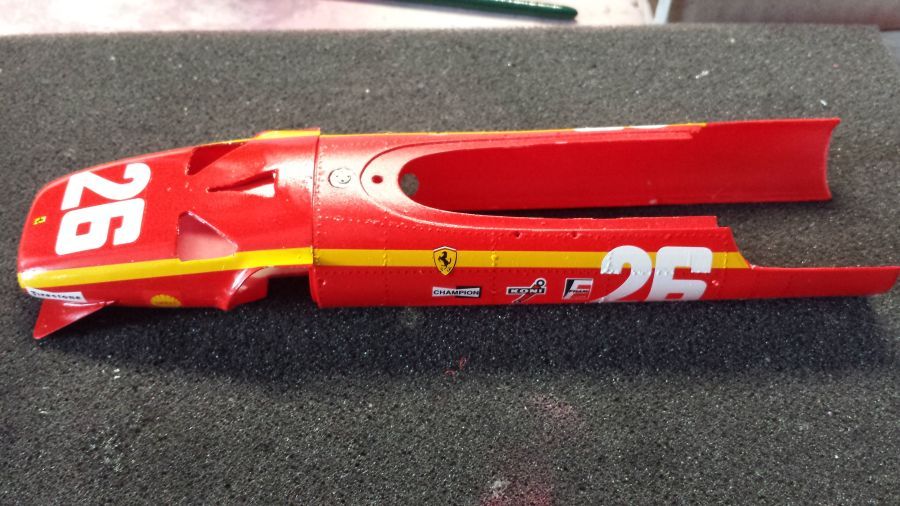
De body heeft kuiltjes in plaats van bultjes op de plekken van de popnagels. Ik ga de kuilen vullen met putty en vervolgens popnagels aanbrengen. Omdat deze kuip nauwelijks ruimte heeft in de carosserie, ga ik de transfers van Archer gebruiken. Anders ben ik bang dat alles niet meer past. Daarna grondverf en lakverf spuiten. Ook voor dit model gebruik in Zero-Paints ZP-1007 70's-80's Rosso Formula 1. En dan de lak van Zero-Paints.
The body has dents instead of bumps as rivets. I will therefor fill the dents with putty and apply rivets. As this tub has hardly any space when you slide it in the body, i will use the transfers from Archer. I am afraid it would not fit if i use real rivets. After that applying primer and paint. For this kit i will use Zero-Paints ZP-1007 70's-80's Rosso Formula 1. And then lacquer from Zero-Paints.
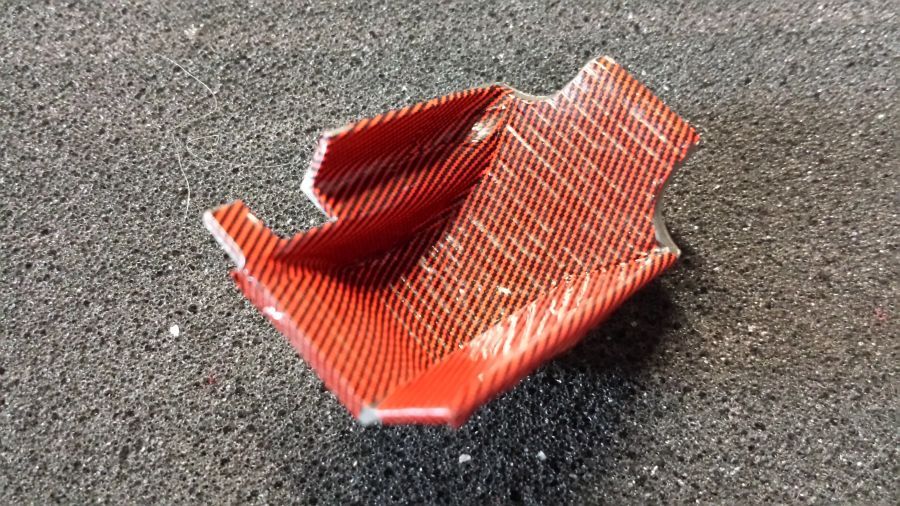
Voor het bekleden van de stoel maak ik een mal om de decal op maat te knippen.
For covering the chair i will make a template to cut the decal to size.
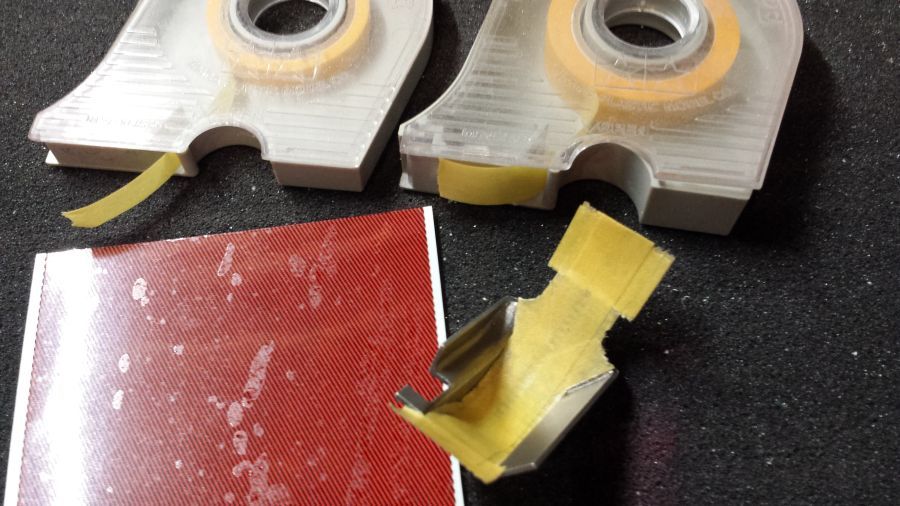
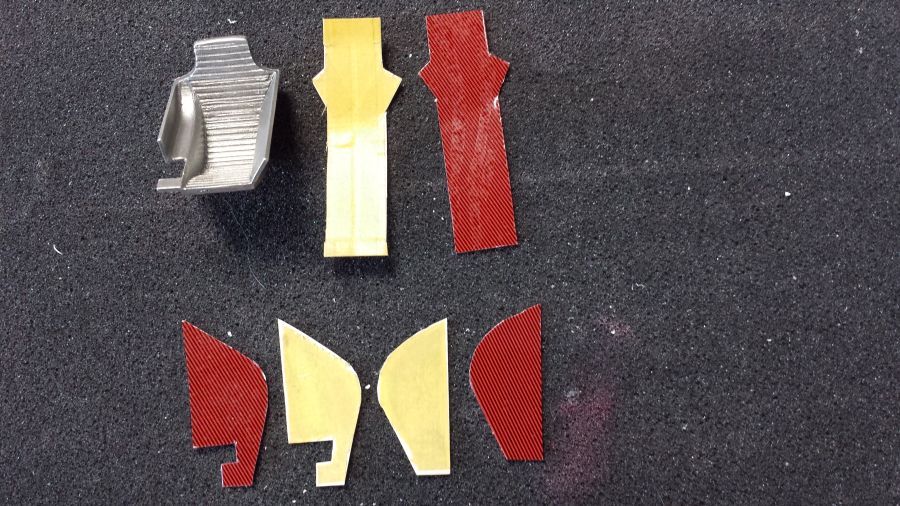
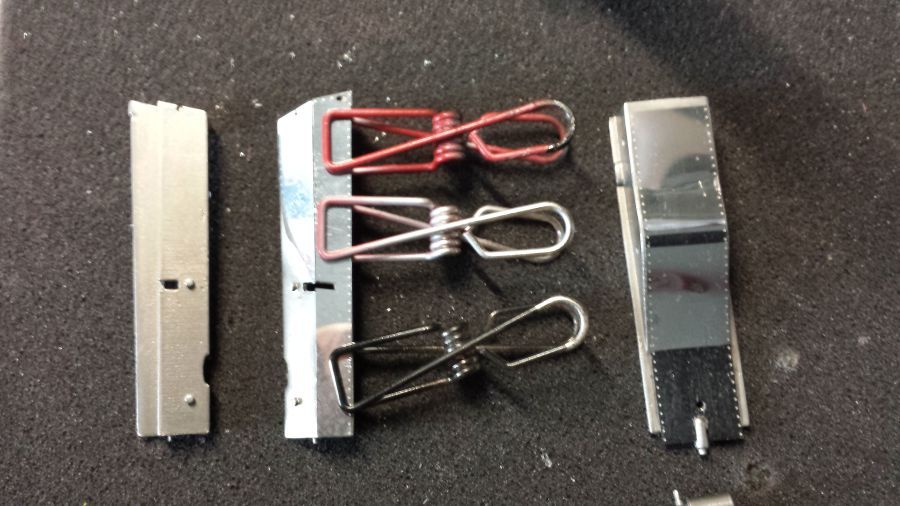
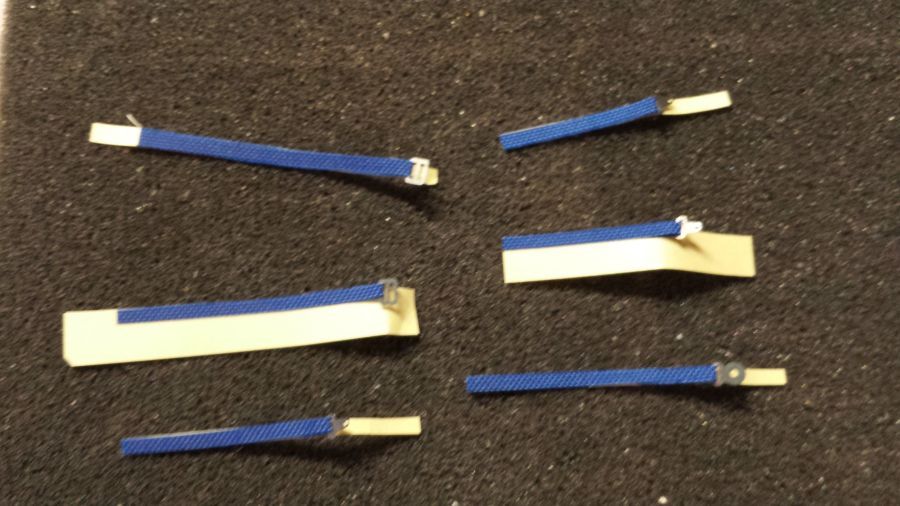
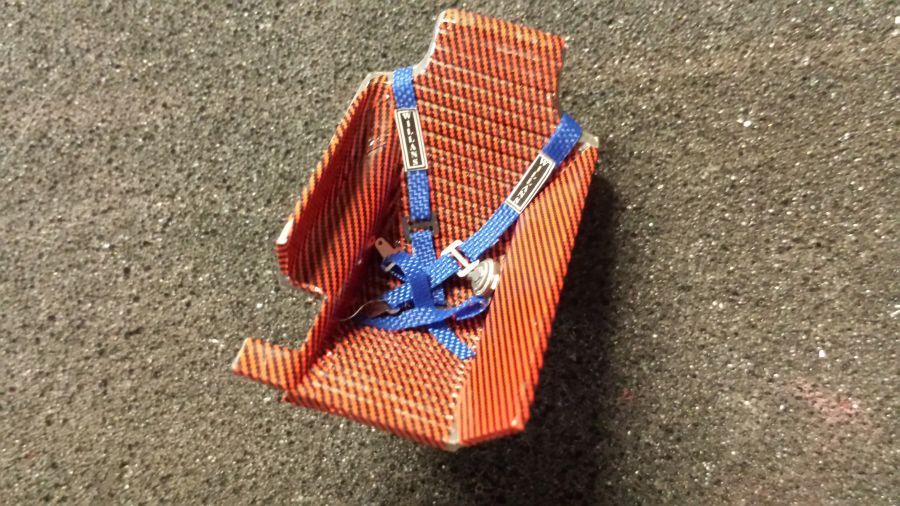
Het maken van de veiligheidsgordels.
Making the seat belts.
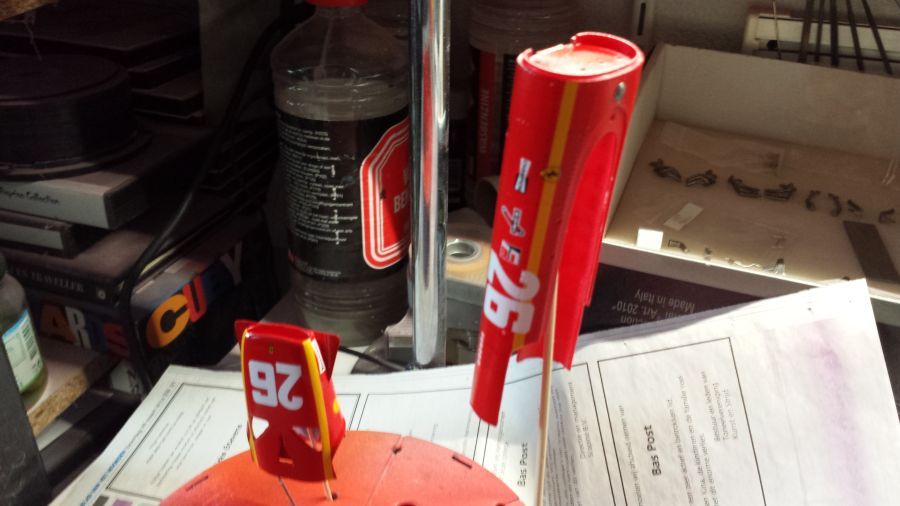
Een paar onderdelen zijn nu gespoten en klaar voor het aanbrengen van decals.
A few parts have been painted and are ready for applying the decals.
De decals zitten erop. Nu eerst een nacht drogen voordat de glanslak eroverheen gaat. Dan goed laten drogen.
The decals are on. Now let it dry overnight before applying clear cote. Let this dry well.
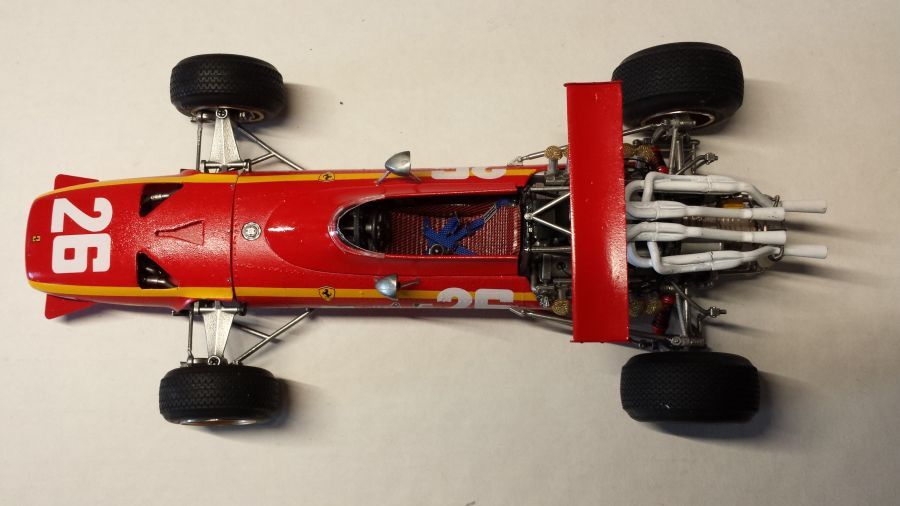
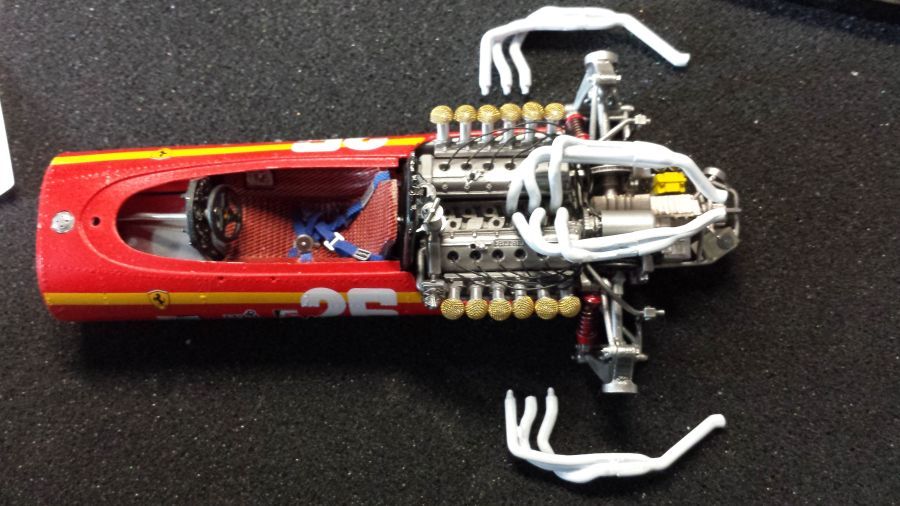
Klaar om de motor in de body the schuiven.
Ready to mount the engine to the cowl.
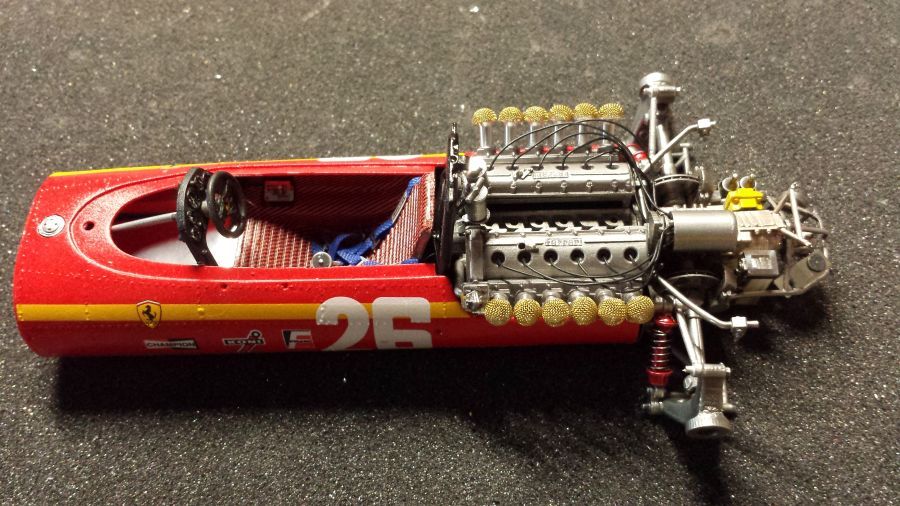
Weer gaatjes boren voor de bedrading.
Drilling holes again for the wiring.

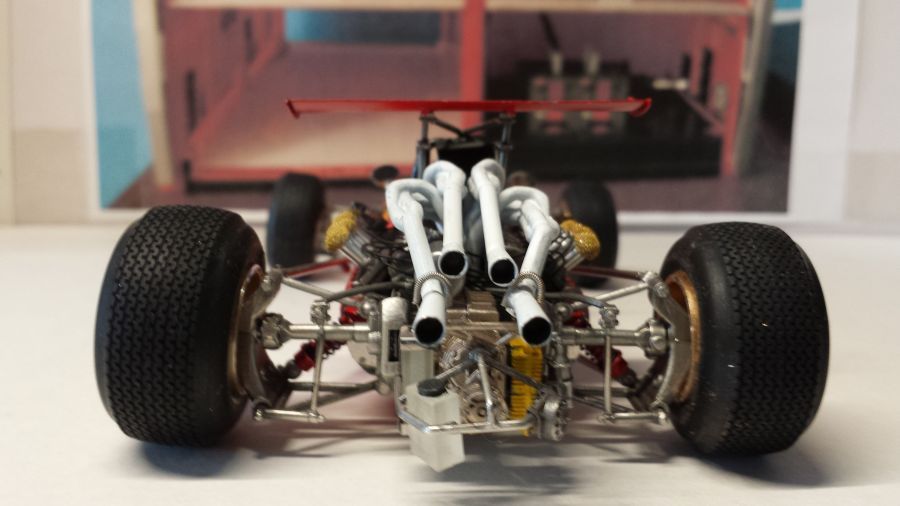
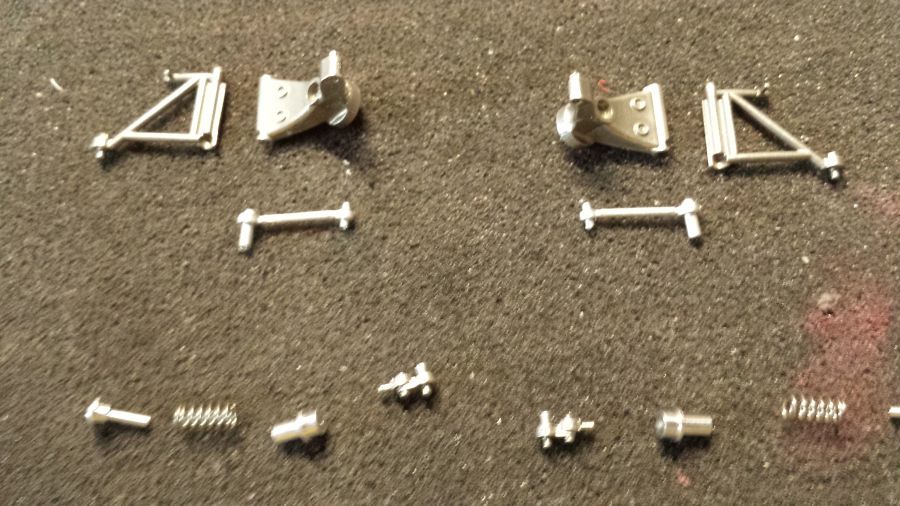
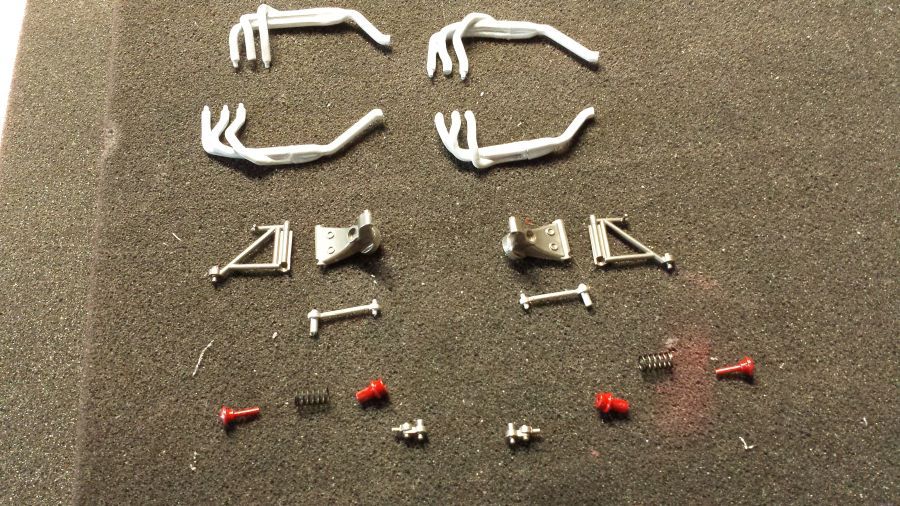
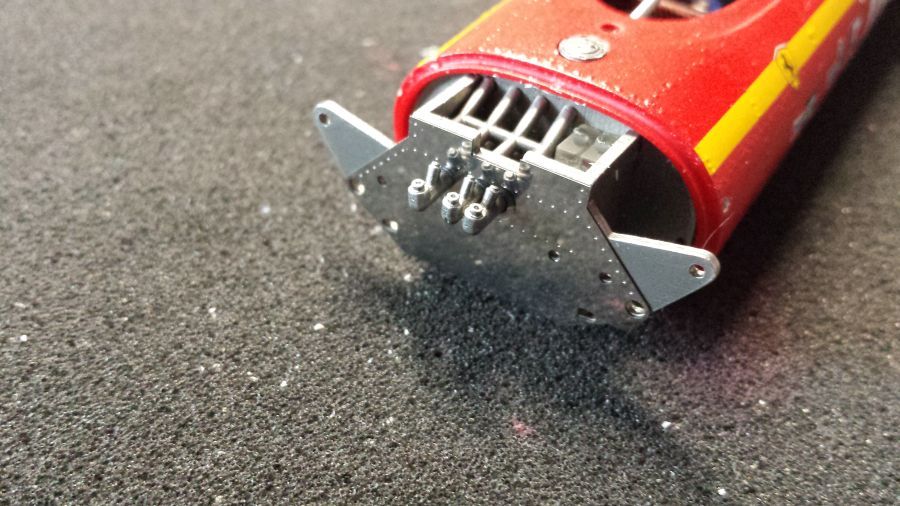
Van de achterwielophanging moet een aantal onderdelen gespoten worden. Ook de uitlaten kunnen in elkaar worden gezet en wit gespoten.
Some parts of the rear wheel suspension need to be painted. Also the exhausts can be put together and sprayed white.
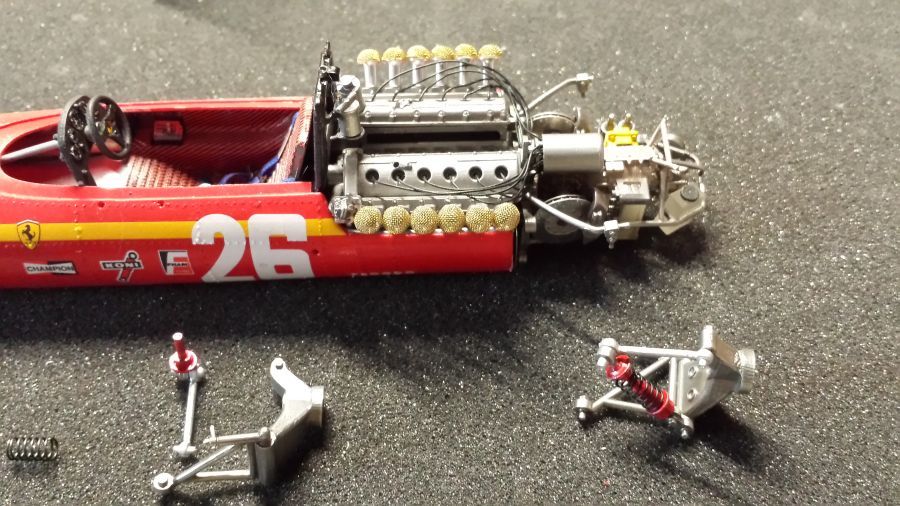
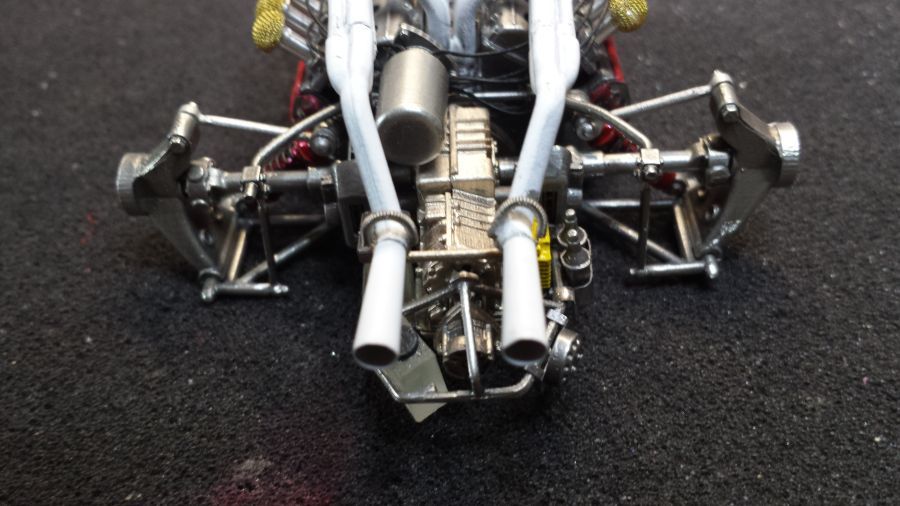
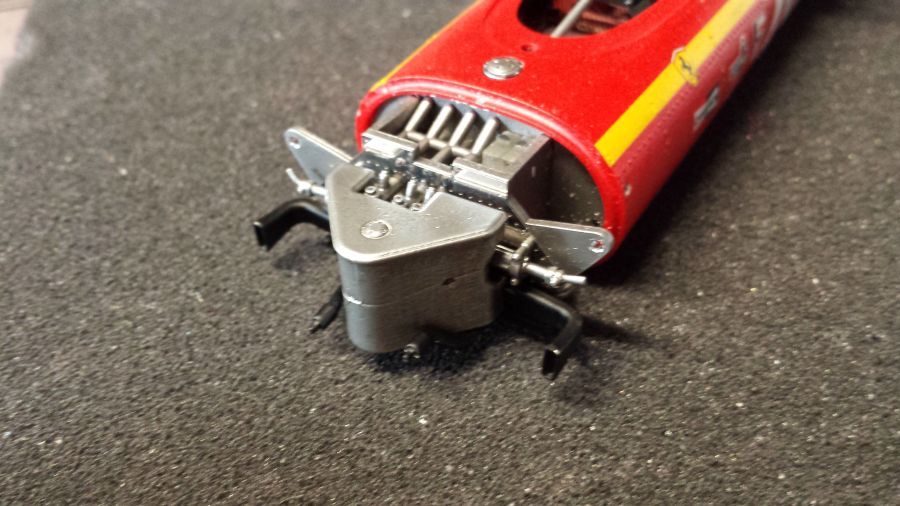
Nadat de versnellingsbak is bevestigd, kan de ophanging op zijn plaats worden gemonteerd.
After the gear box has been mounted, the suspension can be put in place.
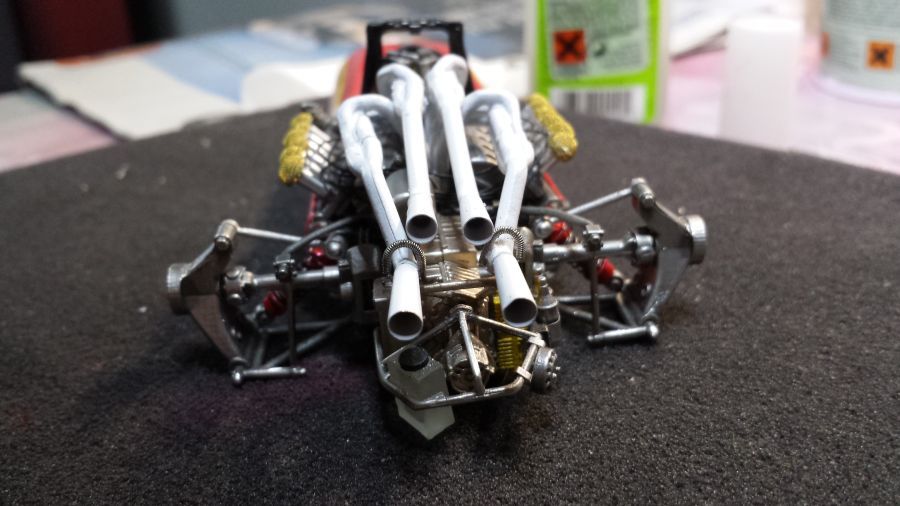
De spaghetti uitlaten.
The spaghetti exhausts.
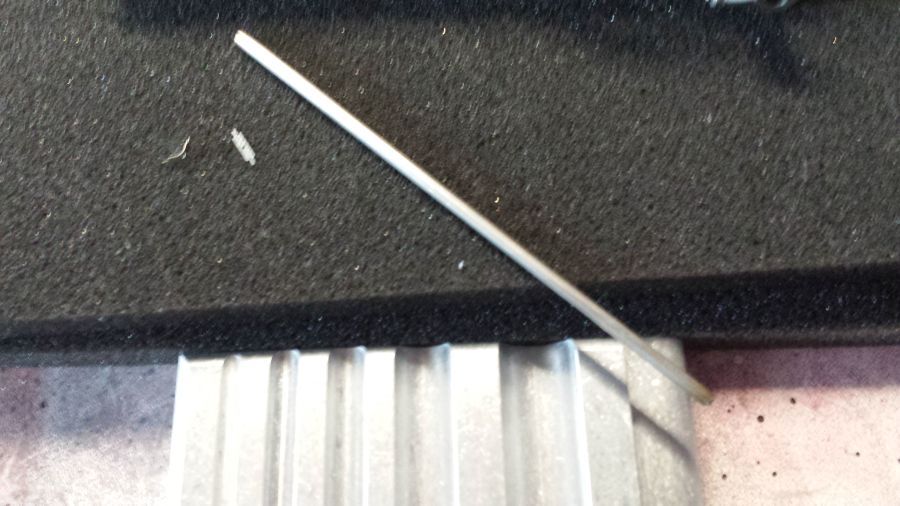
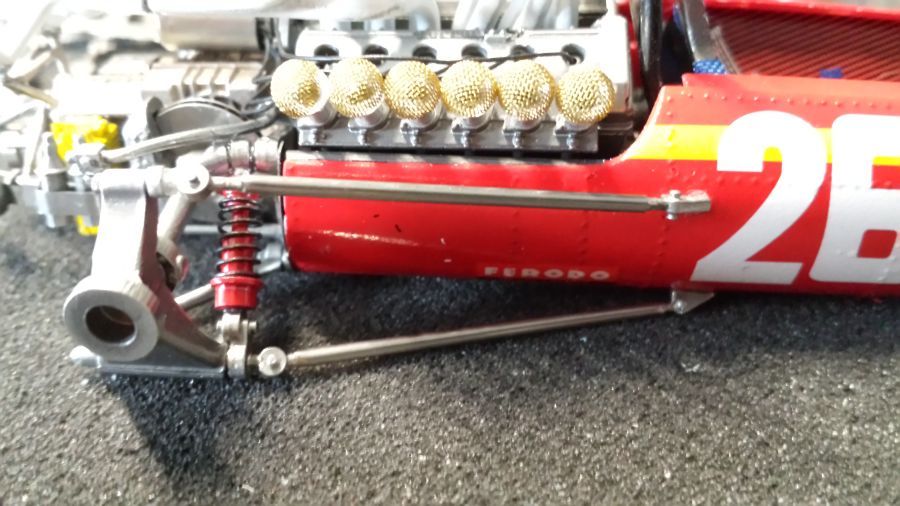
De steunen voor de uitlaten buig ik met de rolling tool. Dan een moeilijk klusje, de veren.
The supports for the mufflers are bent with the use of the rolling tool. Then a tough job, the springs.
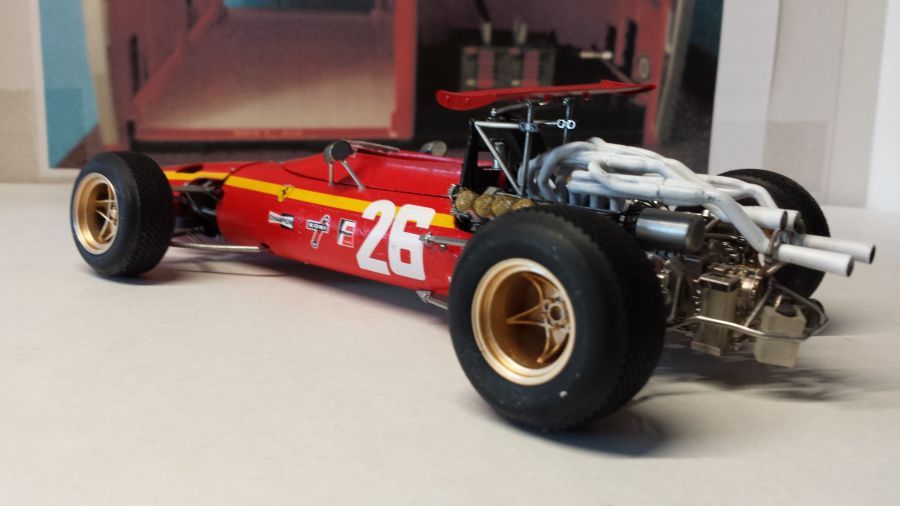
Volgens de bouwtekening moet nu de achtervleugel worden gemonteerd. Ik wacht daar mee, omdat de gehele constructie niet super sterk lijkt. Ik doe dat dus later. Nu eerst de voorkant klaarmaken.
According the instructions the rear wing should be mounted now. I will do this later, because the whole construction does not look very solid. I will do some work at the front first.
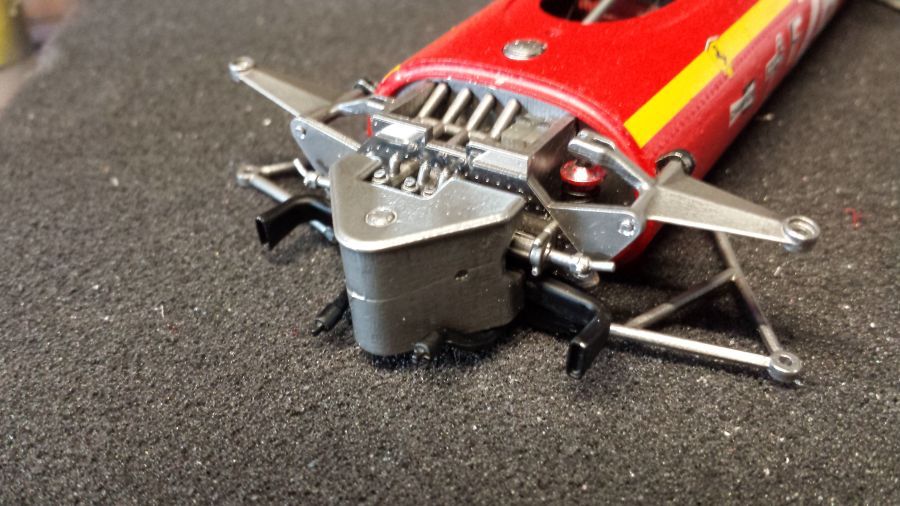
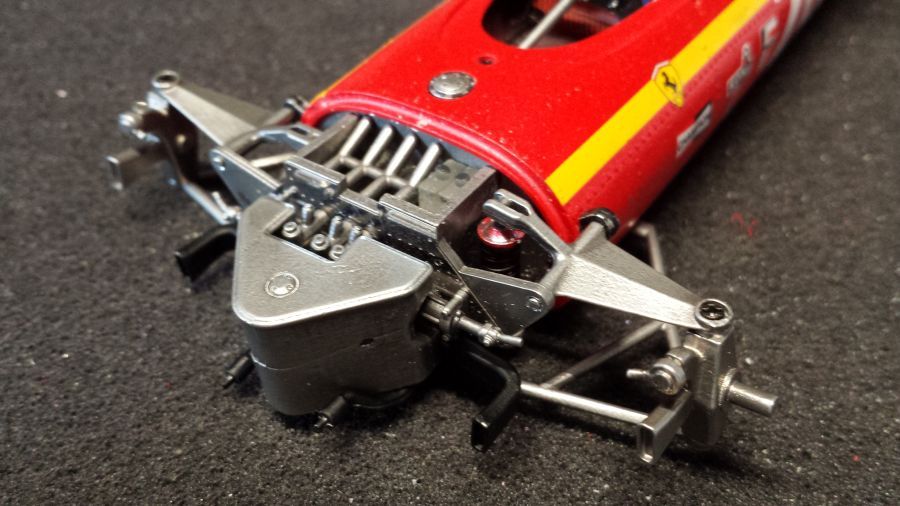
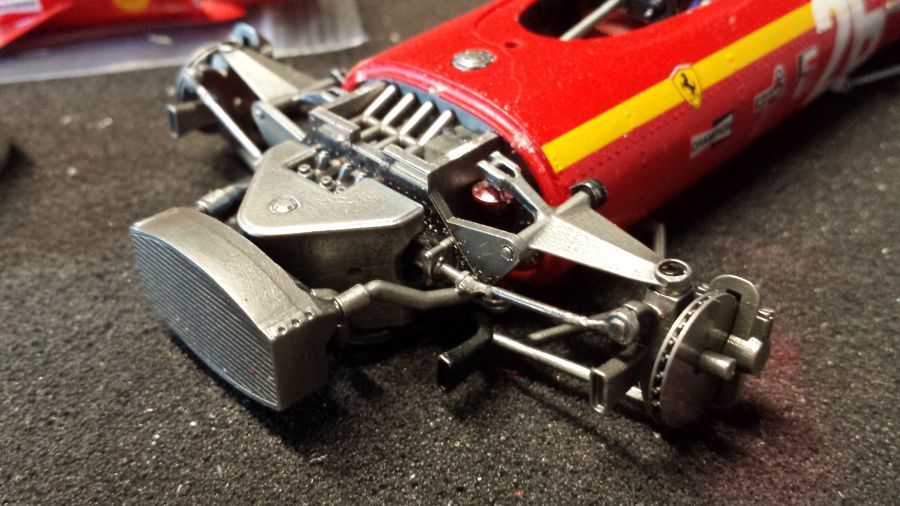
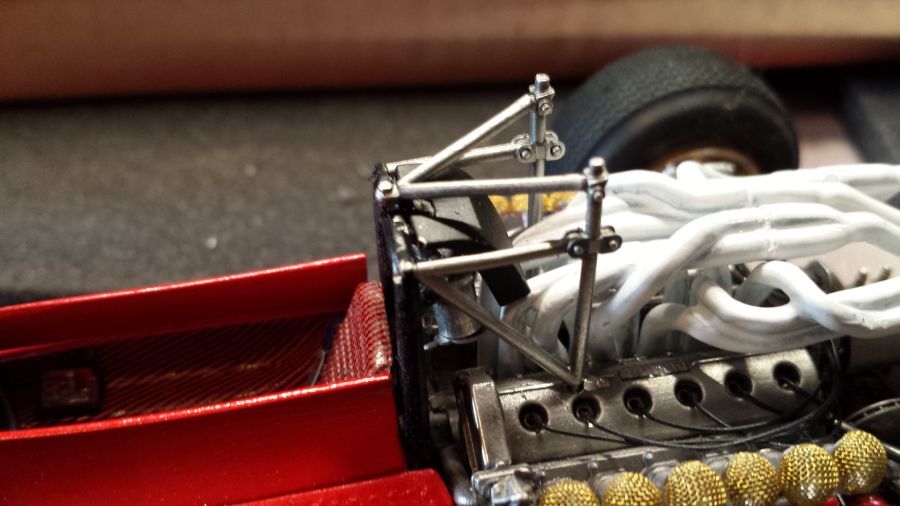
De steunen voor de achterwielophanging zitten op hun plaats.
The supports for the rear wheel suspension are at their place.
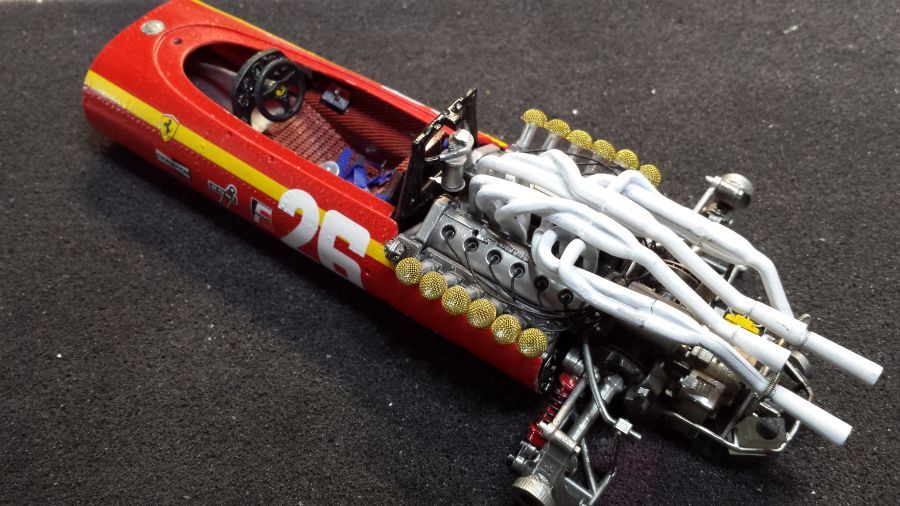
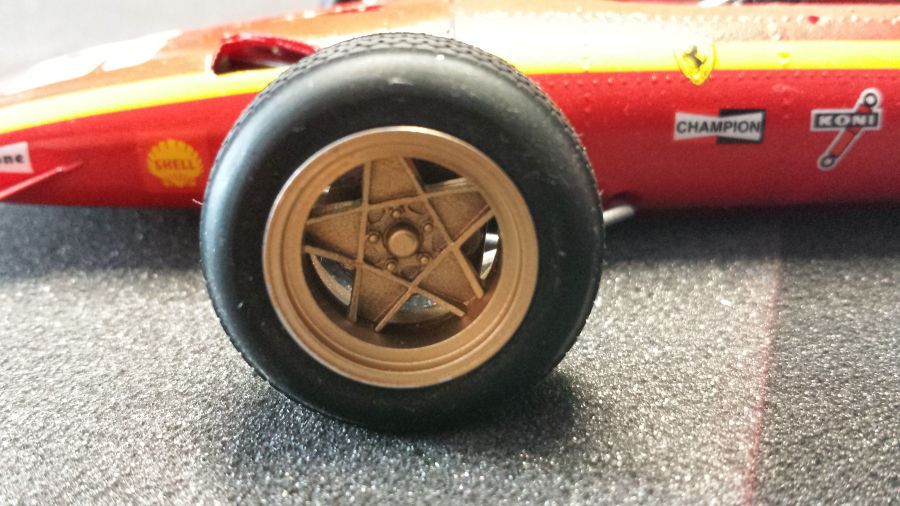
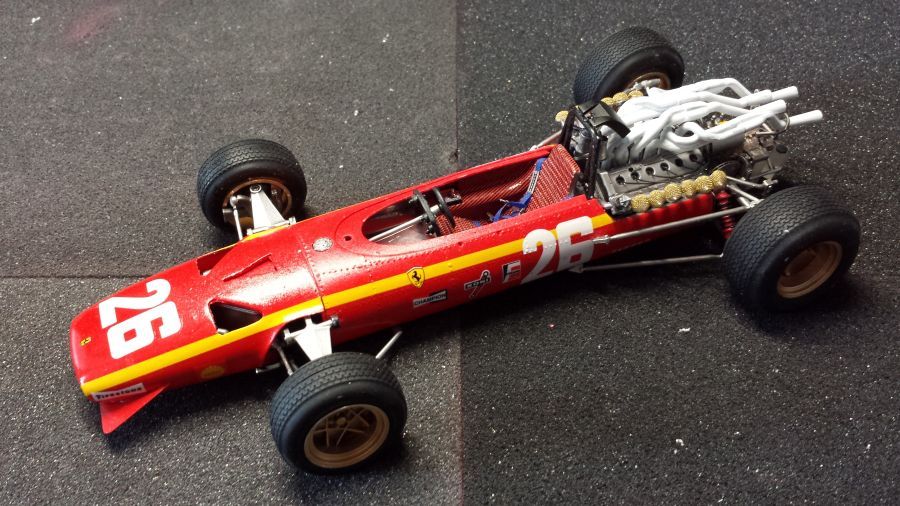
De velgen zijn goudkleur gespoten en zijn gemonteerd.
The rims have been painted gold and are mounted.
Het samenstellen van de achtervleugel.
Assembly of the rear wing.
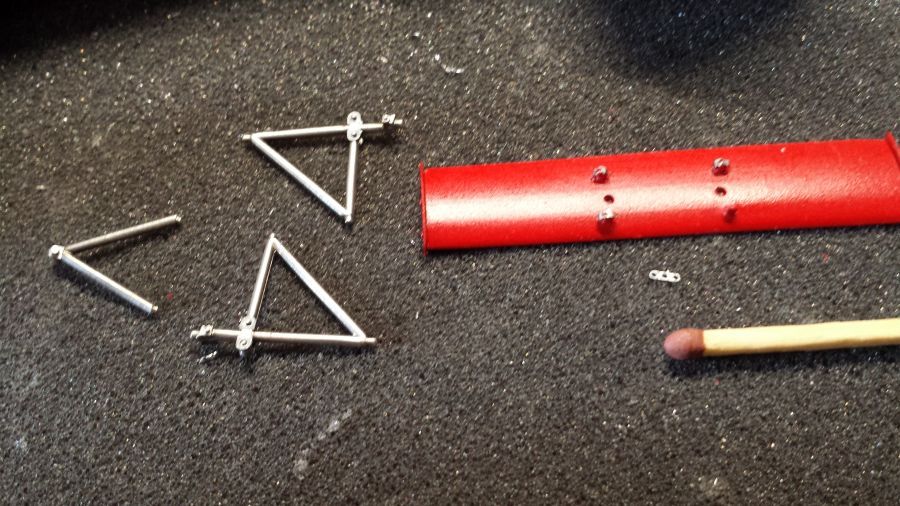
Constructie van de steunen.
Construction of the supports.
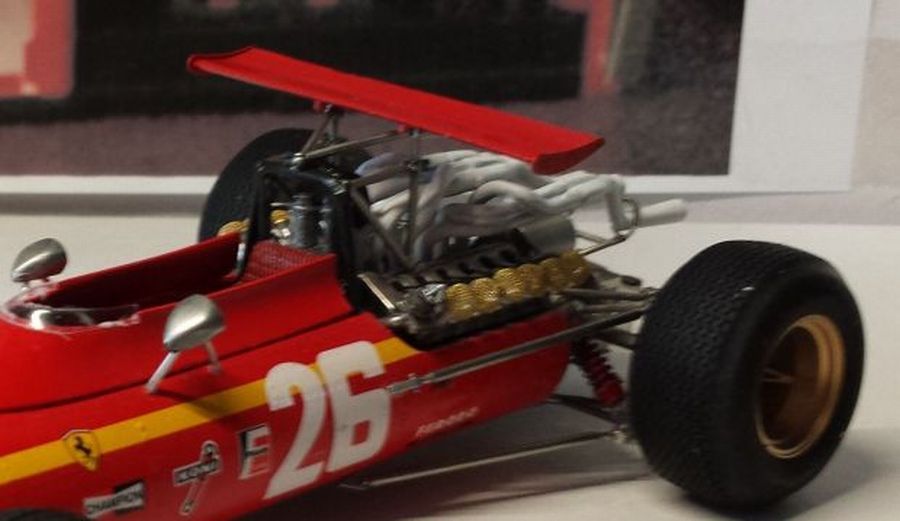
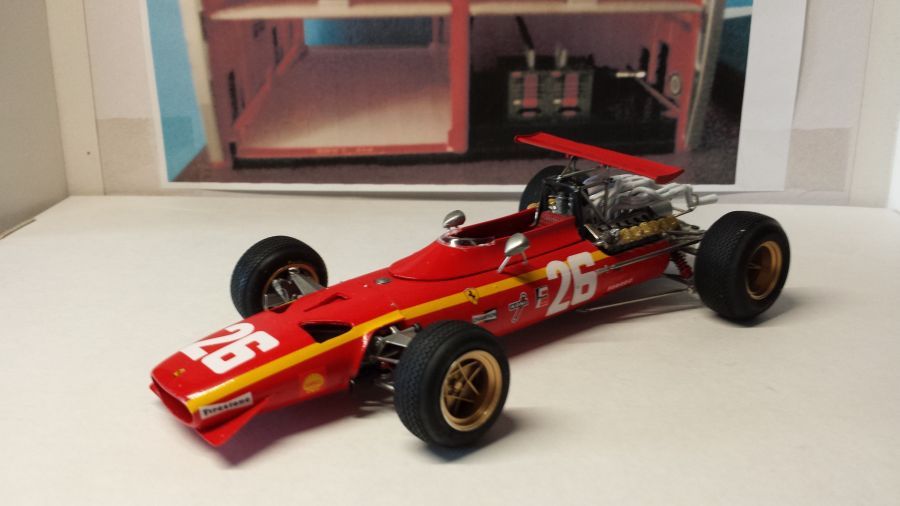
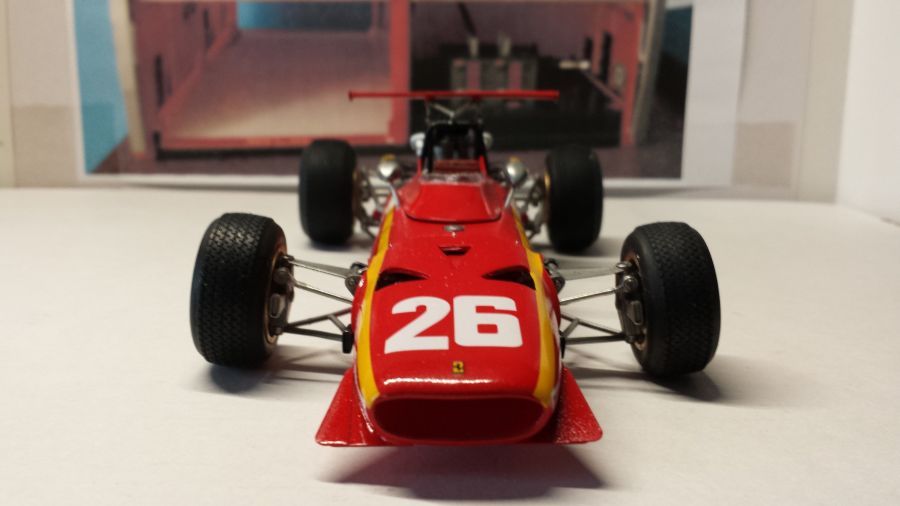
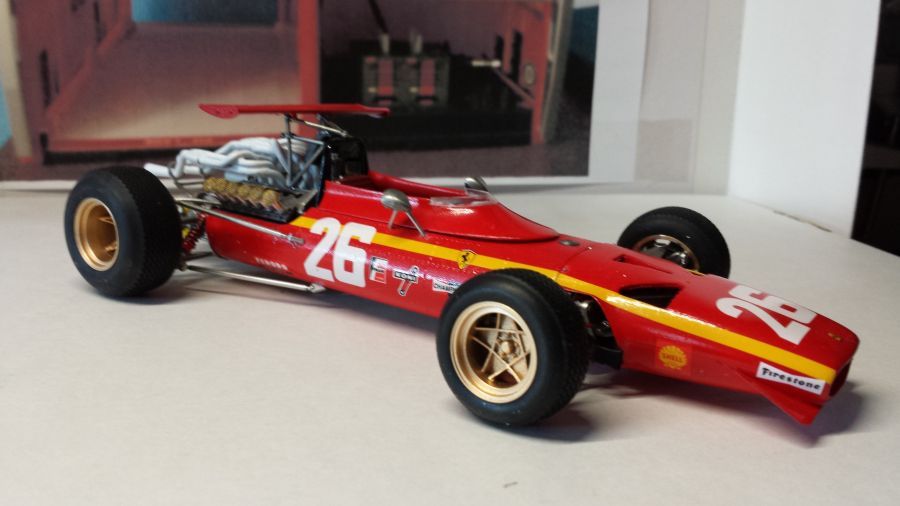
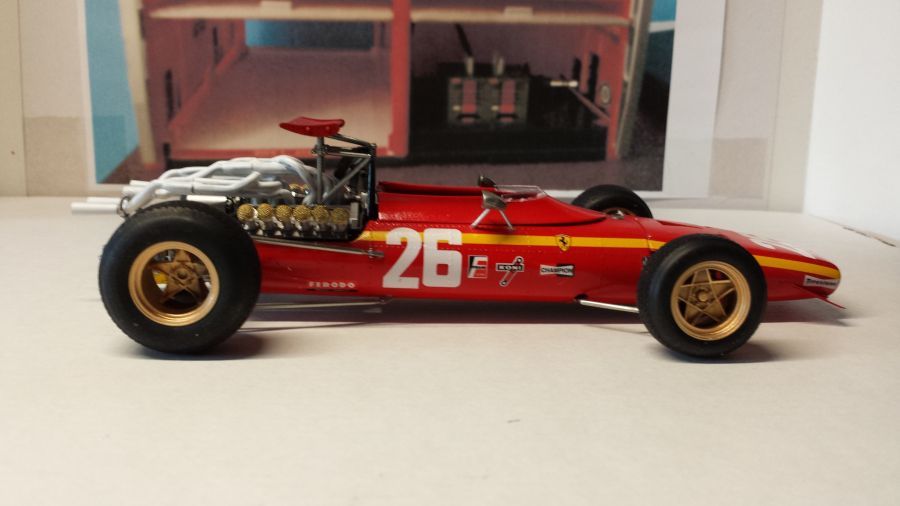
En klaar.
And ready.