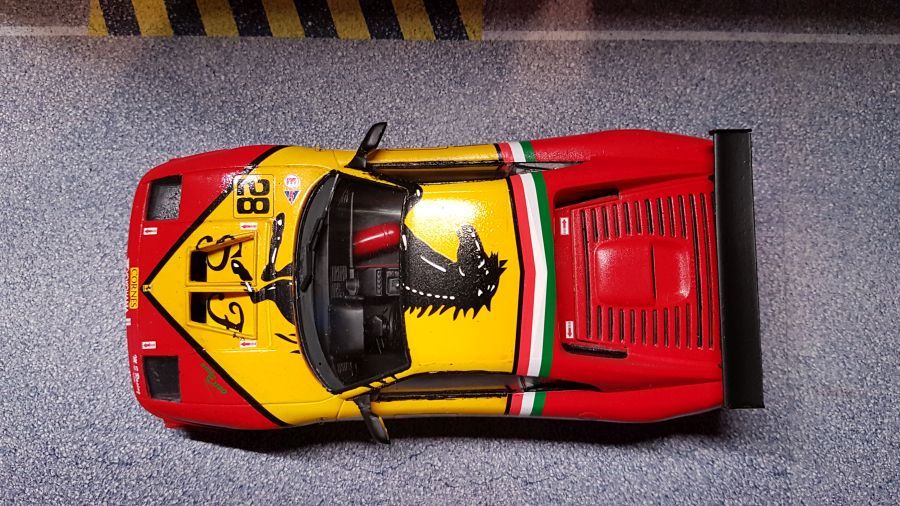
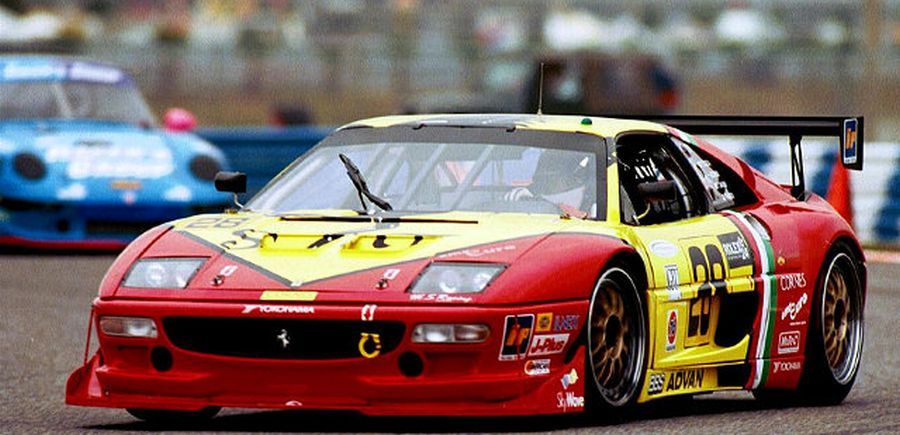
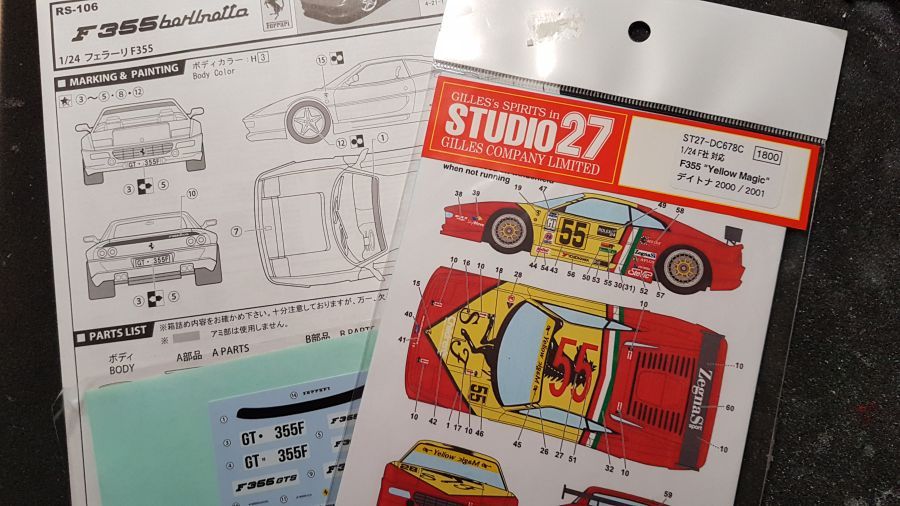
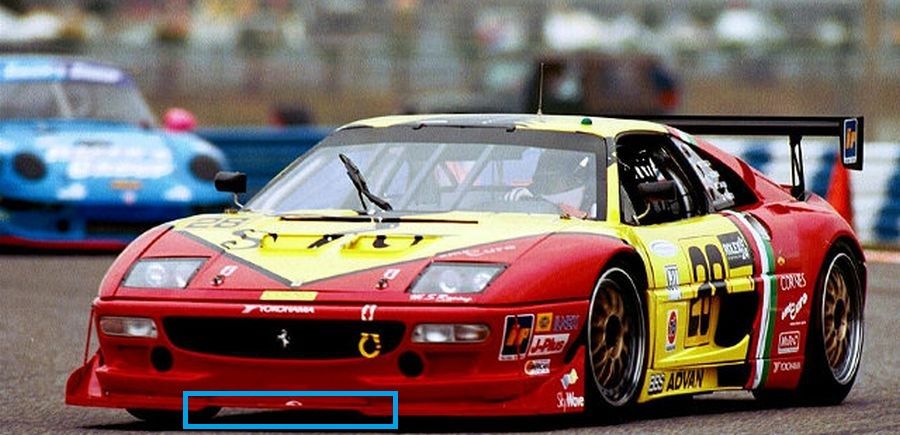
Ik ga proberen deze wagen te bouwen. Het betreft de Ferrari F355 Yellow Magic tijdens de 24 Uur van Daytona versie uit 2000, De wagen werd bestuurd door Toshio Suzuki / Anders Olofsson / Tsuyoshi Takahashi / Van Peter Hanson. Er moeten nogal wat veranderingen worden gedaan. Ik hoop dat het lukt. Als basis gebruik ik de kit van de Ferrari F355 Berlinetta van Fujimi (kit nr. 126302). Als extra heb ik een decal van Studio27 (ST27-DC678C). Voor het overige zal ik wat strip en plaat van Evergreen gebruiken.
I am going to try to build this car. It's the Ferrari F355 Yellow Magic as driven at the Daytona 24 Hours in 2000. The car was driven by Toshio Suzuki / Anders Olofsson / Tsuyoshi Takahashi / Van Peter Hanson. There are some changes to be made. I hope it works. As a donor i will use the Fujimi Ferari F355 Berlinetta kit (kit no. 126302). As an extra i have the decal from Studio27 (ST27-DC678C). For the rest iw ill use Evergreen strip and sheet.
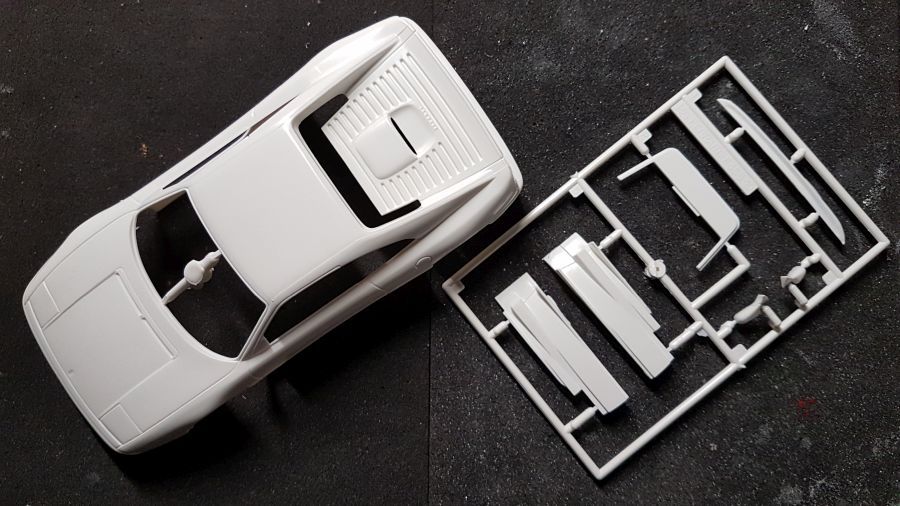
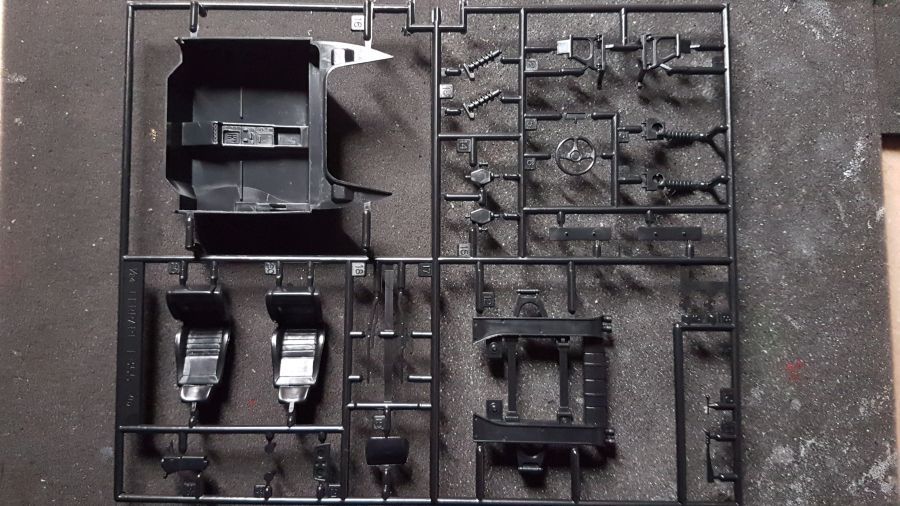
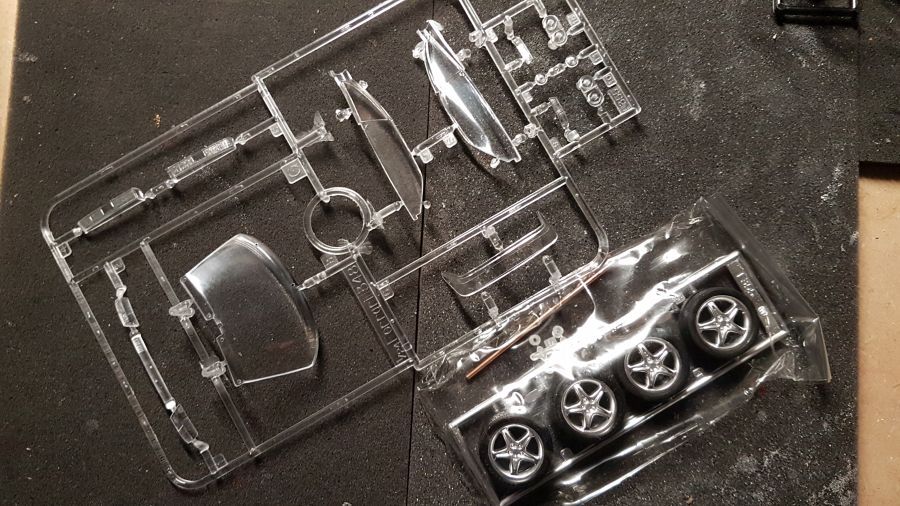
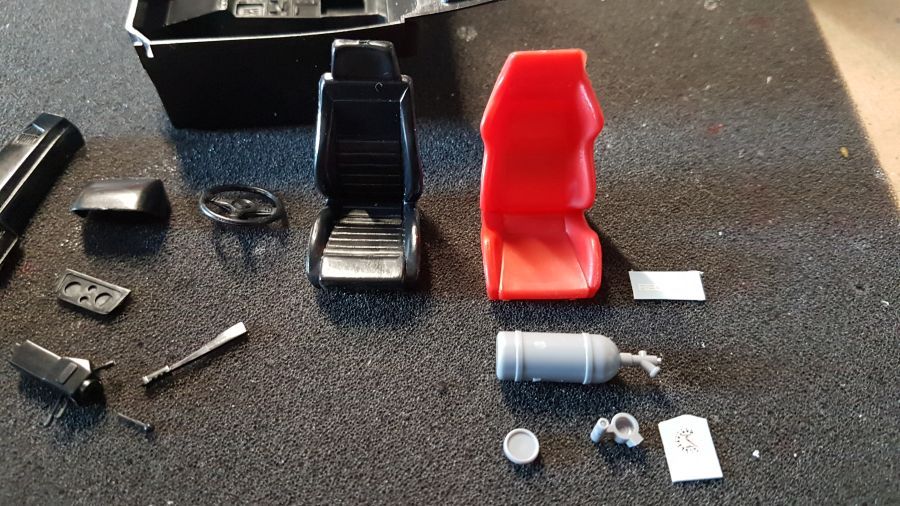
Eerst de inhoud en de extra's.
First of all the content and the extras.
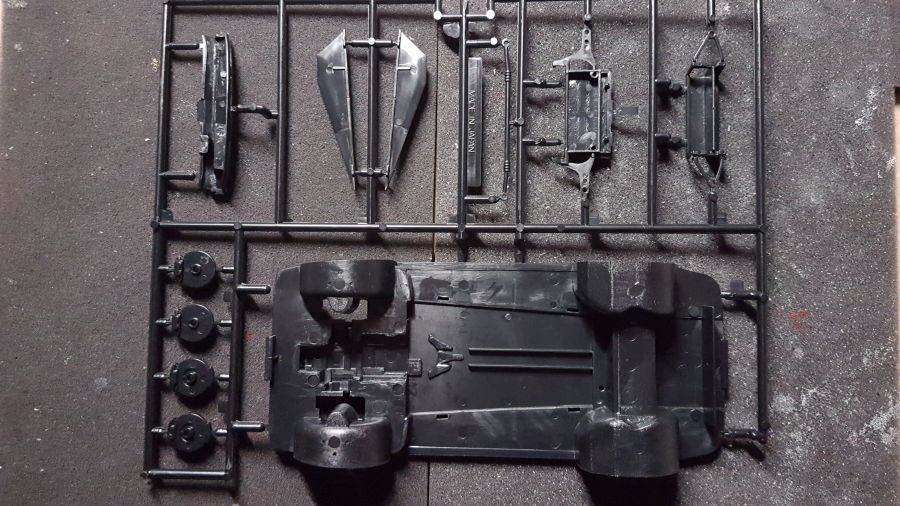
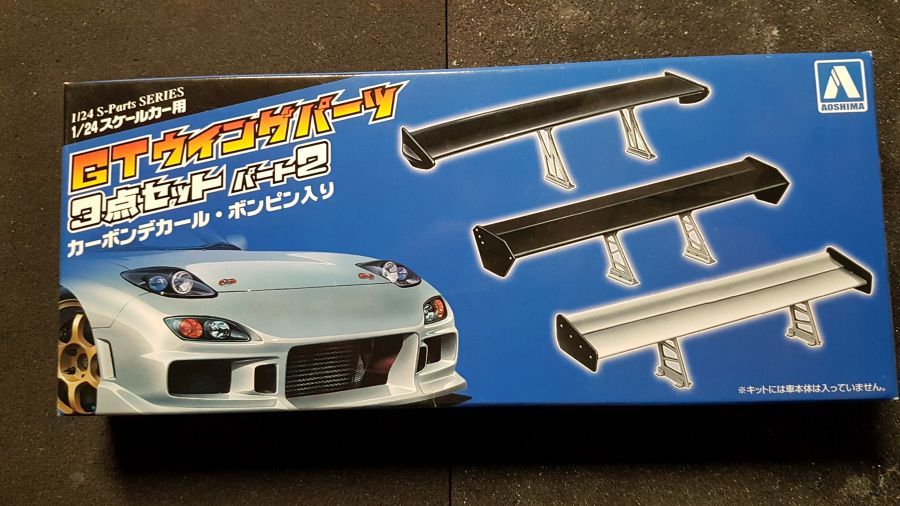
Ik weet niet of iik het ga gebruiken, maar in ieder geval standby.
I don't know if i will use it, but it's standby.
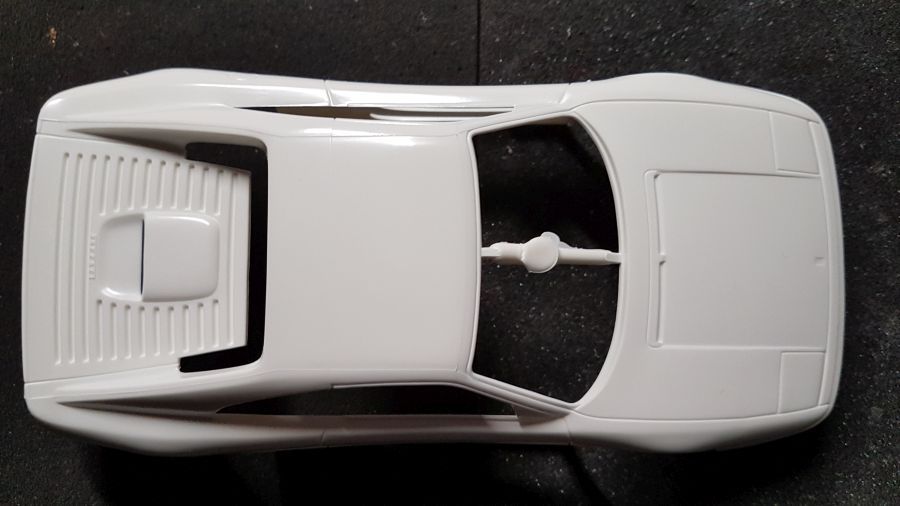
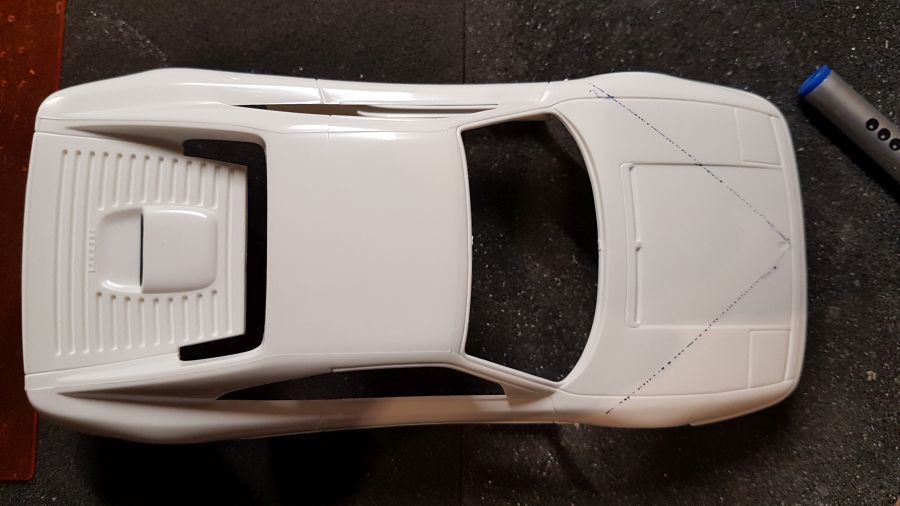
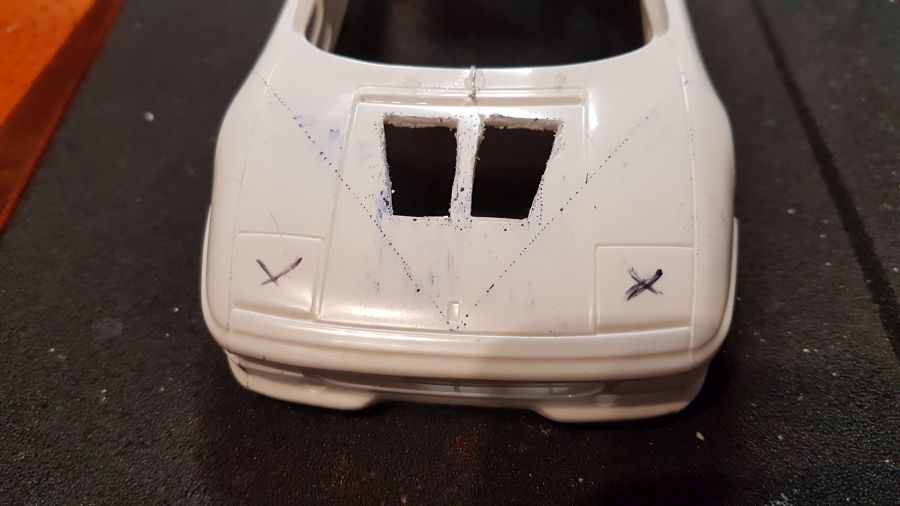
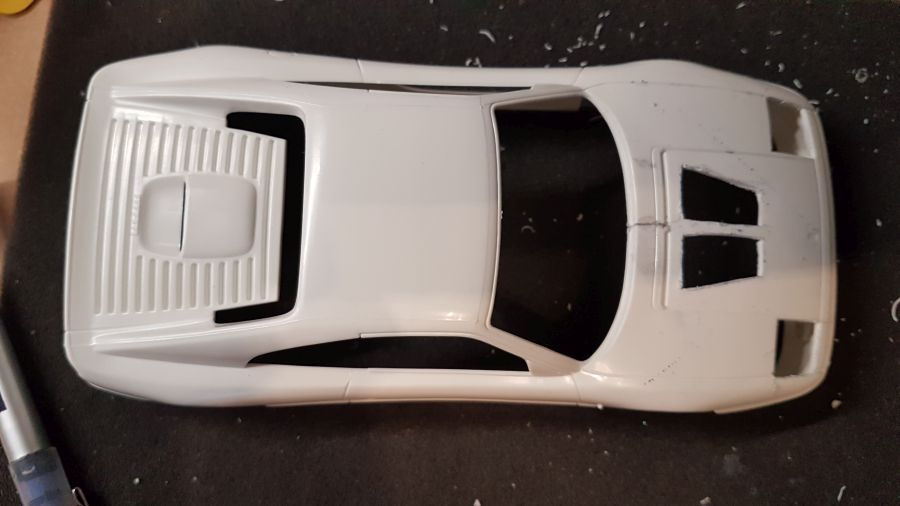
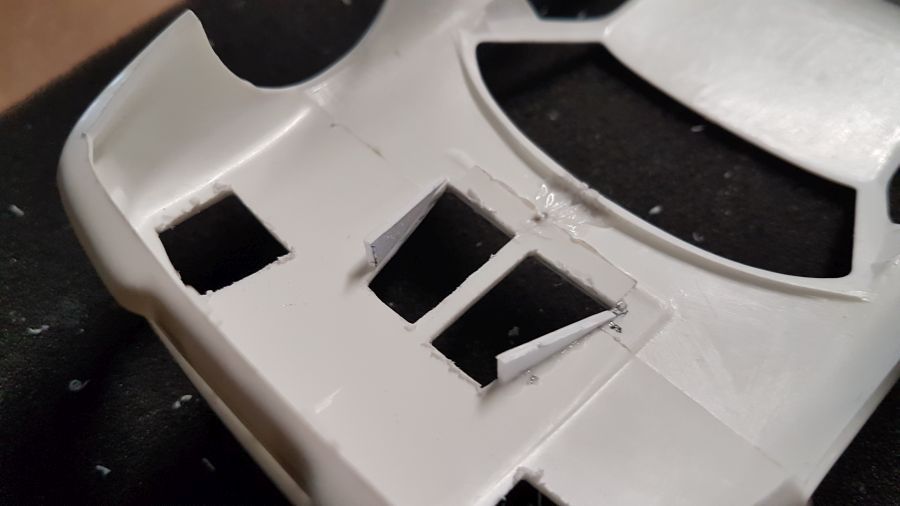
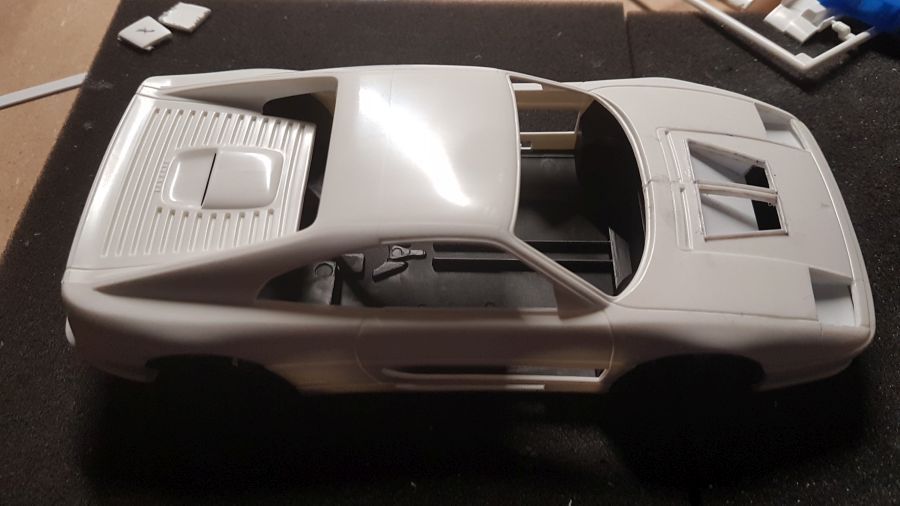
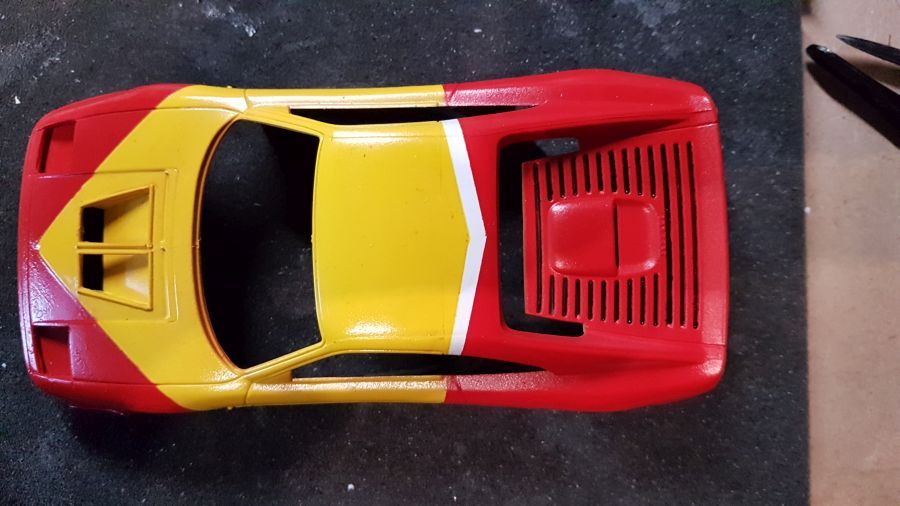
De motorkap voor moet een paar gaten krijgen. Eerst maar wat uitmeten.
The cover on the front needs some holes. First some measuring.
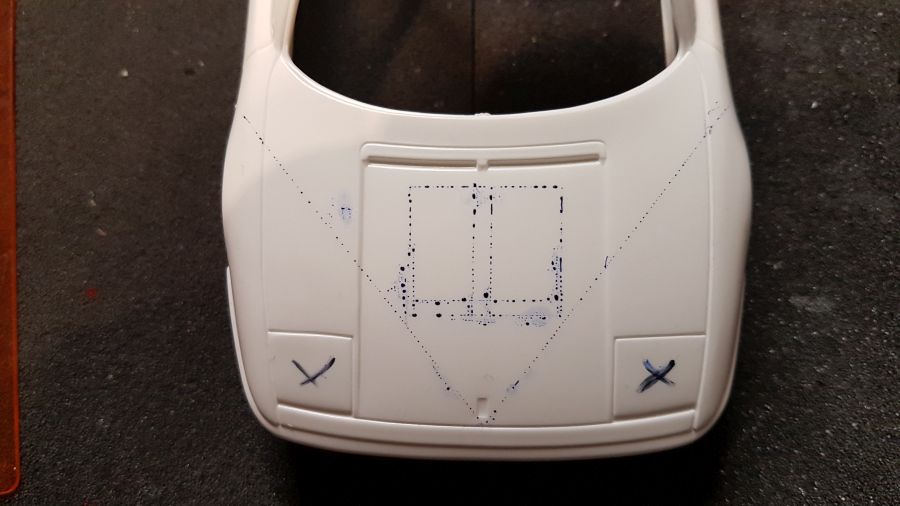
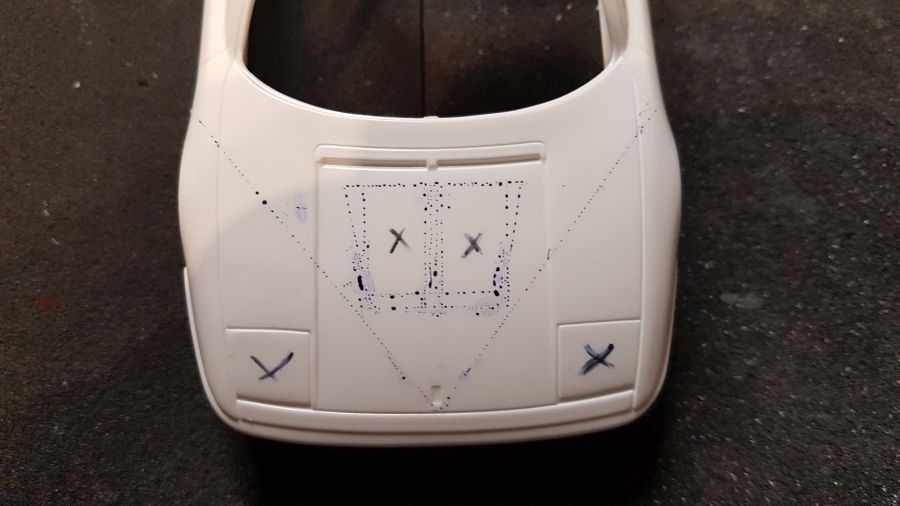
Dan de scriber en de zaag.
Next the sciber and the saw.
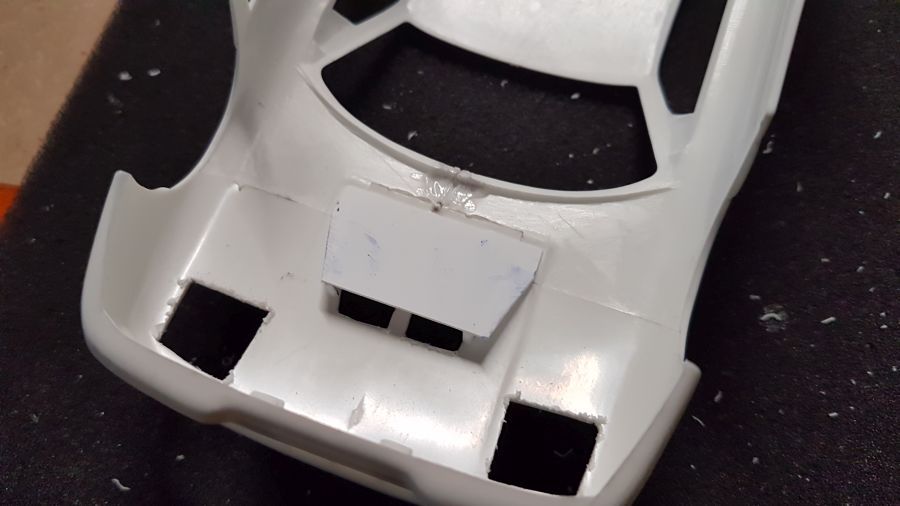
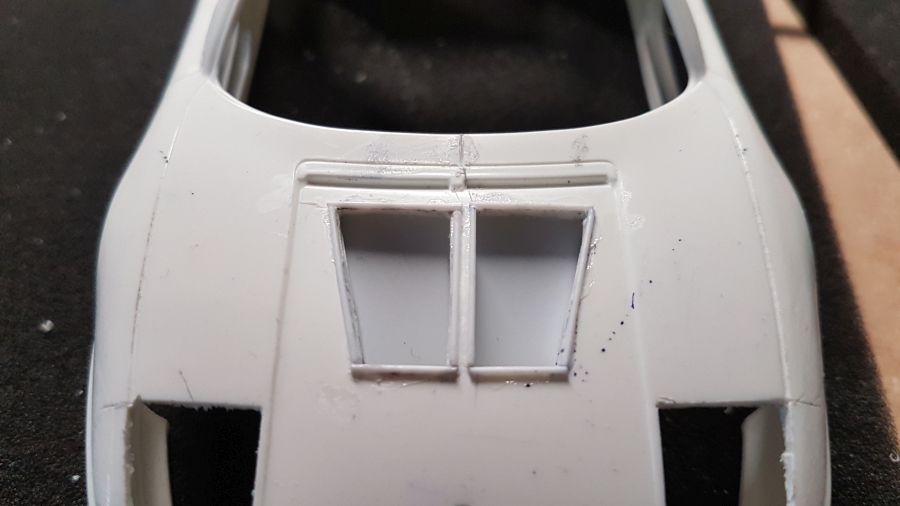
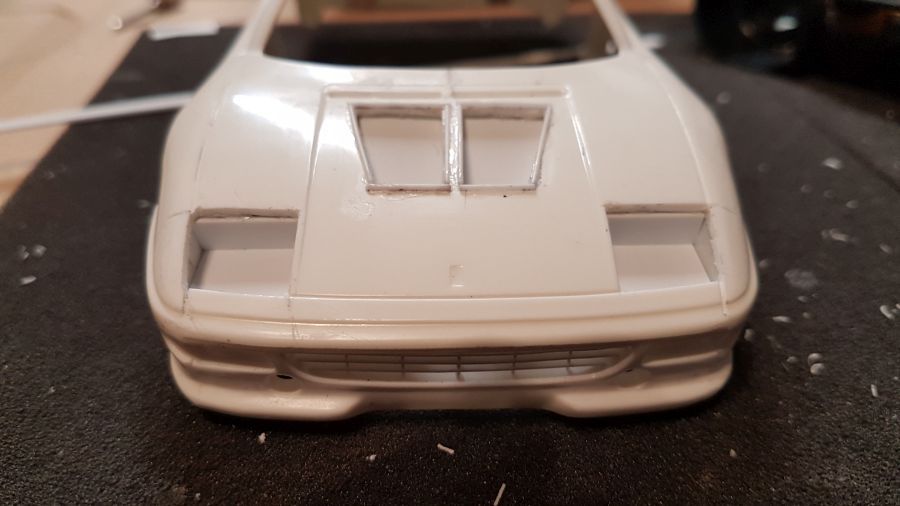
Dan de 'lijst' boven op de motorkap.
Then the 'lines' on top of the hood.
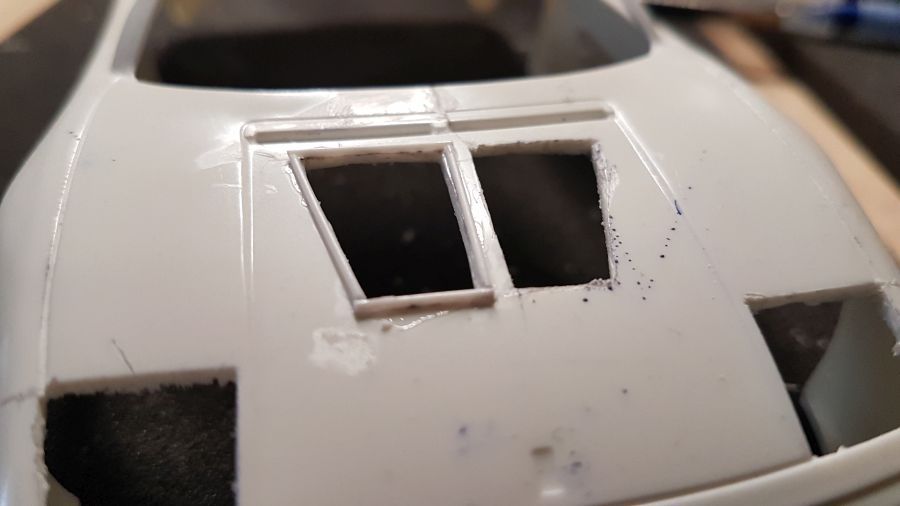
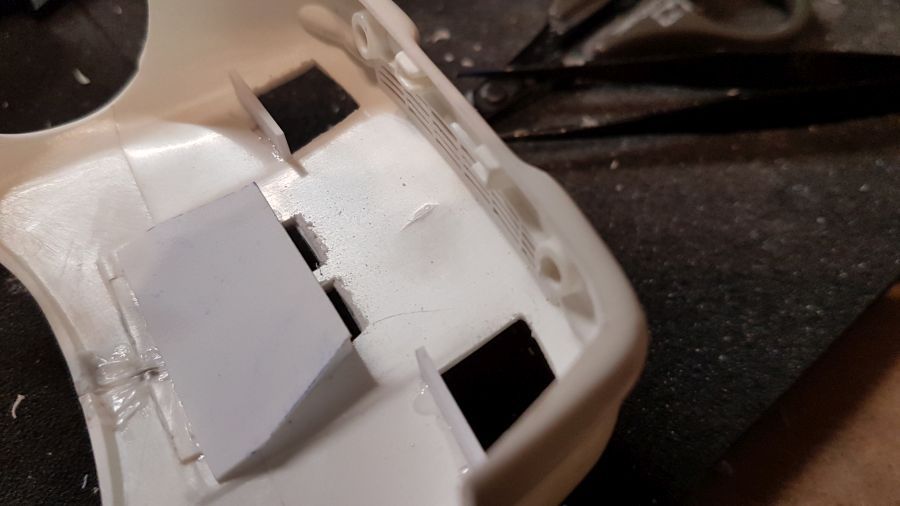
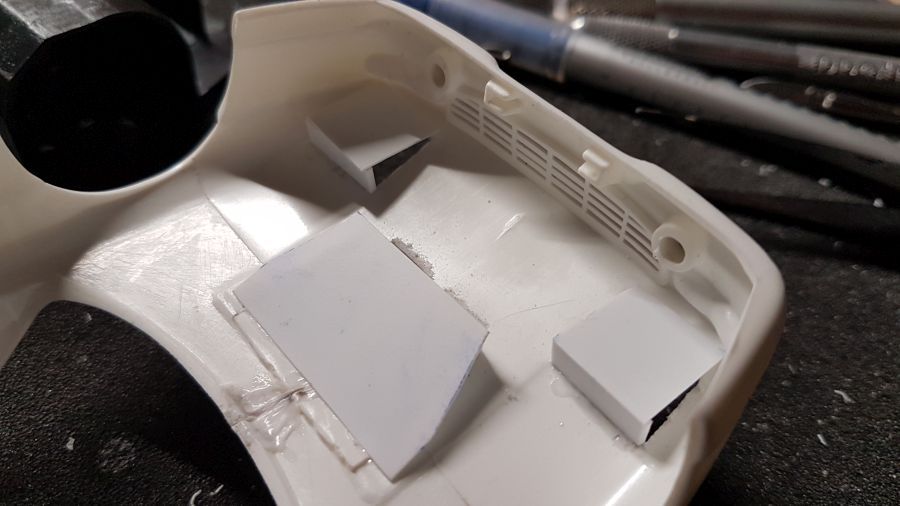
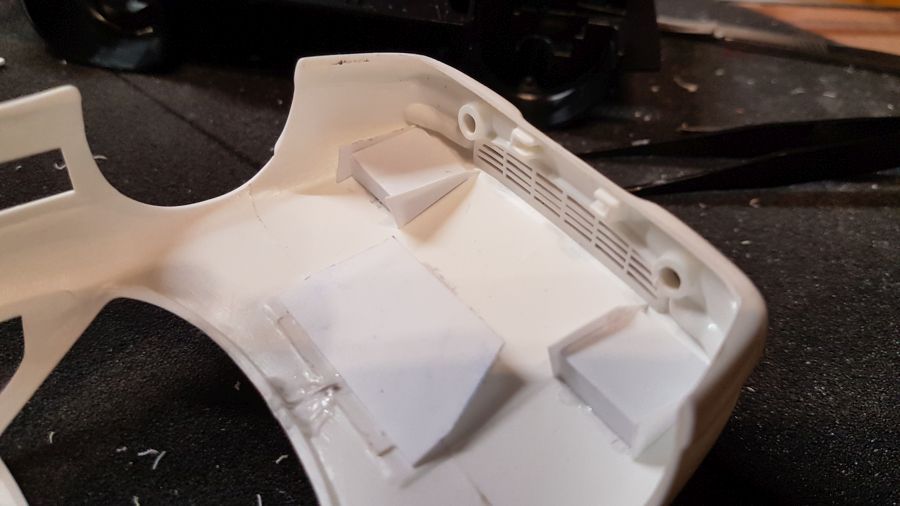
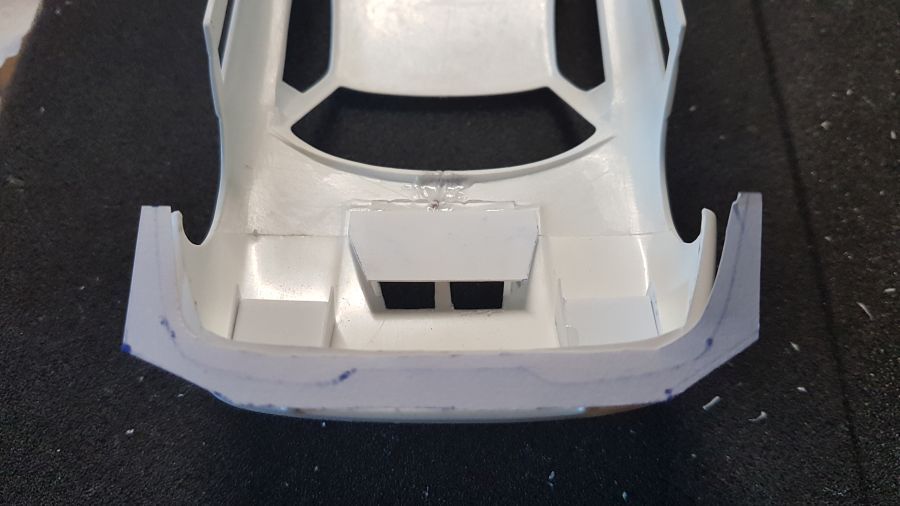
Dan de luchtingang aan de onderkant.
Next is the duct on the inside.
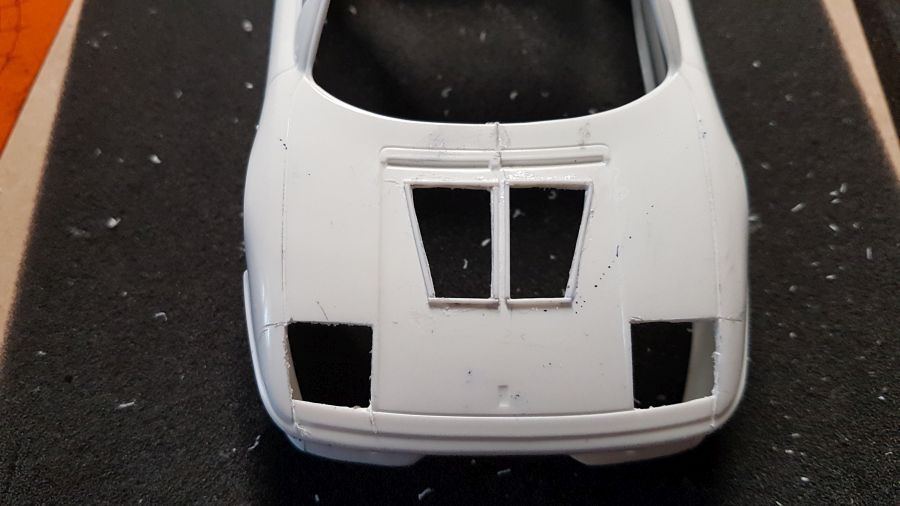
Door naar de behuizing van de koplampen.
On to the housing of the front lights.
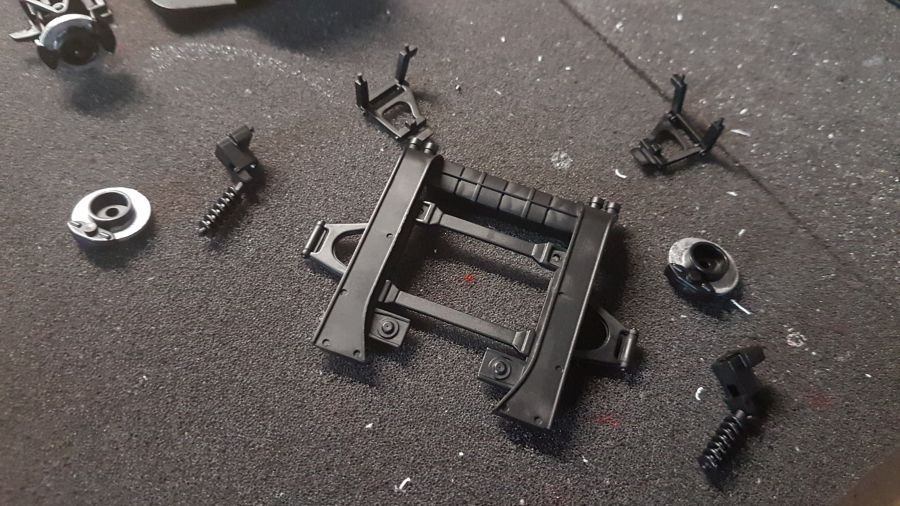
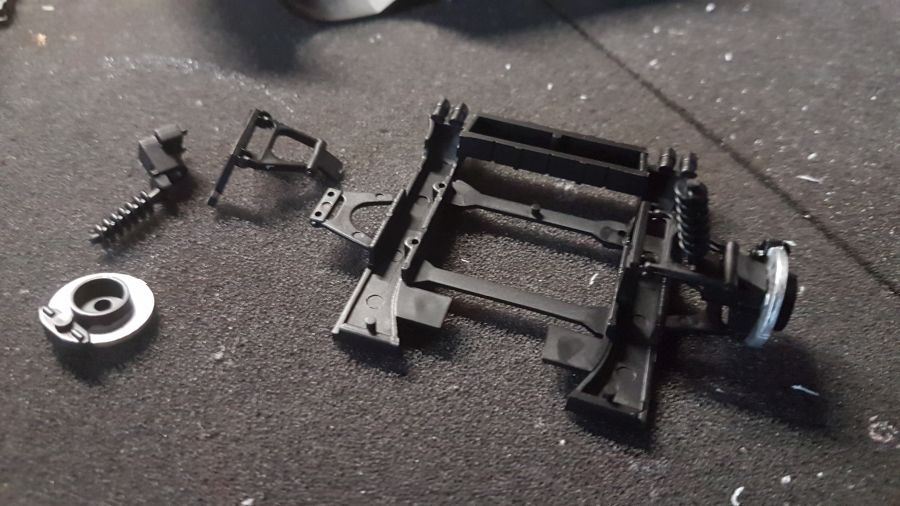
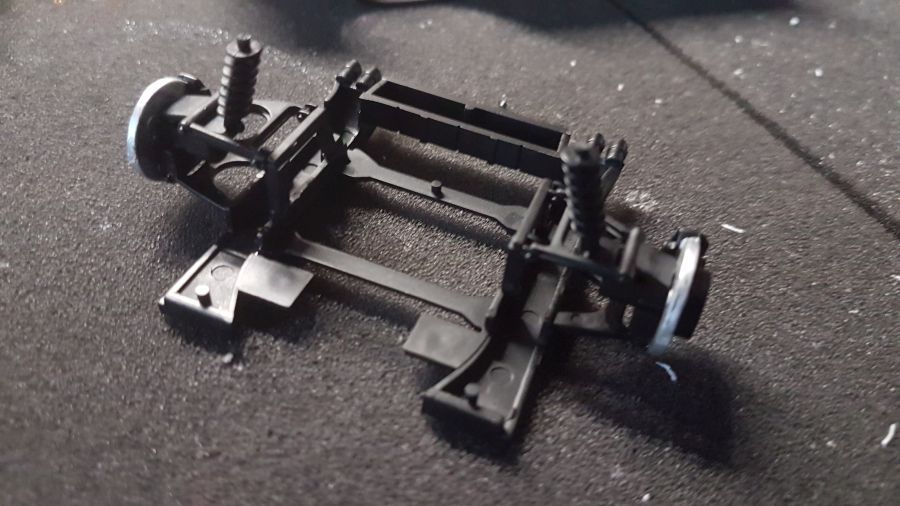
Voorwielophanging...
Front wheel suspension...

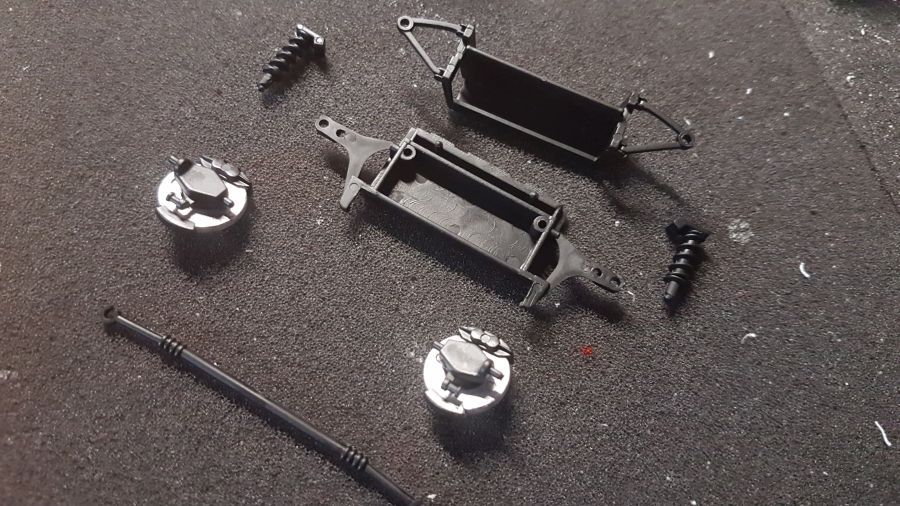
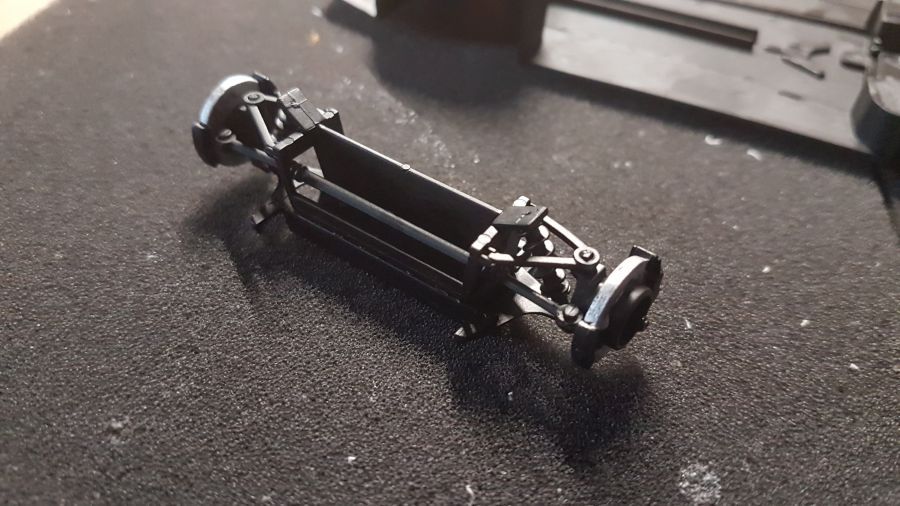
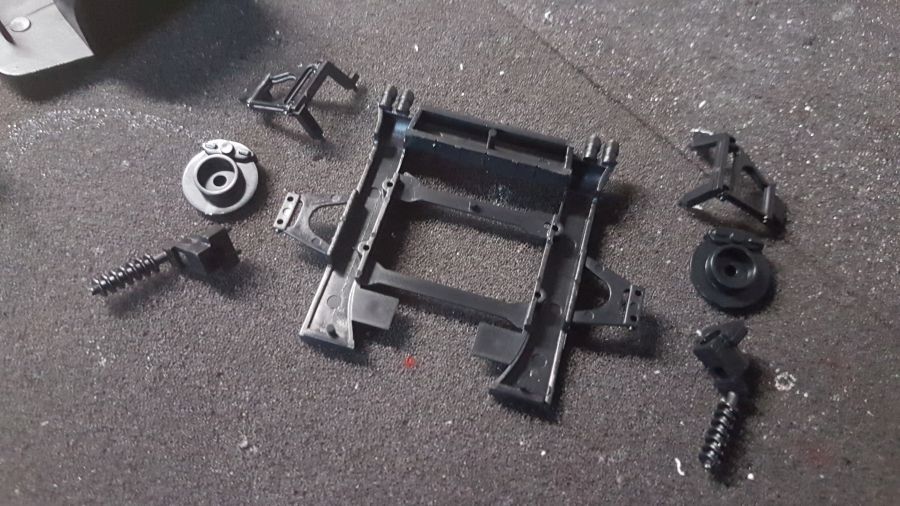
Achterwielophanging...
Rear wheel suspension...
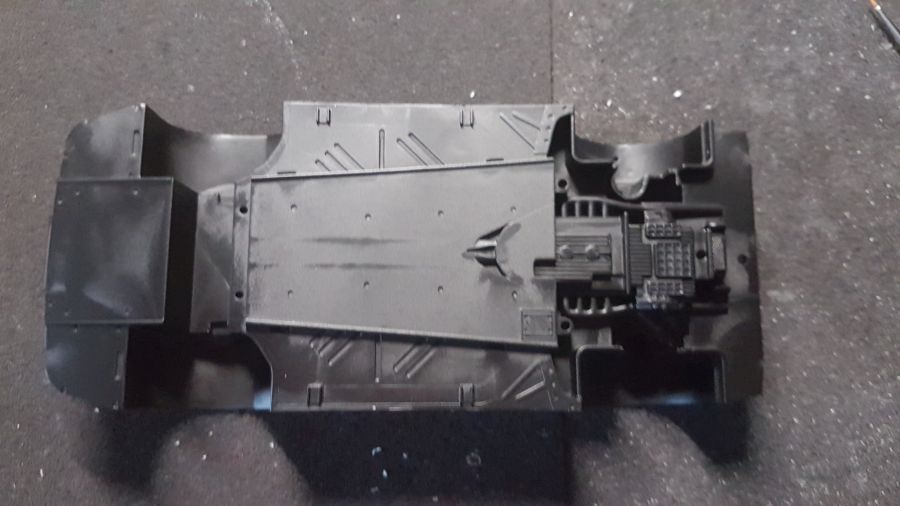
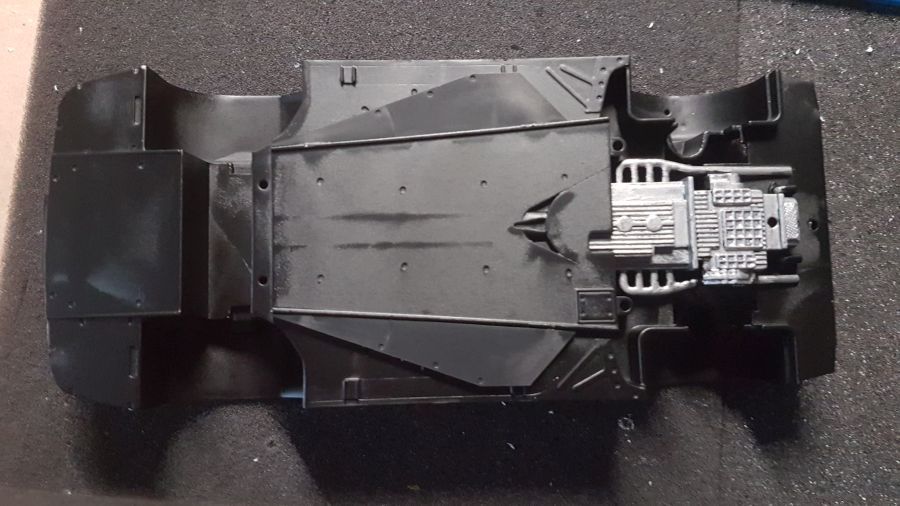
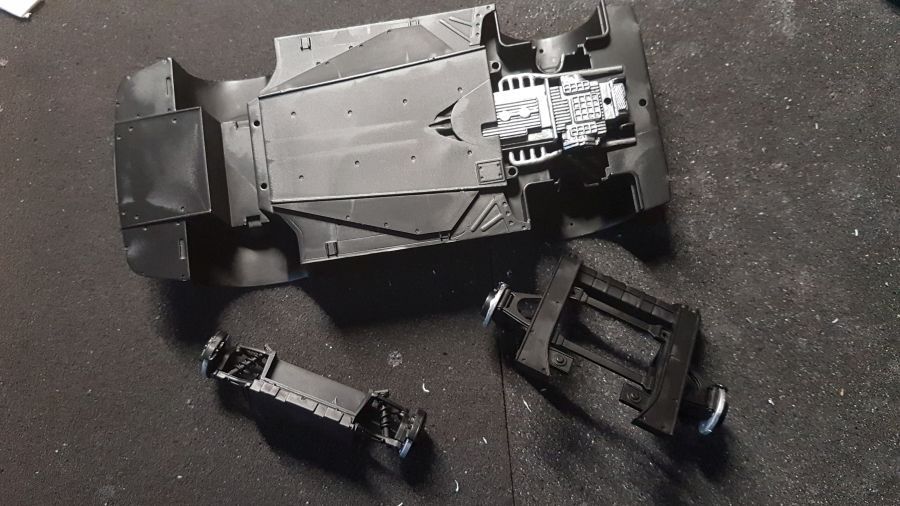
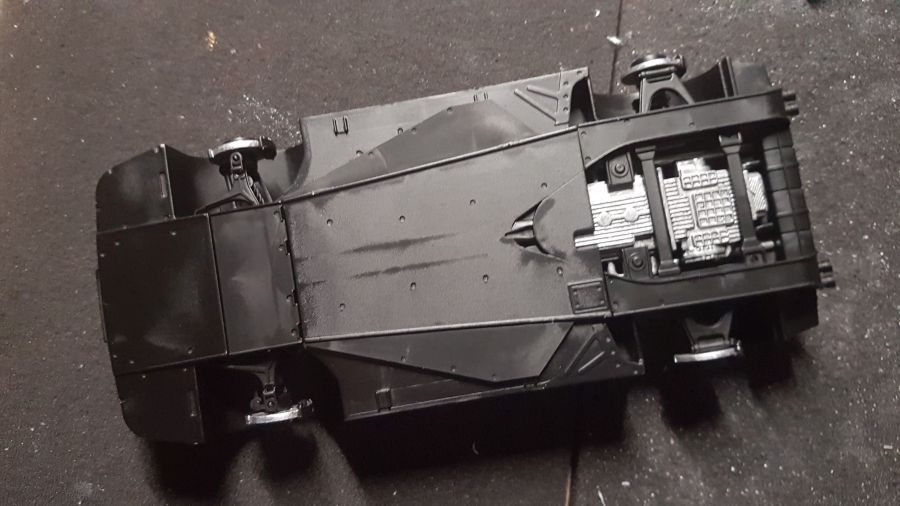
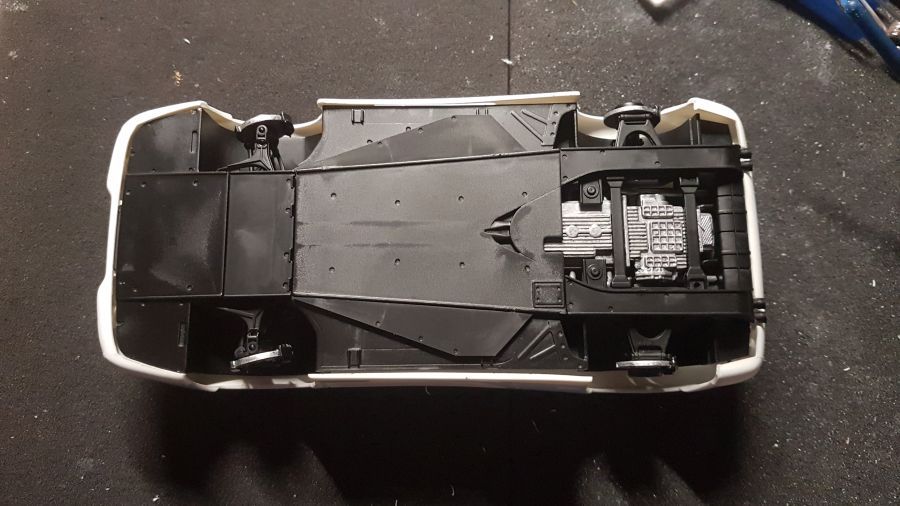
Even passen.
Test fit.
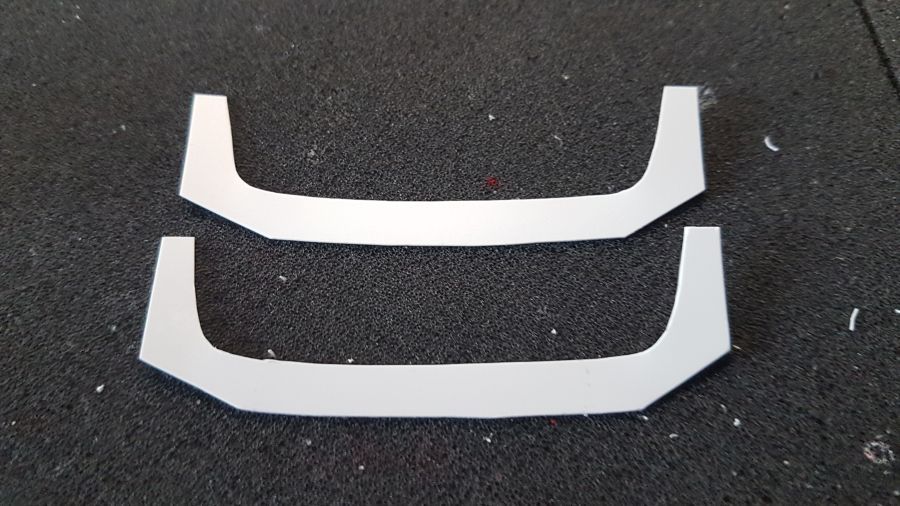
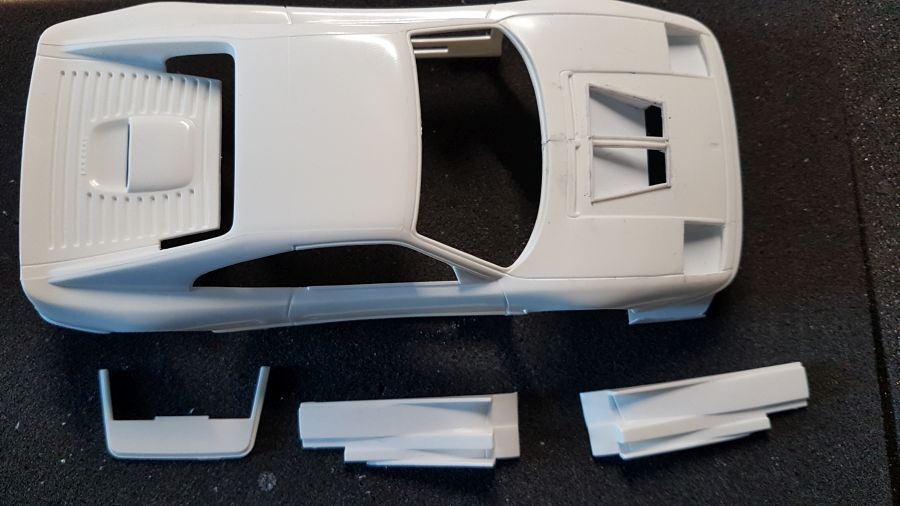
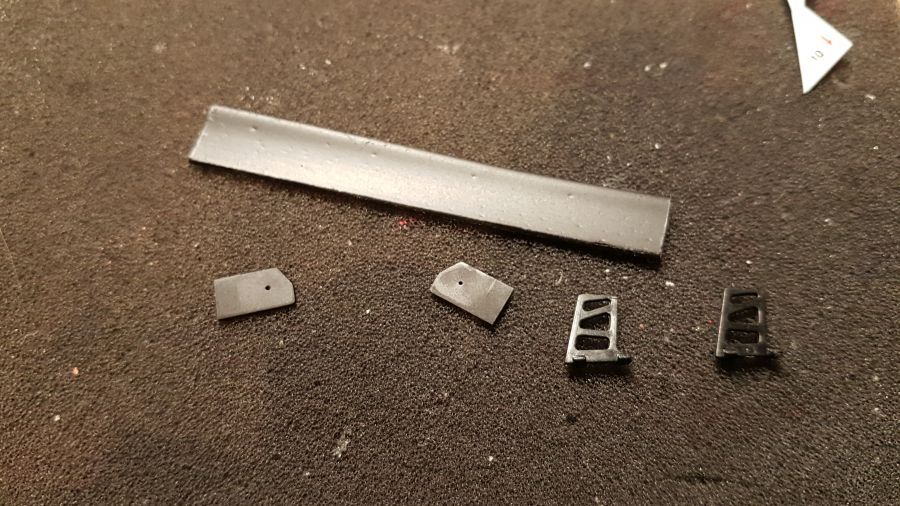
Nu moet ik een front spoiler maken. Ik maak eerste een mal van papier met de omtrek van de auto als basis. Daarmee ga ik aan het werk om de spoiler uit Evergreen plaat te maken.
Now i need to create a front spoiler. First i make a template out of paper with the contour of the car. This i will use to cut the spoiler out of Evergreen sheet.
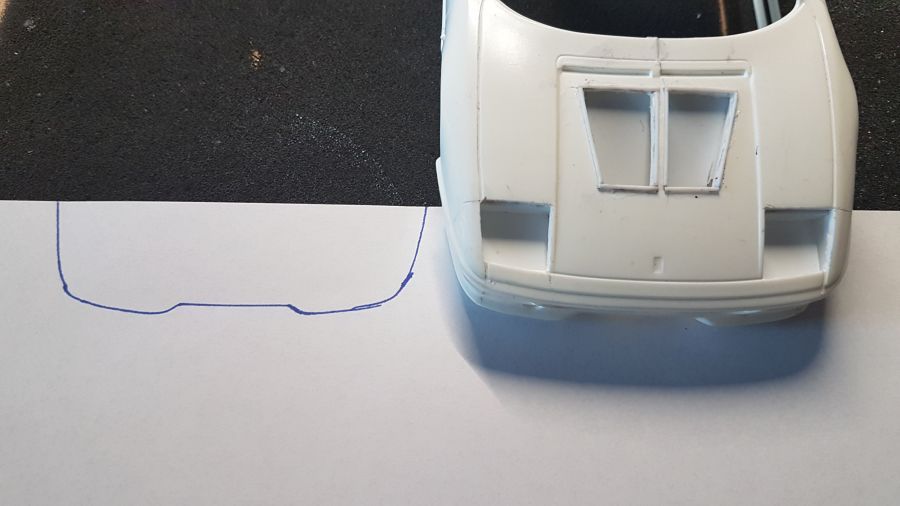
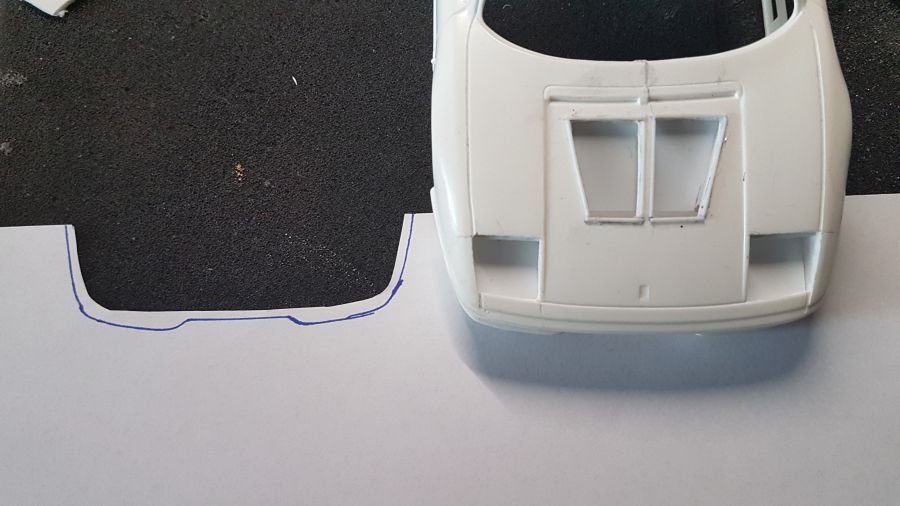

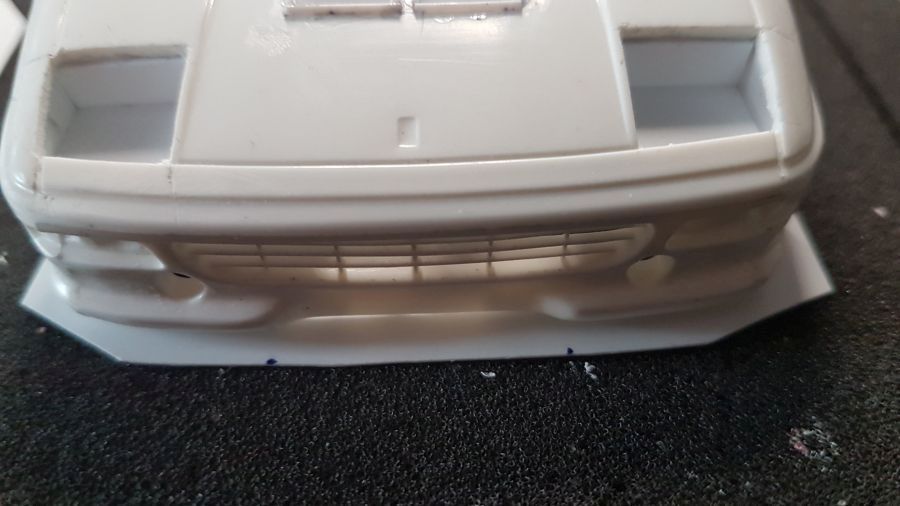
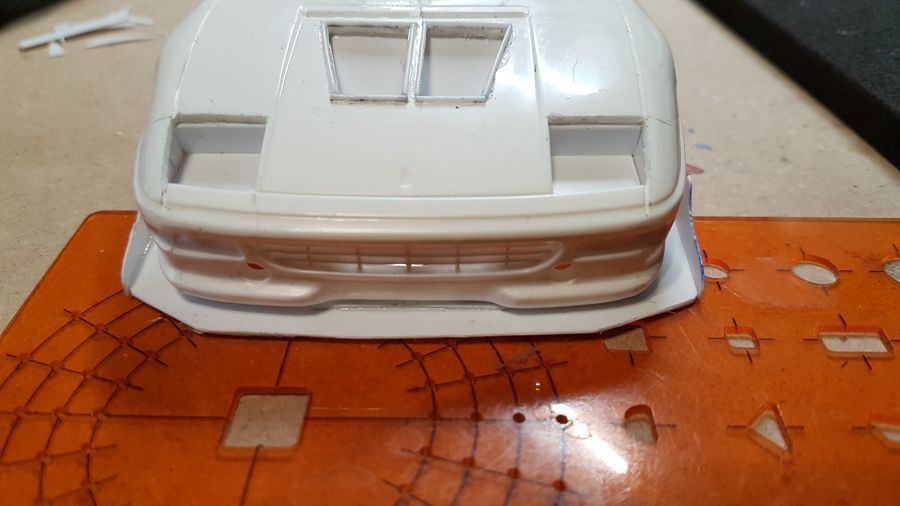
Het papiermodel even passen...
Test fit of the paper template...
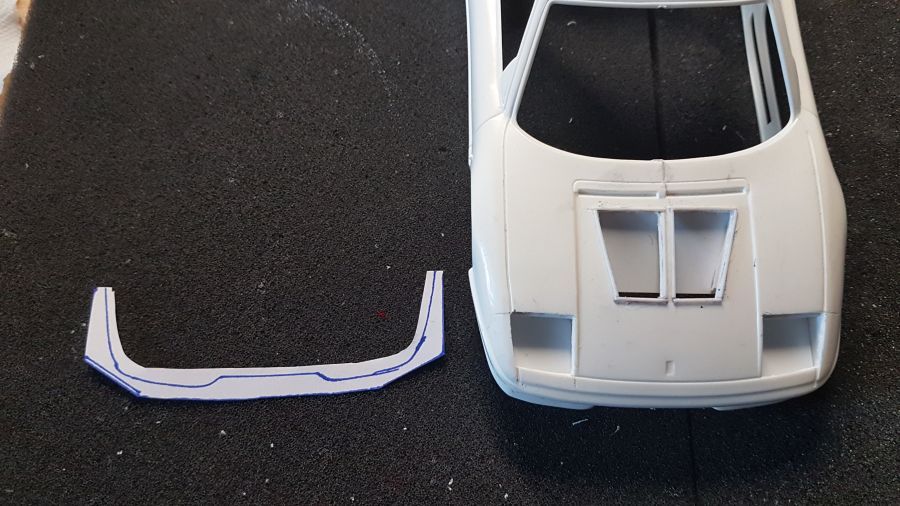
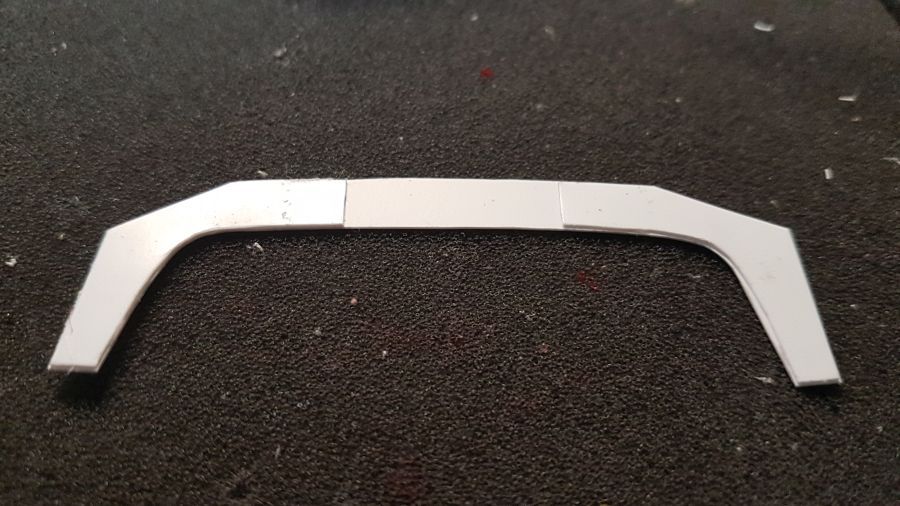
Nu de eerste uitknippen uit de Evergreen plaat.
Now cut the first one out of Evergreen sheet.

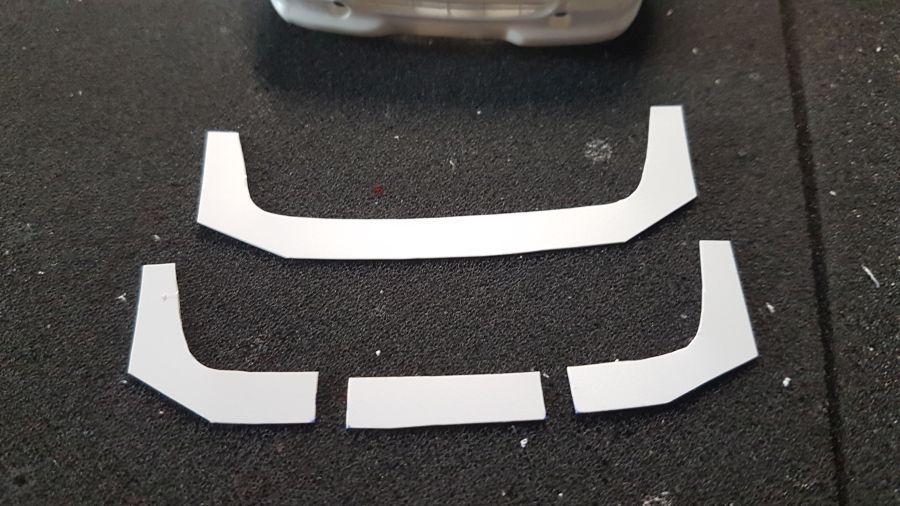
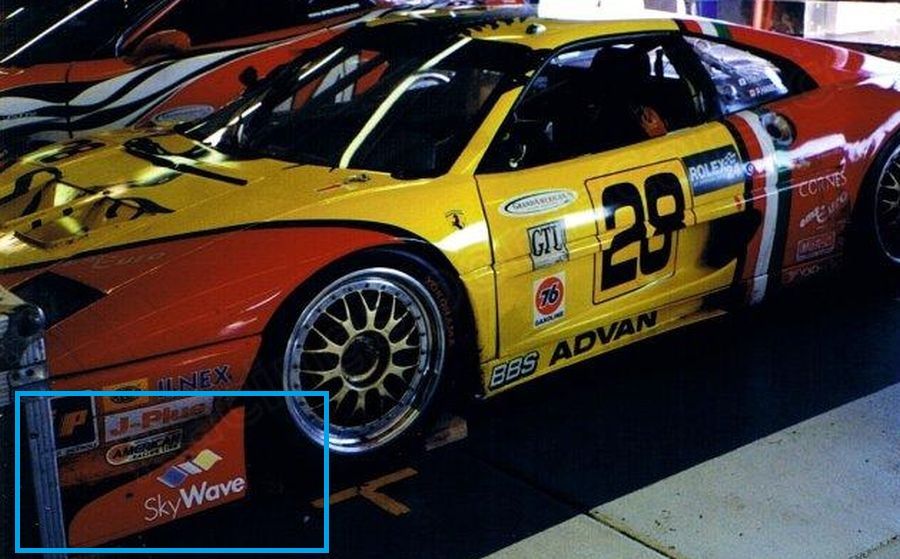
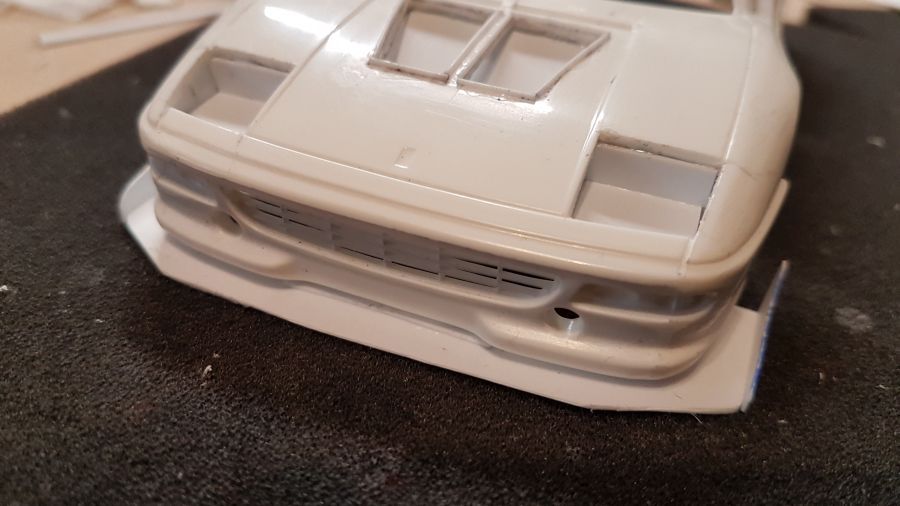
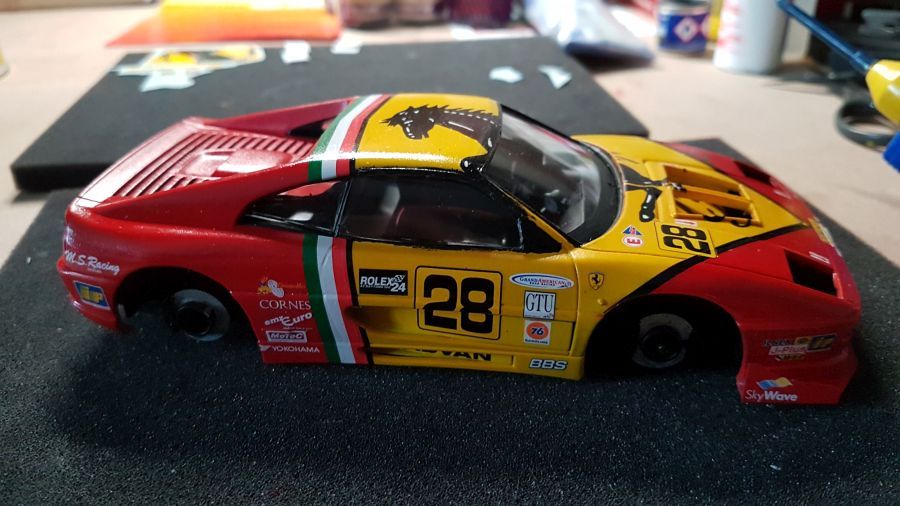
Op de foto zie ik dat de spoiler in het midden dunner is dan aan de uiteinden...
On the photo is noticed the spoiler is more thin in the middle than on the outsides...
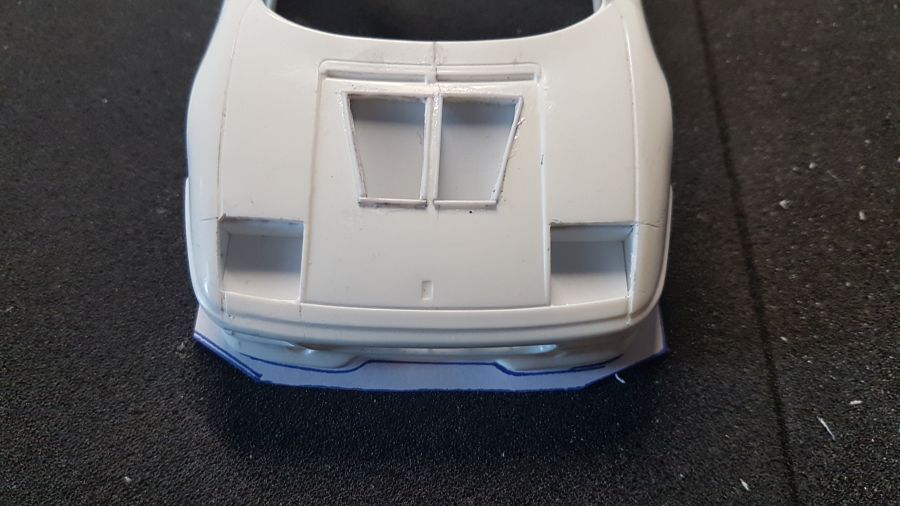
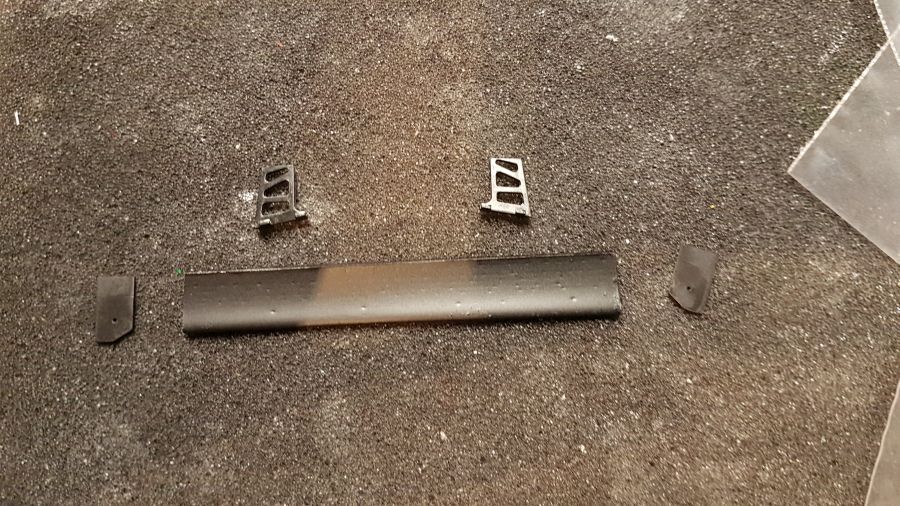
Daarom maak ik er 2 van plastic plaat en plak die deels op elkaar om dikte te creëren.
That's why i make 2 out of the plstic sheet and glue them together to create thickness.
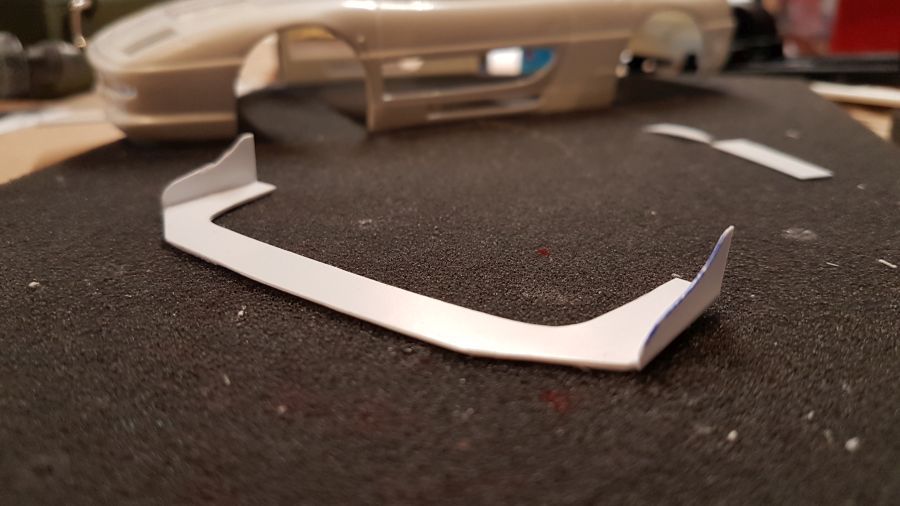
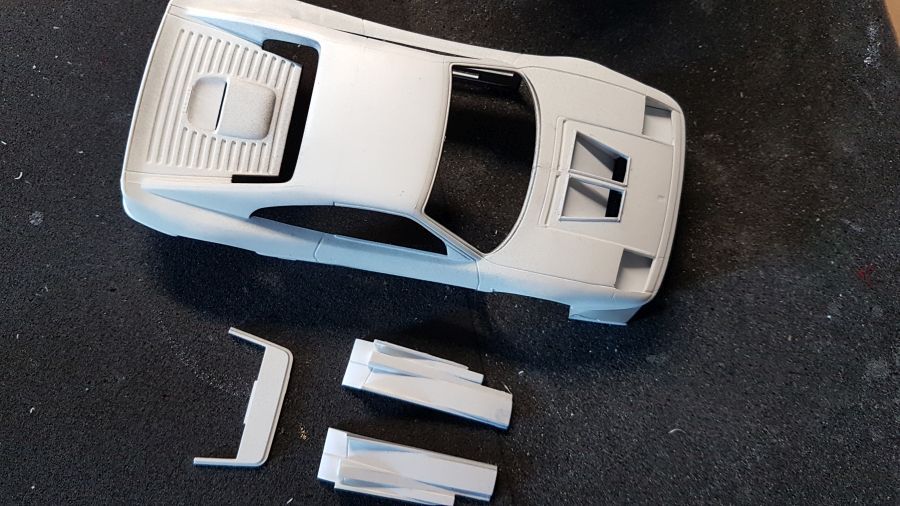
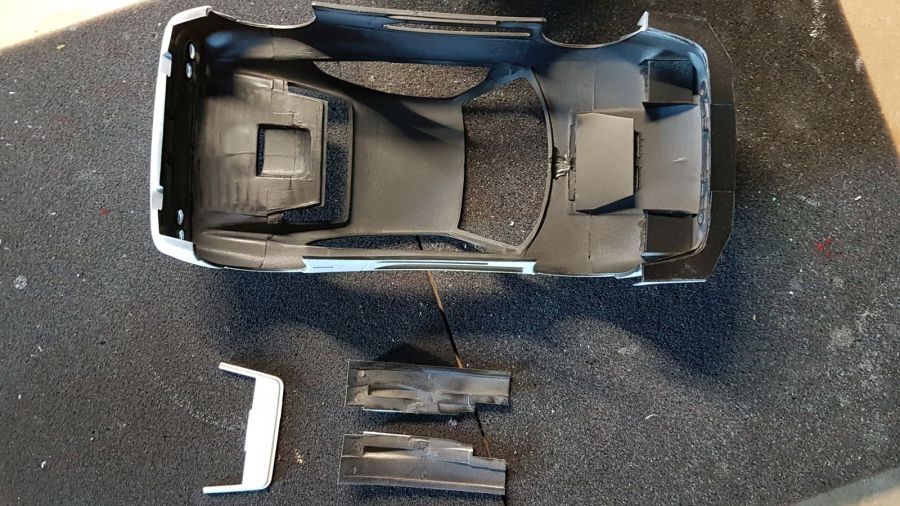
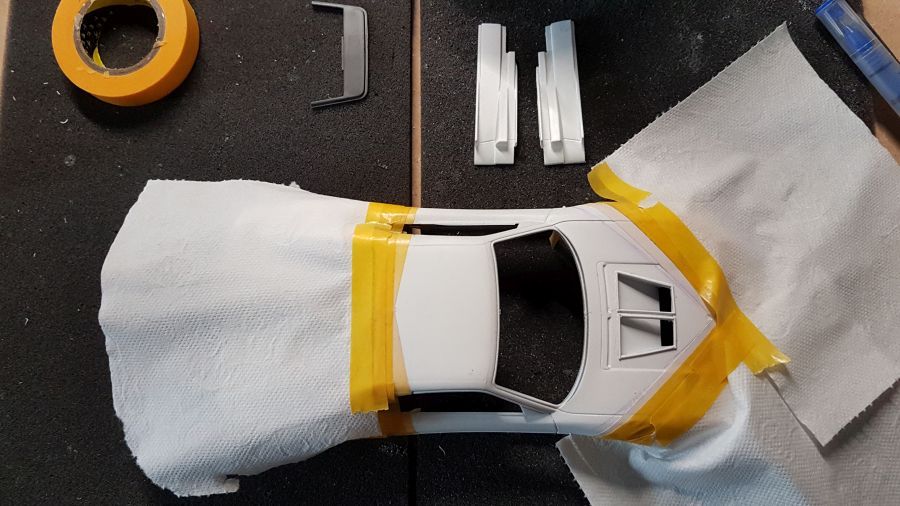
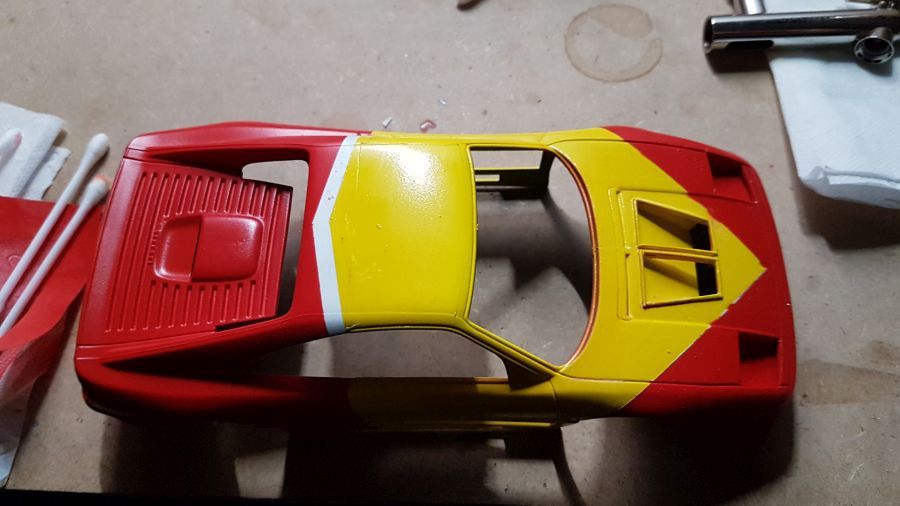
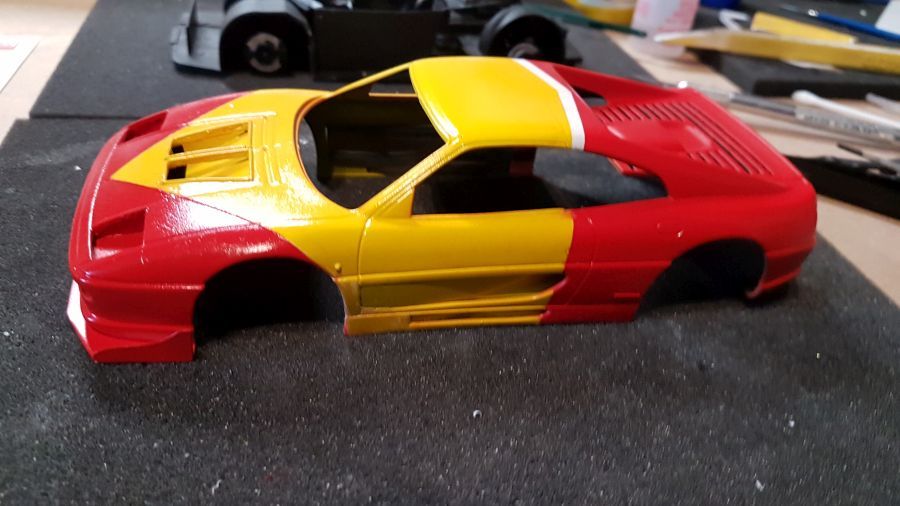
Klaarmaken voor de grondverf en de verf....
Getting ready for the primer and the paint....
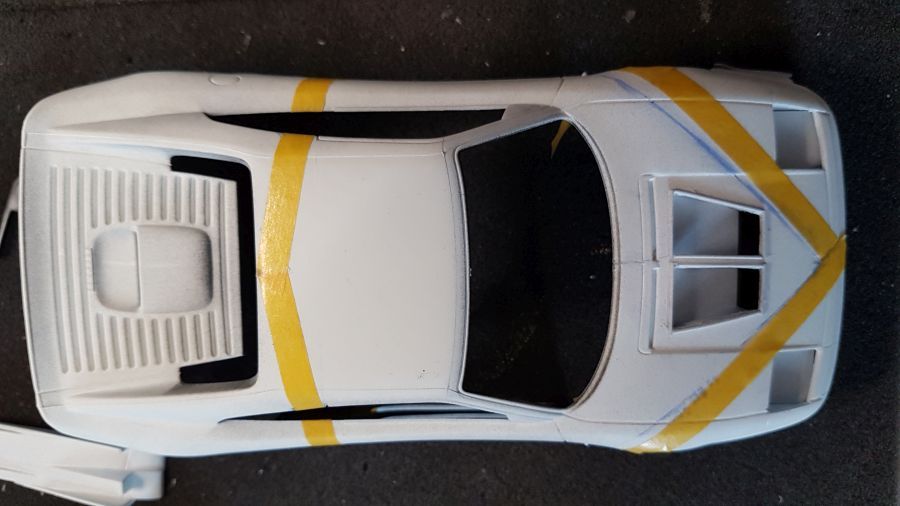
Helaas wat last van overspray. Ik probeer het wat weg te poetsen met Tamiya Course. Voor de toekomst zal ik rpoberen wat betere afplaktape te kopen.
Unfortunately some overspray. I will try to polish some away with Tamiya Course. For the future i will try to buy some better masking tape.
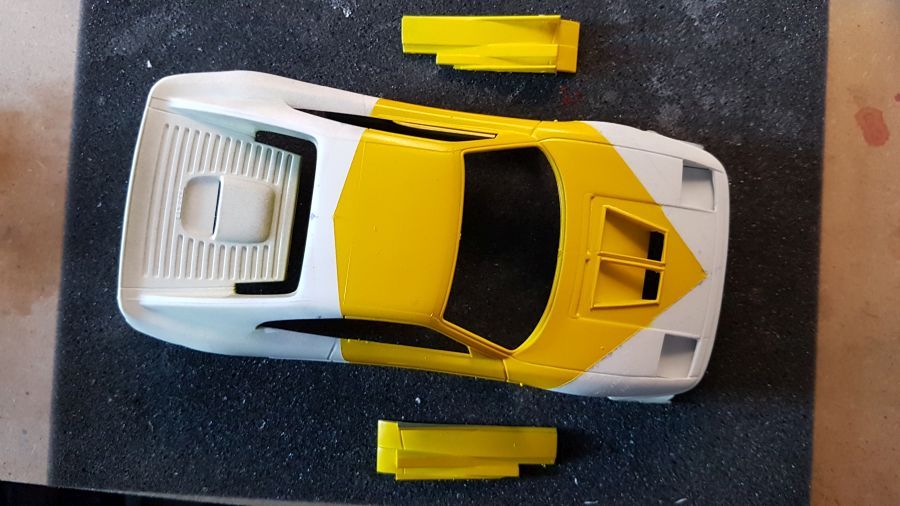
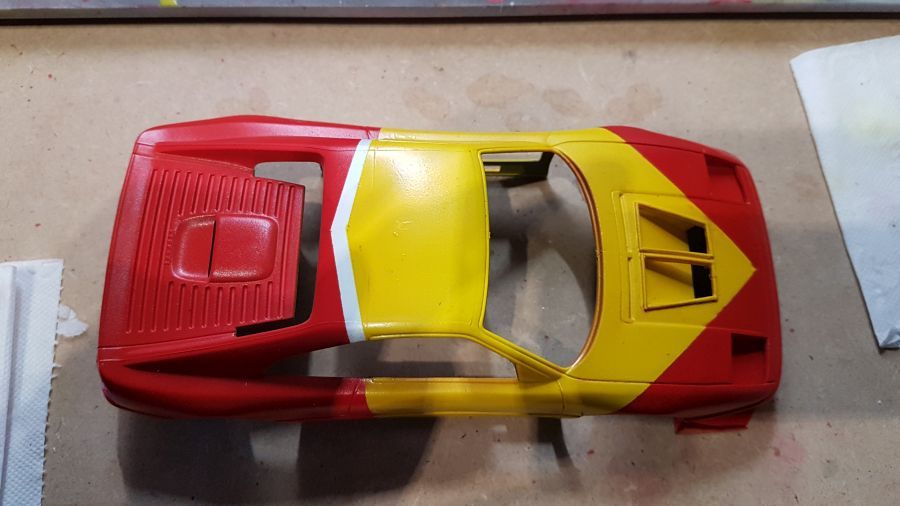
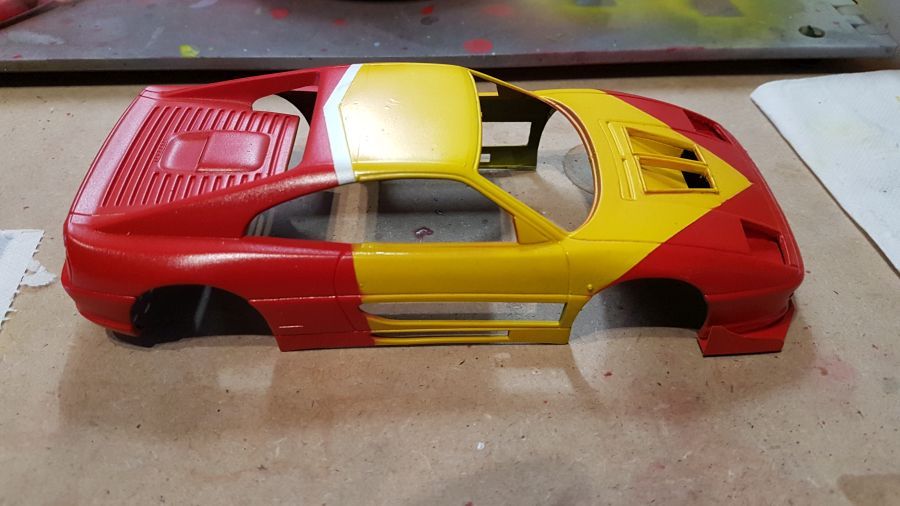
Dan toch maar besloten nog weer wat geel opnieuw te spuiten. Dat is beter. Het meest erge was niet weg te poetsen.
Then i decided to spray more yellow. That's better. Some bad parts were impossible to polish away.
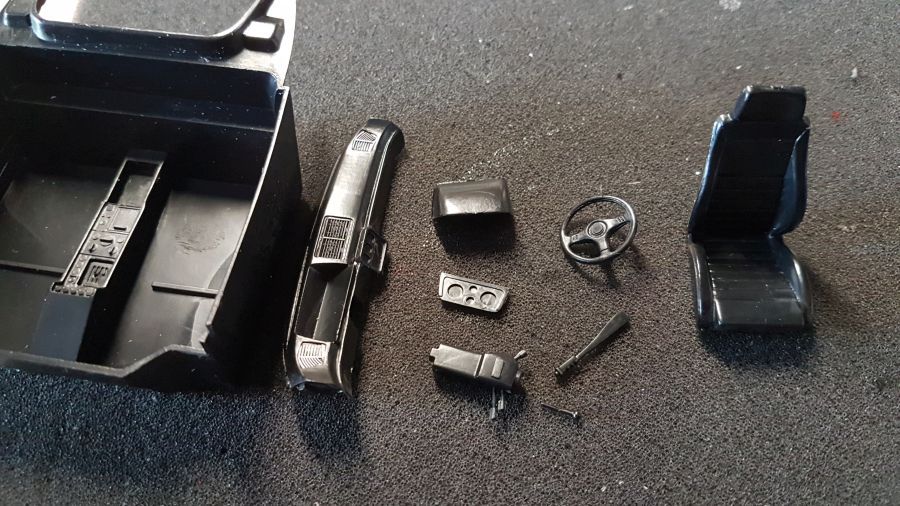
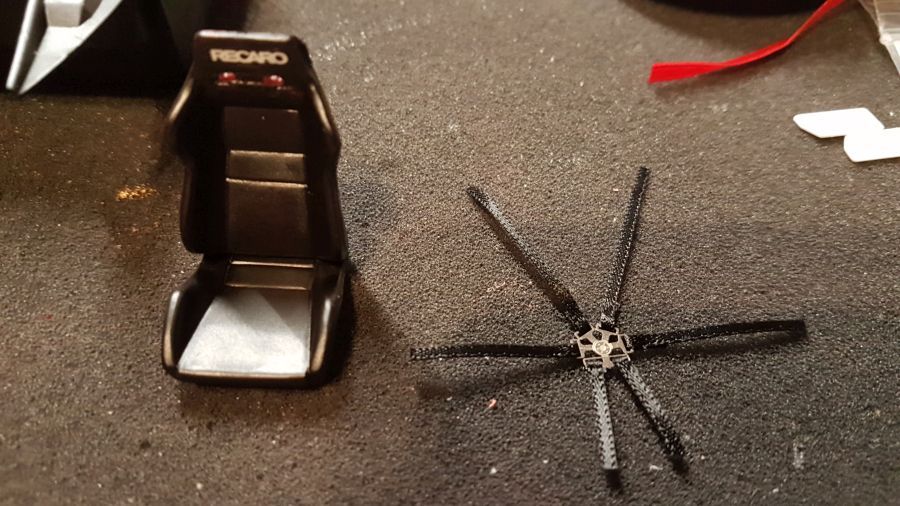
Terwijl de verf droogt, ga ik verder met het interieur. Ik ga niet alles gebruiken wat bij de originele kit zit. De stoel wordt vervangen door een Recaro. Er komt een brandblusser is en een extra meter.
While the paint dries, i will continue with the inside. I will not use everything that's included in the original kit. I will change the seat by one of Recaro. And add an extinguisher and a gauge.


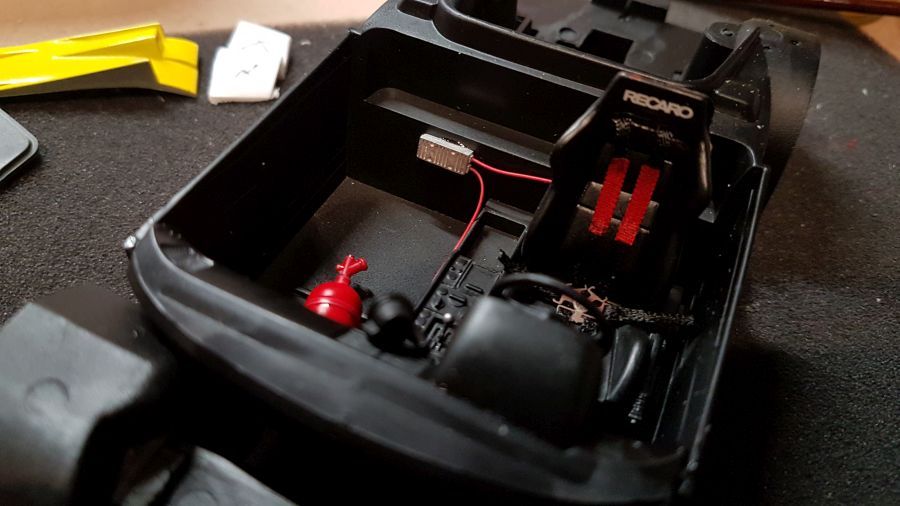
De zijpanelen worden geplaatst en het rooster wordt afgemaakt.
The sidepanels are being added and the vents are made.
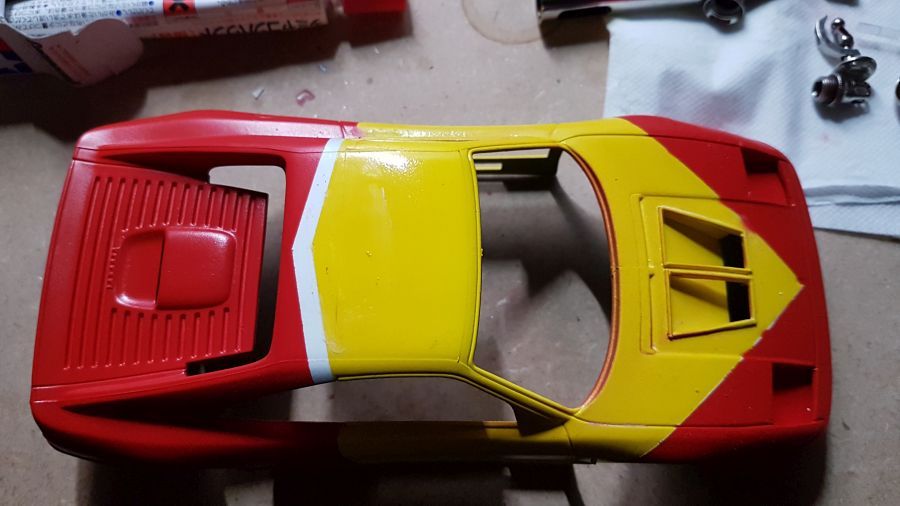
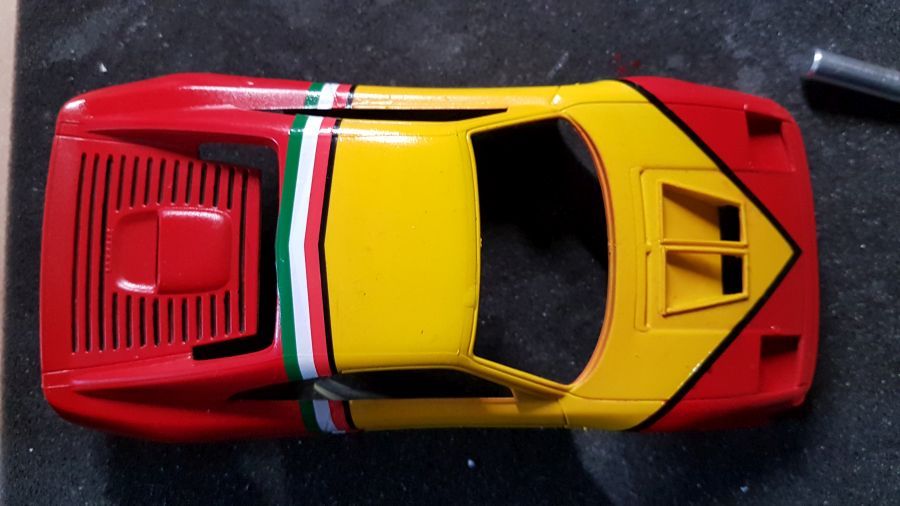
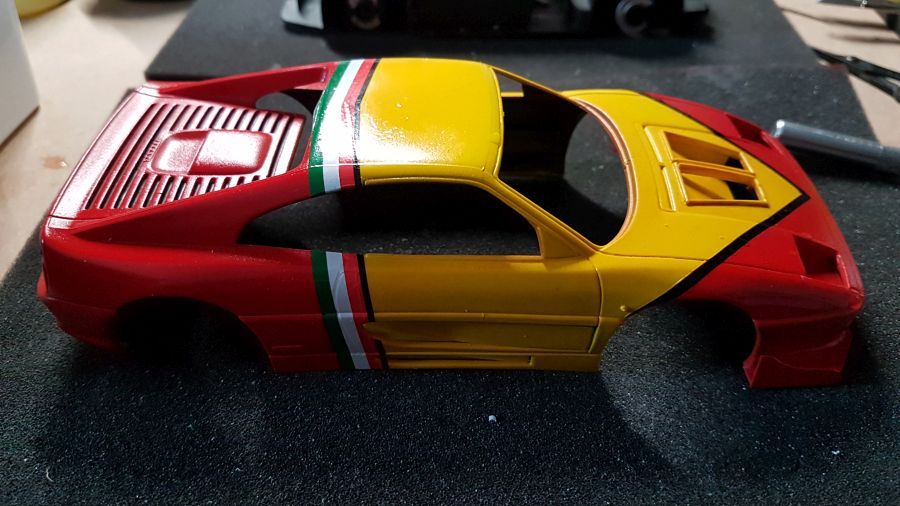
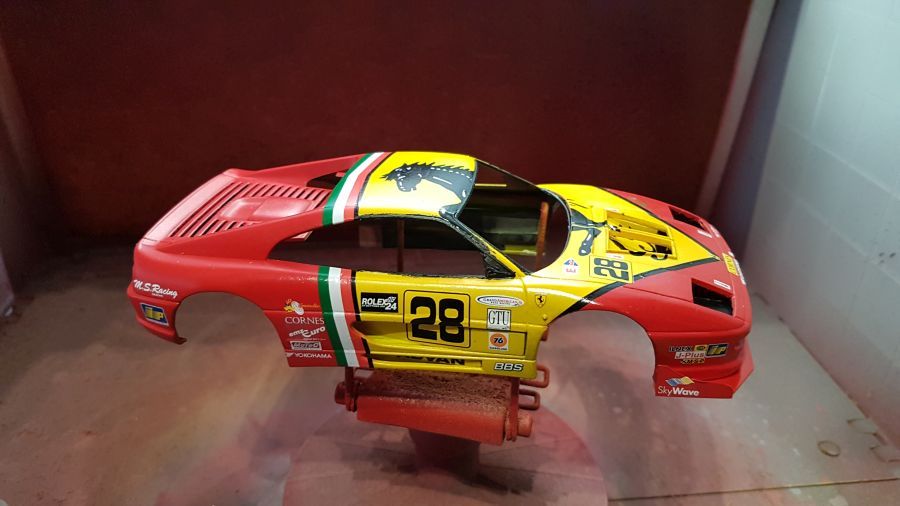
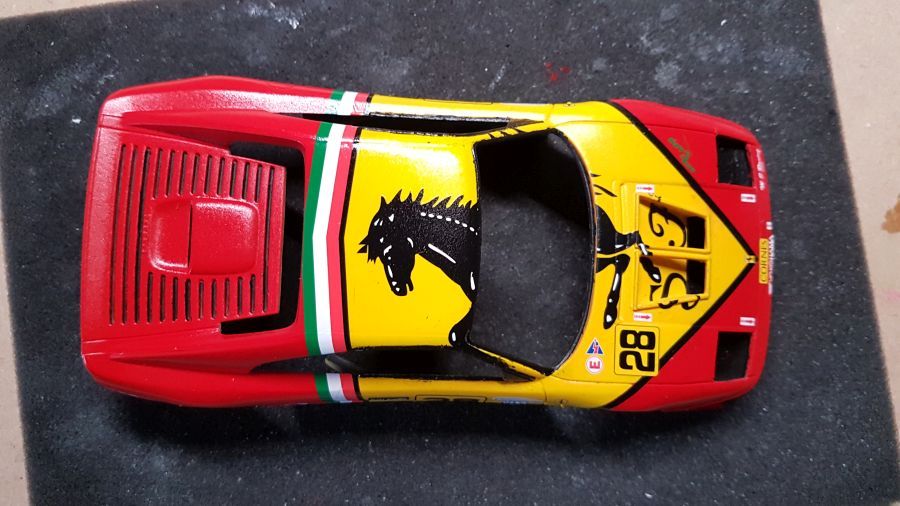
Dan de eerste decals. Gelukkig zijn mijn berekeningen goed.
Then the first decals. Luckily my math was correct.
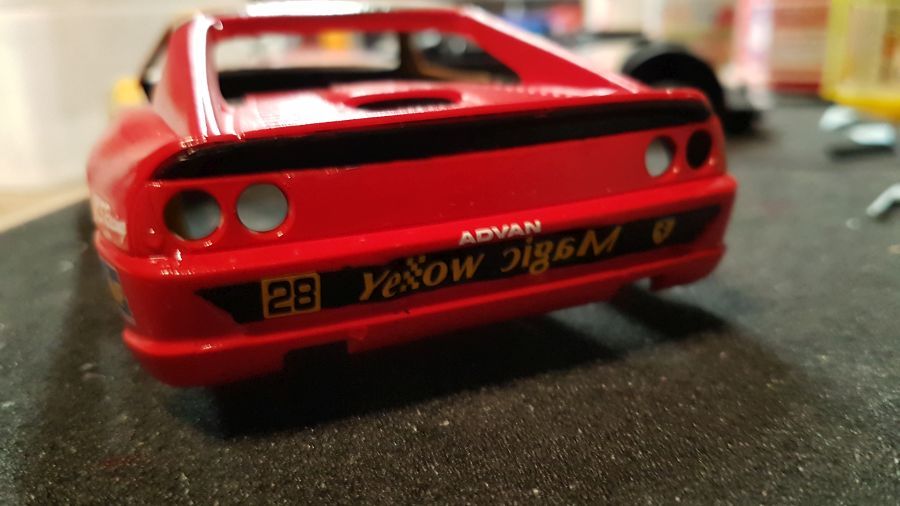
Erg lastige decals. Helaas hebben ze ook nog eens de neiging uit elkaar te vallen.
Very tough decals. Unfortunately they also tend to fall apart.
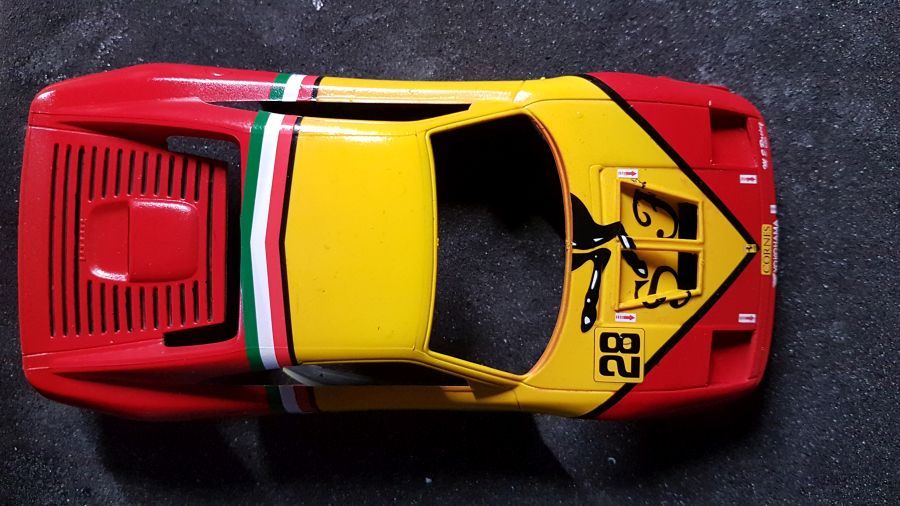


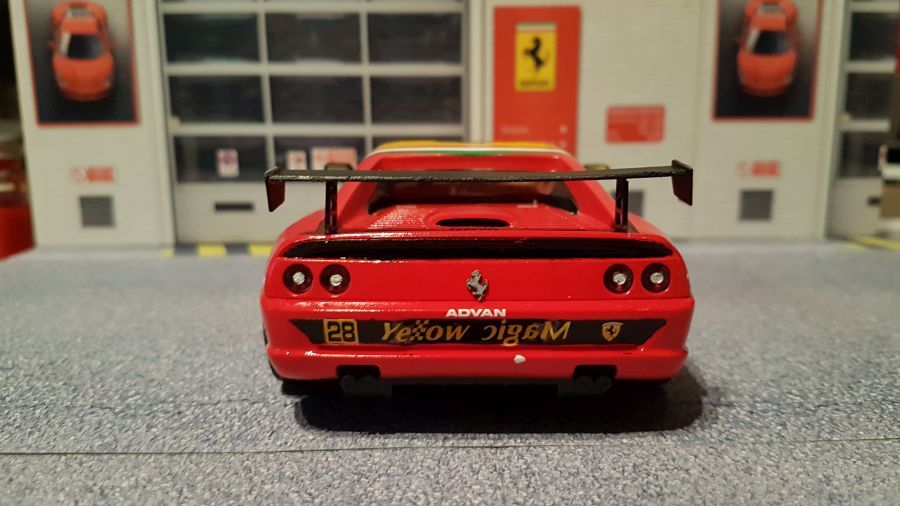
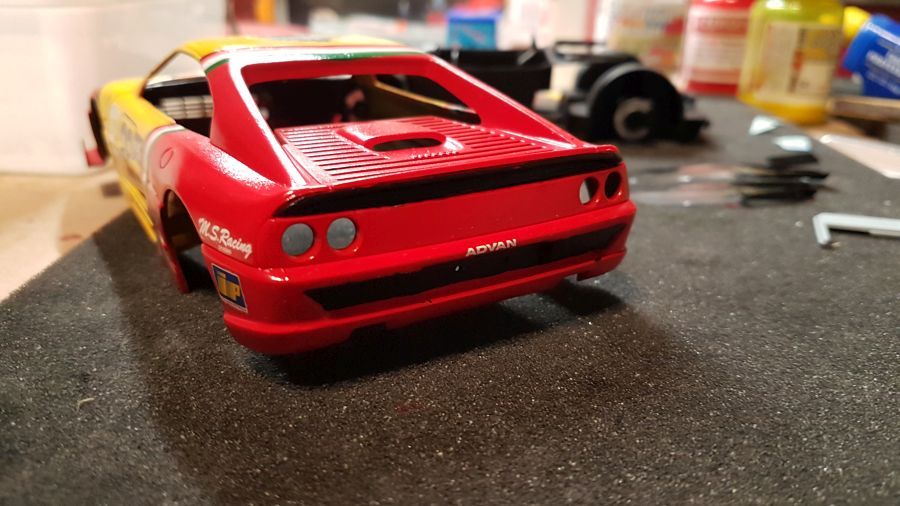
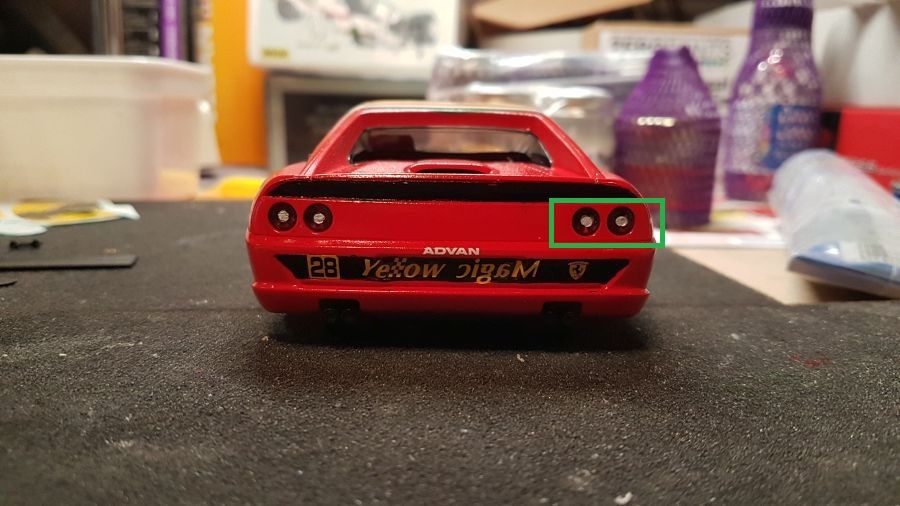
Helaas ben ik vergeten in een vroeg stadium naar de achterkant te kijken. Helaas is het nu te laat om nog iets te doen ter hoogte van de nummerplaat. Het moet maar zo.
Unfortunately i forgot to do some work on the backside at an early stage. It's too late now to work on the space where the number plate attaches. I will have to do.
Nu het meest lastige karwei, het spuiten van een laklaag. Ik hoop dat de decals het overleven.
Now the most tricky part, spraying the lacquer. Ik hope the decals will survive.
Alles is goed gegaan.... gelukkig.
All went well.... glad.
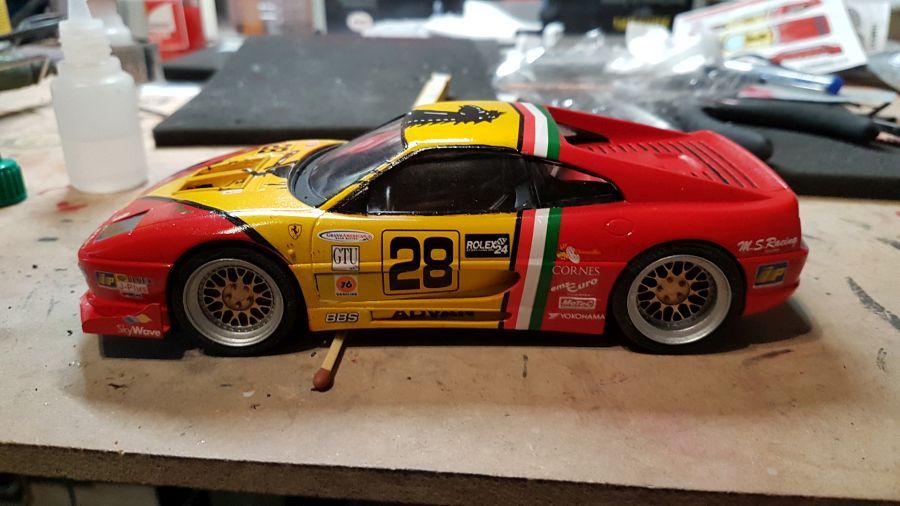
Het glas gaat erin en de body wordt op de vloer geplaatst.
The glass was added and teh body was mounted to the floor.
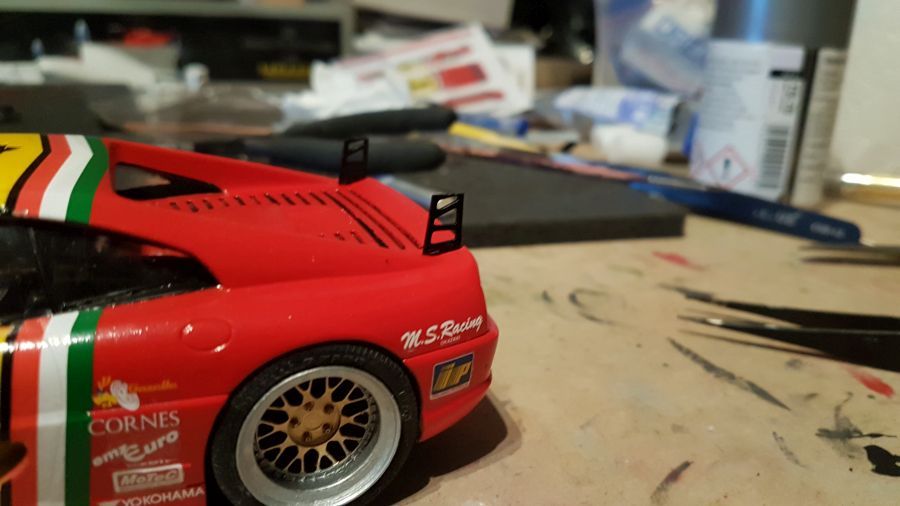
Verder met de vleugel....
To continue with the wing....
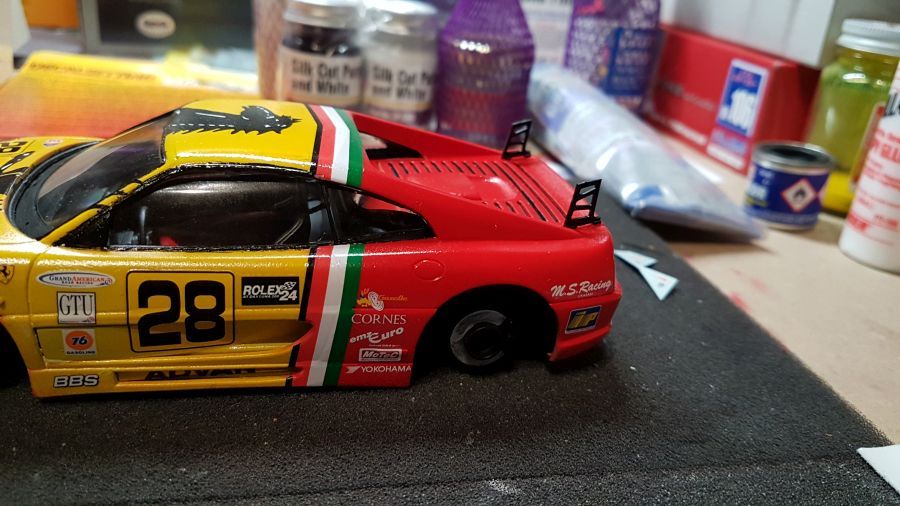
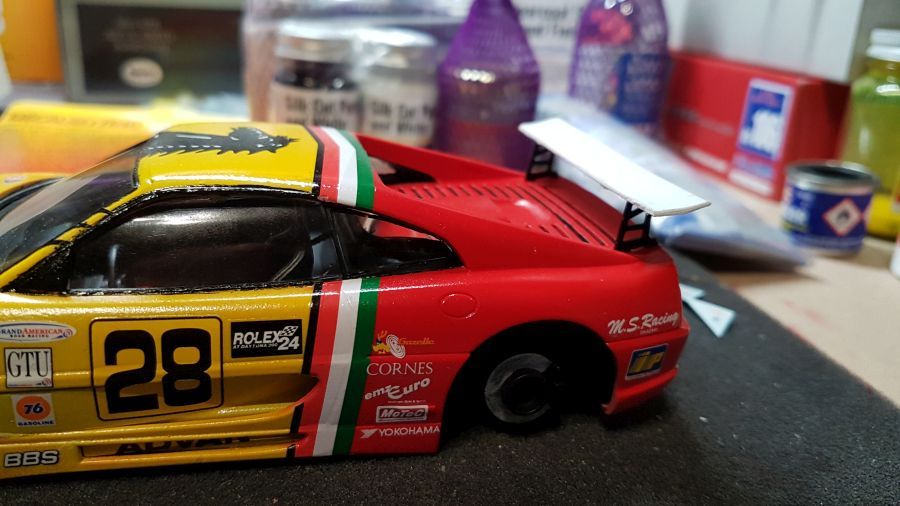
Ik heb de vleugelsteunen wat moeten aanpassen. Voordat ik dit monteer, wacht ik even op de nieuwe velgen. Misschien moet het model op zijn kop liggen.
I had to adjust the wing supports a bit. Before mounting this, i will wait for the new rims. Maybe the model needs to lay upside down.
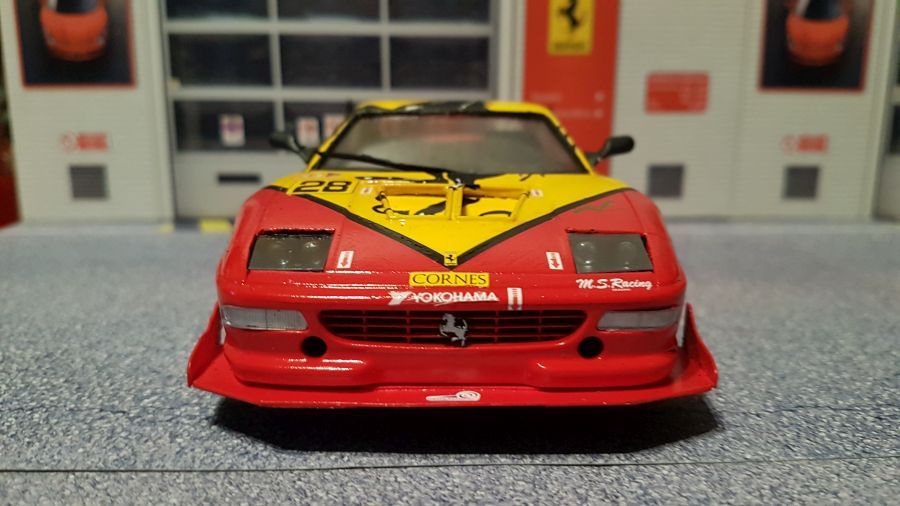
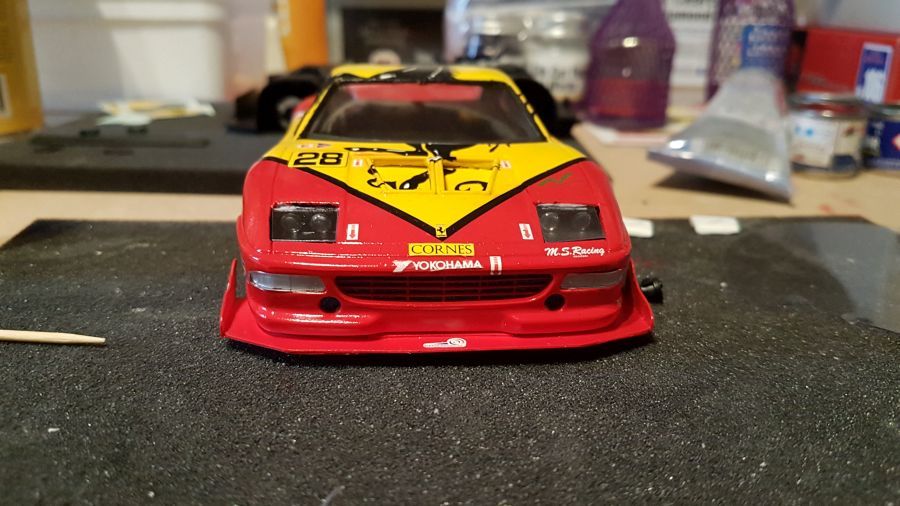
De koplamplenzen zijn geplaatst.
The head light lenses have been added.
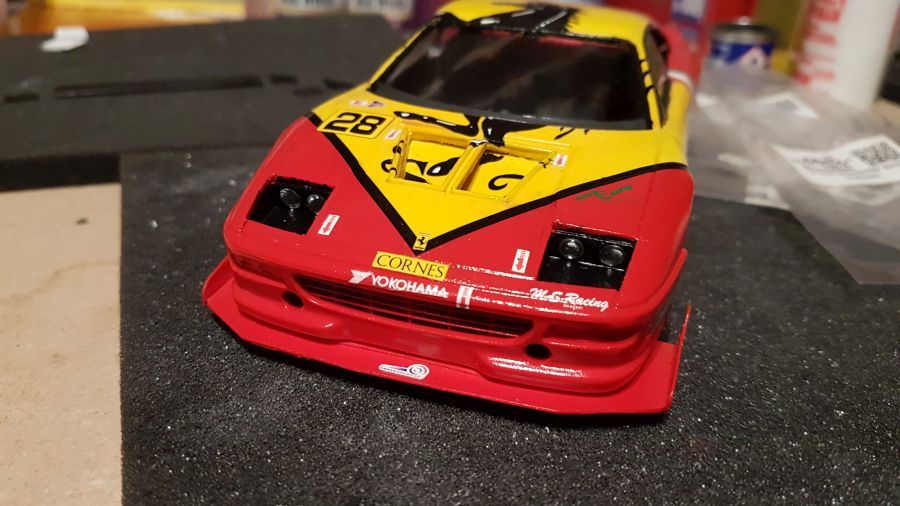
De lampen zijn geplaatst.
The lights have been added.
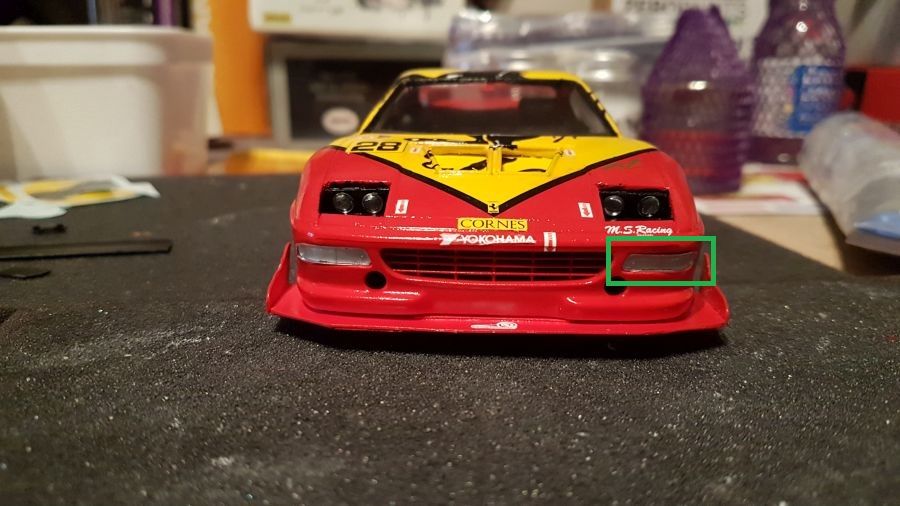
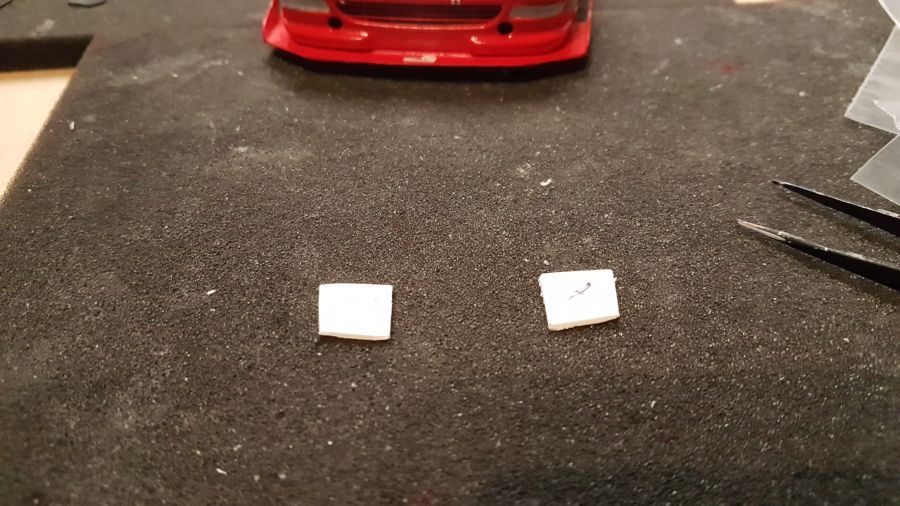
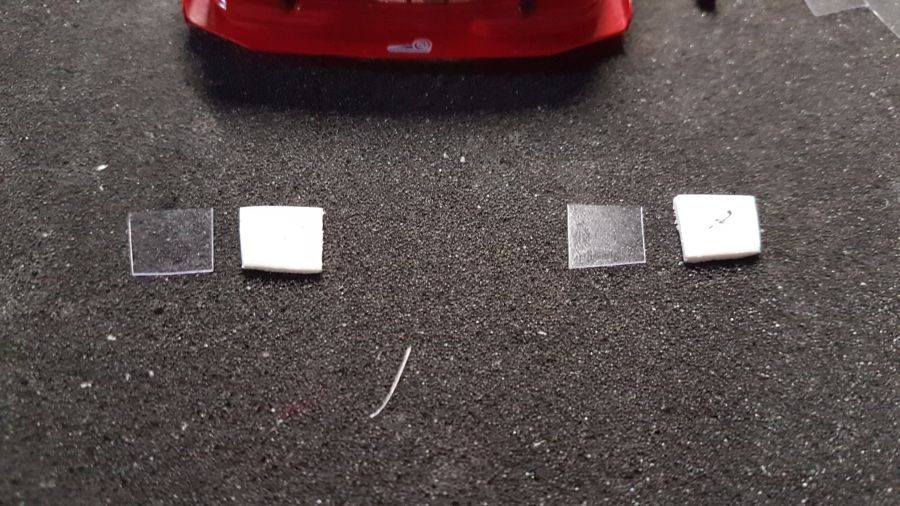
Voor het maken van de glassjes gebruik ik de uitgezaagde delen als mal.
To create the glass i will use the cut out parts as a template.
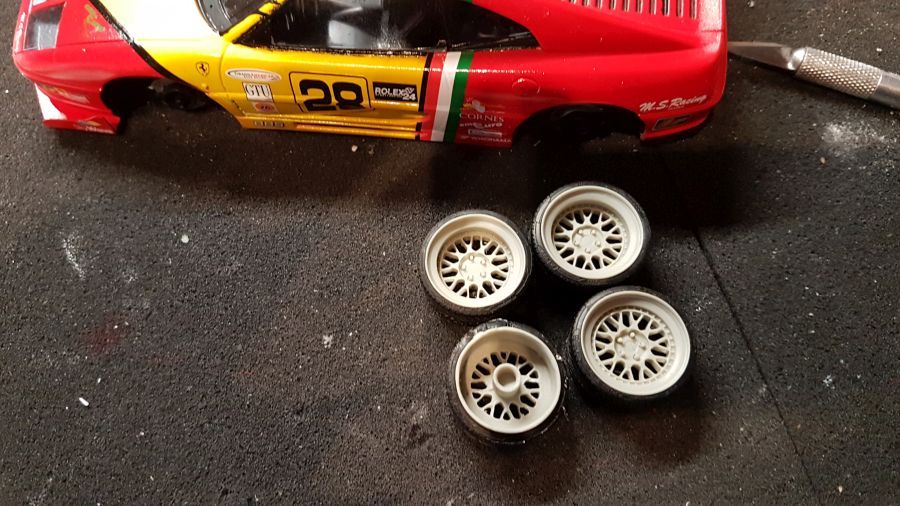
Eindelijk zijn de velgen binnen (Rotiform SJC RM031). Nu aanpassen opdat ze passen.
Finally the rims are in (Rotiform SJC RM031. Now make adjustments so they will fit.
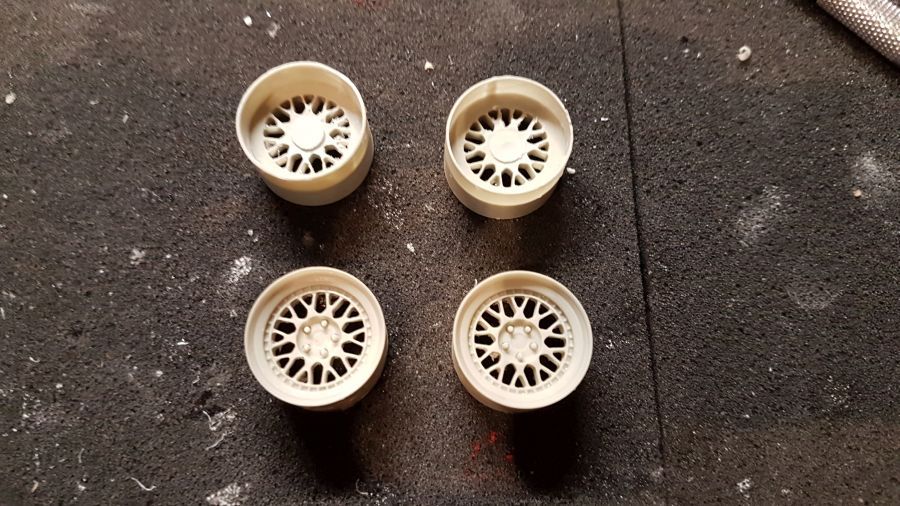
Ik moet de remschijven verwijderen om een en ander te laten passen.
I had to remove the break discs to make them fit.
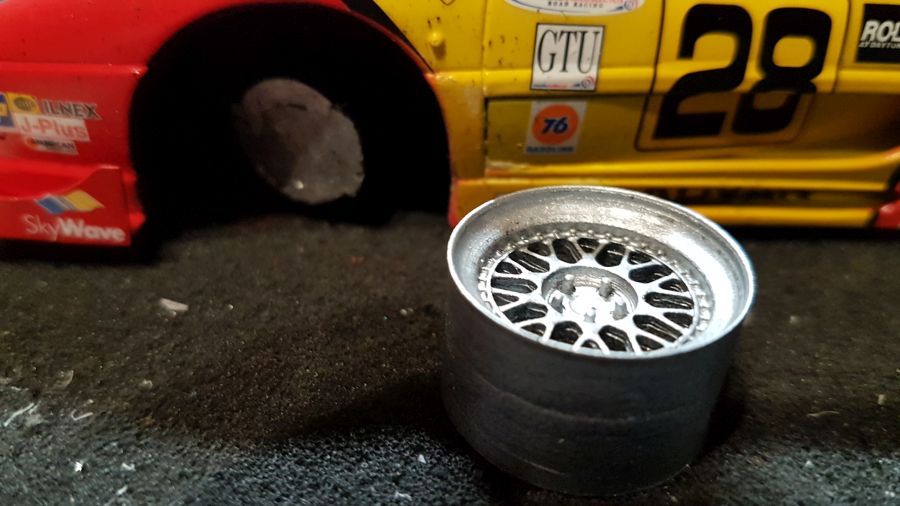
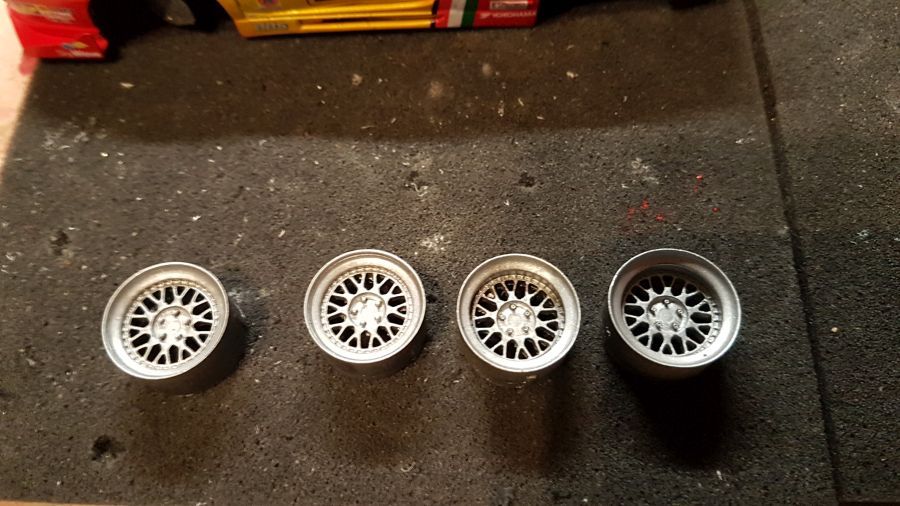
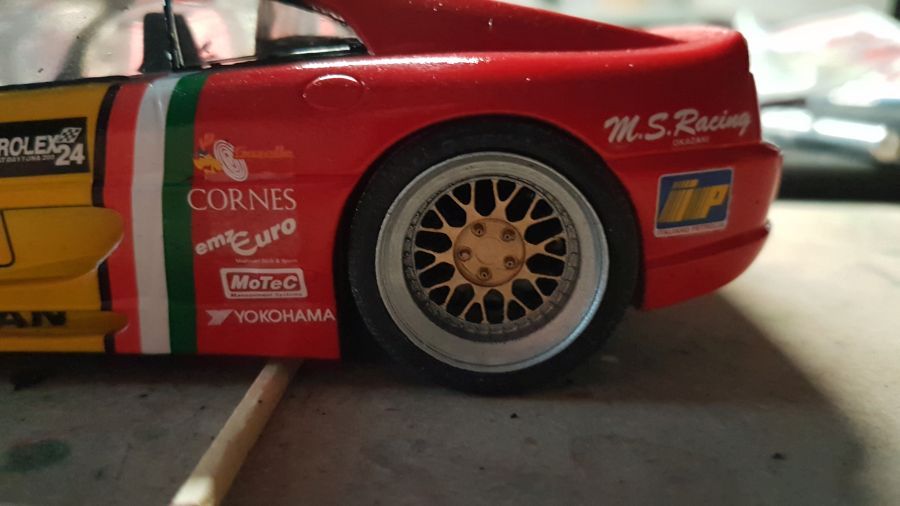
Met de originele banden die bij de velgen horen vind ik het niet mooi. De wielkasten worden niet mooi opgevuld.
With the original tires coming with the rims i am not amused. The fenders are not nicely filled.
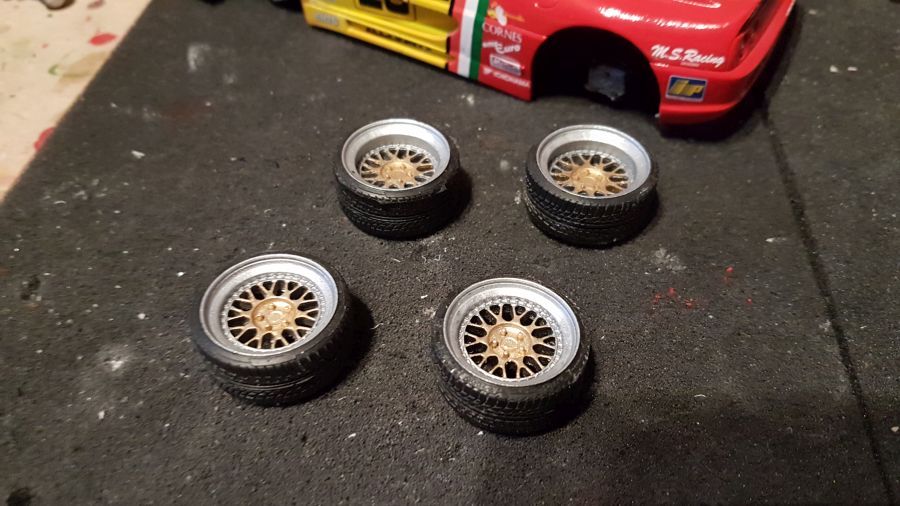
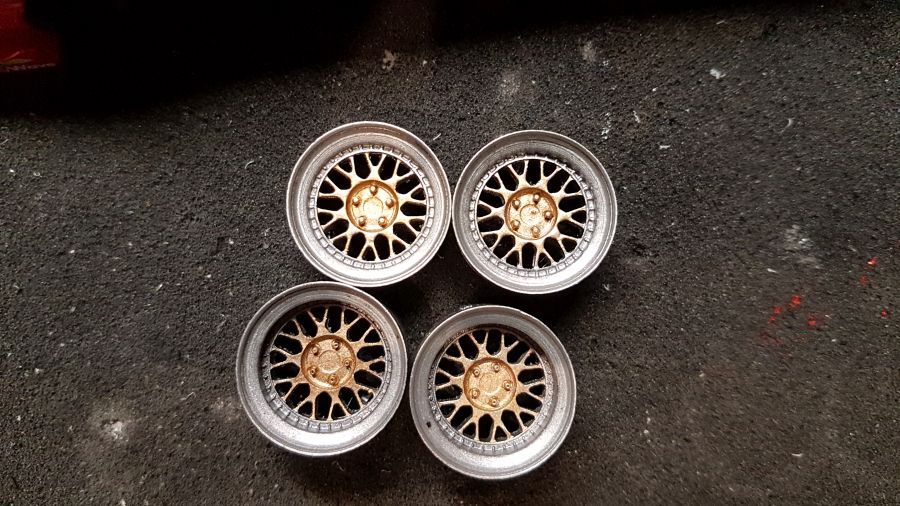
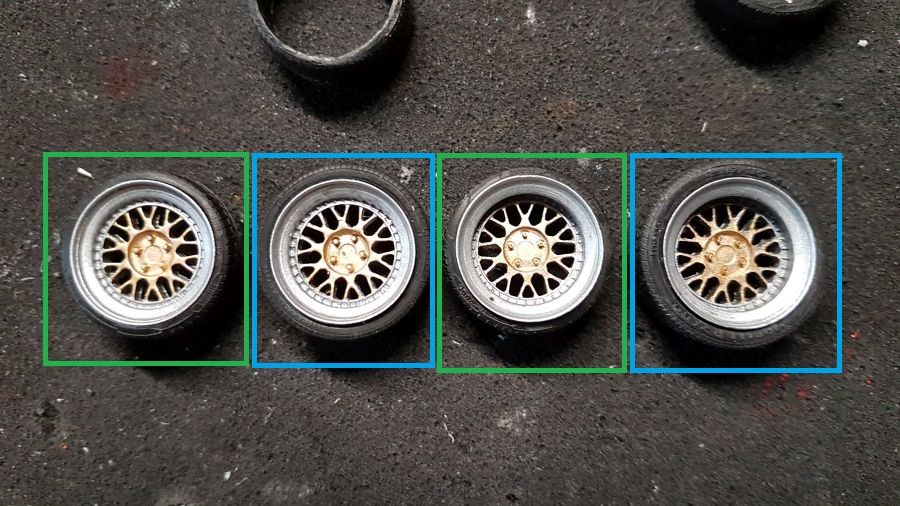
Dus ik ga de banden op de velgen vervangen door die van Fujimi. De groene is de band bij de velg, de blauwe de band van de Fujimi kit.
So i will change the tires by those of Fujimi. The green one is the tire of the rim, the blue one is the tire of the Fujimi kit.
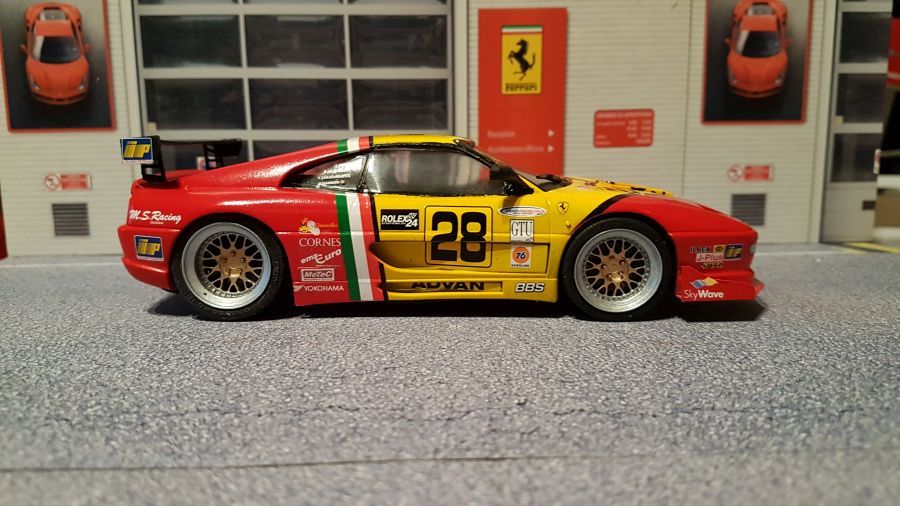
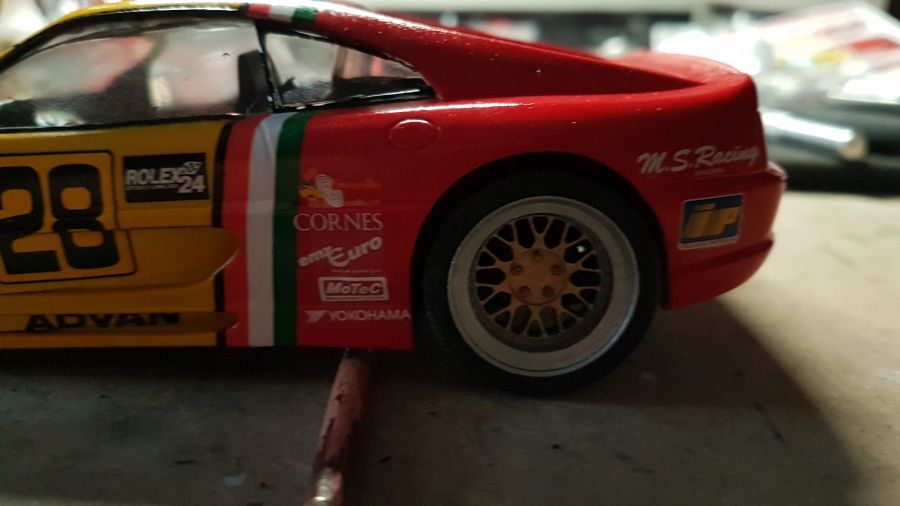
Dan de hoogte bepalen....
Then deciding about the height....
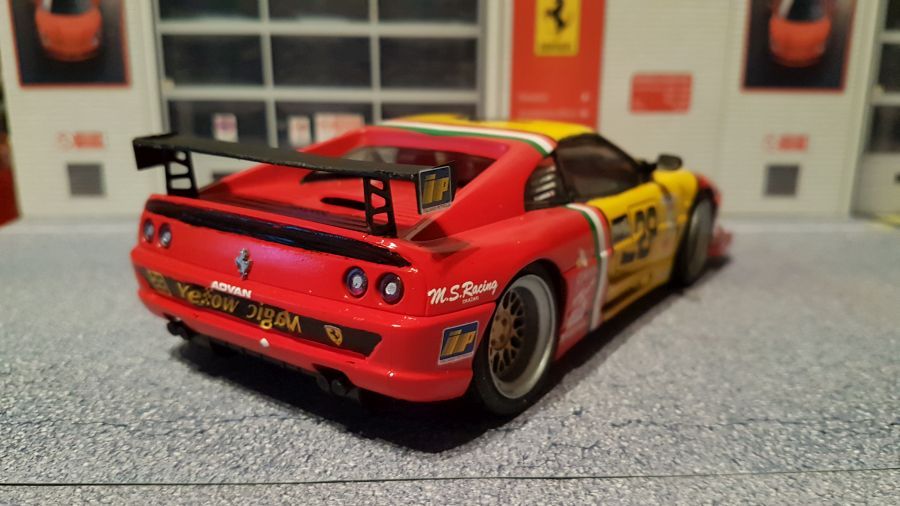
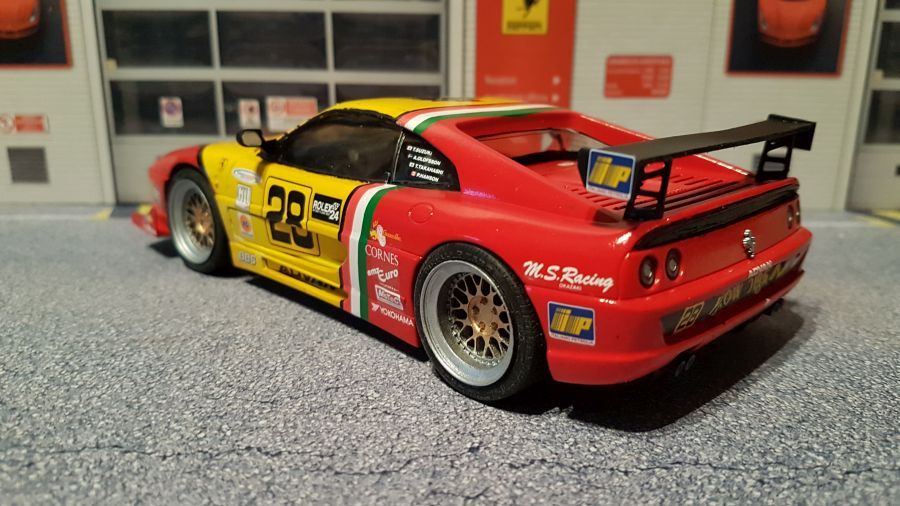
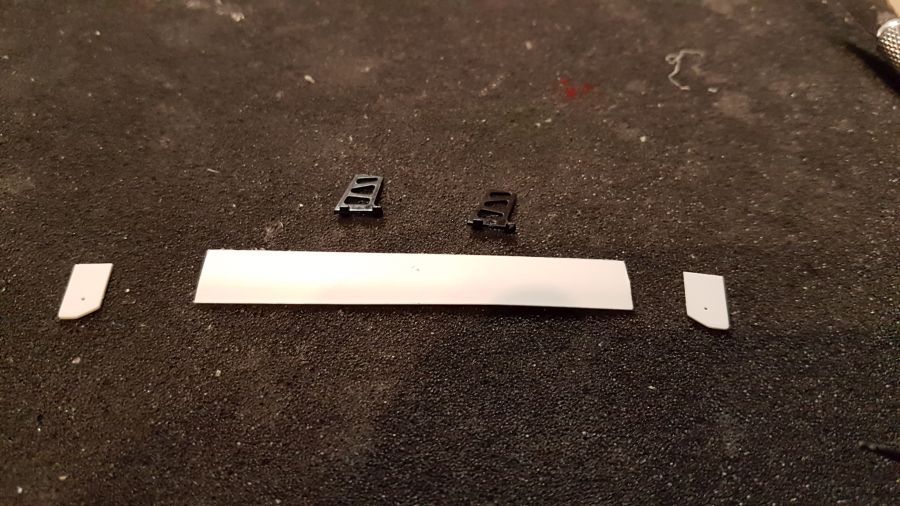
Tijd voor de achtervleugel en wat laatste kleine onderdelen.
Tome for the rear wing and some last small parts.
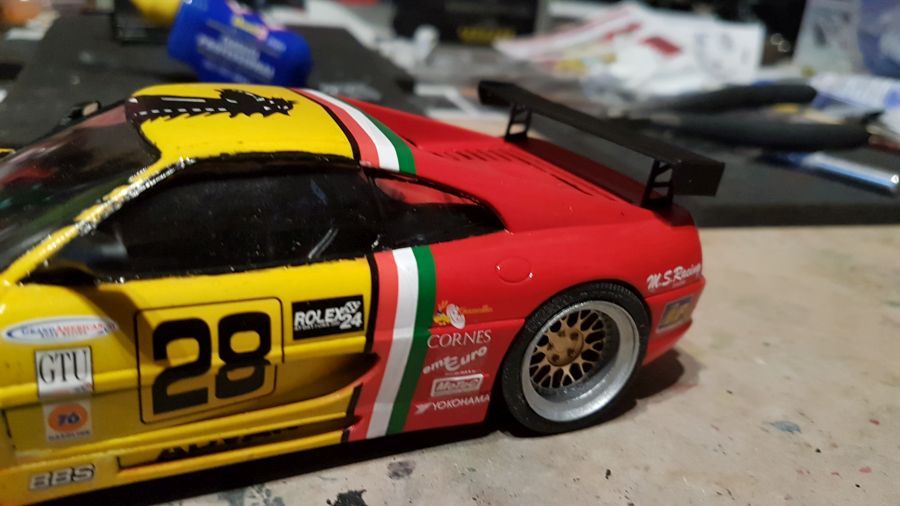
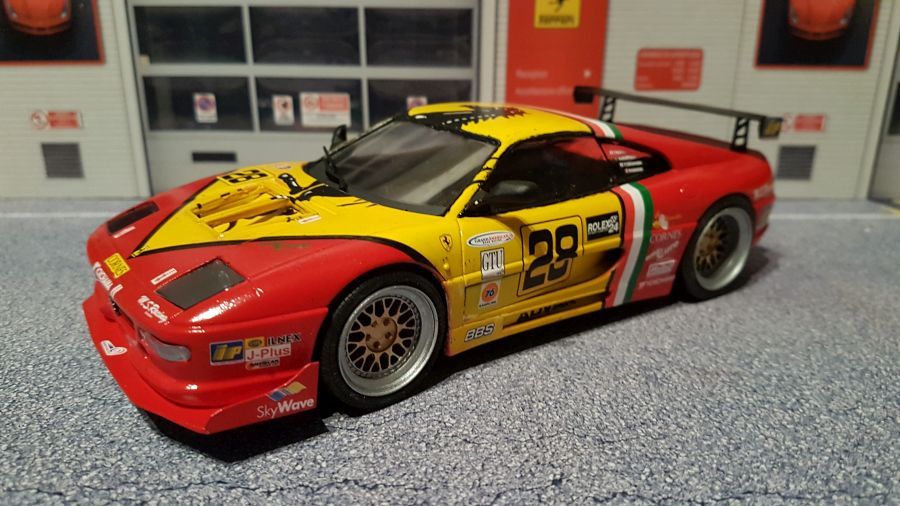
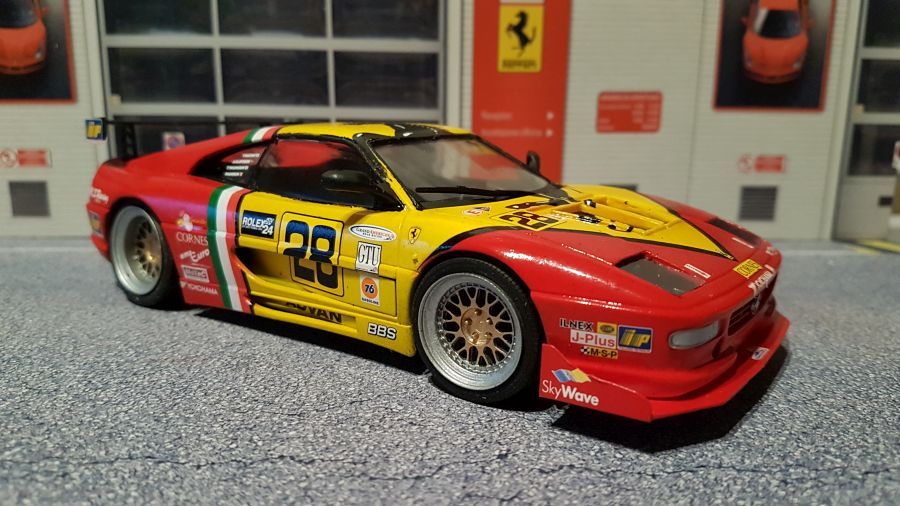
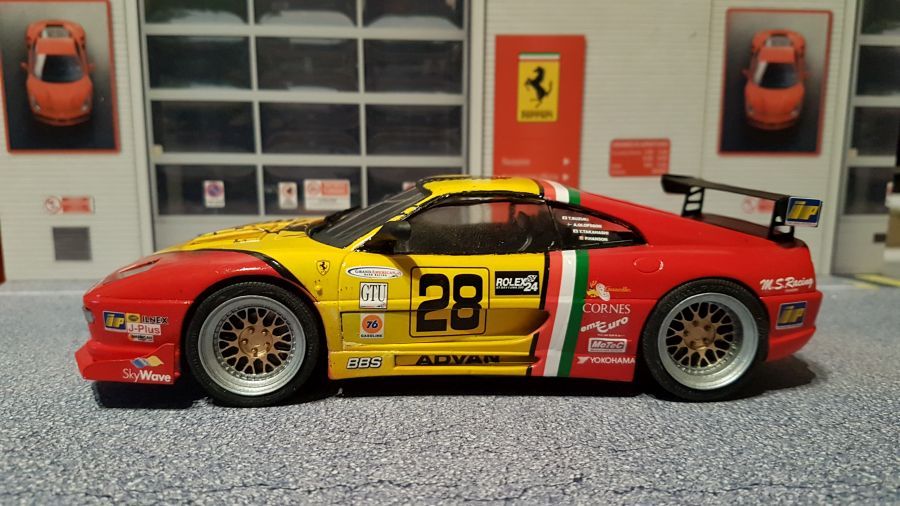
Op de valreep van het oude jaar 2018 klaar.
Ready at almost the end of the year 2018.