


Velen zullen dit als een 'lelijke eend' beschouwen. De Ferrari 212 'Uovo' (ei) van Scuderia Marzotti die de race Trento-Bondone heeft gewonnen. De aut werd bestuurd door Giulio Cabianca. Het is een schaal 1/24 kit van Tron (kitnr. P224) Als we het hebben over een lange neus op een Jaguar E-type, dan is deze een goede tweede. Voor mij een prachtig model om te hebben.
Many will consider this as an 'ugly duck'. The Ferrari 212 'Uovo' (egg) from Scuderia Marzotti that won te race Trento-Bondone. The car was driven by Giulio Cabianca. It's a scale 1/24 kit from Tron (kitno. P224). When we're talking about a long nose on a Jaguar E-type, then this one has a good second place on the list. To me a beautiful model to own.


Eerst wat flash en gietpunten bijwerken.
Removing some flash and excessive resin.


Klaarmaken voor de verf. Ik ben wat langzaam in verband met het werken aan treinen.
Getting it ready for the paint. I'm a bit slow because i'm working on trains.


Verder met de vloer-interieur. De 'glaasjes' van de meters maak ik met UV-glue.
On to the floor-interior. The 'glass' on the gauges are made with UV-glue.


Door naar het glas.
On to the glass.


Op zijn wielen.
On it's wheels.


Weer 1 op de plank.
Another 1 to the shelff.


Een eenvoudige kit, Eigenlijk niets bijzonders te melden.
A quite simple kit. Nothing special to report.


De volgende in de rij is de 1970 Ferrari 512P #76 CanAm versie, zoals gereden op het circuit Riverside door Jim Adams. De bouw betreft de Fein Design Modell kit. Omdat dit een slot car kit is gebruik ik onderdelen van een Ferrari 612 CanAm kit van Völkl Model Cars. Eerst de inhoud van de FDM kit.
Next in line is the 1970 Ferrari 512P #76 CanAm version, as driven at the Riverside by Jim Adams. The build is a Fein Design Modell kit. As this is a slot car kit i will use parts from a Ferrari 612 kit from Völkl Model Cars. First of all the content of the FDM kit.


Dan de Völkl kit.
Then the Völkl kit.


De bodemplaat lijkt aardig te passen. De assen lijken op de juiste plaats te zitten.
The floor looks to fit quite nice. The axles appear to be at the correct position.

De hoogte niet helemaal.
The height not quite.

Oplossing: óf in de body zagen, óf de motor wat afvlakken.
Solution: either cut the body, or grind the engine a bit.


Sluit mooi aan.
Connects great.

Wat overbodig resin afslijpen.
Cutting some excess resin.

Rooster plaatsen.
Adding louvres.

Verf tijd en dan decals.
Painting time and then decals.


De stoelen van de FDM-kit zijn passend geknipt.
The seats of the FDM-kit are cut to fit.


De koeling plaatsen.
Adding the cooler.


Kiezen tussen de wielen. En de hoogte aanpassen.
To choose the wheels. And adjusting the height.


Dan de gordels.
Next are the belts.


Dan kan de body geplaatst.
Then the body can be mounted.

Wat etched, spiegel en rolbeugel bevestigd.
Added some etched, the mirror and the head roll.

De kunst van het glas knippen.
The art of cutting the glass.


Na de laatste werkzaamheden, beschouw ik deze als gedaan.
After the last activities, i consider this one as done.


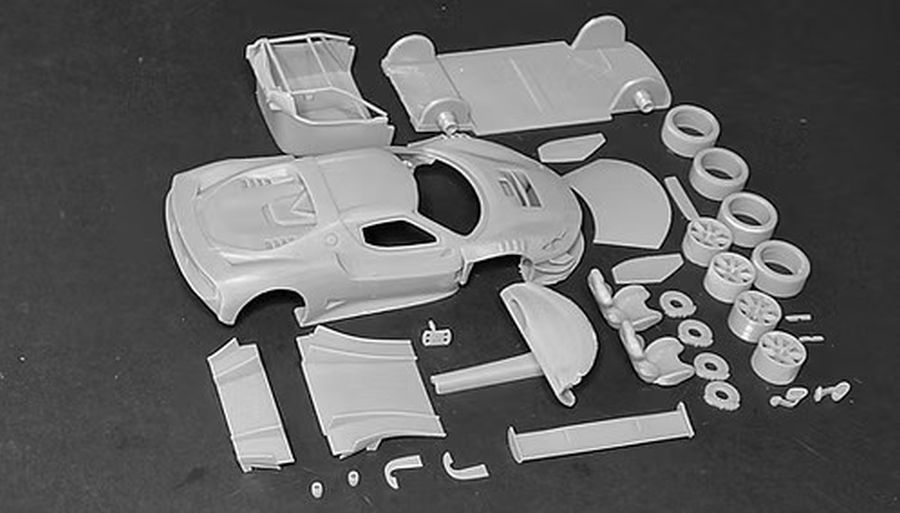
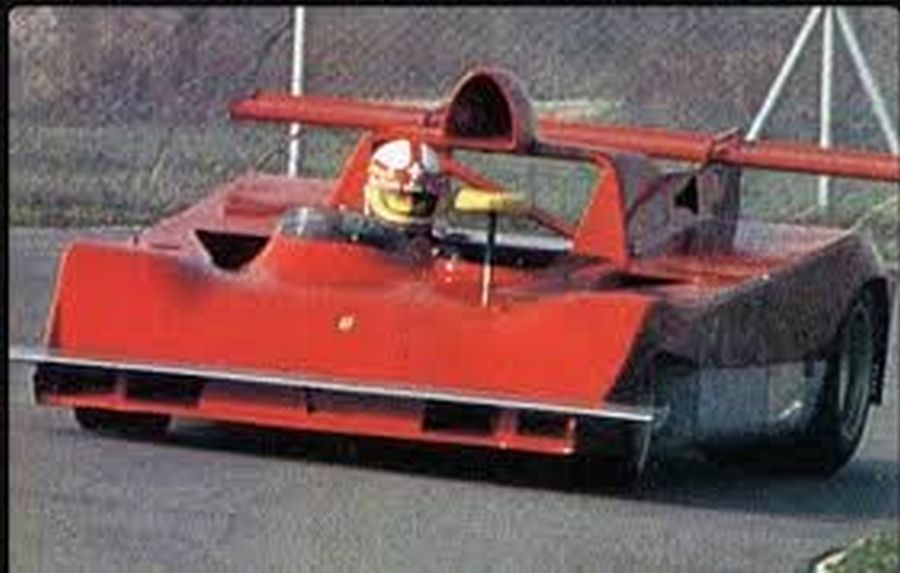
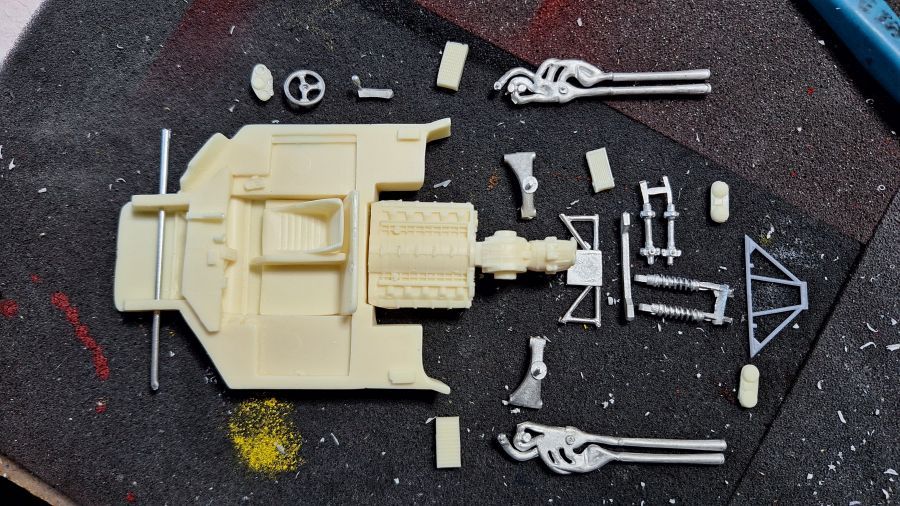
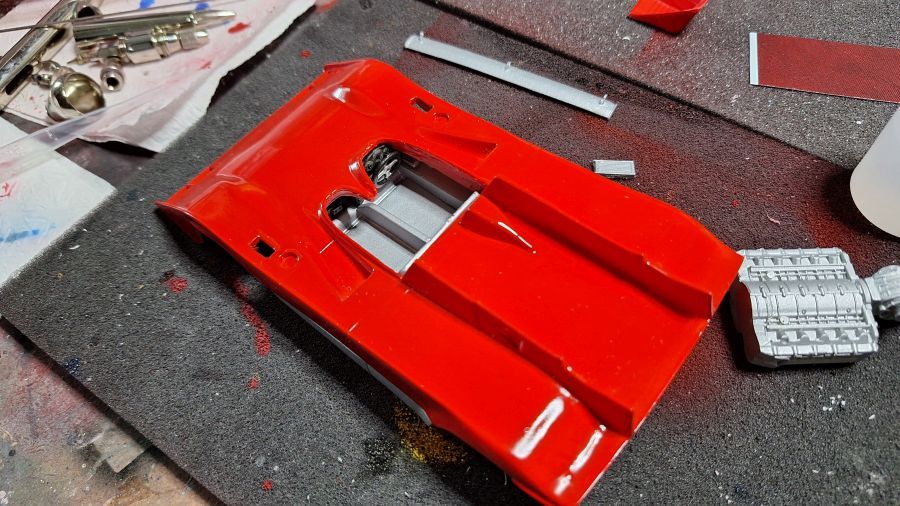
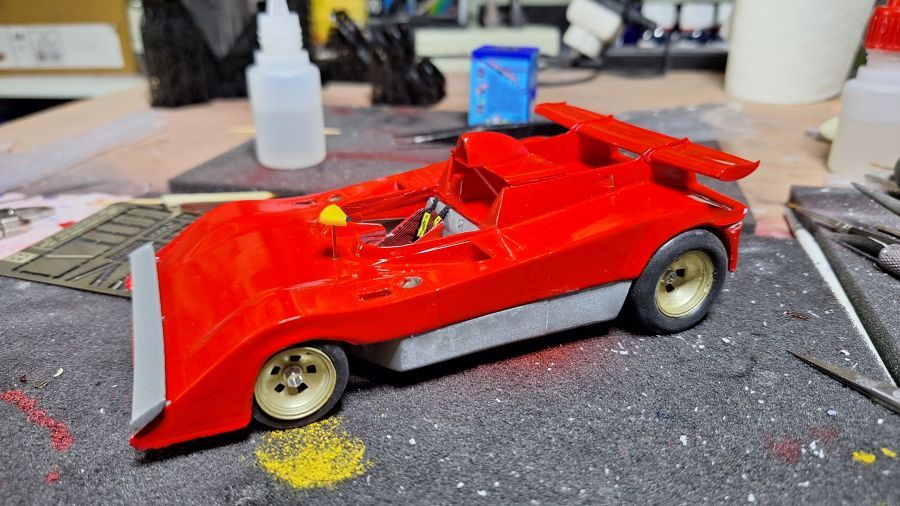
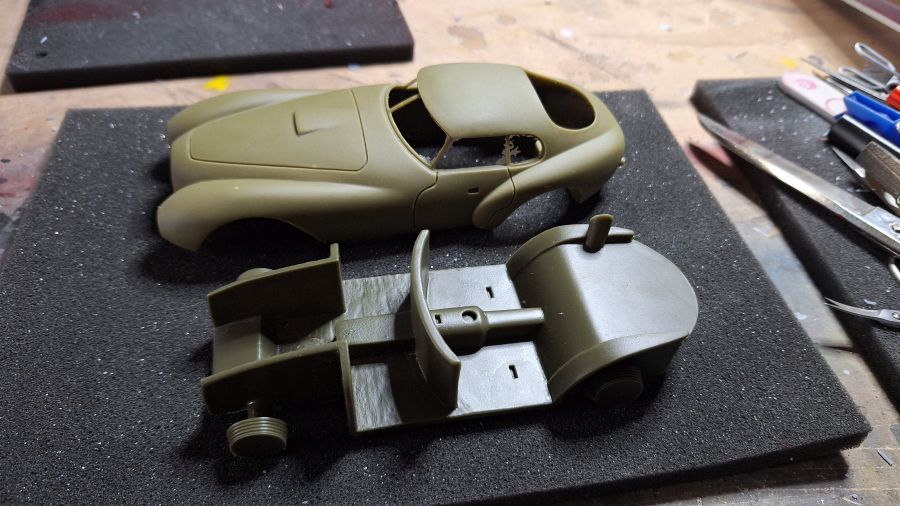
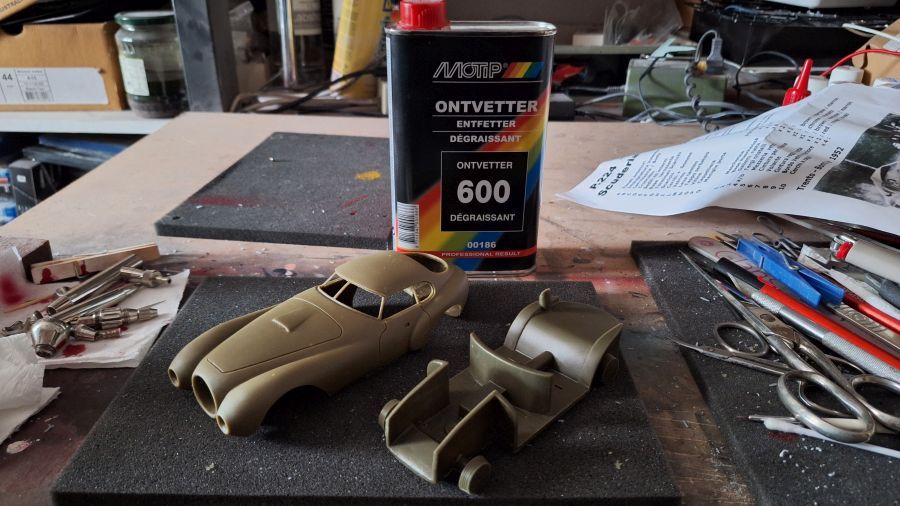
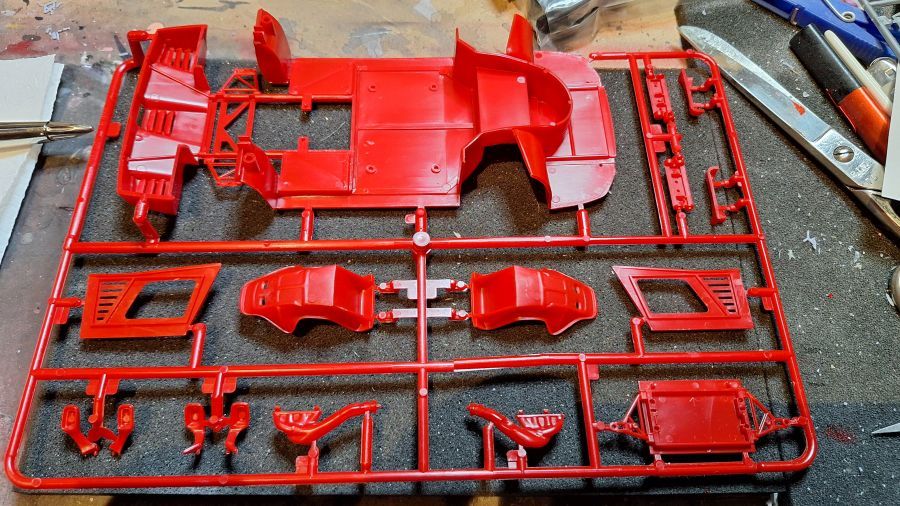
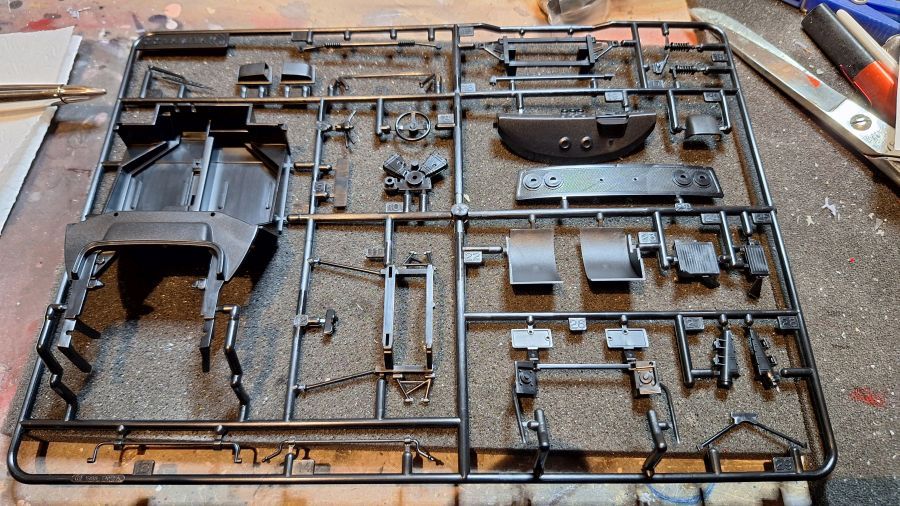
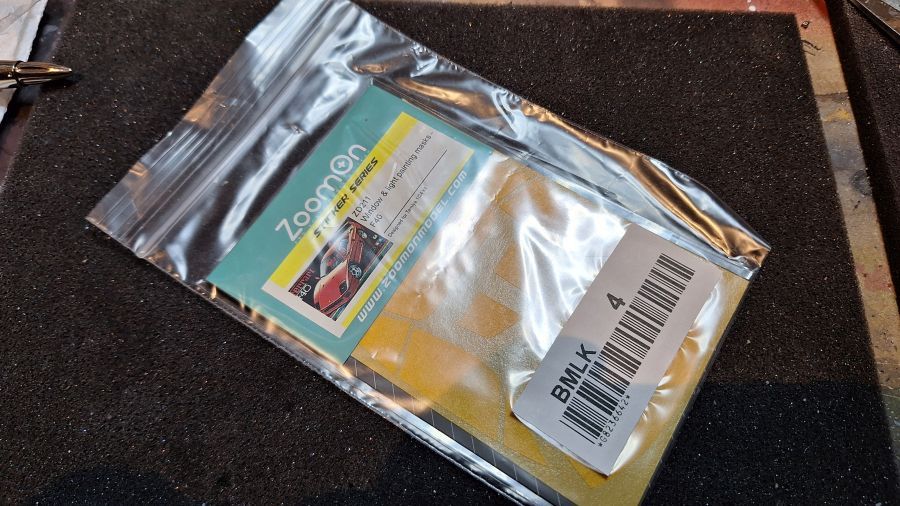
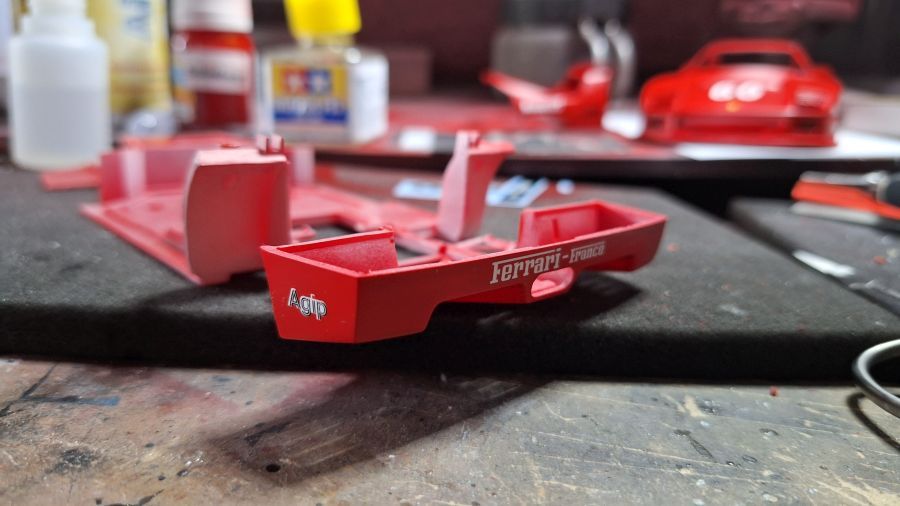
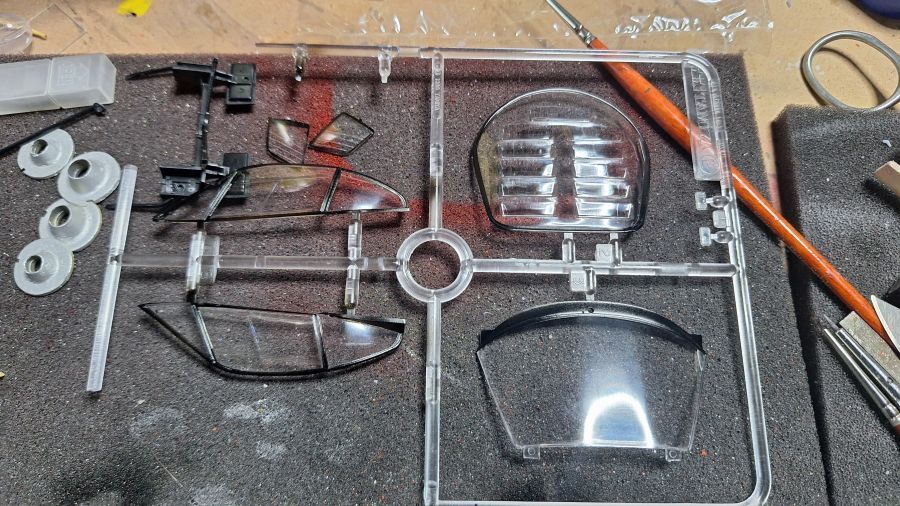
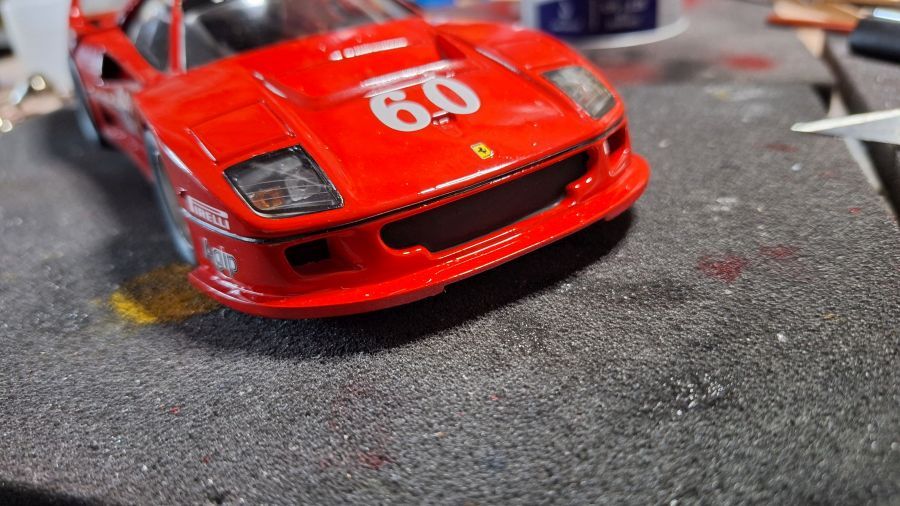
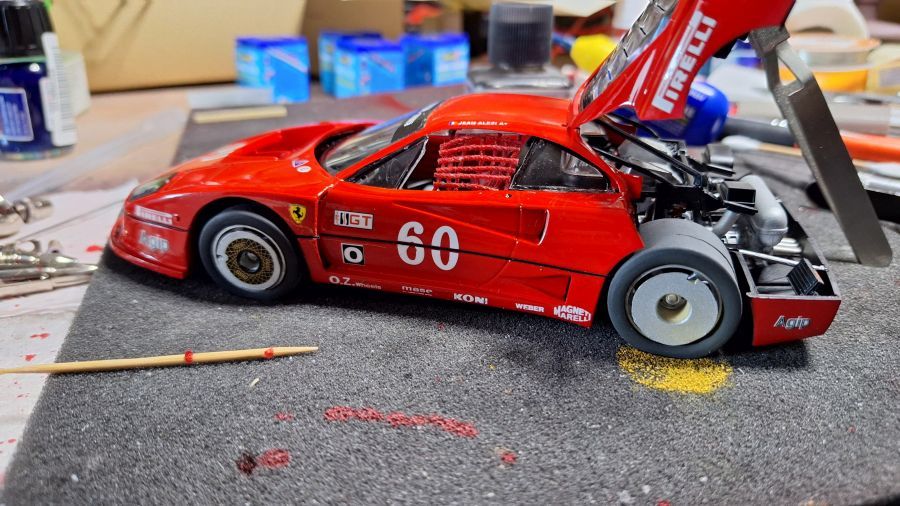
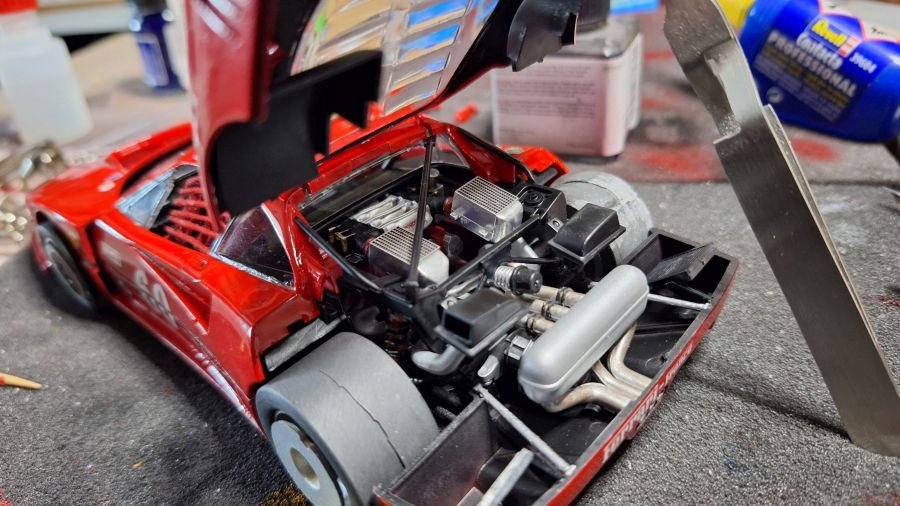
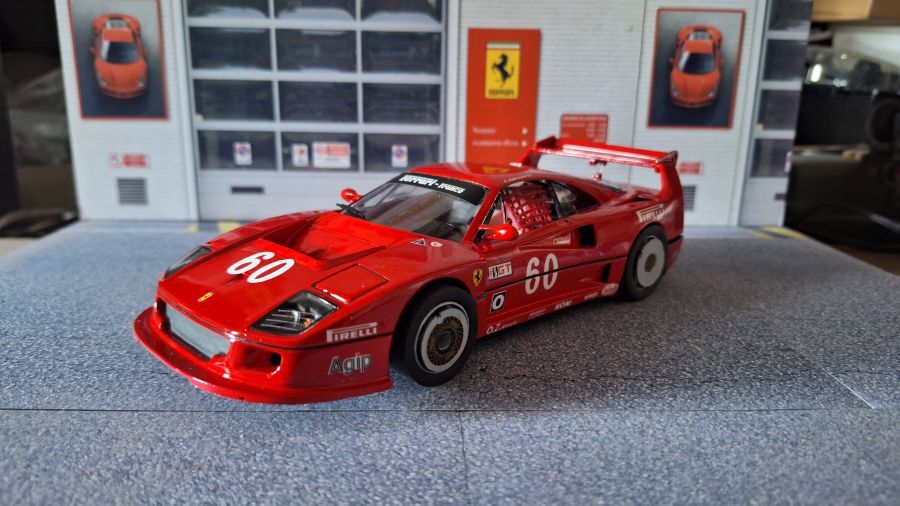
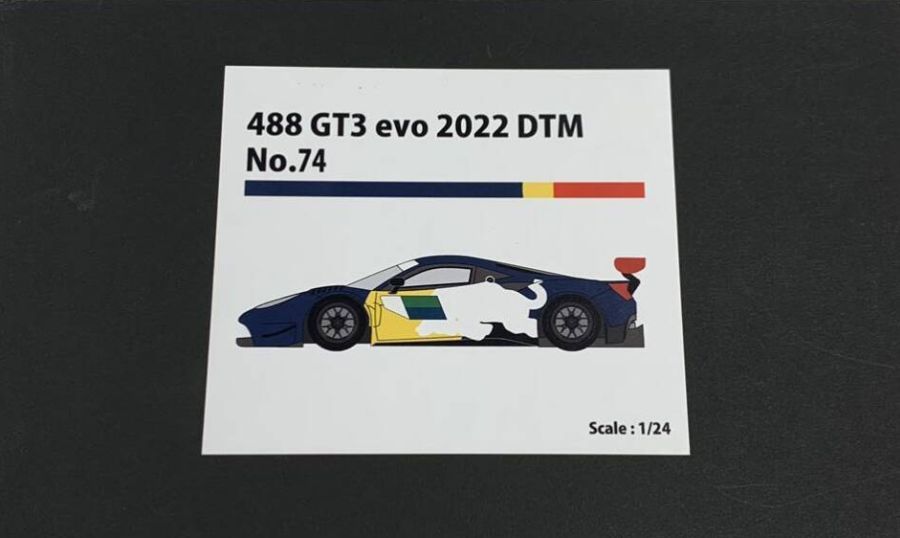
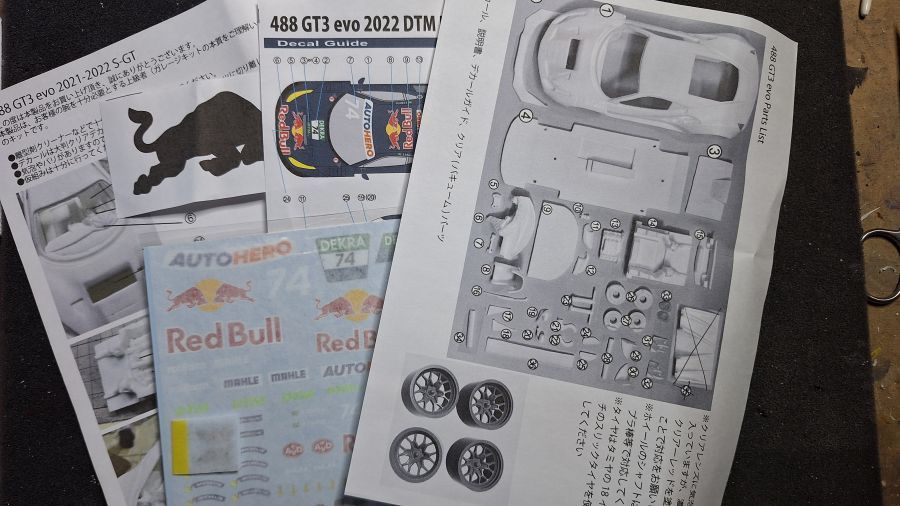
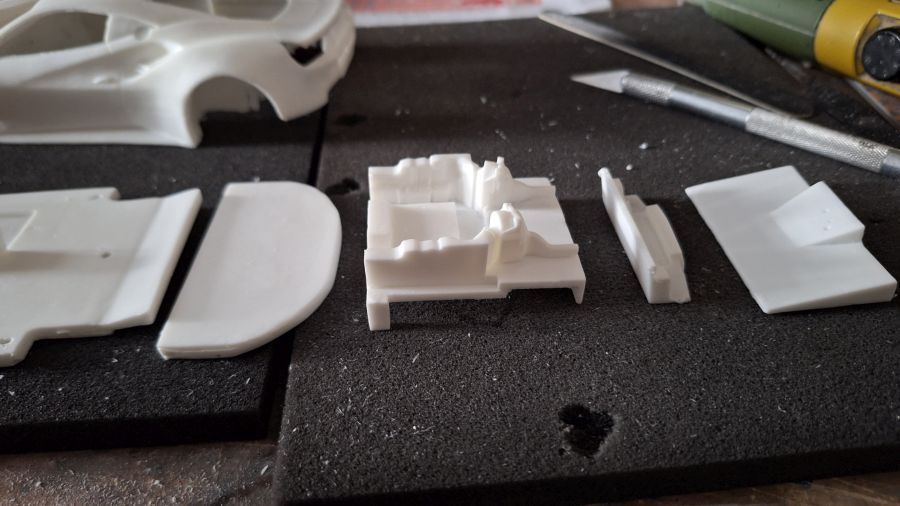
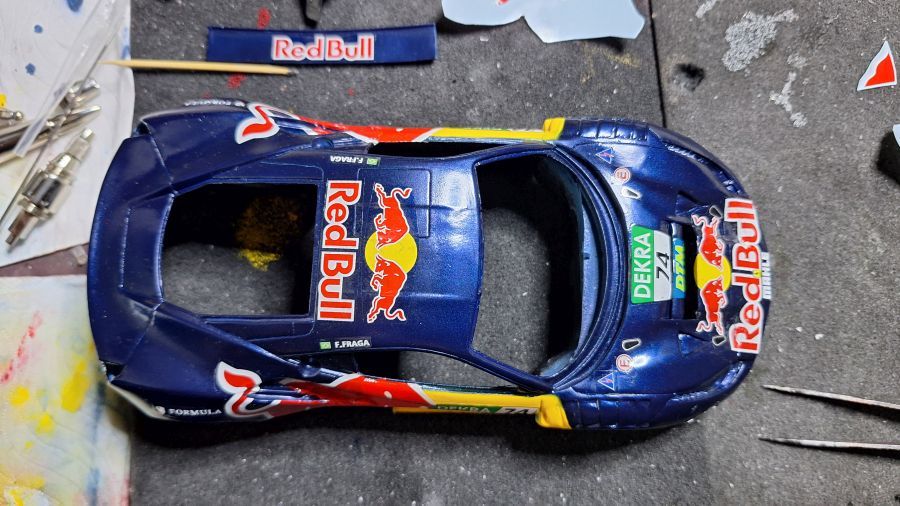
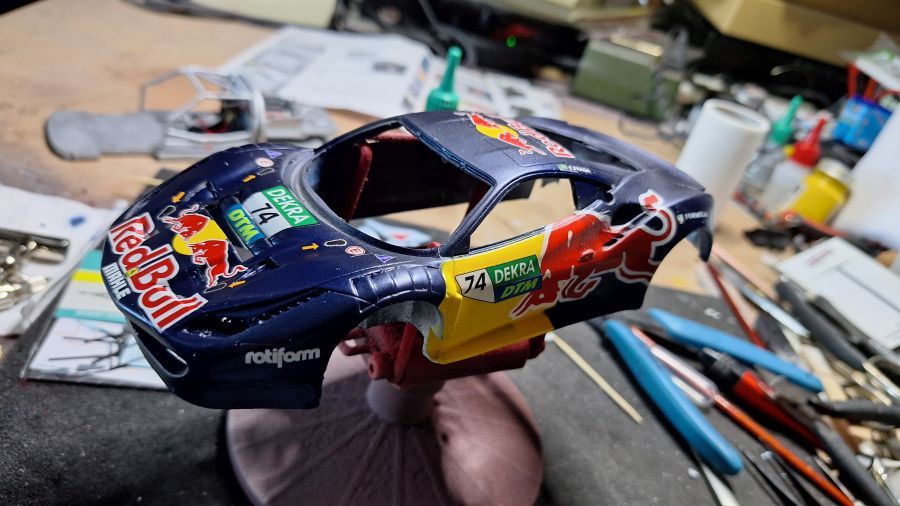
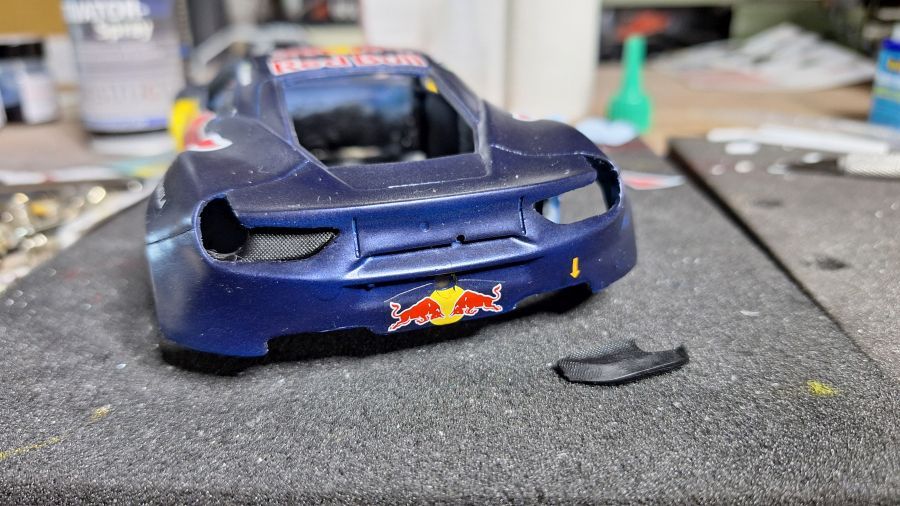
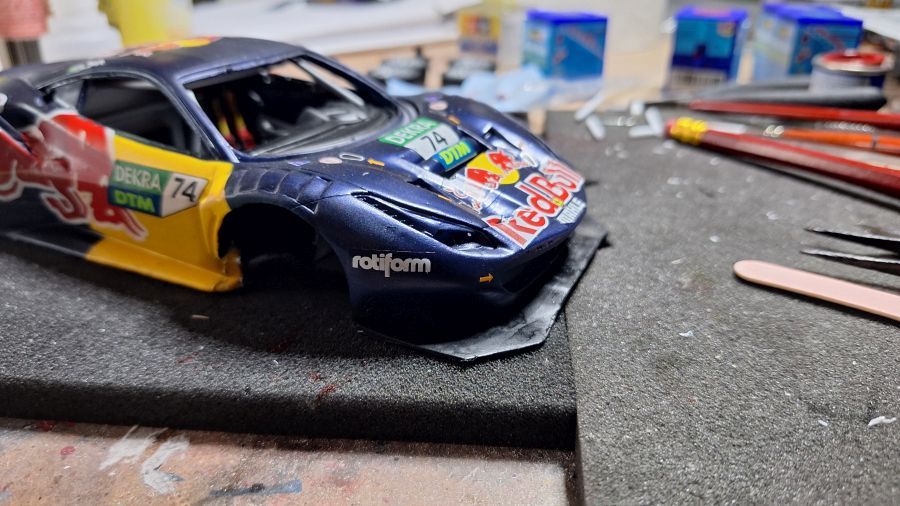
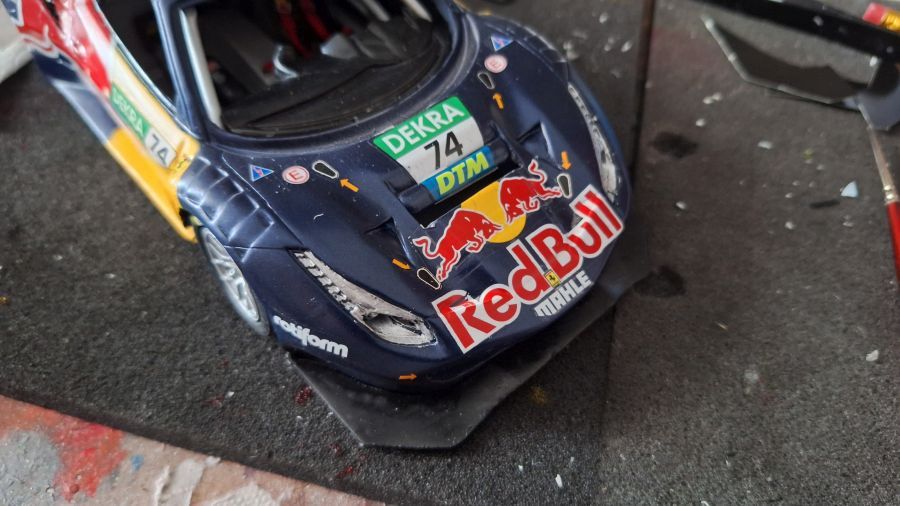
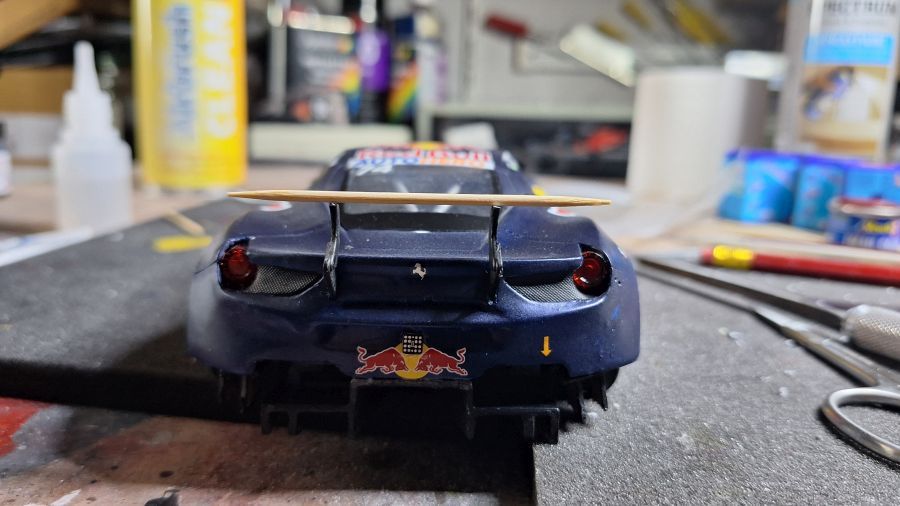
Ik vind het weer tijd voor een nieuwer type. Daarom deze Ferrari 488 GT3 EVO #74 zoals gereden door Felipe Fraga in de DTM klasse van 2022. De auto is van het team AF Corse Red Bull Alpha Tauri. Het is een kit van CGM. Voor mij tot nu toe een onbekend merk. We gaan het zien. Dit was een dure kit, vergelijkbaar met MFH, maar de kwaliteit valt me wat tegen. En voor dat geld geen etched, geen banden en een erg summier interieur. Dat wordt veel in de rommeldoos zoeken.
To me time for a newer type of car. Therefor this Ferrari 488 GT3 EVO #74 as driven by Felipe Frage during the DTM class of 2022. The car is from Team AF Corse Red Bull Alpha Tauri. It's a kit from CGM. To me an unknown brand until now. Let's see. This was an expensive kit, likewise MFH, but the quality is not what i expected. And for that kind of money no etched, no tires and a very simple interior. That needs a lot of searching in the scrap box.


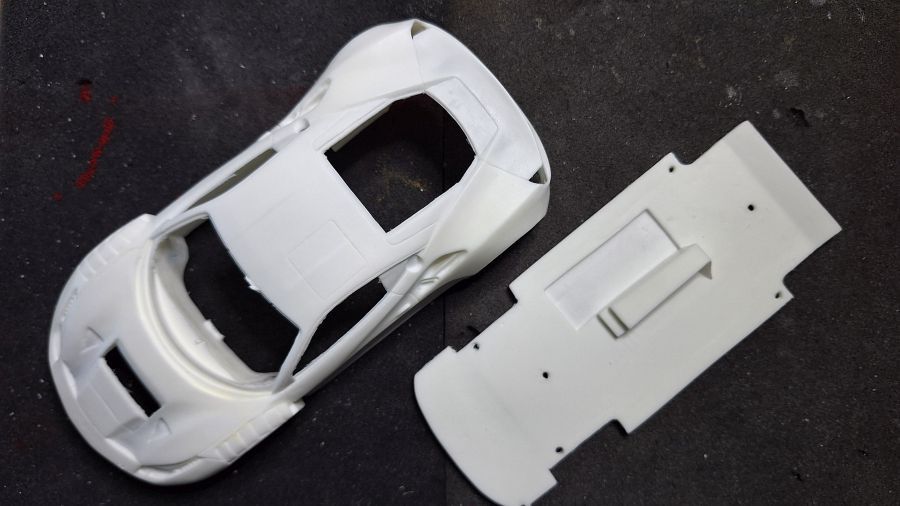
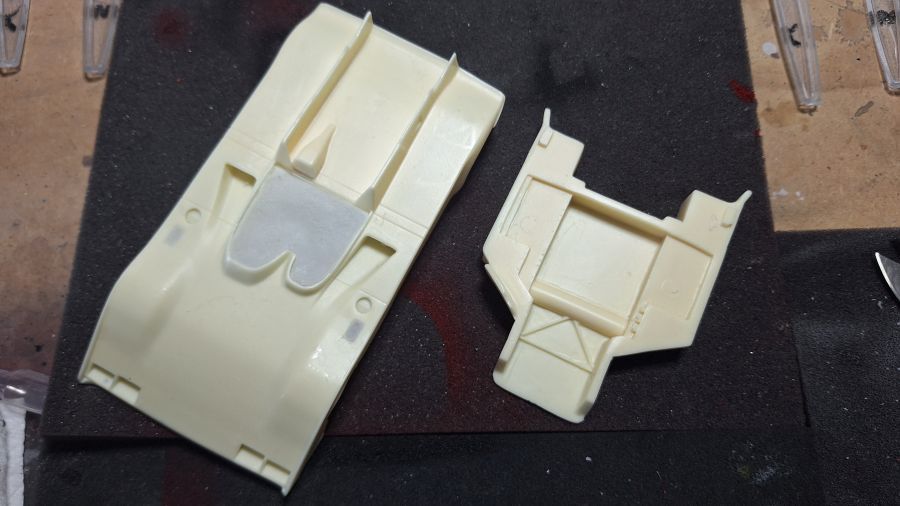
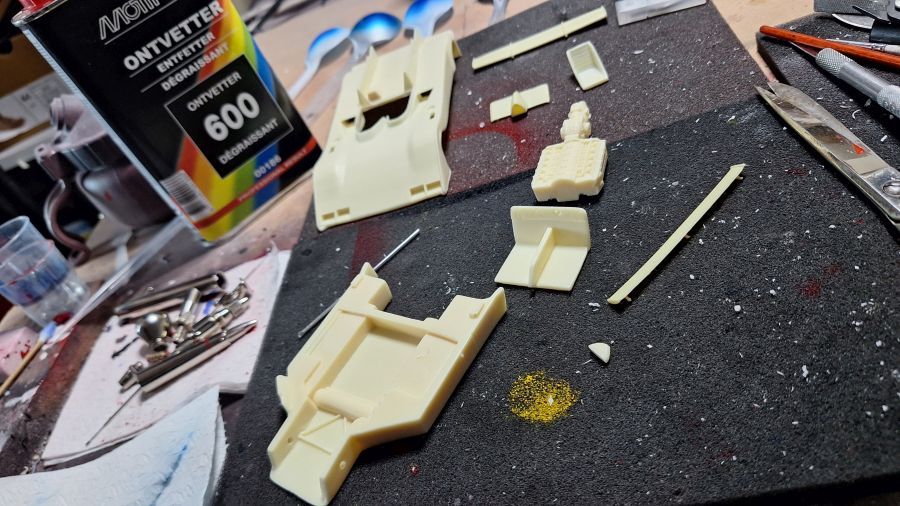
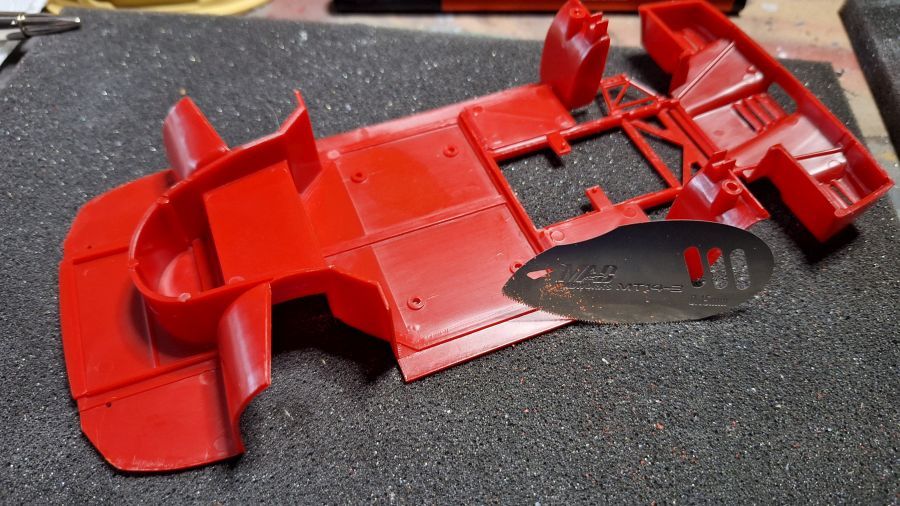
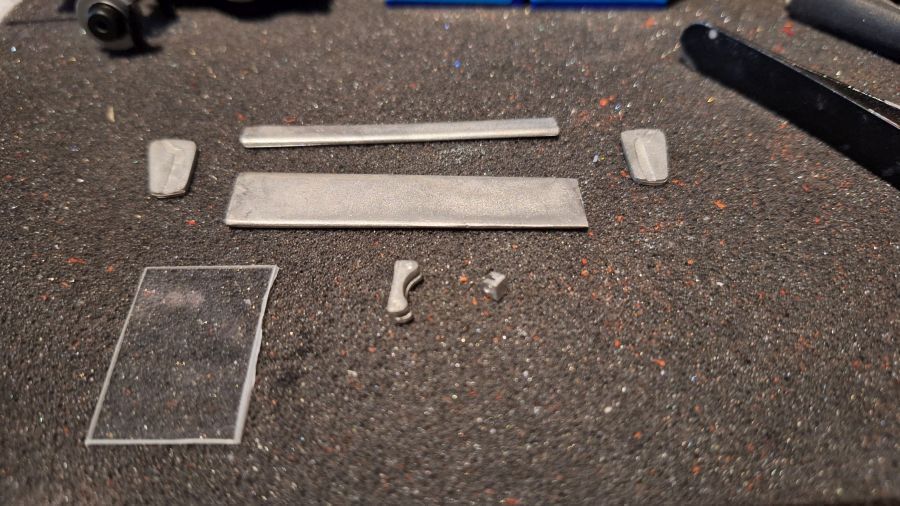
Er zijn duidelijk plekken die putty nodig zijn.
There are clearly spots that need putty.


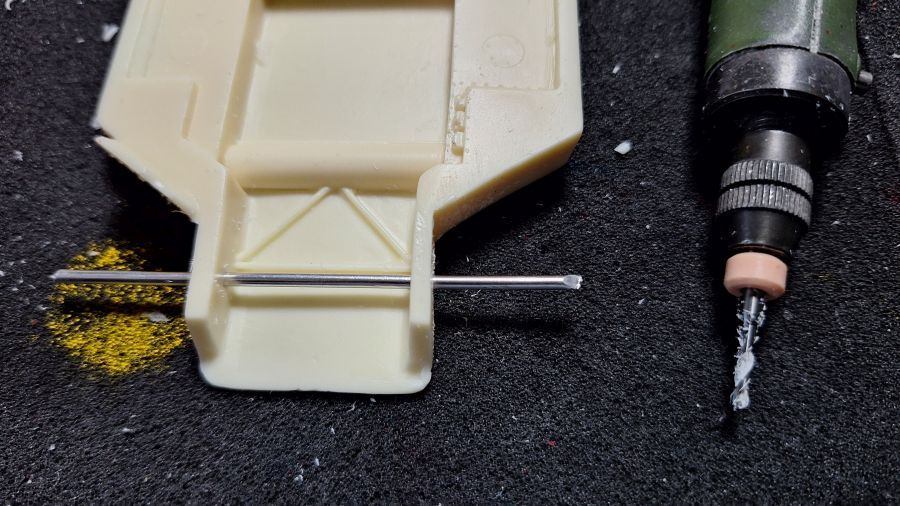
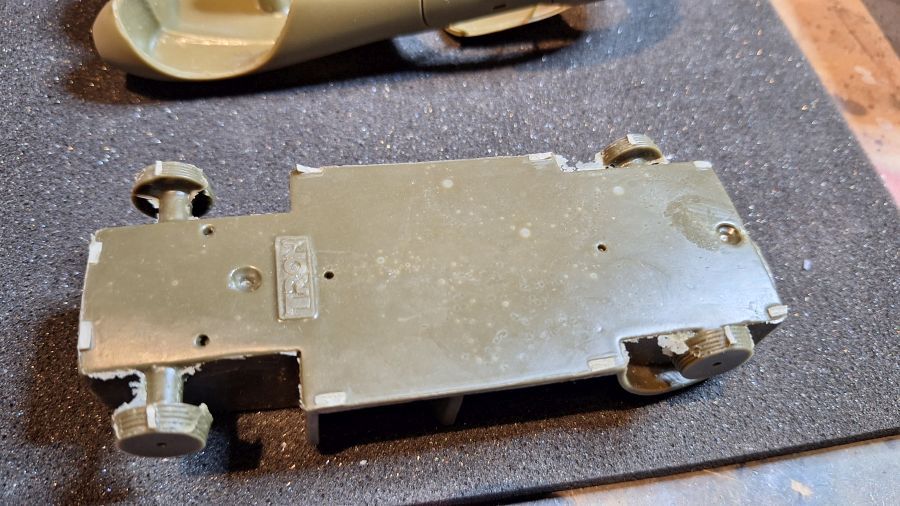
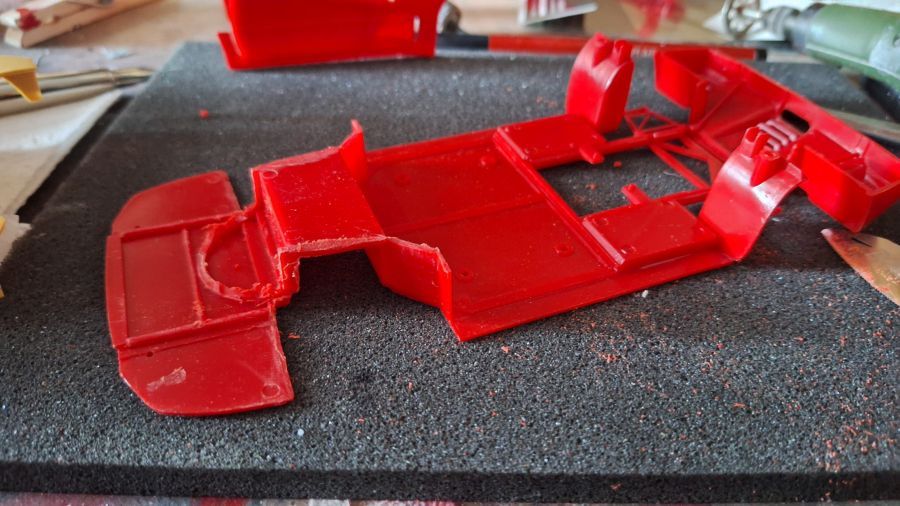
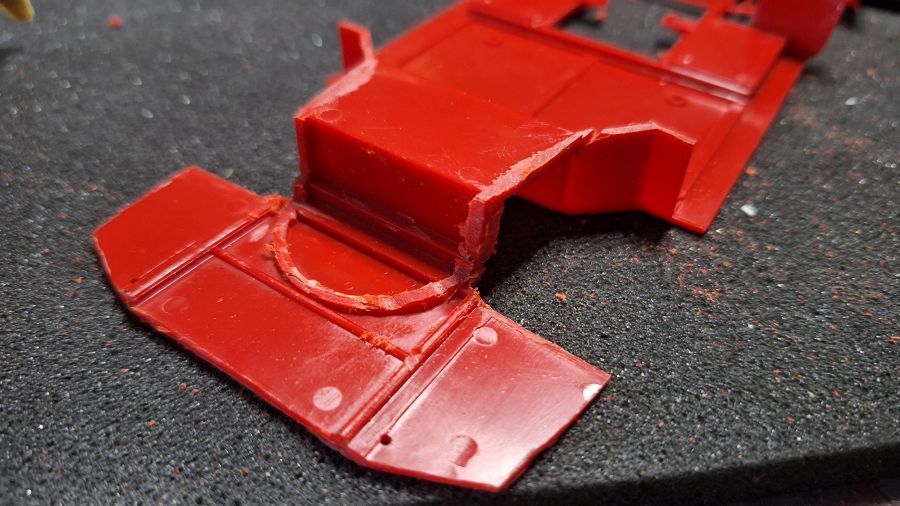
De plekken van de assen behoeven werk.
The spots for the axles need work.

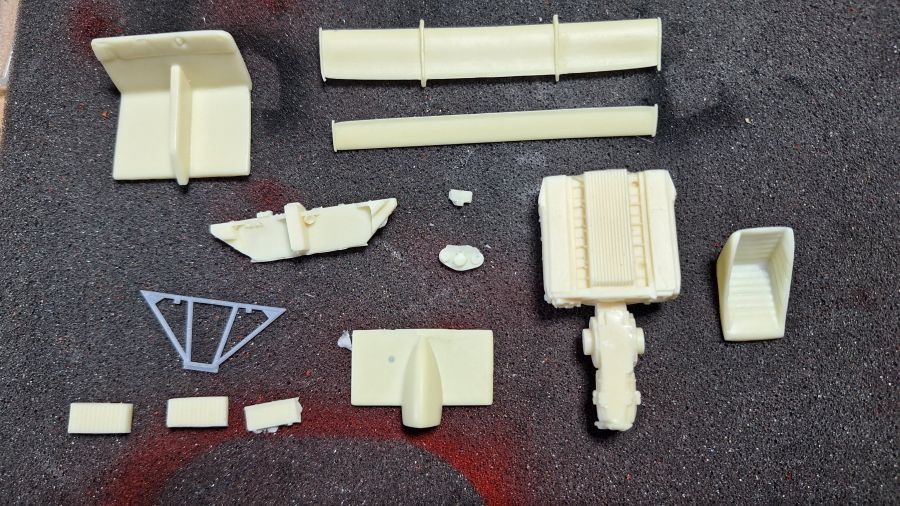
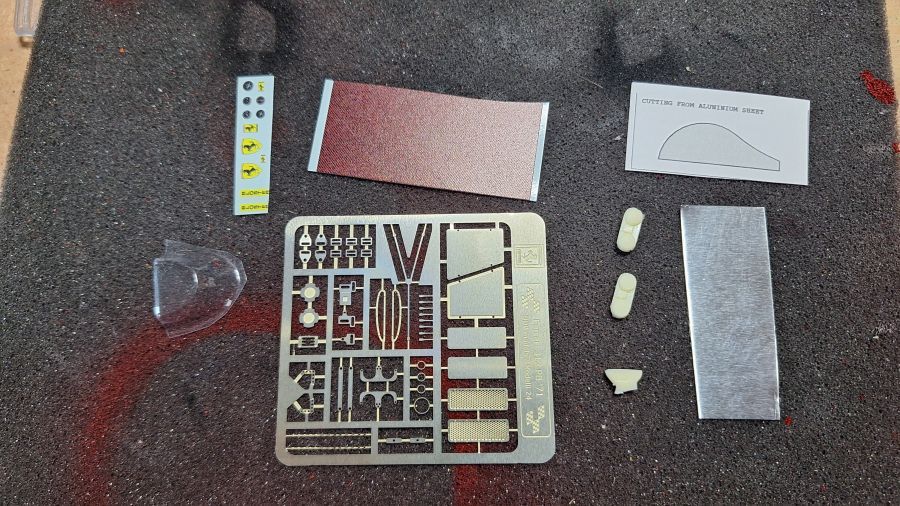
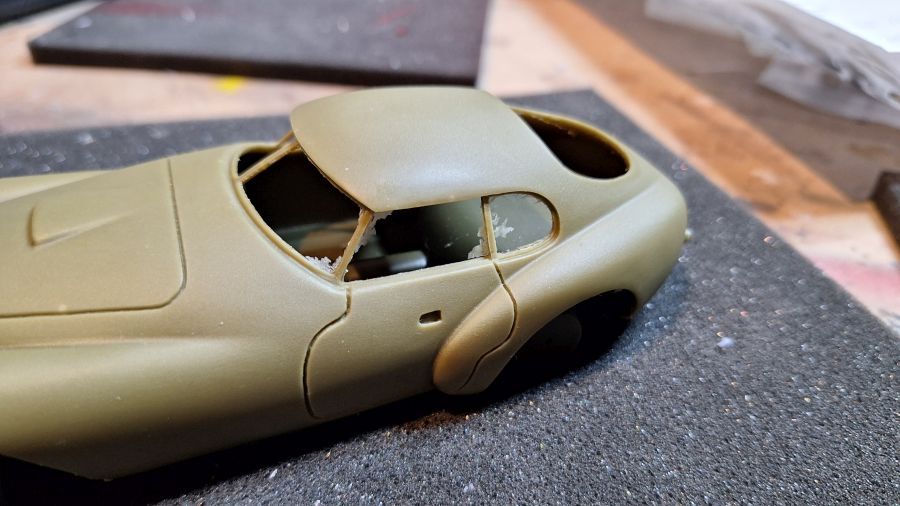
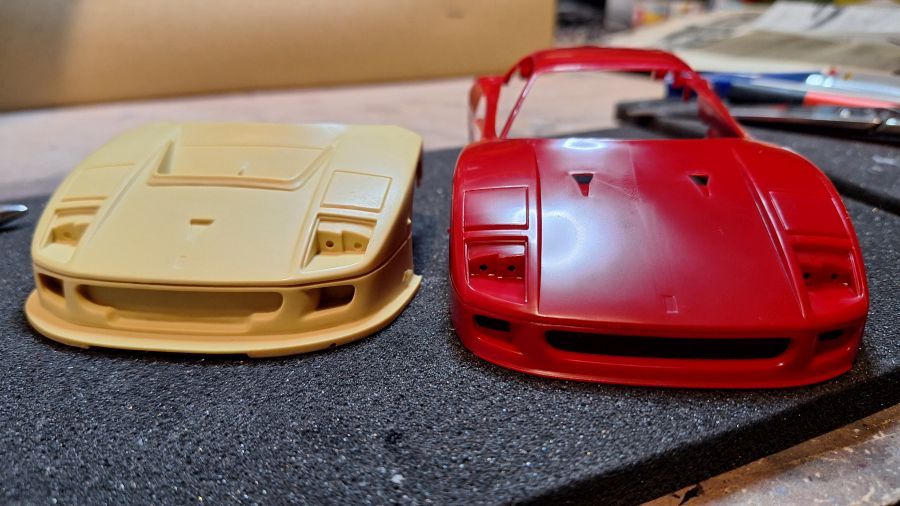
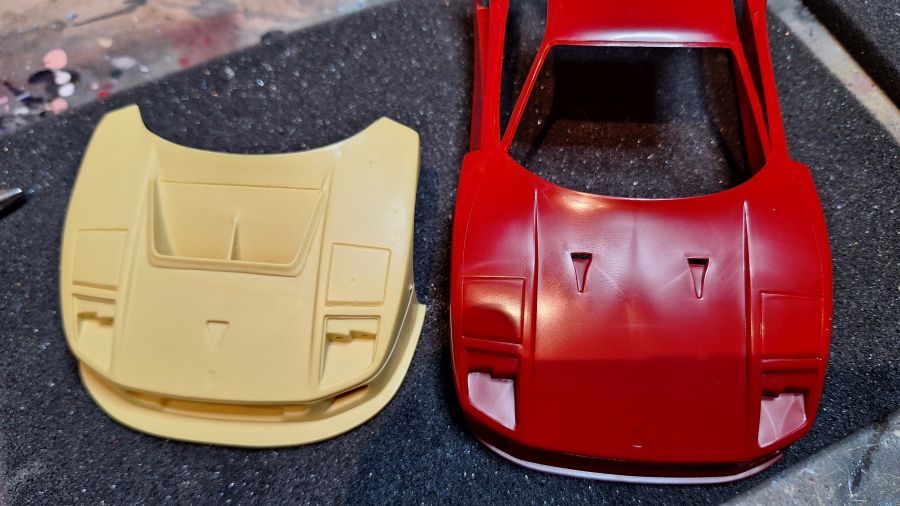
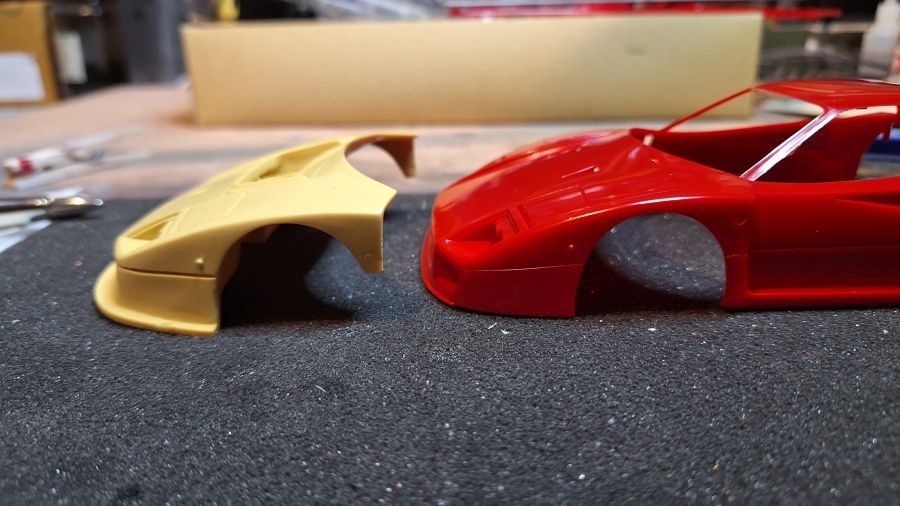
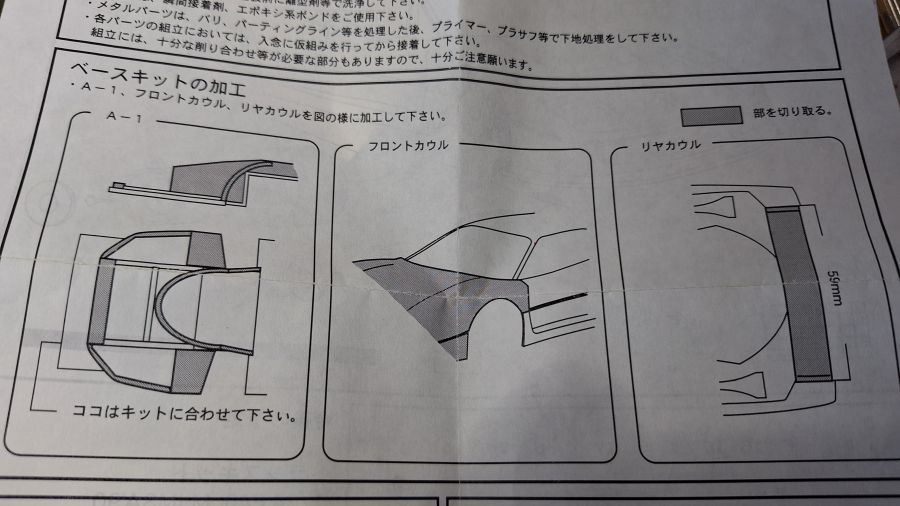
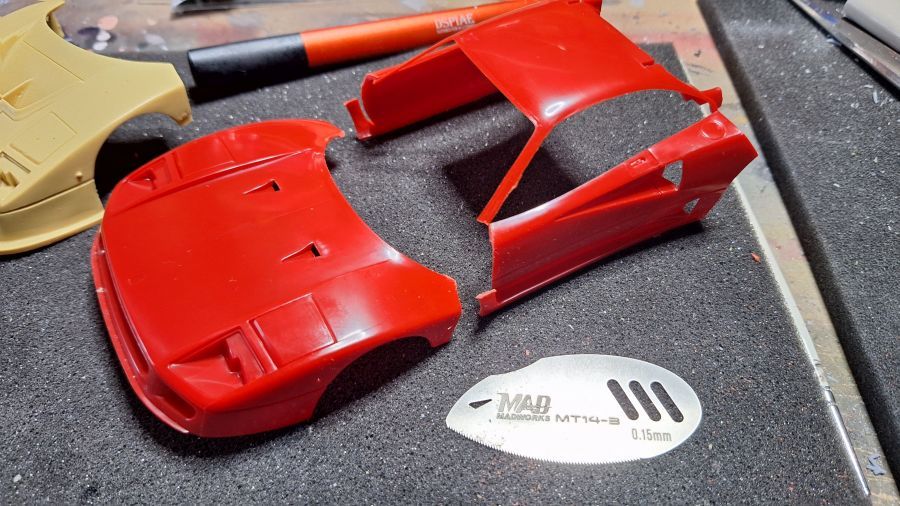
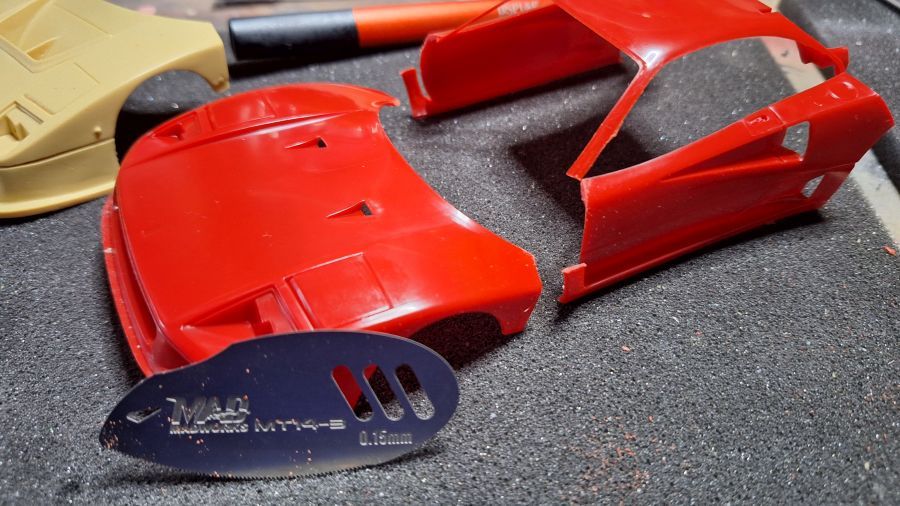
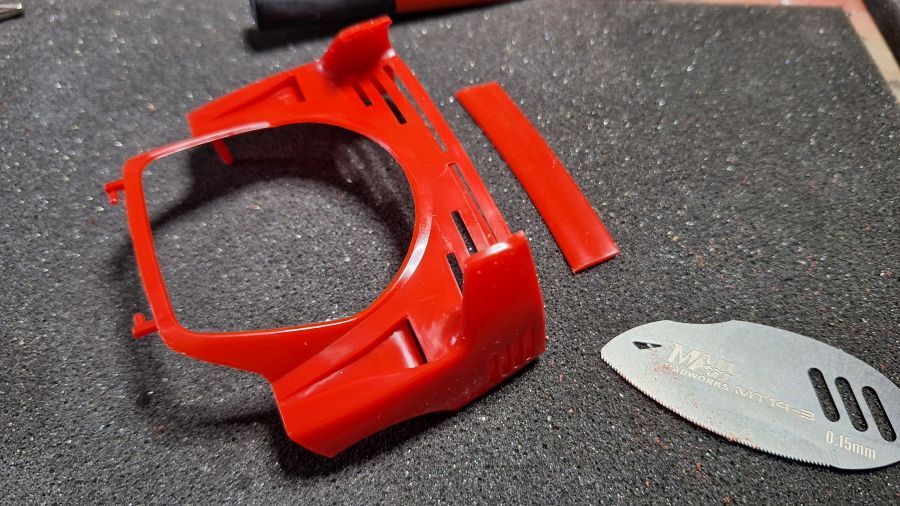
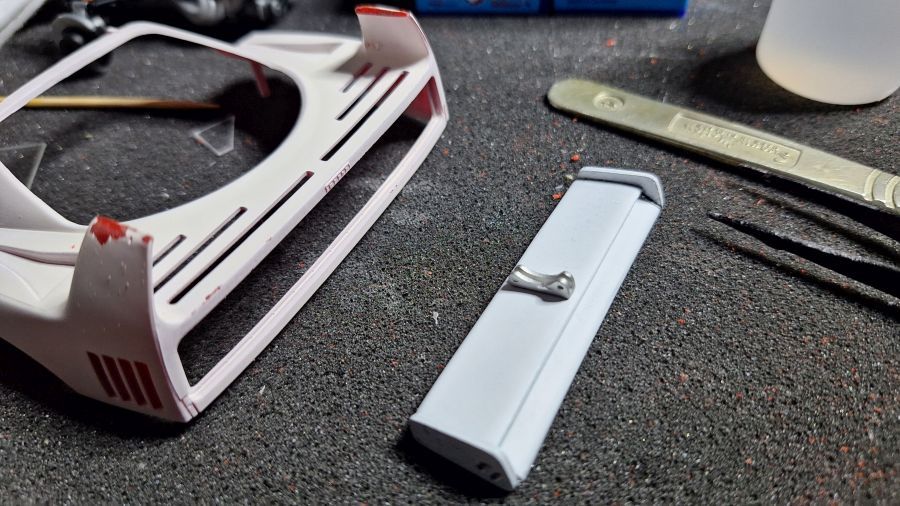
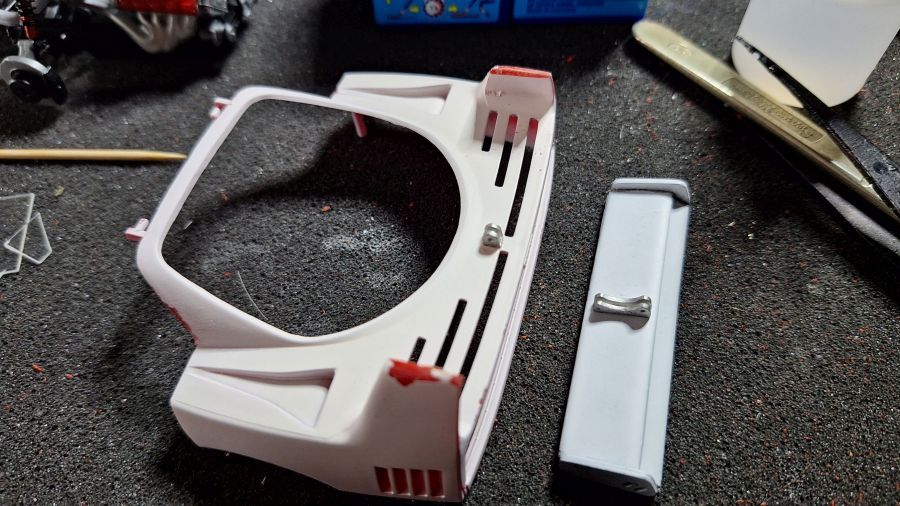
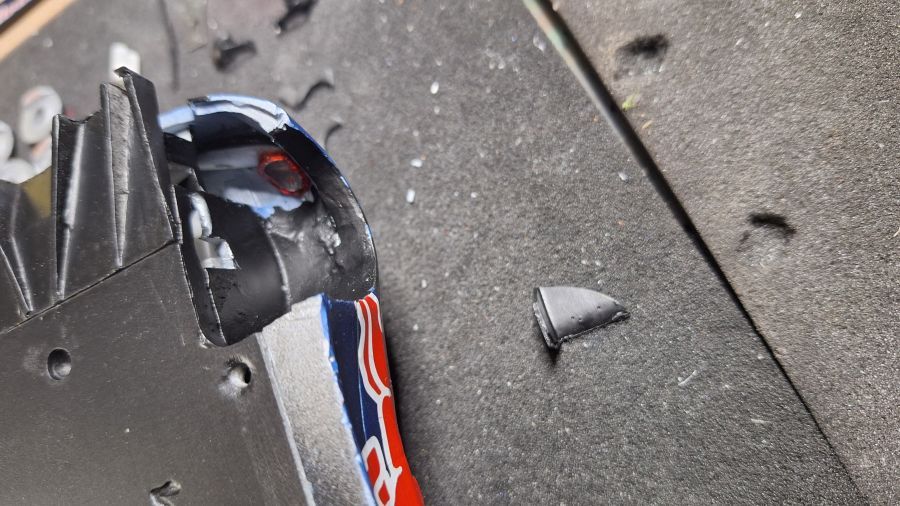
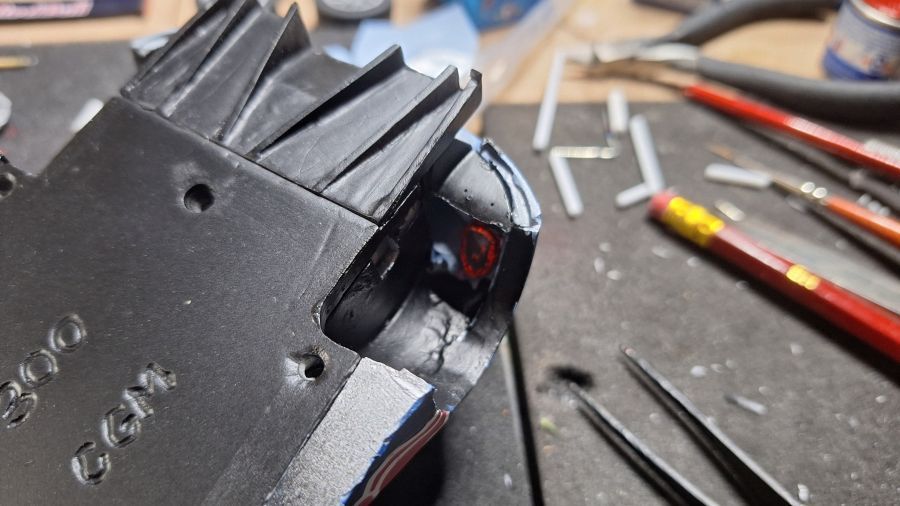
De buitenkant nalopen en slijpen.
Checking the outside and cut some.

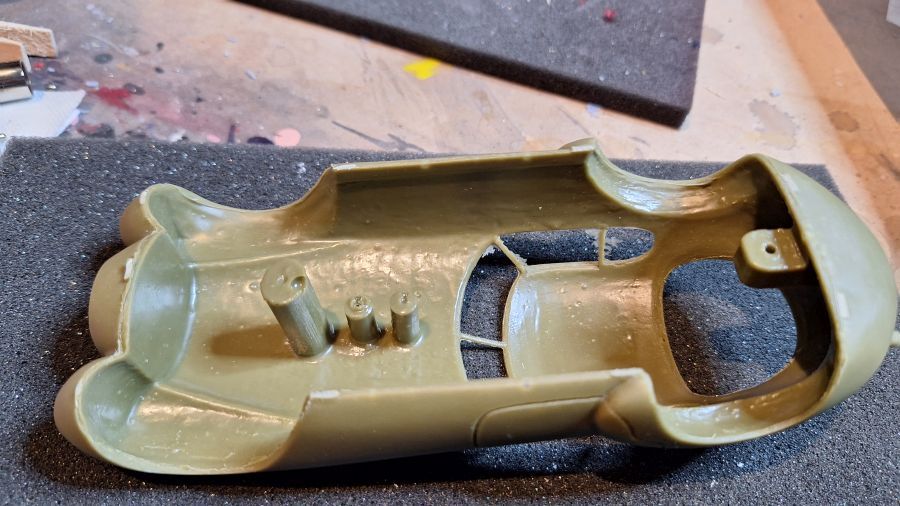
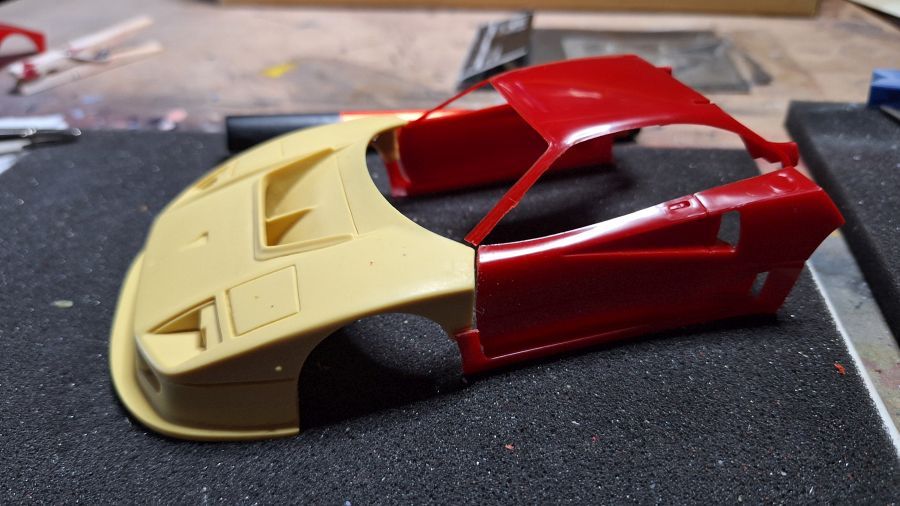
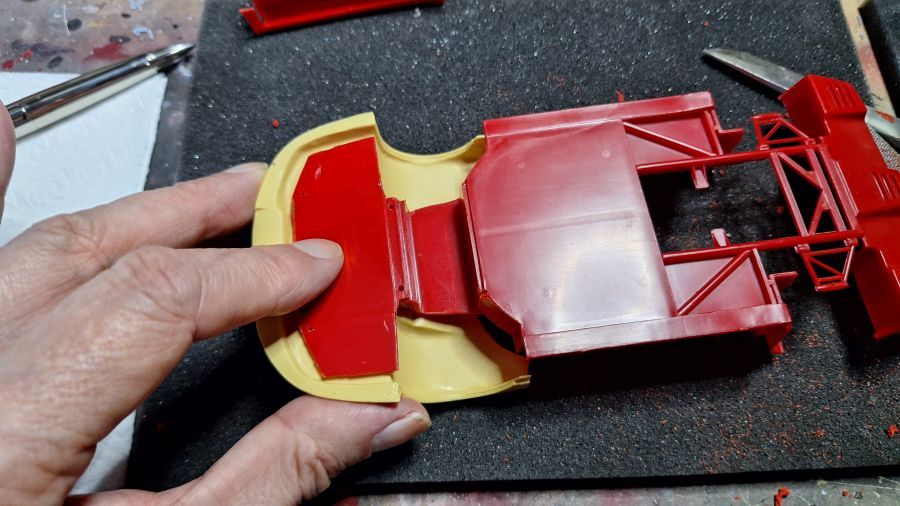
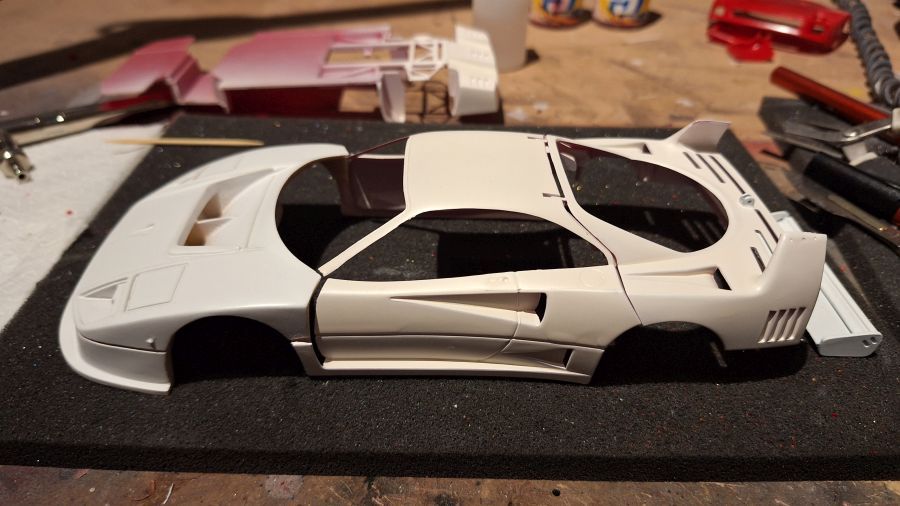
Nu zien waar/hoe alles geplaatst moet worden.
Now let's see where/how everything fits together.


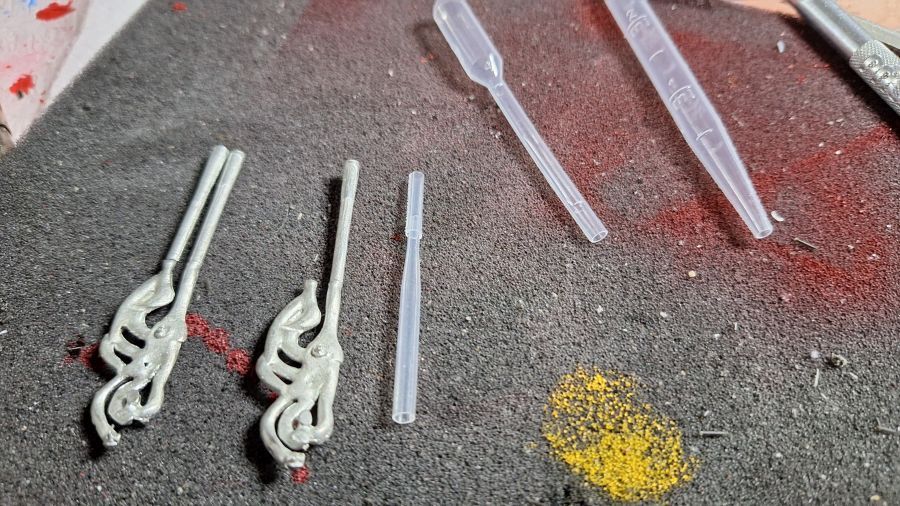
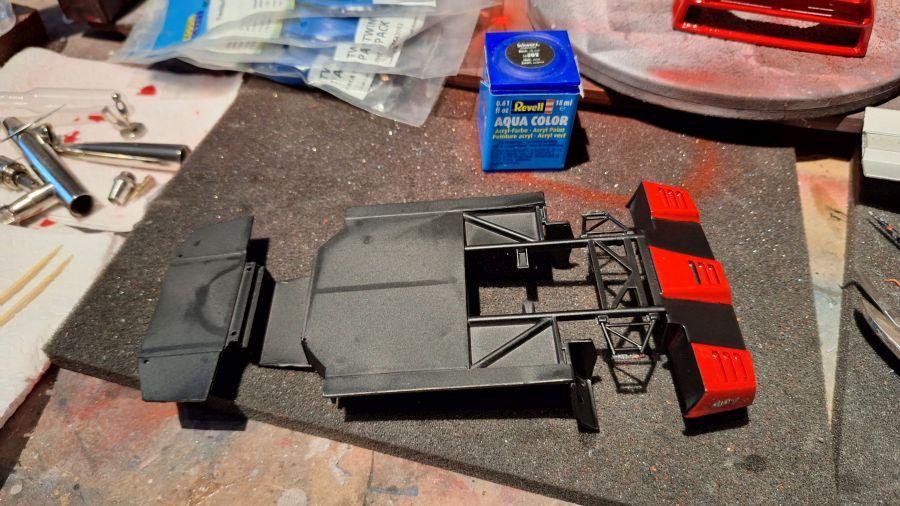
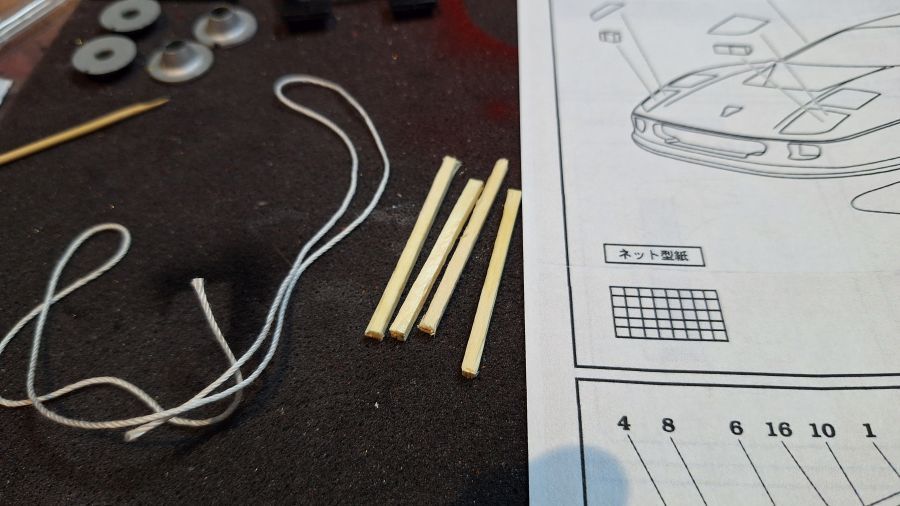
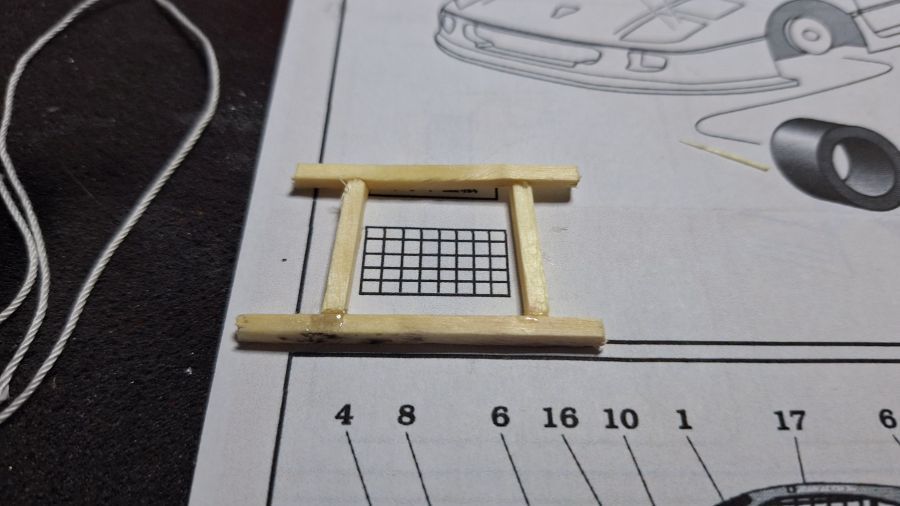
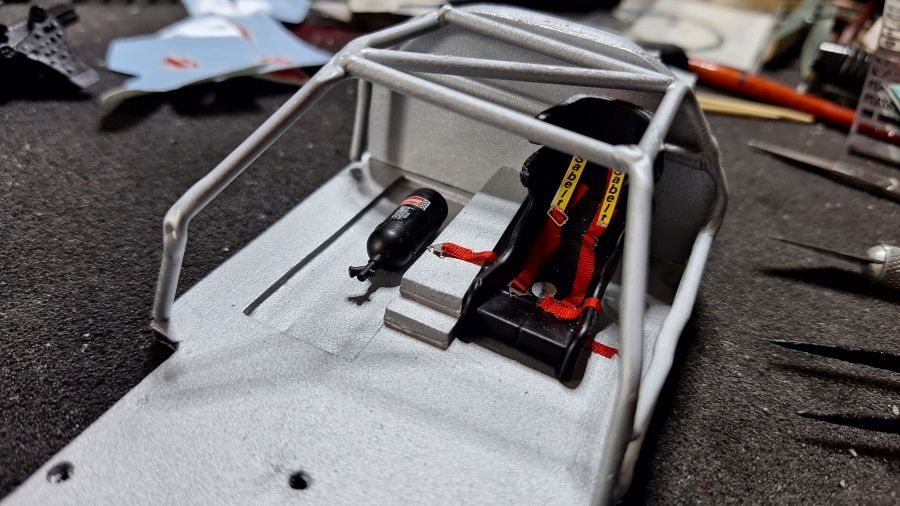
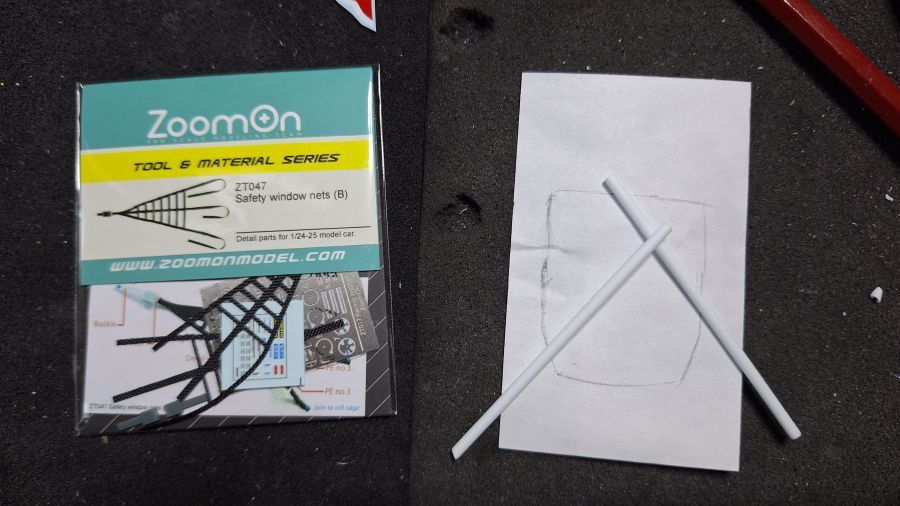
Lijnen zetten van de vloer voor het zelf maken van een kooi constructie. De kooi maak ik van Evergreen buis.
Drawing markings of the floor to build the roll cage. I will make the cage from Evergreen tube.


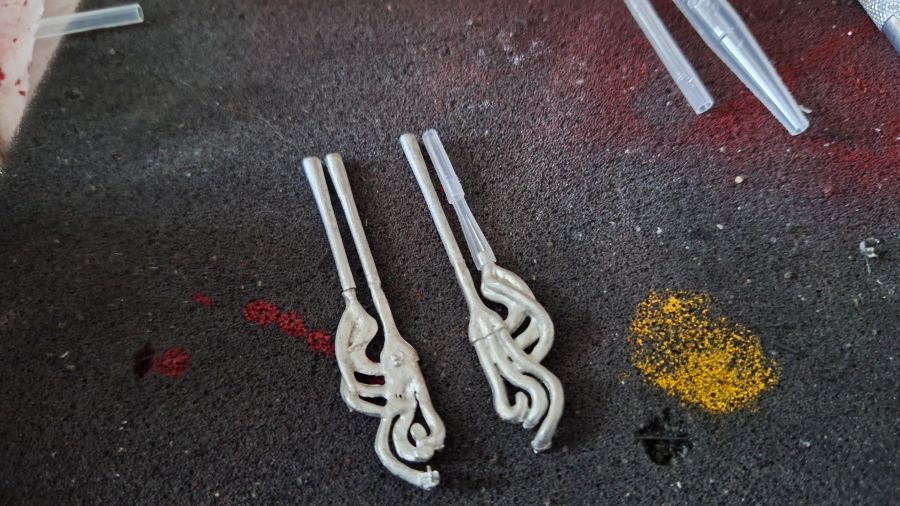
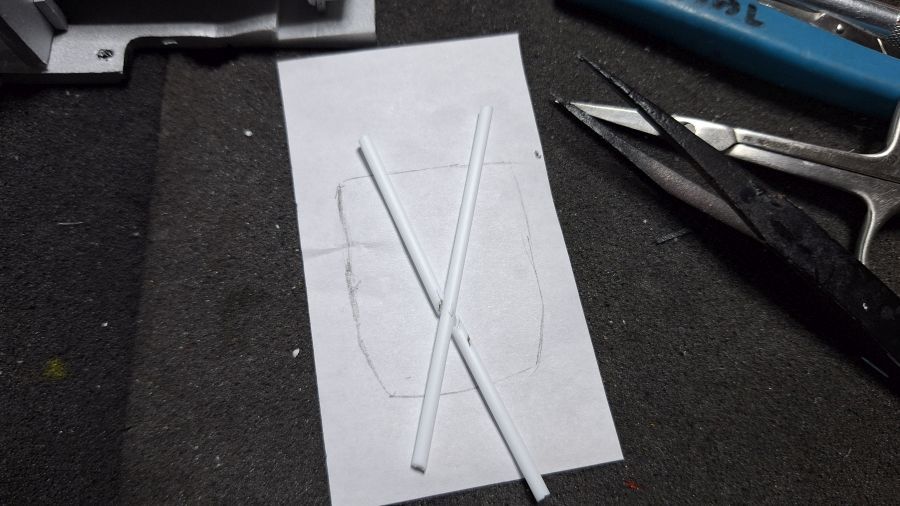
Wanneer ik het plaats, vind ik de pijp wat te dik (3.2 mm). Daarom heb ik nieuwe besteld (2.4 mm).
When i put it in, in my opinion the tube is too thick (3.2 mm). Therefor i ordered new tube (2.4 mm).

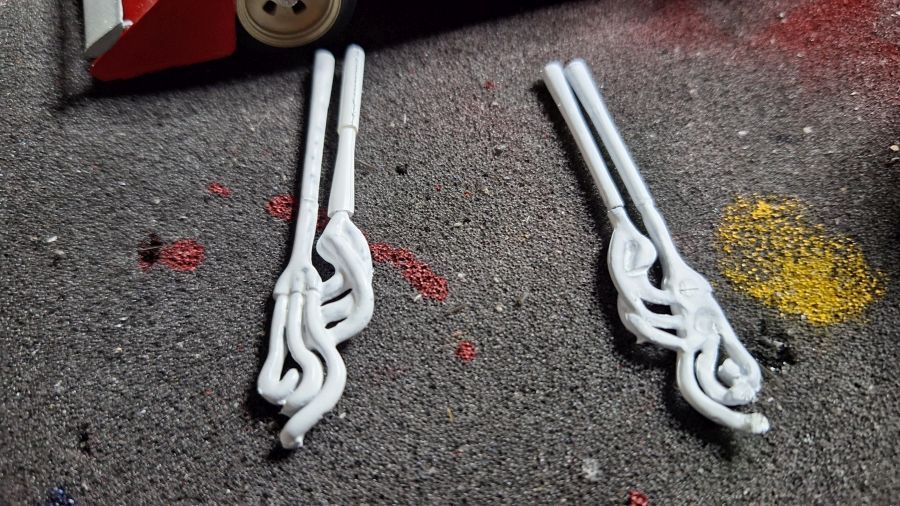
De nieuwe buis is aangekomen, dus opnieuw proberen.
The new tube arrived, so start again.

Links de nieuwe.
To the left the new one.


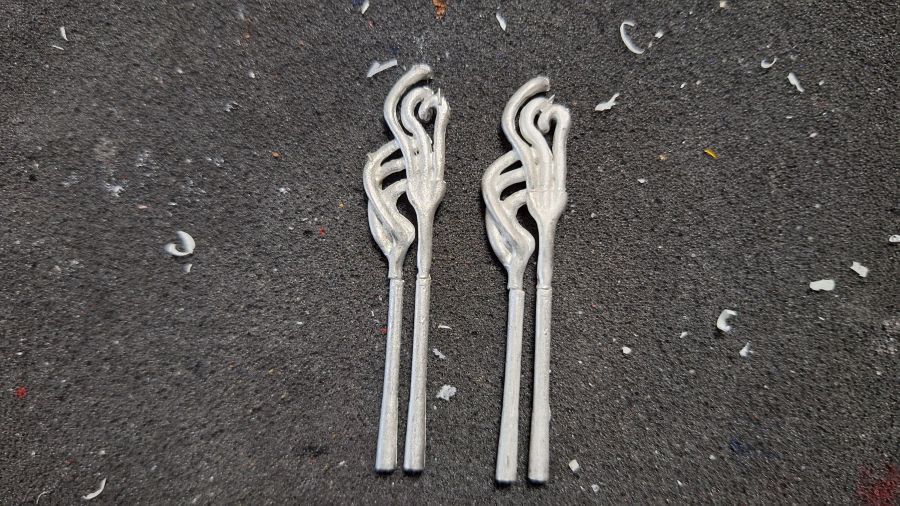
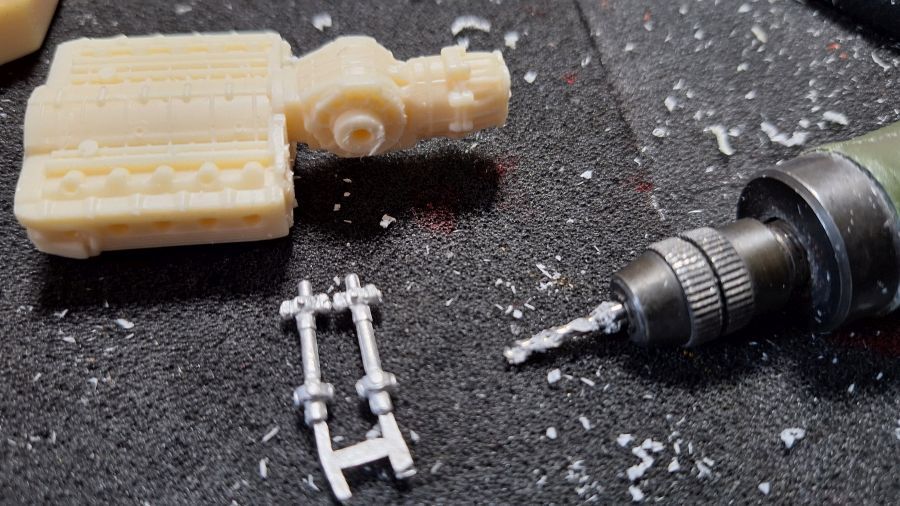
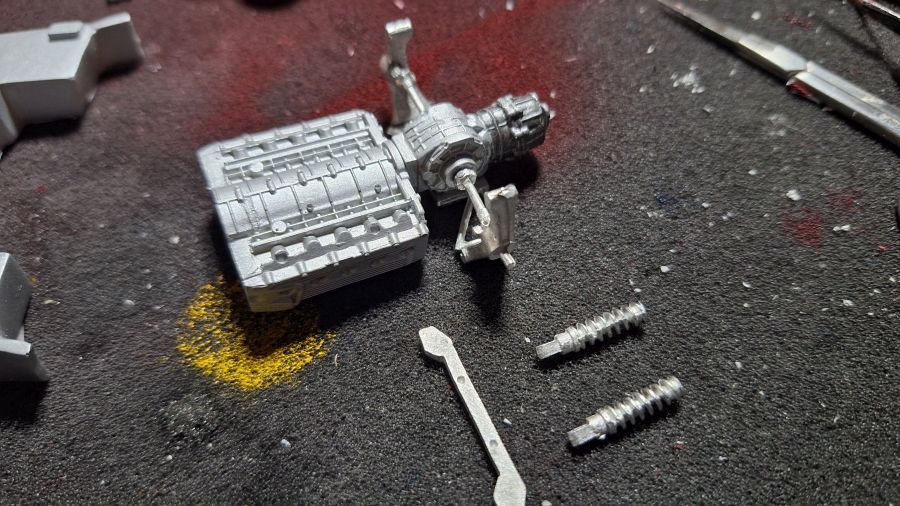
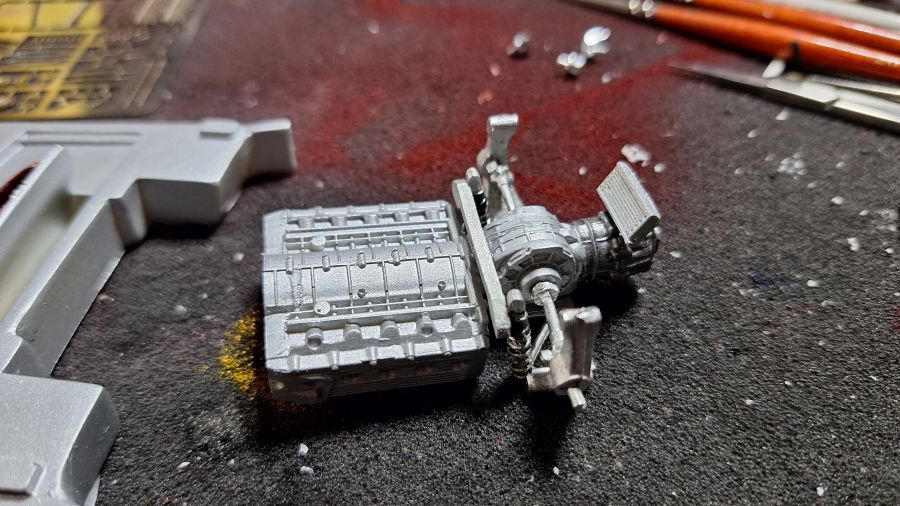
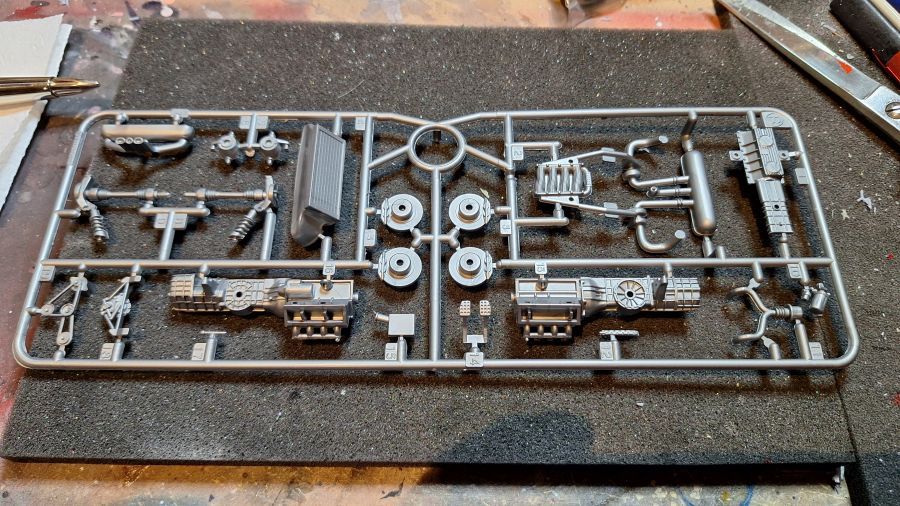
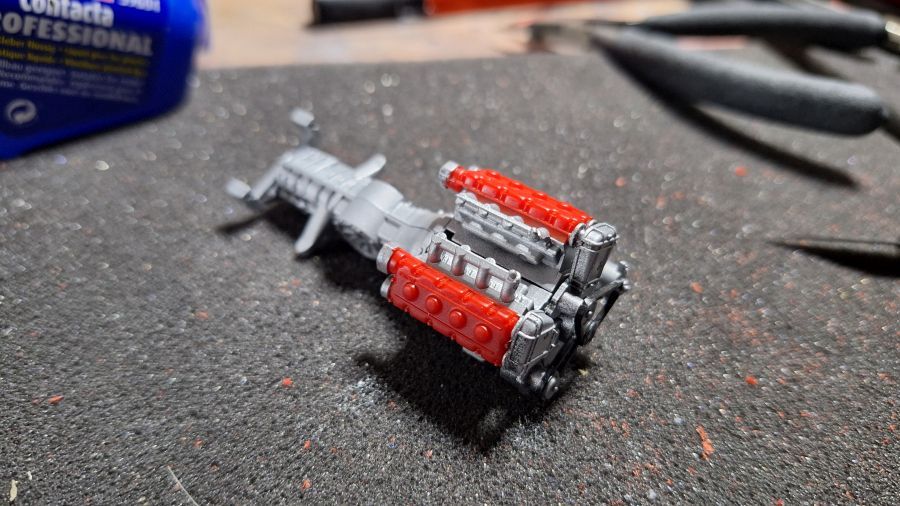
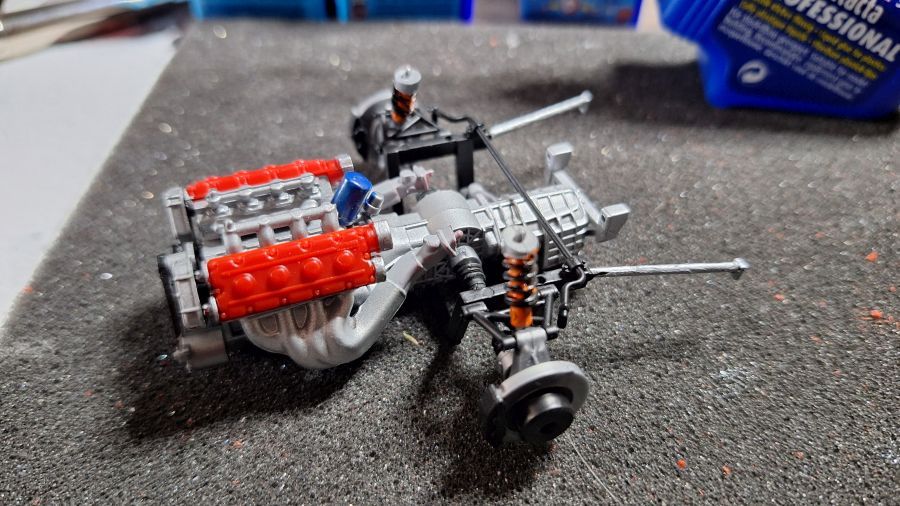
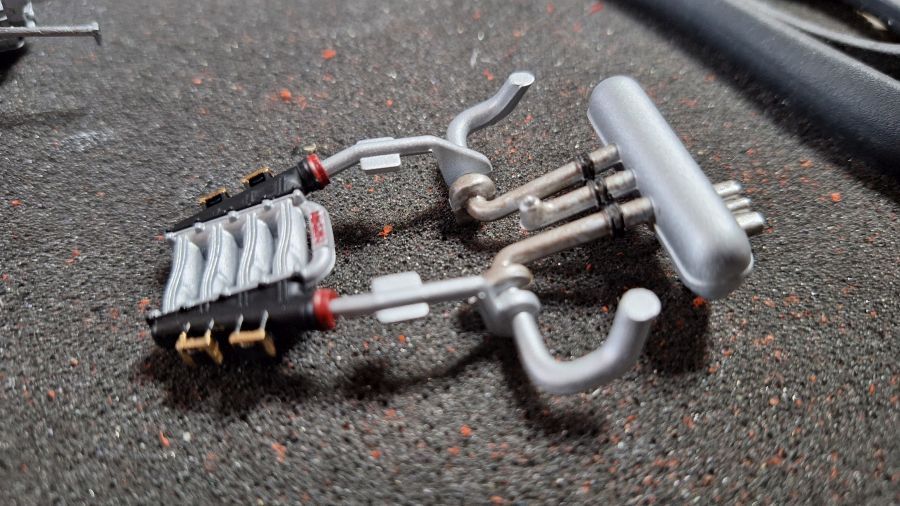
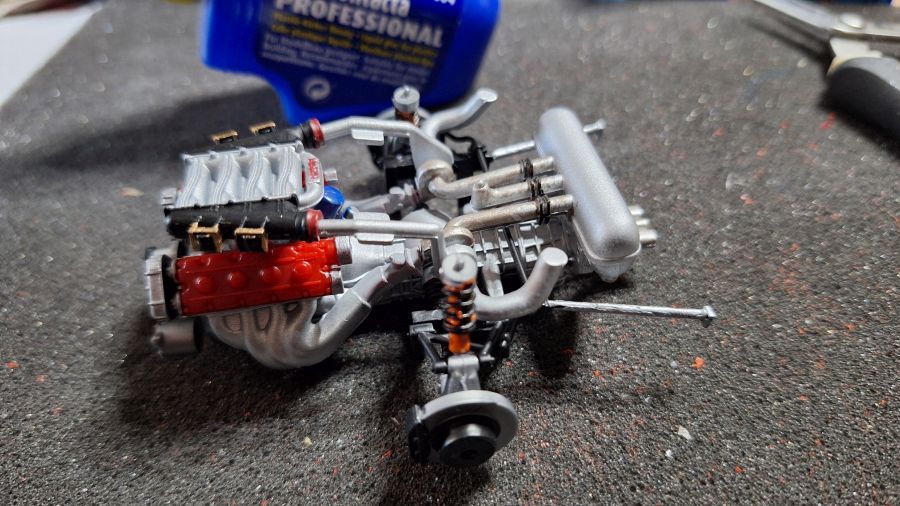
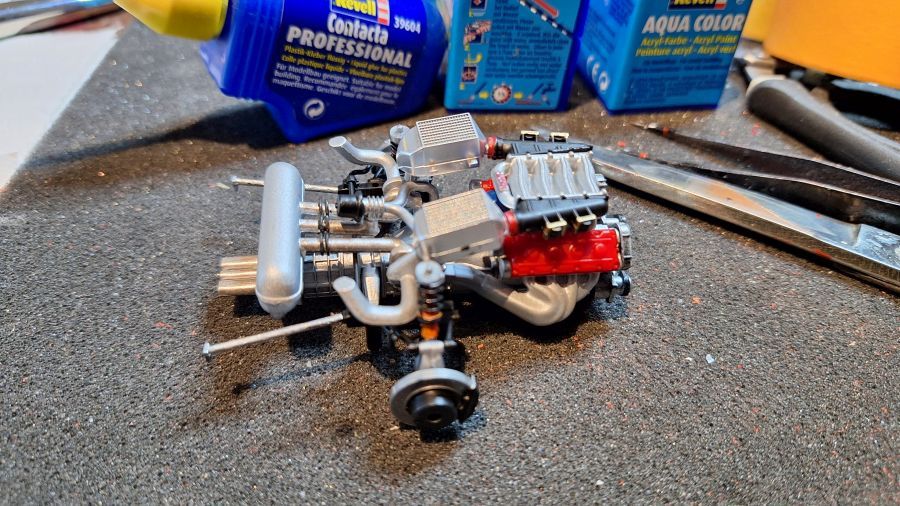
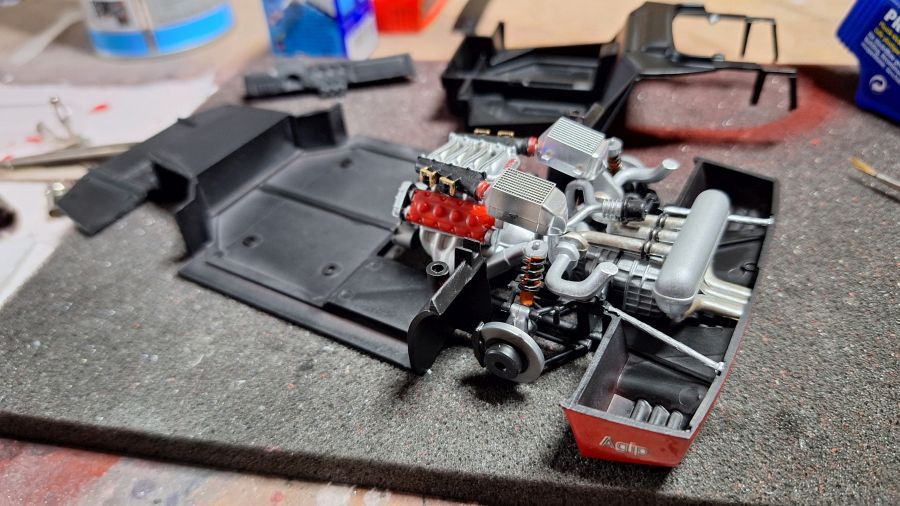
Terwijl de lijm droogt, alvast wat werk aan de motor.
While the glue sets, some work to the engine.
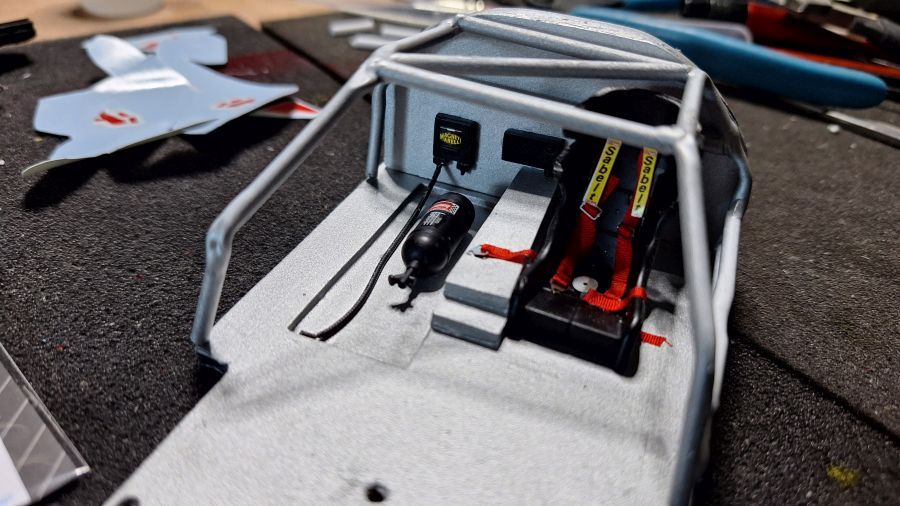
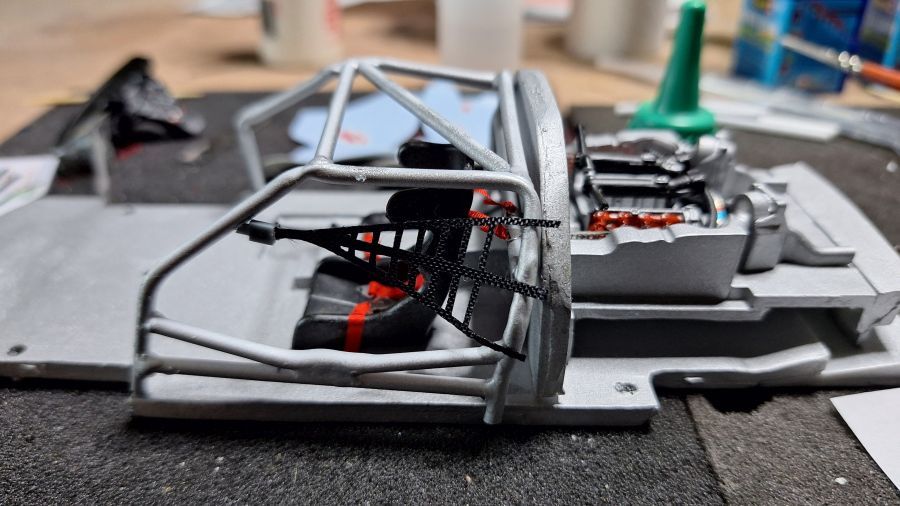

De nieuwe kooi.
The new roll cage.

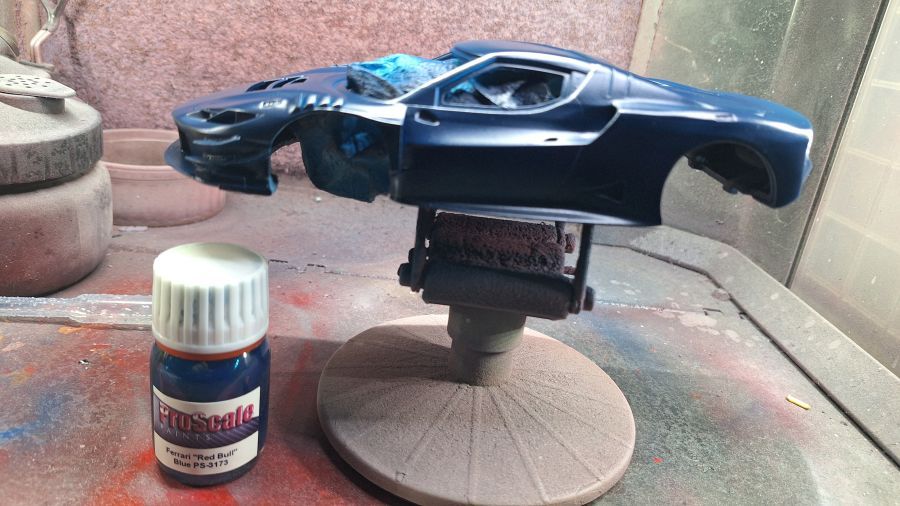
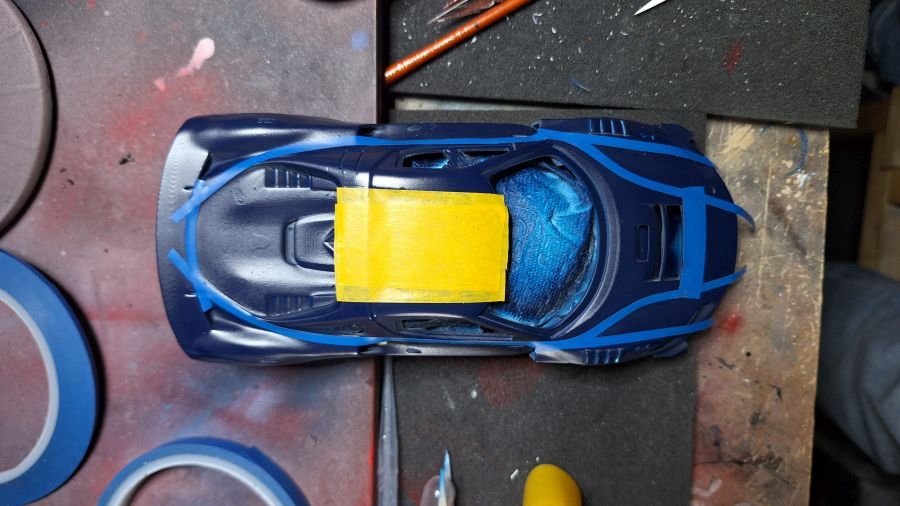
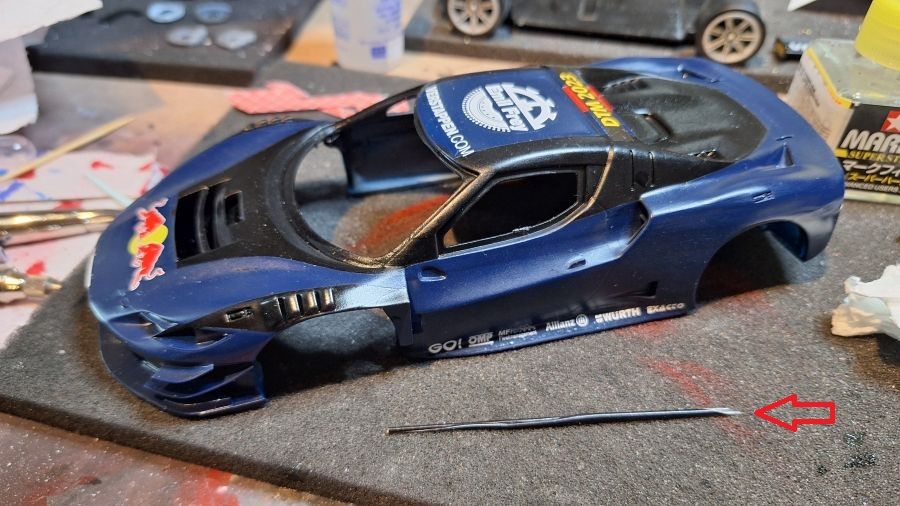
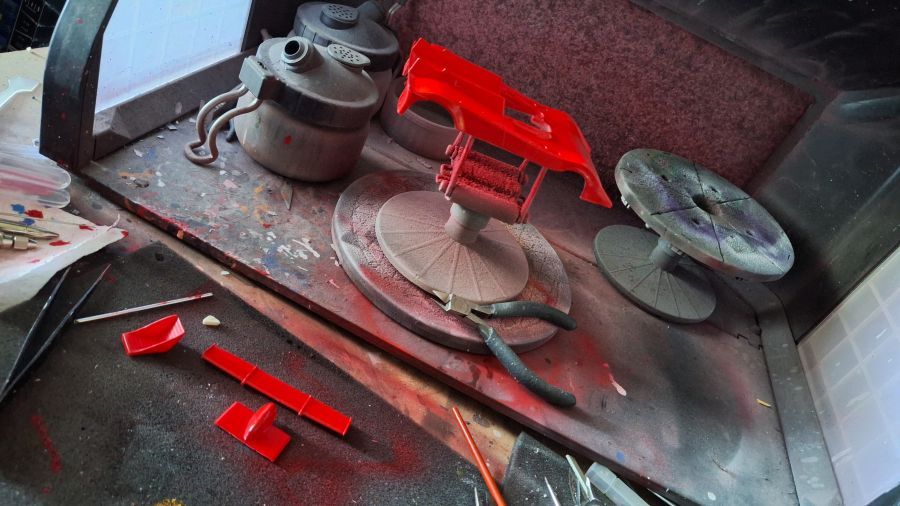
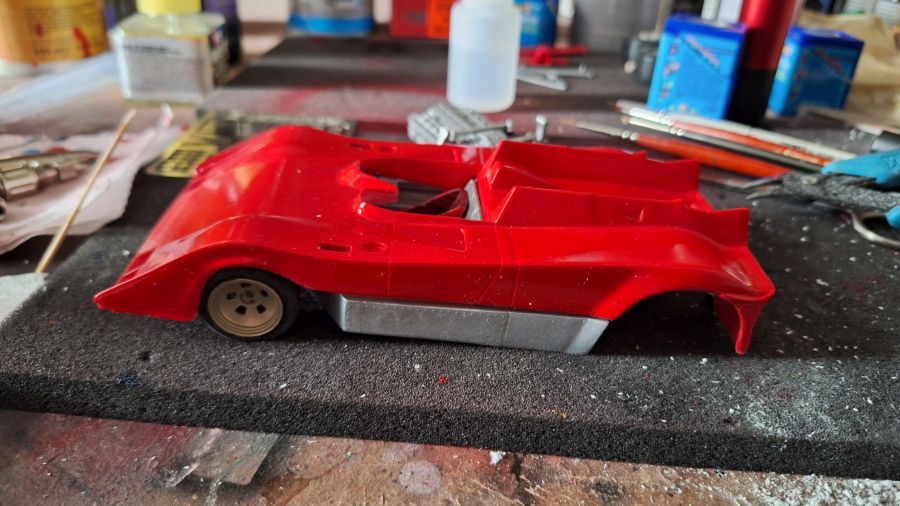
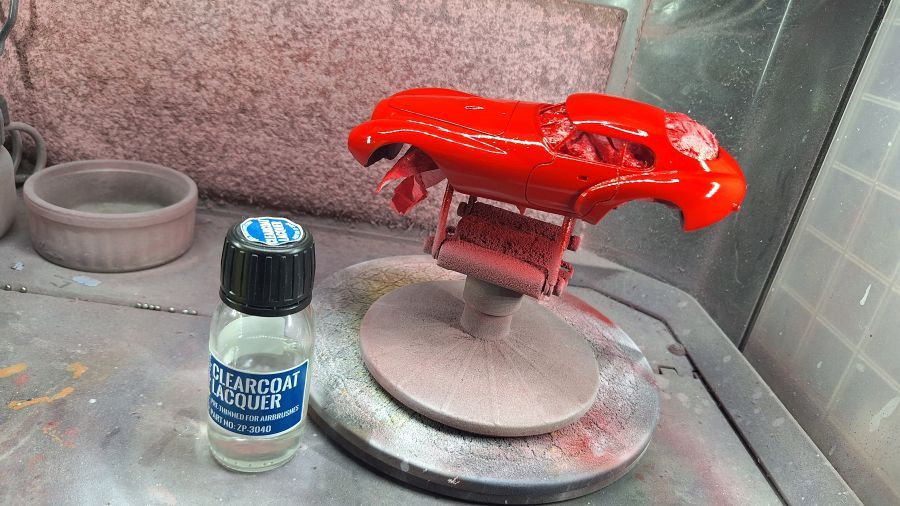
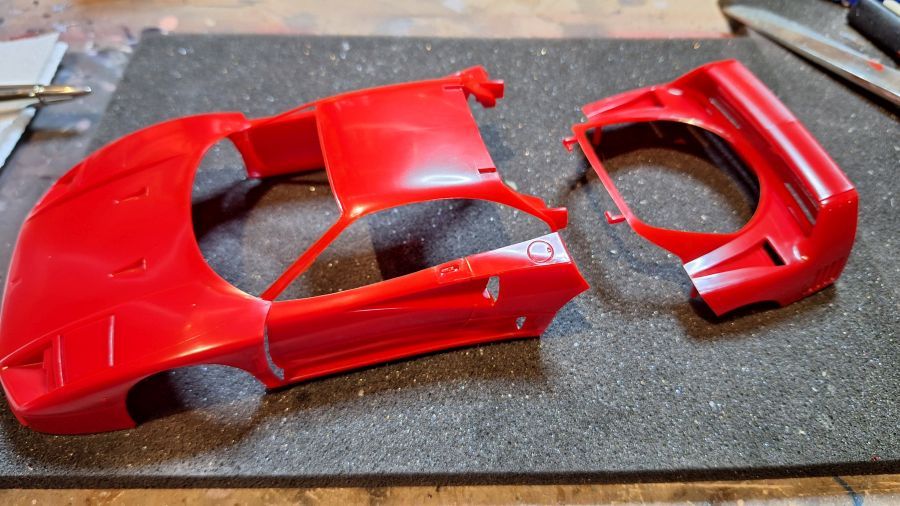
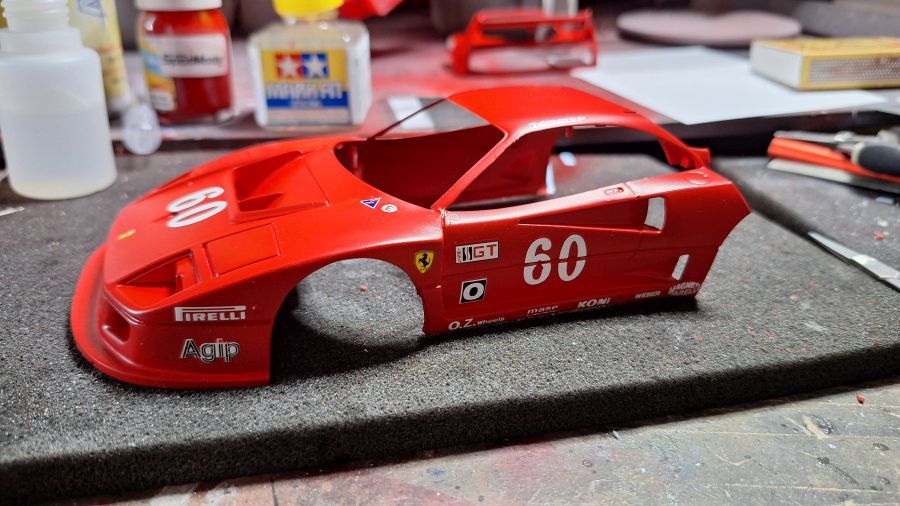
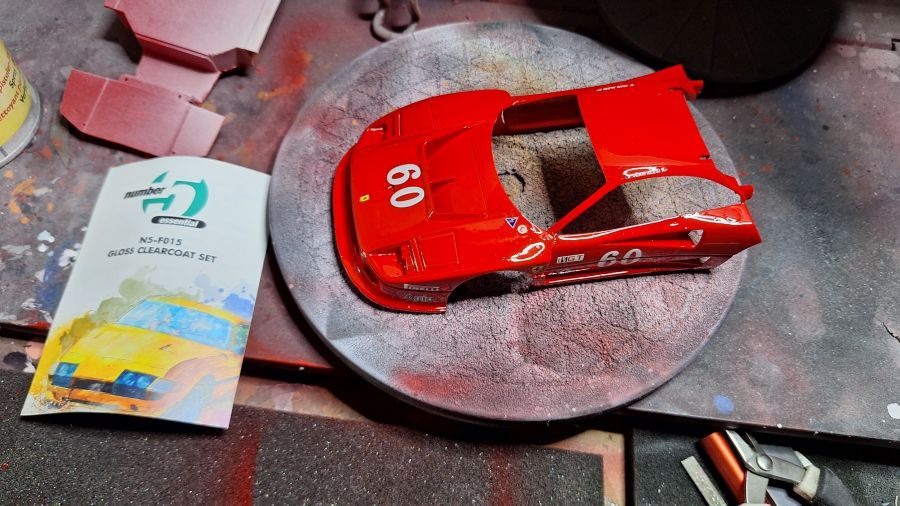
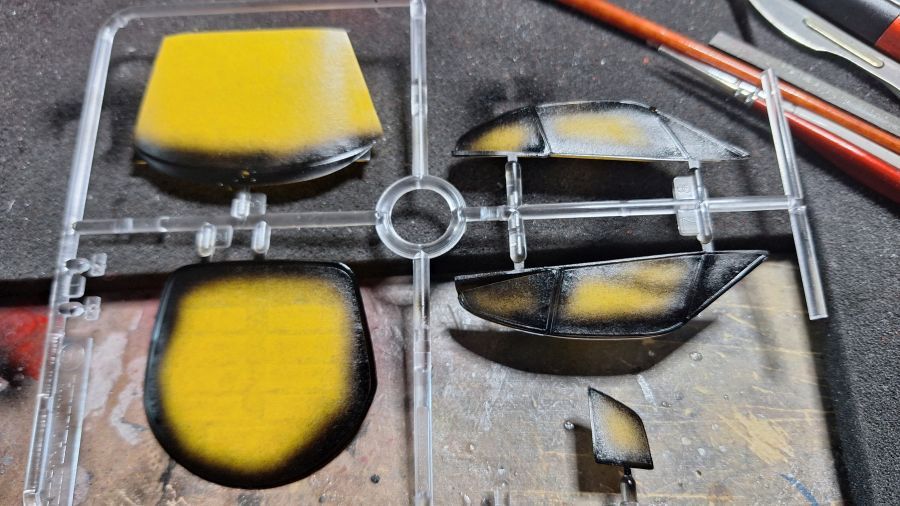
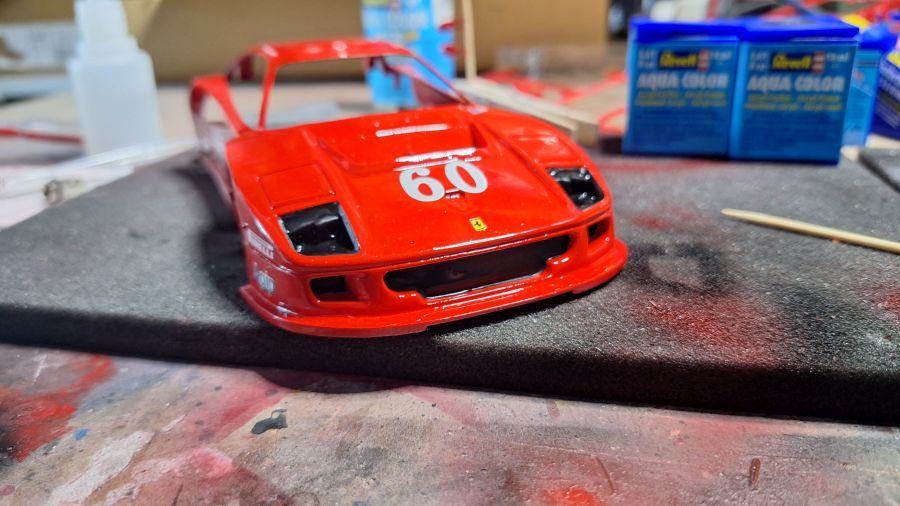
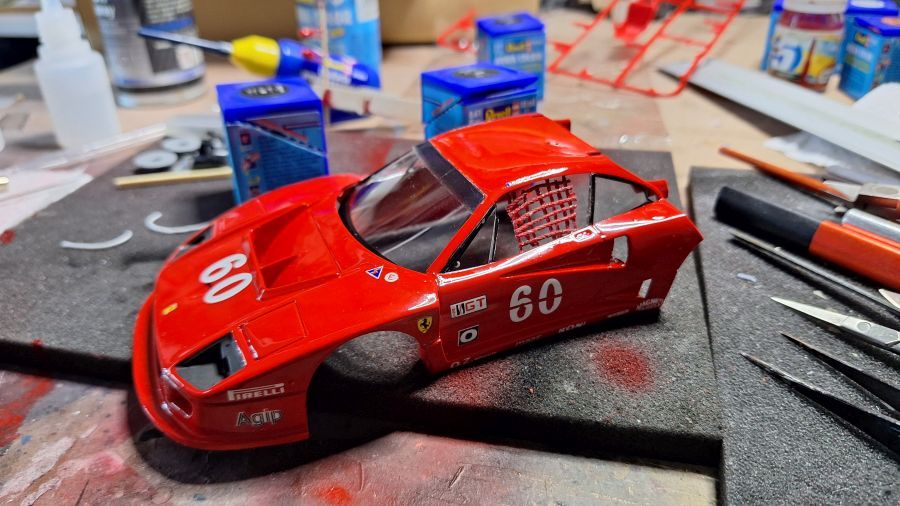
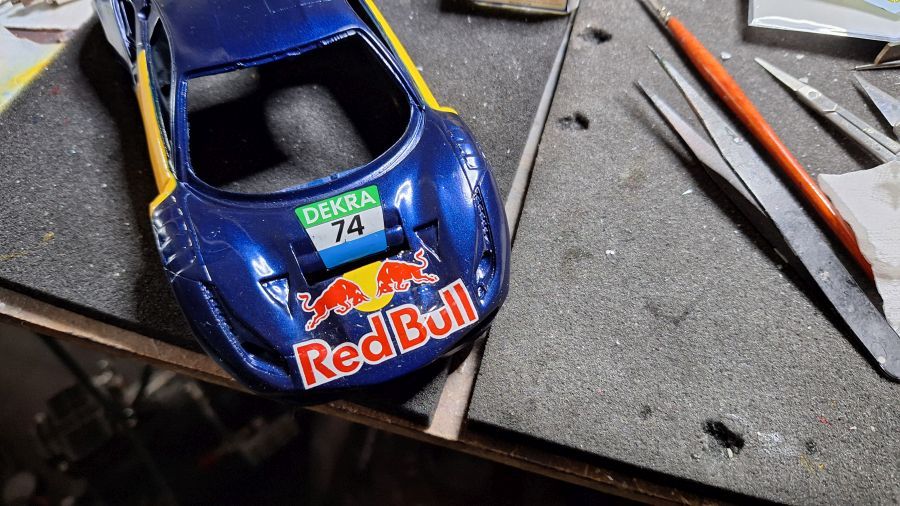
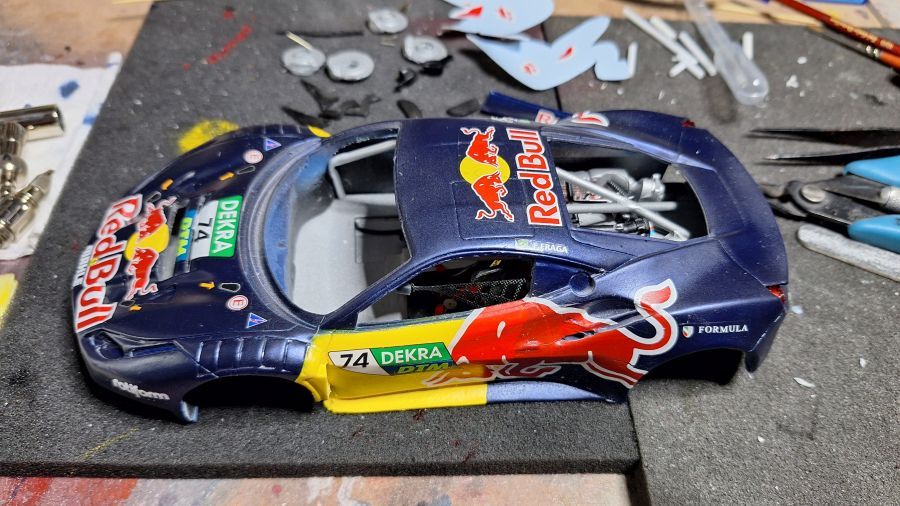
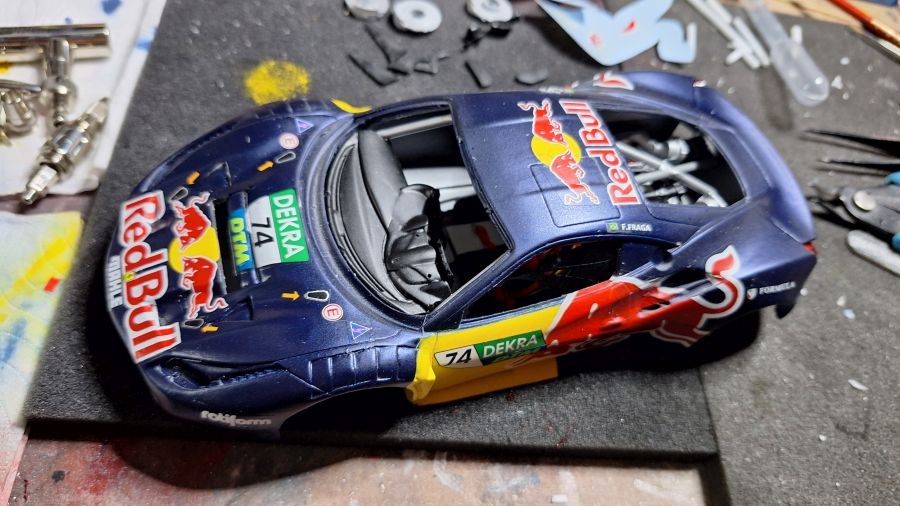
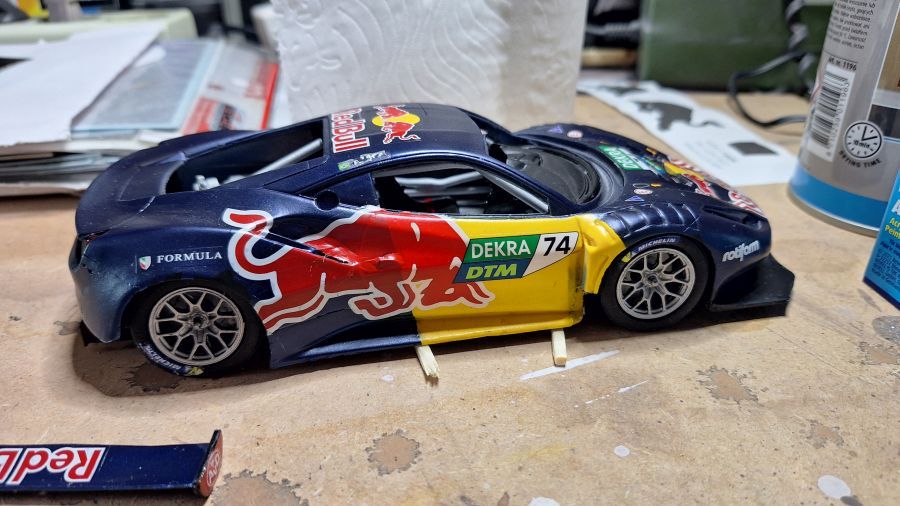
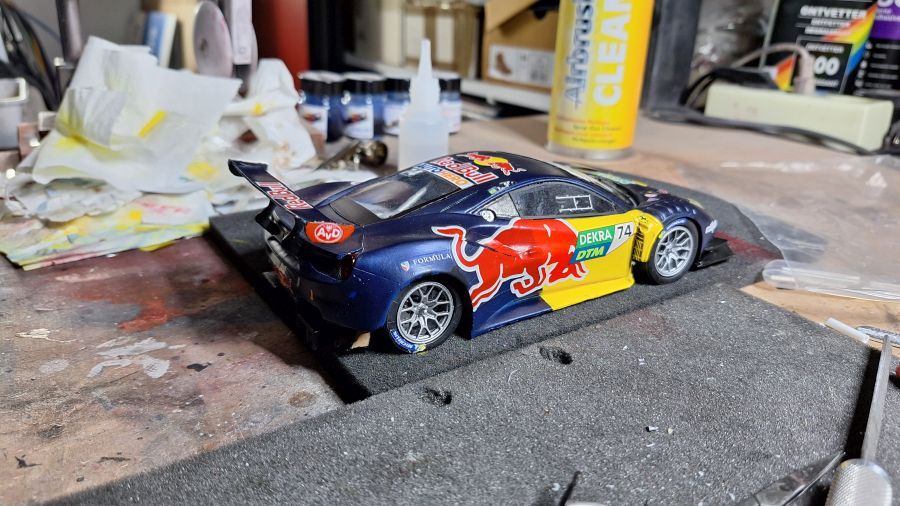
De eerste kleuren op de body.
The first colours to the body.


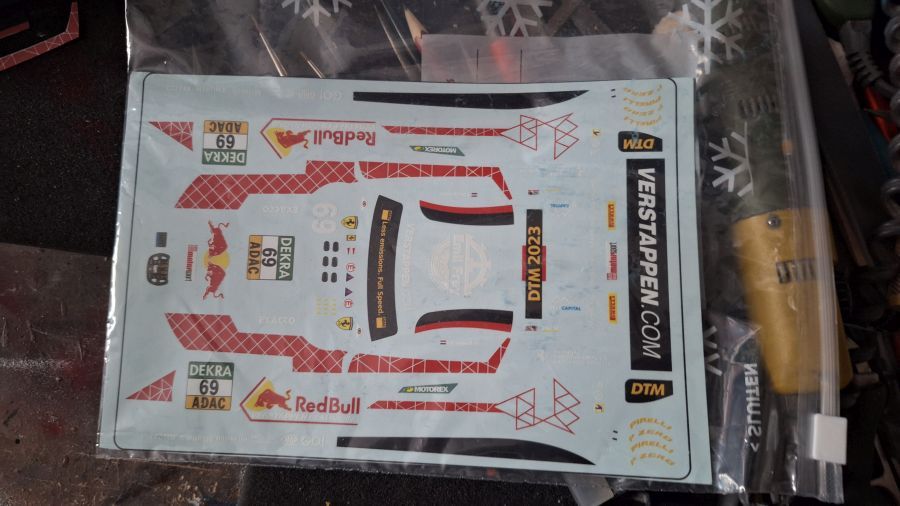
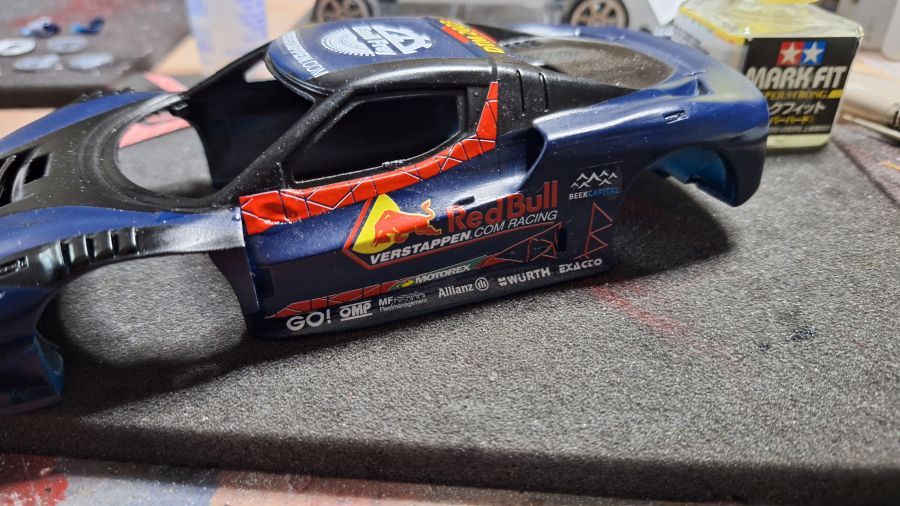
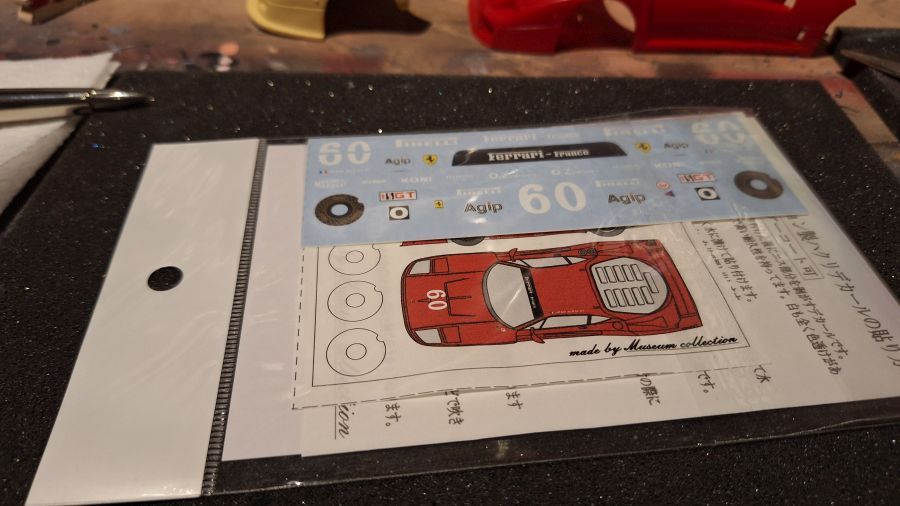
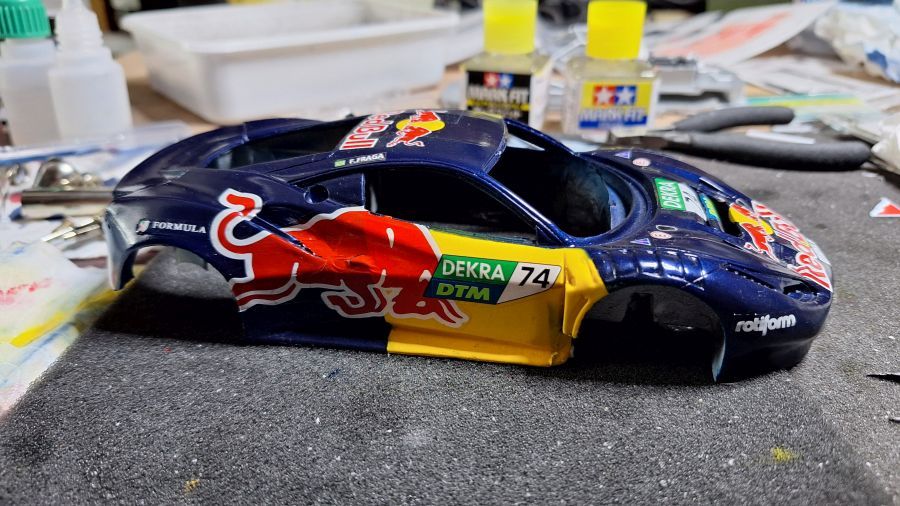
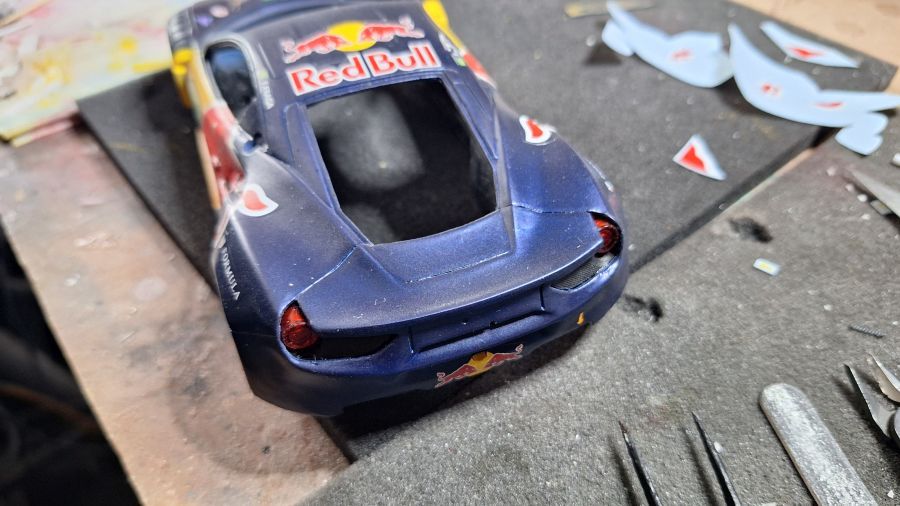
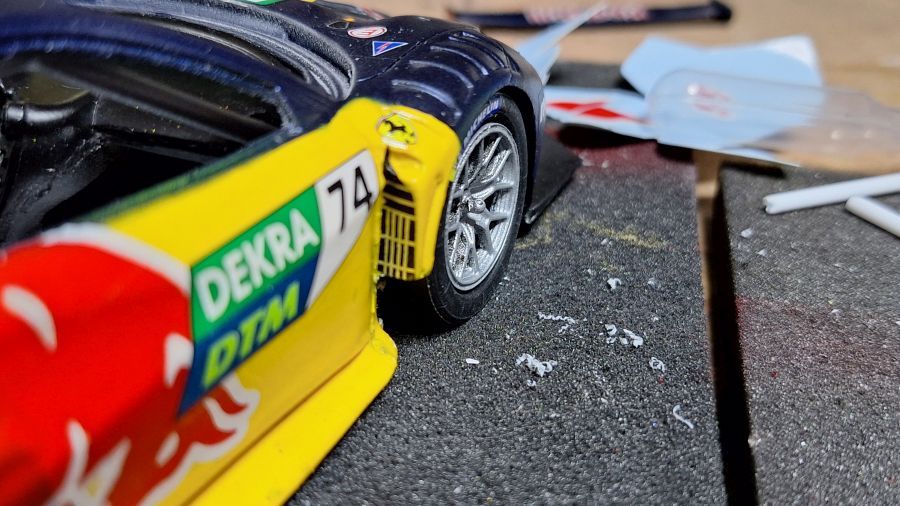
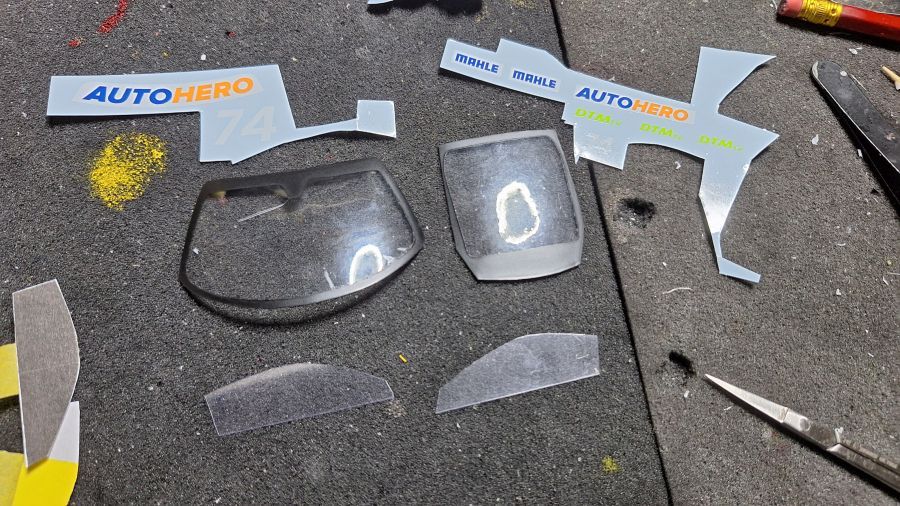
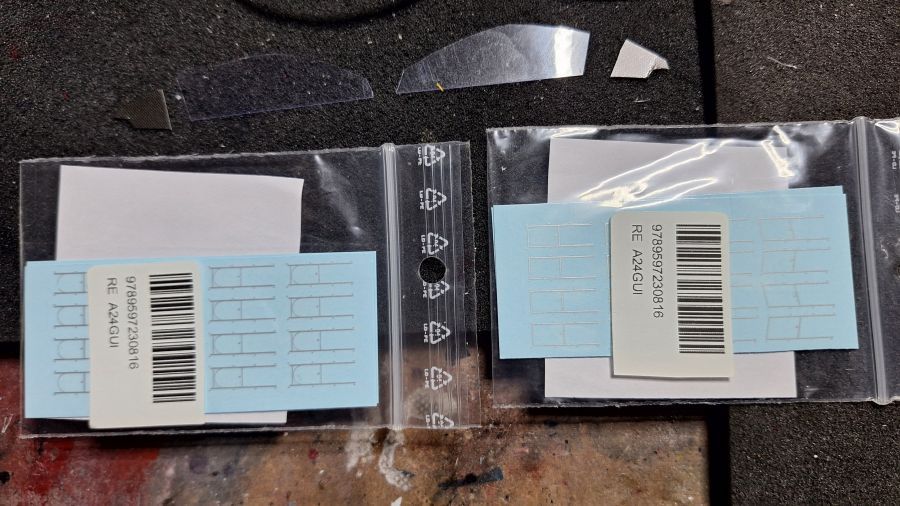
Vandaag begonnen met de decals. Ze zijn behoorlijk stijf, niet mijn favoriet.
Today started with the decals. They are quite stiff, not my favorite.


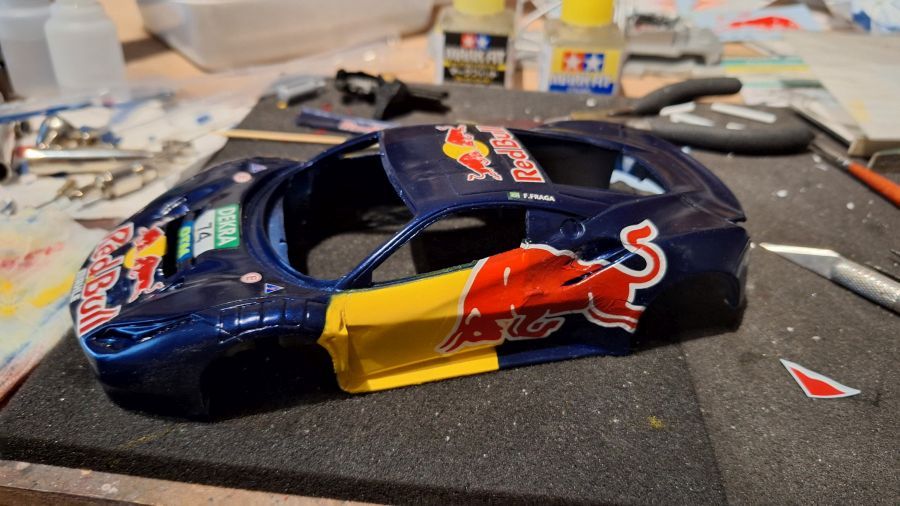
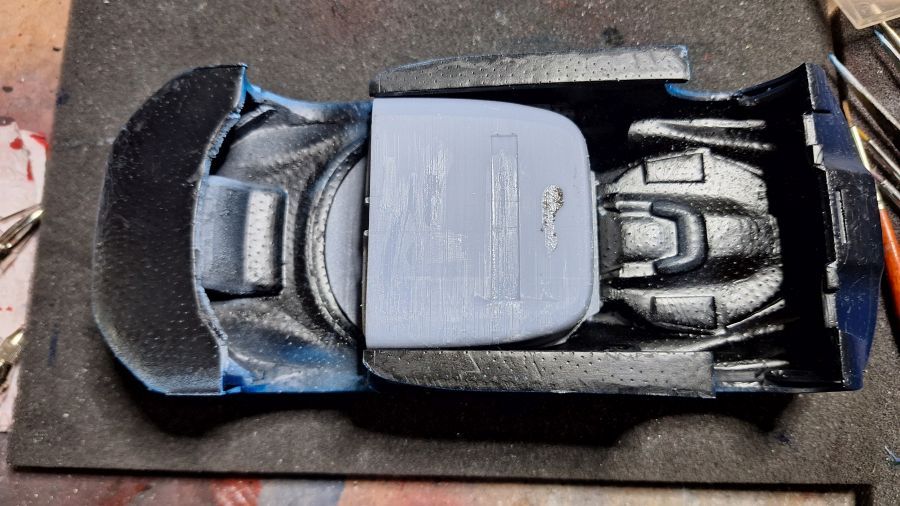
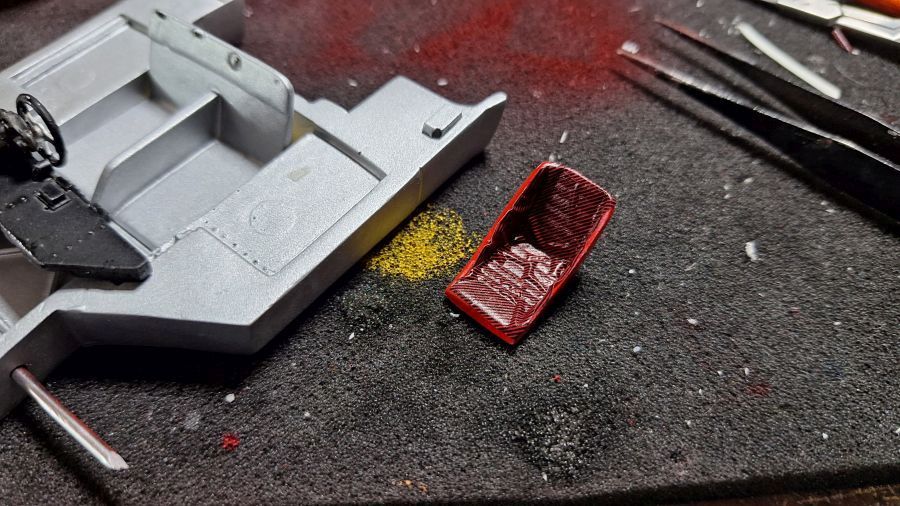
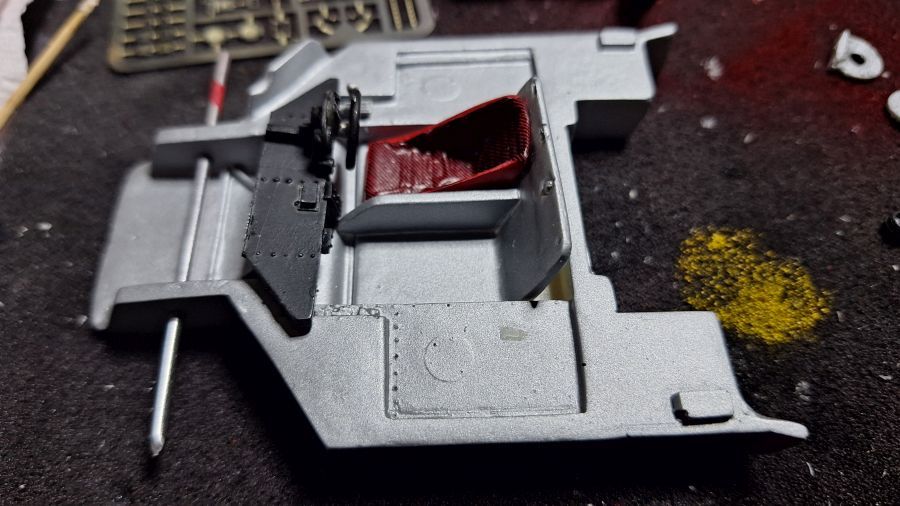
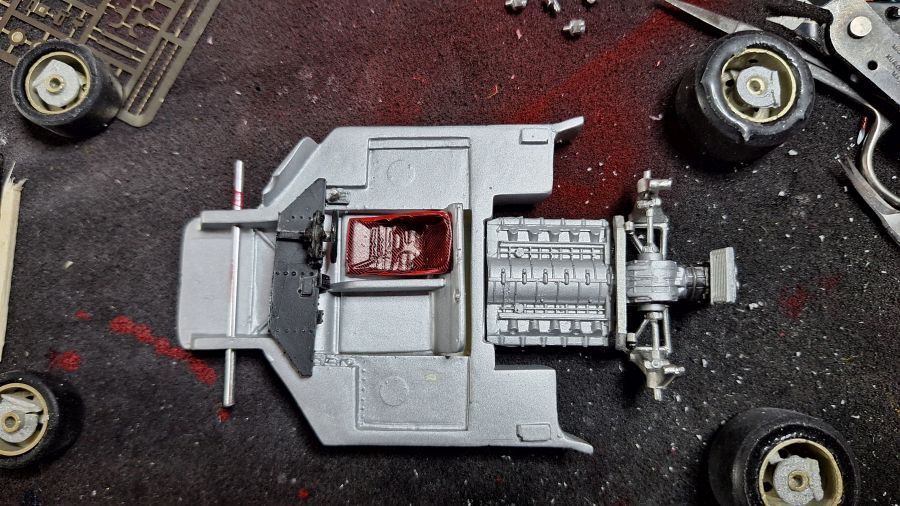
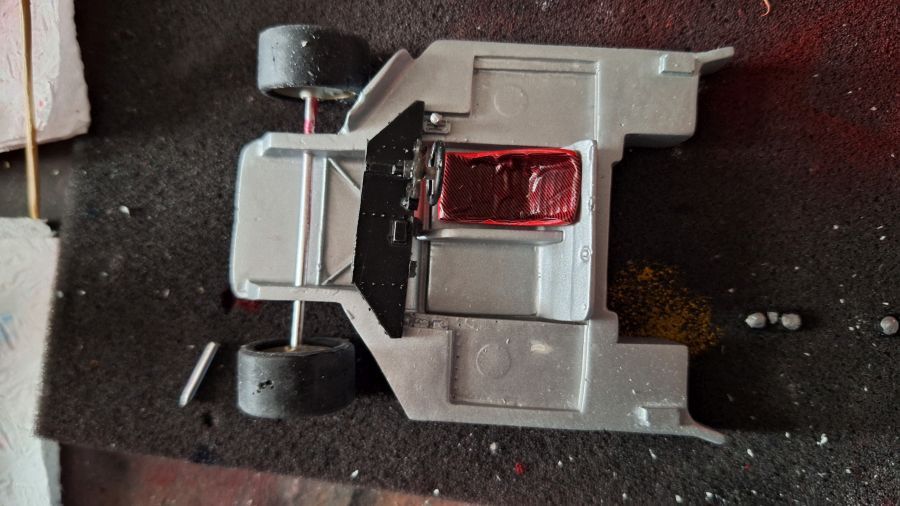
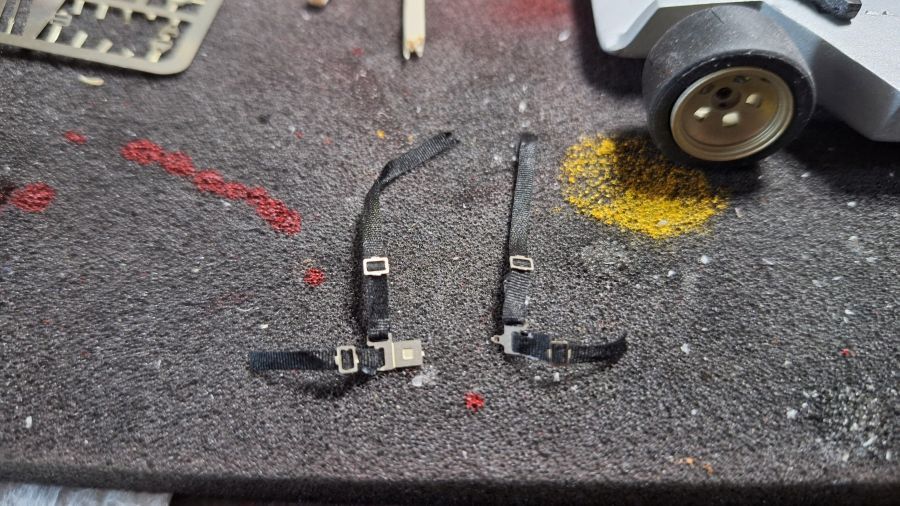
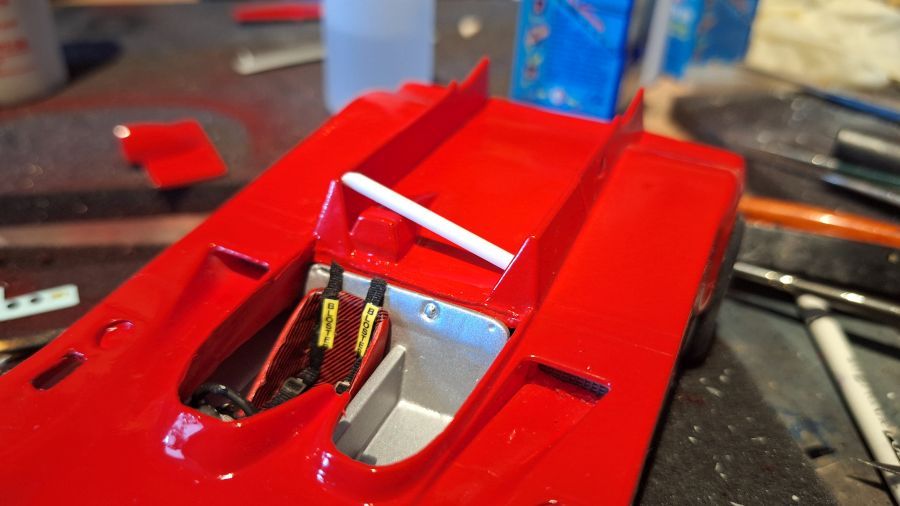
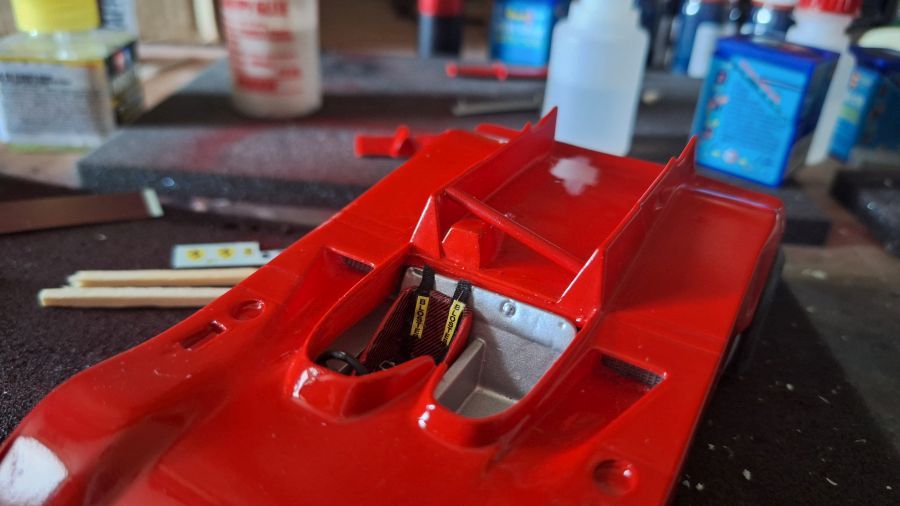
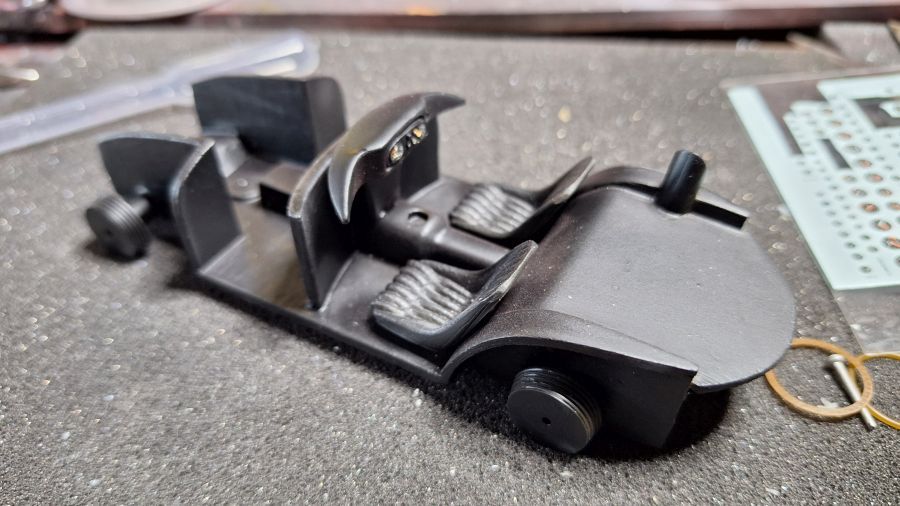
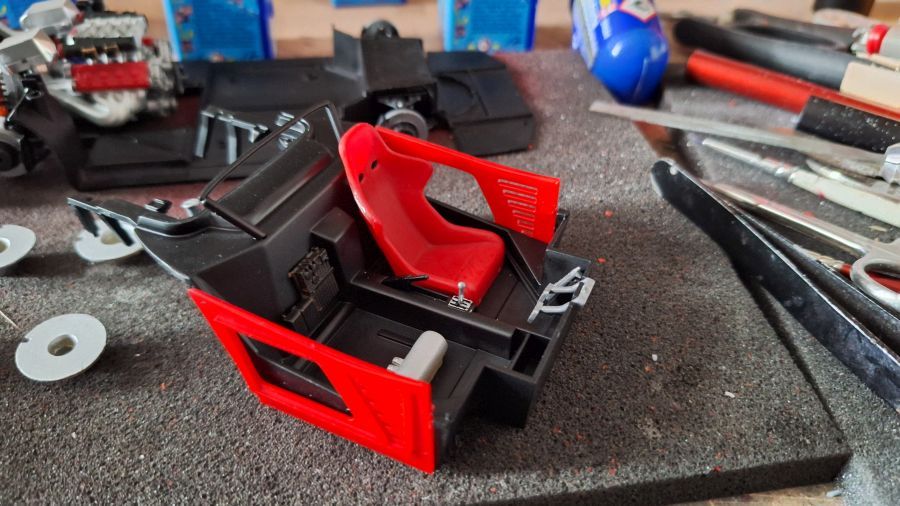
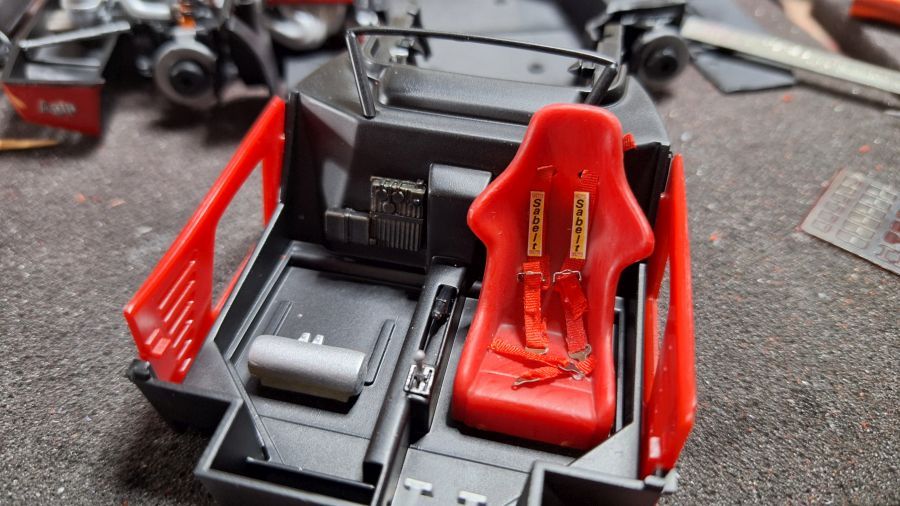
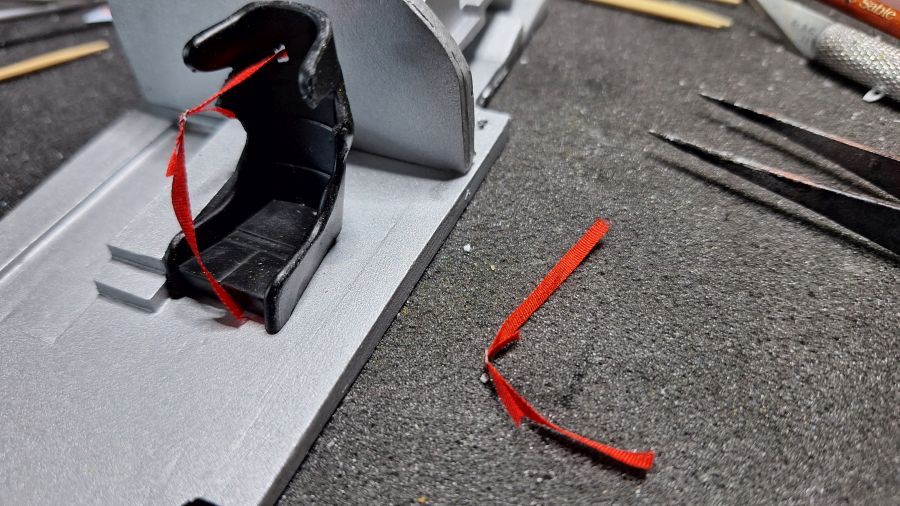
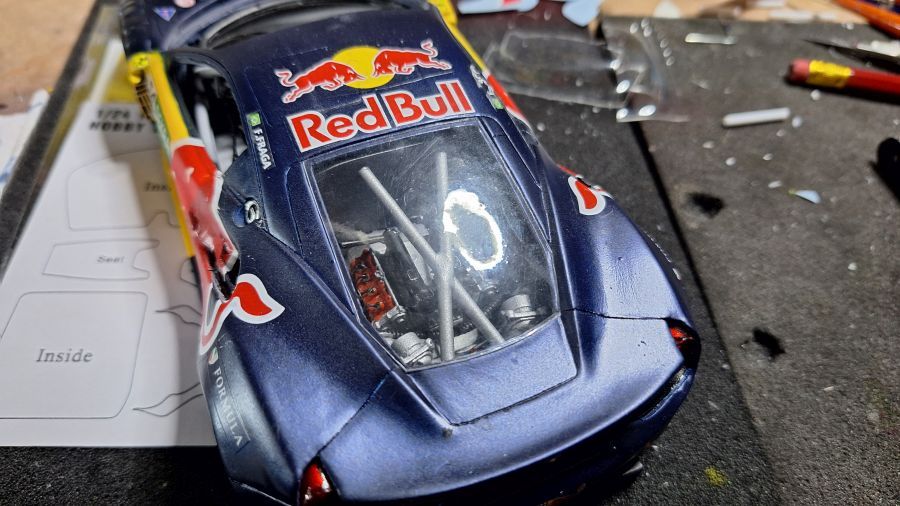
Wat werk aan het interieur.
Some work to the interior.


De body krijgt zijdeglans lak.
The body receives silk matt clear.

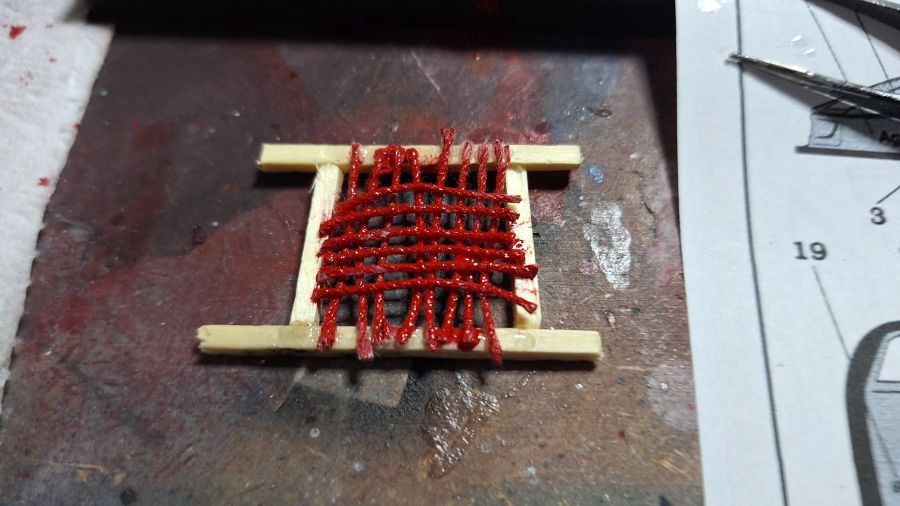
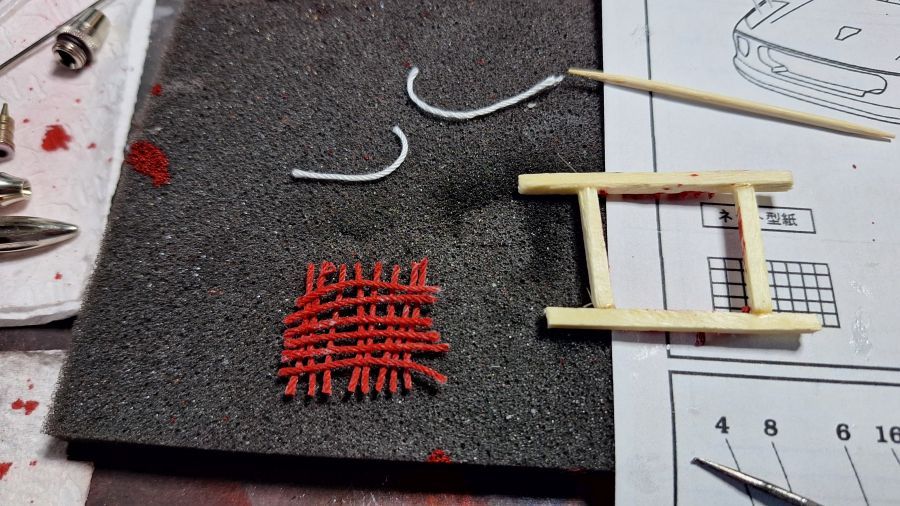
Dan het net en kooi onderdelen bij het achterraam.
Then the net and cage parts to the rear window.


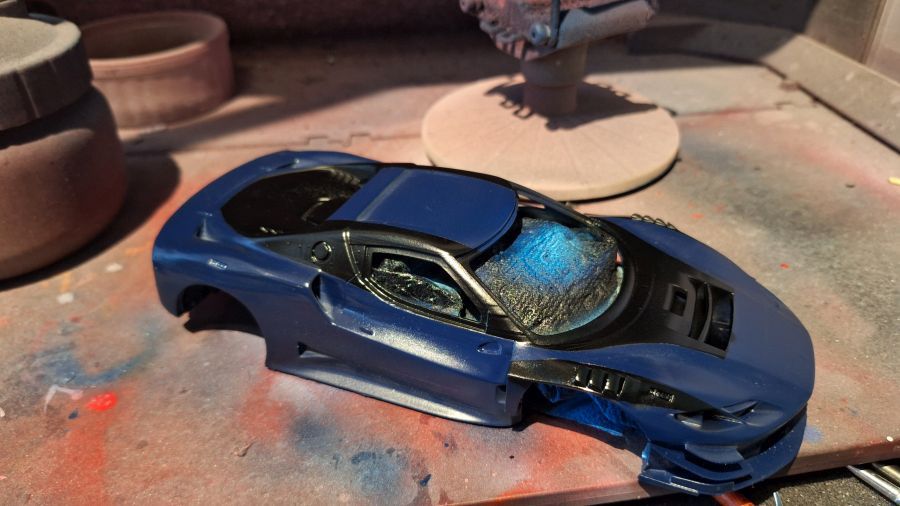
Wat delen zwart gemaakt voor het aanbrengen van de CF decals.
Some parts received black before adding CF decals.

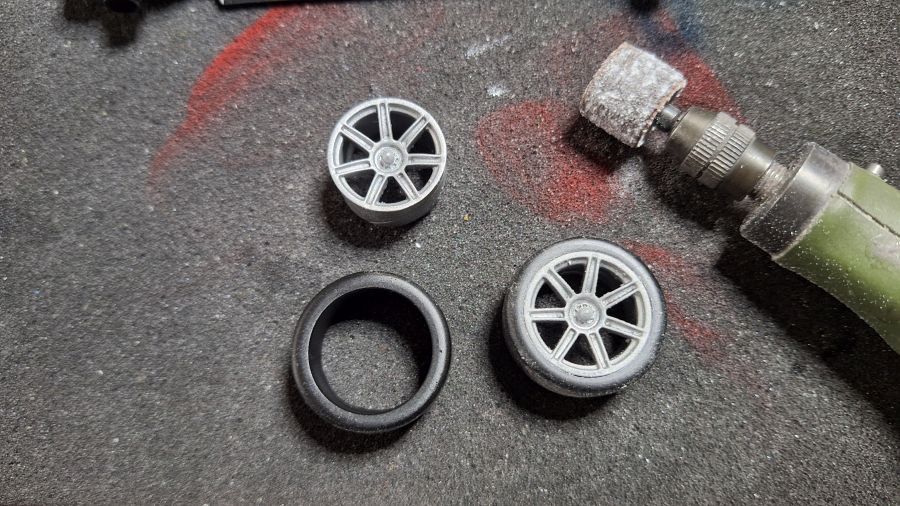
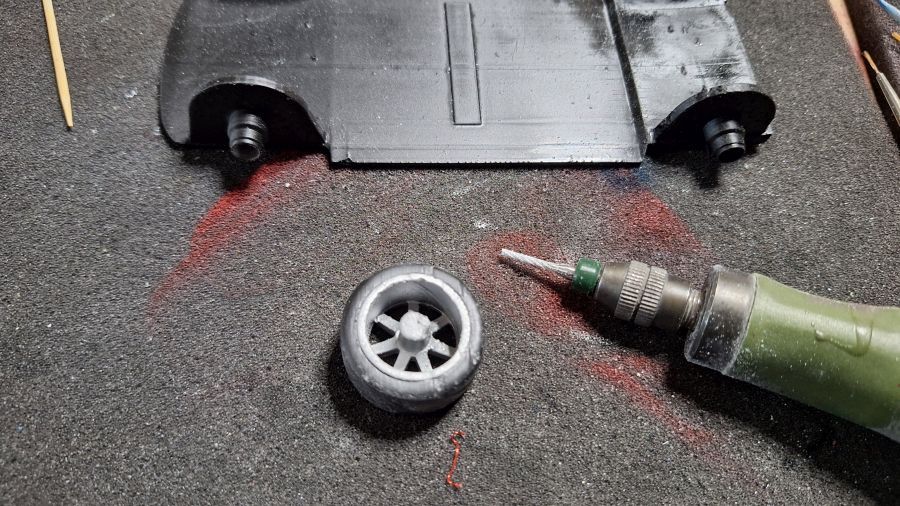
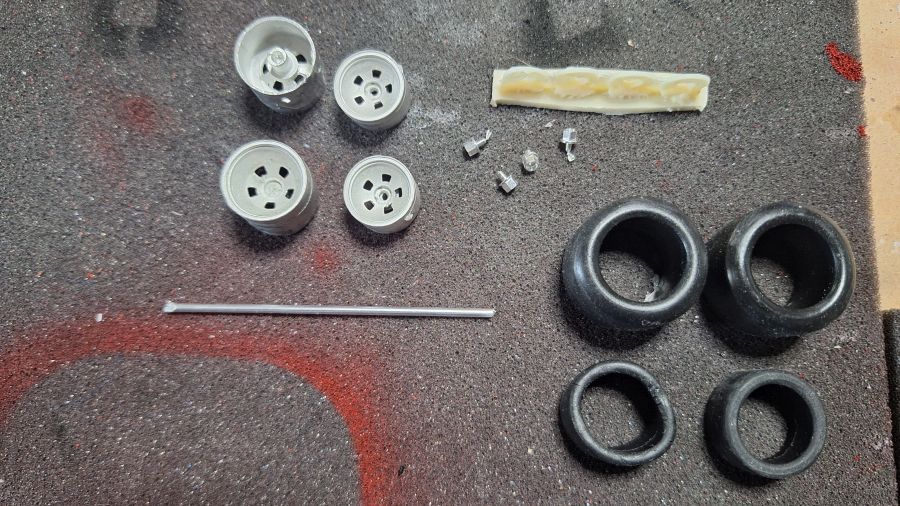
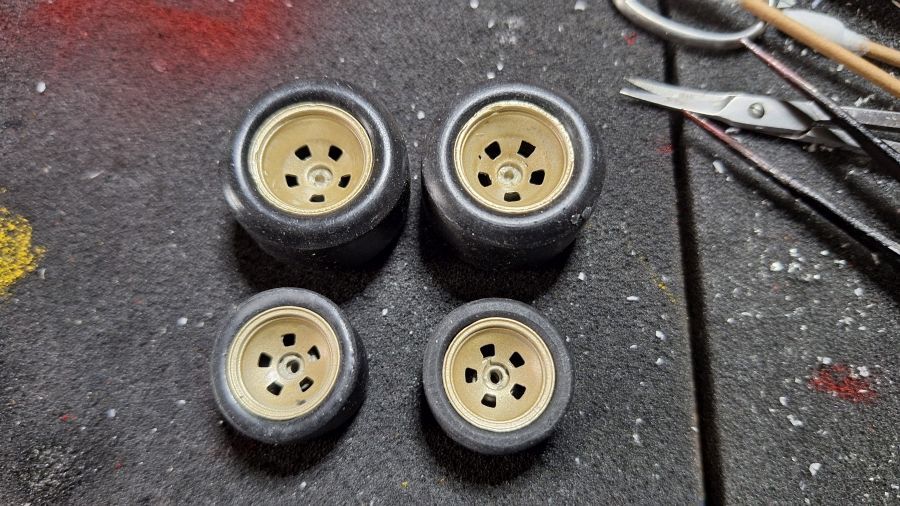
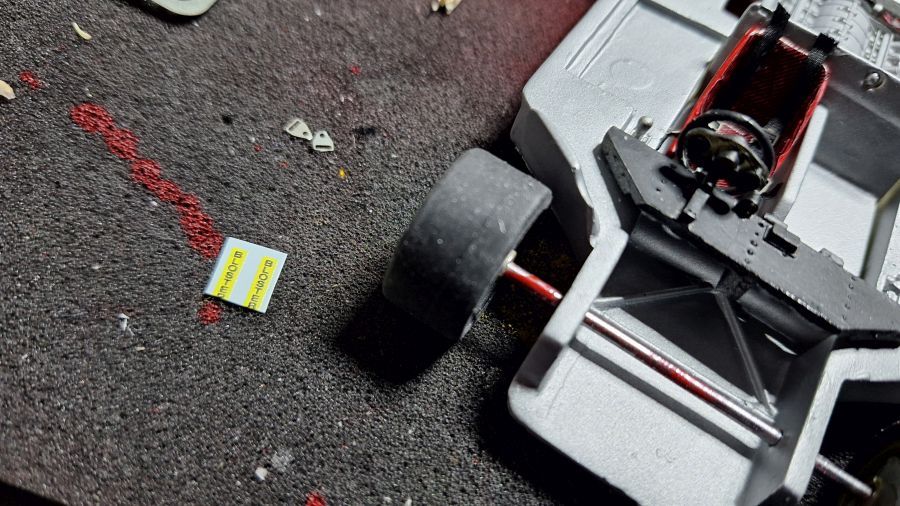
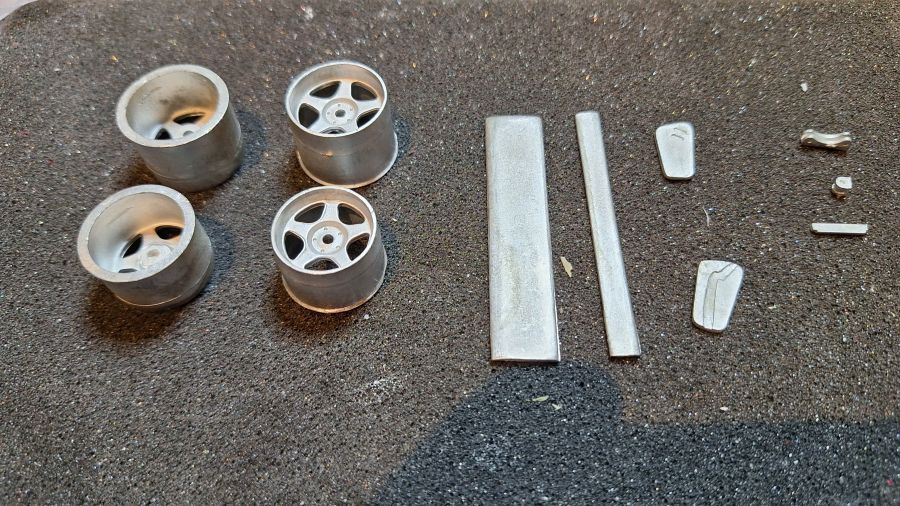
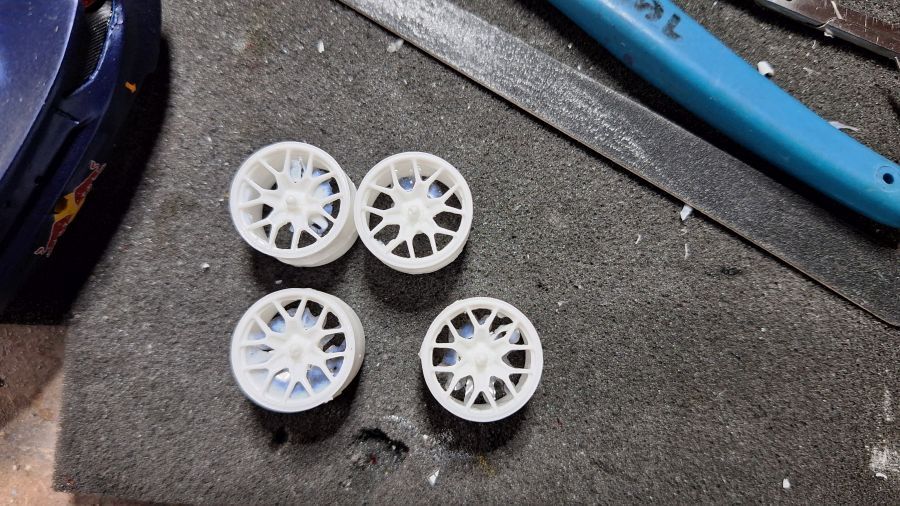
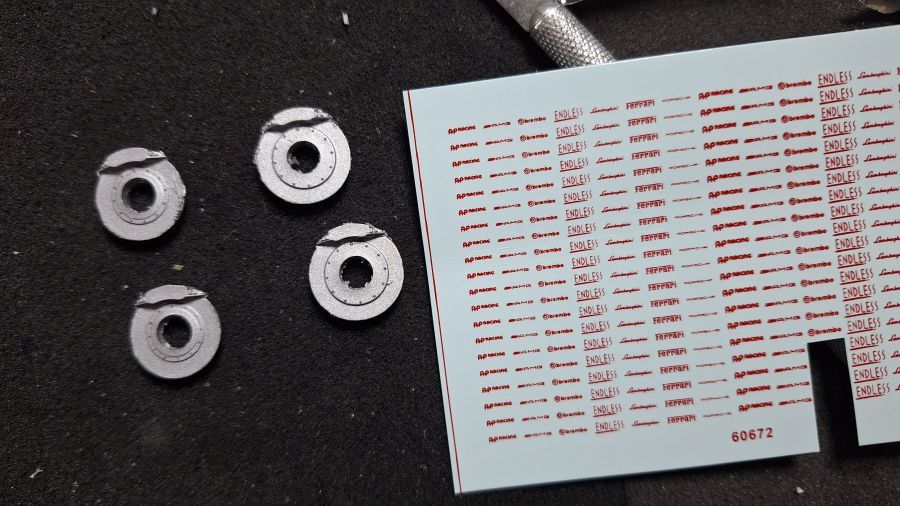
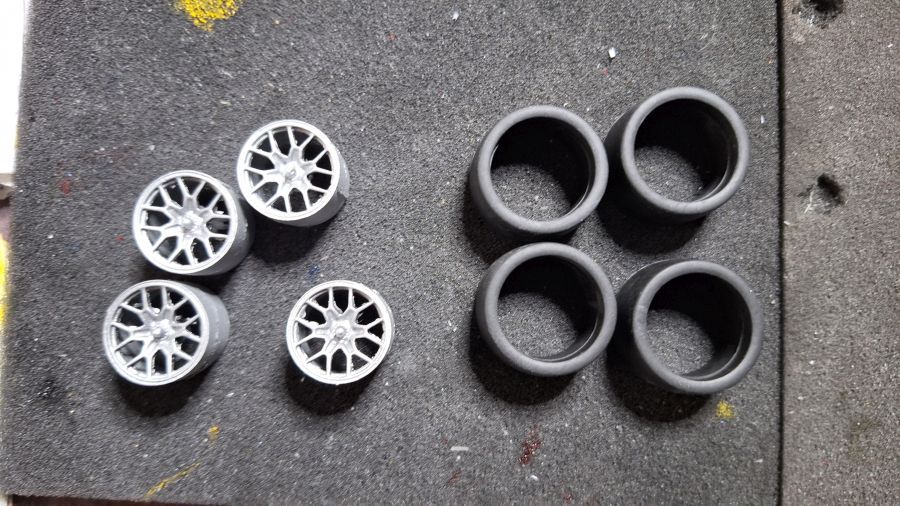
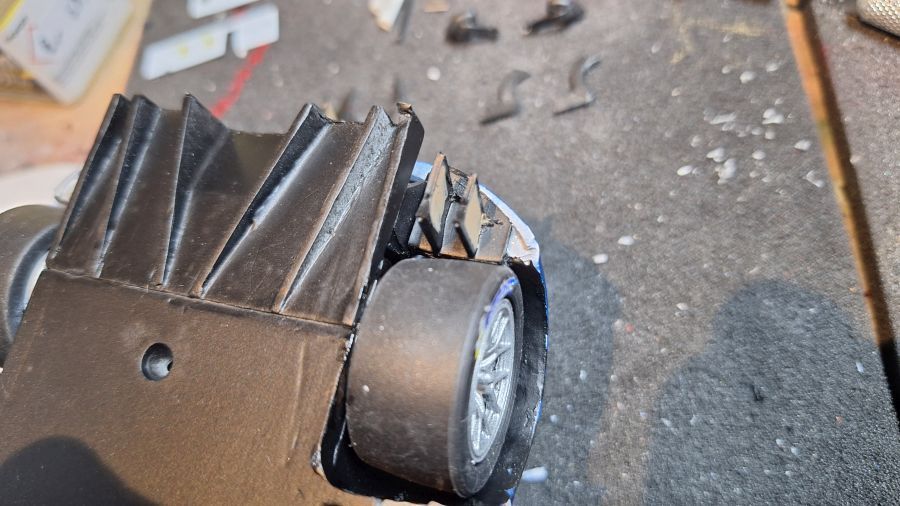
Intussen werken aan de wielen.
In the meantime working on the wheels.


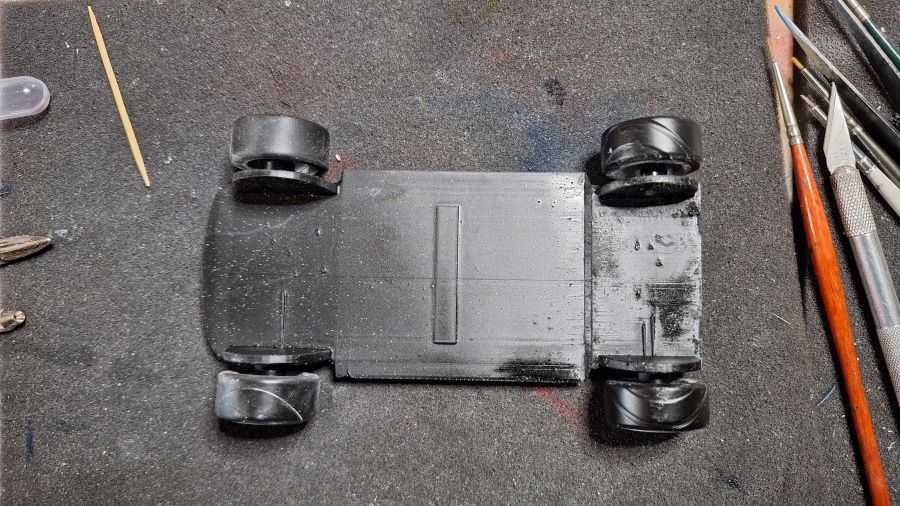
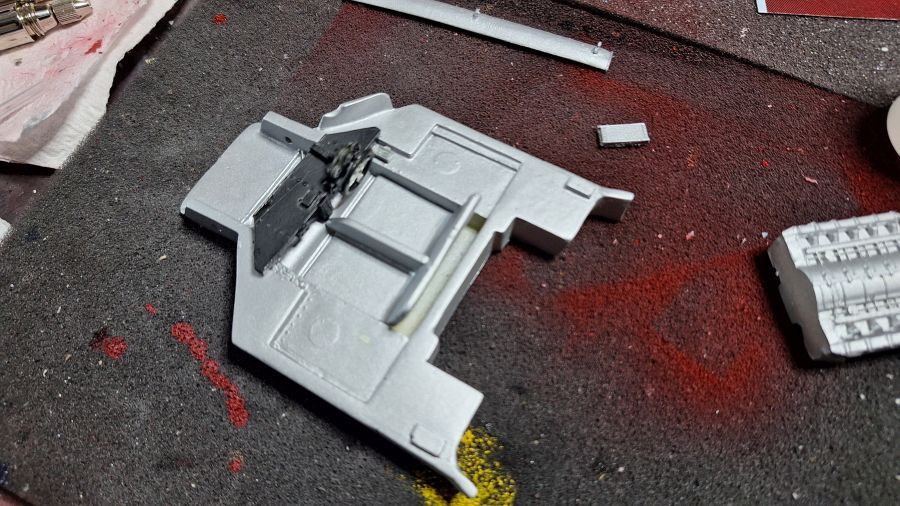
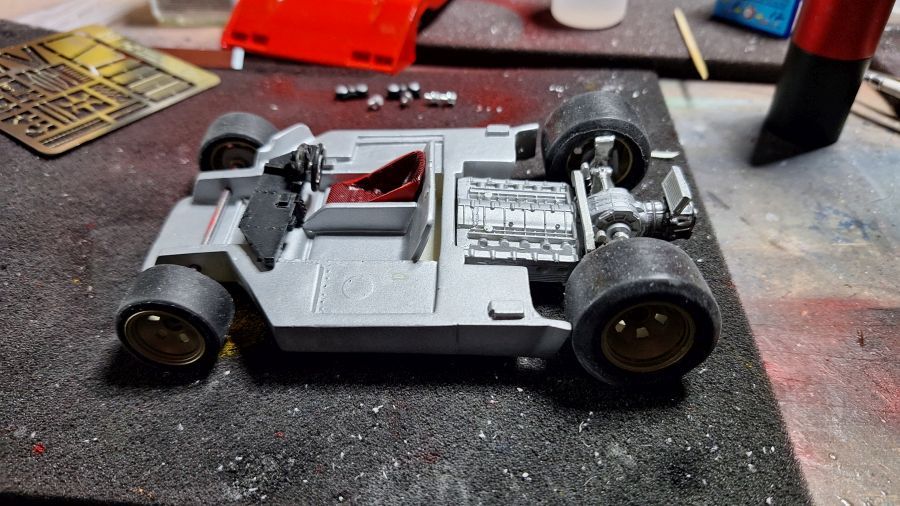
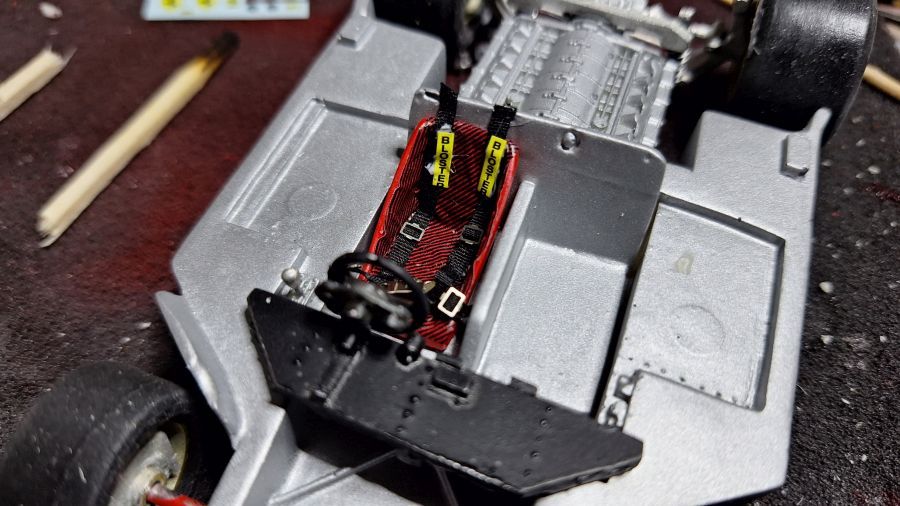
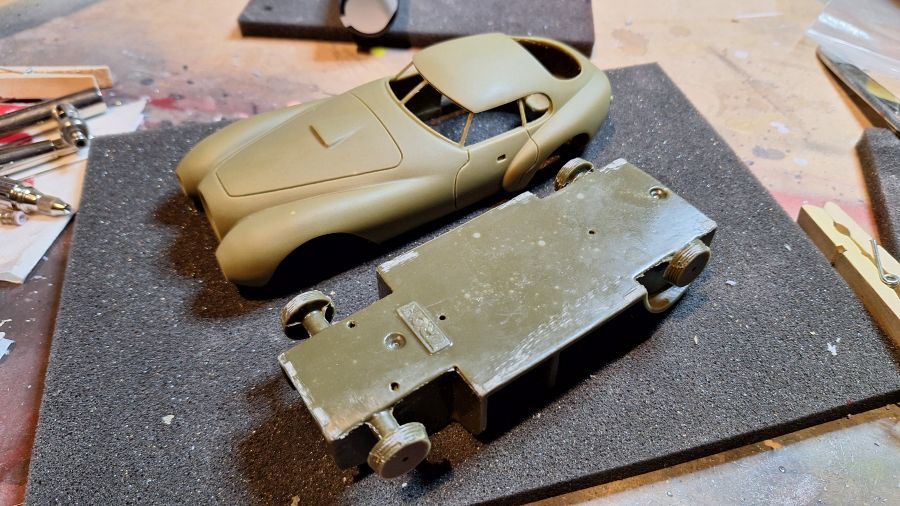
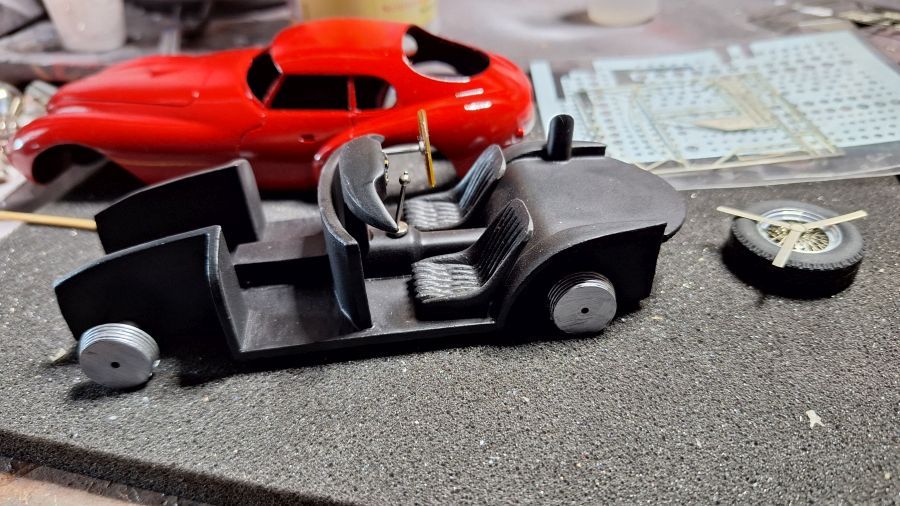
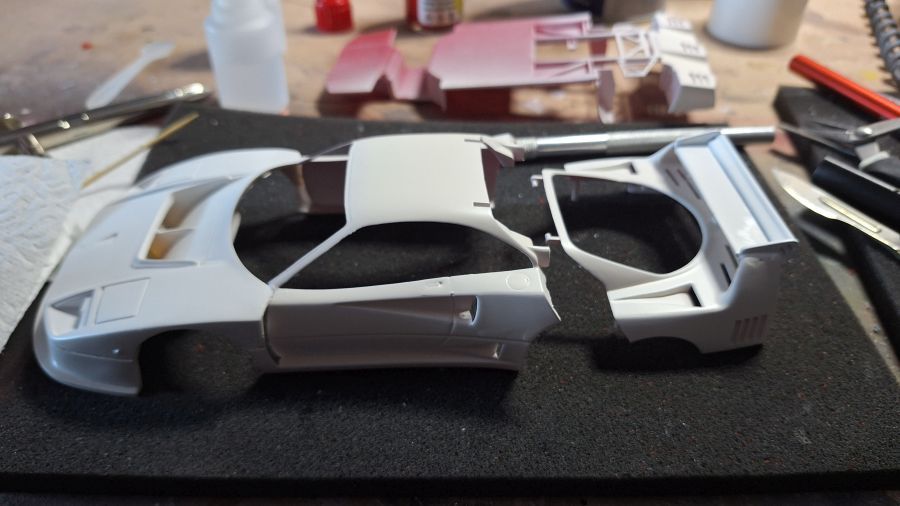
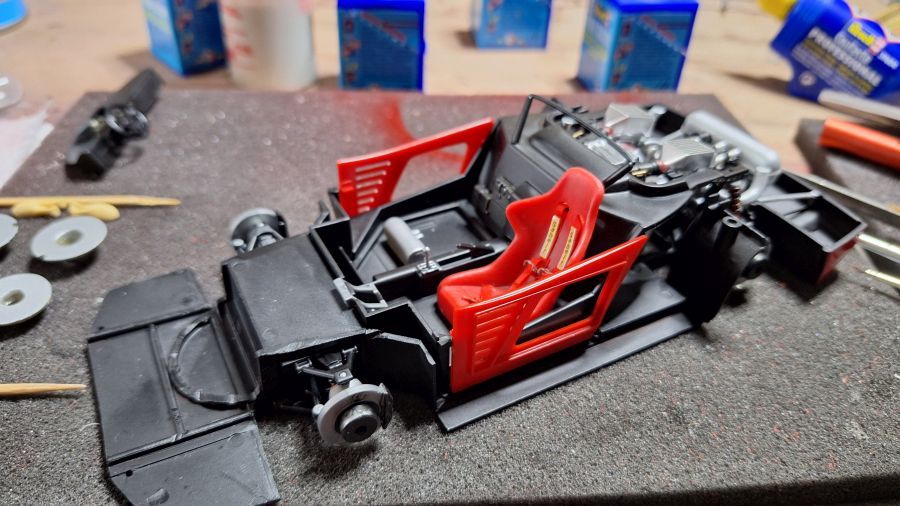
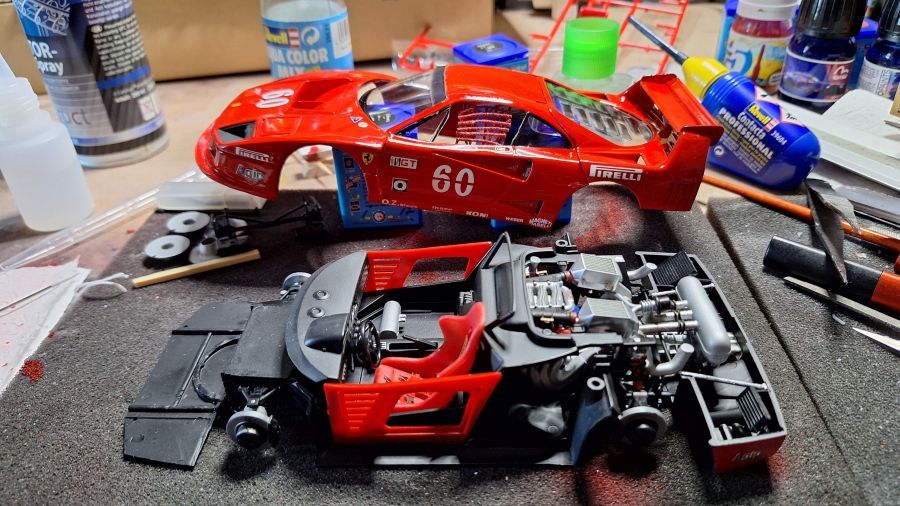
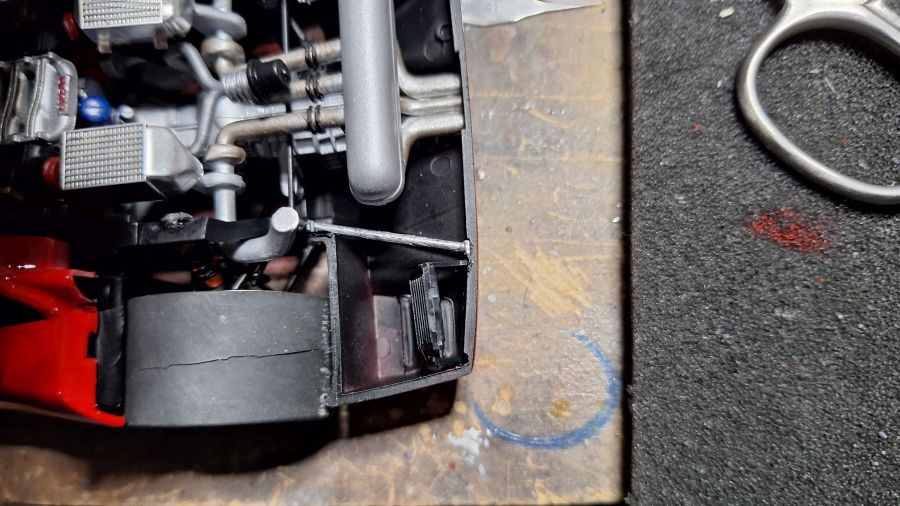
De body en de vloer combineren. Dan het dashboard erin.
Combining the body and floor. Then adding the dash.


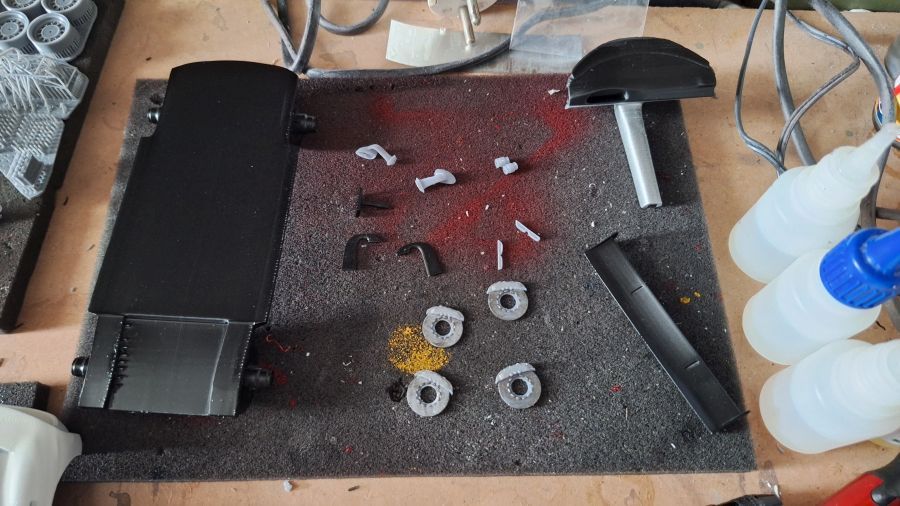
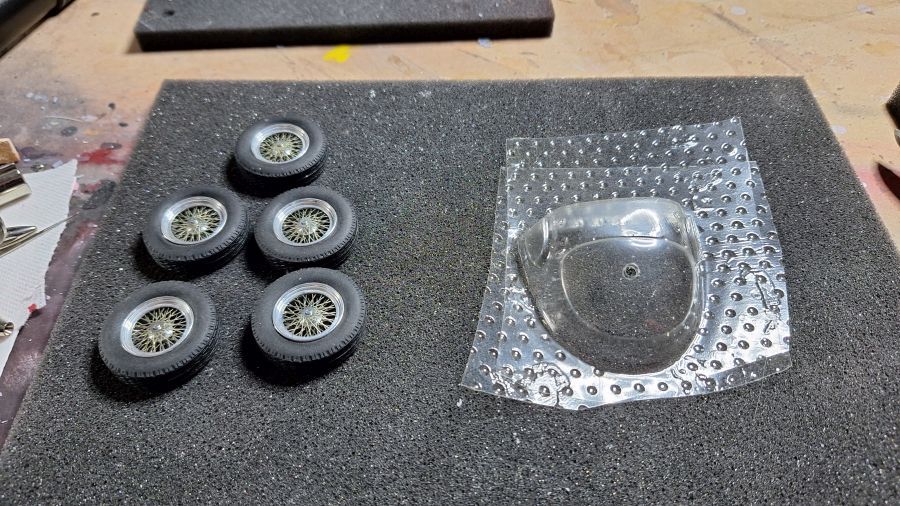
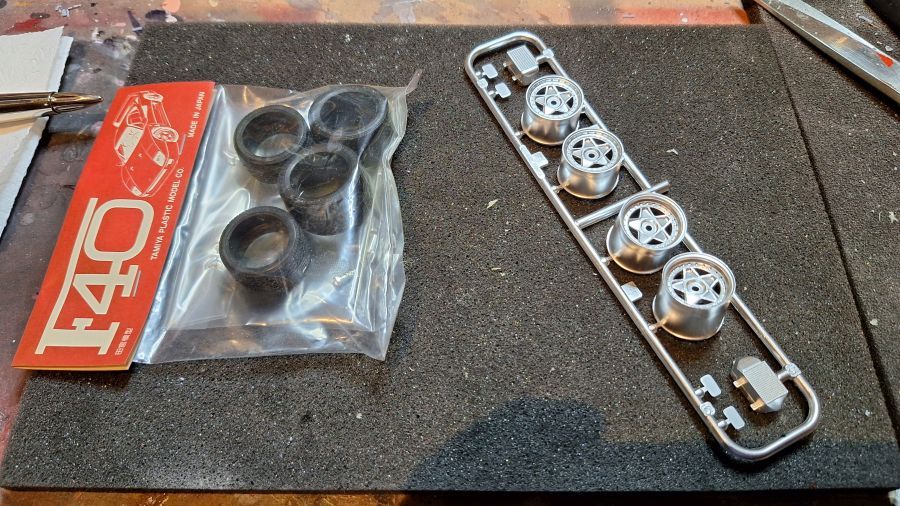
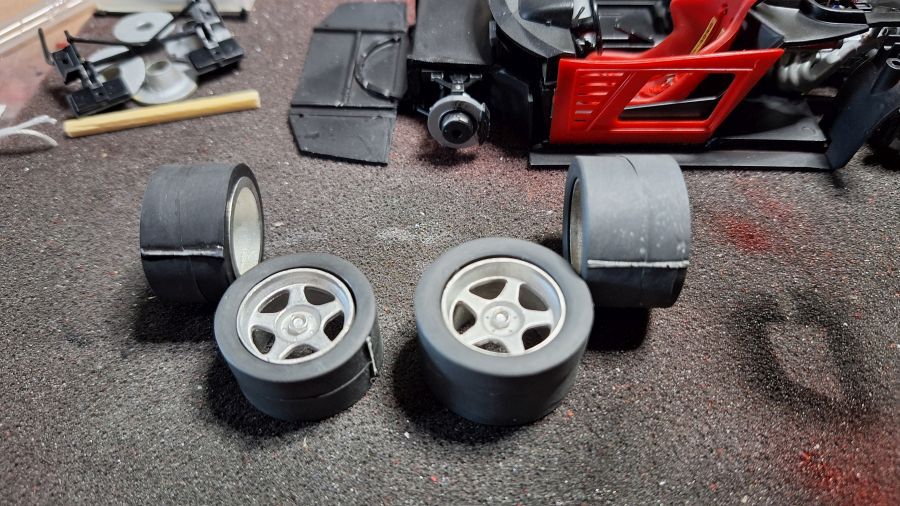
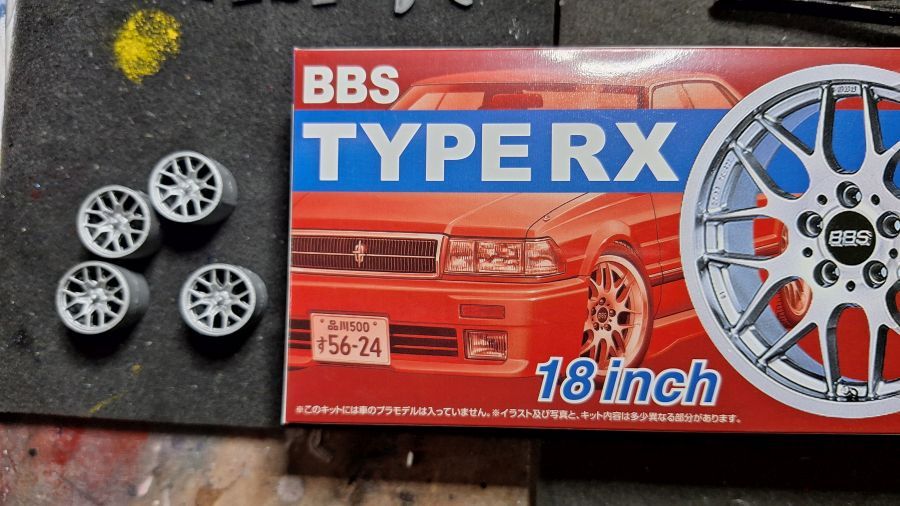
En weer naar de wielen... Ik heb 18 inch banden gekocht, maar deze zijn te smal op de velg. Ik ga nu banden gebruiken uit mijn Porsche 911 RSR kit. Daar heb ik inmiddels 3d geprinte velgen en banden voor. Ook deze passen niet perfect, maar ik doe het er mee.
And back to the wheels... I bought 18 inch tires for it, but these ar not wide enough on the rims. I will now use the tires of my Porsche 911 RSR kit. I bought new rims and tires for that one. These don't fit perfect either, but for now i will accept it.


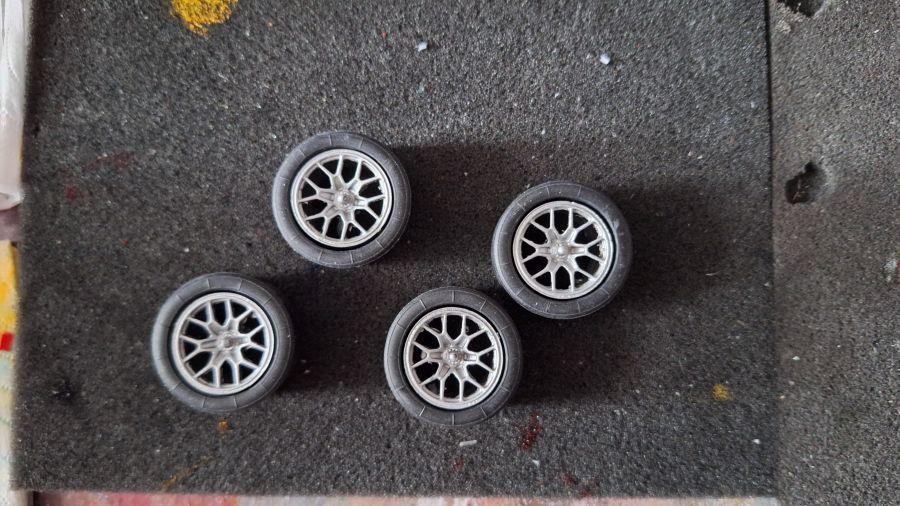
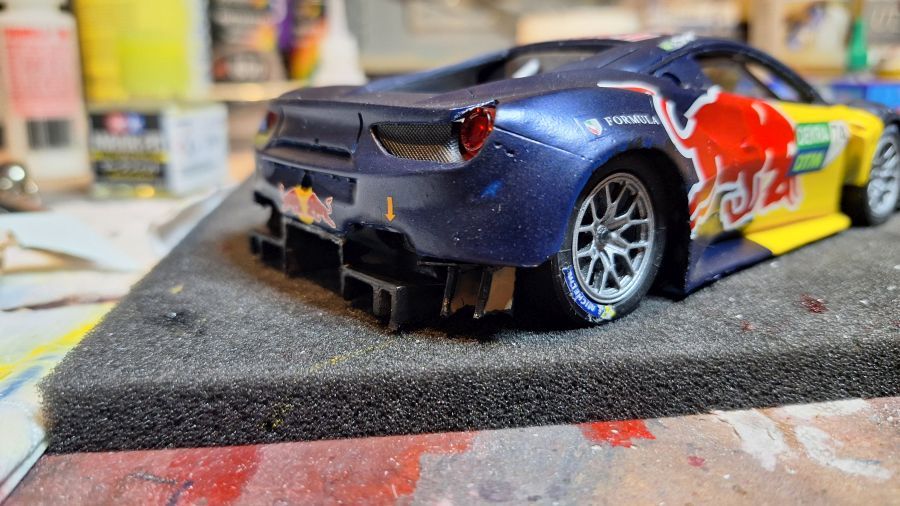
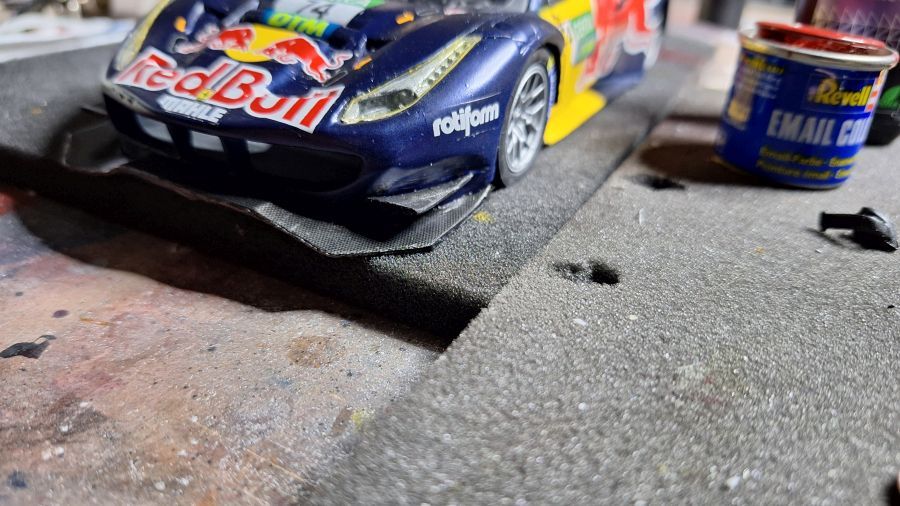
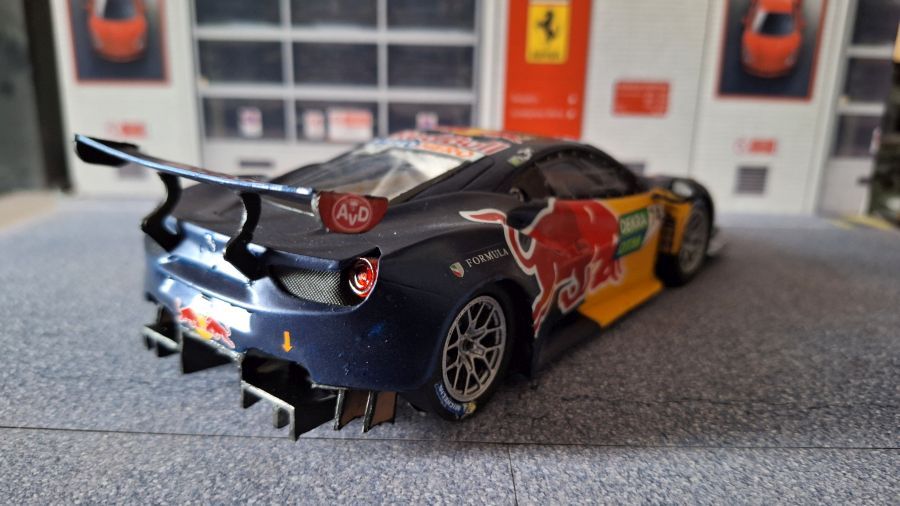
De voorspoiler, een deel van de diffusor en de wielen plaatsen.
Adding the front spoiler, a part of the diffusor and the wheels.


Weer naar de diffusor...
Back to the diffusor...


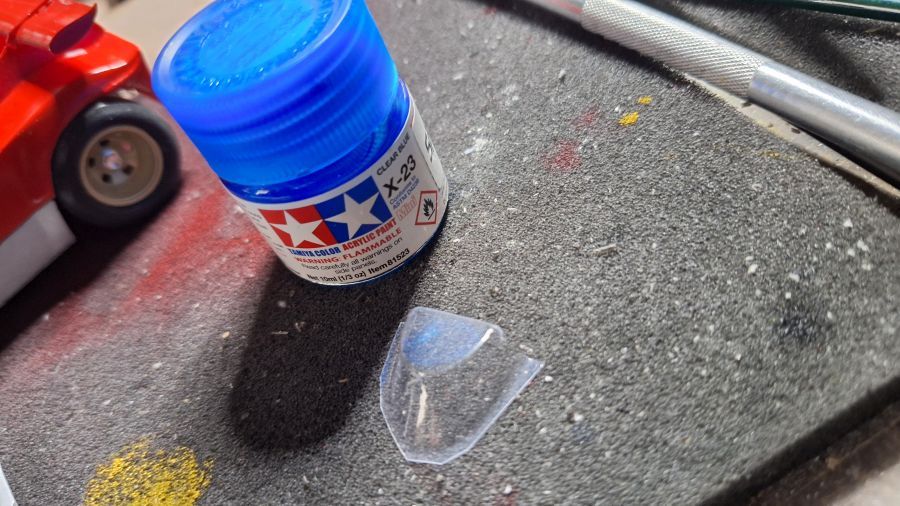
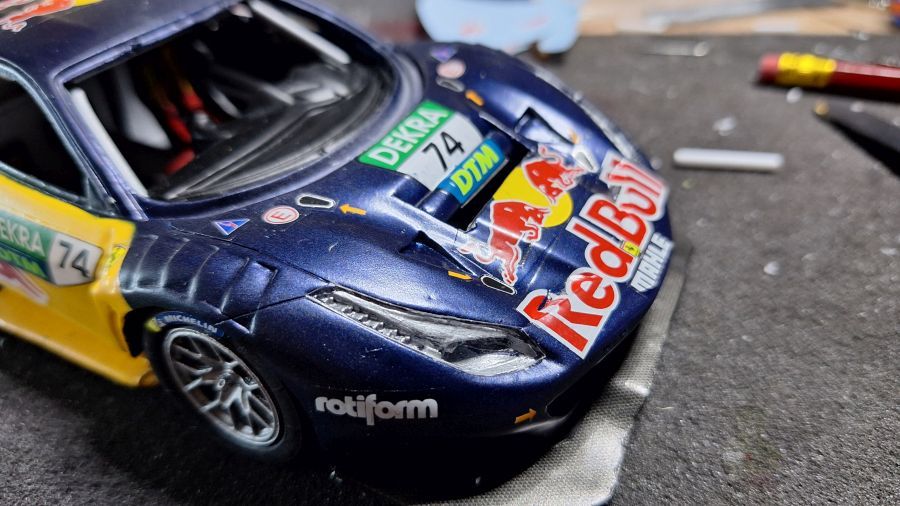
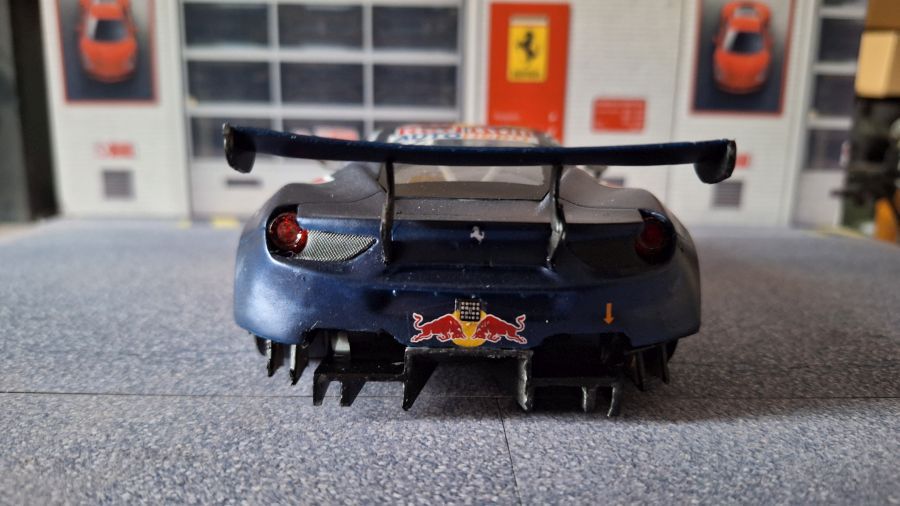
Dan wat chrome decals plaatsen. Ik wilde deze niet met lak afdekken.
Then adding some chrome decals. I didn't want to cover these with lacquer.
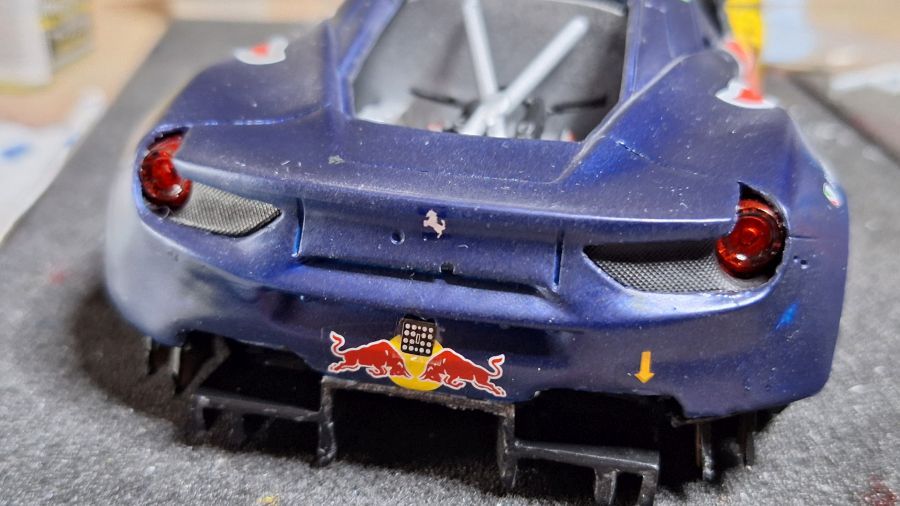
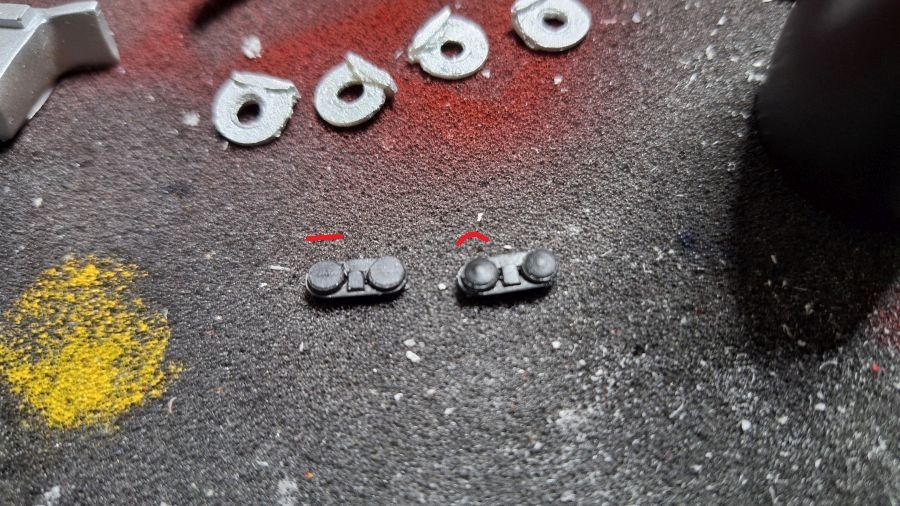
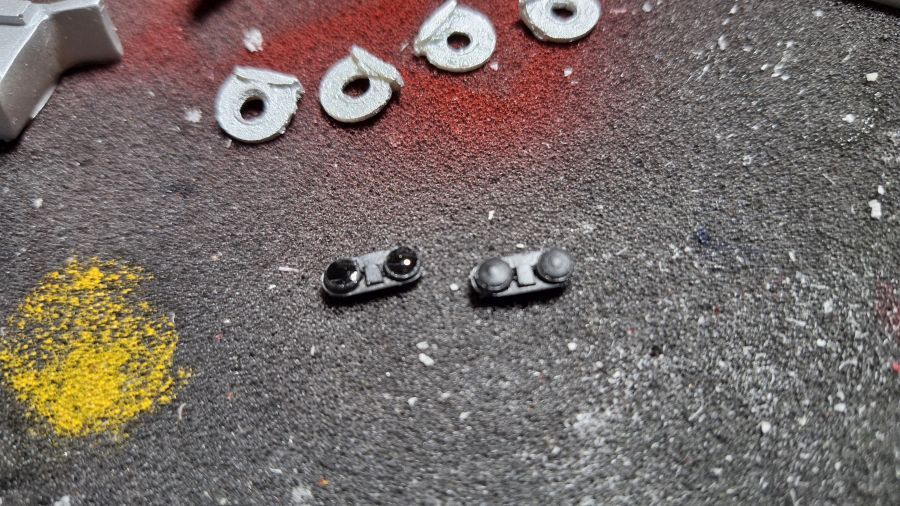
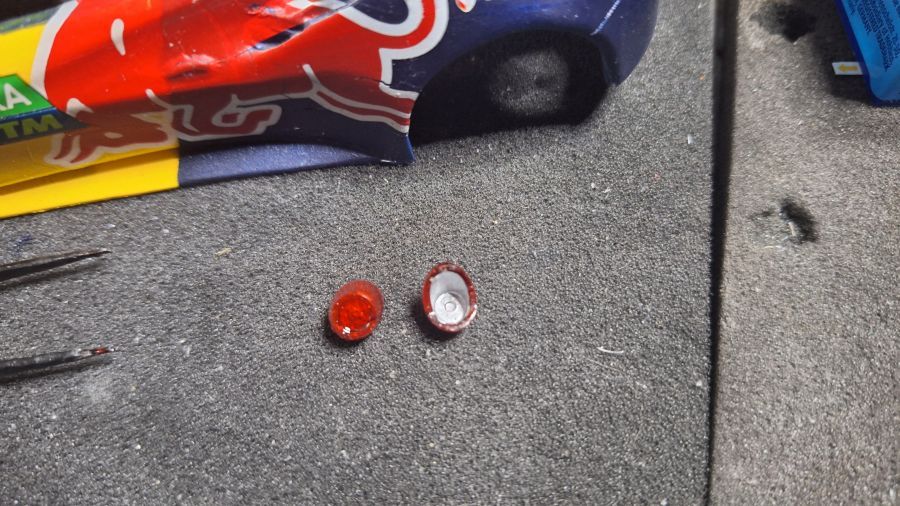
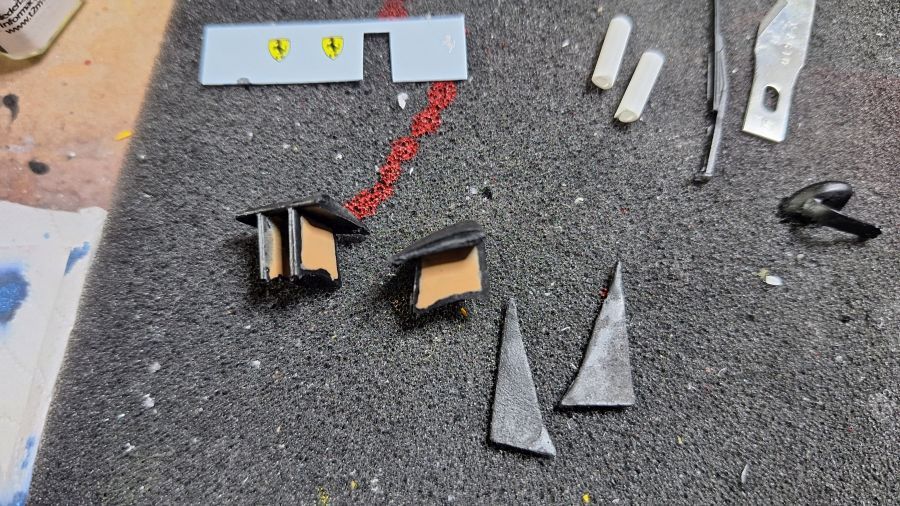

Lichten geverfd.
Headlights painted.

Carbon op de spoiler.
Carbon to the spoiler.

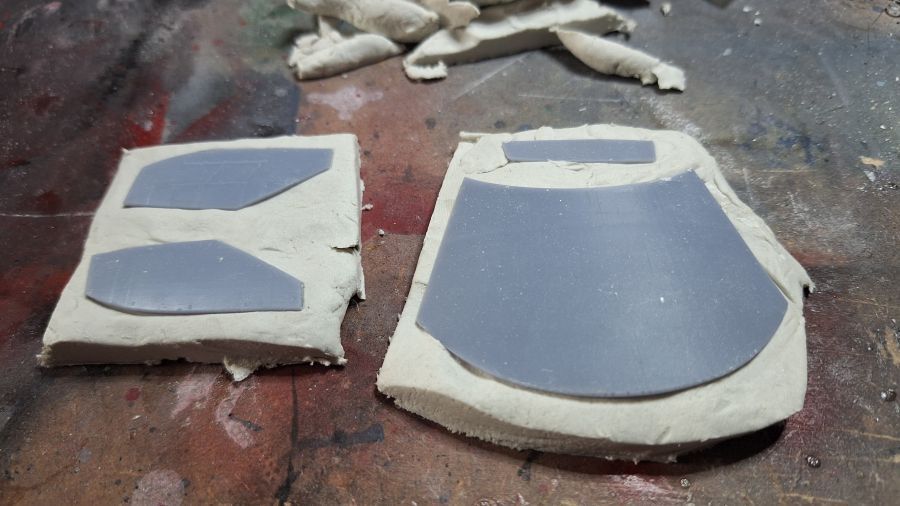
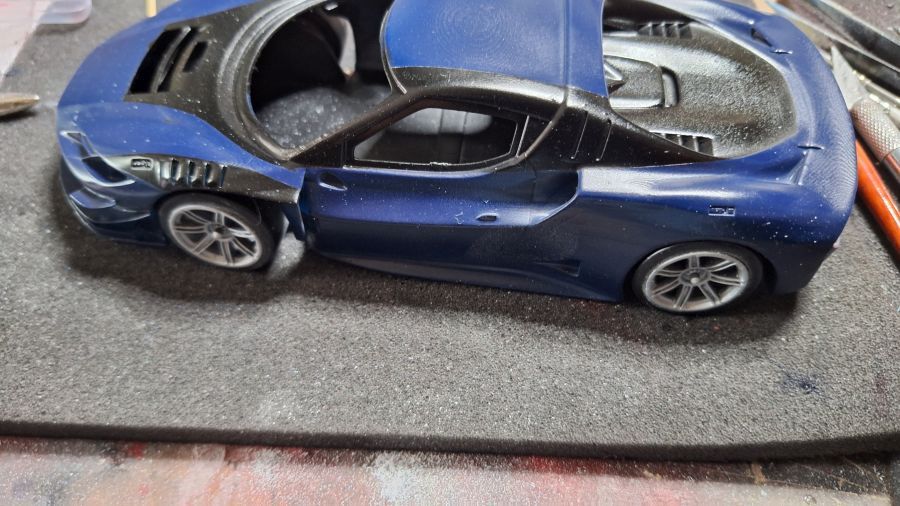
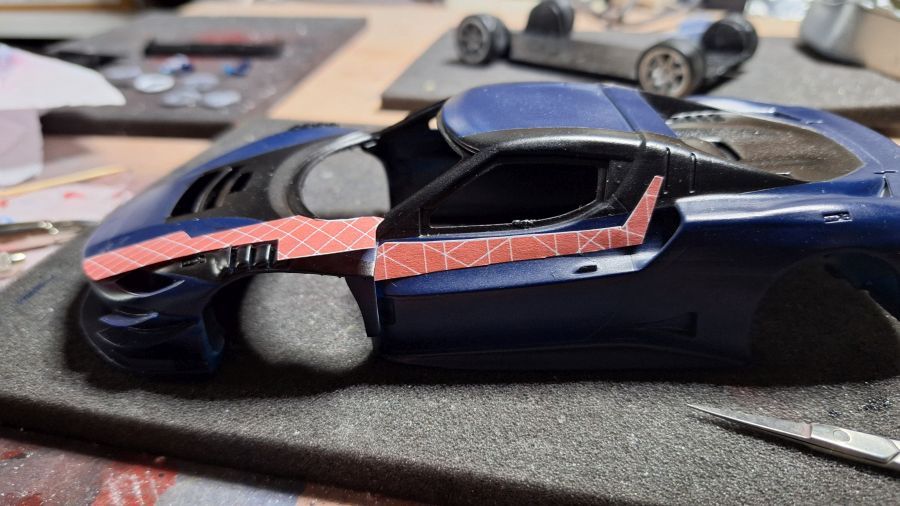
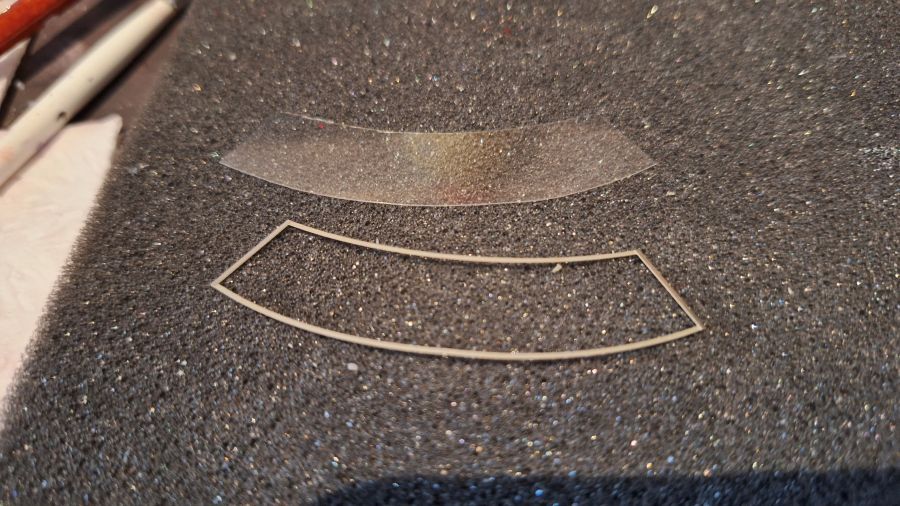
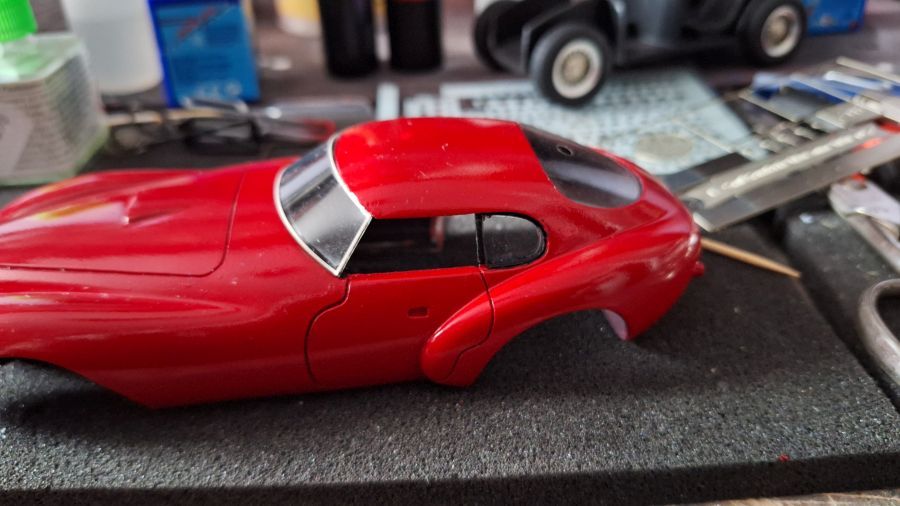
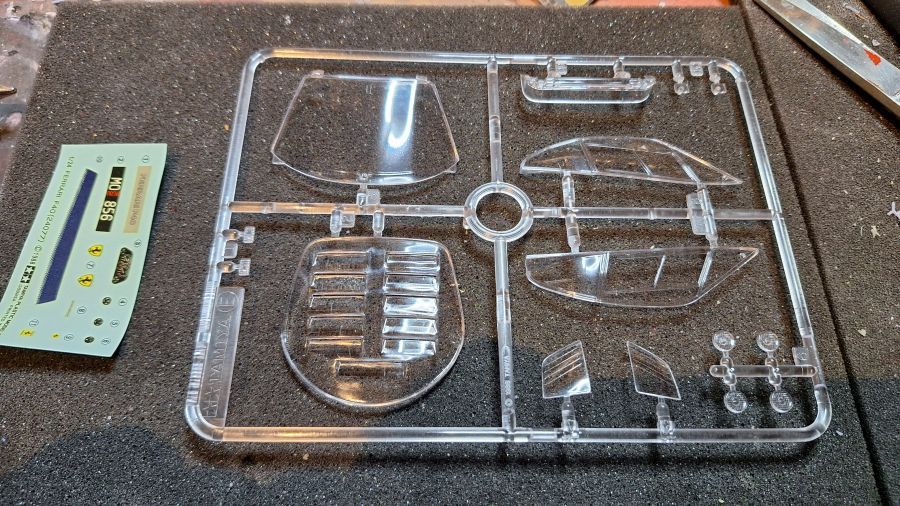
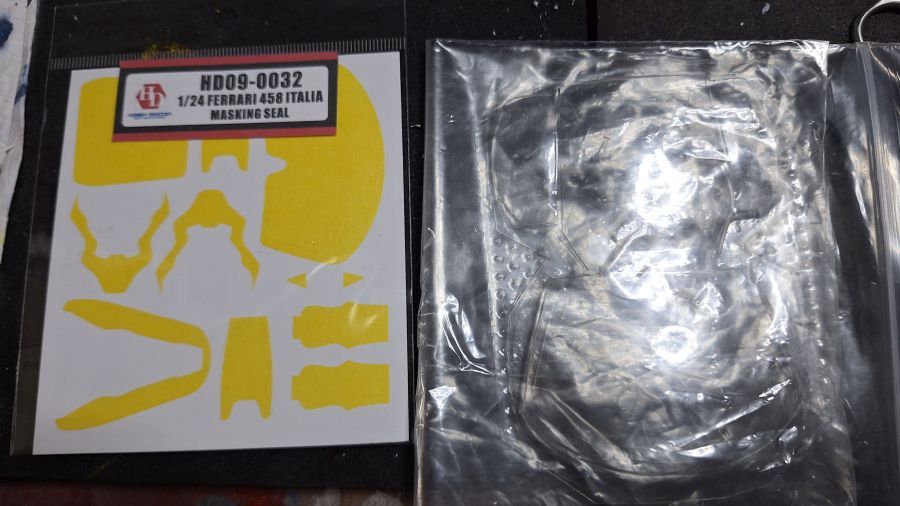
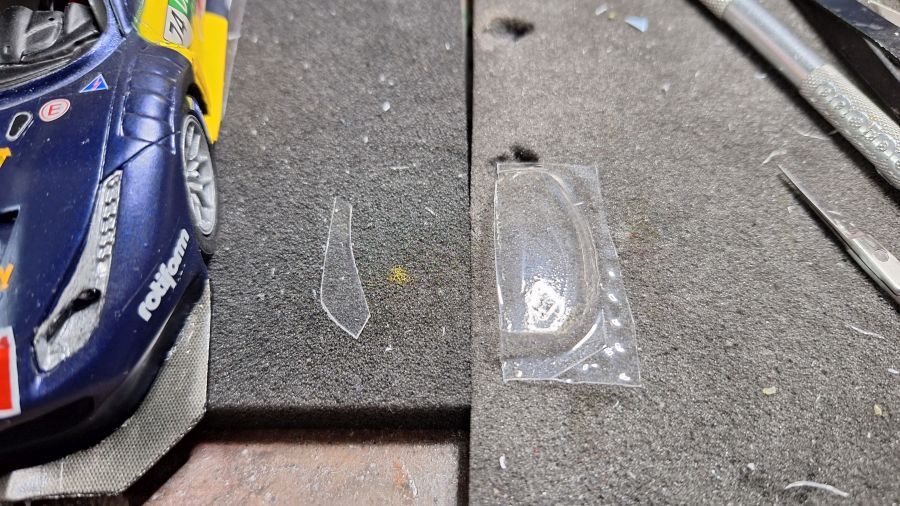
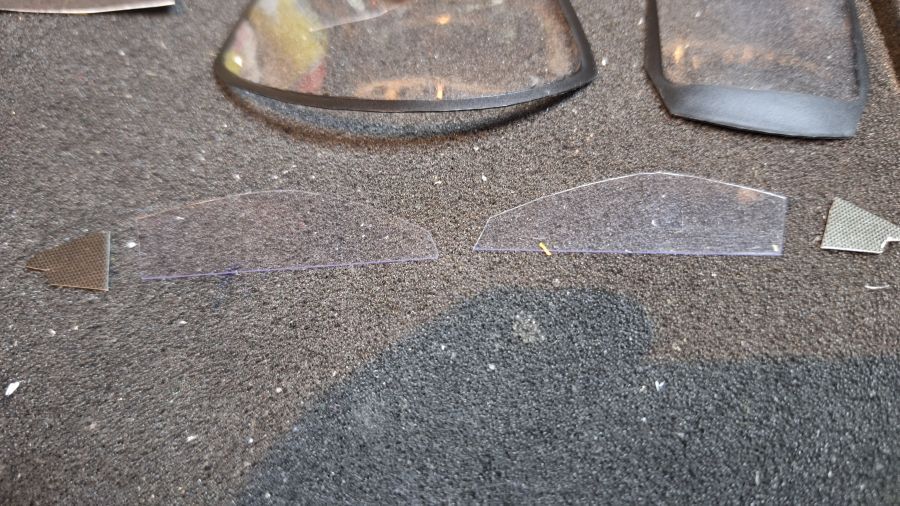
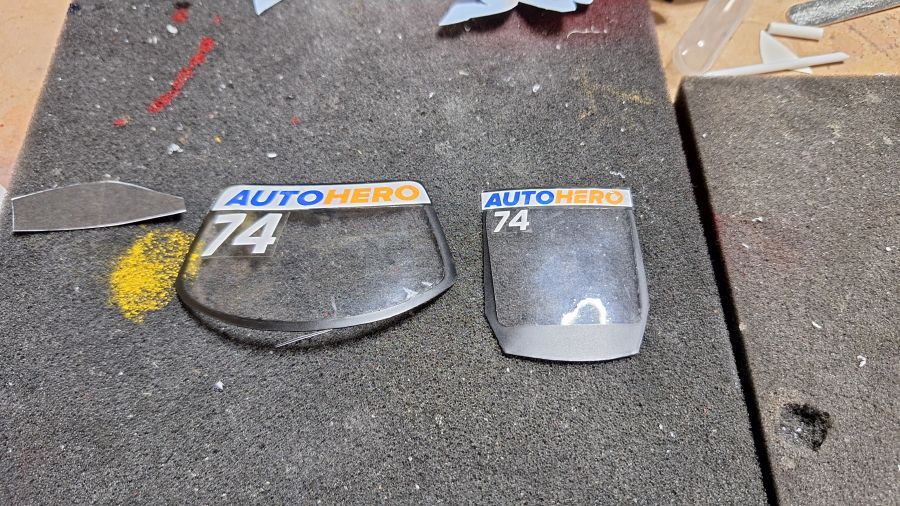
Door naar de ramen. Vreemd genoeg zitten er geen zijramen bij.
On to the windows. Strange enough there are no side windows included.


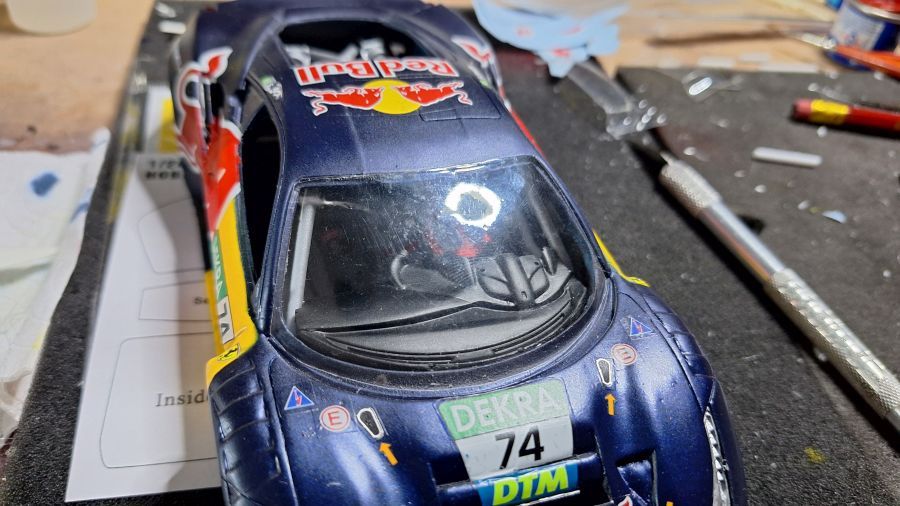
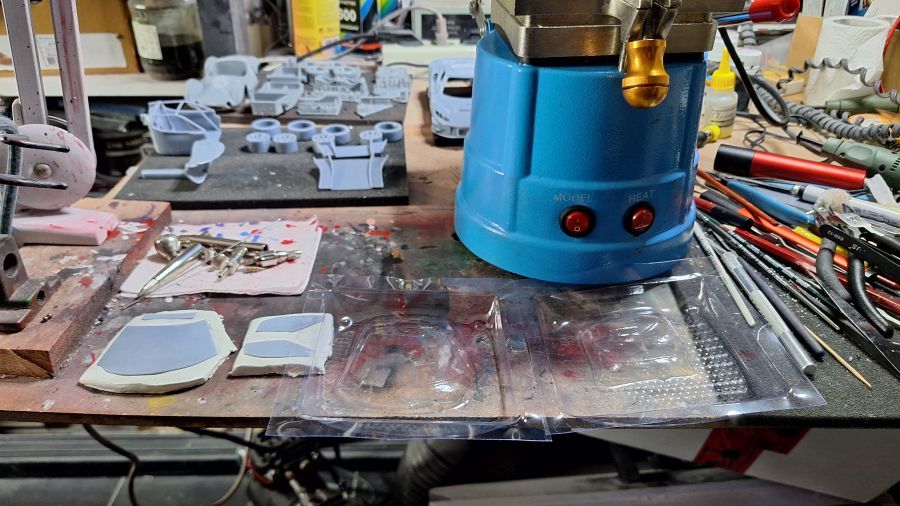
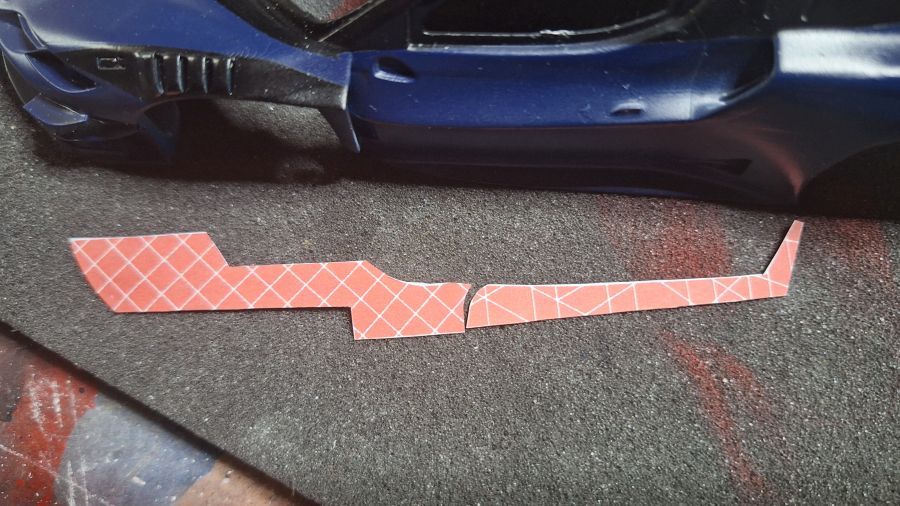
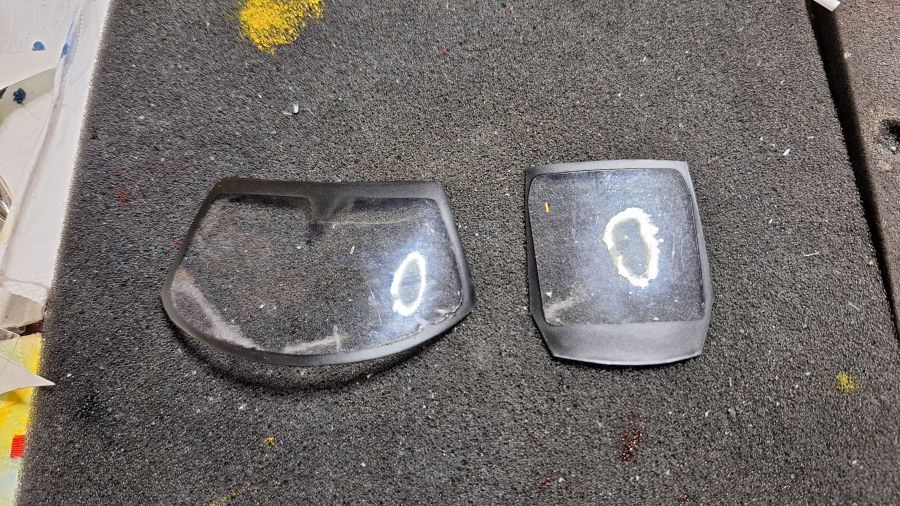
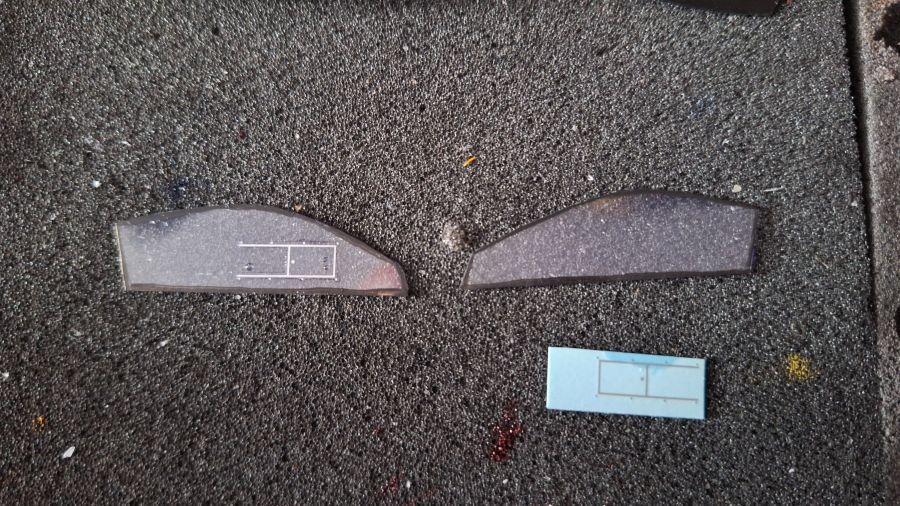
Met behulp van de templates. Niet perfect, maar het moet maar. Er is geen weg terug.
With help of the templates. Not perfect, but i have to do with it. There's no way back.

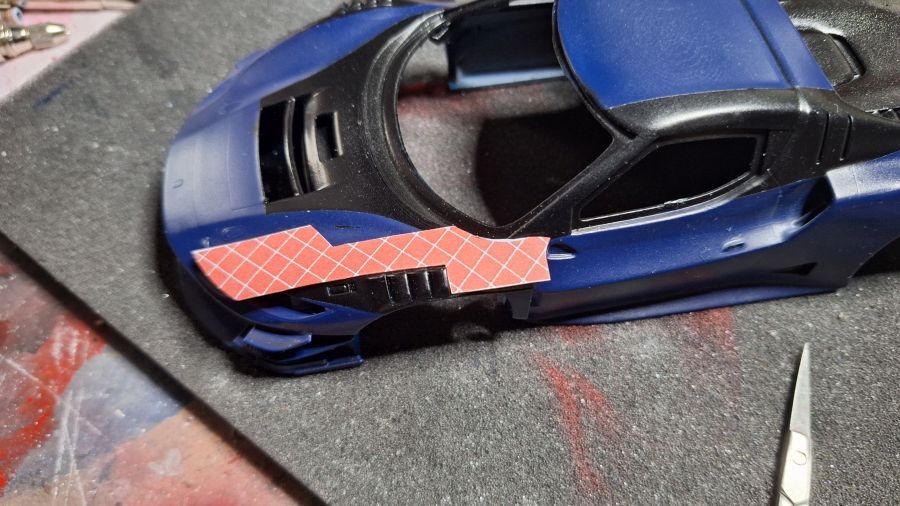
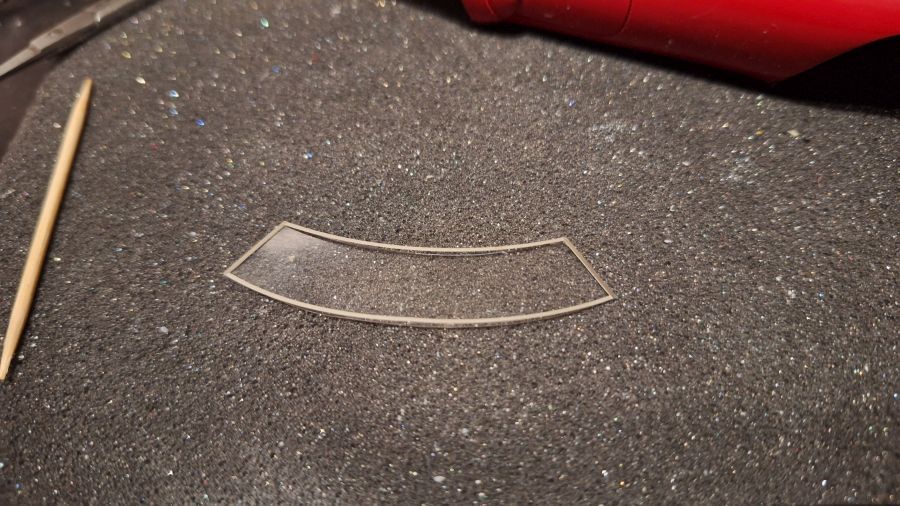
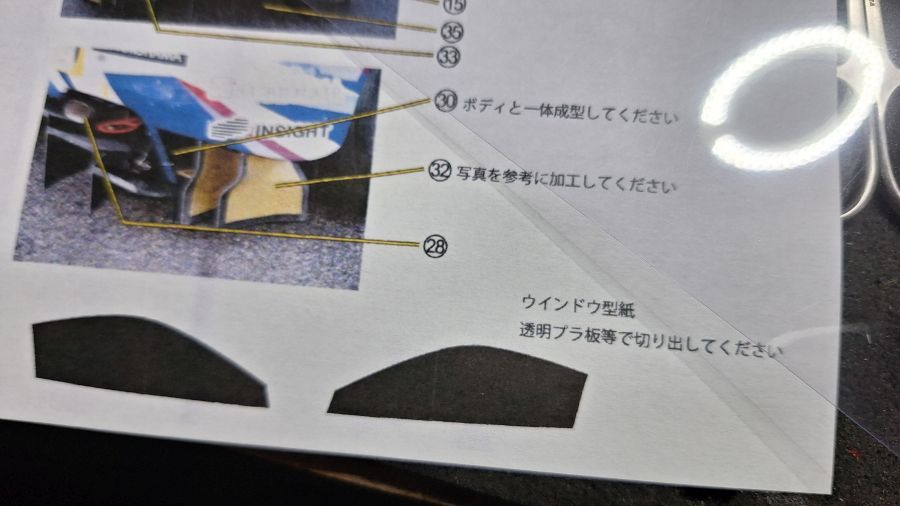
Voor het knippen van de zijramen zitten templates bij de instructies.
For cutting the side windows, there are templates with the instructions.


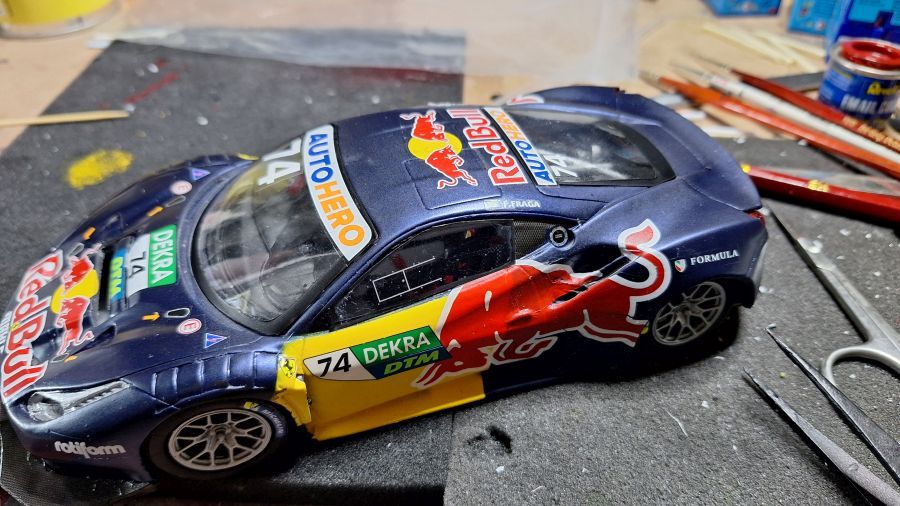
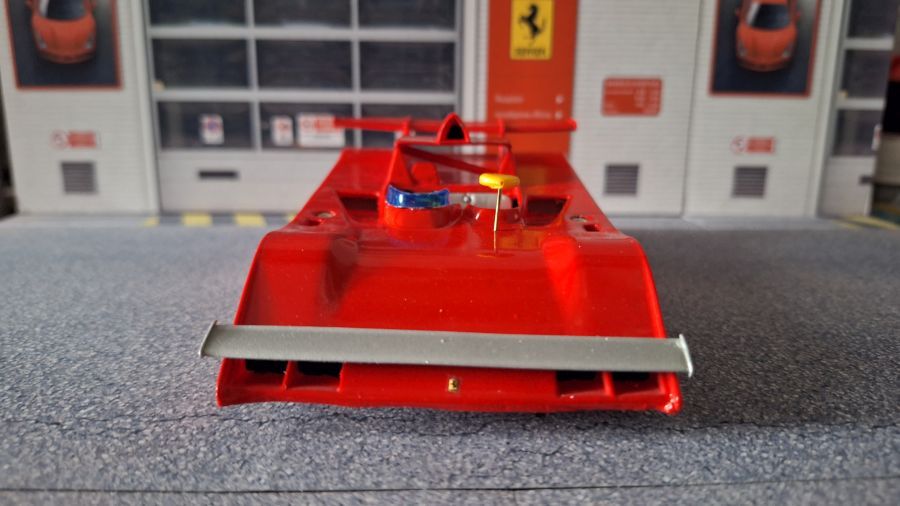
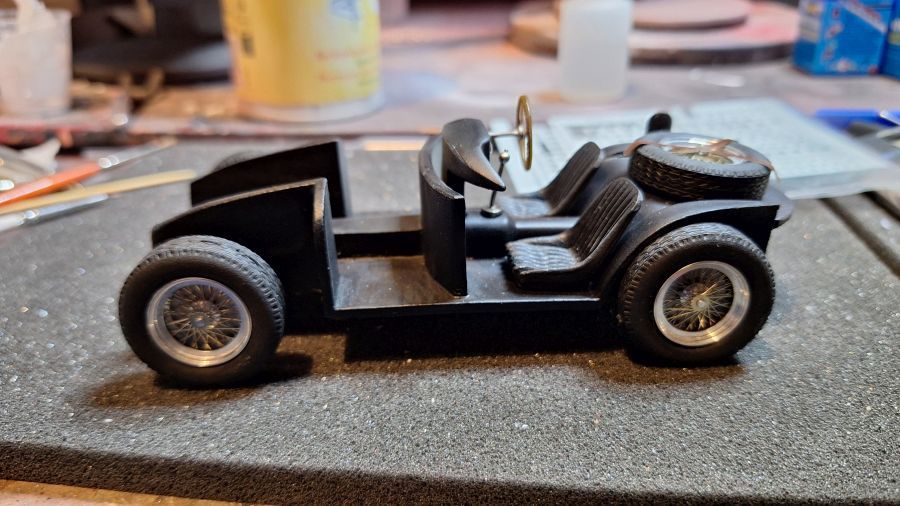
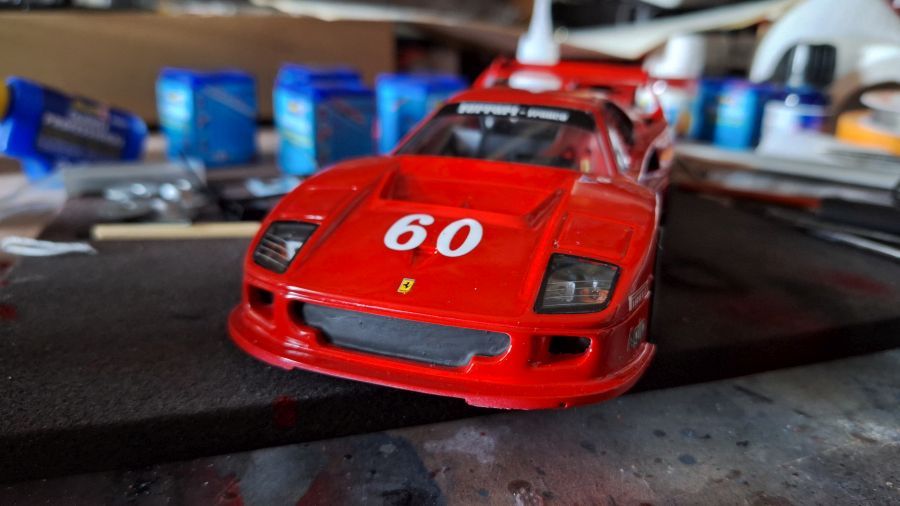
Nog wat laatste dingetjes.
Some last things.


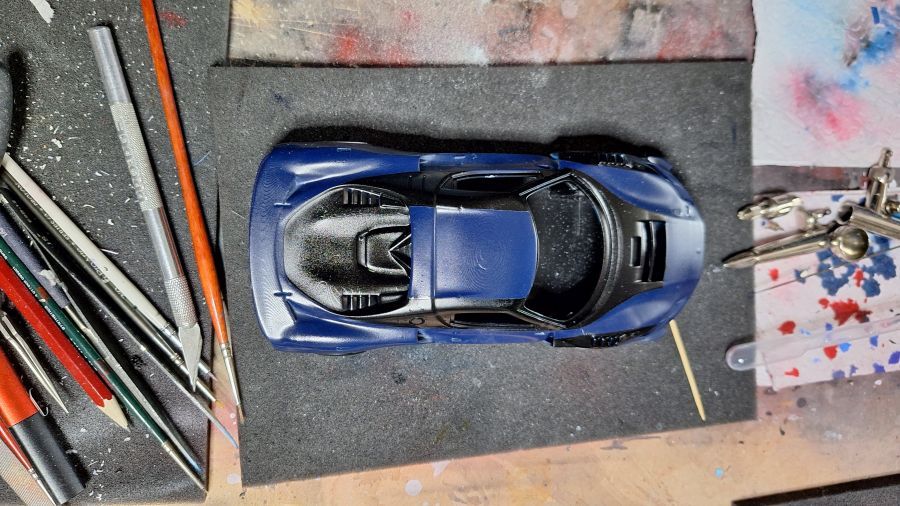
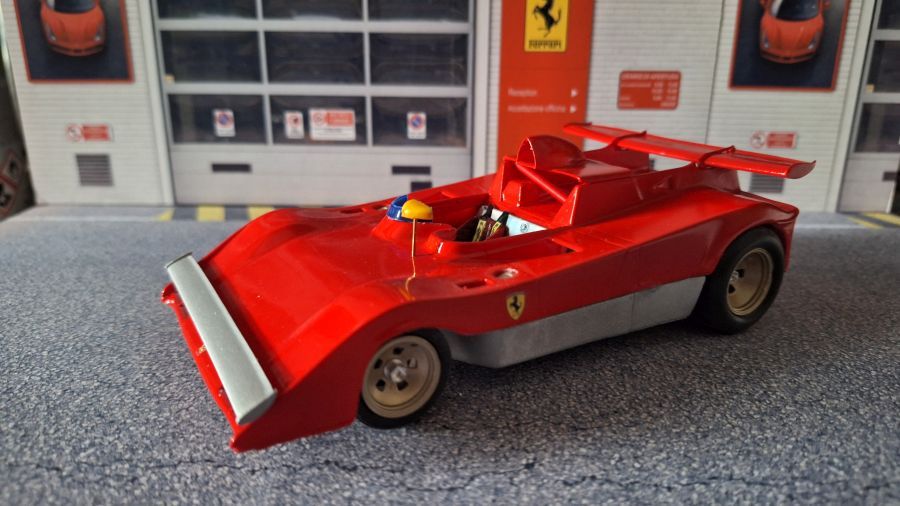
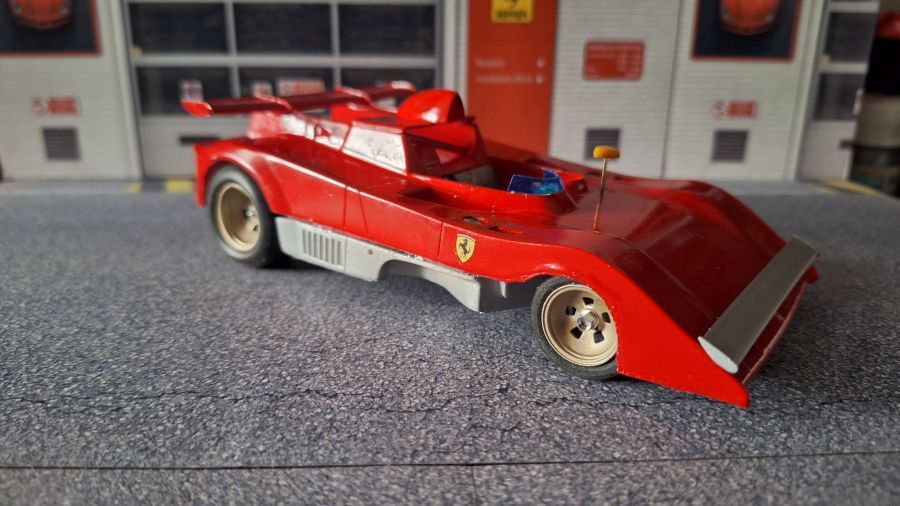
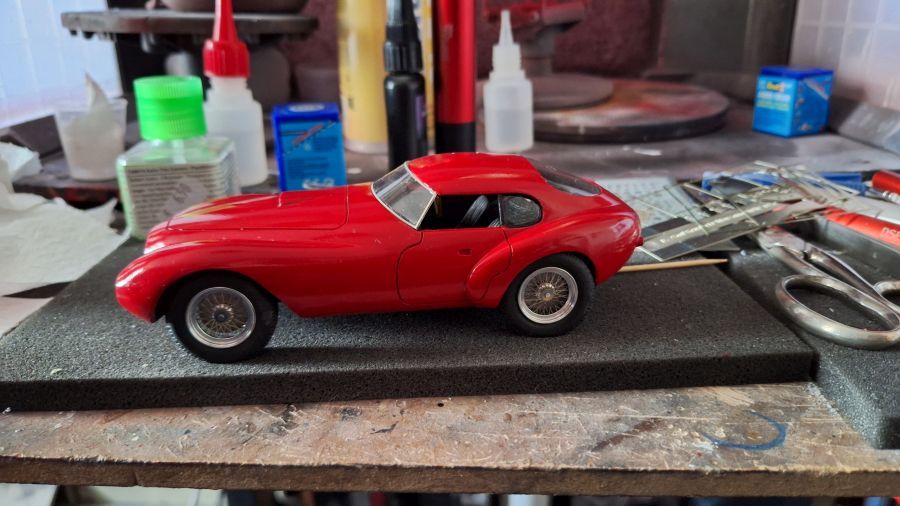
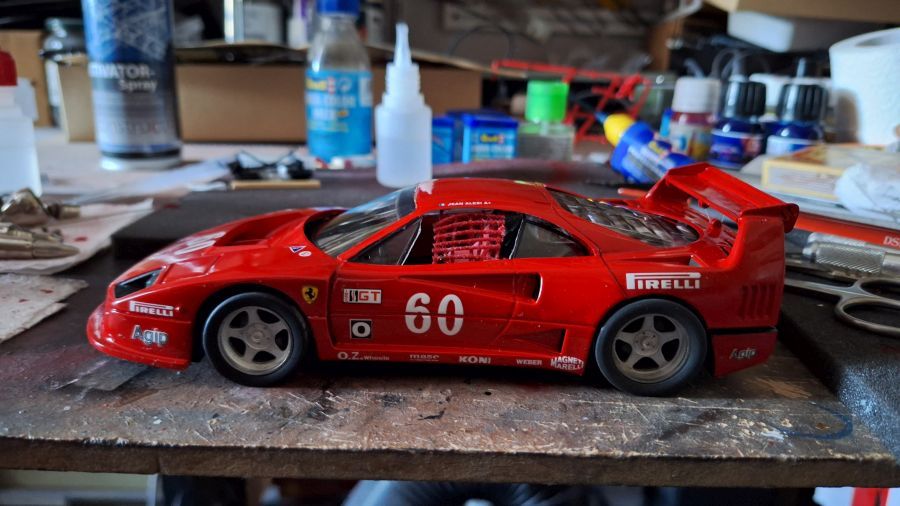
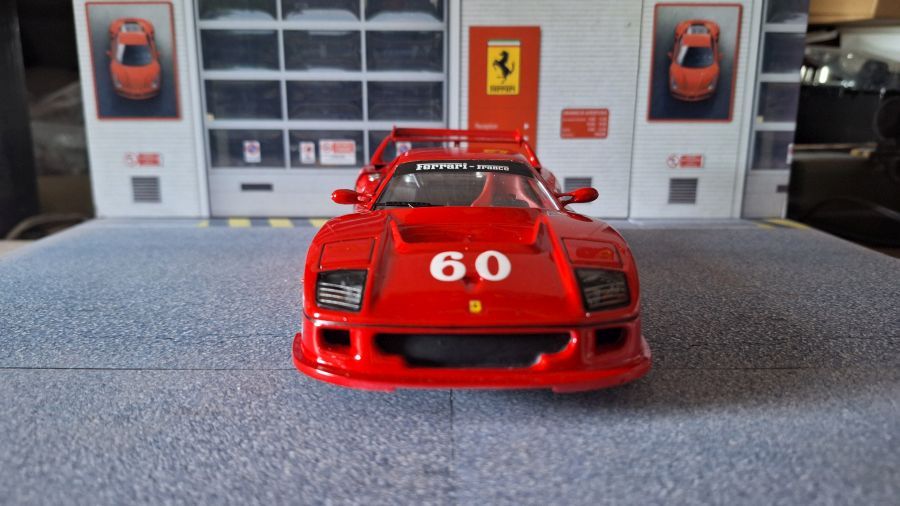
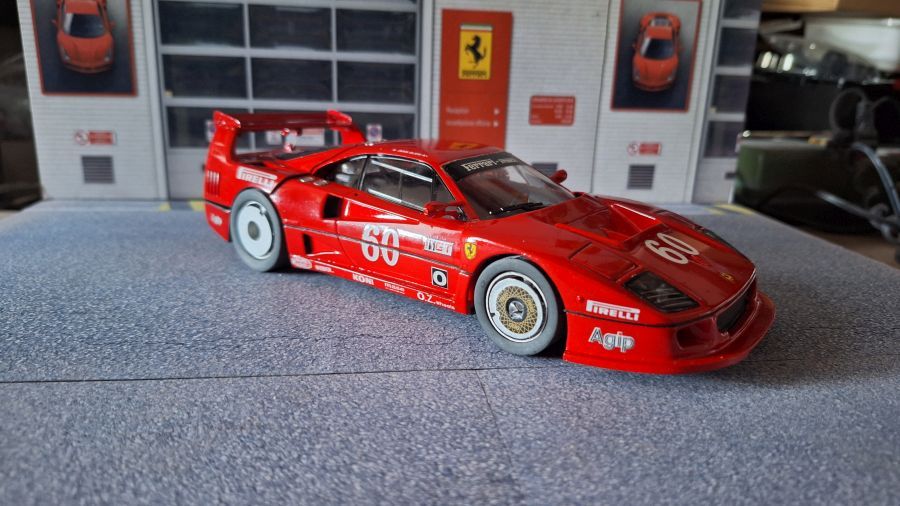
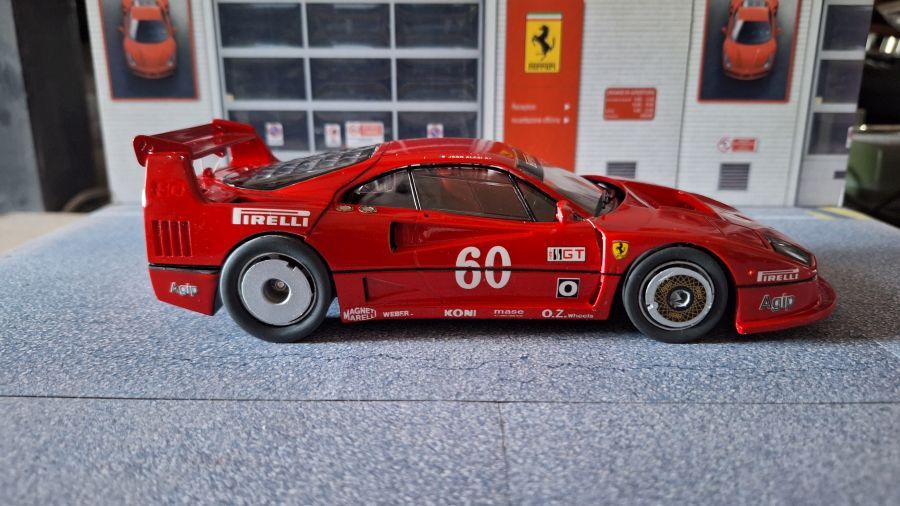
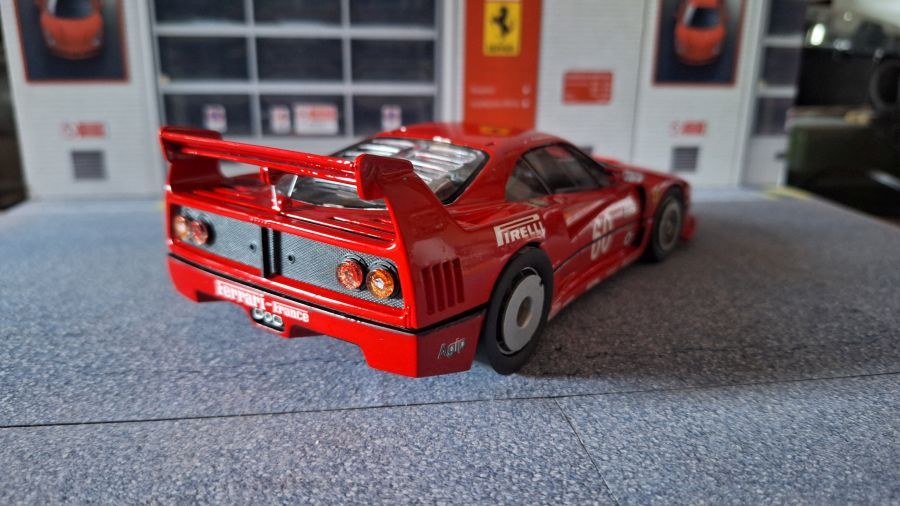
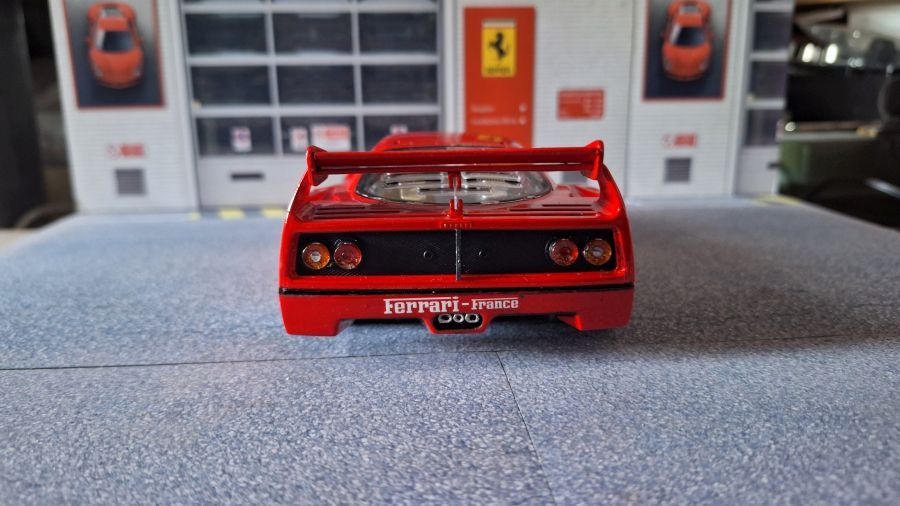
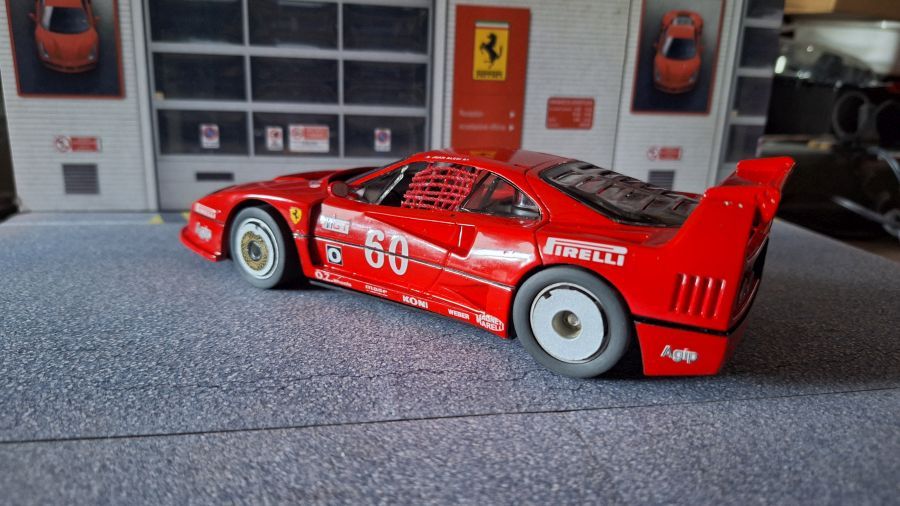
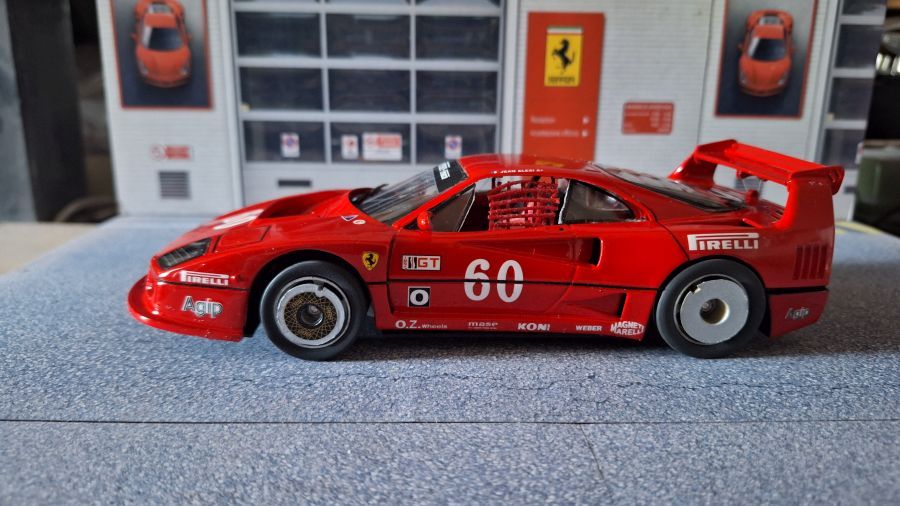
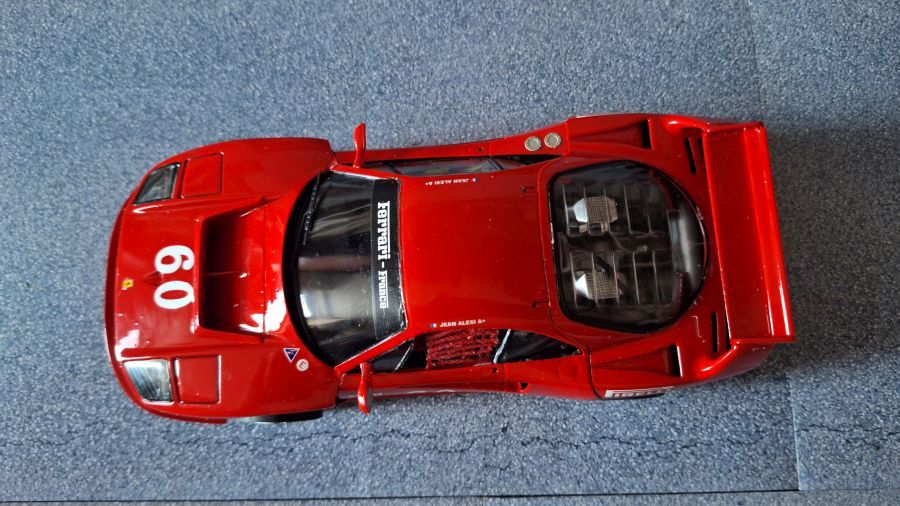
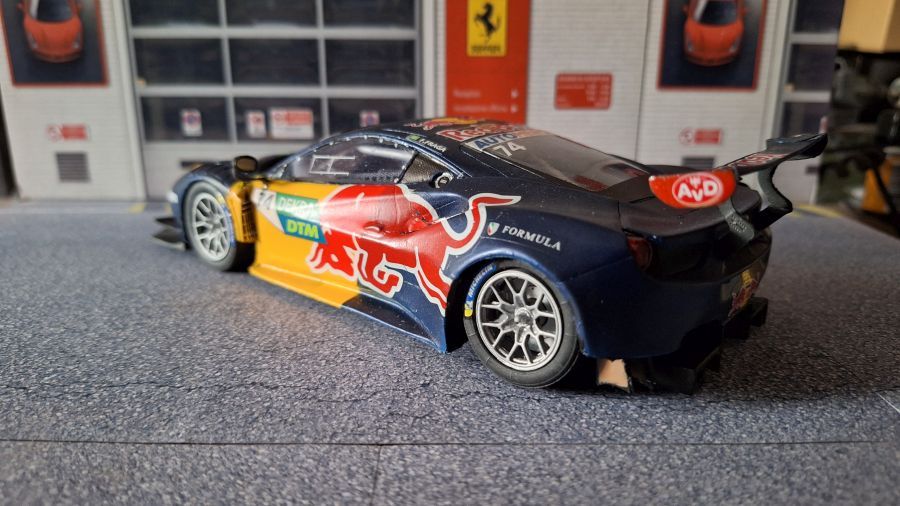
Ik beschouw deze als gedaan.
I consider this one done.


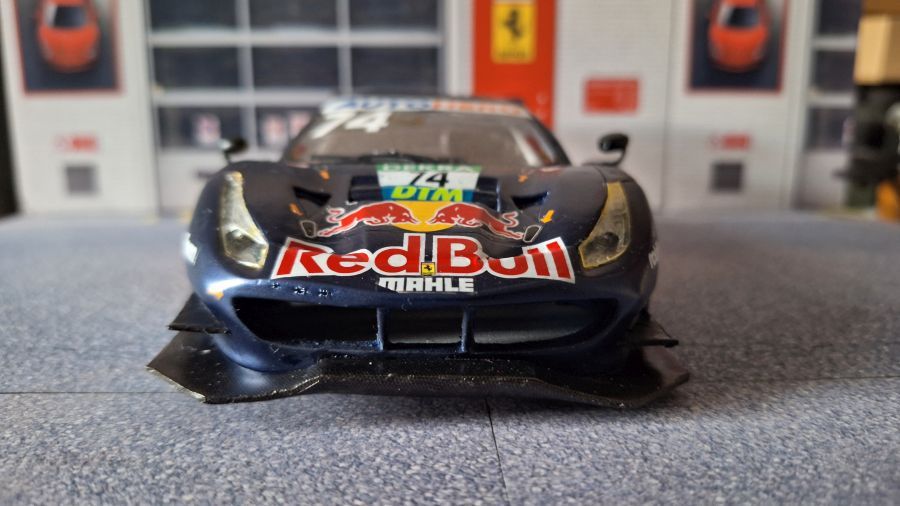
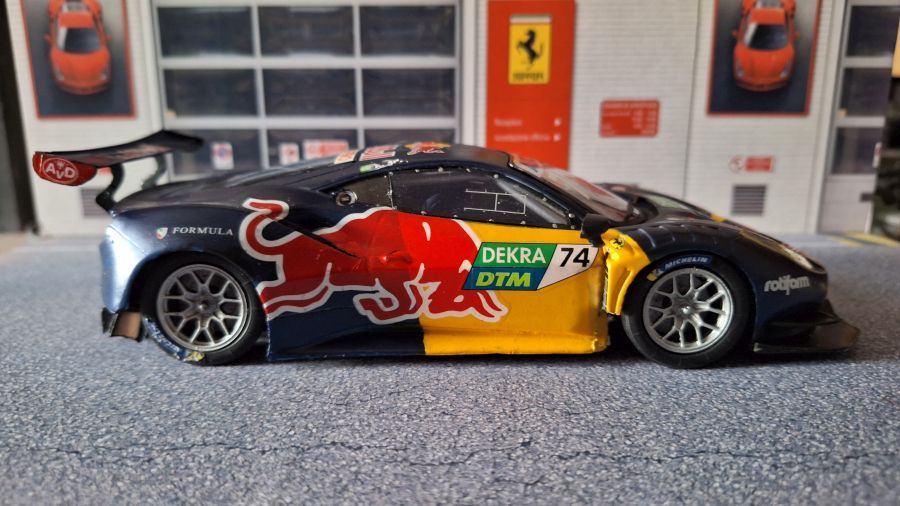
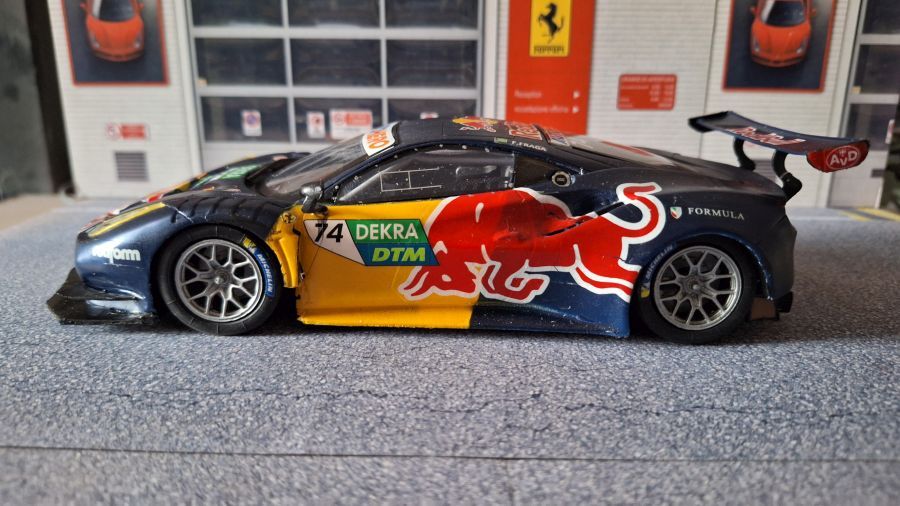
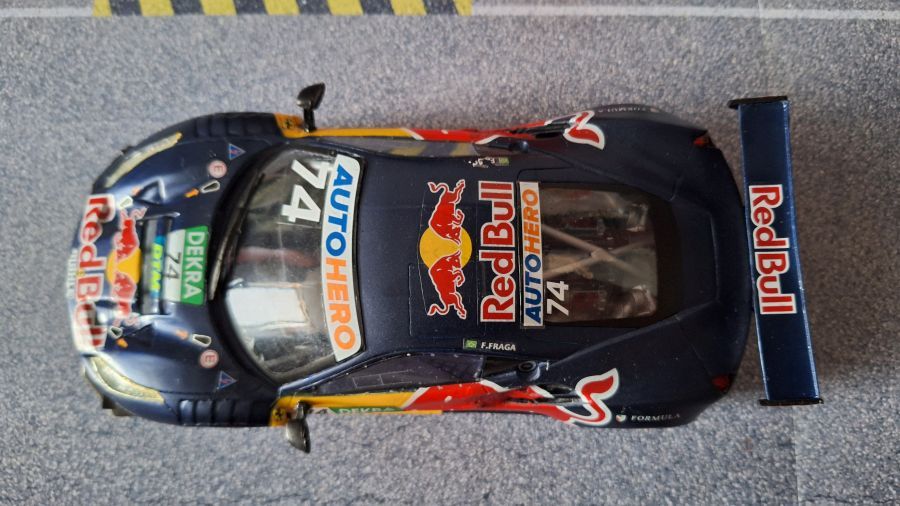
Deze kit koste me bijna net zoveel als een MFH kit. Was het het geld waard? Voor mij bij lange na niet. De kwaliteit kwam niet in de buurt. Veel onvolkomenheden. De decals waren bijna niet te verwerken. Uiteindelijk deed Tamiya Mark-Fit Super Strong een beetje het werk. Normaal gesproken zou ik de witte decals geplaatst hebben om het doorschijnen te voorkomen, maar dat zou in een grote ramp eindigen. Ik ben niet enthousiast over CGM.
This kit was about the same price as a MFH kit. Was it worth it? To me not even near. The quality doesn't even come close. Many flaws. The decals were a pita. At last the Tamiya Mark-Fit Super Strong worked a little bit. Normally i would have placed the white decals to prevent shine through, but that would be much worse. I am not enthousiastic about the CGM brand.


Al een tijdje heb ik deze in de planning. Het moet er maar van komen. Deze Ferrari 250LM reed in de Tour de France van 1969, bestuurd door Jean-Pierre Rouget en Yves Depret. Voor mij weer een aantrekkelijk buitenbeentje met dat reservewiel achterop. Het is een Long Nose versie dus het conversie setje komt goed van pas, net als de extra gevonden decals. Eerst de inhoud van de conversie kit.
I wanted to do this one for a while now. So let's do it. This Ferrari 250LM participated the Tour de France in 1969, driven by Jean-Pierre Rouget and Yves Depret. To me an attractive extraordinary car with that wheel at the back. It's a long Nose version so that conversion set will find it's purpose, as well as the extra decals. First the content of the conversion kit.


De conversie decals en de mistlampen.
The conversion decals and the spot lights.

De donor doos.
The donor kit.


Ik heb het glas vacuum getrokken. Het origineel was beschadigd bij het vacuum trekken voor een vriend bouwer.
I made a vacuum copy of the glass. The original got damaged when making a vacuum copy for a fellow builder.

Het verschil tussen de neuzen.
The difference between the noses.

Dit is de bedoeling.
This is how it should be.


Het zwarte deel moet weggeslepen.
The black part should be removed.


Het verschil tussen de short nose (voor) en long nose (achter).
The difference between a short nose (front) and a long nose (back).


Tijd voor het rood.
Time for the red.

Decal tijd.
Decal time.


Altijd een punt van discussie. Auto's hadden in die jaren minder glans. Dus 2K lak is geen optie. Eigenlijk was de reclame in die tijd gewoon op de body geplakt, zonder lak erover. Omdat ik de verf en decals goed wil beschermen, heb ik besloten toch gewone lak te spuiten.
Always a point of discussion. Cars did have less shine in those years. So 2K clear is not an option. As a matter of fact the advertising got just sticked to the body, without coating them. Because i want to protect the paint and the decals i decided to spray ordinary clear coat.

Verder met het interieur.
To continue with the interior.


Dan, the vloer.
Then, the floor.


De velgen werk ik bij met Tamiya Panel liner. Tussen de spaken wordt het dan wat zwart.
I am working on the rims with Tamiya Panel liner. It will get black between the spokes.

Groen gedaan, rood moet nog.
Green done, red to do.


Voor de reserveband achterop maak ik een steun. Ik ga de band vacuum trekken, knippen en zien wat er van komt.
For the spare tire on the back i will create a support. I am making a vacuum mold of the tire, cut it and see where it gets me.


Wat zwarte verf toegevoegd.
Some black paint added.


Voor het chroom bij de voorruit gebruik ik bare metal foil.
For the chrome trim around the front shield i am using bare metal foil.


Veel kleine onderdelen toevoegen.
Adding a lot of small parts.


Op zijn wielen.
On it's wheels.

Dan het rek voor de lichten.
Then the rack for the lights.


Ik zie hem als gedaan.
I consider it done.


Helaas is de kit een rechtssturend model en heeft het geen zijspiegels. Ik moet het ermee doen.
Unfortunately the kit is a right steering model and it has no side mirrors. I have to deal with it.
All images are owned by Kars Jans (racingkars.nl).