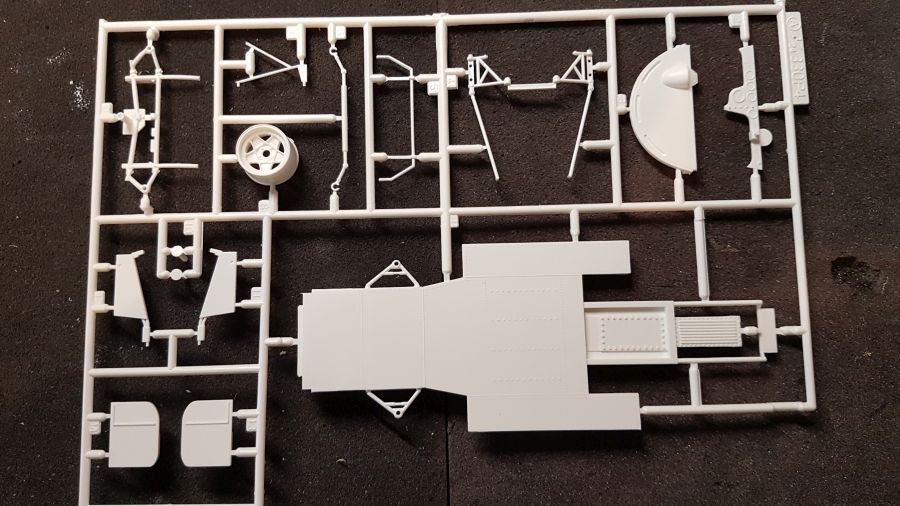
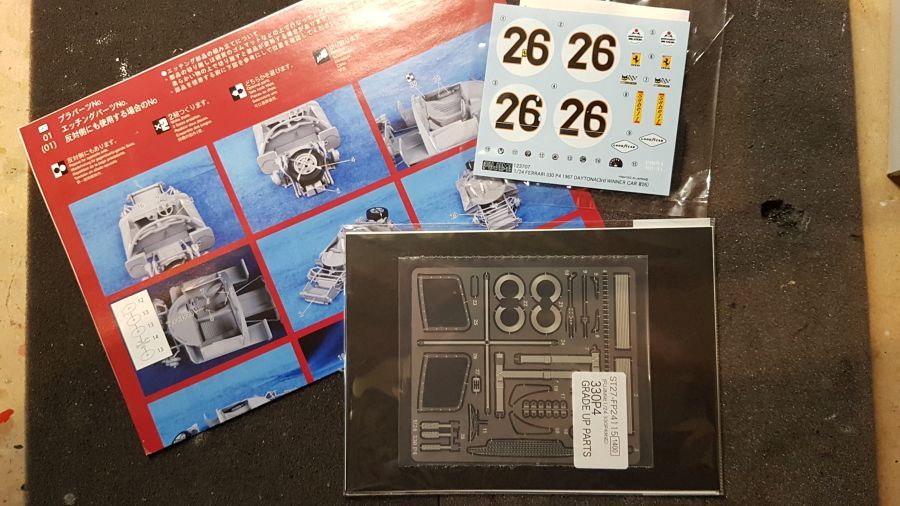
Bij de bouw van de 1967 Ferrari 412P heb ik de verschillen uitgelegd tussen de 3 kits van de Ferrari 330 P4. Ik ga nu de Ferrari 330 P4 bouwen zoals deze in 1967 werd bestuurd door Mike Parkes en Ludovico Scarfiotti tijdens de 24 Uur van Le Mans. Voor ik gebruik een kit van Fujimi. De decals die daar bij zitten zijn echter voor een Ferrari 412P van 1967 tijdens de 24 Uur van Daytona. Ik ga dus decals voor de Le Mans versie toepassen.
With the build of the 1967 Ferrari 412P i explained the differences between the 3 kits of the Ferrari 330 P4. I will now build the Ferrari 330 P4 as driven in 1967 by Mike Parkes and Ludovico Scarfiotti during the Le Mans 24 Hours. I will use the Fujimi kit for this. The enclosed decals are for a Ferrari 412P as driven in 1967 during the Daytona 24 Hours. So i will use different decals to create the Le Mans version.
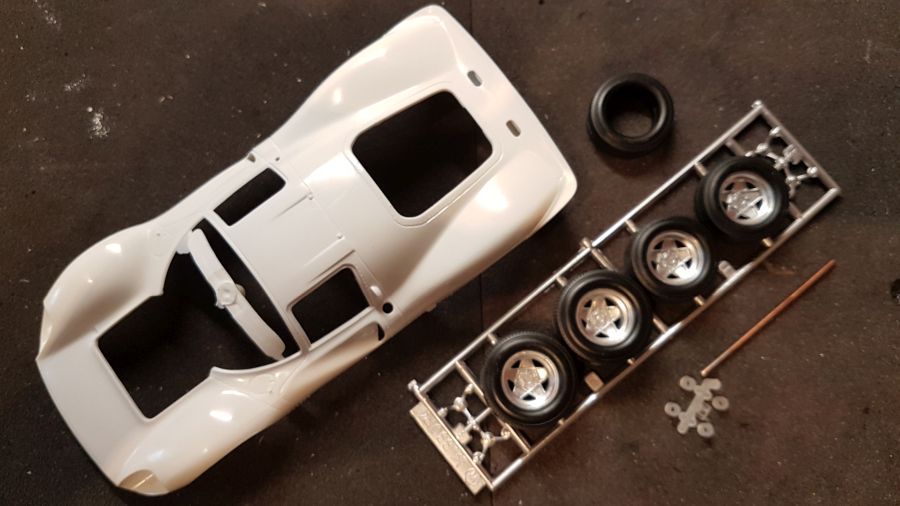

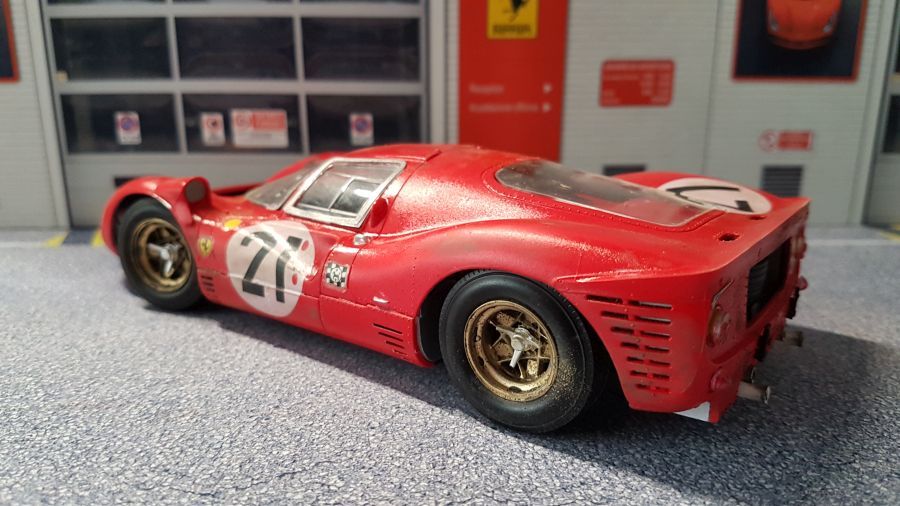
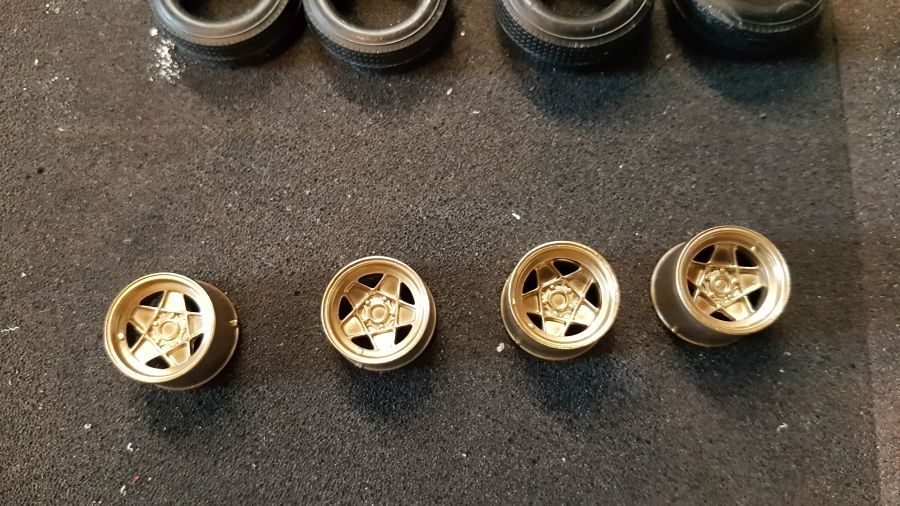
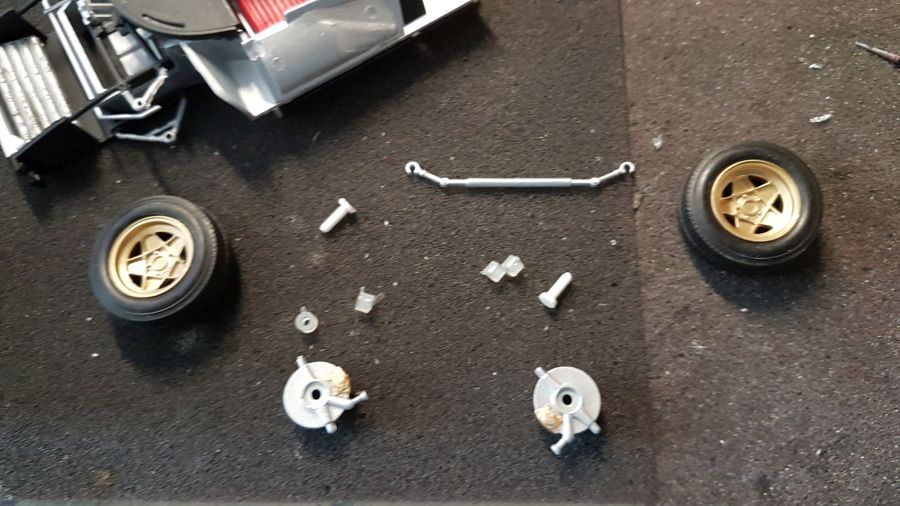
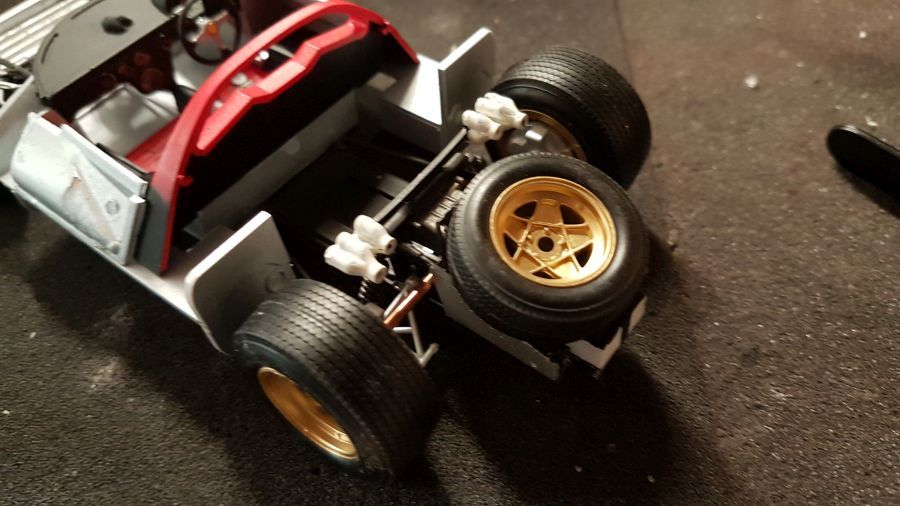
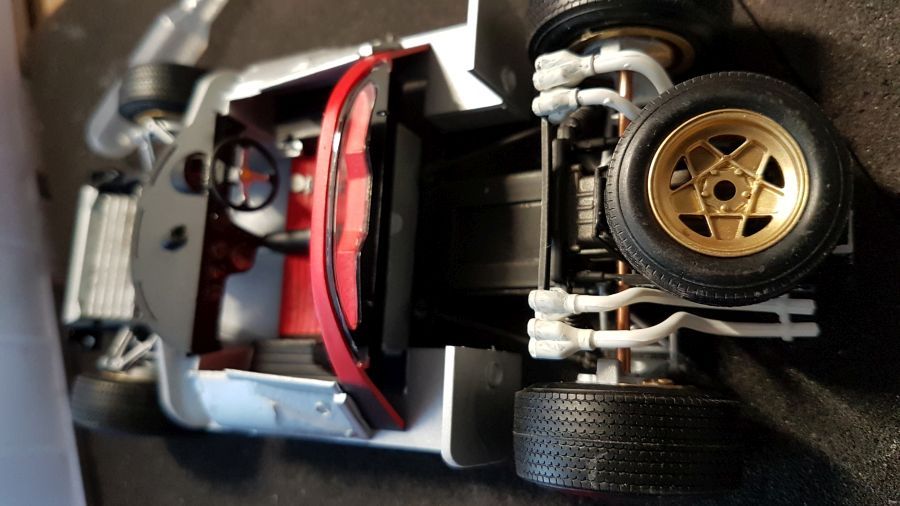
Eerst naar de velgen. In plaats van zilver spuit ik deze goud.
First to the rims. In stead of silver i paint them gold.

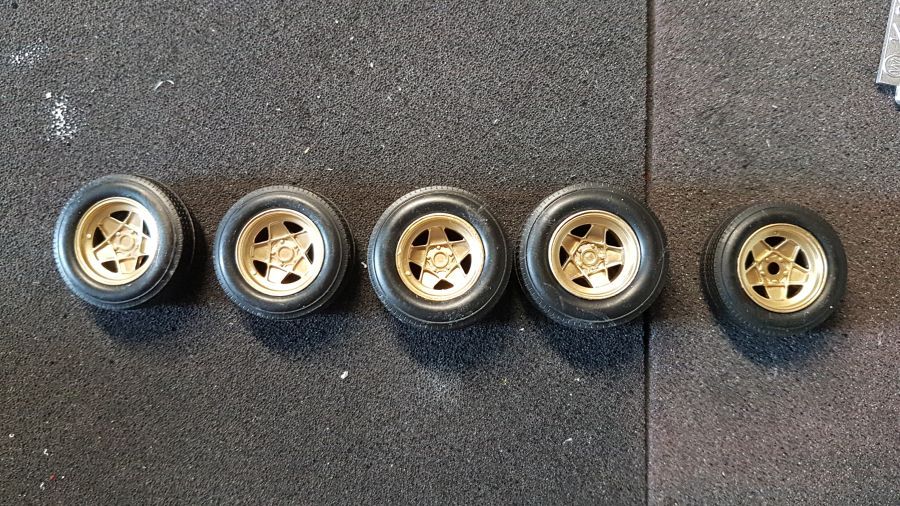
De kit mist een band voor een reservewiel. Deze heb ik maar uit een doos van een andere 330 P4 gehaald.
The kit is missing a tire for the spare wheel. I took it out of another box of a 330 P4.
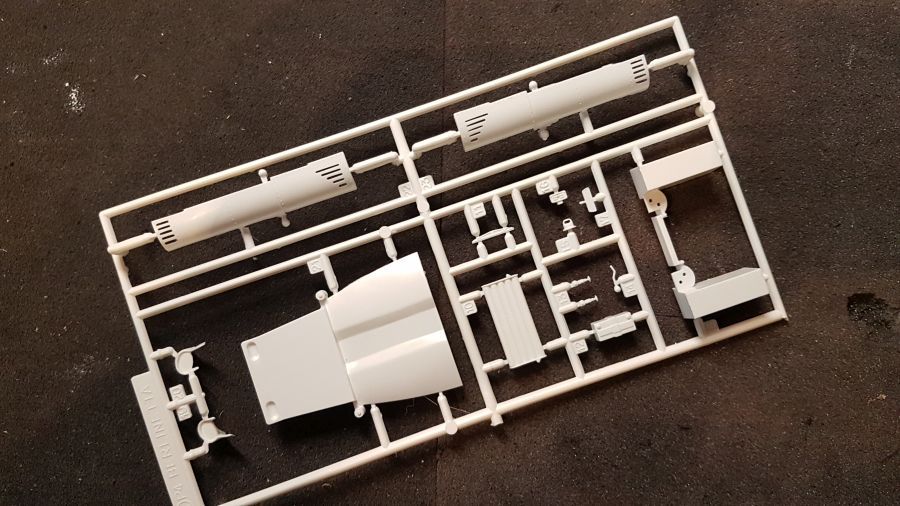
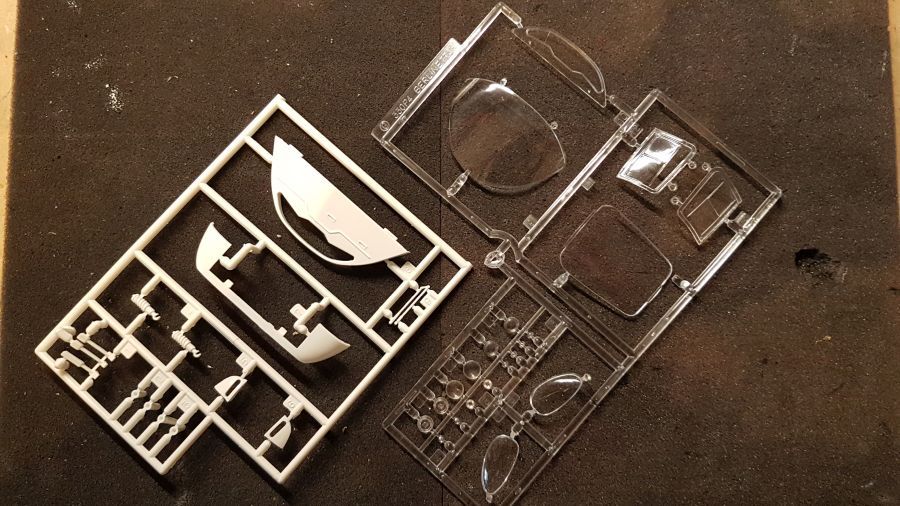
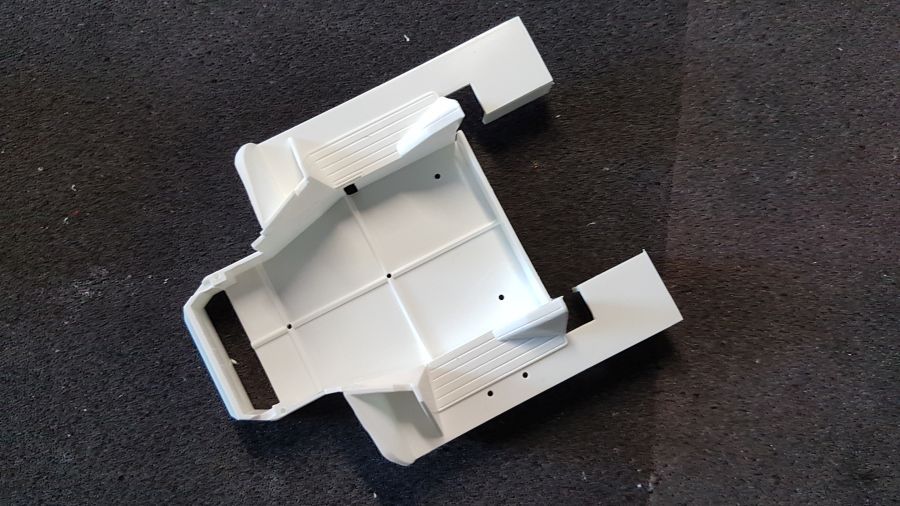
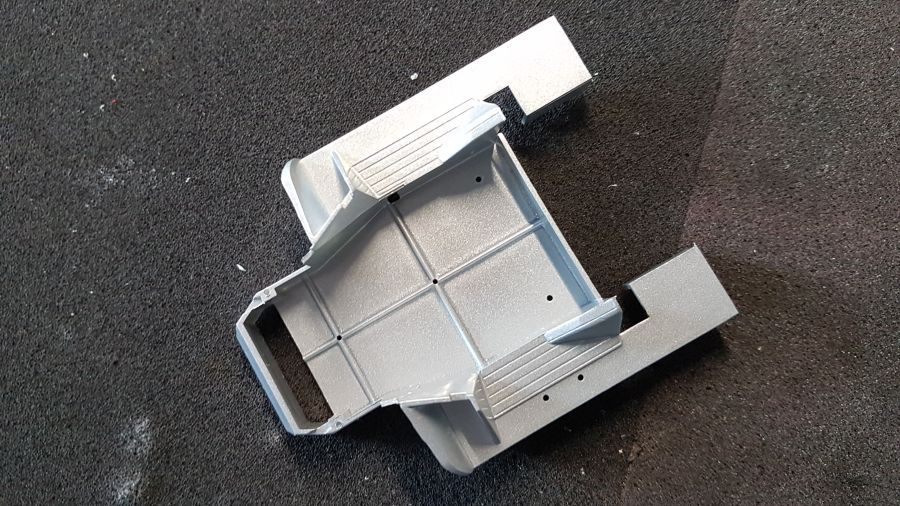
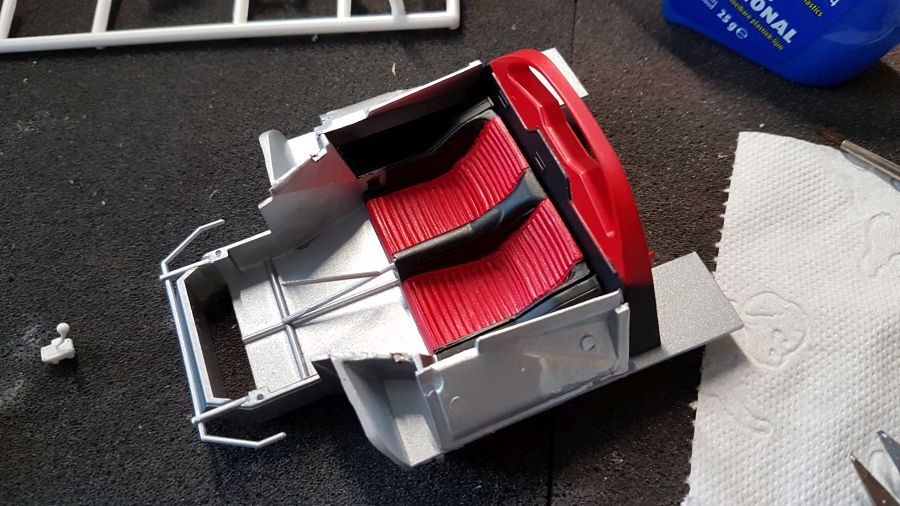
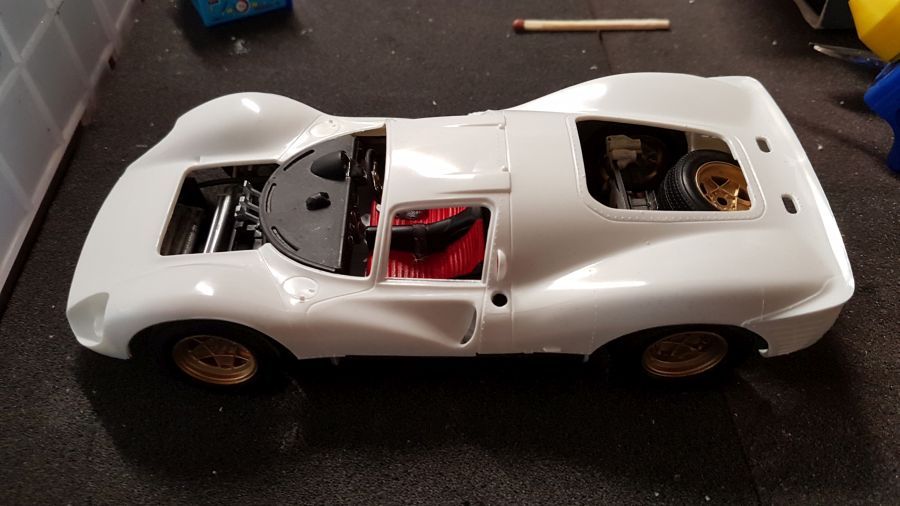
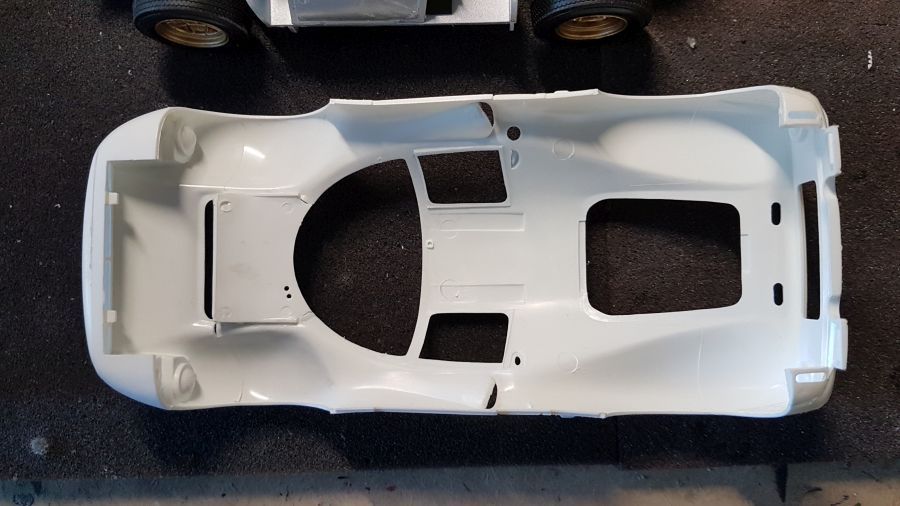
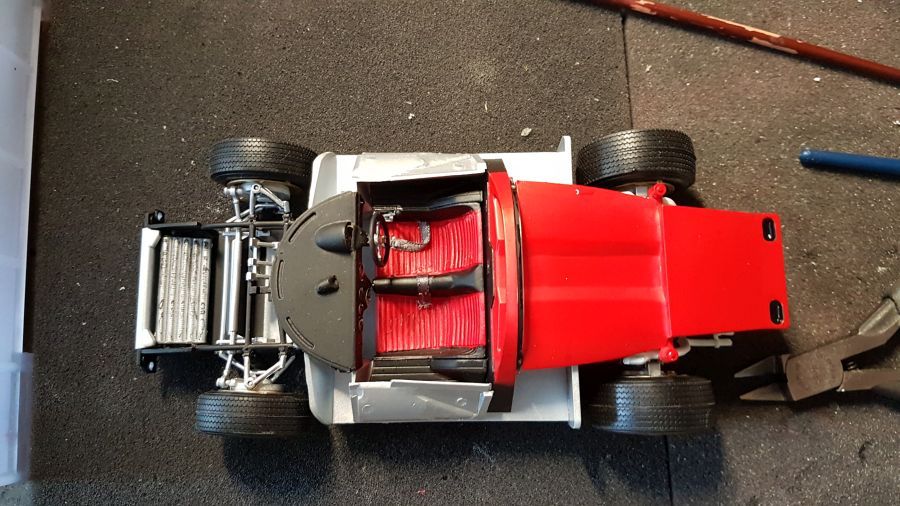
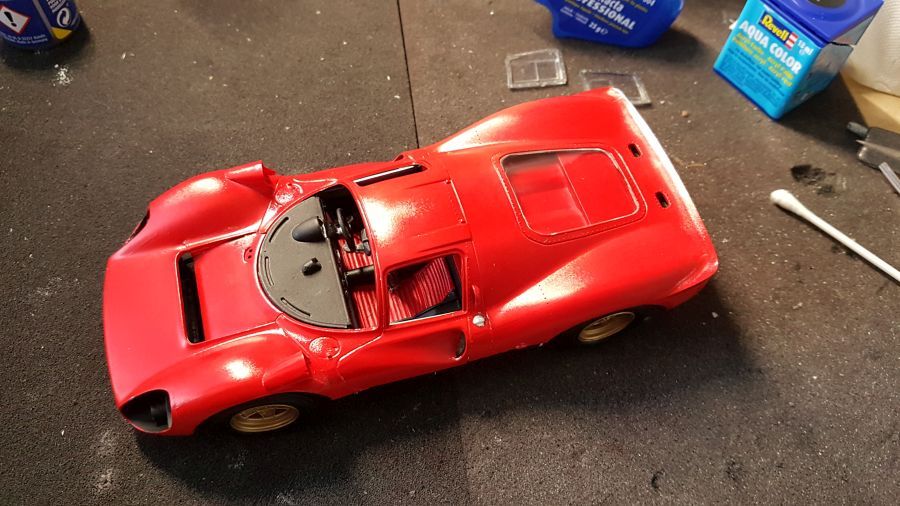
Intussen spuit ik vast de kuip.
In the meantime i am painting the tub.
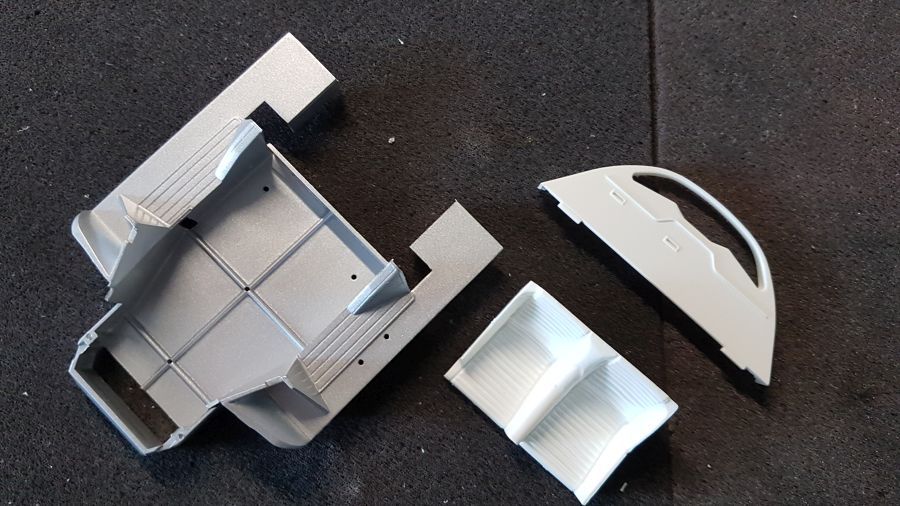
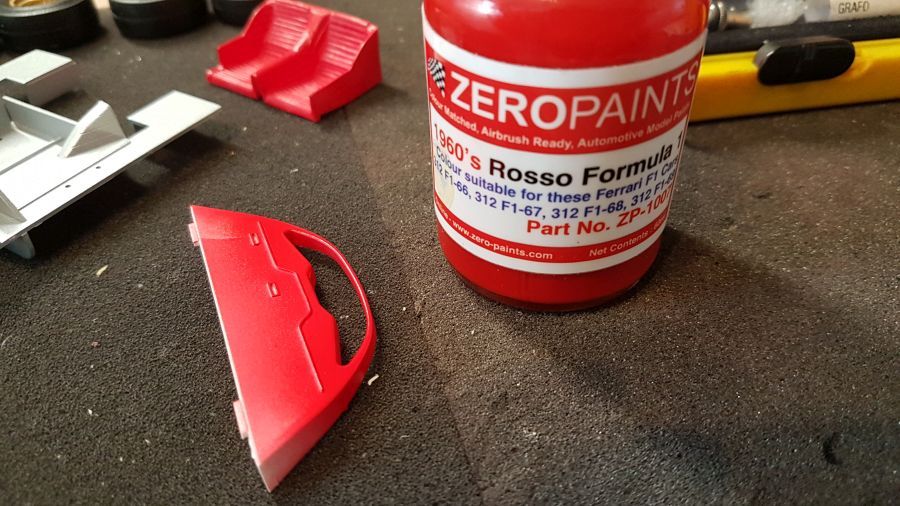
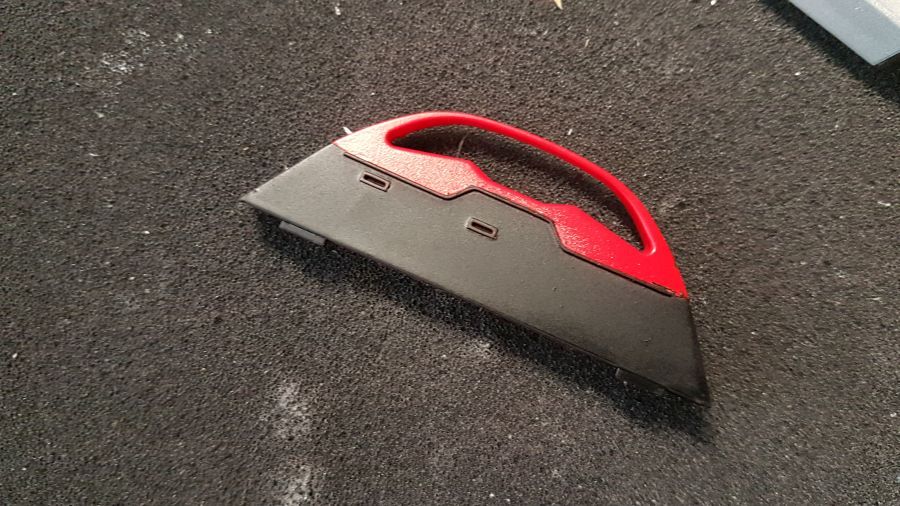
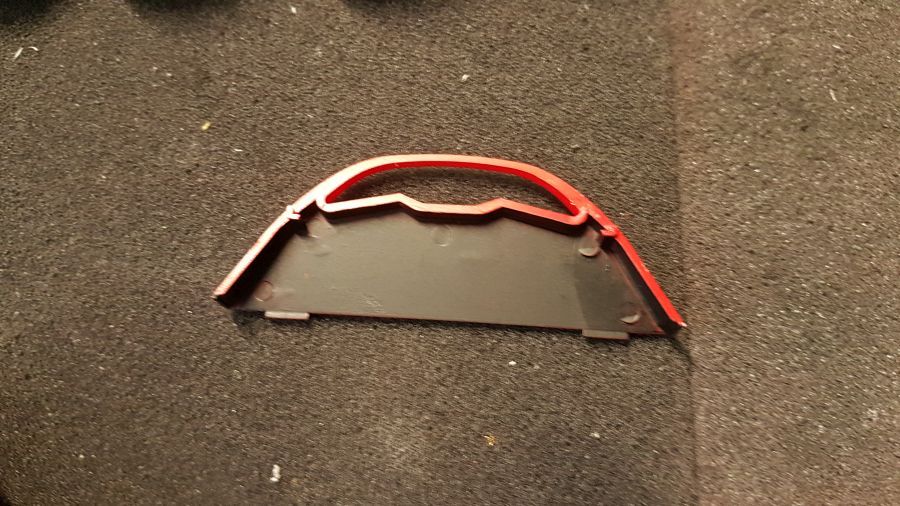
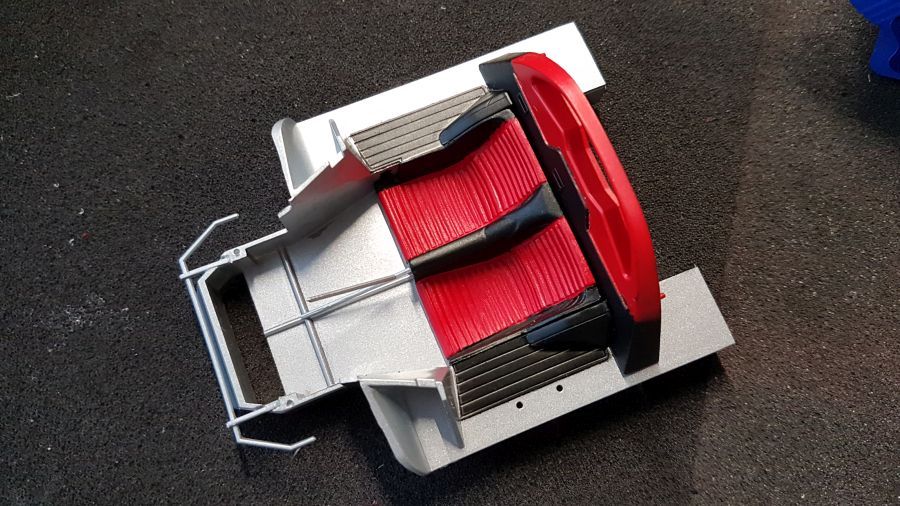
De stoel en het brandschot krijgen de eerste kleuren.
The seat and the fire wall get their first colours.

Dan is het zwart aan de beurt...
Next is the black...
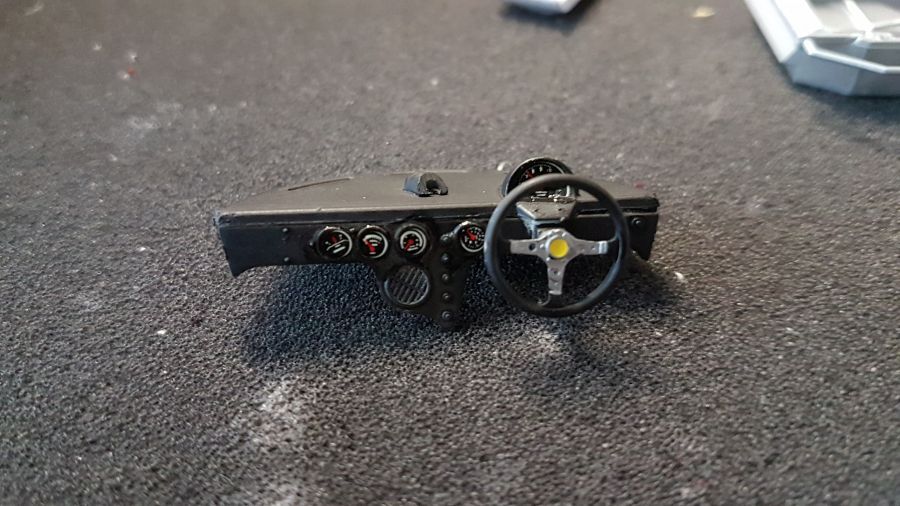
Kleine onderdelen bijgeplaatst...
Small parts added...
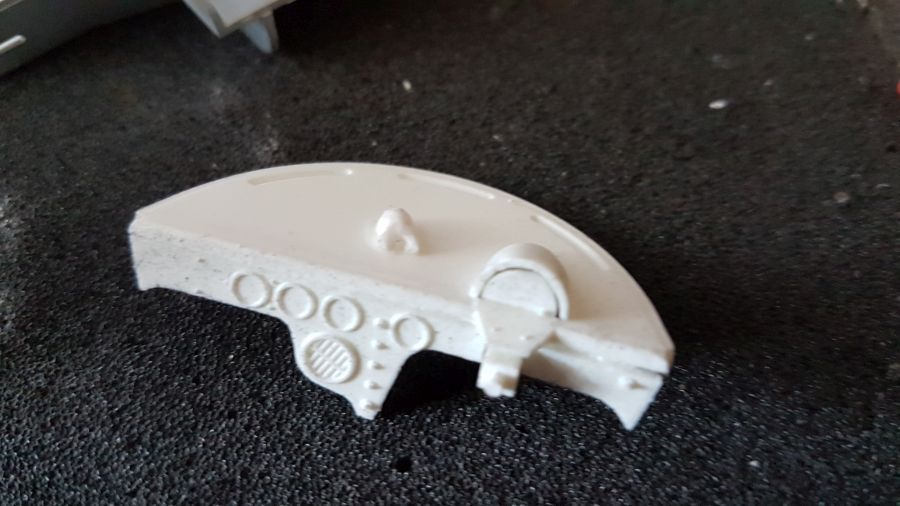
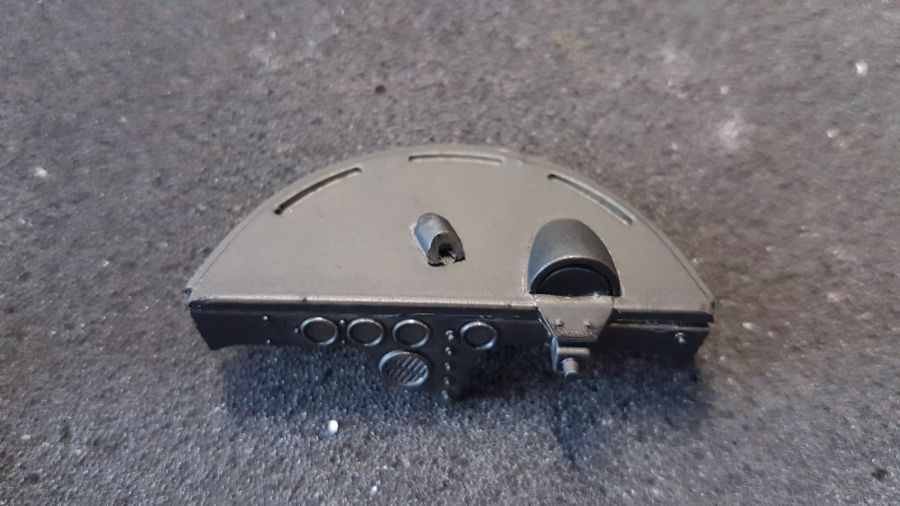
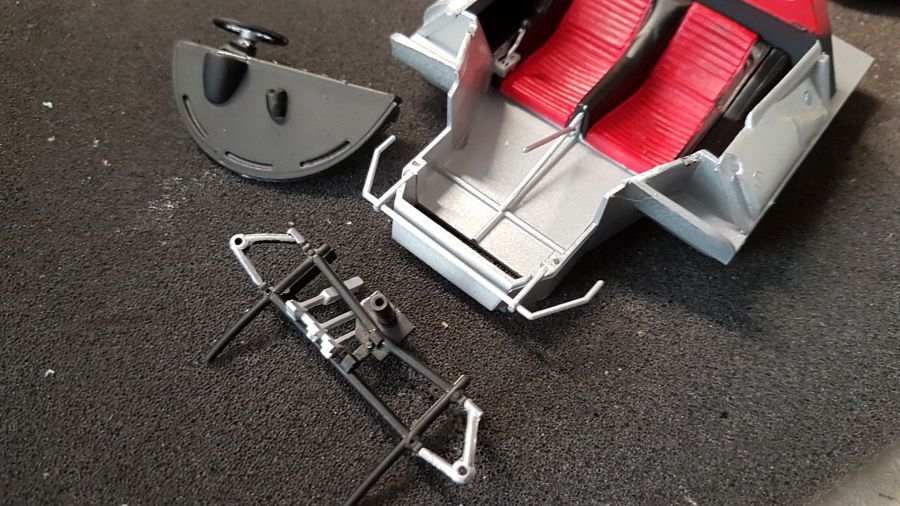
Het dashboard krijgt een extra opening geplaatst...
The dash receives an extra opening...
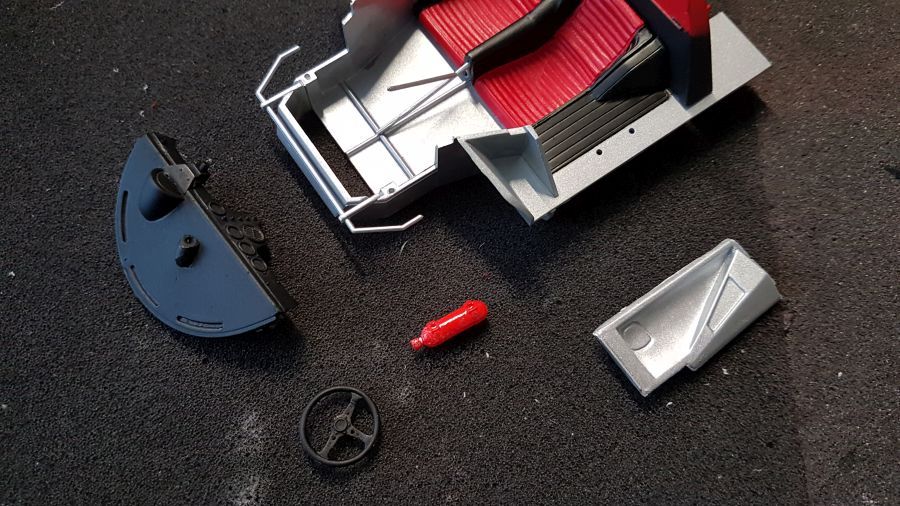
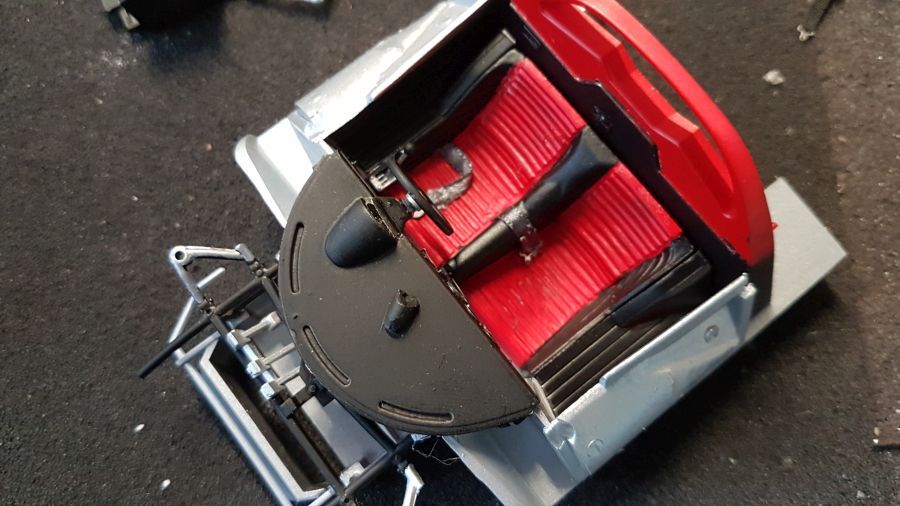
De brandblusser kan erbij...
The fire extinguisher can be attached...
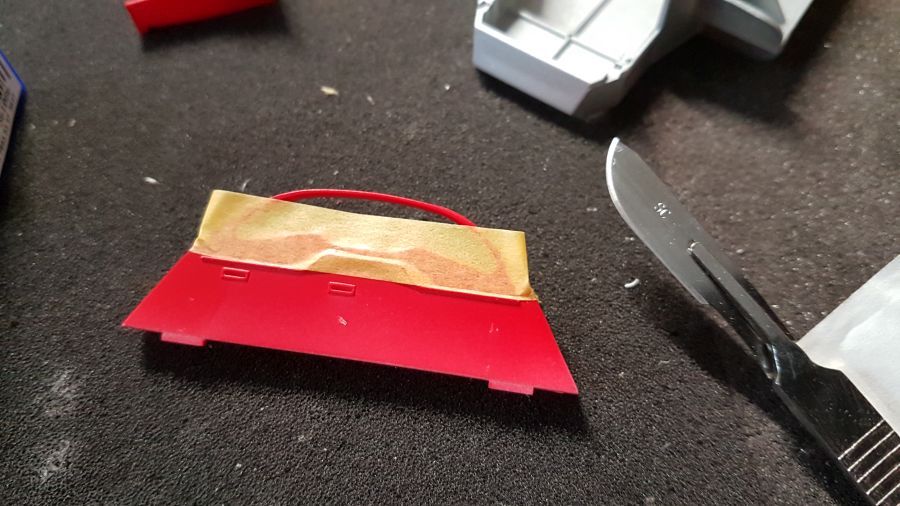
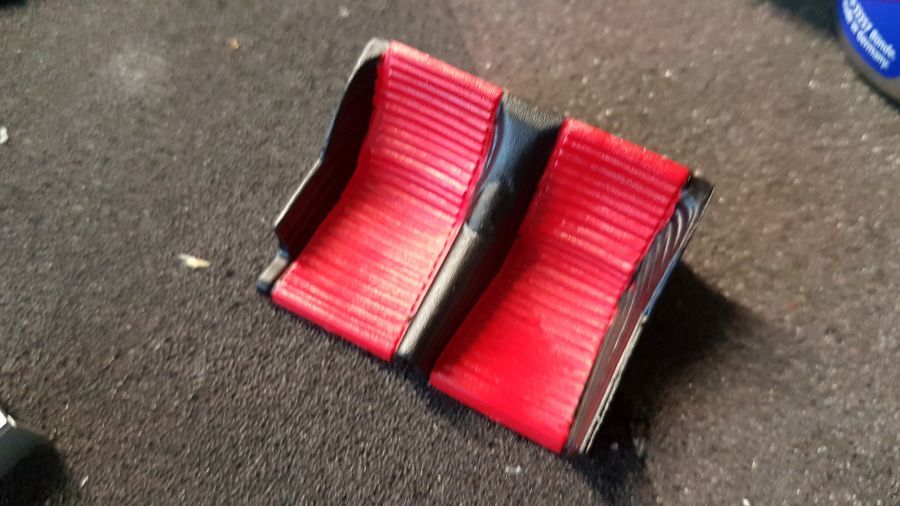
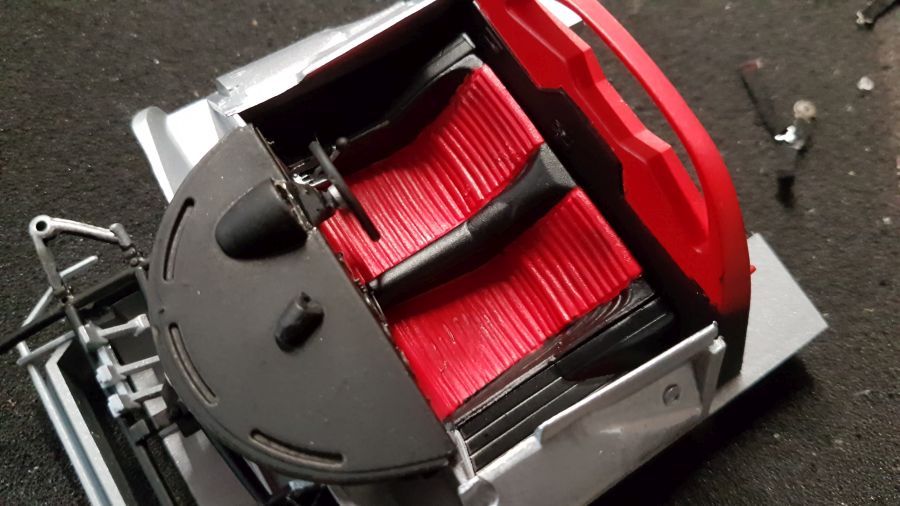
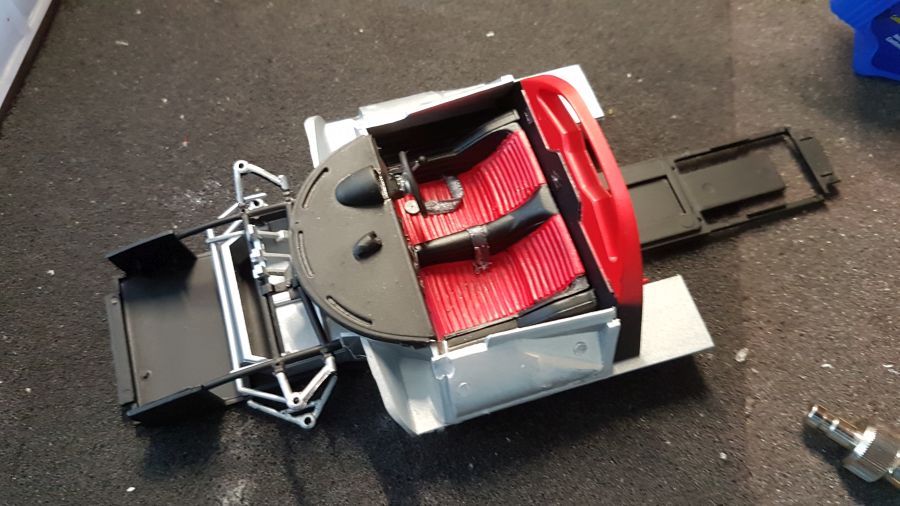
De stoelen worden licht 'verouderd'.
The seats get a light 'wear'.
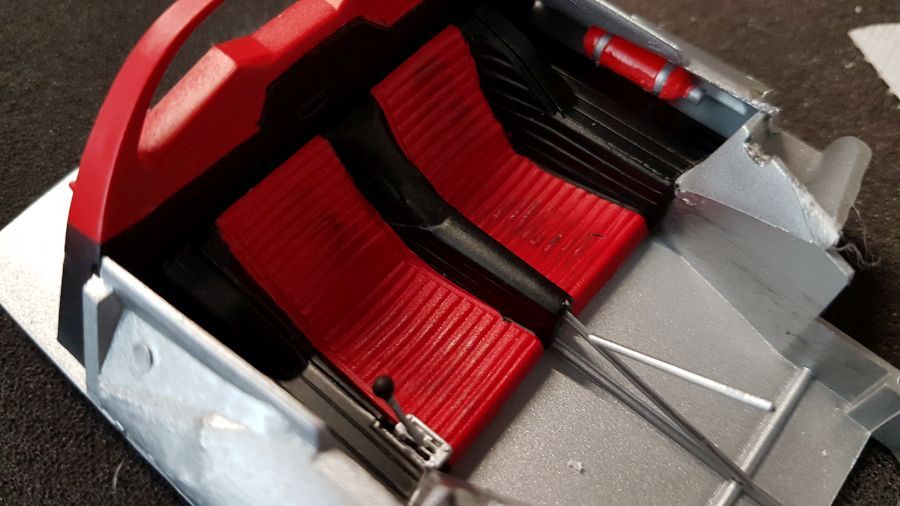
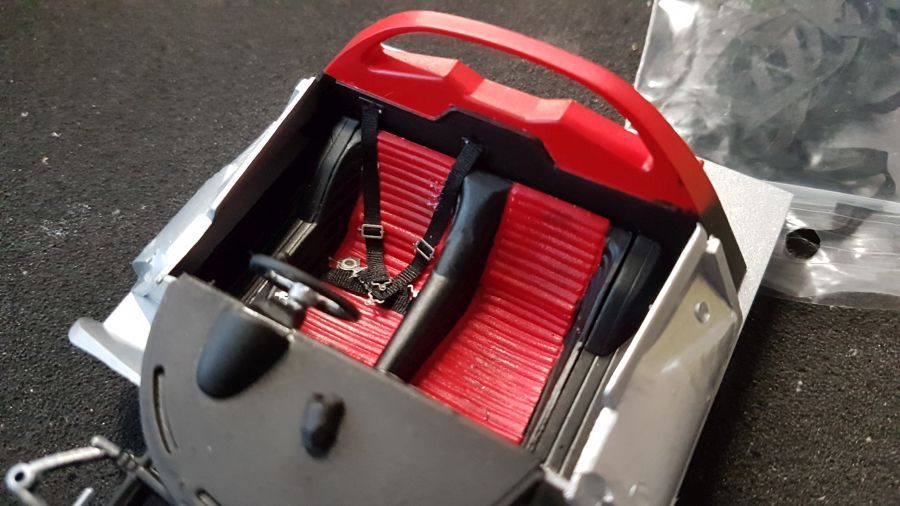
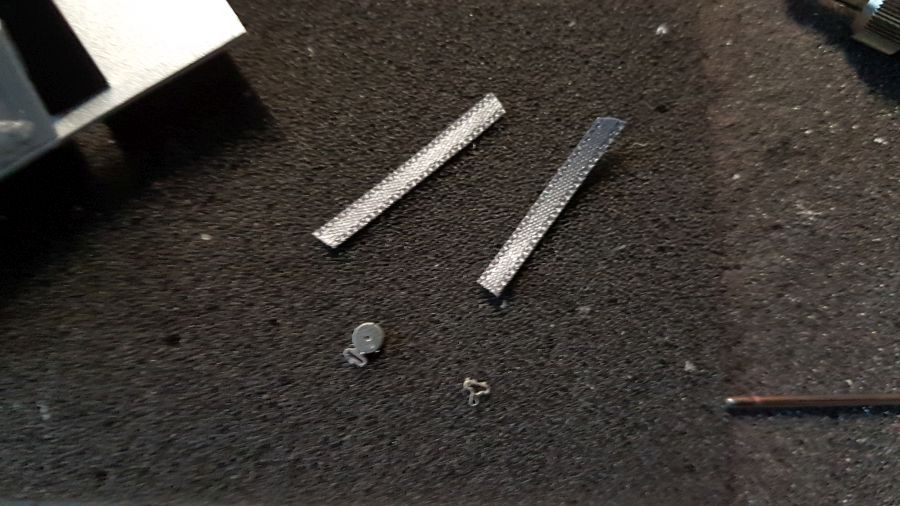
Dan zijn de gordels aan de beurt...
Next are the seat belts...

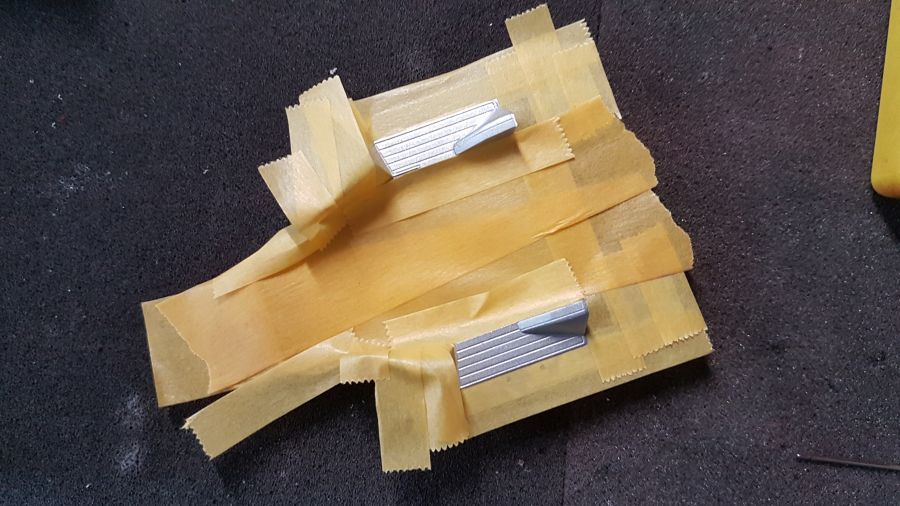
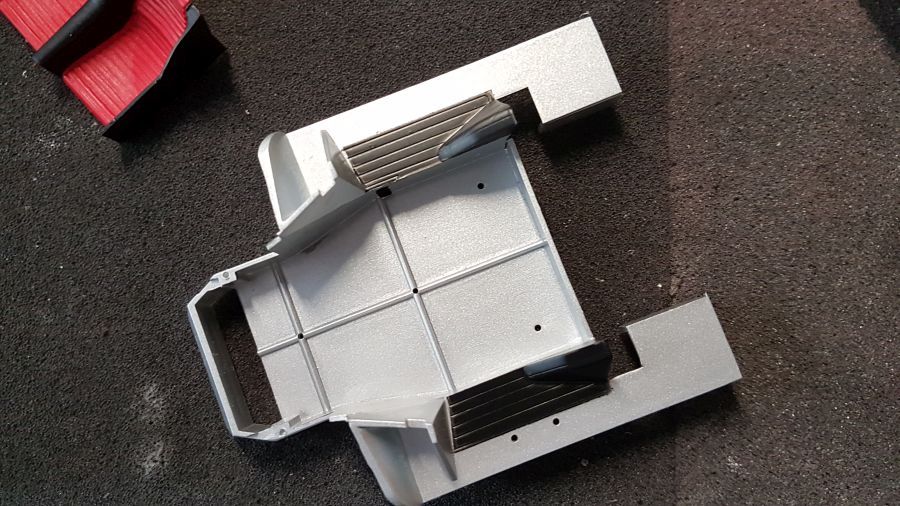
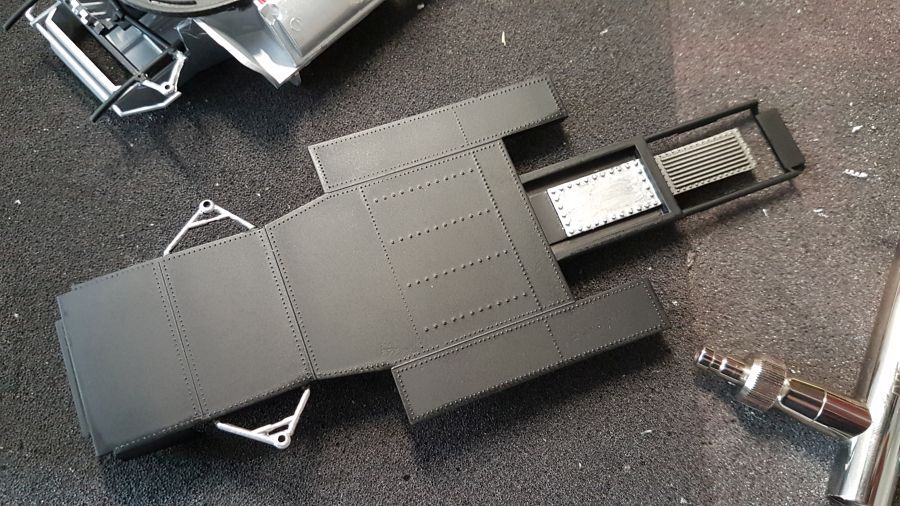
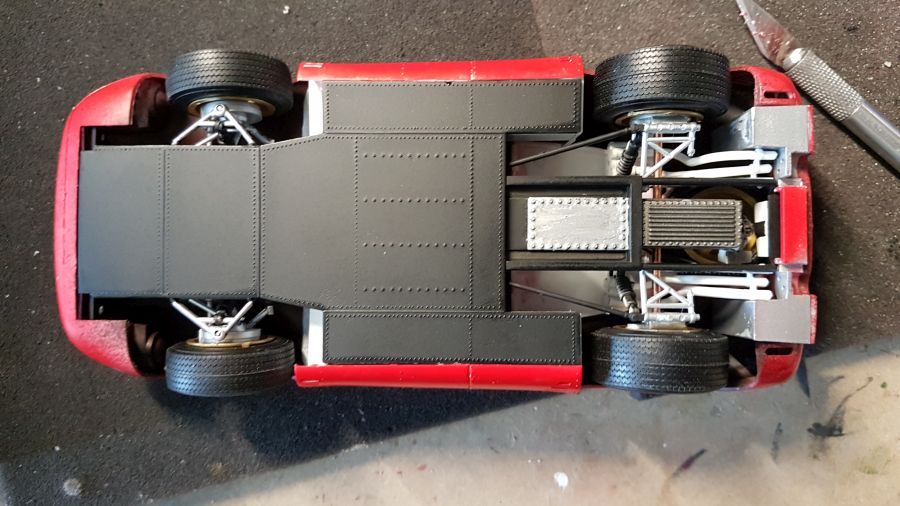
Door met de vloer. Zwart, zilver en goud titanium.
Then the floor. Black, silver and gold titanium.

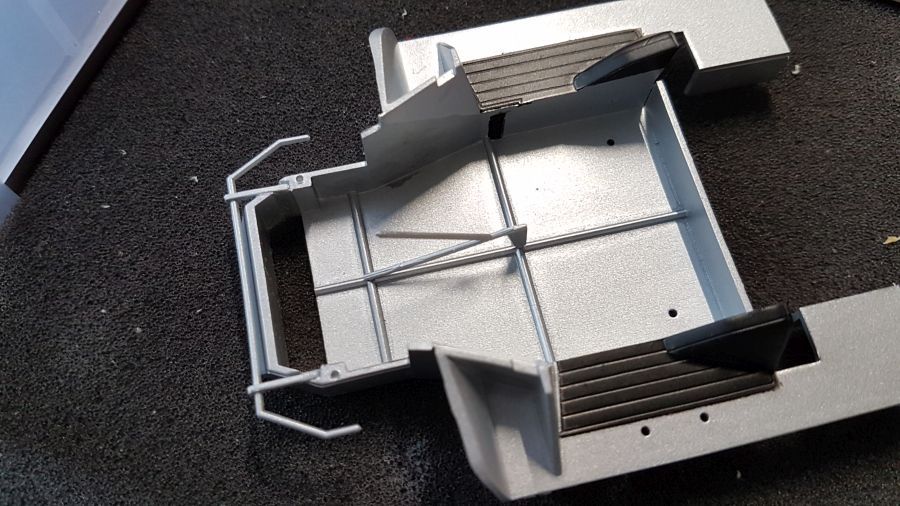
Mijn goede vriend Pierpaolo informeerde me dat de gordels niet juist zijn. Het moet gewijzigd worden naar een heupgordel en de kleur moet lichtgrijs zijn.... Dank Pierpaolo.
My good friend Pierpaolo informed me the belts are not correct. It should be changed to a waist belt and the colour needs to be light grey... Thank you Pierpaolo.
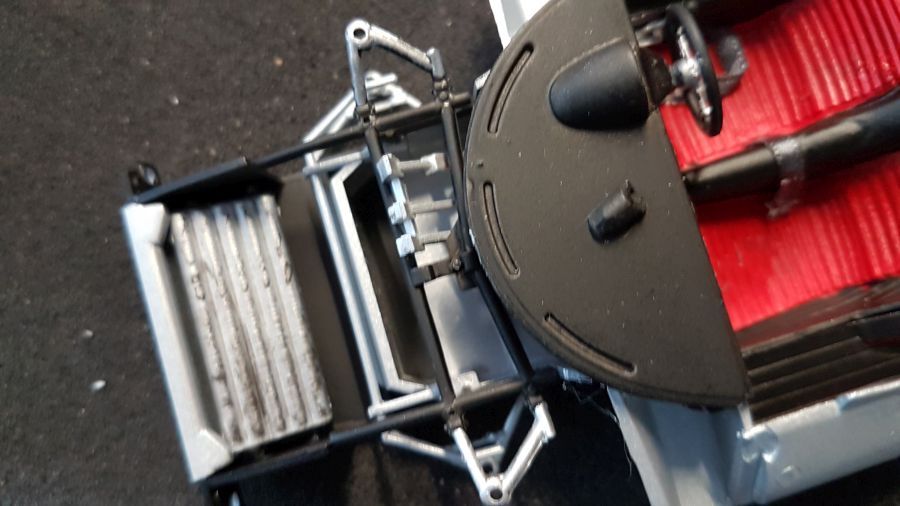
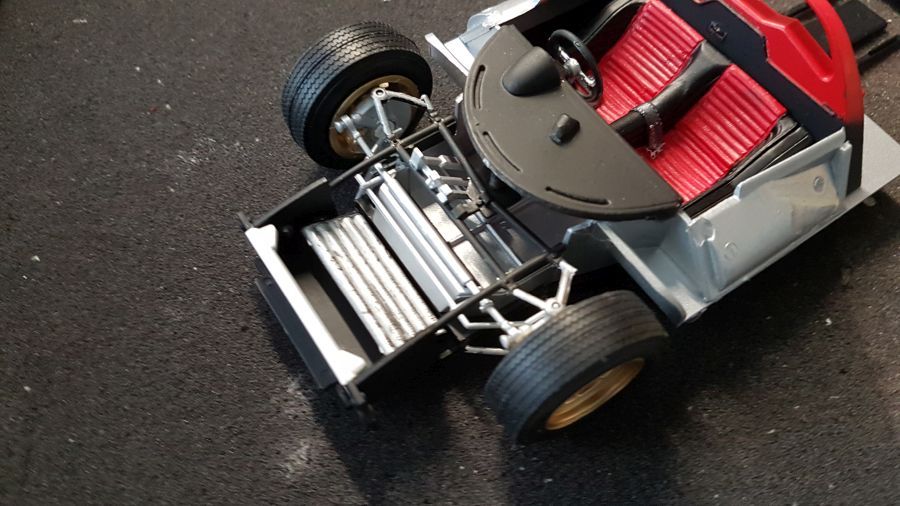
De vloer gaat eronder...
The floor is being attached...
Koeler geplaatst...
Cooler added...
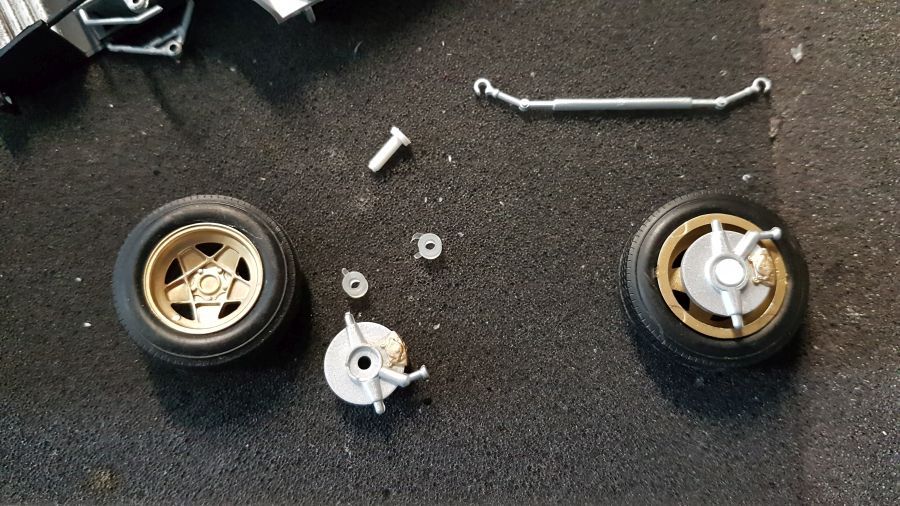
Verder met de voorwielen...
To continue with the front wheels...
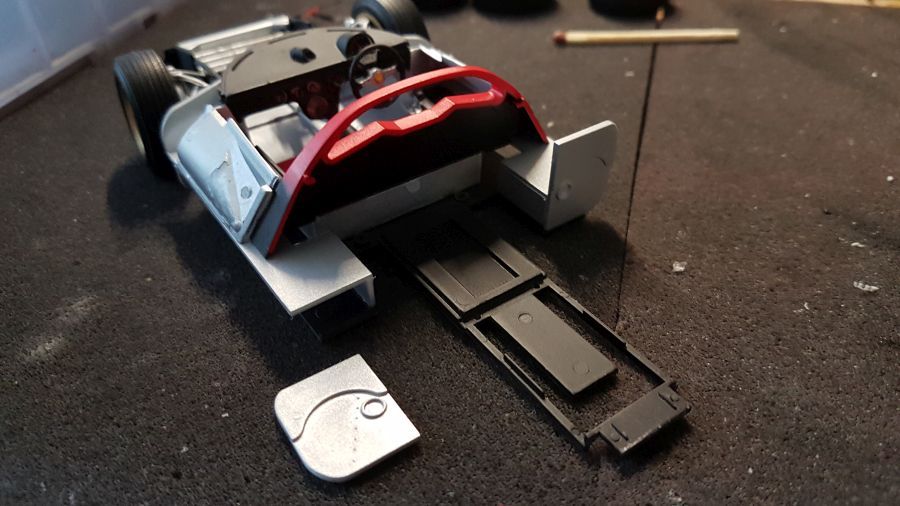
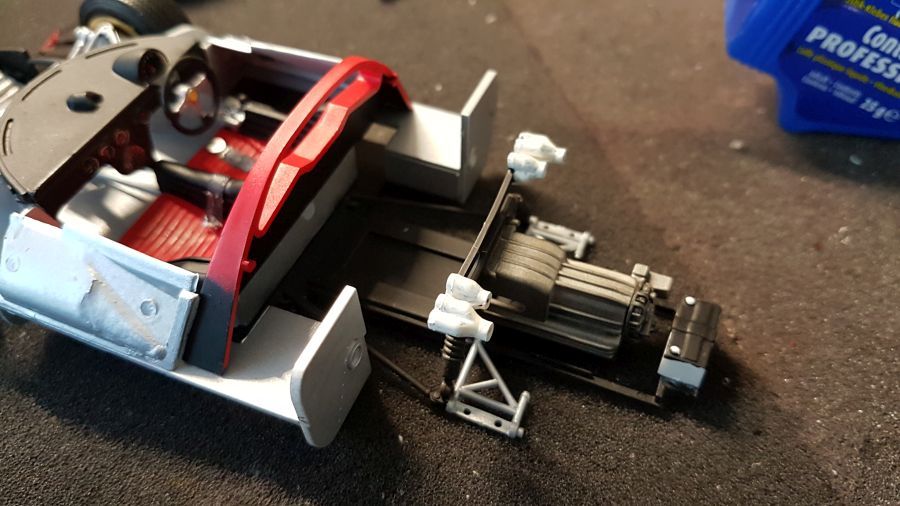
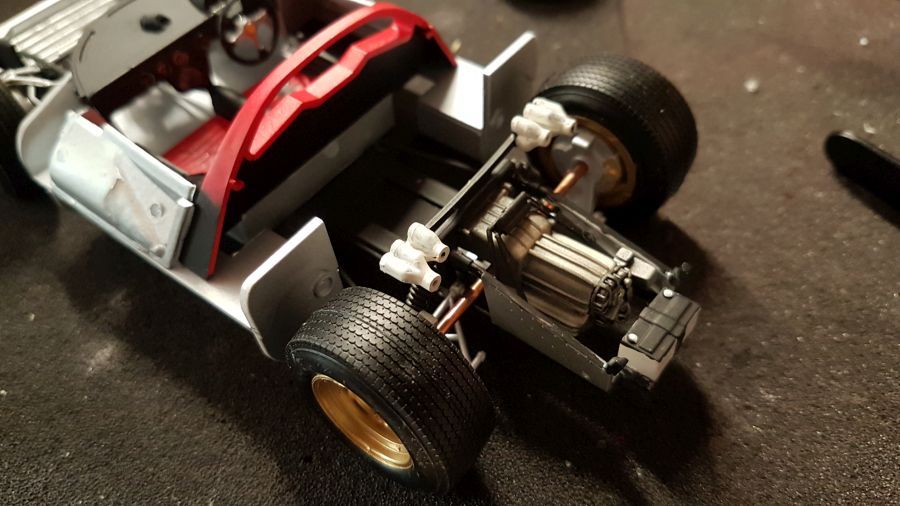
Dan is de achterkant aan de beurt...
Then we are turning to the back...
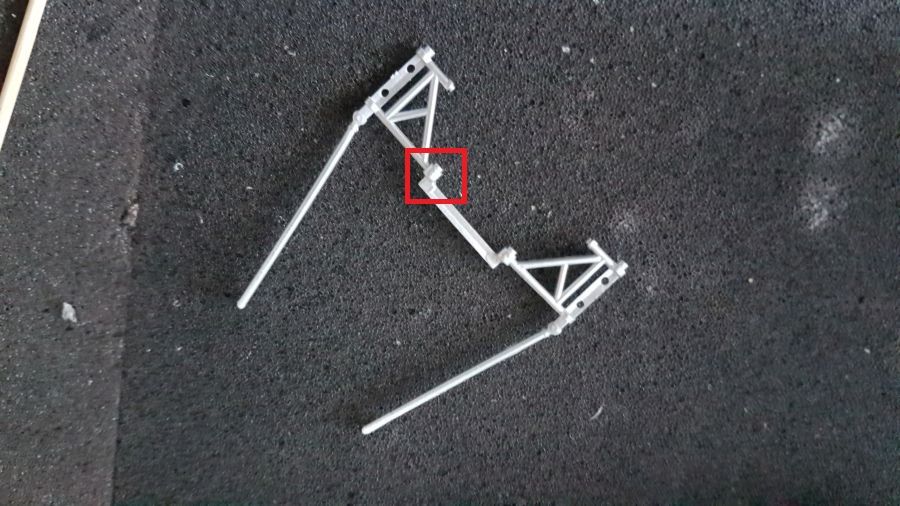
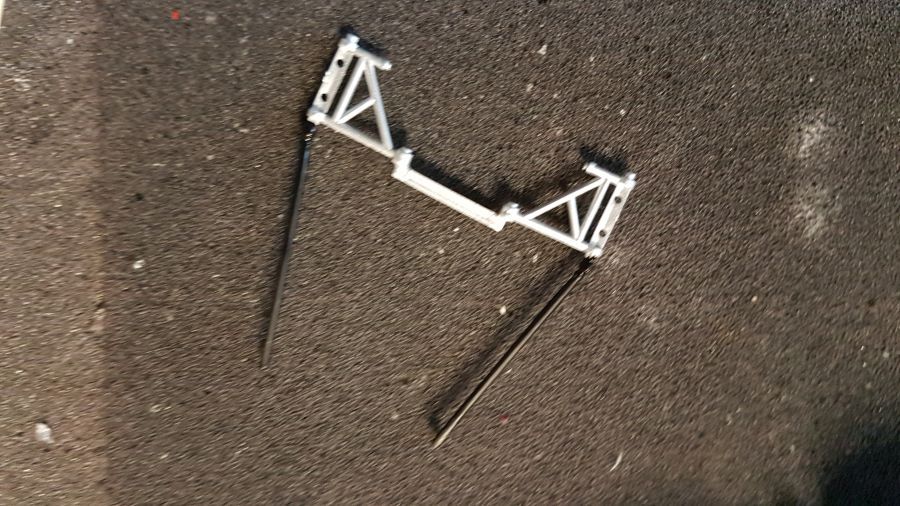
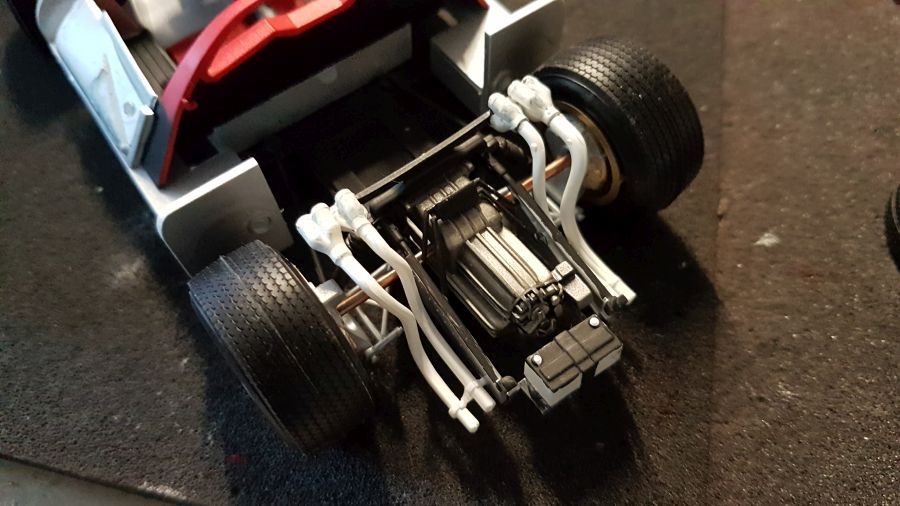
Kijk uit! Deze punten zijn zeer zwak. Eén arm viel er bijna vanzelf af. De tweede zit ook al zeer los. Ik verstevig dit eerst met een drup lijm.
Watch ou! These points are very weak. One arm fell off by itself. The second is very wobbly too. I am re-enforcing it by a drop of glue.
Dan de dummy versnellingsbak. De motor ontbreekt in deze kit.
On to the dummy gear box. The engine is missing in this kit.
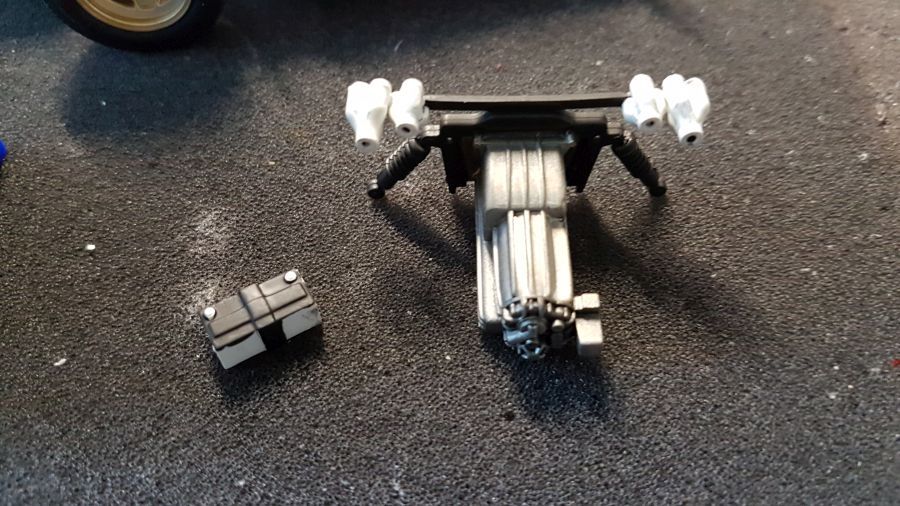
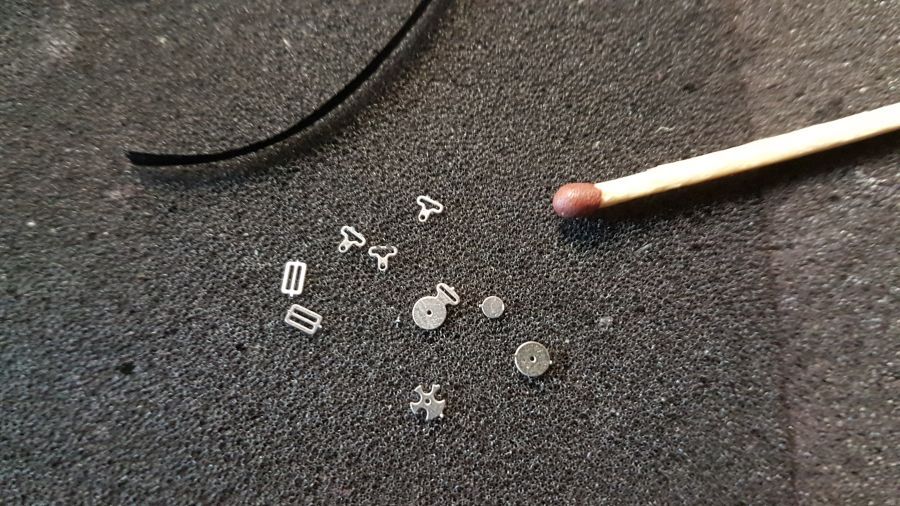
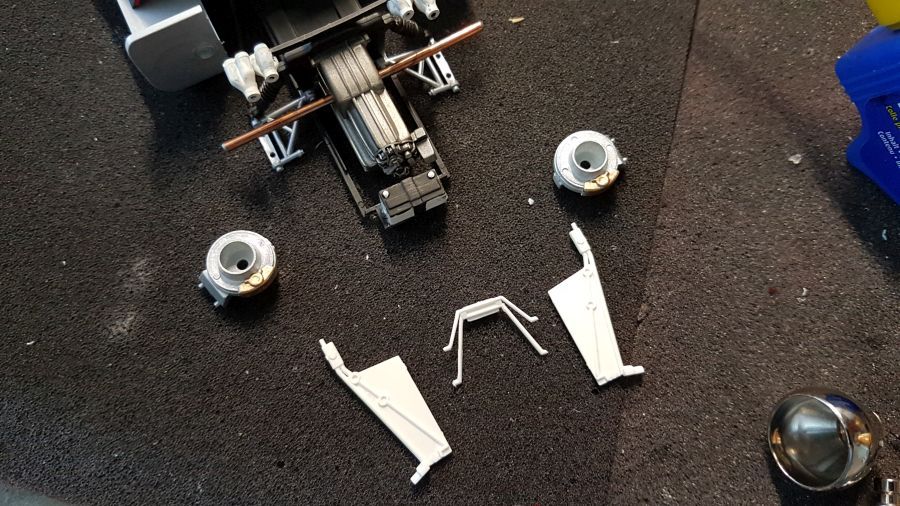
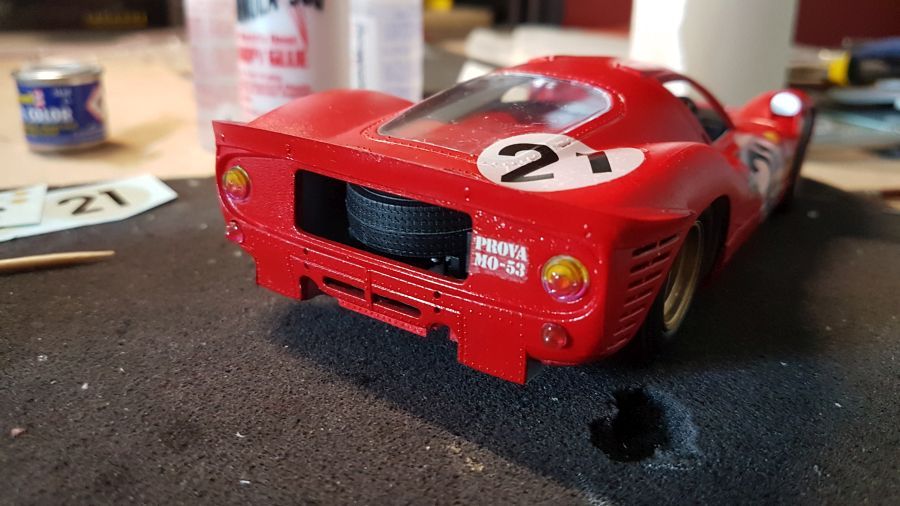
De remschijven zijn alvast gespoten. De andere onderdelen vormen de steun voor het reservewiel.
The break discs have been painted. The other parts are for the support of the spare wheel.
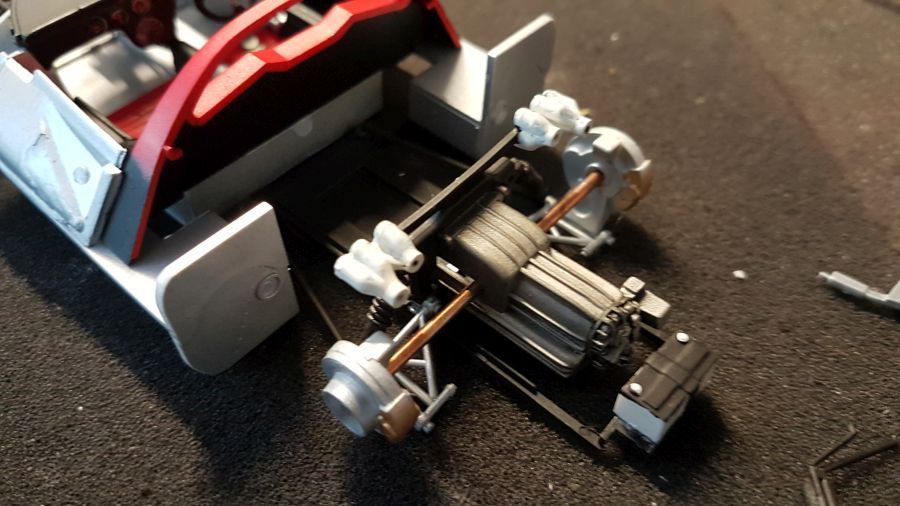
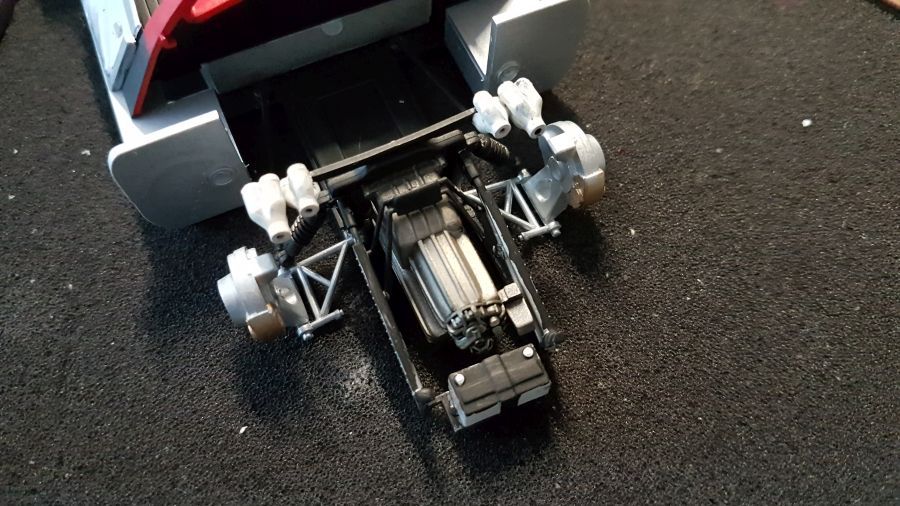
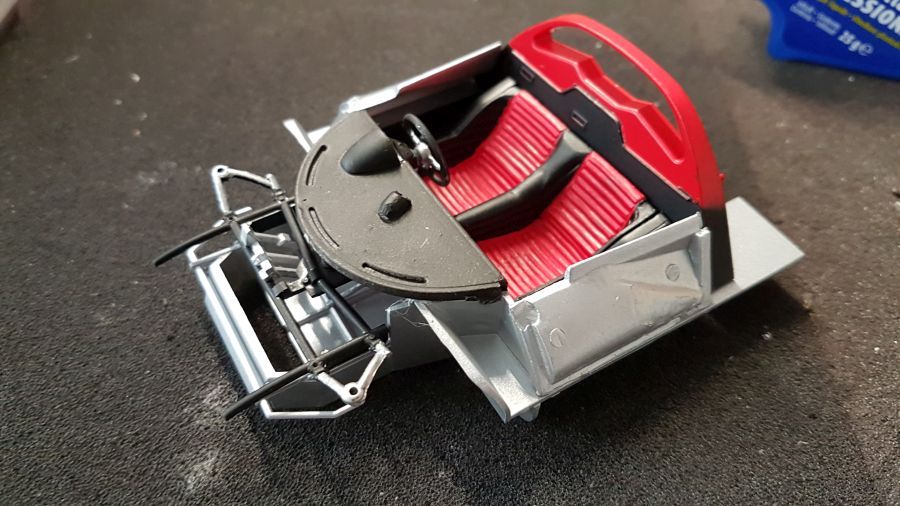
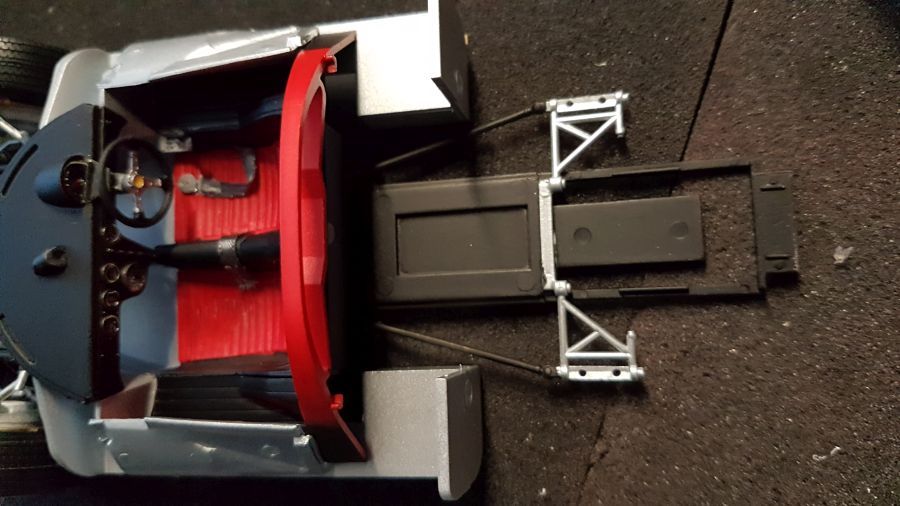
Even passen...
Test fit...
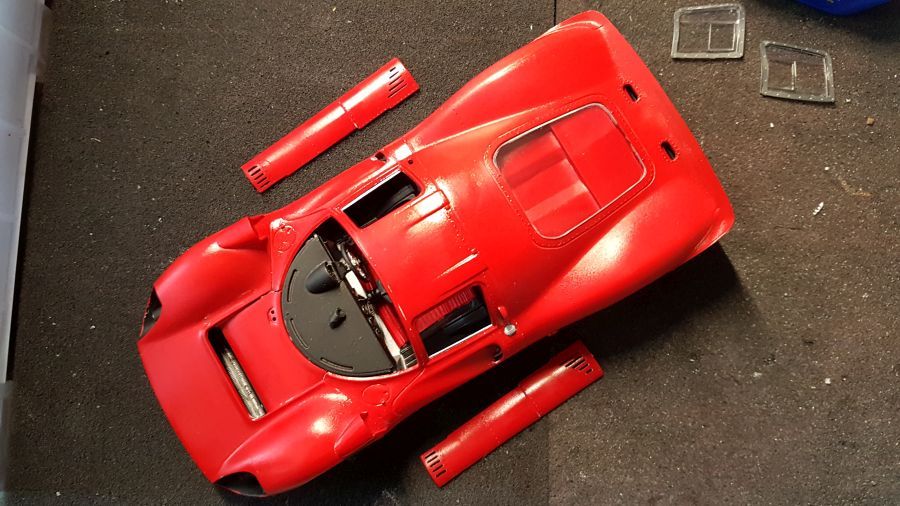
Een paar kleine onderdelen aan de body, voordat het rood erop gaat.
Some small parts to the body, before adding the red.
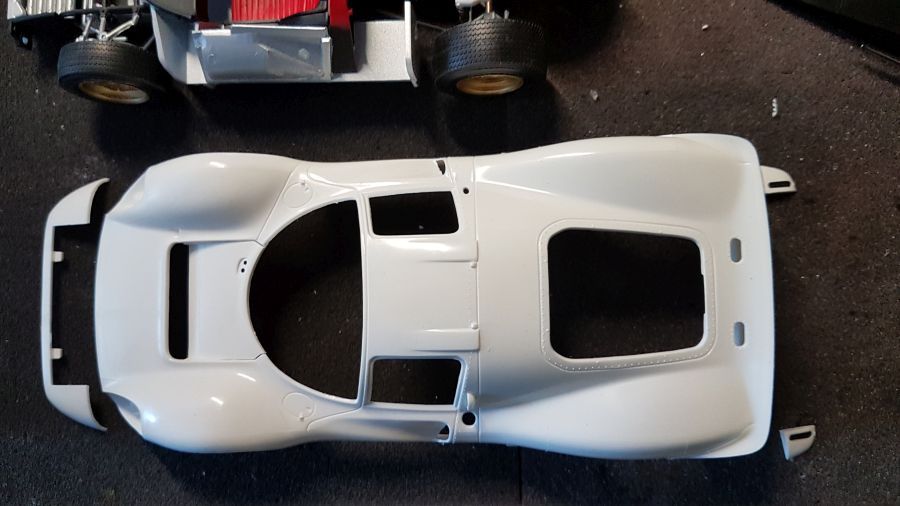

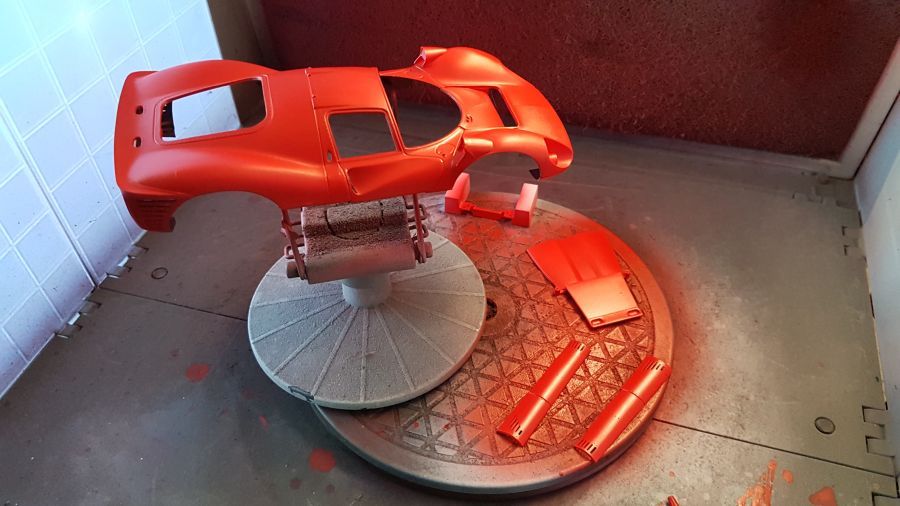
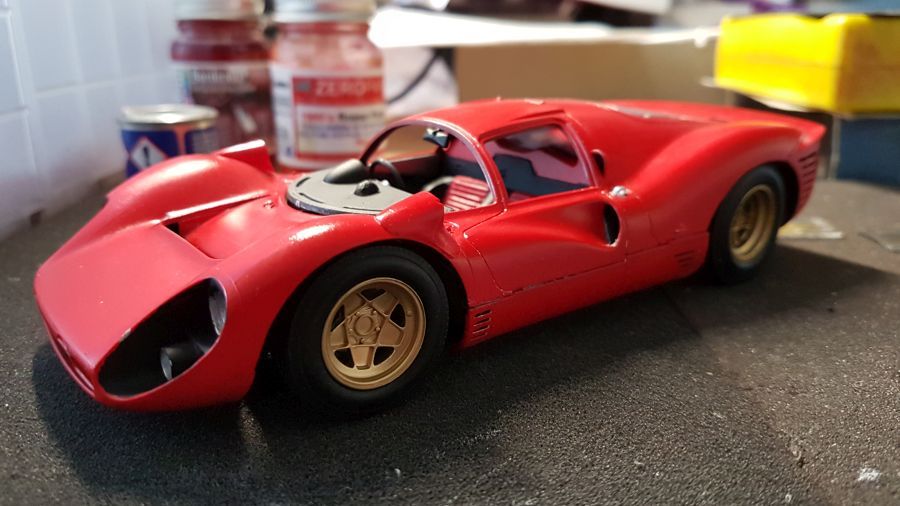
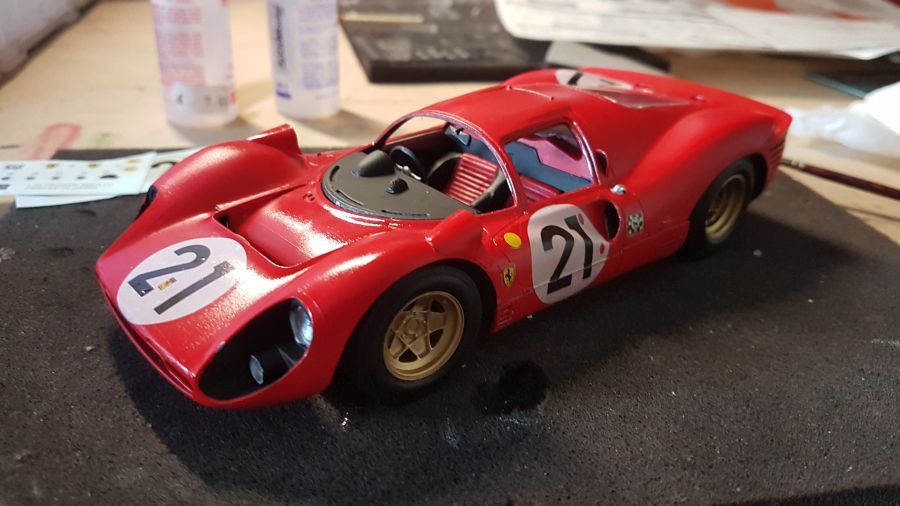
Dan het rood en de glanslak...
Then the red and the clear gloss...
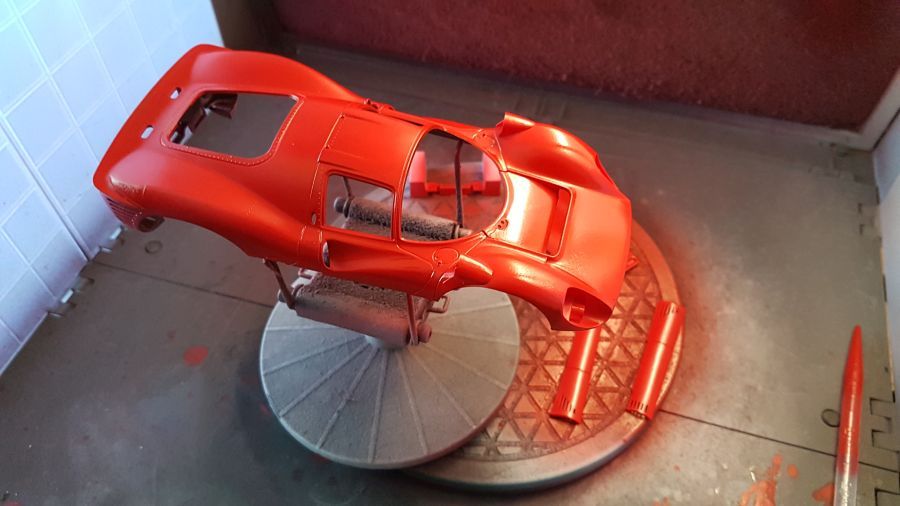
Alle rode body delen zijn gepolijst met Tamiya Red Cap om de glans wat te verzachten...
All red body parts have been polished with Tamiya Red Cap to tone down the shine...

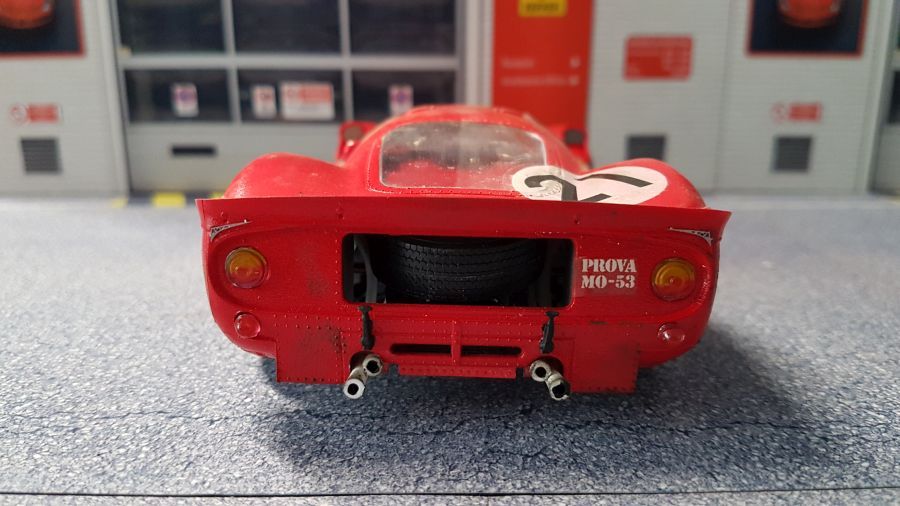
Terug naar de vloer. De uitlaten gaan erop, daarna het achterraam en de afdekking.
Back to the floor. The exhausts were mounted, then the rear window and the cover.
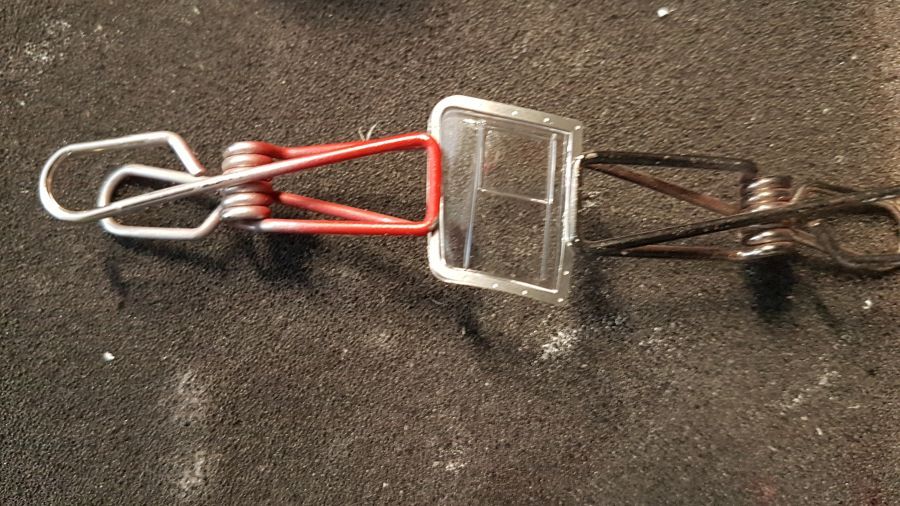
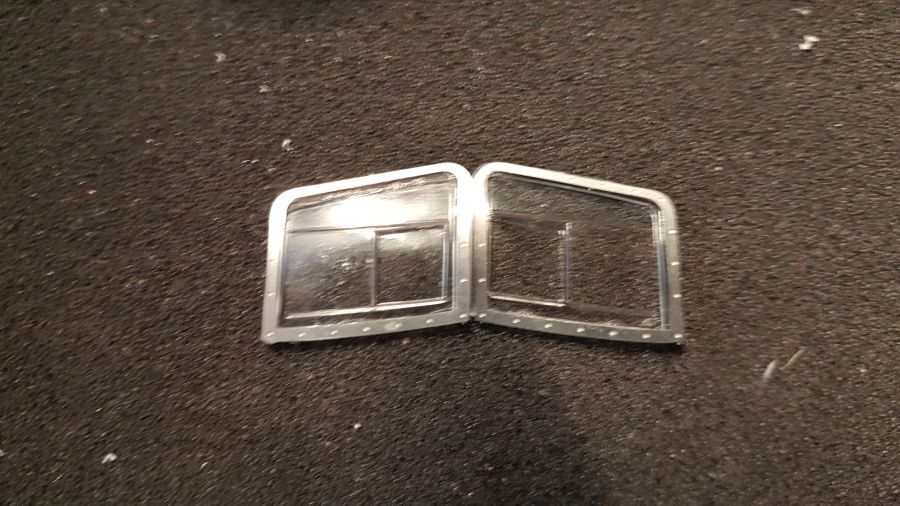
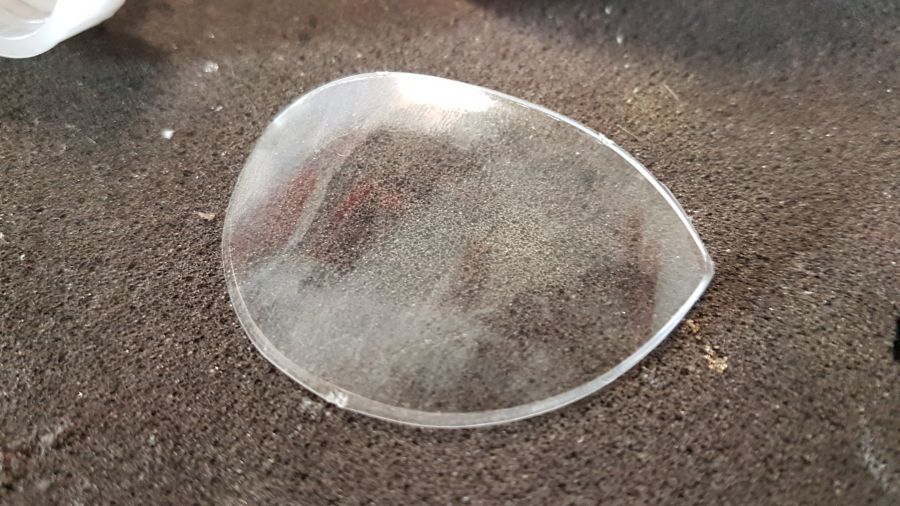
De zijramen worden voorbereid.
The side windows are being prepared.
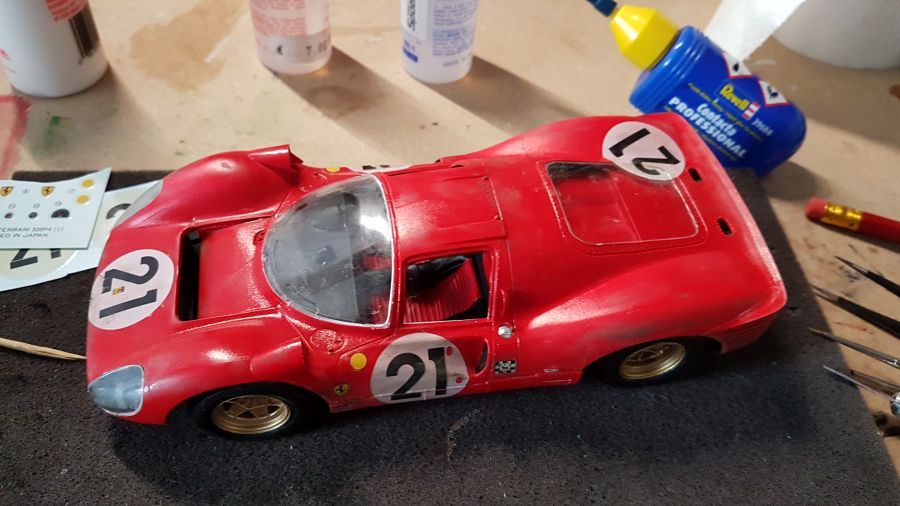
De body wordt op de vloer geplaatst.
The body gets attached to the floor.
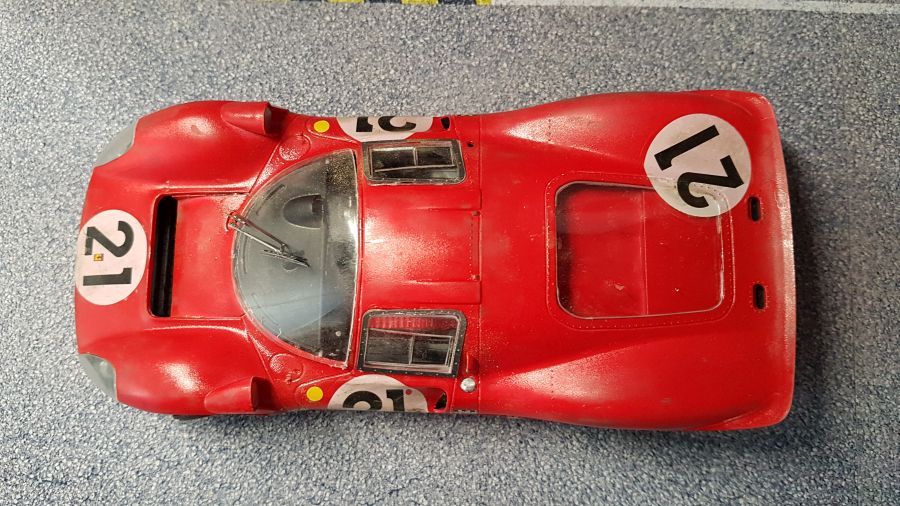
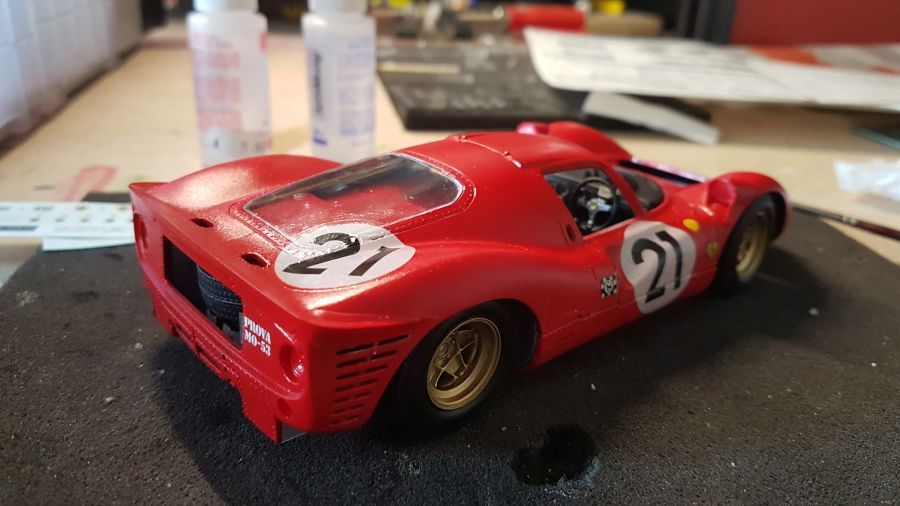
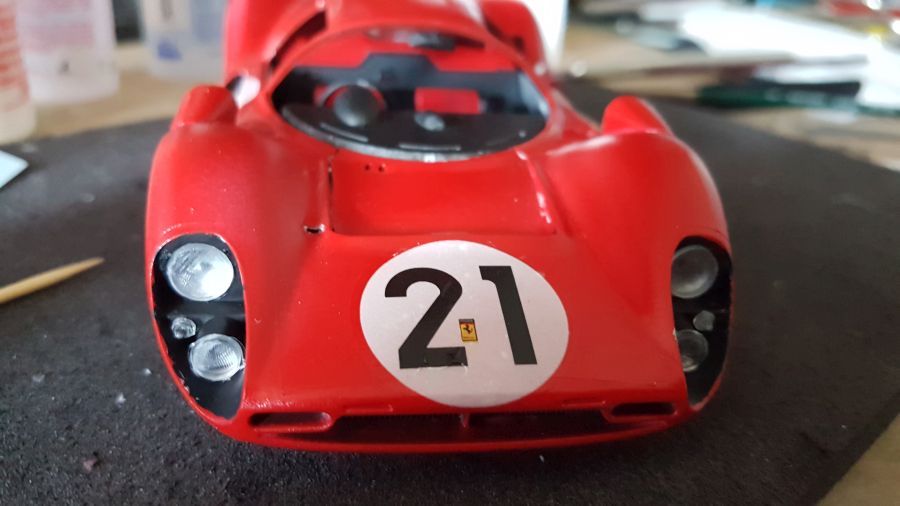
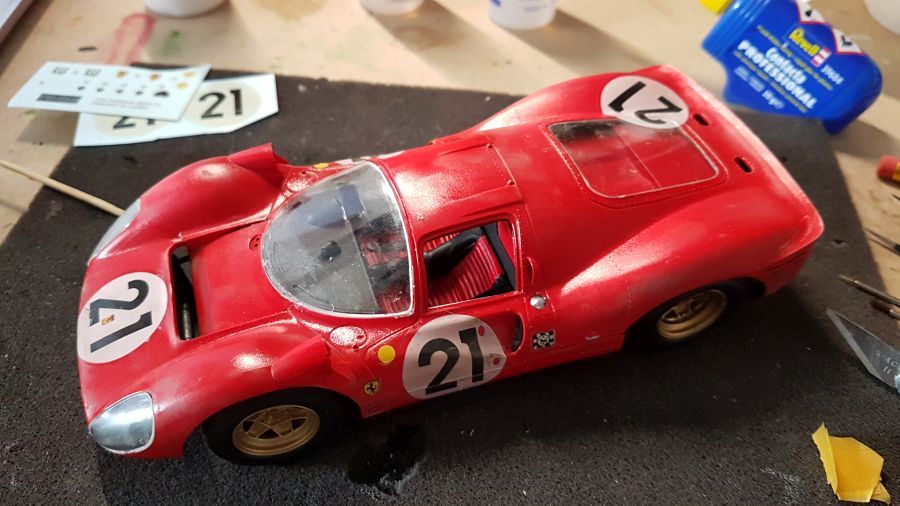
De decals gaan erop. Klein probleem, ze laten bijna niet los van de drager. Erg voorzichtig zijn dus.
The decals are to be added. Small problem, they hardly come off from the carrier. I have to be careful.

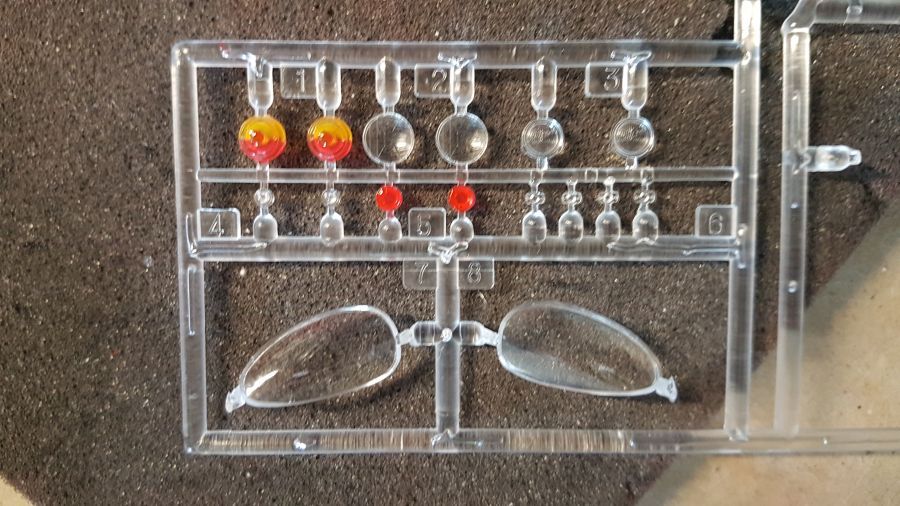
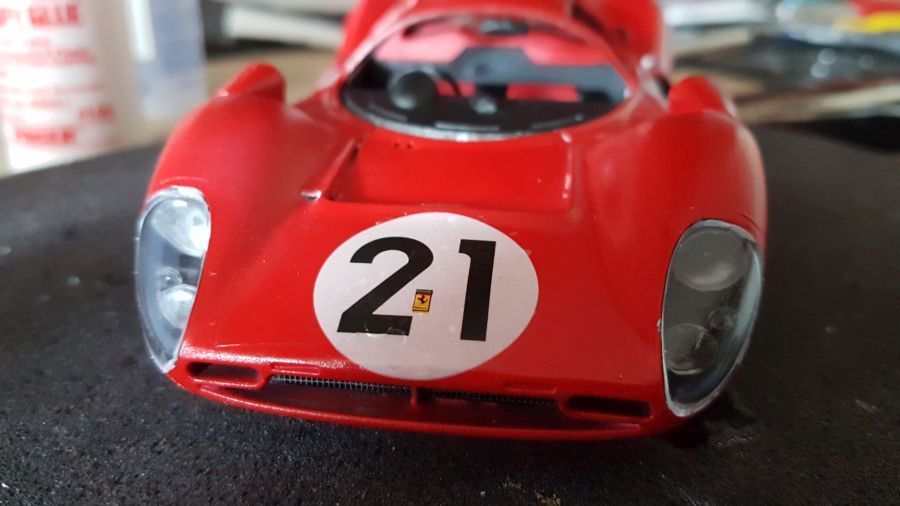
Het werk aan de verlichting.
Working on the lights.
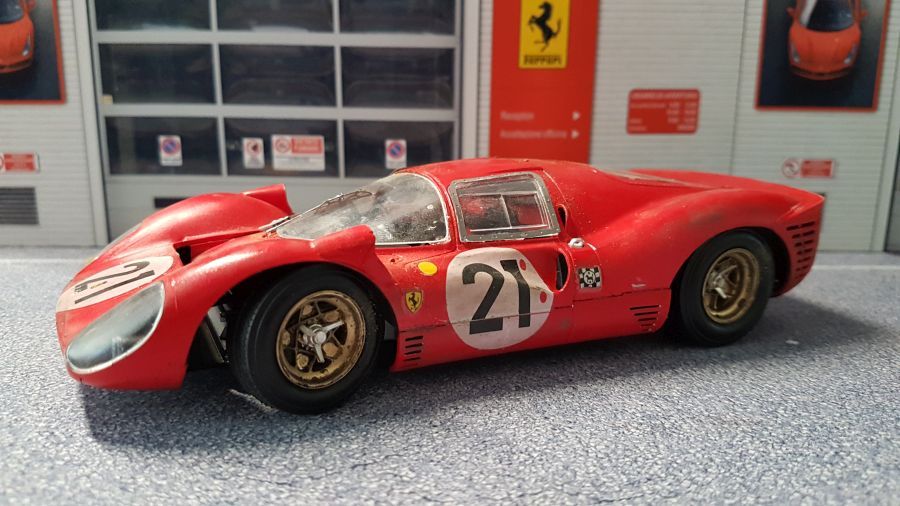
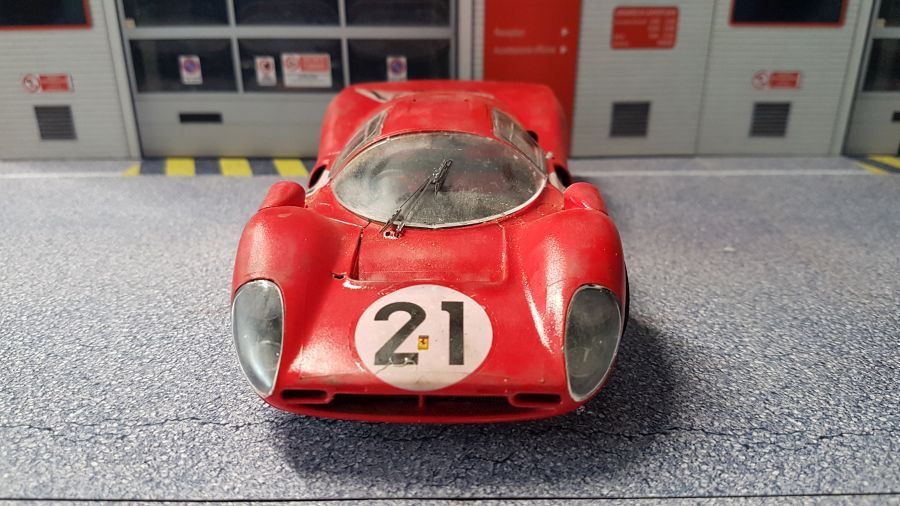
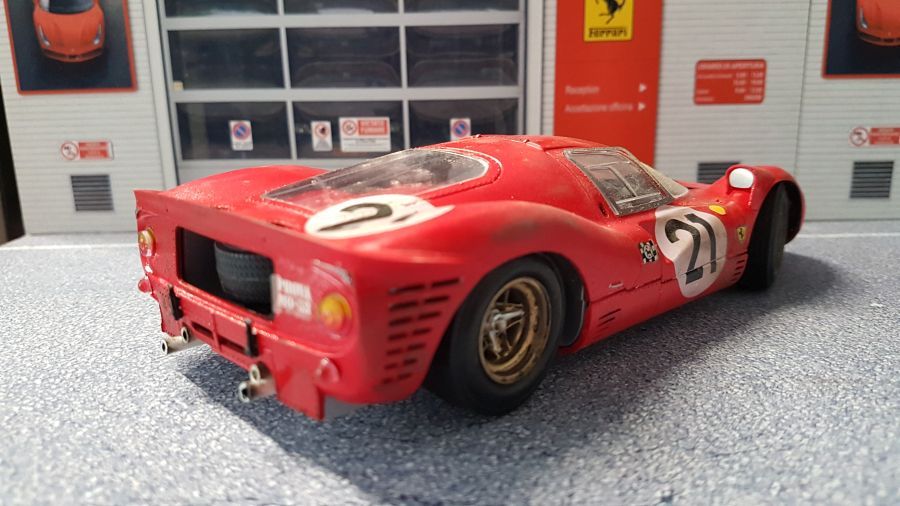
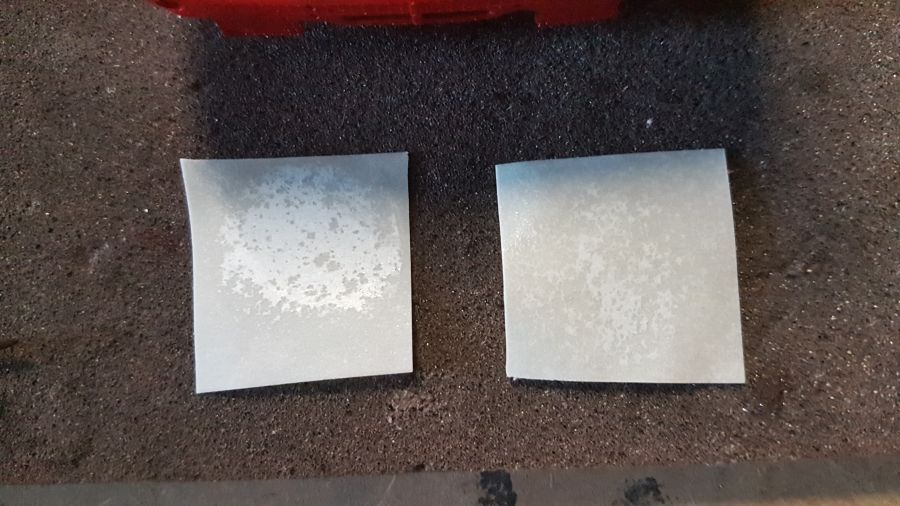
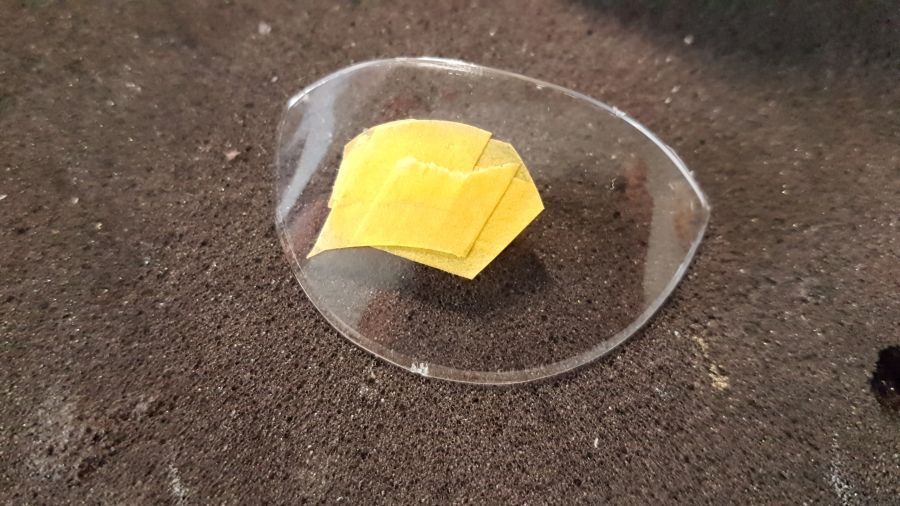
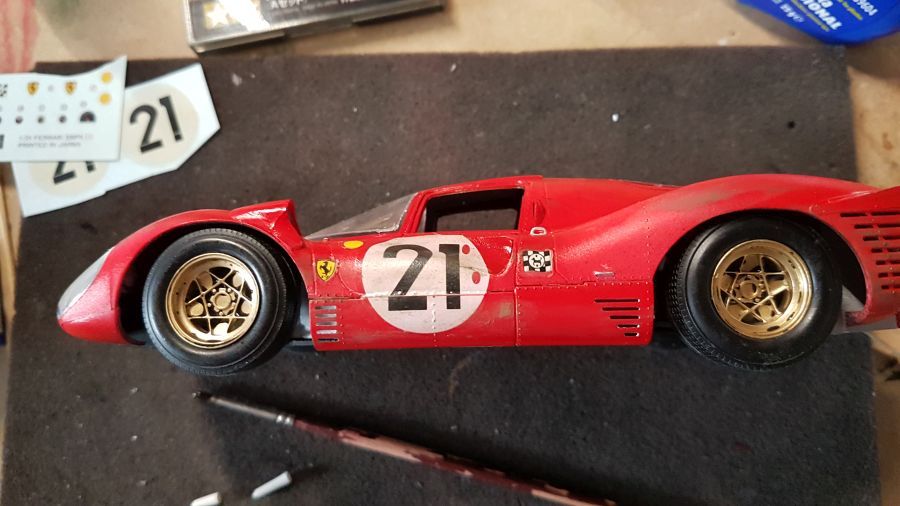
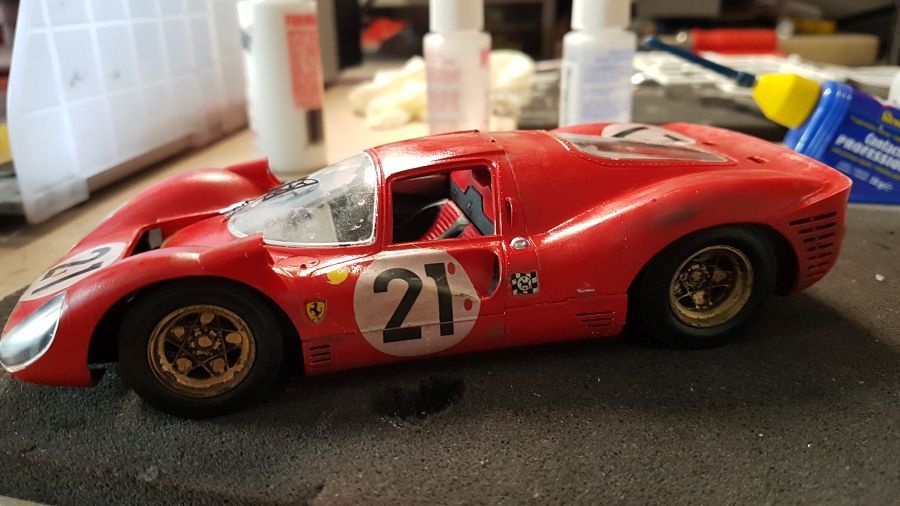
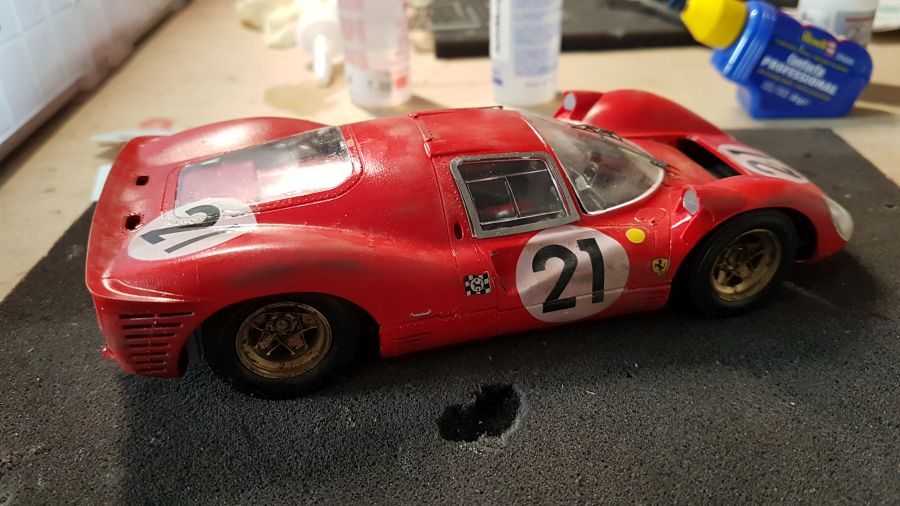
Dan worden de gebruikssporen aangebracht. Ik doe dit met behulp van Tamiya poedersets. Voor mij de eerste keer. Ik hoop dat het een beetje lijkt. Eerst zand en modder en dan nog wat olie. Eerst het ruitenwisseroppervlak maskeren.
Then i am adding the used markes. I use Tamiya powder sets. The first time for me. I hope it will turn out well. First sand and mud and then oil. First masking the track of the wiper.
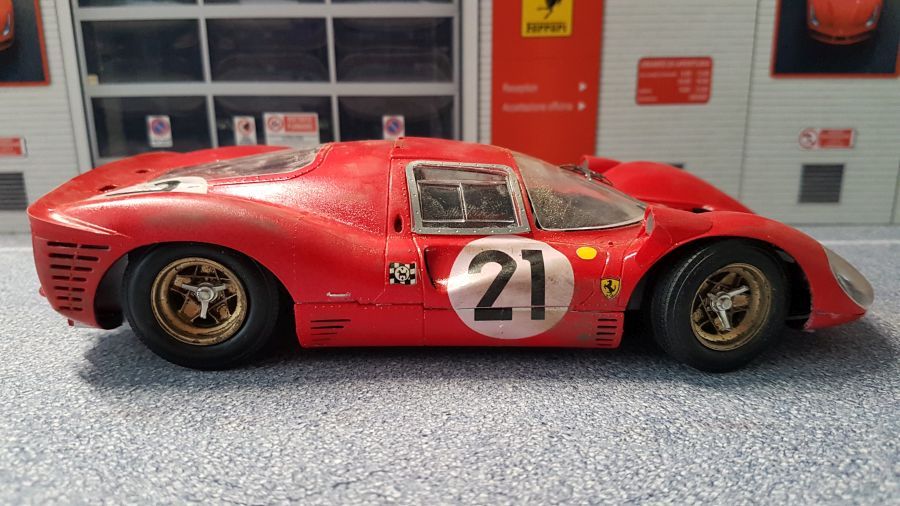
Dan de velgen...
Next are the rims...
De wisser..
The wiper...

De wielmoeren...
The wheel nuts...

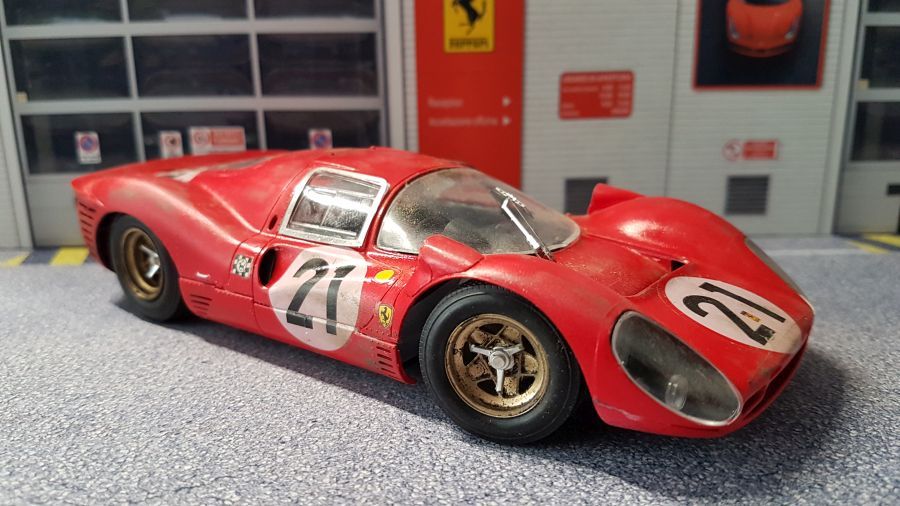
Ik noem deze af....
I call it done...