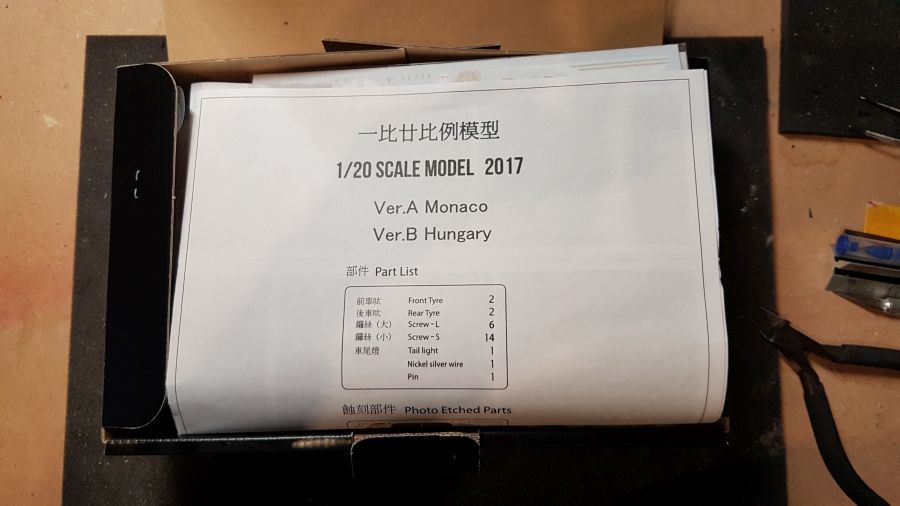
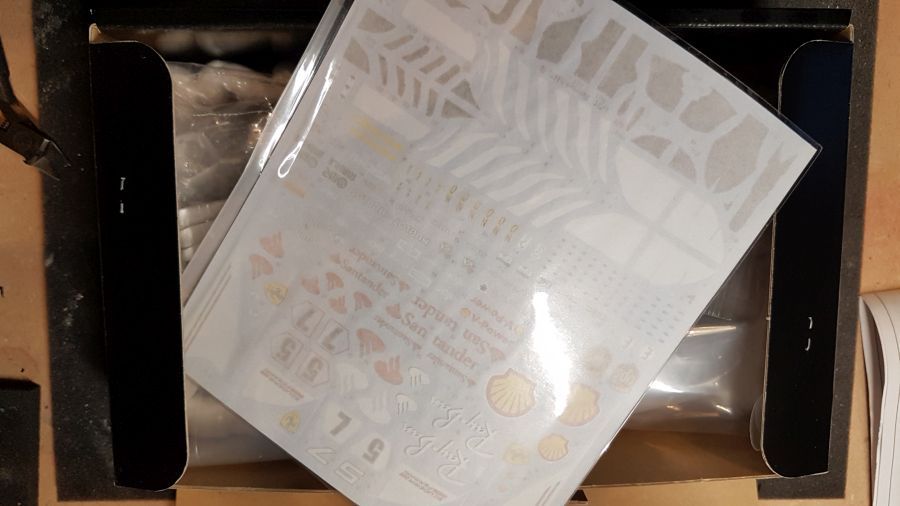
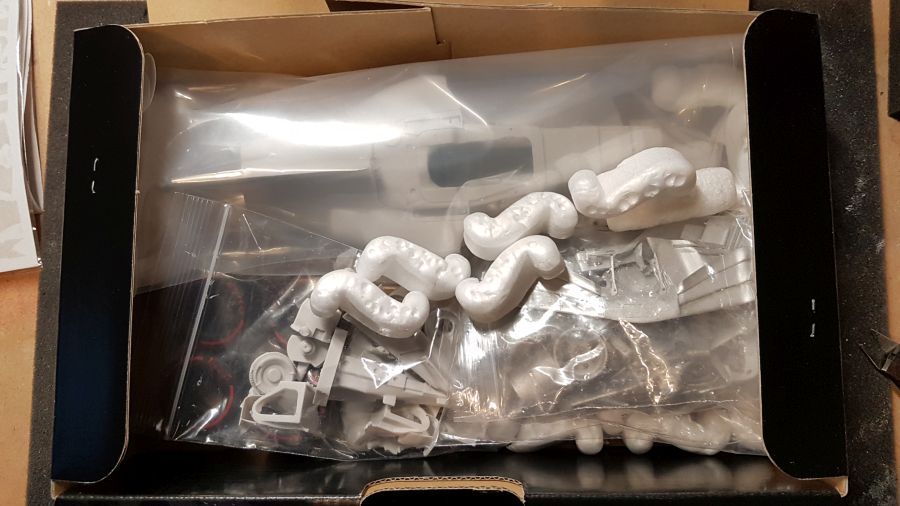
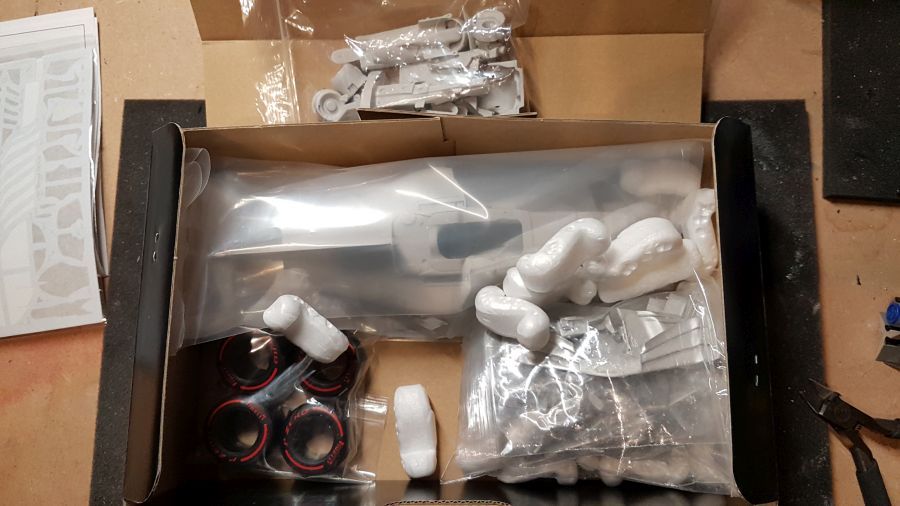
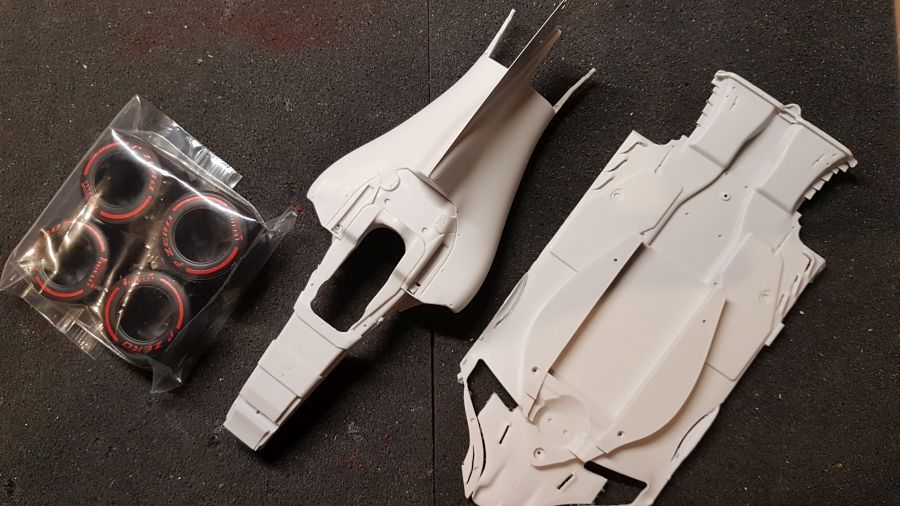
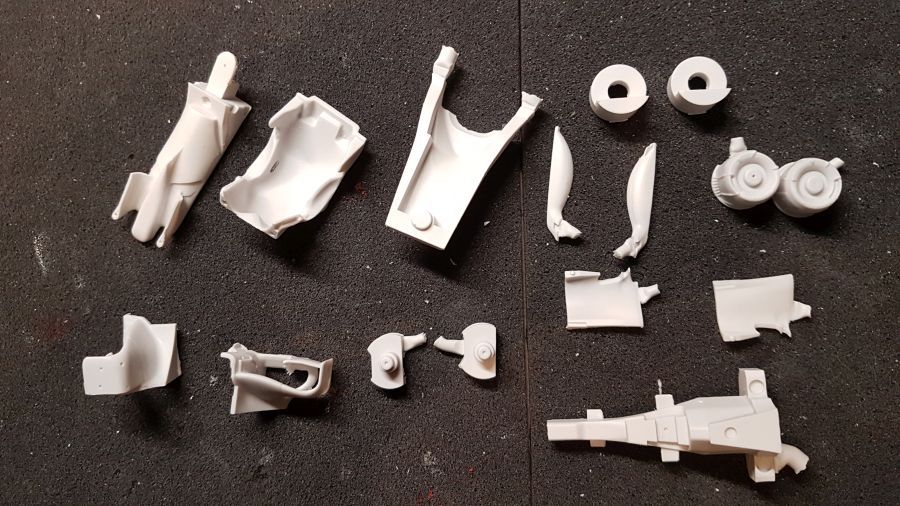
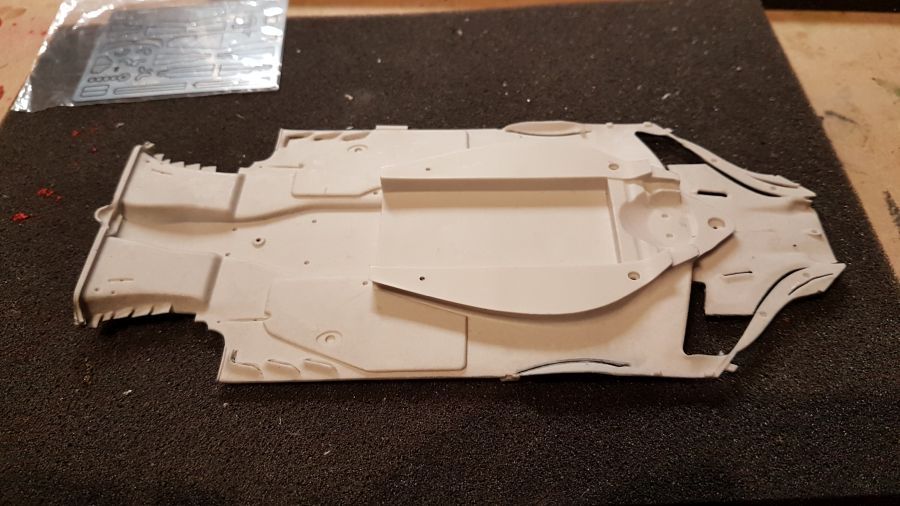
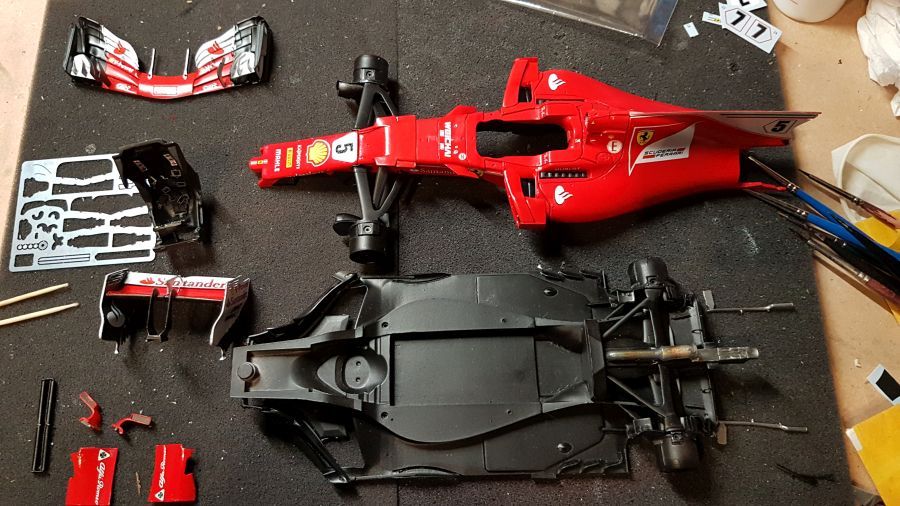
Voor het volgende project ga ik de Ferrari SF70H maken uit 2017. Dit wordt de versie zoals deze tijdens de GP van Monaco is bestuurd door Sebastian Vettel. Het is een kit van DTM in schaal 1/20. DTM is vermoedelijk een onofficiele uitgave van het bekende merk Modelfactory Hiro. En als ik naar de onderdelen van deze 1/20 kit kijk en ik vergelijk het met de 1/12 kit van MFH, dan geloof ik dat best. Eerst maar weer de foto's van deze mooie Ferrari SF70H kit inhoud.
For the next project i will build the Ferrari SF70H from 2017. This will be the version as driven by Sebastian Vettel during the Monaco GP. It is a kit from the brand DTM in scale 1/20, DTM is believed to be an unofficial sub brand from the well known Modelfactory Hiro. And if i look at the parts of this scale 1/20 kit and compare them with the 1/12 kit from MFH, i believe it for sure. First of all the pictures of the content of this beautiful Ferrari SF70H kit.
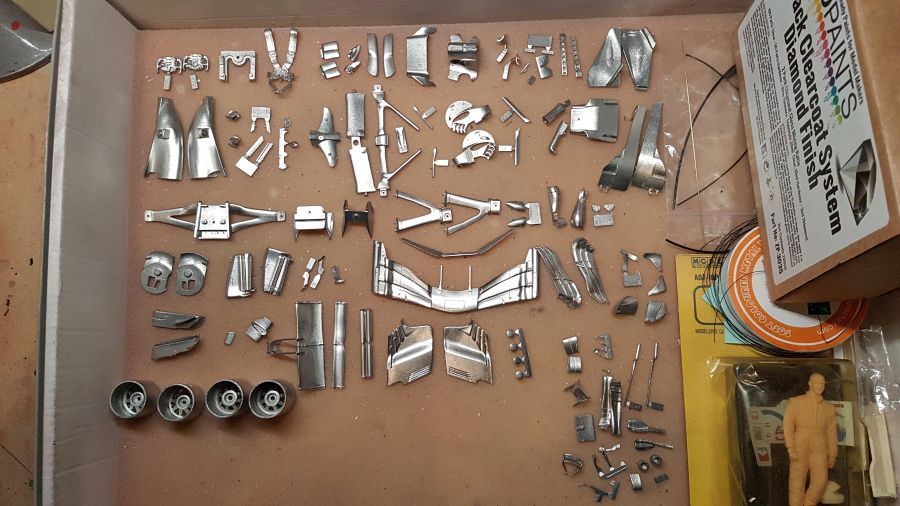
Opmerkelijk.
Remarkable.
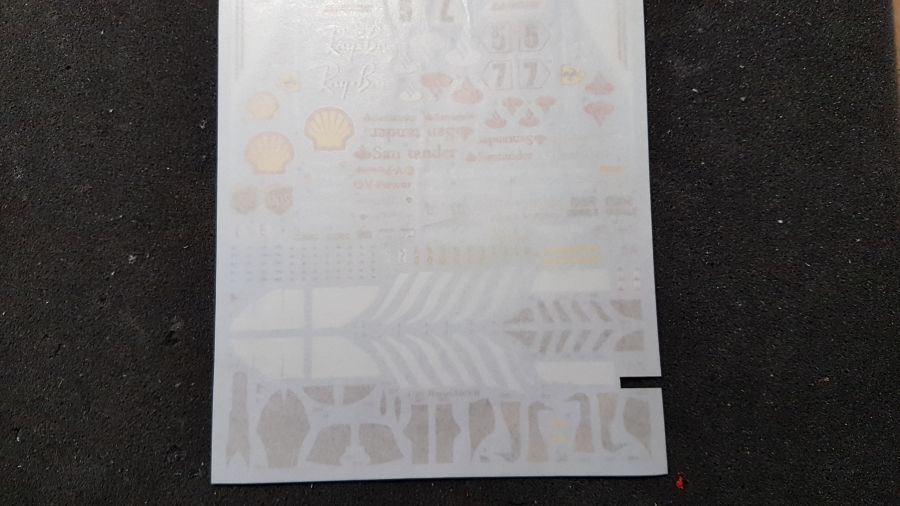
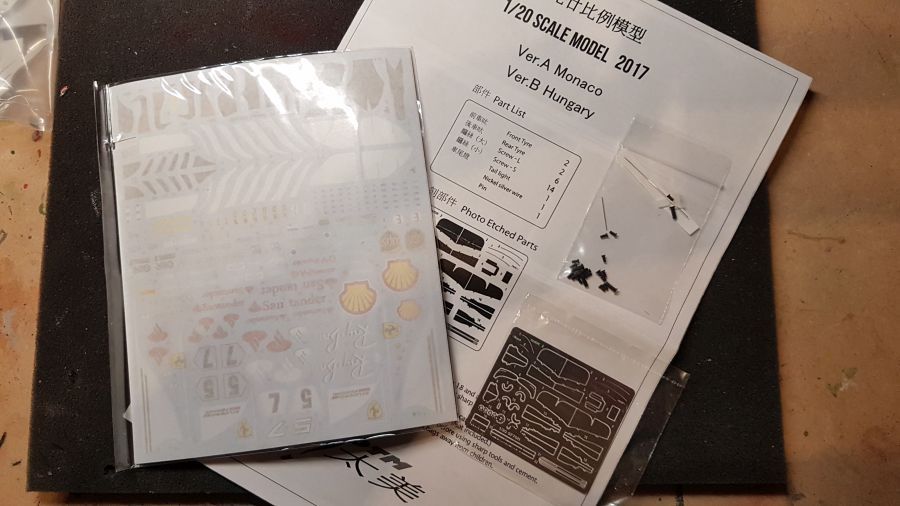
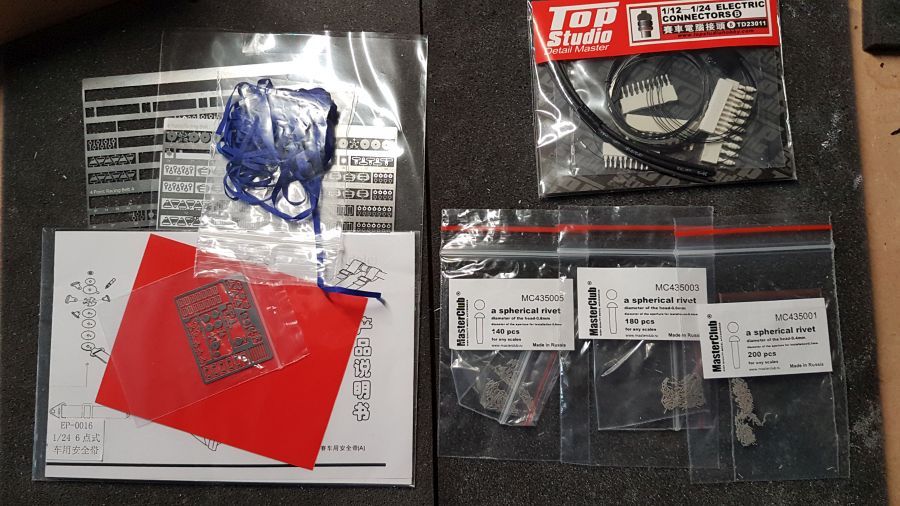
Ik zal ook wat 'aftermarket'-spul gebruiken.
I will also use some aftermarket stuff.
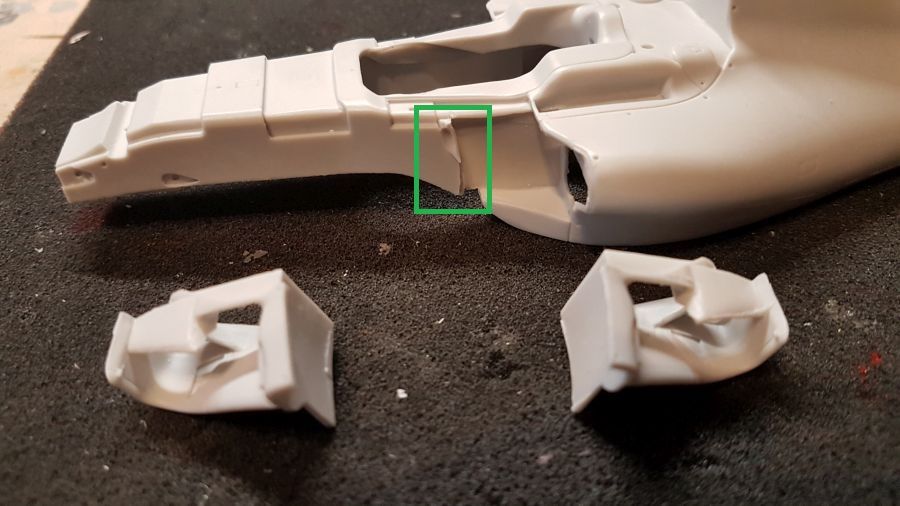
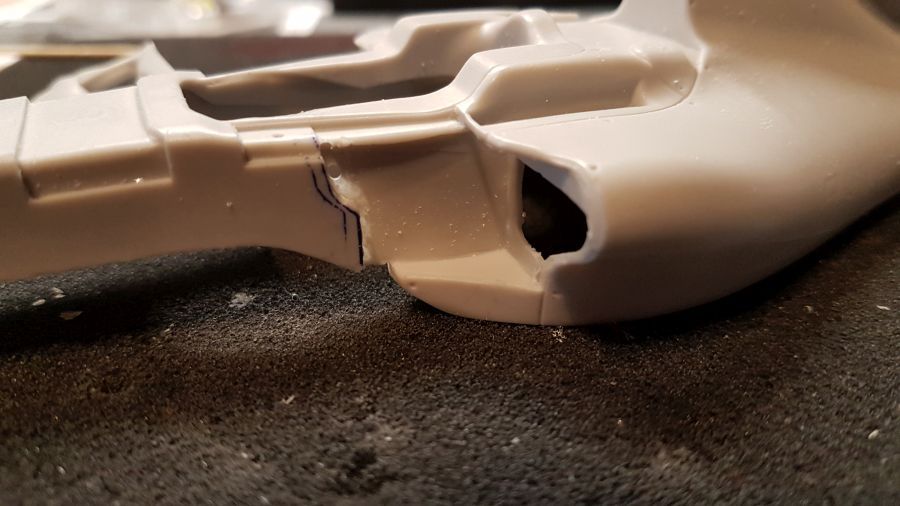
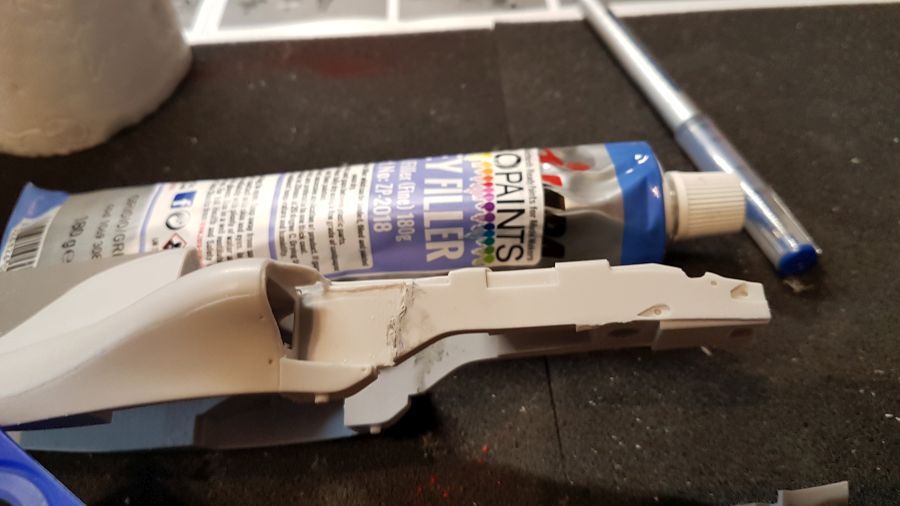
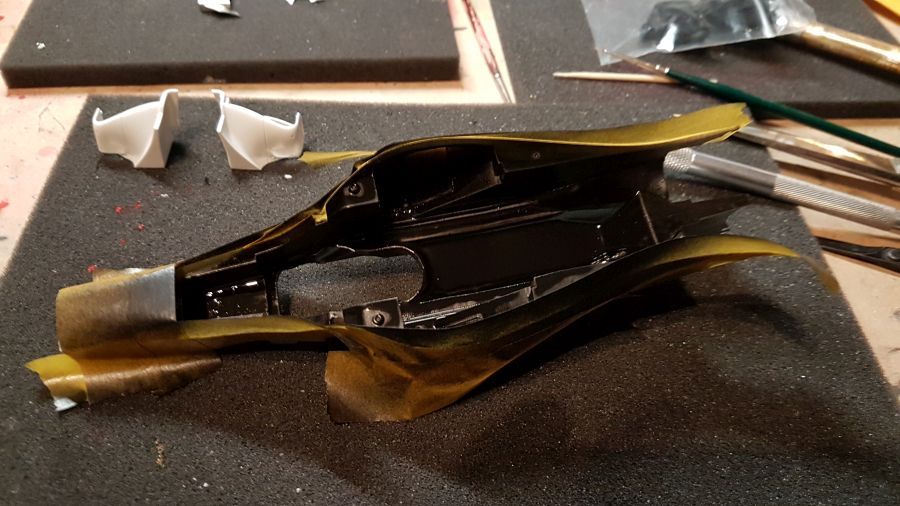
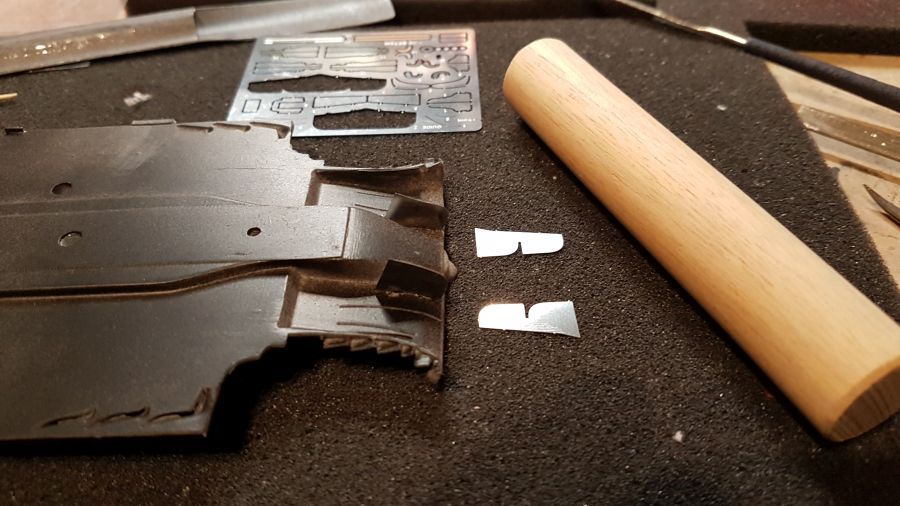
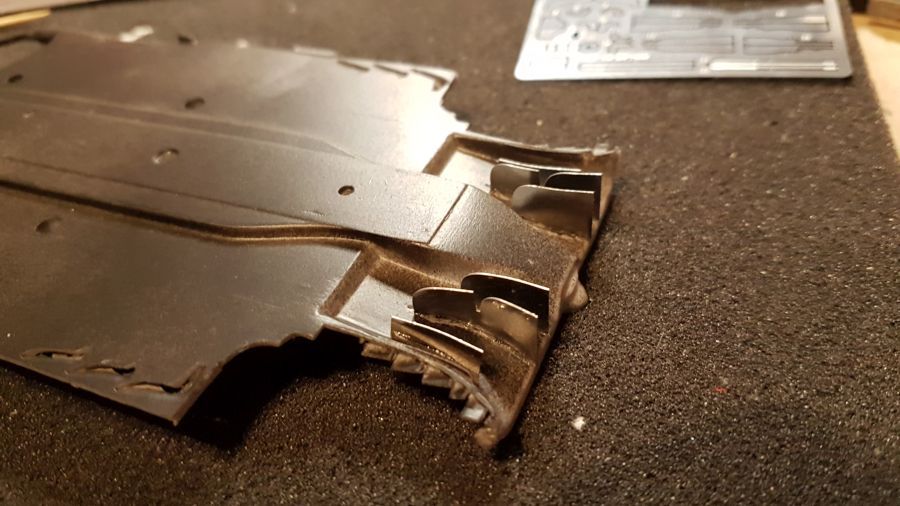
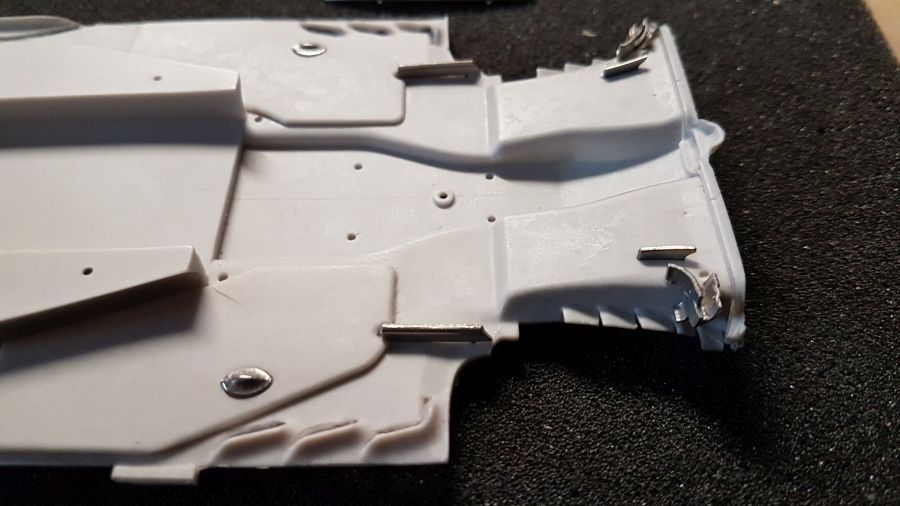
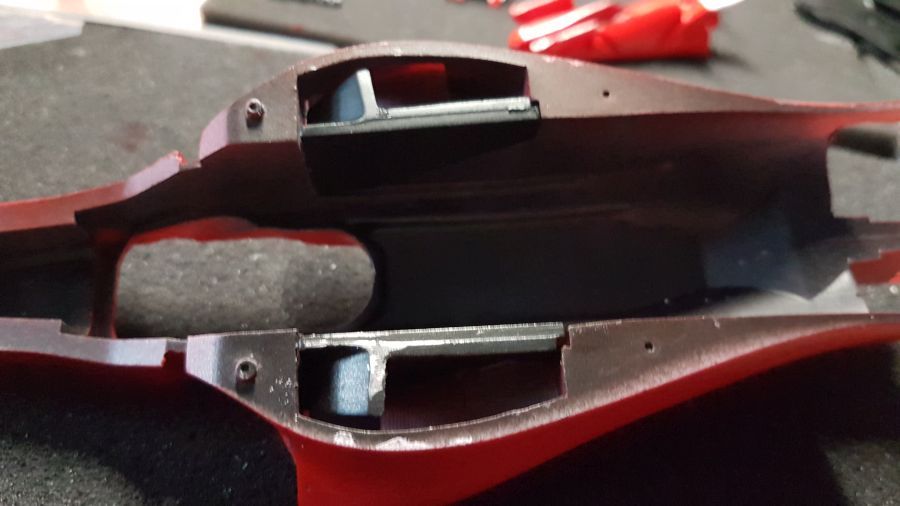
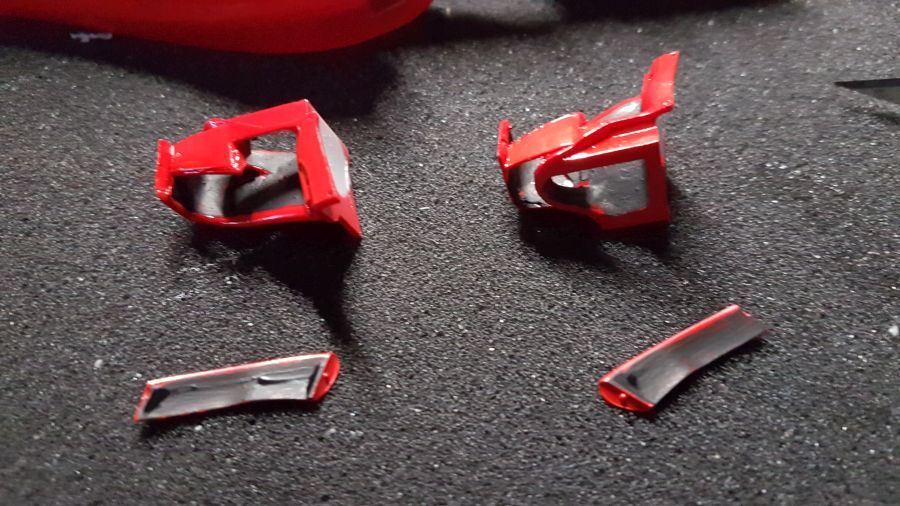
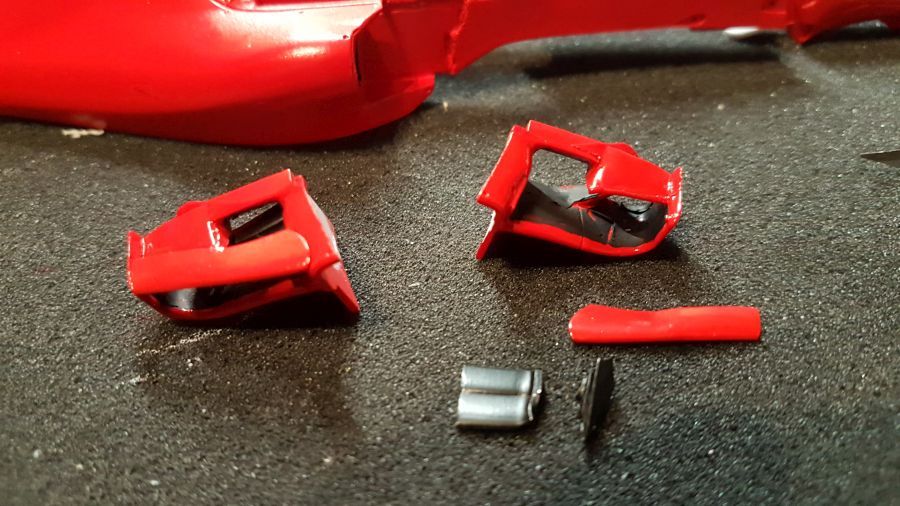
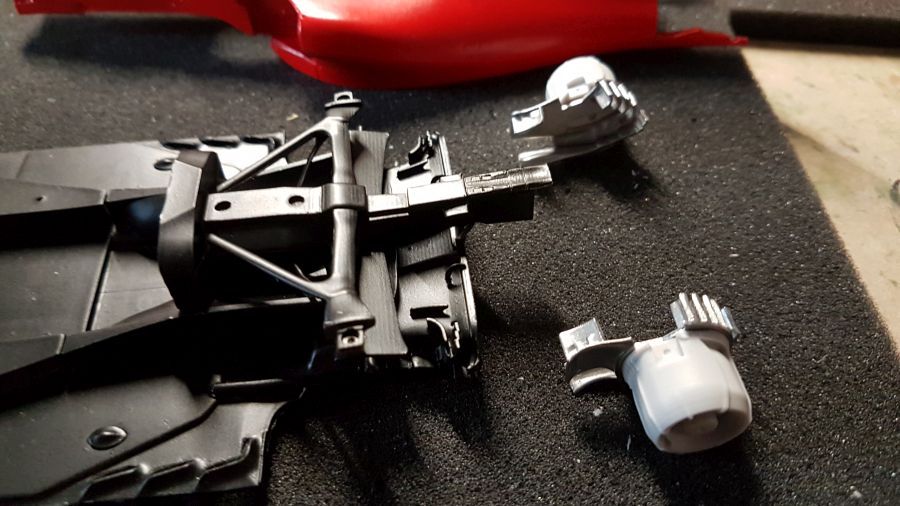
Ik begin met het passen en passend maken van sidepodinlaten.
I am starting with a test fit and making fit the intakes of the sidepods.
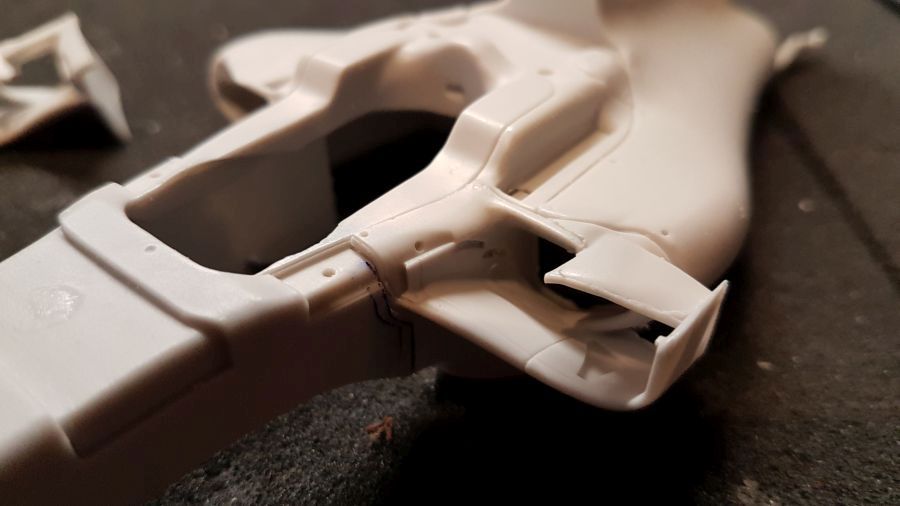
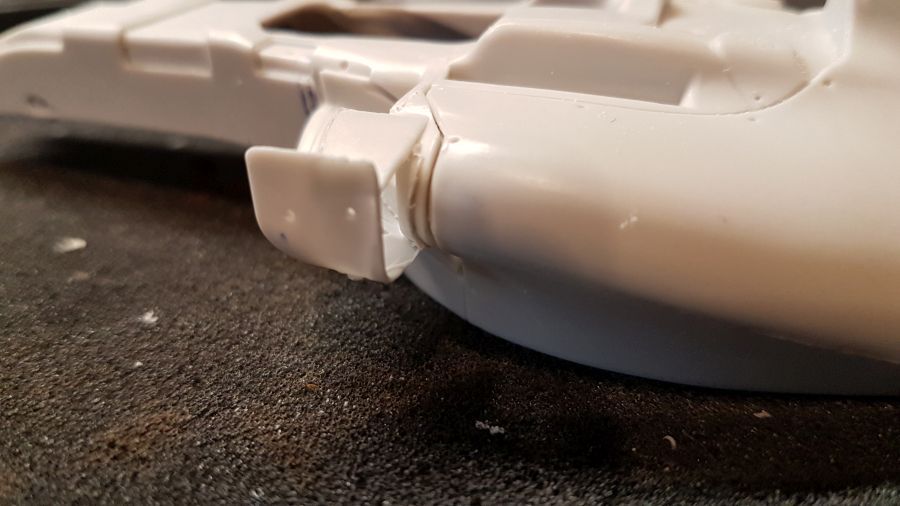
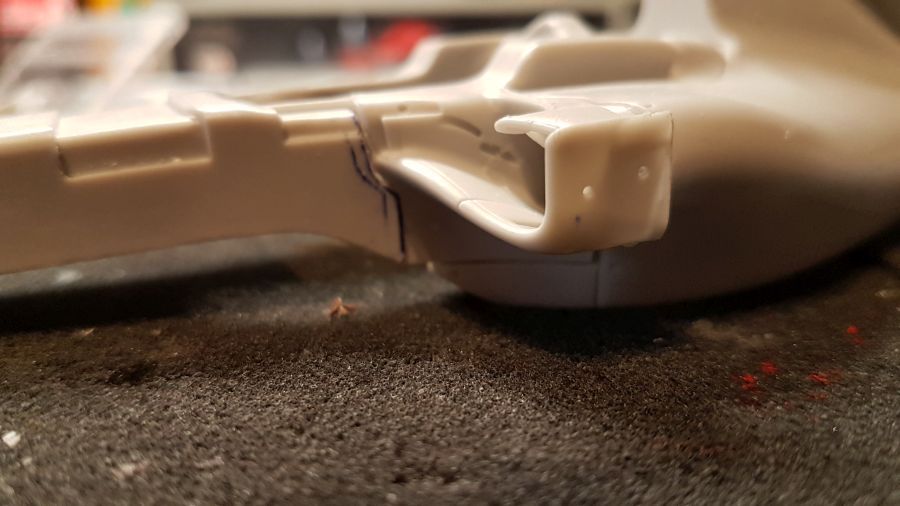
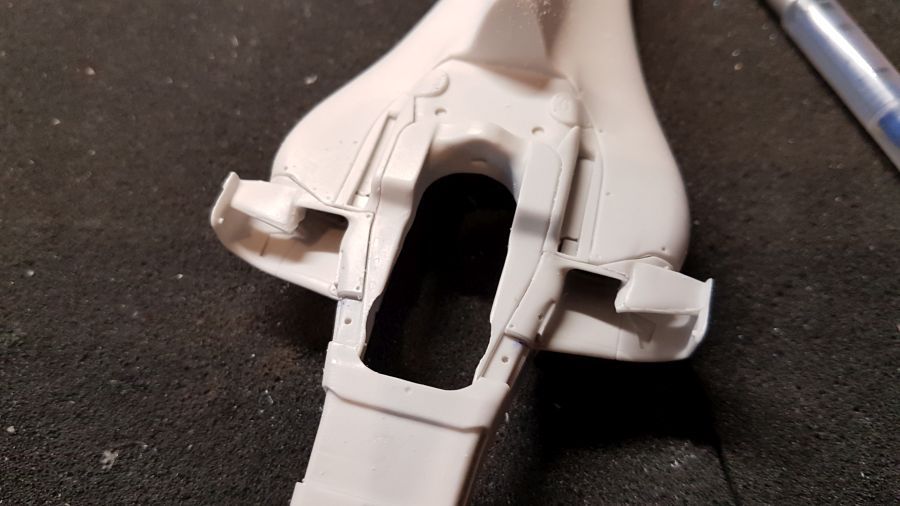
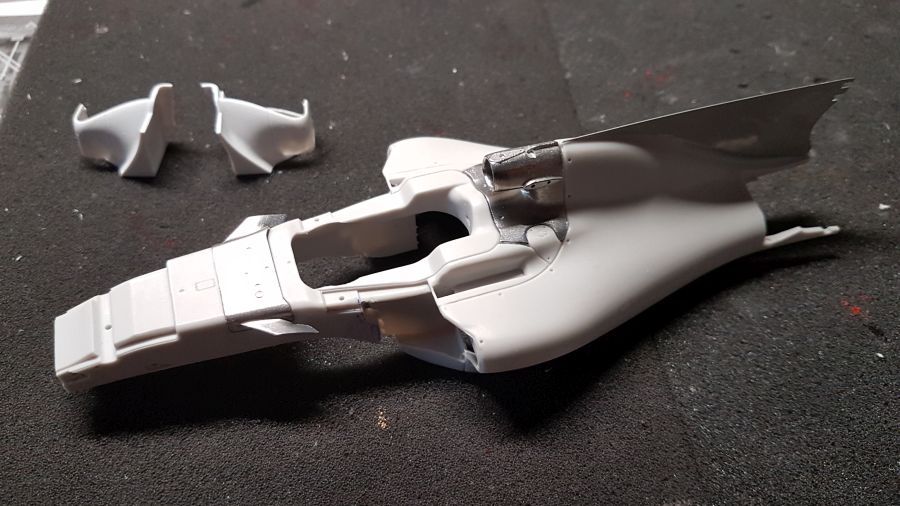
Dan langzaam bepalen wat al wel inelkaar gezet kan worden en wat niet. De sidepods moeten zeker later worden geplaatst.
Next is to determine what can be combined upfront and what should be done later. The sidepods are to be added later for sure.
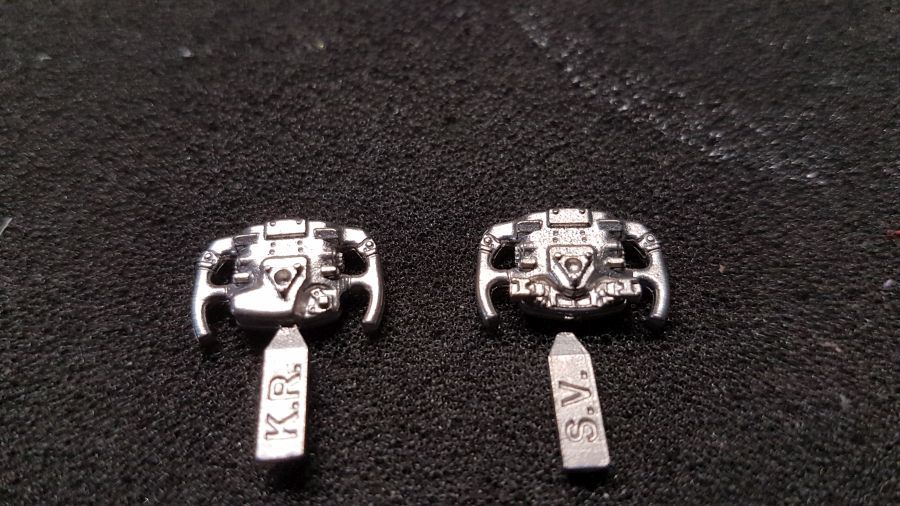
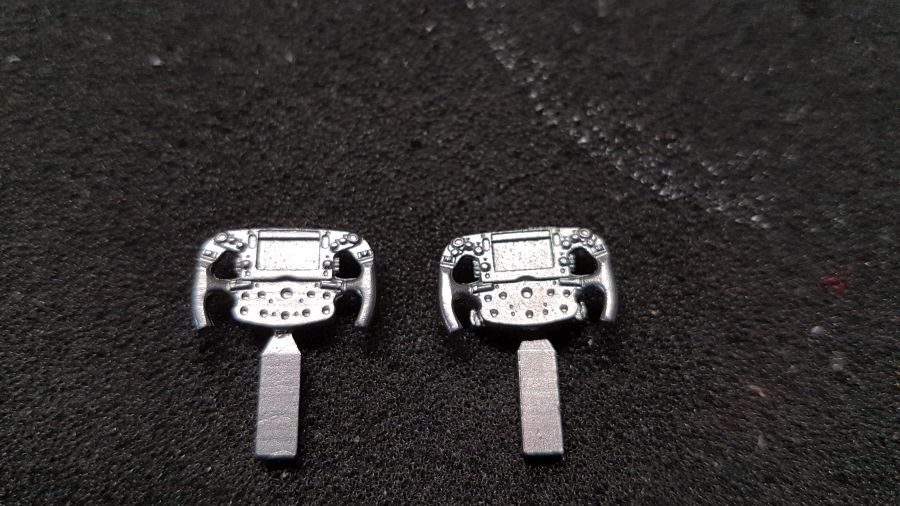
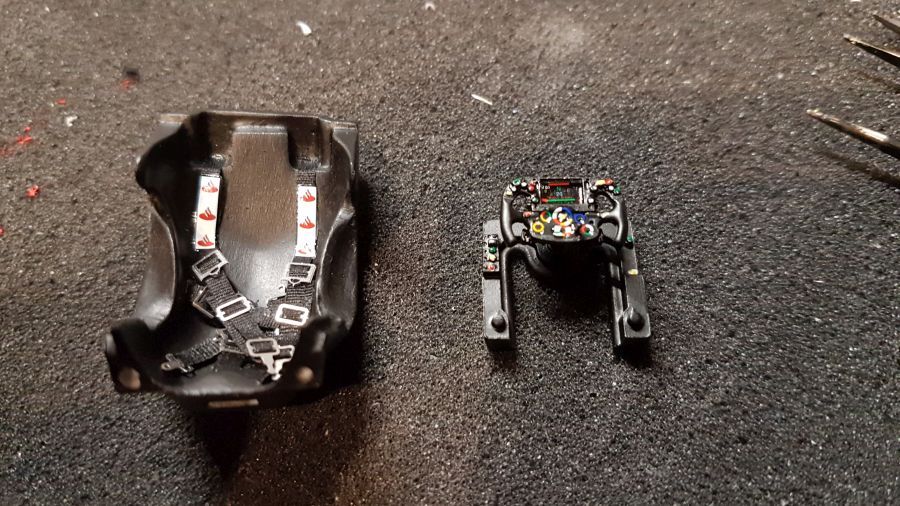
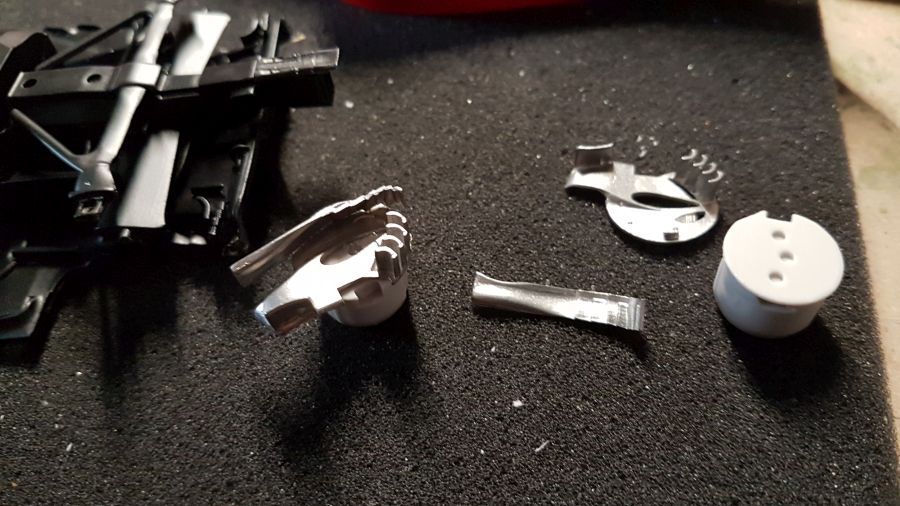
Intussen begin ik vast aan het bestuurdersdeel... Hier de verschillen tussen het Raïkkönen stuur en het Vettel stuur.
In the meantime i will start on the drivers part... Here the differences between the Raïkkönen wheel and the Vettel wheel.
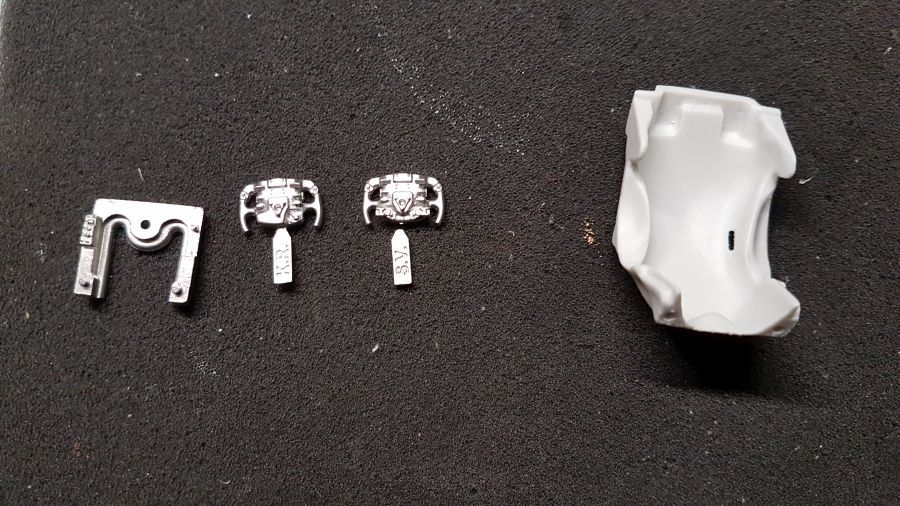
Alle knoppen krijgen een witte grondlaag.
All buttons receive a white undercoat.
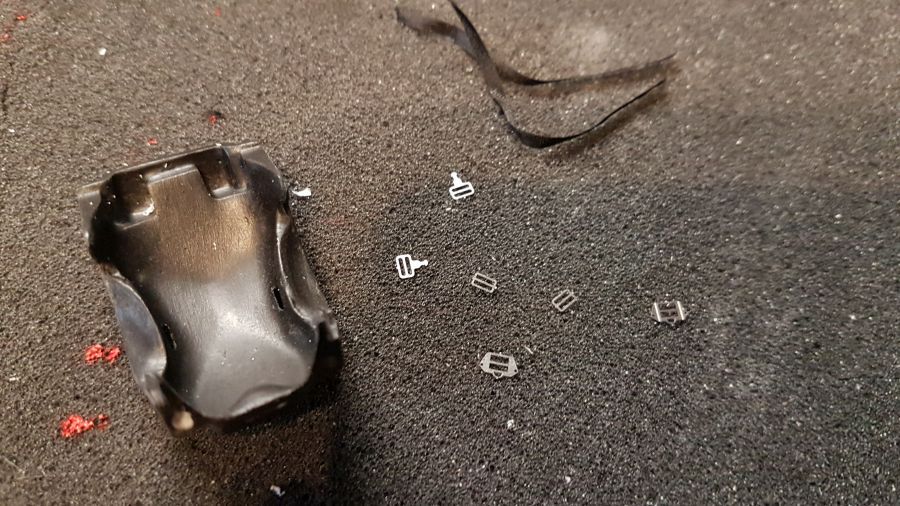
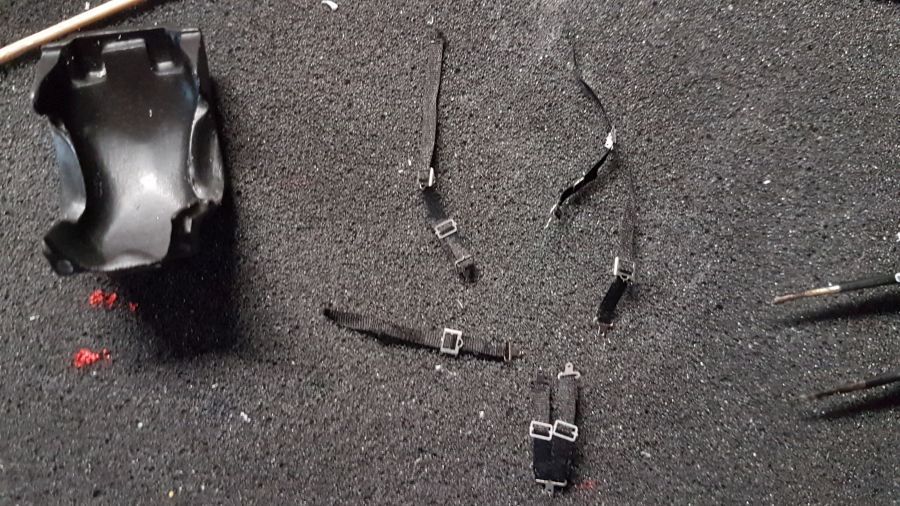
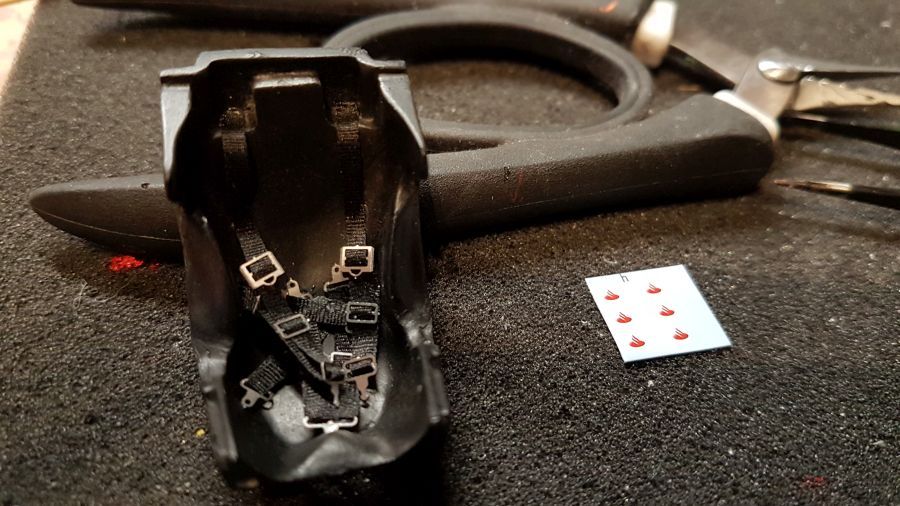
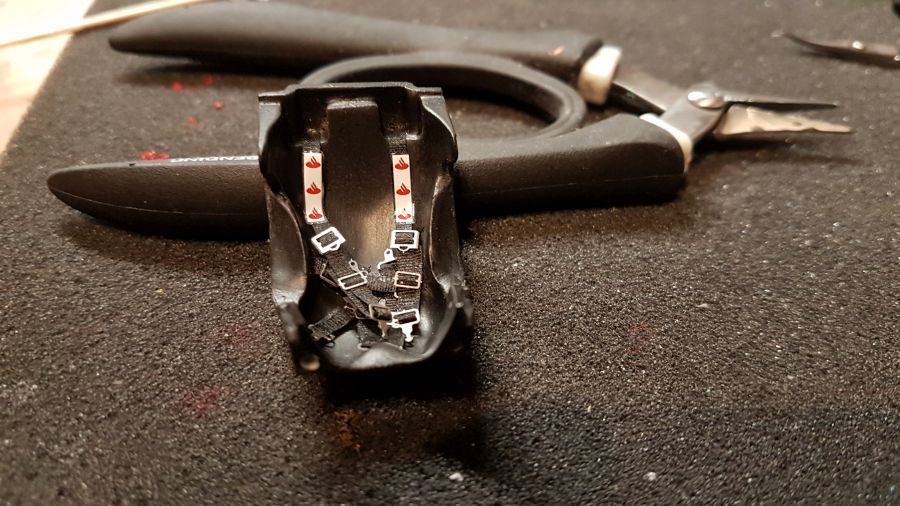
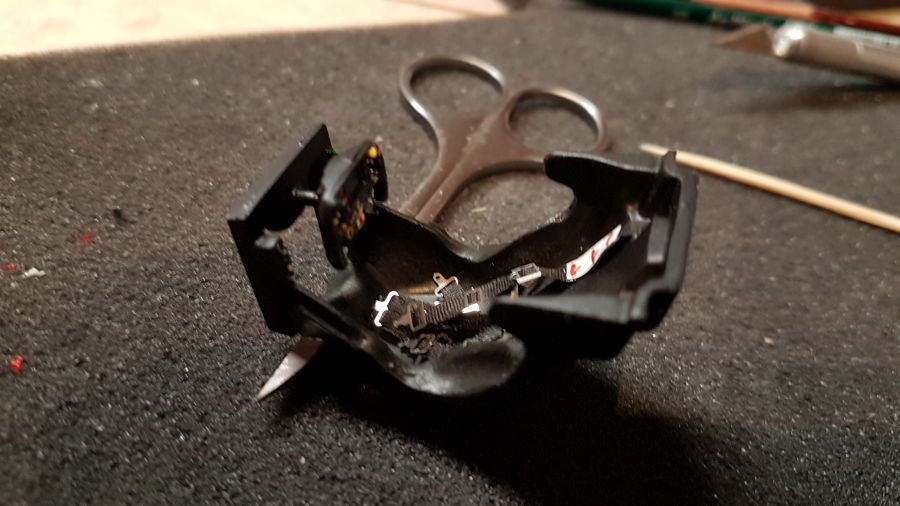
Terwijl dit droogt, ga ik verder met de veiligheidsgordels.
While this dries, i will continue with the harness.
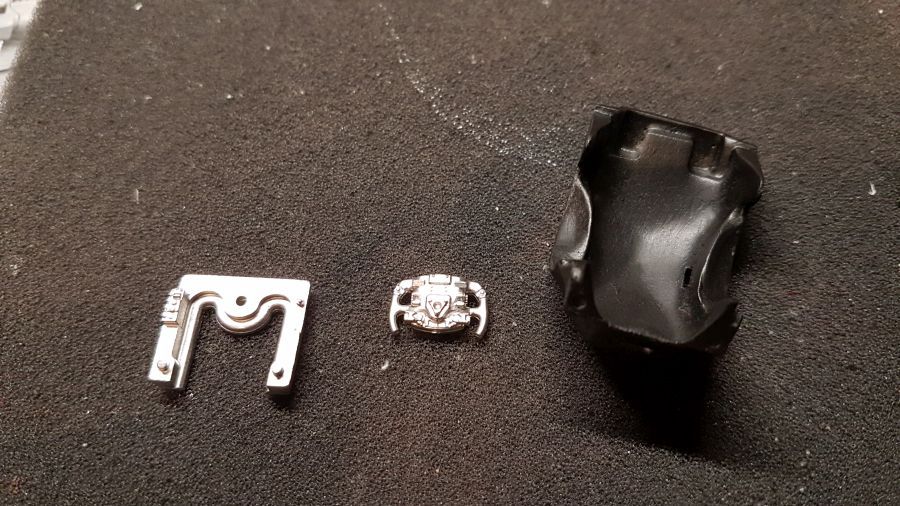
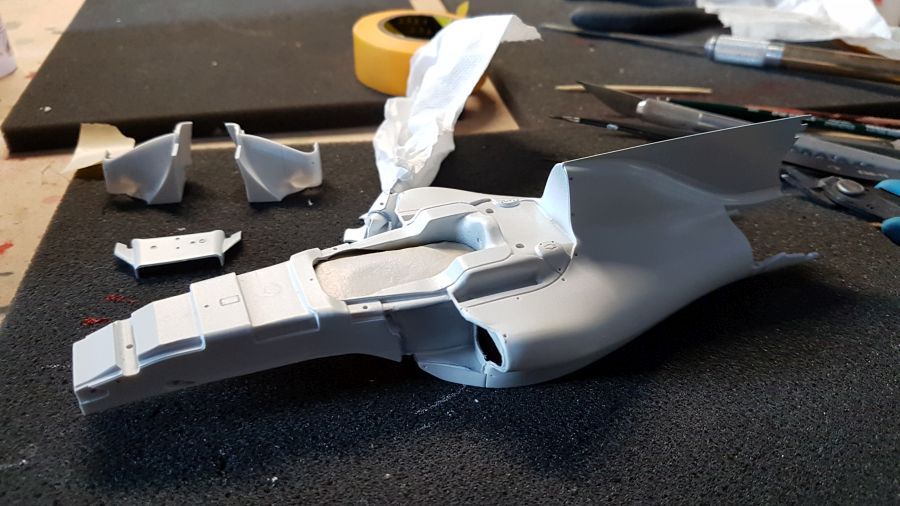
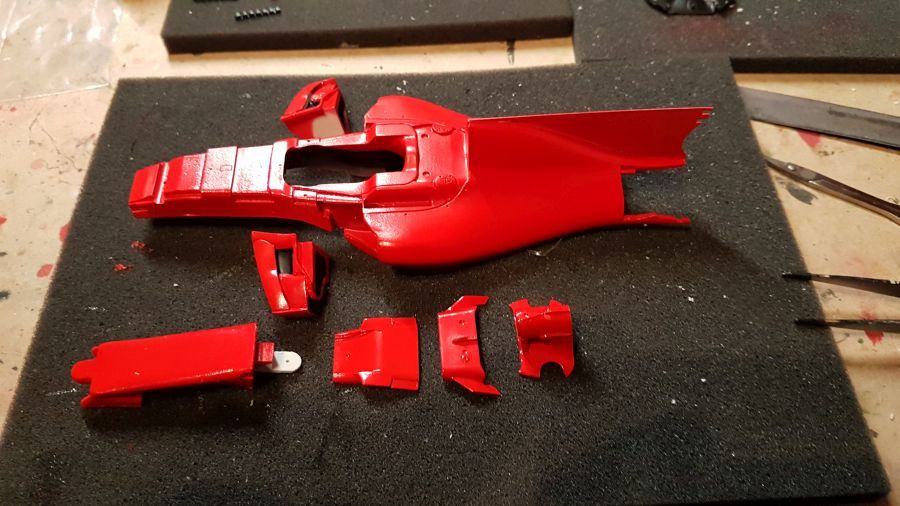
De binnenkant van de body wordt afgeplakt en zwart gespoten.
The inside of the body was masked and painted black.
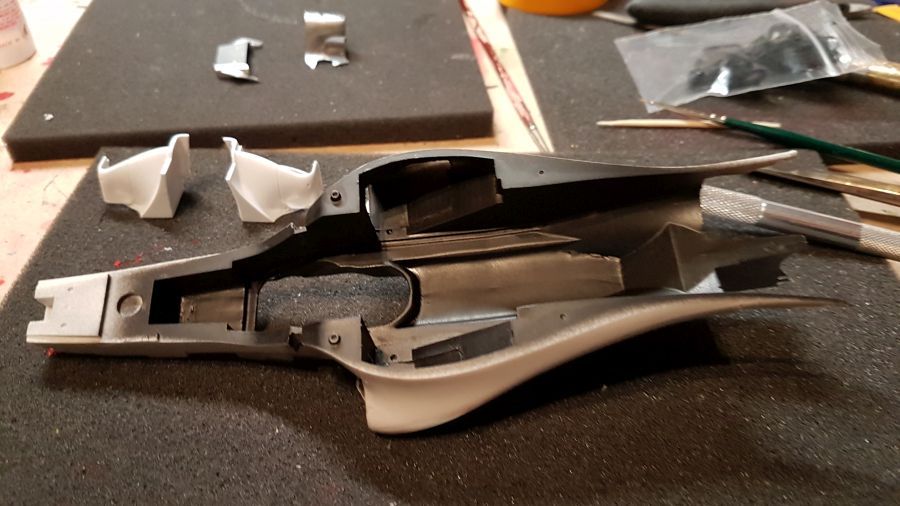
Daarna weer afgeplakt en de buitenkant in de witte primer.
Then masked again and white primer on the outside.
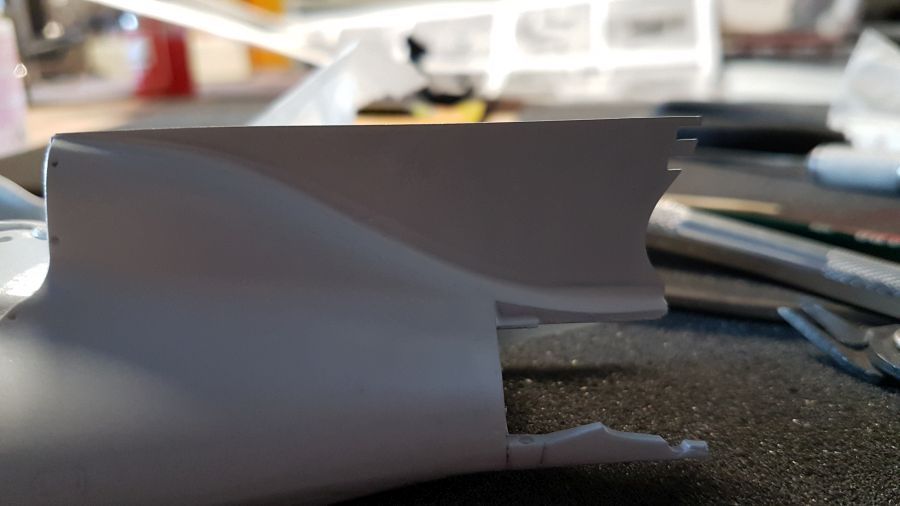
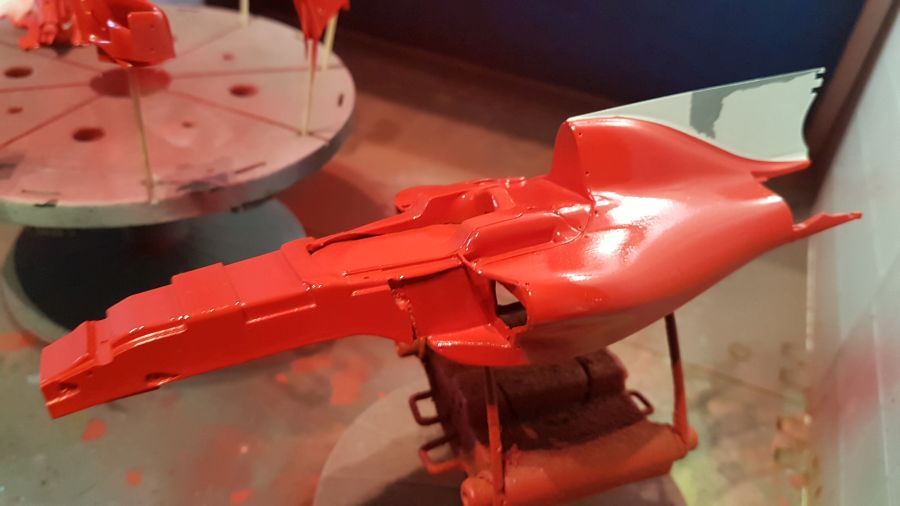
De haaienvin krijgt witte verf. Dit omdat dit een betere ondergrond voor de decal is. Daarnaast zal de afplaktape het wat beter doen op deze laag, voordat ik het rood aanbreng.
De sharkfin gets painted white. This because it's a better surface for the decal. And the masking tape will do a better job when i apply the red.
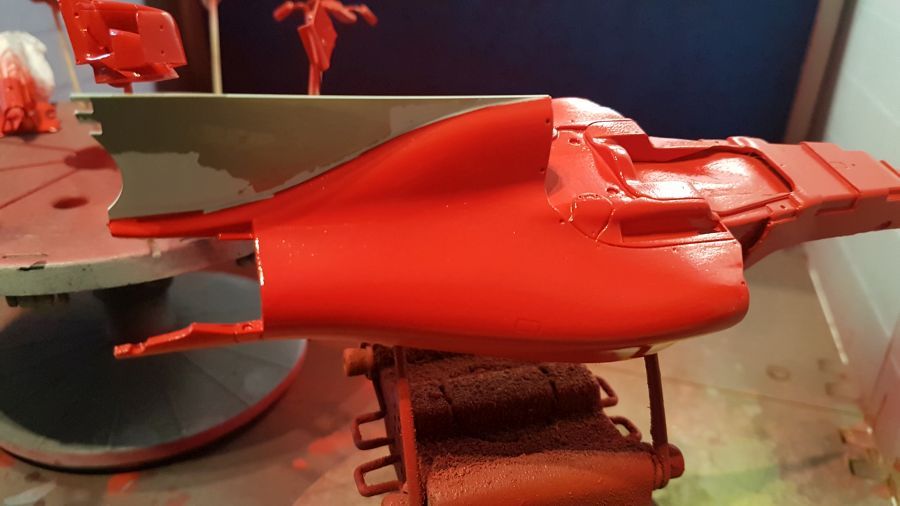
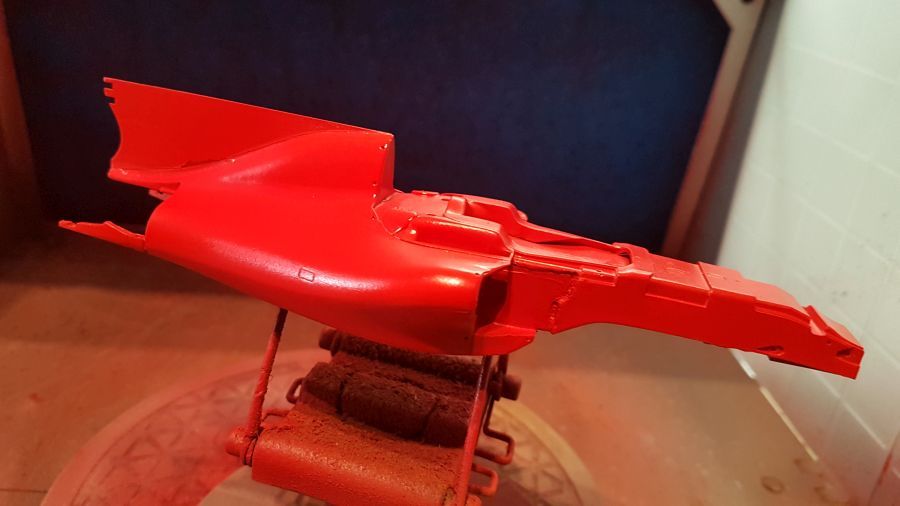
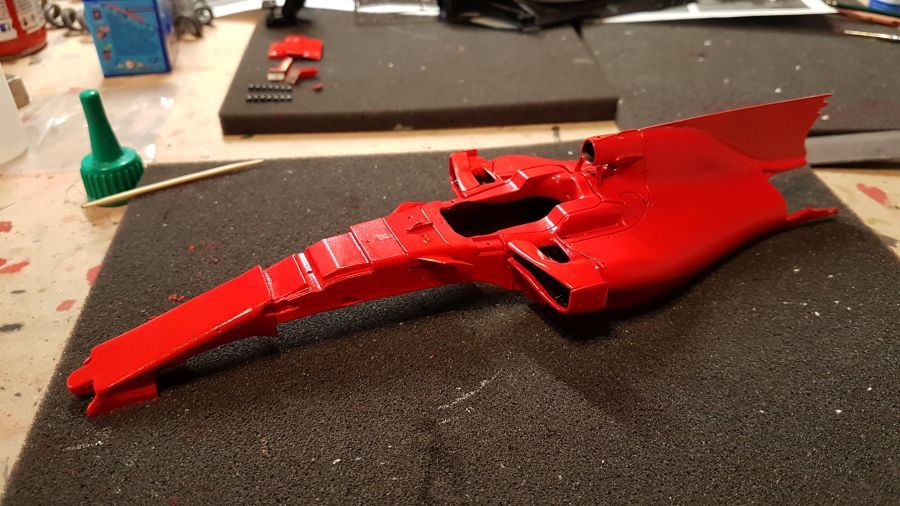
Tijd voor rood. Ook deze keer weer Zero Paints ZP-1007 Ferrari SF70H.
Time for the red. Also this time Zero Paints ZP-1007 Ferrari SF70H.
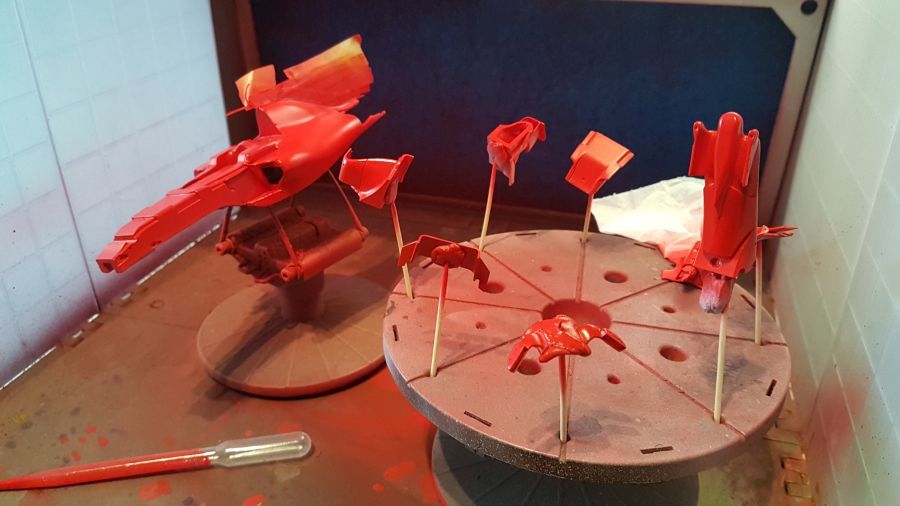
Dan gaat de Zero Paints ZP-3035 2 Pack Clearcoat erop. Helaas gaat bij het verwijderen van de afplaktape een deel van de witte verflaag mee...
Then the Zero Paints ZP-3035 2 Pack Clearcoat was applied. Unfortunately the white paint sticks to the masking tape when removing it...
Na reparatie aan het wit...
After repairs to the white...
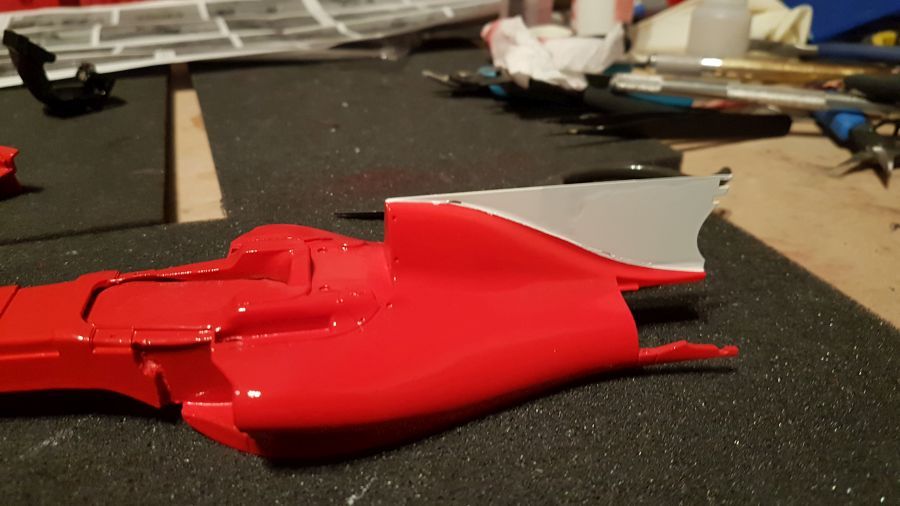
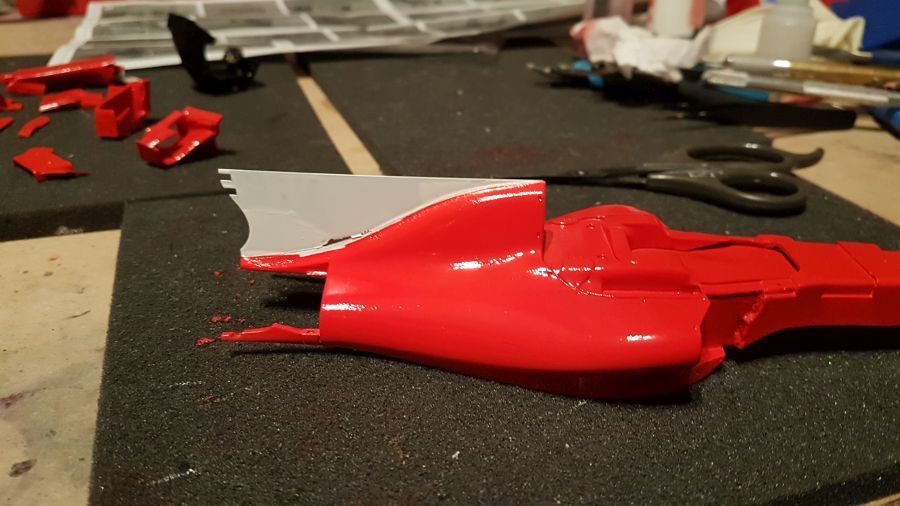
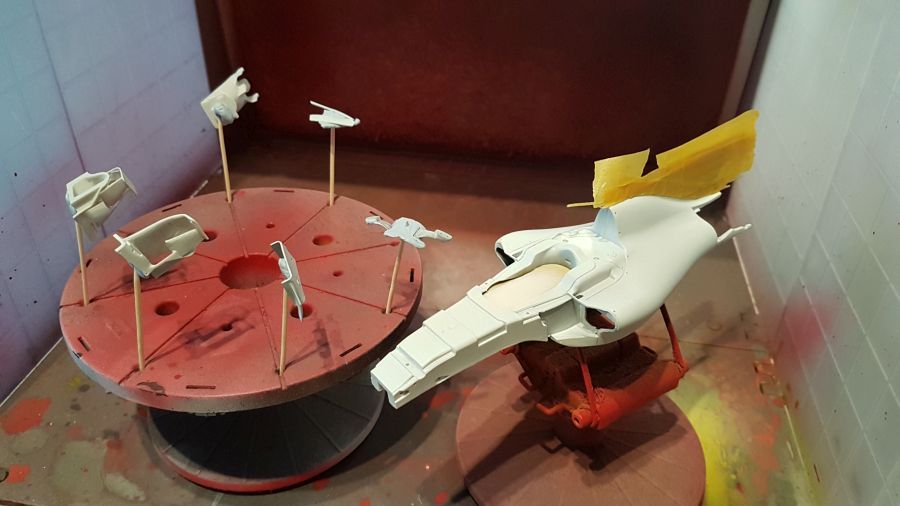
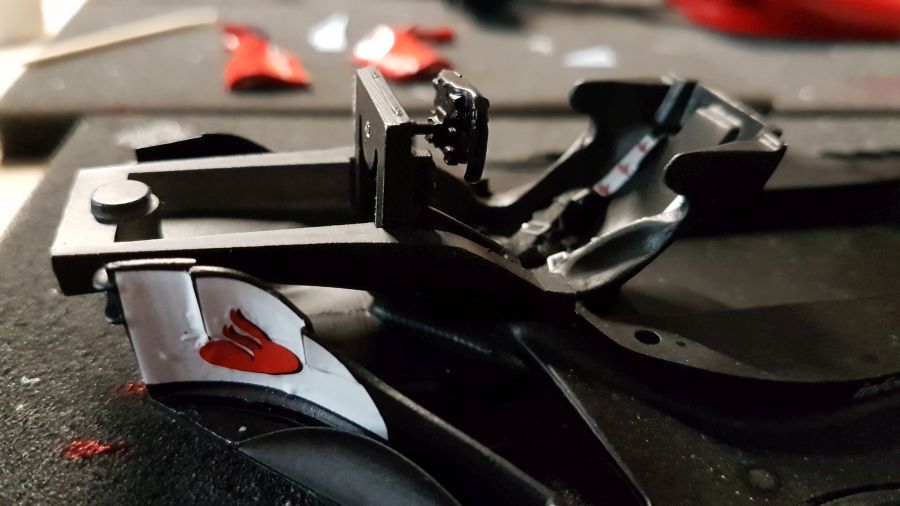
De vorm van het witte deel ziet er niet top uit. Ik voorzie dat de decal niet gaat passen. Ik heb daarom besloten de vin alsnog rood te spuiten.
The shape of the white part doesn't look good. I predict the decal will not fit. I therefor decided to paint the fin red after all.
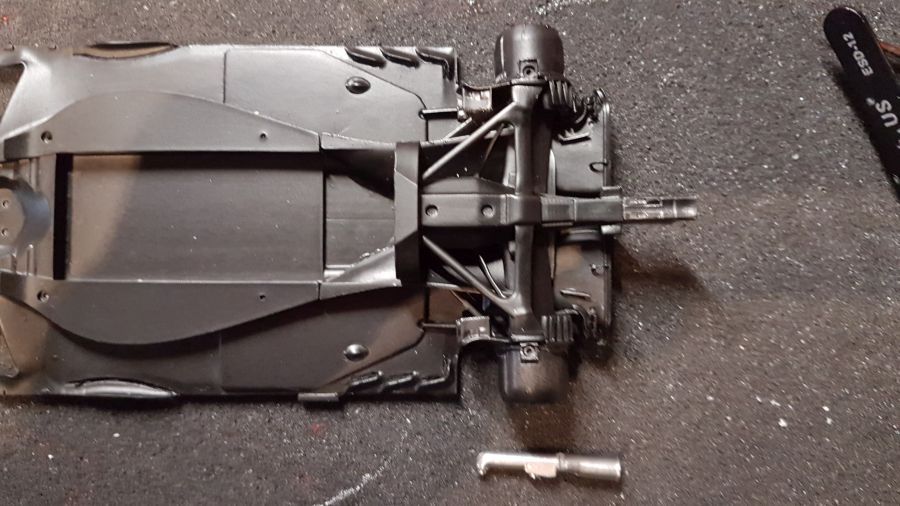
Dan eerst werken aan de vloer. De rolling tool is weer nuttig.
Next is working on the floor. The rolling tool is of good use again.
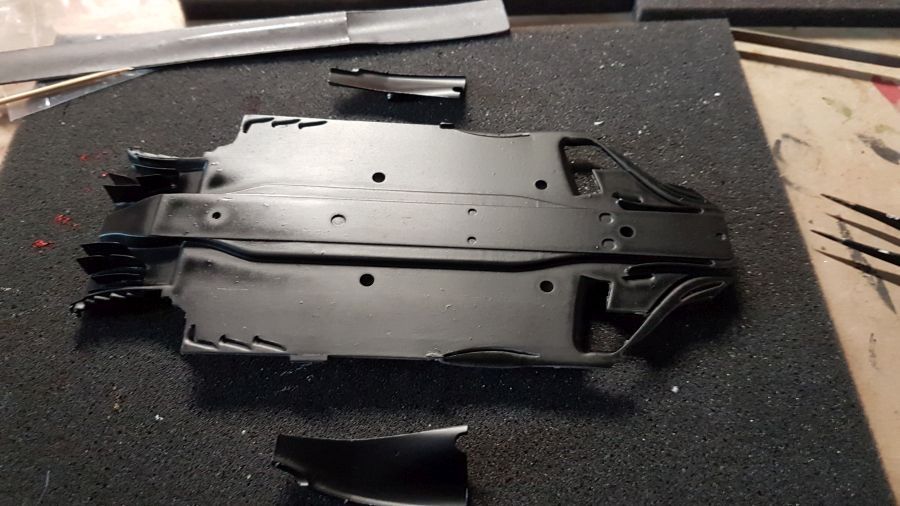
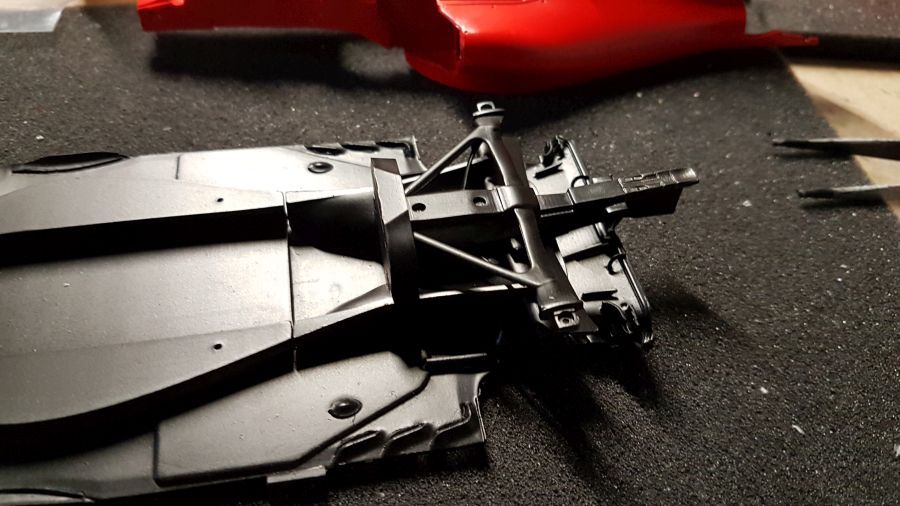
Nadat de vloer is zwart gespoten volgt het testen... en uiteindelijk het plaatsen van de 2 achterdelen.
After painting the floor black there is a test fit... and eventually the 2 rear parts are being added.


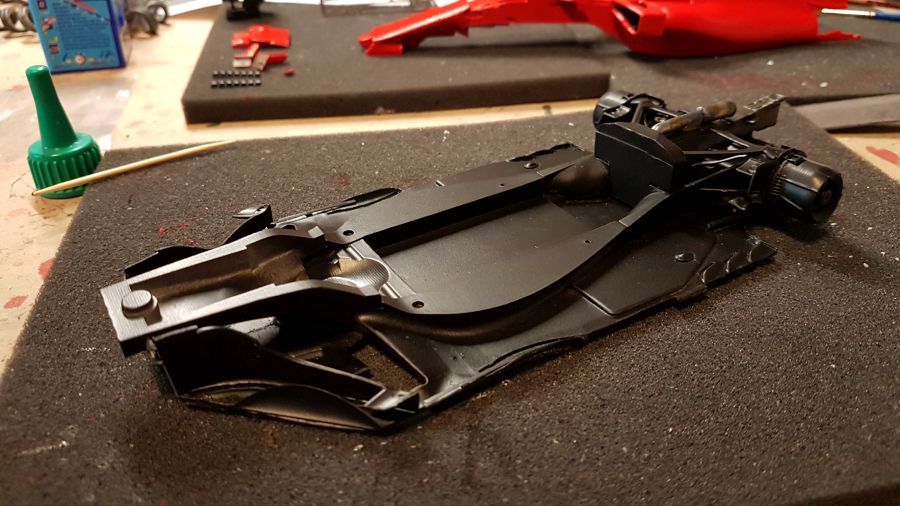
Meer passen...
More test fit...

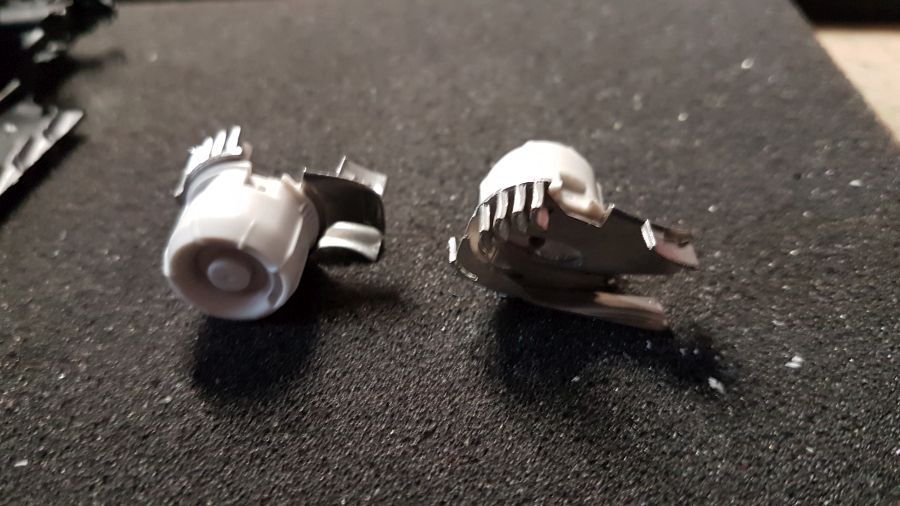
Het interieur wordt in de sidepods geplaatst...
The interior is being added to the sidepods...
De openingen worden geverfd.
The intakes are being painted.
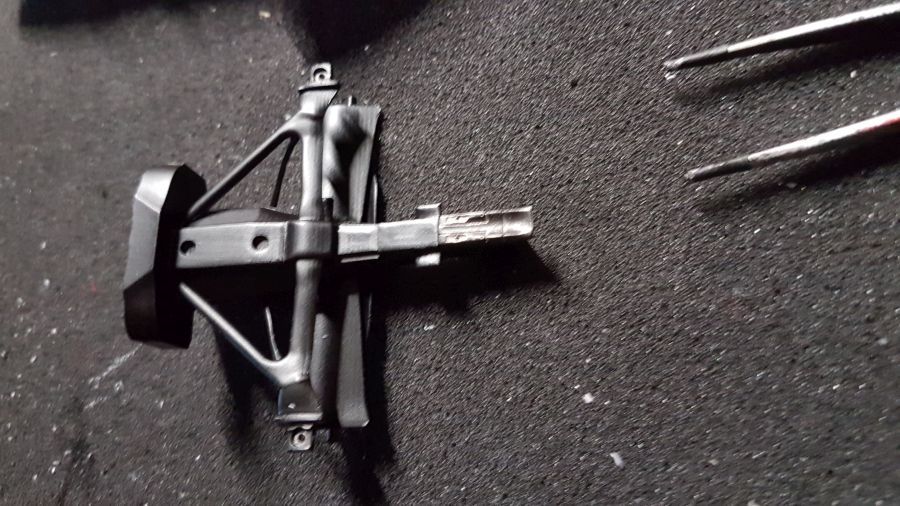
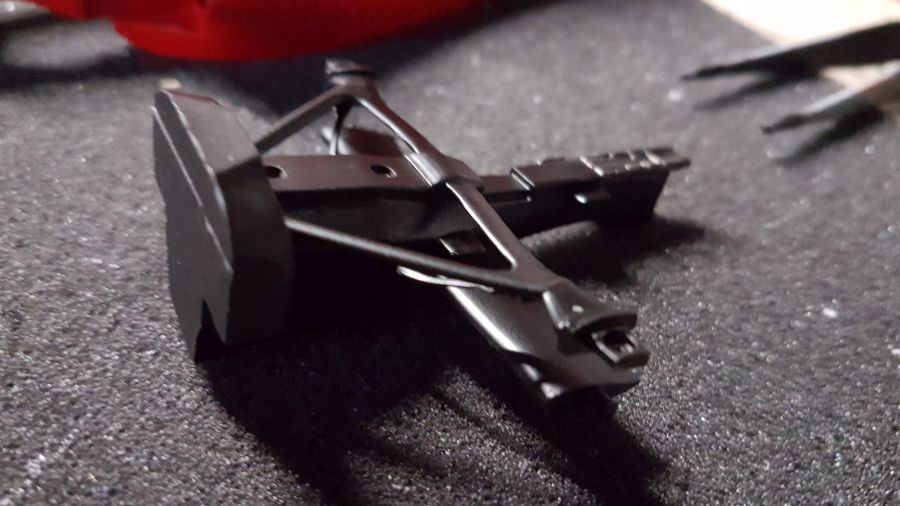
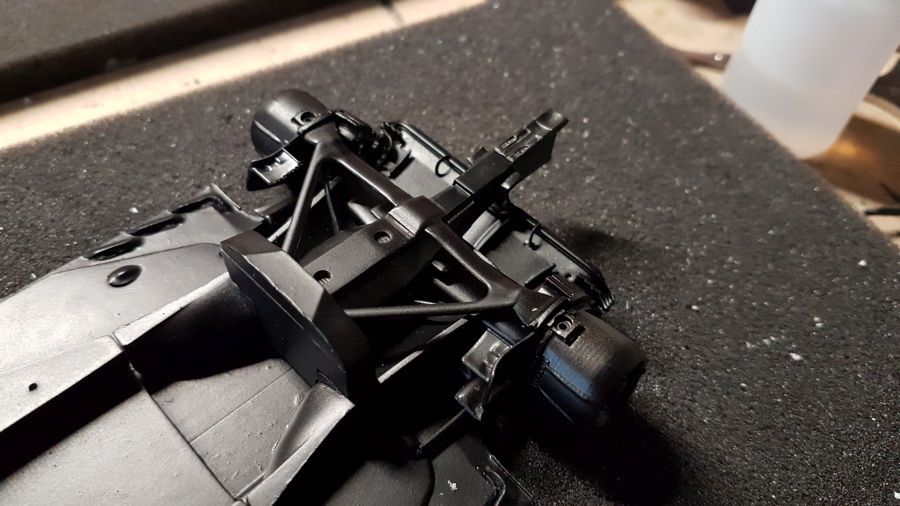
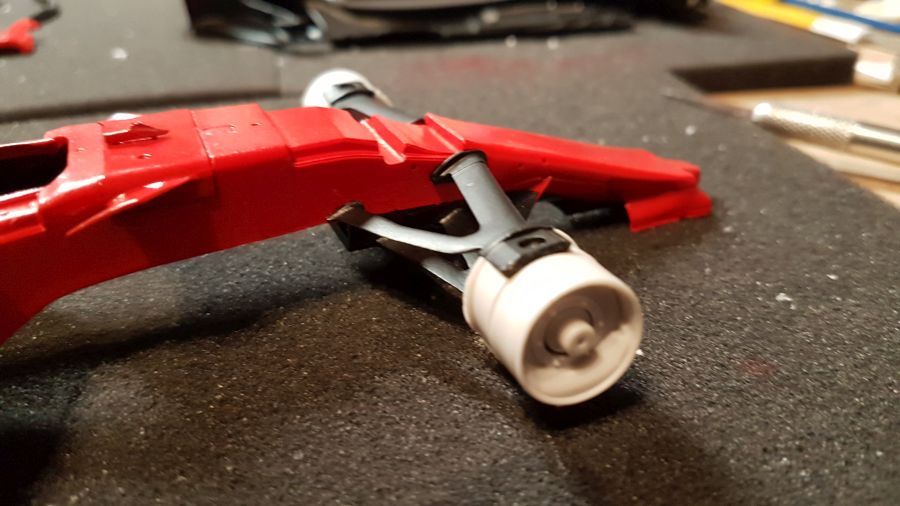
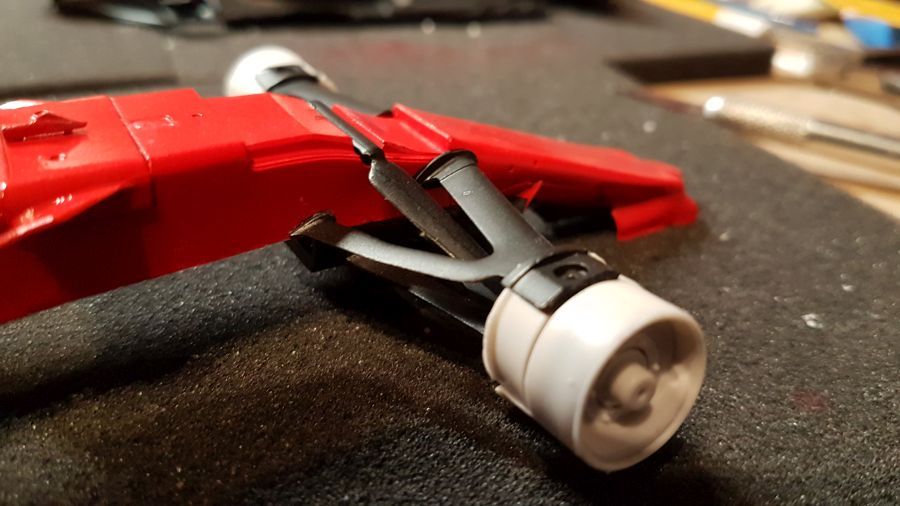
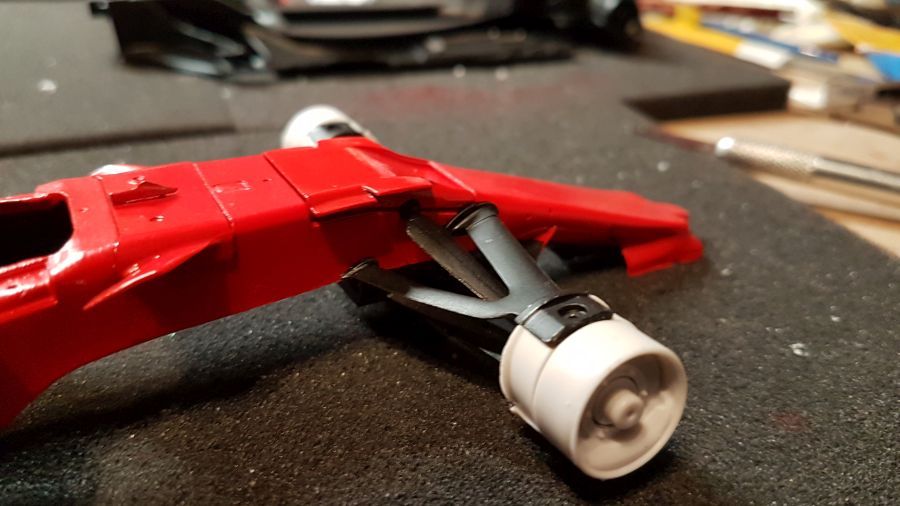
Dan naar de achterwielophanging...
Next is the rear wheel suspension...
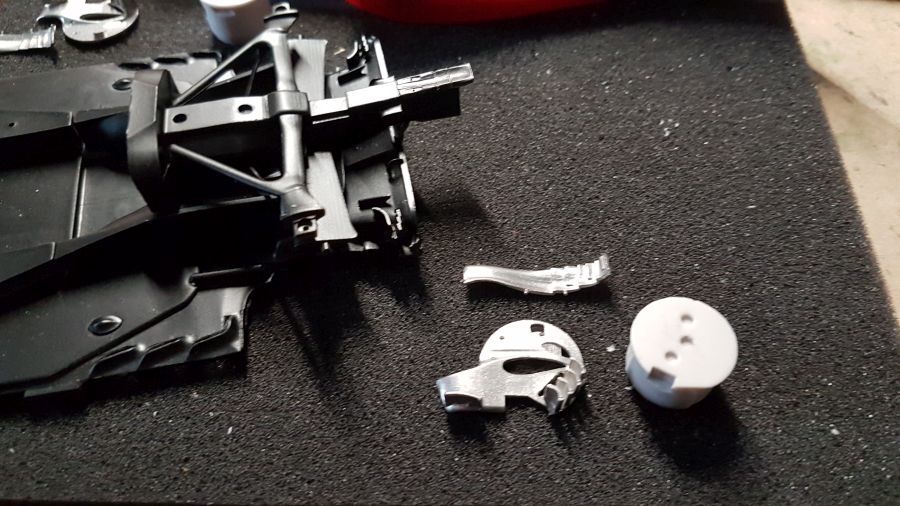
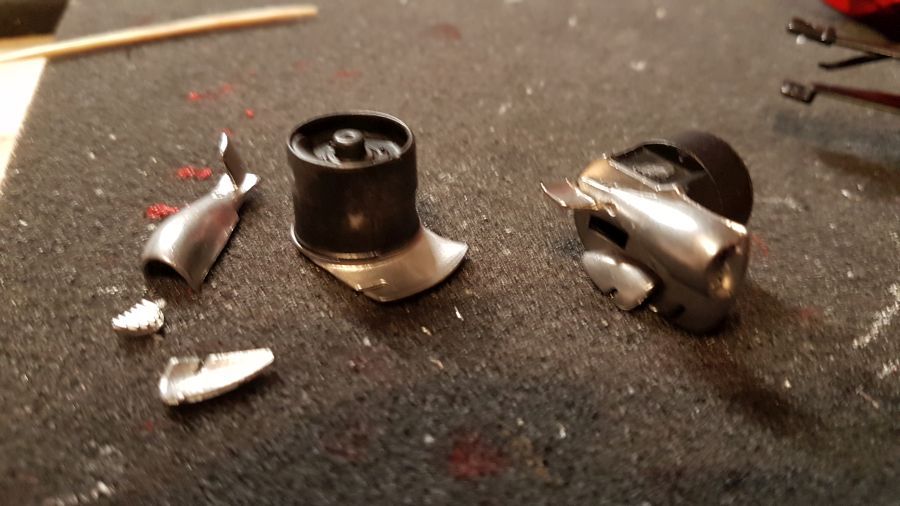
Dan kunnen de remmen in elkaar gezet en geplaatst.
Then the brakes can be assembled and mounted.

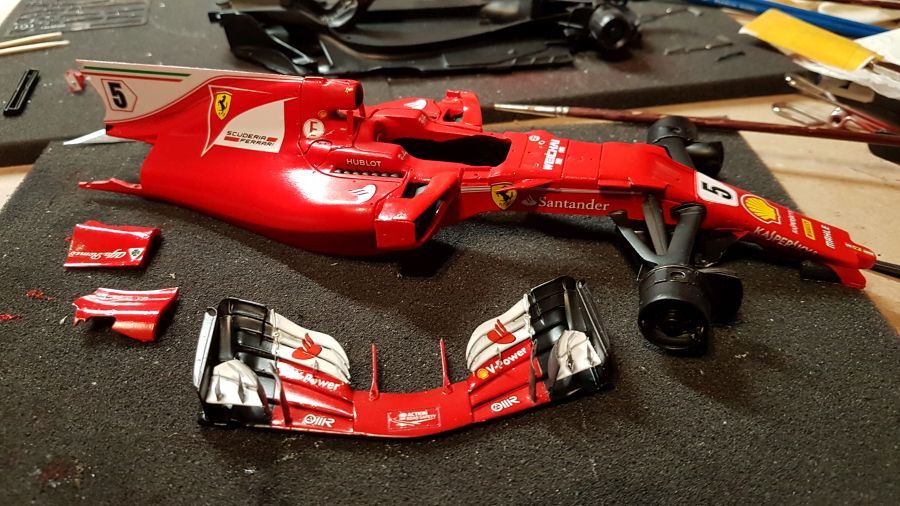
Een paar body-onderdelen worden samengevoegd.
A few body parts are being combined.
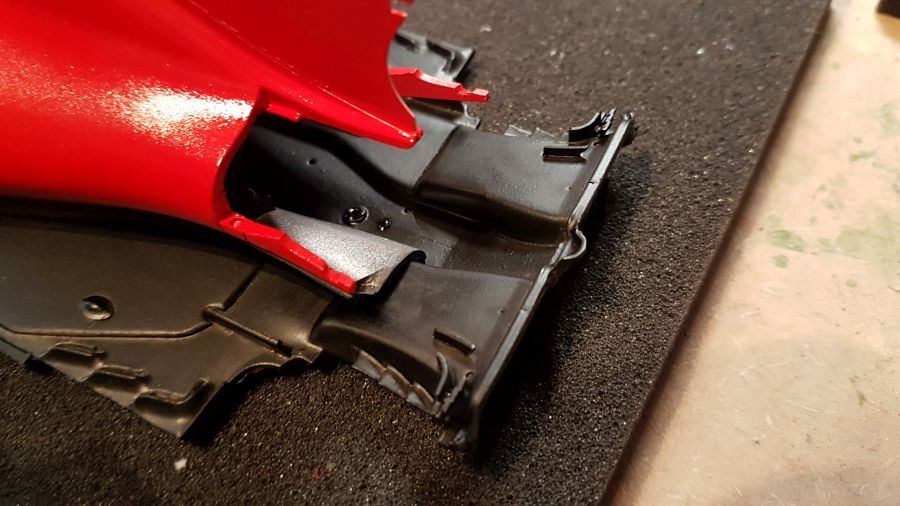
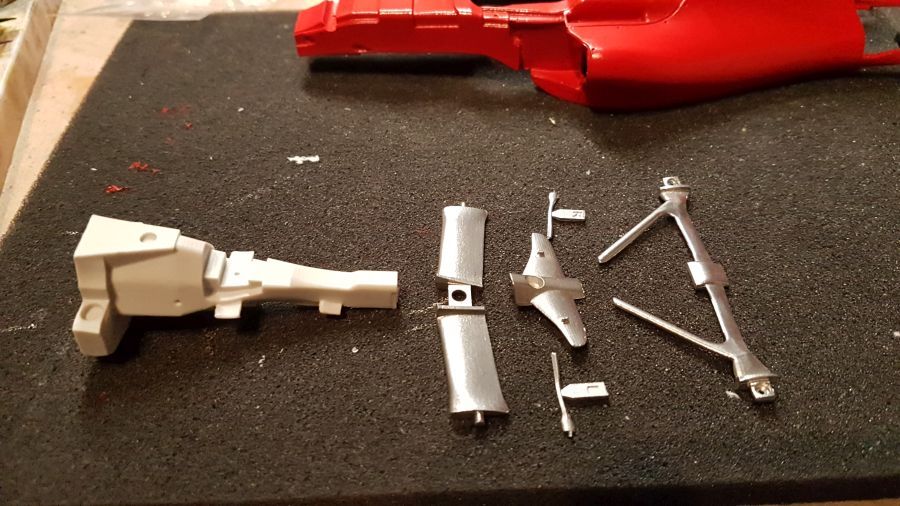
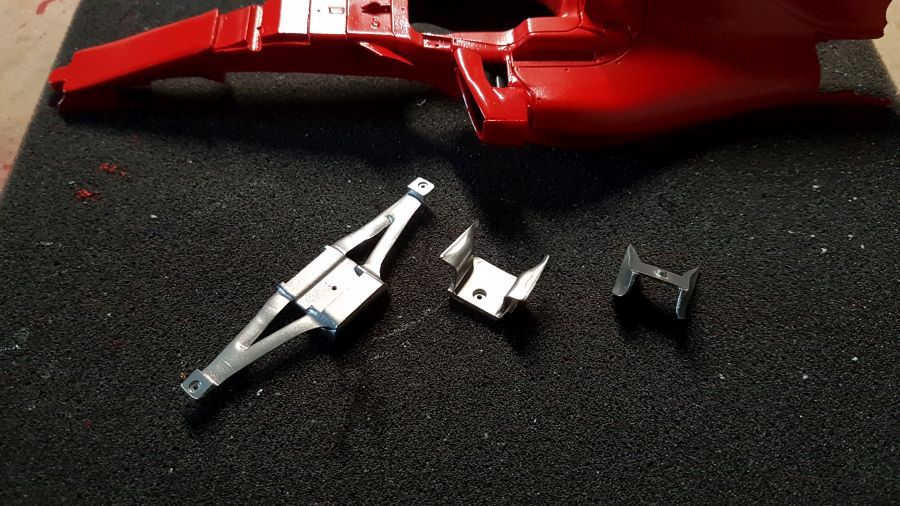
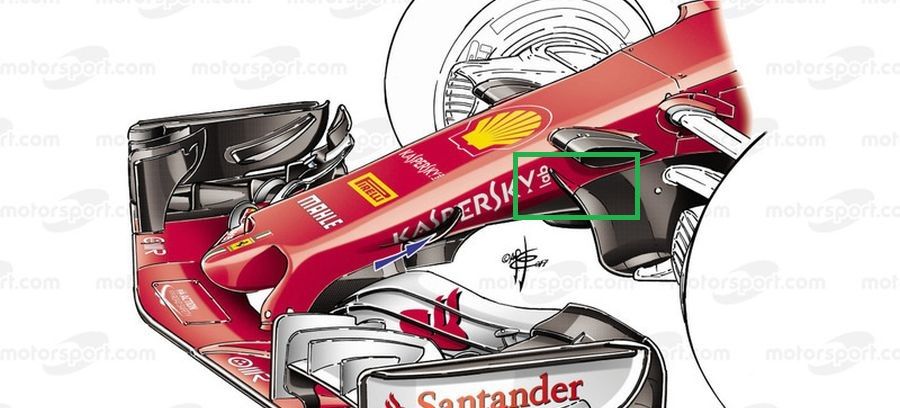
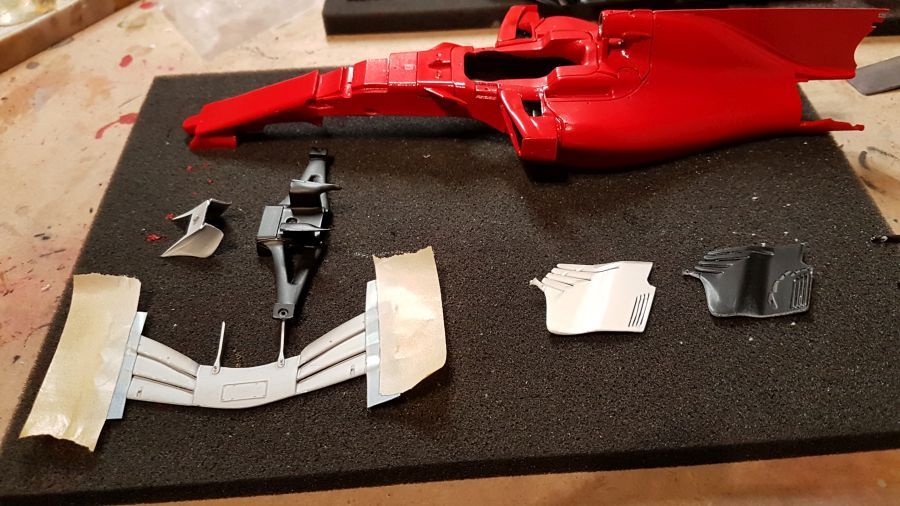
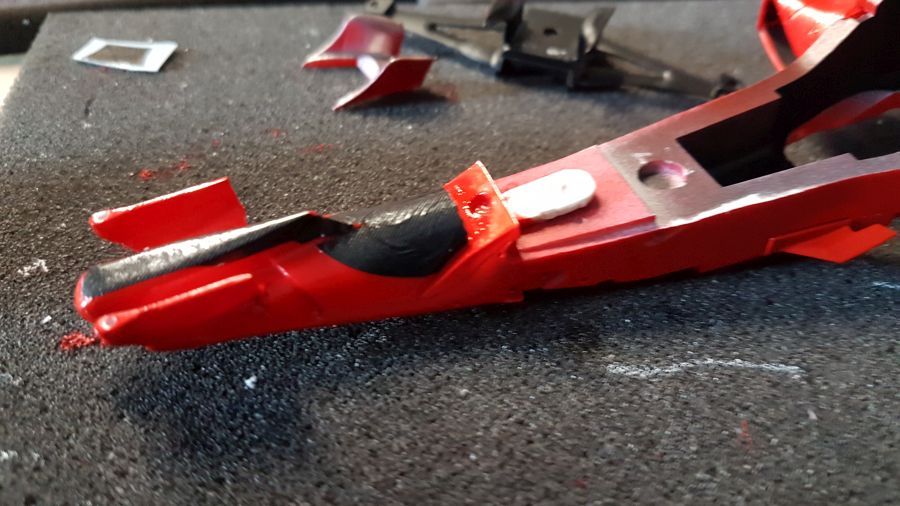
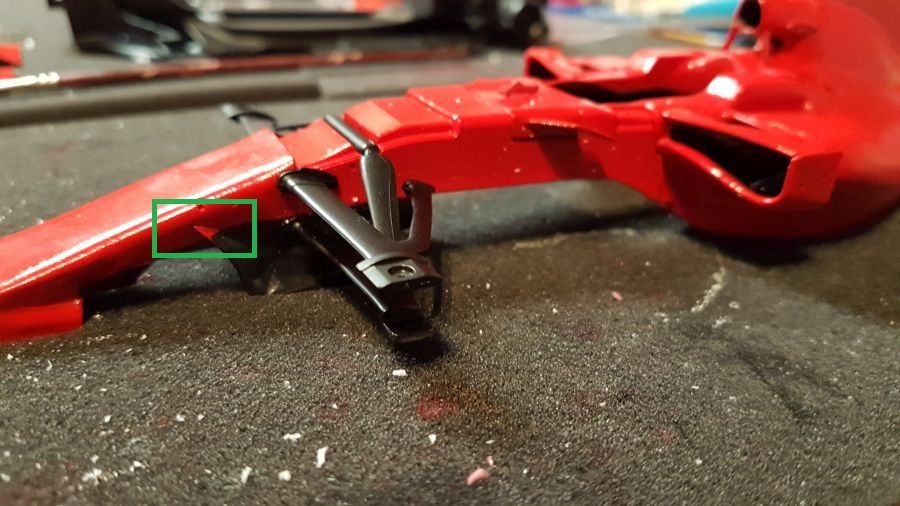
Door met een deel van de voorwielophanging. Ik moet eerst goed zien hoe de kleuren moeten zijn. Een deel van rood de rest zwart.
To continue with the front wheel suspension. I need to see about the colours first. A part should be red and black.
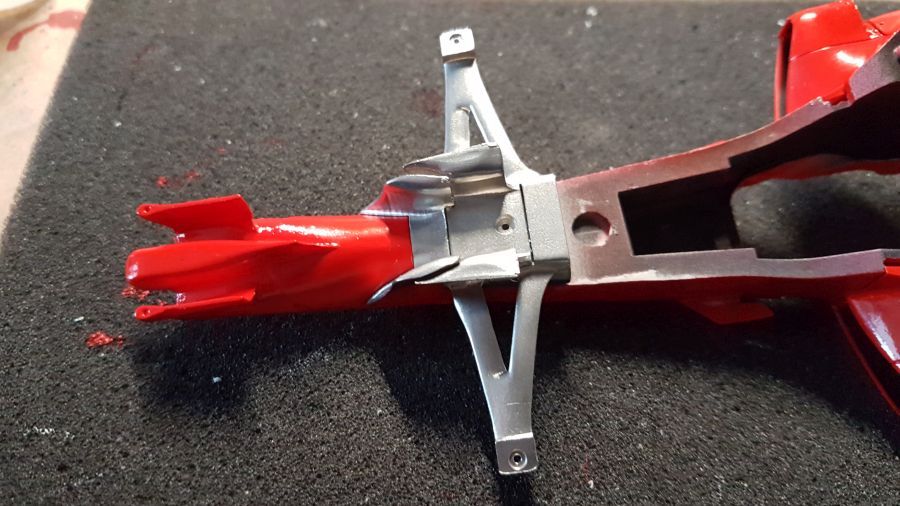
Even wat aanpassingen opdat het beter past.
Some minor changes so it fits better.
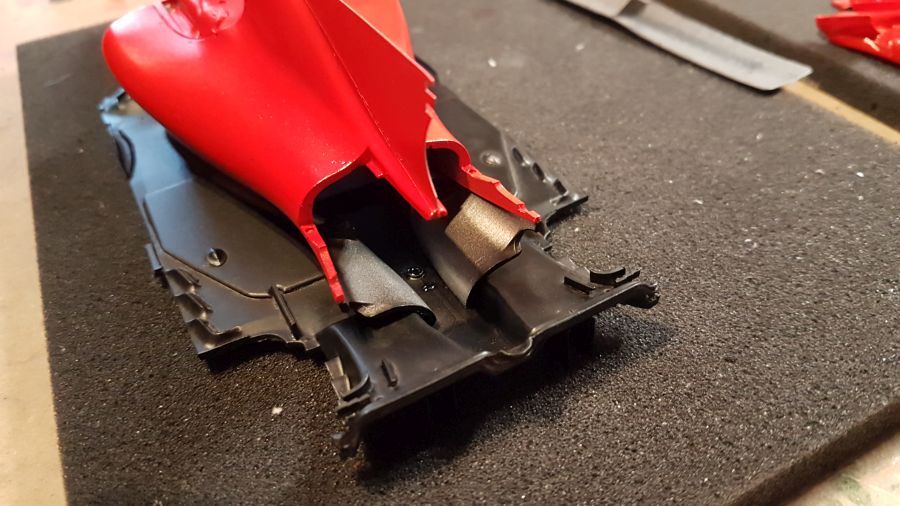
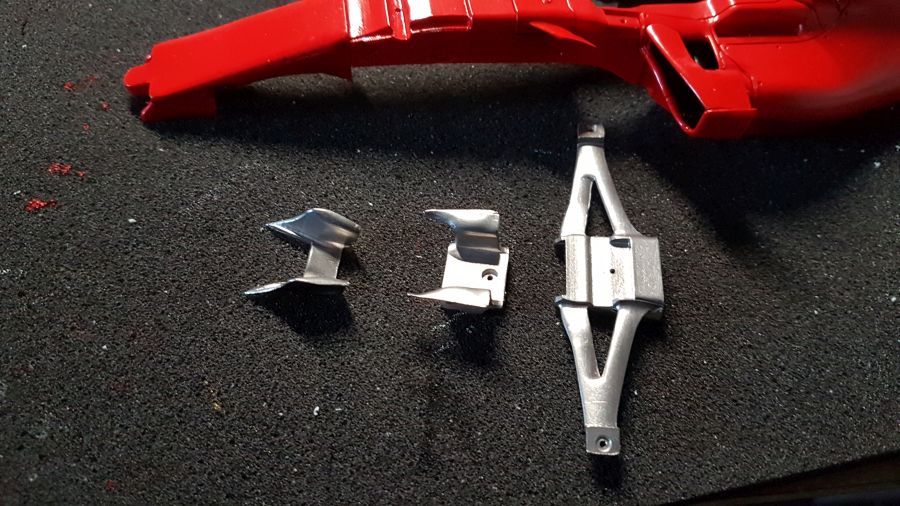
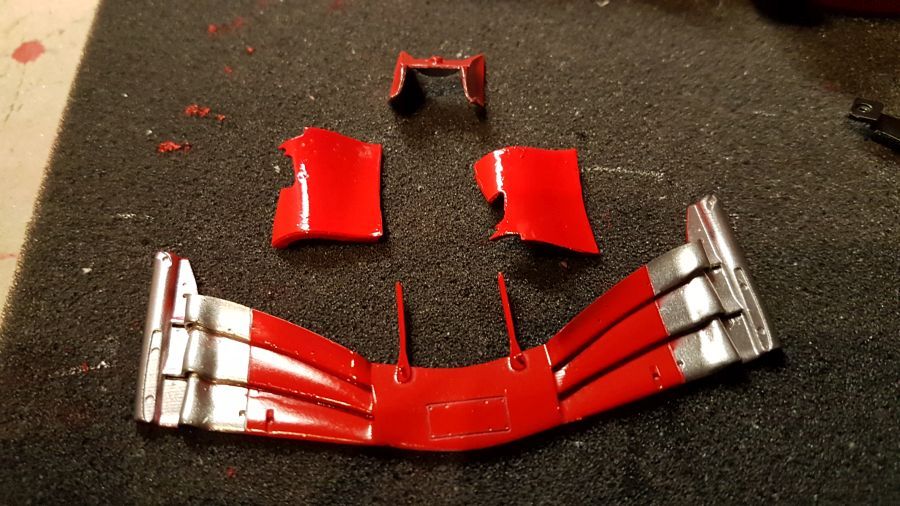
De tip moet rood, de rest zwart.
The top should be red, the rest black.
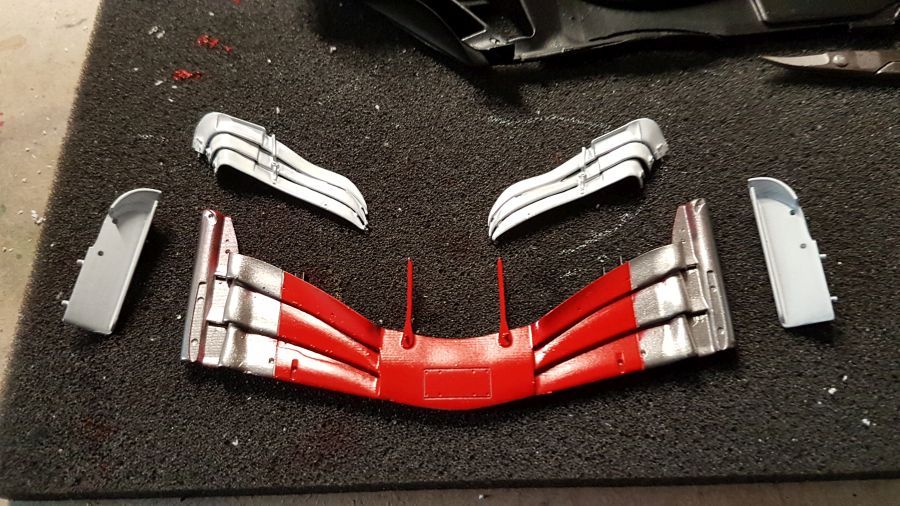
Primer, wit en rood op meerdere onderdelen.
Primer, white and red to multiple parts.
Weer terug naar de voorwielophanging terwijl de boel droogt.
Back to the front wheel suspension while paints dry.

Let niet op de rimpels. Microsol doet zijn werk nog.
Don't mind the wrinkles. Microsol is still working.
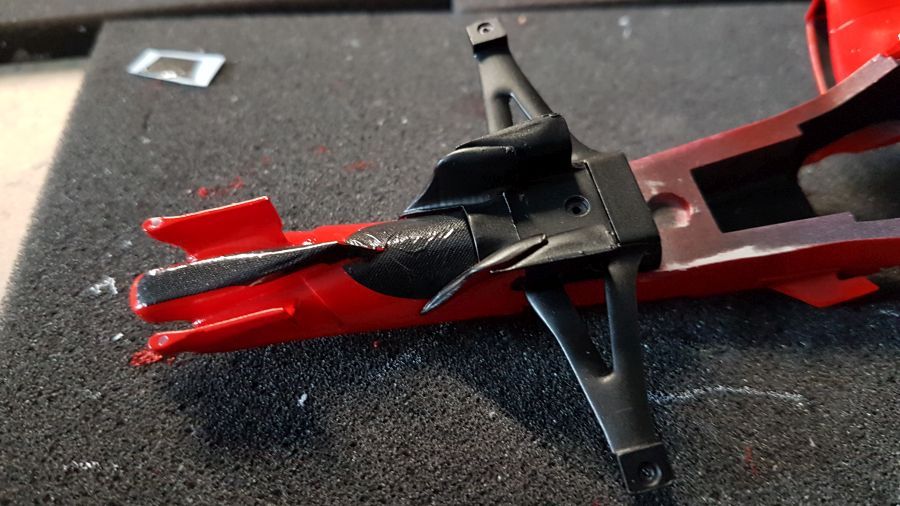
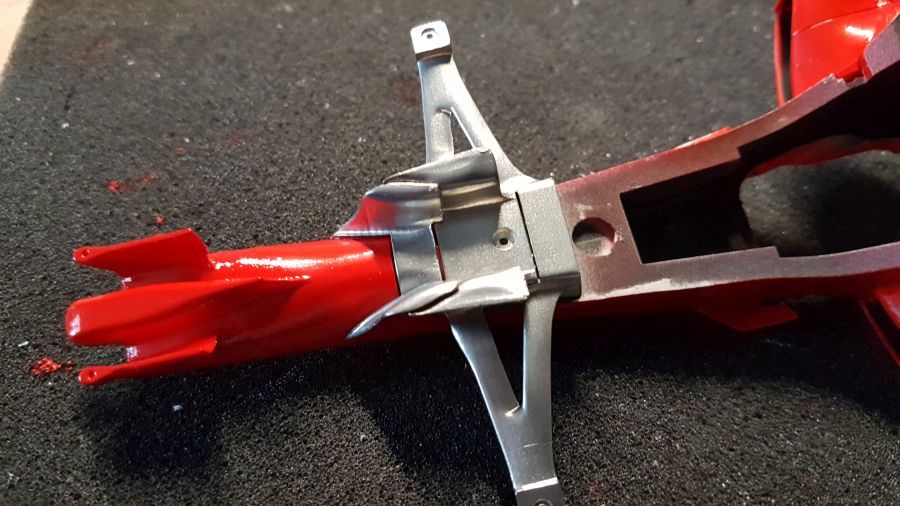
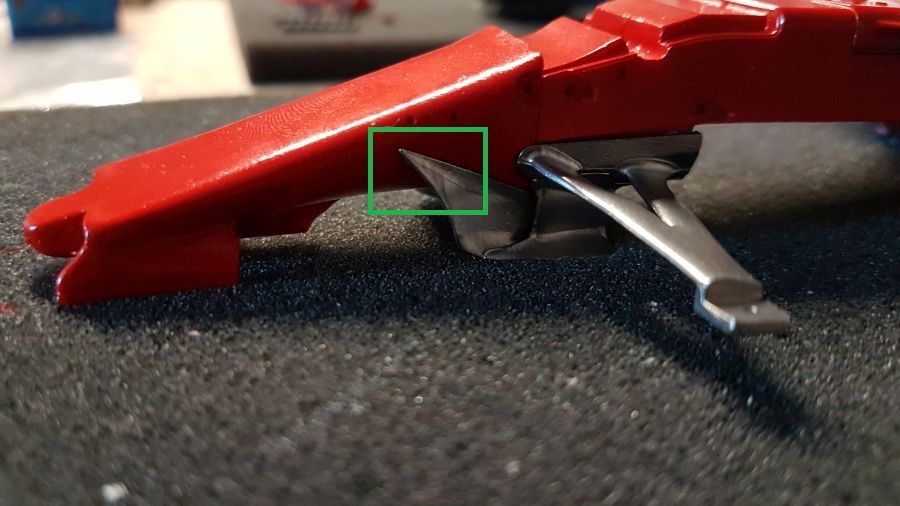
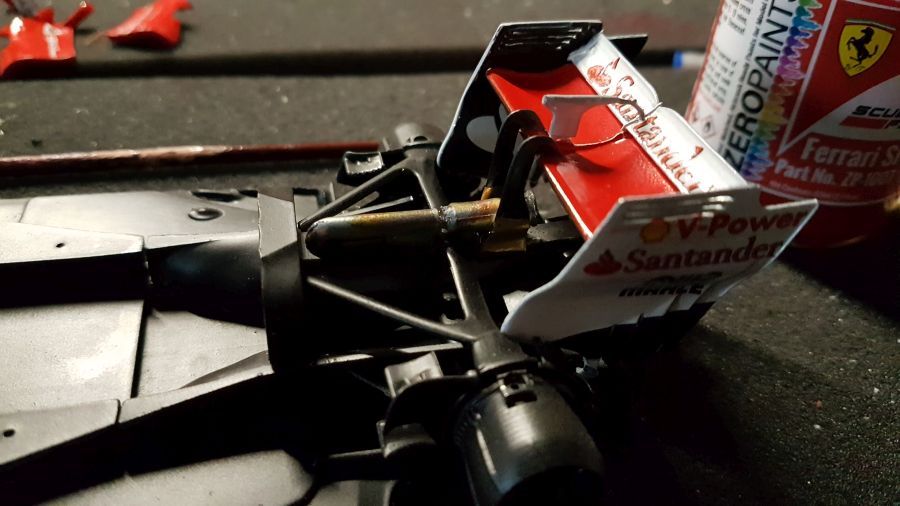
Weer even passen. Het 'puntje pakt perfect uit.
Test fit again. The 'tip' works perfect.
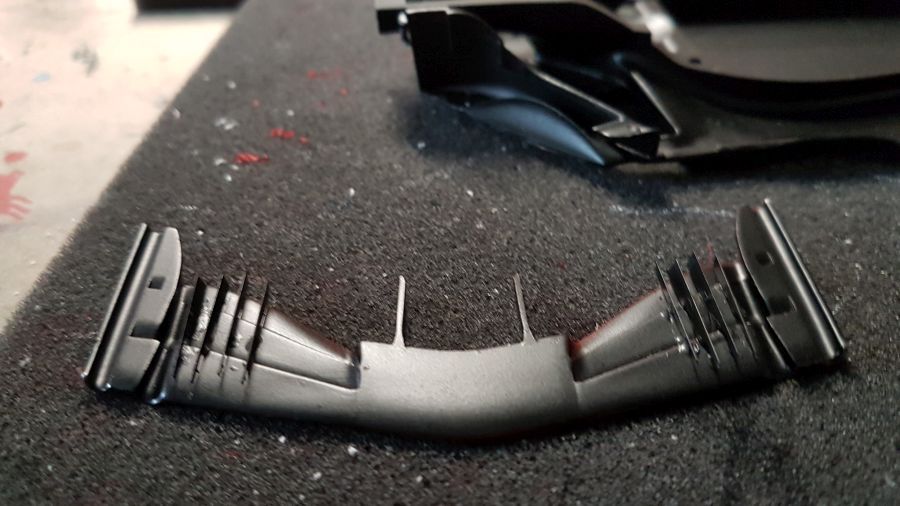
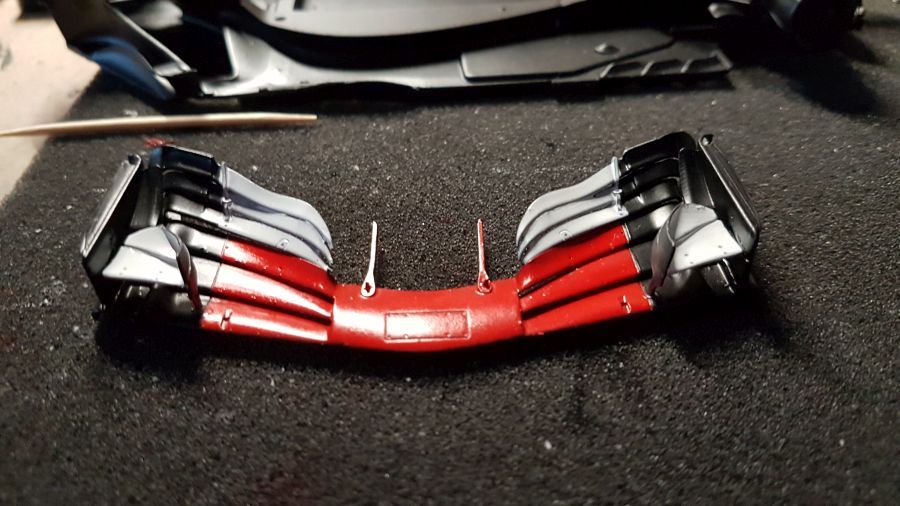
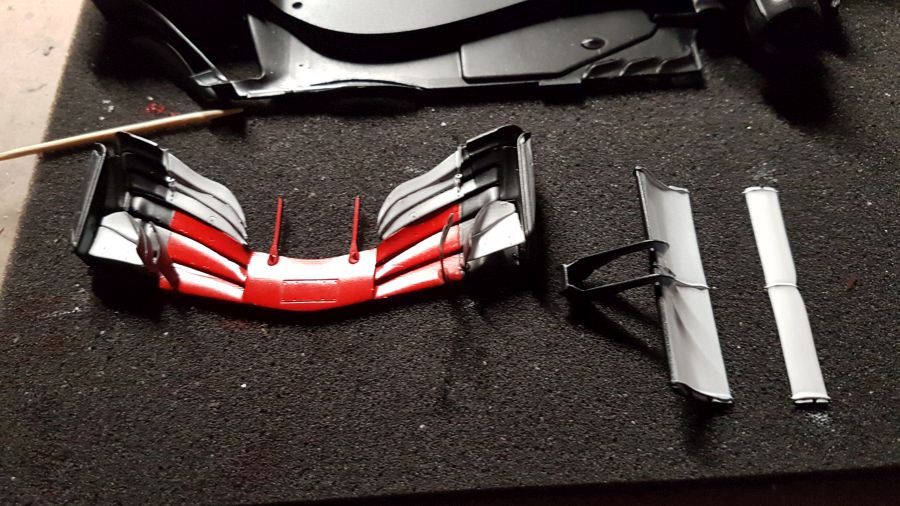
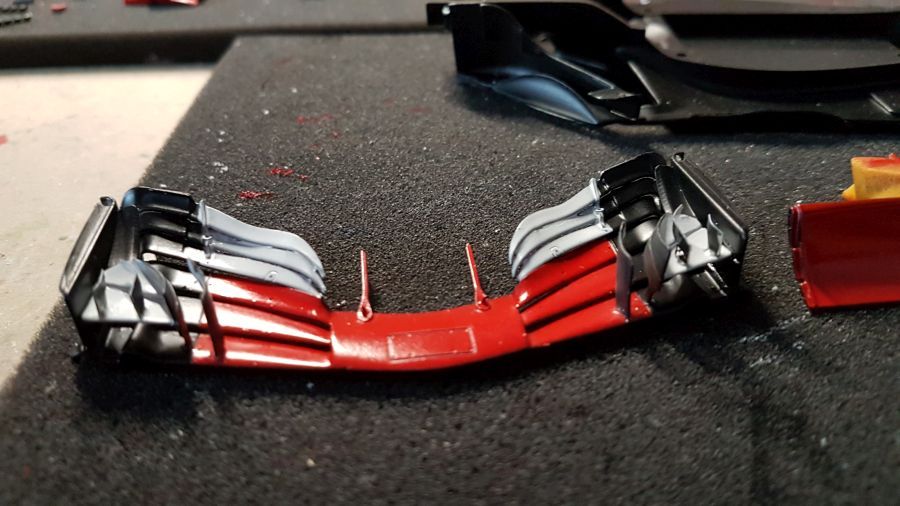
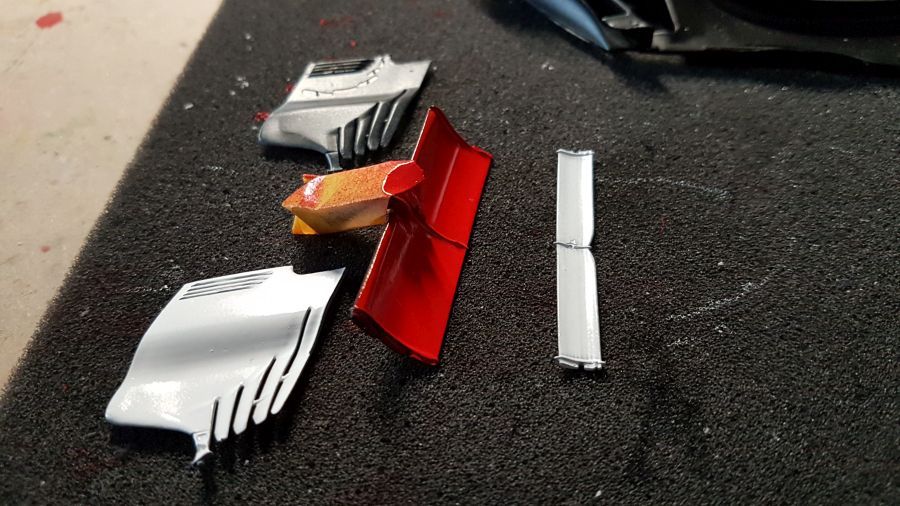
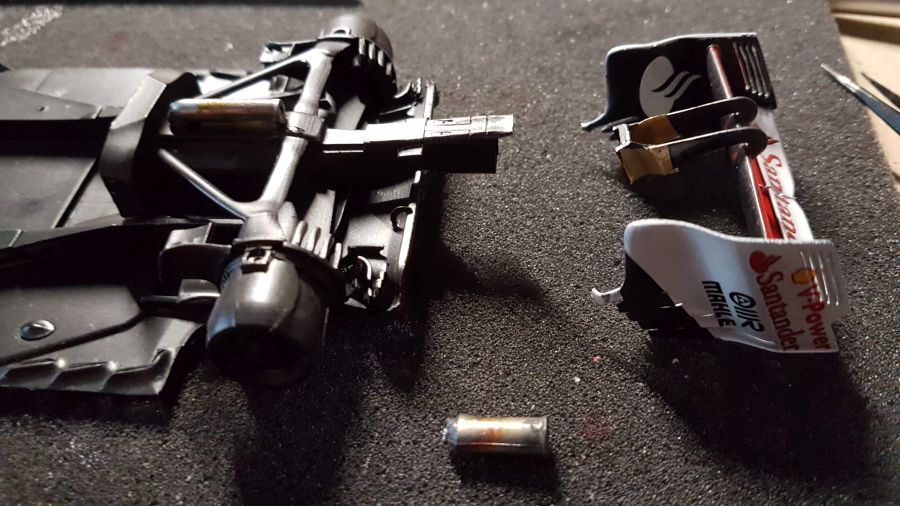
Klein werk aan de voorvleugel...
Small steps to the front wing...
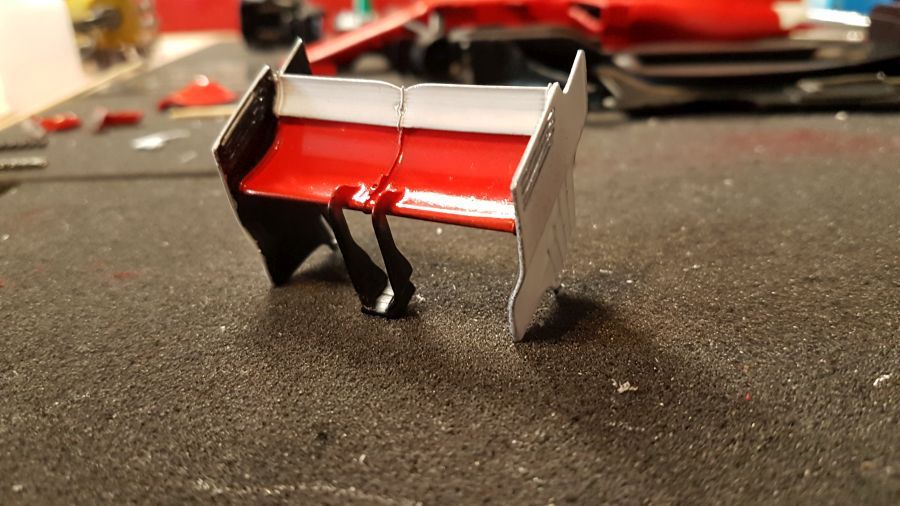
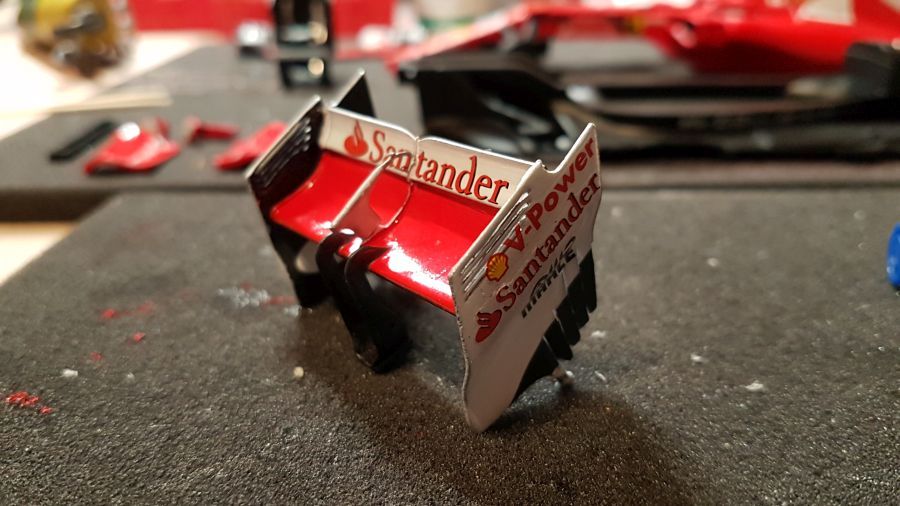
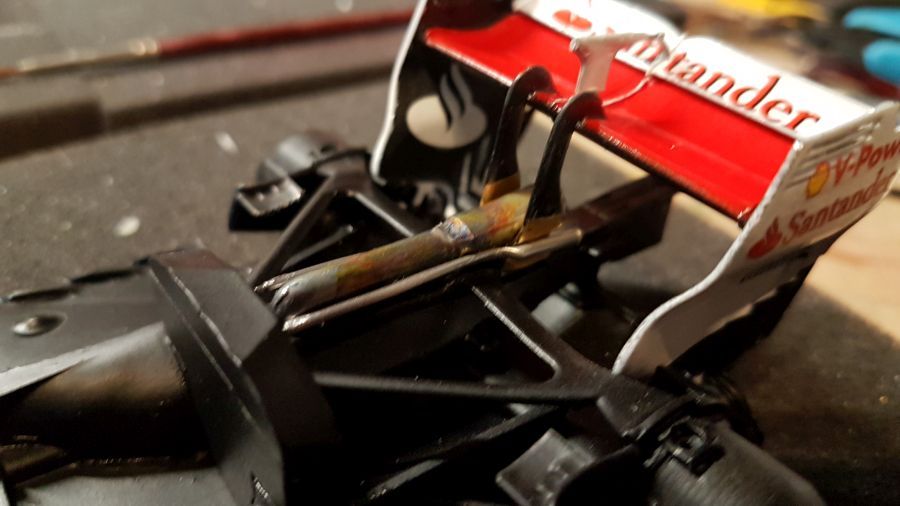
Dan de achtervleugel... eerst de verf laten drogen.
Next is the rear wing... first let dry the paint.
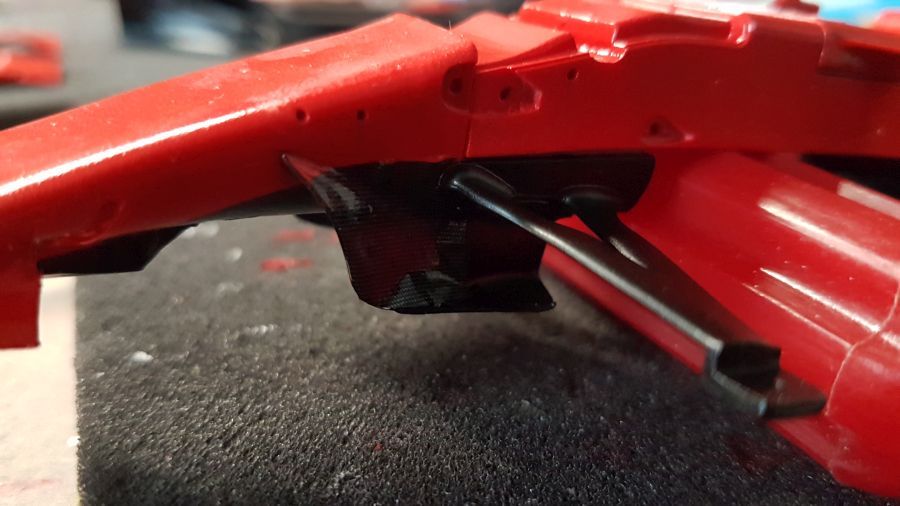
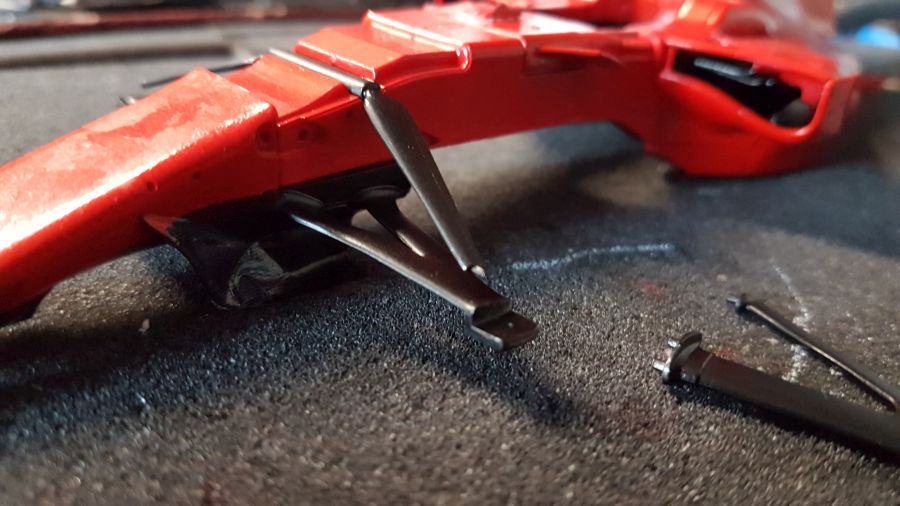
De voorwielophanging maar weer...
The front wheel suspension again...
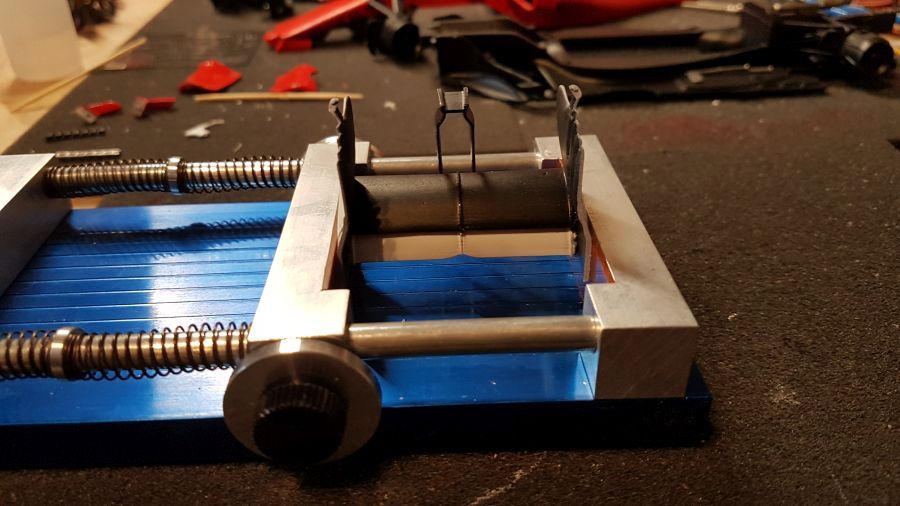
De vleugel gaat in de klem om alles goed op 1 lijn te kunnen zetten...
The wing is in the clamp to be able to line up it in 1 line...
Eindelijk wat decals. Daarmee lijkt het altijd wat vind ik.
Finally some decals. It always shows progress in my opinion.

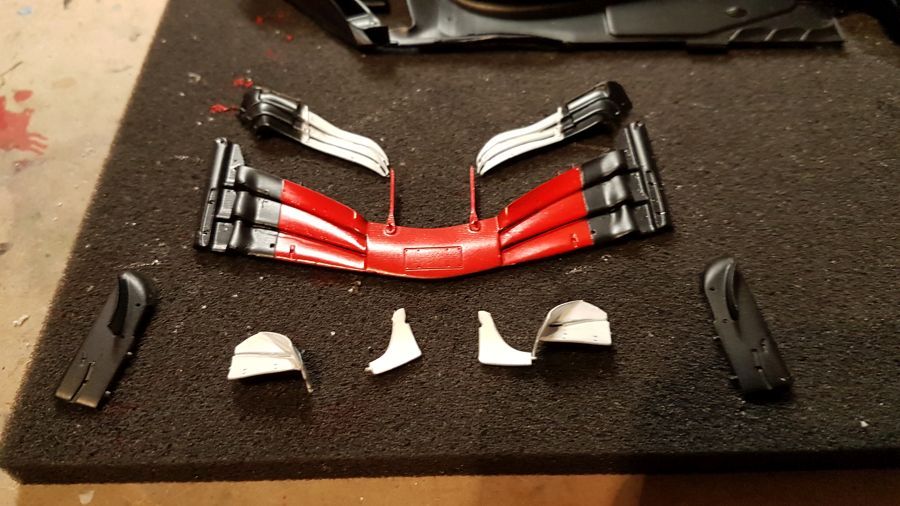
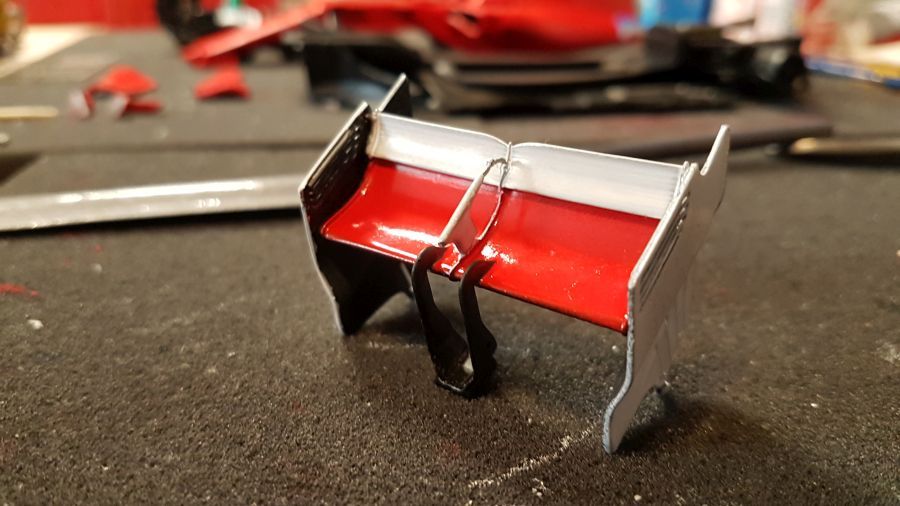
Meer details aan de vleugel.
More details added to the wing.
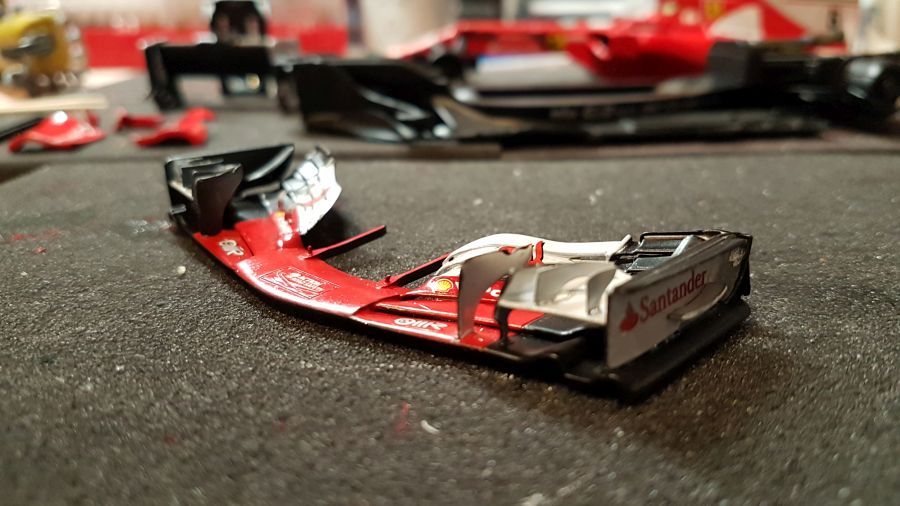
Dan decals voor de vloer en de voorvleugel plaatsen.
Adding decals to the floor and the front wing.

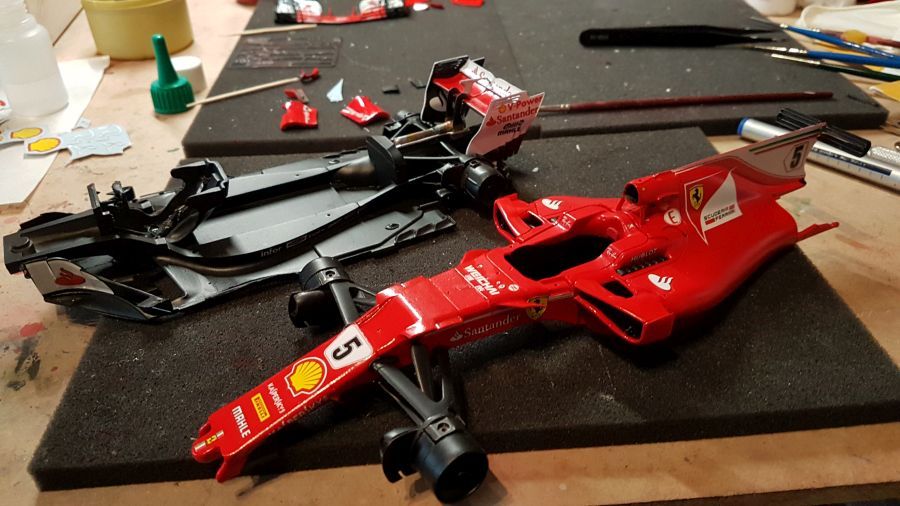
Alle semi-gebouwde delen.
All semi built parts.
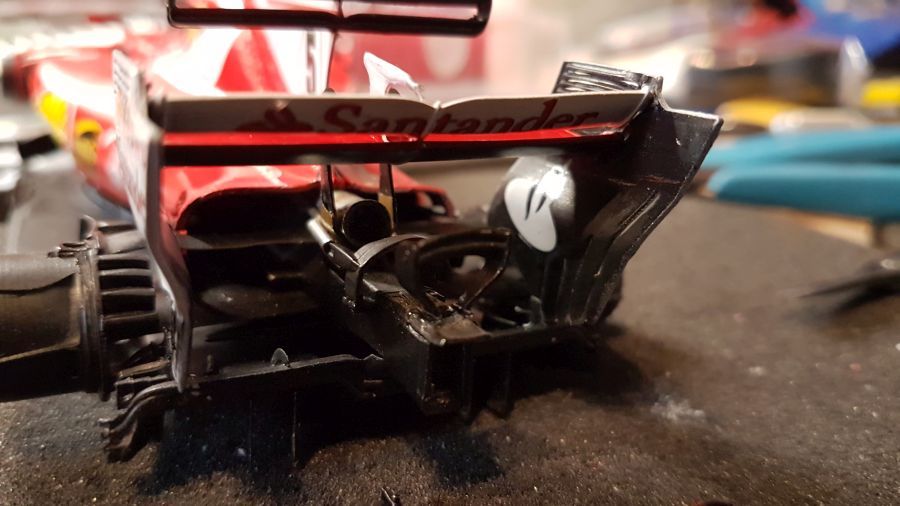
Klein foutje. Om de achtervleugel te plaatsen moet ik de uitlaat weer even los maken.
Small mistake. To be able to attach the rear wing i need to dismount the exhaust.
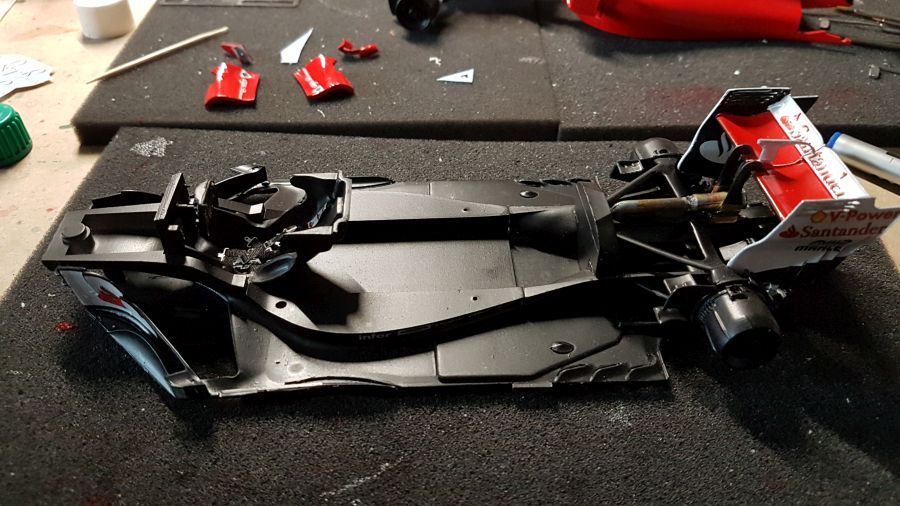
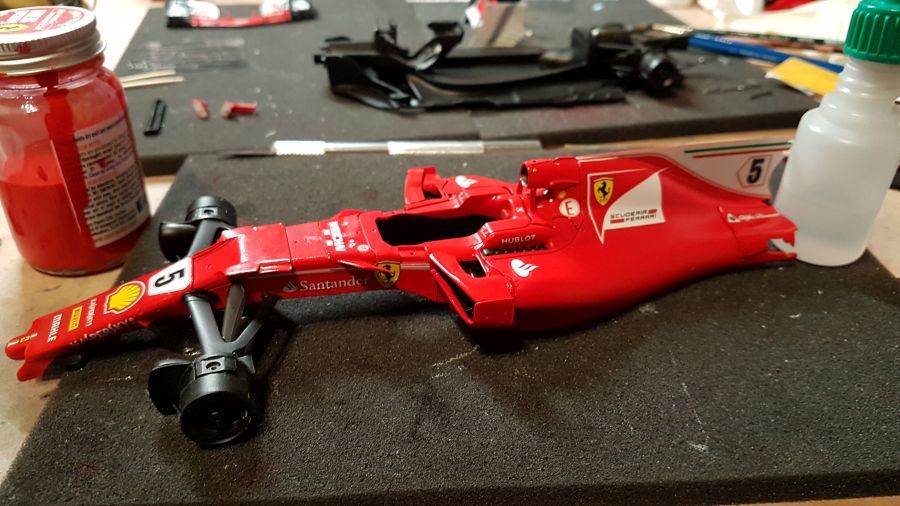
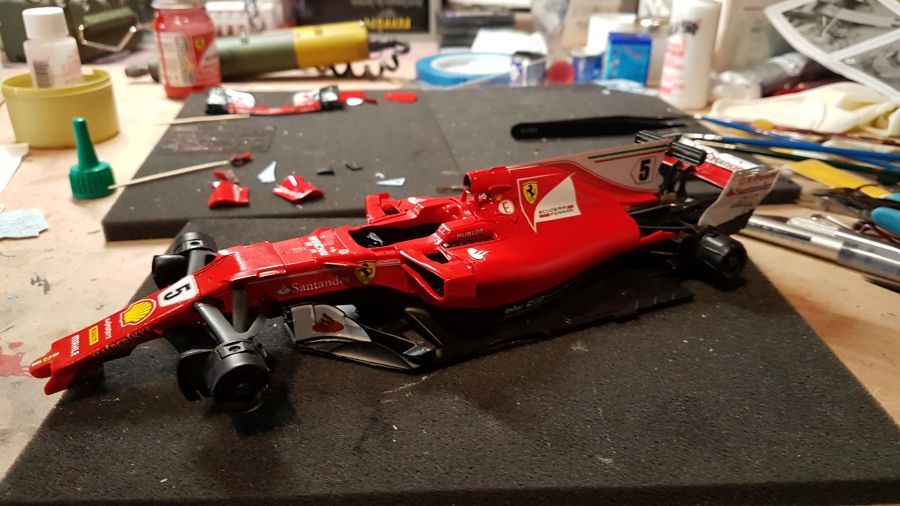
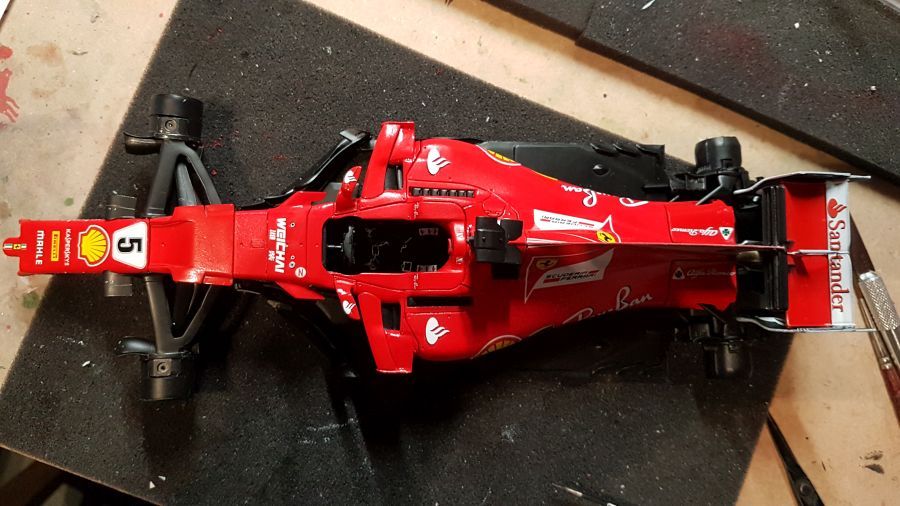
Dan de body op de vloer.
Next is the body to the floor.
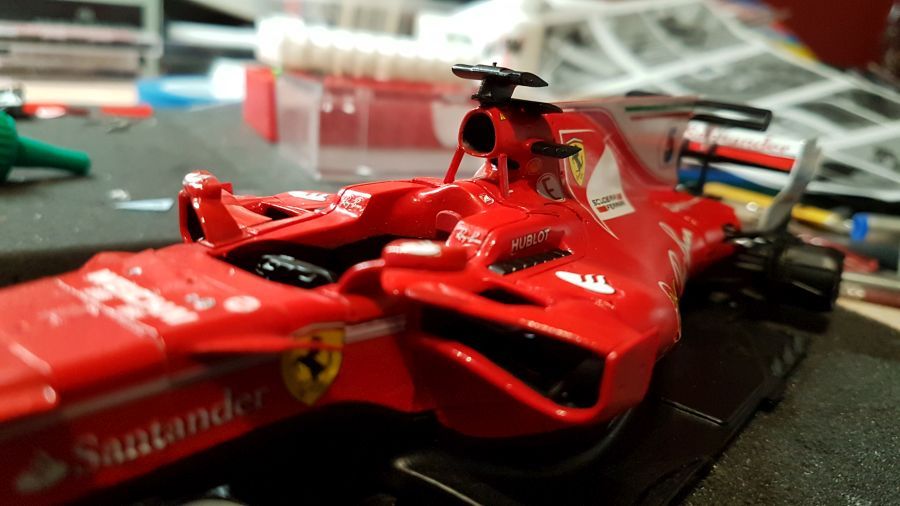
De 'monkey seat' wordt toegevoegd.
The monkey seat is being added.
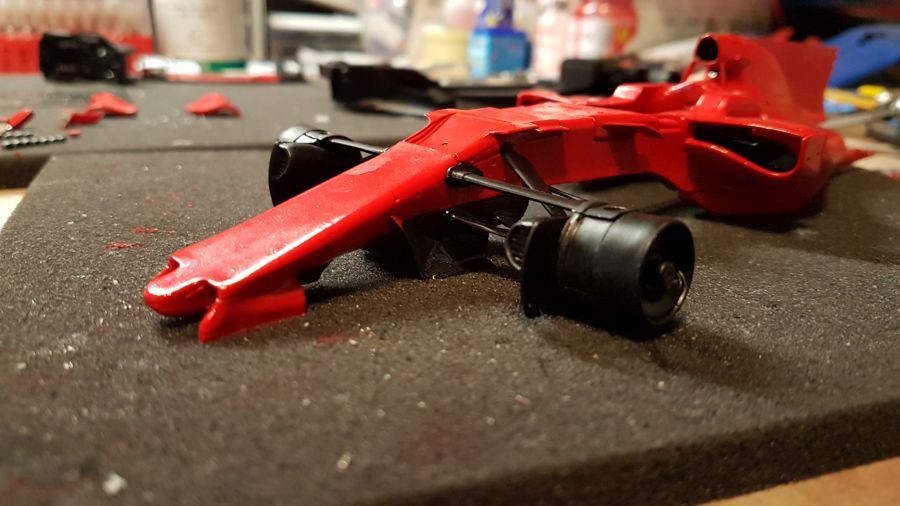
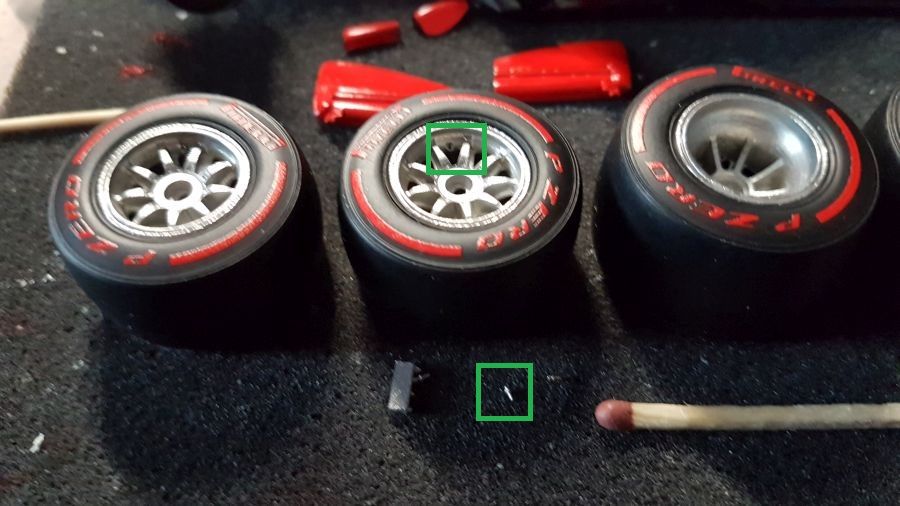
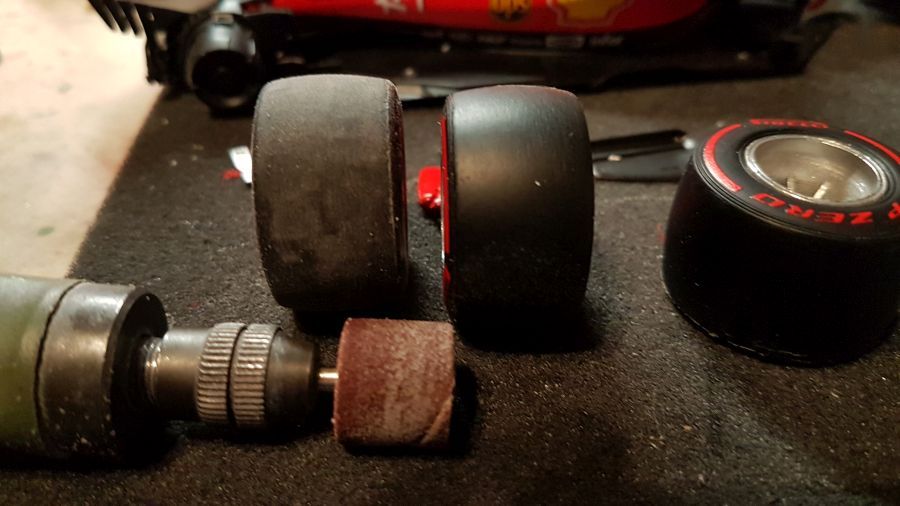
Tijd voor het werk aan de wielen.
Time to work on the wheels.


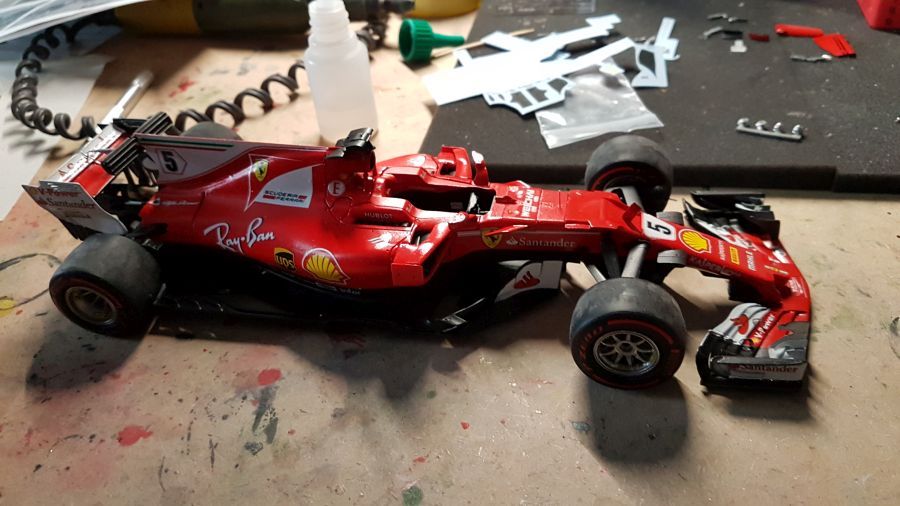
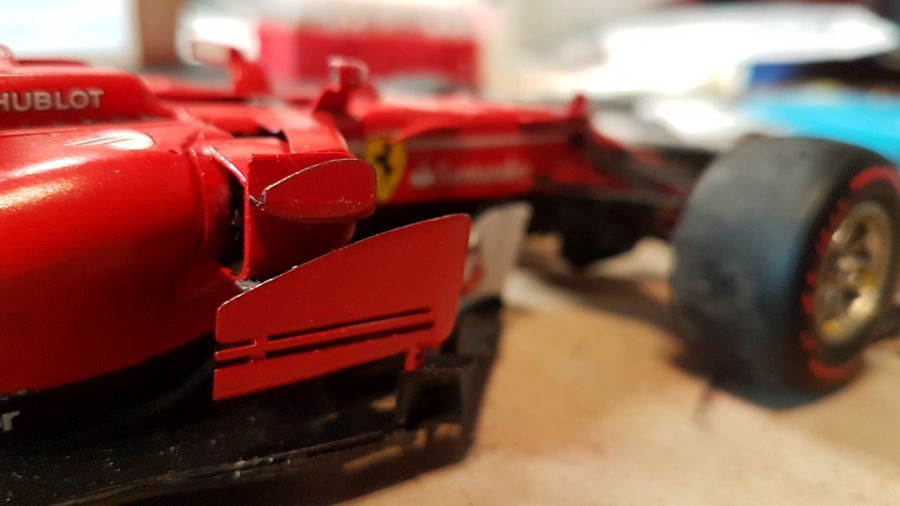
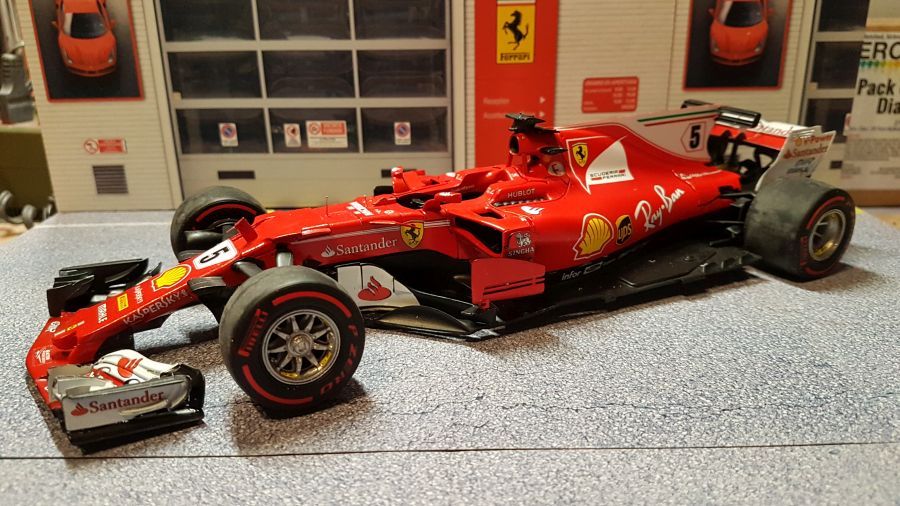
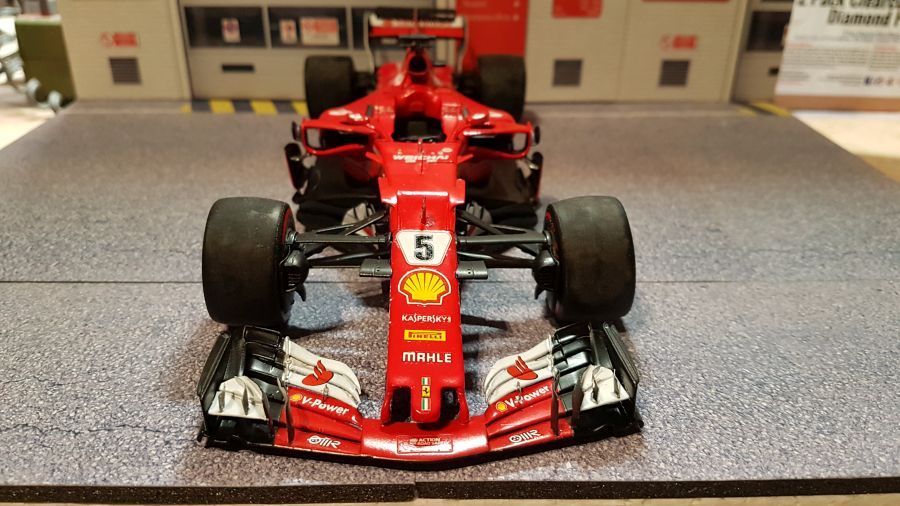
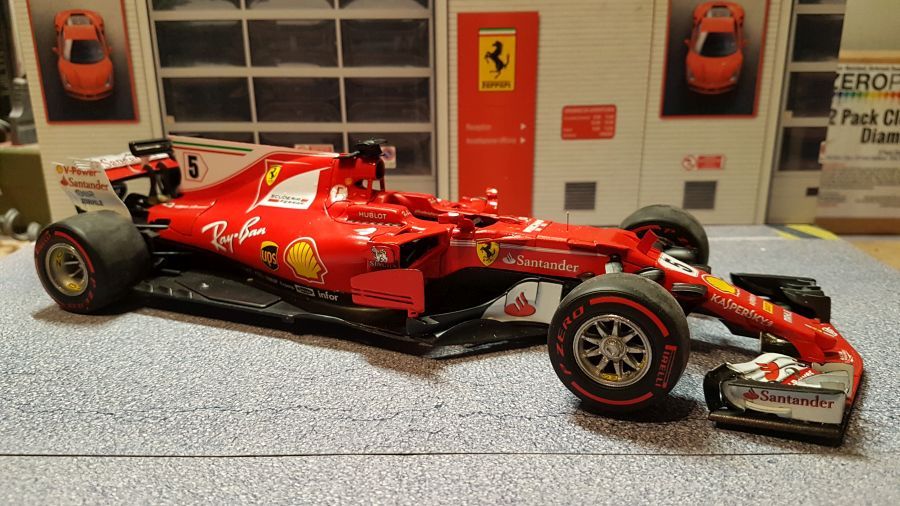
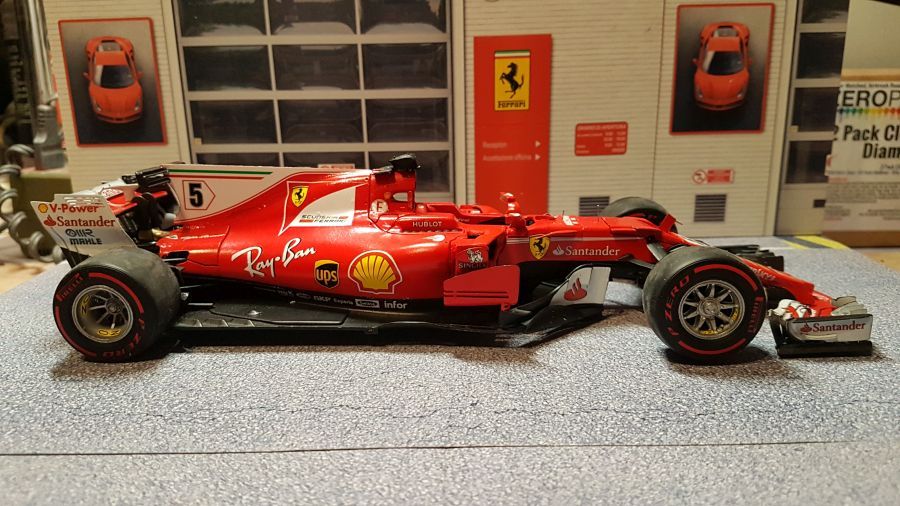
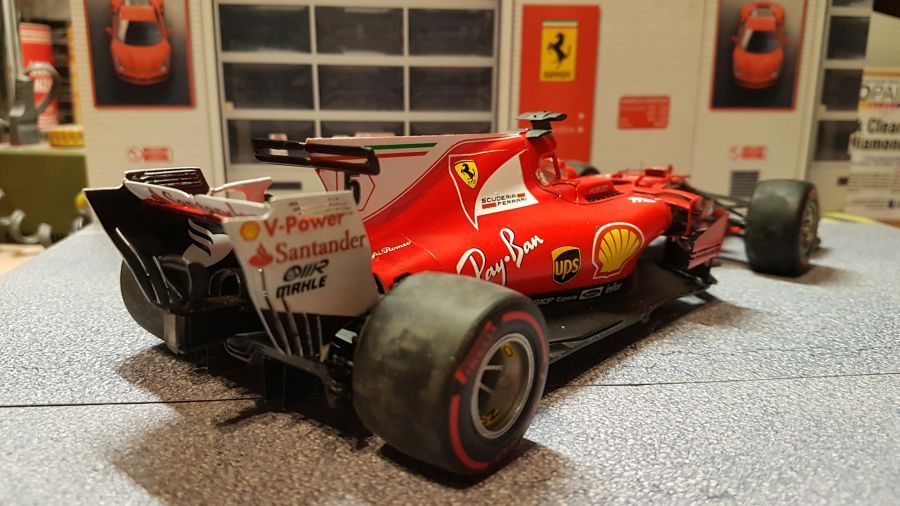
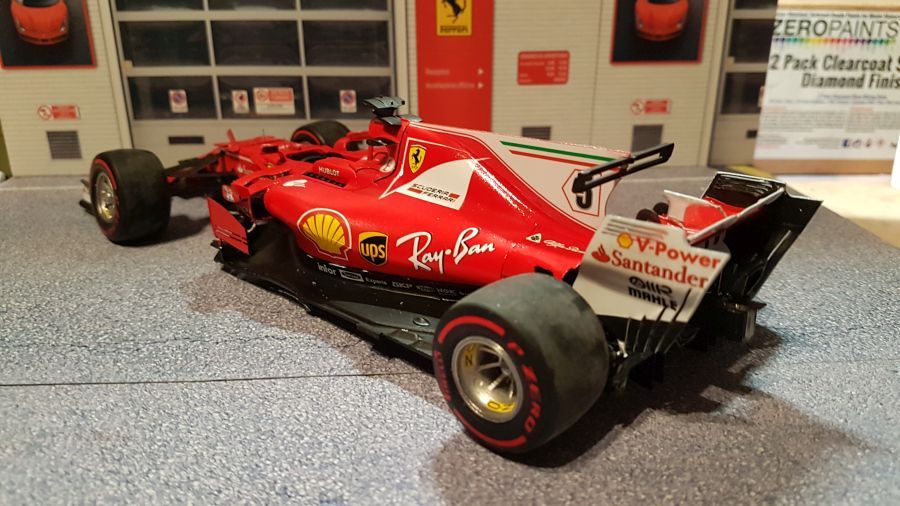
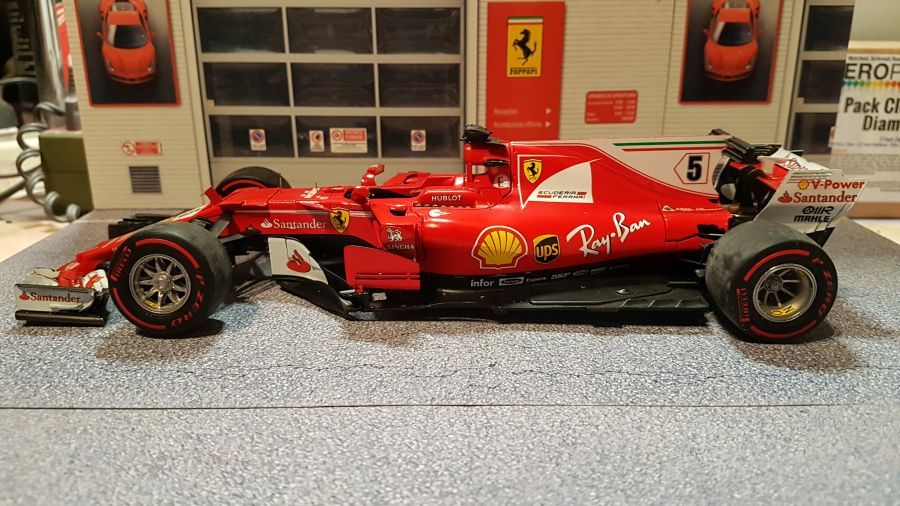
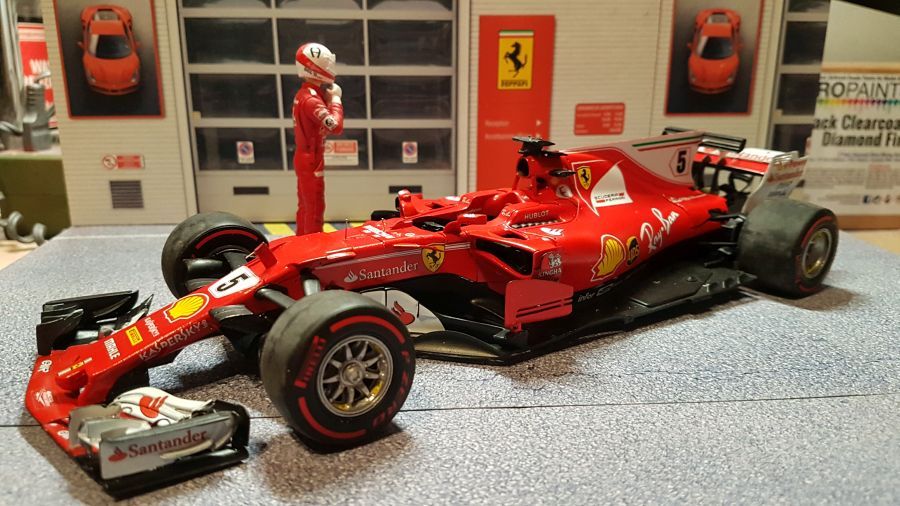
Ik denk dat ik deze weer als klaar mag beschouwen.
I think i can call this one done.

Misschien moet ik eens wat figuren kopen...
Maybe i should buy some figures...
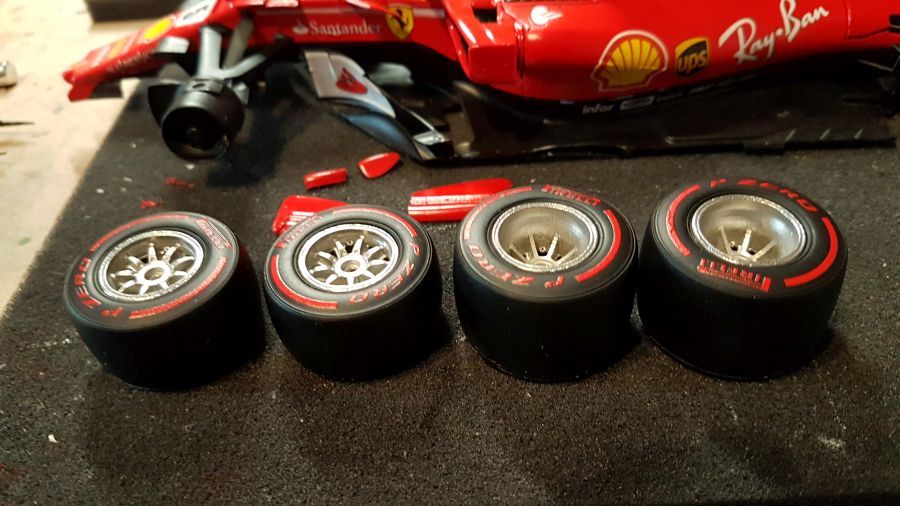
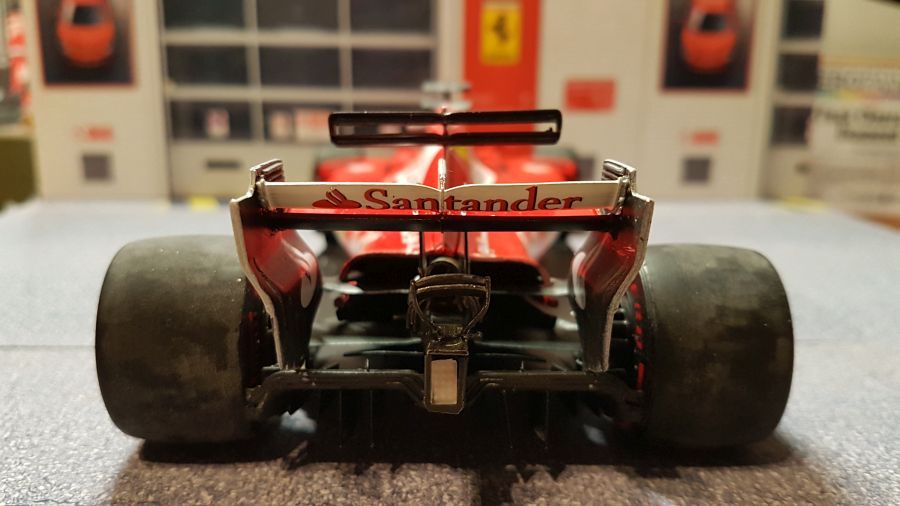
DTM heeft een fout gemaakt met de achterbanden. Aan de binnenkant hoort geen Pirelli kenmerk en geen rode band te zitten. Wegslijpen was voor mij geen optie. IK denk nog na hoe ik dit kan corrigeren. Misschien wat zwarte verf? Ik kan het eerst op een onzichtbaar plekje proberen.
DTM made a mistake with the rear tires. On the inside there should be no markings. Sanding this away was no option to me. I am still thinking on how to correct this. Maybe some black paint? I could try it on an invisible spot first.