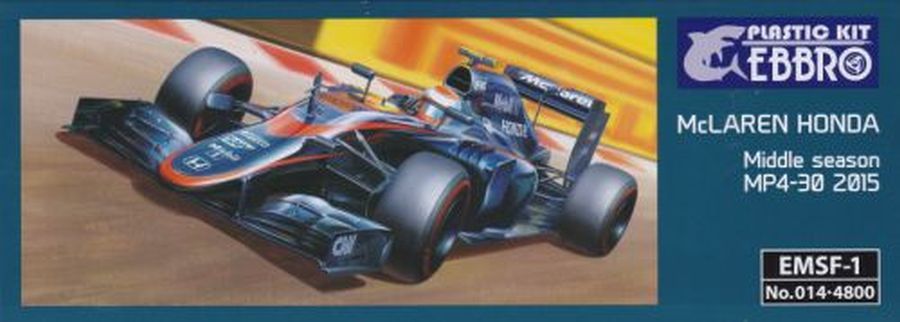
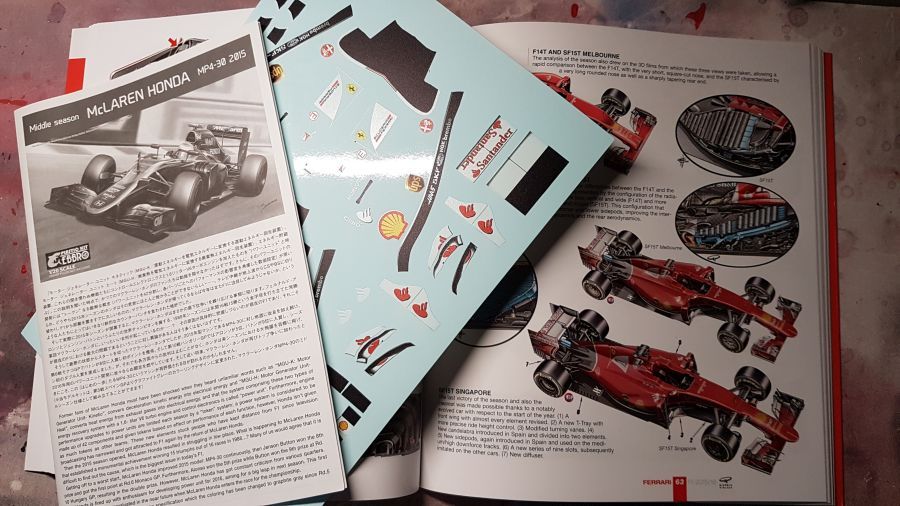
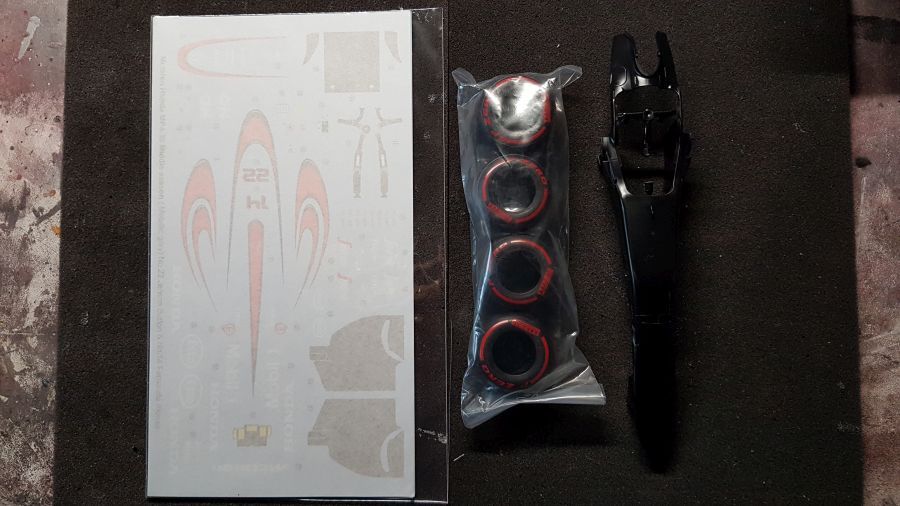
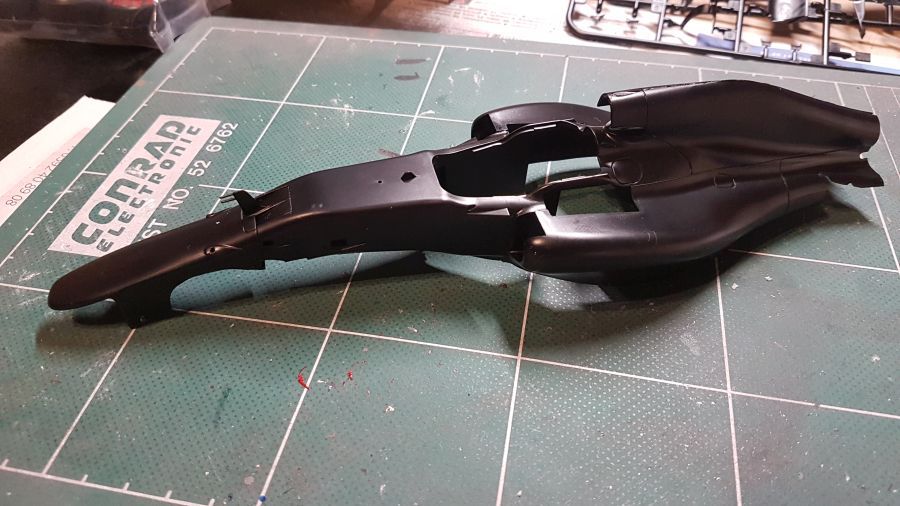
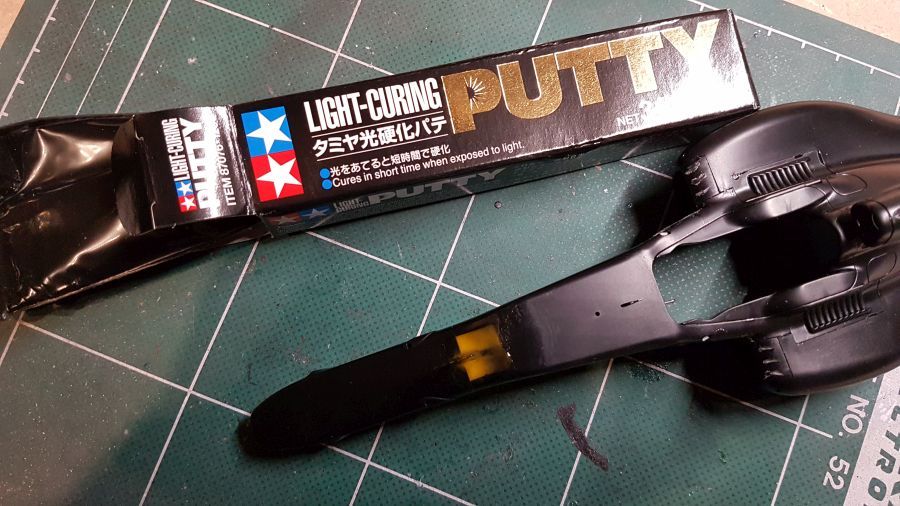
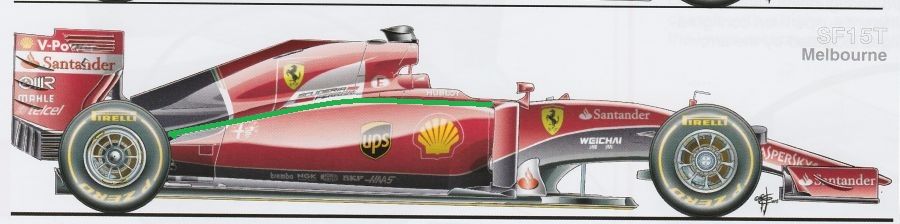
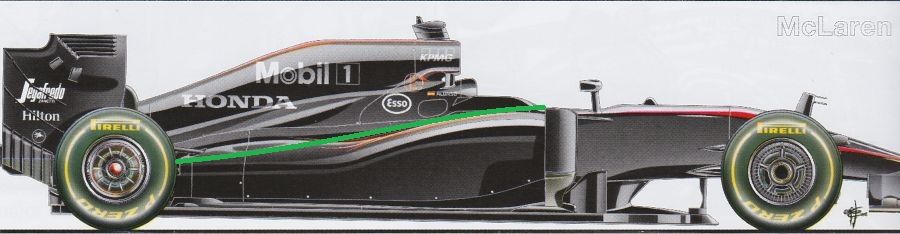
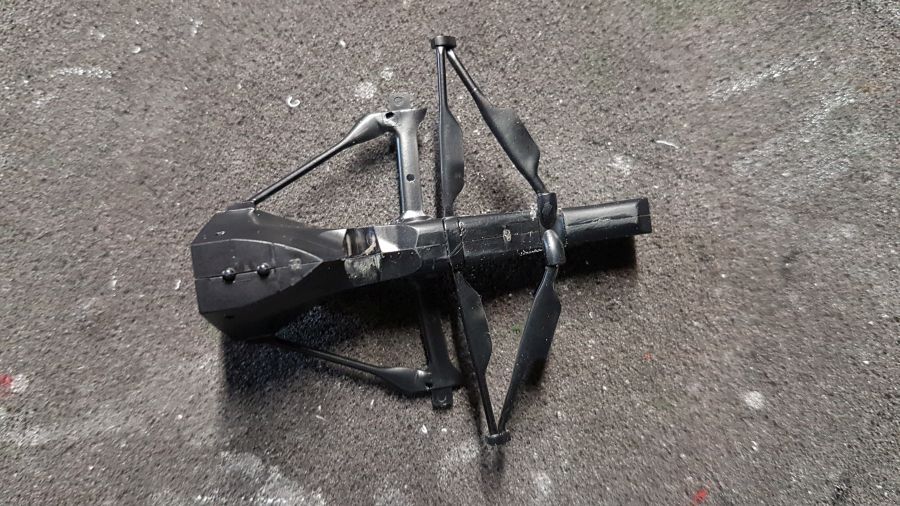
Ik ben weer klaar voor een bijzondere conversie. De Ferrari SF15-T uit 2015 is, voor zover ik weet, nooit uitgebracht in schaal 1/20. Tja, dat zou een lege plek op mijn plank zijn. Dus ik ga het maar weer proberen. Deze zal denk ik niet eenvoudig zijn. Ik ga de Ebbro McLaren Honda MP4/30 kit (kit nr. 014-4800 EMSF-1) als basis gebruiken. Extra decals komen weer van Pattos. Op aanvraag maakt hij ze ook in schaal 1/20. Onder eerst de foto's van de onderdelen. Deze conversie gaat mogelijk wat langzaam in verband met andere werkzaamheden. Zal het werken? Ik weet het niet. In ieder geval zal het boek van Giorgio Piola weer veel helpen.
I am ready for a special conversion. The Ferrari SF15-T from 2015 was, as far as i know of, never available in scale 1/20. That would be an empty spot on my shelf. So i will try again. This one will not be easy i guess. I will use the Ebbro McLaren MP4/30 kit (kit no. 014-4800 EMSF-1) as a donor. Extra decals come from Pattos. He makes them in scale 1/20 on request. Below the pictures of all parts. This conversion might go a bit slow because of other work. Will it work? I don't know. In any case, the book of Giorgio Piola will be of great help again.
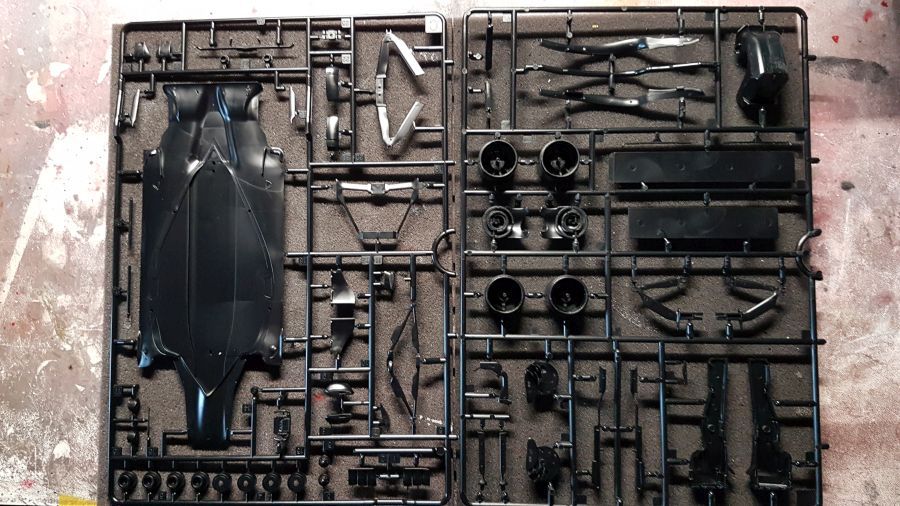
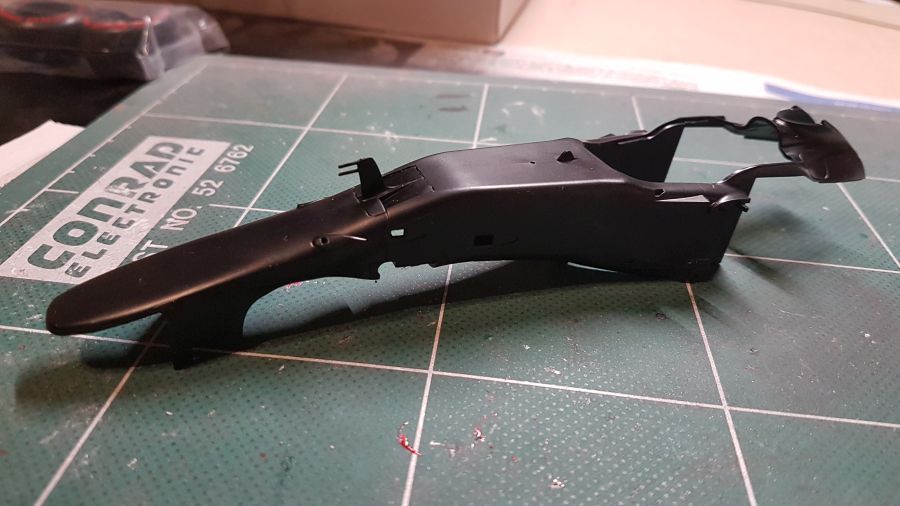
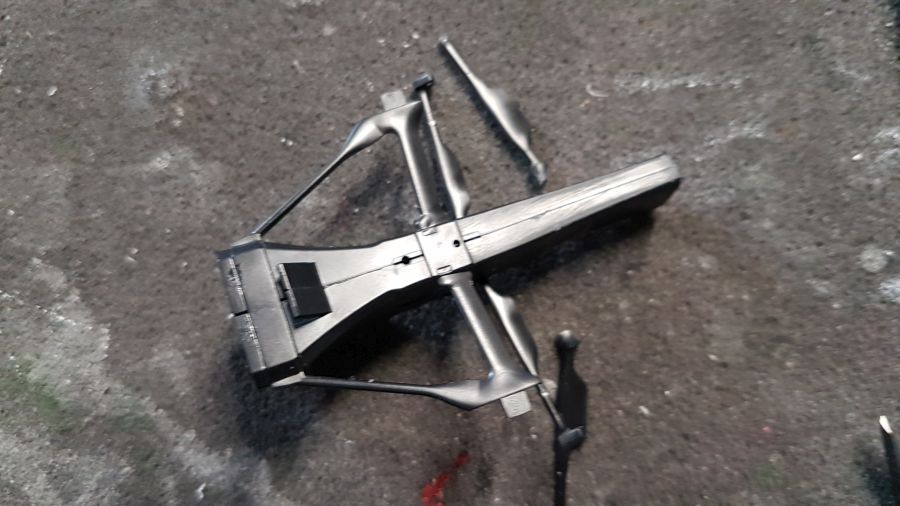
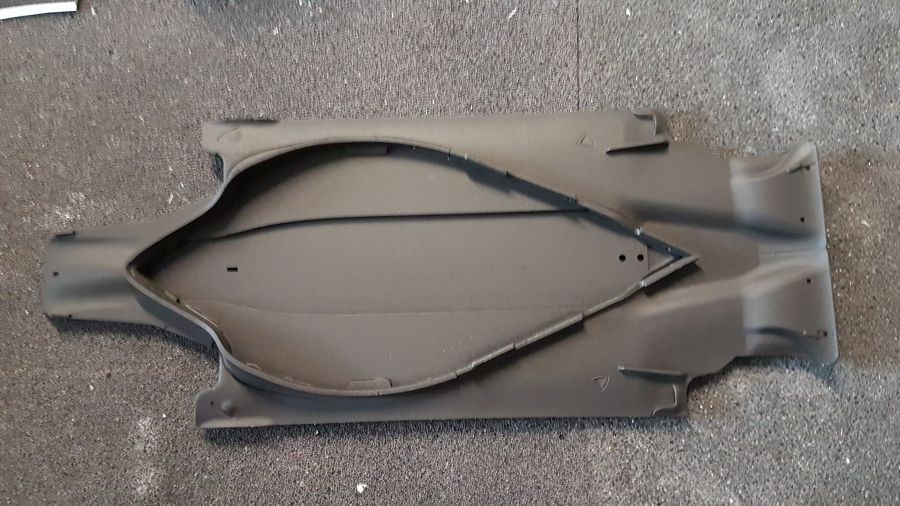
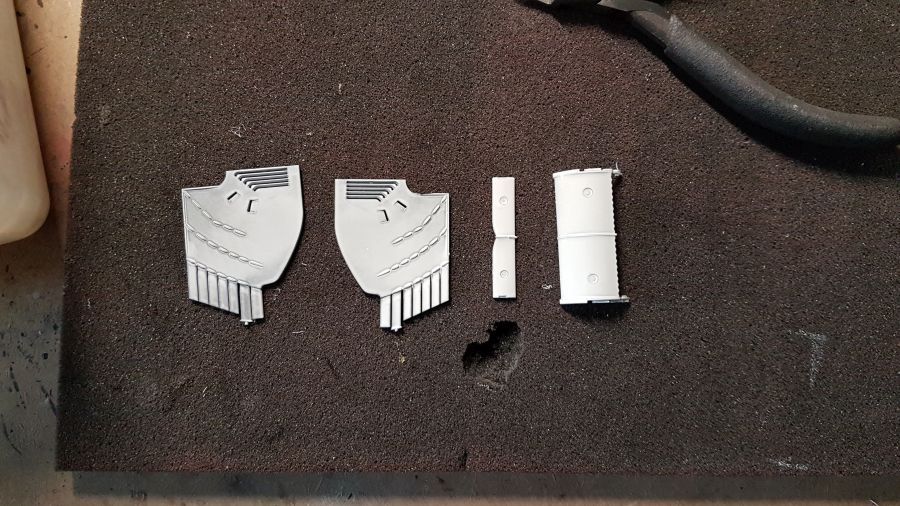
Vandaag vroeg wakker (04:00 uur). Ik kan nu geen machines aanzetten om aan mijn 1/4 project te werken, dus mooi even de tijd om deze conversie te bestuderen. Eerst even de body in elkaar zetten.
I am awake early today (04:00 hours) I can't turn on machines at this hour to work on my scale 1/4 project, so i have time to study this conversion. First of all i will assemble the body parts.
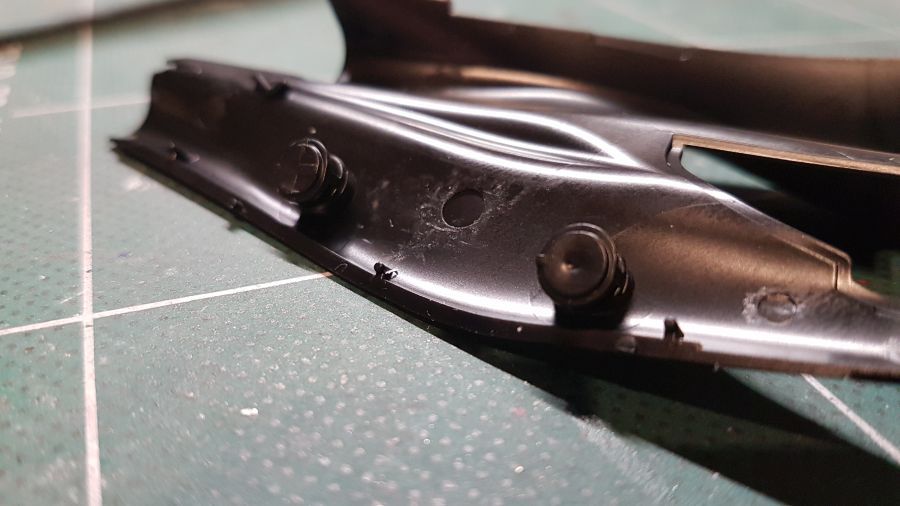
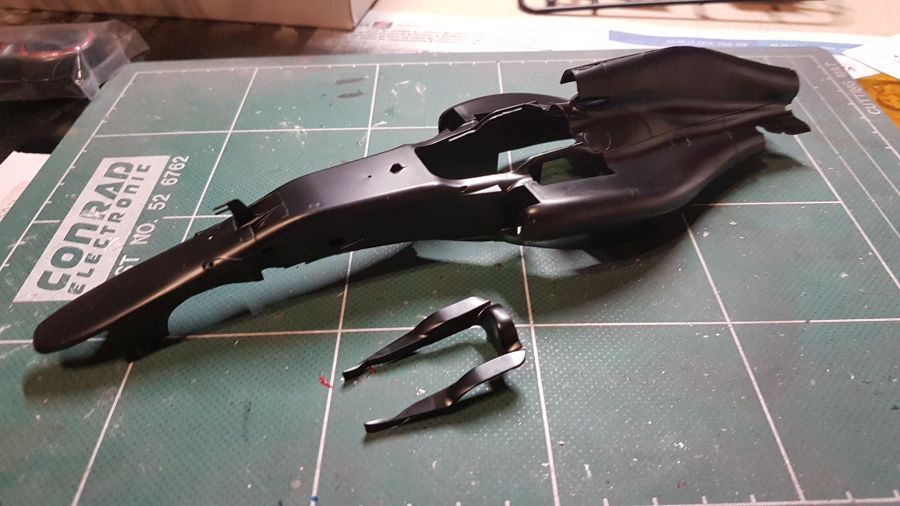
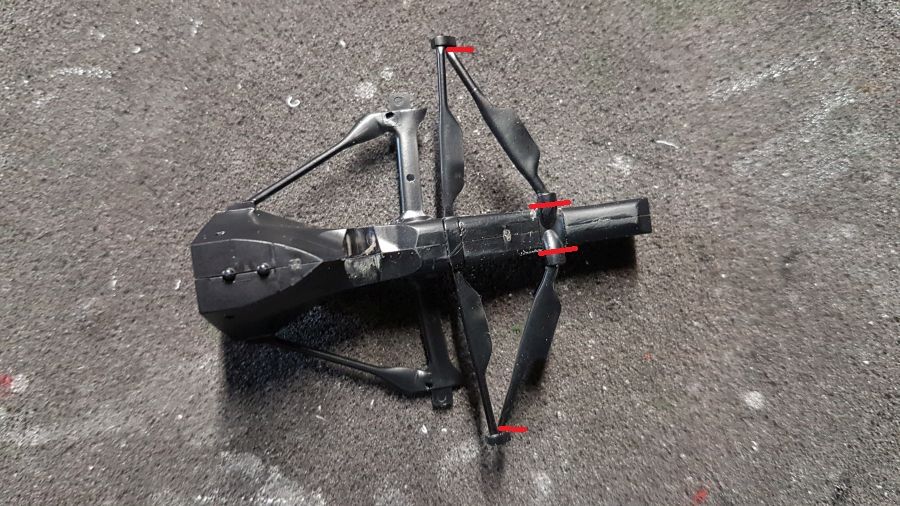
Zorg ervoor dat de 2 steunen goed geplaatst worden volgens de tekening. Anders heb je al vroeg een probleem.
Be sure to add the 2 supports correct according to the instructions. Otherwise you will have a problem very soon.
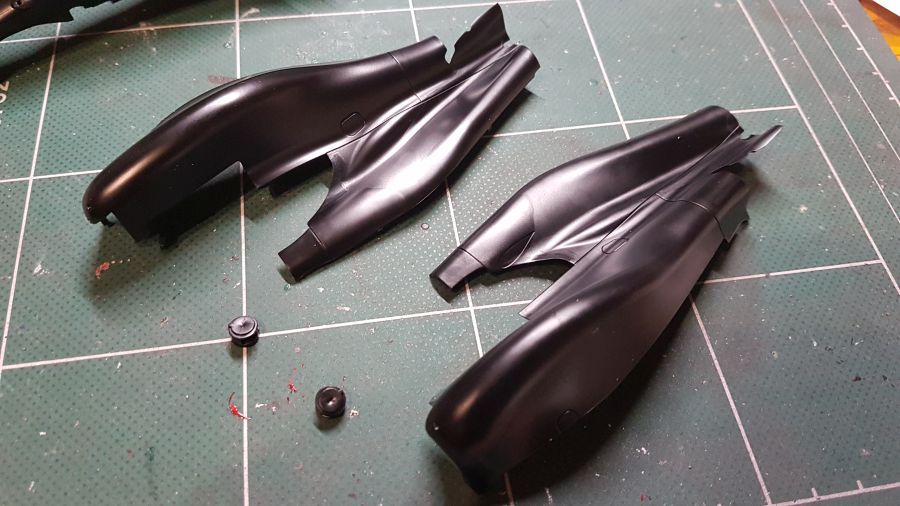
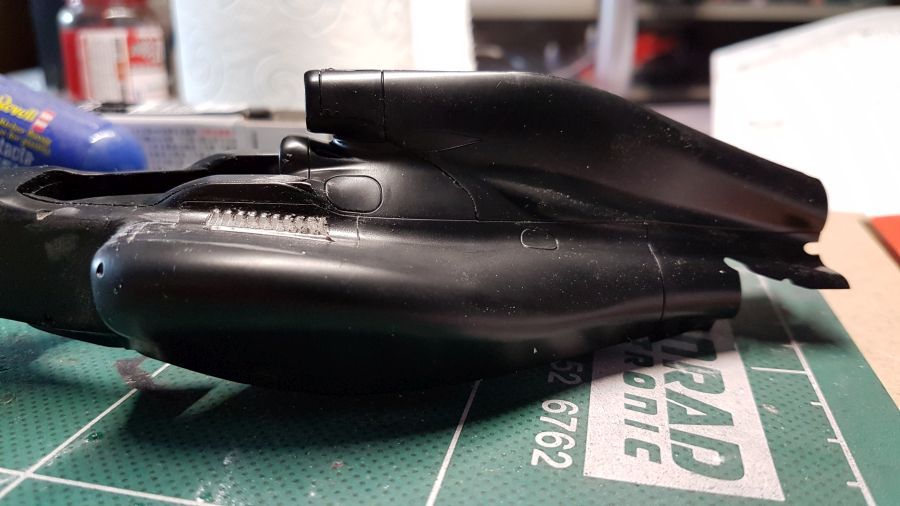
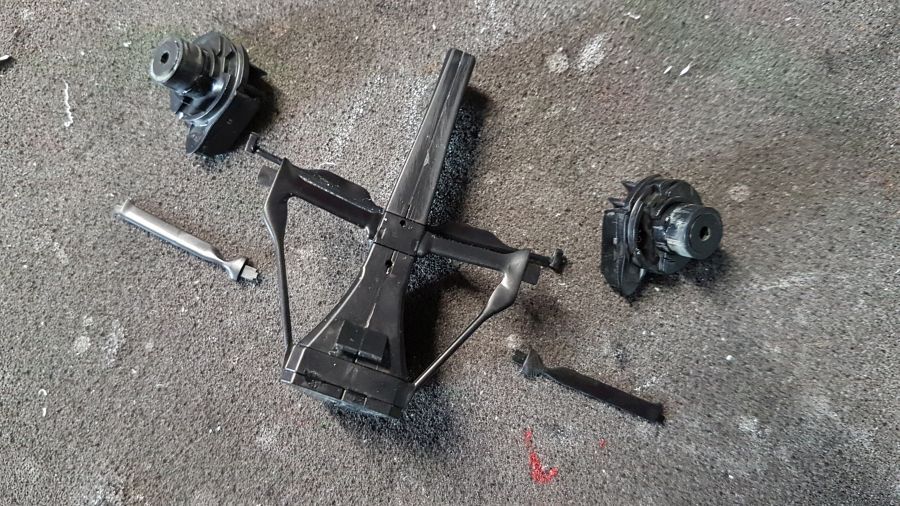
De body en de motorafdekking worden gecombineerd.
The body and the engine cover are being combined.
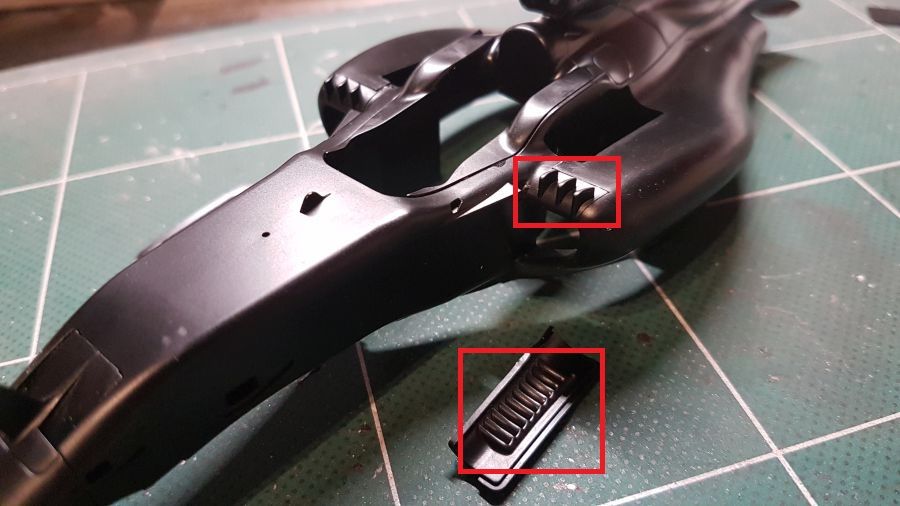
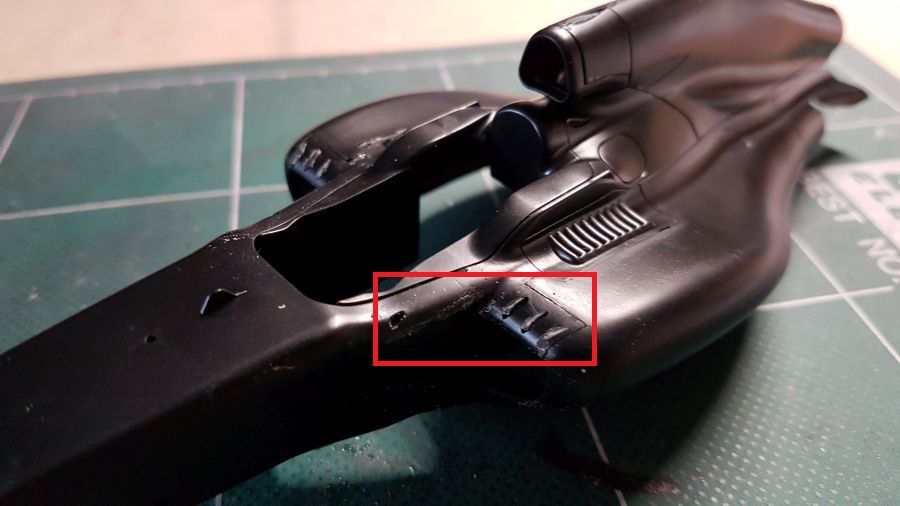
De hoodsteun en de luchtingang worden geplaatst.
The head rest and the intake are added.
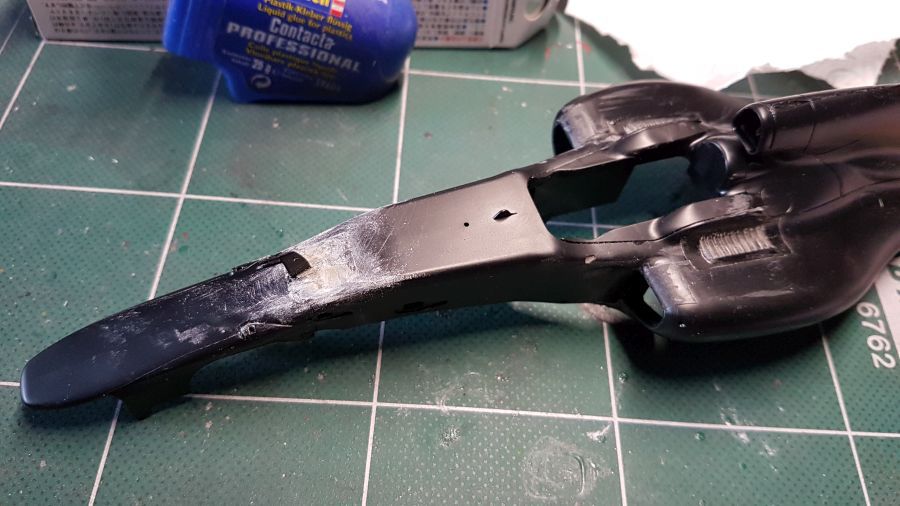
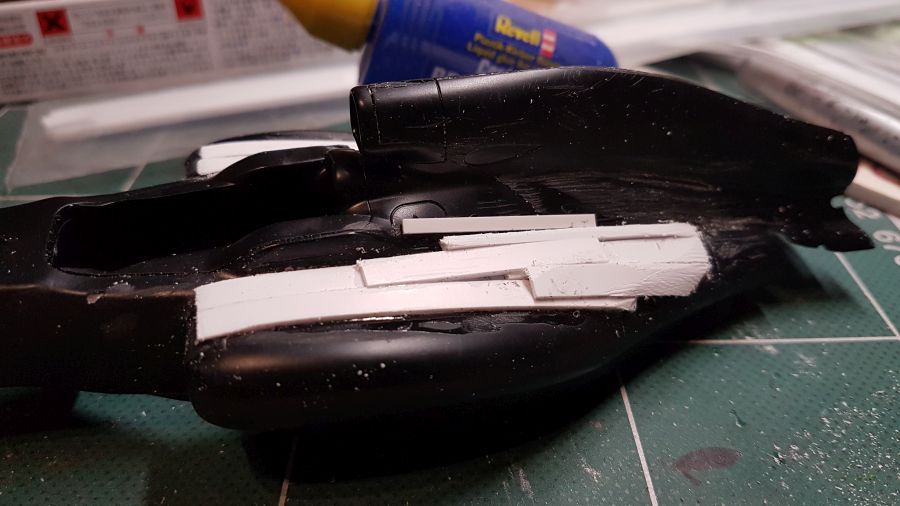
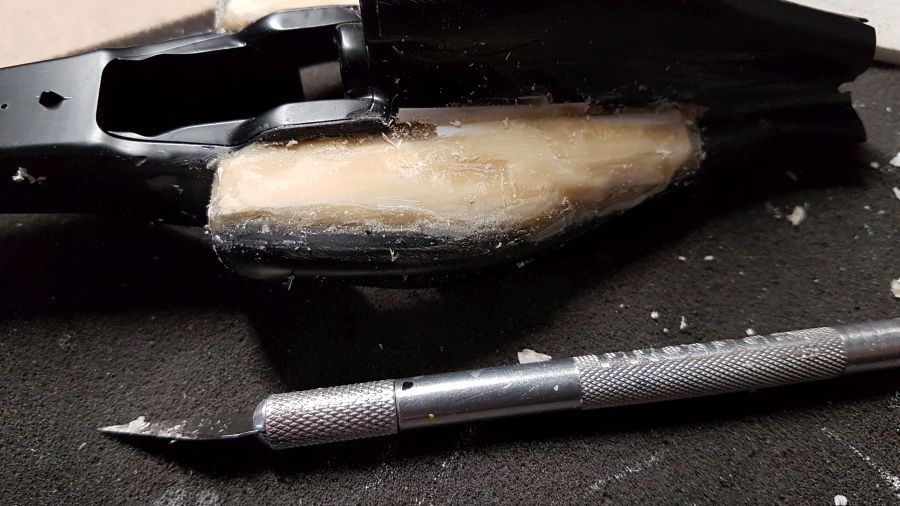
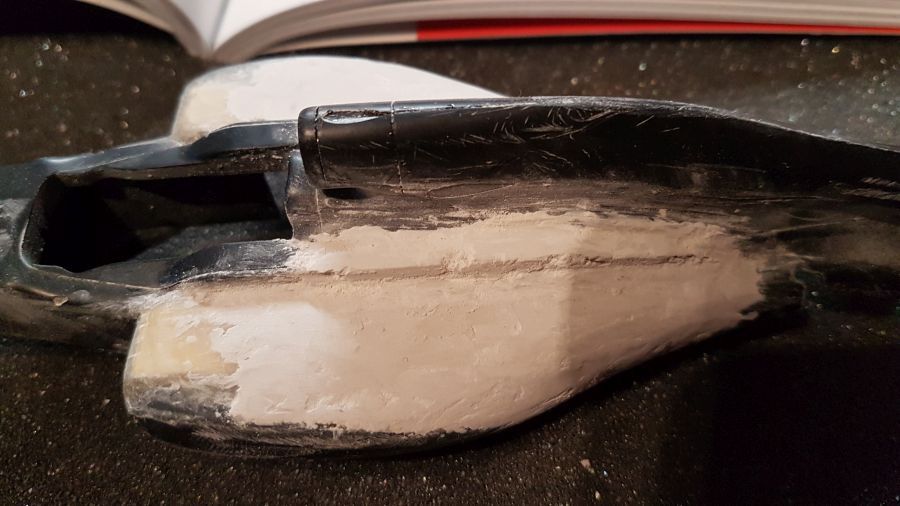
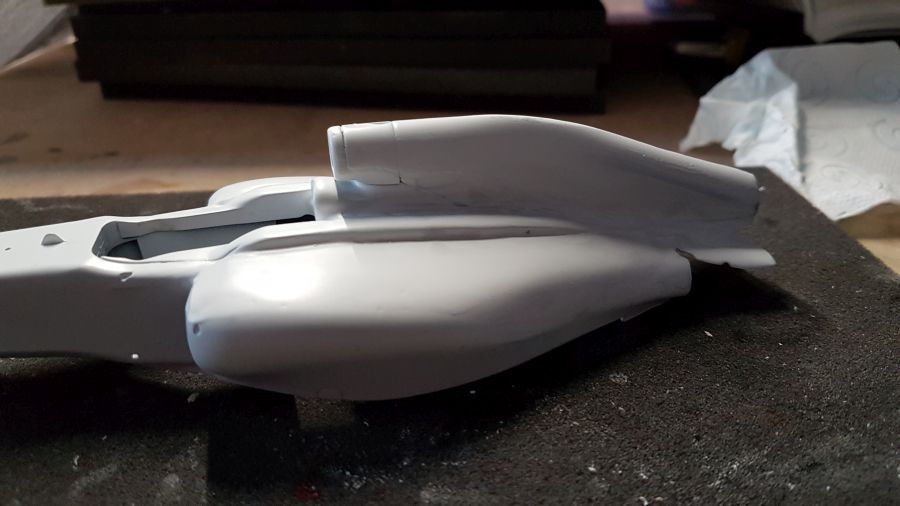
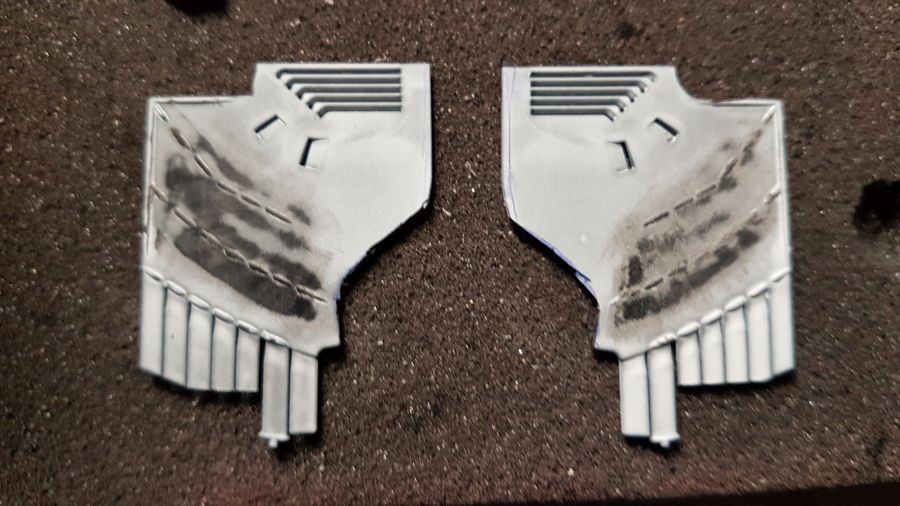
Dan wat onderdelen aan de side pods. De vinnen worden daarna verwijderd en het deel naast de cockpit wordt eerst glad gemaakt.
Then some parts to the side pods. The fins will be cut off and the part next to the cockpit is being made smooth.
Voor mij een nieuw soort putty... Ik weet dus nog niet wat ik ervan ga vinden. In eerste instantie een beetje olie-achtig, maar dat komt natuurlijk omdat het het eerste uit de tube is.
To me a new kind of putty... I don't know if i will like it or not. At first glance a bit oil like, but that is of course because it's the first out of the container.
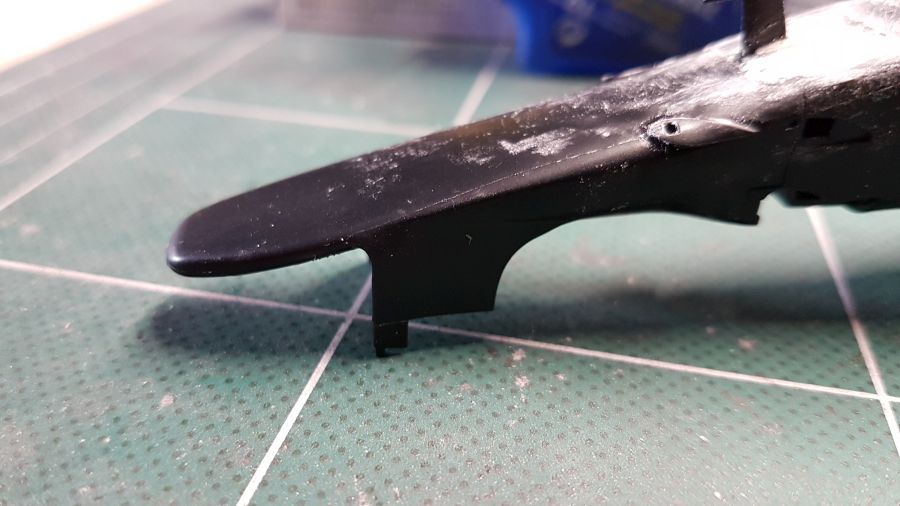
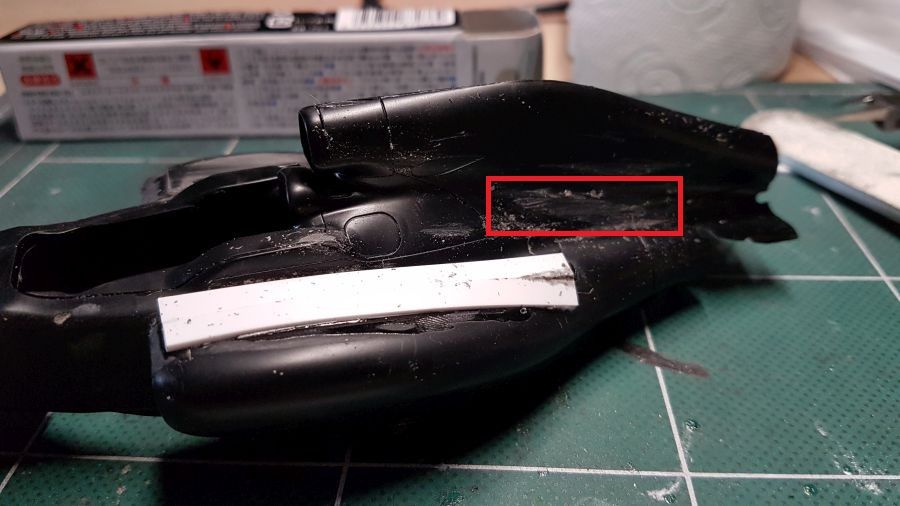
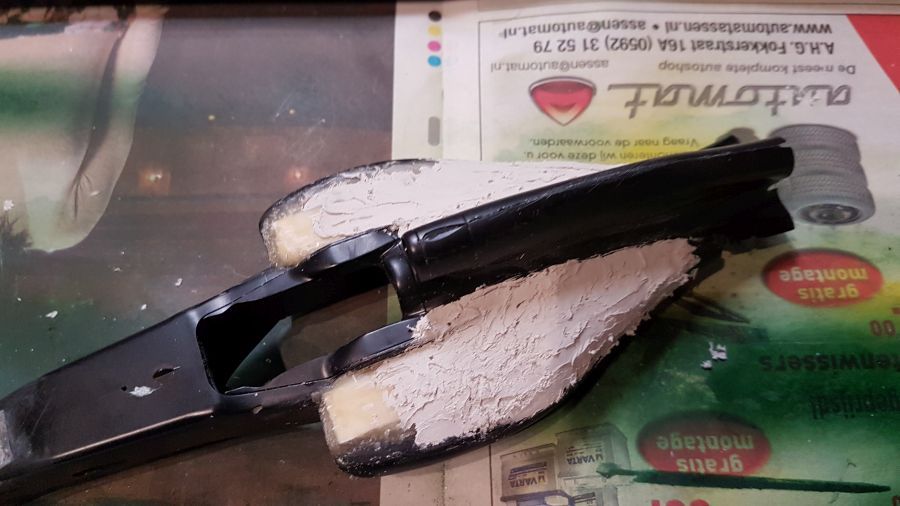
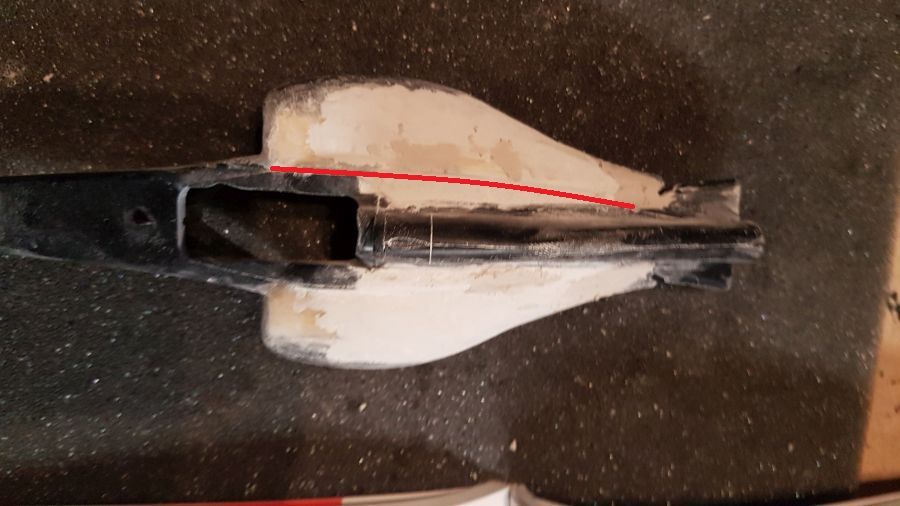
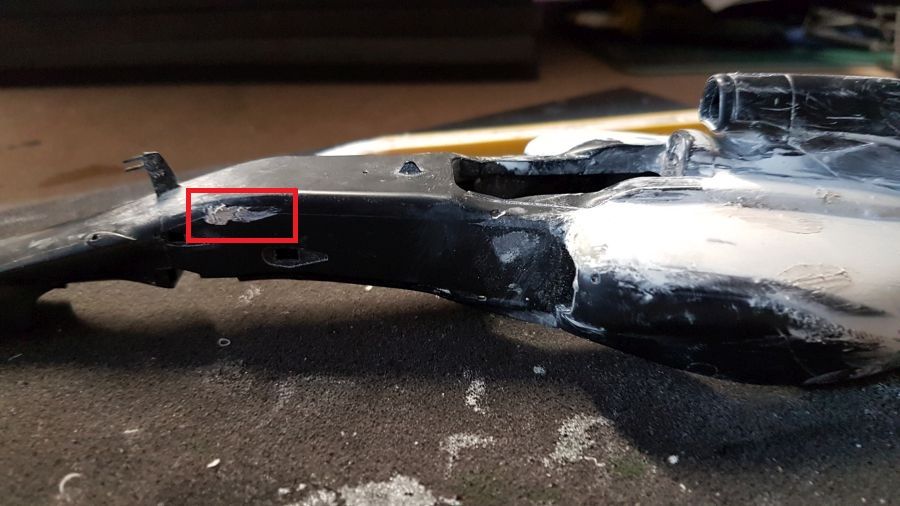
Ik denk dat er op zich niet veel aan de neus hoeft te gebeuren. De zijkanten van de side pods wel...
I think the nose don't need a change. The top of the side pods however do...
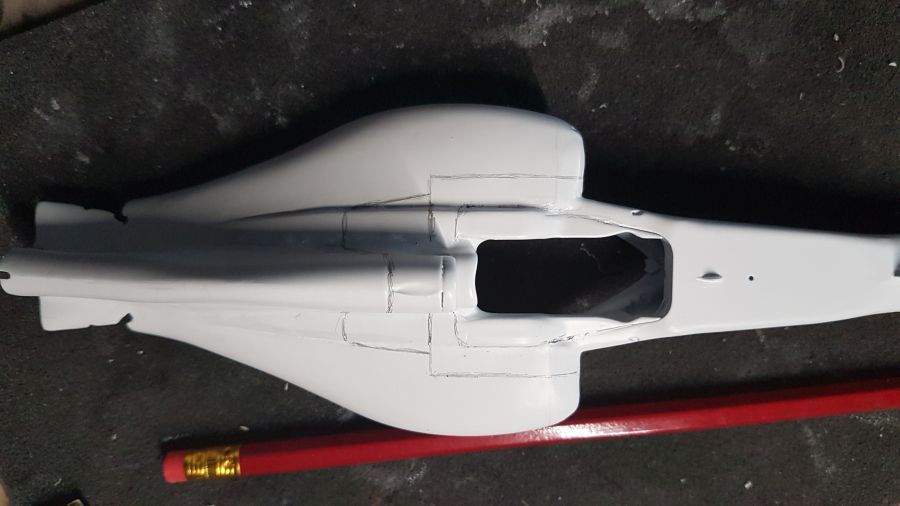
Ik heb nu de bult weggevijld (rood) en Evergreen strip geplakt om het model te kunnen veranderen.
I now filed off the bump (red) and glued Evergreen strip to be able to change the shape.
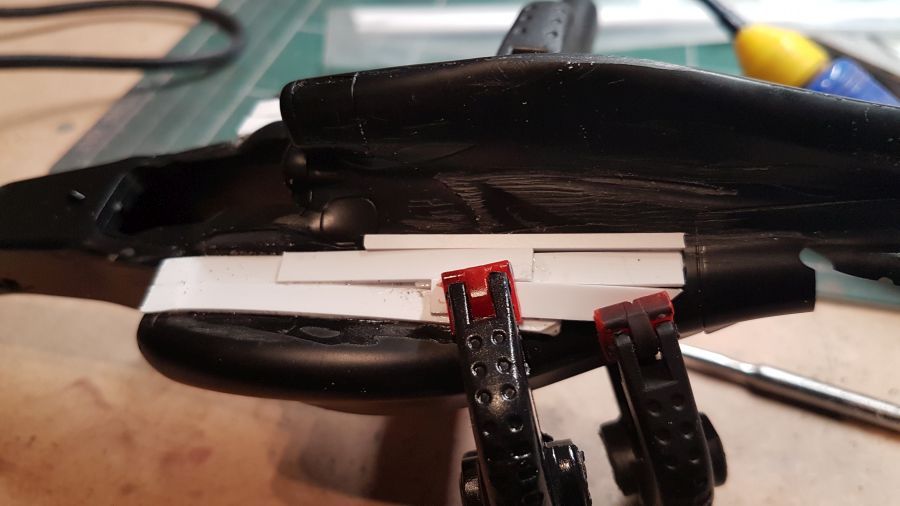
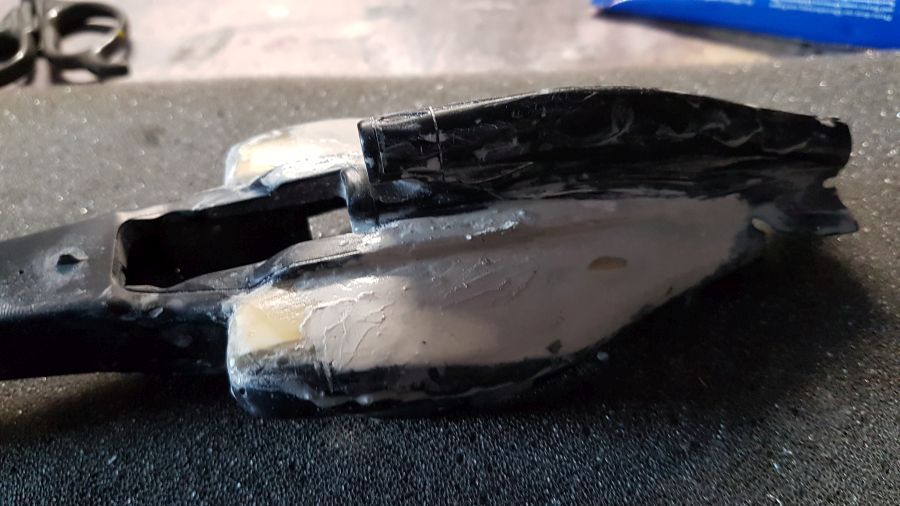
Hier kun je nog even zien waarom ik de boel opvul met strip.
Here you can see why i am using strip.
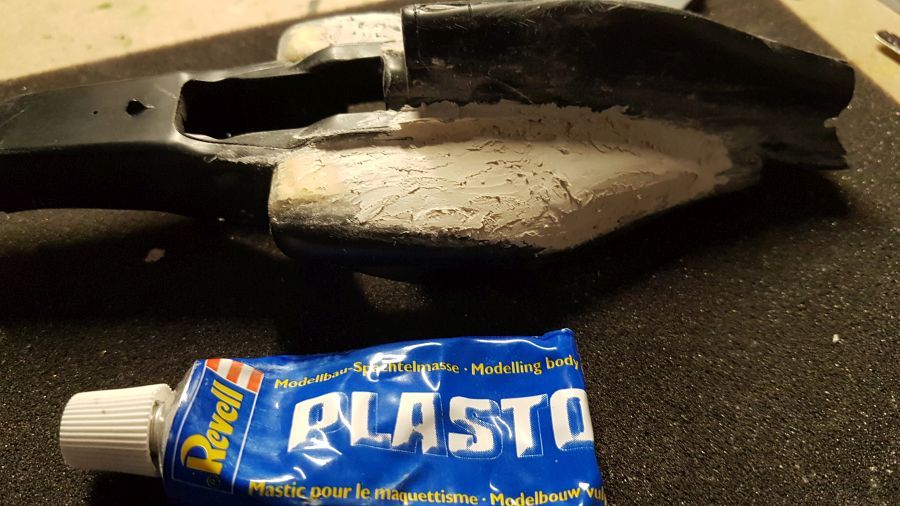
De eerste filler gaat erop... Uiteraard breng ik meerdere lagen aan. Dit spul moet uitharden in daglicht (uv-licht).
The first putty is on... Of course i will apply this in multiple layers. This putty needs to harden in daylight (uv-light).
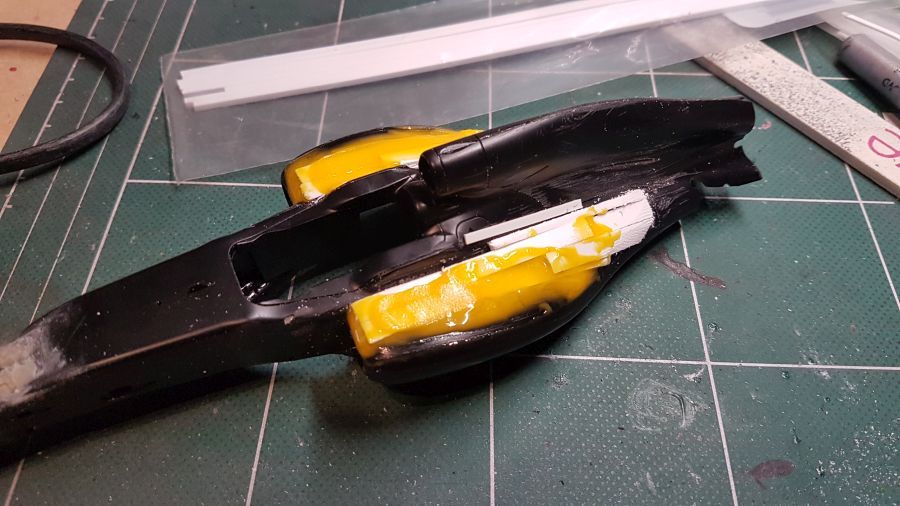
Meer putty...
More putty...
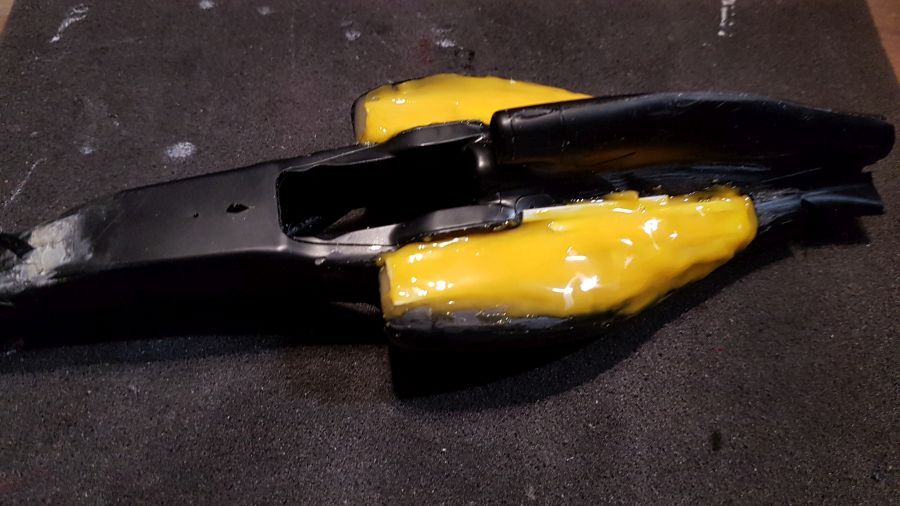
Ik moet echt een fluoriserende lamp kopen. Na 3 dagen is de putty nog niet genoeg uitgehard.
I really need a fluorescent light bulb. After 3 days it's still not hard.

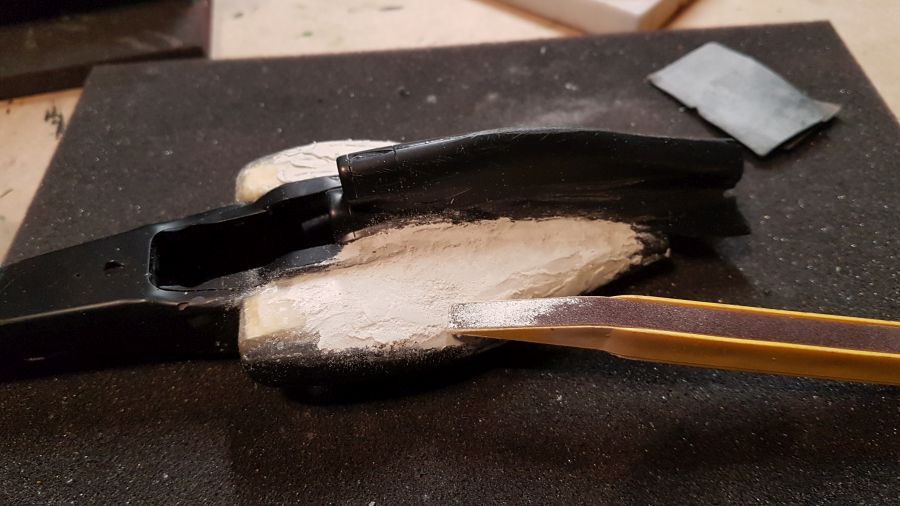
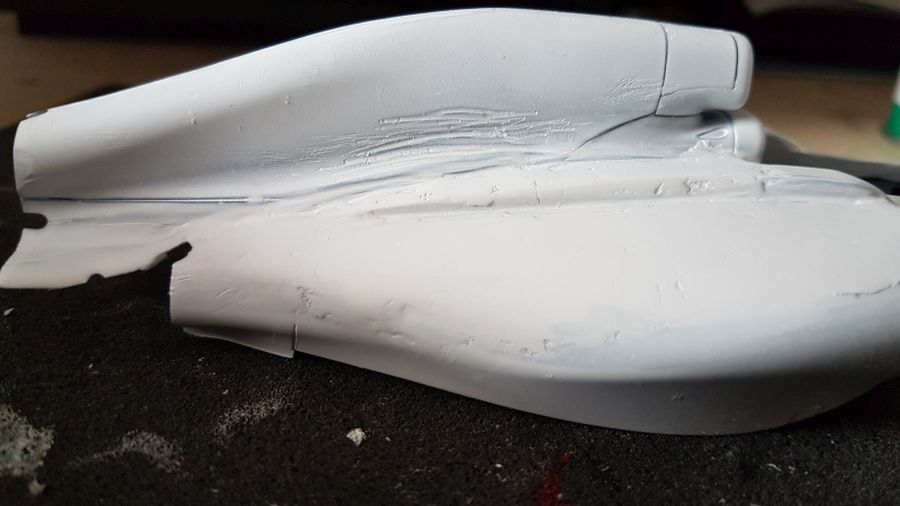
Ik wil de sidepods wat in model schuren voor het aanbrengen van de volgende laag putty. De huidige putty laat een beetje een rubberachtige substantie na. De vijl raakt helemaal verstopt met dit spul...
I want to sand the side pods before adding a next layer of putty. The current putty leaves a some kind rubber substance. The emery board gets clogged up with this stuf...
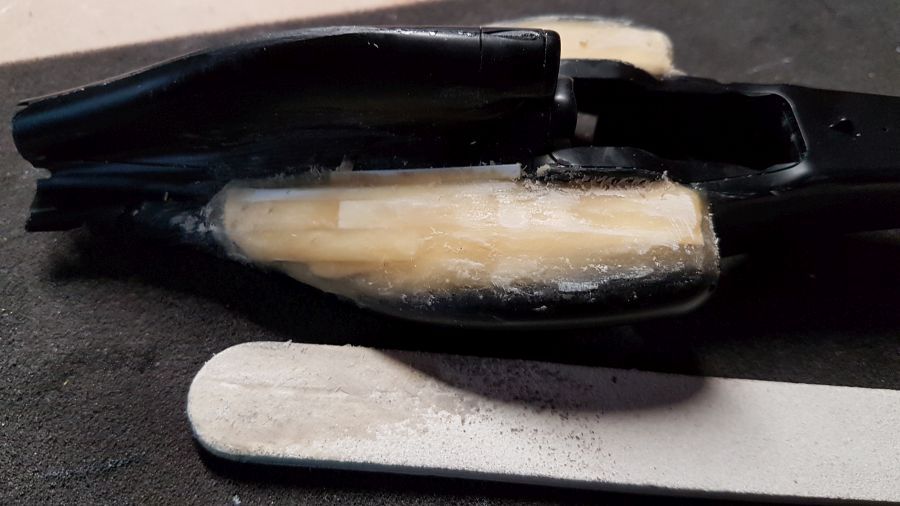
Dus ik schraap het eraf met een mes... Klaar voor de volgende laag, maar het is nu te donker weer.
So i scrape it off with a knife... Ready for the next layer, but it's too dark outside now.
Meer putty...
More putty...
Nu eerst schuren om de nieuwe vormen aan de side pods te maken.
Now sanding to reshape the side pods.
Dan een nieuwe laag putty om wat kuilen weg te werken en de randen van de hoofdsteun wat op te hogen langs de body.
Then a new layer of putty to fill some dents and to make the headrest a bit higher along the body.
En meer...
And more...

De nieuwe vorm begint zich af te tekenen... Nog ver te gaan.
The new shape is more visible now... Still a long way to go.

Natschuren en daarna weer wat deukjes opvullen... Het gaat langzaam, maar ik zal het project weer wat meer oppakken.
Wet sanding and filling up some dents again... It's a bit slow, but i will catch up the project.
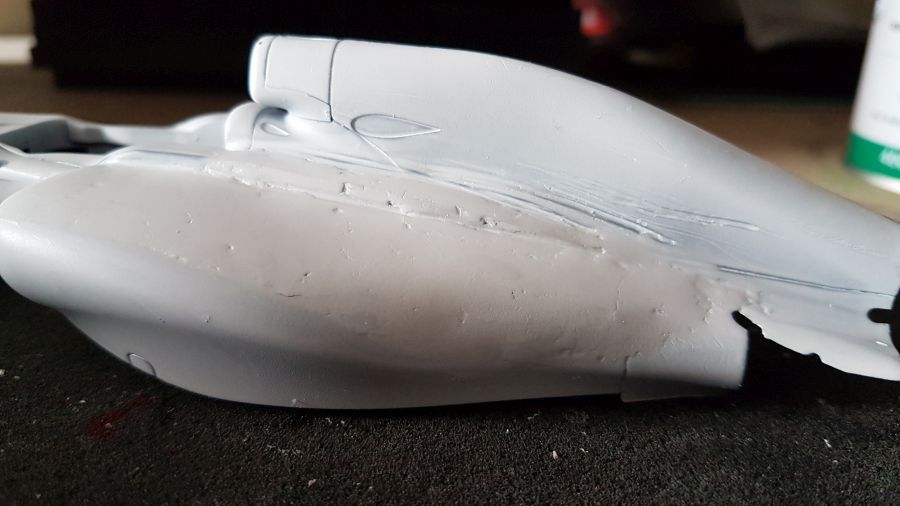
Het begint erop te lijken. Nog een paar aandachtpuntjes die wat extra moeten worden opgevuld.
It's beginning to look like it. Just a few points of attention that need extra filling.
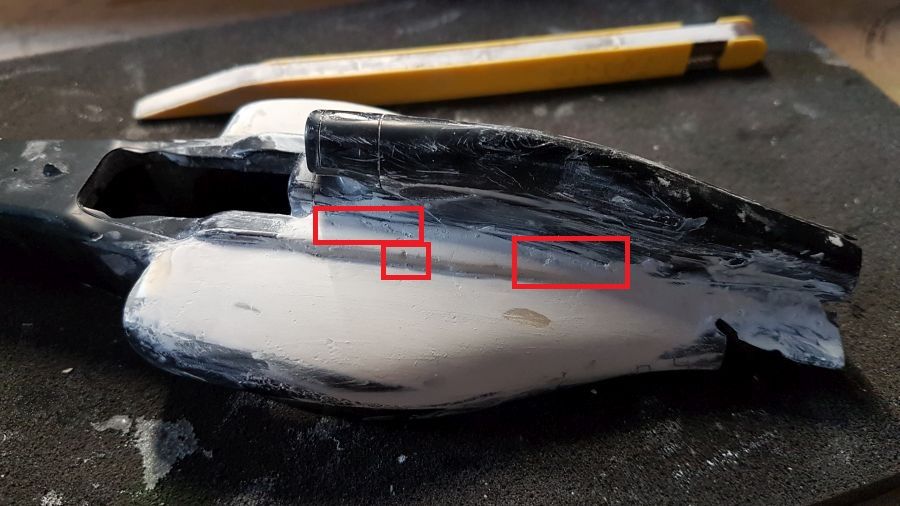
En de plek van de push rods moeten gevuld.
And the attaching point sof the push rods need filling.
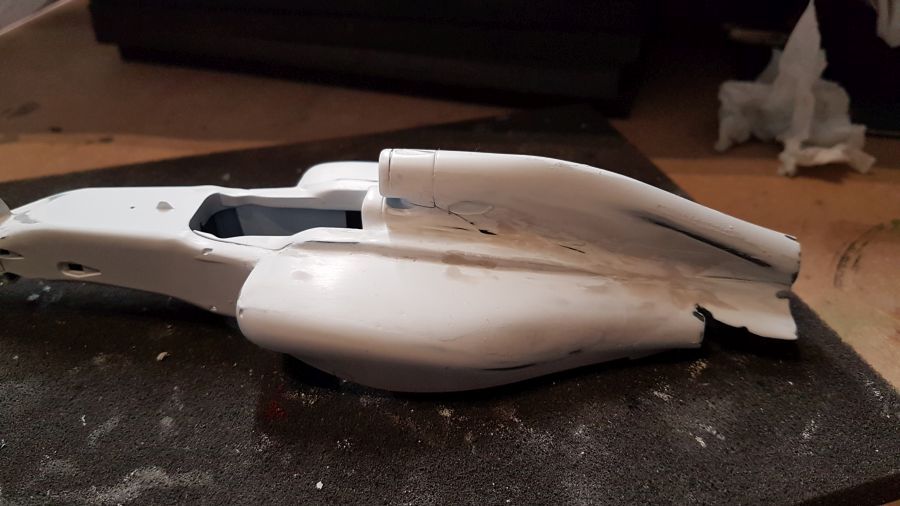
Na het nat schuren voelt het glad aan. Na het drogen zal ik het spuiten met primer. Er komen dan vast weer foutjes naar voren.
After wet sanding it feels real smooth. After drying i will spray some primer. I bet there will be mistakes visible then.

Tijd om wat primer te spuiten. Eventuele fouten komen dan gemakkelijk naar voren.
Time to spray some primer. Possible mistakes will come up easily.
Dus nog wat werk te doen...
So still some work to do...
Dan weer primer... Veel beter...
Then primer again... Much better...
Vervolgens teken ik de paneellijnen...
Next is drawing the panel lines...

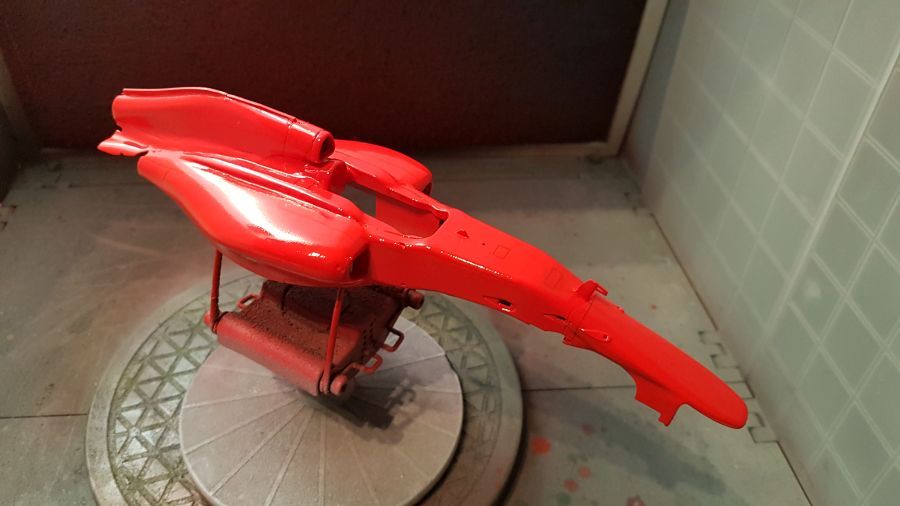
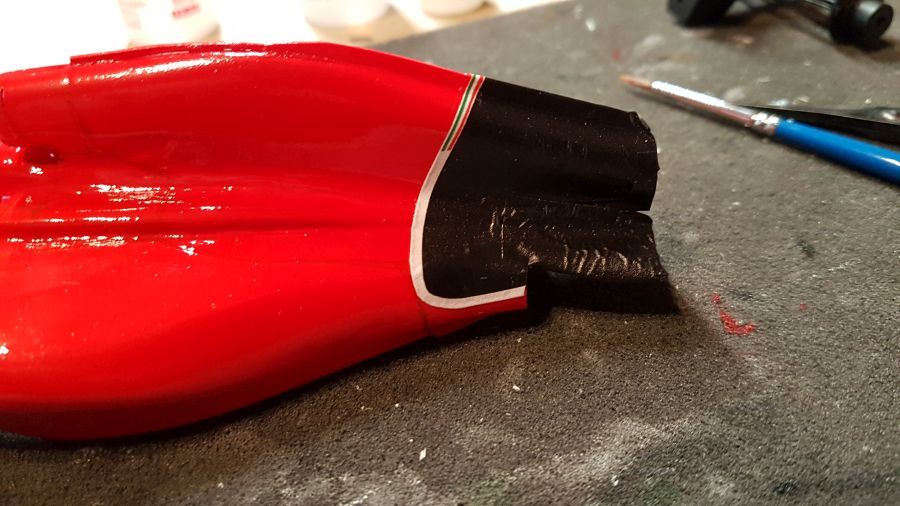
In mijn enthousiasme heb ik vast rood gespoten, maar de vin moet nog gemaakt...
In my enthusiasm i painted the red, but the fin still needed to be mounted...
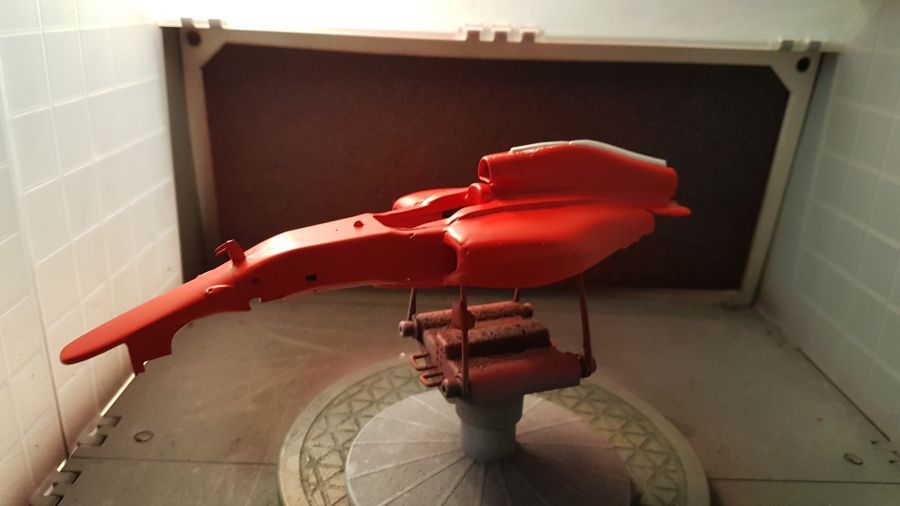
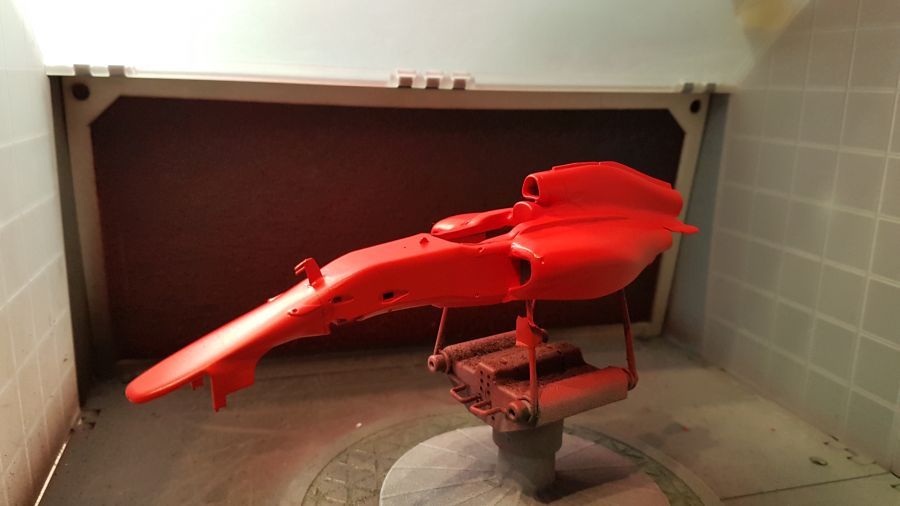
De Zero Paints 2K lak zit erop...
The Zero Paints 2K lacquer is on...
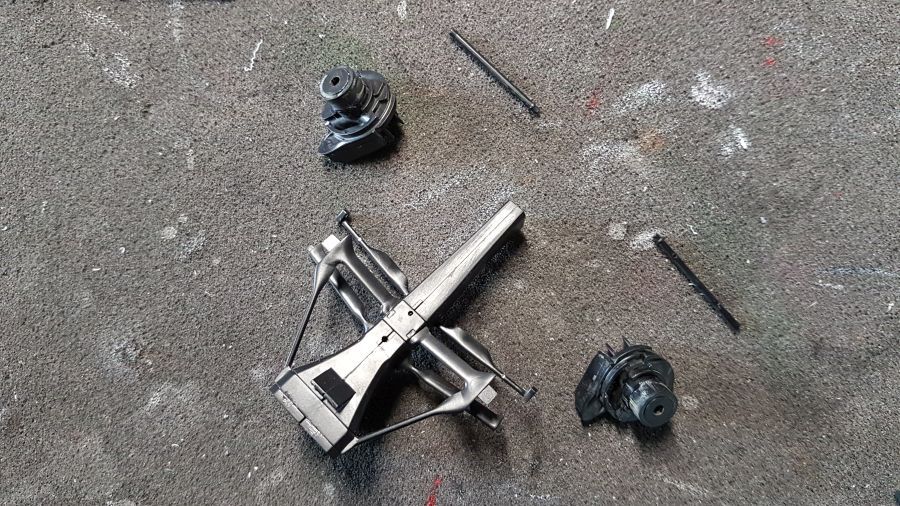
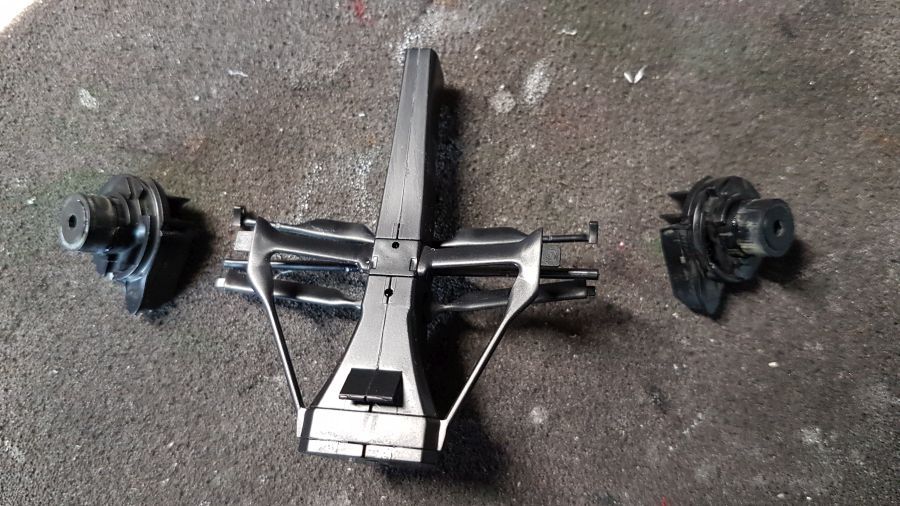
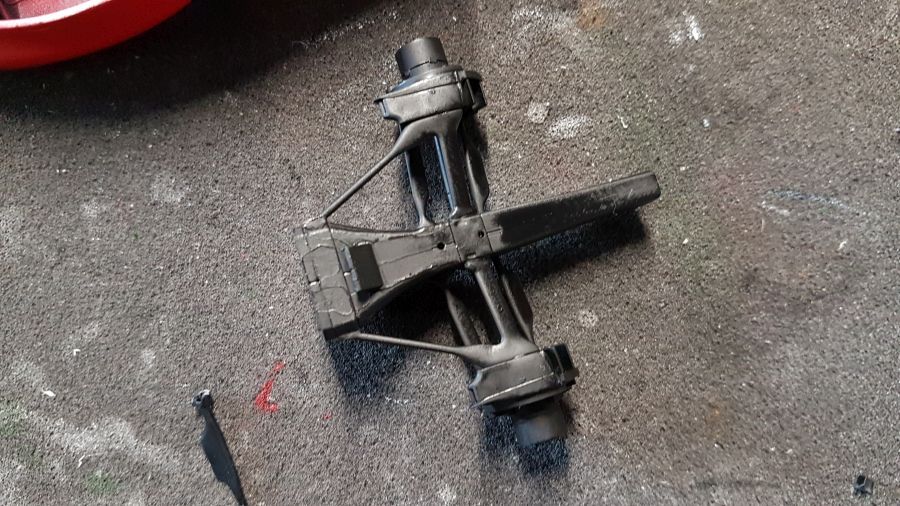
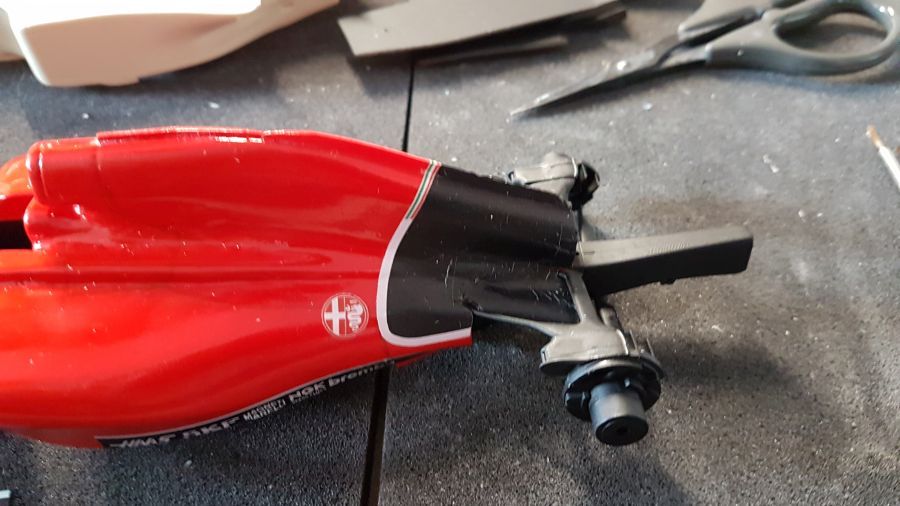
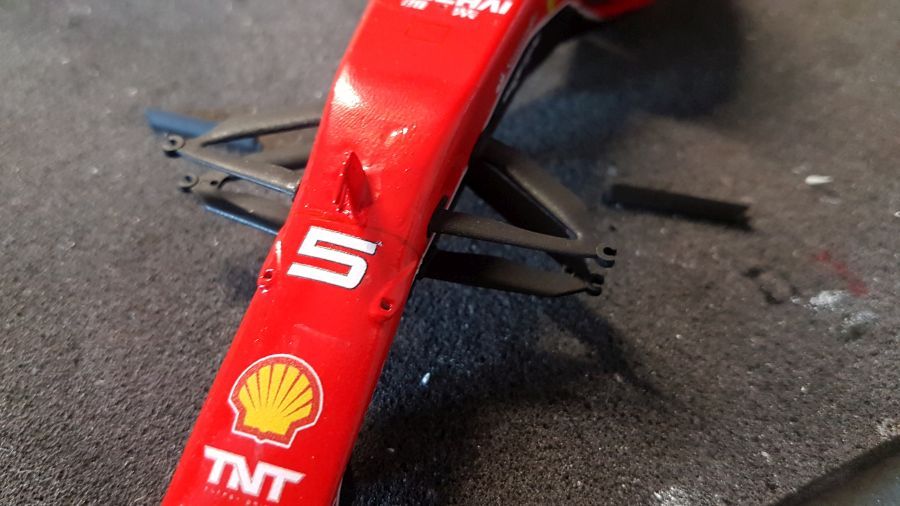
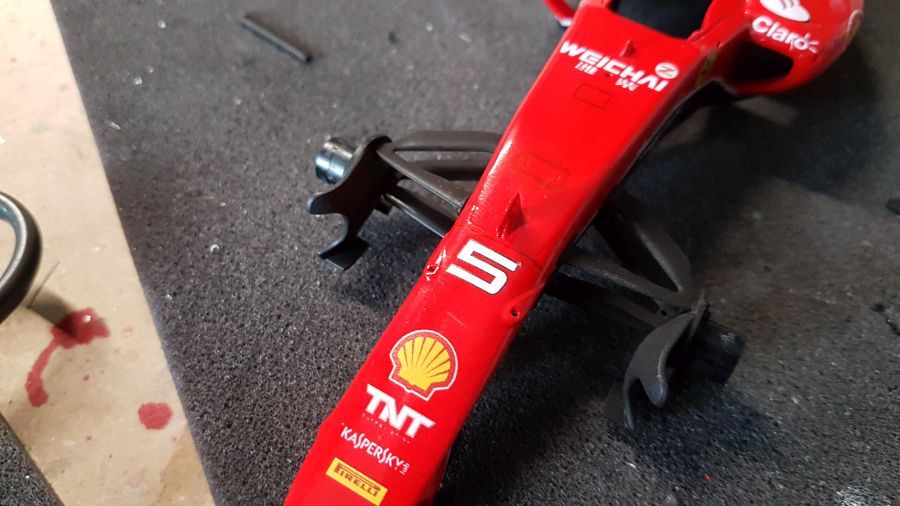
De achterwielophanging moet stevig aangepast... Op foto 1 de ophanging zoals deze in de kit zit. Op foto 2 zoals het ongeveer zou moeten worden.
The rear suspension needs to be adjusted... On photo 1 the suspension as enclosed in the kit. On photo 2 more or less like it should be.
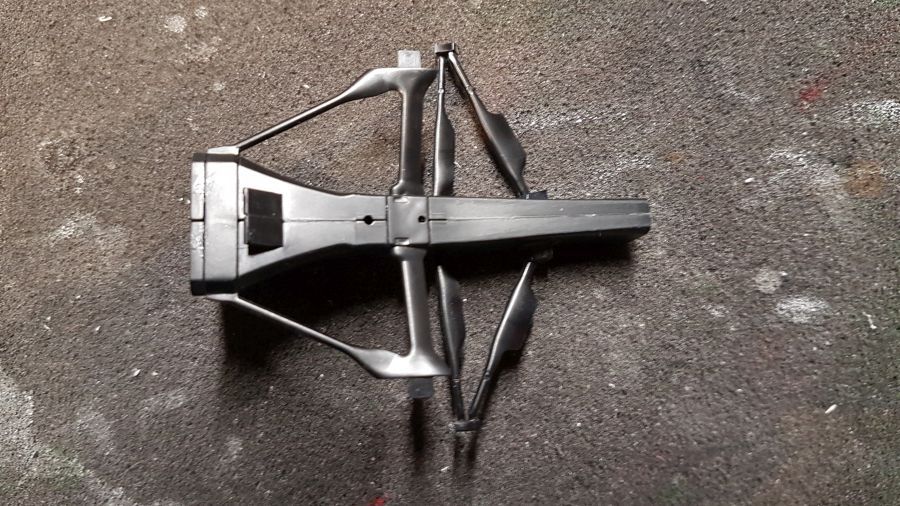
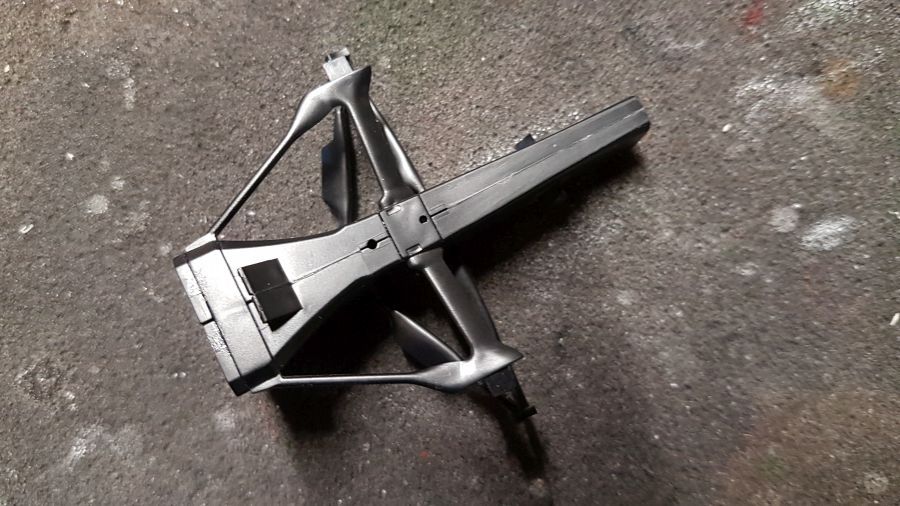
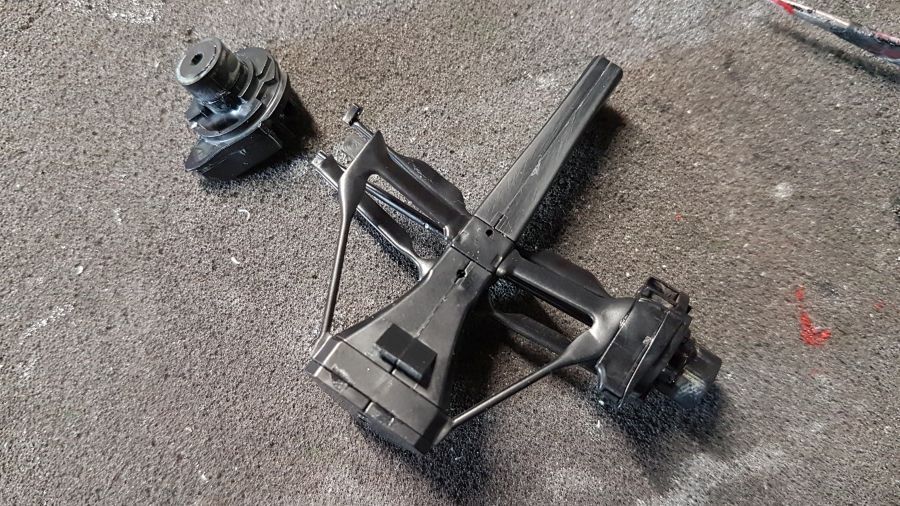
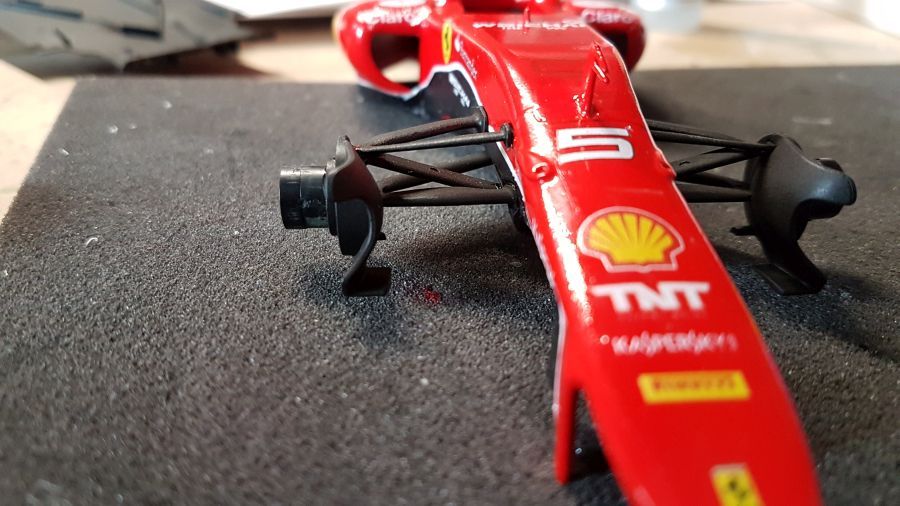
Dus veel werk en een zeer lastig karwei. Ik moet keuzes maken. Maar zien waar het schip strandt. Op diverse plekken knip ik de boel los.
A lot of work and very tough. I need to make choices. Let's see where it ends. I am making cuts at various places.
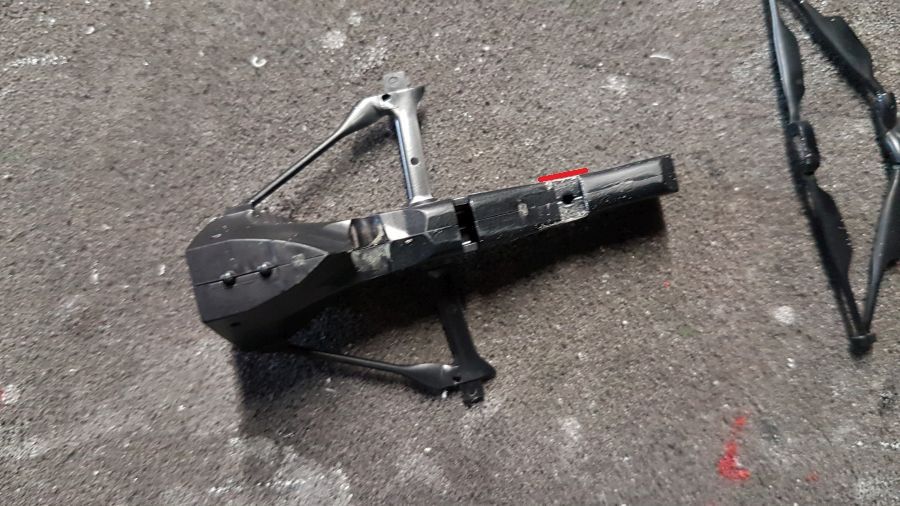
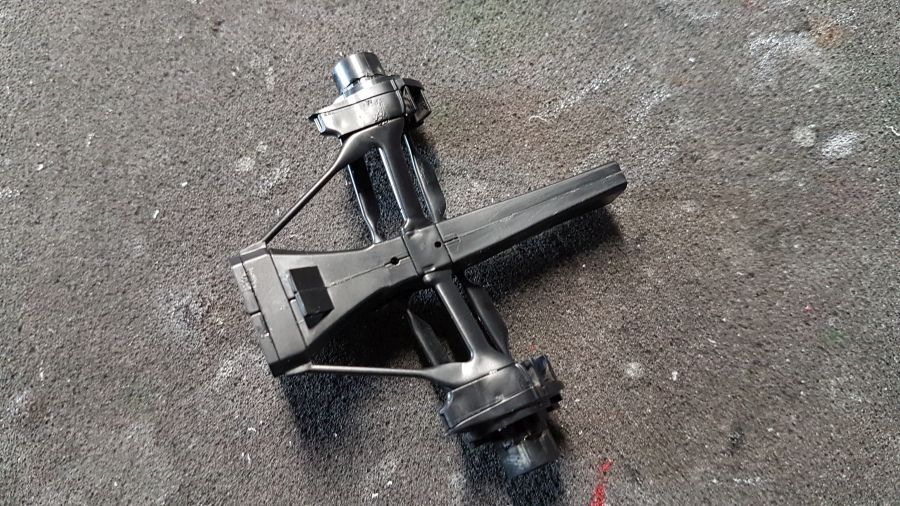
De volgende stappen zijn volgens de tekening.
The next steps are according to the instructions.
Dan tijd voor mat zwarte verf. De lagere stangen volgen later.
Then it's time for mat black paint. The lower rods will come later.
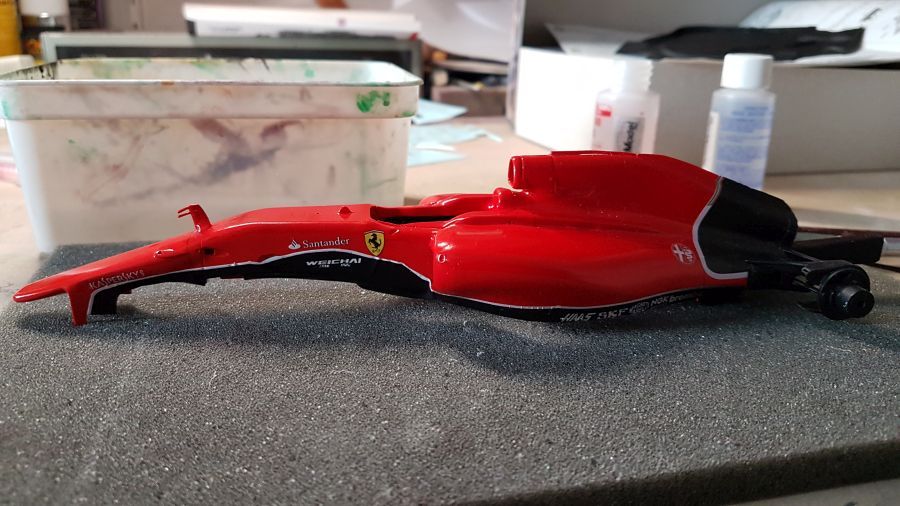
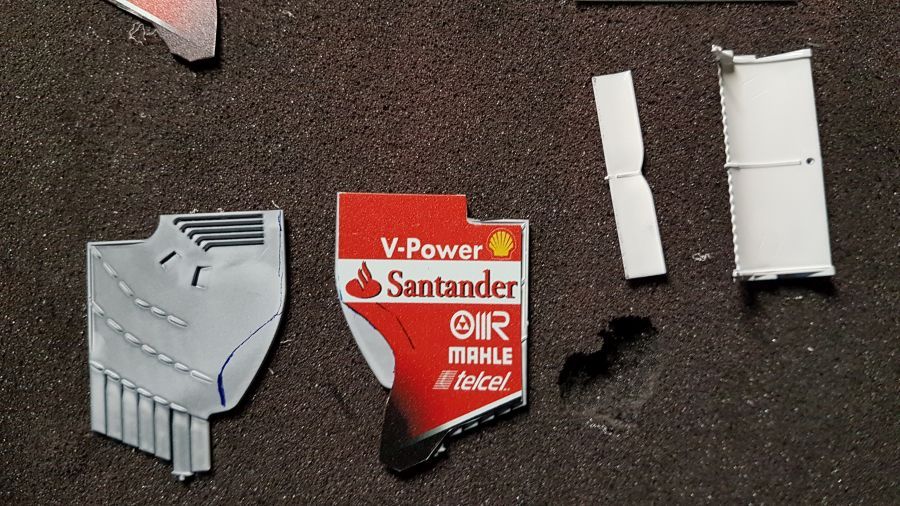
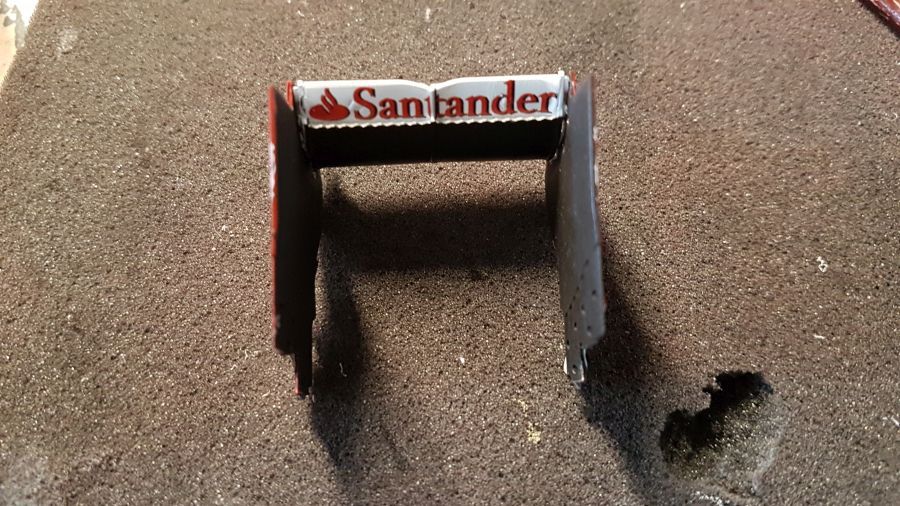
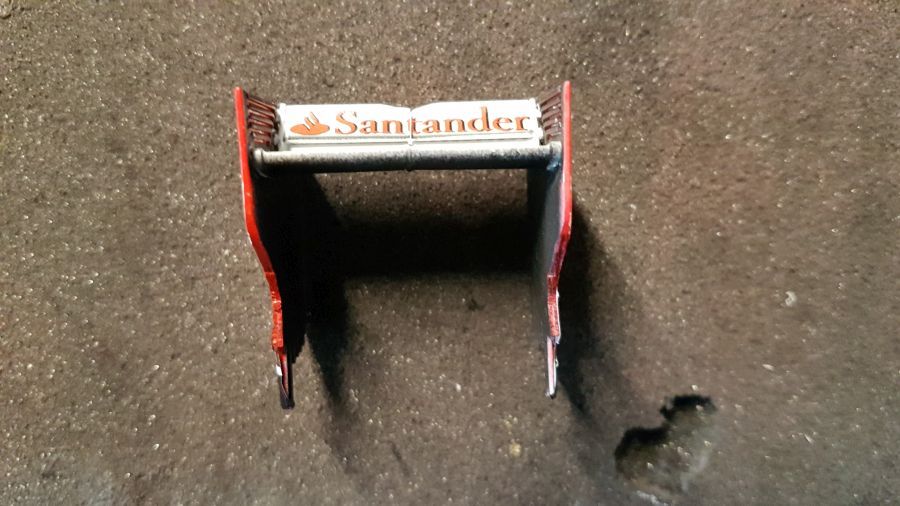
De eerste stappen aan de decals. Eerst de achterkant. De vouwen gaan er nog uit na het drogen van de Micro Set / Sol. Edit: De decals houden niet van Micro en Daco.
The first steps to the decals. First the rear. The wrinkels will disappear when the Micro Set / Sol dries. Edit: The decals don't like Micro and Daco.
De motor wordt alvast geplaatst.
The engine is being added.
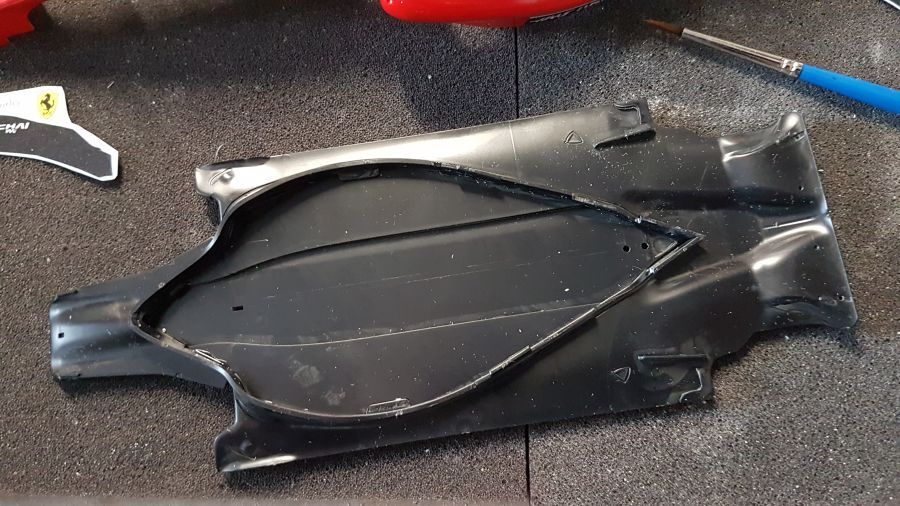
De vloer wordt in elkaar gezet en gespoten.
The floor is assembled and painted black.
De body krijgt de zwarte decal op de neus... Eerst links... Wanneer deze droog is ook rechts.
The body receives the black decal on the nose... First to the left... When dry to the right too.
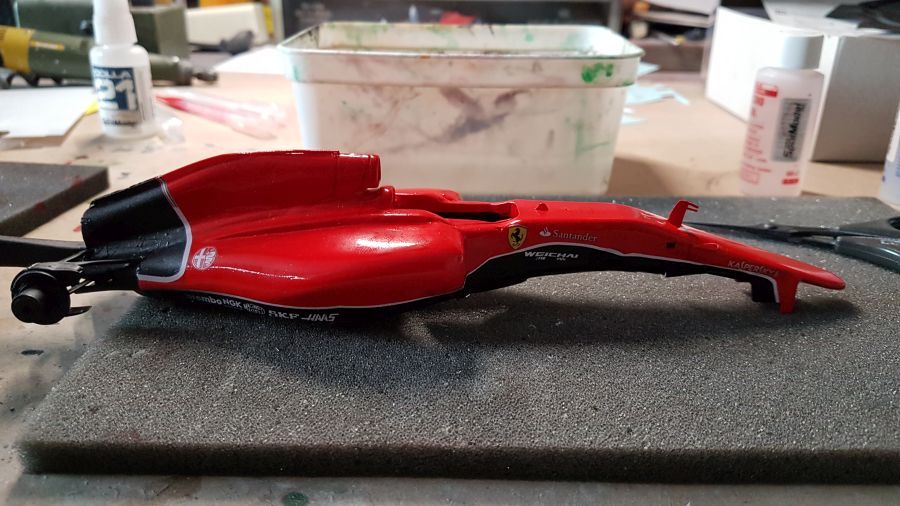
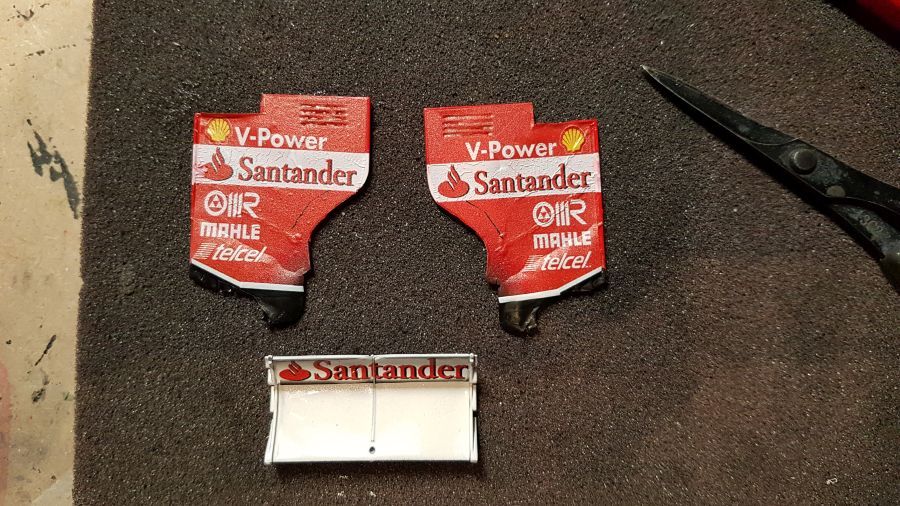
Ik ben niet zo blij met de decals van Pattos. Ze reageren niet echt lekker op het gebruik van Micro Set/Sol of Daco. Het neemt een beetje de lol van het hele project af.
I am not happy with these decals from Pattos. They don't like Micro Set/Sol or Daco. It takes the fun out of the whole project.
Het begint nu op te vallen dat er te veel fouten in de decals zitten. Ik moet het er mee doen. Ik doe mijn best.
I now notice there are too many faults in the decals. I have to deal with it. I'll do my best.
De wielophanging gaat van push rod naar pull rod.
The wheel suspension changes from push rod to pull rod.
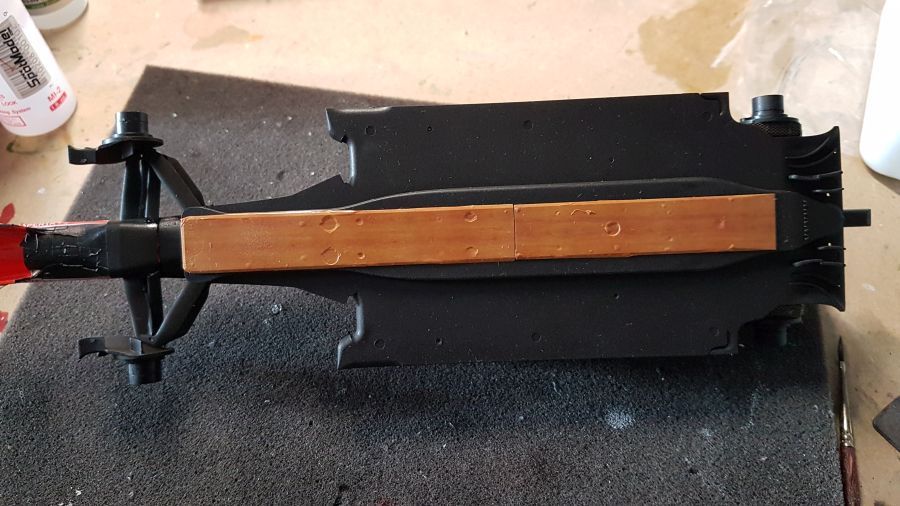
Terug naar de vloer.
Back to the floor.
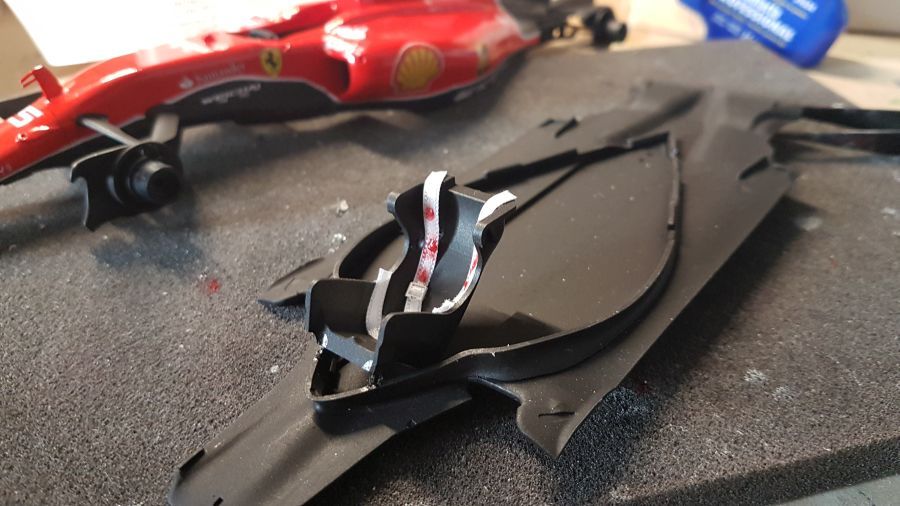
Voordat de vloer aan de body wordt bevestigd, moet de stoel klaargemaakt.
Before the floor can be added to the body, the seat needs to be completed.
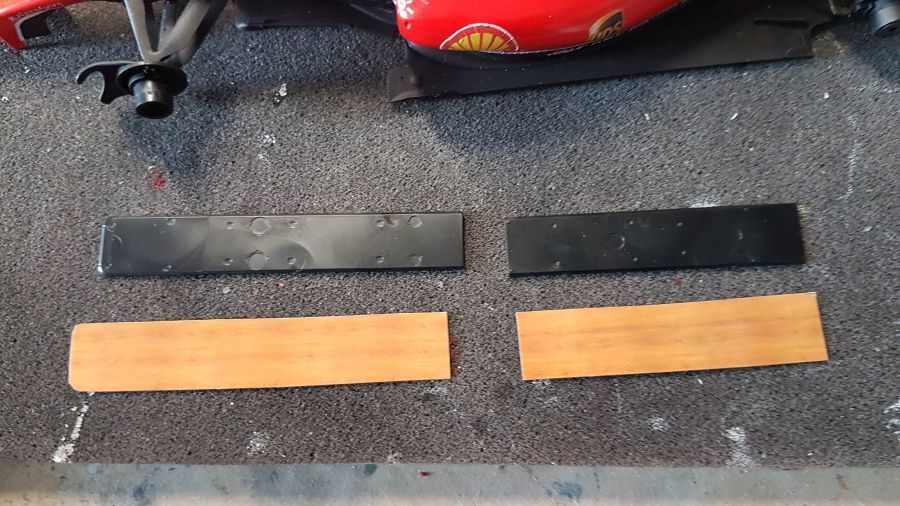
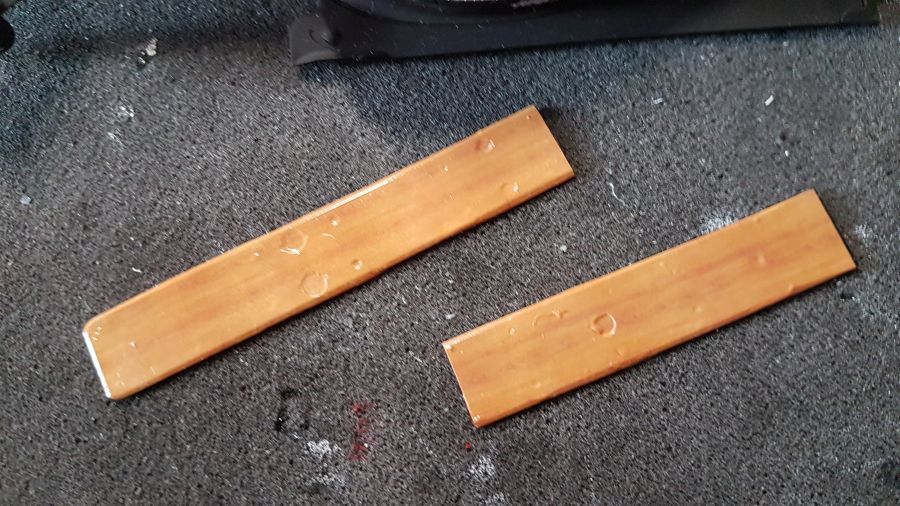
Verder met de plank...
To continue with the plank...
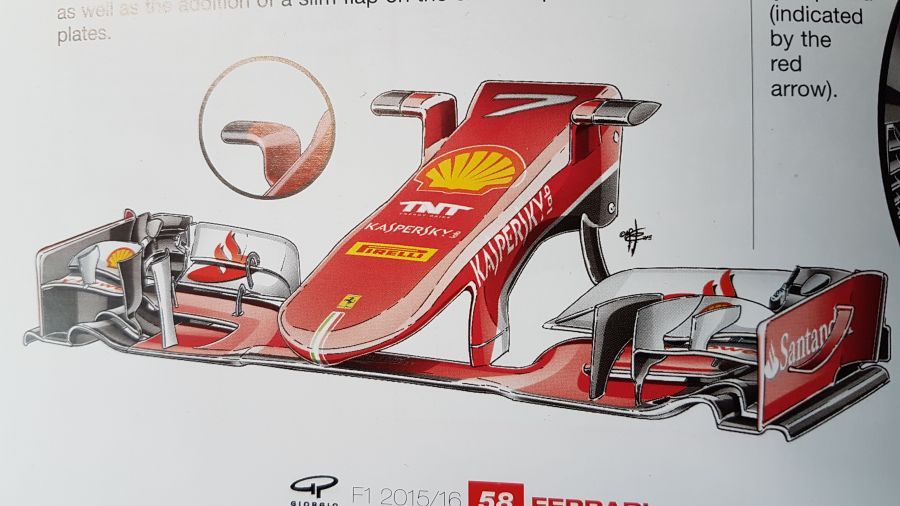
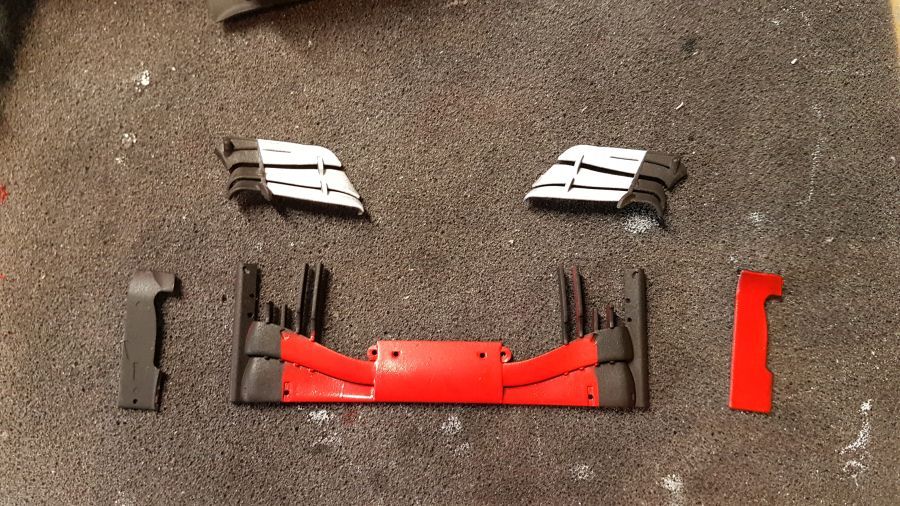
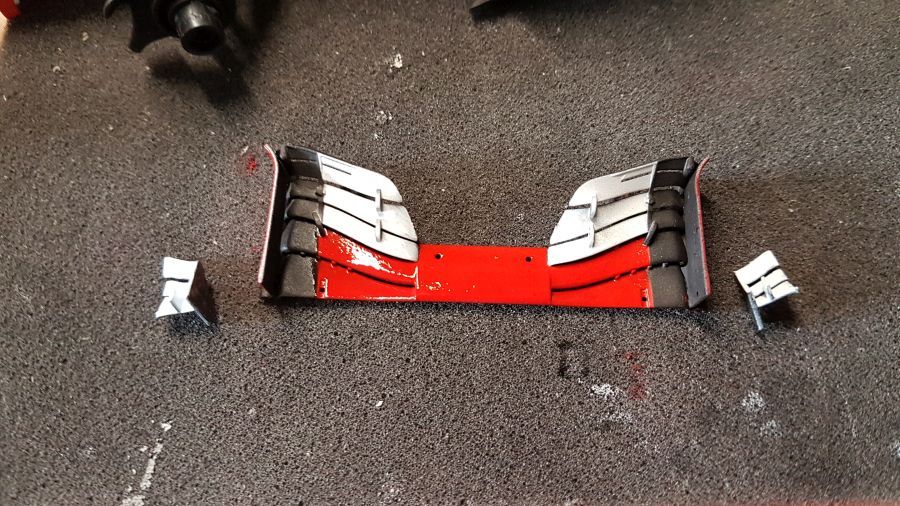
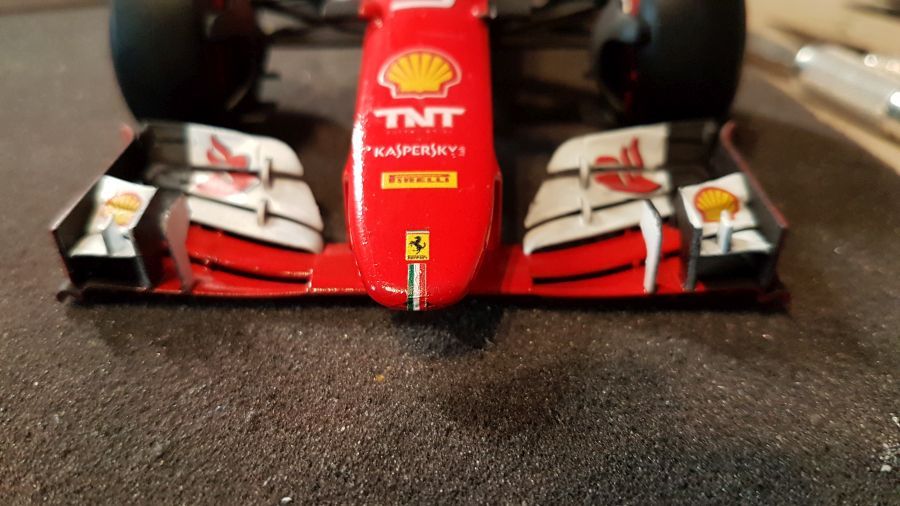
Dan de voorvleugel...
Then the front wing...

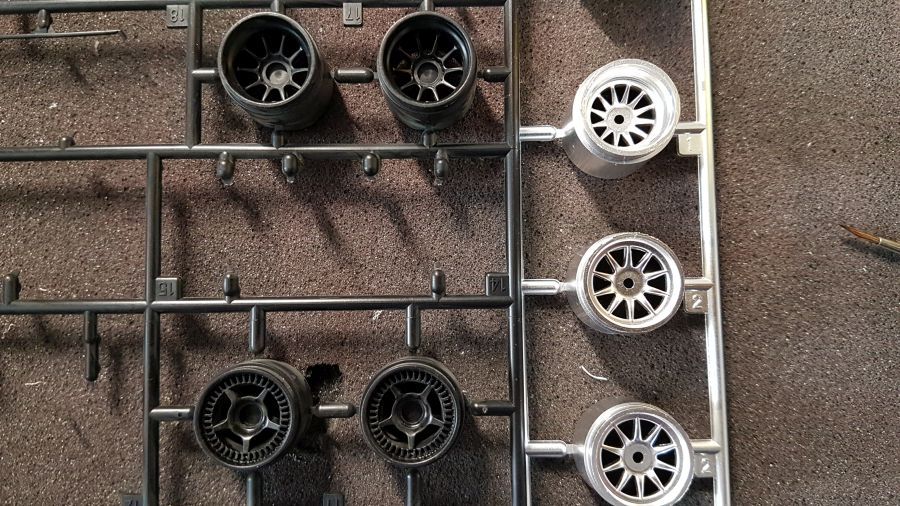
De originele velgen kunnen niet worden gebruikt. Helaas kan ik op Ebay geen goede velgen vinden. Daarom gebruik ik voor het moment velgen uit een overbodige Ferrari F138 kit. Als de juiste velgen beschikbaar komen, zal ik ze vervangen
The original rims are not usable. Unfortunately i can't find correct rims on Ebay. That is why i will use rims of an obsolete Ferrari F138 kit. When the correct rims for a Ferrari SF15-T are available, i will replace them.
Tijd voor de achtervleugel... eerst primer.
Time for the rear wing... first of all primer.
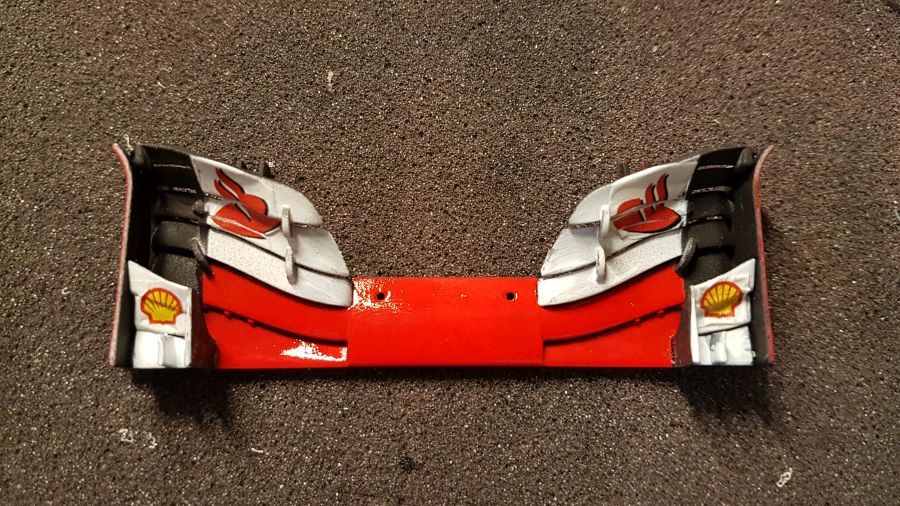
Even de vrom van de decals met de endplates vergelijken. Er moet hier en daar aan gewerkt worden.
Comparing the shape of the decals with the wing end plates. It needs work.

Dan na het rood en zwart, gaat de decal erop.
Then after red and black the decal was added.
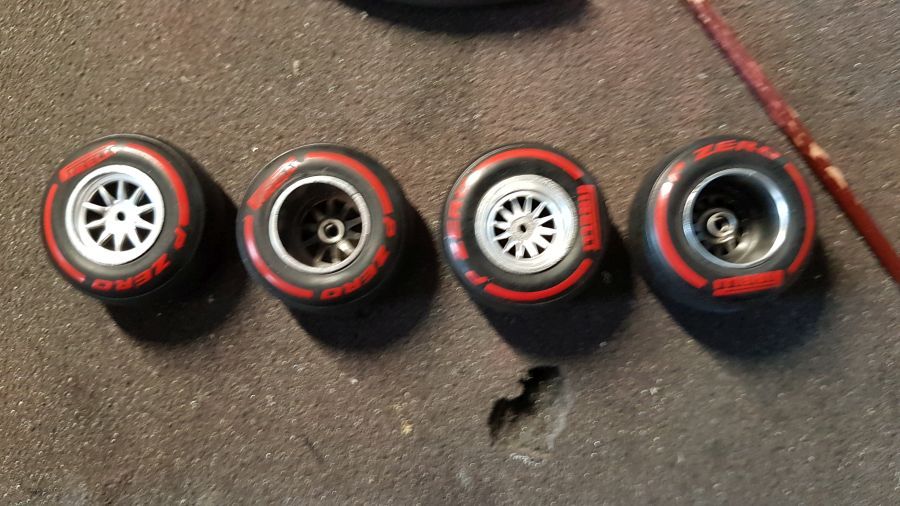
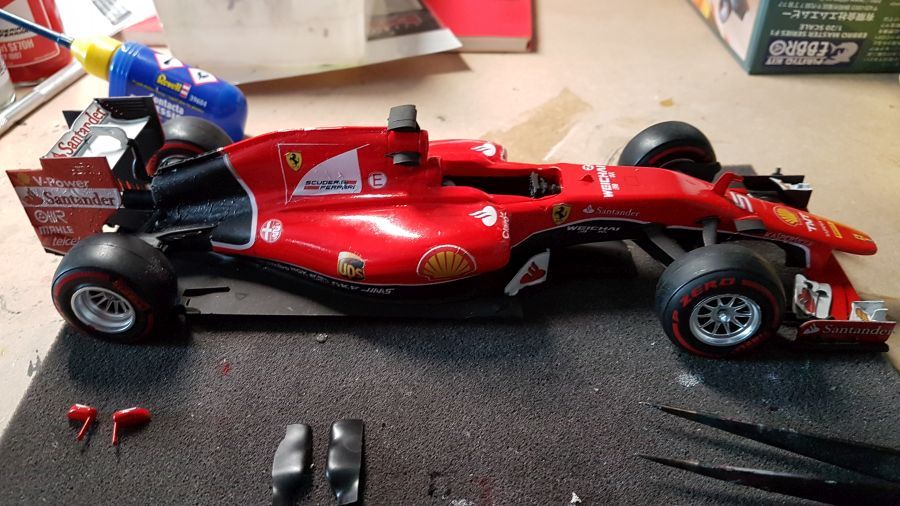
De wielen gaan erop. Helaas heb ik geen OZ decals.
The wheels are mounted. Unfortunately i have no OZ decals.
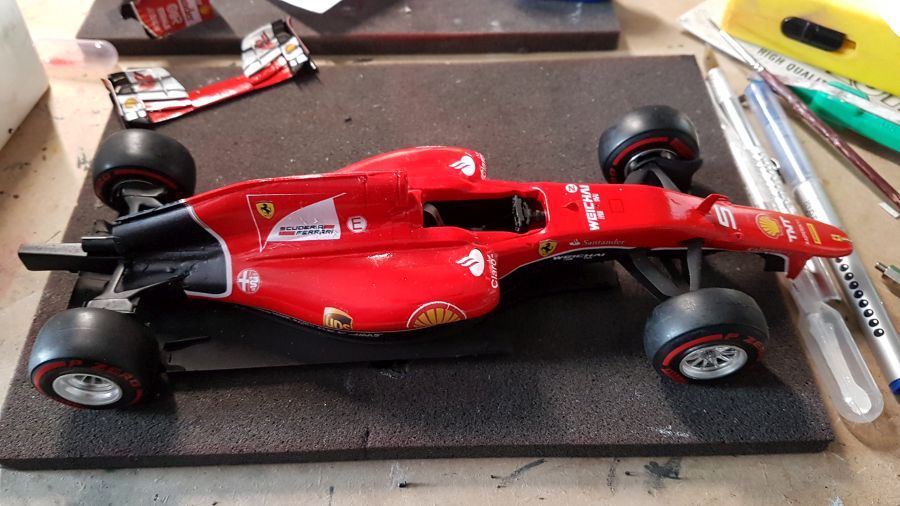
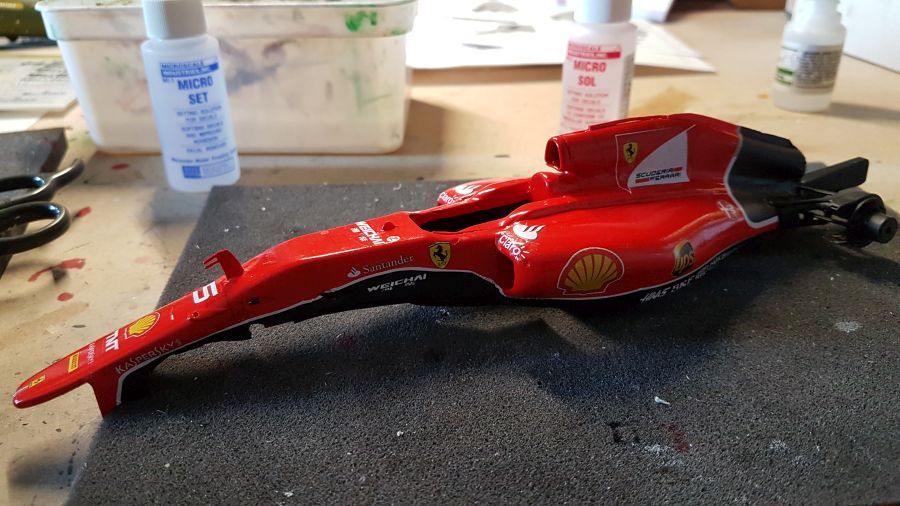
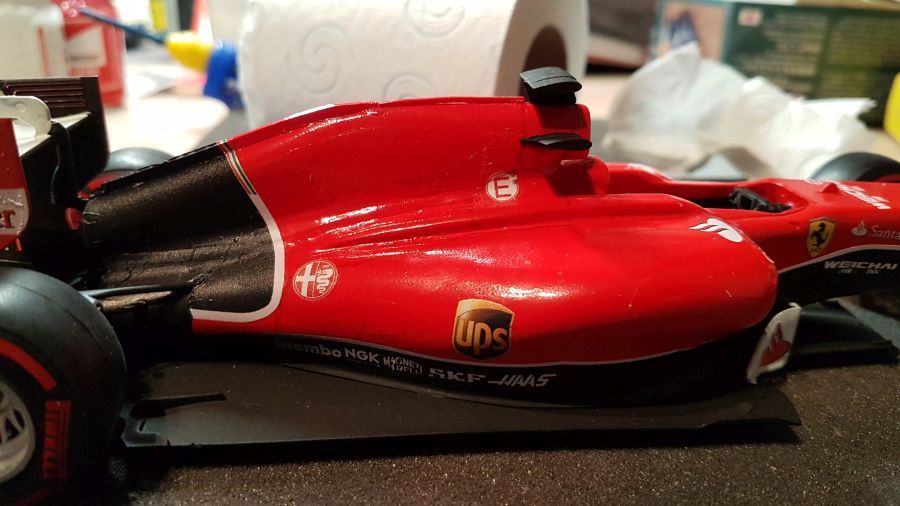
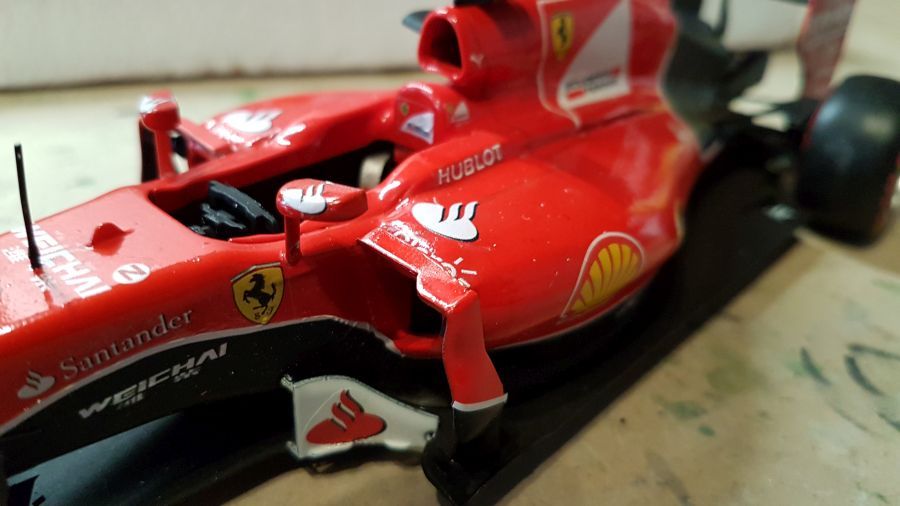
Veel kleine onderdelen zijn geplaatst.
A lot of small parts have been added.
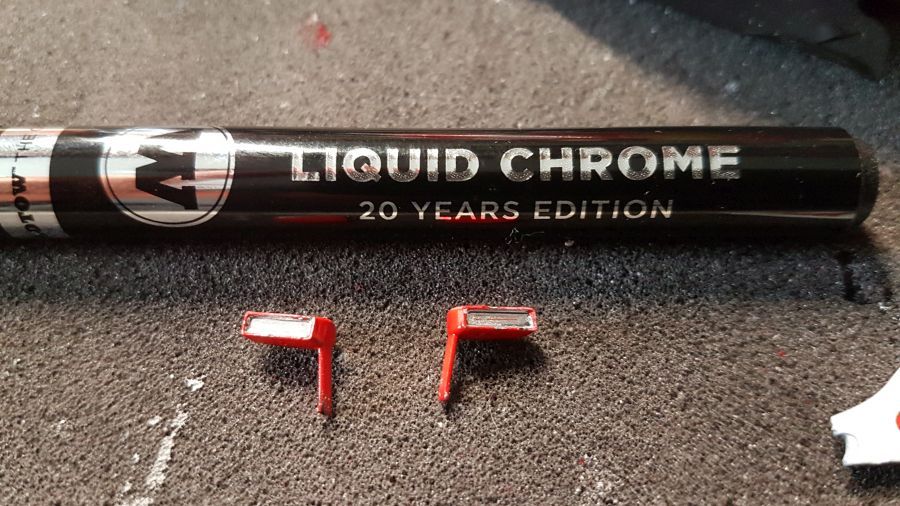
Voor de spiegels gebruik ik een Liquid Chrome pen.
For the mirrors i use a Liquid Chrome pen.
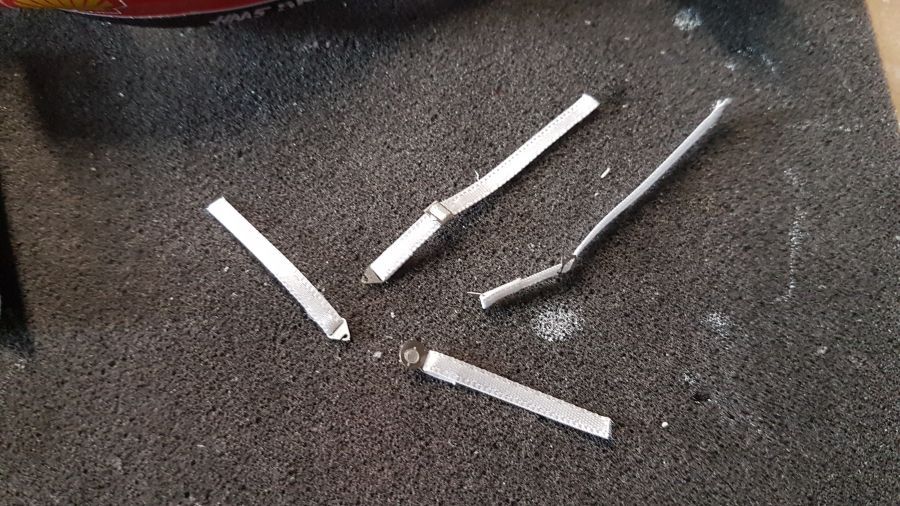
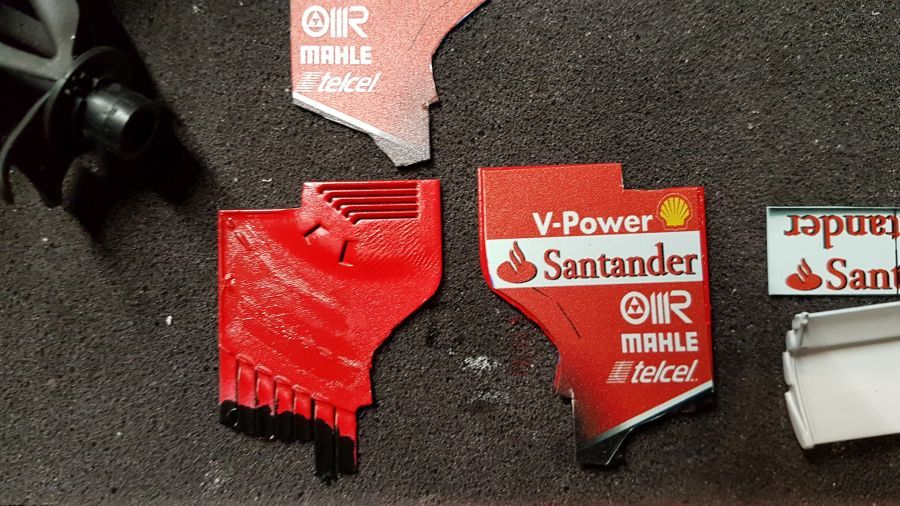
De @#%&* decals storen me steeds meer. Ik besluit ze te vervangen door een paar van de F138.
These @#%&* decals are starting to annoy me more and more. I decided to replace them by some of the F138.
Laat nu Micro Sol zijn werk maar doen.
Let Micro Sol do it's work now.

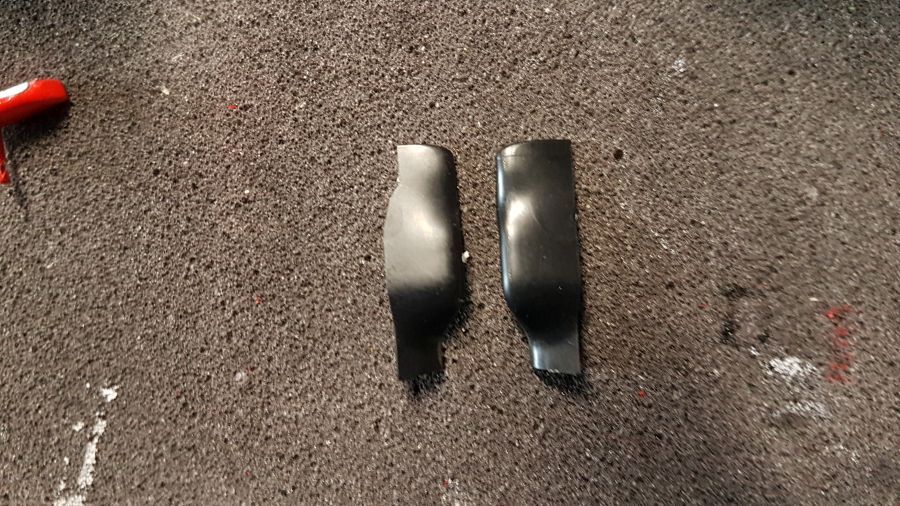
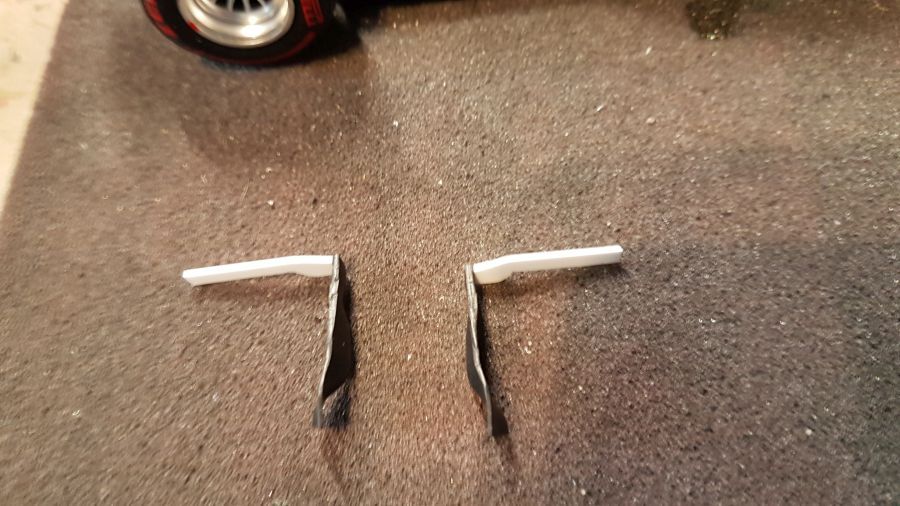
Ook deze flares moeten aangepast.
Also these flares need to be changed.
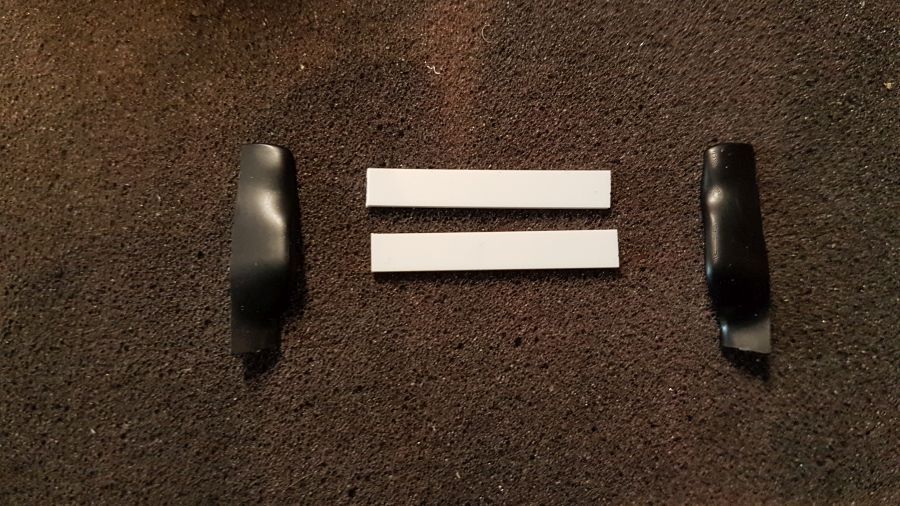
Terwijl de lijm droogt maak ik een paar extra fairings voor de voorvleugel.
While the glue sets i will make some extra fairings for the front wing.

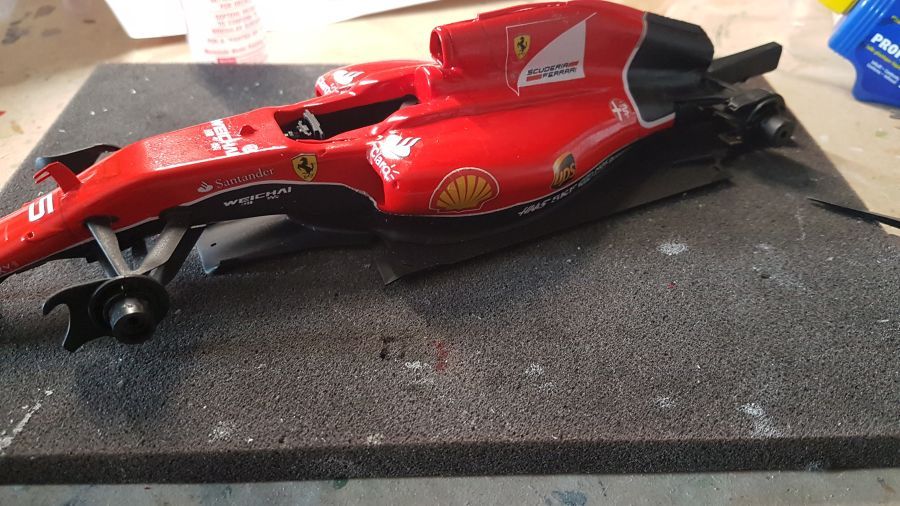
Nog wat details zoals een paar decals, spiegels, fairings en ik denk dat ik deze als af ga beschouwen.
Some more small details like afew decals, mirrors, fairings and i think i will call this one done.
Dus dan nog de afrondende foto's...
So the final pictures then...
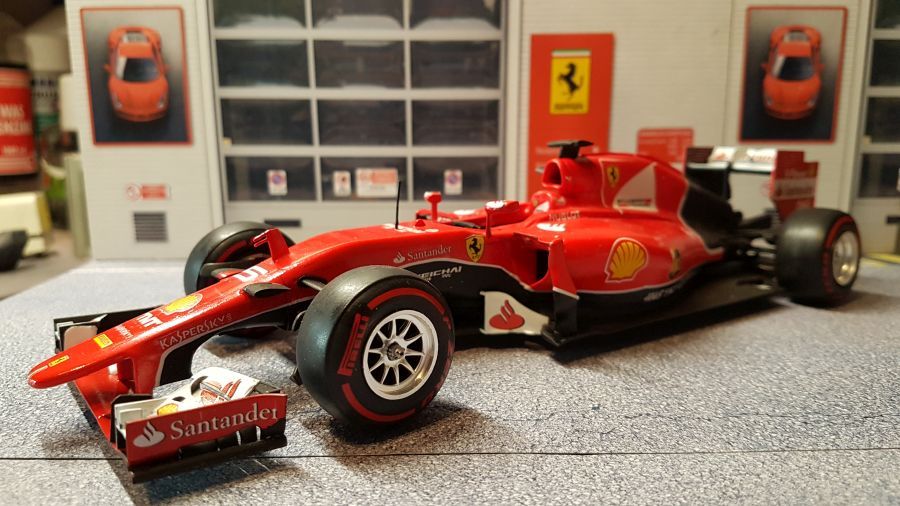


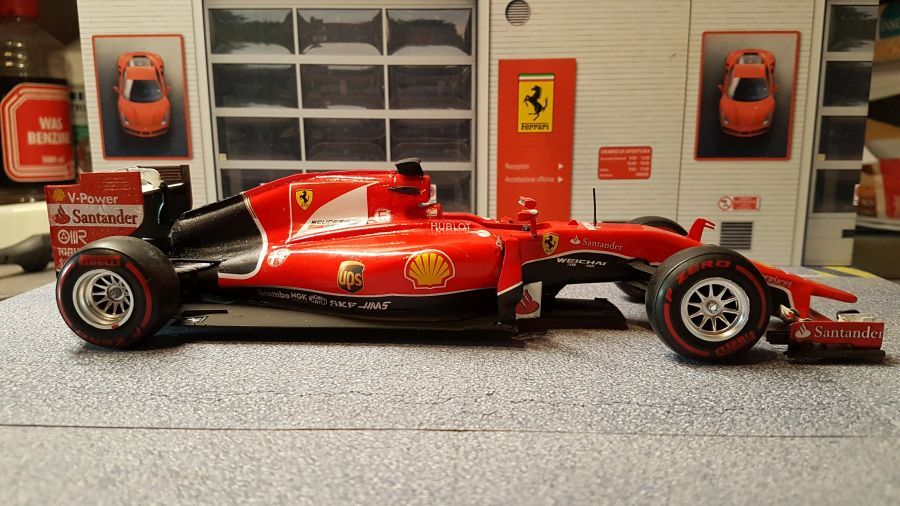

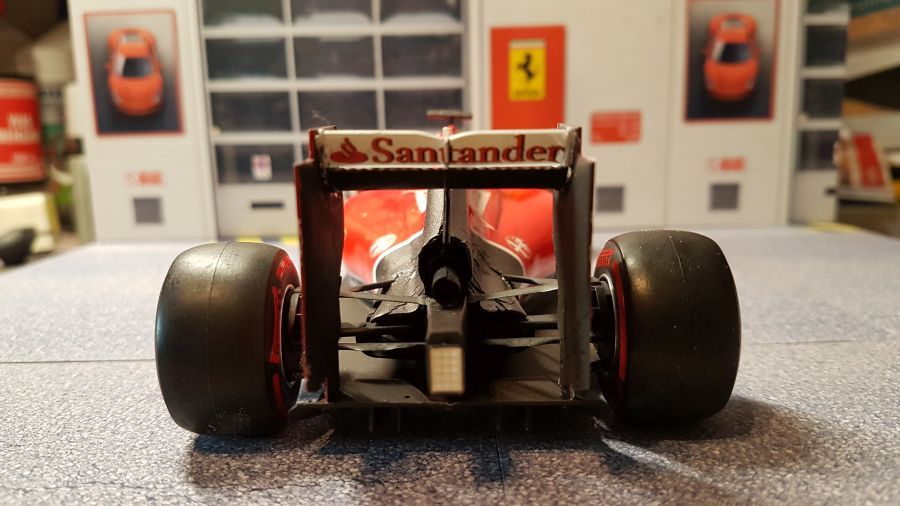
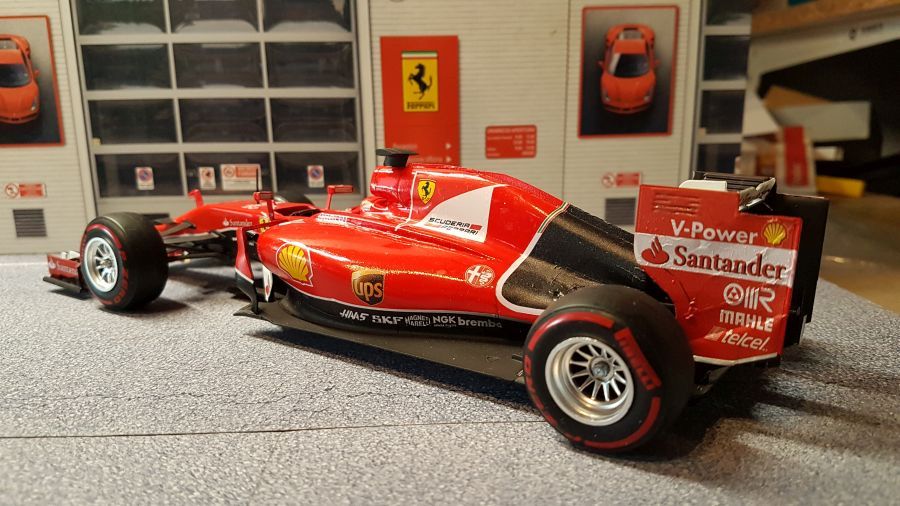
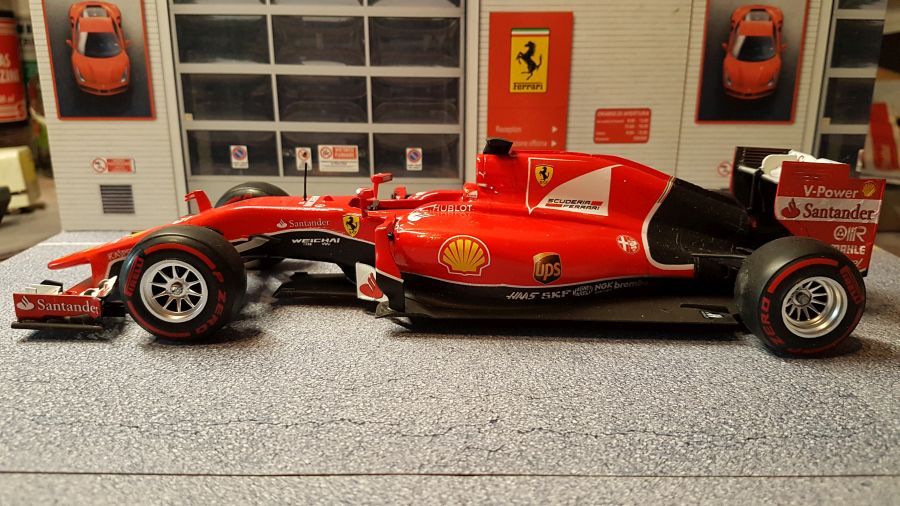
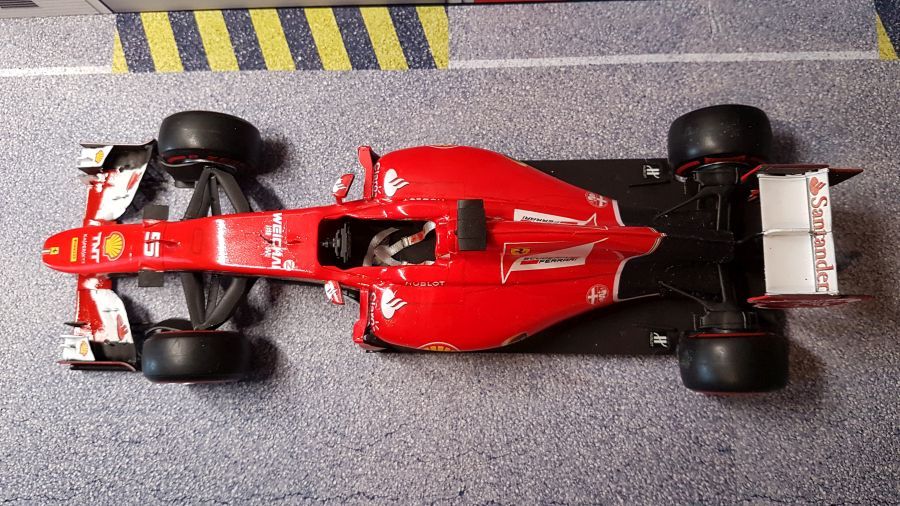
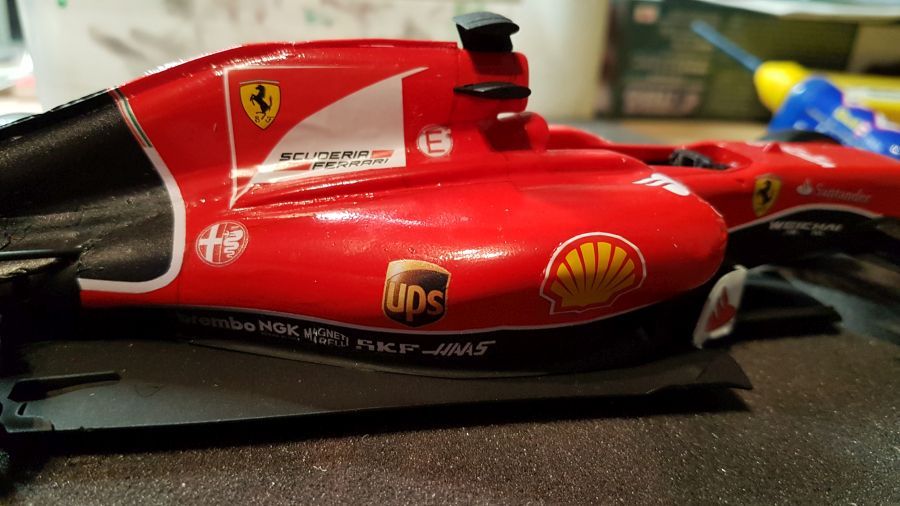
Ik weet dat het zijn fouten heeft, maar zolang er geen 1/20 Ferrari SF15-T te koop is, doe ik het er mee.
I know it has it's flaws, but as long as there is no Ferrari SF15-T to buy, i will keep it.