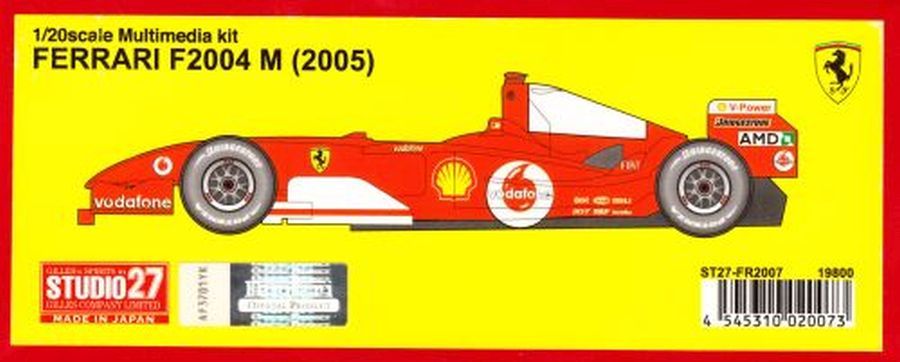
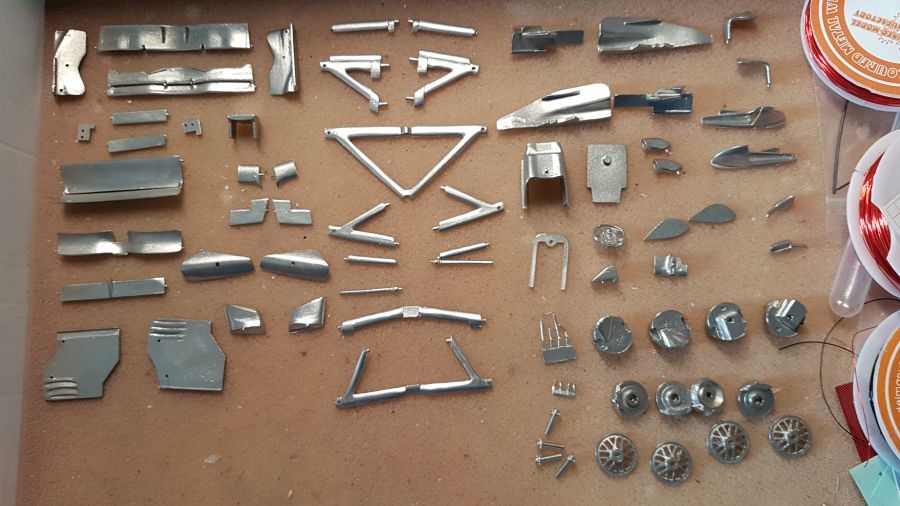
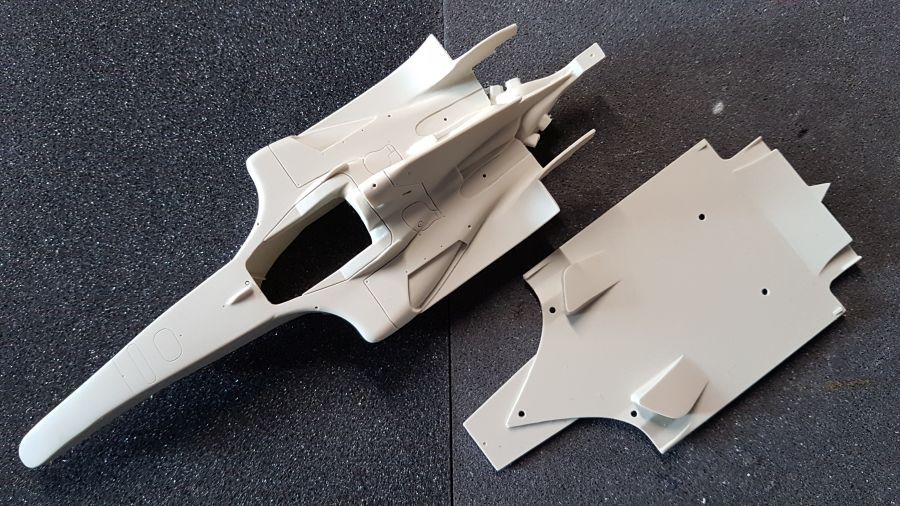
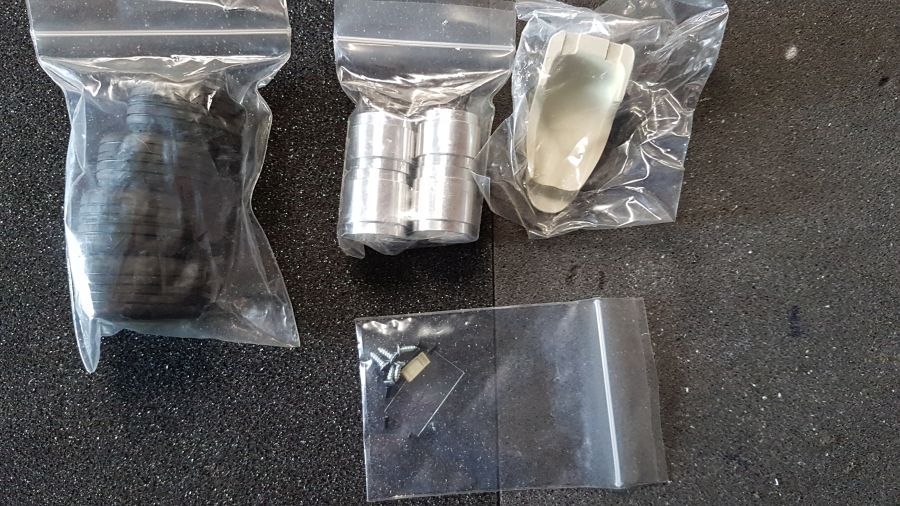
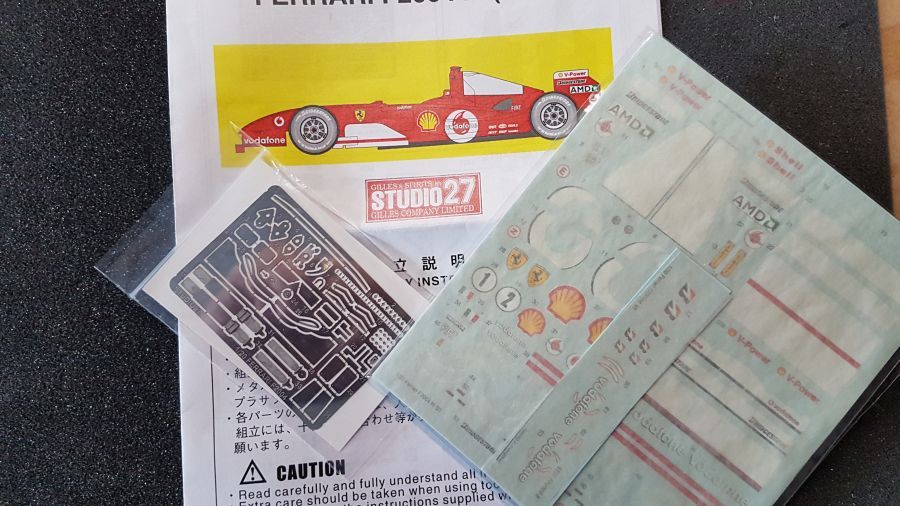
Maar weer verder met een rode. Deze keer de Ferrari F2004M zoals deze werd bestuurd door Rubens Barrichello tijdens de GP van Australië in 2005. Michael Schumacher viel uit die wedstrijd. Het is een doorontwikkelde F2004. Deze werd tijdens de 1e twee races van het seizoen 2005 gebruikt. Als extra heb ik de bekende cigarettenmerkdecals aangeschaft. Nu weer de foto's waar ik altijd mee begin. De inhoud van de kit. Het is een schaal 1/20 Studio27 kit (kit nr. ST27-FR2007).
On to another red one. This time the F2004M as driven by Rubens Barrichello during the Australian GP of 2005. Michael Schumacher didn't finish that race. It's a F2004 with some adjustments. It was used during the 1st two races of the season 2005. As an extra i bought some cigarette brand decals. Now, like always, the photo's i start with. The content of the kit. It's a scale 1/20 kit from Studio27 (kit no. ST27-FR2007).
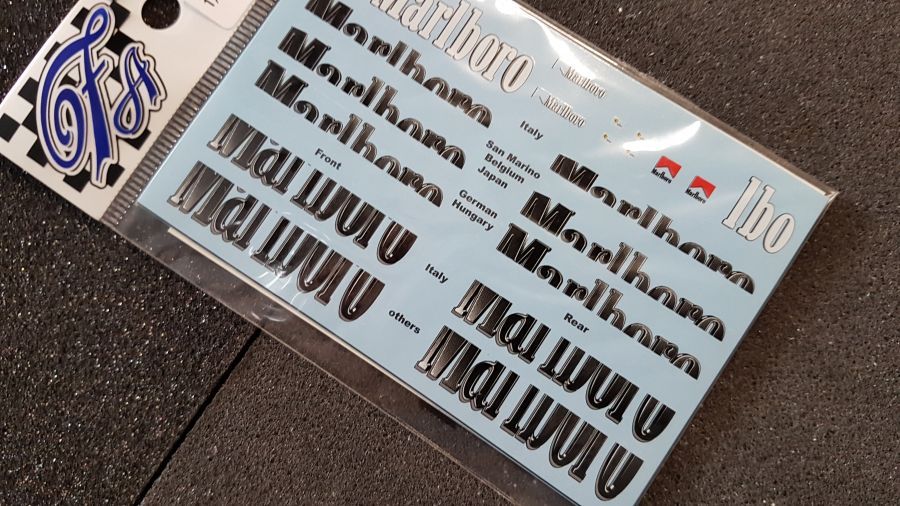
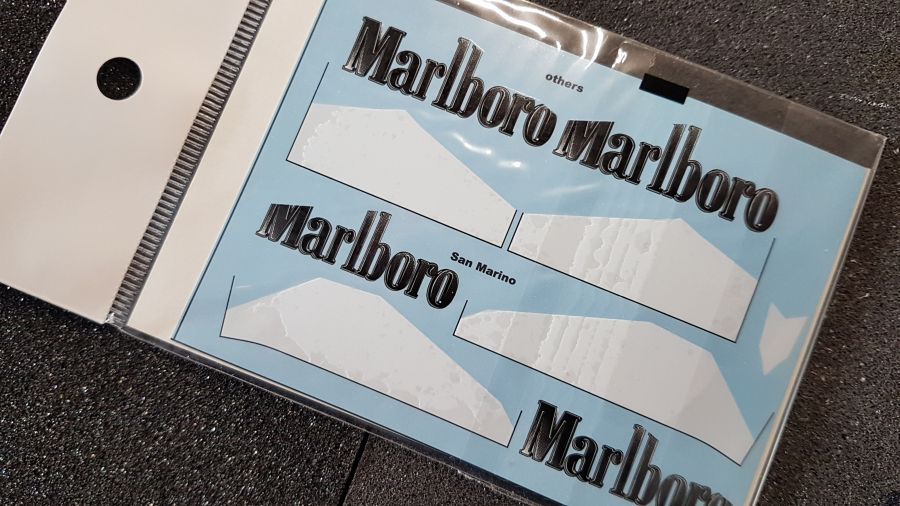
De extra decals...
The extra decals...
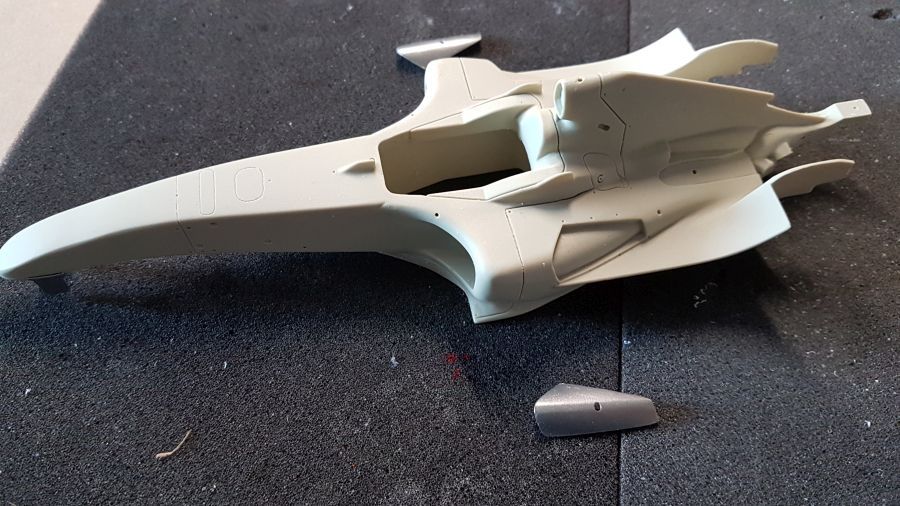
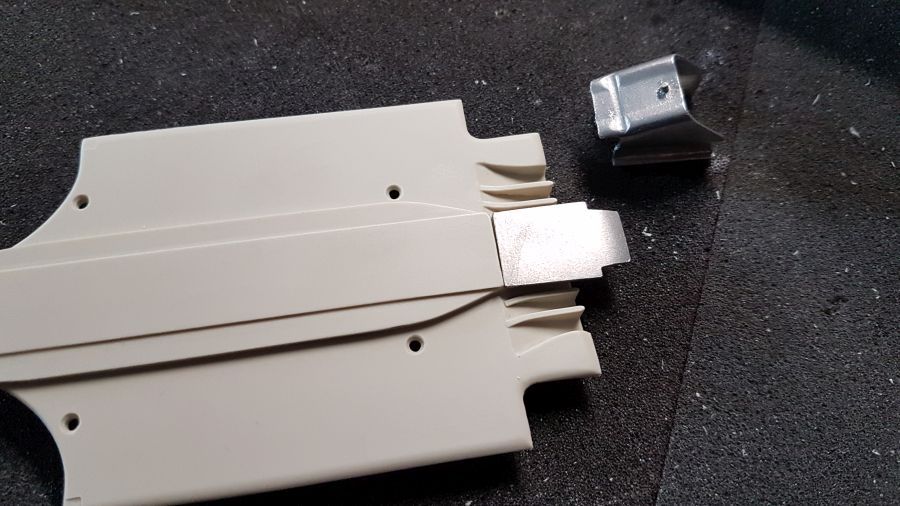
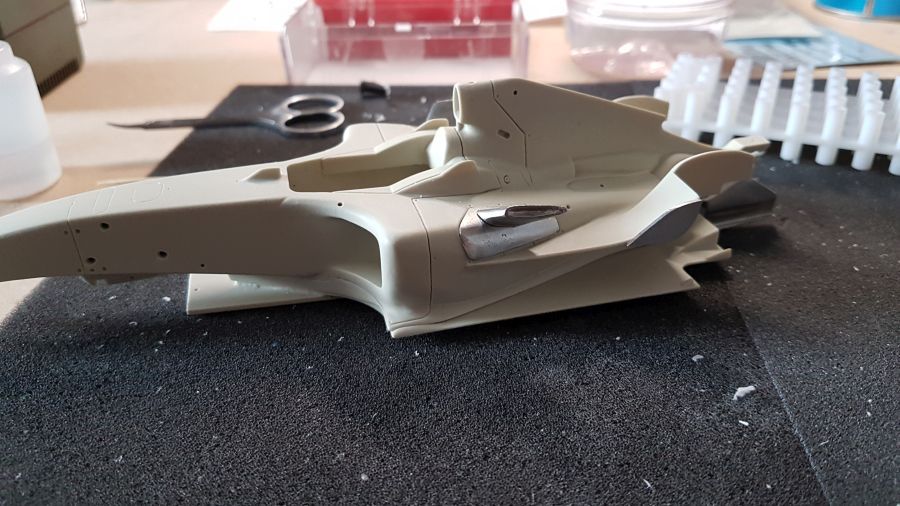
Daar gaat ie... Eerst maar eens dit passend maken.
There we go... Let's make this fit first.
De gaten worden alvast in het bodywerk geboord. Dit voor het later plaatsen van de wielophanging enz.
Holes were drilled in the body work. This to be able to add the suspension etc.
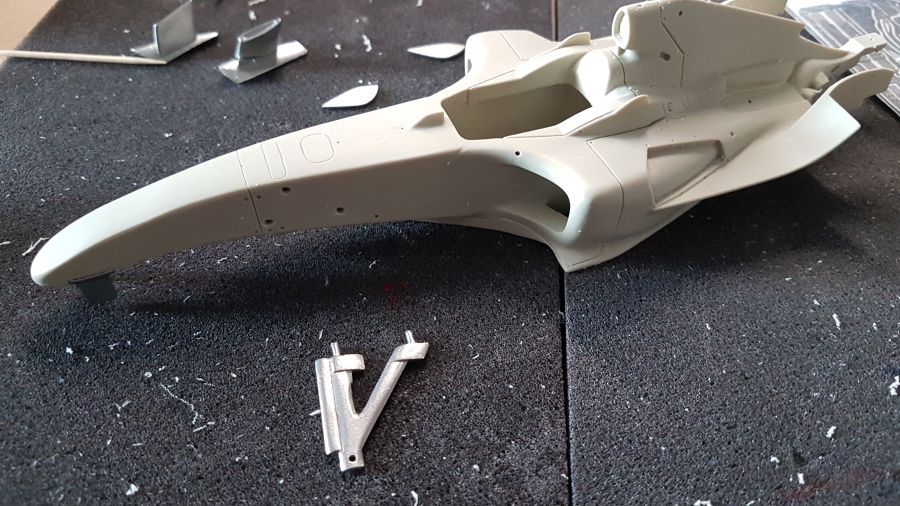
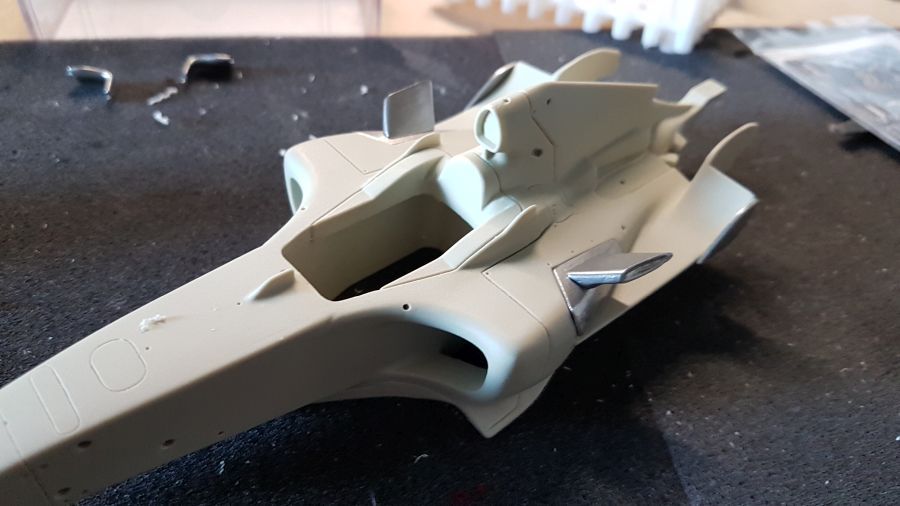
De eerste metalen delen worden geplaatst. Daarna kan de primer erop.
The first metal pieces were added. Then it's time for the primer.
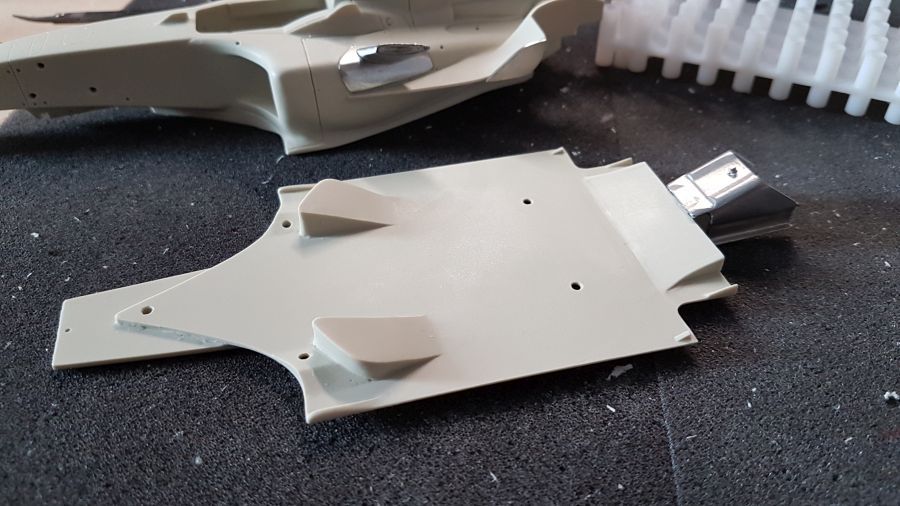
Eerst verder met de vloer...
First to continue with the floor...
Even passen.
Test fit.
Primer.
Primer.

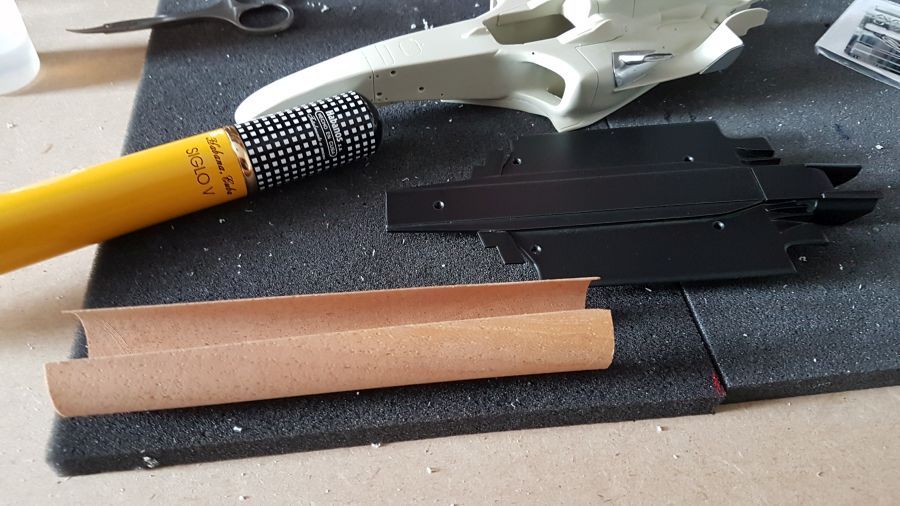
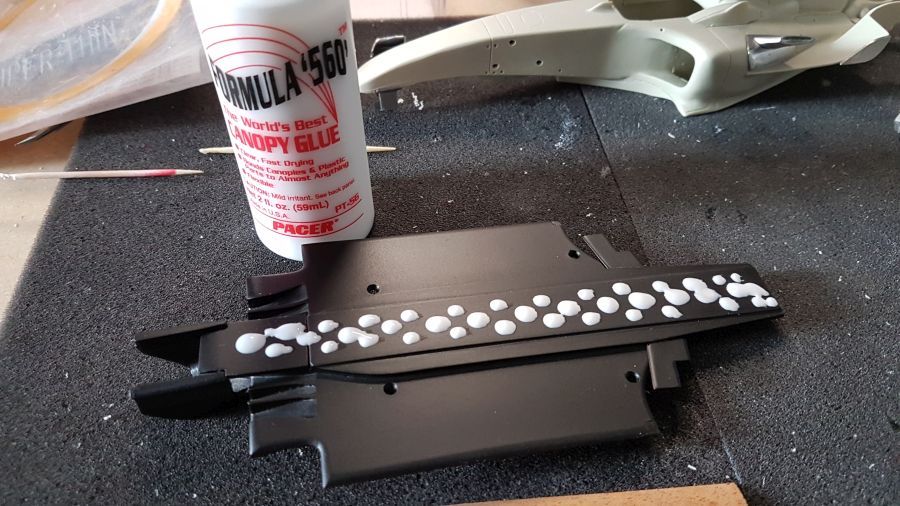
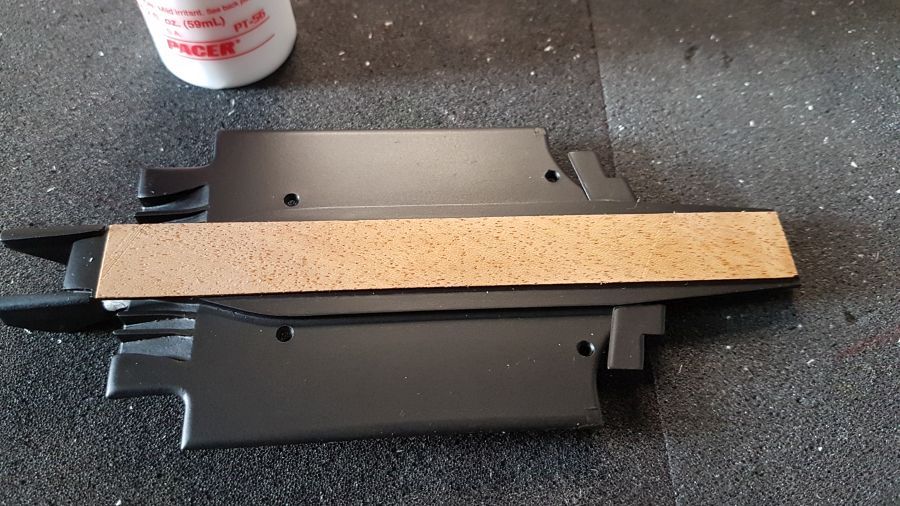
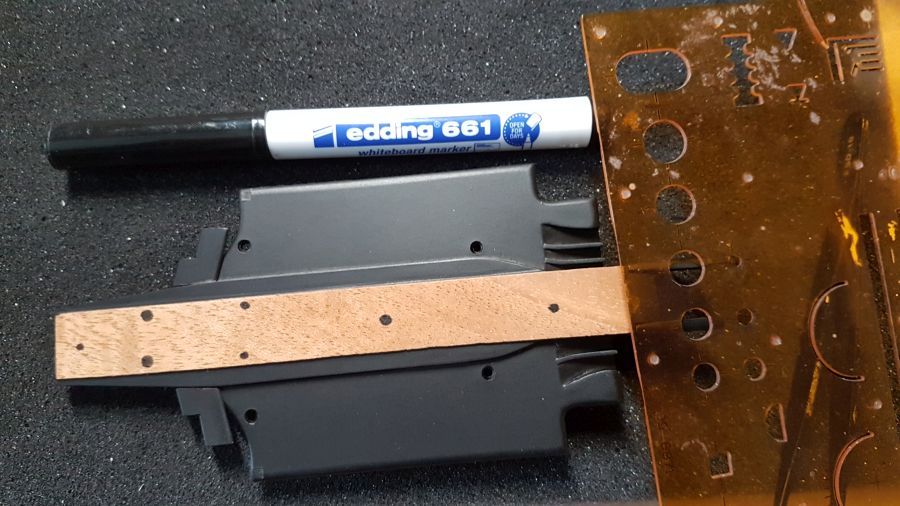
Voor de houten plank gebruik ik een velletje cederhout dat ik van mijn cigaarrokende collega Jack heb gekregen. Hij spaart deze voor me en ik ben er erg blij mee. Ik heb nog even getwijfeld of ik het eerst nat moest maken om het niet te laten scheuren. Dit was niet nodig. Ik plak het met een soort houtlijm.
To simulate the wooden plank i will use a sheet of cedar wood that i got from my cigar smoking colleague Jack. He saves them for me and i am happy with these. I had doubts about the need to make it wet to prevent it from cracking. It was not necessary. I glue it with white glue.

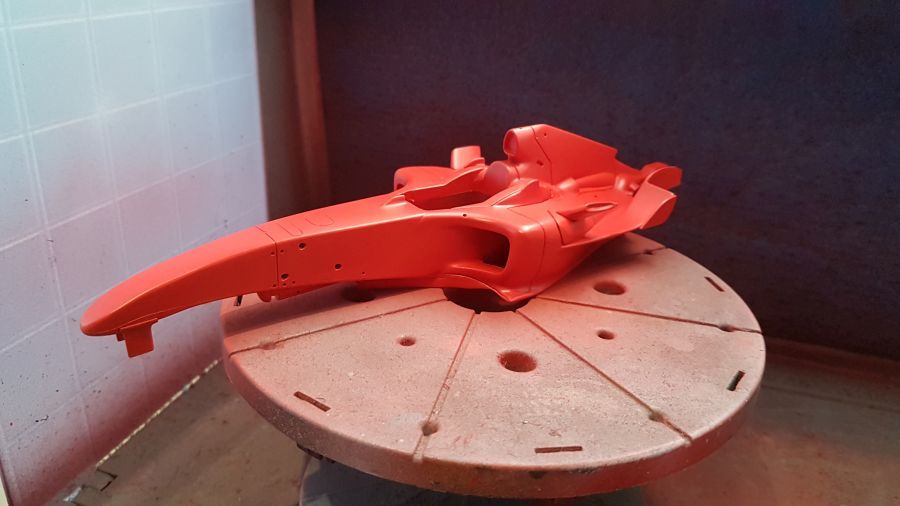
Grondverf...
Primer...

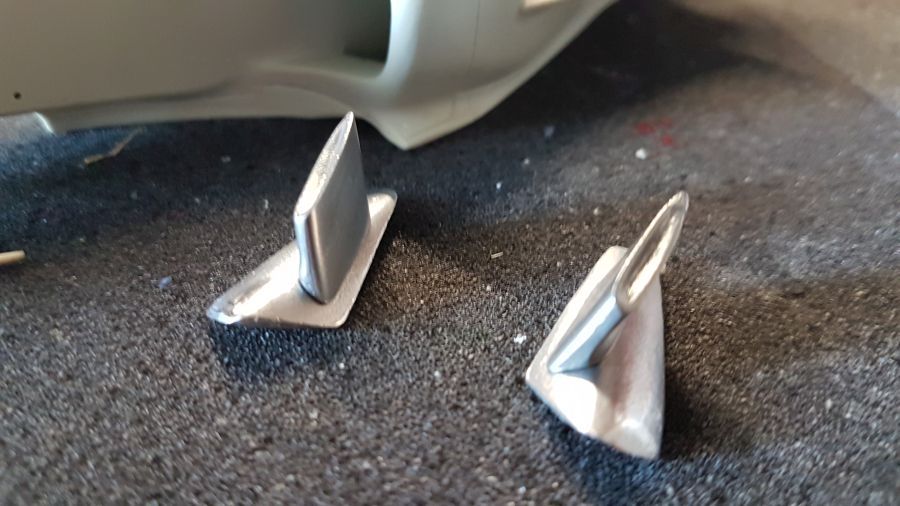
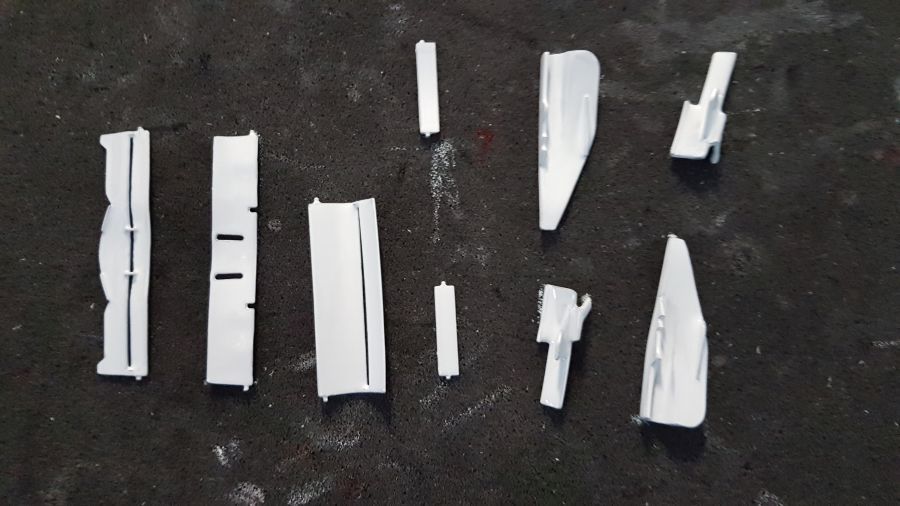
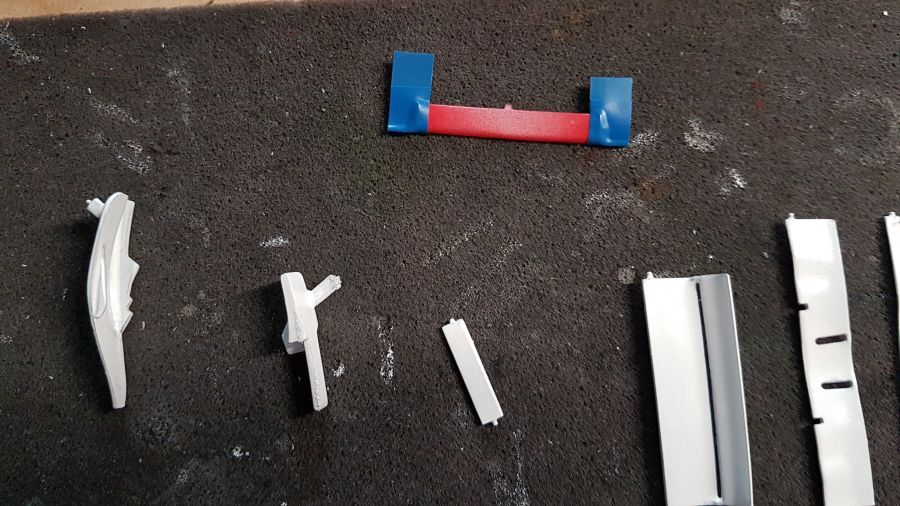
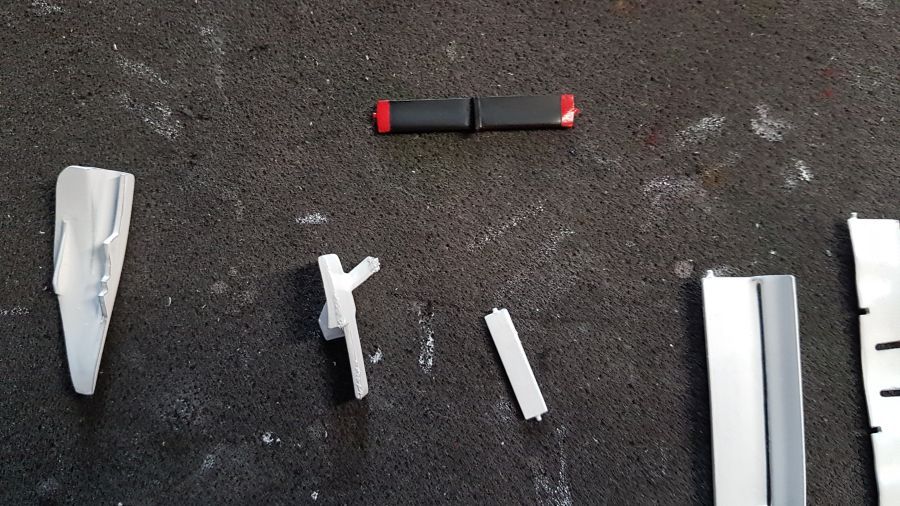
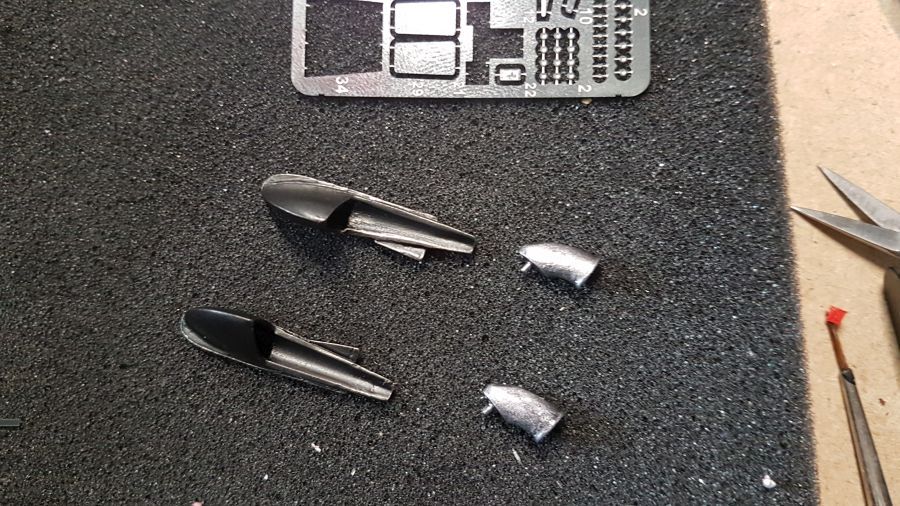
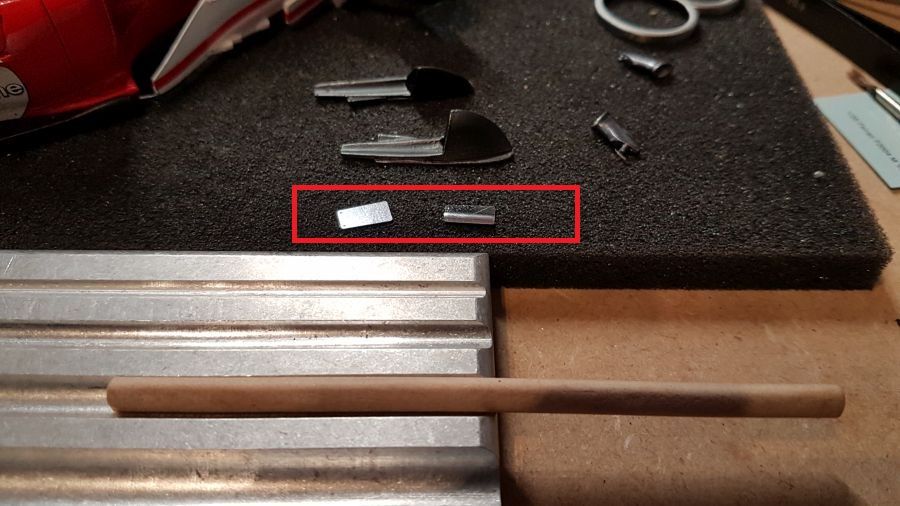
Vleugeltjes....
Small wings...

Zero Paints... Pre-2004
Zero Paints... Pre-2004
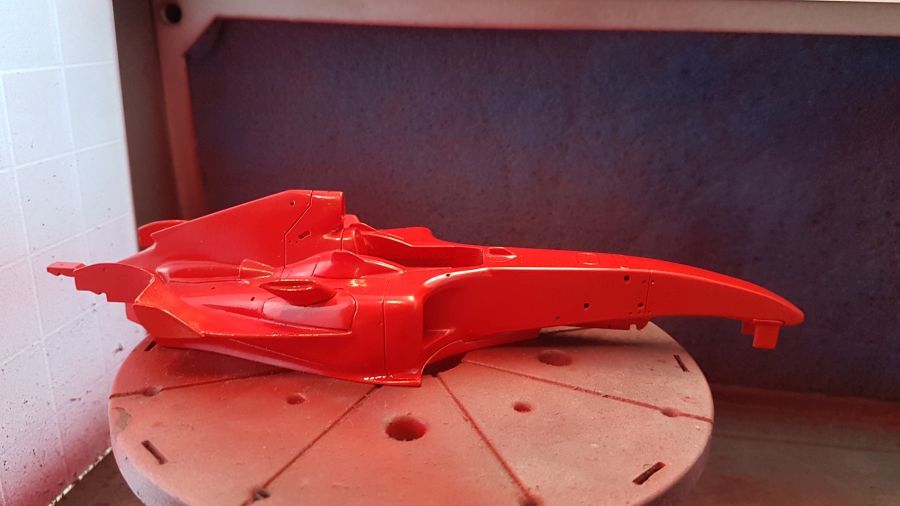
Heldere glanslak erop... Nu maar goed laten drogen.
Clear gloss is on... Now let it dry thoroughly.
Voor sommige onderdelen het wit erop.
Some parts received the white.
Meer werk aan de eerste vleugel.
More work to the first wing.

Zwart op de delen van de ophanging.
Black to the supension parts.

Wat carbon decals geplaatst..
Added some carbon decals..

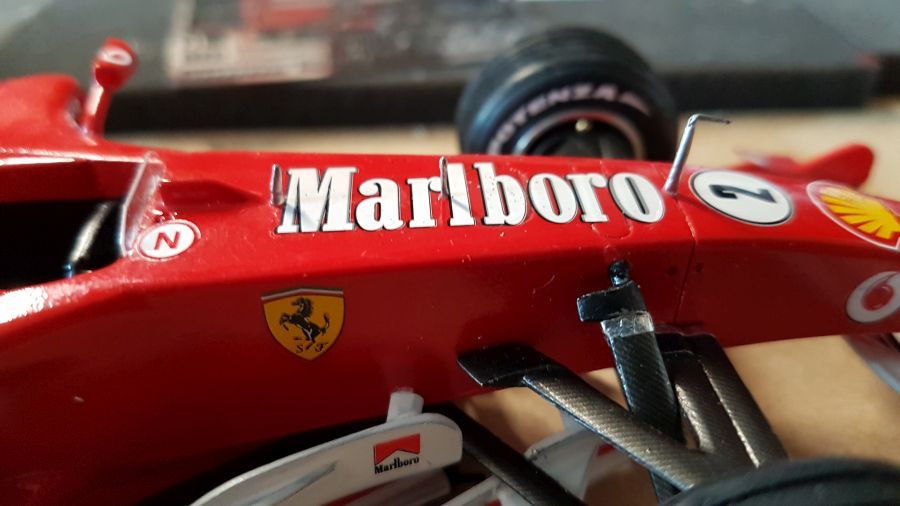
Met 'bare met foil' maak ik wat chroom details.
Creating some chrome details by using 'bare metal foil'.
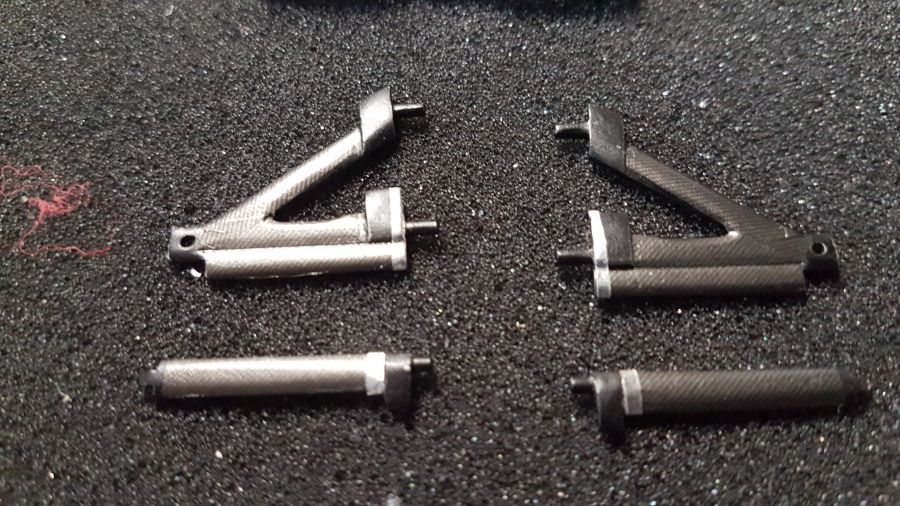
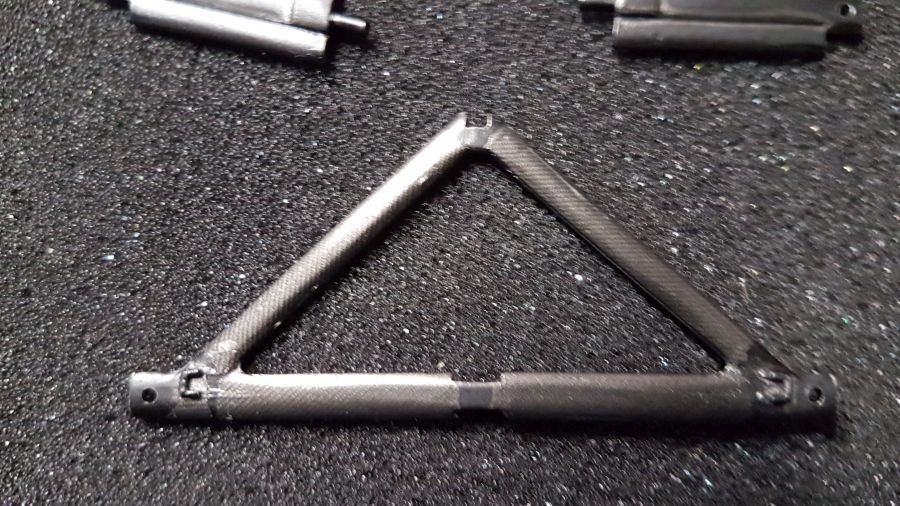
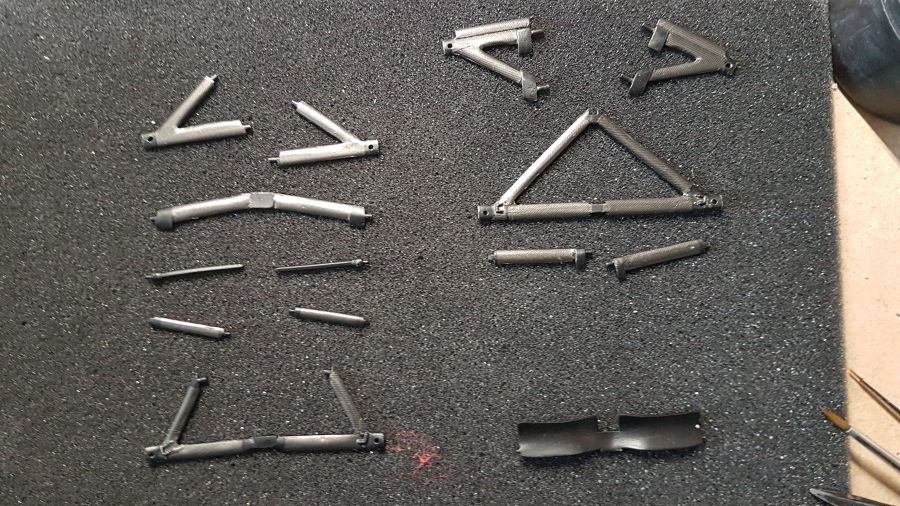
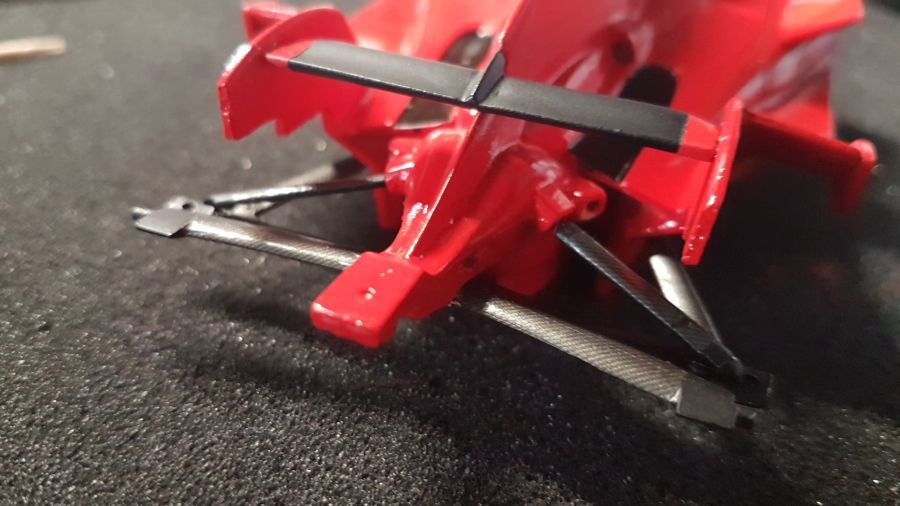
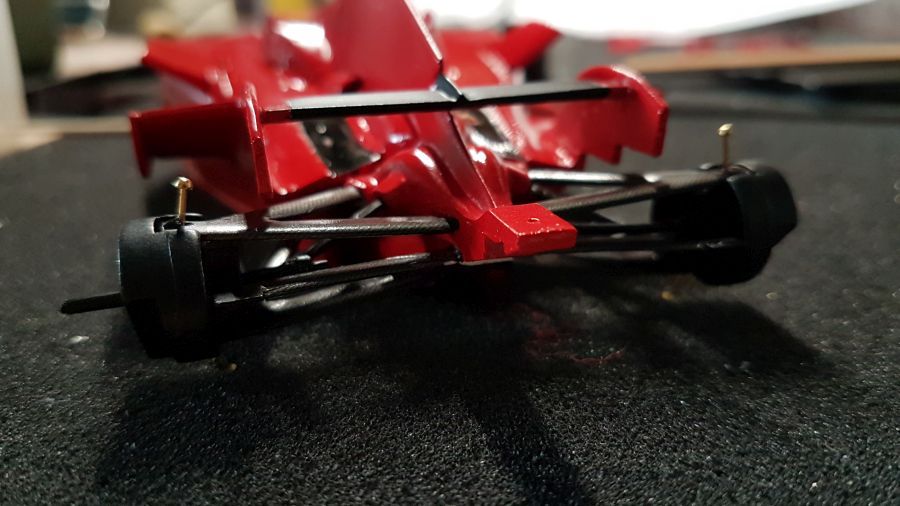
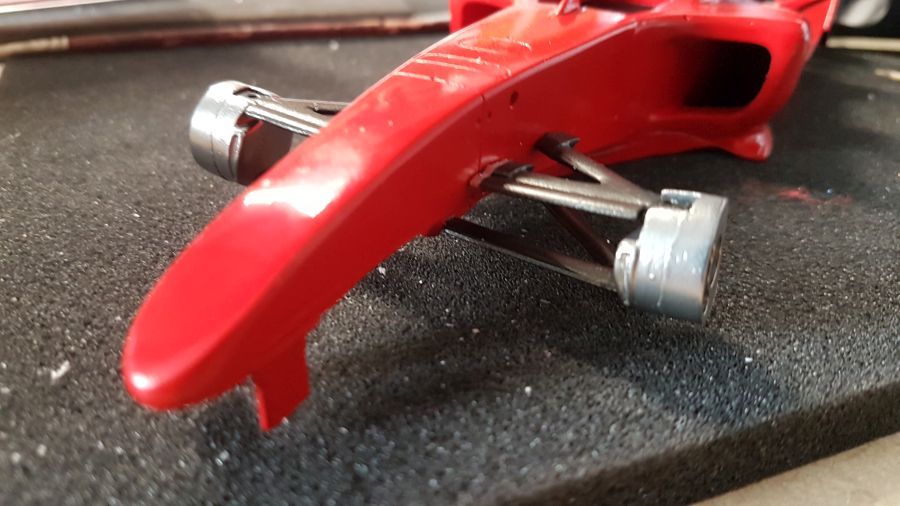
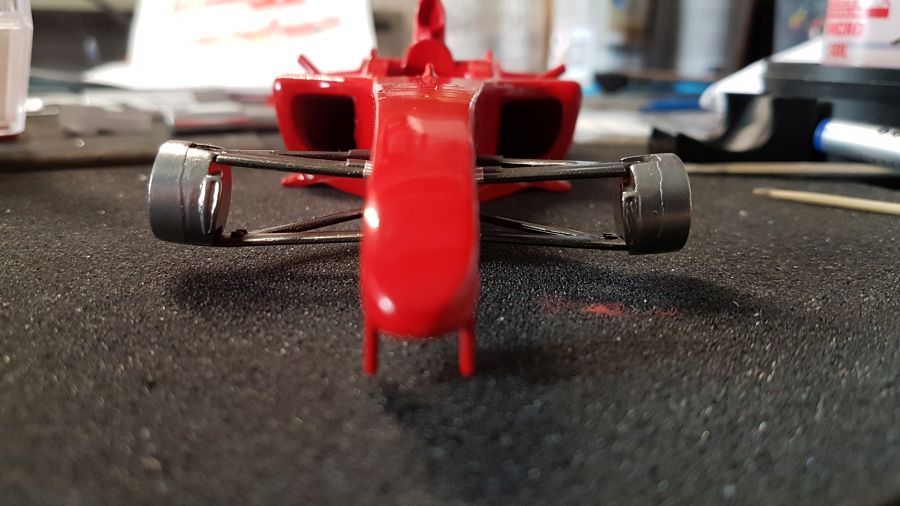
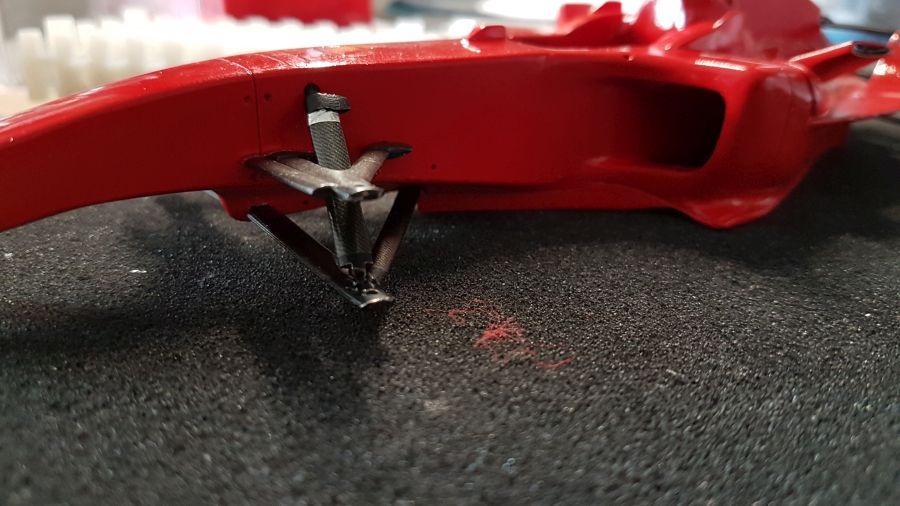
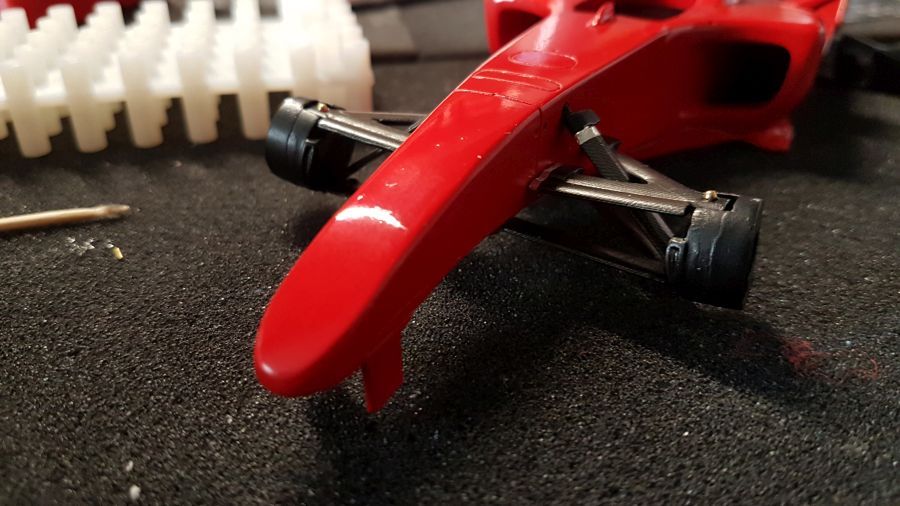
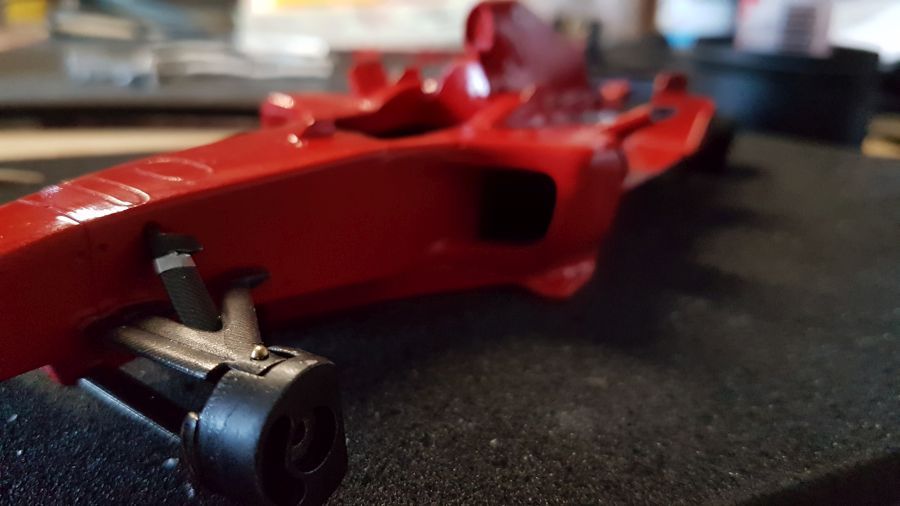
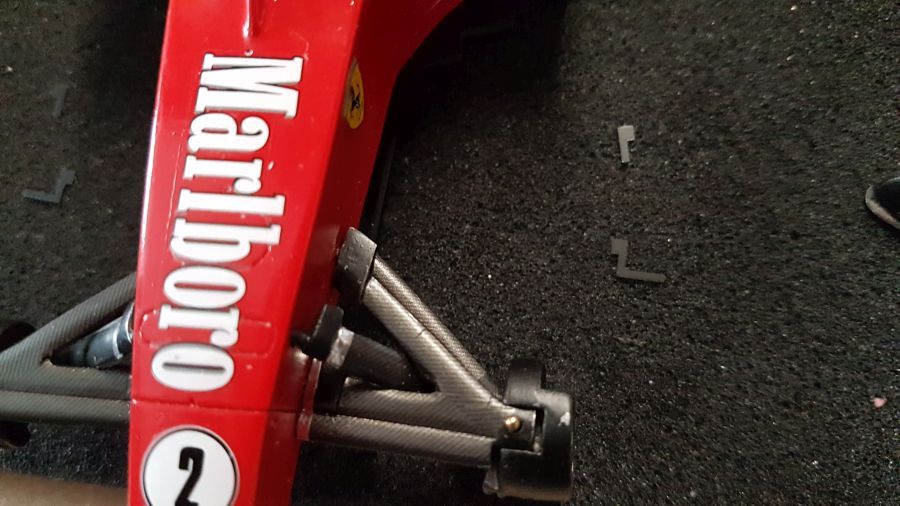
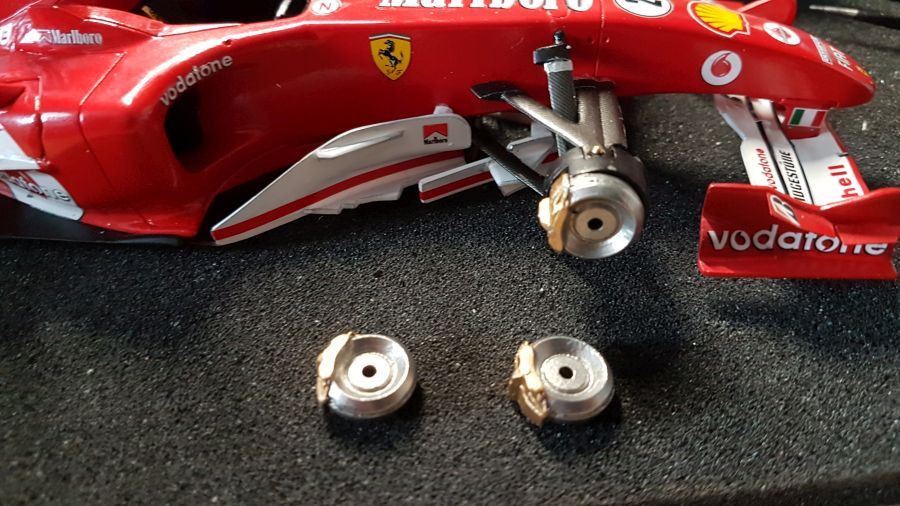
Door met het plaatsen van de achterwielophanging.
Next is adding the rear wheel suspension.
Oppassen! Het ene moment moet de stang in het achterste gat geplaatst, het volgende moment zit hij in het voorste.
Watch out! One moment the support needs to be added to the rear hole, then all of a sudden it's in the front.
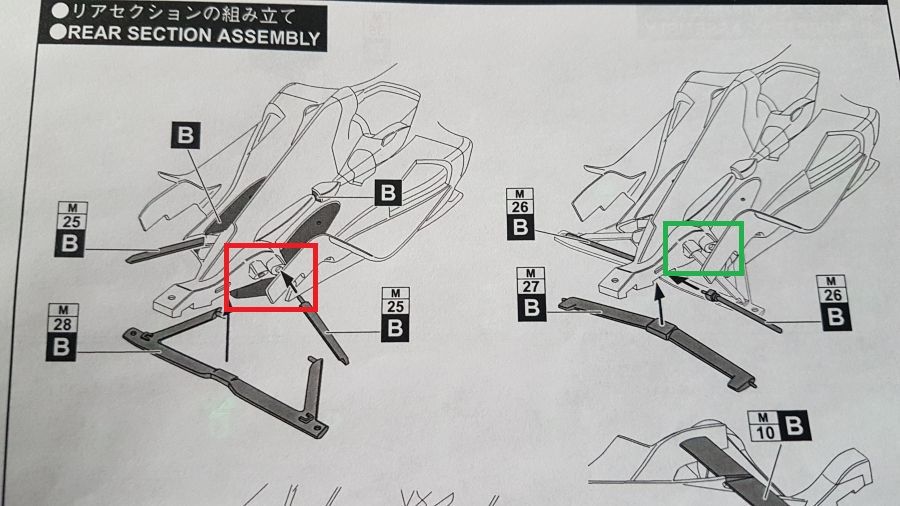
Gecorrigeerd!
Corrected.
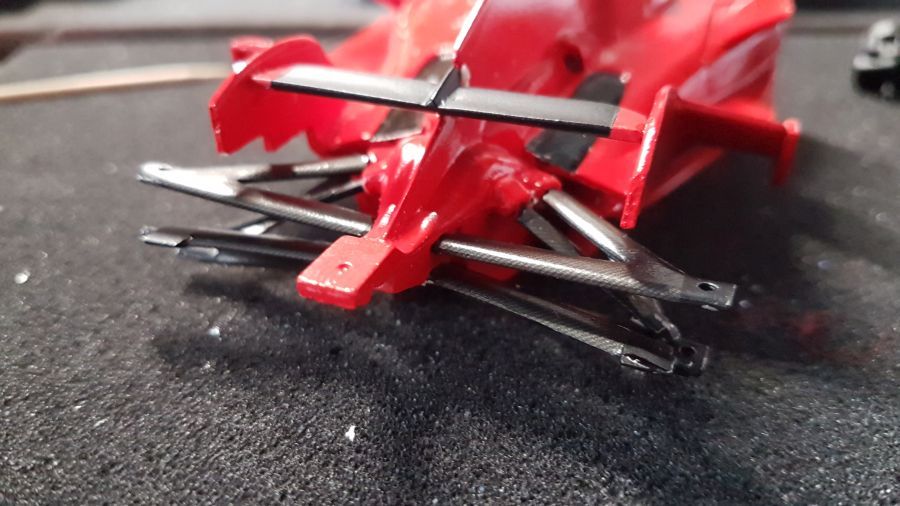
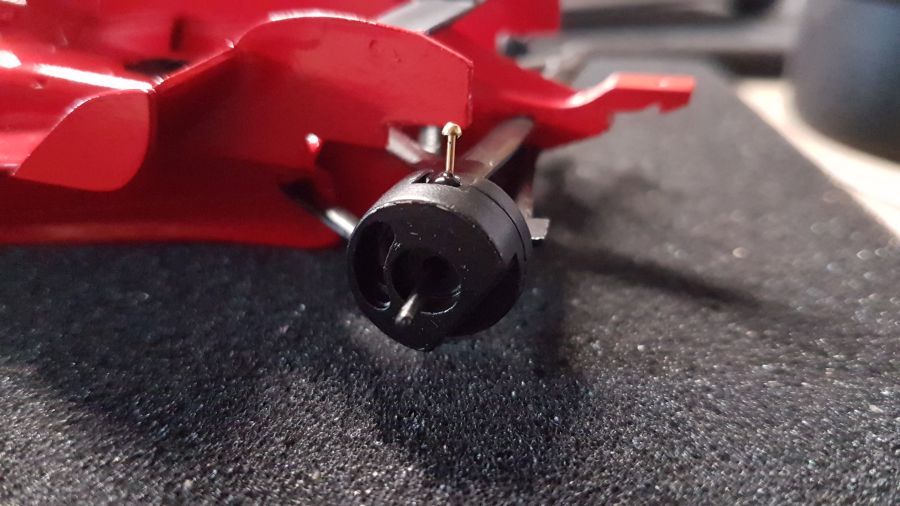
De remtrommels plaatsen is lastig. Met de assen erbij moet je 5 plekken tegelijk met elkaar verbinden. Daarom boor ik een gat in de trommels en schuif de as erdoor heen. Deze kan ik dan later terugduwen en lijmen. Dat maakt het wat eenvoudiger.
The wheel mountings are tricky. Together with the axles you need to attach 5 points together. That is why i drill a hole in it an push the axle trough. This way i can push it back later and glue them. This makes it more simple.
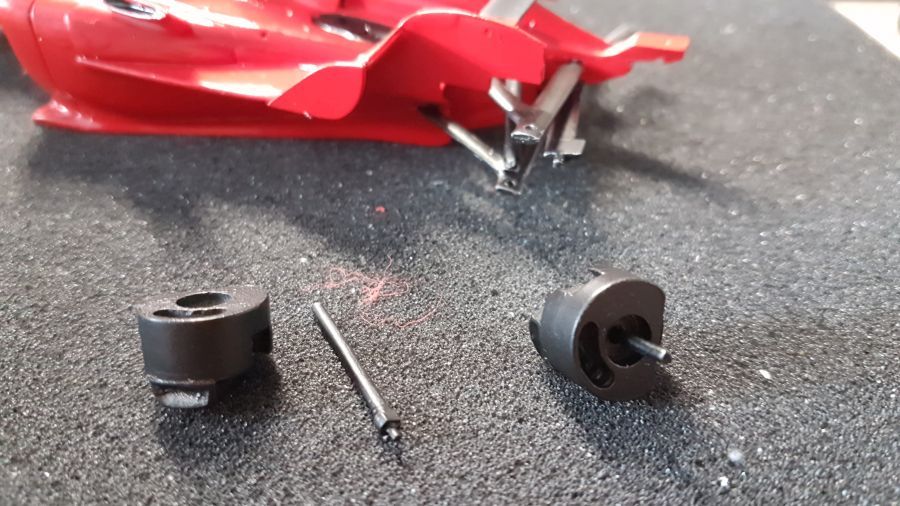
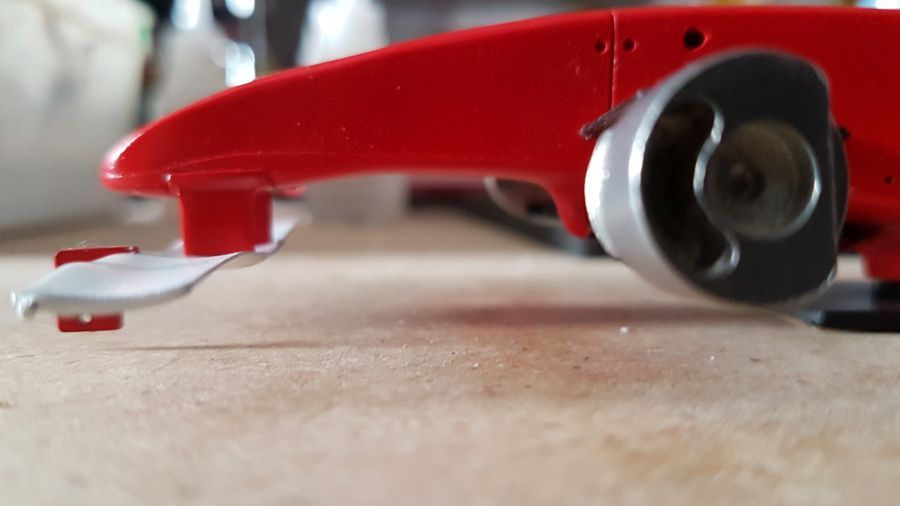
Ik gebruik altijd pinnetjes om de boel vast te zetten. Nooit de schroeven. Ik knip deze daarna af. Normaal kort ik de pin in, maar deze keer staat er veel spanning op. IK ben al blij dat ik de gaatjes kan vinden.
I always use rivets to connect everything. Never the mini screws. Normally i am shortening the rivet, but this time there is a lot of tension to it. I am glad i could find the holes.
De skid blocks worden getekend met een stift en een sjabloon met cirkels.
The skid blocks are simulated by using a marker and a template with circles.
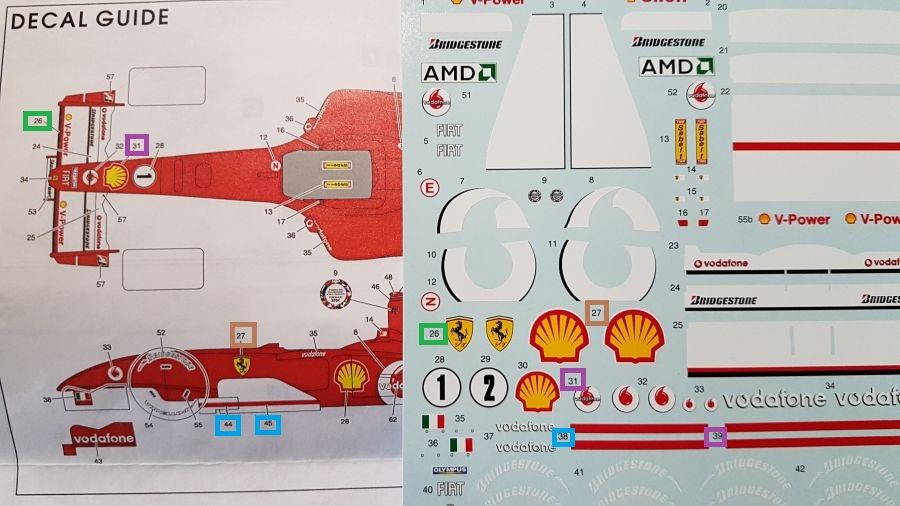
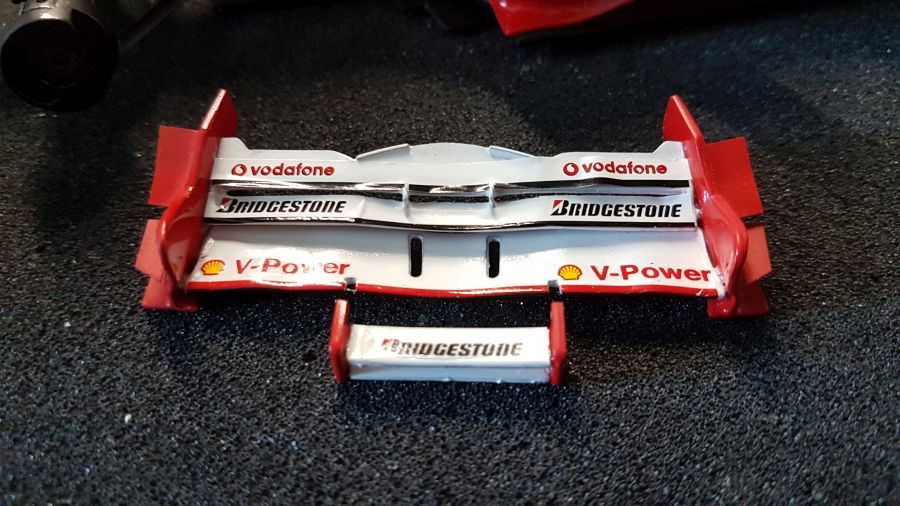
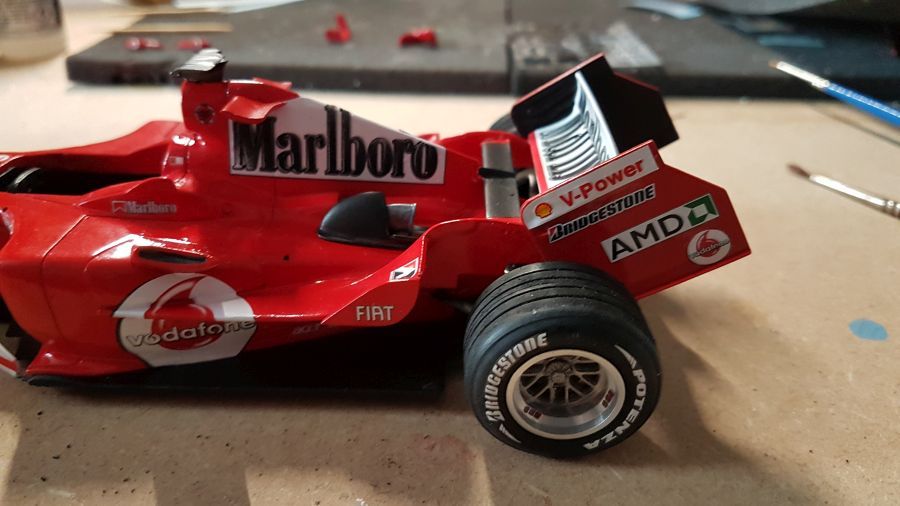
De decals zijn een ramp. Alles is onjuist genummerd (decals ten opzichte van de handleiding). En zeker niet compleet.
The decals are a mess. Everything has been numbered incorrect (decals vs manual). And certainly not complete.
Eerst verder met de voorwielophanging. Altijd lastig om de juiste hoogte te vinden. Iemand een tip?
First to continue with the front wheel supension. Always tricky to get the correct height. Anyone got a hint?
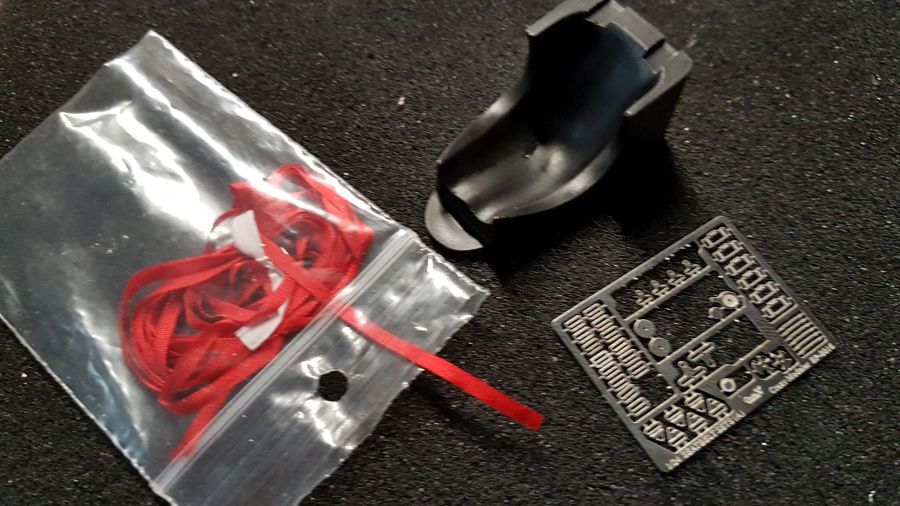
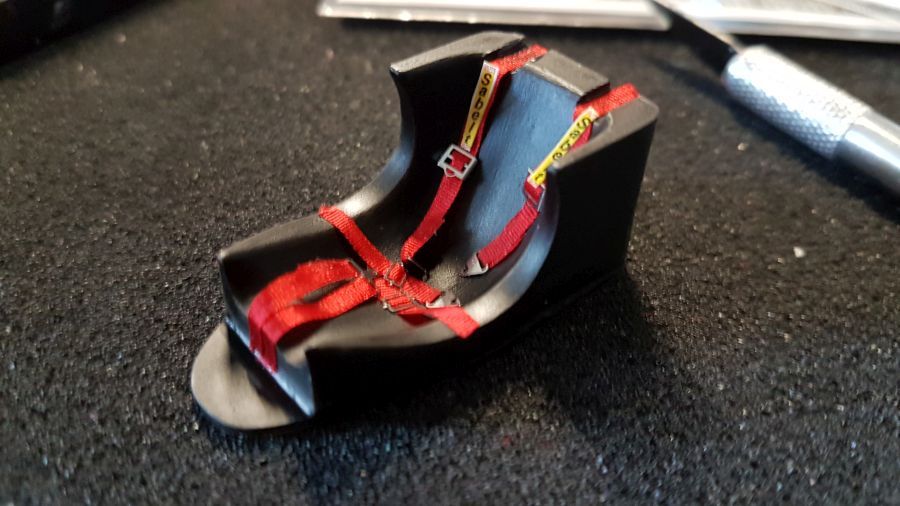
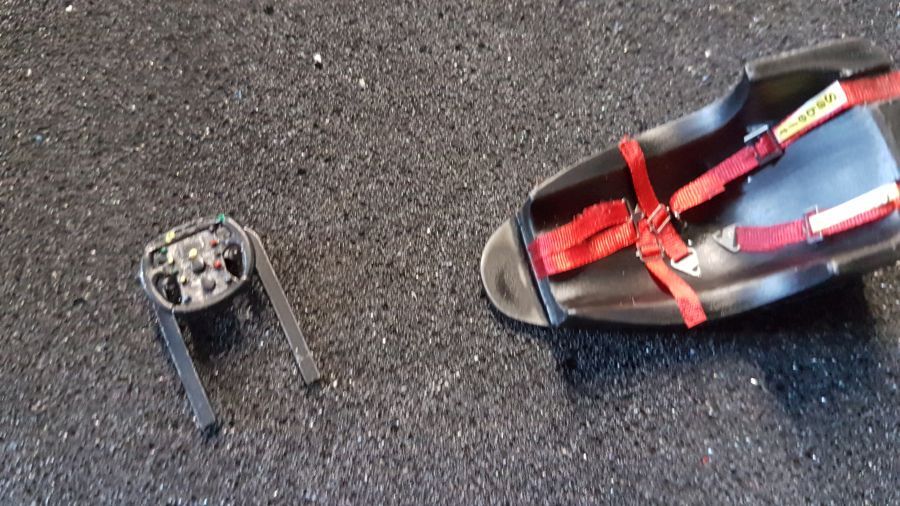
Nu eerst de stoel klaarmaken..
Now finish the seat first..
De binnenkant van de sidepods wordt geverfd...
The inside of the side pods received paint...
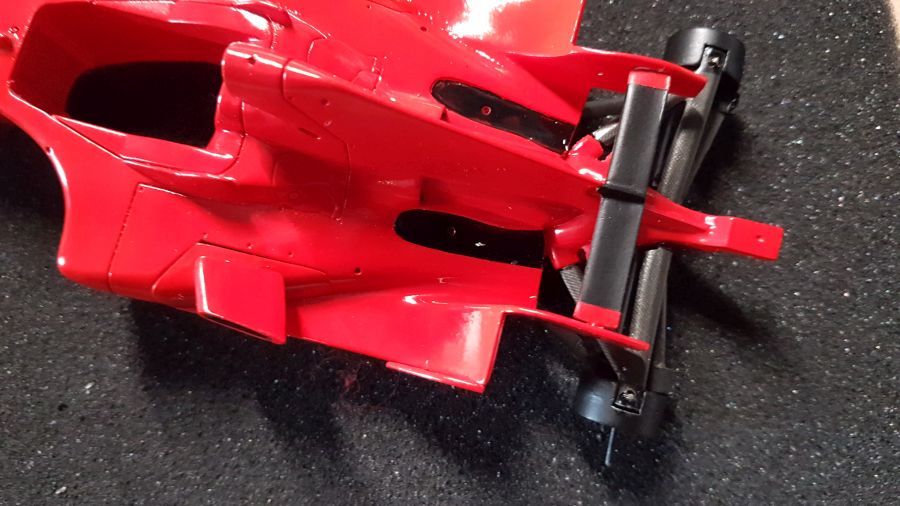
Dan kan de vloer erop..
Then the floor gets mounted..
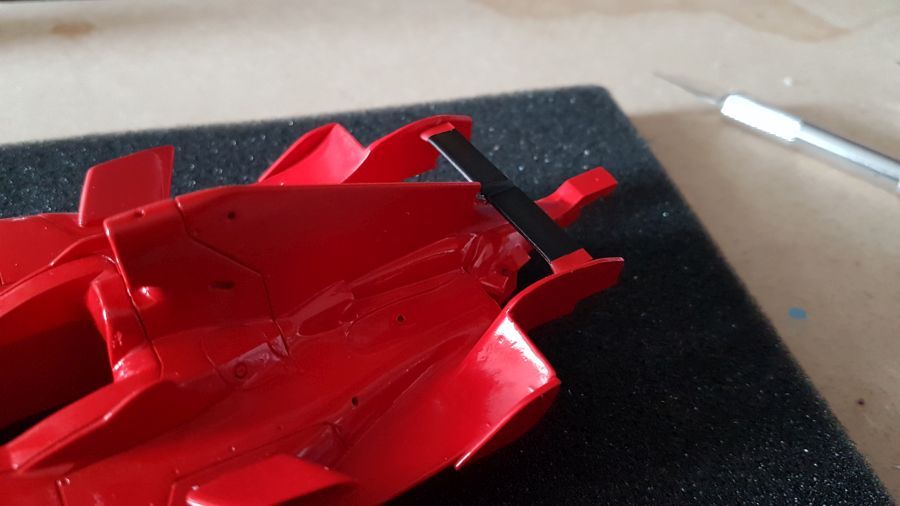
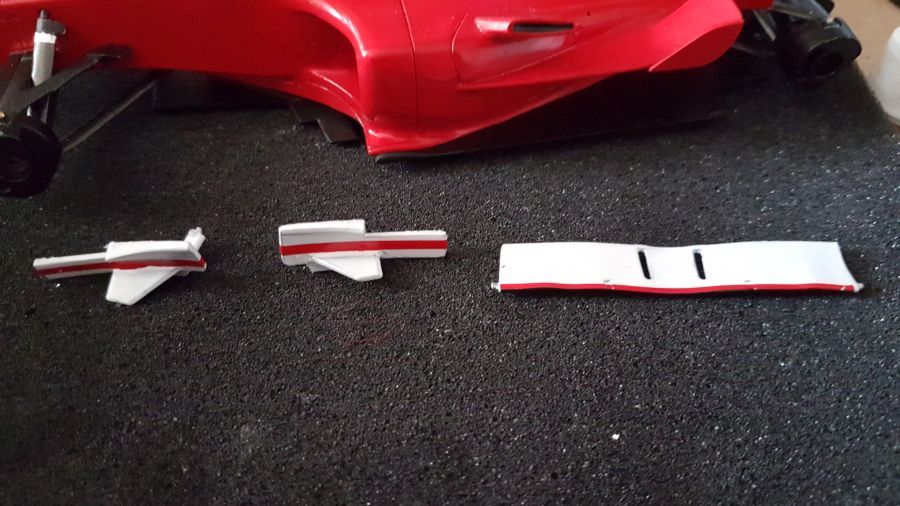
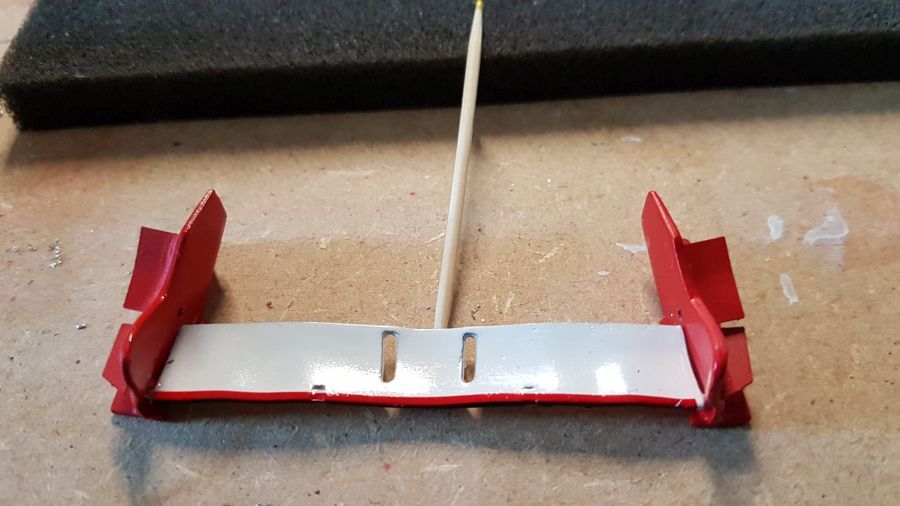
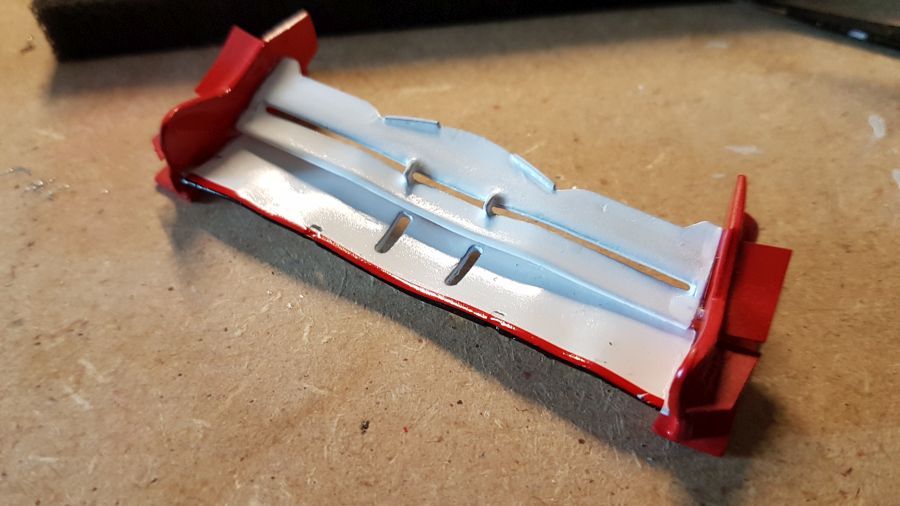
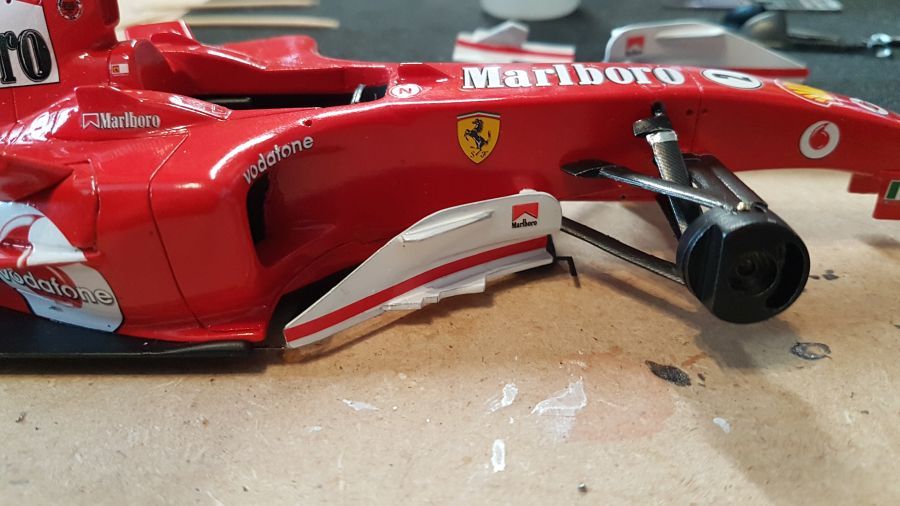
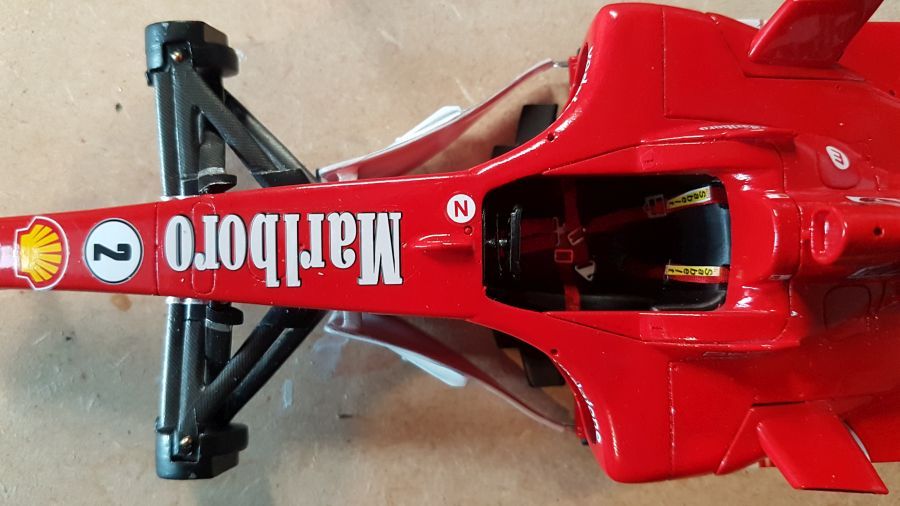
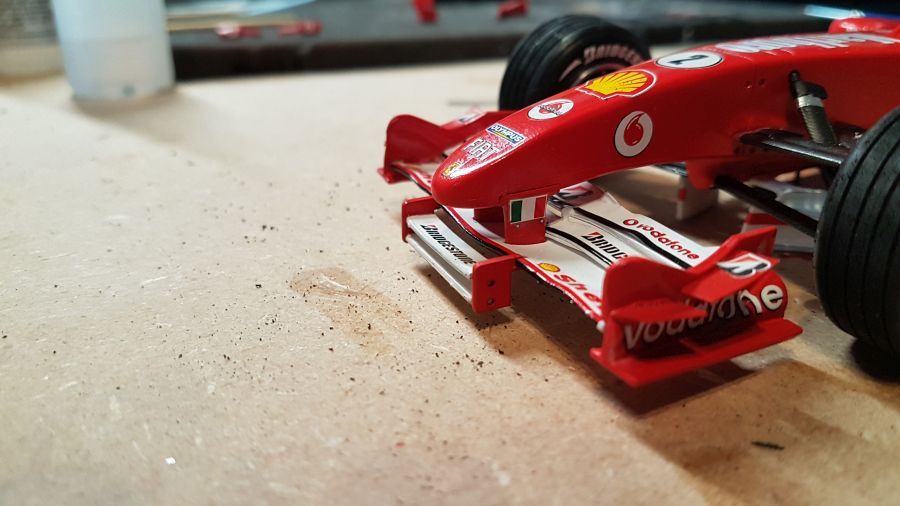
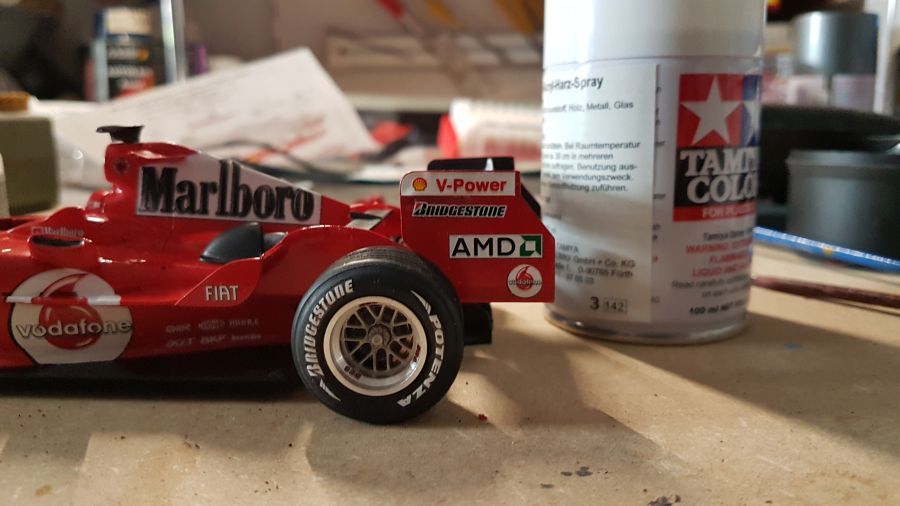
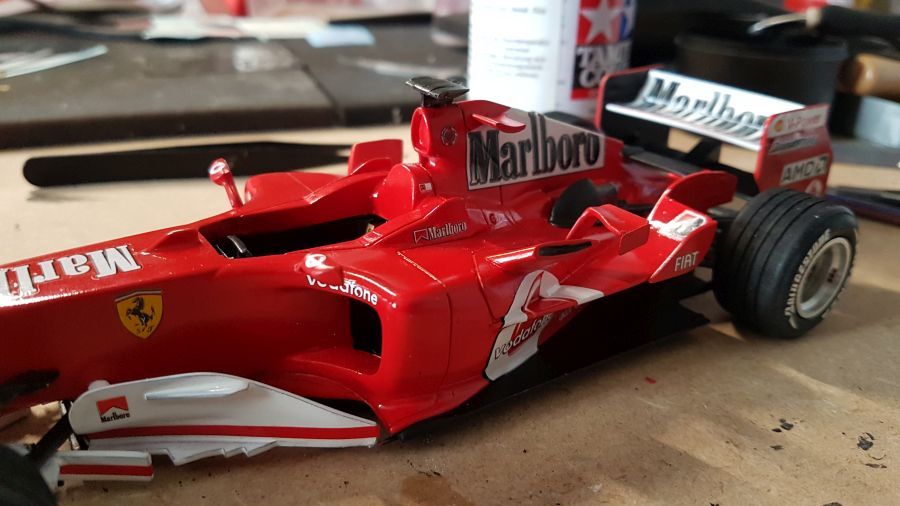
Dan door naar de voorvleugel en het plaatsen van de decals.
Next is on to the front wing and adding the decals.
Wat ben ik altijd blij met de boeken van Giorgio Piola. Net op tijd.
I am always happy with the Giorgio Piola books. Just in time.

Wat kleine onderdelen aan de vloer voor het plaatsen van de barge boards.
Some small pieces added to the floor to add the barge boards.

Intussen wat klein werk aan de uitlaten.
In the meantime some small work to the exhausts.
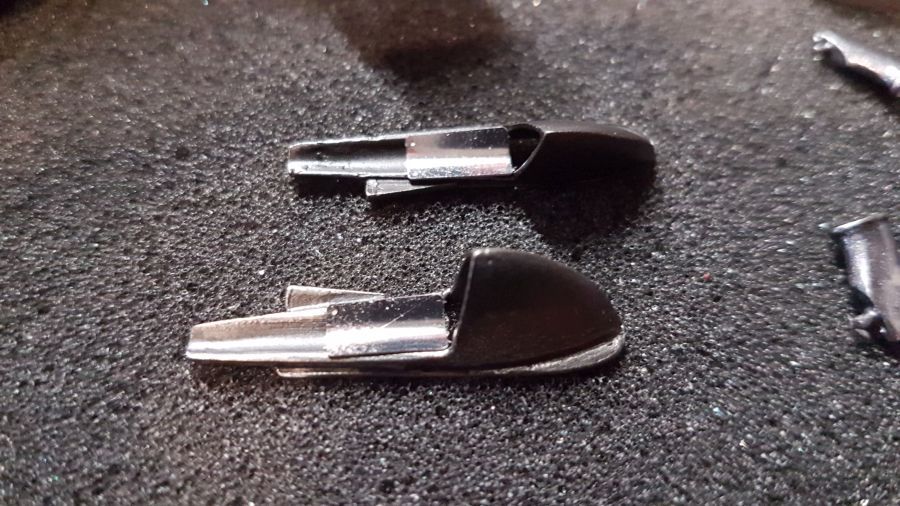

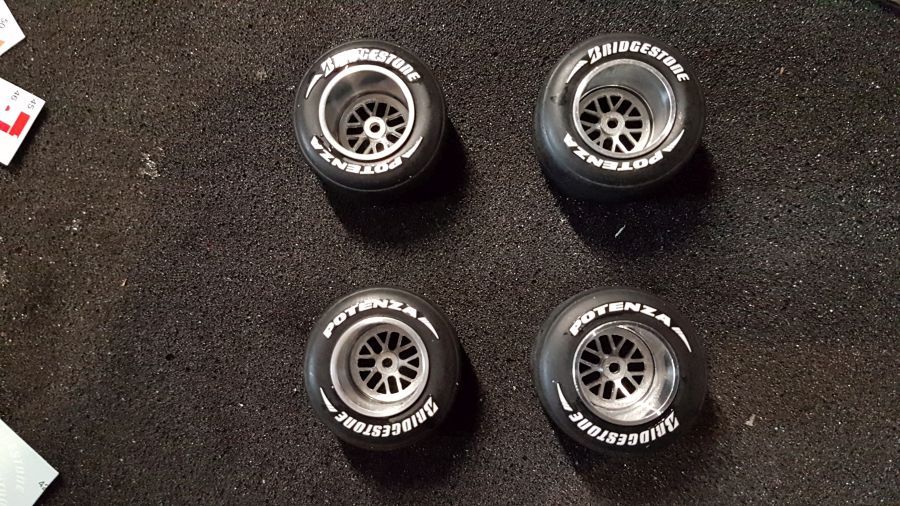
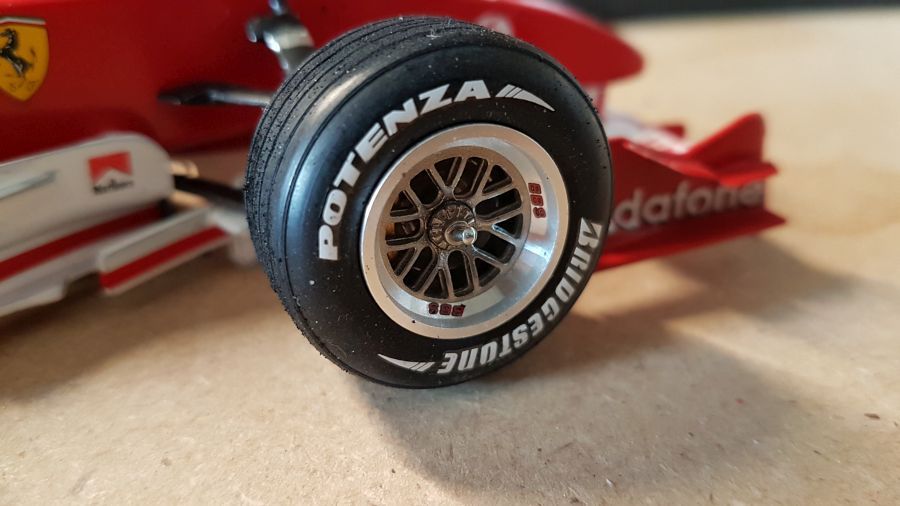
Door met de wielen...
On to the wheels...
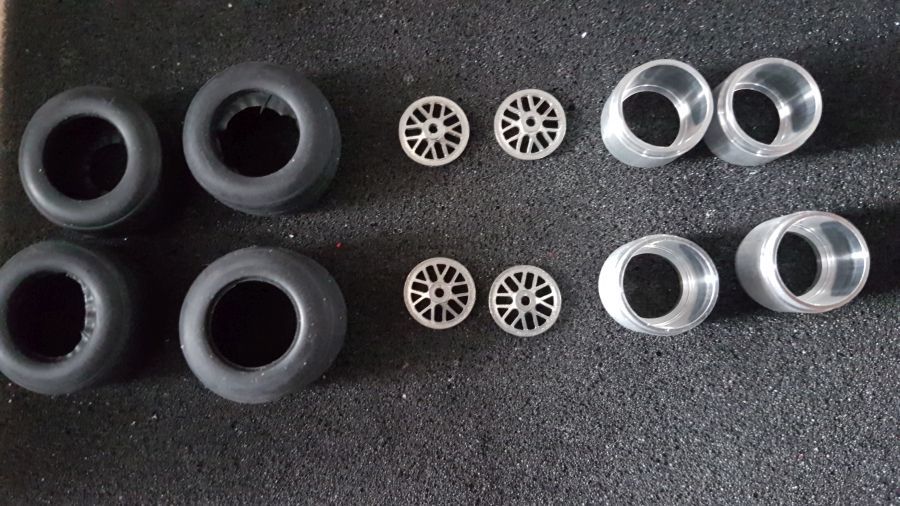
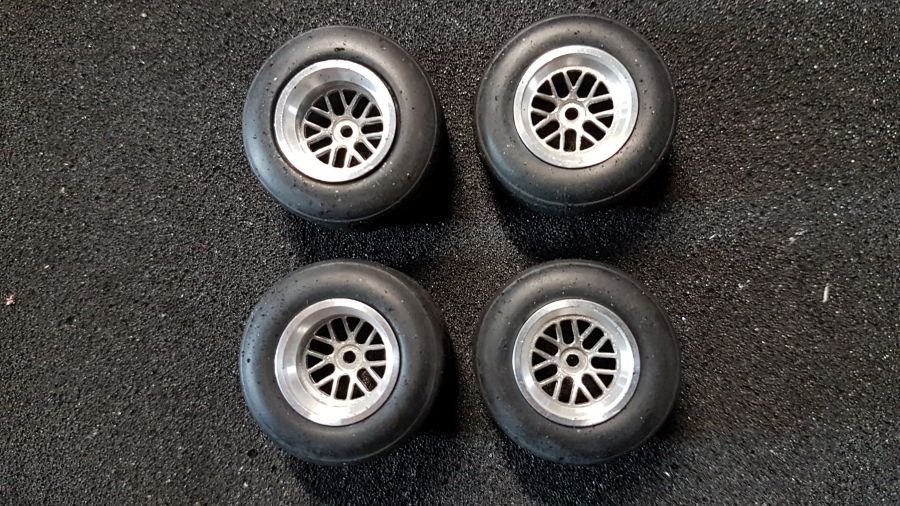
Let erop dat de pijlen de juiste kant opwijzen.
Be sure the arrows are pointing in the correct direction.
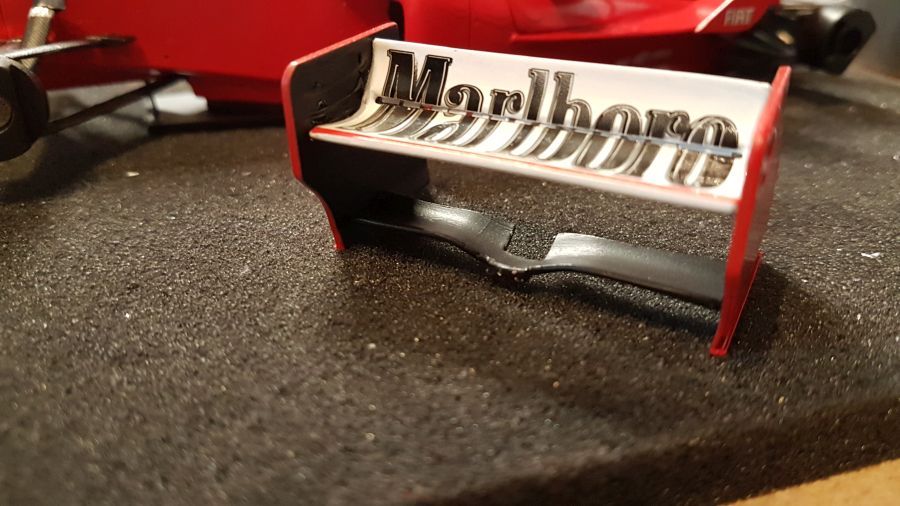
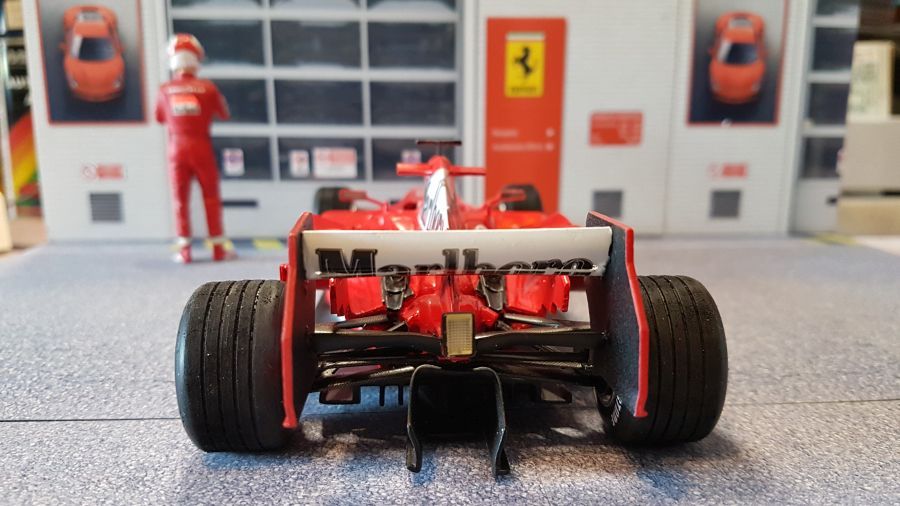
Eerst wordt de achtervleugel geplaatst en horizontaal uitgelijnd.
First the rear wing has been added to line it up horizontally.
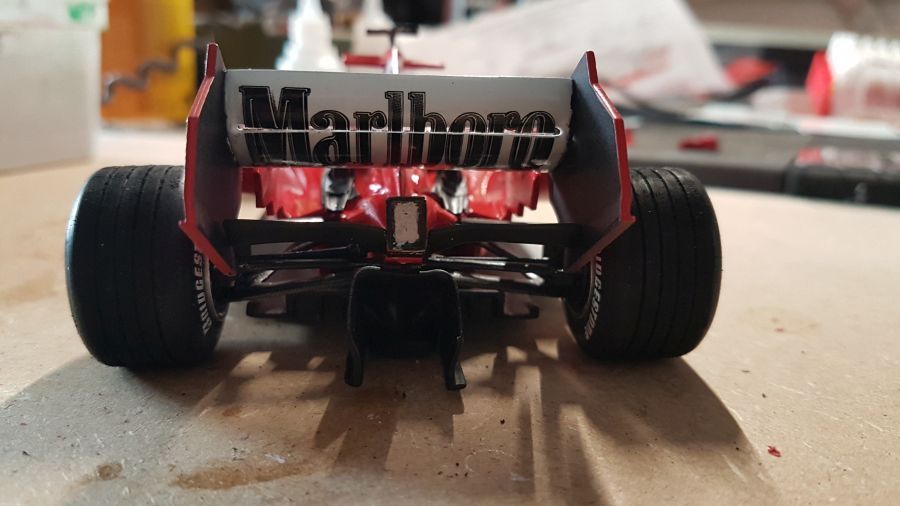
Dan verticaal...
Next is vertically...
Meer vleugels.
More wings.
.. en decals.
.. and decals.
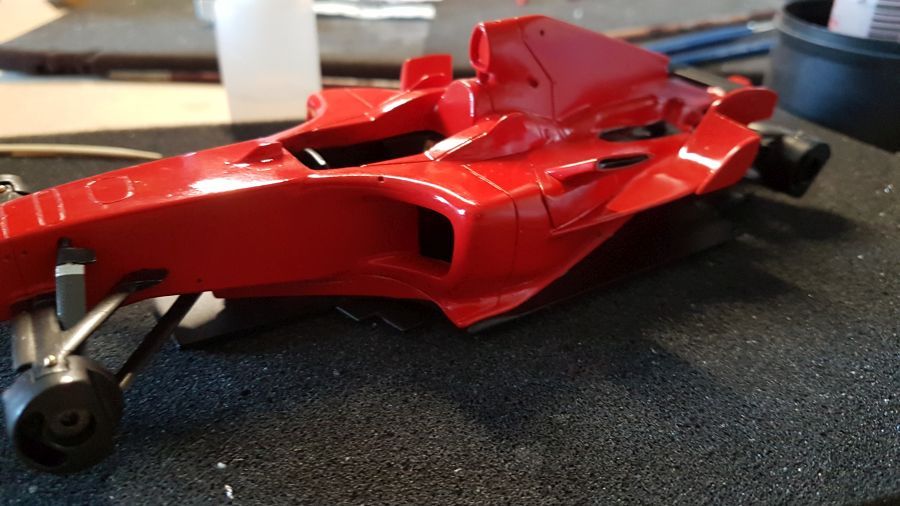
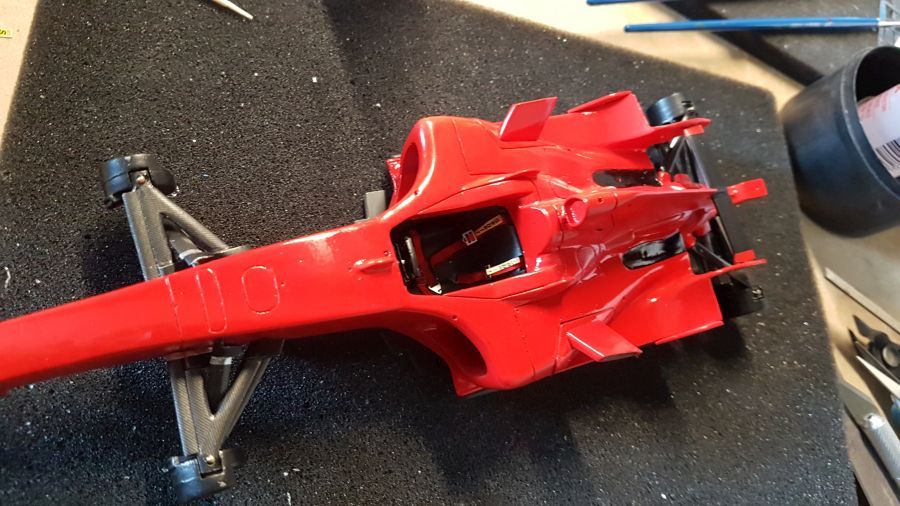
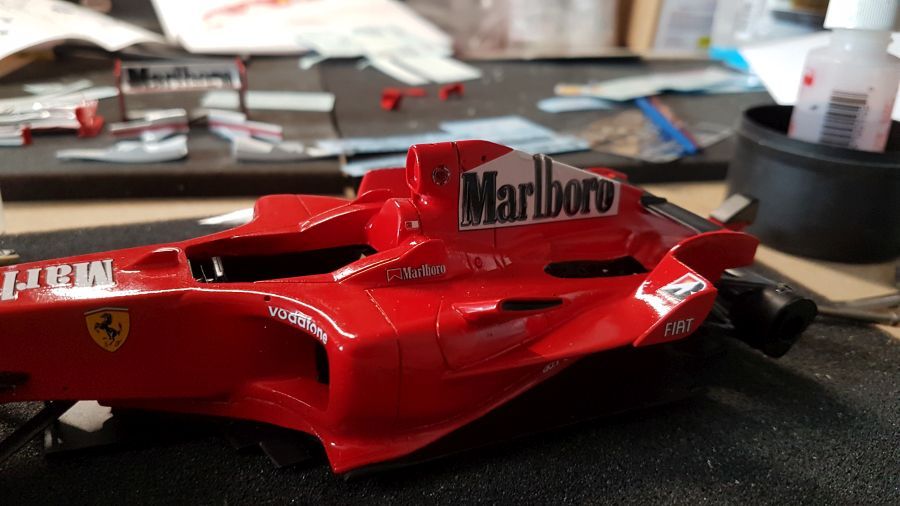
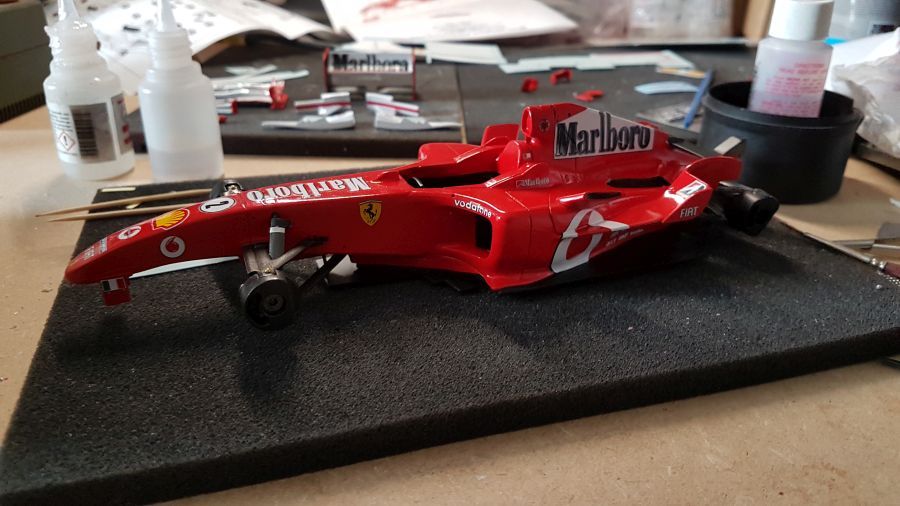
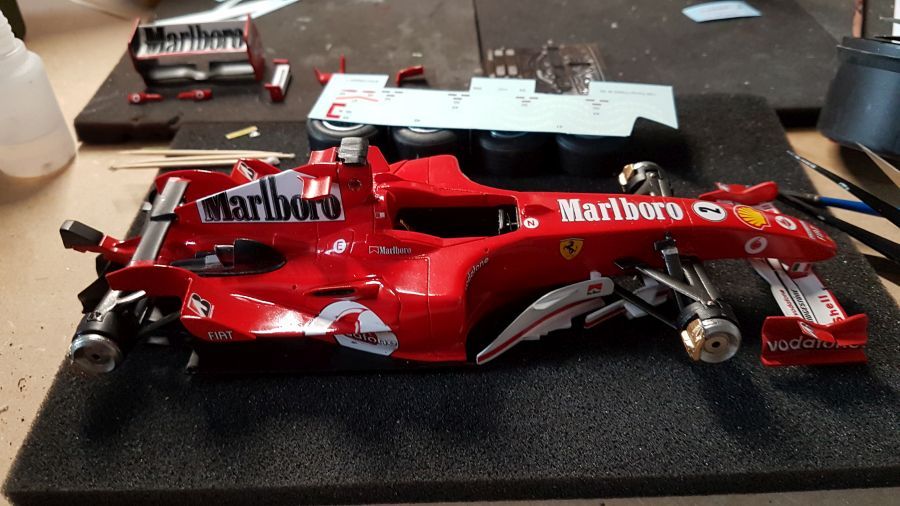
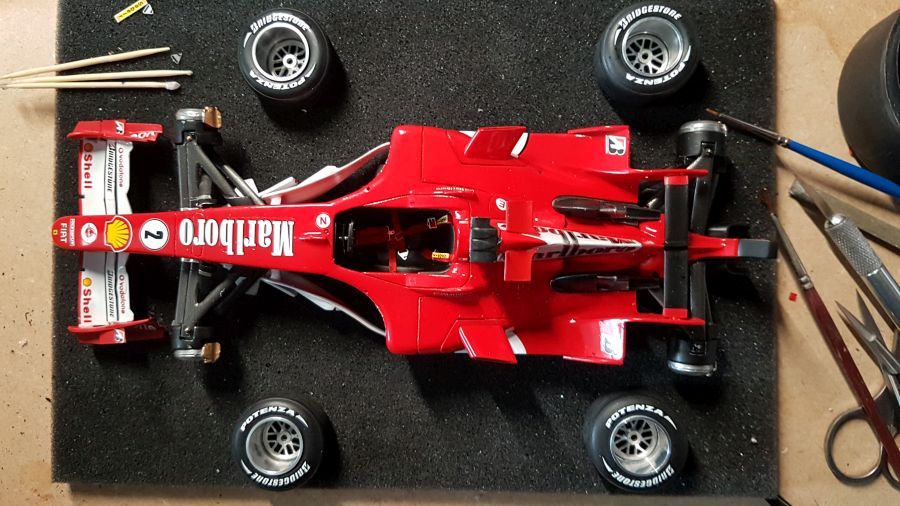
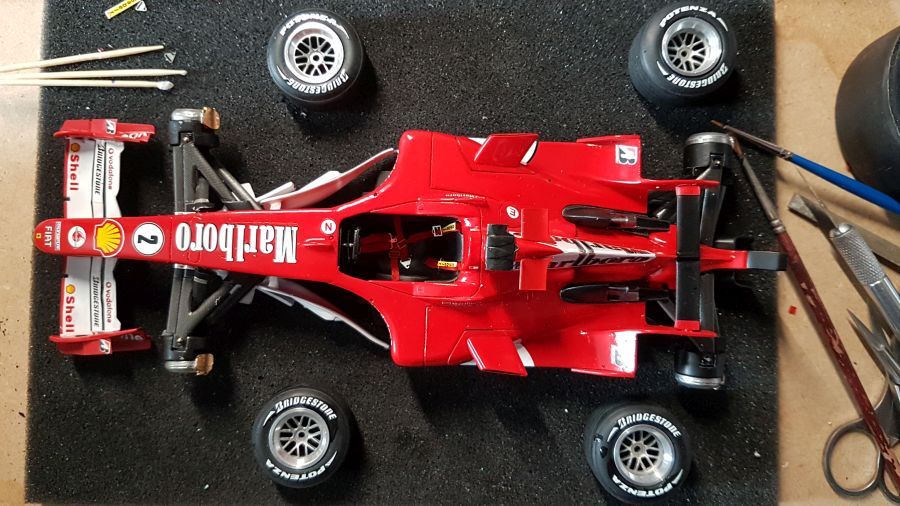
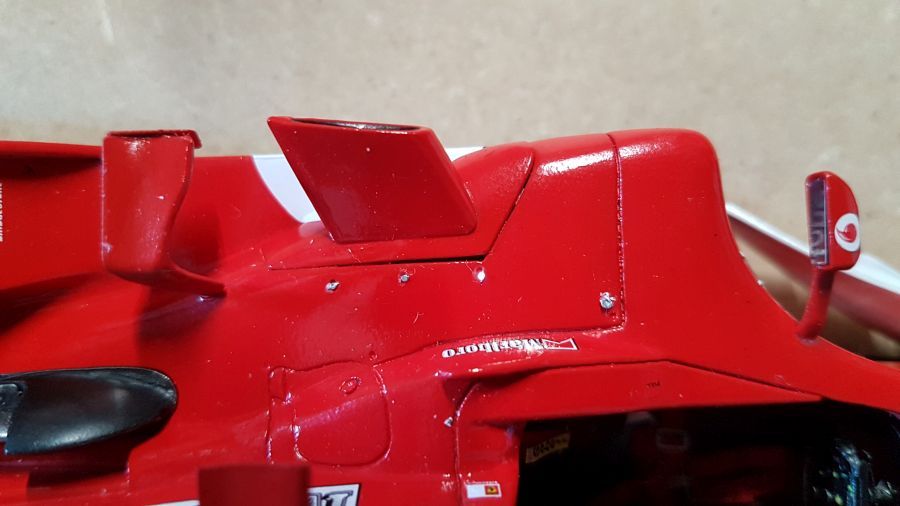
Meer onderdelen geplaatst..
More parts were added..
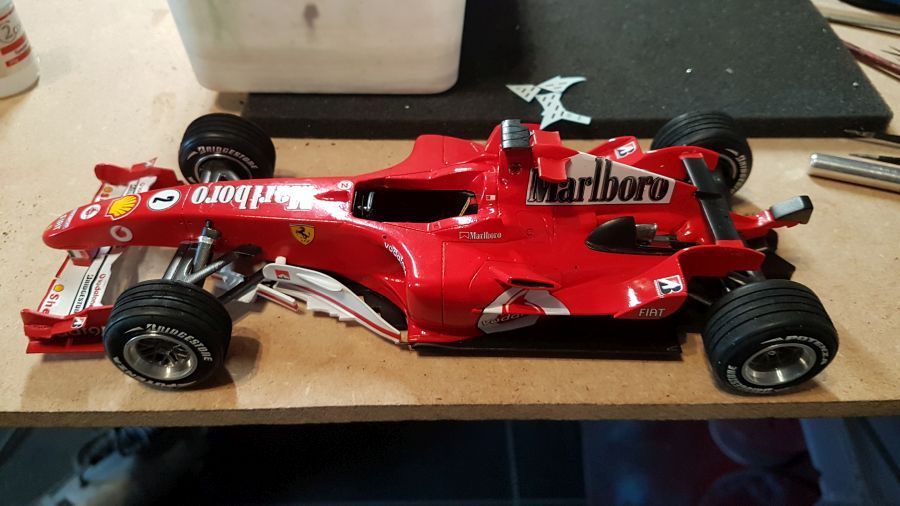
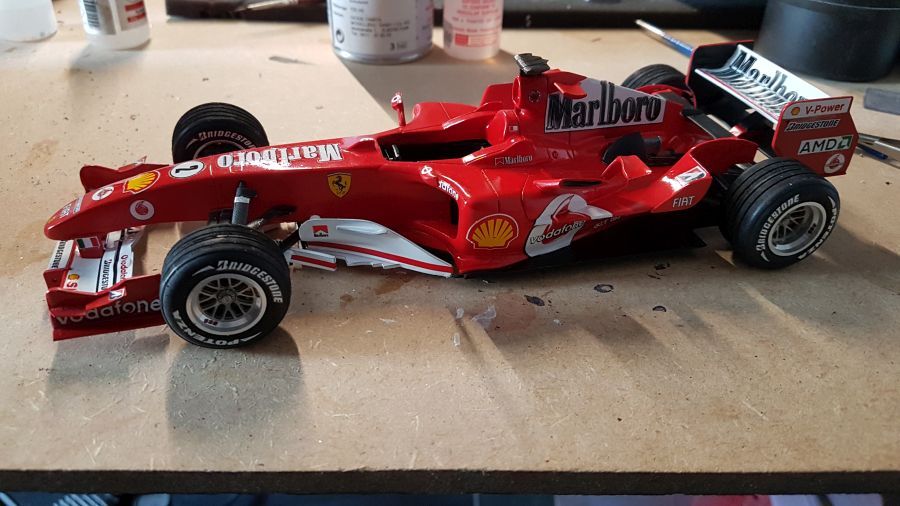
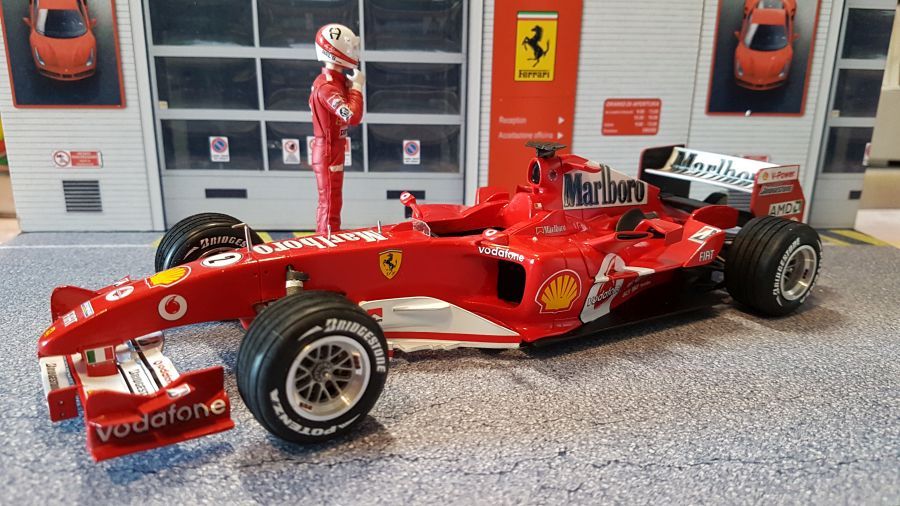
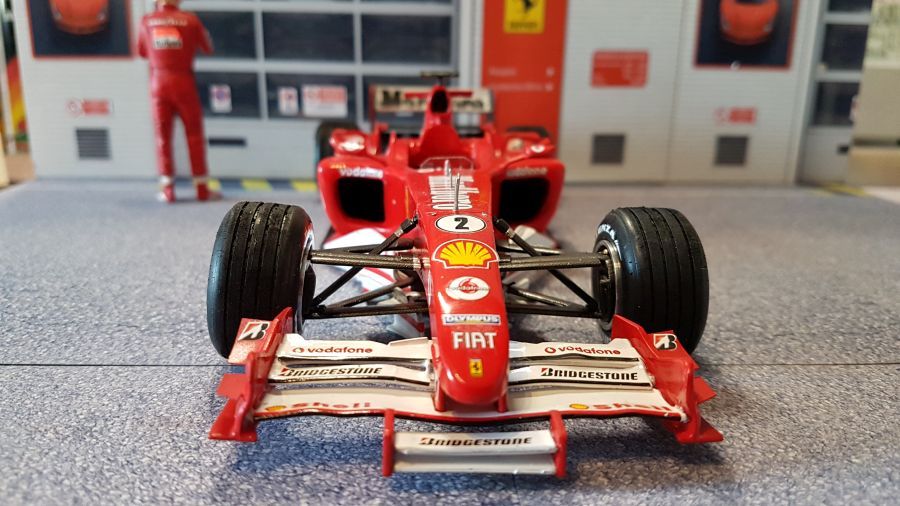
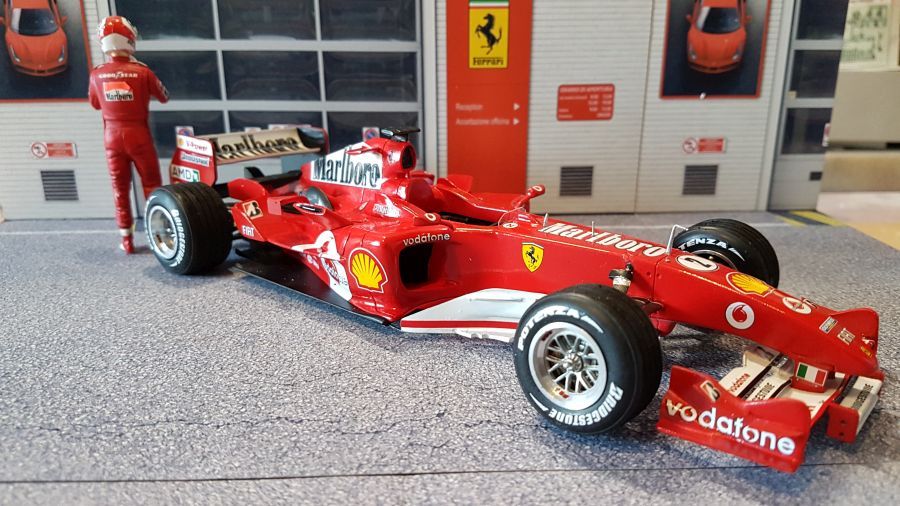
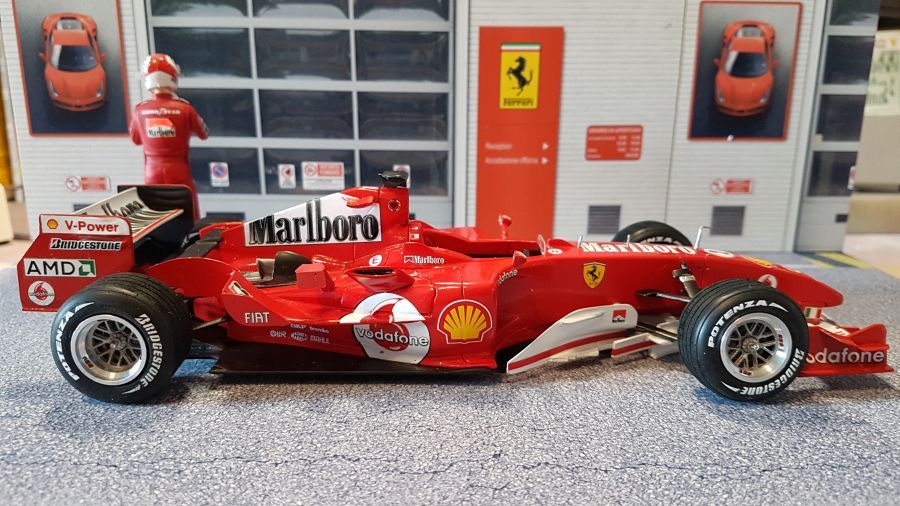
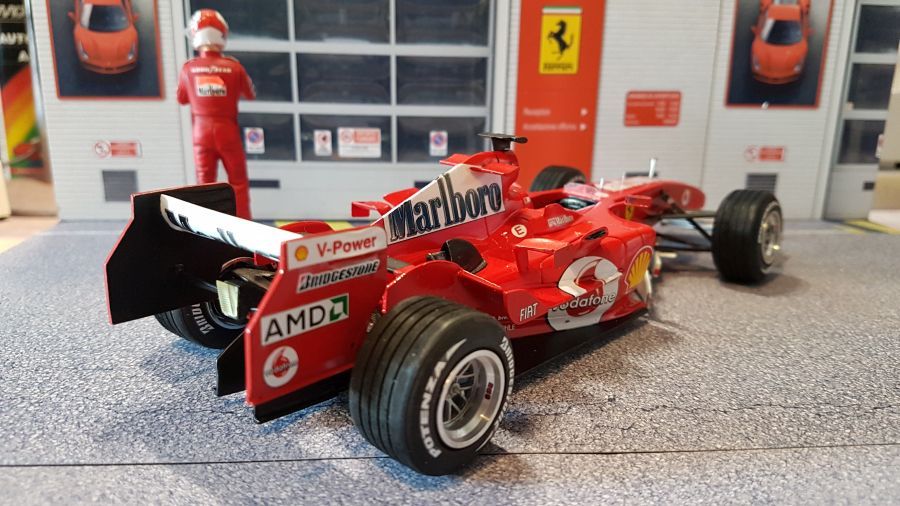
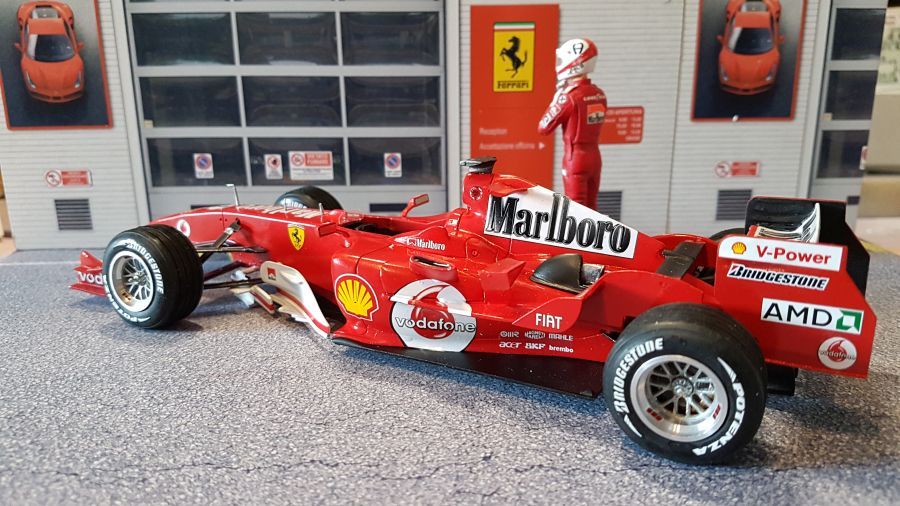
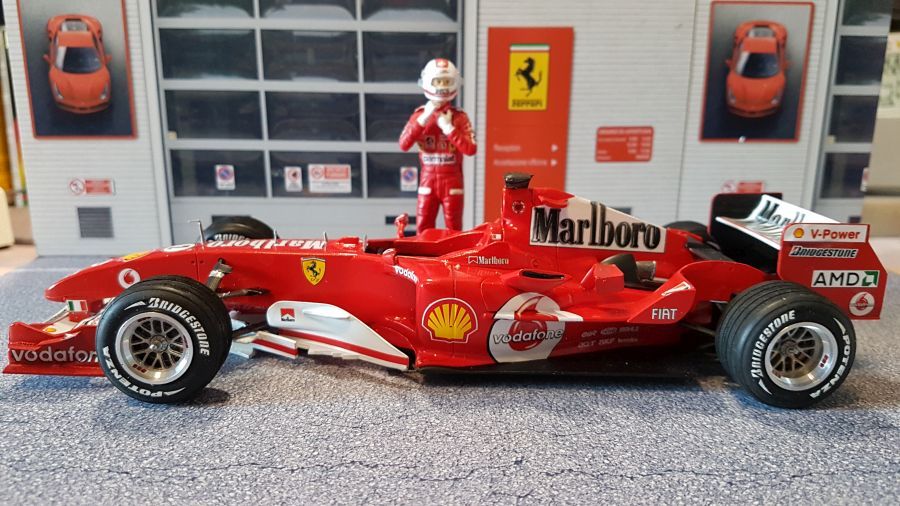
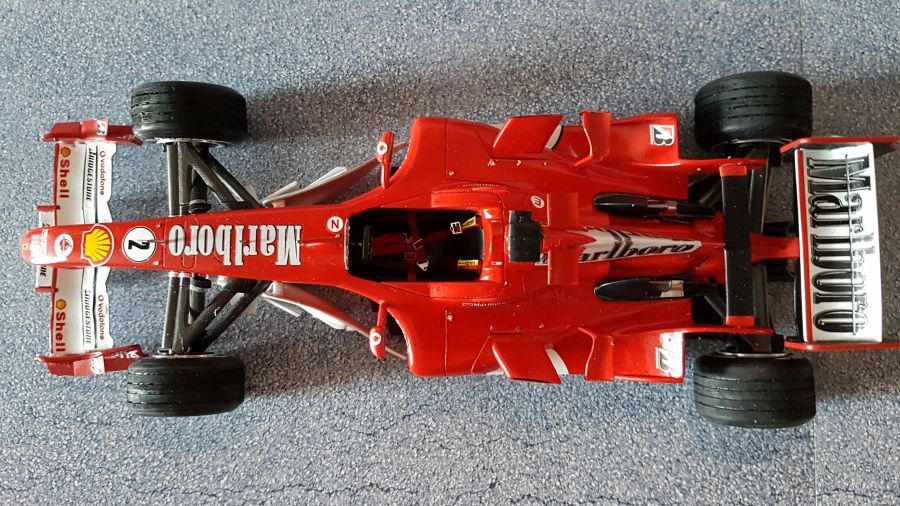
Ik denk dat ik deze als gedaan kan beschouwen. De figuur is niet uit de juiste tijd, maar vooruit. Tijd om een Schumacher te maken.
I think i can call this one done. The figure is not of the correct time, but .... Time to make a Schumacher figure.
Problemen met deze kit? Eigenlijk niet. Alleen met de decals was het uitkijken. De nummering was compleet verschillend van die van de gebruiksaanwijzing.
Problems with this kit. Actually none. Just the decals took some attention. The numbers on the decal sheet was completely different from that on the instructions.