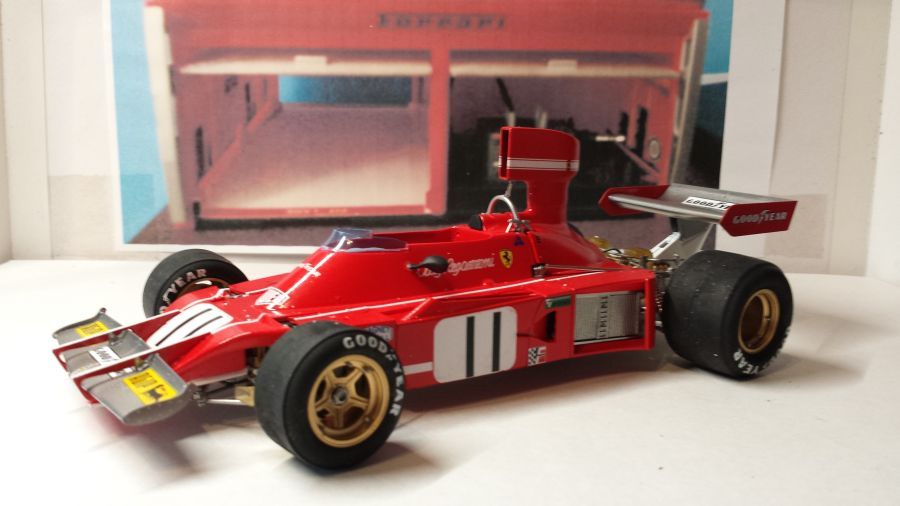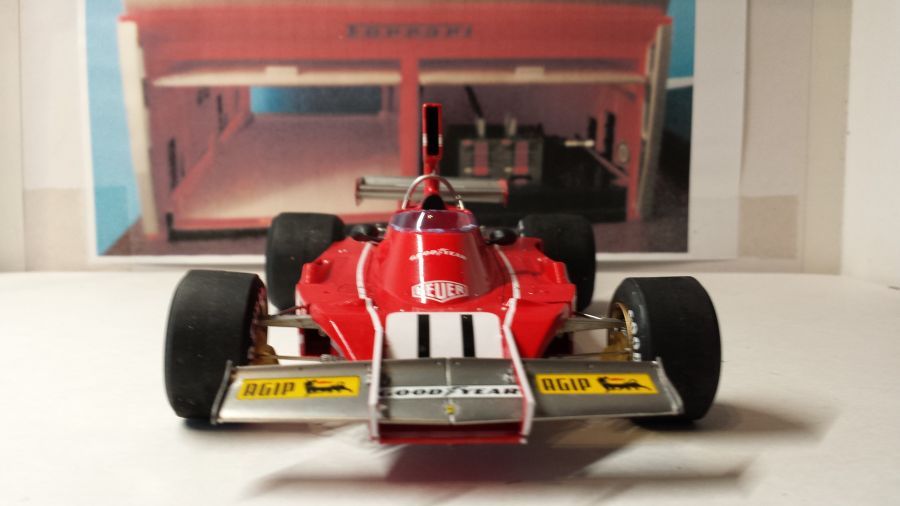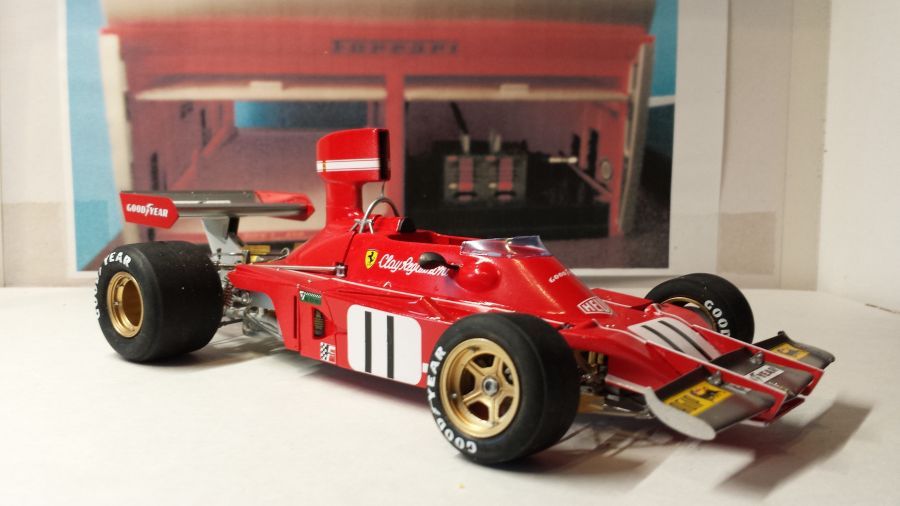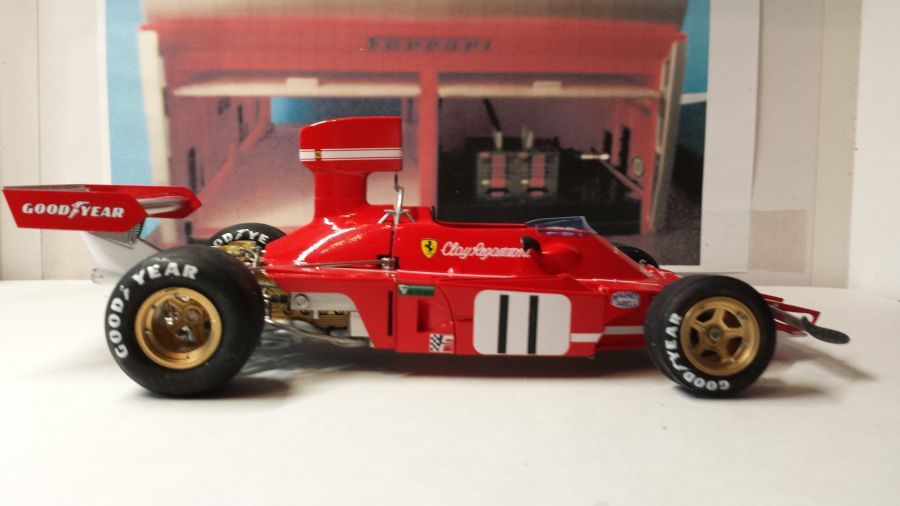
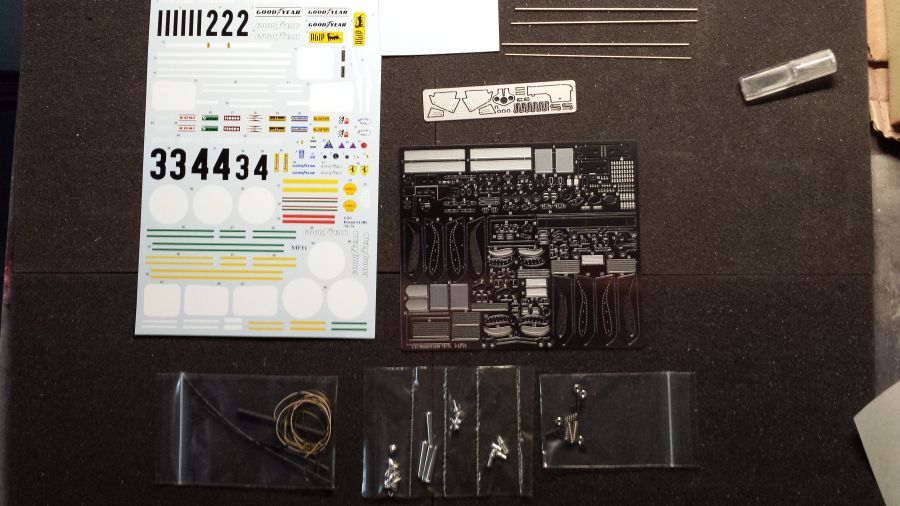
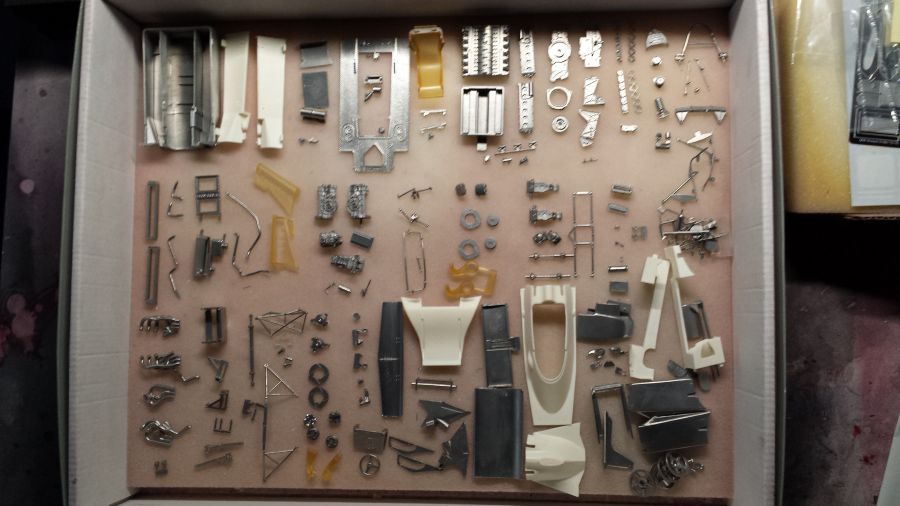
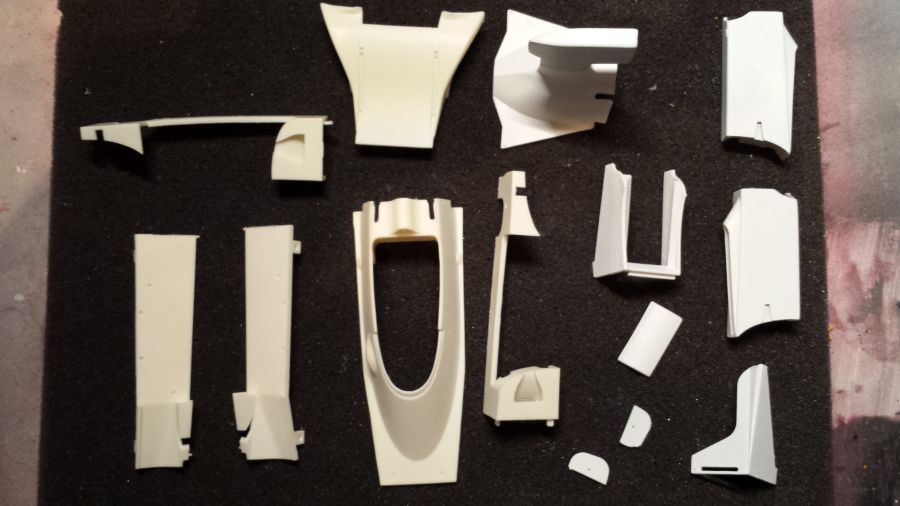
Nu de beschrijving van de bouw van Ferrari 312B3 zoals deze tijdens de GP van Argentinië in 1974 werd gereden door Clay Regazzoni. Het is een kit van Modelfactory Hiro (K-303). Eerst even alle metalen onderdelen schoonmaken in de tumbler en kijken of alles compleet is. Uiteraard eerst weer de foto's van de inhoud van de kit. Gelukkig blijkt het dit keer compleet te zijn.
Below the description of the build of the Ferrari 312B3 Argentina version as driven in 1974 by Clay Regazzoni. It is a kit from Modelfactory Hiro (K-303). First of all i will clean all metal parts by using my tumbler and see if it's complete. Of course at first a picture of the content of the kit. Luckily this time it looks to be complete.

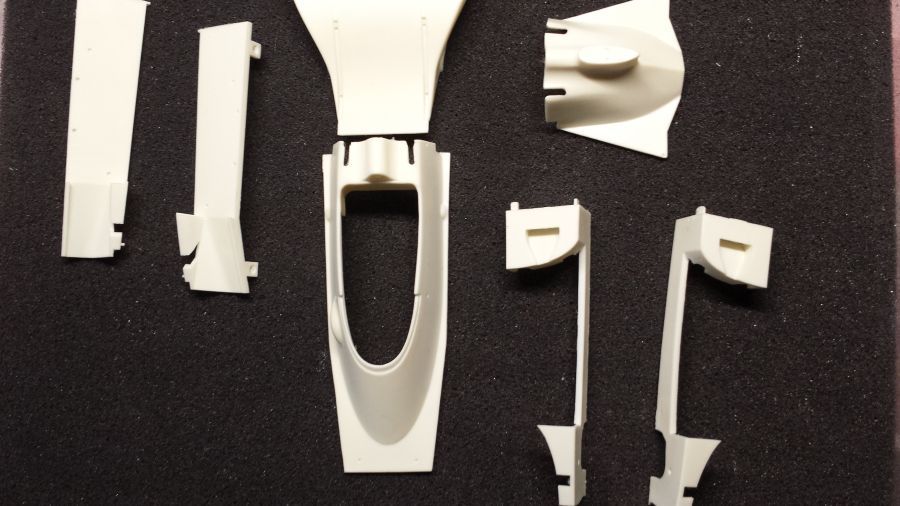
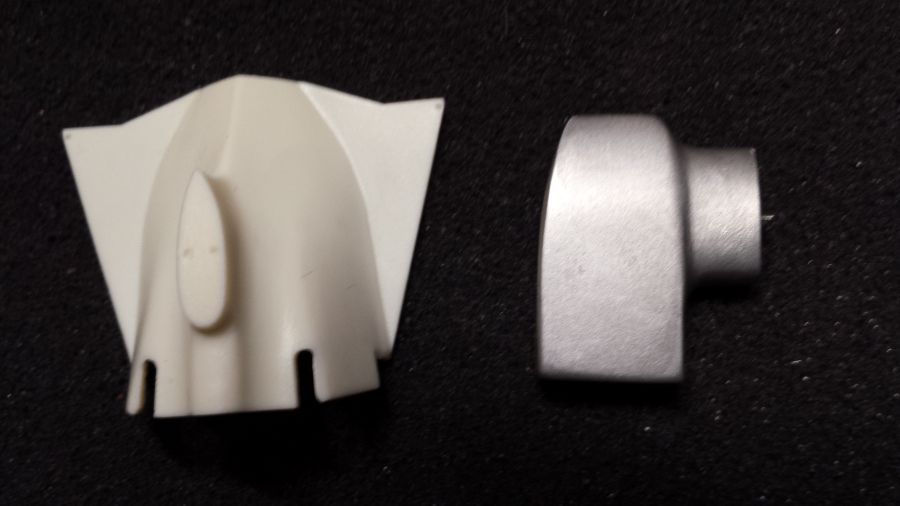
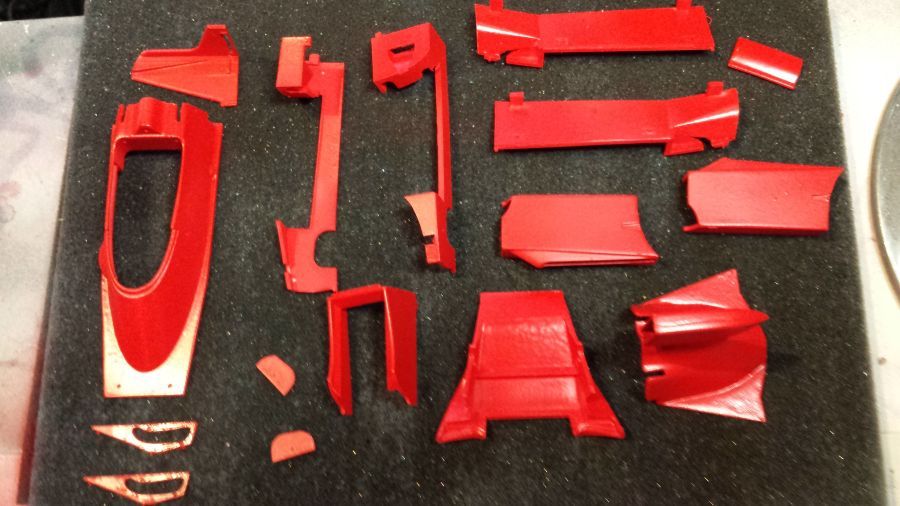
Eerst zal ik deze delen een beetje schoonmaken, grondverven en spuiten met Zero Paints ZP-1007 1970's-1980's Rosso Formula 1. Maar eerst zal ik de zgn. airbox in elkaar zetten, naden dichten met putty en schuren.
First i will clean up these parts, paint them with primer and Zero Paints ZO-1007 1970's-1980's Rosso Formula 1. But first i will assemble the airbox, fill the seams with putty and then sand it.
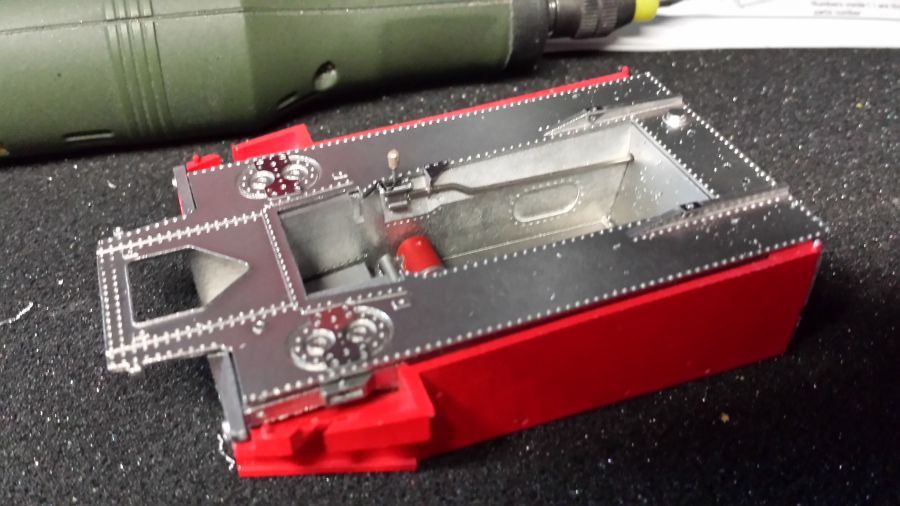
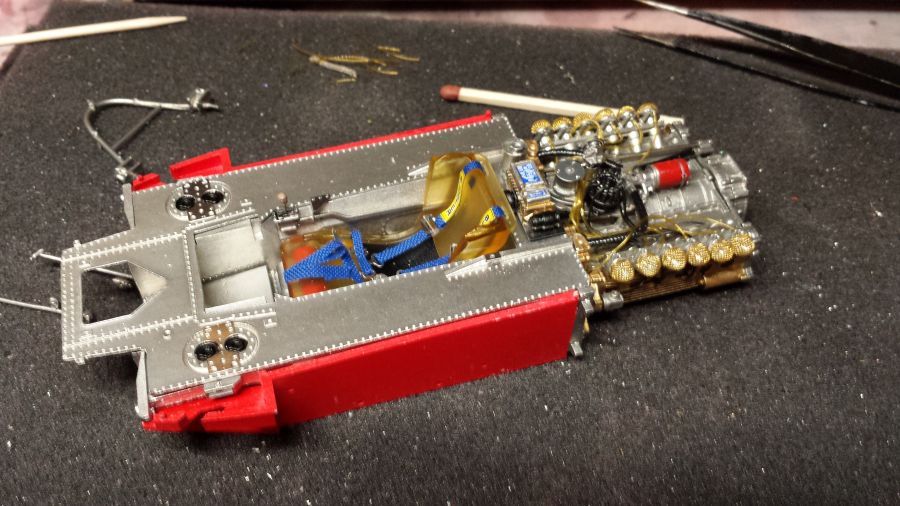
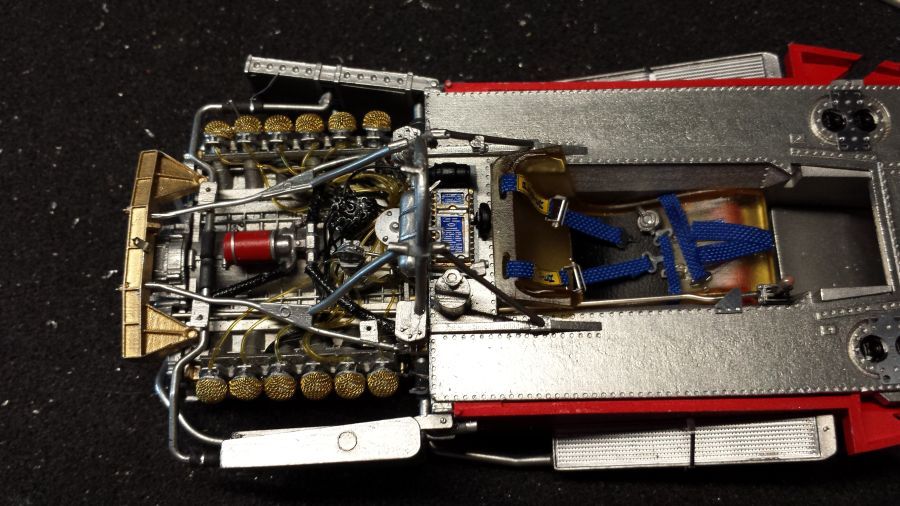
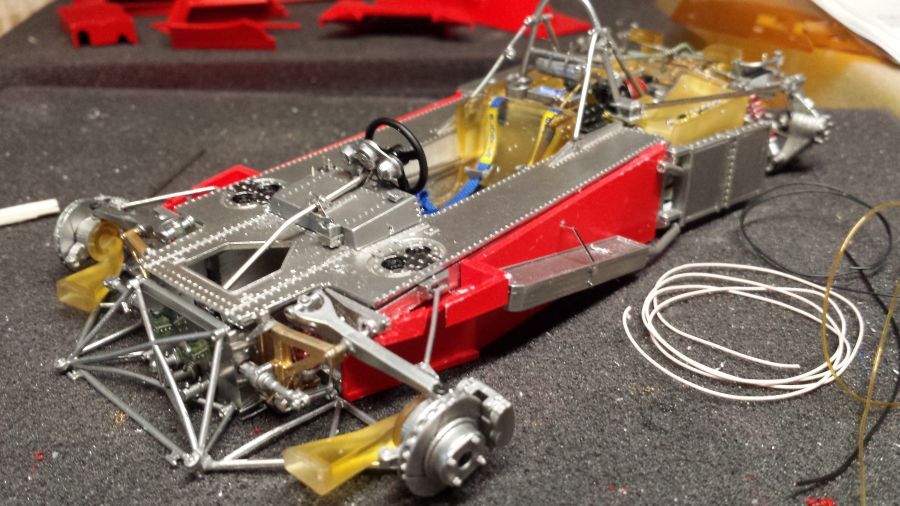
De eerste stappen van het werk aan de kuip.
The first steps of working on the tub.
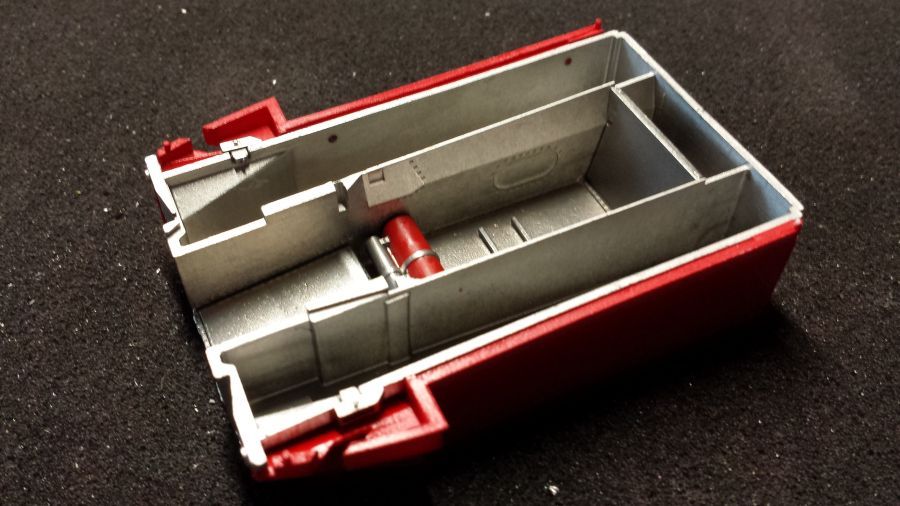
De versnellingspook en een paar kleine etched onderdelen zitten erin.
The gear shift and some minor etched parts are in.
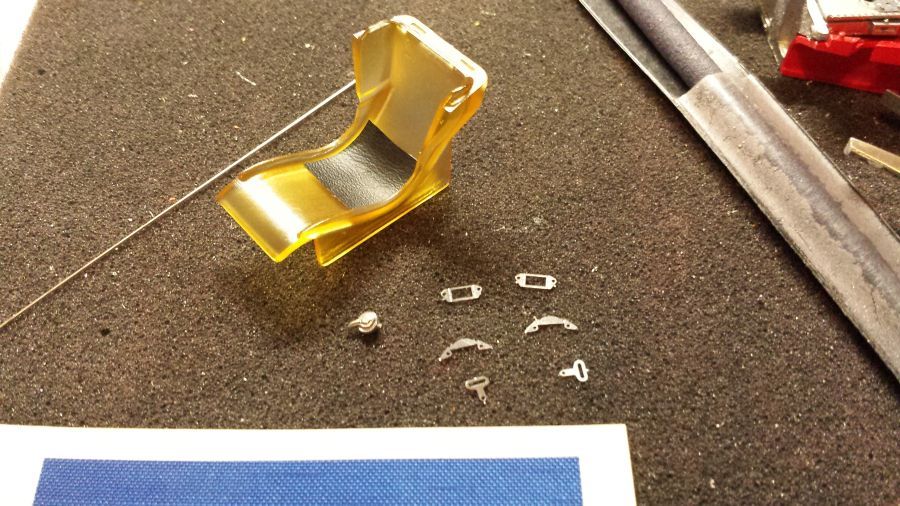
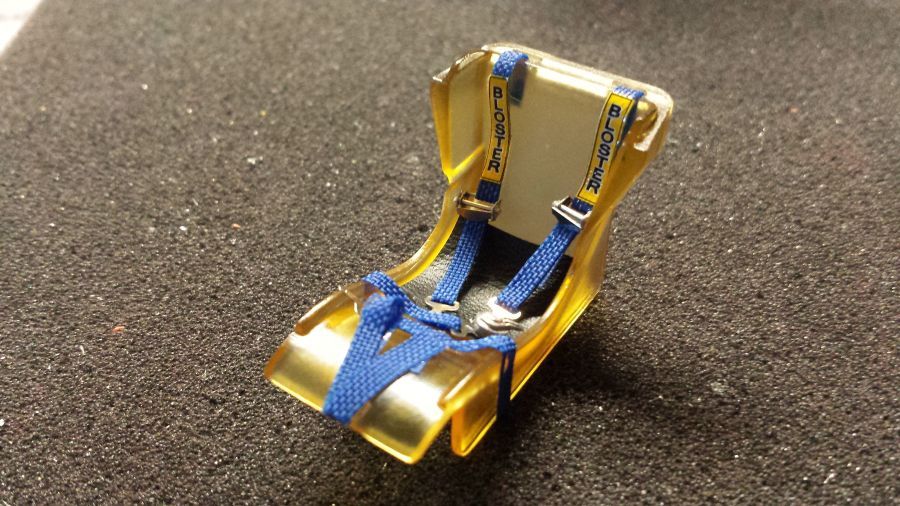
De stoel wordt klaargemaakt.
The preparation of the seat.
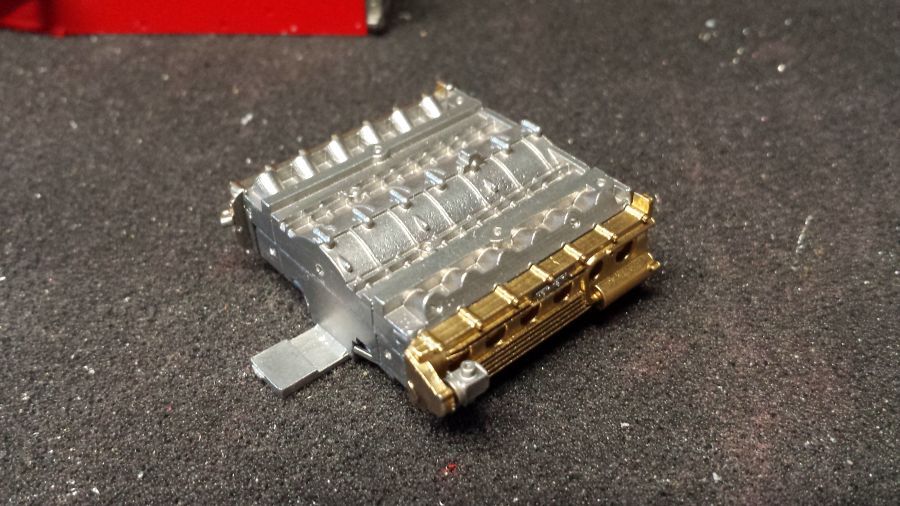
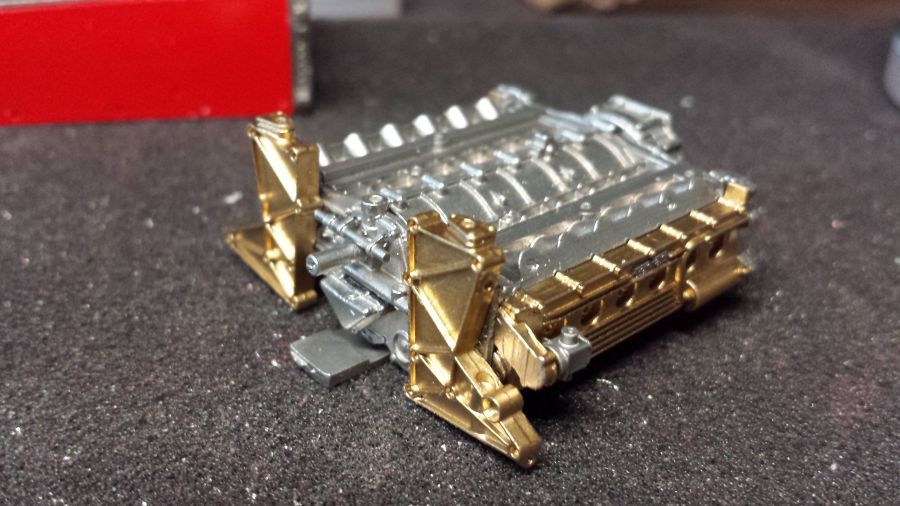
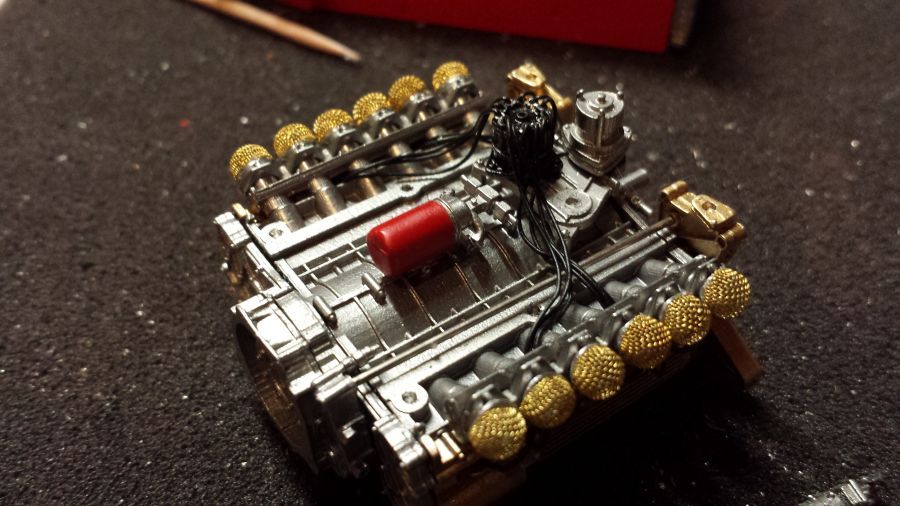
Daarna door met de motor.
After this continuing with the engine.
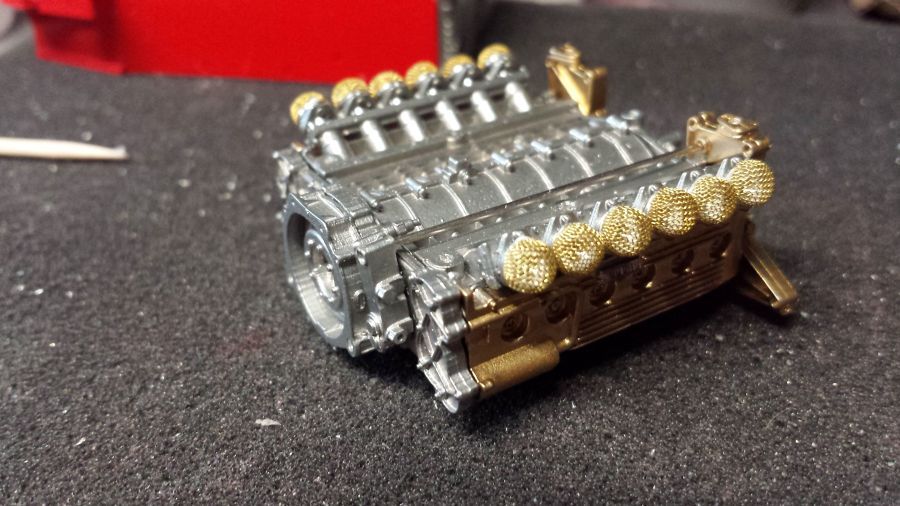
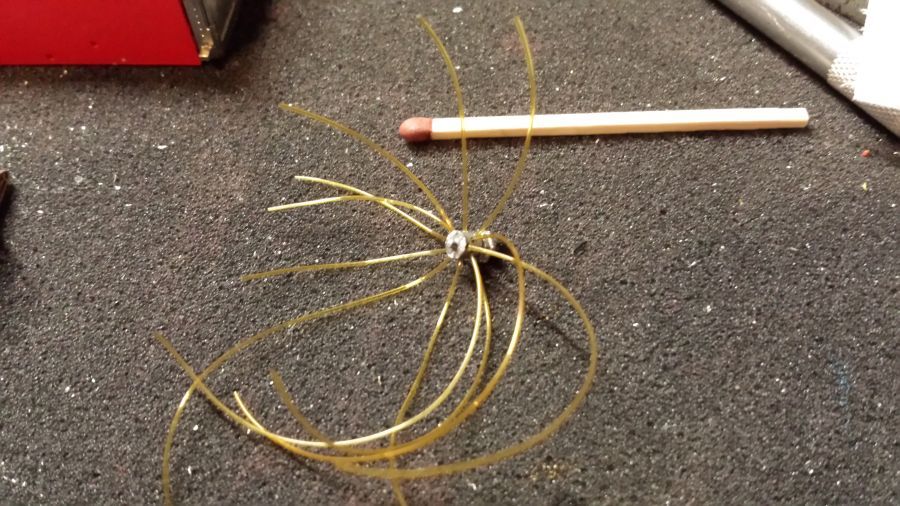
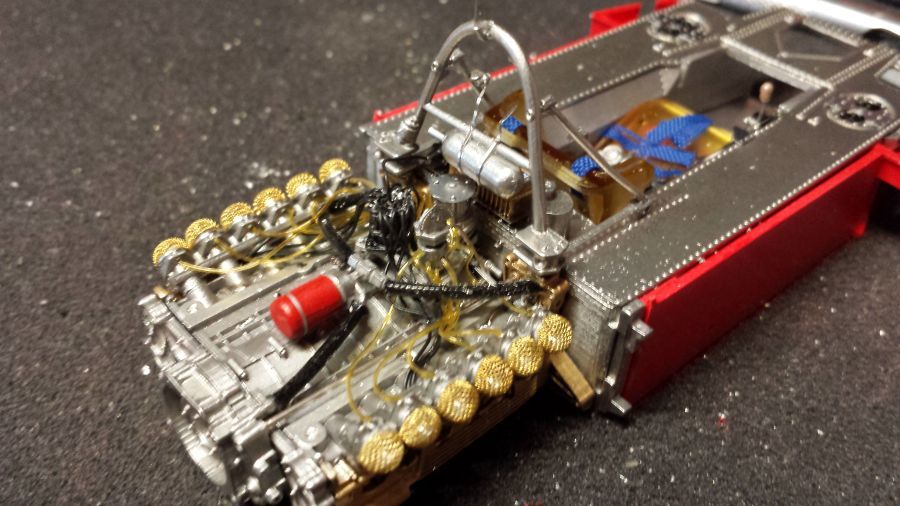
De ontsteking met de bougiekabels.
The ignition with the plug cords.
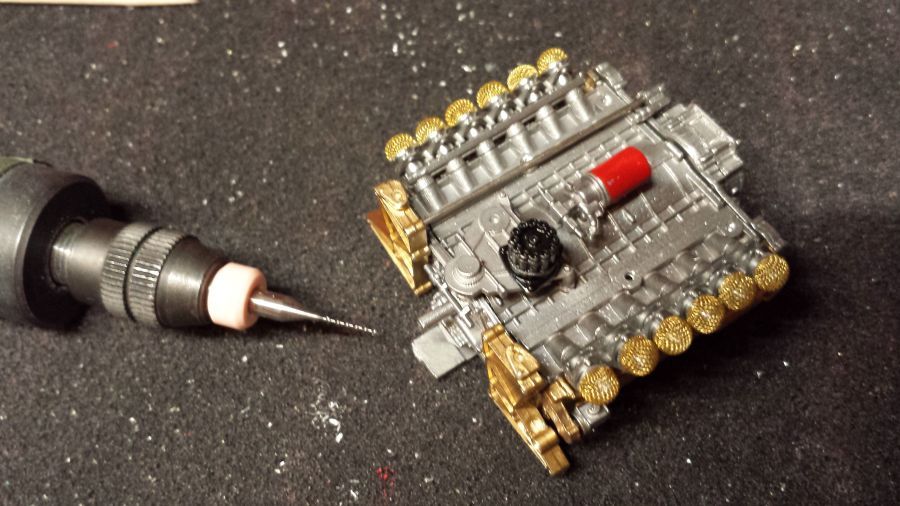
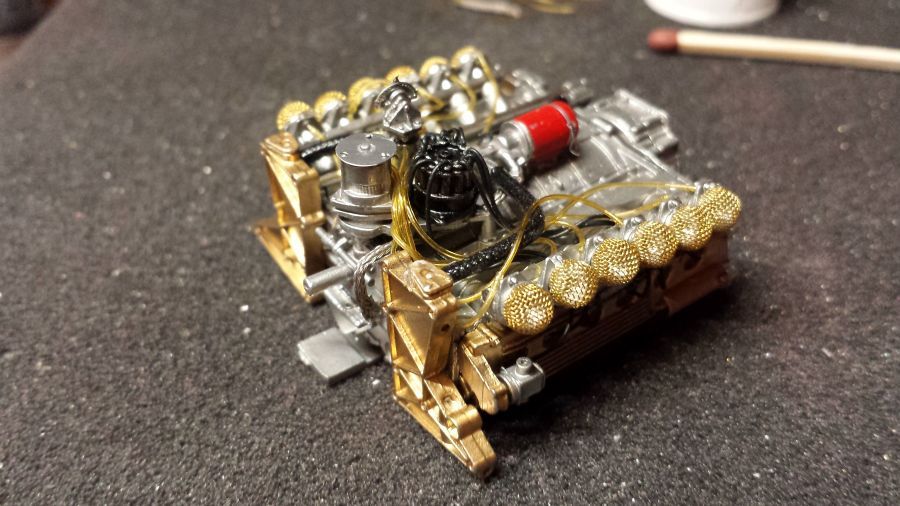
De benzinepomp met de leidingen.
The fuel pump with the fuel lines.
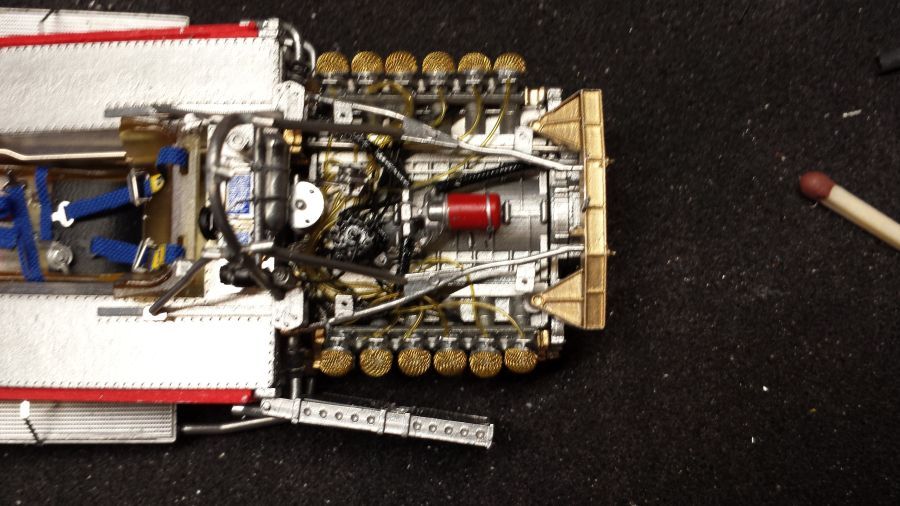
De pomp is geplaatst. De leidingen zet ik vast nadat nog een paar gevlochten leidingen zijn aangesloten. In dit proces zijn een paar covers losgekomen. Deze zet ik altijd vast met Micro Kristal Clear, dus er is niets aan de hand.
The pump is in it's place. The lines will be connected after attaching some braided lines. During this process some covers came off. No problem as i always attach them with Micro Kristal Clear.

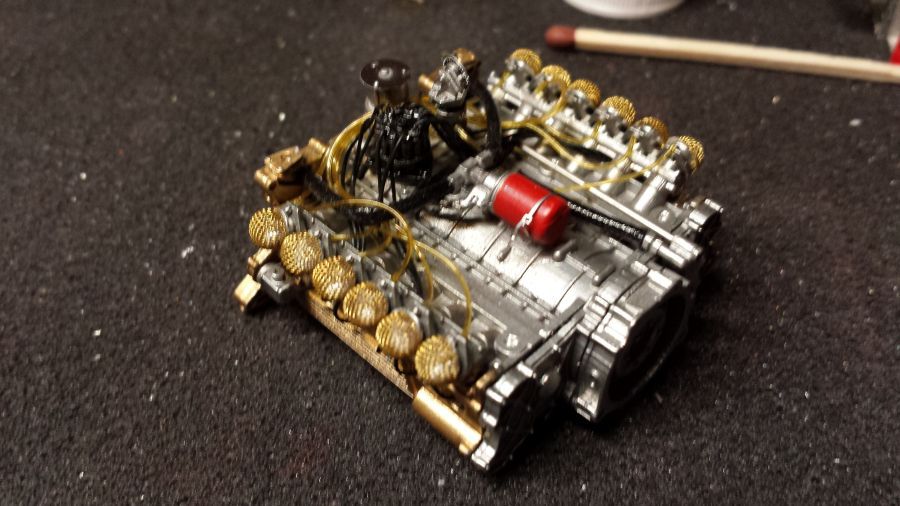
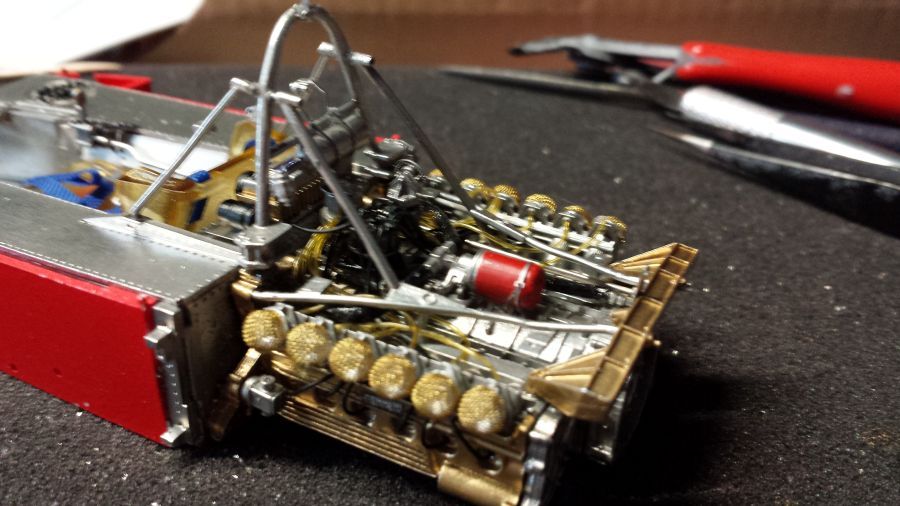
Na 2 uren werk. Mijn ogen worden niet beter. :-)
After 2 hours of work. My eyes are getting worse. :-)
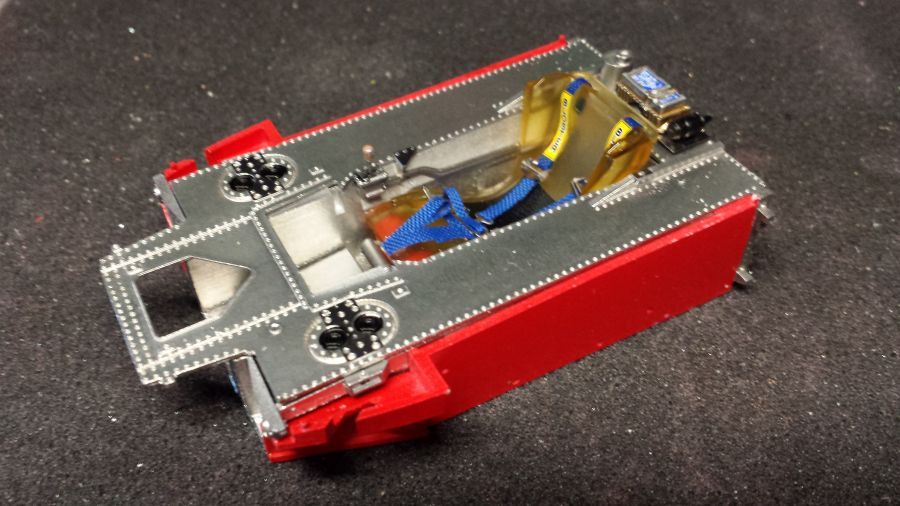
En weer een 'huwelijk'.
And another 'marriage'.
De rolbeugel.
The safety bar.
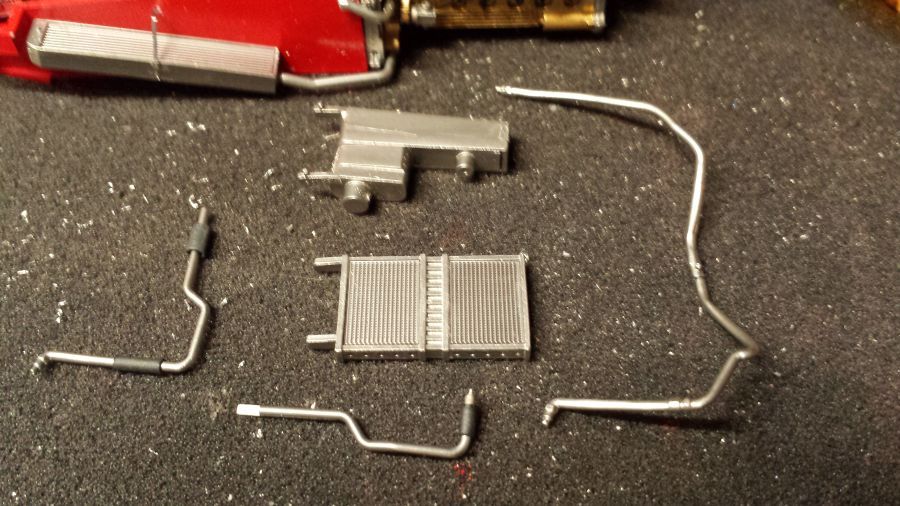
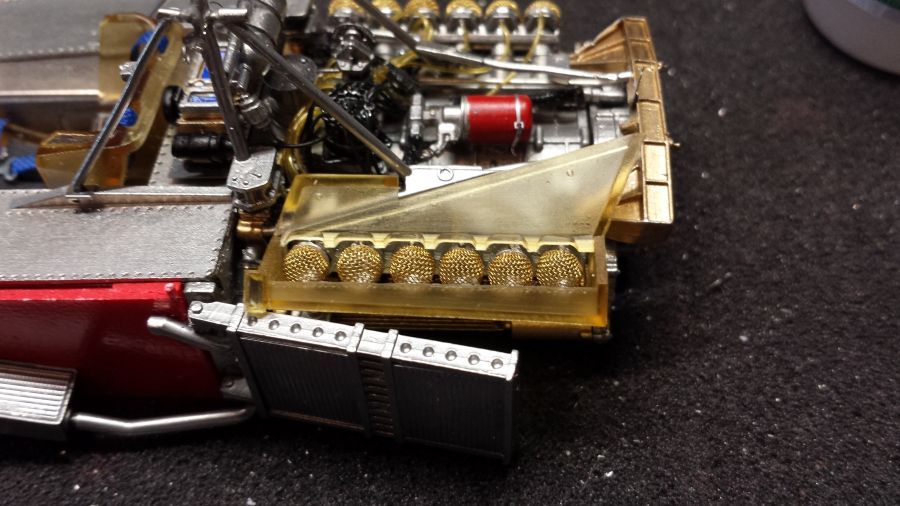
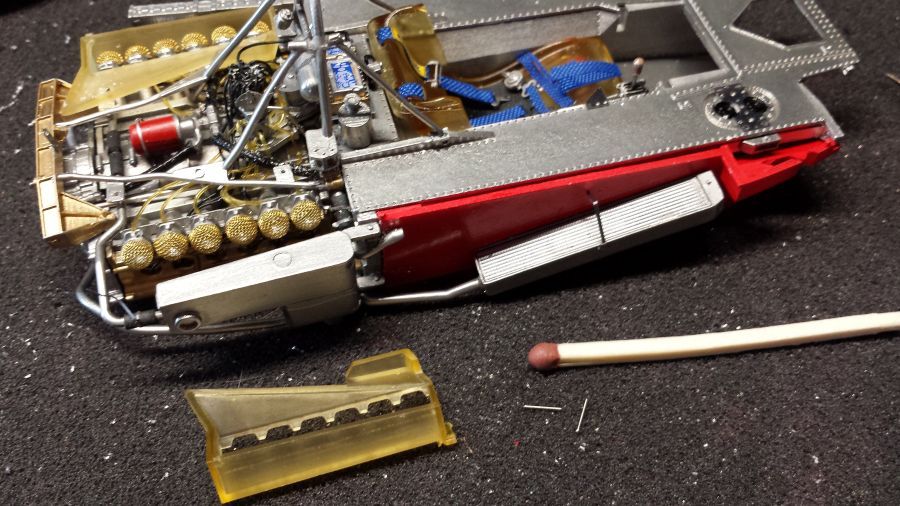
Het werk aan de koeling.
Working on the cooling.
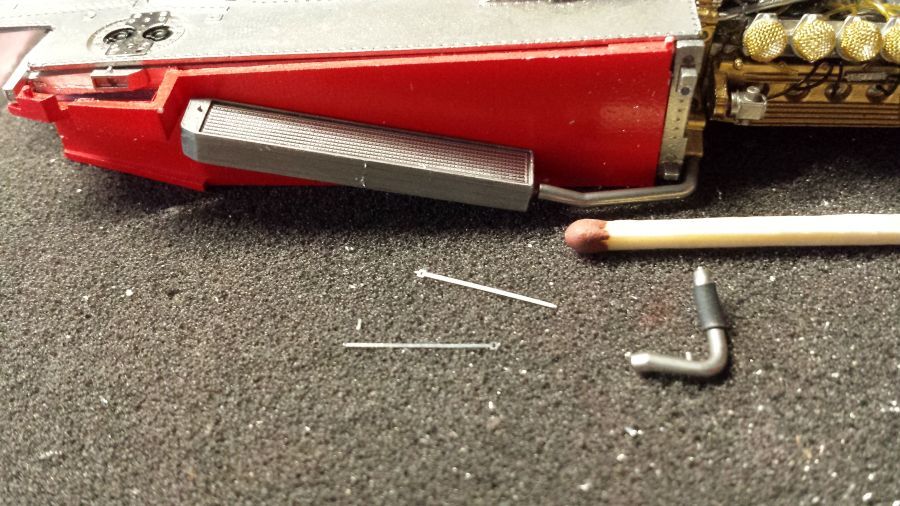
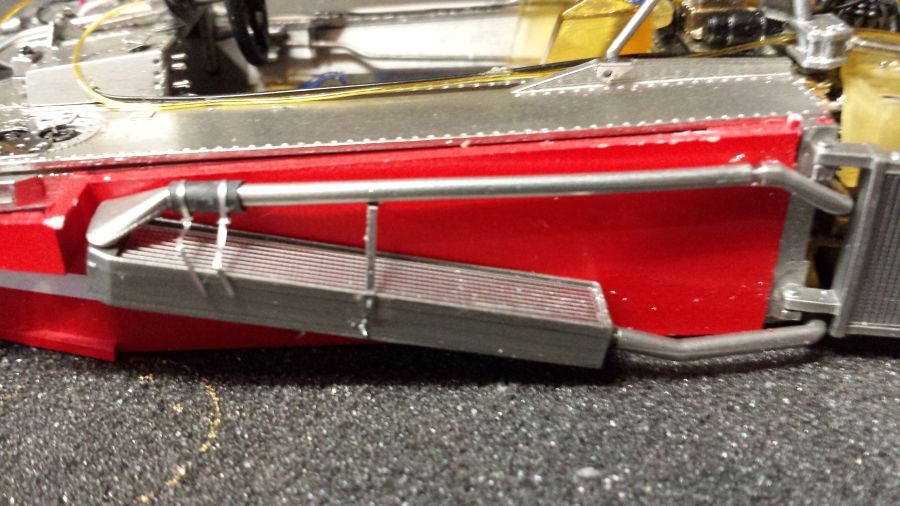
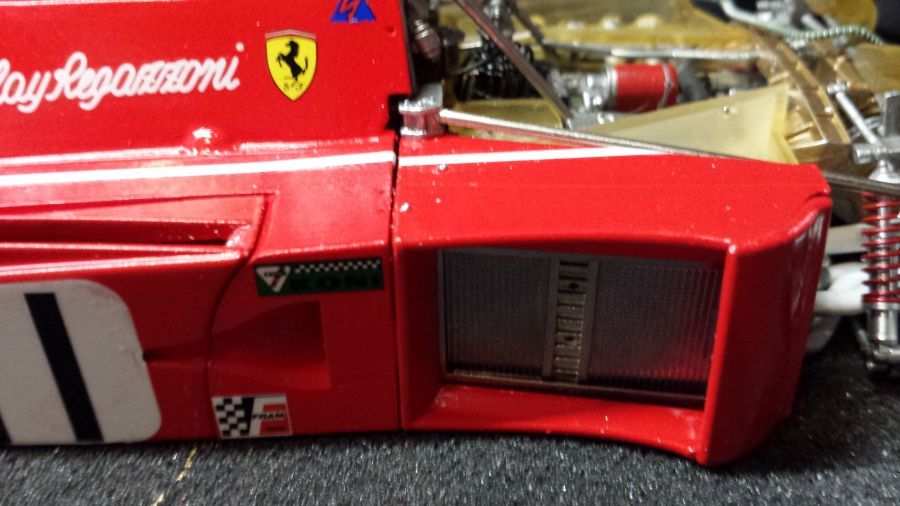
De volgende koeler wordt aan de body vastgemaakt. Zorg ervoor dat deze goed uitgelijnd wordt. De koeler moet niet parallel aan de motor worden bevestigd, maar wat naar buiten gericht. Deze ruimte ben je ook nodig om later
de doorzichtige covers aan te kunnen brengen.
The next cooler will be attached to the body. Be sure to follow the correct line. It must not be lined up parallel to the engine, but a bit outwards. You will also need the space to be able to attach the translucent covers at a later time.

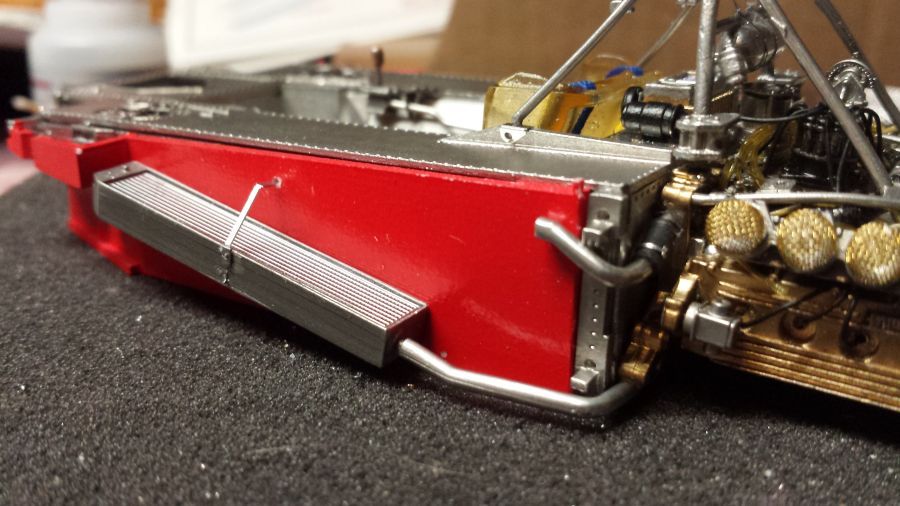
De leidingen en tie raps zijn aangebracht.
The piping and tie raps have been applied.
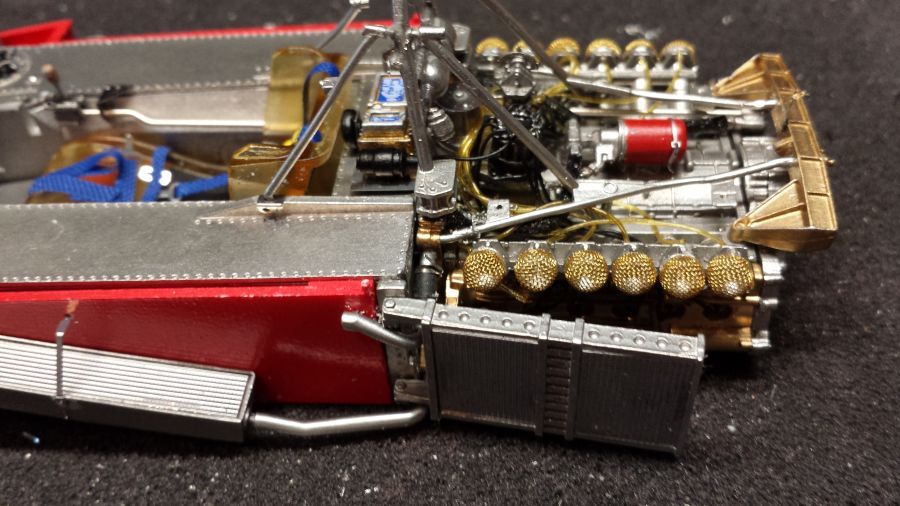
De afdekkingen worden gemonteerd met kleine pennetjes.
The covers are mounted with help of rivets.
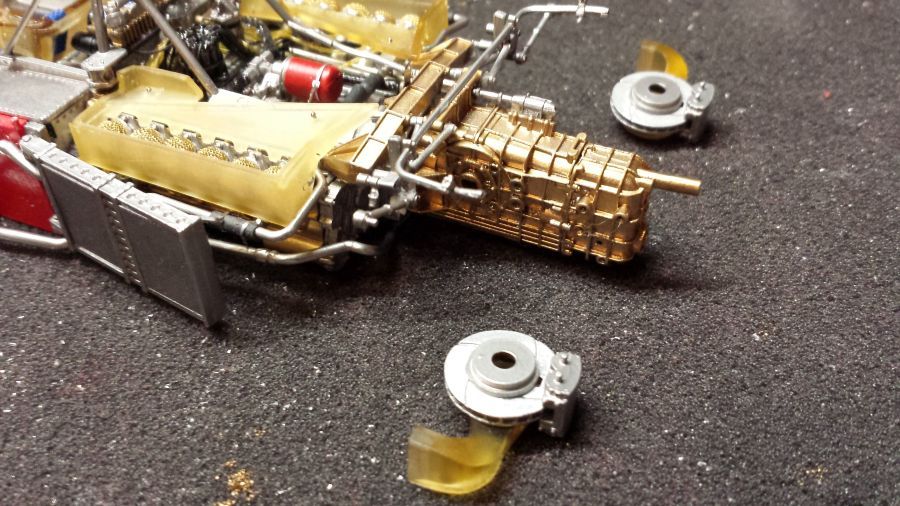
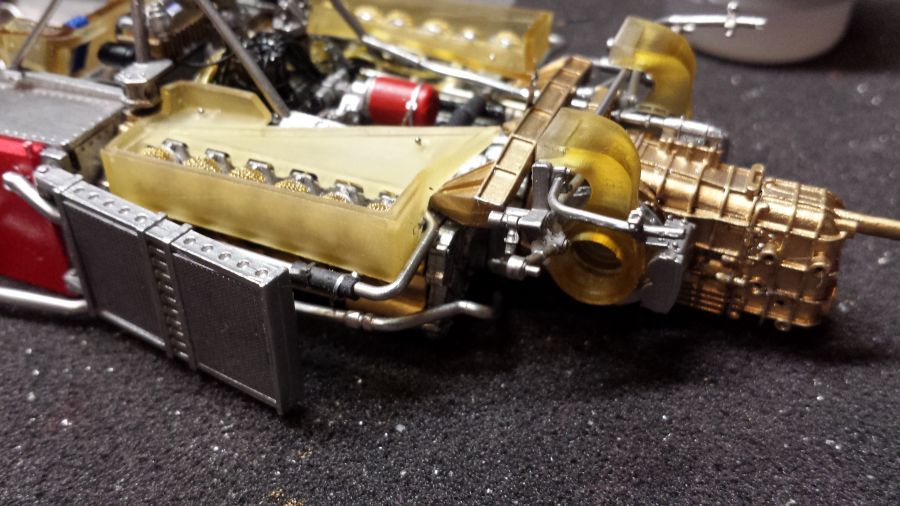
Nu door met de versnellingsbak.
Now to continue with the gearbox.
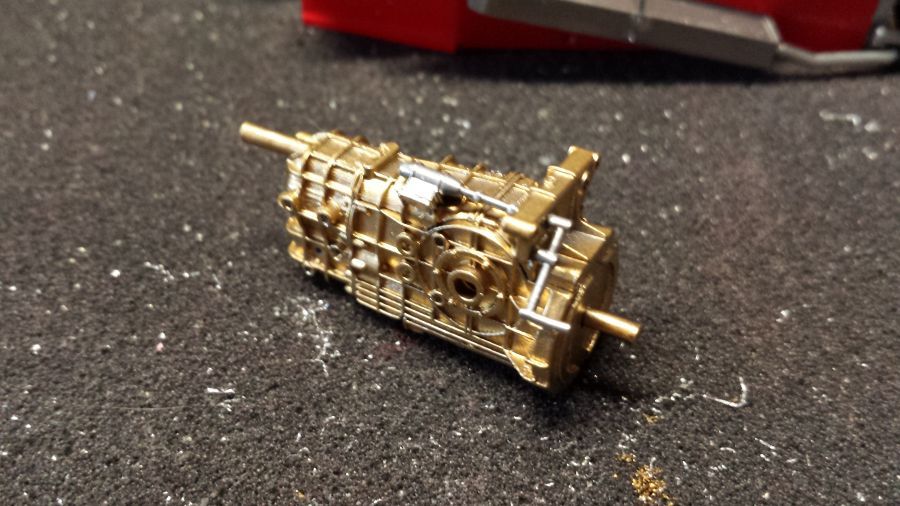
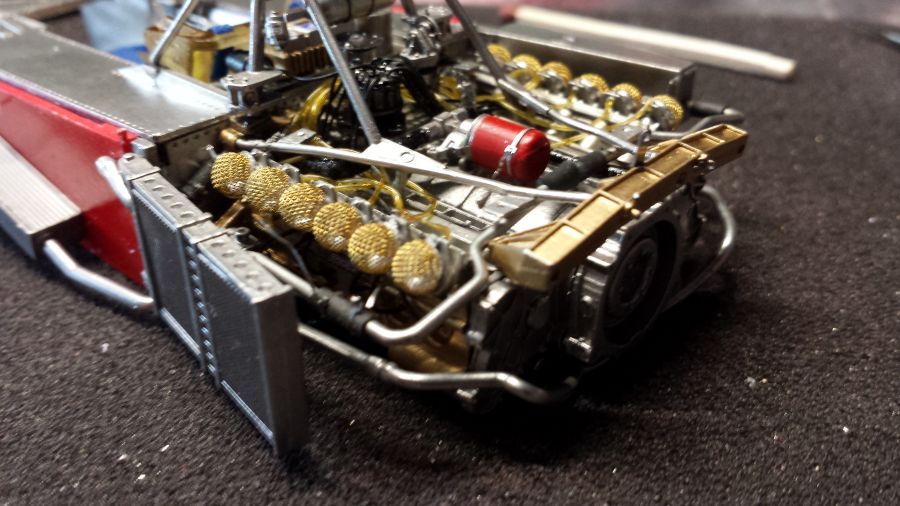
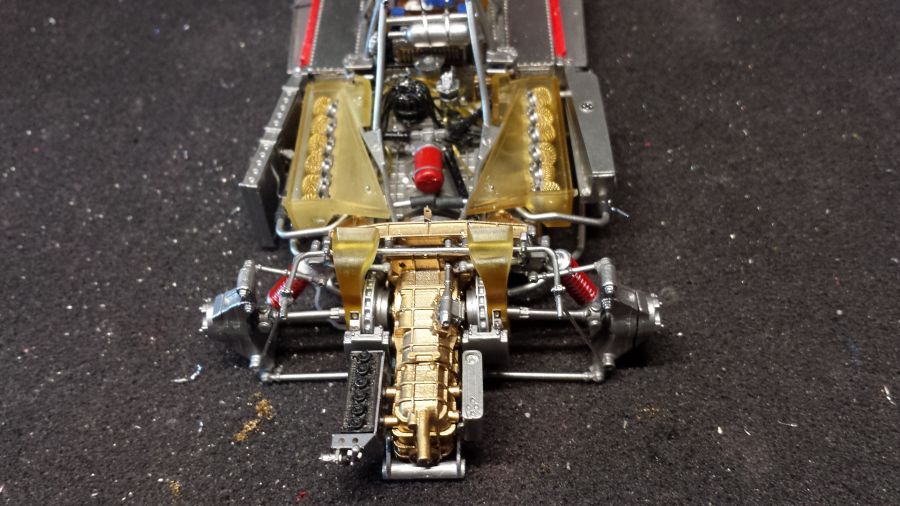
De delen van de achterwielophanging zijn aan de versnellingsbak vastgezet. Deze deeltjes zijn zo klein en fragiel, dat ik besloten heb de bak alvast aan de motor vast te zetten. Dit helpt ook met het juist stellen van de eerste delen van de ophanging.
Some parts of the rear wheel suspension have been attached to the gear box. These parts are very small and fragile, so i decided to attach the gear box to the engine right away. It also helps to be sure the parts are attached the correct way.
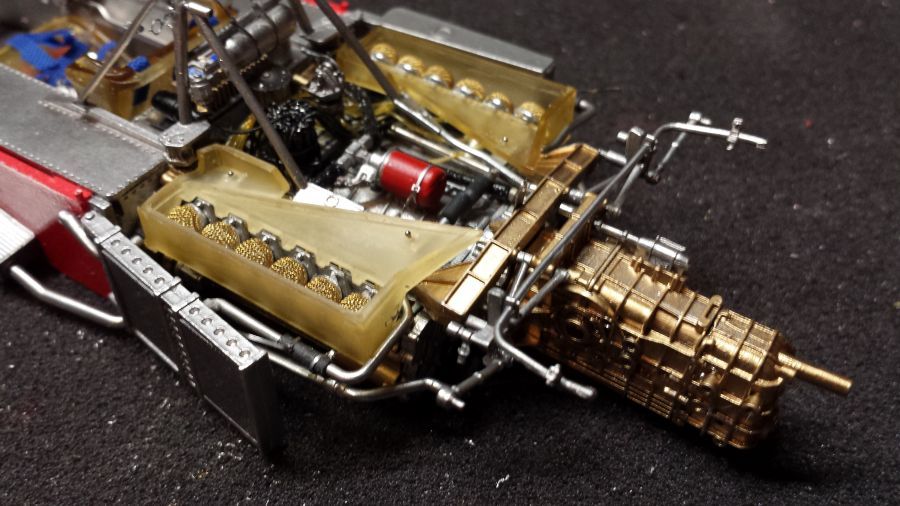
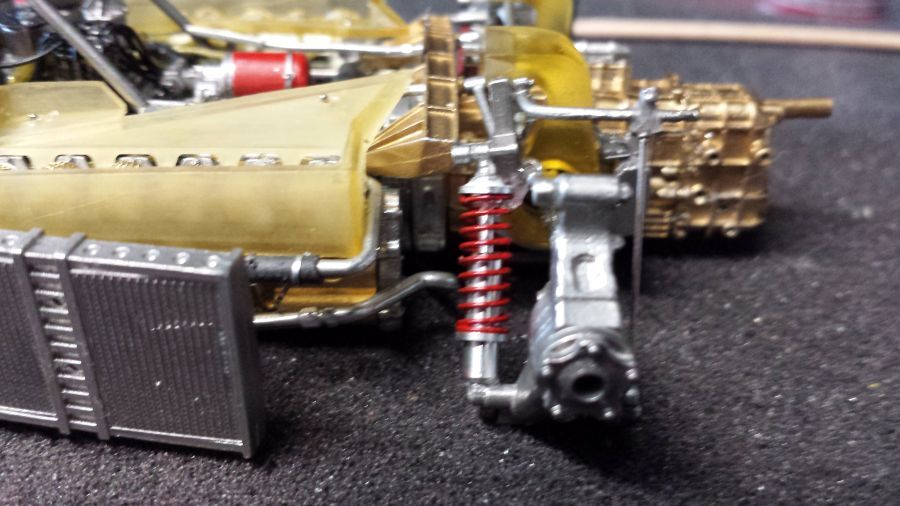
De assen, achterwielophanging en de dempers zijn aan de beurt.
Next are the axles, the rear wheel suspension and the dampers.

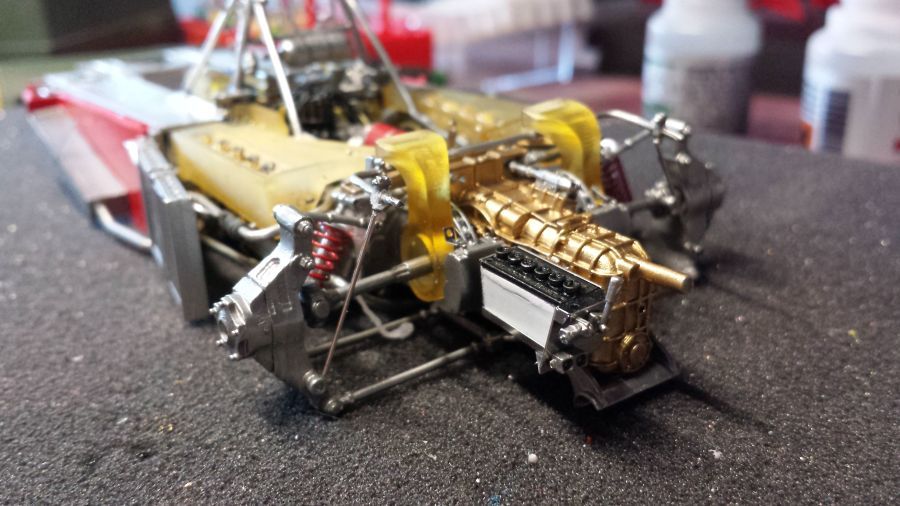
De accu is geplaatst.
The battery has been attached.
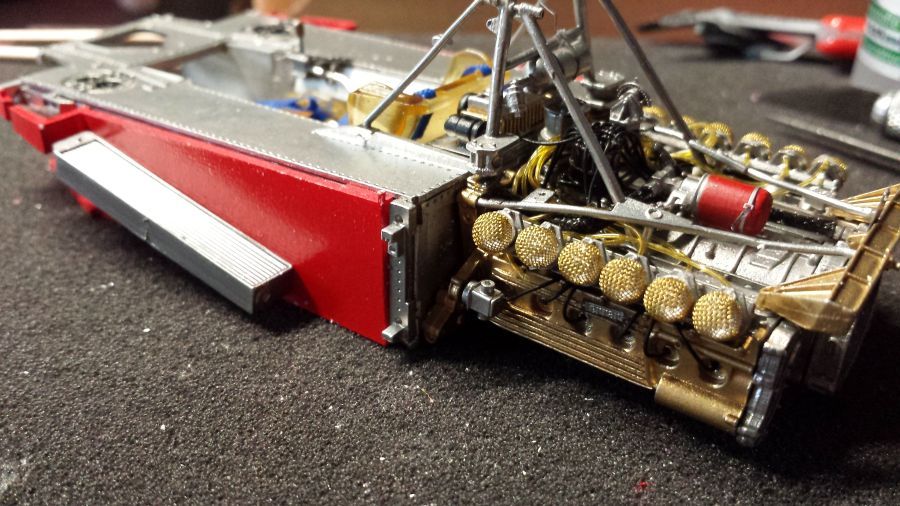
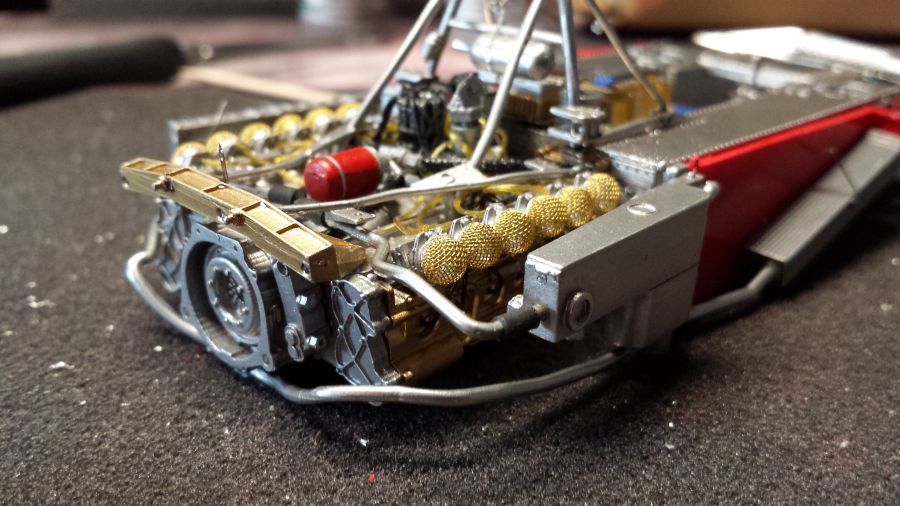
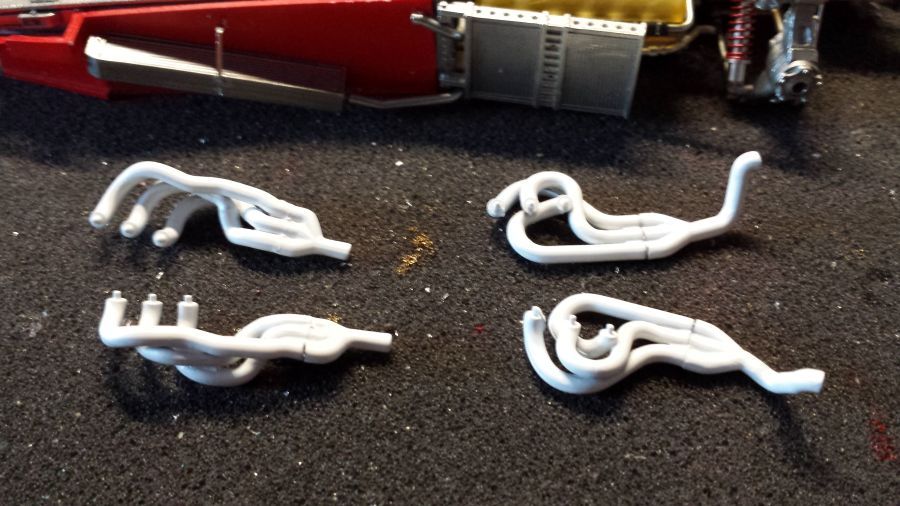
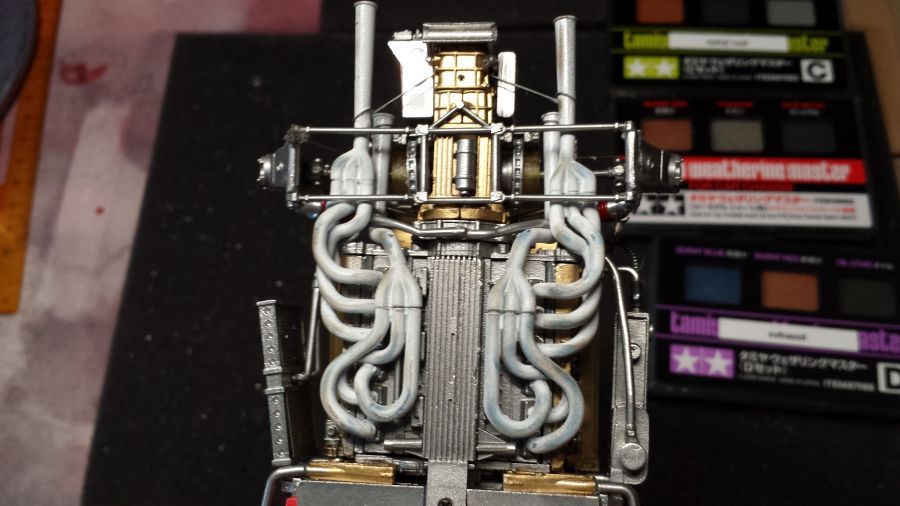
De uitlaatpijpen worden gemaakt.
The exhausts under construction.
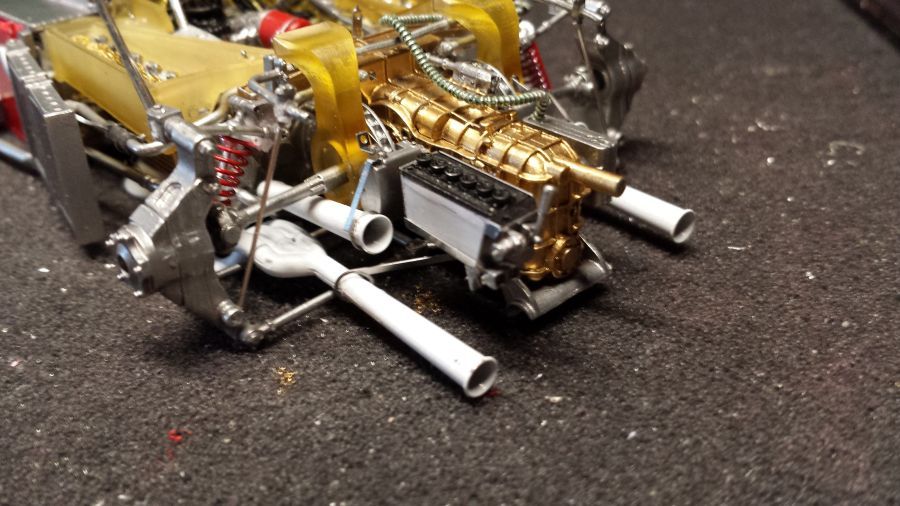
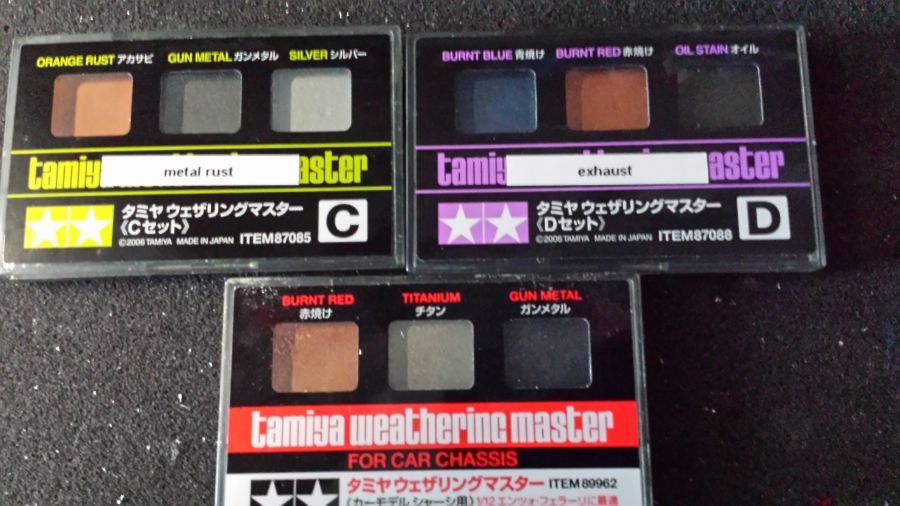
De uitlaten zijn gemonteerd. Ik ga ze wat bewerken met behulp van Tamiya Weathering Sets. Het mooiste zou zijn om dit vooraf te doen. Het is echter een vettig poeder. Vooraf bewerken laat alleen maar vingerafdrukken achter.
The exhausts have been mounted. I will work on them by using Tamiya Weathering Sets. It would be more nice to be able to do this upfront. However it is some kind of greasy powder. Doing this upfront would only result in many fingerprints.
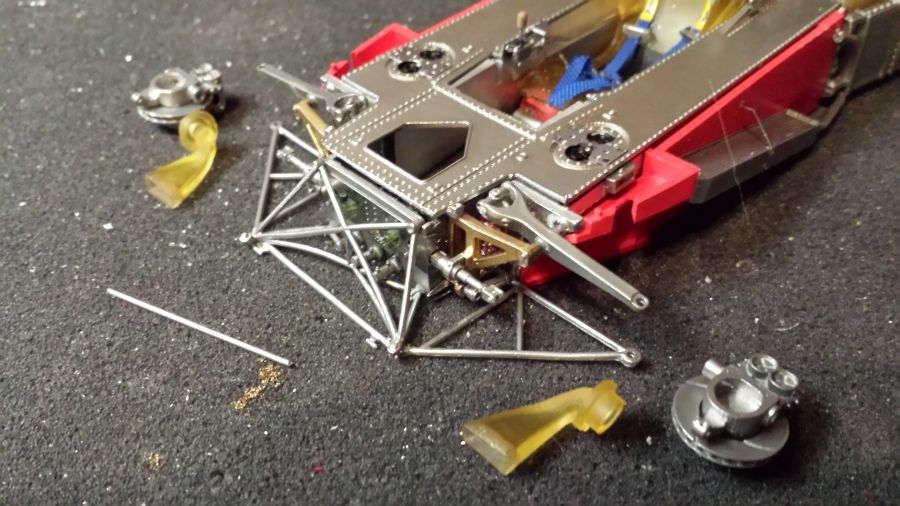
Door met de voorkant van de auto.
Continuing with the front of the car.
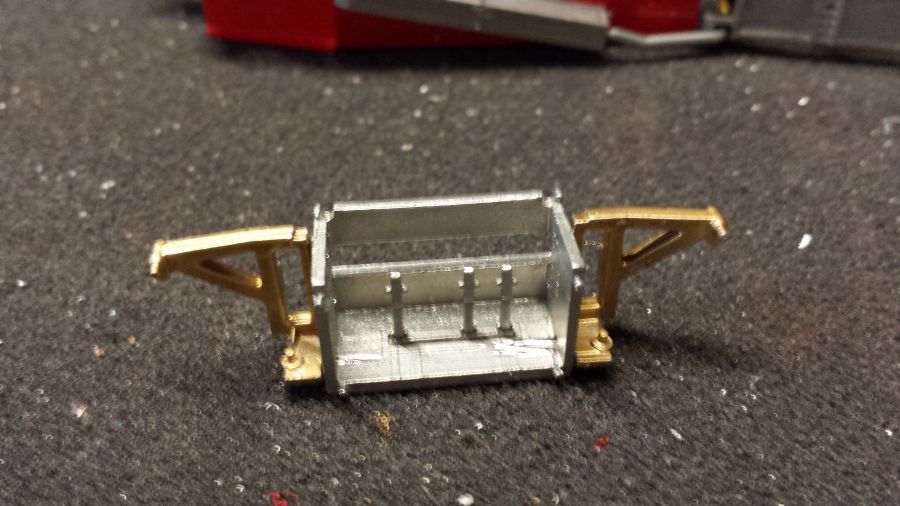
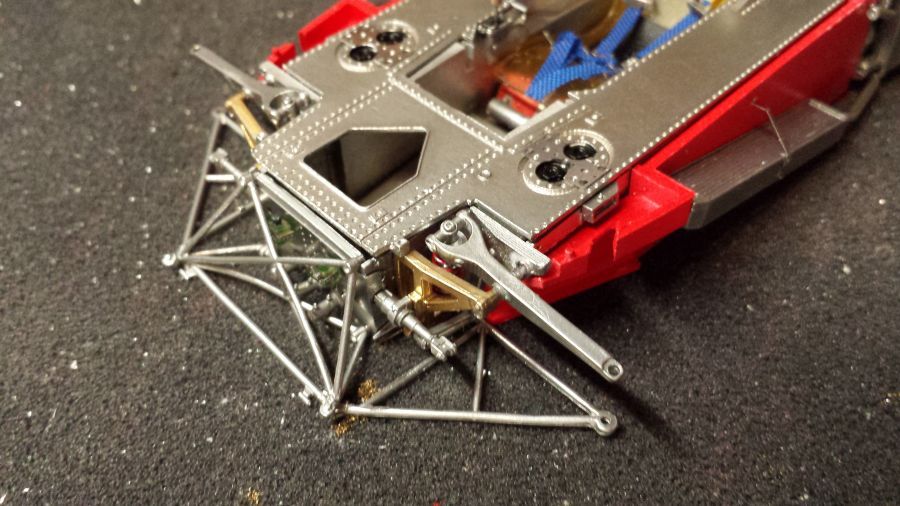
Weer heb ik besloten dit deel in een eerder stadium aan de body te bevestigen dan de tekening aangeeft. Ook nu zijn de armen van de ophanging beter uit te richten.
Again i decided to attach this parts to the body in an earlier stadium than the drawings tell you to. This time again it will be much easier to attach the suspension arms the correct way.

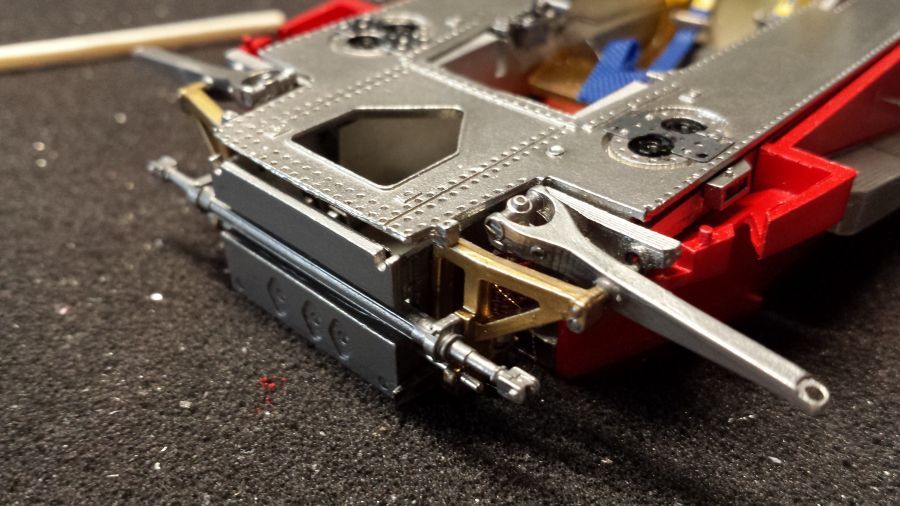
Een onderdeel van de ophanging is kapot. Ik ga proberen dit te maken. Of ik moet een nieuw onderdeel bestellen. Ik hoop dat het werkt, anders ligt de boel zeker 14 dagen stil. Ik heb het gedaan met solderen. Oppassen, want de bout was zo heet, dat het witmetaal smolt. Ik doe het ermee.
A piece of the suspensionis broken. I'll try to fix this. Otherwise i will order a new one. I hope it will work, otherwise the job will be terminated for at least 14 days. I tried to solder it. Had to watch out, as the white metal began to smelt. I think it will do.
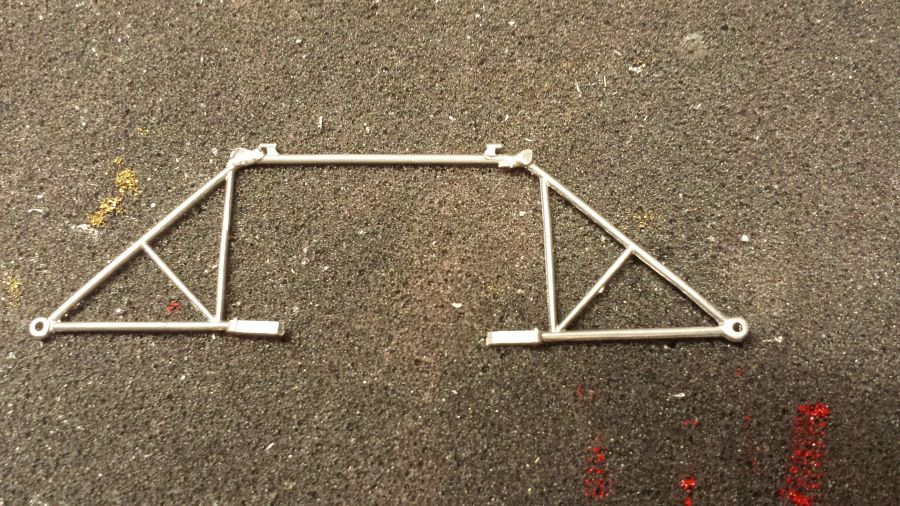
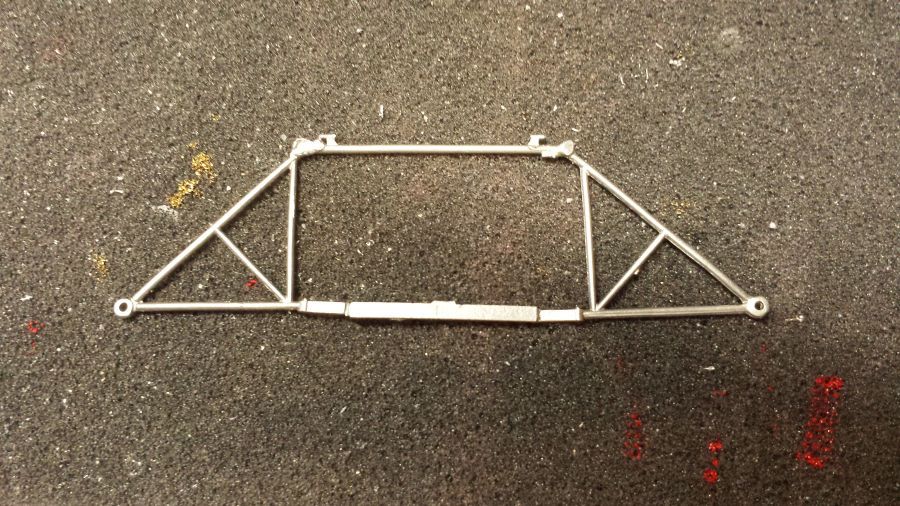
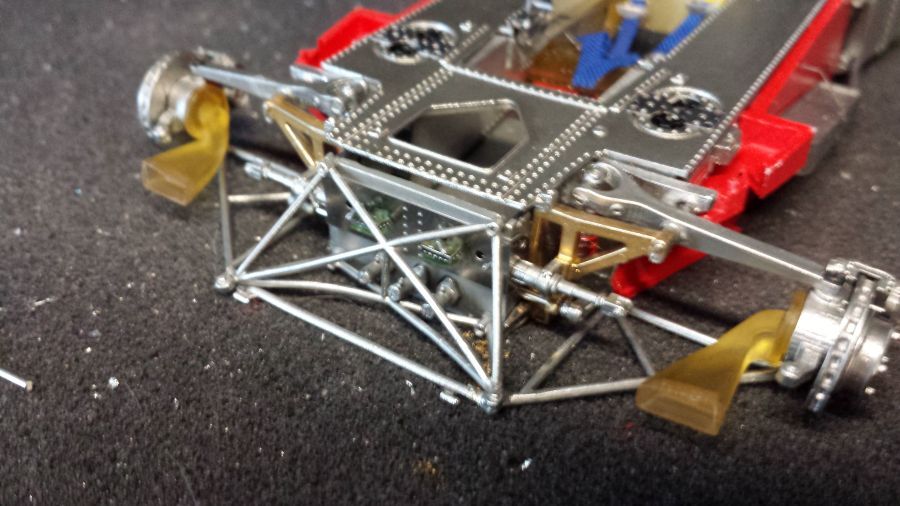
De voorremmen worden in elkaar gezet. Daarna aan de voorwielophaging bevestigd. Ik moet nog een paar stangen maken, maar dat doe ik pas als de velgen zijn gemonteerd.
Combining the front brakes. Then attaching them to the front wheel suspension. I need to apply some rods, but i will do this when the rims are attached.
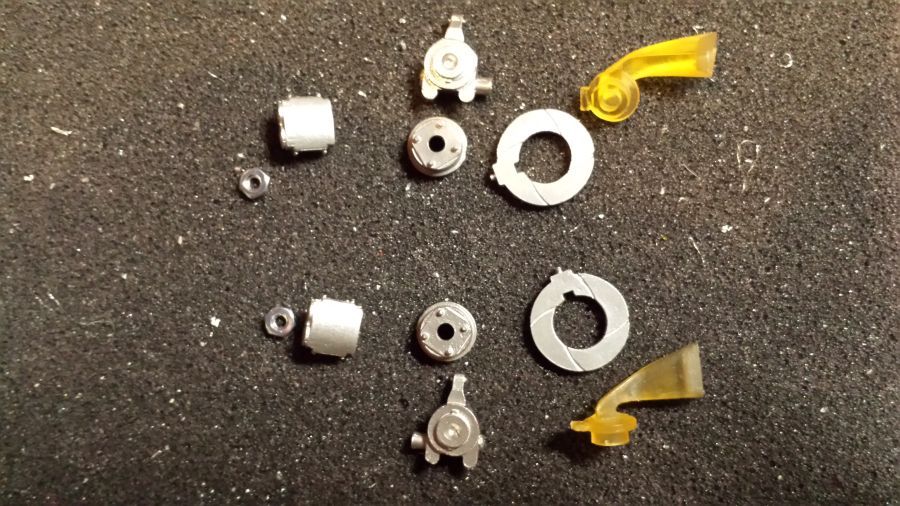
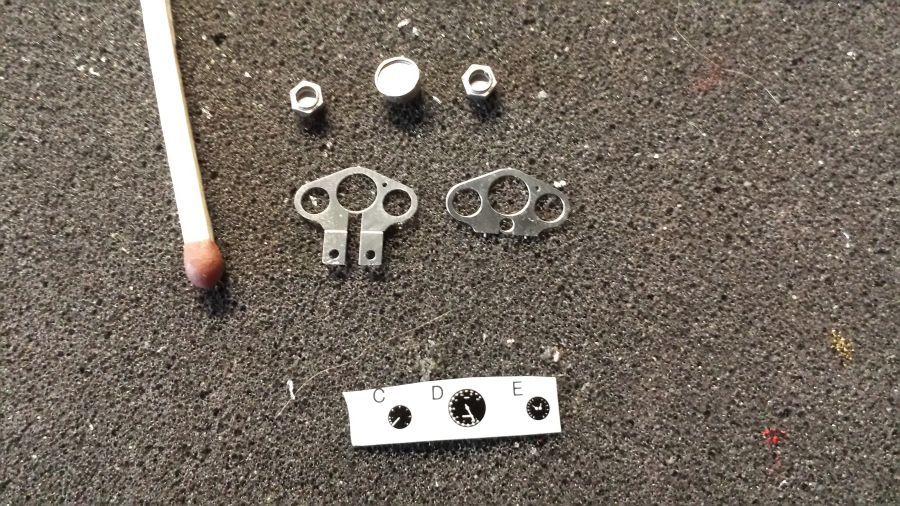
Nu door met de meters en het dashbord. Erg kleine onderdelen.
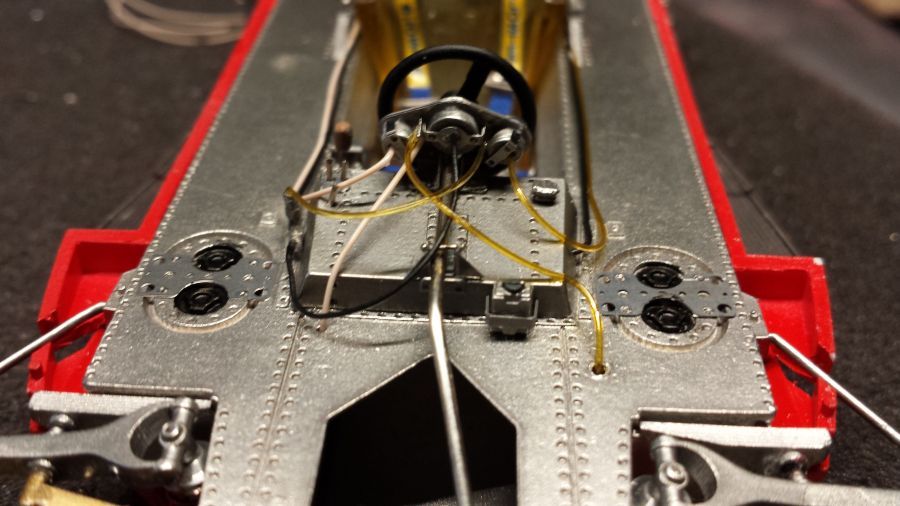
Now to continue with the gauges and the dash. Very small parts.
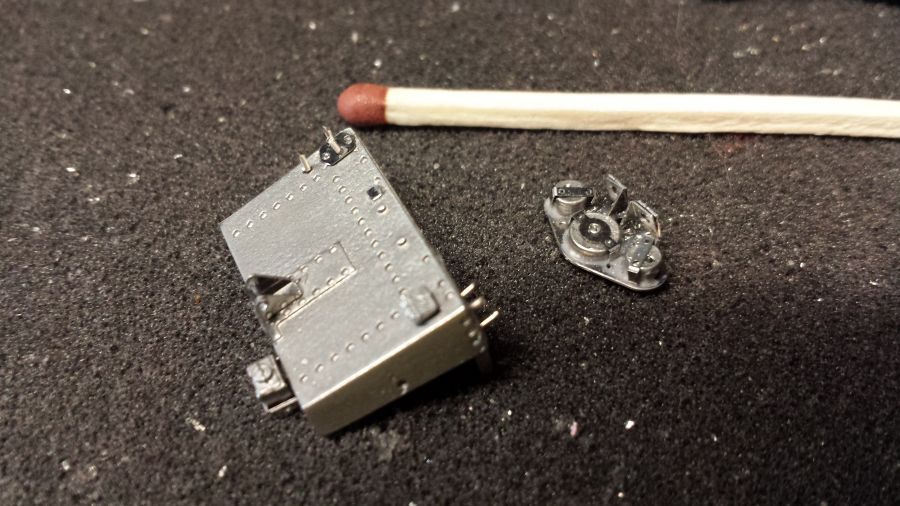
Het stuur en het dashbord zitten erin. Nu wat leidingen en bedrading aanbrengen.
The wheel and the dash are in. Now i will do some tubing and wiring.
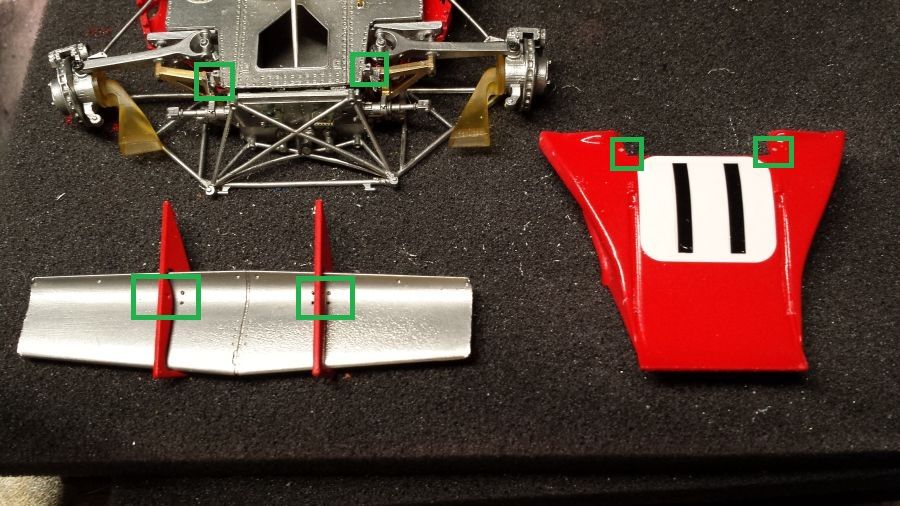
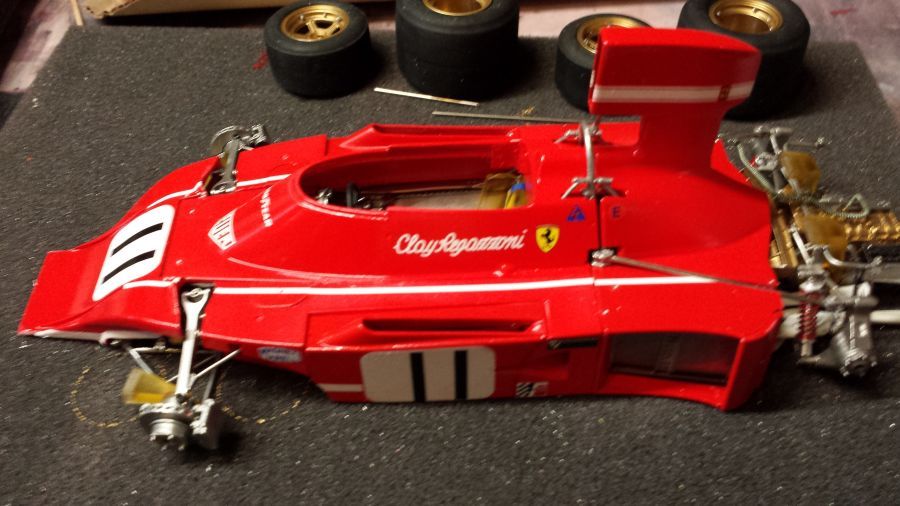
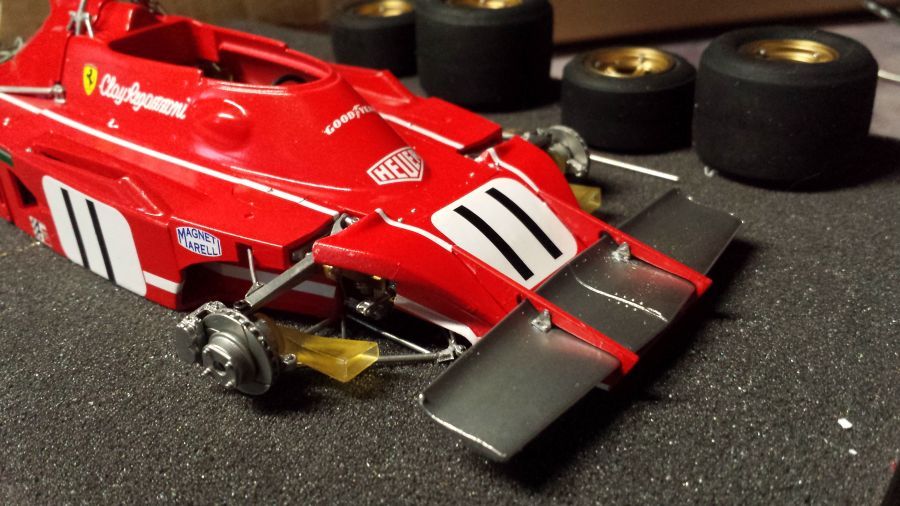
Nu het plaatwerk. Eerst wat decals aanbrengen, waarna nog een keer een paar laklagen worden gespoten. Ook is een aantal gaatjes geboord (groen). De vleugel wordt later vastgezet als de lak is opgedroogd..
Now the bodywork. First applying some decals, then some coats of clear. Also a few holes have been drilled (green). The wing will be attached later when the clear is dry.
Even passen om te zien hoe de strepen moeten lopen.
Some test fitting to see how the stripes should be applied.
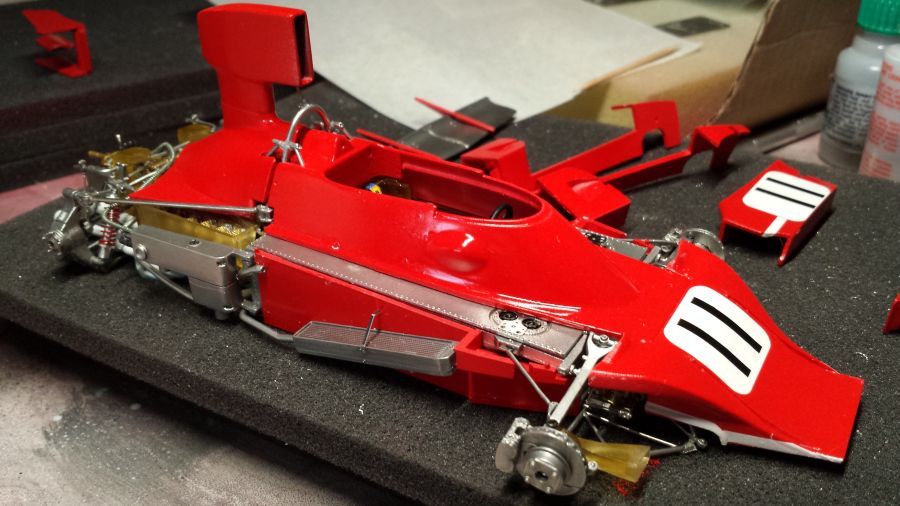
De heldere glanslak zit er op. Nu goed laten drogen.
The clear coat is on. Now let it dry thoroughly.

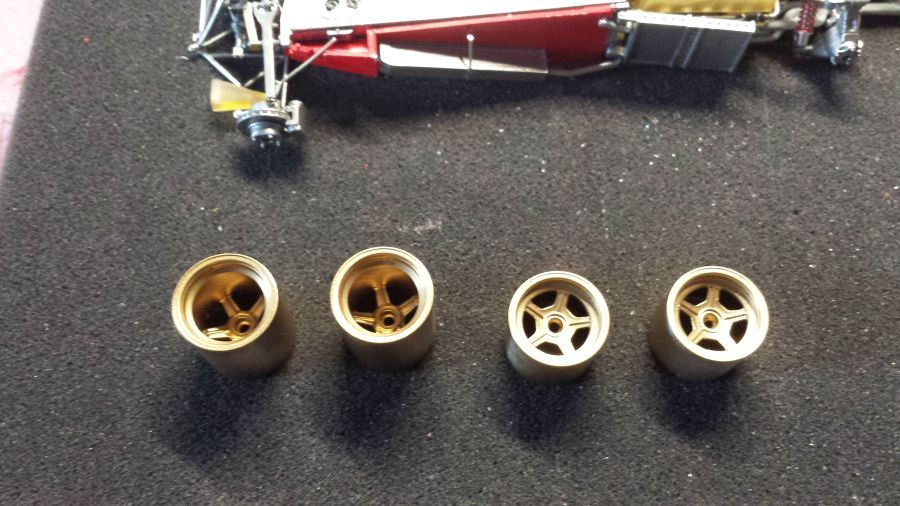
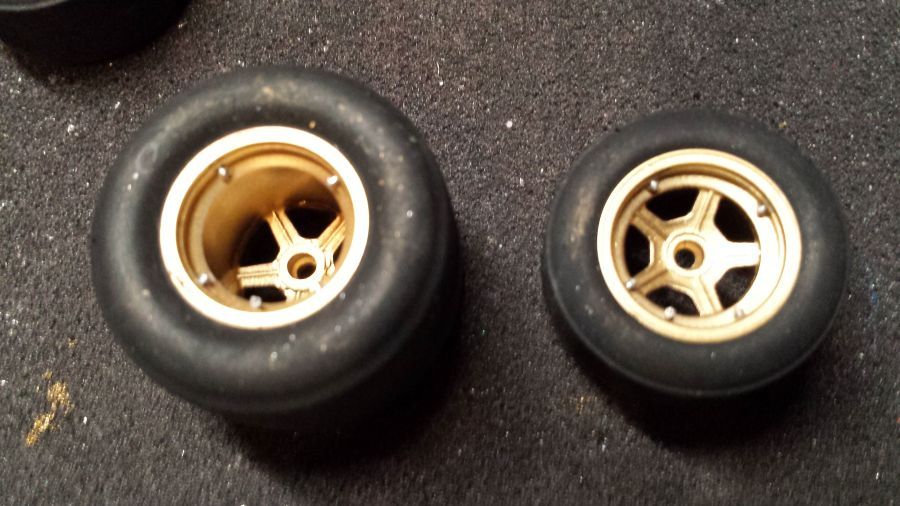
Intussen vast door met de wielen.
Meanwhile continuing with the wheels.
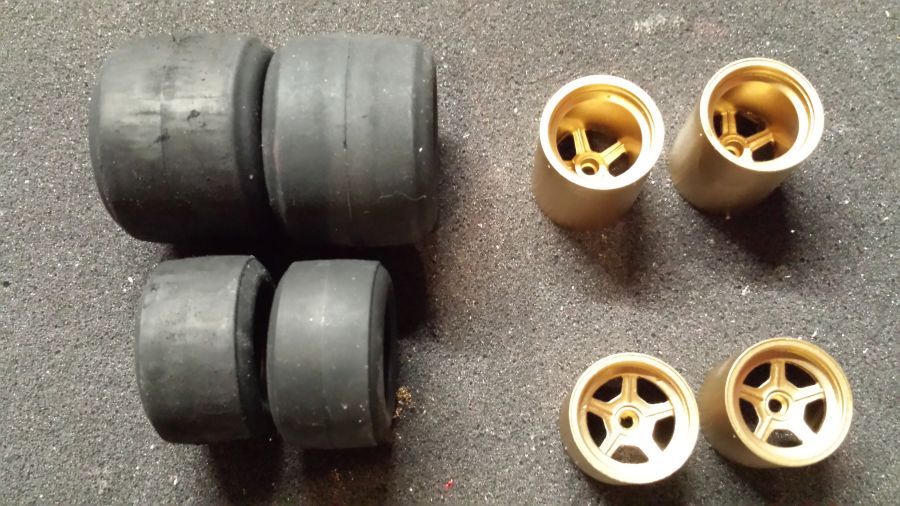
De naad wordt van de banden geschuurd.
The seam is being sanded off from the tires.
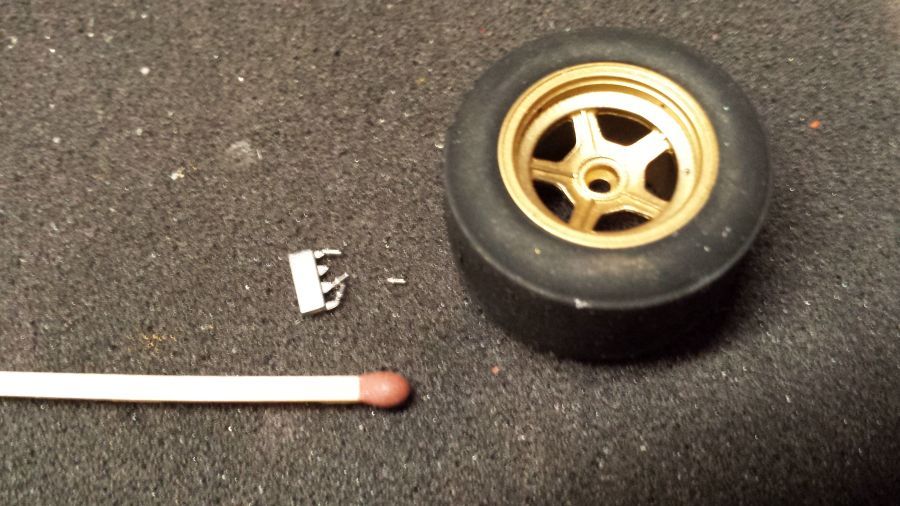
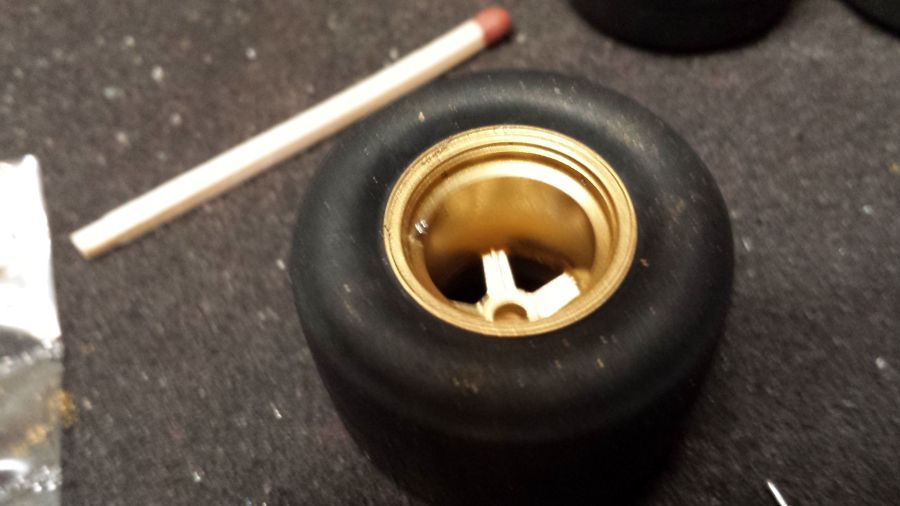
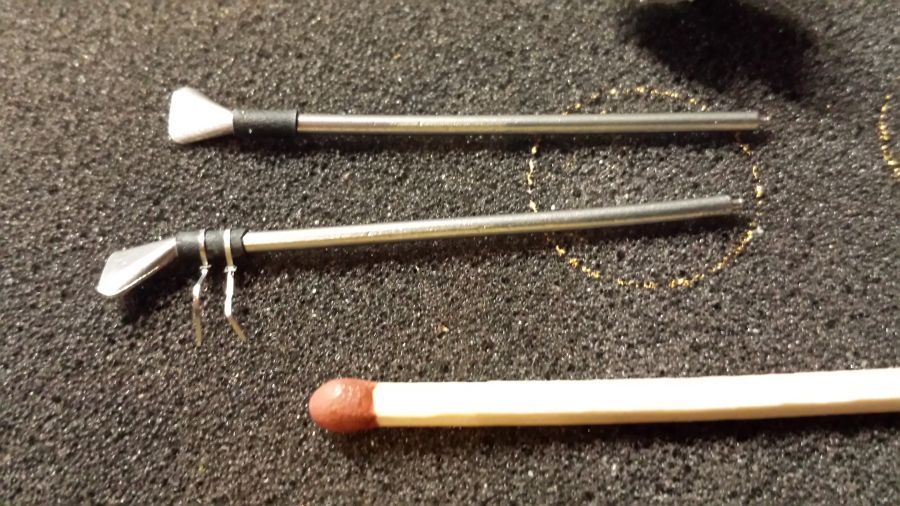
De ventielen worden aangebracht.
The valves are put into place.
Nog wat meer details aan de velgen.
Some more detail to the rims.
Voordat het plaatwerk aan het chassis kan worden bevestigd, moet er nog het een en ander gedaan worden aan de koeling.
Before the bodywork can be attached to the chassis, there is some more work to the coolers that has to be done.
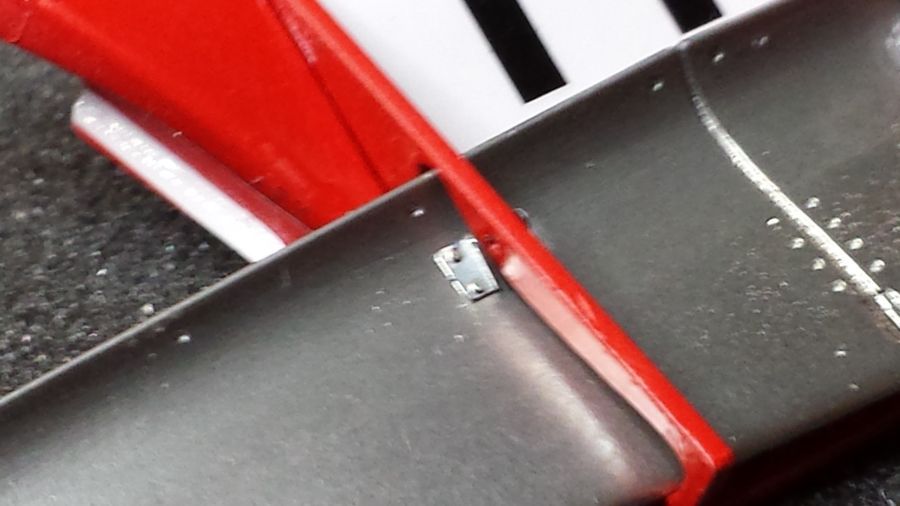
Dan het plaatwerk. Het meeste wordt vastgezet met de pinnetjes.
Next the bodywork. Most of it will be attached with rivets.


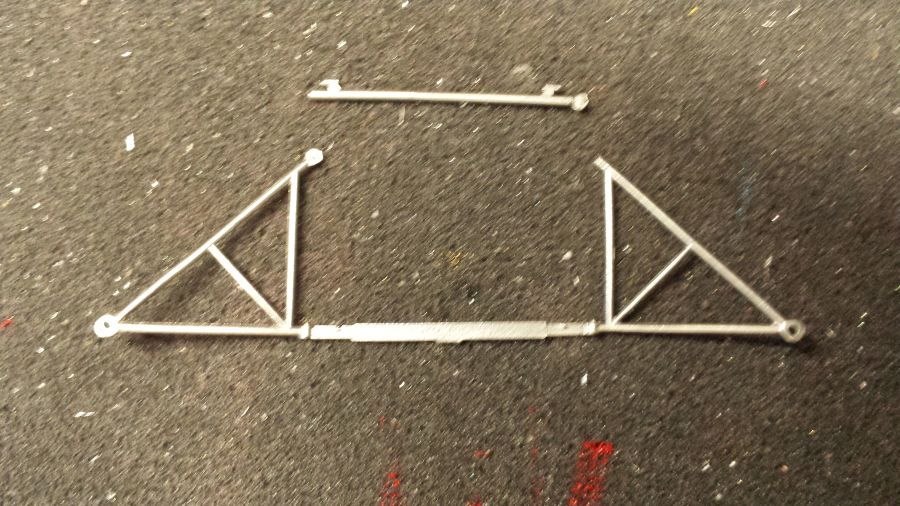
De voorvleugel kan niet achteraf in zijn geheel door de steunen worden geschoven. Dus eerst de steunen aan beide kanten aanbrengen, dan vastmaken aan de neus en dan pas afwerken.
The front wing can not be installed afterwards through the supports. So first apply the supports, then attach to the nose and then apply the small parts.

Moeilijke klus. Erg kleine onderdelen.
Tough job. Very small parts.
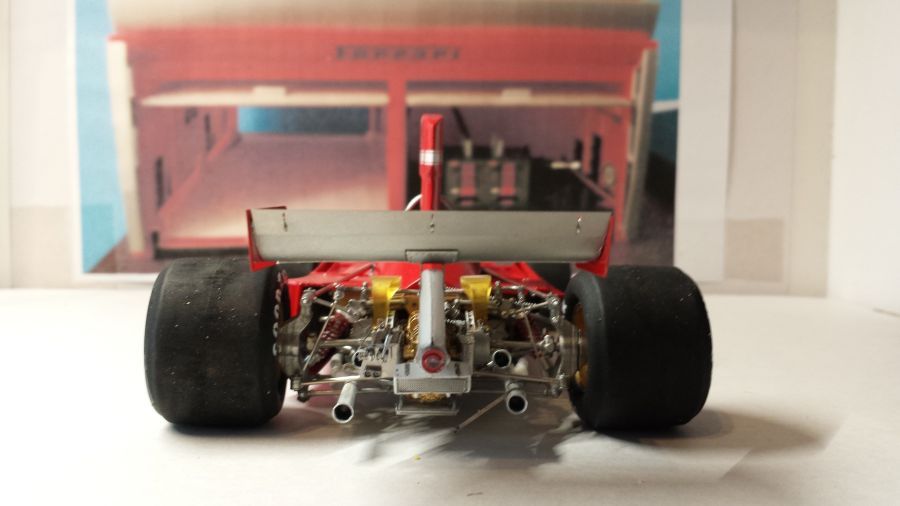
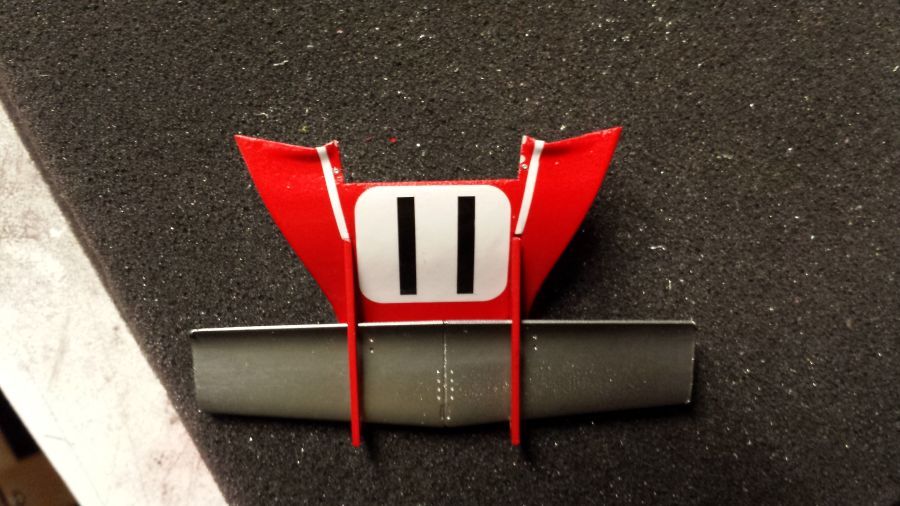
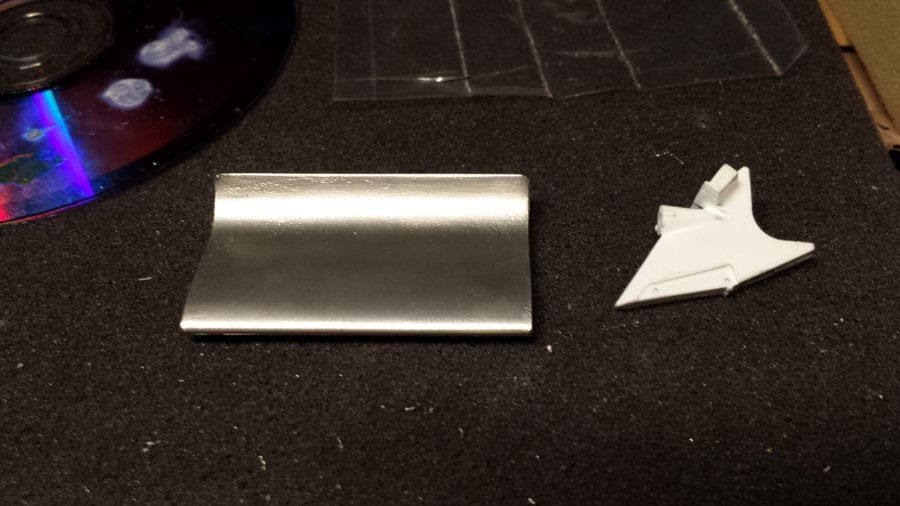
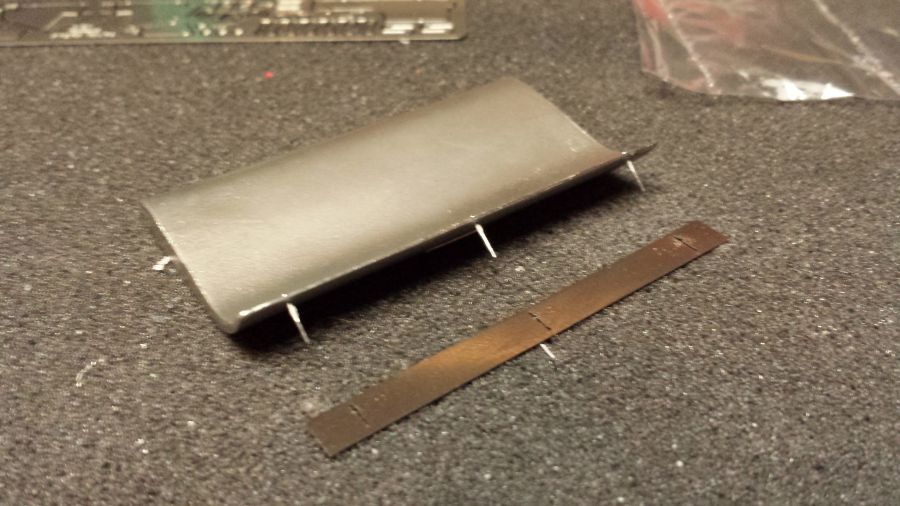
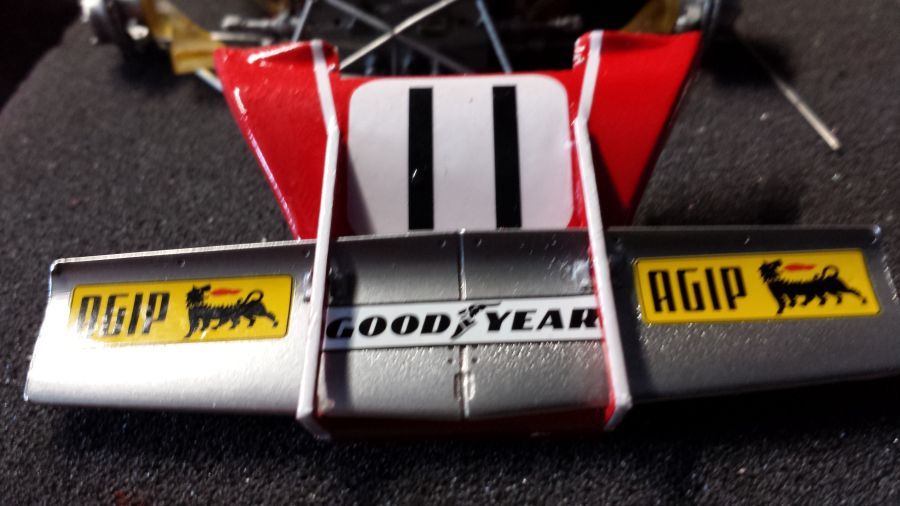
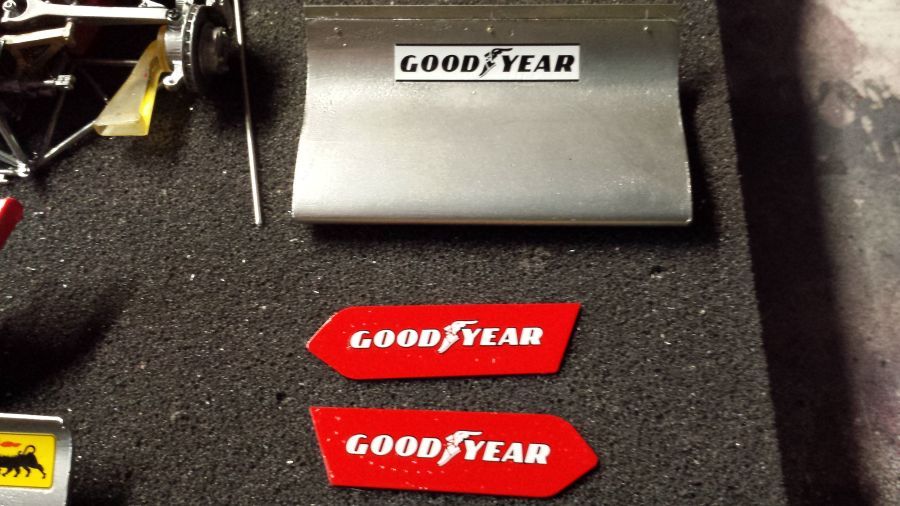
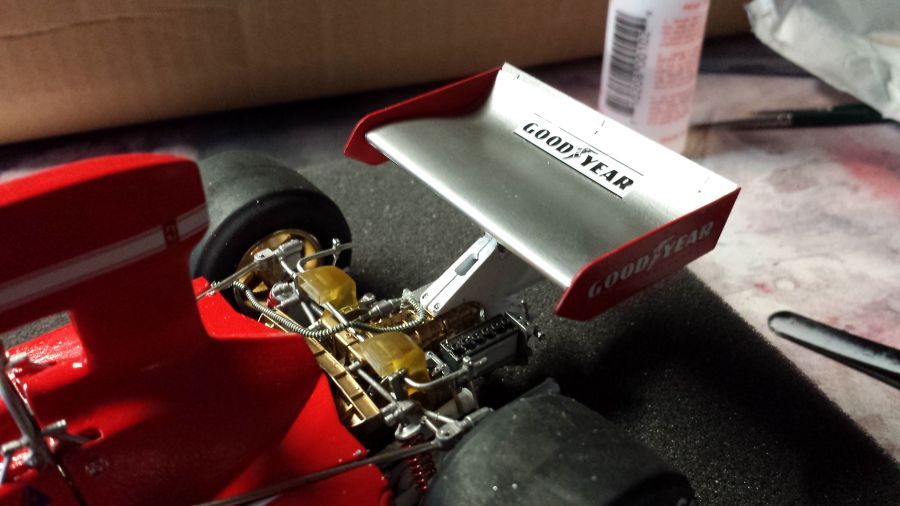
Door met de achtervleugel.
Continuing with the rear wing.
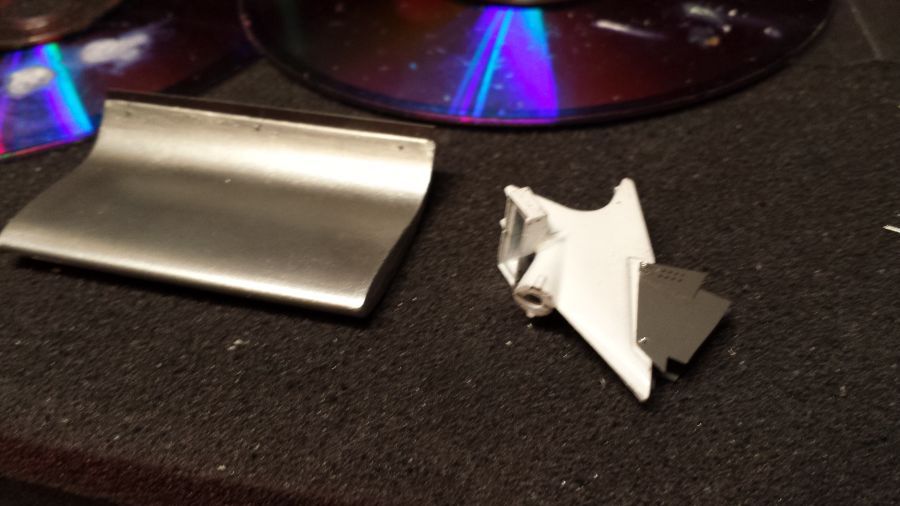
Terwijl de verf op de end plates moet drogen, plaats ik nog wat decals.
While the paint on the end plates is drying, i will attach more decals.
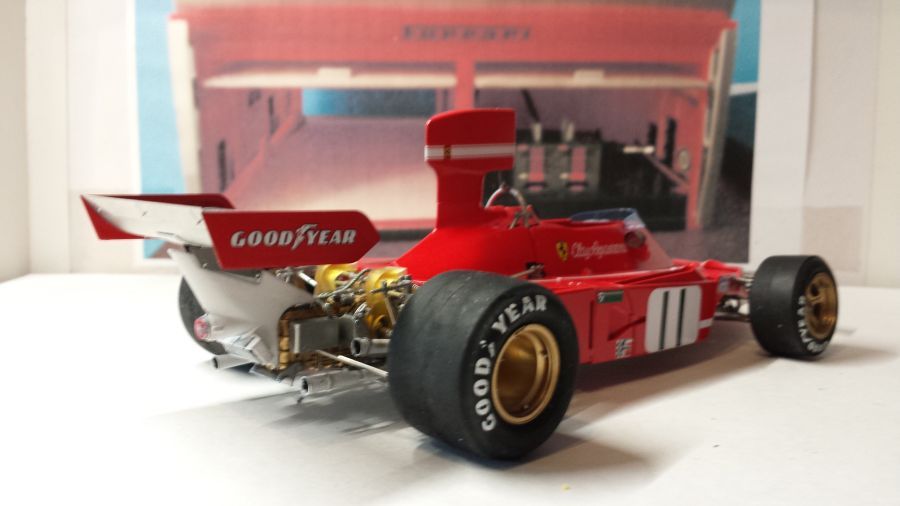
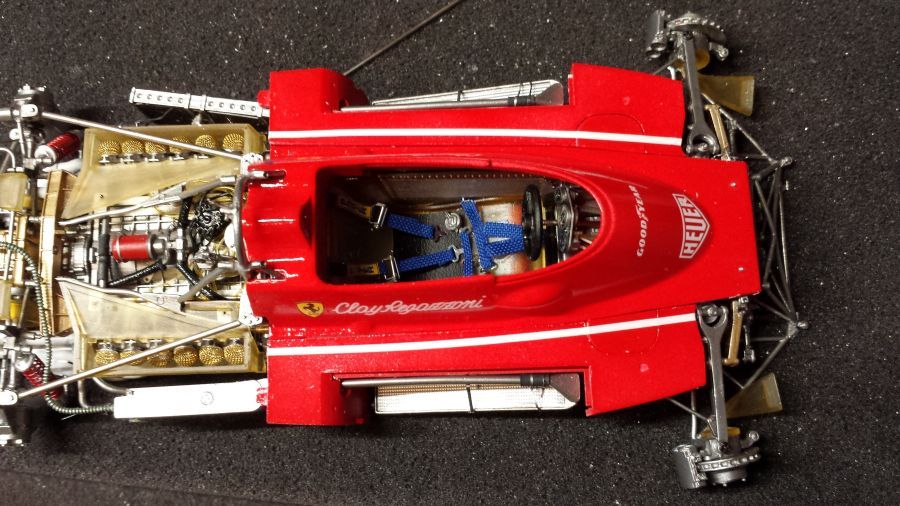
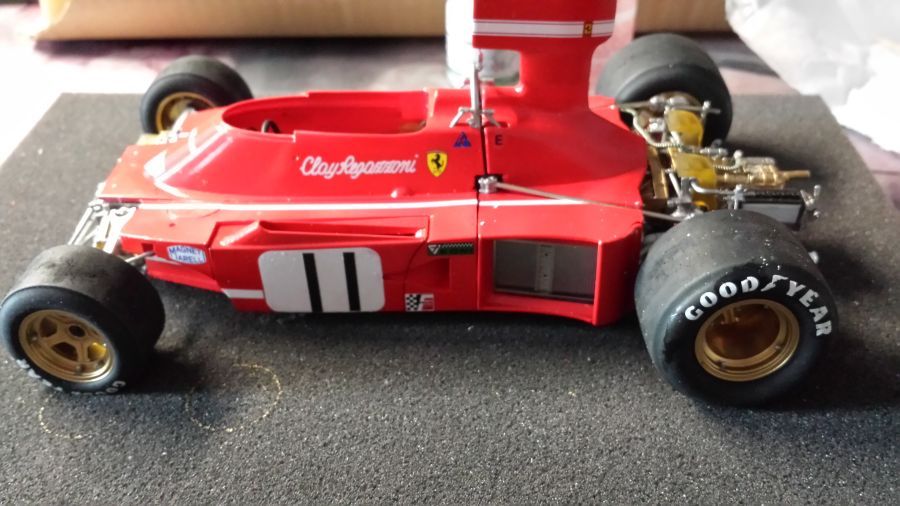
De wielen gaan erop.
The wheels are on.
Door met de achtervleugel.
To continue with the rear wing.

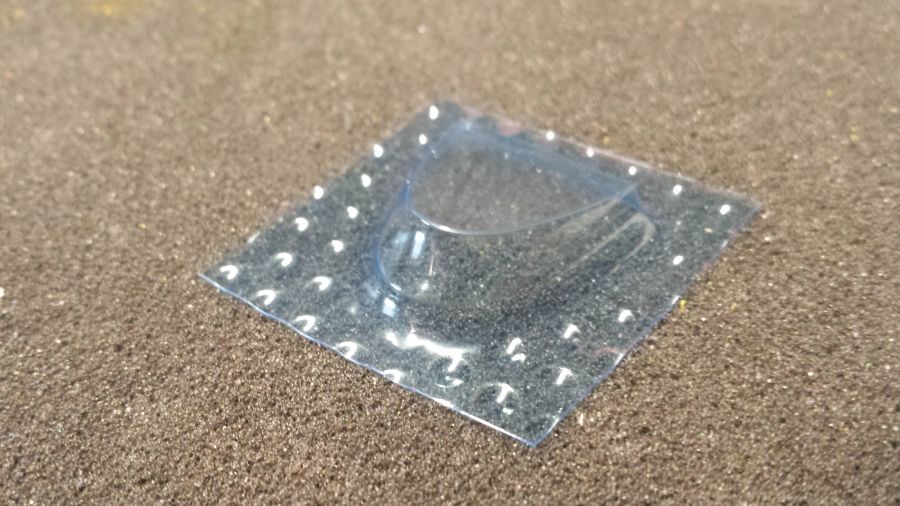
De voorruit moet uitgeknipt. Altijd een lastig karwei.
The wind shield has to be cut out. Always a risky job.
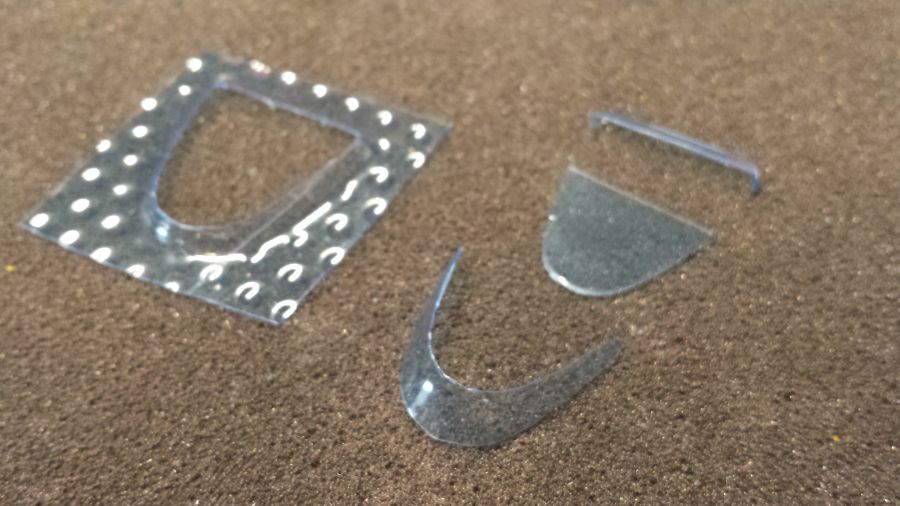
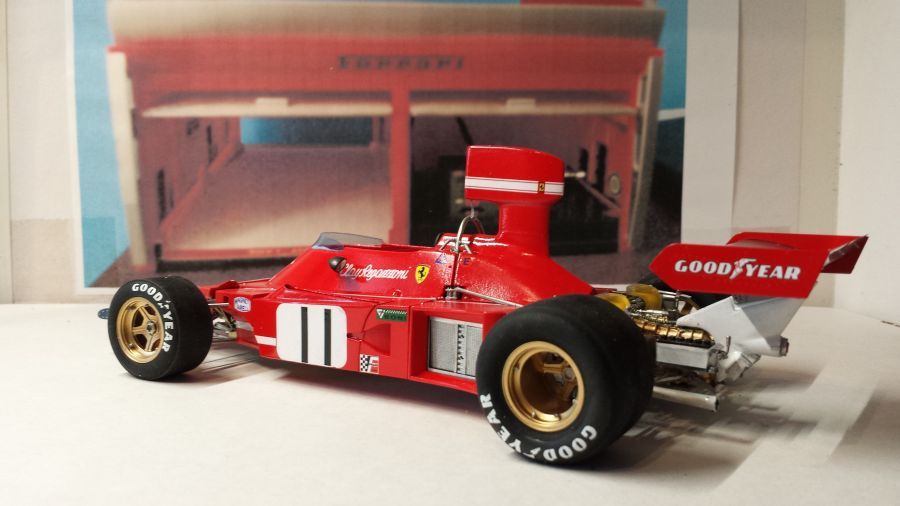
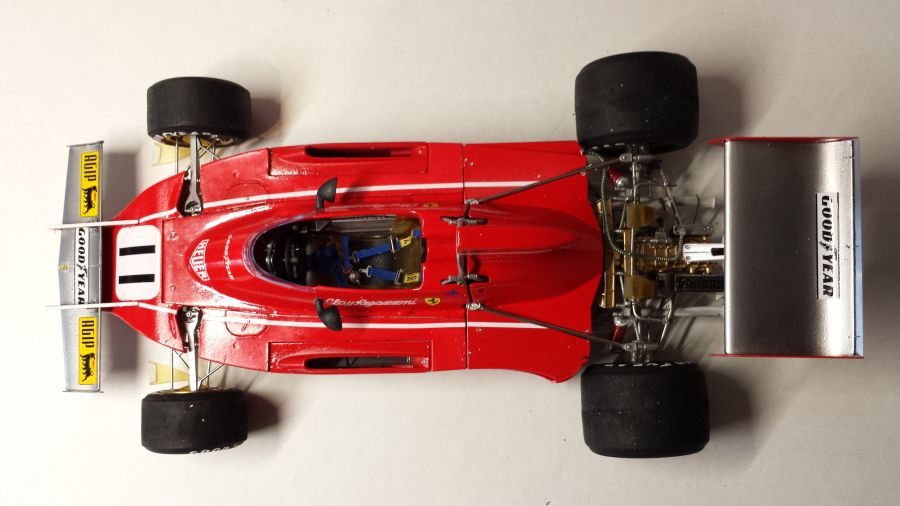
Deze bevestigen net als de spiegels en klaar.
Attach it just like the mirrors and done.