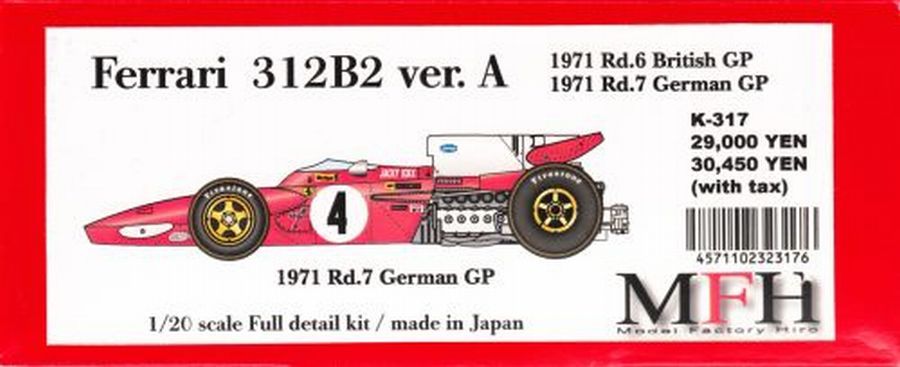
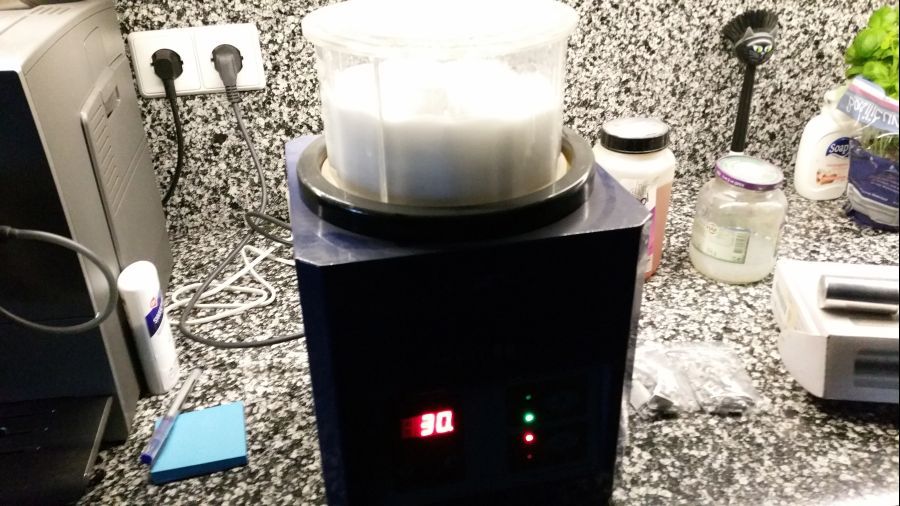
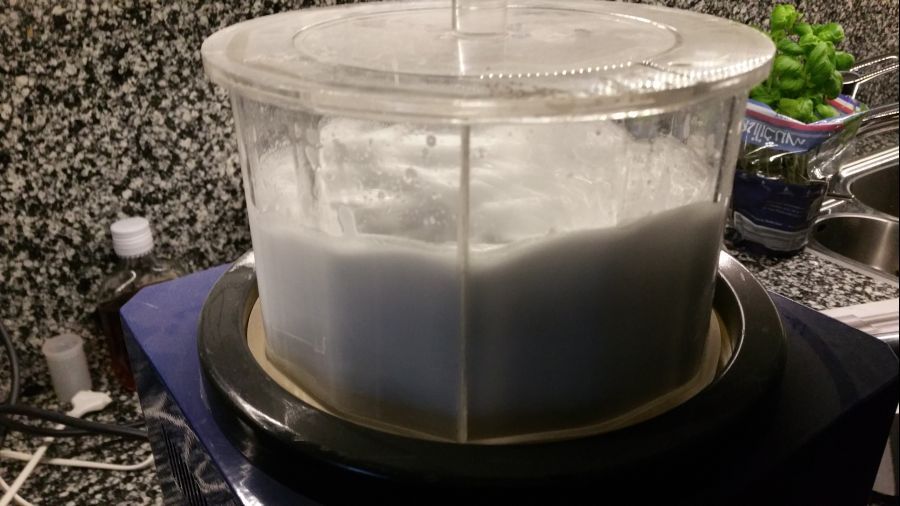
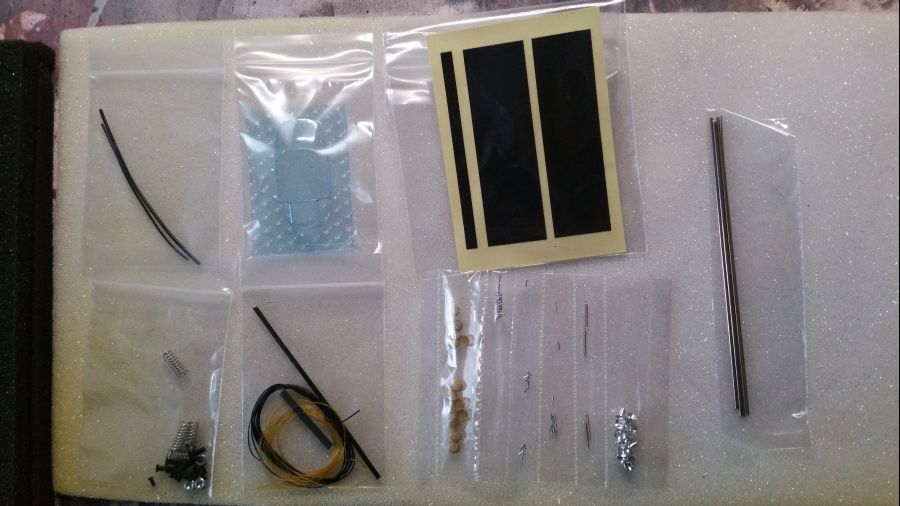
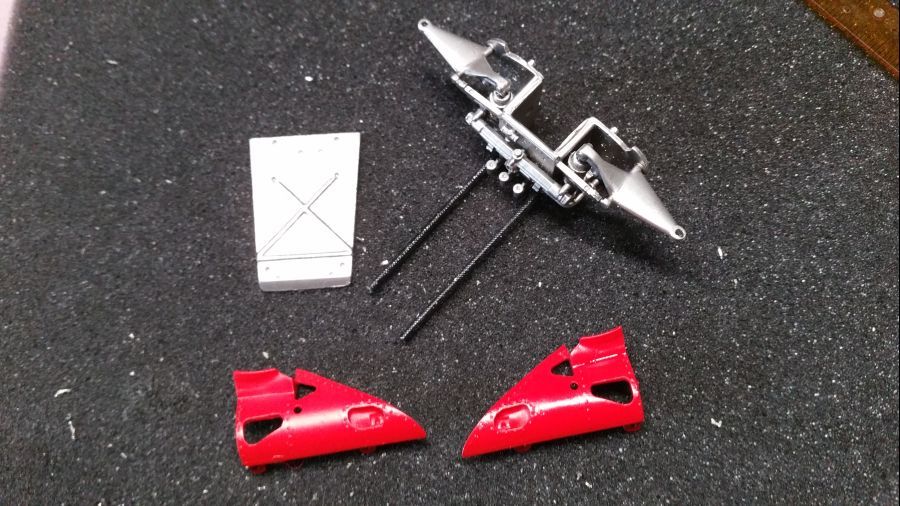
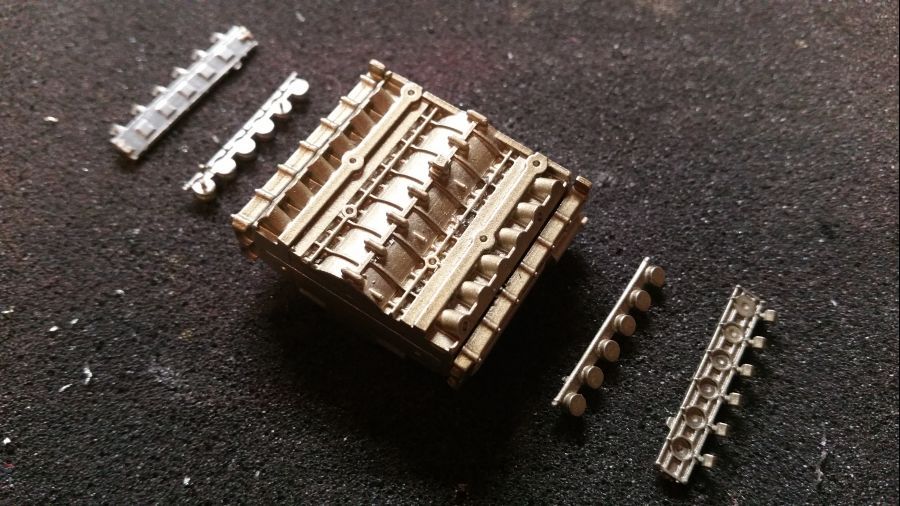
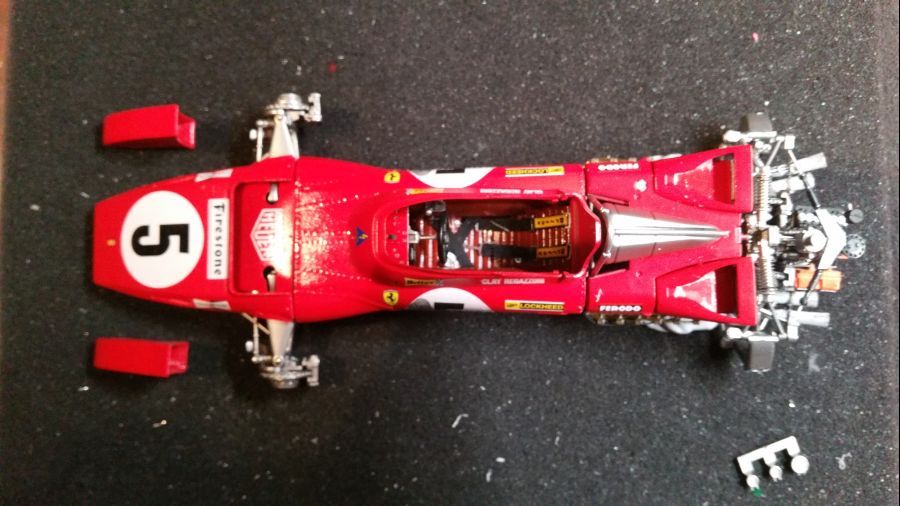
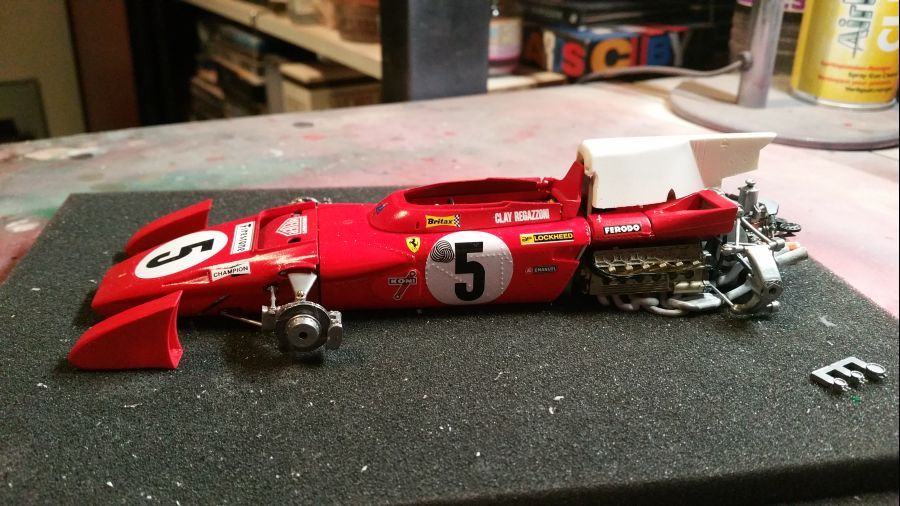
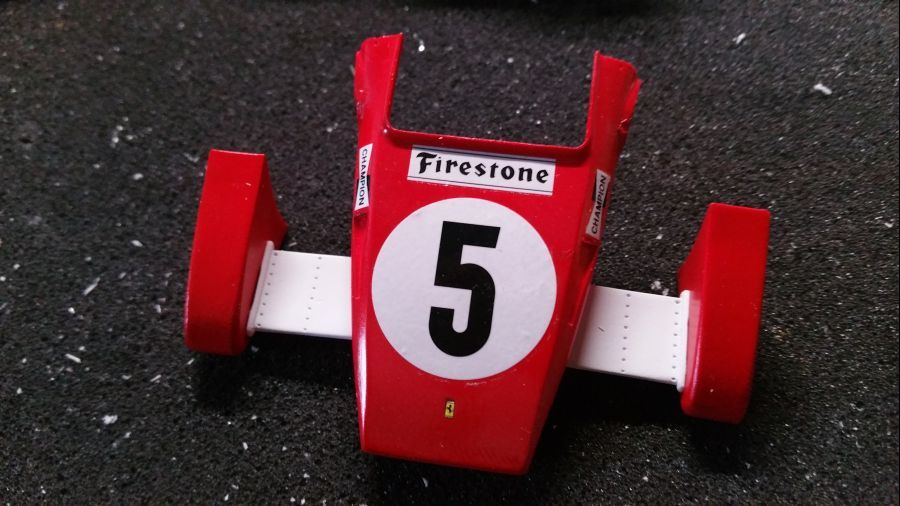
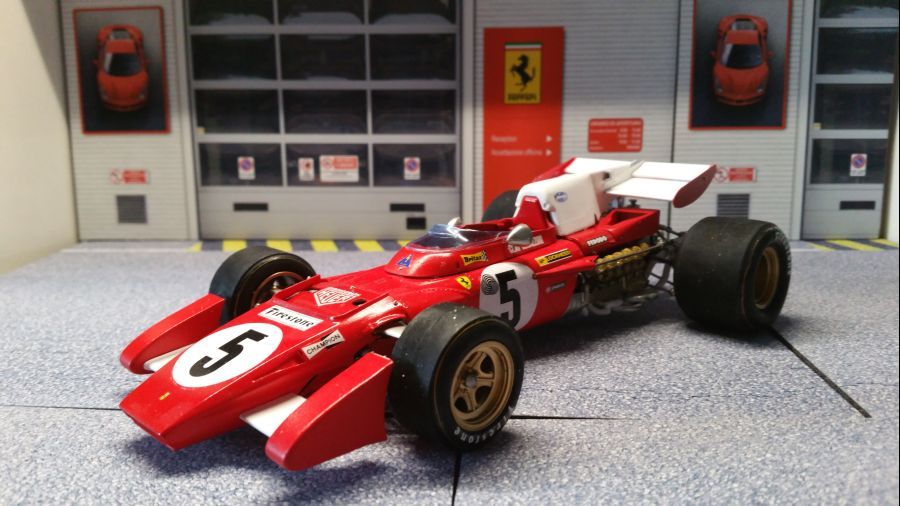
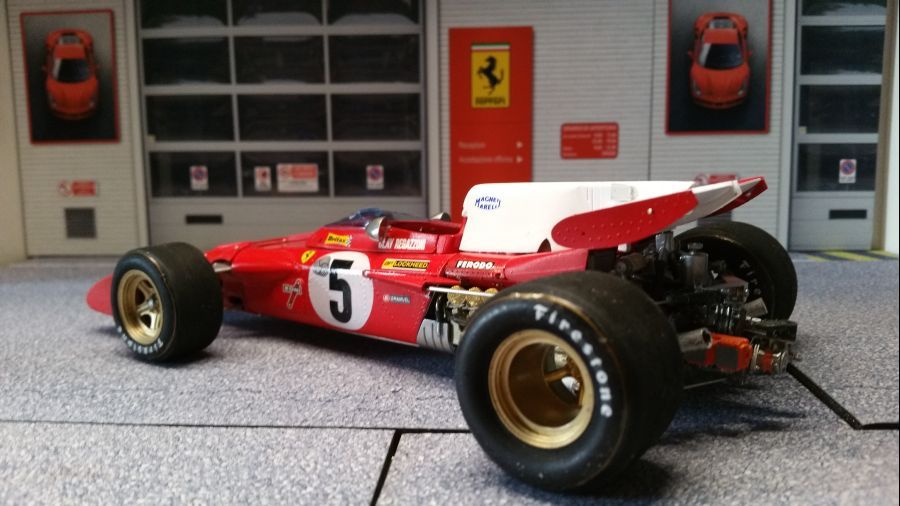
Vandaag begin ik weer met een nieuwe uitdaging. Deze keer de schaal 1/20 MFH kit (kit nr. K-317) van een Ferrari 312 B2 uit 1971. Ik maak de Britse versie. Ik heb daarvoor gekozen omdat die wagen er weer afwijkend uitziet. Met name de voorvleugel. Omdat ik al meerdere wagens van Jacky Ickx heb, maak ik nu de Clay Regazzoni versie. Eerst weer de foto's van de inhoud. Alle metalen onderdelen gaan weer in de magnetische polijstmachine. Dat scheelt veel werk en ik denk dat de machine het beter kan dan dat je alles met de hand moet doen. De metalen delen moeten daarna eerst weer drogen.
Today i will start a new challenge. This time it's the scale 1/20 MFH kit (kit no. K-317) of a Ferrari 312 B2 from 1971. I will make the British version. I chose this one because the car looks very different. Especially the front wing. Because i have several cars of Jacky Ickx, i will now make the Clay Regazzoni version. First of all the pictures with the kit's content. All metal pieces are managed by the magnetic polisher. It saves a lot of work and in my opinion the machine can do a much better job than doing this by hand. Then the metal pieces need to dry.
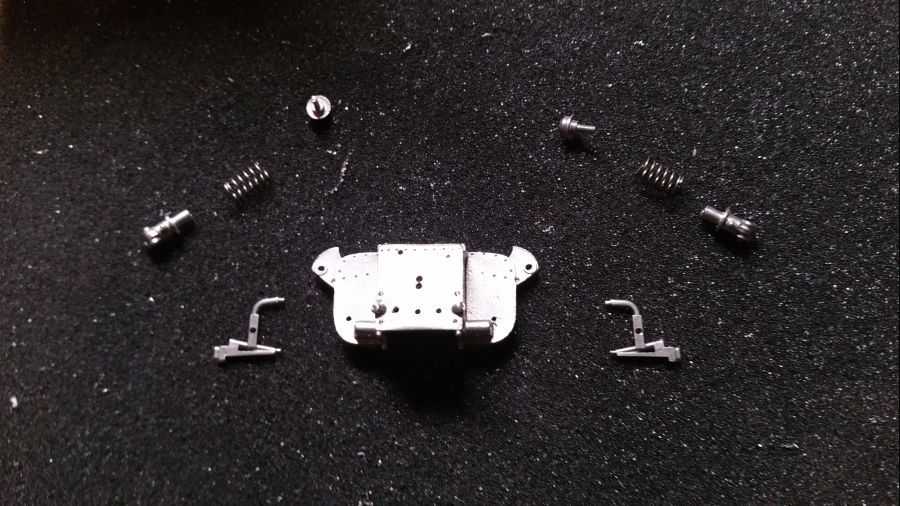
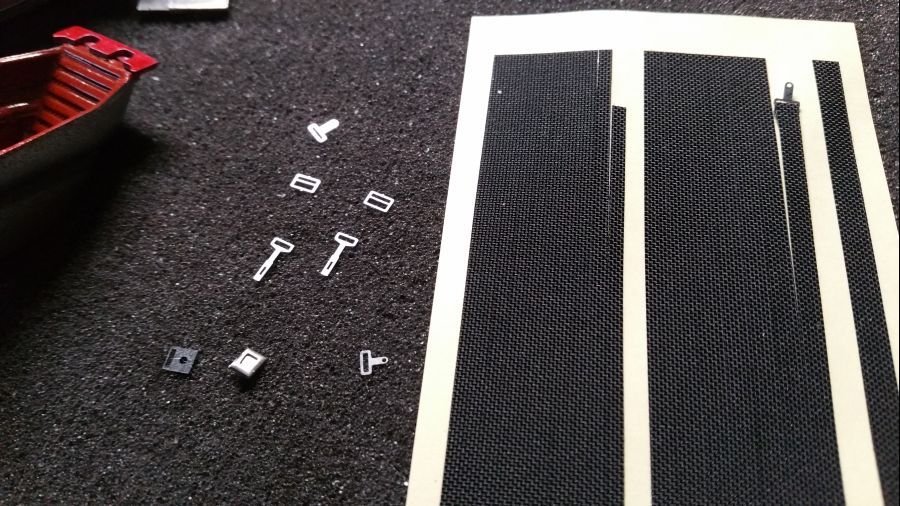
Sommige delen zijn erg klein. Ik kon ze bijna niet vinden in de trommel van de machine.
Some parts are extra small. I could hardly find them in the box of the machine.
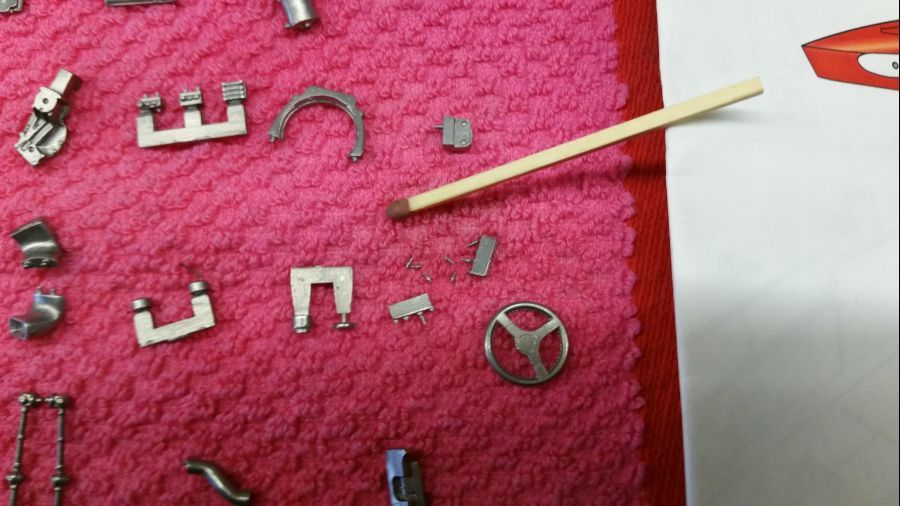
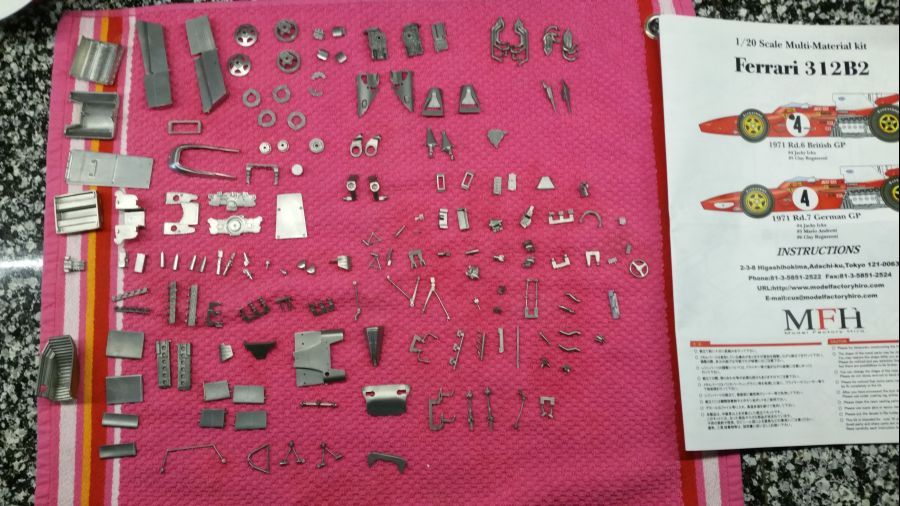
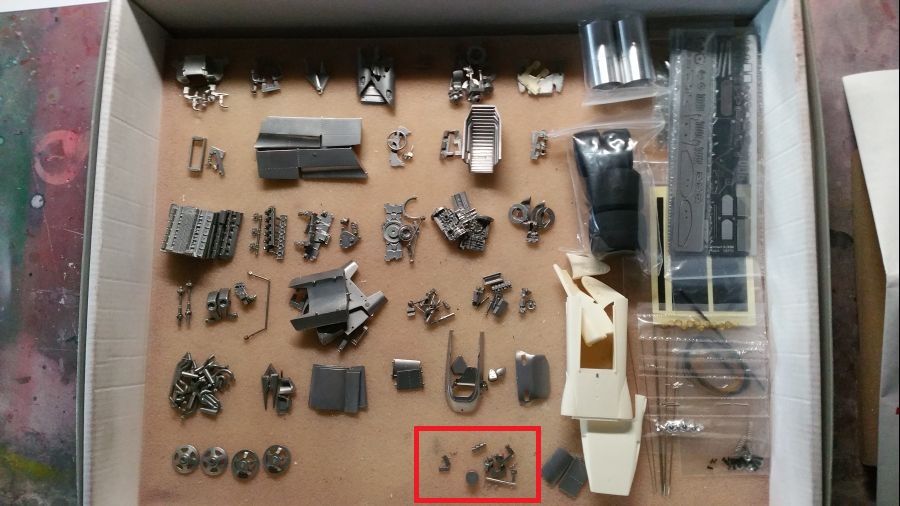
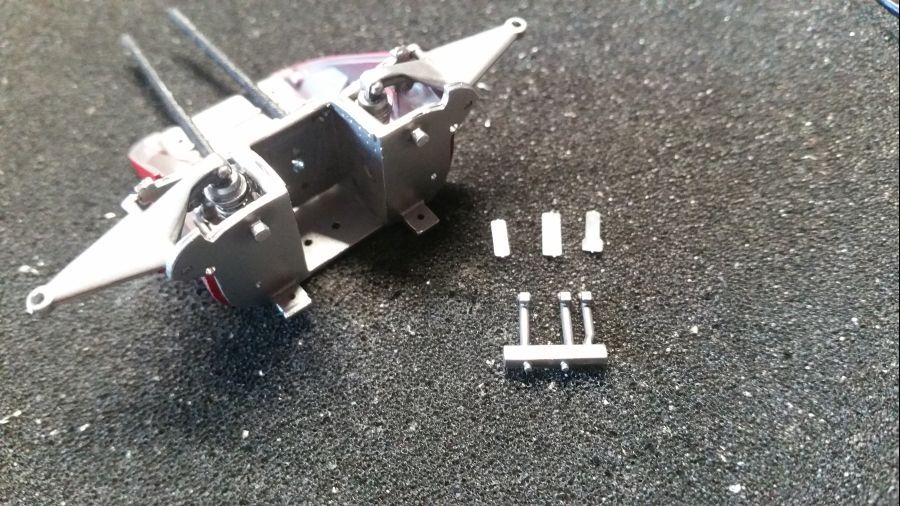
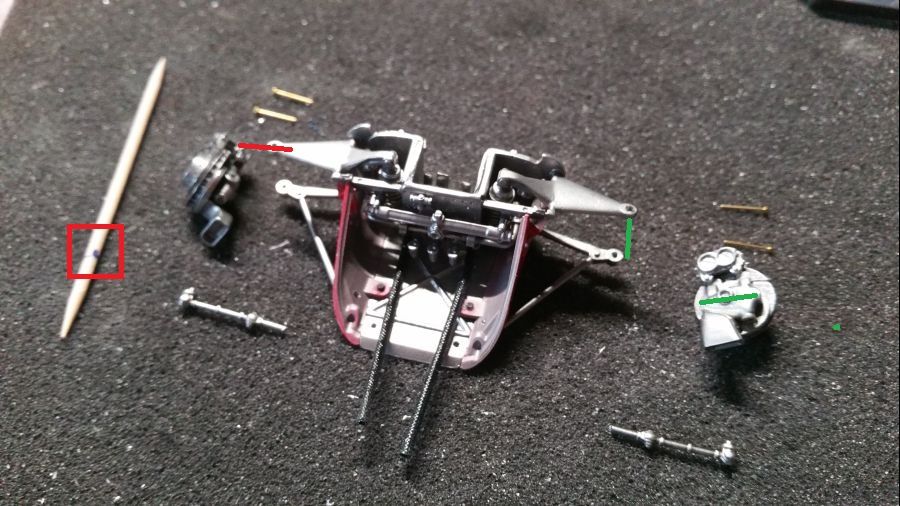
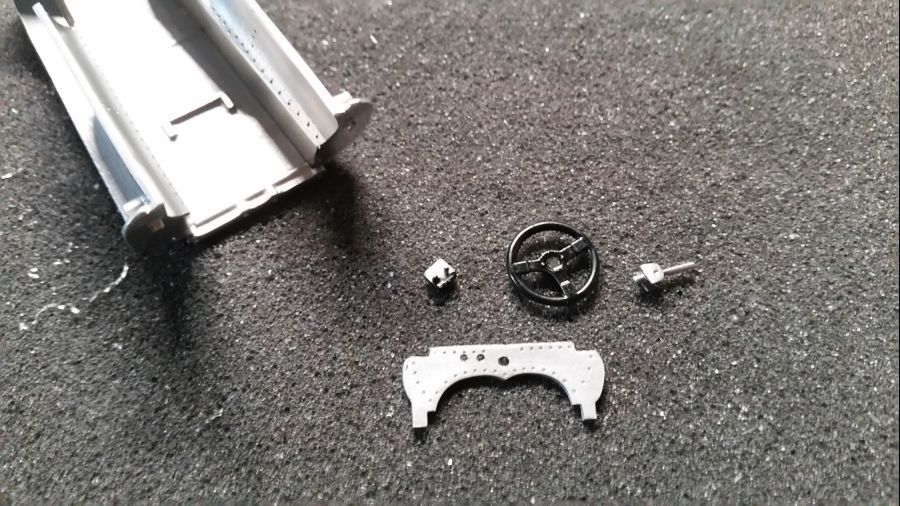
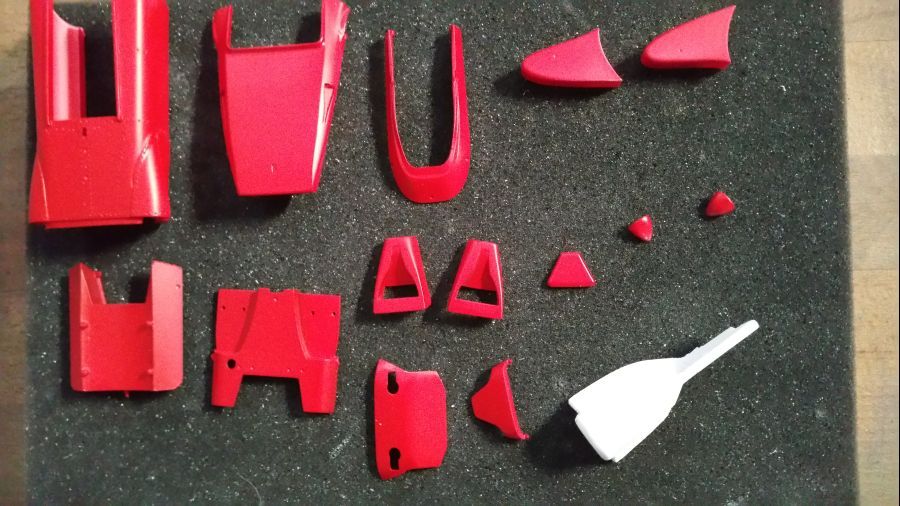
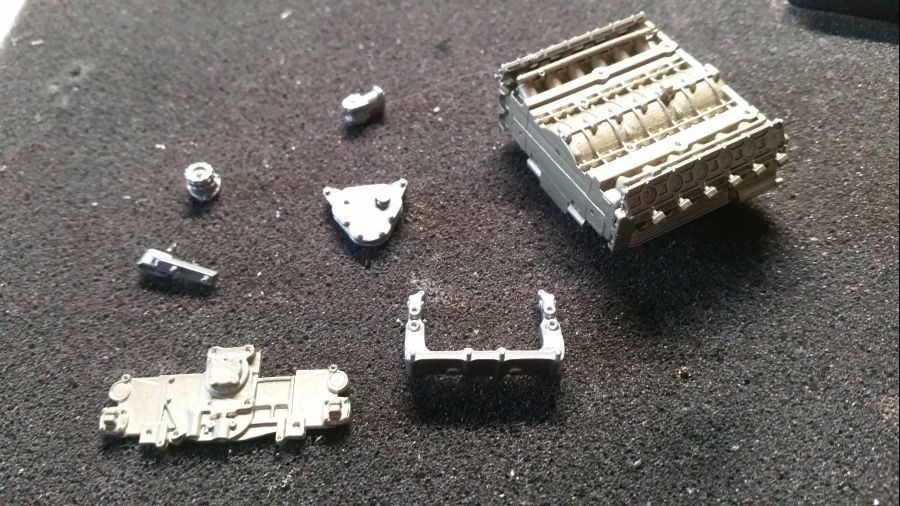
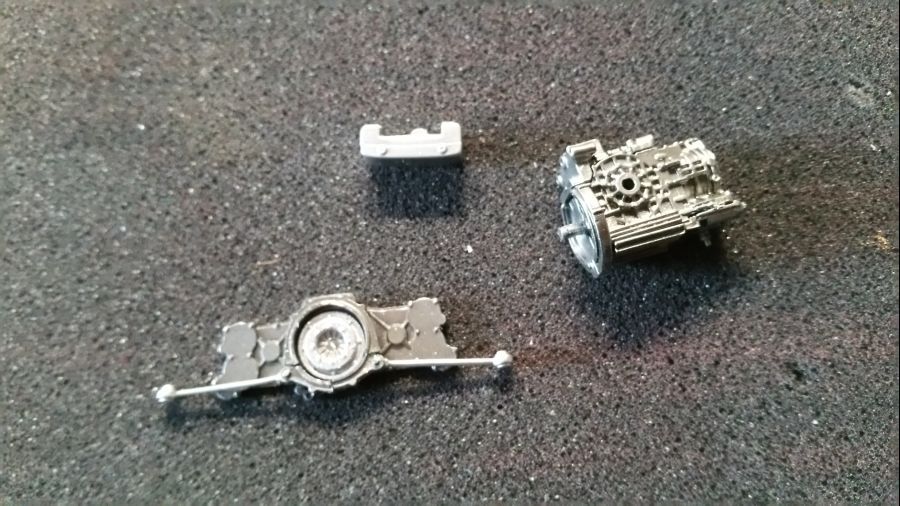
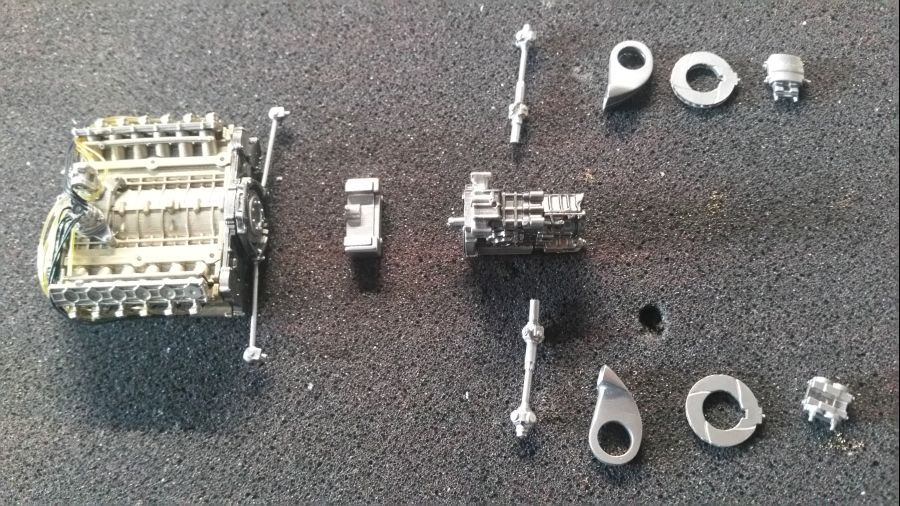
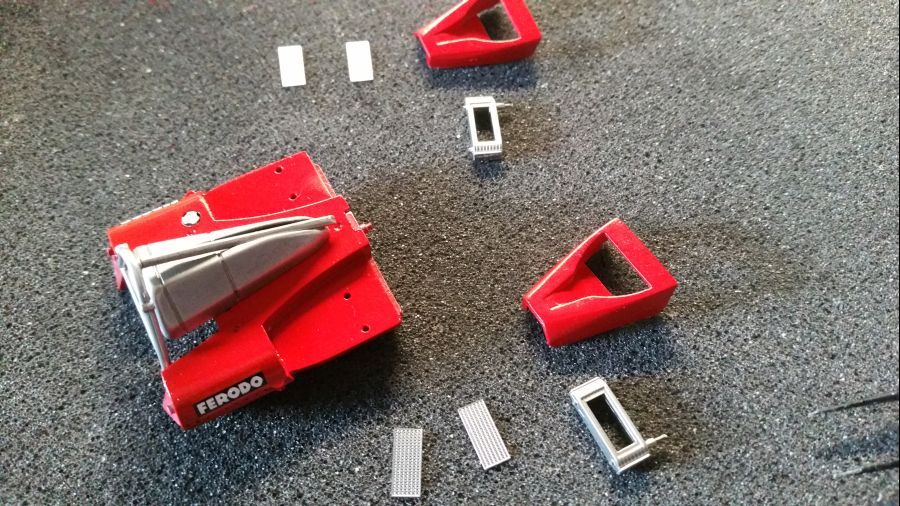
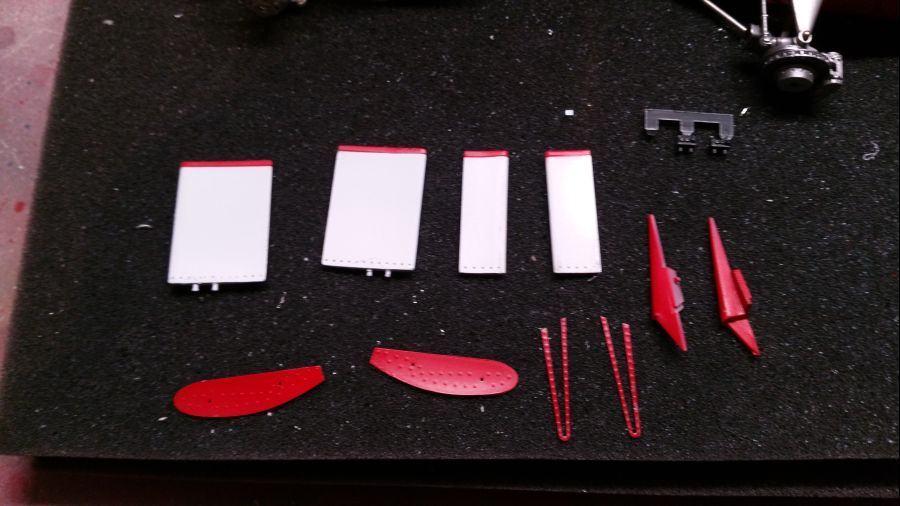
Alle onderdelen zijn volgens de tekening gegroepeerd. Een klein deel kan ik direct niet plaatsen (rood). Dat is normaal voor mij. Je ziet gauw iets over het hoofd wanneer je alles gecontreerd moet uitzoeken. Deze komen tijdens de bouw wel naar boven.
All parts have been grouped according to the instructions. I was unable to find a few (red). That's normal with me. When you concentrate on finding the correct parts, it's easy for me to miss some. During the build they will come up.
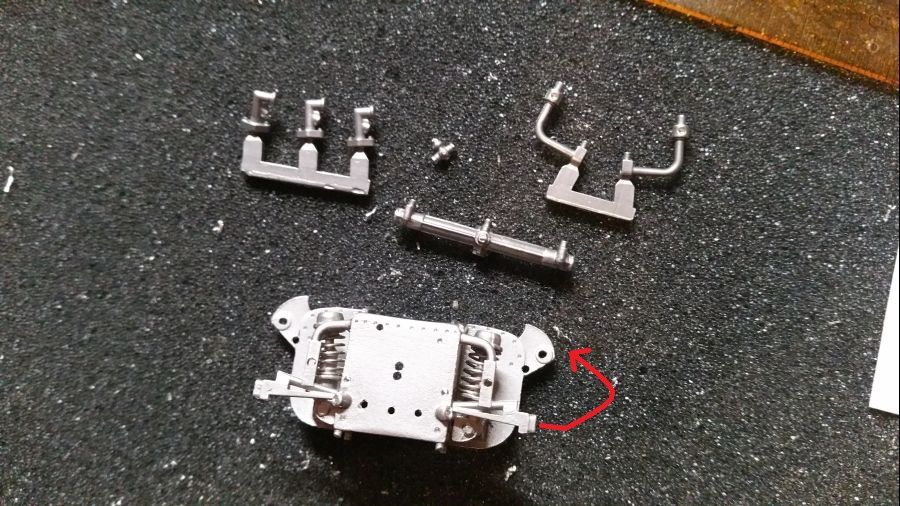
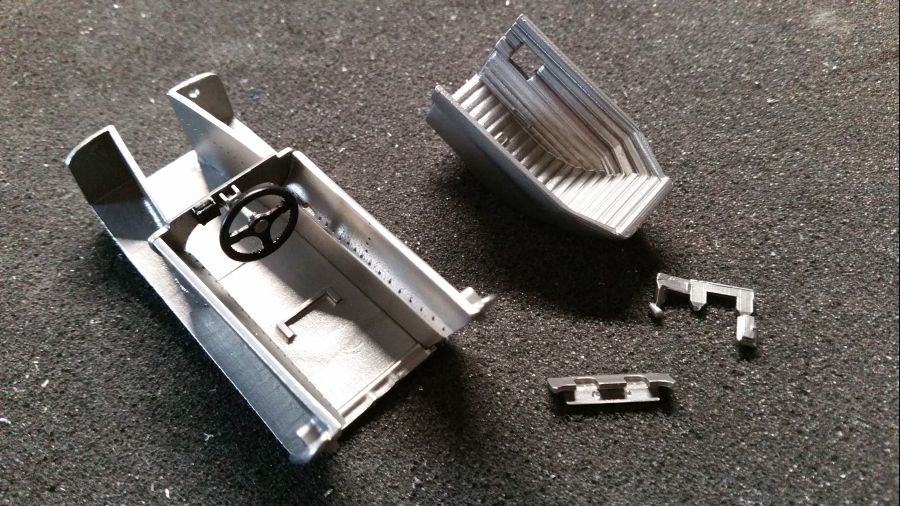
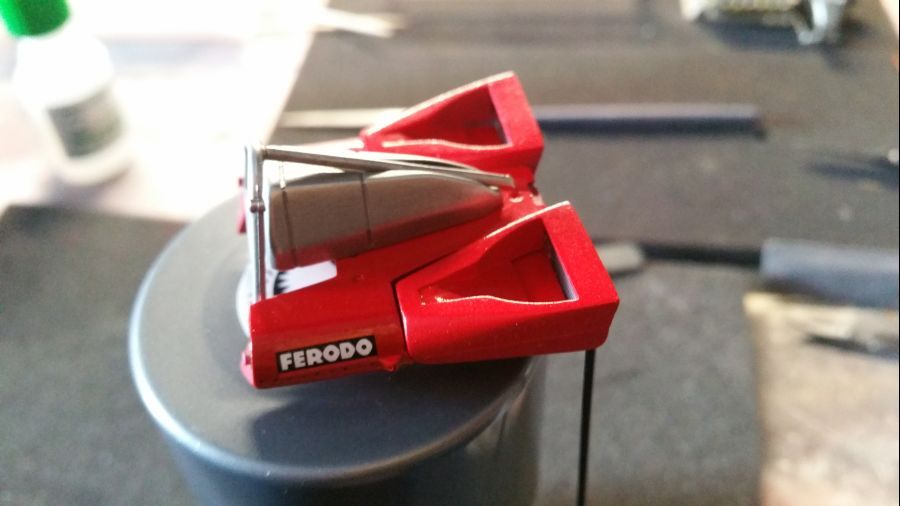
De eerste stappen. Het rood gemarkeerde onderdeel moet andersom worden gemonteerd. De foto is van een onjuiste testfit.
The first steps. The red marked part needs to be attached the other way around. The picture is of an incorrect test fit.
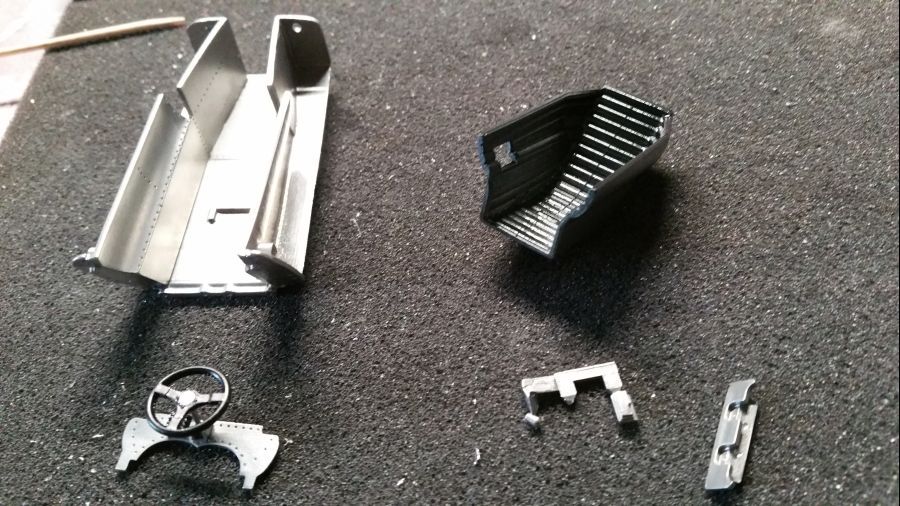
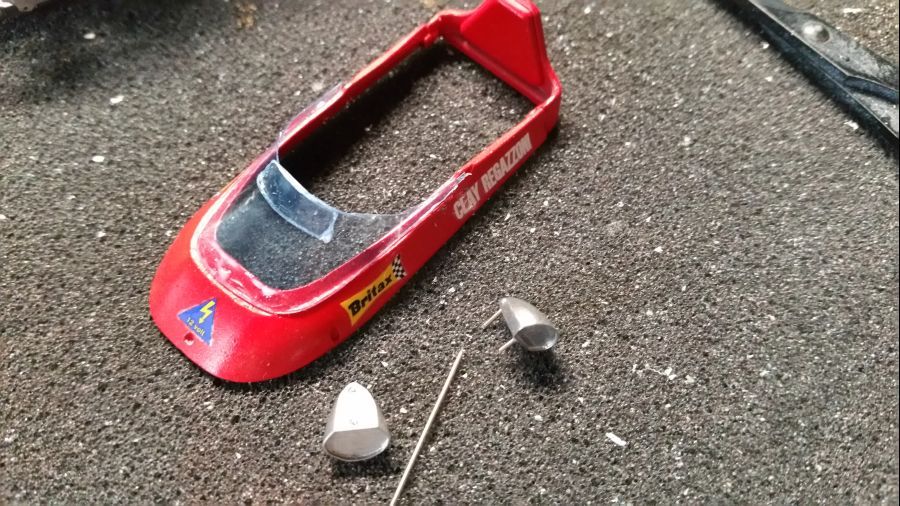
Al in een vroeg stadium rode verf en popnagels nodig... Ik ga ook nu weer Archer Transfers (AR88016) gebruiken.
Needs red paint and rivets in an early stage... Again i will use Archer Transfers (AR88016).

Dan de pedalen.
Next are the pedals.
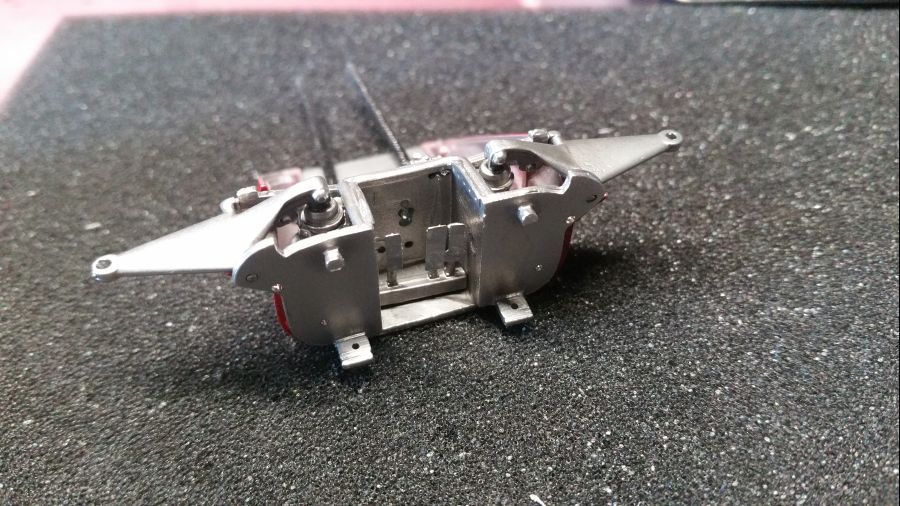
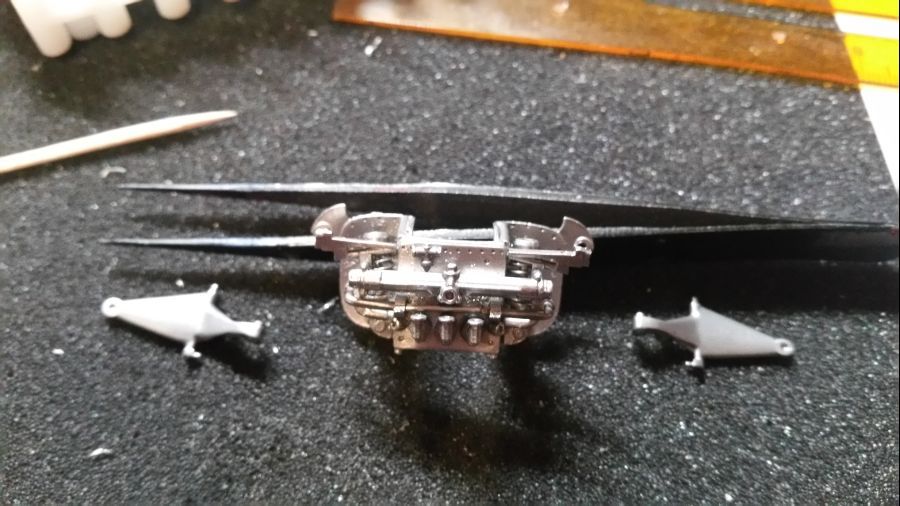
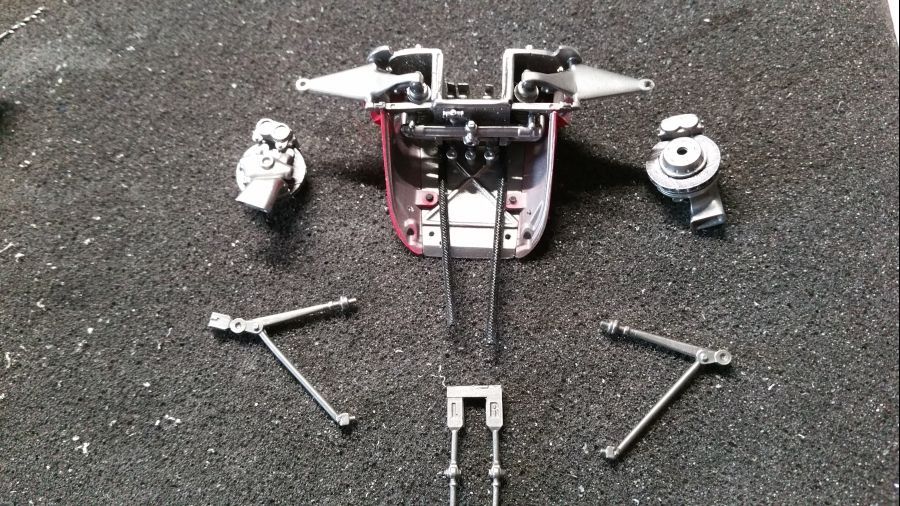
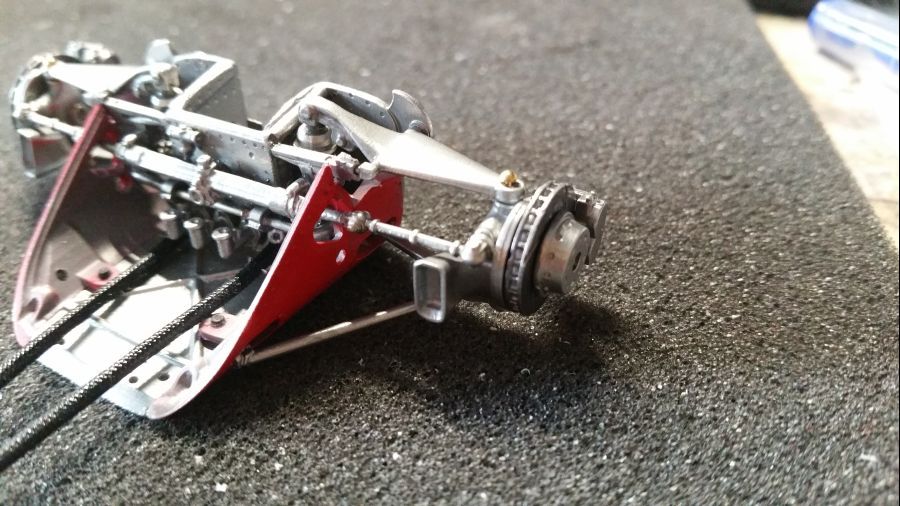
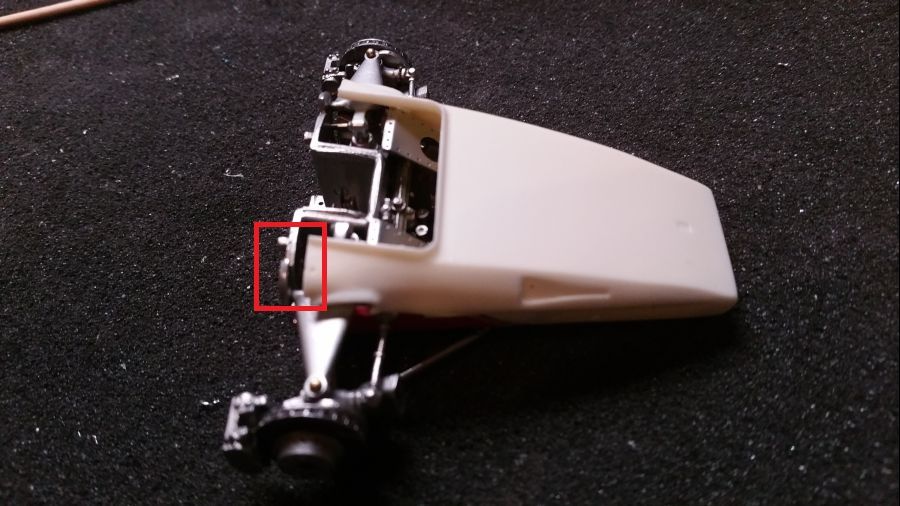
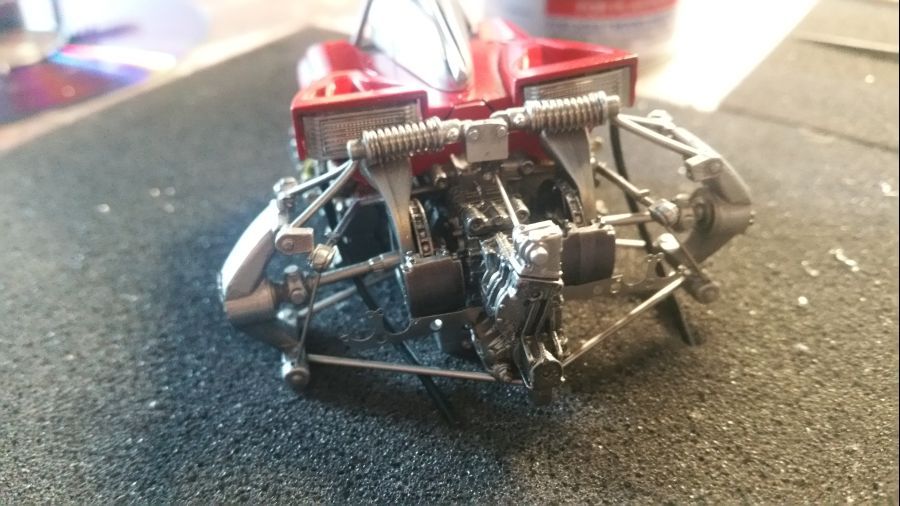
De voorwielophanging met alles wat daar bijhoort...
The front wheel suspension and everything on it...
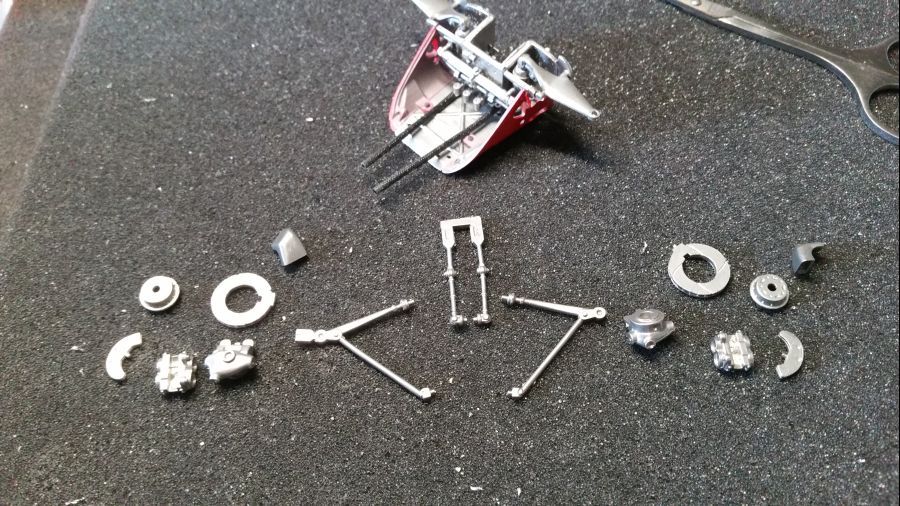
Voordat de onderste armen worden geplaatst is het belangrijk dat de bovenste armen gelijk zijn. Ik plaats het deel op een vlakke ondergrond, neem een cocktailprikker, hou deze tegen 1 van de bovenste armen en zet er een streepje op (rood). Dit is dan een richtlijn om de hoogte van beide armen gelijk te krijgen. Bij het plaatsen van de onderste armen is het dan gewoon een kwestie van het uitrichten met behulp van het tijdelijke plaatsen van de wieldelen oftewel de uprights (groen) om de juiste afstand te bepalen.
Before attaching the lower arms it's important that the upper arms are the same. I will put the part on a flat surface, take a cocktail pin, hold it against 1 of the upper arms and draw a line on it (red). This is useful to make sure the height of both arms are the same. When attaching the lower arms i will use temporarily use the wheel parts or uprights to be sure the distance is correct (green).
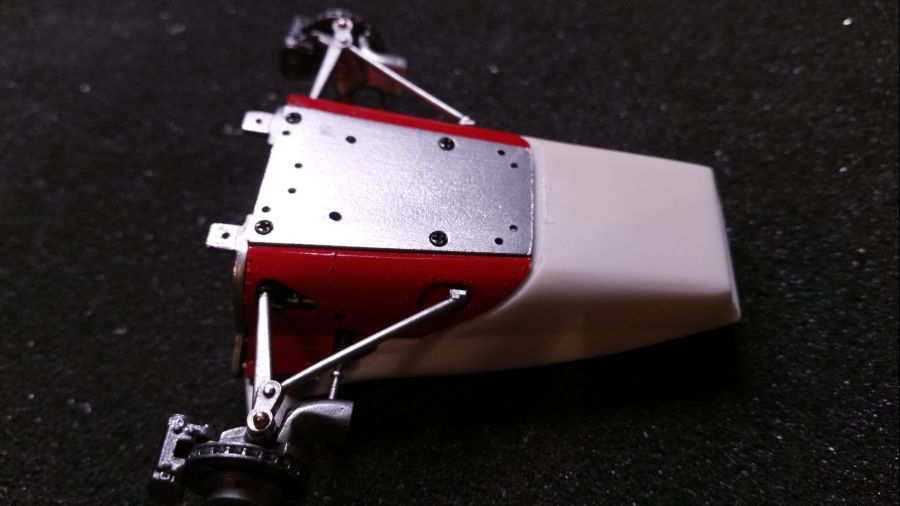
De vloeistof reservoirs krijgen voor een deel een kleurtje met heldere verf, de dop wordt geverfd en ze worden geplaatst.
The fluid tanks get a clear paint on the lower half and the cap is painted. Then they are applied.
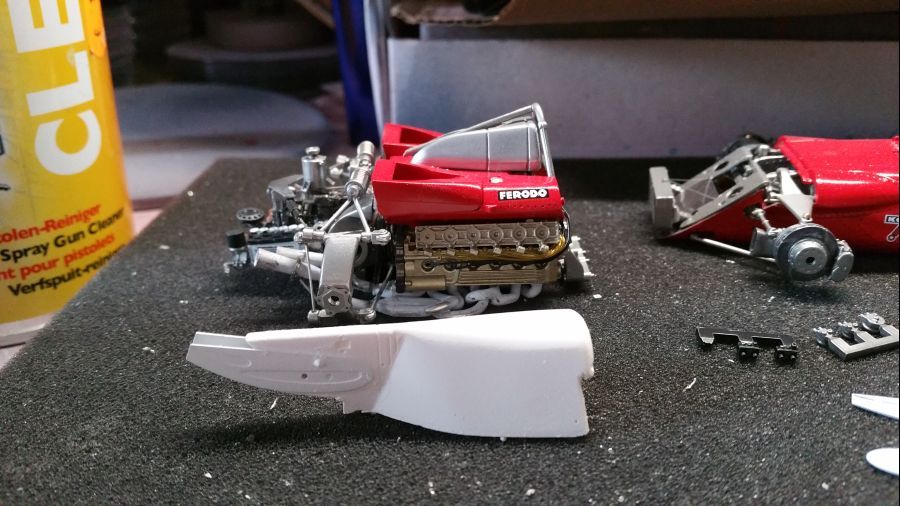
Tijd voor de koeler.
Time for the cooler.
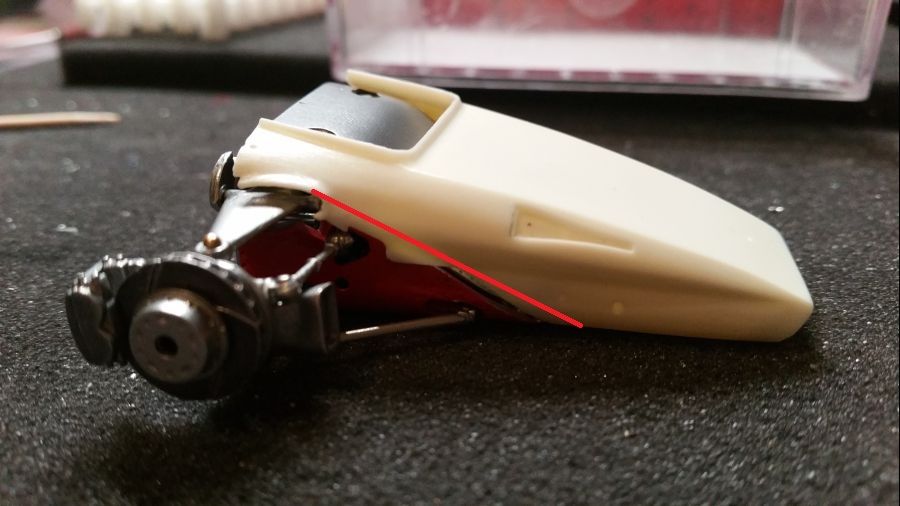
Dan even passen uiteraard, de body geen probleem...
Then of course a test fit, the body is not a problem...
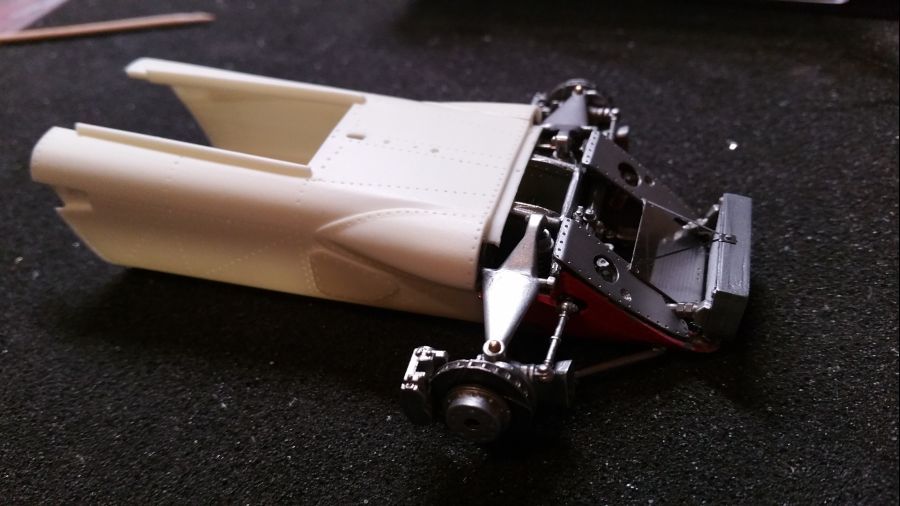
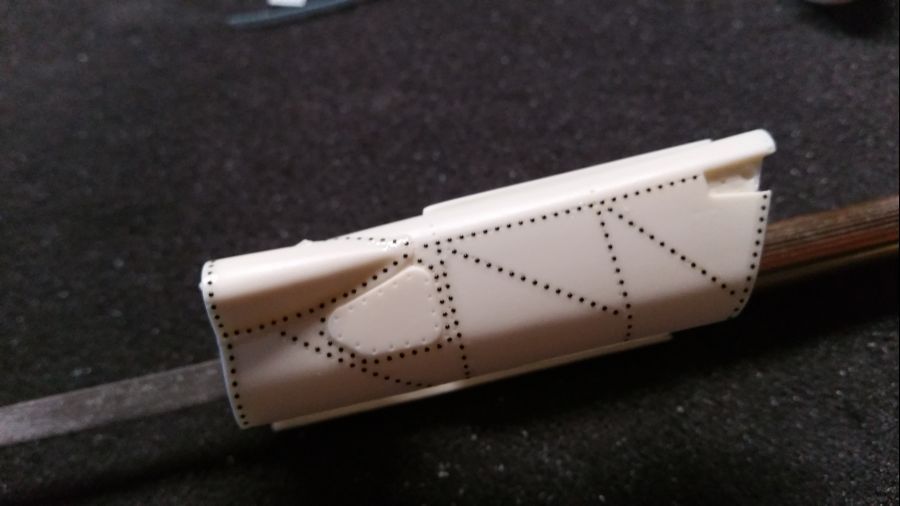
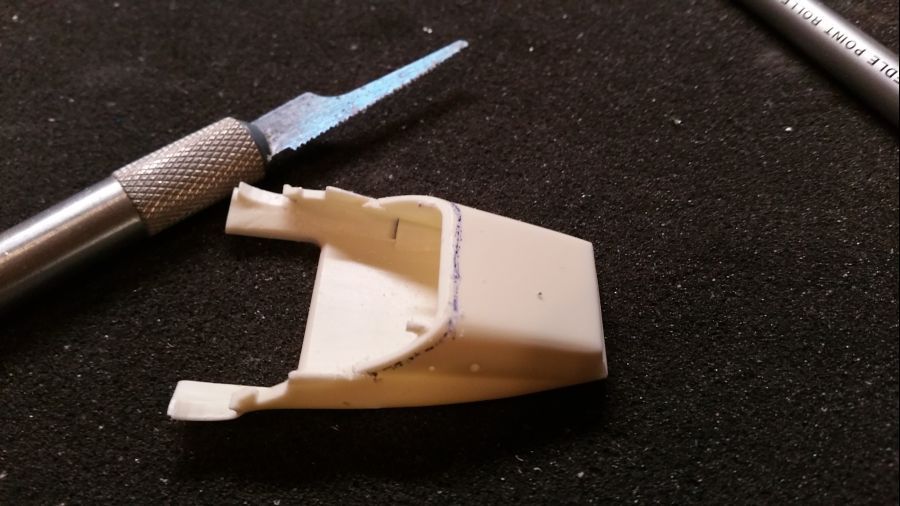
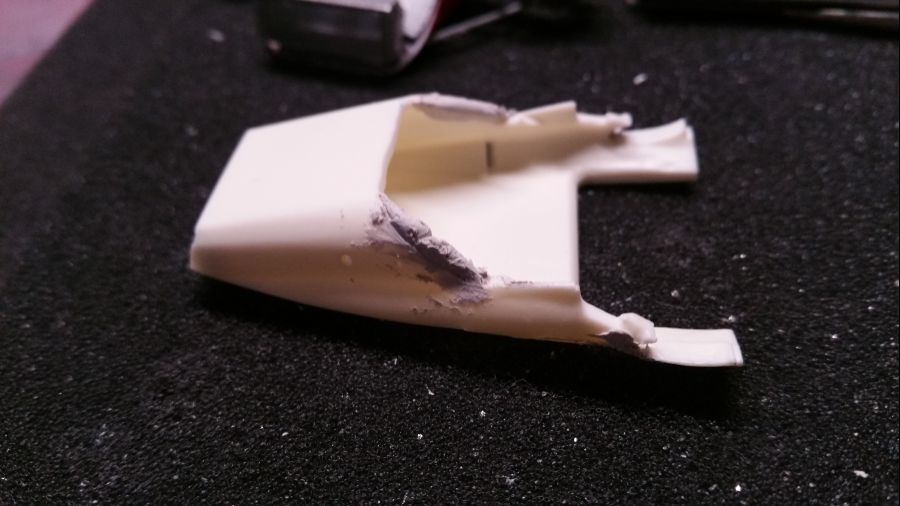
Maar de neus is een ander verhaal...
But the nose cone is a different story...
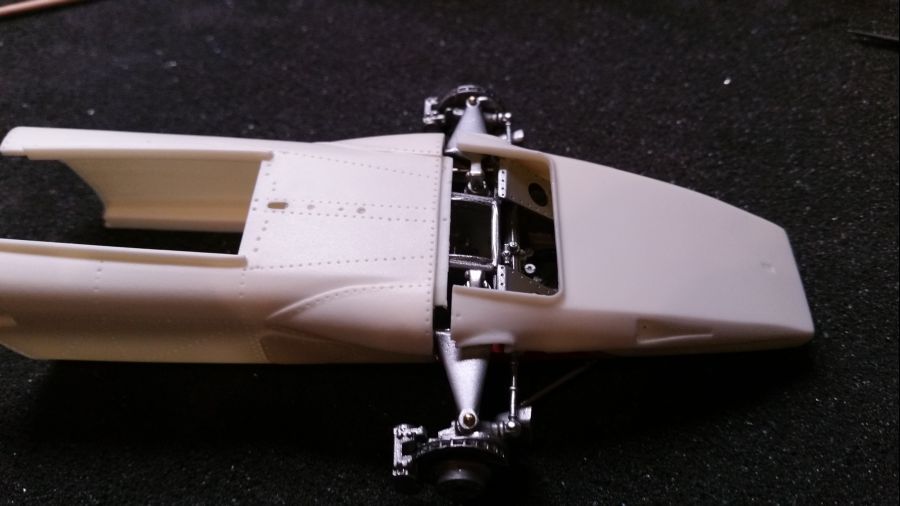
Raar want de onderkant past perfect.
Strange as the downside fits perfectly.
Ik kan me herinneren dat ik dat eerder heb gehad. Ik heb toen aan de neus allerlei zaken weggeslepen om het passend te maken. Dat was toen veel werk en liet nog veel te wensen over. Als je niet oppast wordt de neus te nauw voor de koeler. Edit: hetzelfde probleem was met mijn 1970 Ferrari 312 B Italy versie.
I seem to remember i have had this before. At that time i did a lot of corrections by cutting the nose. A lot of work and still not a good result. There is a high risk the nose gets to narrow for the cooler. Edit: i had the same problem with my 1970 Ferrari 312 B Italy version.
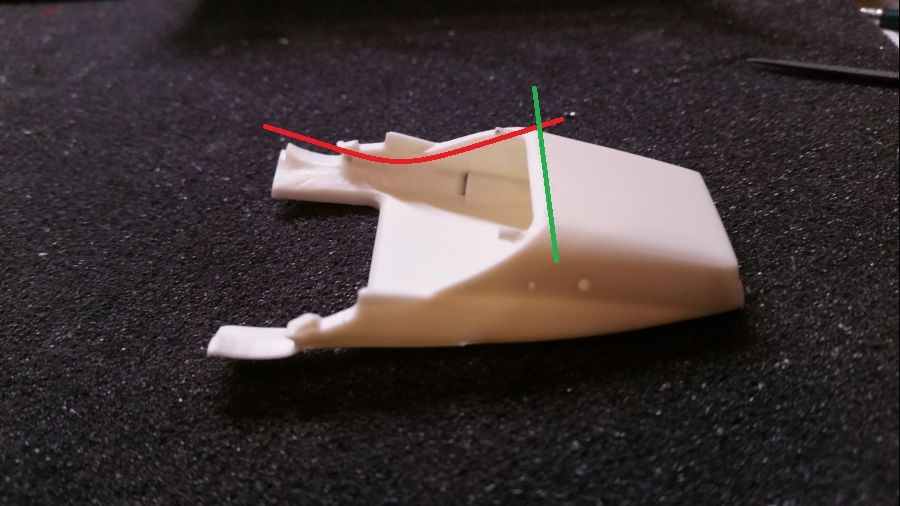
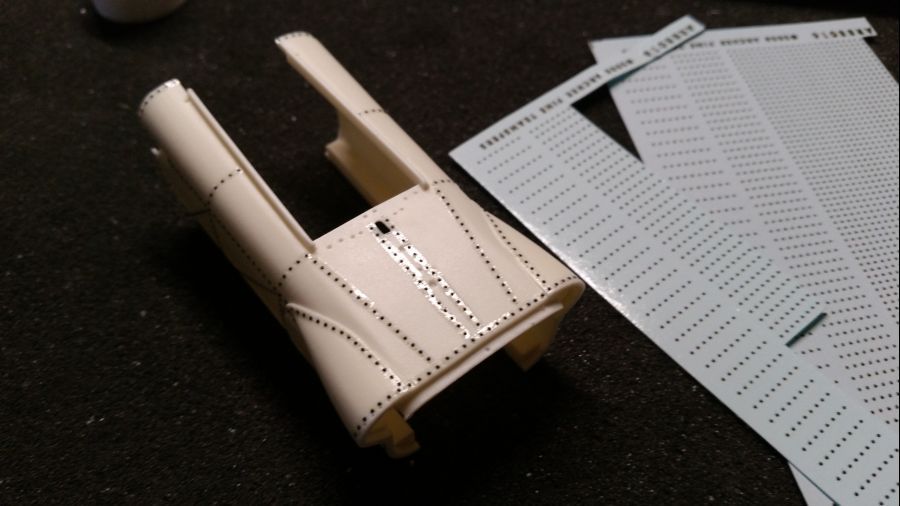
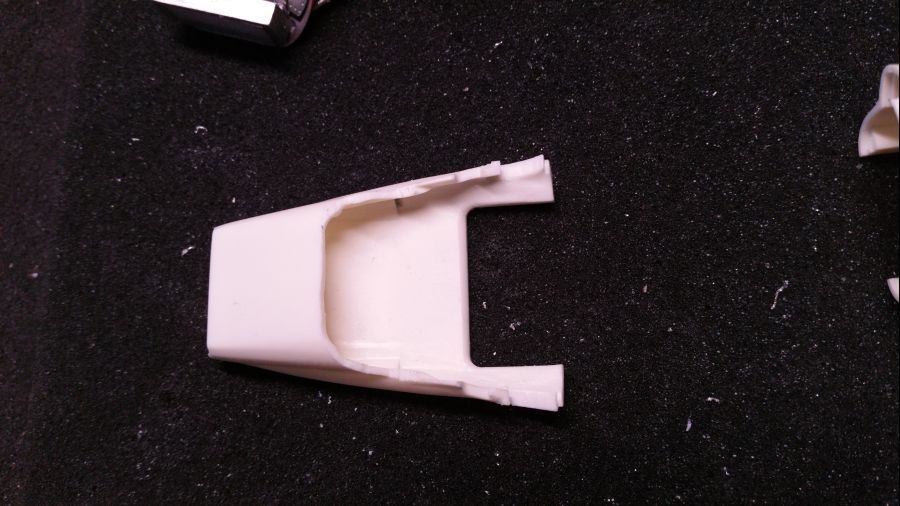
Dus deze keer ga ik juist de bovenkant wat verlengen met Evergreen strip.
So this time i will make the top a little longer with Evergreen strip.
Anders moet dit hele deel worden weggeslepen. En de onderkant natuurlijk ook.
Otherwise this whole part needs to be cut. And the downside too.
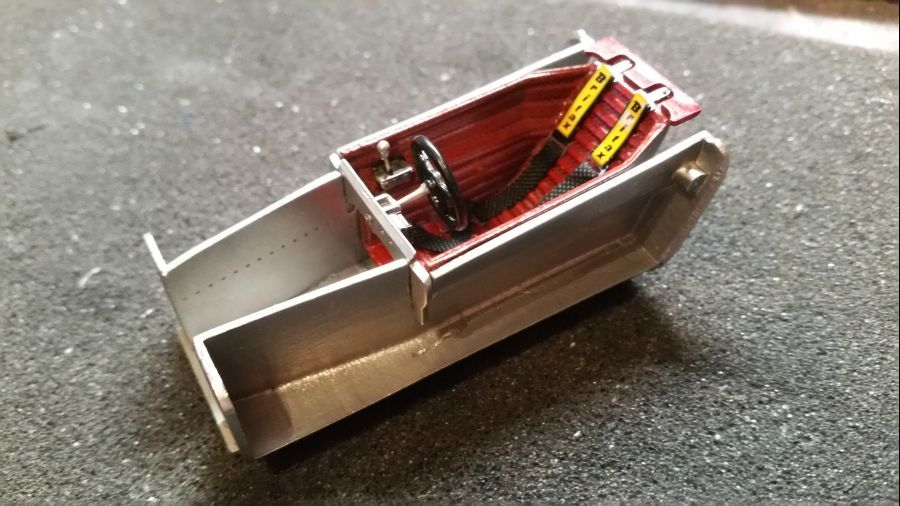
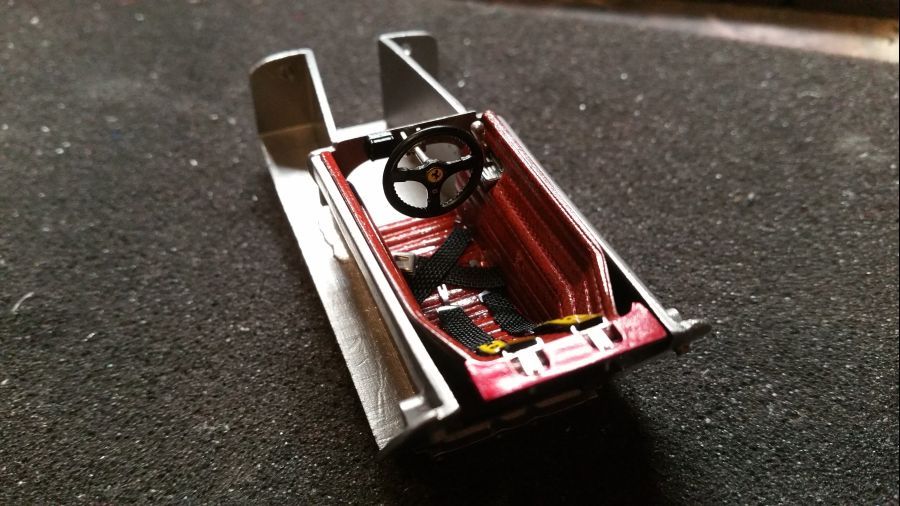
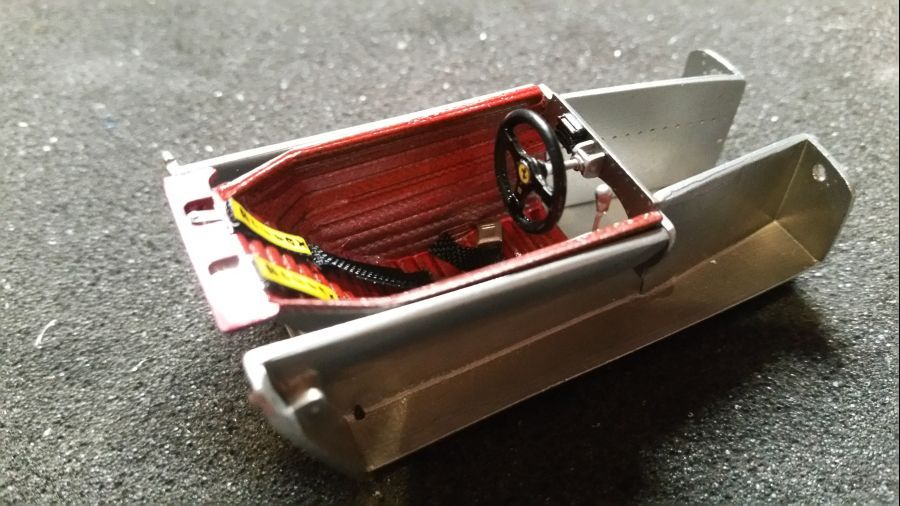
Terwijl ik nadenk over een oplossing ga ik eerst verder met de kuip en de stoel..
While i am thinking about a solution i will continue with the tub and the seat..
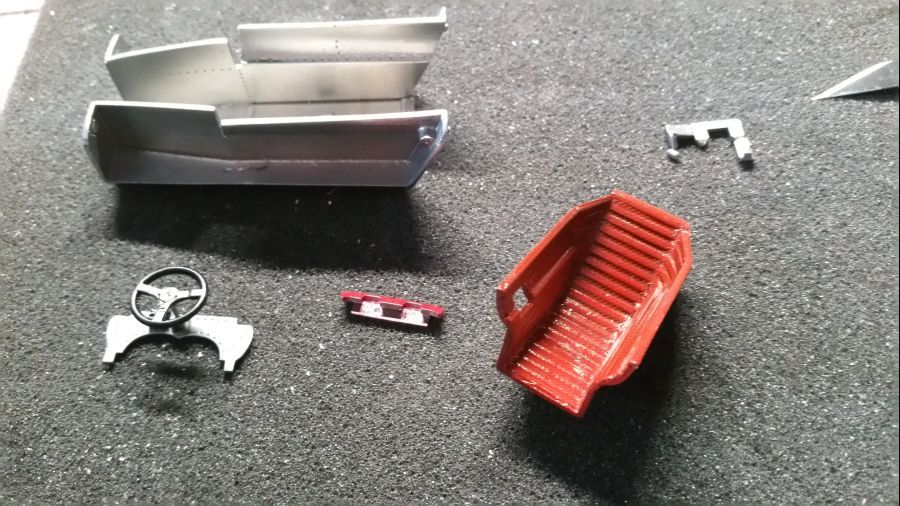
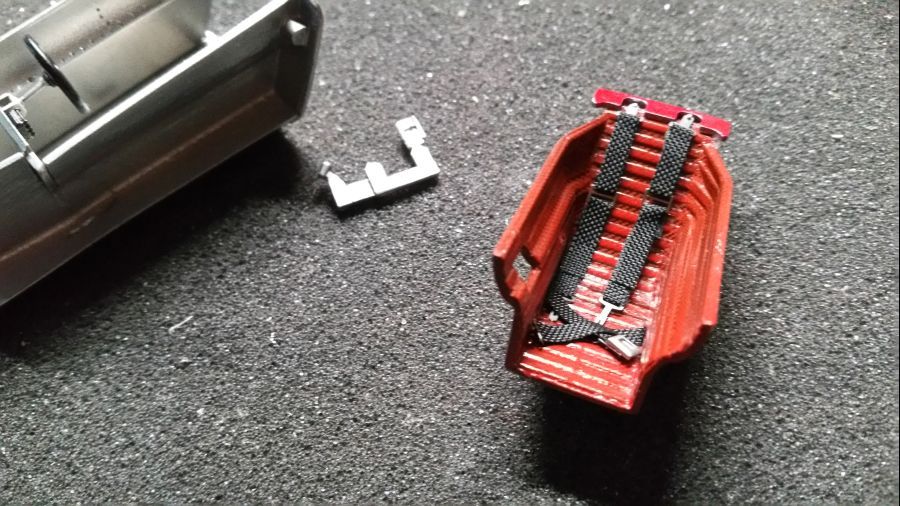
De stoel krijgt eerste een mist van zwarte grondverf, daarna een mist Tamiya rood TS-49. Daarna wordt de decal aangebracht.
The seat first gets a mist of black primer, then a mist of Tamiya red TS-49. Then the decal is being applied.
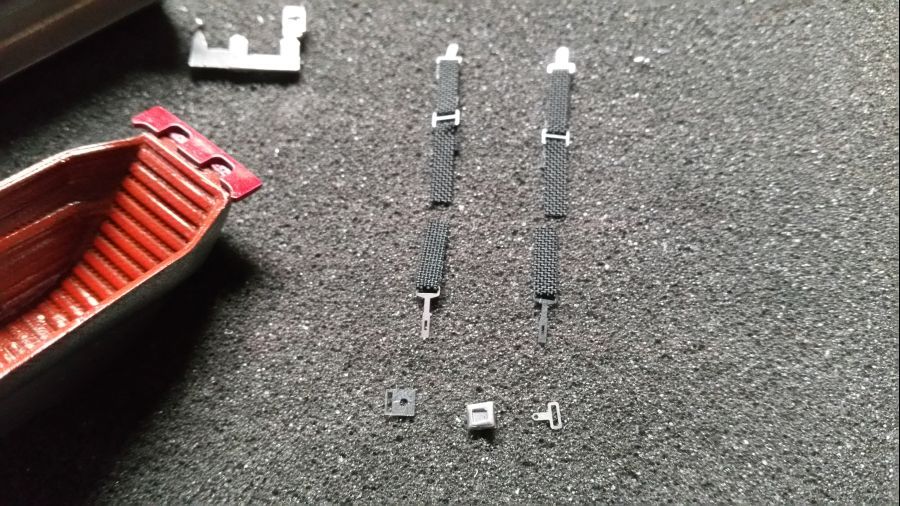
Dan de gordels.
Next are the belts.

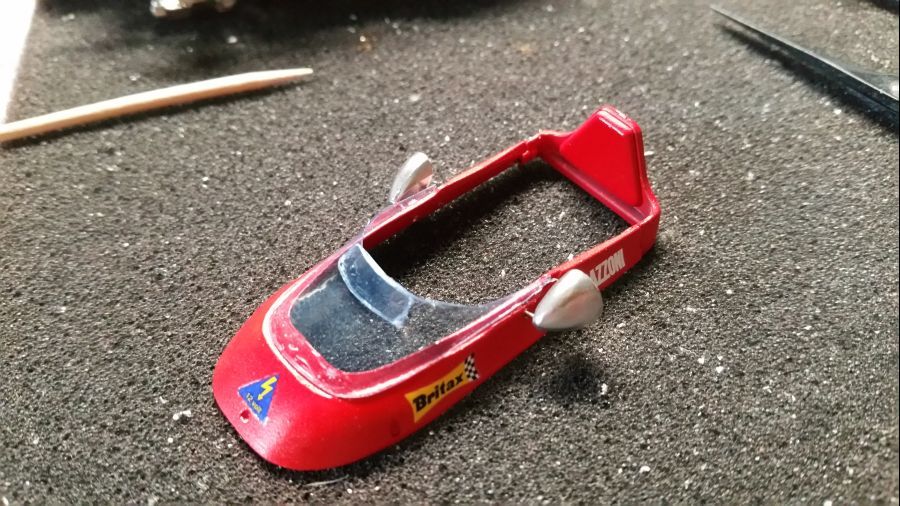
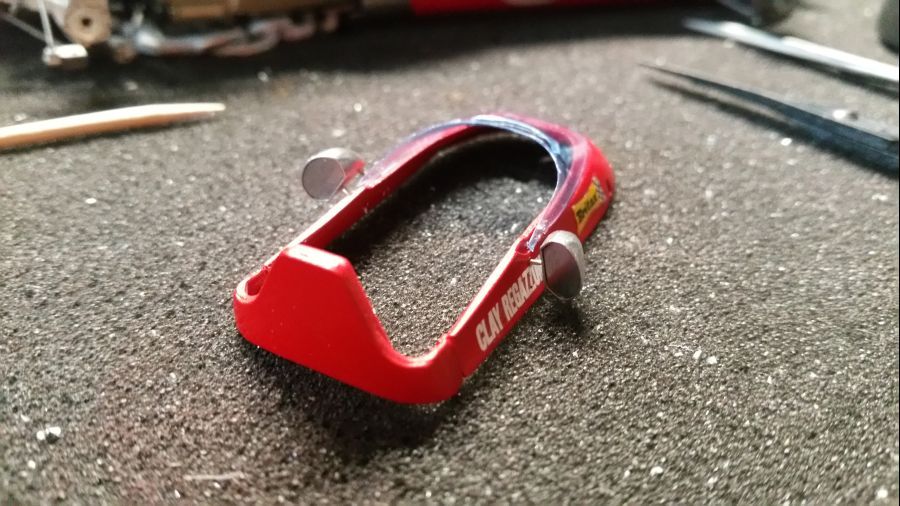
De body krijgt zijn popnagels. Ik werk graag met deze Archer rivets.
The body gets it's rivets. I like working with these Archer rivets.
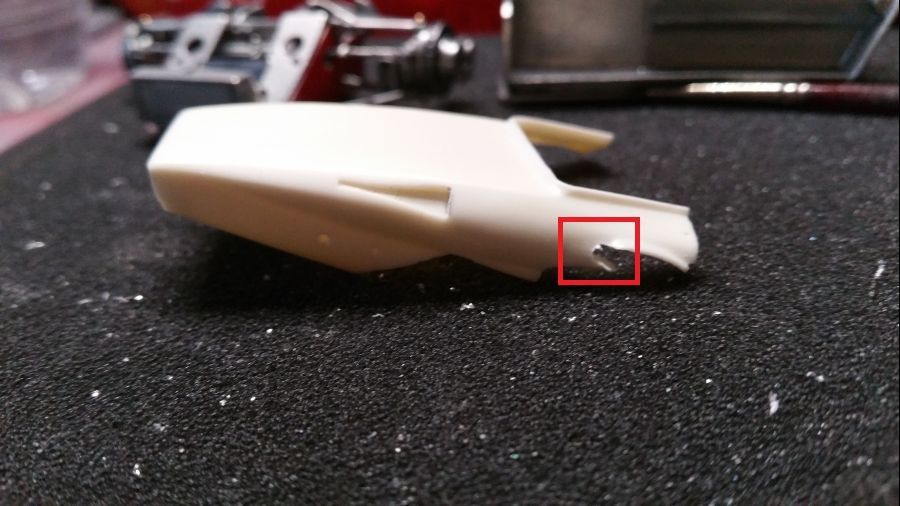
Na een nachtje slapen denk ik dat dit de enige oplossing is voor de te korte neus.
After sleeping a night over it, i think this is the best solution for the short nose.
Ook dit moest wat bijgewerkt worden.
Also this needed some work.
Past perfect.
Perfect fit.
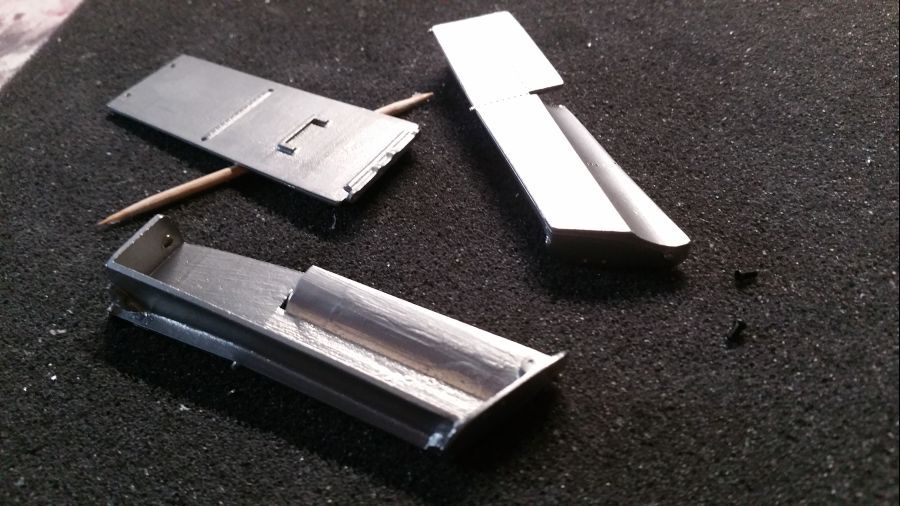
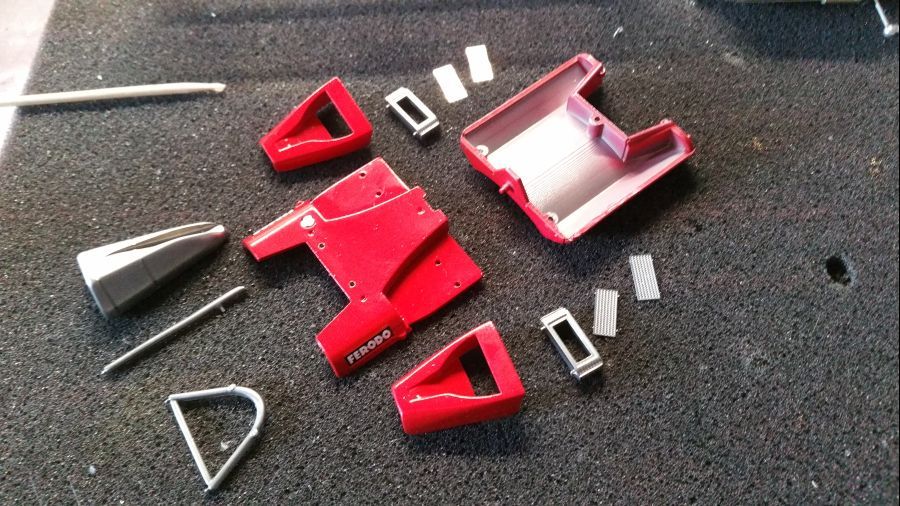
Even een paar kleine reparaties...
Some small repairs...
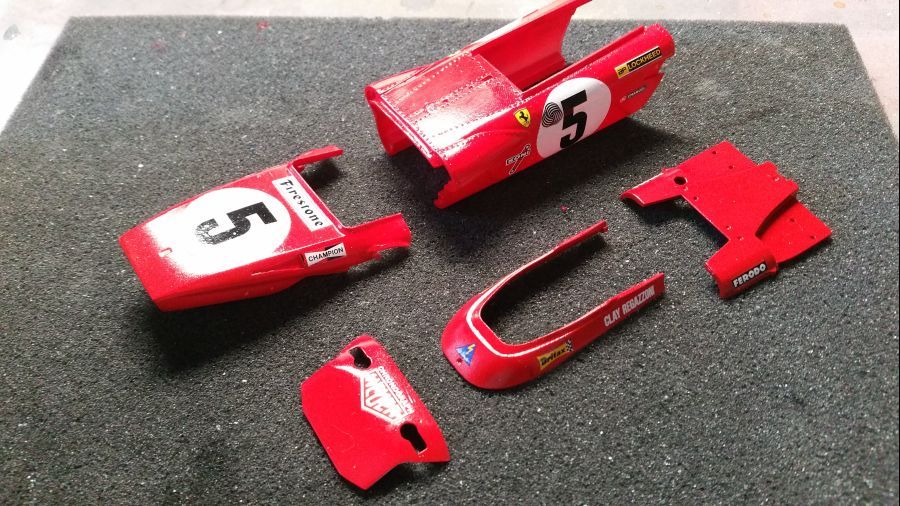
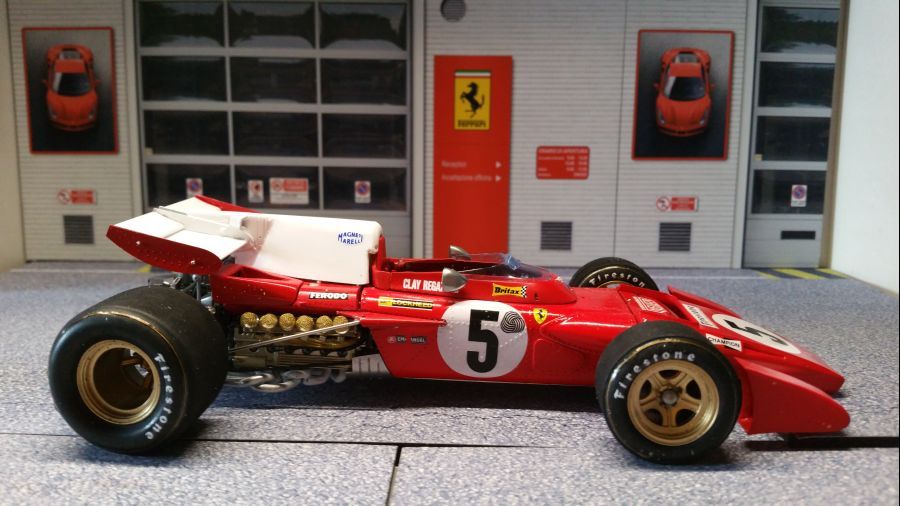
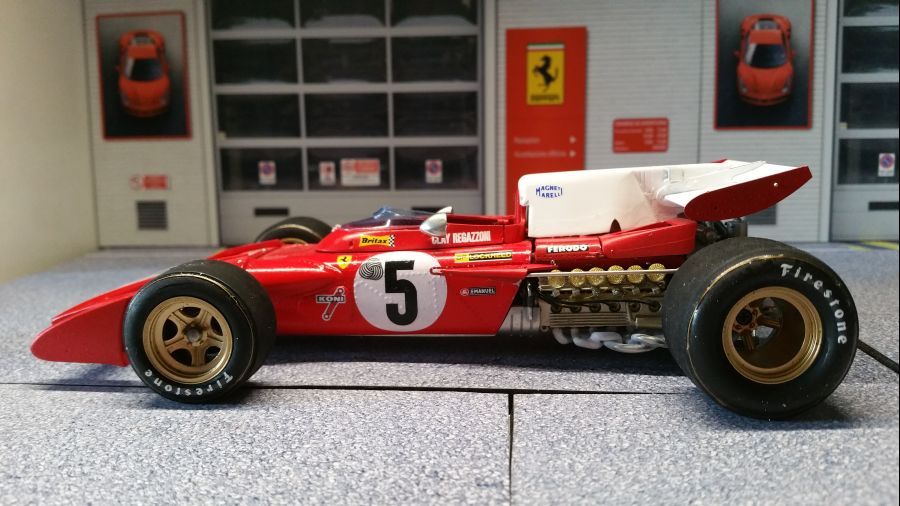
Deze Ferrari 312 B2 British versie krijgt weer een rood kleurtje van Zero Paints ZP-1007 70's-80's Rosso Formula 1. Het wit is Zero Paints ZP-1026 Pure Brilliant White. Daarna heldere glansllak.
This Ferrari 312 B2 British version gets a red colour from Zero Paints ZP-1007 70's-80's Rosso Formula 1. The white is Zero Paints ZP-1026 Pure Brilliant White. Then clear gloss lacquer.
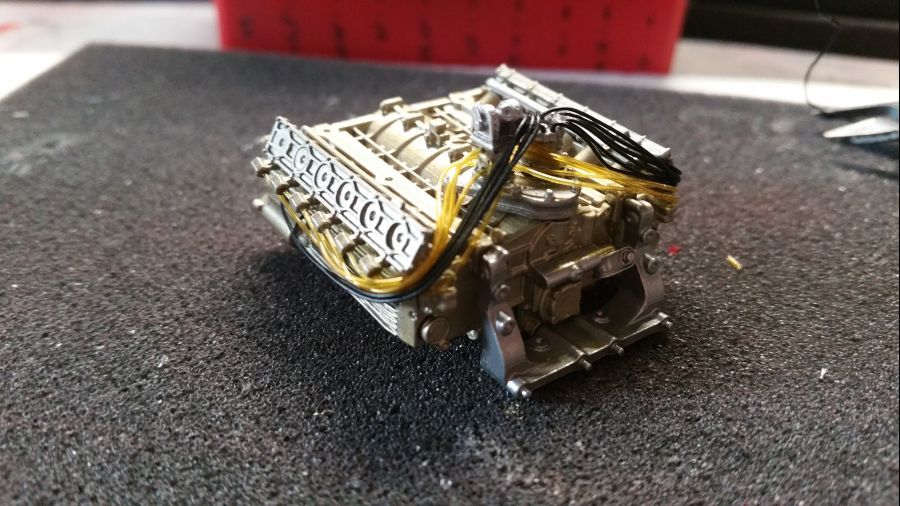
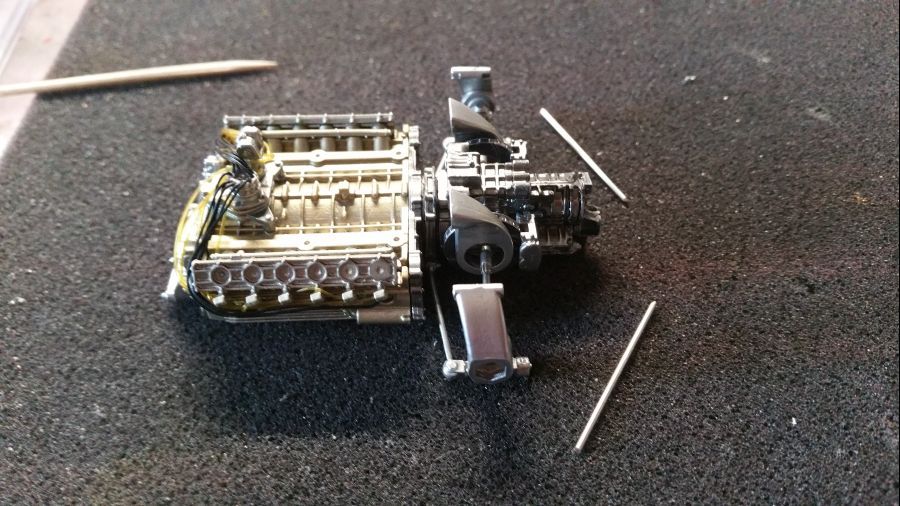
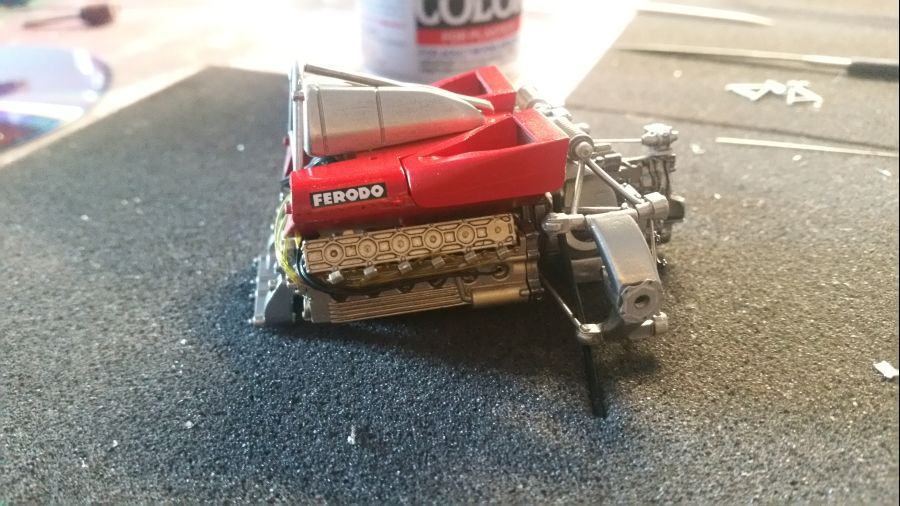
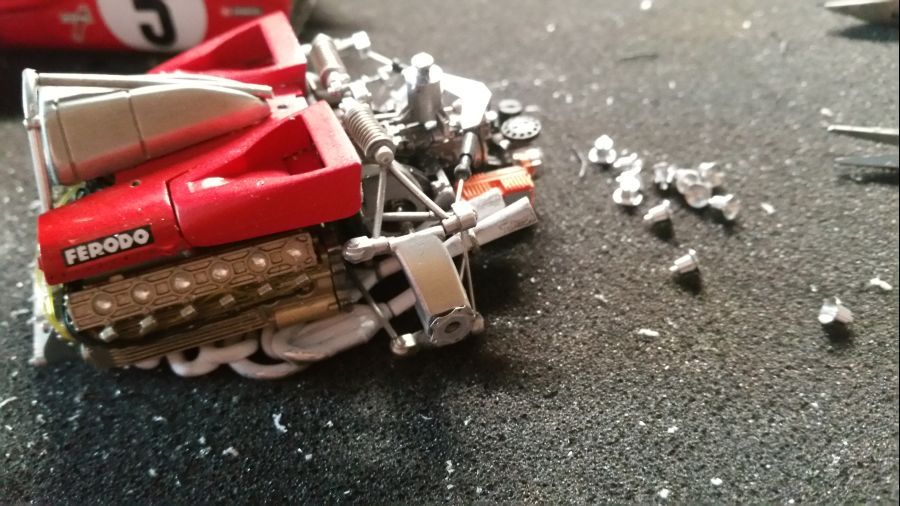
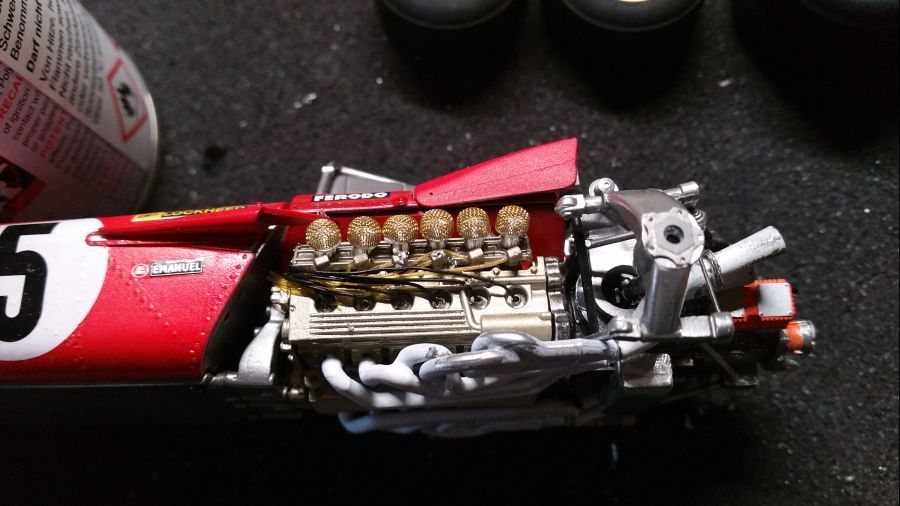
Terwijl dit droogt ga ik verder met de motor.
While this dries i will continue with the engine.
Na de metaalprimer komt de Tamiya TS-87 Titanium Gold.
After the metal primer it's time for Tamiya TS-87 Titanium Gold.
Brandstofleidingen worden aangebracht...
Fuel lines are being added...
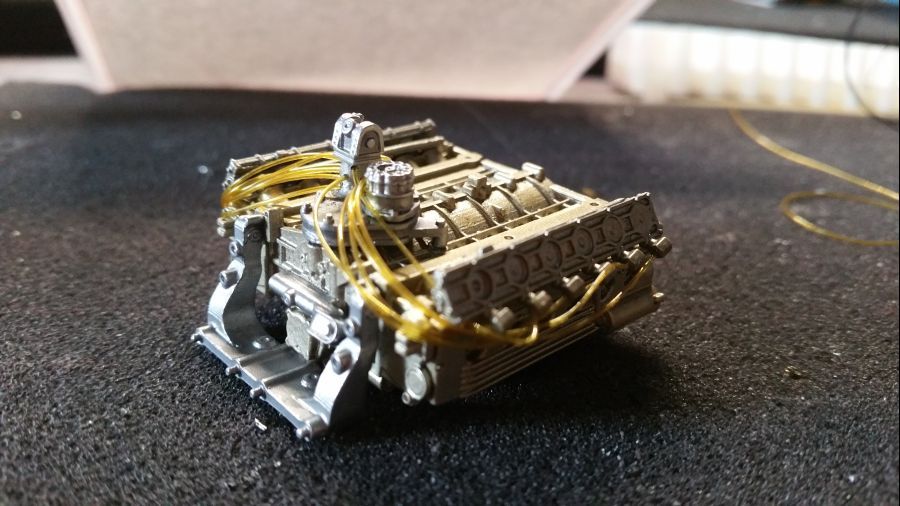
Dan de ontsteking...
Then the ignition...
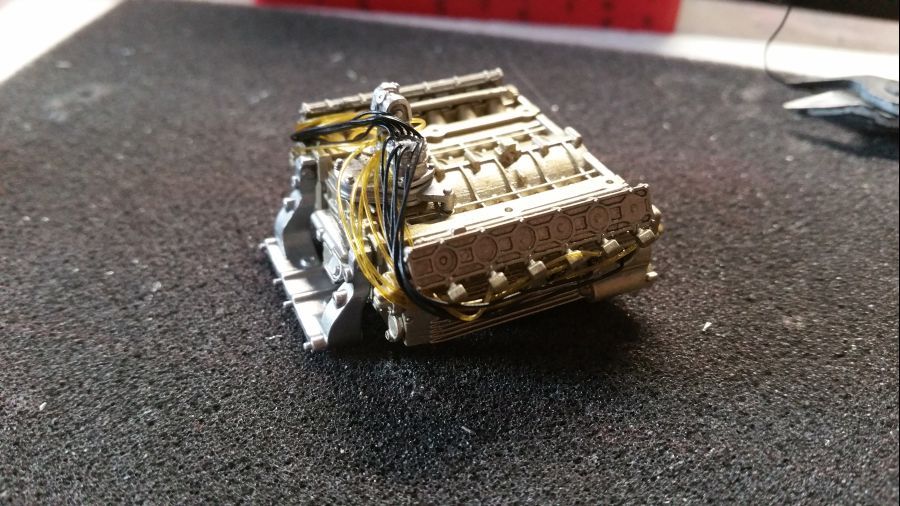
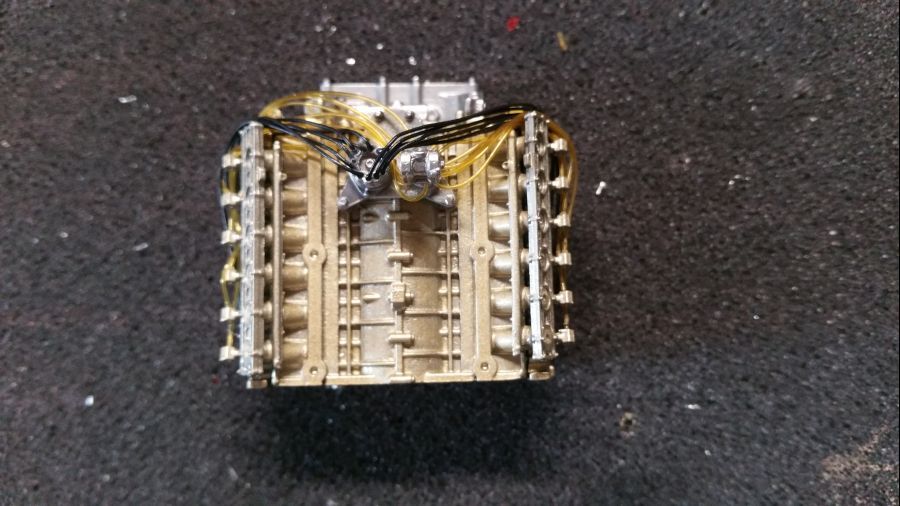
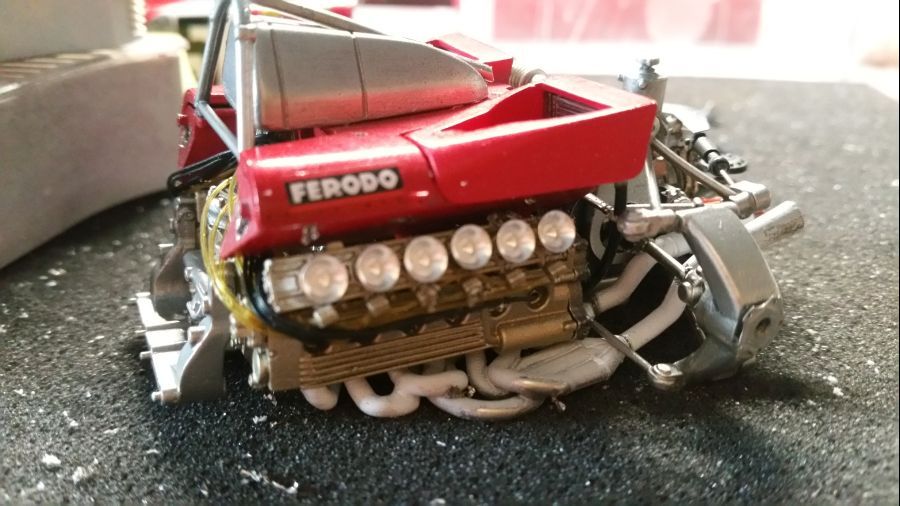
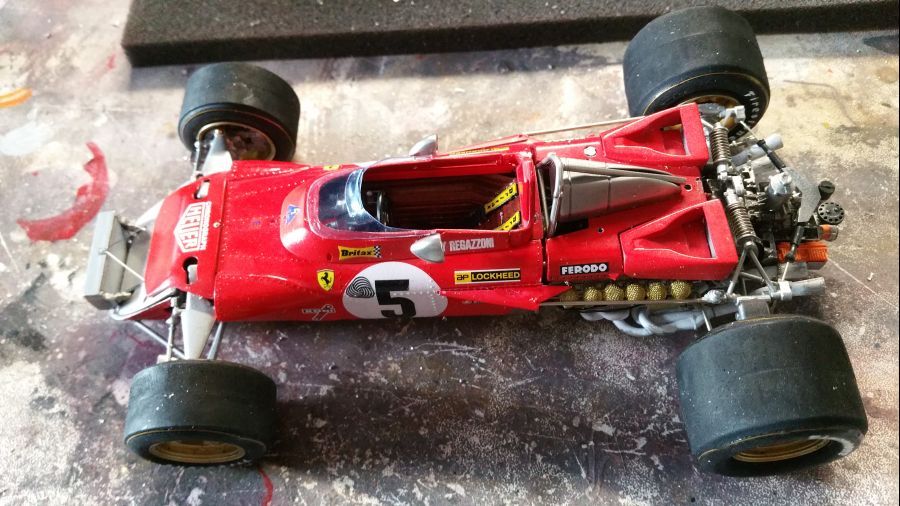
Dan is het tijd voor de decals...
Then it's time for the decals...
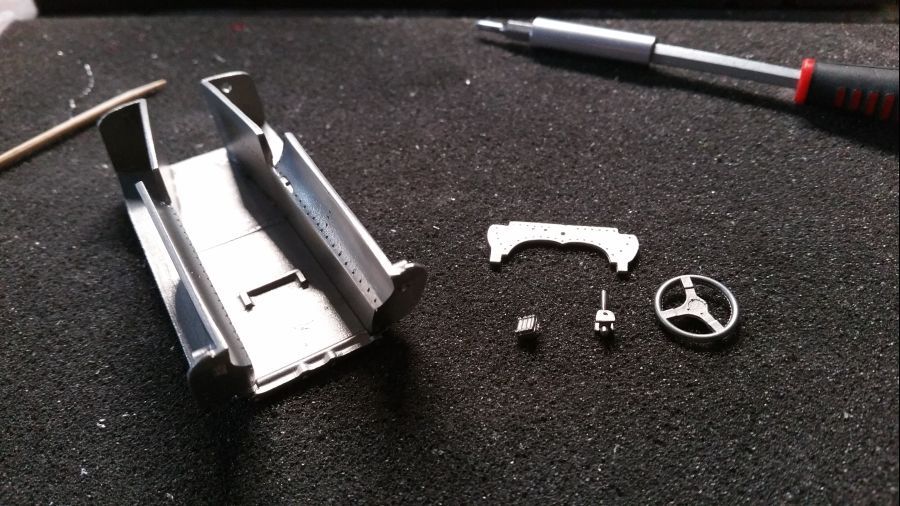
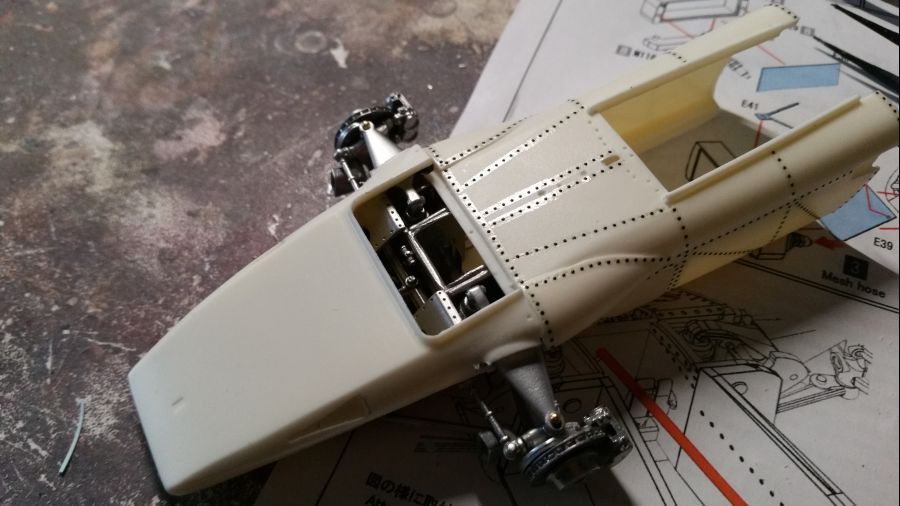
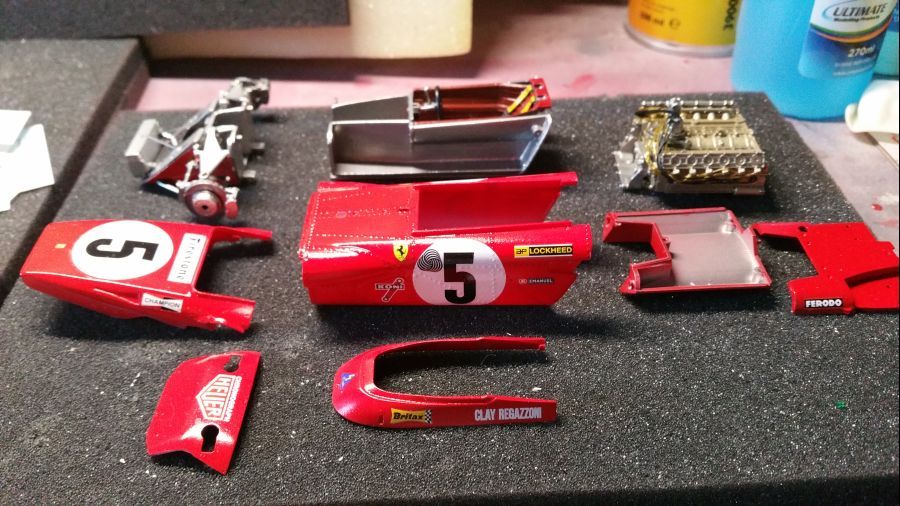
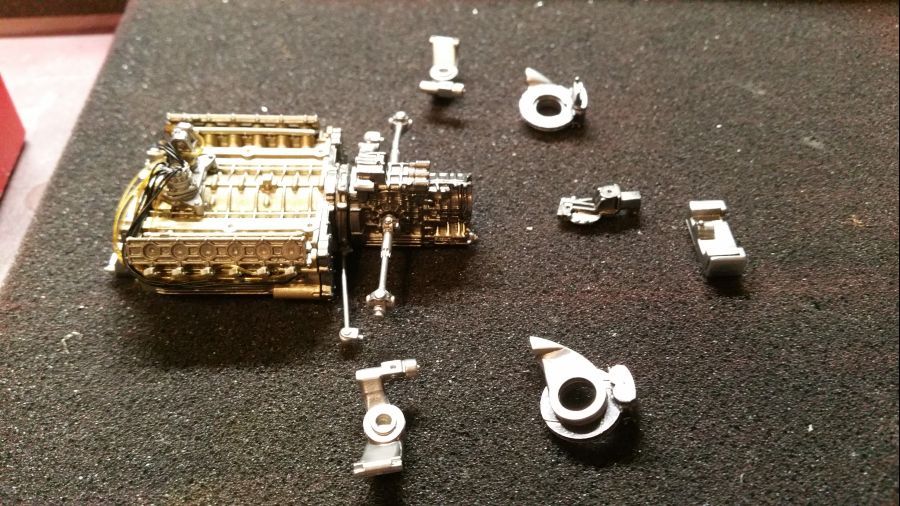
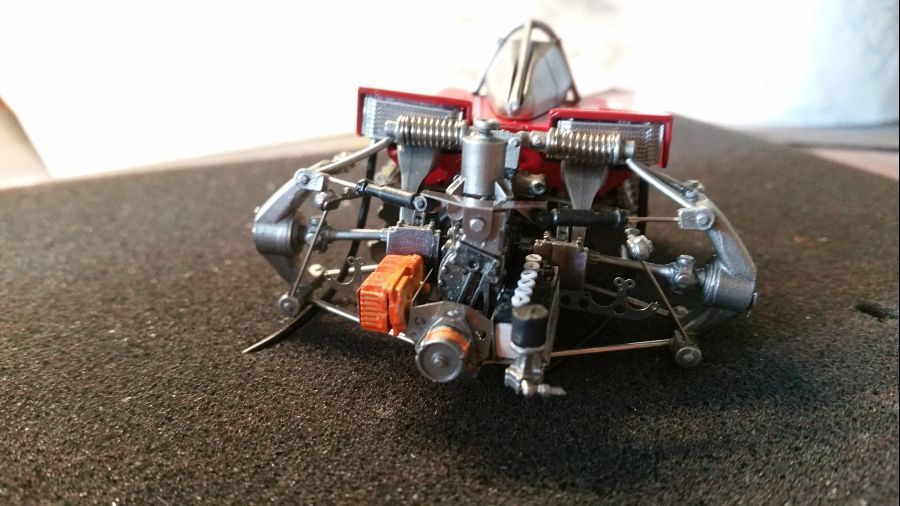
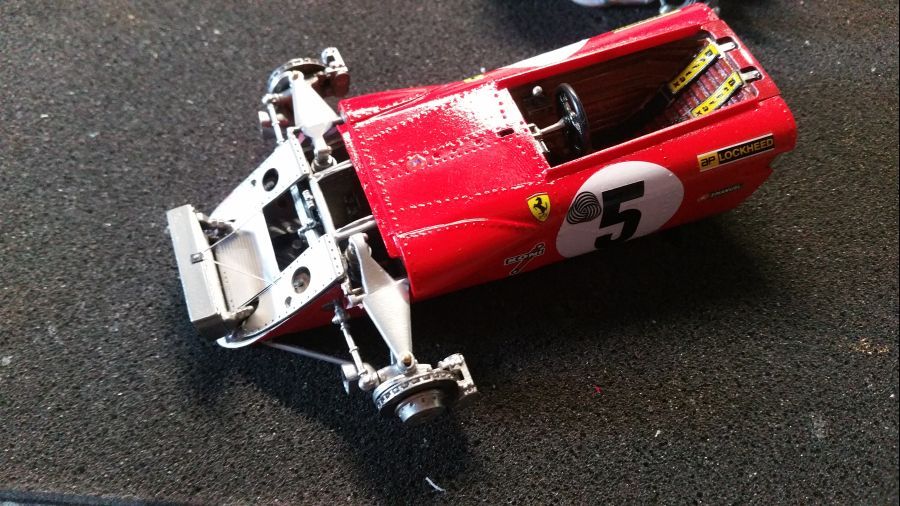
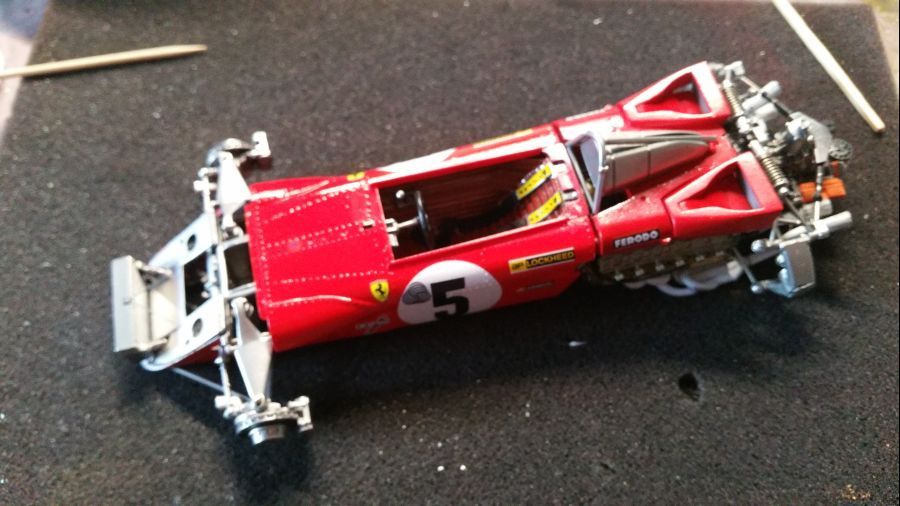
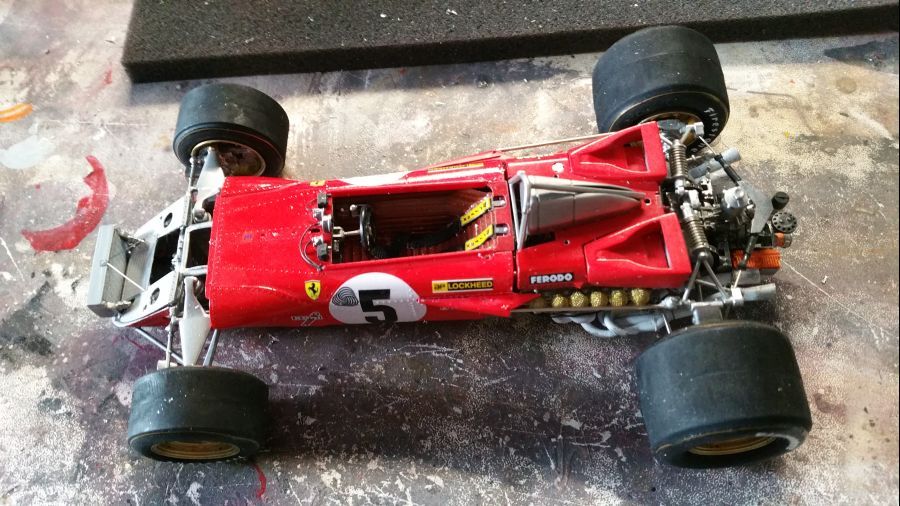
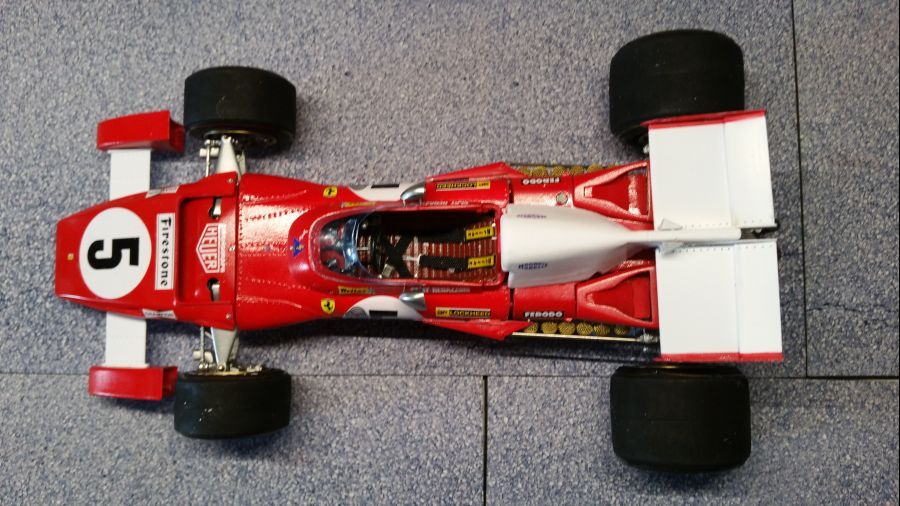
Alle onderdelen tot dusver...
All the parts so far...
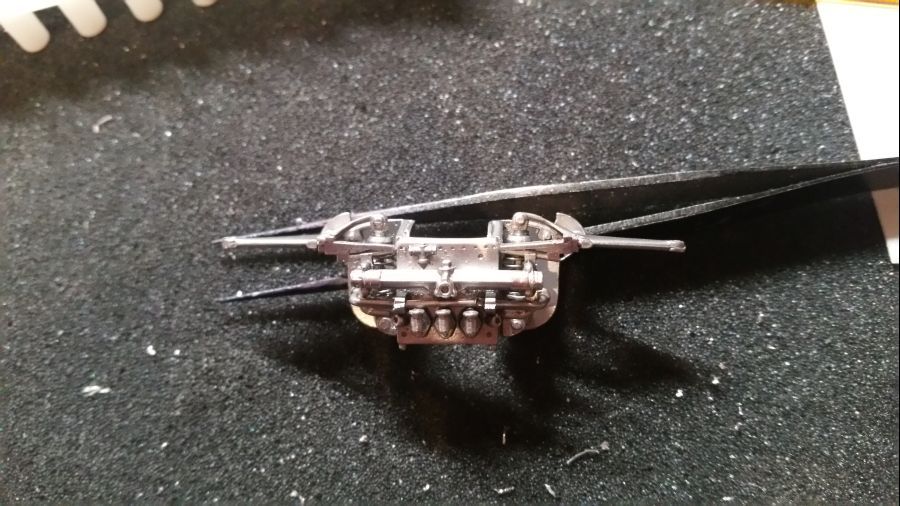
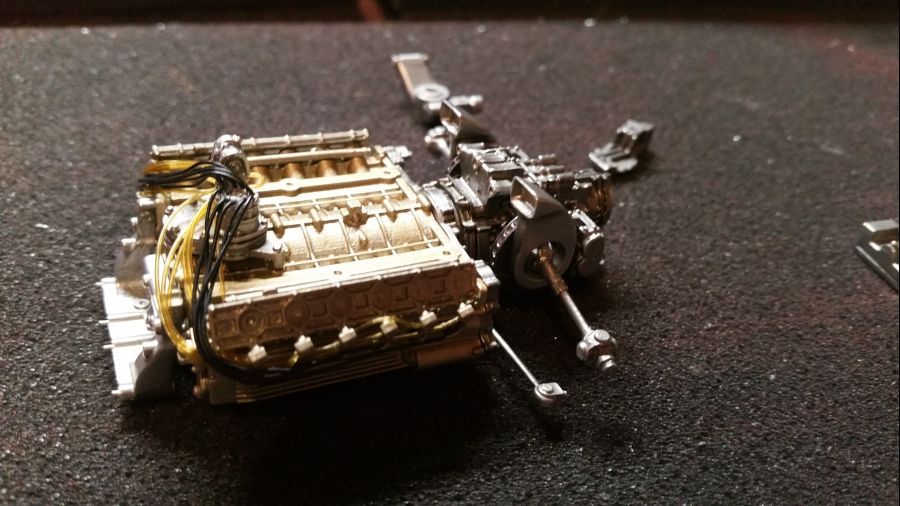
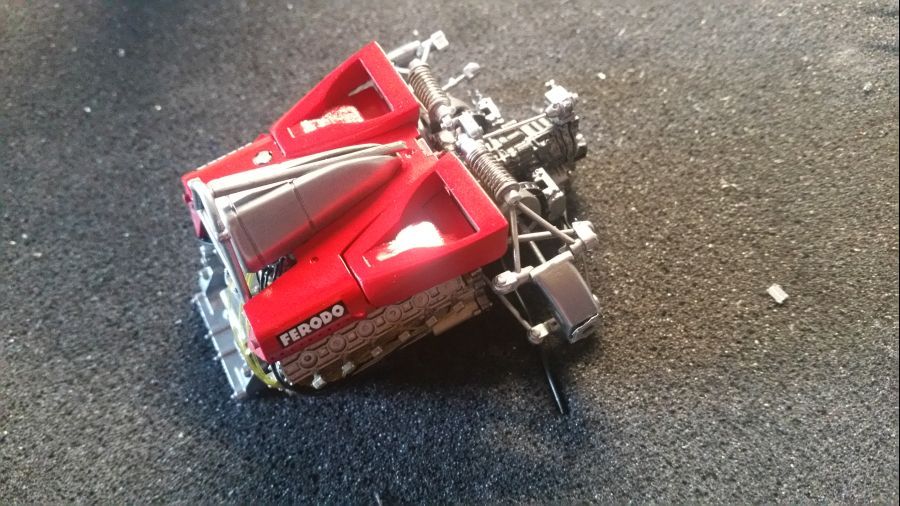
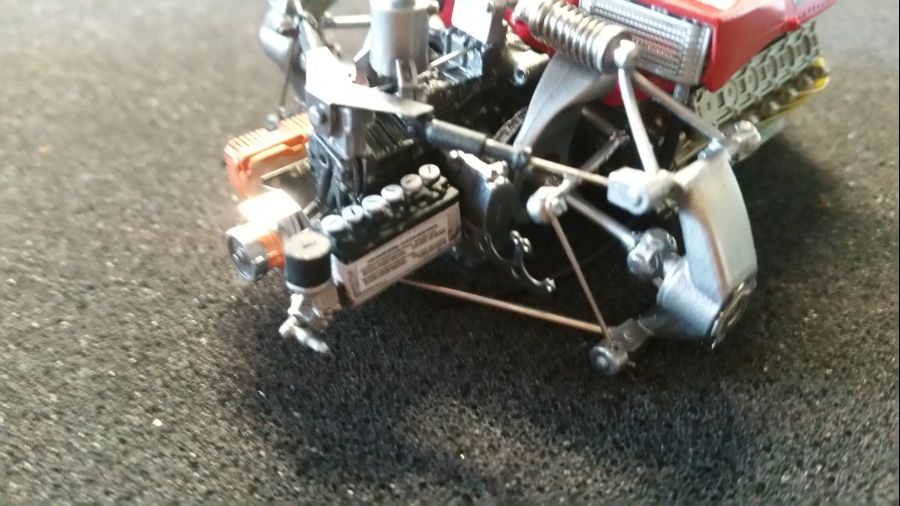
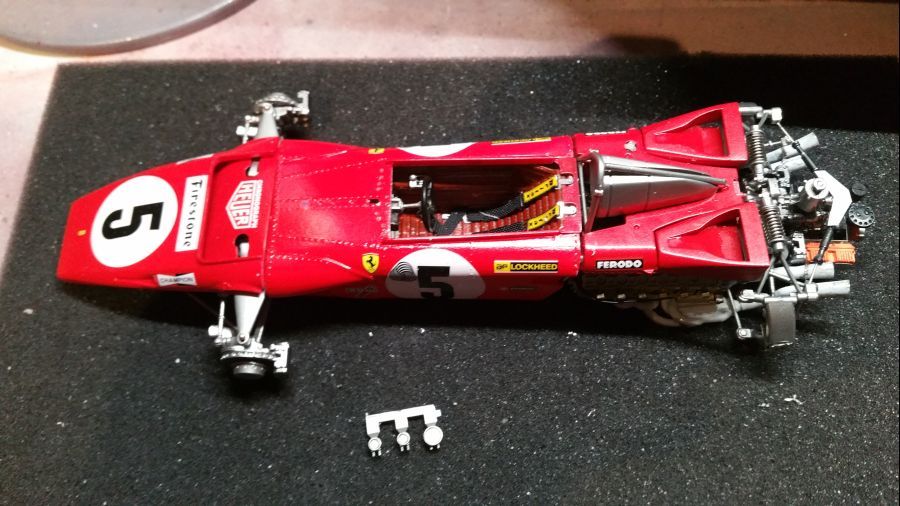
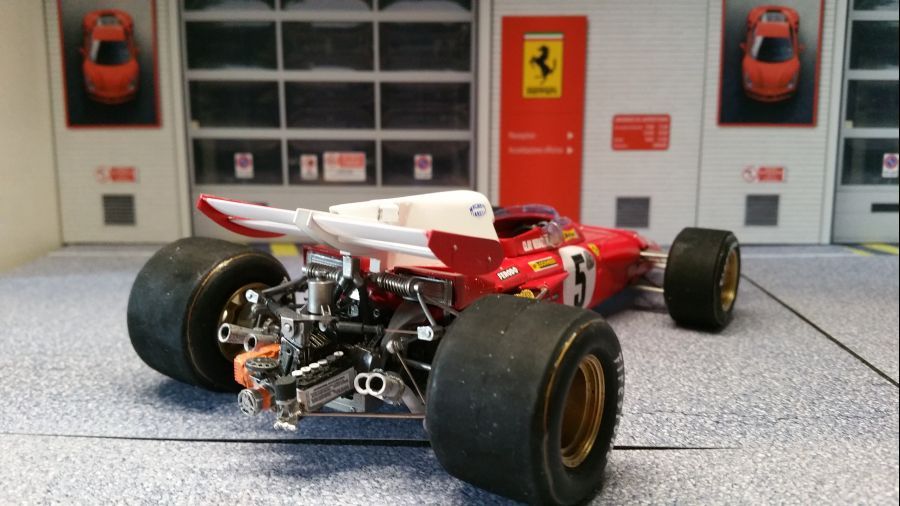
Dan verder met de versnellingsbak... en de wielophanging...
To continue with the gearbox... and the wheel suspension...

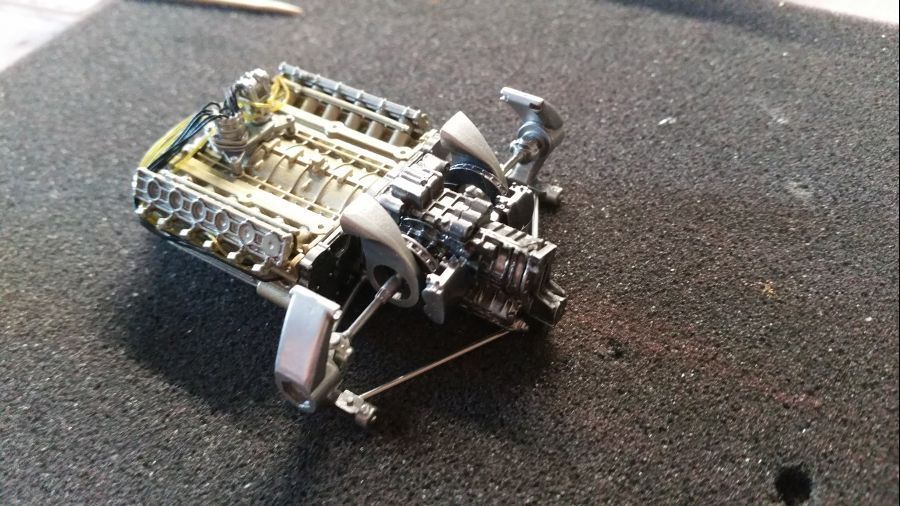
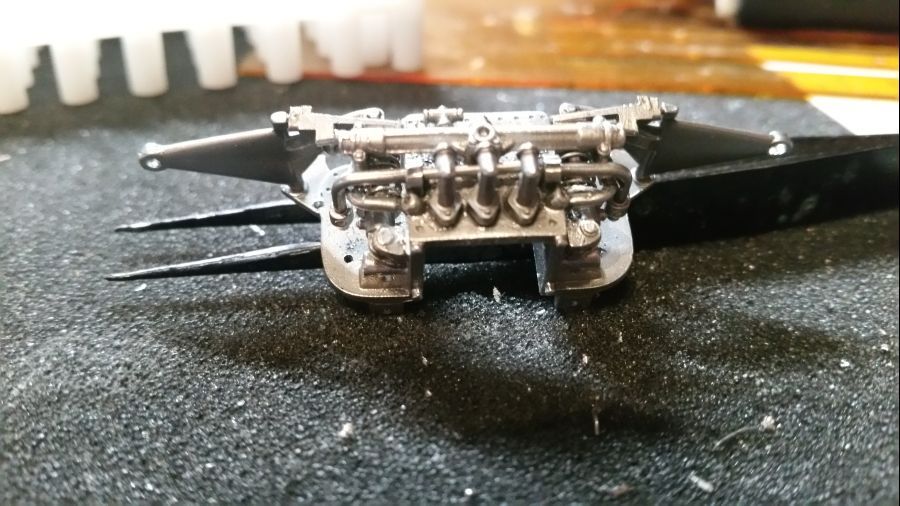
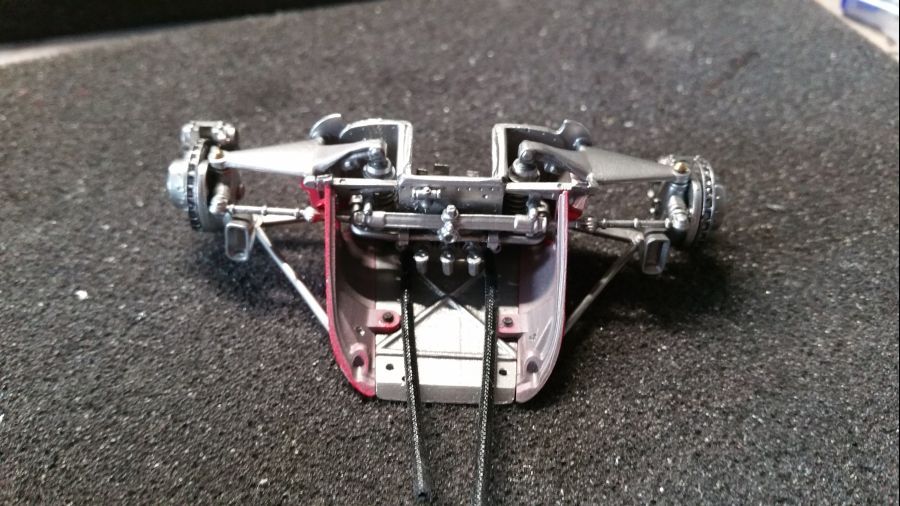
Even passen om te zien of alles in lijn is gemonteerd.
A test fit to see everything has been mounted in line.
Dan de motorafdekking...
Time for the engine cover...
Meer onderdelen...
More parts...


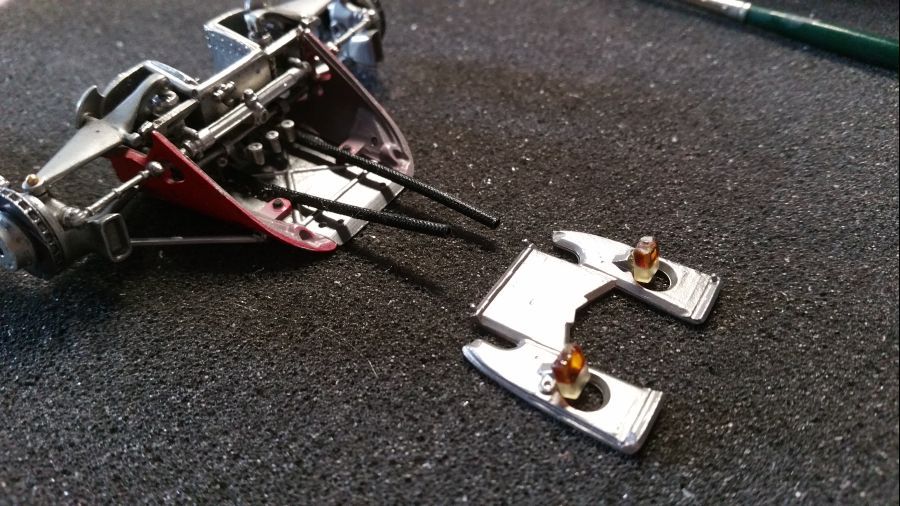
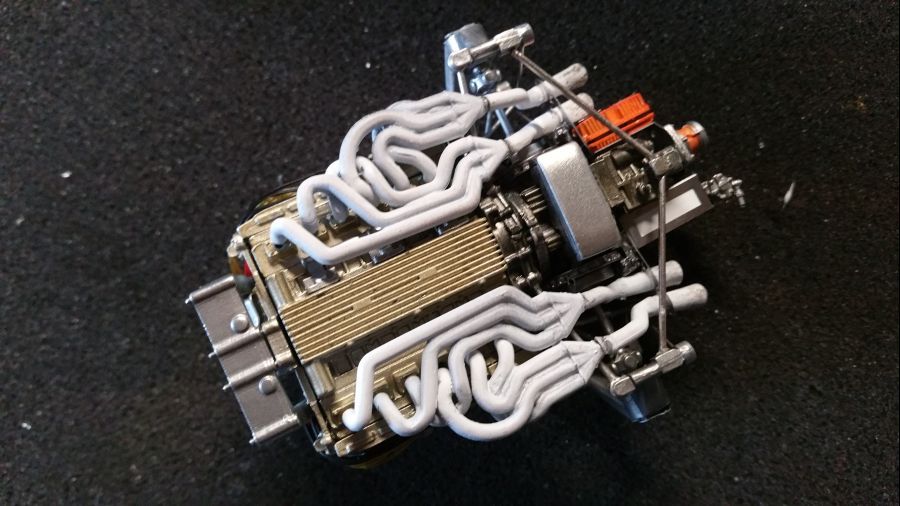
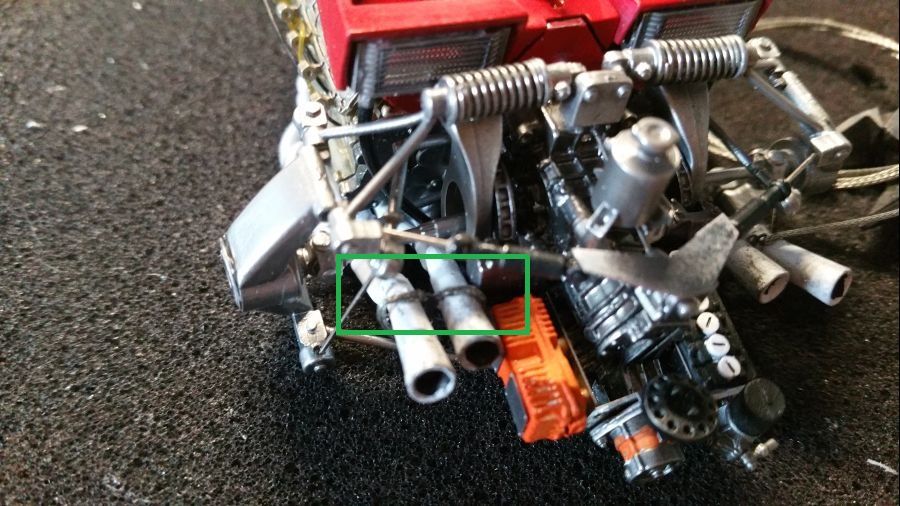
Het werk aan de uitlaten. Ze worden wit gespoten en aan de uiteinden een beetje zwart gemaakt. Die veertjes zal ik waarschijnlijk niet gebruiken op de manier waarop het bedoeld is. Op de een of andere manier lukt mij dit nooit. Ze zijn stug en springen alle kanten op tussen het pincet. Ik zal ze waarschijnlijk plakken of simuleren met iets.
Working on the exhausts. They are painted white and some black weathering at the end. The springs will probably not be use as intended. For some reason i always fail at this. They are stiff and jump to all sides when using tweezers. I will probably glue them or simulate them in another way.
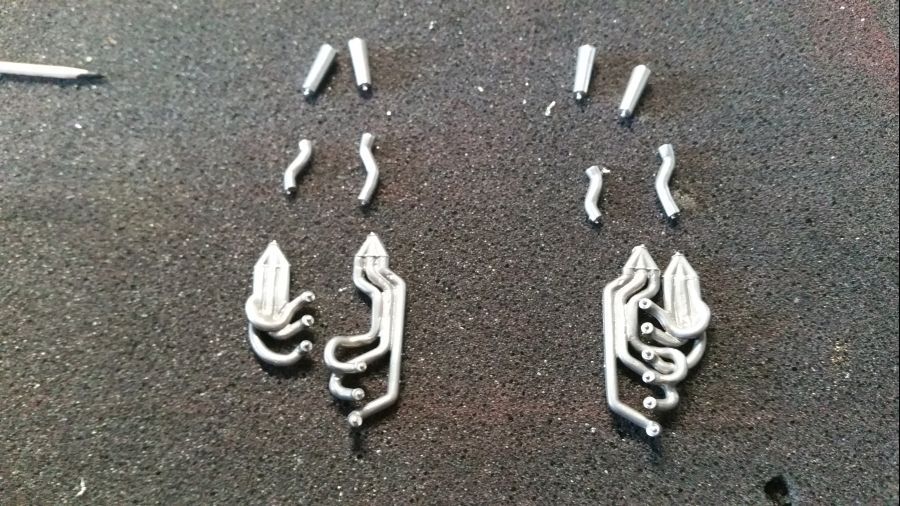
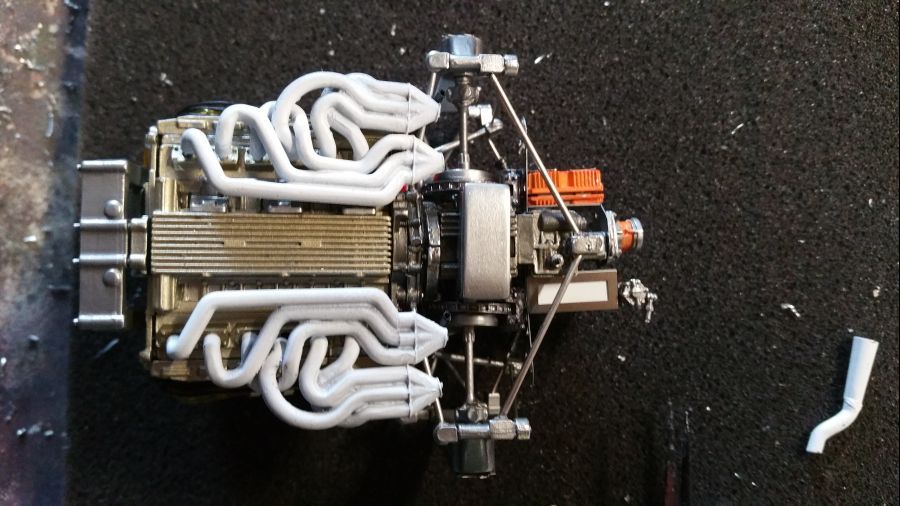
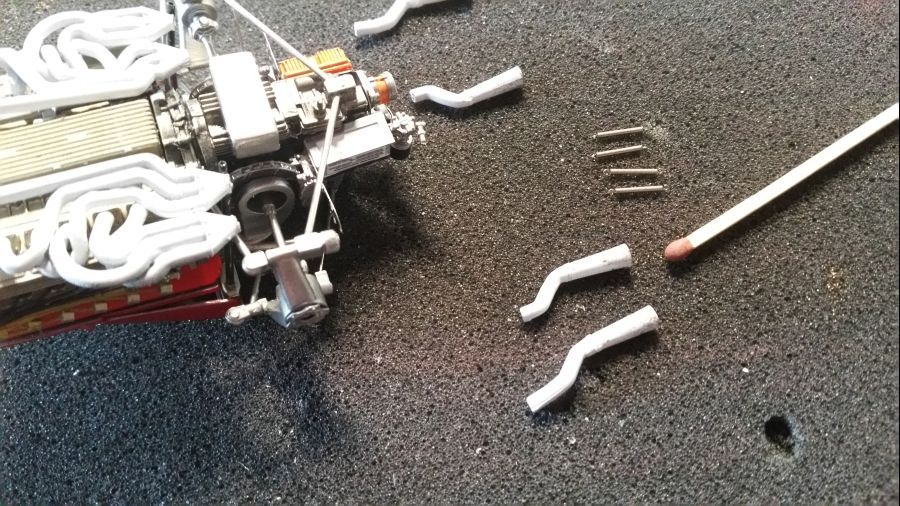
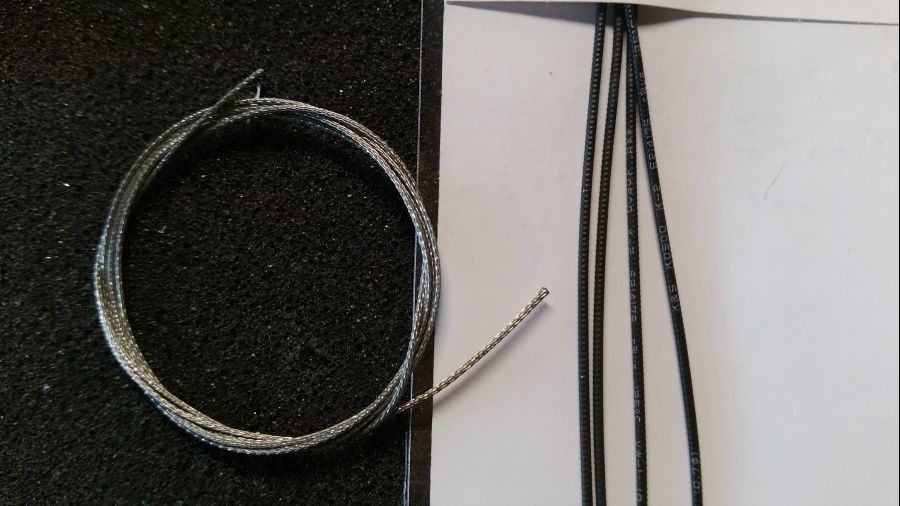
In mijn voorraad heb ik ribbelbuis of vlechtdraad om de veren na te bootsen. Ik ga voor de vlechtdraad.
In my stash i have corrugated duct or braid line to simulate the springs. I will use the braid line.
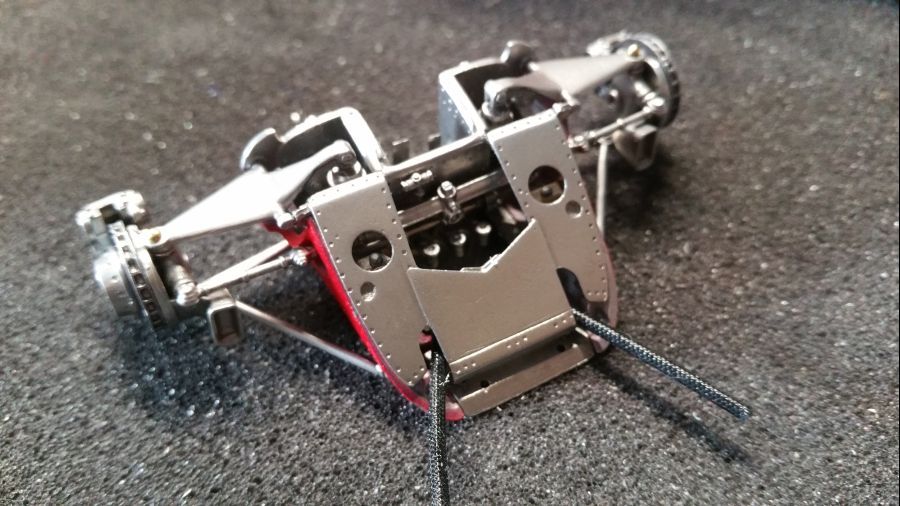
Tijd voor wat assembleren...
Time for some assembly...
En even testen... Niet zeker of dit zo hoort... Misschien even wat boren om de nokjes erin te laten vallen.
And a test fit... Not sure if this is correct... Maybe some drilling is needed so the bumps fit the holes...
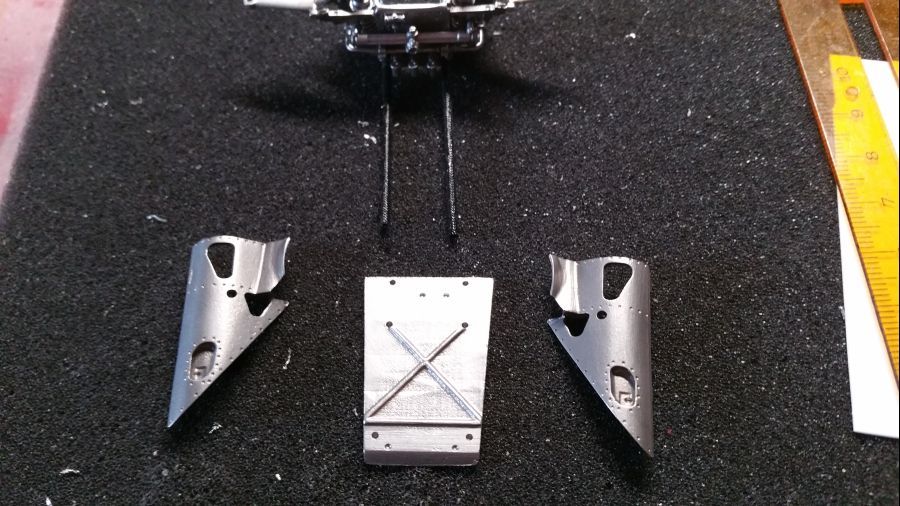
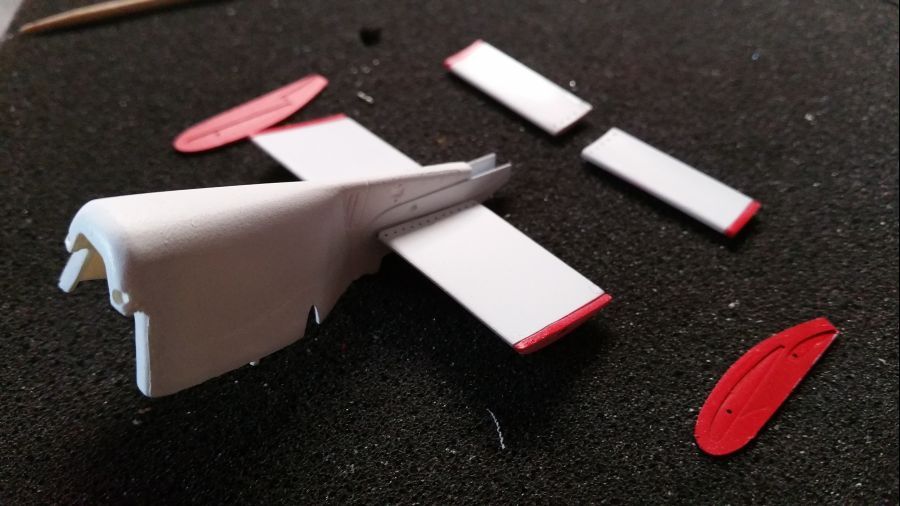
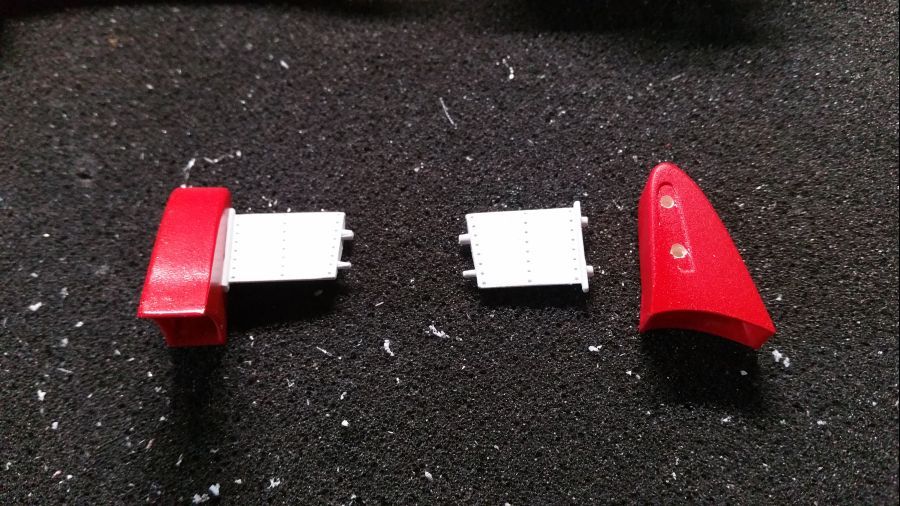
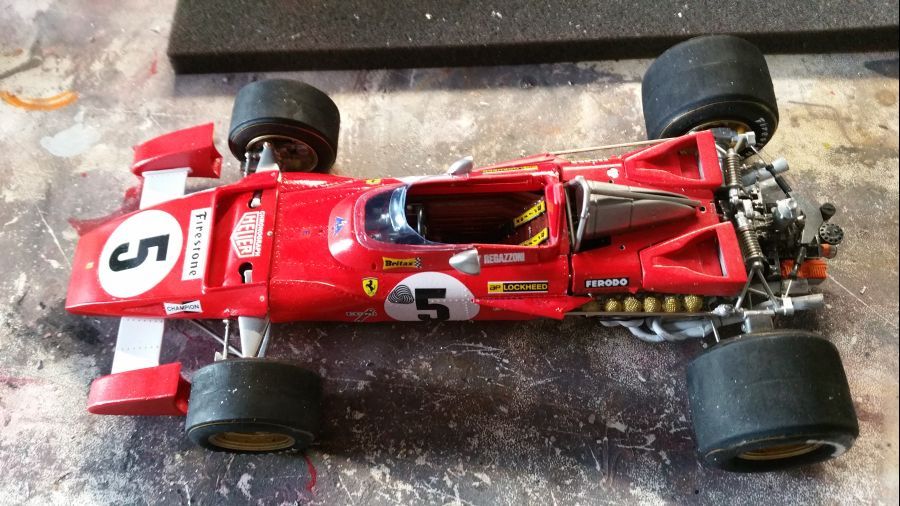
De vleugelonderdelen krijgen witte primer en witte verf...
The parts of the wings get white primer and white paint...
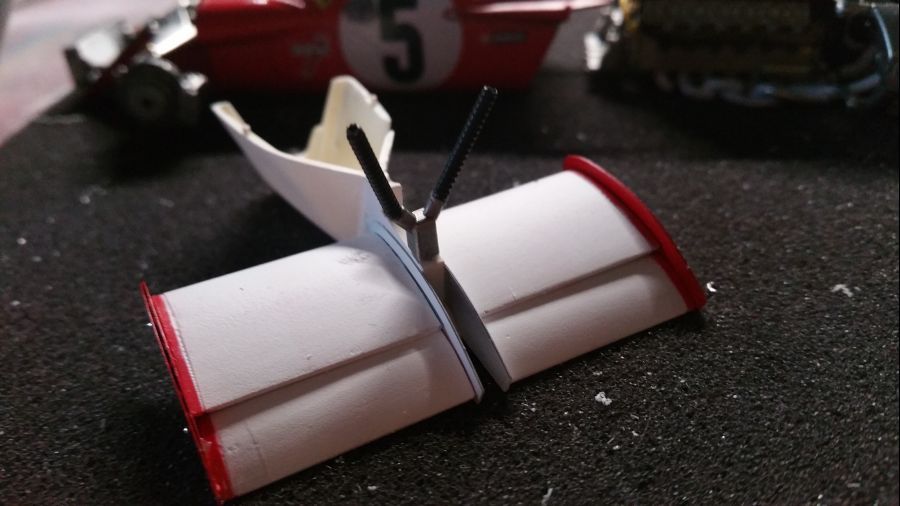
De gaten worden geboord voor de witte afdekking...
Holes were drilled for the white cover...
De meters worden geplaatst..
The gauges were added...
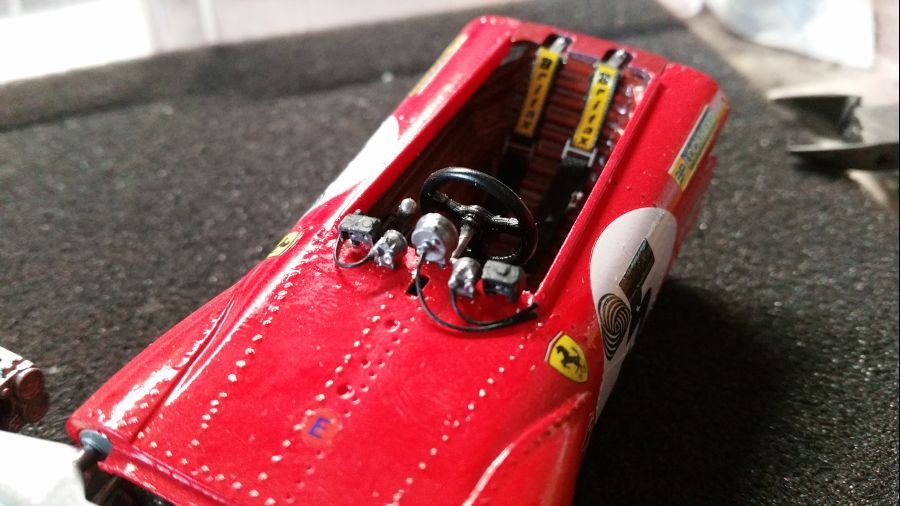
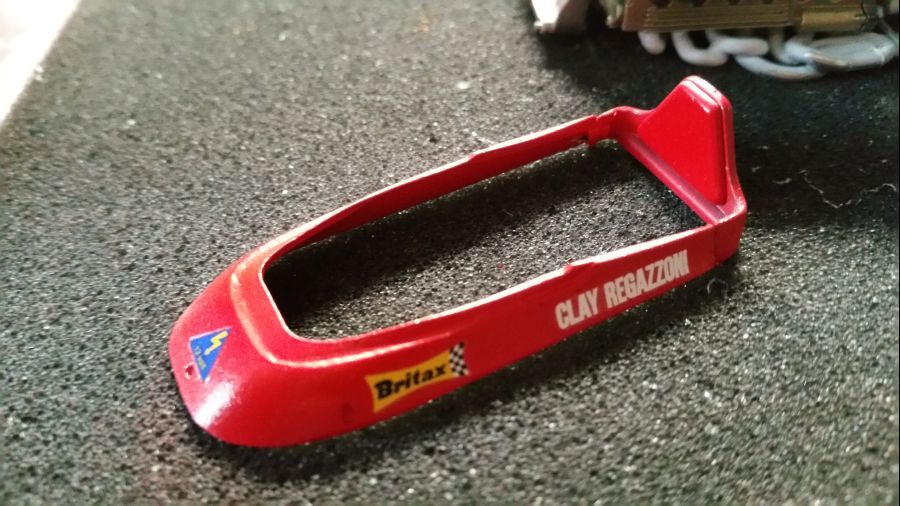
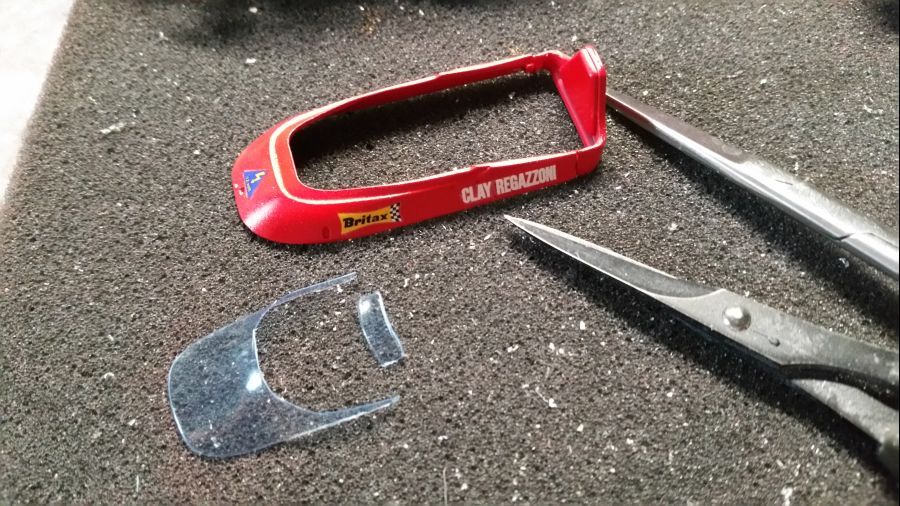
De cockpitafdekking wordt klaargemaakt...
The cockpit cover was assembled...
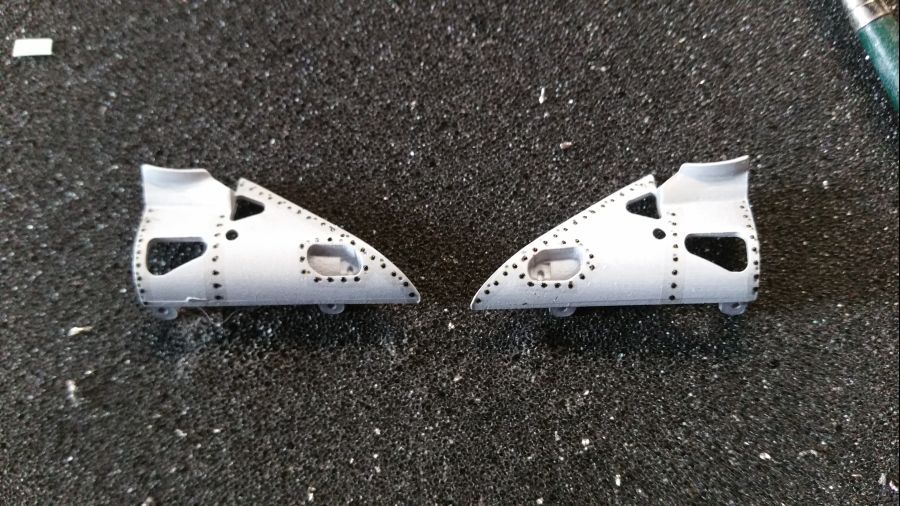
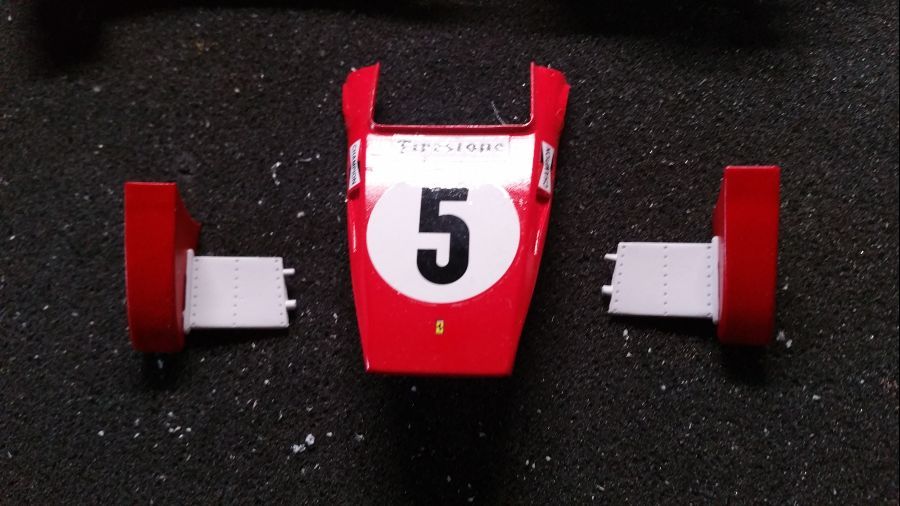
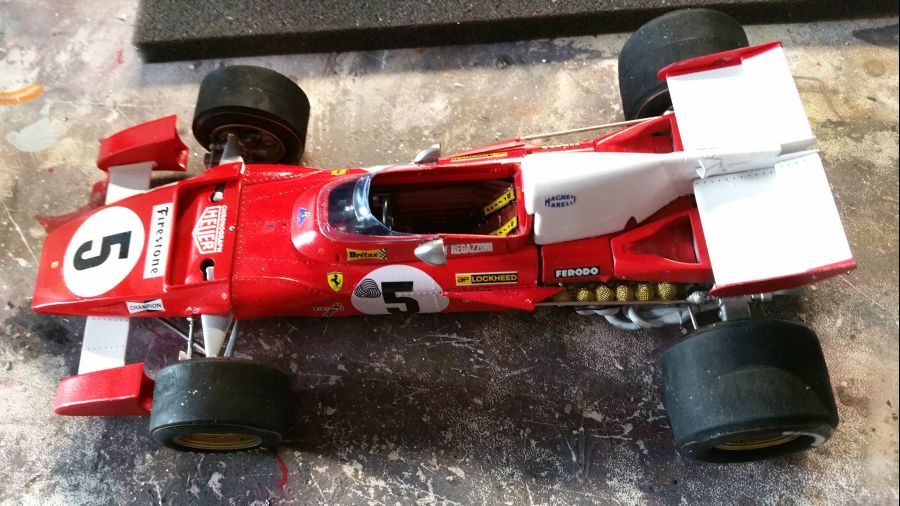
De neus wordt compleet gemaakt..
Completing the nose..
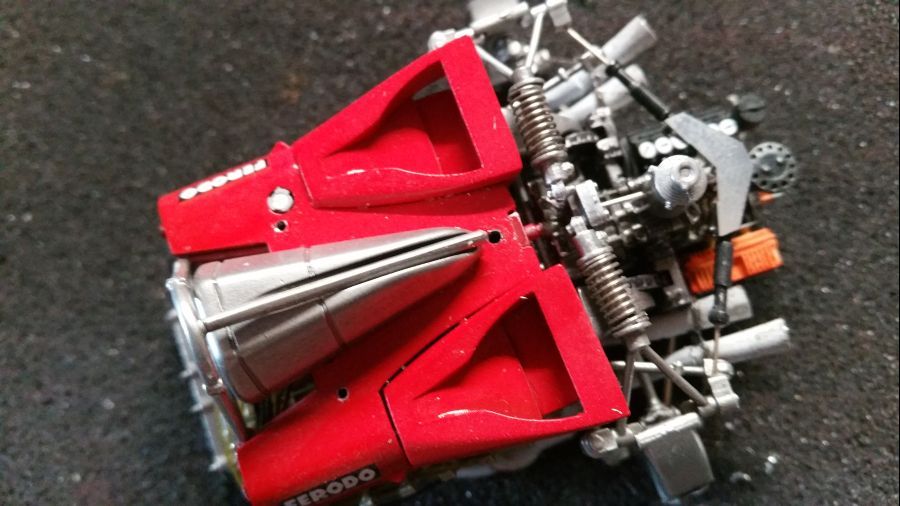
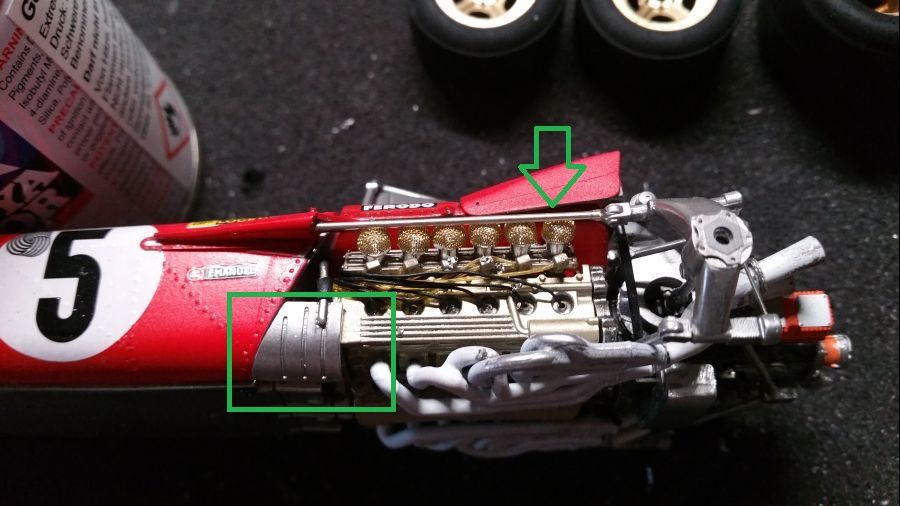
Omdat ik de motor nog vaak moest beetpakken, heb ik de installatie van de trompetten zo lang mogelijk uitgesteld. Nu moeten ze erop voordat de motor met de body wordt verbonden. Ik wacht nog even met de afdekking.
Because i needed to touch the engine very often, i postponed the installation of the funnels. Now it's time to add them before combining the engine and the body. I will still wait installing the mesh covers.
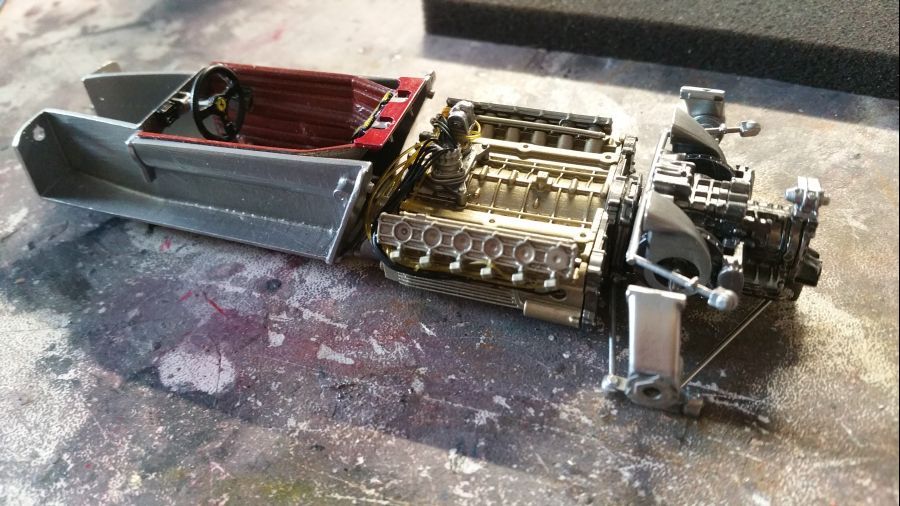
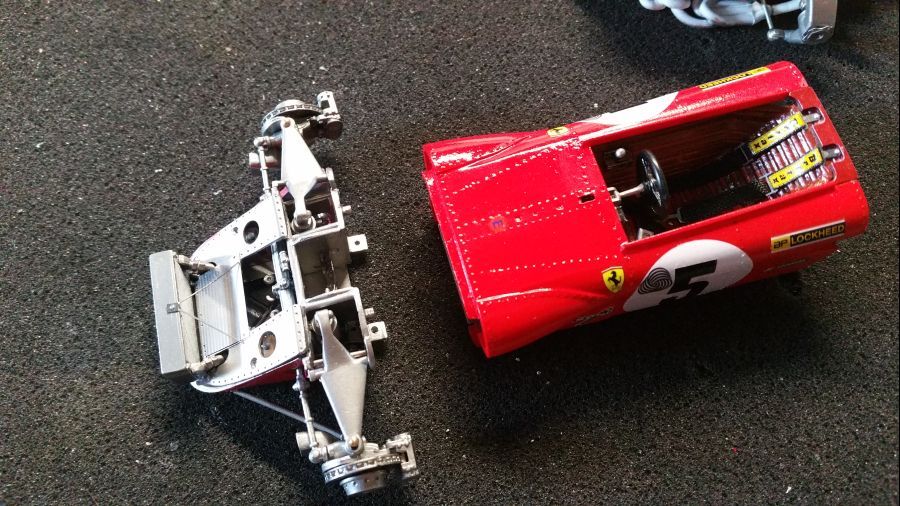
Tijd voor het 'huwelijk'...
Time for the 'marriage'...
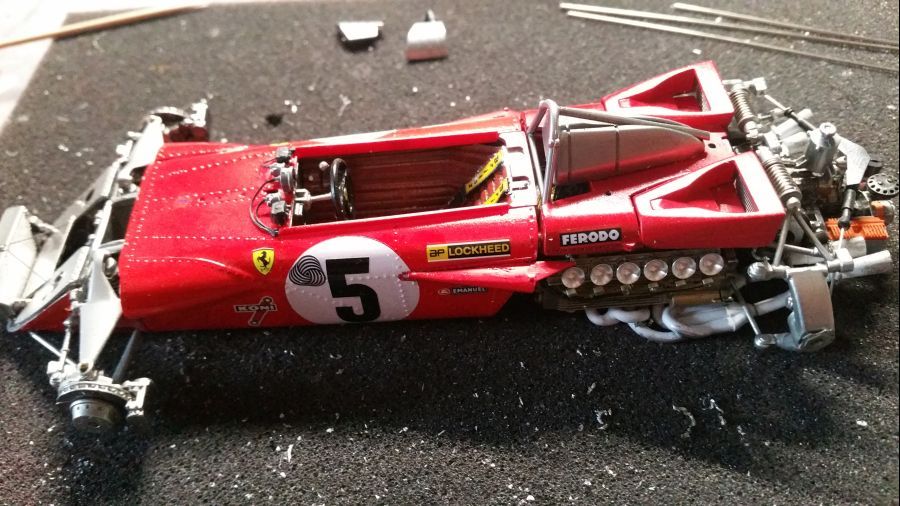
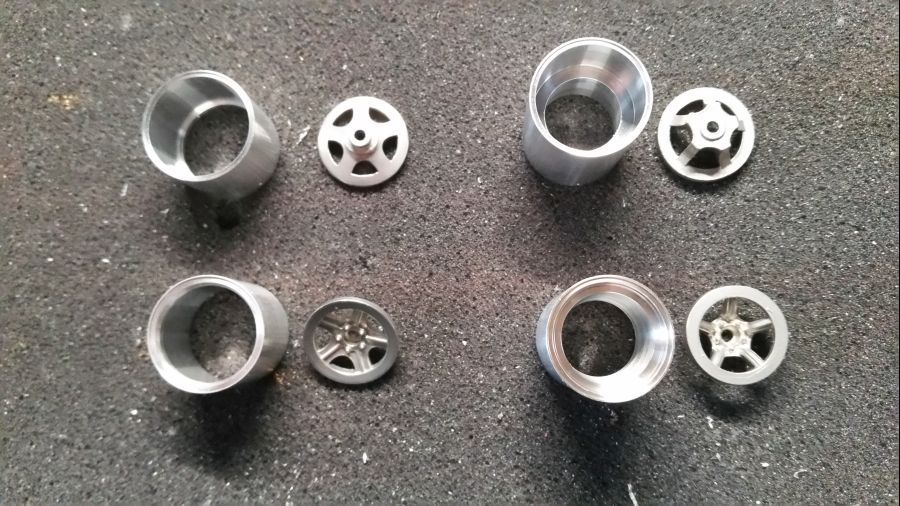
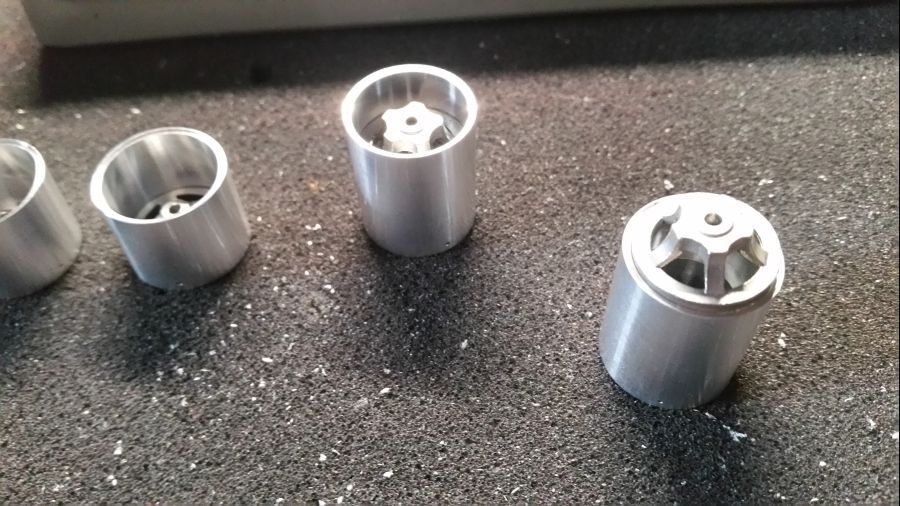
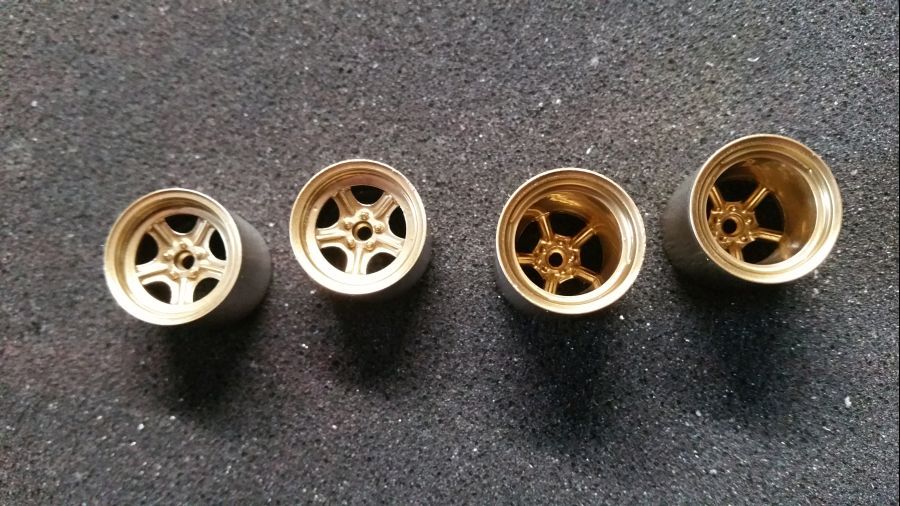
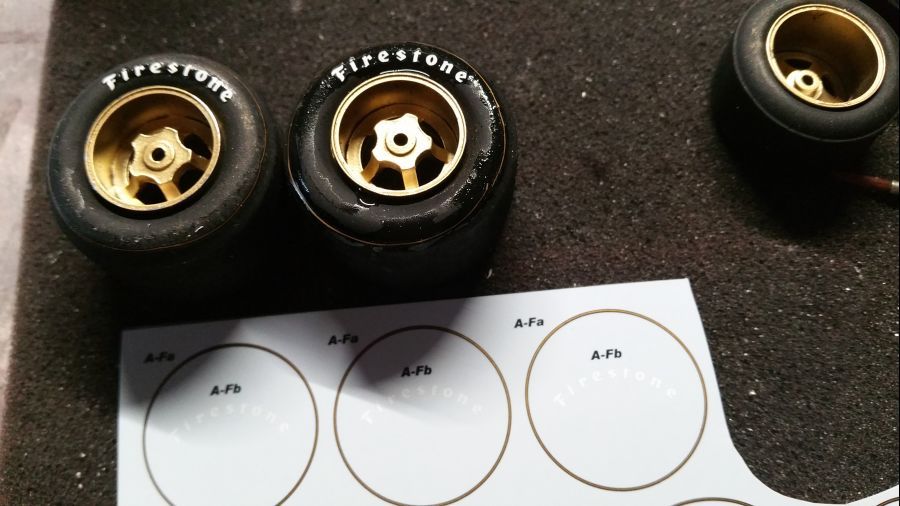
Intussen werk ik vast aan de velgen, zodat de goudverf goed kan drogen.
In the meantime i am working on the rims, so the gold paint can dry well.
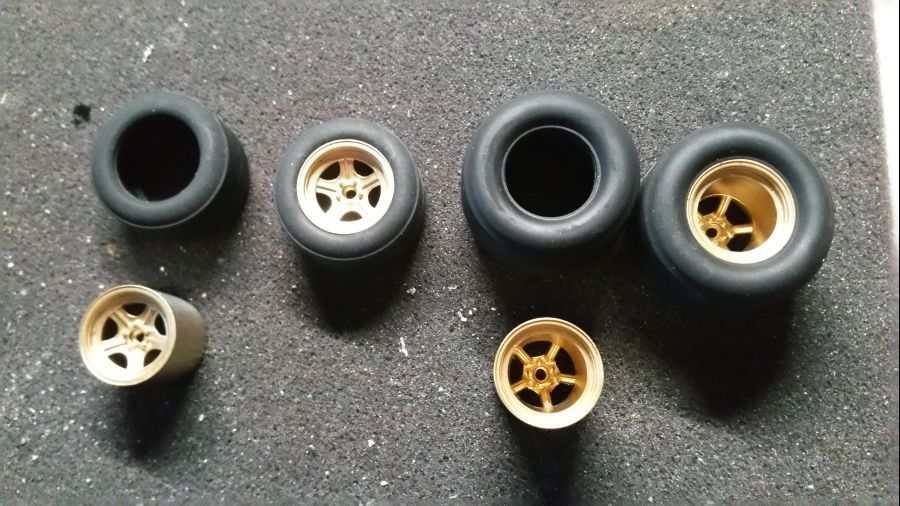
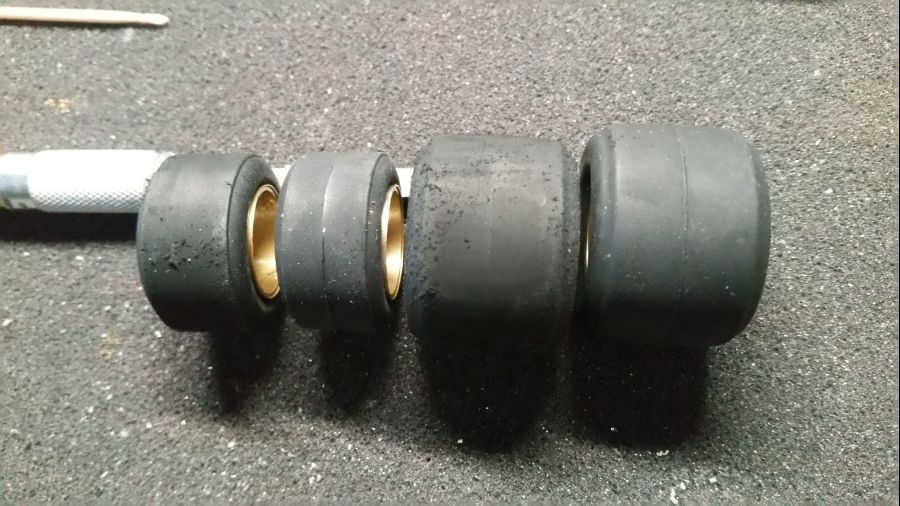
De banden worden weer ruw gemaakt en de naad wordt weggewerkt.
The tires get a rough surface and the seems are taken away.
De afdekking voor de trompetten wordt geplaatst.
The mesh covers were added.
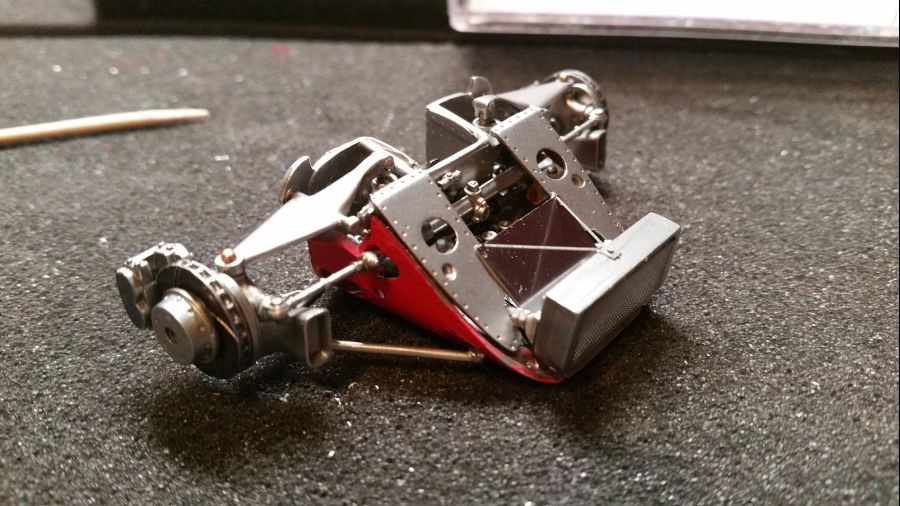
Dan extra vlakken aan de body en steunen voor de ophanging.
Then extra bodywork and supports for the uprights.
Dan verder met de cover...
To continue with cover...
Dan mijn favoriete werk... de goudkleurige ringen op de banden... :-( Ik heb het wel eens geprobeerd met een goudverfpen, maar ook dat werkt niet echt.
Next my favourite... the golden circles on the tires... :-( I have tried a gold paint pen, but that's not great either.
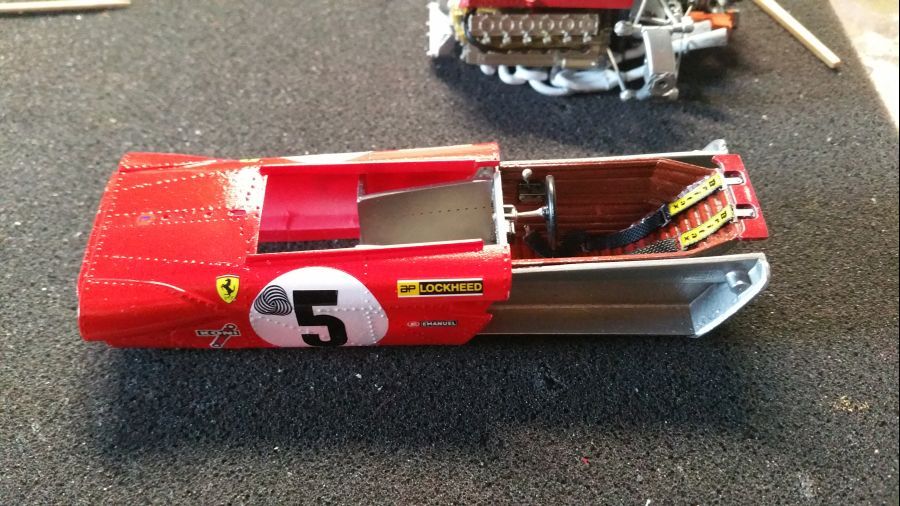
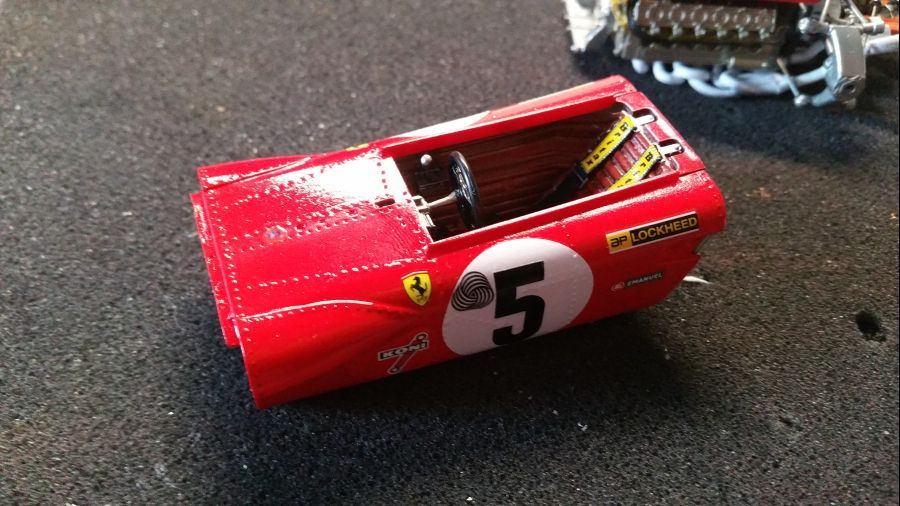
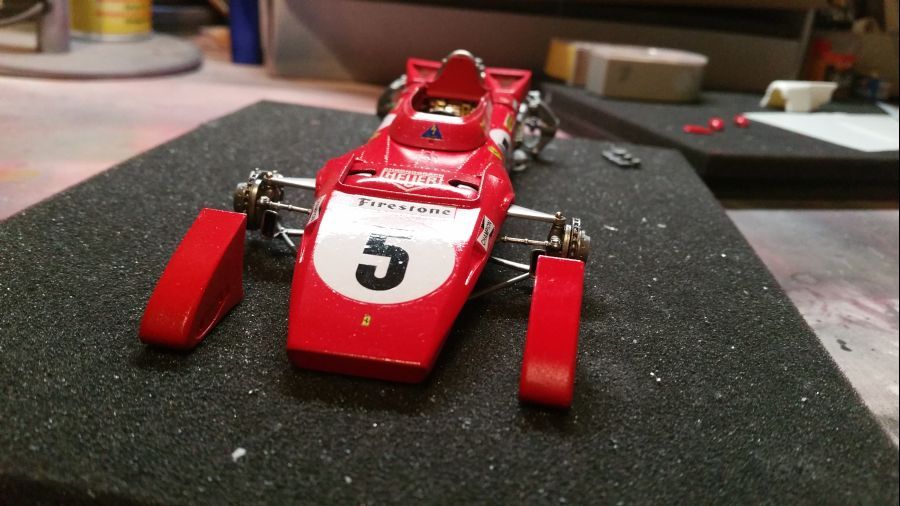
De banden gaan erop en dan begint de opbouw met de laatste details...
The tires get added and then the mounting starts with the last details...
En deze kan weer in de kast...
And this one can be added to the cabinet...
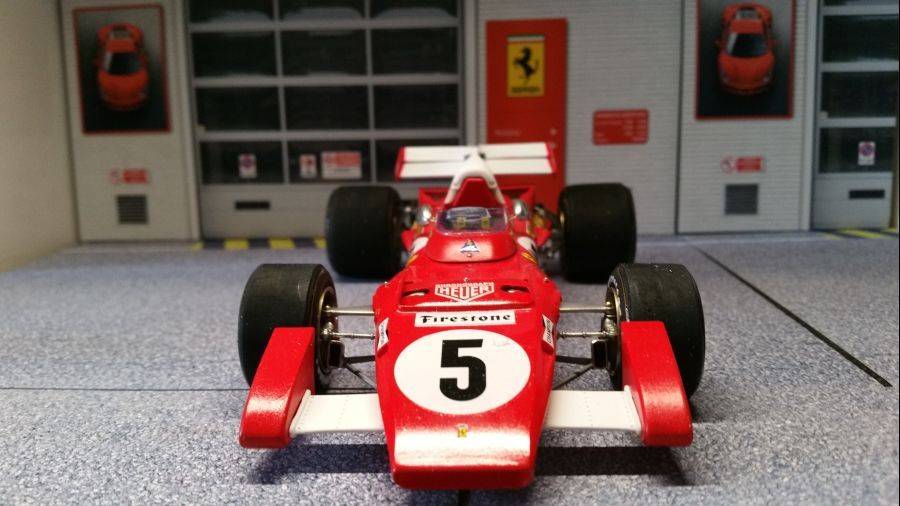

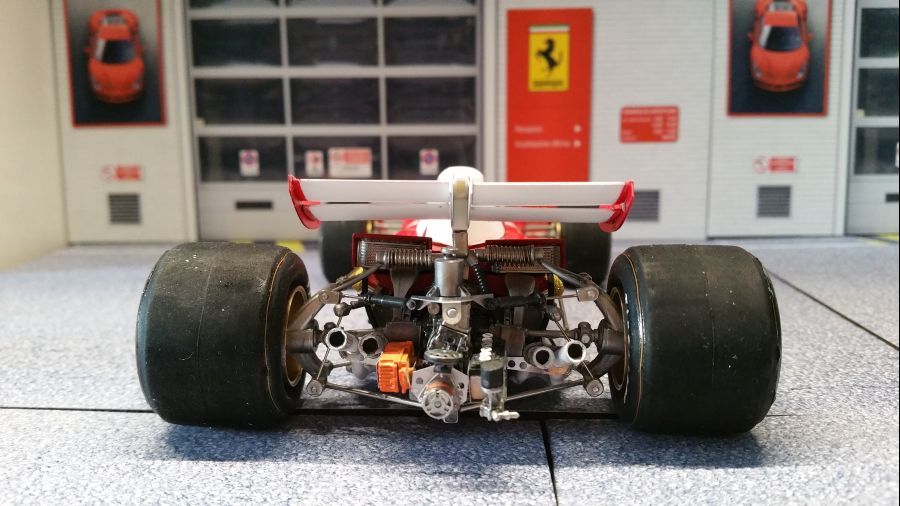
De grootste problemen met deze Ferrari 312 B2 British GP: De neus past niet goed, oppassen met de vering voor de achterwielophanging (de veren mogen wat langer zijn) en de bijbehorende draagarmen (onderdeel M126) pas niet goed.
Main problems with this Ferrari 312 B2 British GP: The nose doesn't fit, mind the springarms for the rear wheel suspension (they might need to be longer) and the arms (part M126) doesn't fit well.