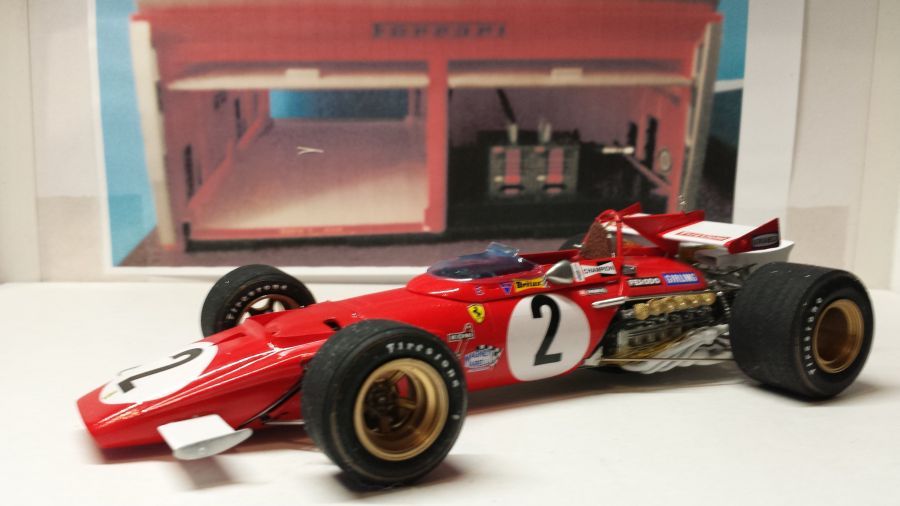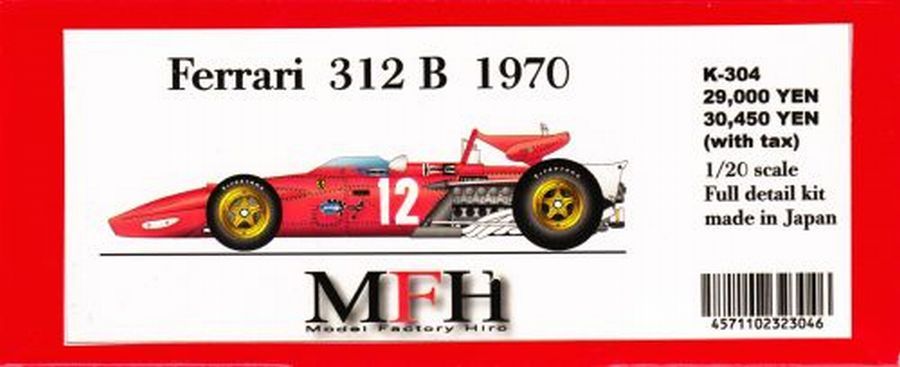
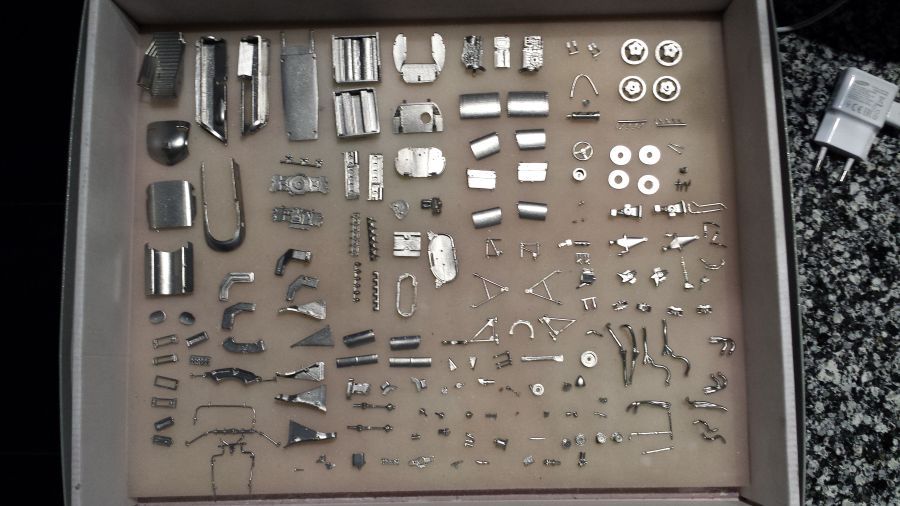
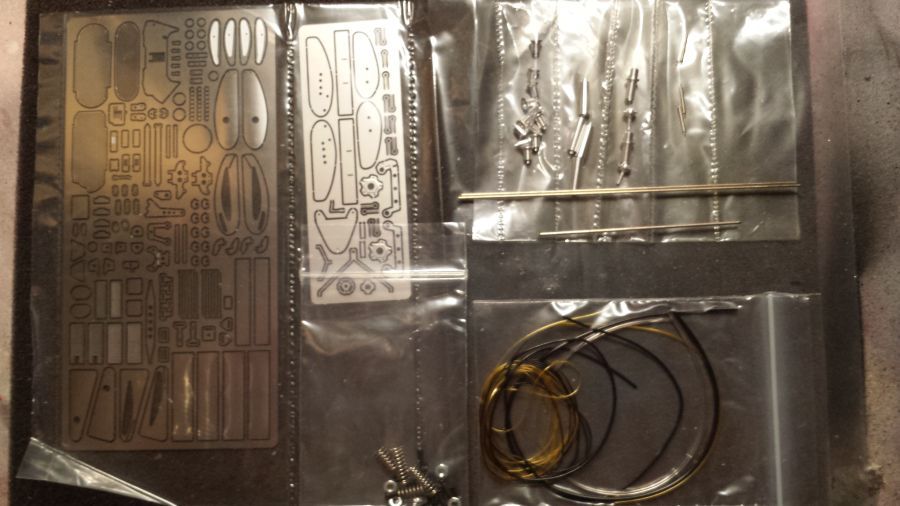
Nu de beschrijving van de bouw van een Ferrari 312B Italiaanse versie uit 1970. Deze werd bestuurd door Jacky Ickx. Het is een model van Modelfactory Hiro (kit nr. K-304). Ik heb besloten de Ickx versie (#2) te bouwen vanwege een iets andere achtervleugel en voorruit. Daarmee ziet de auto er iets anders uit als de 1971 Ferrari 312B welke ik later ga bouwen. Beneden eerst weer de foto van alle onderdelen.
Below the description of the build of a 1970 Ferrari 312B Italian version as driven by Jacky Ickx. It is a kit from Modelfactory Hiro (kit no. K-304). I decided to build the Jacky Ickx version (#2) as this has another rear wing en wind shield. Because of this, the car will look a bit different from the 1971 Ferrari 312B which i will build at a later time. Below first a picture of all parts.
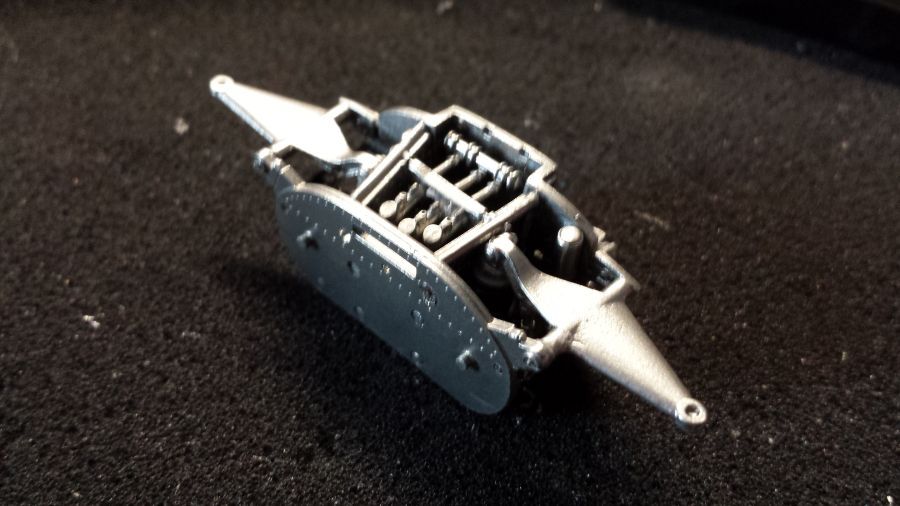
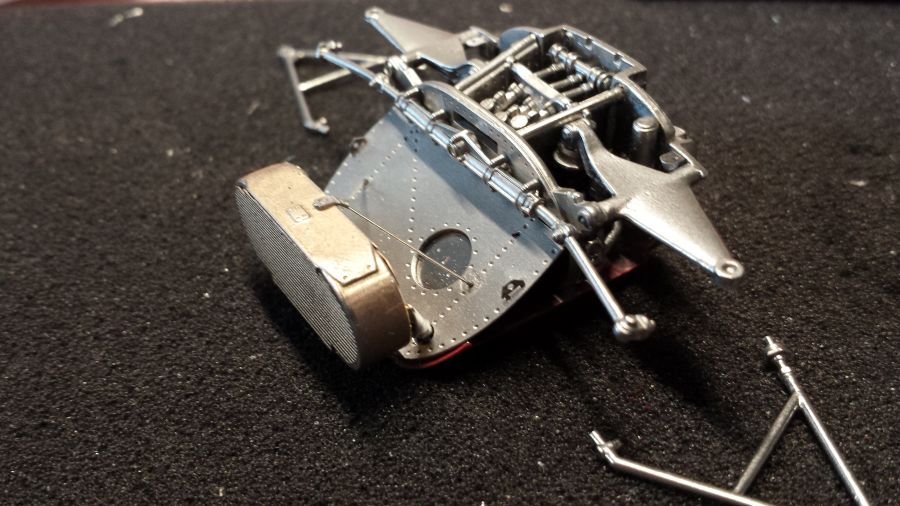
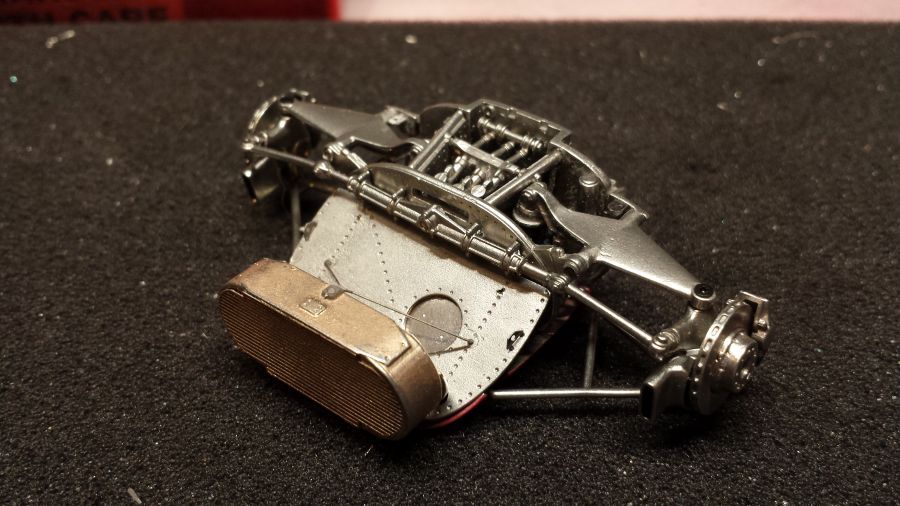
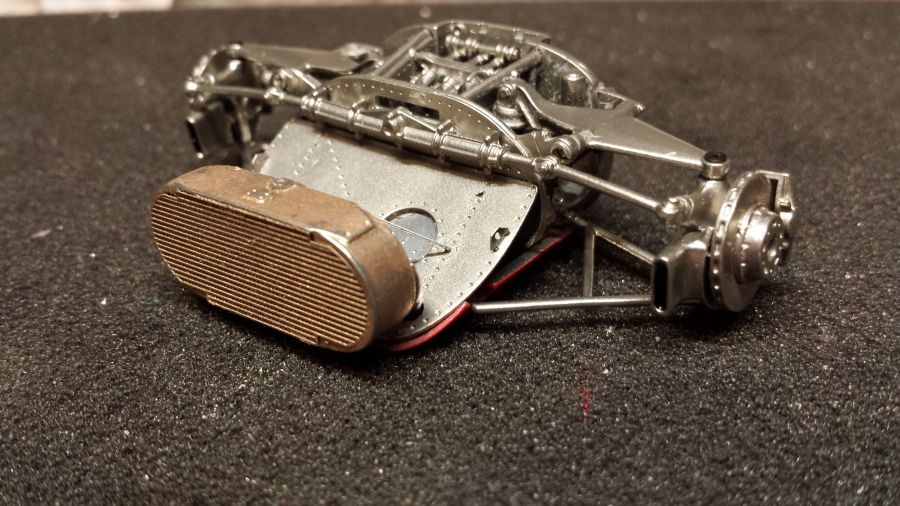
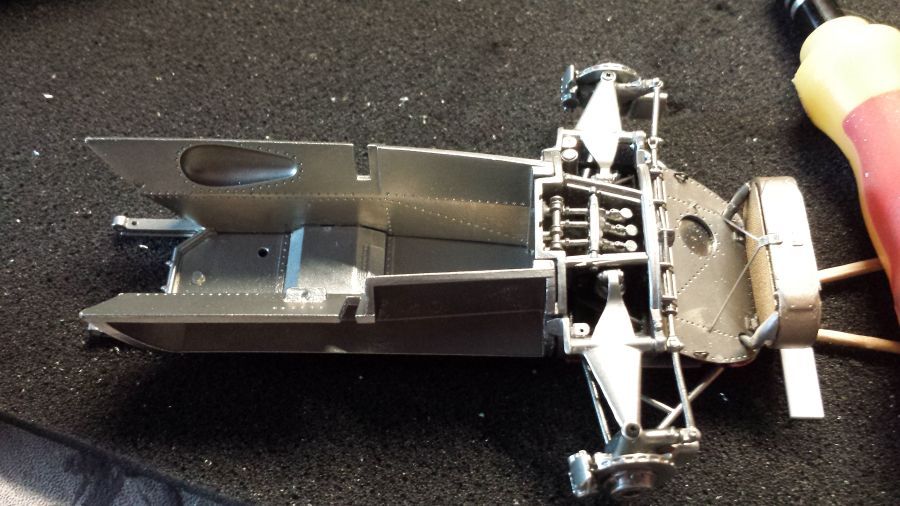
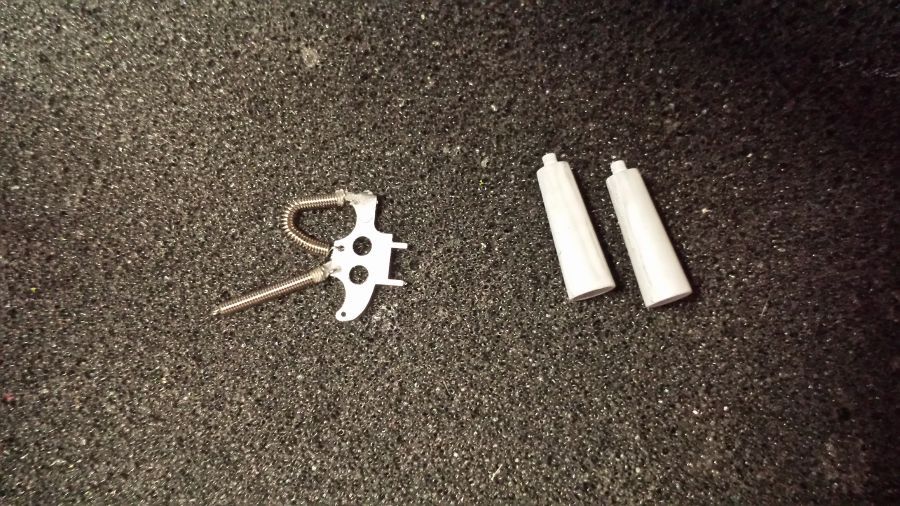
De voorwielophanging is klaar. De 1e foto is de bovenkant, de 2e de onderkant. De eerste 3 uur werken zit erop.
The front wheel suspension is ready. The 1st pic shows the top side, the 2nd the down side. The first 3 hours of working has been done.
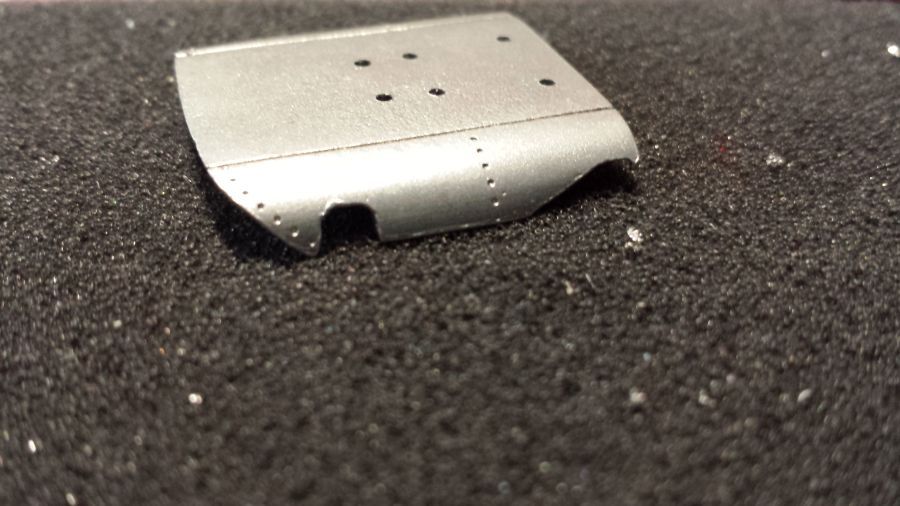
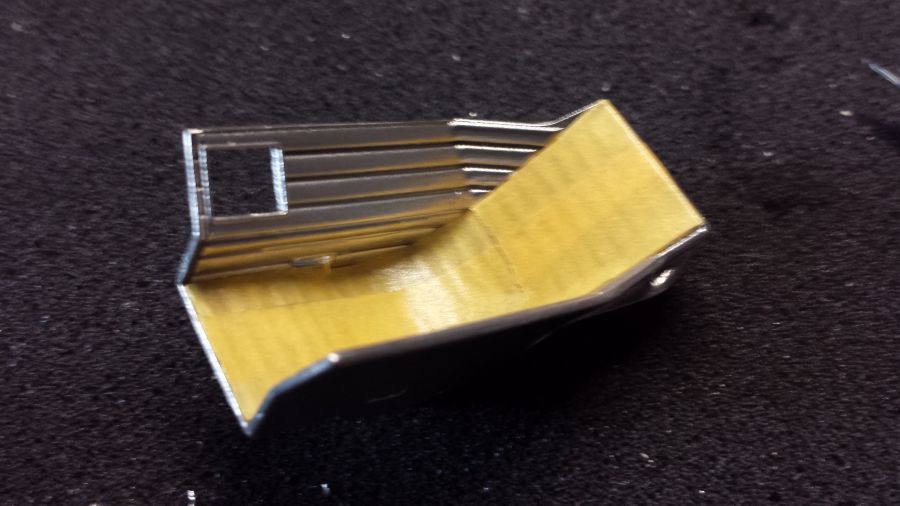
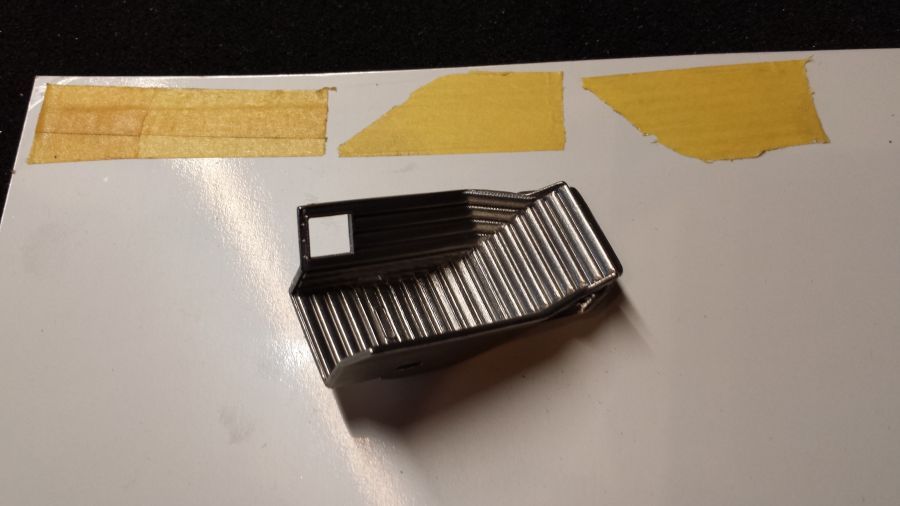
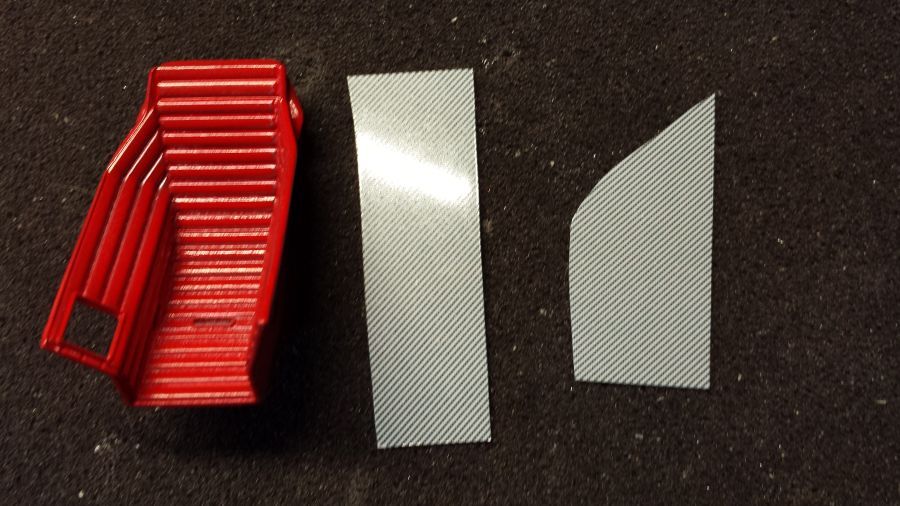
Een deel van de bodemplaat heeft kuiltjes als popnagels in plaats van bultjes. Dat ga ik corrigeren door de kuiltjes te vullen en vervolgens popnagels aan te brengen in de vorm van Archer transfers. Hetzelfde voor een paar andere carossrerie delen.
A part of the undertray has dents rivets instead of bumps. I will change that by filling the dents and apply Archer transfers as rivets. The same for some other body parts.
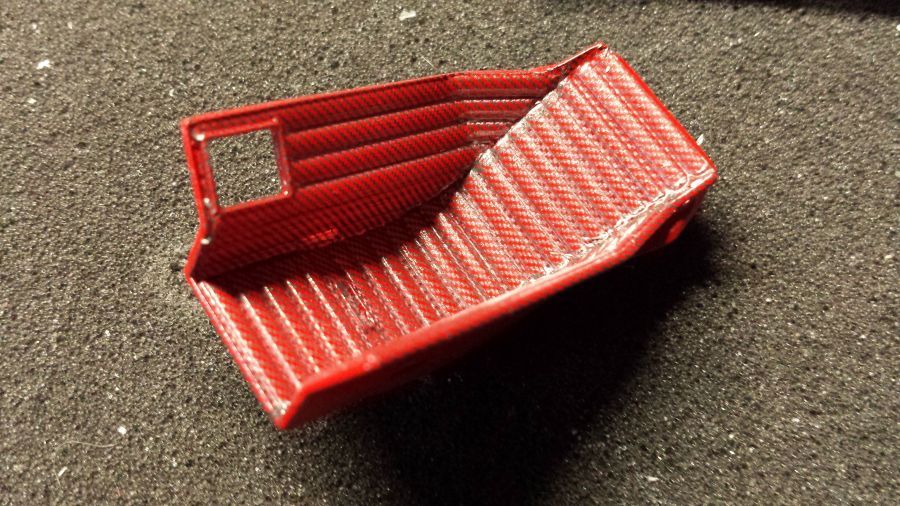
De voortgang van het aanbrengen van popnagels.
Progress on applying the rivets.
Klaar. Nu laten drogen en verder met de grondverf.
Ready. Now let it dry and then apply the primer.
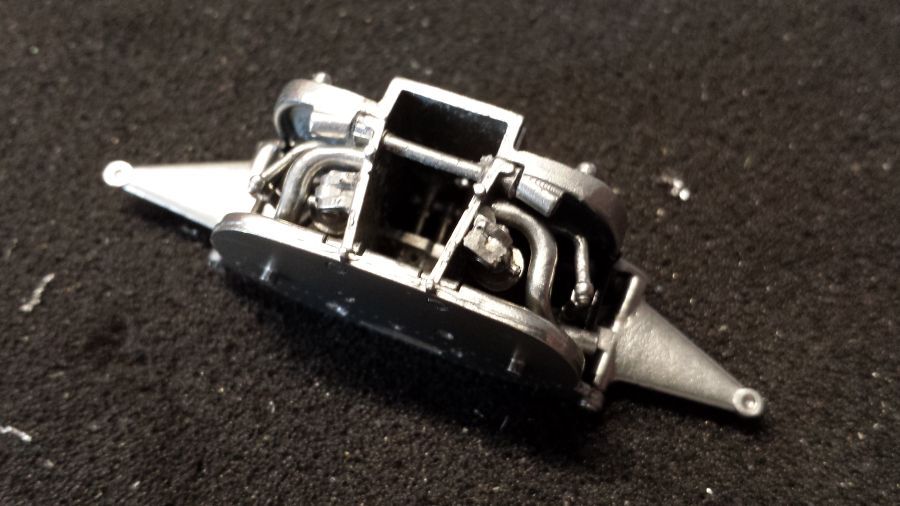
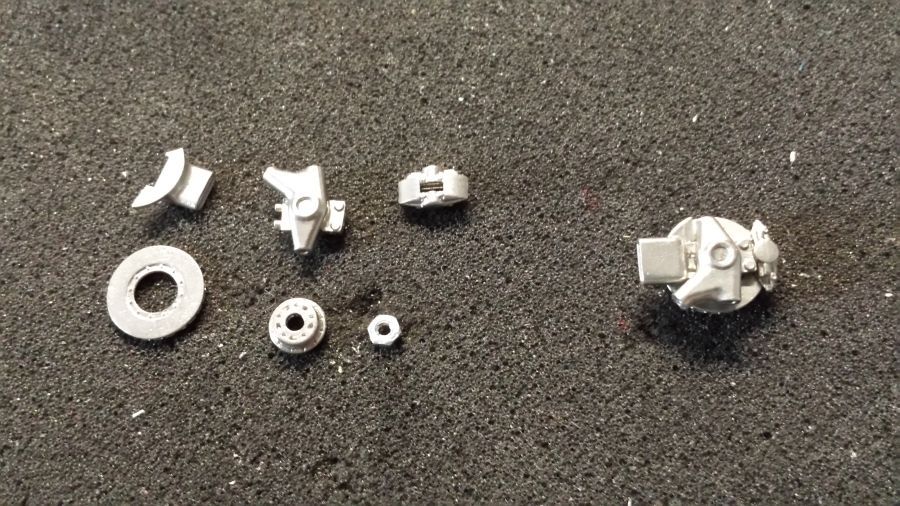
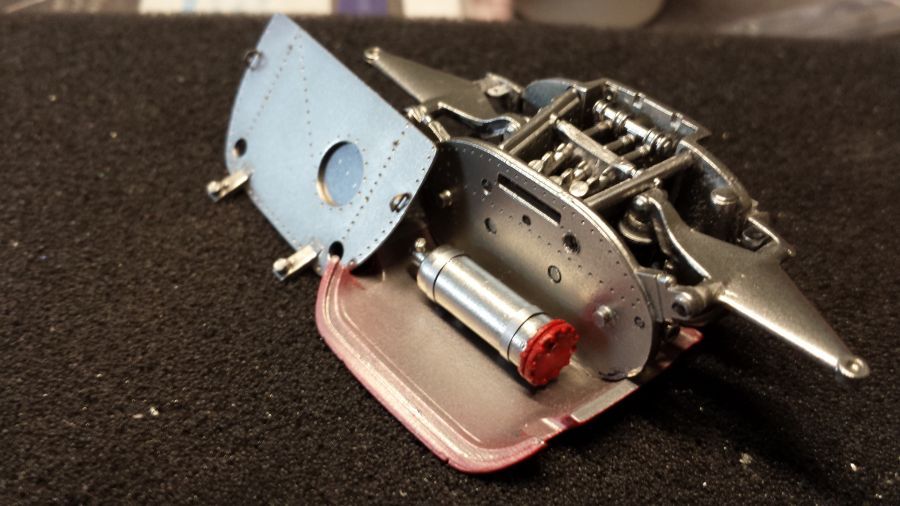
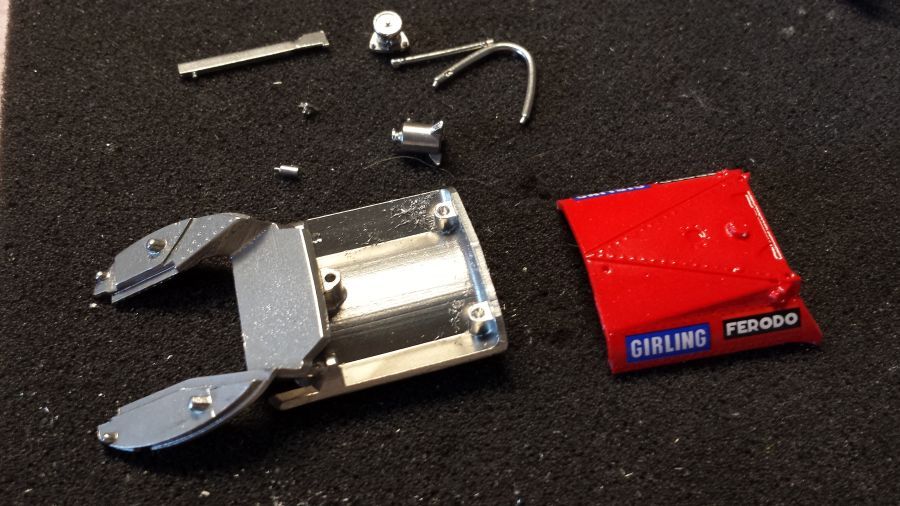
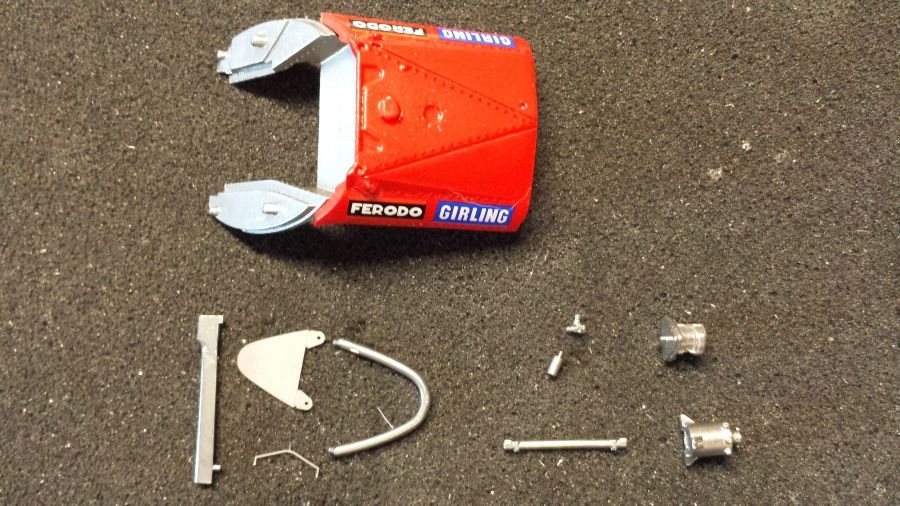
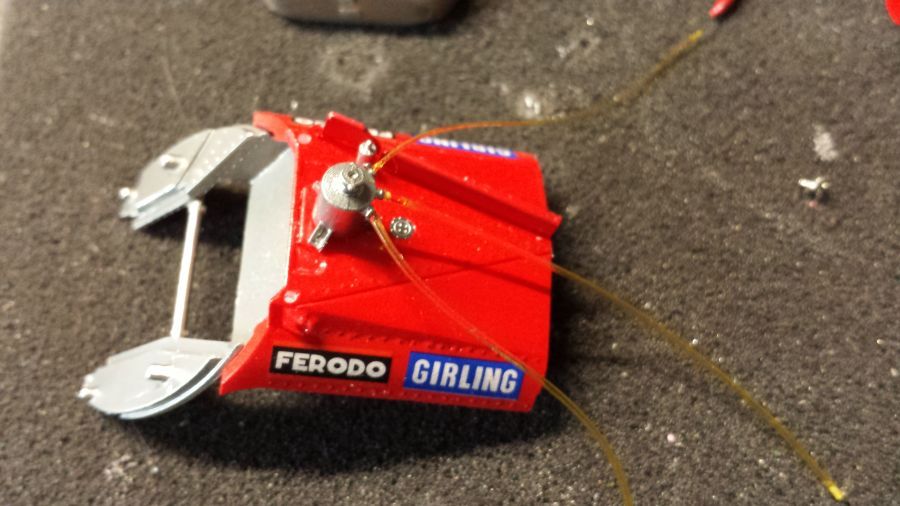
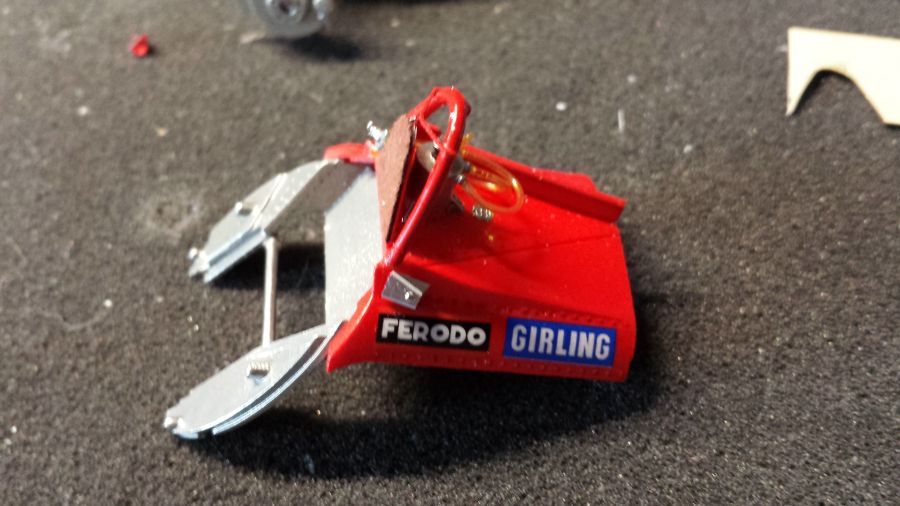
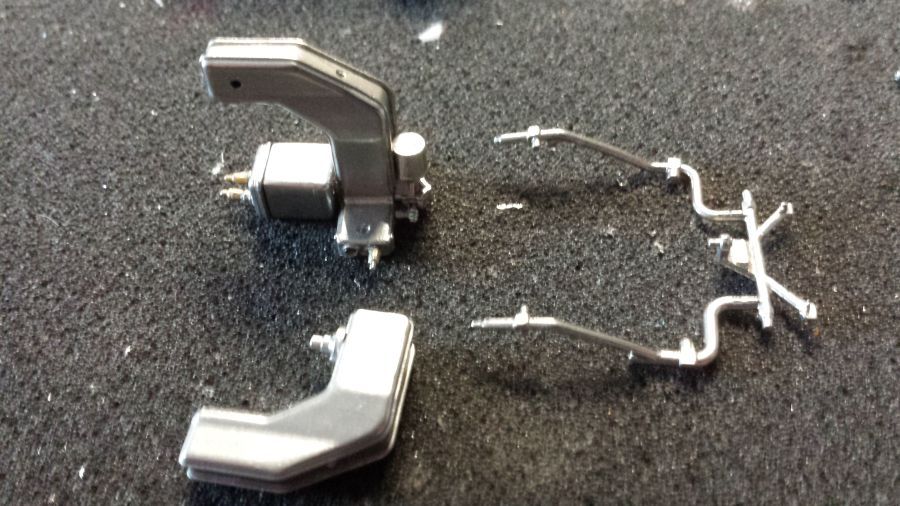
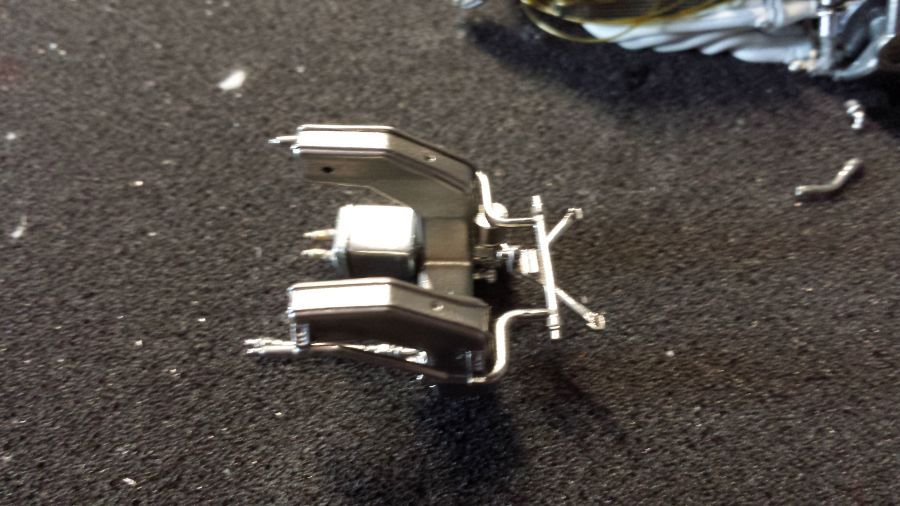
Het samenstellen van de voorremmen.
Combining the front brakes.
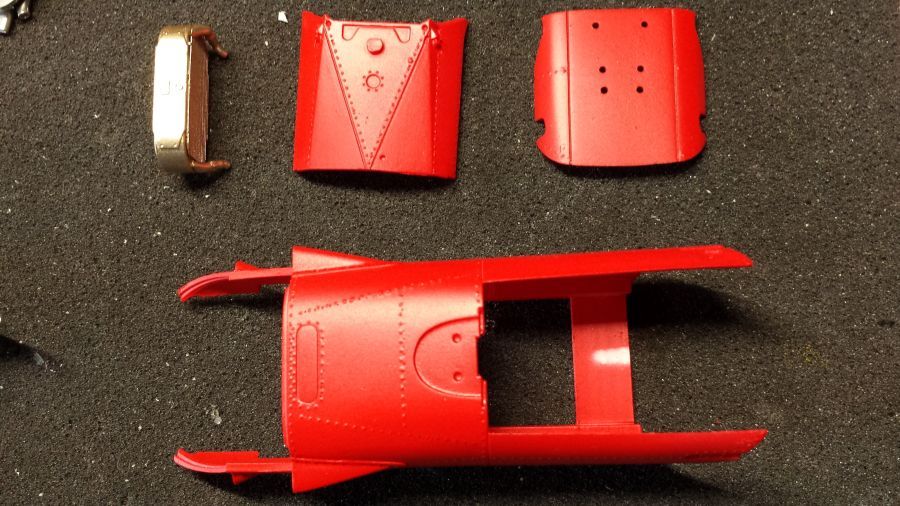
Een paar body onderdelen zijn gespoten met Zero Paints ZP-1007 1970's-1980's Rosso Formula 1. De radiateur is gespoten met een mix van Revell Goud 94 en Revell Zilver 90.
A few body parts have been airbrushed with Zero Paints ZP-1007 1970's-1980's Rosso Formula 1. The radiator has been airbrushed with a mix of Revell Gold 94 and Revell Silver 90.
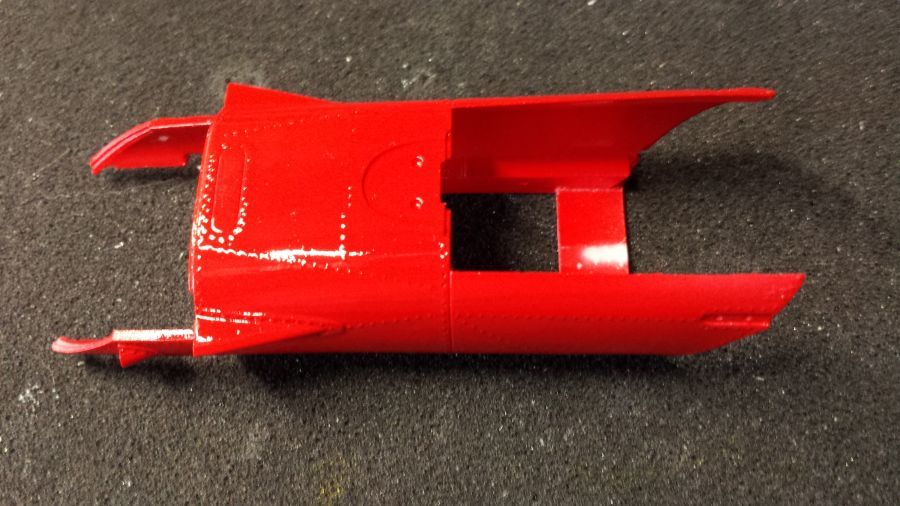
Vervolgens is de blanke lak erop gespoten. Nu goed laten drogen en dan door met de decals.
Then the clear gloss has been sprayed. Now let it dry and then on with the decals.
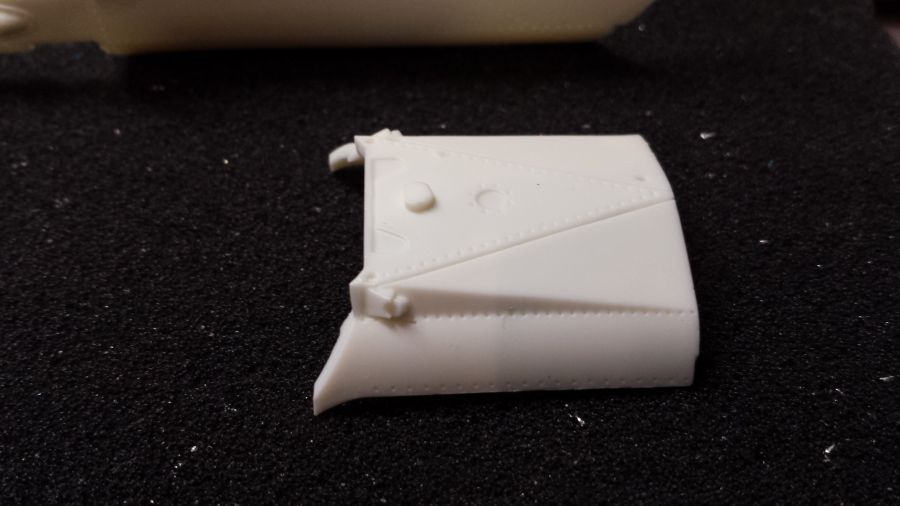
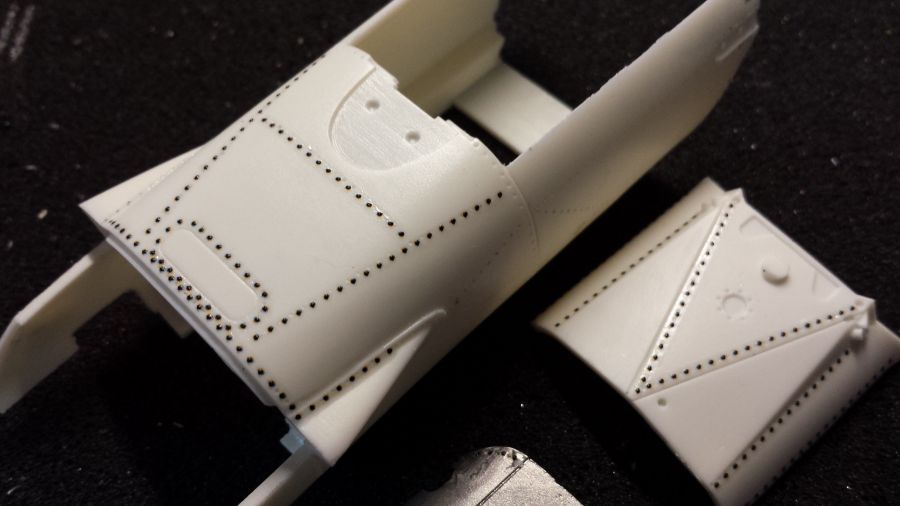
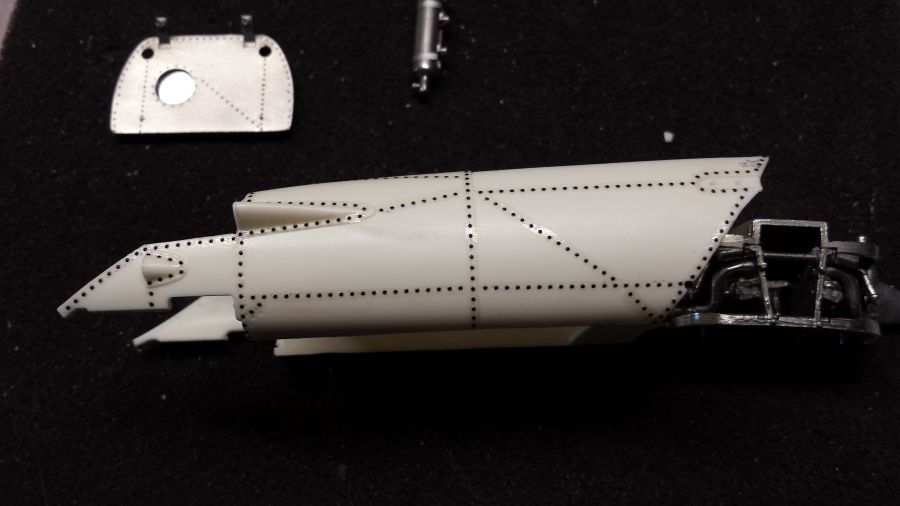
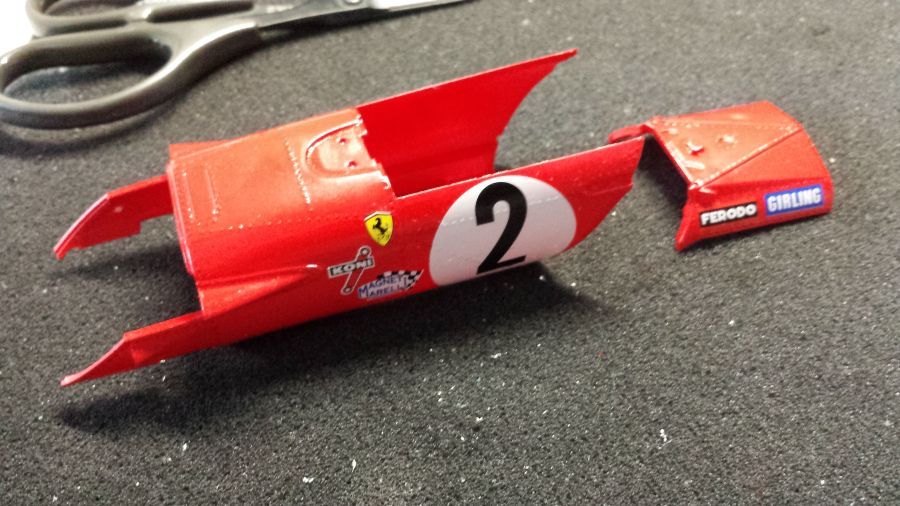
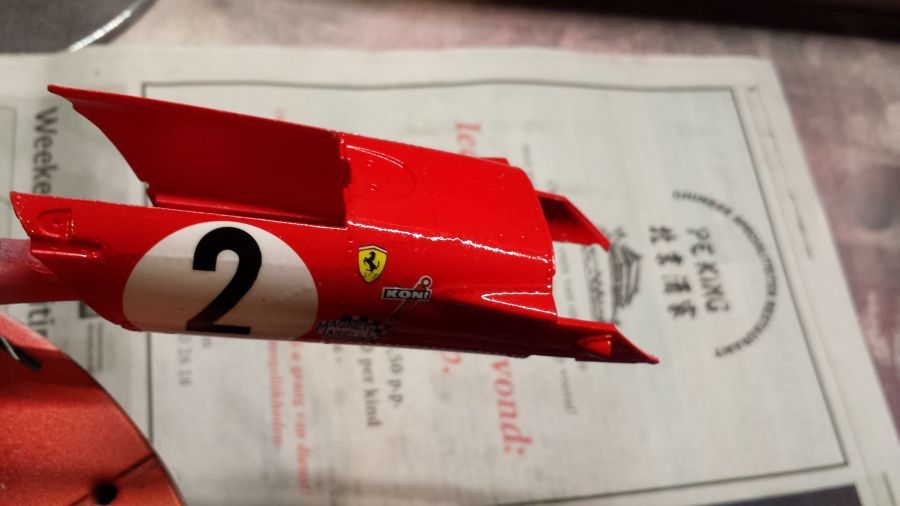
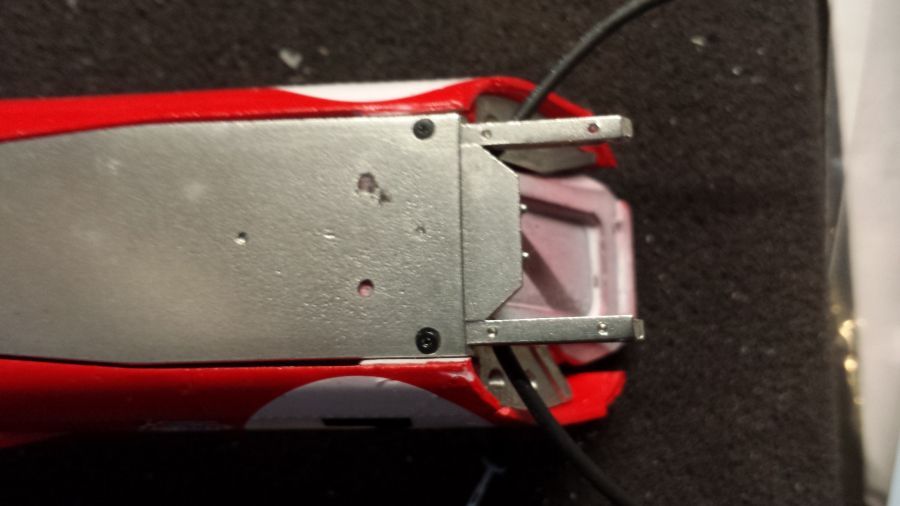
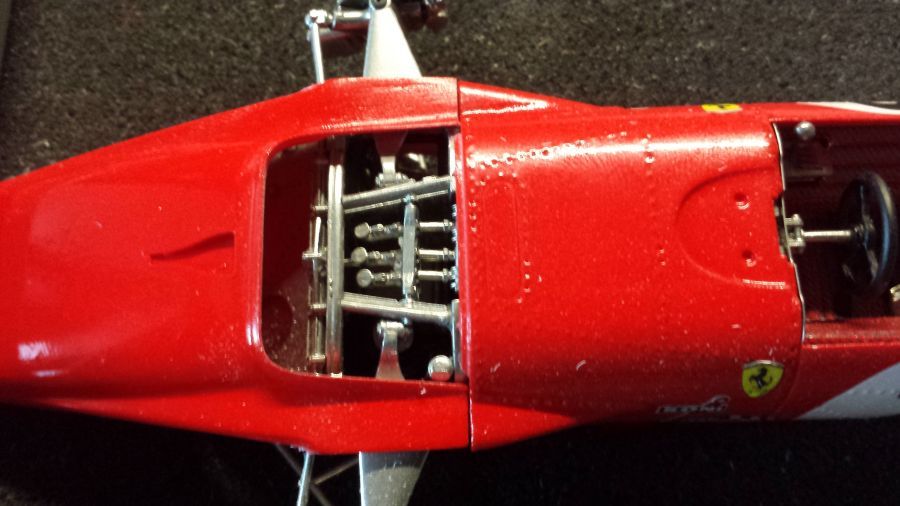
De voorkant van de 1970 Ferrari 312B, voordat deze dicht gaat.
The front ide of the 1970 Ferrari 312B, before it is closed.
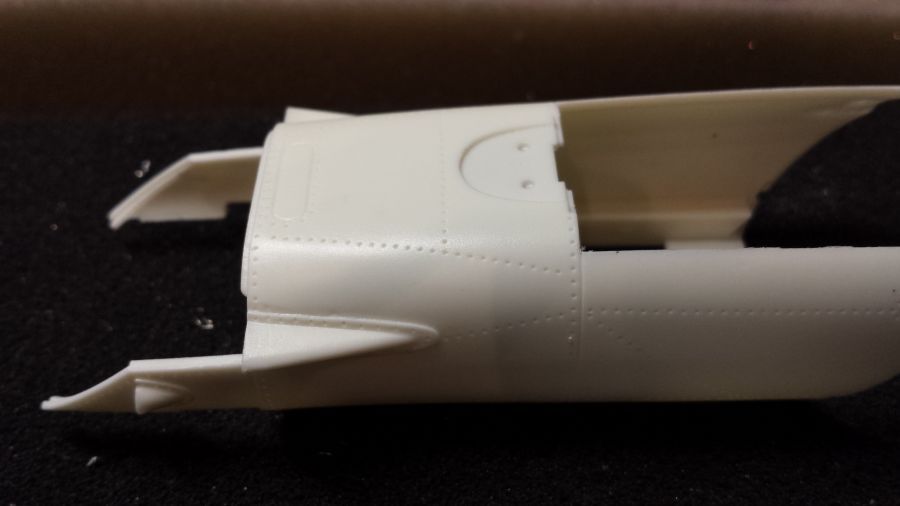
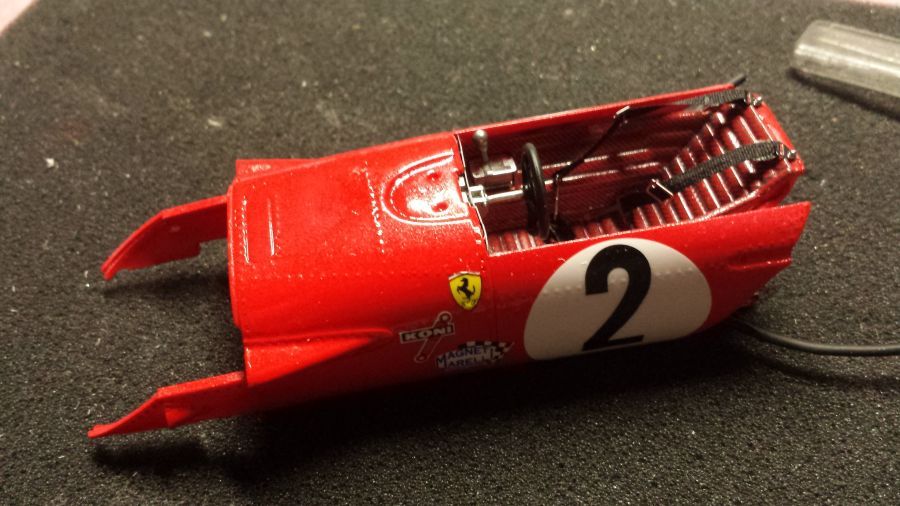
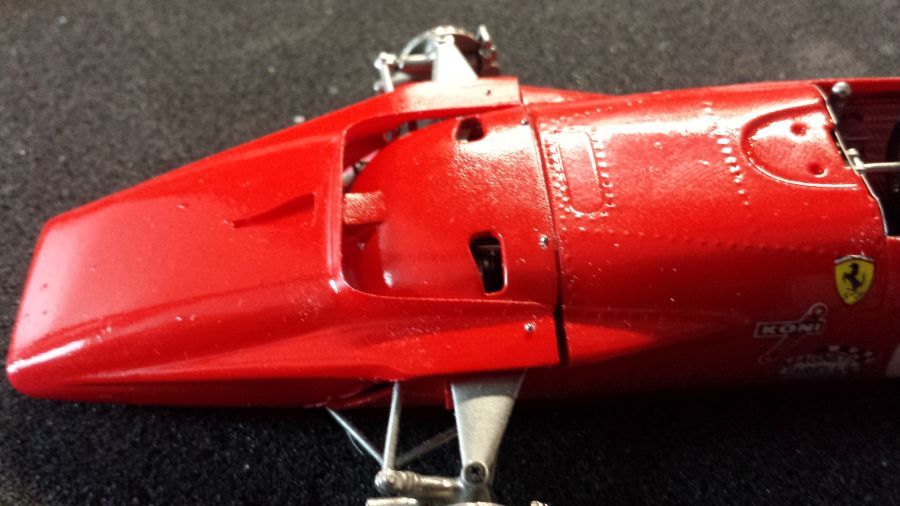
Werken aan de 'kuip'. Let op dat het goed gaat passen met de voorste sectie.
Working on the 'tub'. Be sure it will fit with the front section.
De decals zitten erop. Nu goed laten drogen, voordat de glanzende lak eroverheen gaat.
The decals are on. Now let them dry, before applying the gloss coat.
Vervolgens het maken van de mallen om de bekleding voor de stoel te maken.
Now creating the template to make the cloth for the seat.
De tape wordt op dik papier geplakt en uitgeknipt. De stoel wordt rood gespoten met Tamiya TS-8 Italian Red. De decal is doorzichtig met zwarte streepjes. Zo ontstaat de gestreepte bekleding.
The tape sticks to thick paper and is being cut out. The seat will be painted with Tamiya TS-8 Italian Red. The decal is clear with black stripes. Thus the striped upholstery is created.
De laklaag is aangebracht.
The clear coat has been applied.
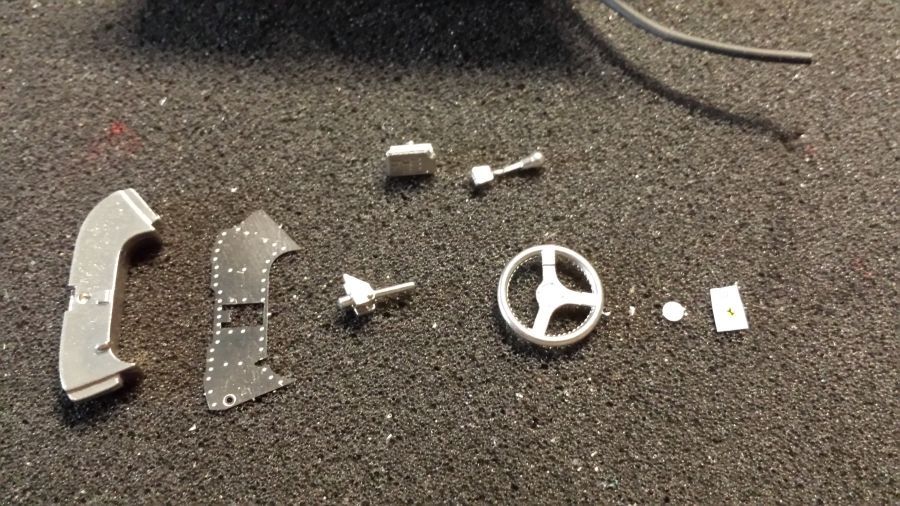
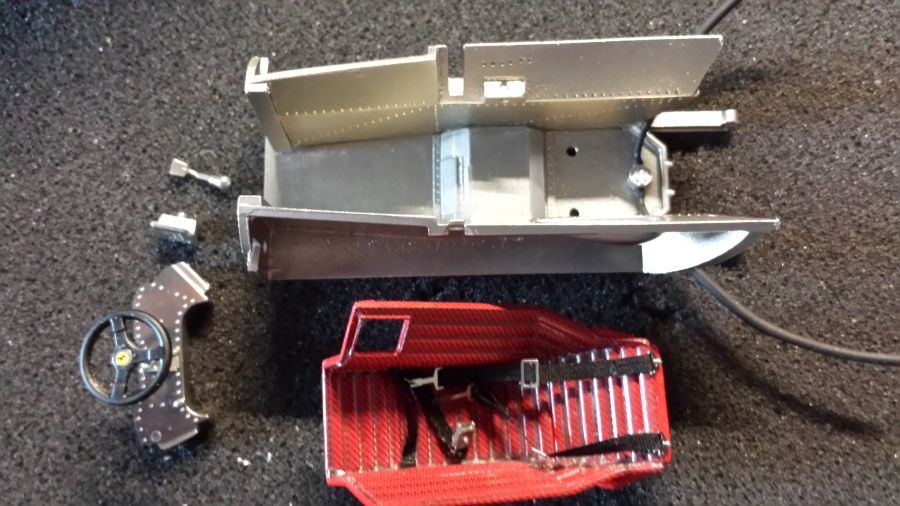
De onderdelen voor het dashboard.
The parts for the dash.
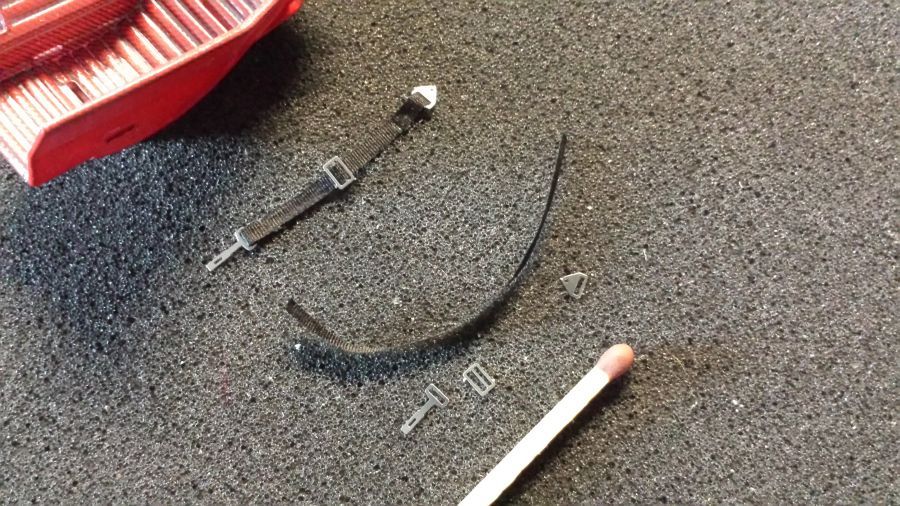
Het samenstellen van de veiligheidsgordels. Ik gebruik zijdeband van 2mm breed.
The making of the safety belts. I use silk ribbon with a width of 2mm.
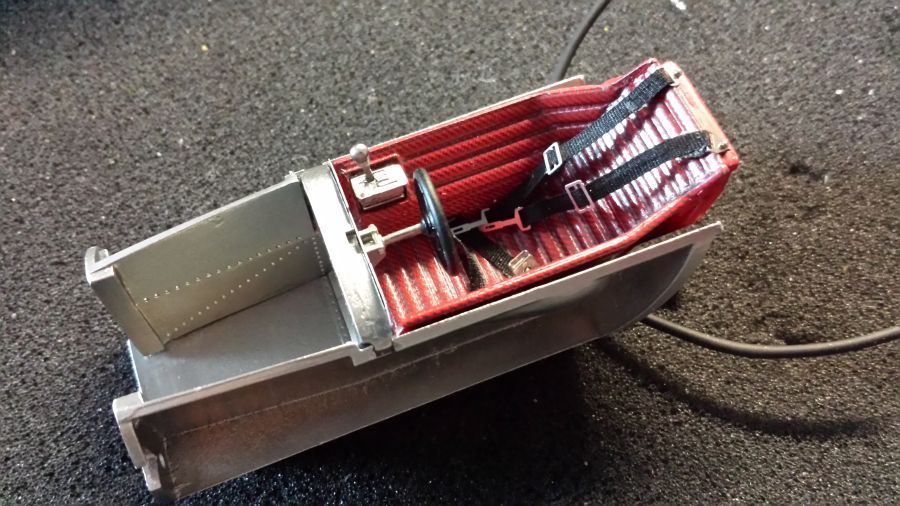
Alles kan nu aan de 'kuip' worden bevestigd.
Everything can now be attached to the 'tub'.
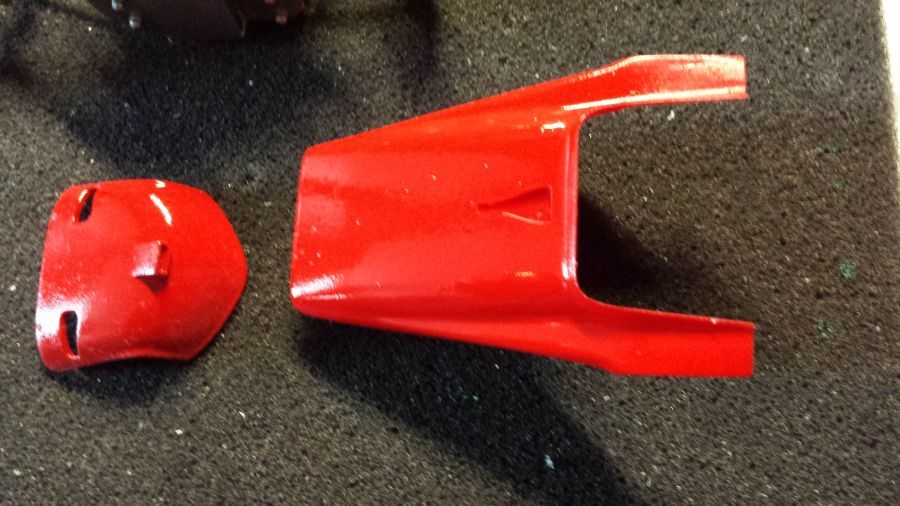
Nog een paar onderdelen rood gespoten en in de lak gezet.
Some more parts are painted red and varnished.
De 'brug' moet verwijderd voordat de kuip erin past.
The 'bridge'has to be removed before the tub will fit.
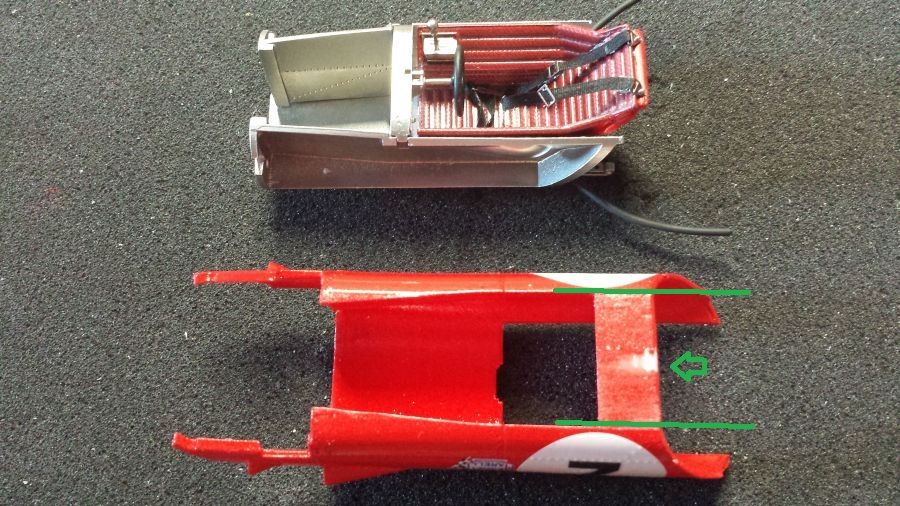
De 'kuip' is geplaatst.
The 'tub' has been mounted.
En de voorkant.
And the front.

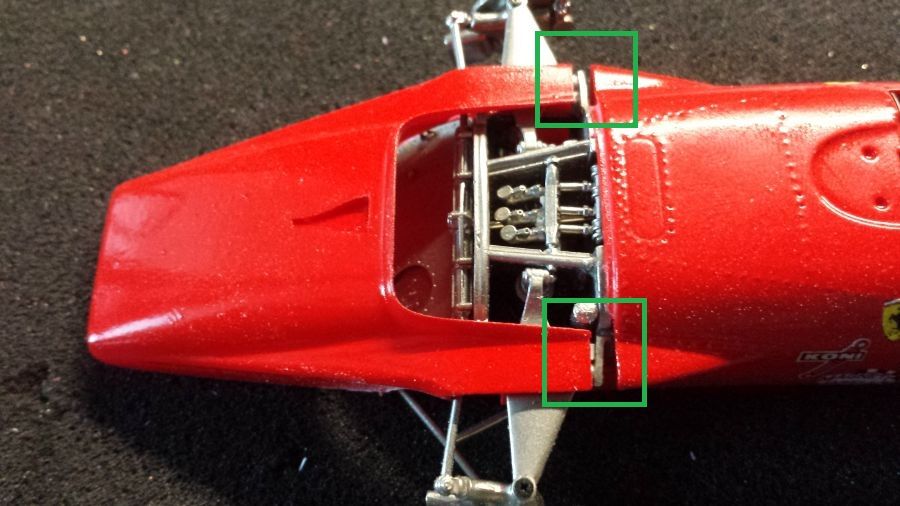
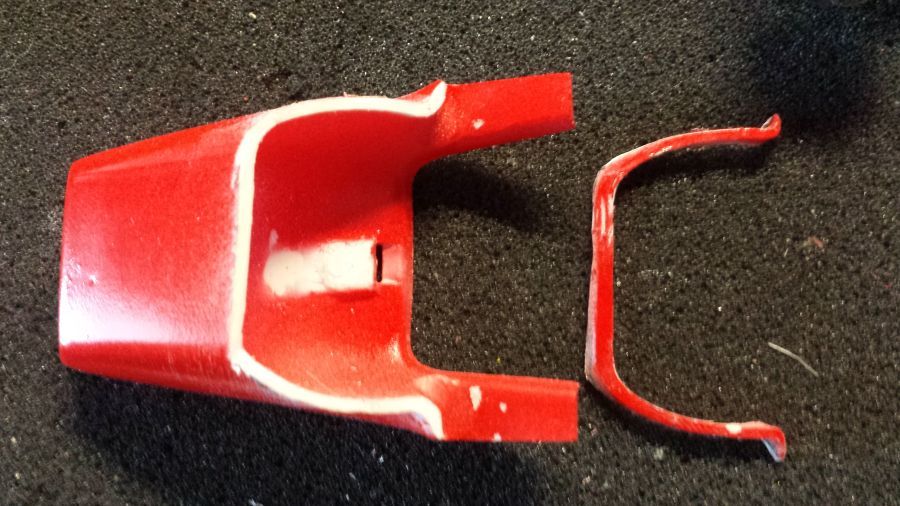
Er is een probleem met de aansluiting van de neuskegel. Deze past niet goed. Misschien is de voorkant niet goed gemonteerd aan de romp. Helaas kan ik dat niet meer veranderen. Daarom moet ik de neus aanpassen. Eerst zaag ik een rand van 2-3mm af van de neus (niet van de bovenkant). Daarna moeten de plekken waar de wielophanging in past nog bijgewerkt worden. Vervolgens past alles. Nu nog opnieuw spuiten.
There is a problem with the connection of the nose cone. It doesn't fit well. Maybe the front part wasn't attached to the body in the correct way. However this cannot be changed anymore. Therefor i will change the nose. First i will cut off a piece of 2-3mm (not from the top). After this the spaces where the suspension fits need to be adjusted. Then everything fits. Now airbrushing the red paint again.
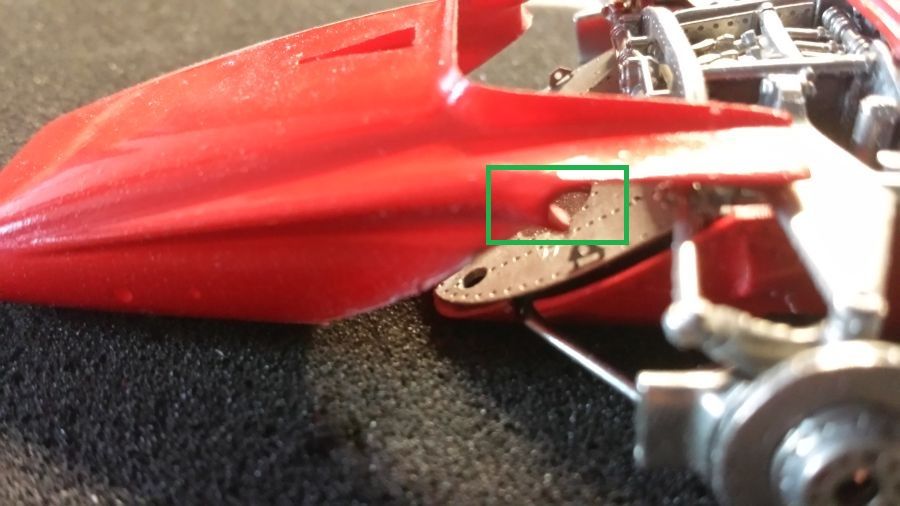

De neus past perfect, ook met de popnagels. Nu de decals erop en dan de lak. De popnagels zijn 0,7 mm gekocht
bij Scale Hardware.
The nose fits perfect, even with the rivets. Now decals can be put on, and then the clear coat. The rivets
are 0,7 mm bought from Scale Hardware.
Nu werken aan het motordeksel. Eerst moeten een paar onderdelen tood worden gespoten. Daarna samenstellen.
Now working on the engine cover. First some parts need to be painted red. Then combine everything.
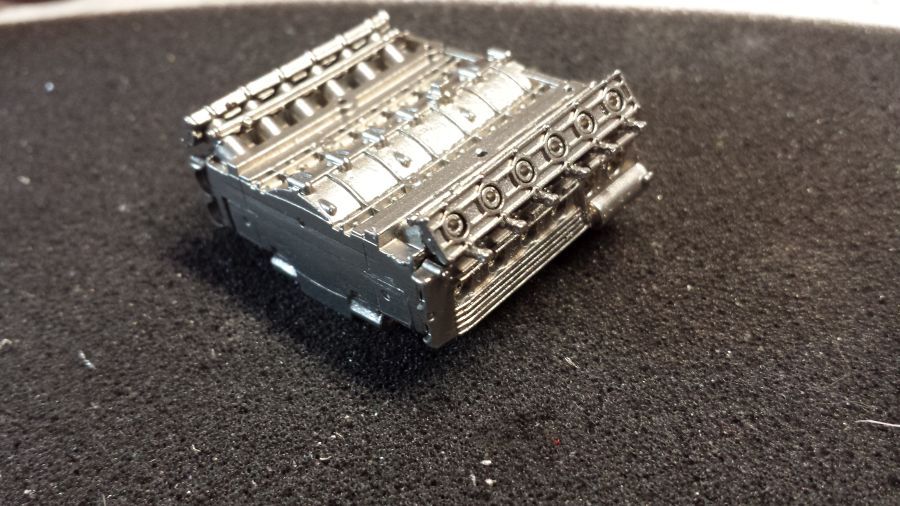
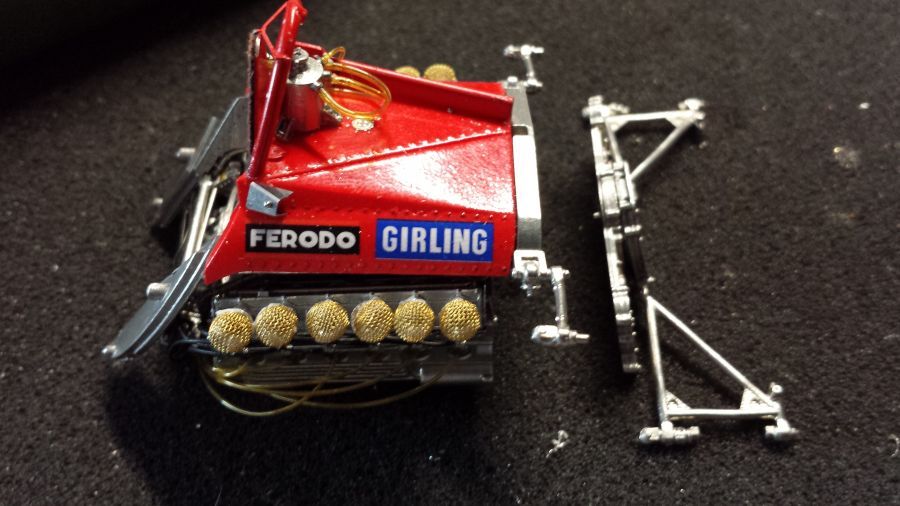
De eerste onderdelen van de motor.
First assembly on the engine.
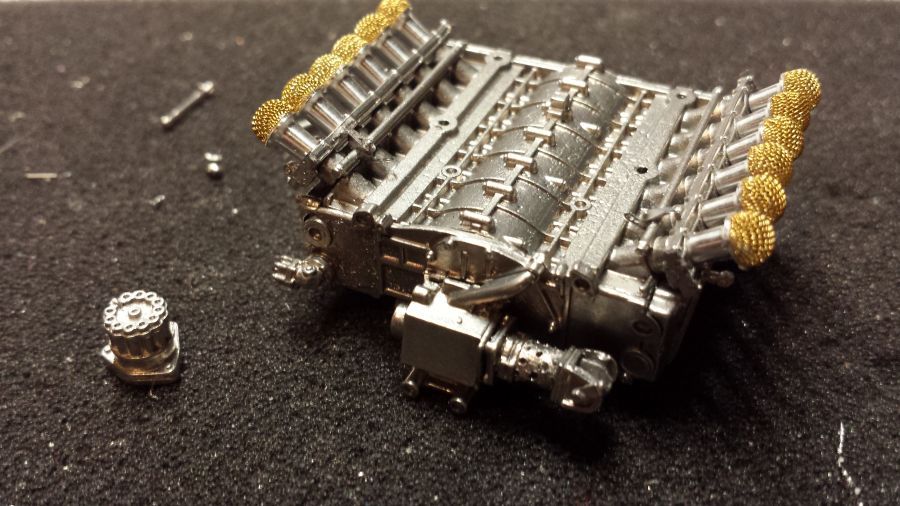
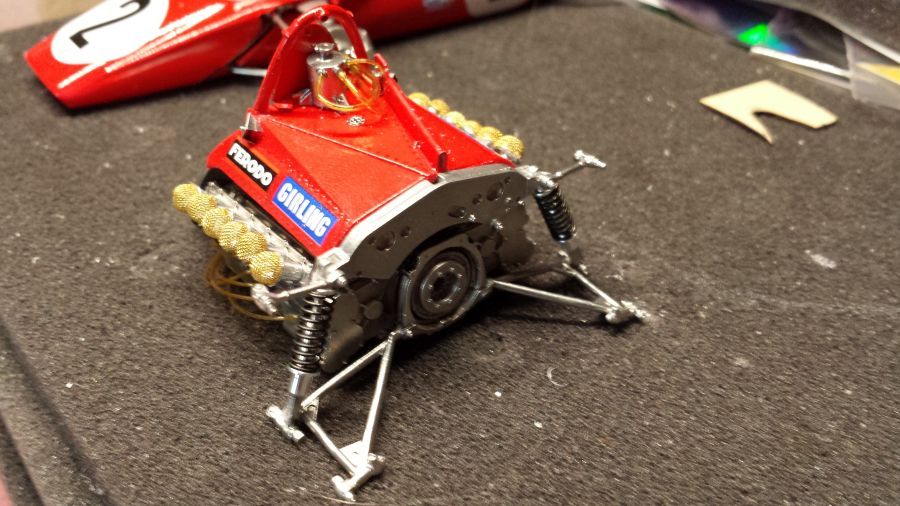
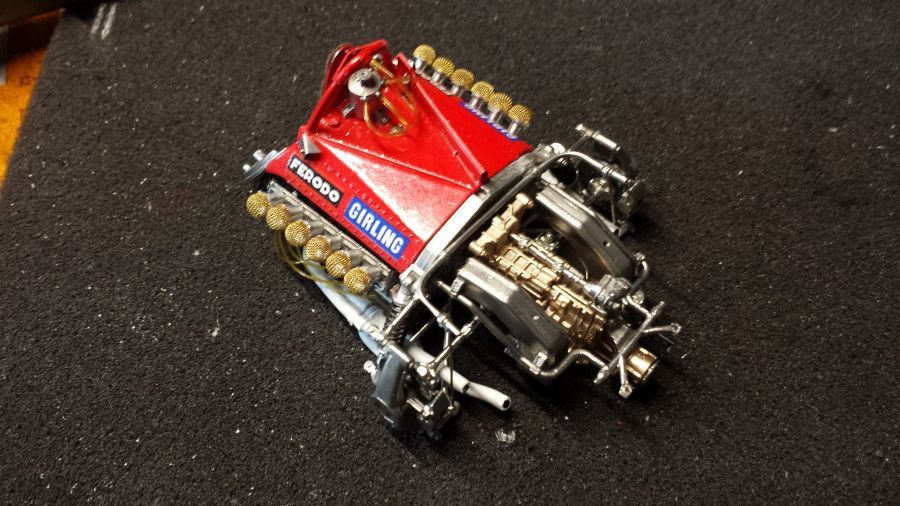
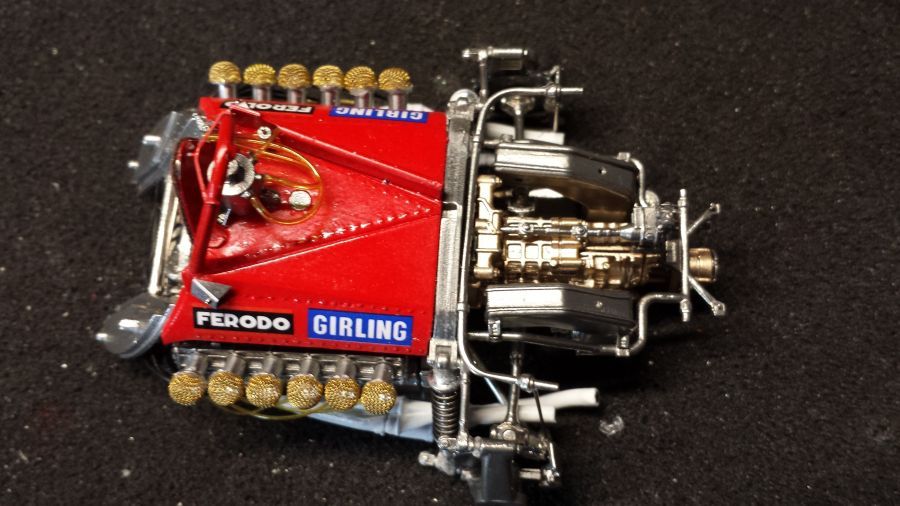
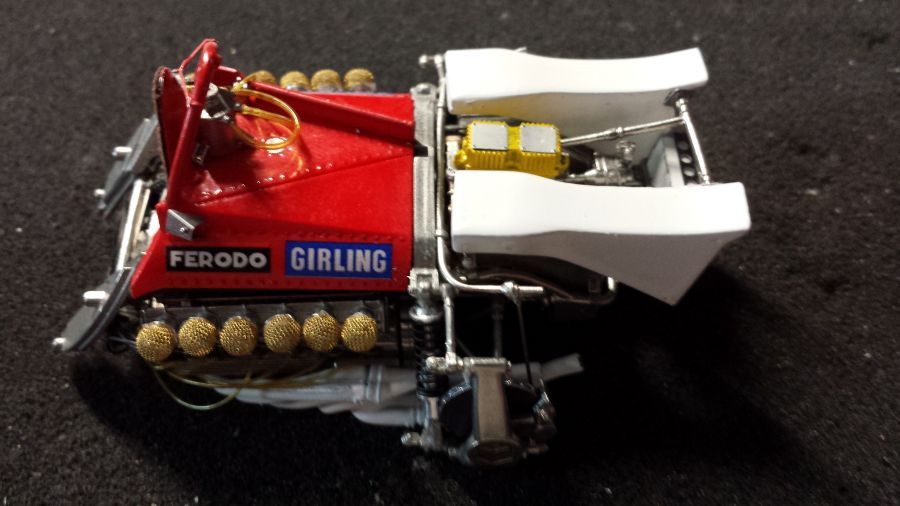
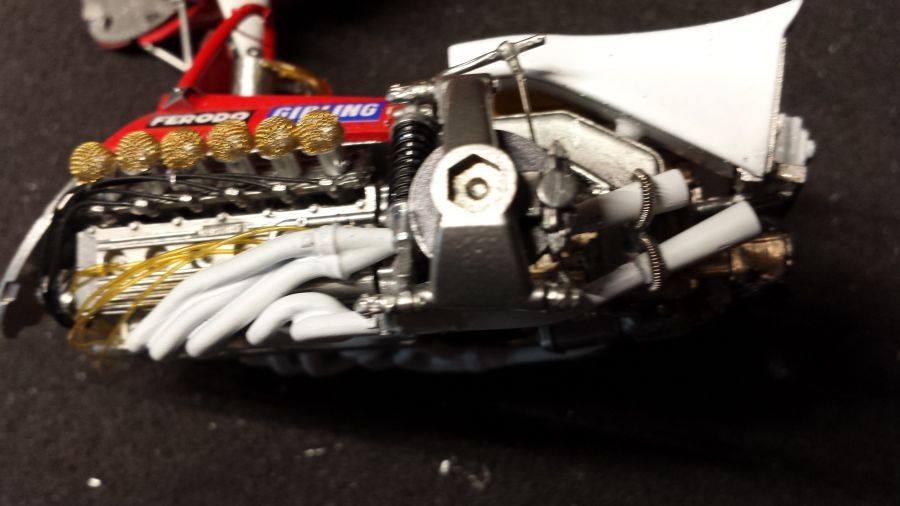
Dan de kap erop en de motor is klaar.
Then putting the cover on andth engine is ready.
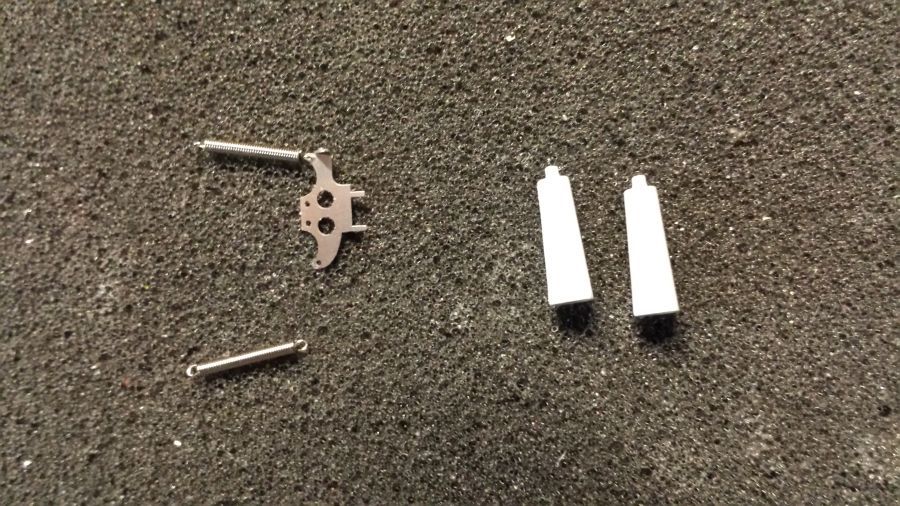
De eerste stappen met betrekking tot de achterwielophanging.
The first steps regarding the rear wheel suspension.
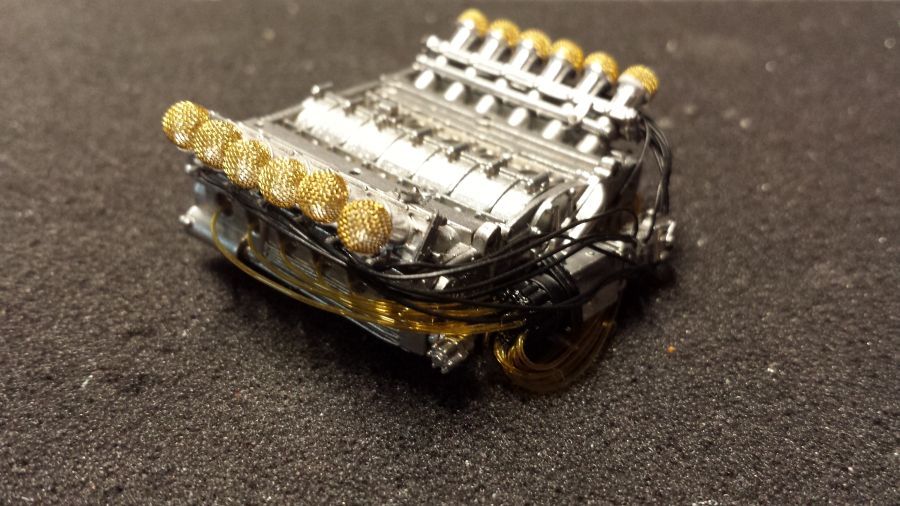
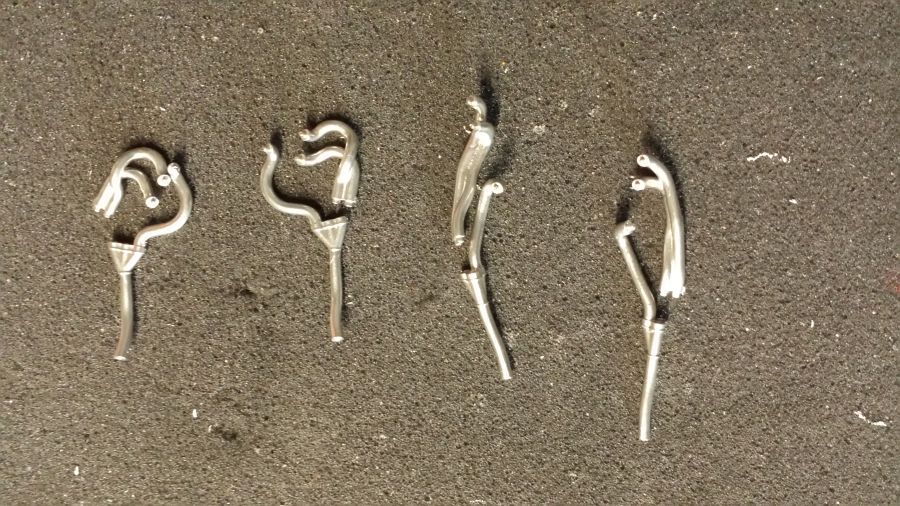
Nu het werken aan de uitlaten.
Now working on the exhausts.
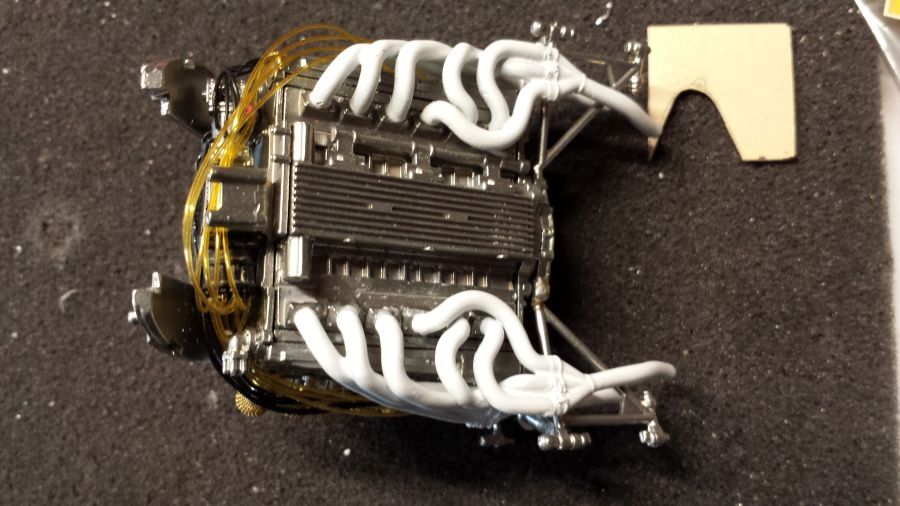
De uitlaten zijn wit gespoten en gemonteerd.
The exhausts have been painted white and have been mounted.
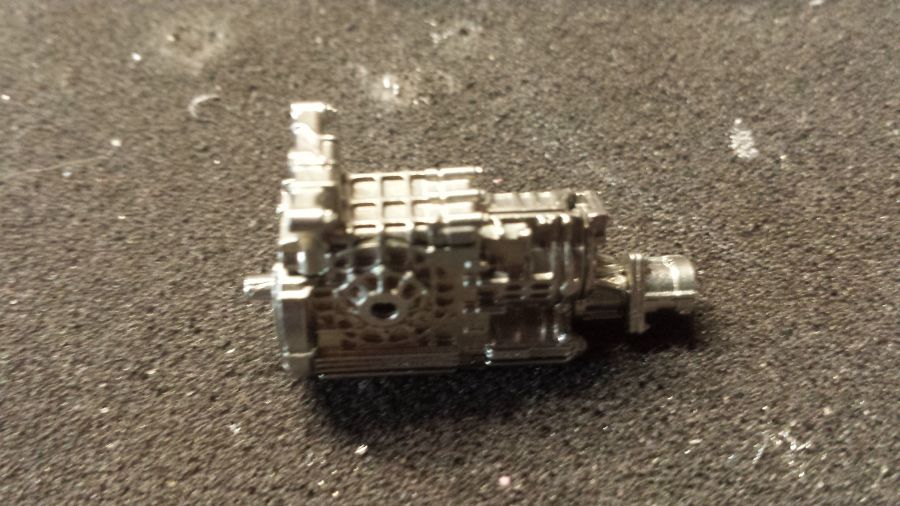
De eerste stappen van de versnellingsbak. Dan met de motor verbinden.
The first steps on the gearbox. Then mount it to the engine.
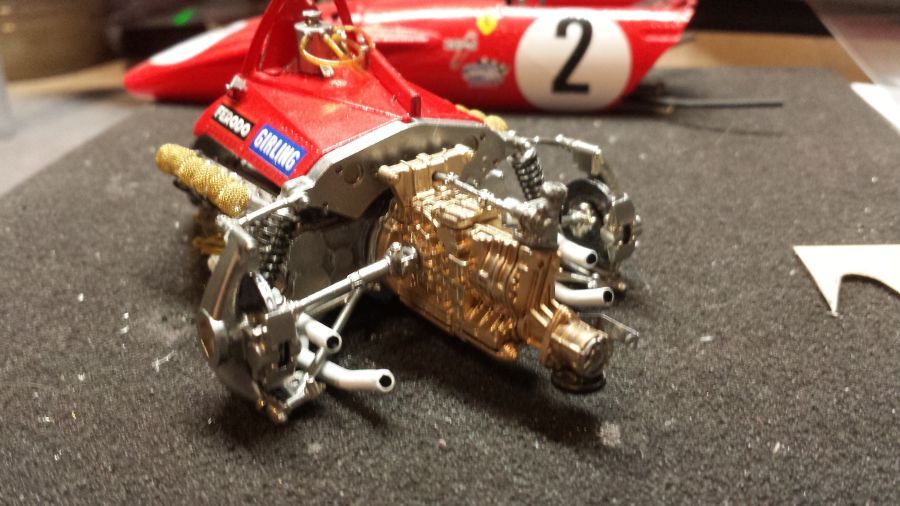
De achterwielophanging is geplaatst.
The rear wheel suspension has been attached.
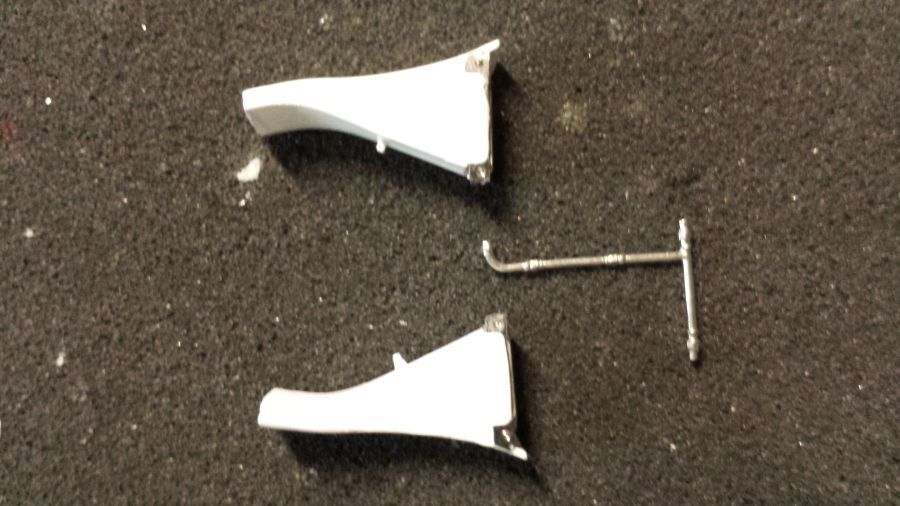
De steunen voor de achtervleugel worden voorbereid.
The supports for the rear wing in progress.
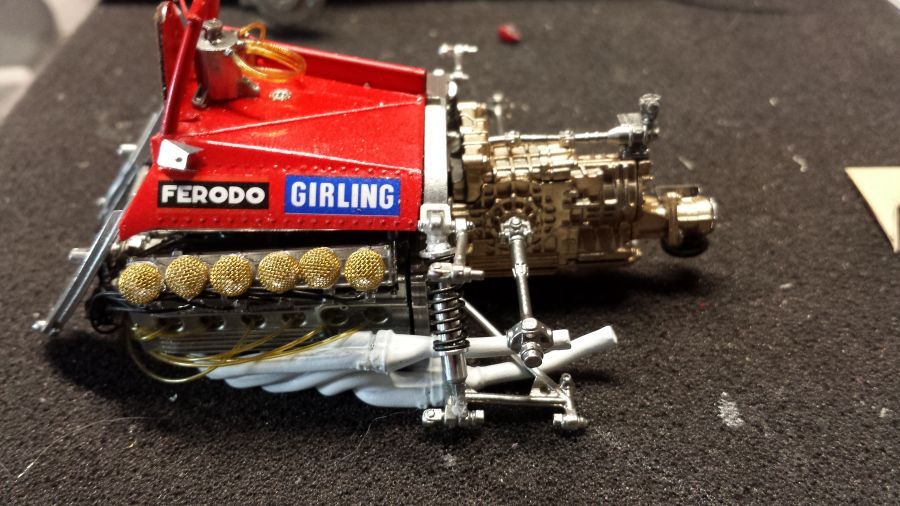
En aan de motor gemonteerd.
And mounted to the engine.
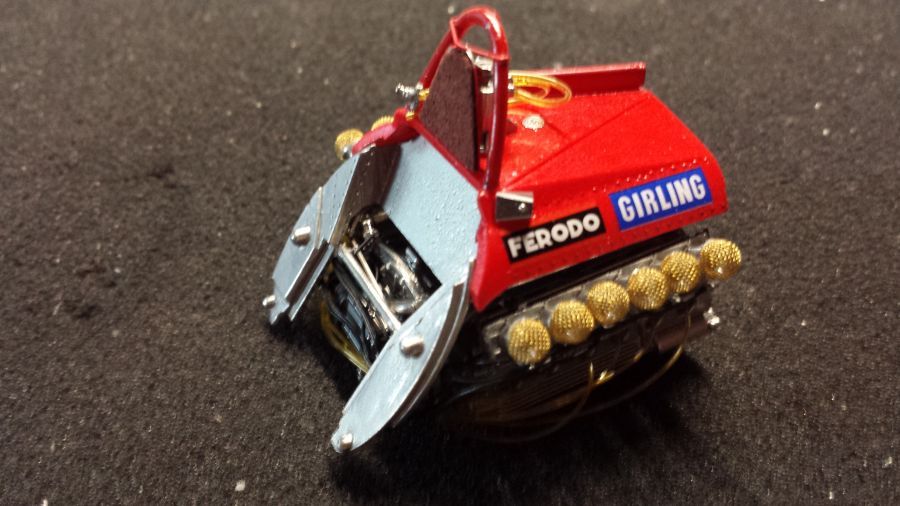
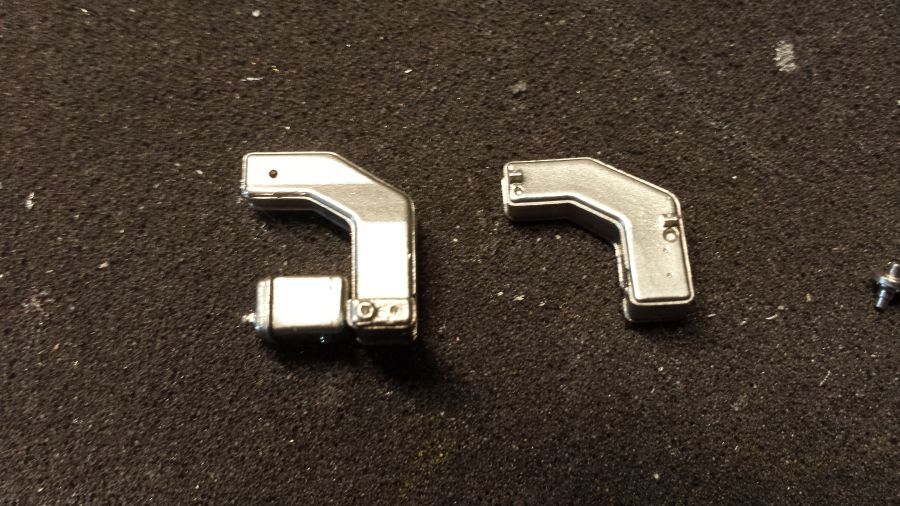
Het werken aan de luchtinlaten.
Working on the intakes.
Nu verder met de uitlaatpijpen. Bij een vorige bouw had ik grote moeite met het aanbrengen van de veren, als de steun al is geplaatst. Daarom zet ik nu eerst de steun in elkaar an pas daarna zal ik de steun plaatsen.
Now going on with the exhaust pipes. During a previous built i had trouble attaching the spring coil when the support was already in it's place. Therefore i will now first make the support and install them afterwards.

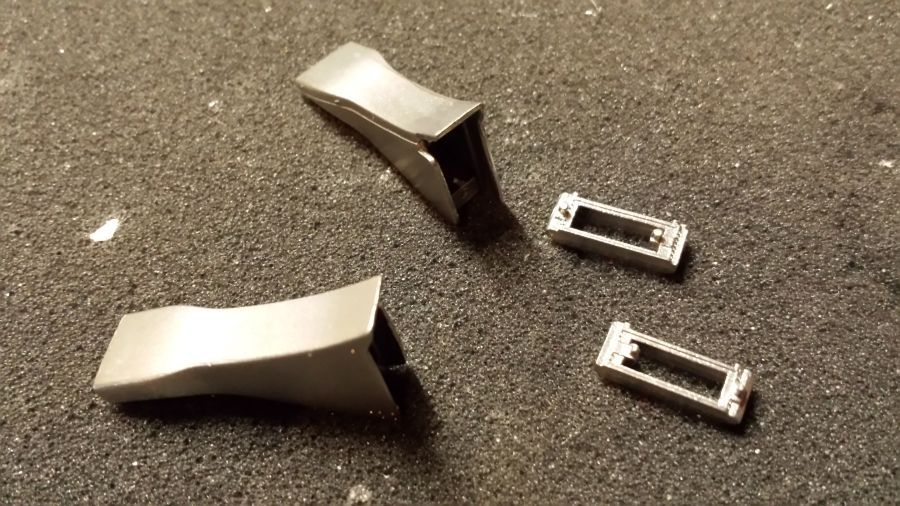
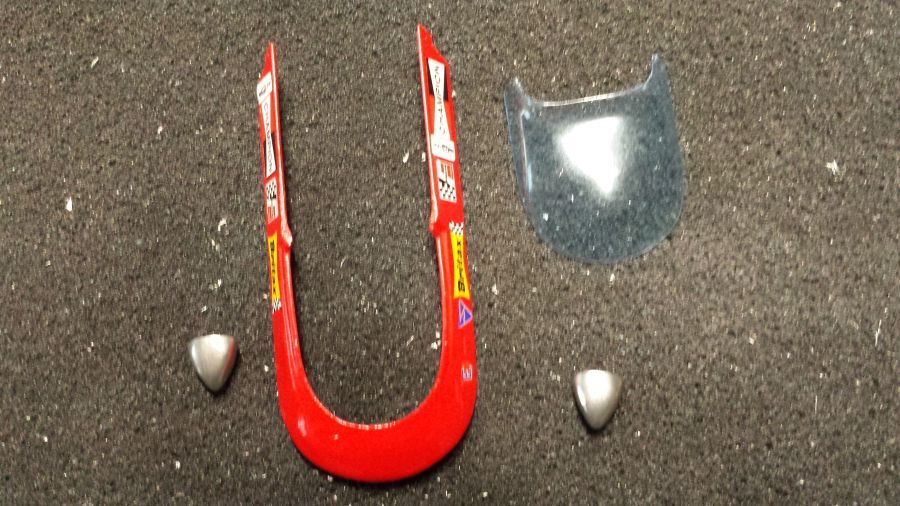
Verder met de vleugels en de cockpit rand.
Now on with the wings and the edge of the cockpit.

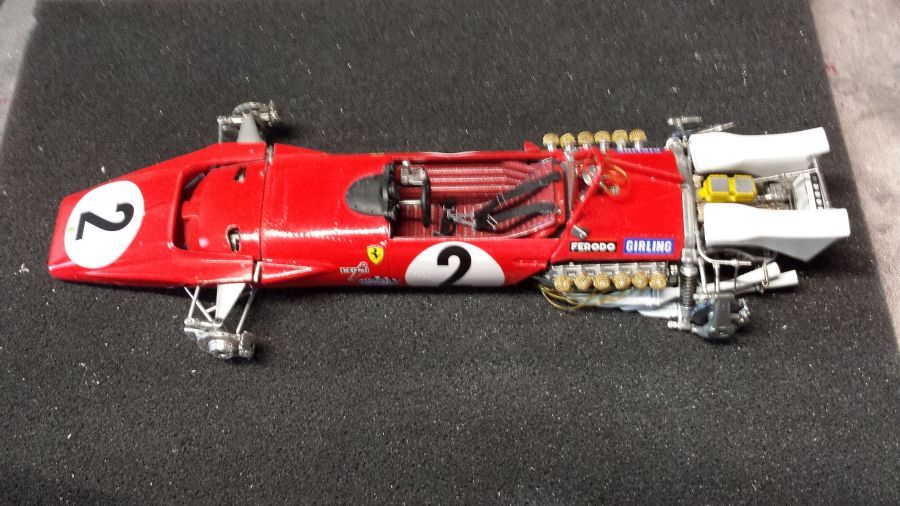
Het huwelijk.
The marriage.
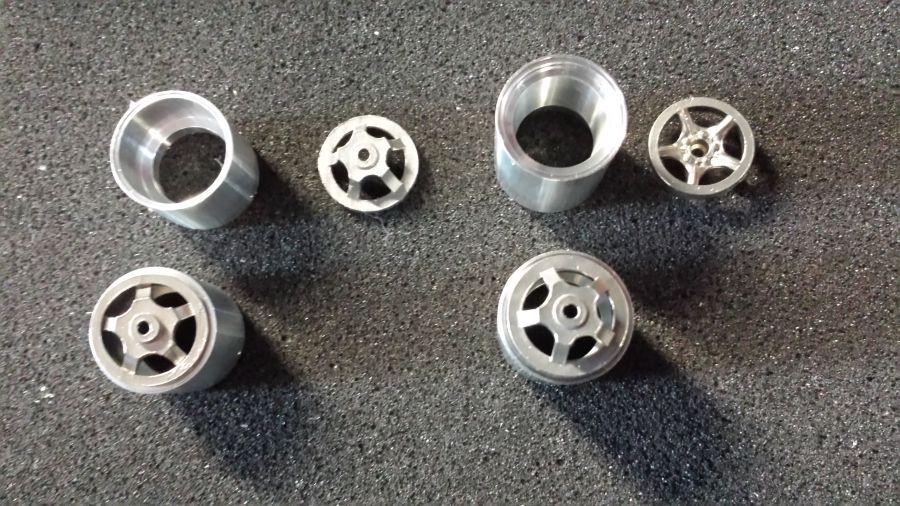
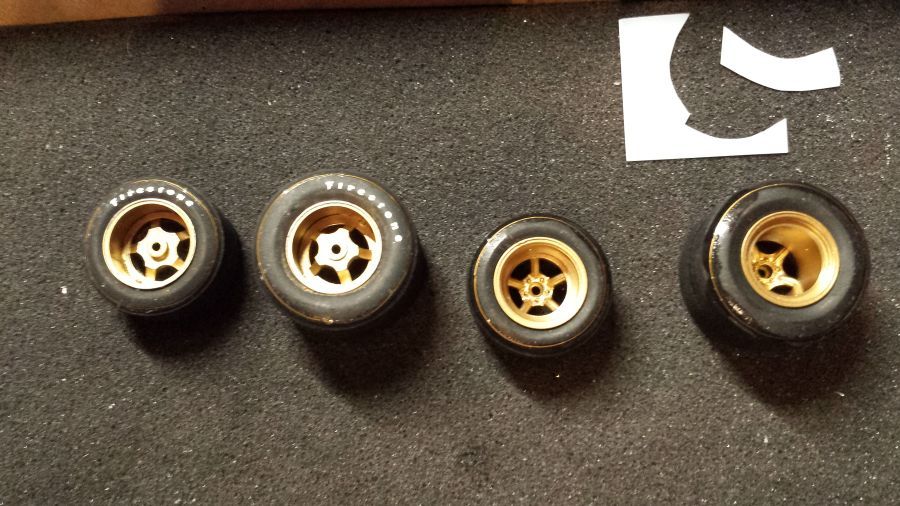
Door met de velgen en banden. De metalen delen passen niet direct in de velgen. Wat afvijlen dus. Pas op voor de verschillen in de metalen delen.
Now to continue with the rims and tires. The metal parts do not immediately fit to the rims. So i will file them a bit. Watch out for the differences in the metal parts.
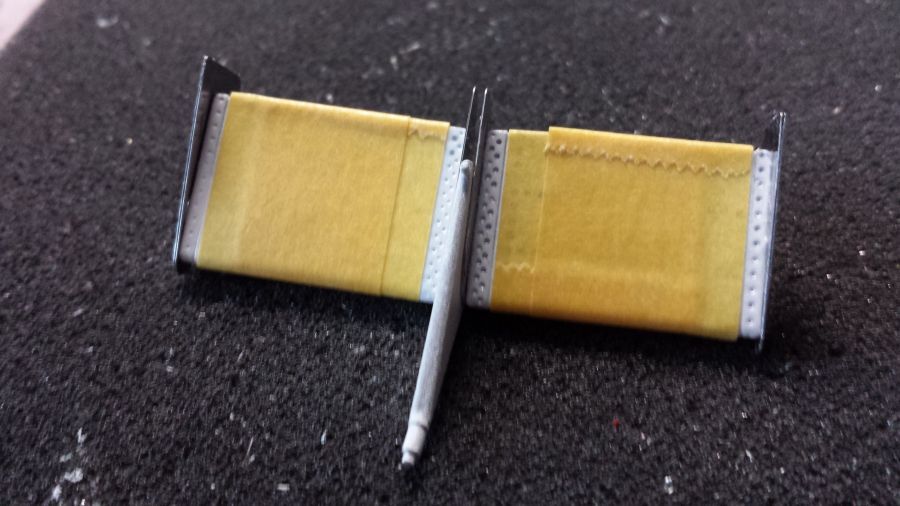
Wees voorzichtig met het knippen van het glas. Je kunt er altijd iets meer afvijlen, maar erbij gaat niet.
Be careful when cutting the wind shield. You can always file some more off, but adding some is impossible.
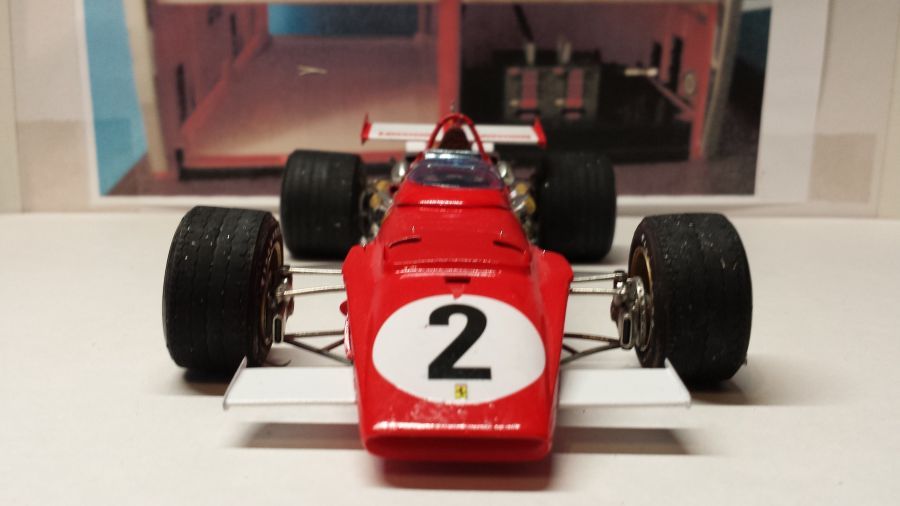
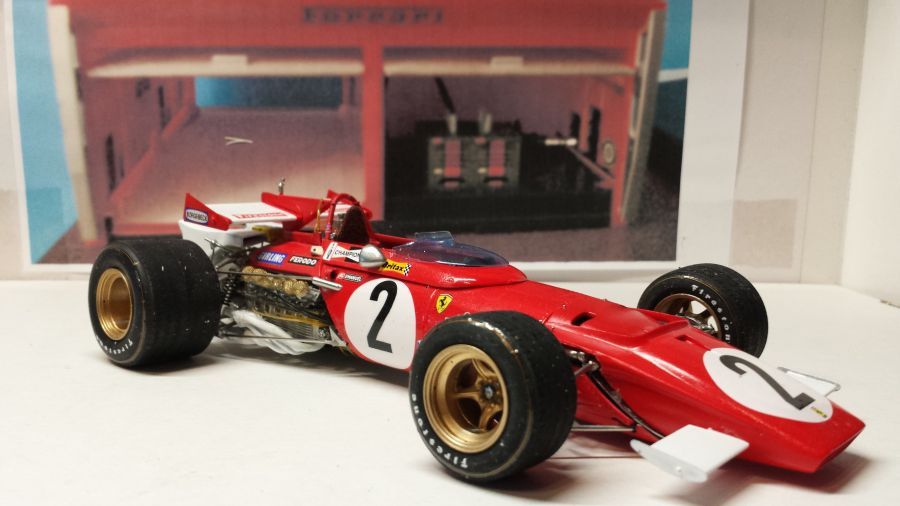
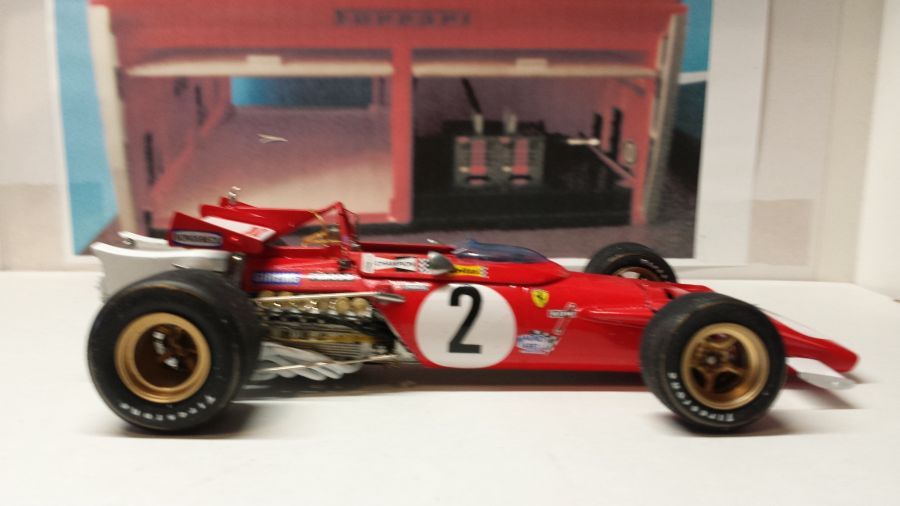
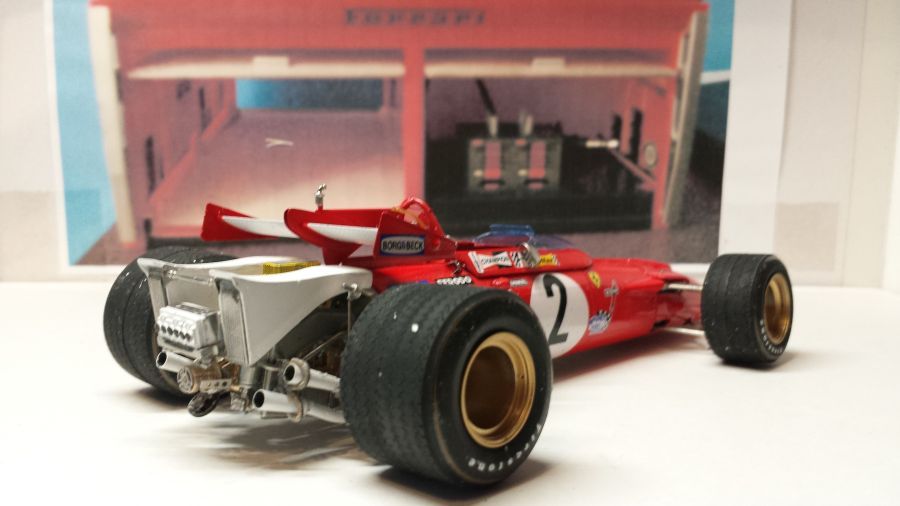
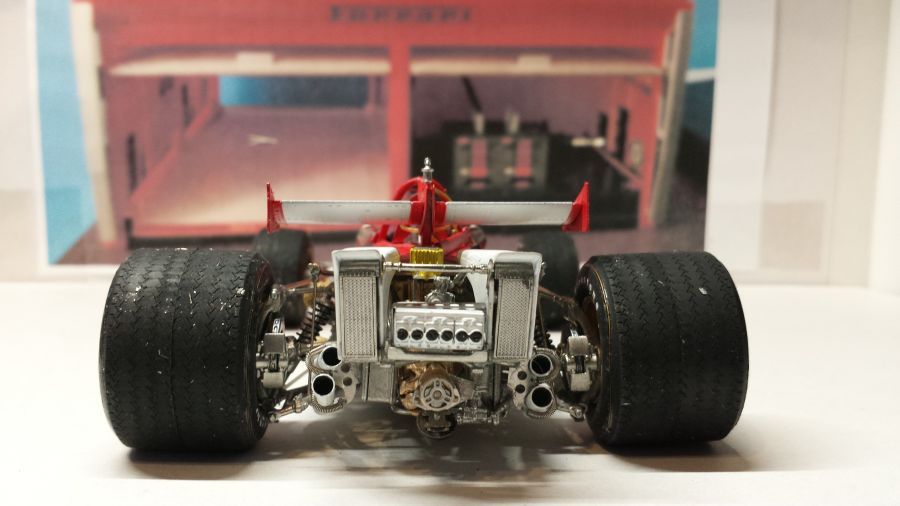
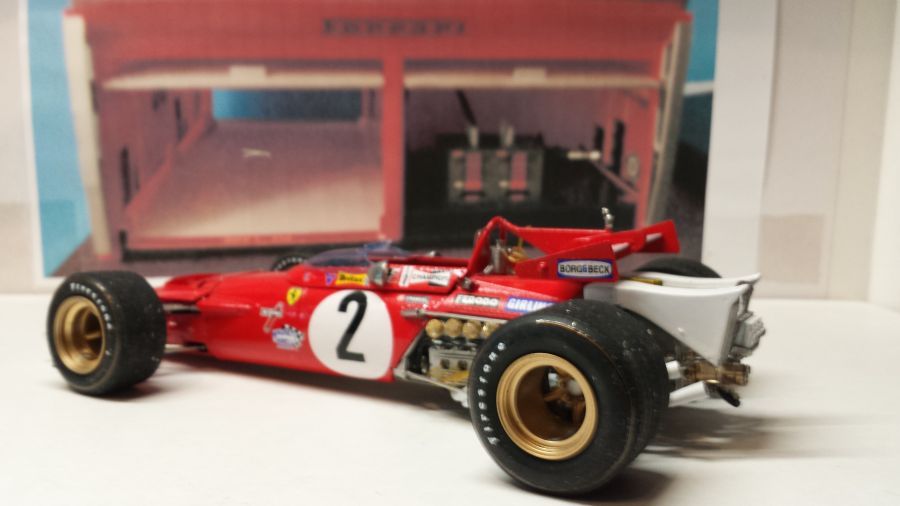
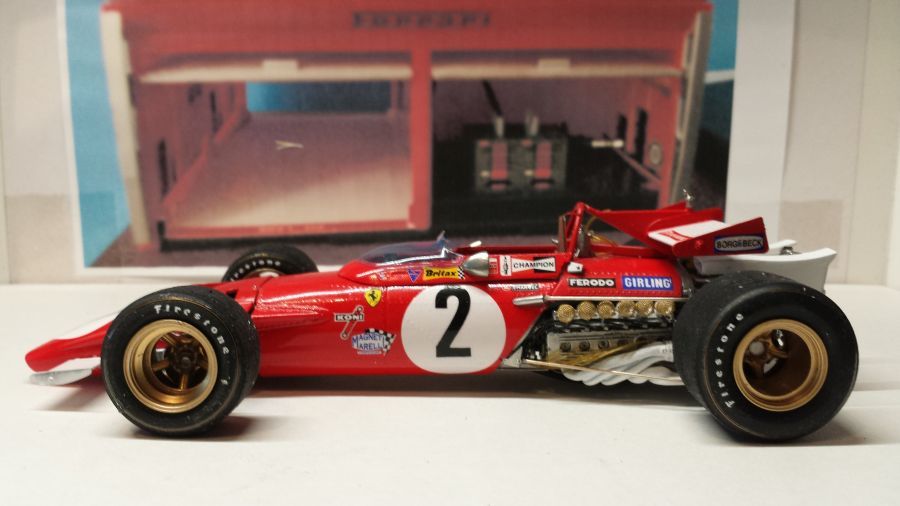
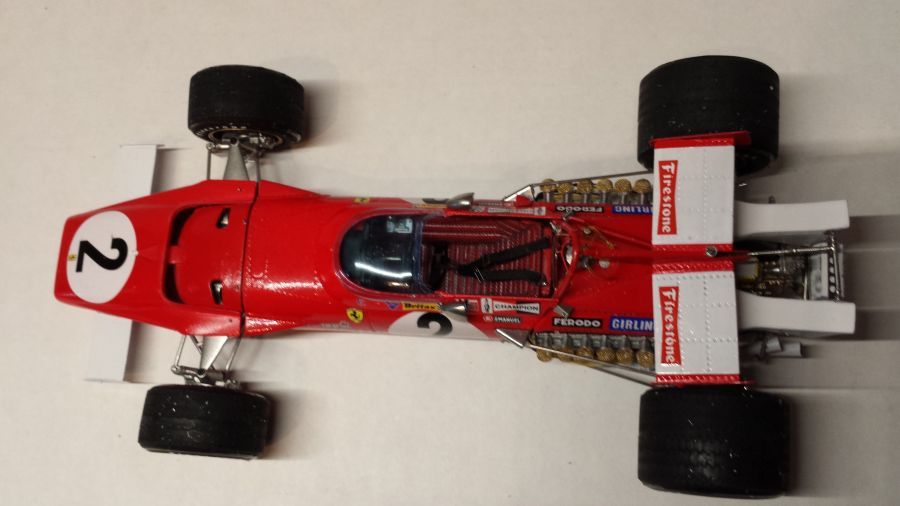
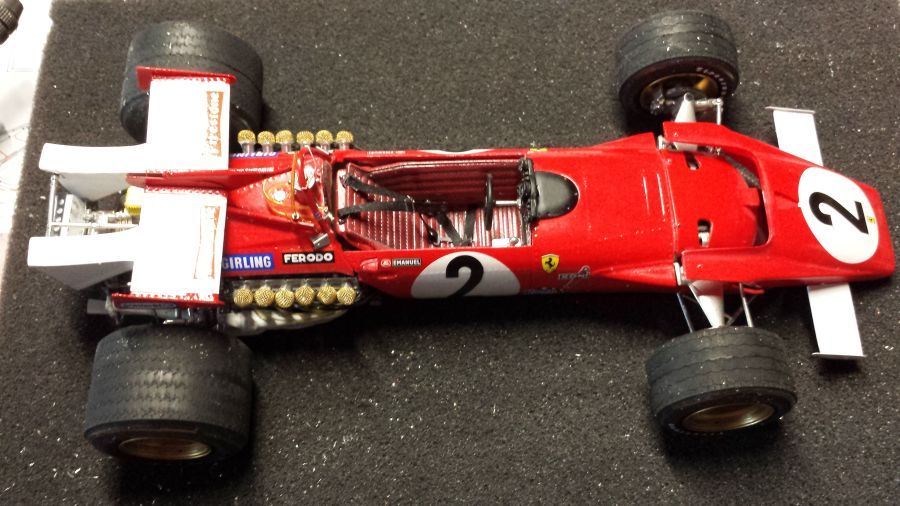
En klaar.
And done.