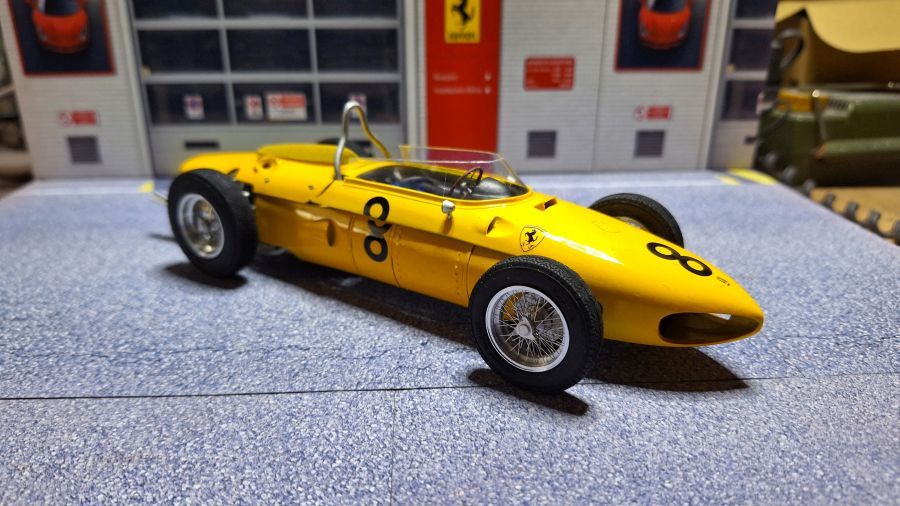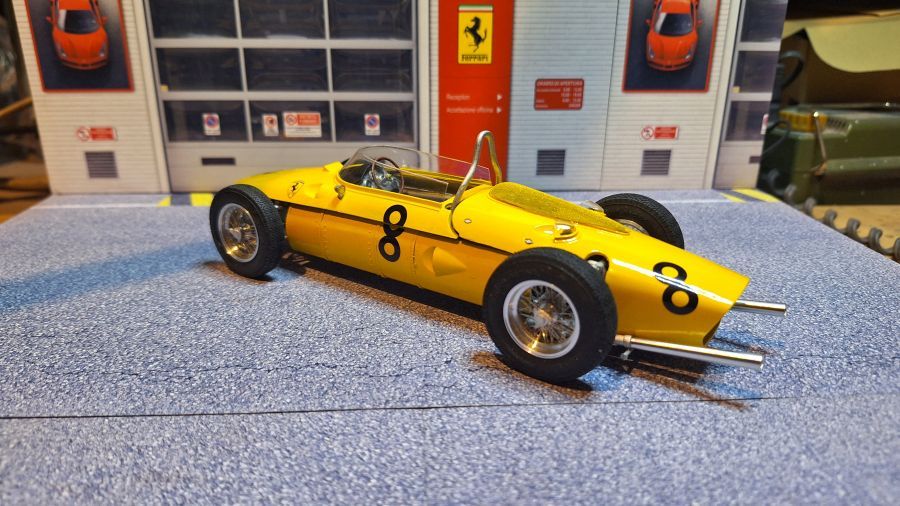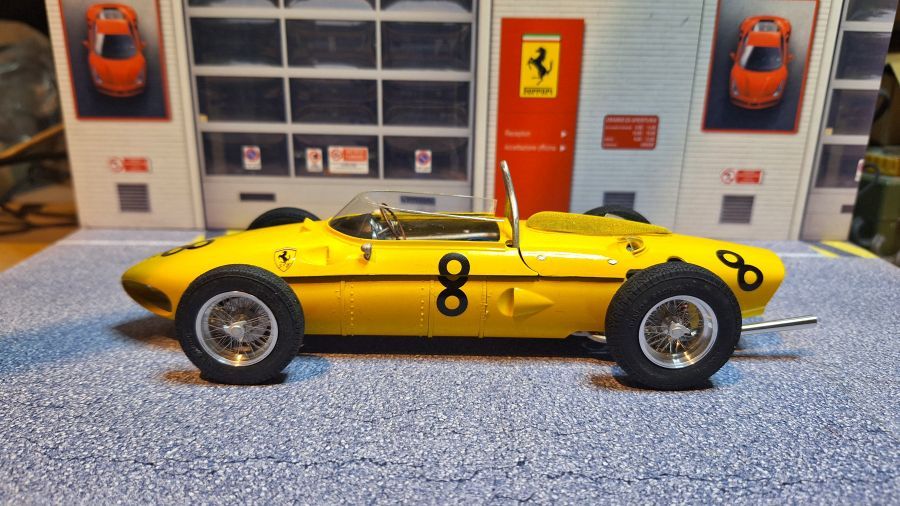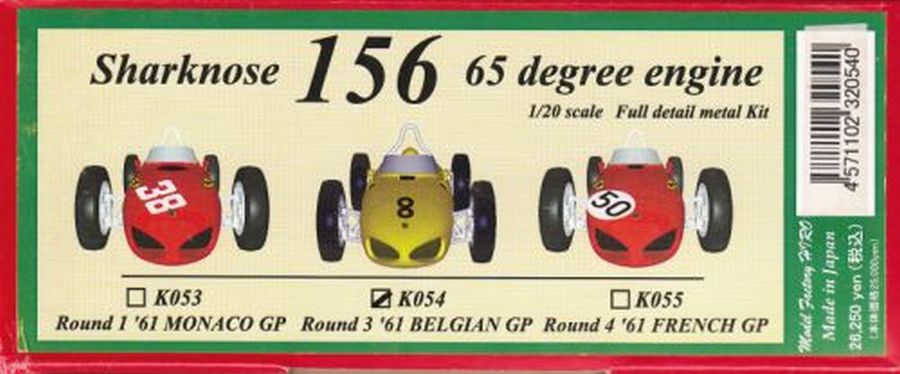
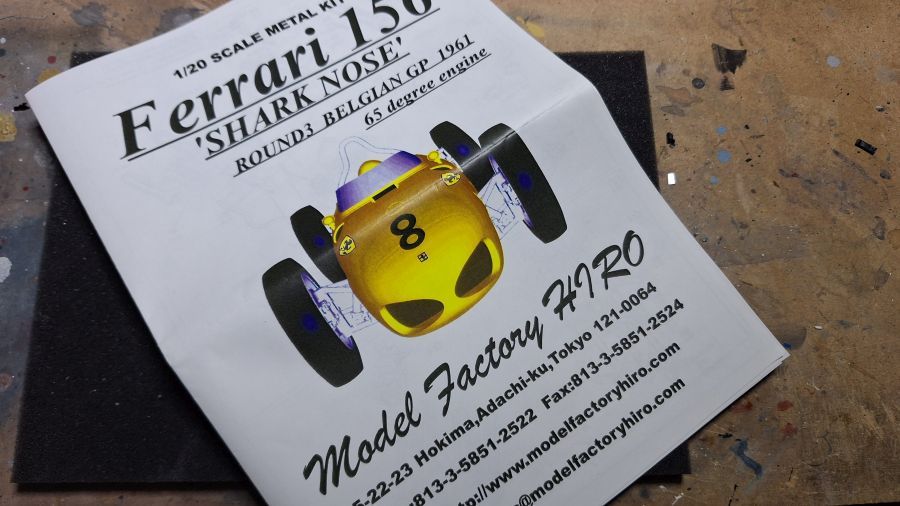
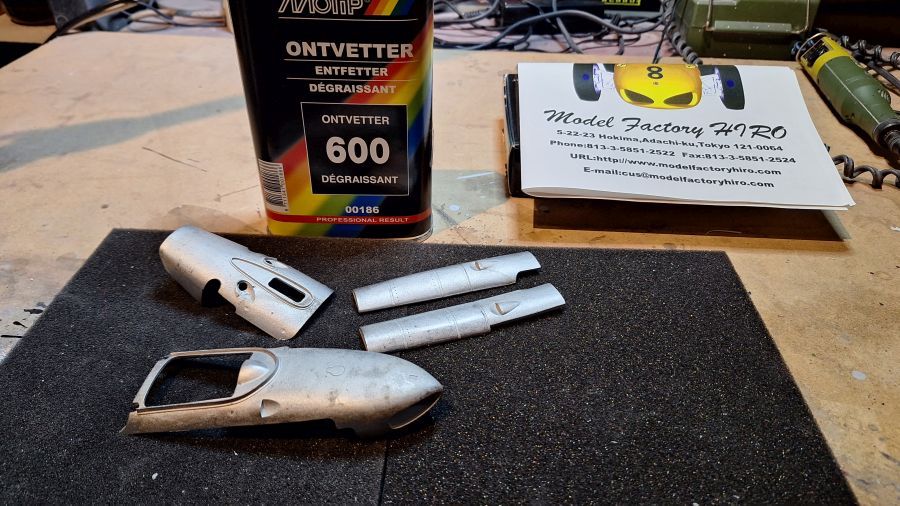
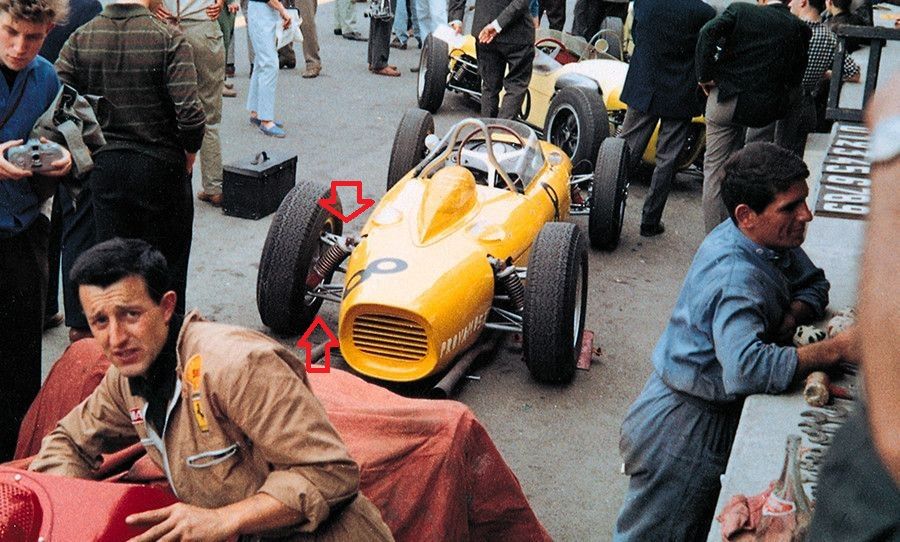
Maar weer eens overschakelen naar een F1 model. Deze keer weer een oudje. De 1961 Ferrari 156 Sharknose Belgische versie met #8, gereden door Olivier Gendebien. Deze wagen had de zogenaamde 65º motor. De Shark Nose was er ook met een 120º motor. Het is een schaal 1/20 kit van MFH (kit nr. K-054) volledig uit metaal..
Changing to a F1 model again. This time an oldie. The 1961 Ferrari 156 Sharknose Belgium version #8, as driven by Olivier Gendebien. This car had the so called 65º engine. There was also a Shark Nose with a 120º engine. It's a MFH kit in scale 1/20 (kit no. K-054) fully metal.
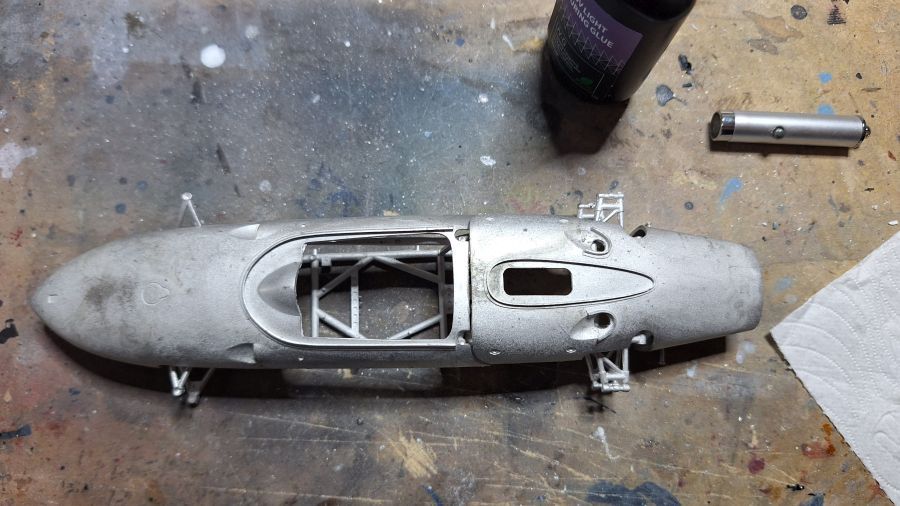
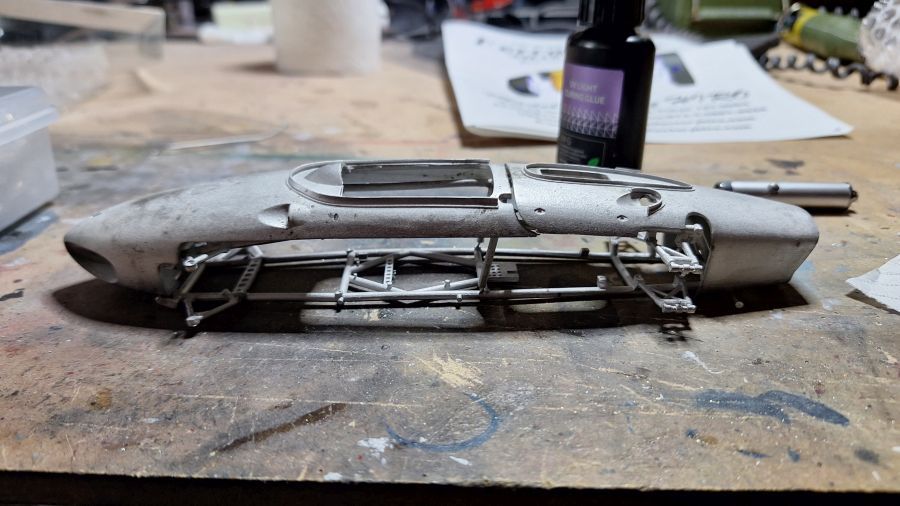
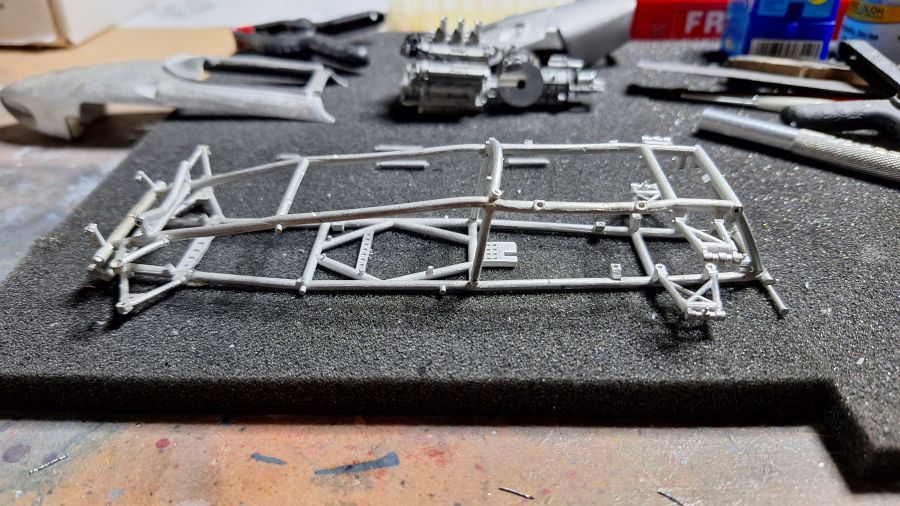
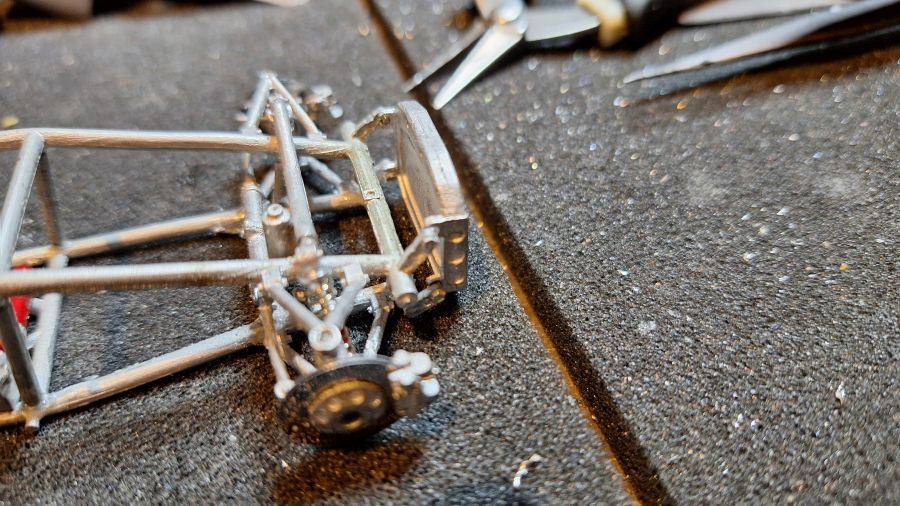
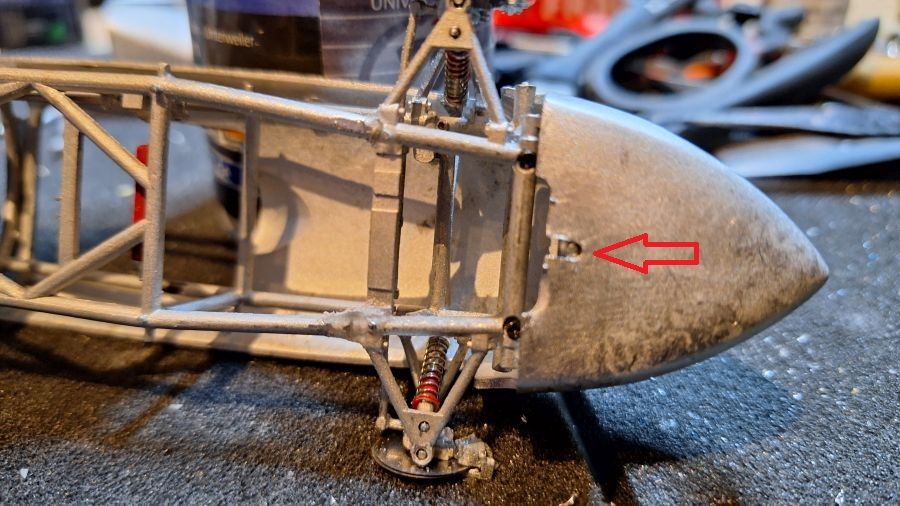
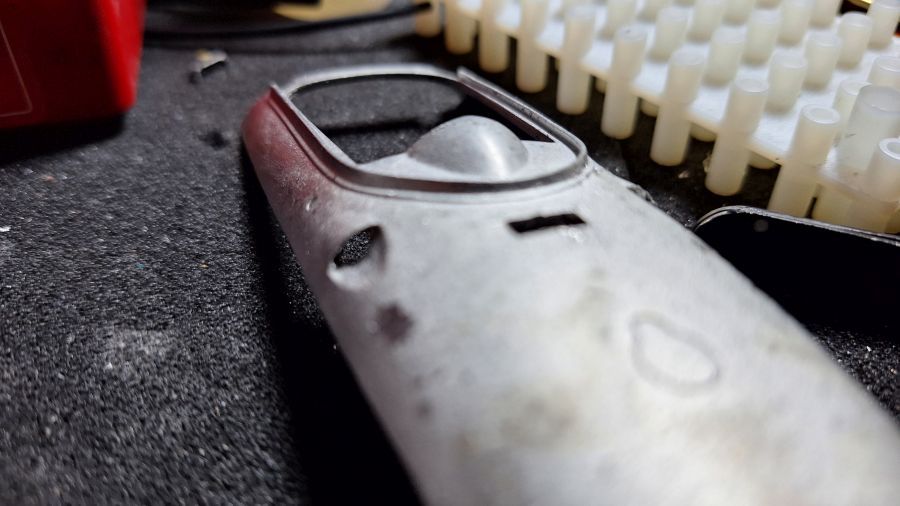
Een gebroken chassis.
A broken chassis.
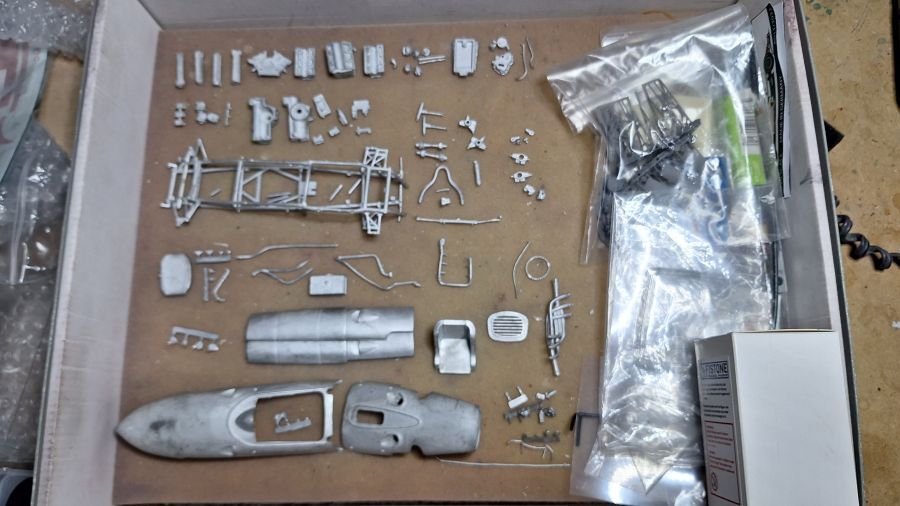
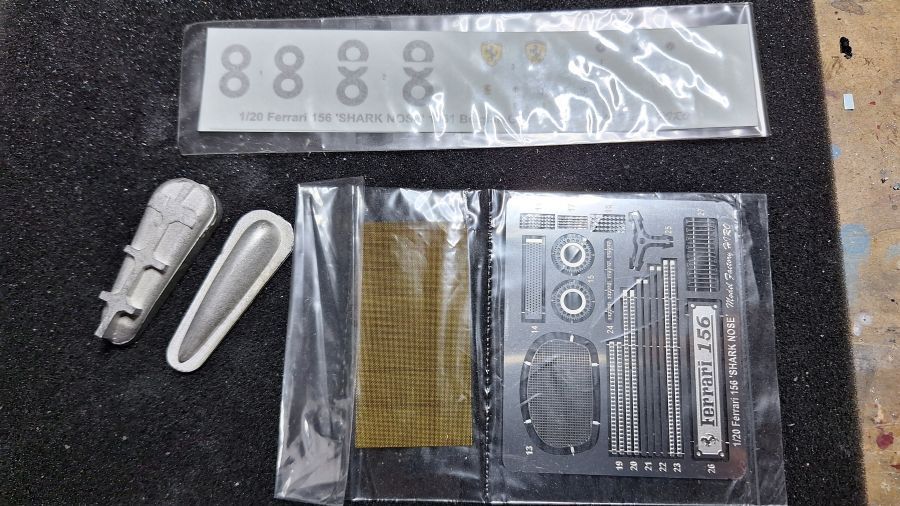
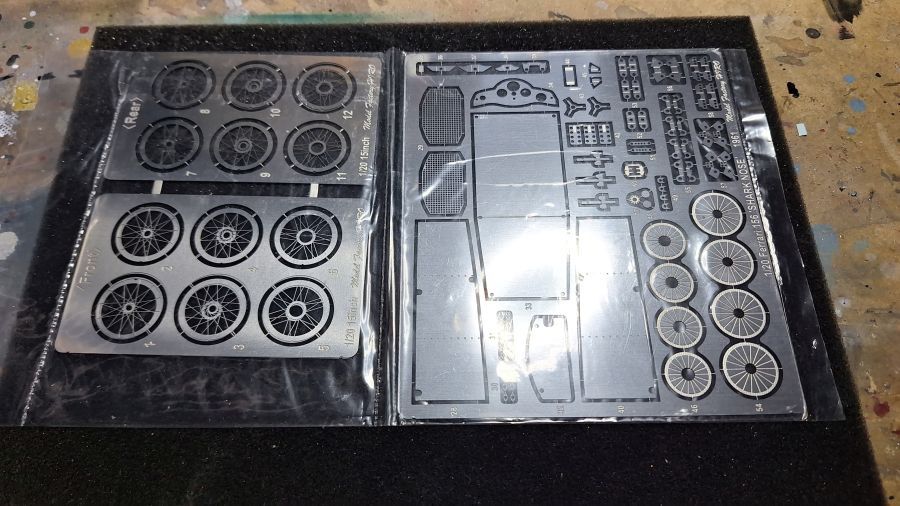
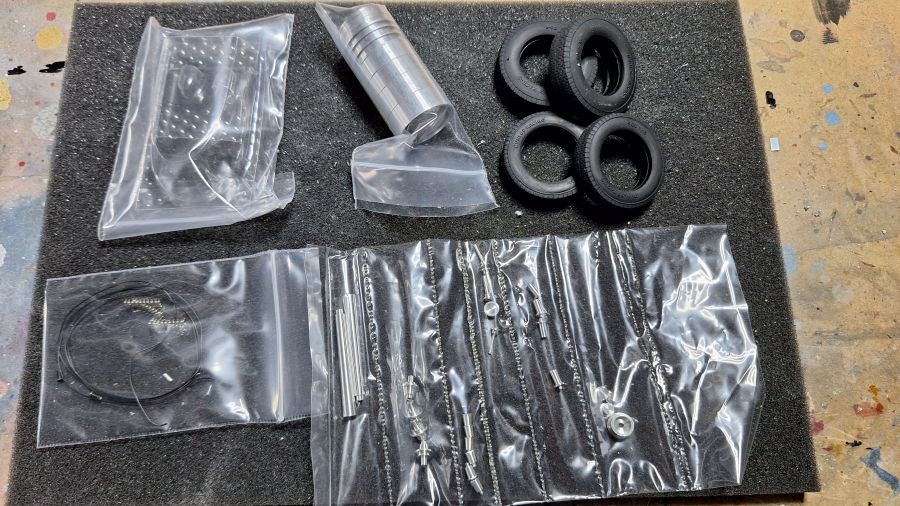
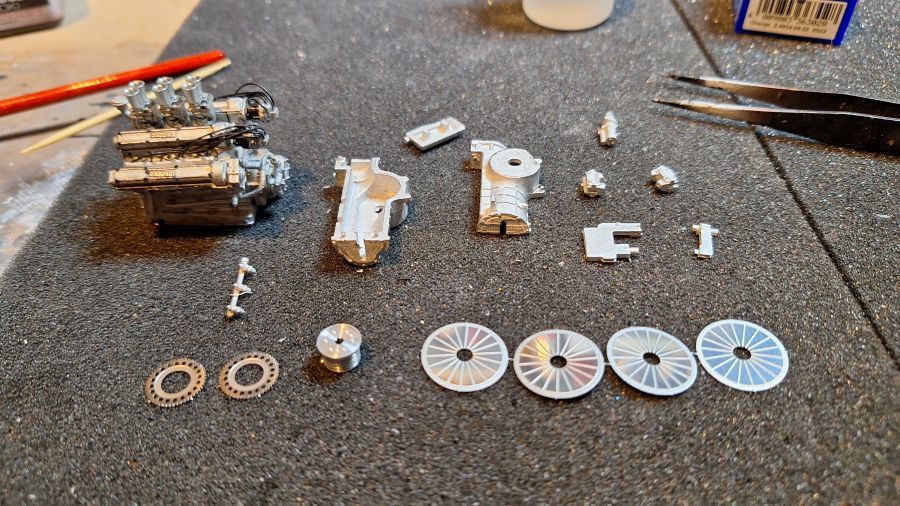
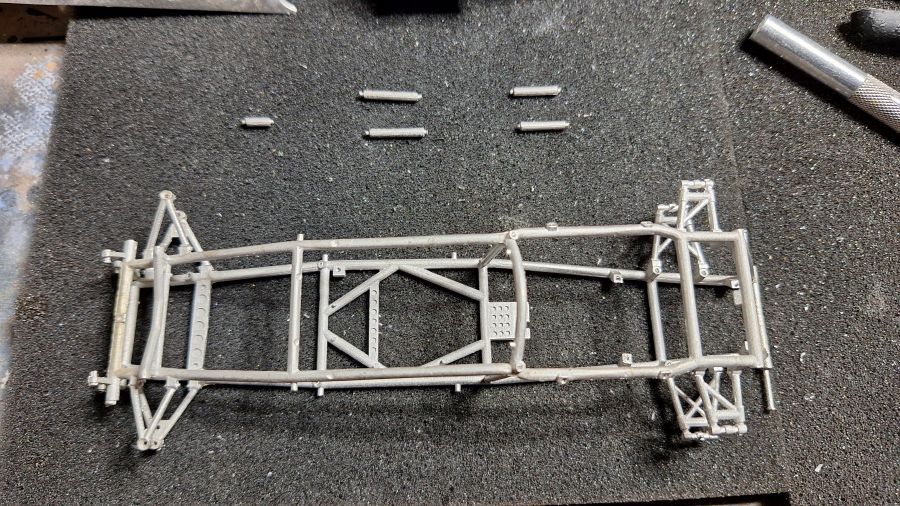
Alle delen van de kit.
All parts from the kit.
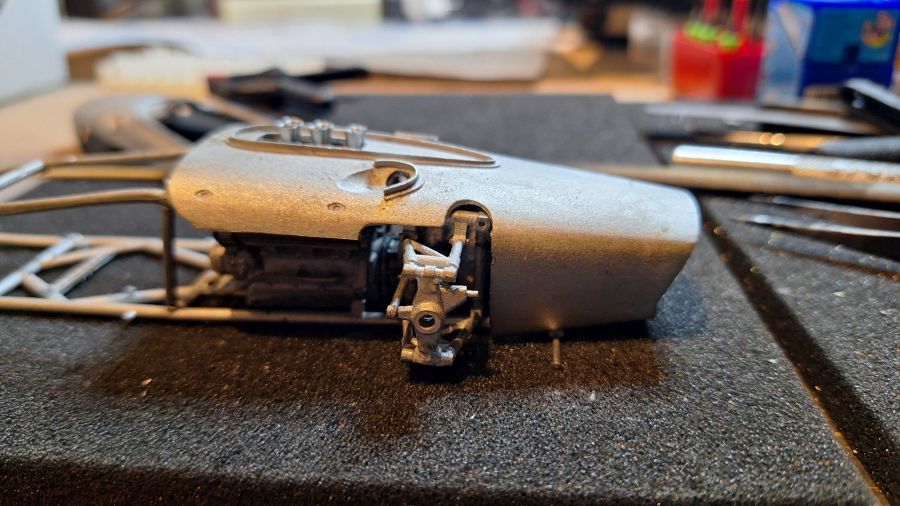
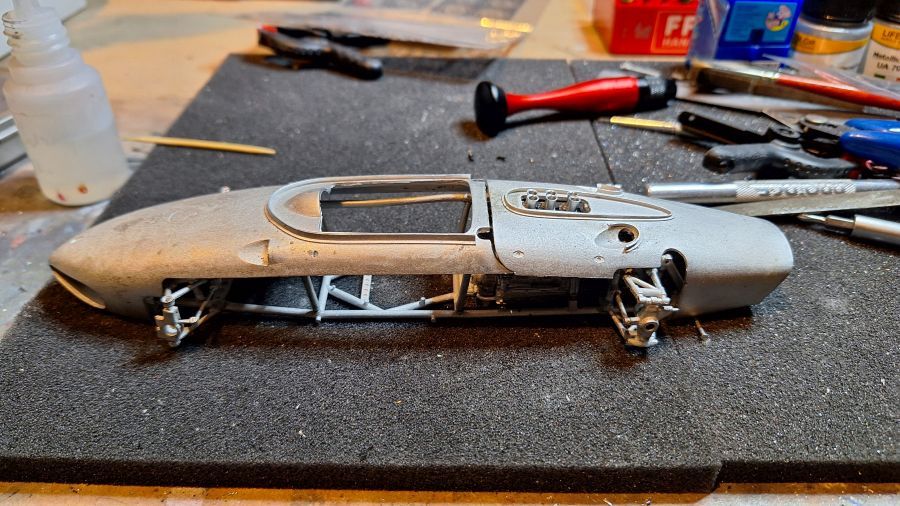
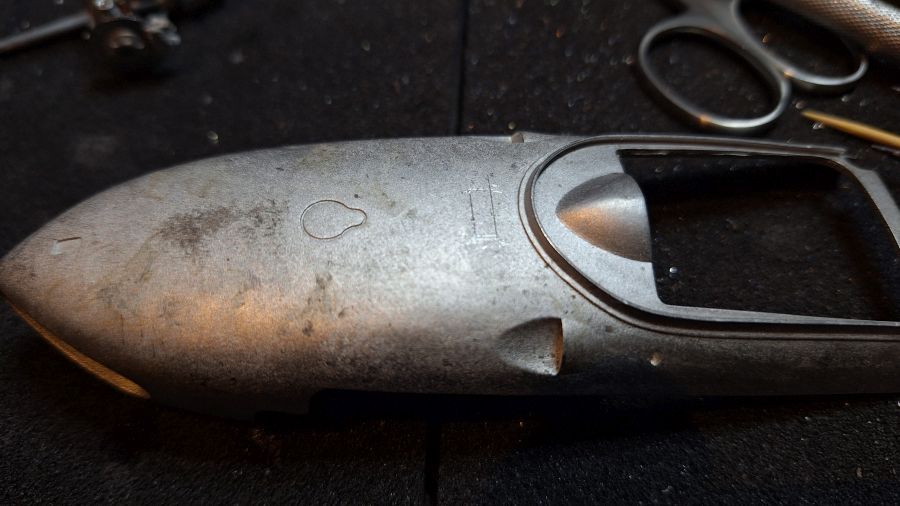
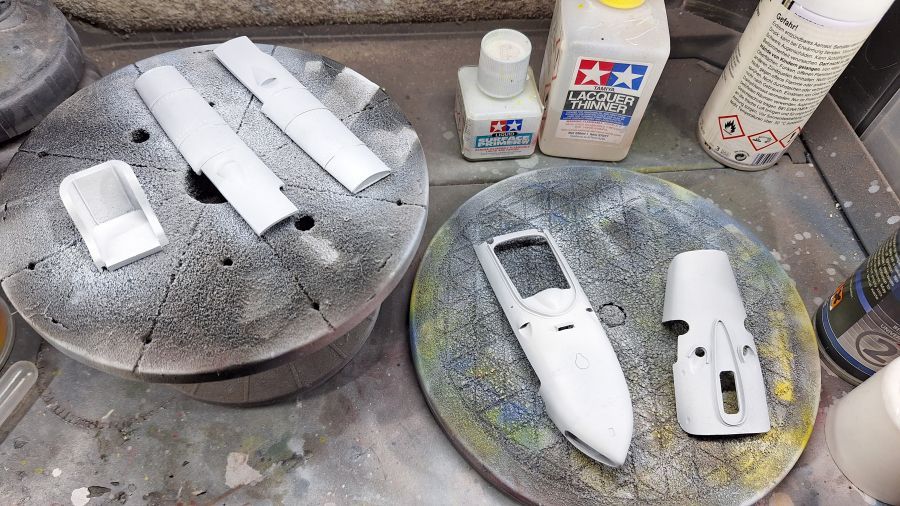
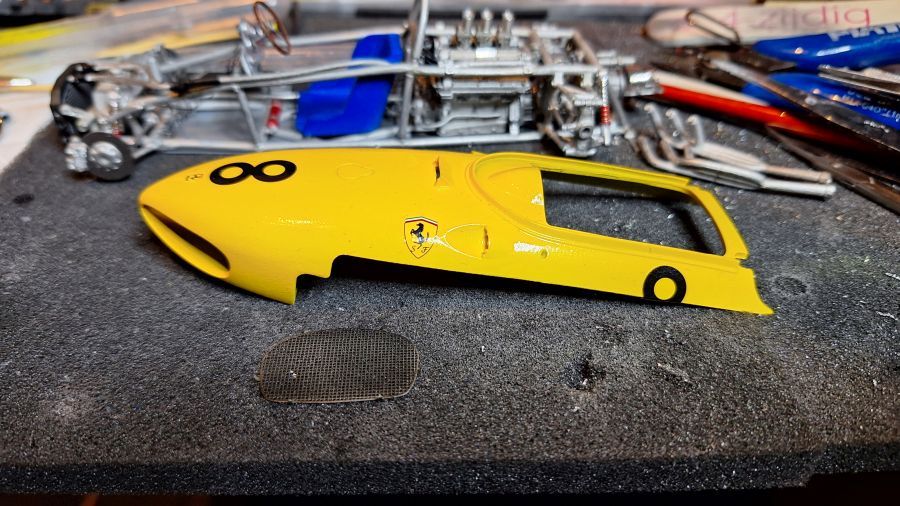
Eerst de carrosserie ontvetten.
First of all degreasing the body work.
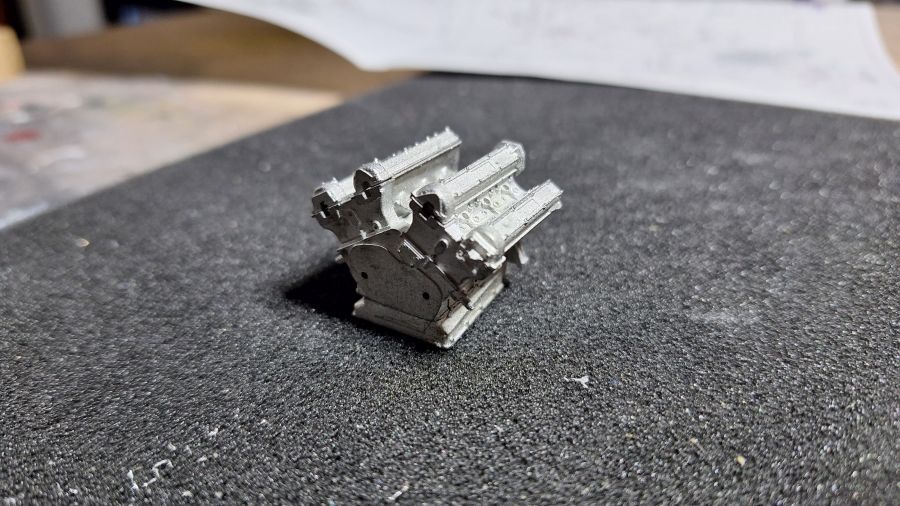
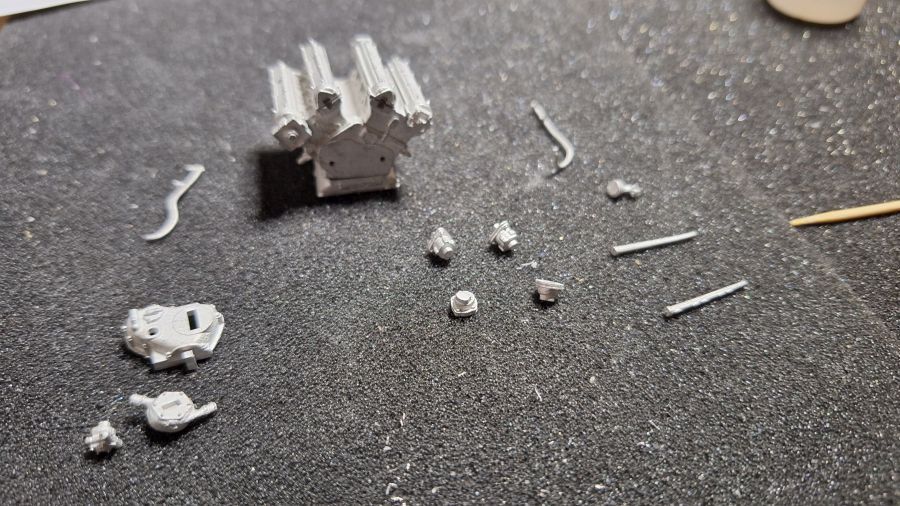
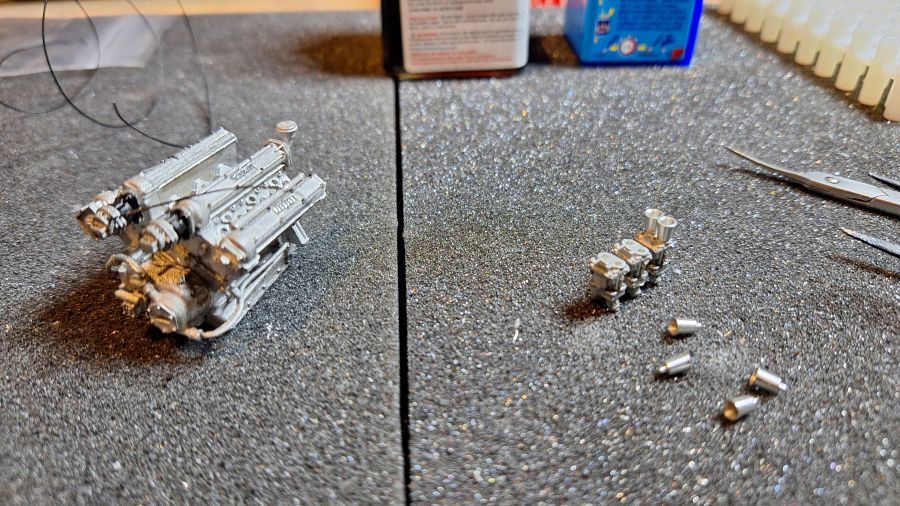
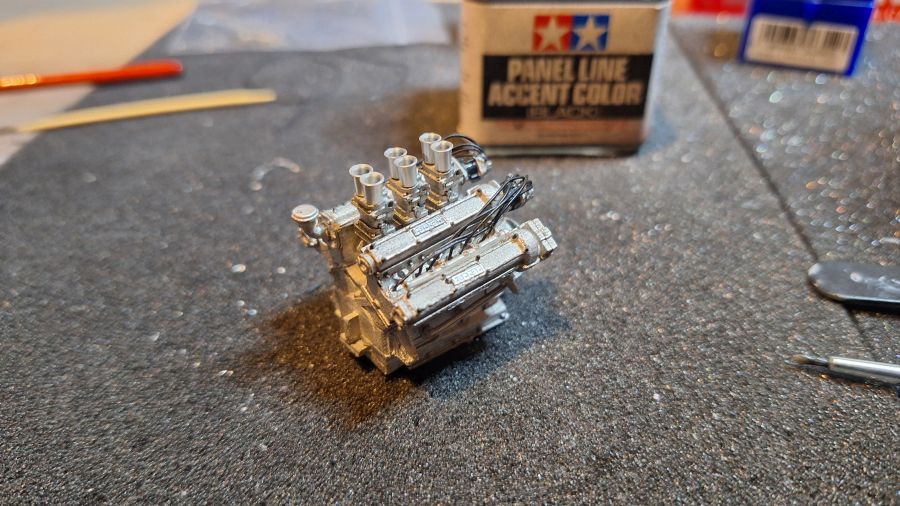
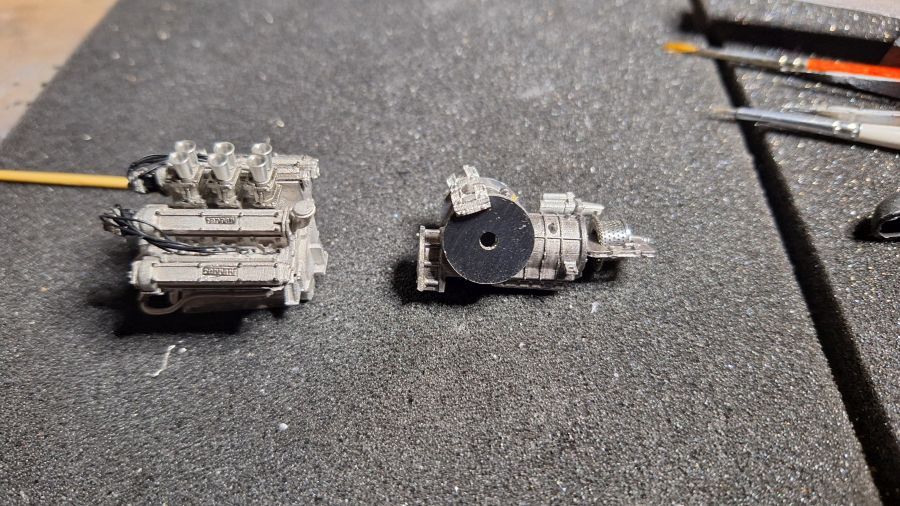
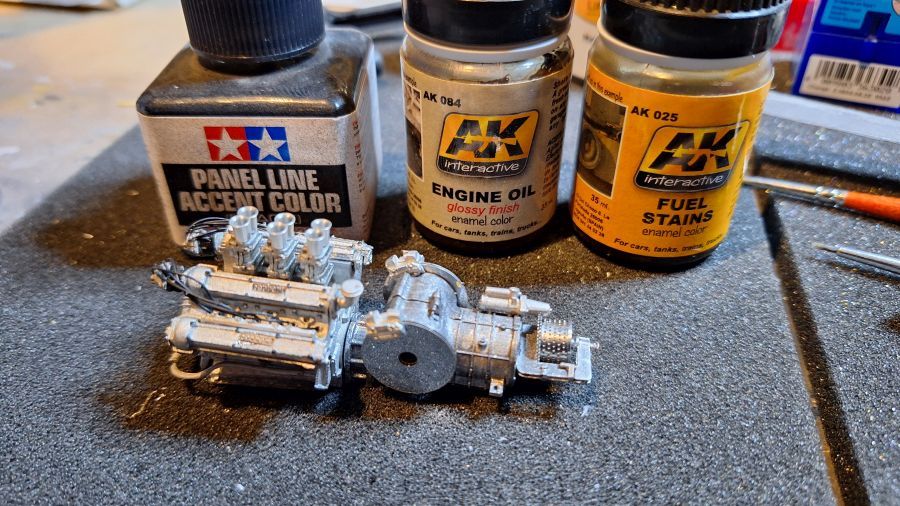
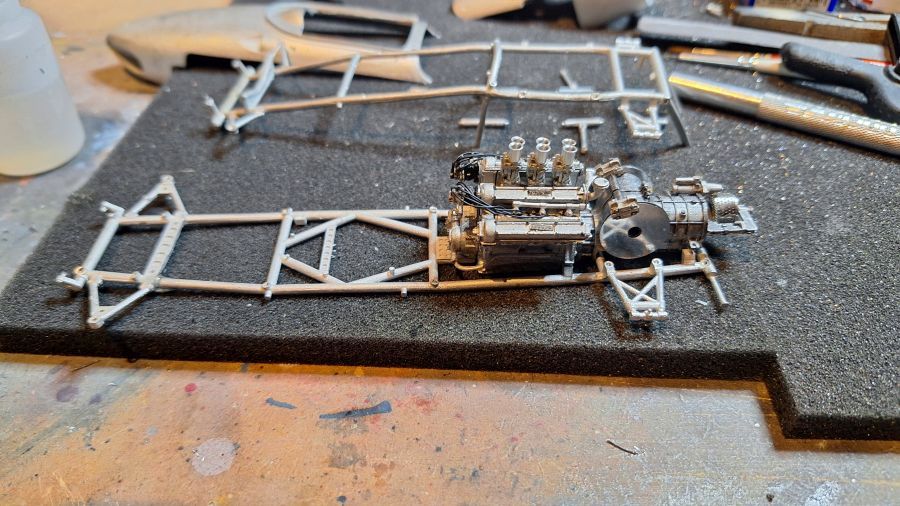
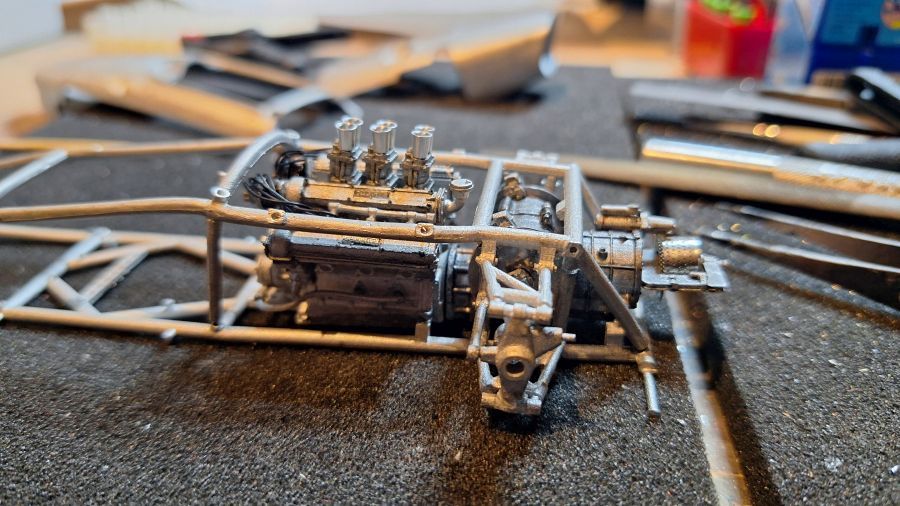
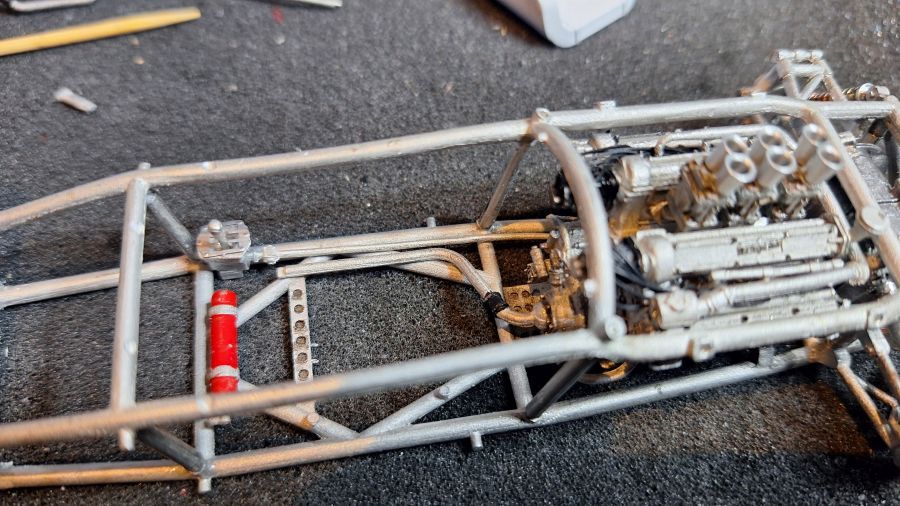
Daarna een begin met de motor...
Then a start with the engine...


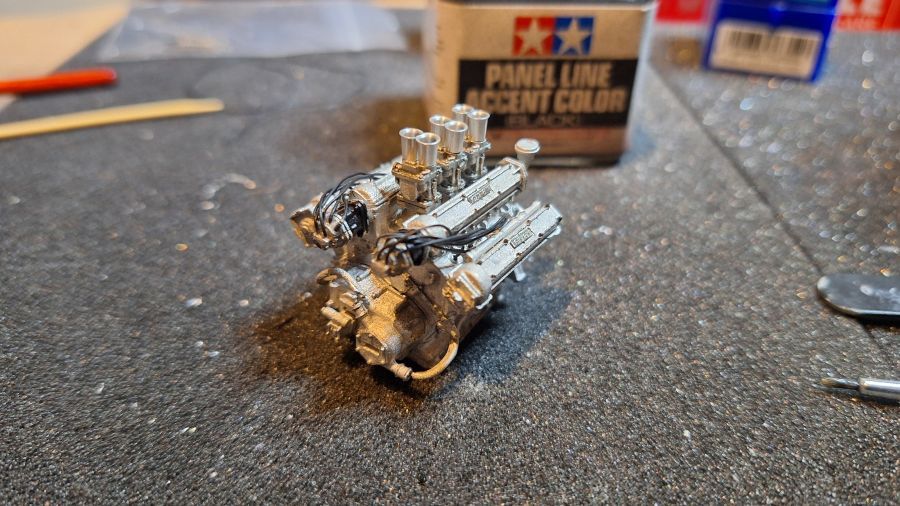
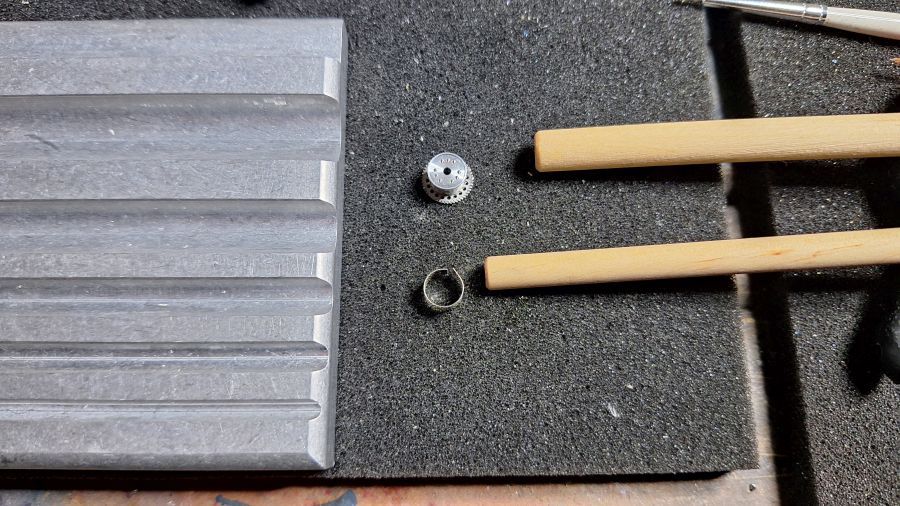
De versnellingsbak.
The gear box.

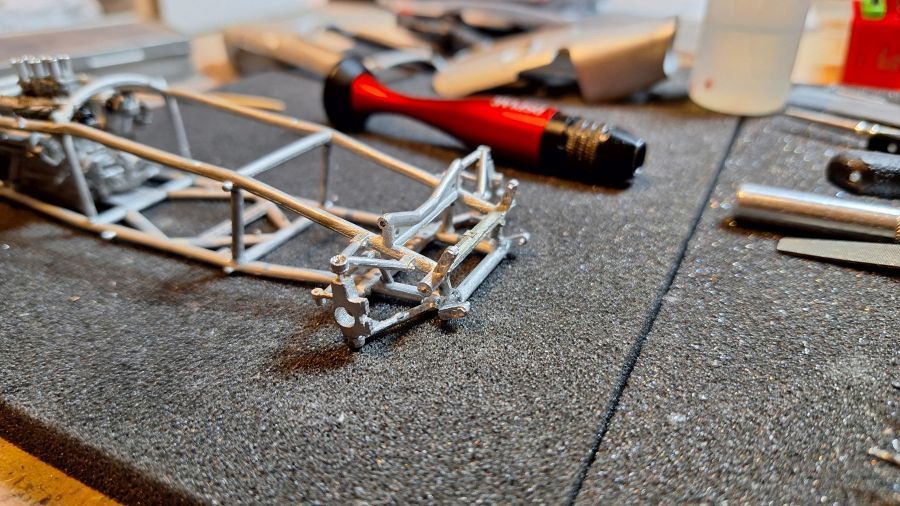
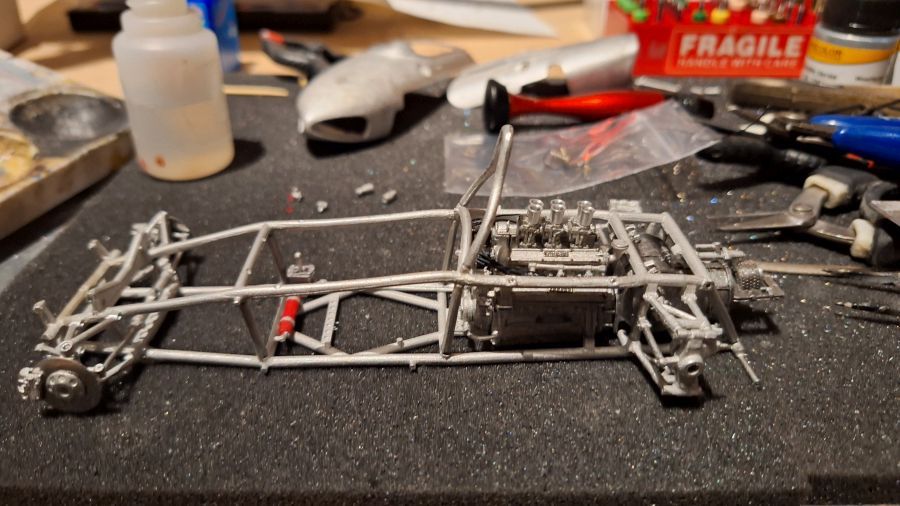
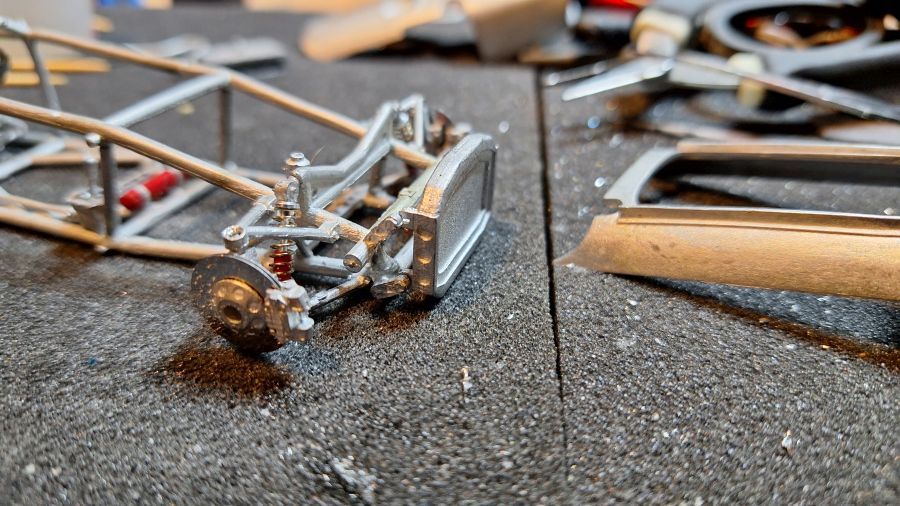
Dan door naar het frame. Alles passen en buigen.
On to the frame. Test fit and bending everything.
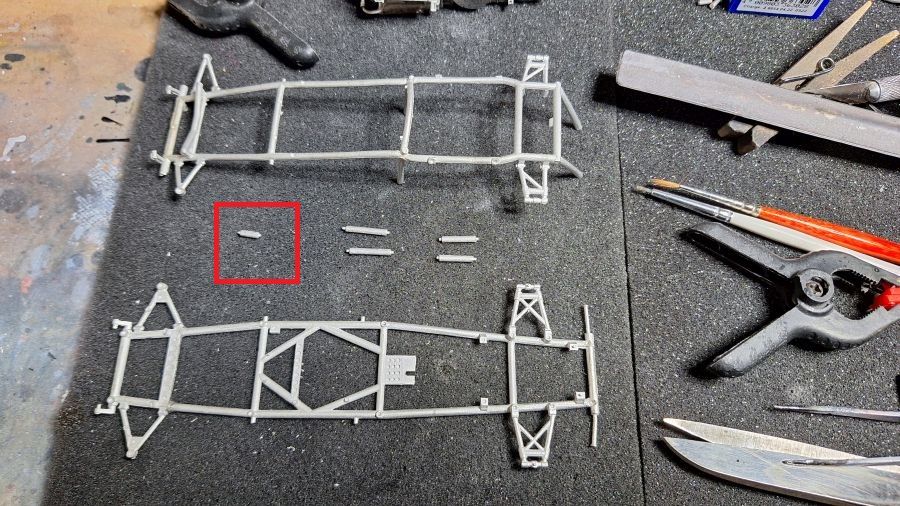

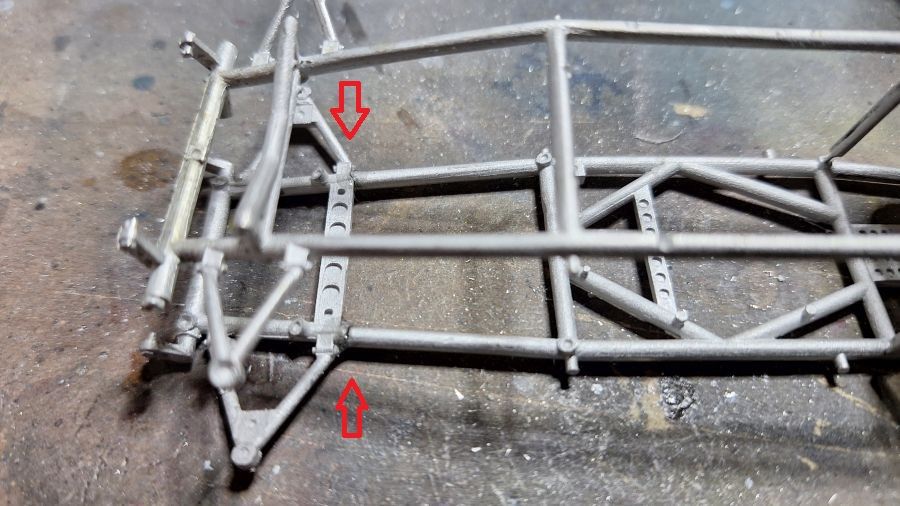
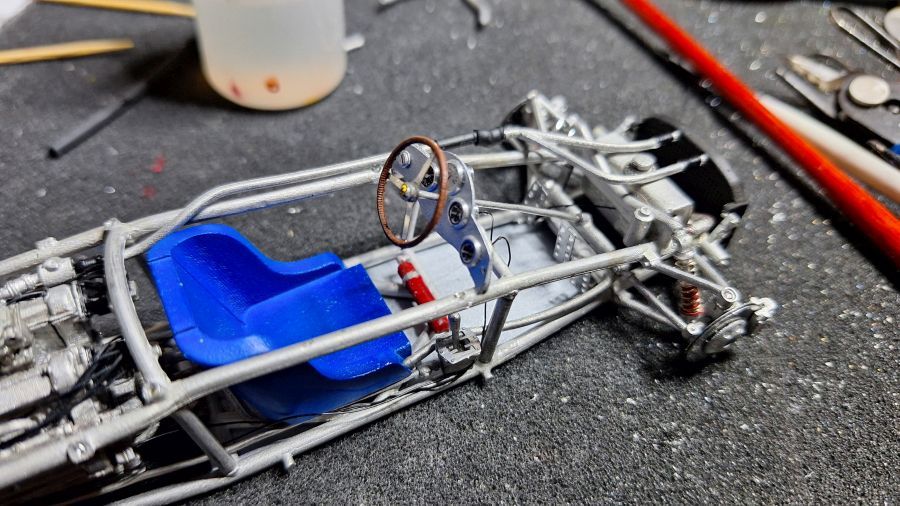
Edit: Zorg ervoor dat de zijkanten in de nokjes passen. Ikzelf heb het niet tijdig gezien en heb de beide helften iets minder dan 1 mm uit het lood gemonteerd. Daar kwam ik pas achter bij het monteren van het dashboard. De blauwe past nu niet, geen groot probleem, maar toch.
Edit: Be sure both halves fit the notches. I myself didn't see this in time and mounted both halves less than 1 mm out of line. Only to be noticed later when mounting the dashboard. Now the blue one doesn't fit, no problem, but nevertheless.
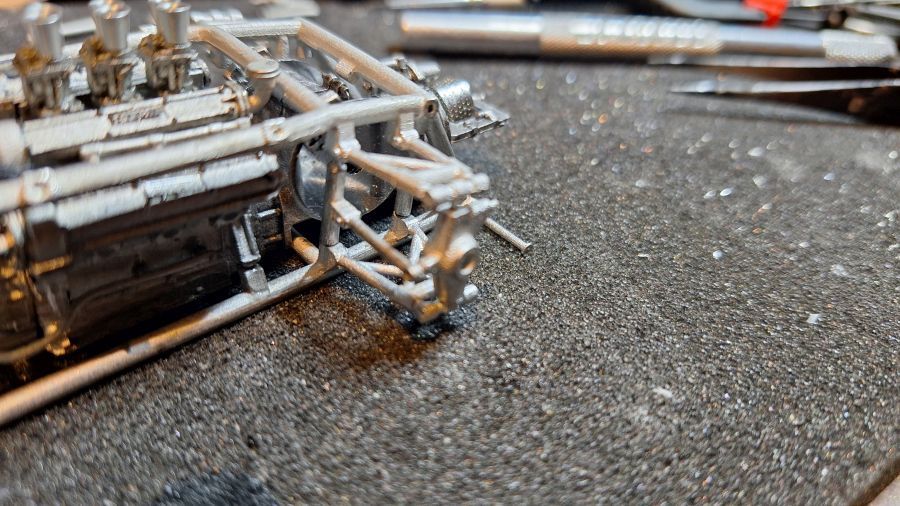
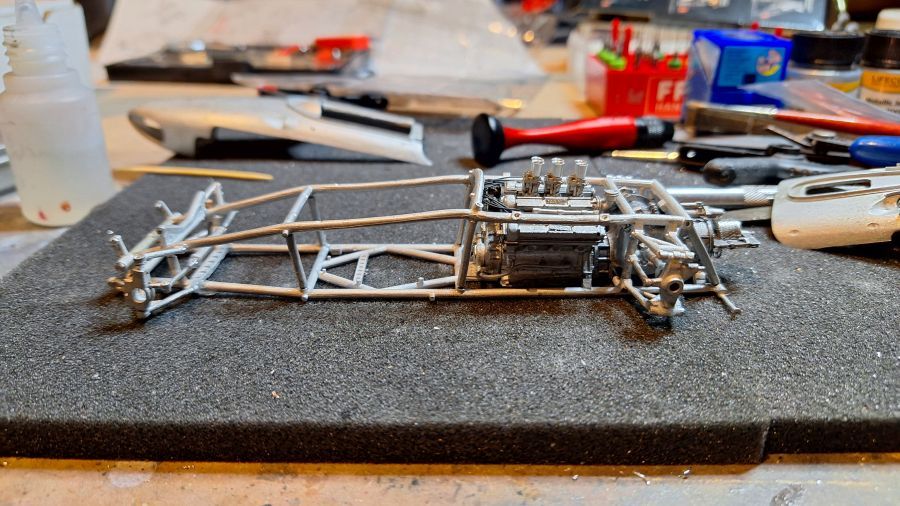
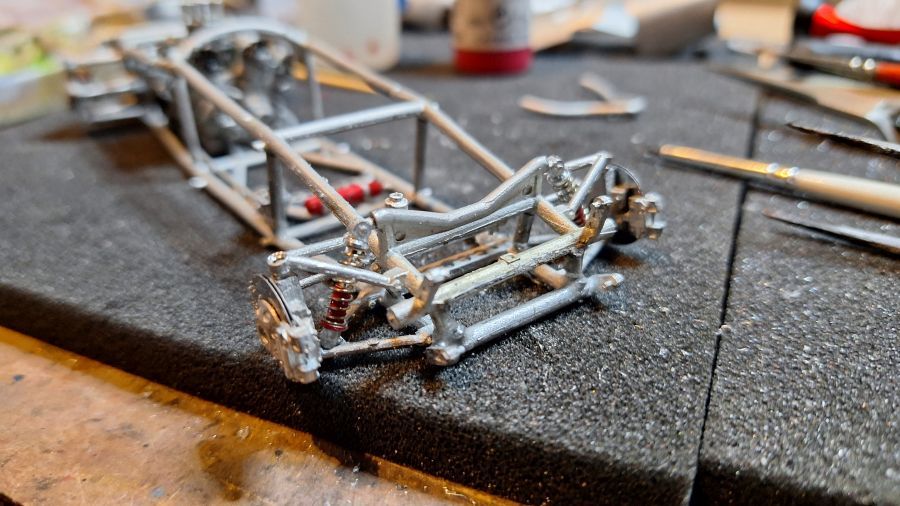
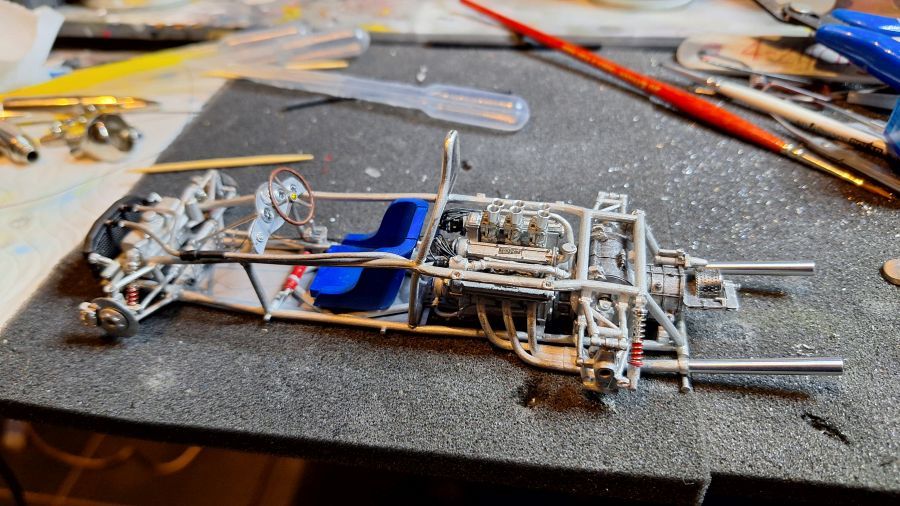
Dan alles combineren. Een zeer lastig karwei, want veel onderdelen moeten tegelijk geplaatst worden. Wanneer je het ene plaatst, valt het andere er weer af.
Then combining everything. A very tough job, as many parts need to be added at the same time. Adding one piece causes dropping another piece.
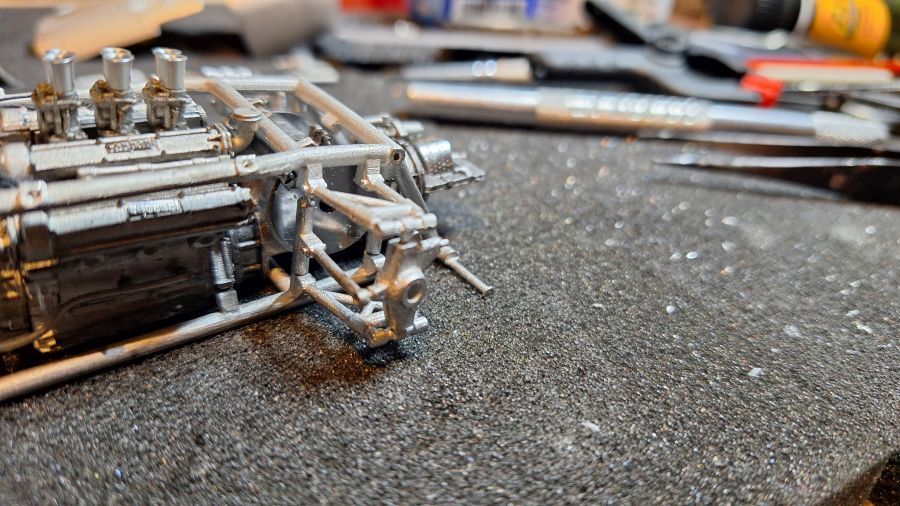

Passen.
Test fit.
Passen.
Test fit.
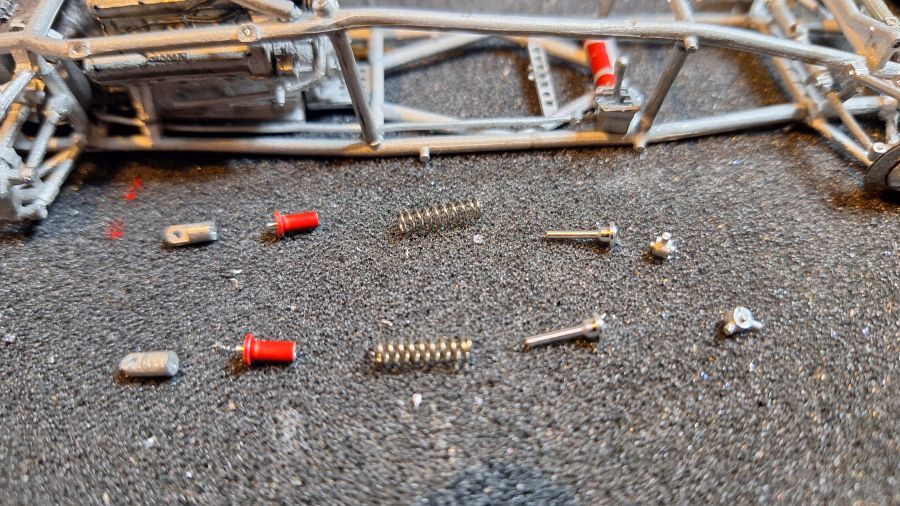
Het werken met de schokbrekers.
Working with the shocks.

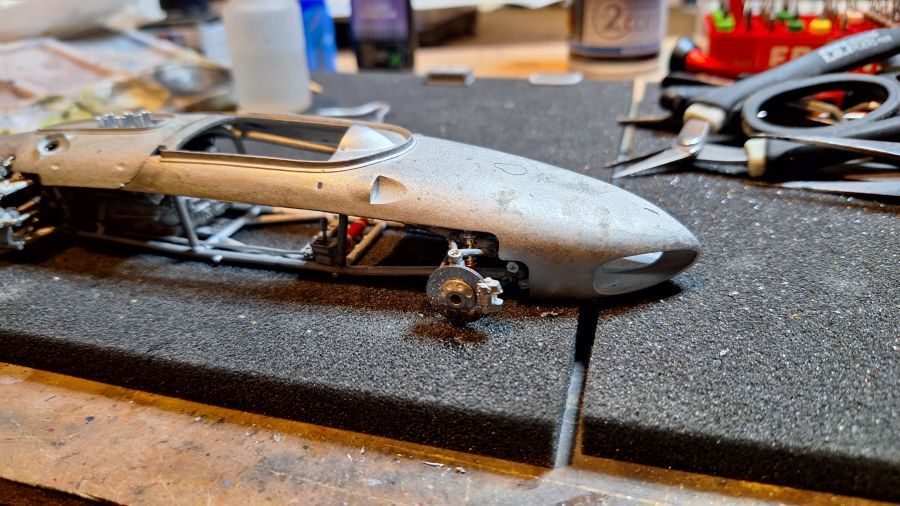
De koeling moet vericaal geplaatst. Er is wat buigwerk aan de houders. Lastig, want de neus moet er goed op passen.
The cooler needs to be mounted vertical. The supports need some bending. Tricky, because the nose needs to fit well.

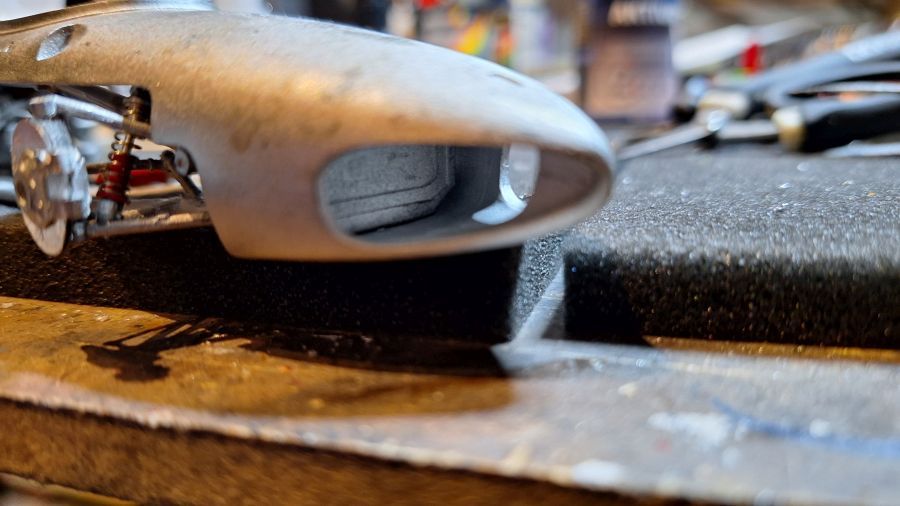
Het past nu precies, het nokje valt keurig in de uitsparing.
It fits perfect now, the notch fits the opening exactly.
Nu eerst wat aan de body werken, dan kan dat drogen terwijl ik verder ga met het chassis.
Now first some work to the body, so it can dry while i work more on the chassis.
De koeler plaatsen.
Adding the cooler.

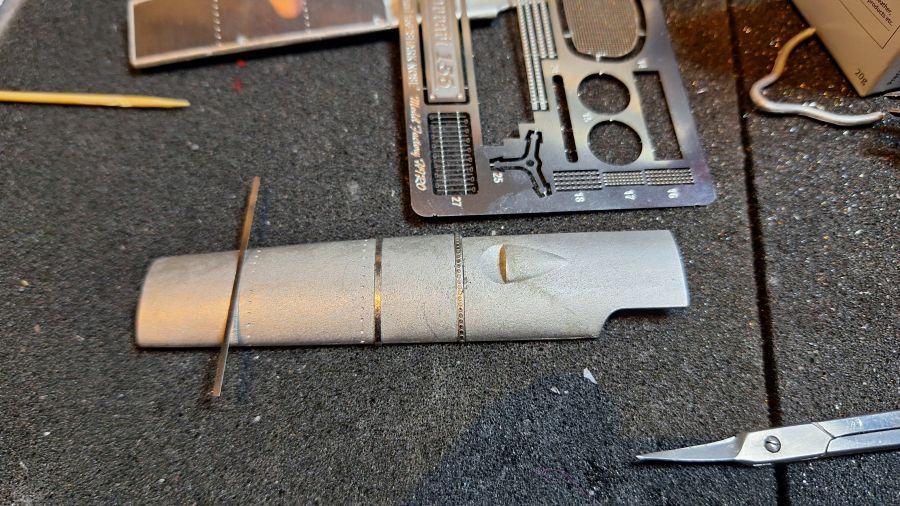
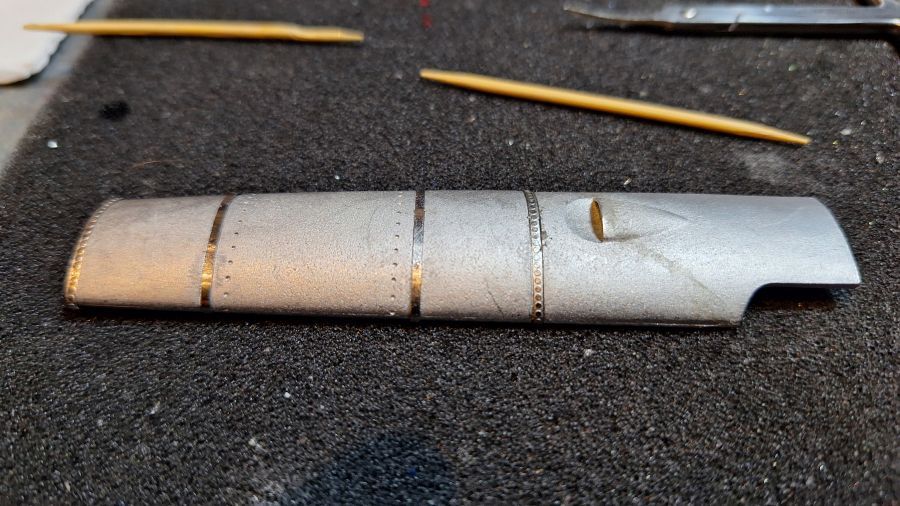
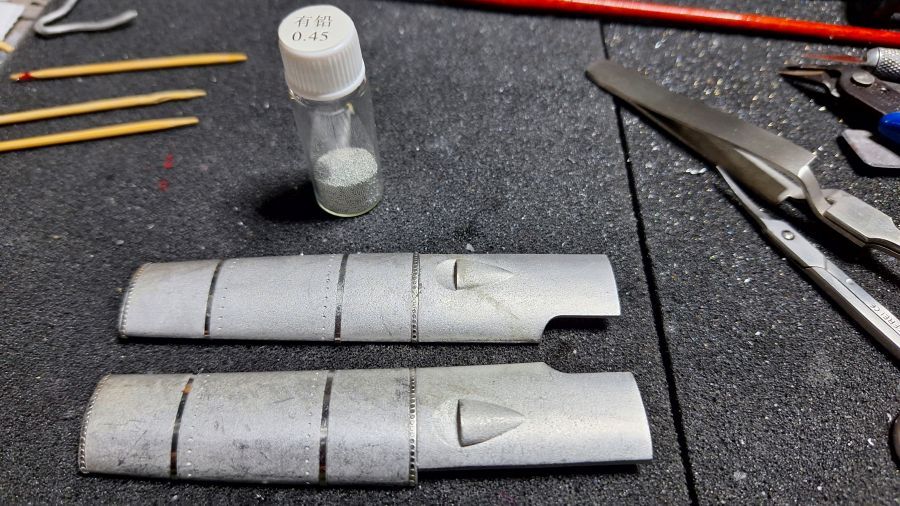
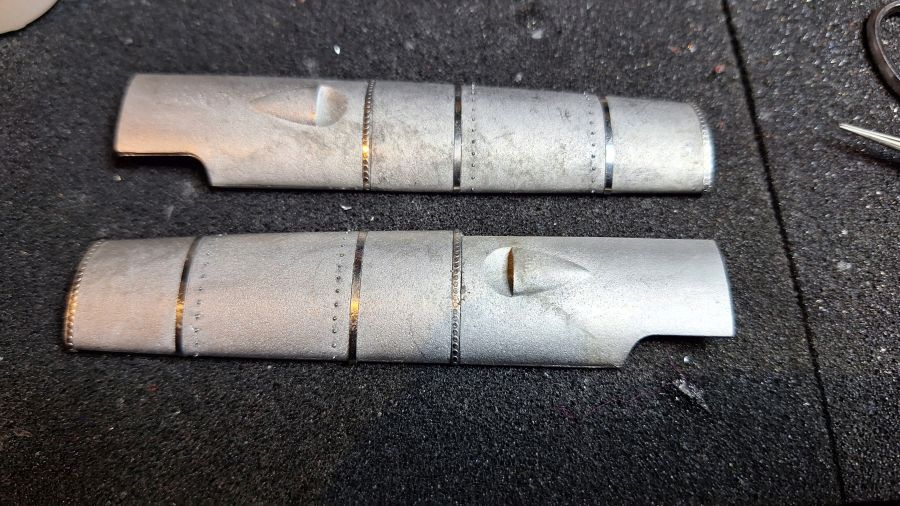
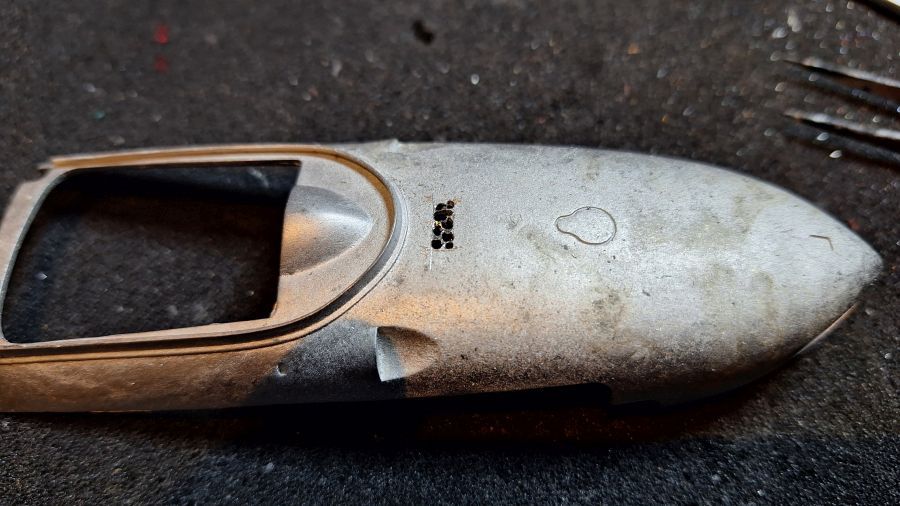
Zoals altijd heeft MFH weer 'gaatjes' gemaakt om popnagels te simularen. Ik gebruik de soldeerballetjes als popnagels. Een precies karwei.
As always MFH made 'dents' again for simulating the rivets. I will use solder balls as rivets. A slow job.

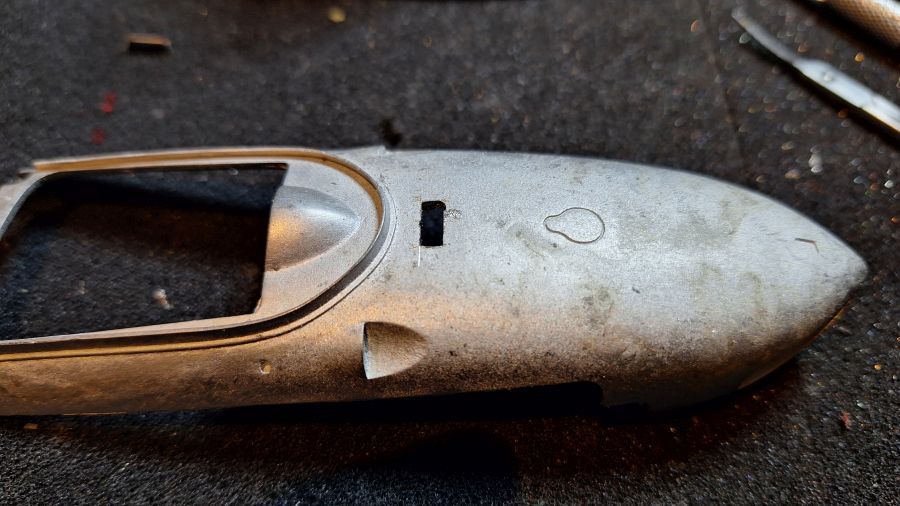
Voor het 'luikje' wil ik een opening maken. Alles goed uitmeten en daar gaat ie.
For the 'hatch' i want to make an opening. Taking measurements and there we go.
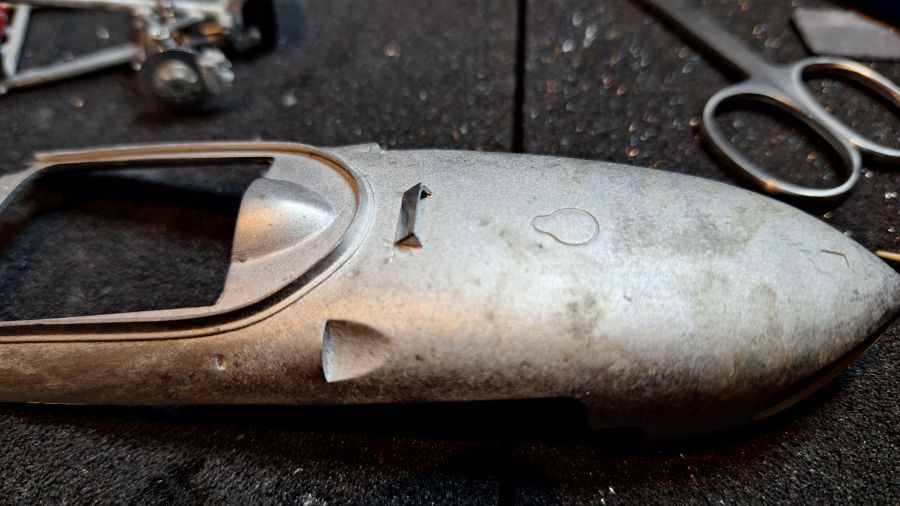
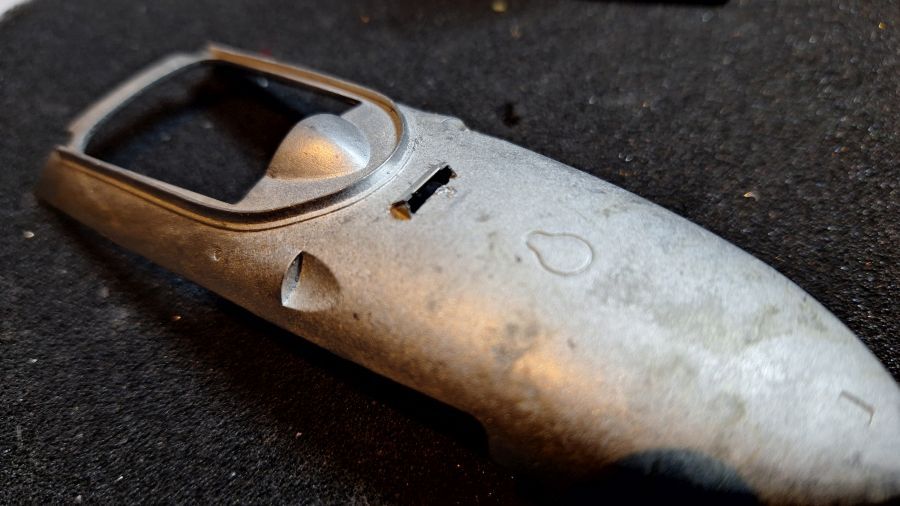
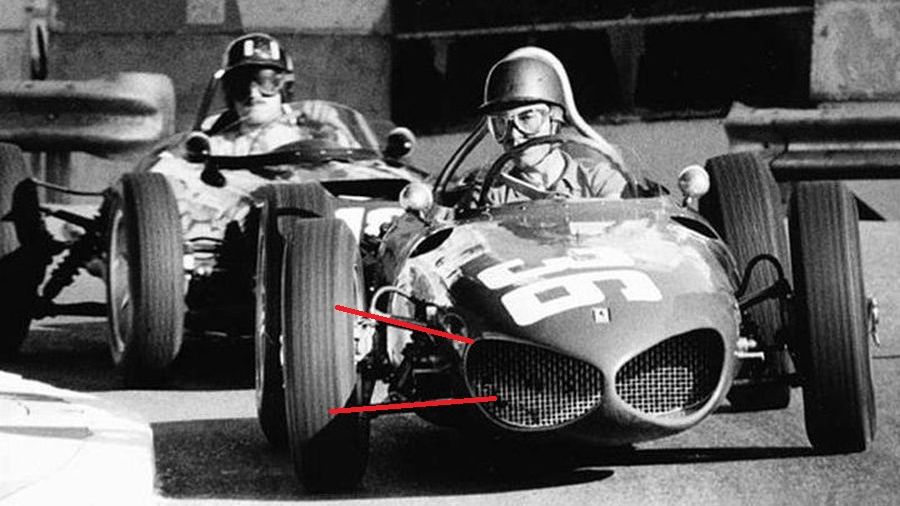
En deze ingangen zijn ook open. Kost een paar boortjes.
And these intakes are open. Cost me some drills.
Tijd voor de grondverf.
Time for the primer.
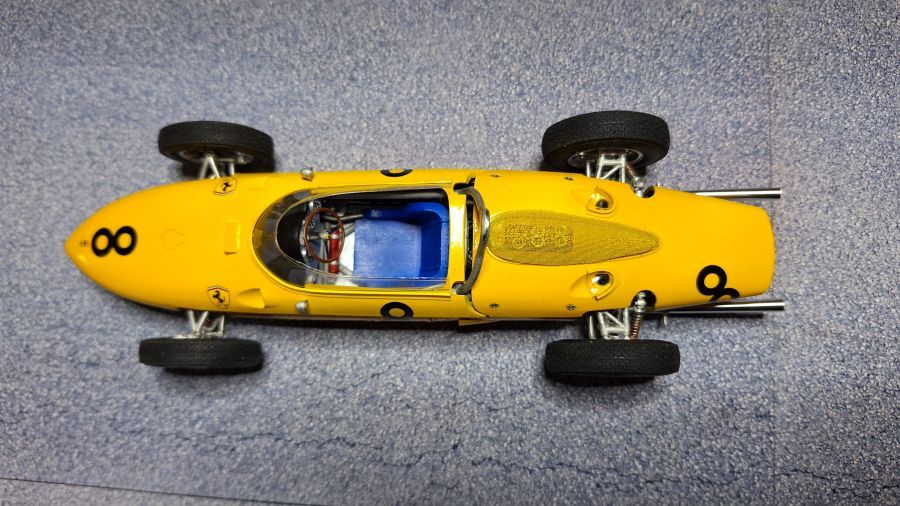
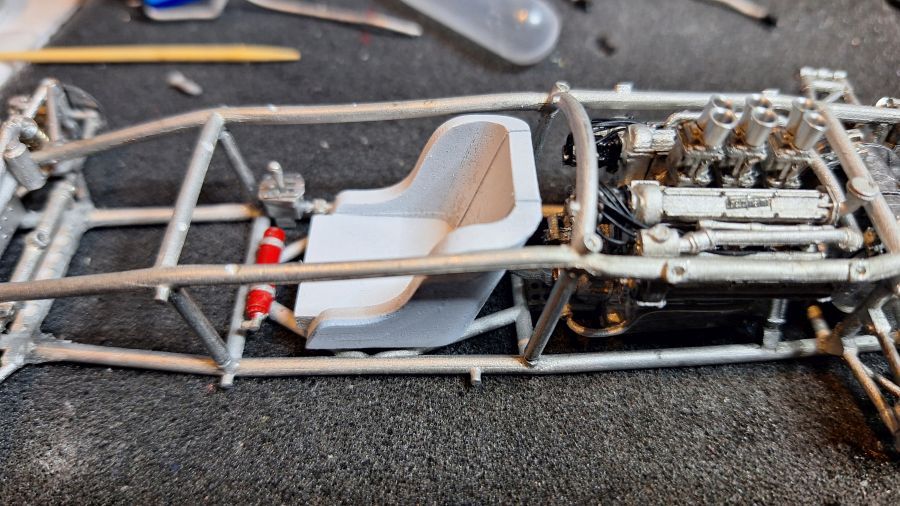
Nu meer leidingen plaatsen. Deze moet door een gleuf onder de stoel, dus tijdelijk de stoel plaatsen om te zien dat alles past.
Now more plumbing. This one should go through a slot under the seat, so i am adding the seat temporarily to be sure everything fits.
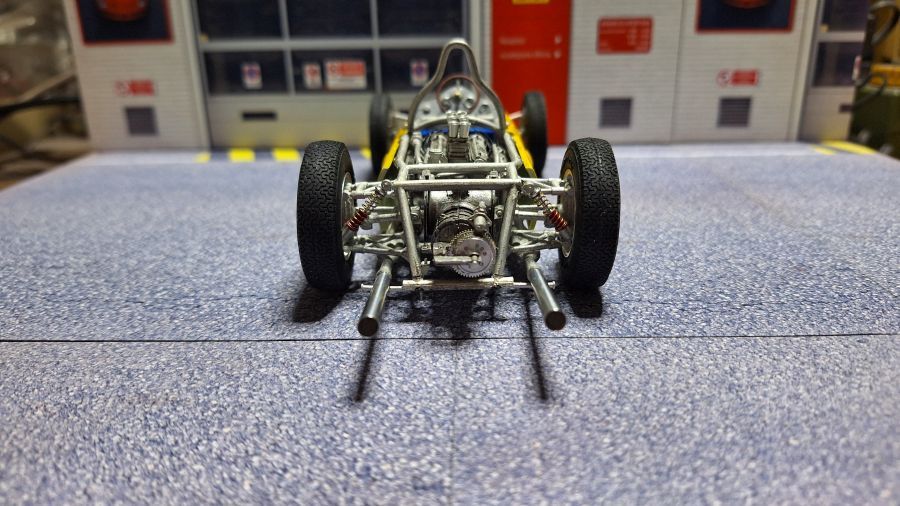
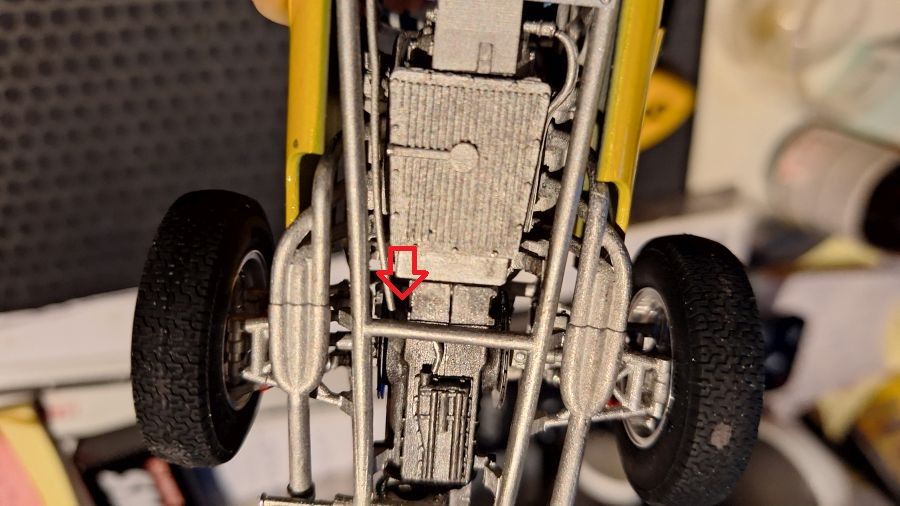
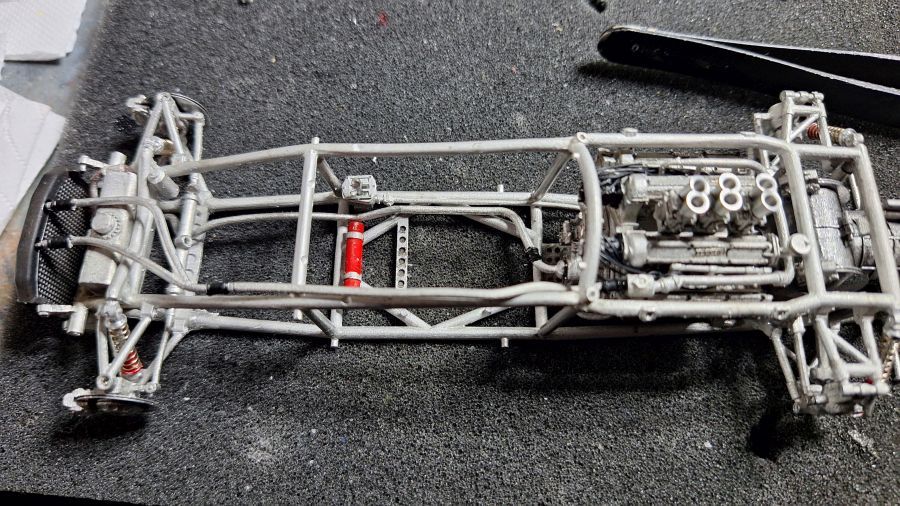
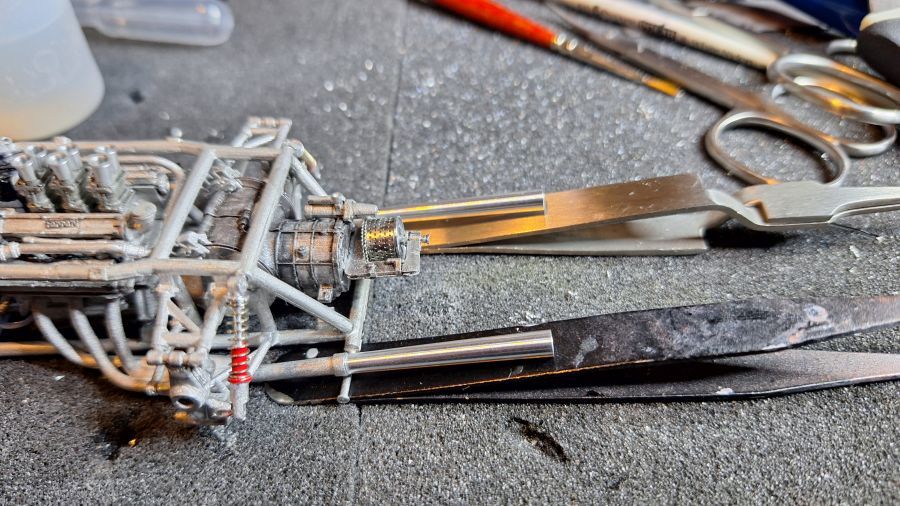
Iemand vroeg me waar de leiding van de versnellingsbak naar toe loopt.
Someone asked me where the rod of the gearbox goes.
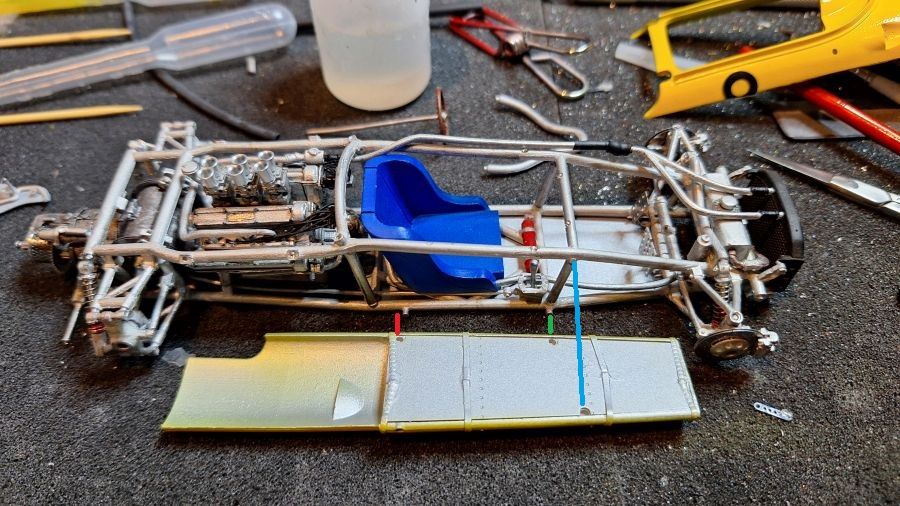
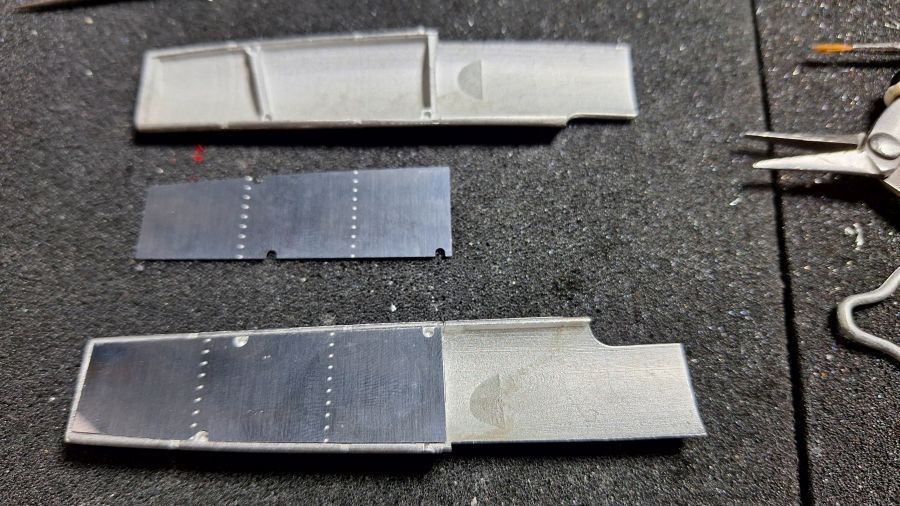
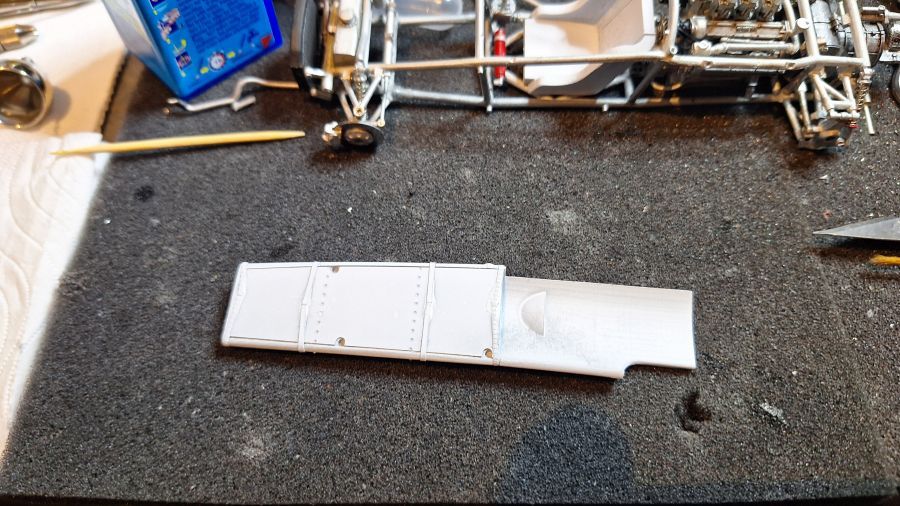
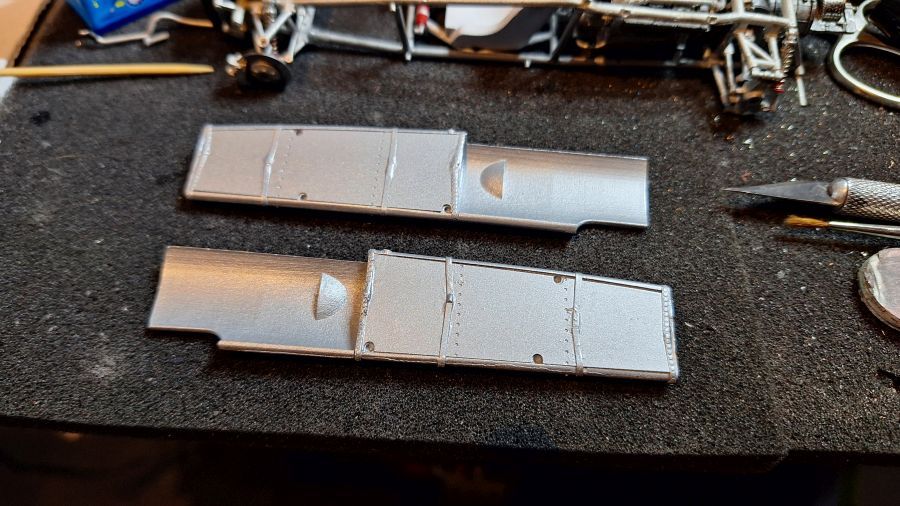
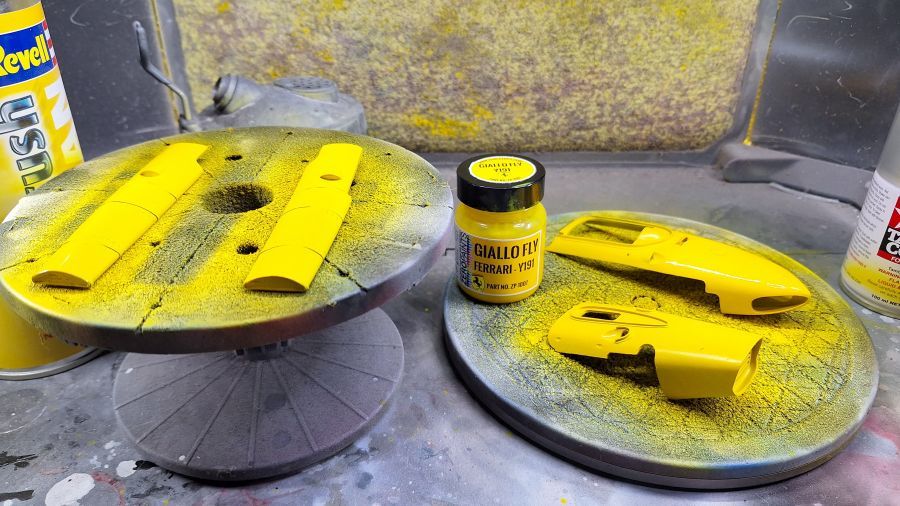
De etched binnenkant van de tanks glanst teveel. Dus primer en Tamiya TS-76 Mica Silver.
The etched inside of the tanks has too much shine. So primer and Tamiya TS-76 Mica Silver.
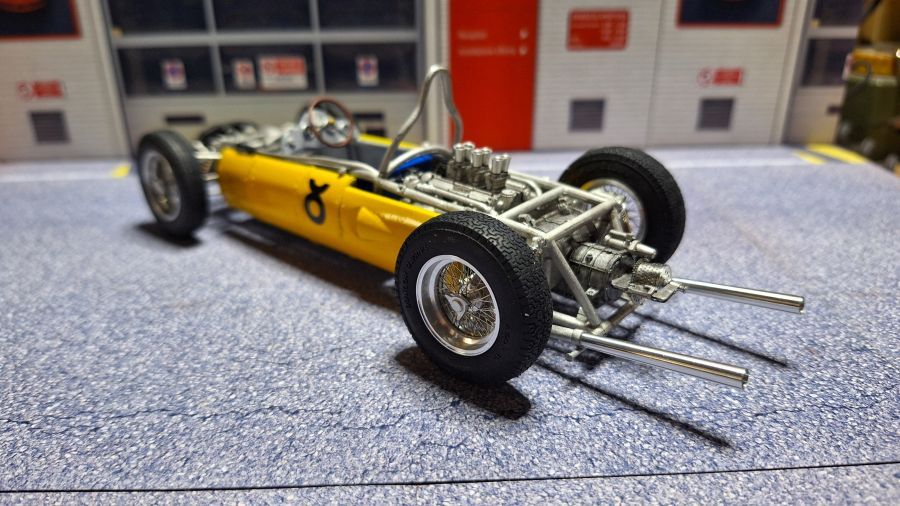
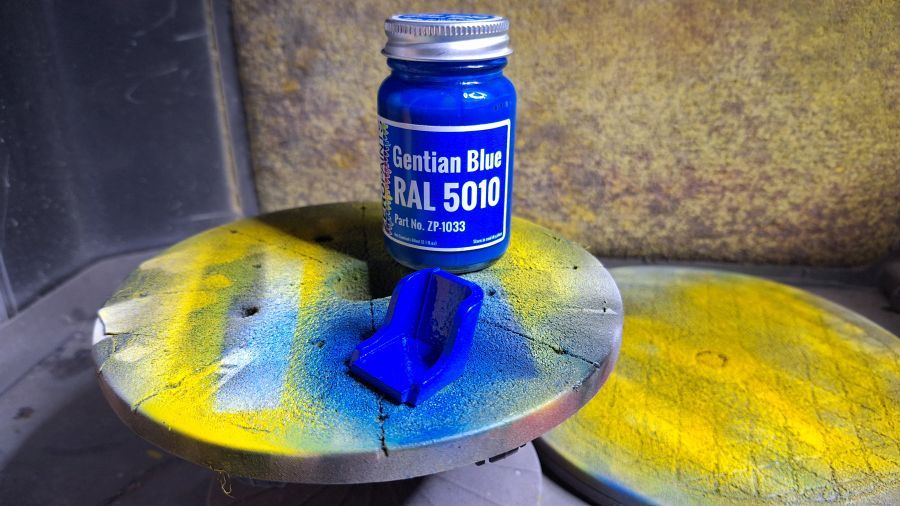
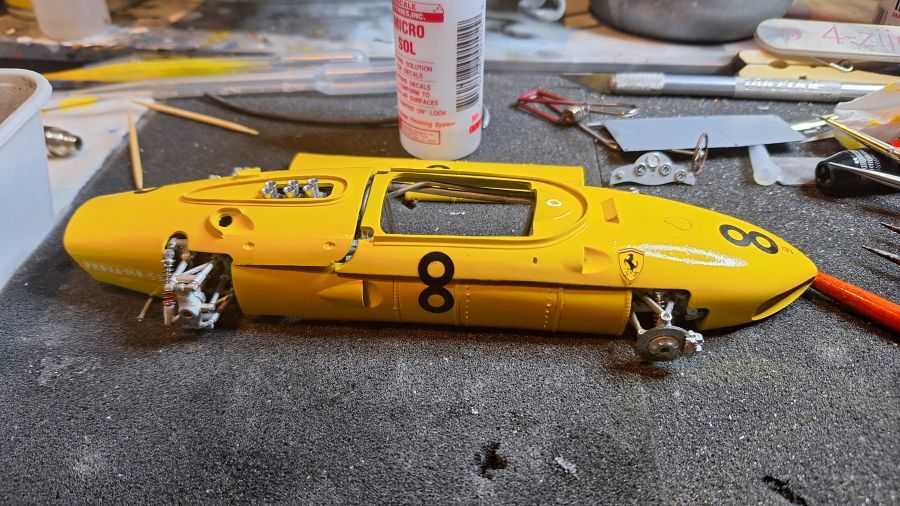
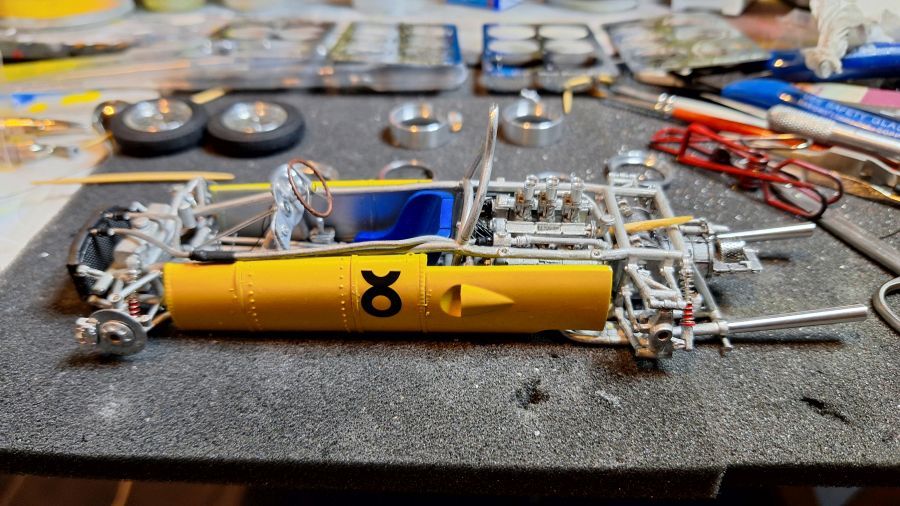
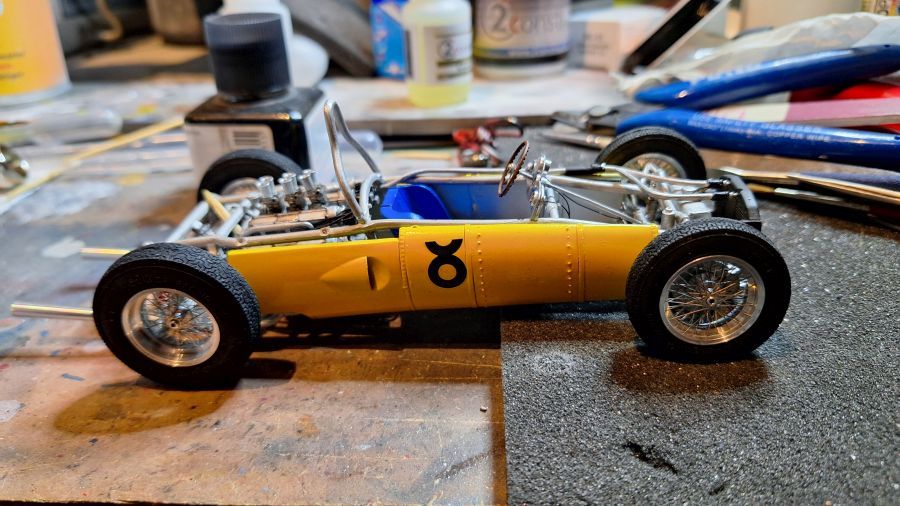
En het geel gaat erop op de body.
And the yellow was added to the body.
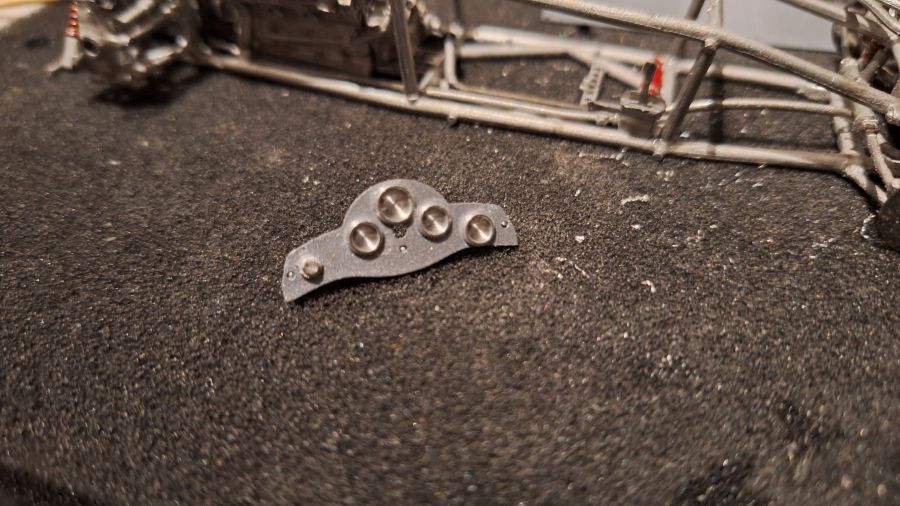
Door naar het stuur en het dashboard.
On to the steering wheel and the dash.

De decals worden 'gesealed'.
Sealing the decals.

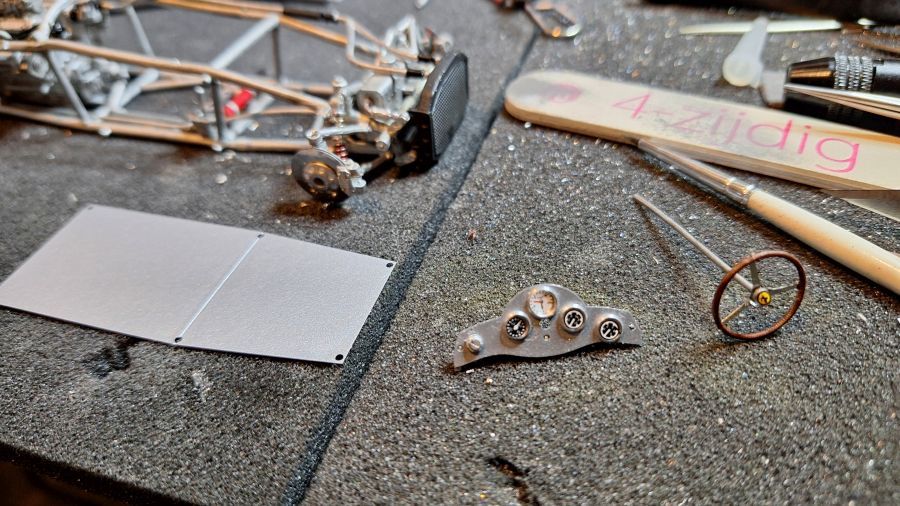
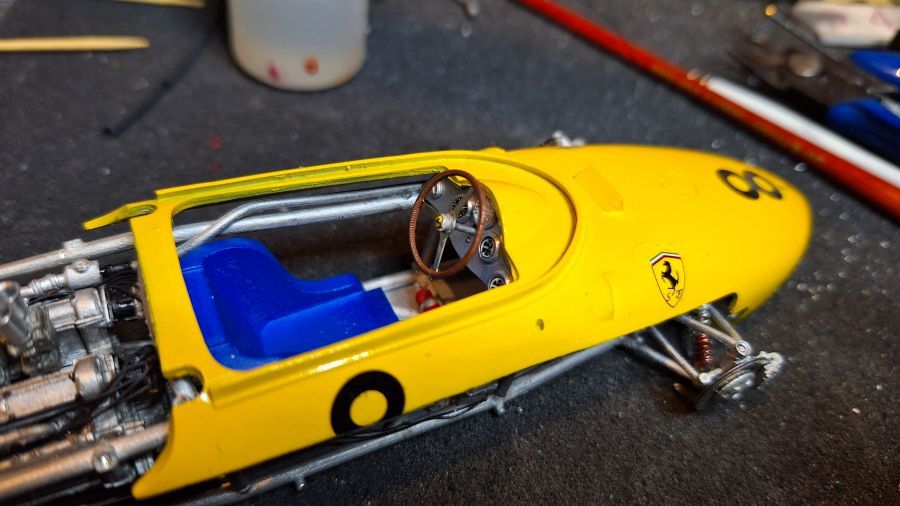
Na wat aanpassen (zie het probleem met het lichtelijk off-line plaatsen van de 2 chassis helften) kan het dashboard erin.
After some adjustments (see the problem with slightly off-line combining the 2 chassis halves) the dashboard can be added.
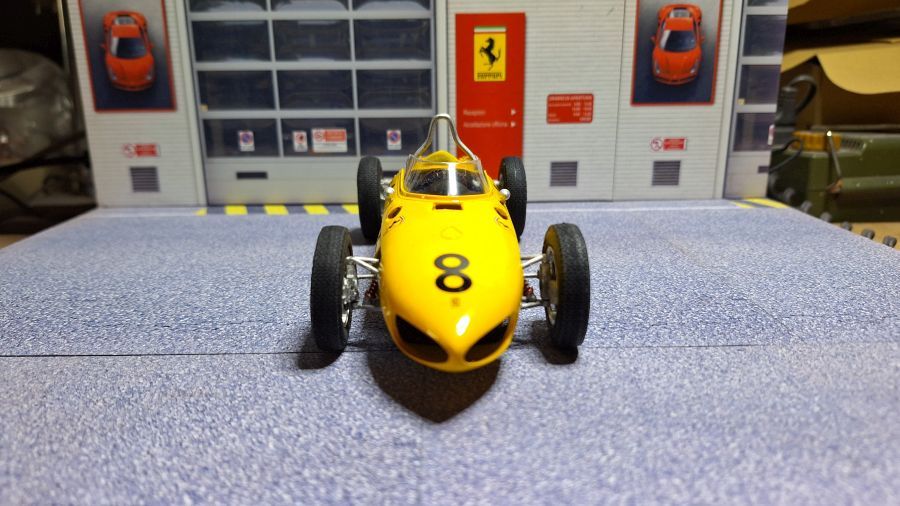
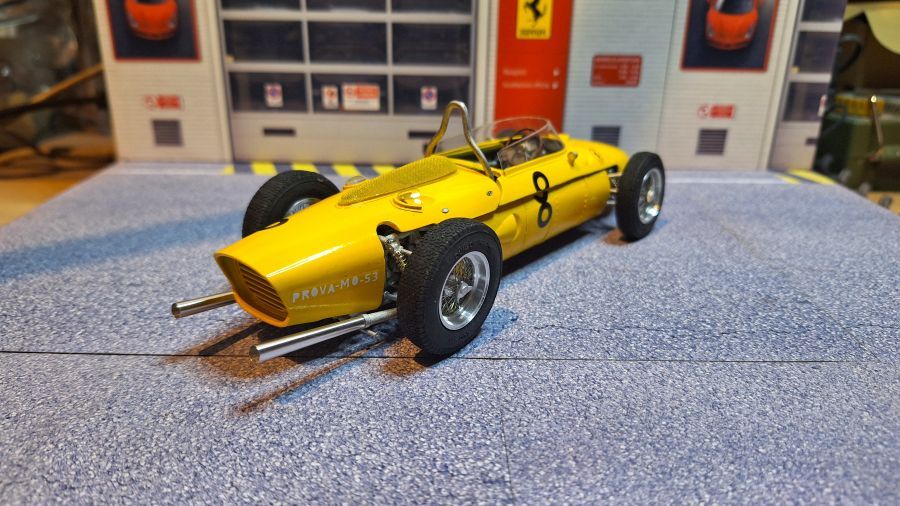
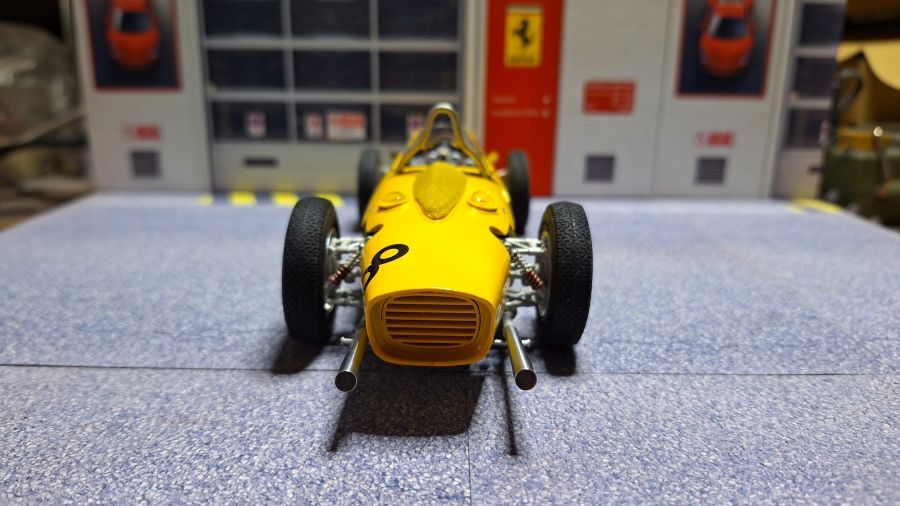
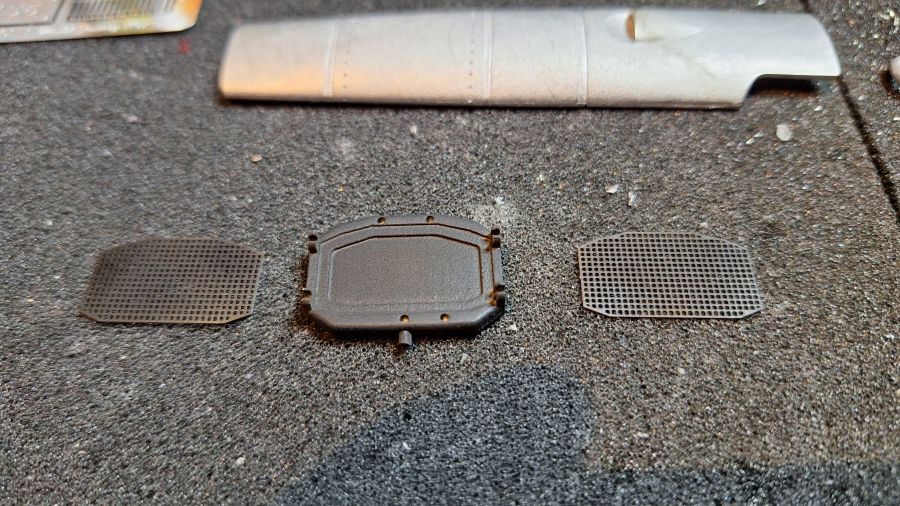
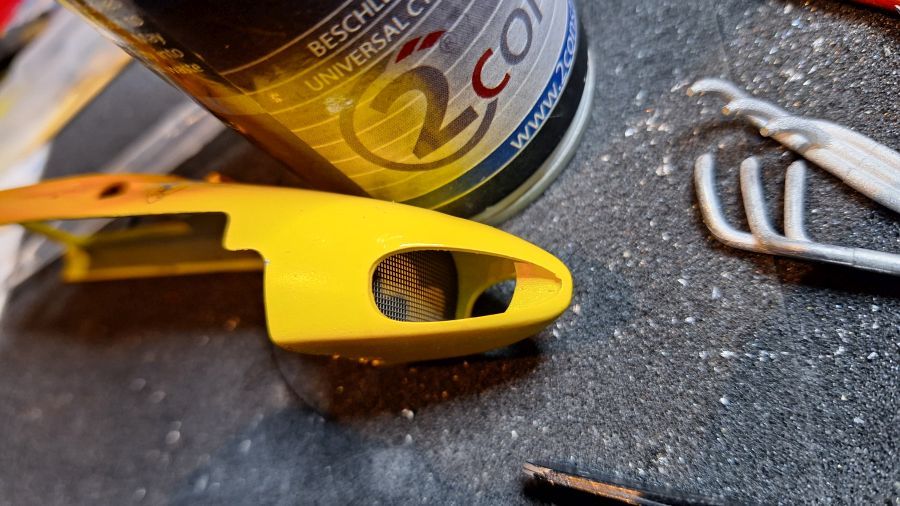
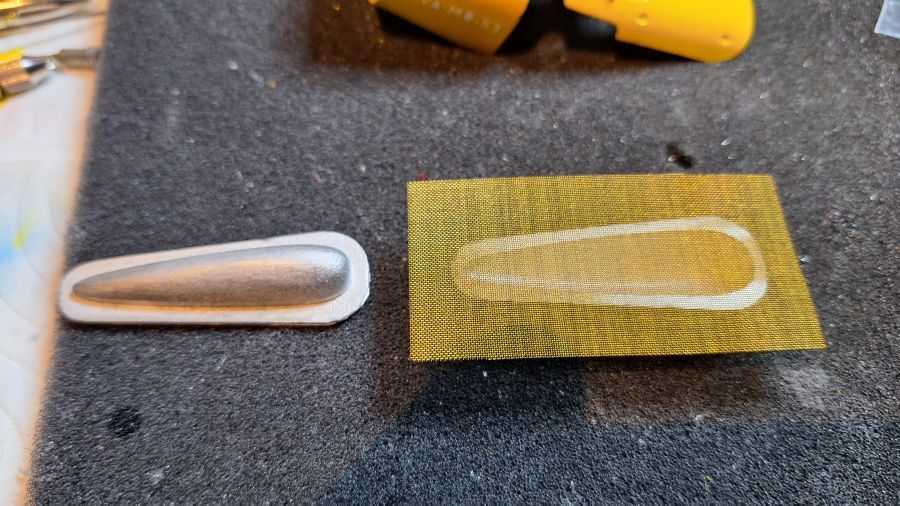
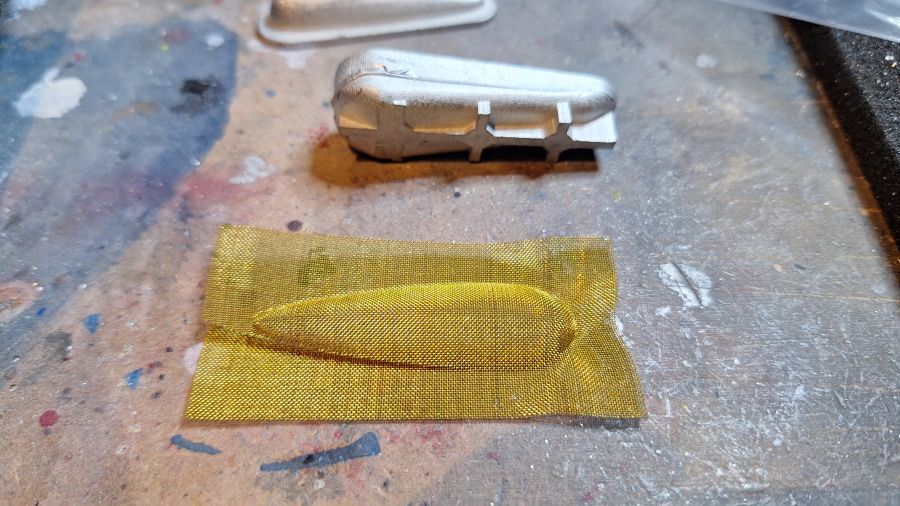
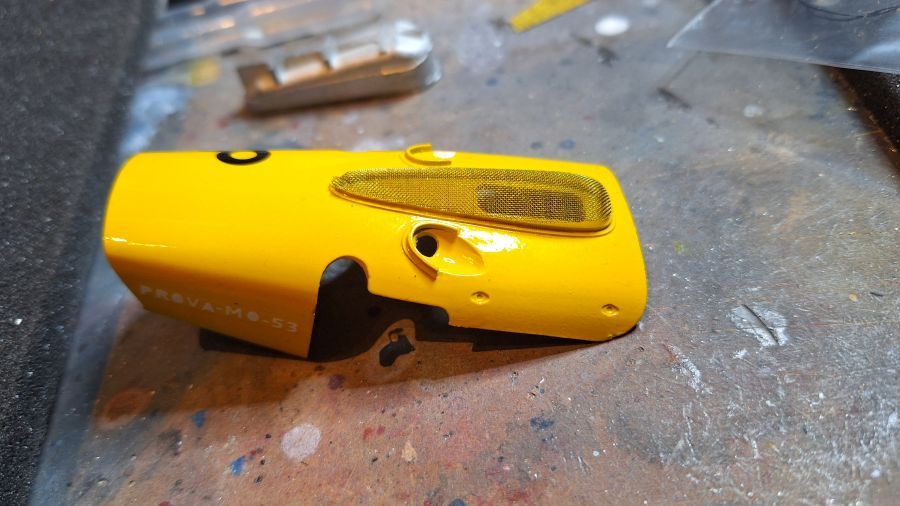
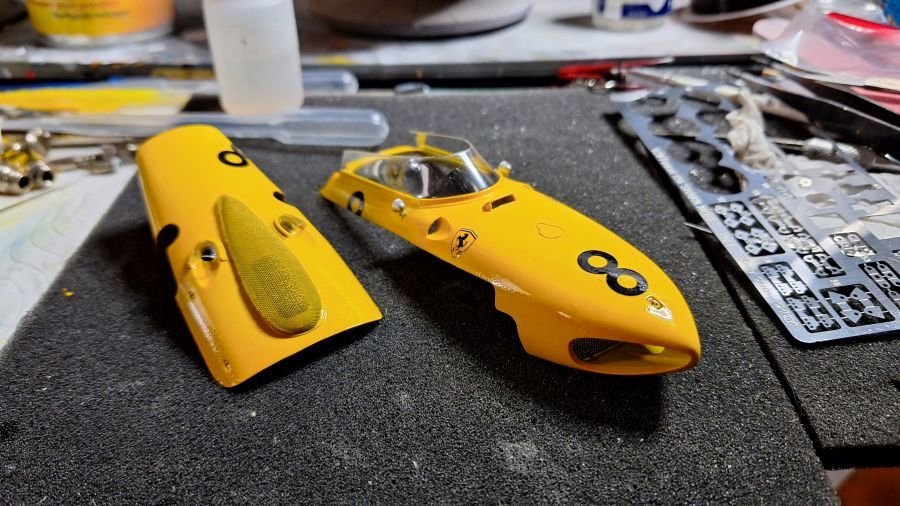
Dan een rooster in de neus. Het is belangrijk dat deze ver genoeg naar voren wordt geplaatst.
Next is the mesh in the nose. It's important to add it well enough to the front.
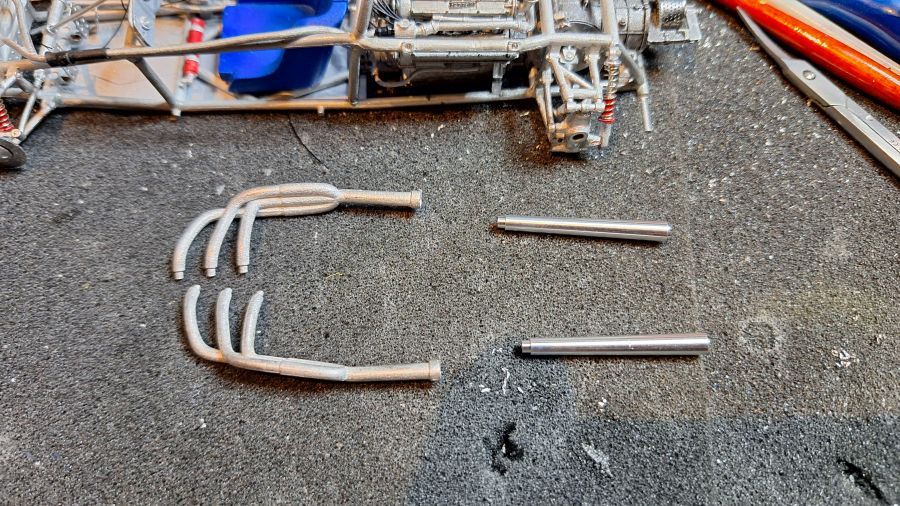
Tijd voor de uitlaten.
Time for the exhausts.
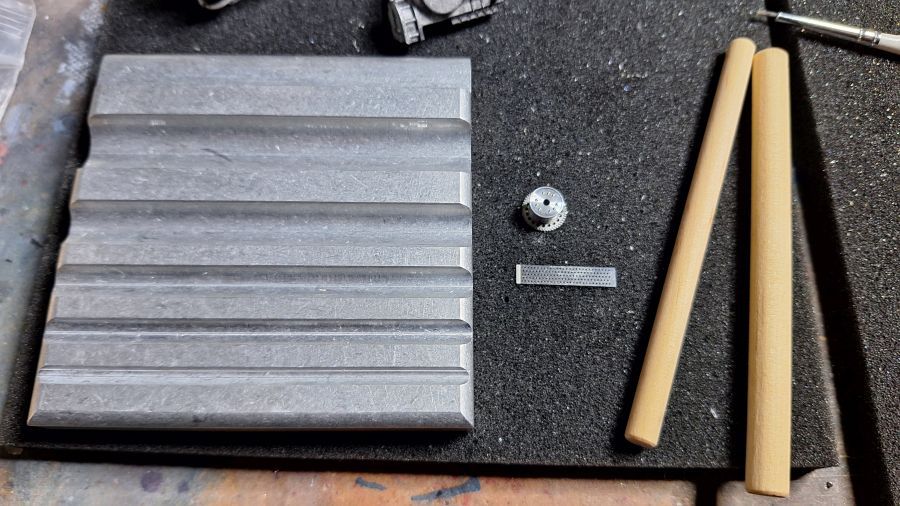
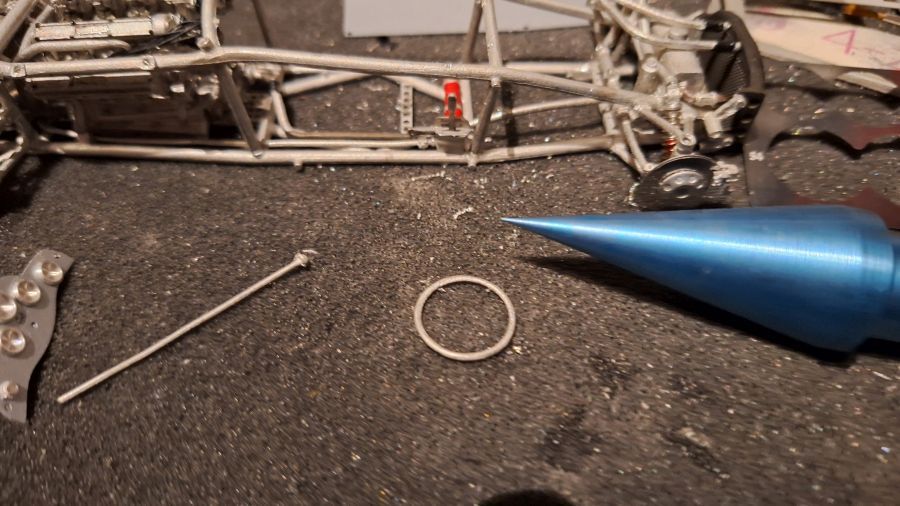
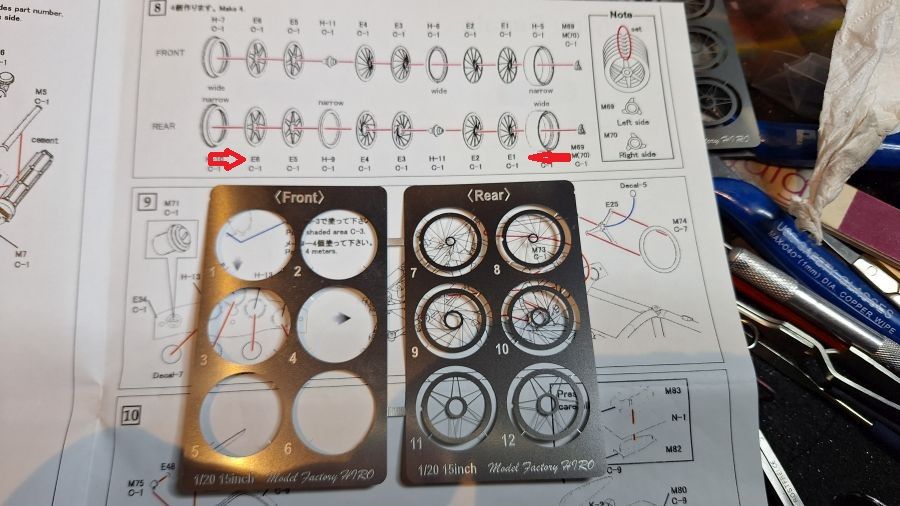
Dan zijn de velgen aan de beurt.
Next are the rims.
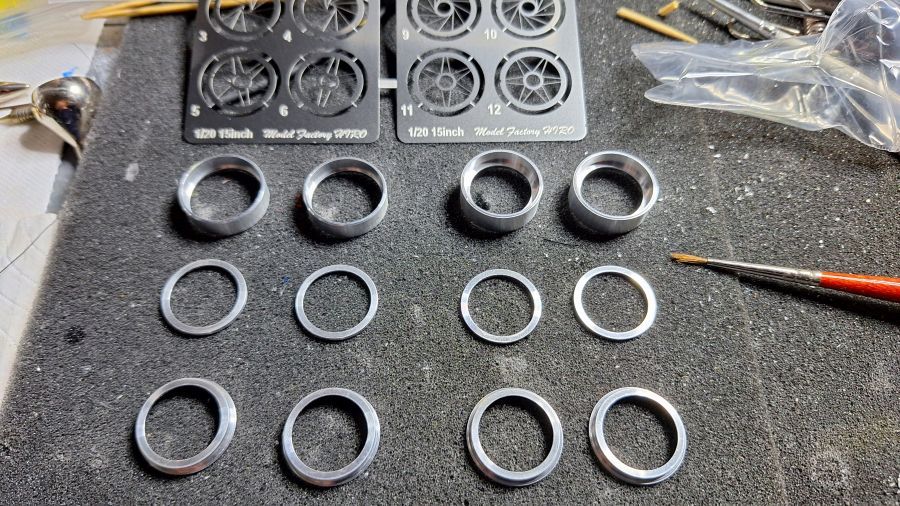
De etched delen moeten niet verlijmd worden, alleen de 2 buitenringen worden met elkaar verbonden.
The etched parts should not be glued, just the 2 outer rings are connected to each other.
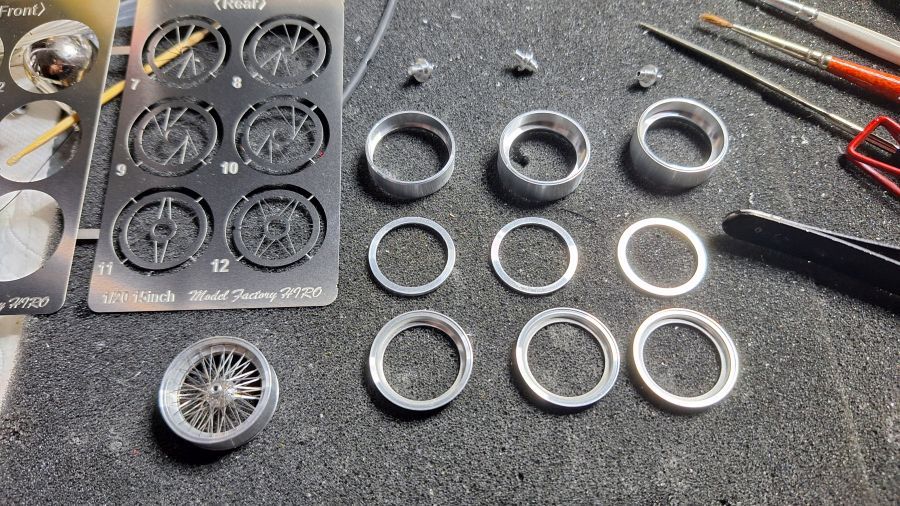
MFH heeft een fout gemaakt met de nummering van de etched delen van de achtervelg. In plaats van E1 t/m E6 moet dit E7 t/m E12 zijn.
MFH made a mistake with the numbering of the etched parts of the rear rims. Instead of E1 to E6 this should be E7 to E12.

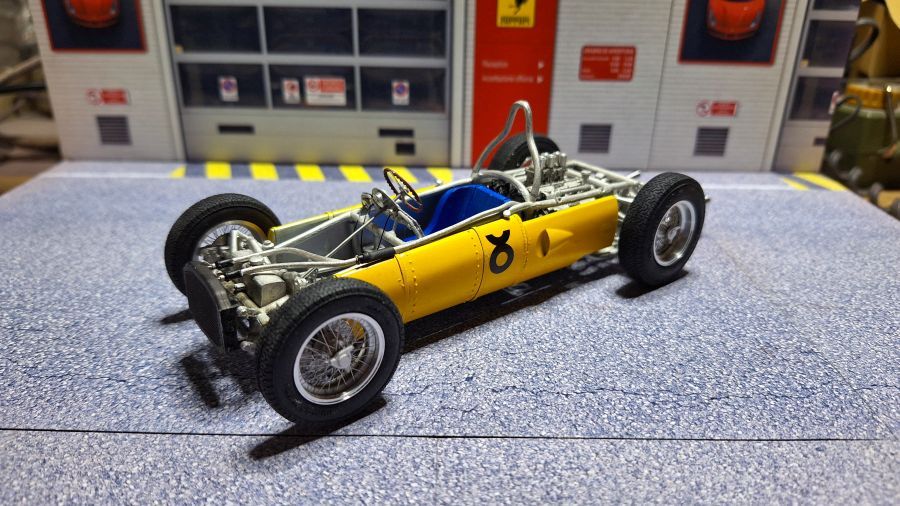
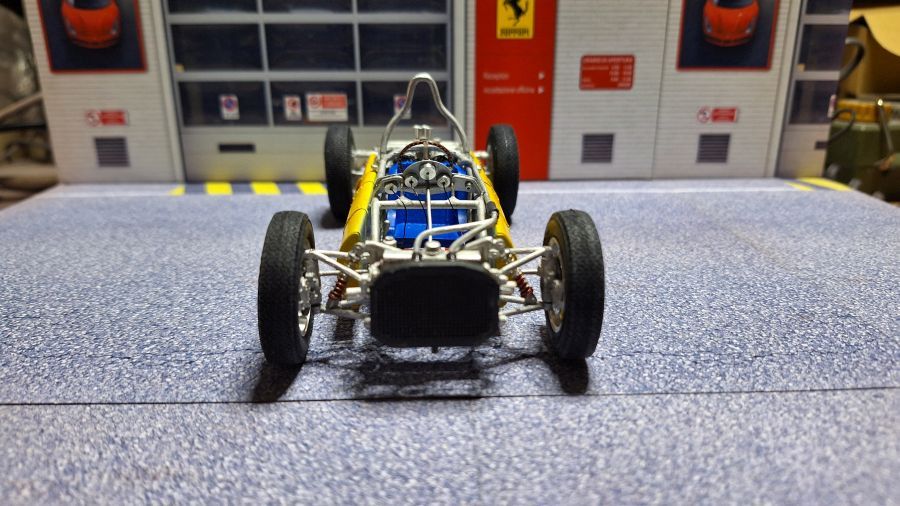
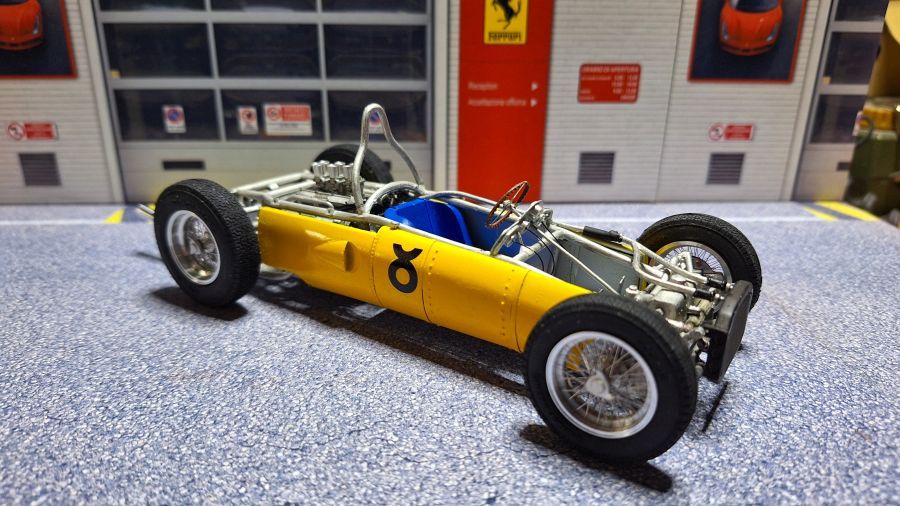
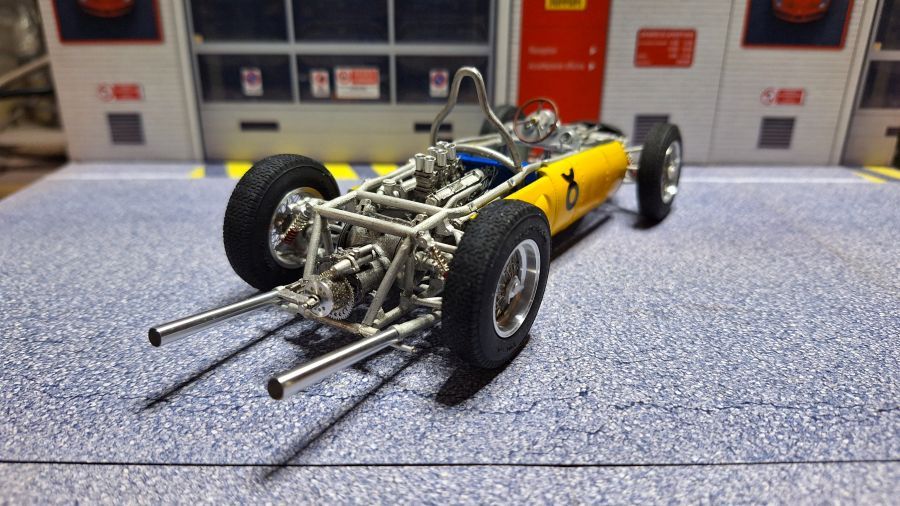
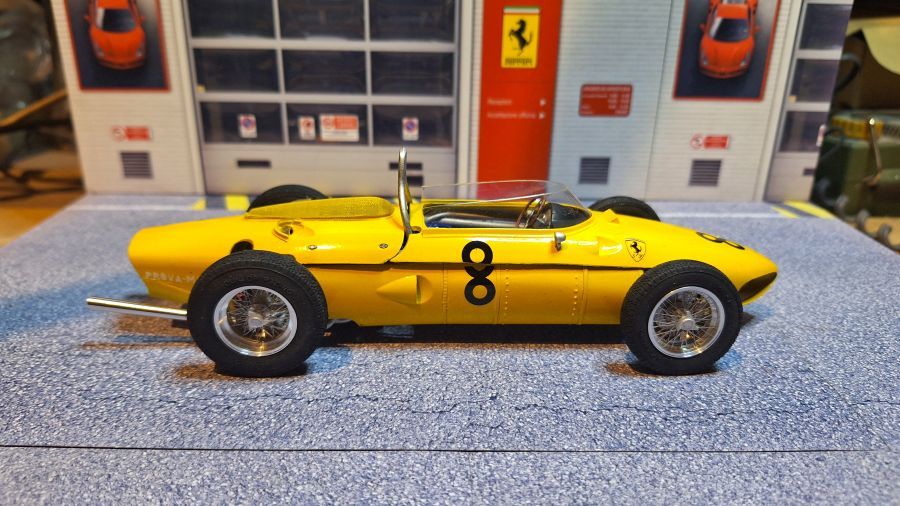
De laatste onderdelen plaatsen.
Adding the last parts.

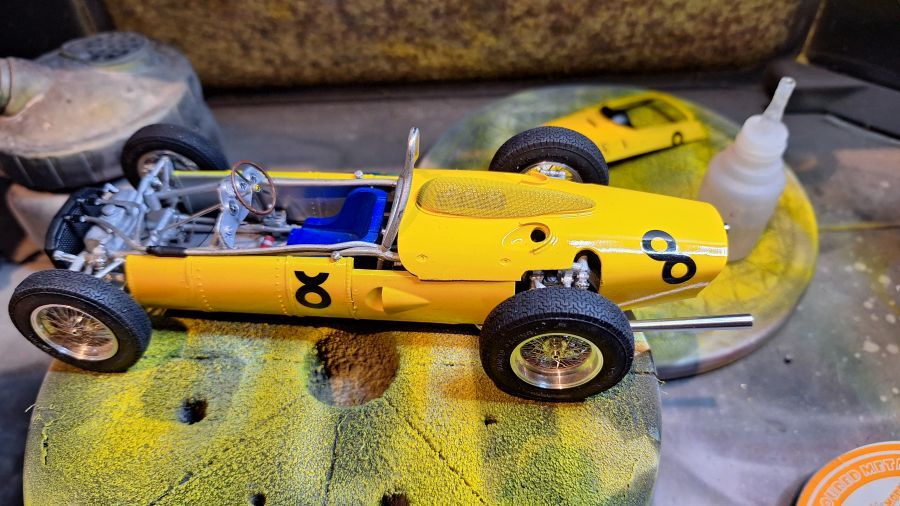
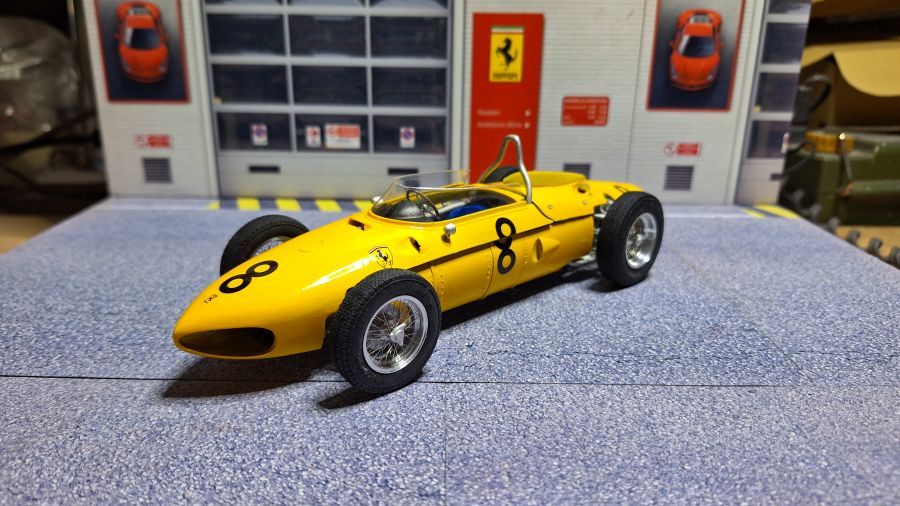
Ik denk dat deze weer klaar is, mooi voor het nieuwe jaar 2024.
I think this one is ready, just before the new year 2024.