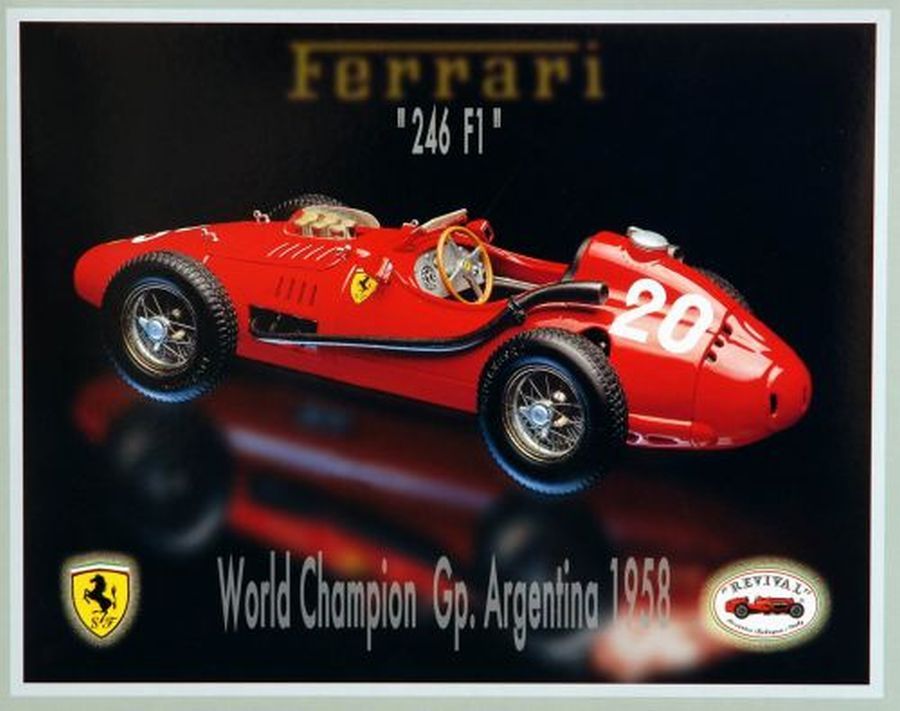
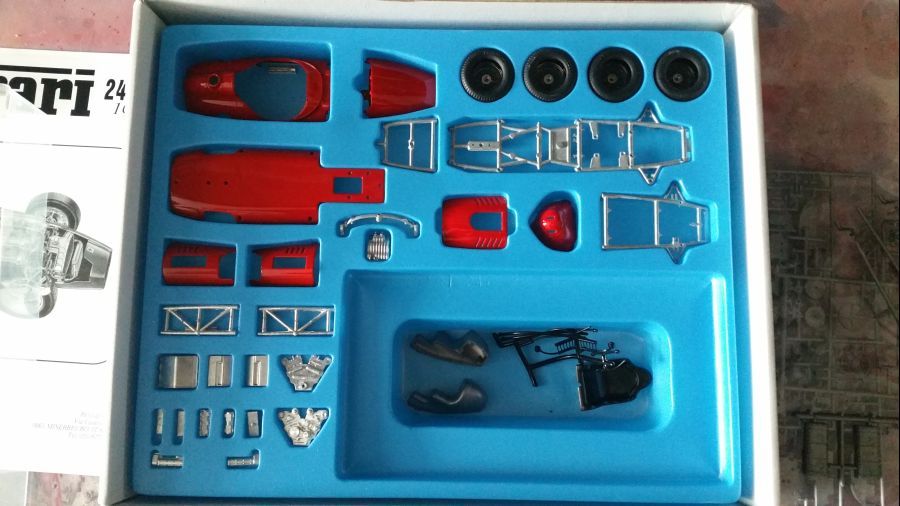
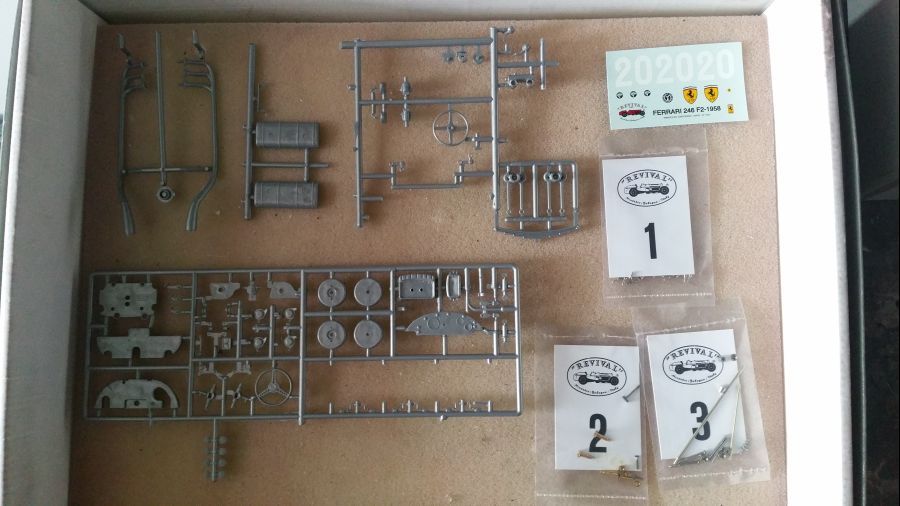
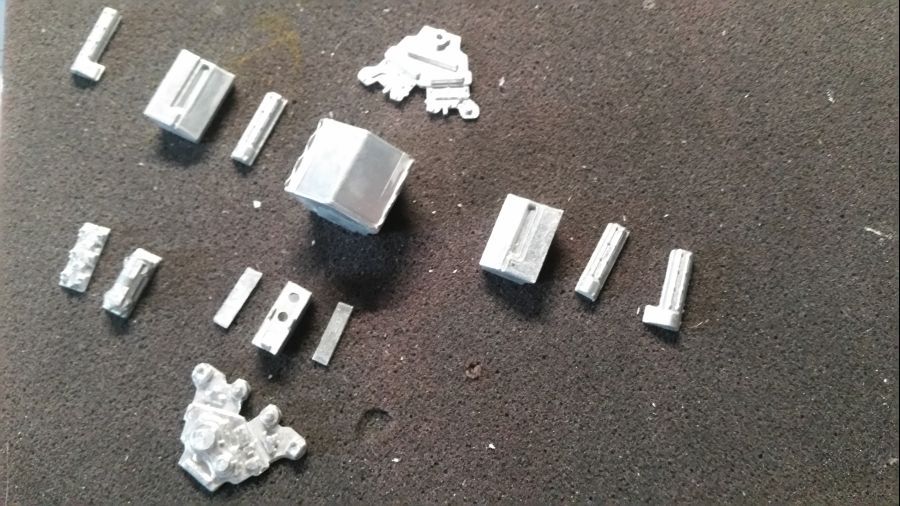
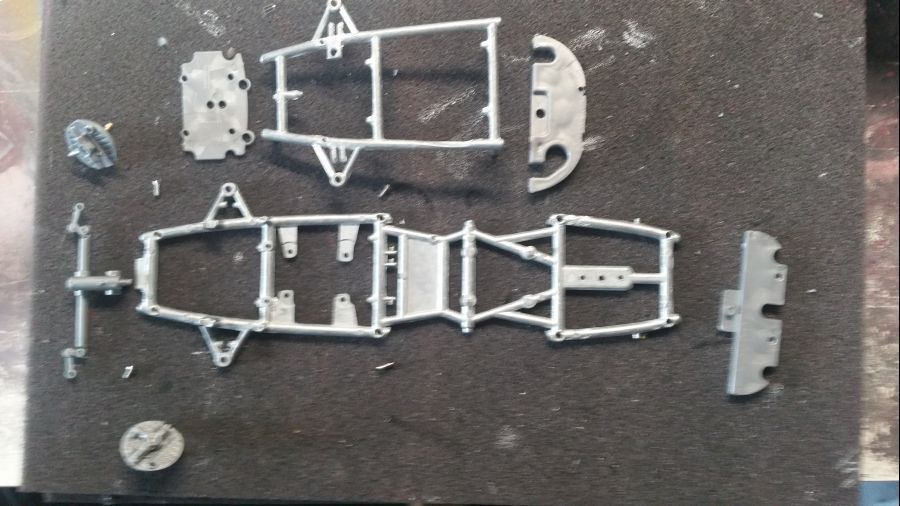
Deze keer start ik de Ferrari 246 F1 Argentijnse versie uit 1958. Deze wagen werd gereden door Peter Collins. Deze Ferrari 246 F1 is een kit van het merk Revival International. Inmiddels is wel duidelijk dat dit niet mijn meest favoriete merk is. Zo kwam ik tot de ontdekking dat een paar onderdelen misten. Ik zoek dus contact met Revival en wat denk je? Ik moet betalen voor de onderdelen. Dat vind ik niet passen wanneer je een kit van 158 euro koopt. Slechte service! Over het algemeen past alles slecht en ik heb altijd mijn twijfels of dit wel schaal 1/20 is. Vaak zijn bijv. de banden veel te groot. Het mooiste voorbeeld is wanneer je mijn Ferrari 156 van Revival vergelijkt met die van Modelfactory Hiro. Een wereld van verschil. Maar ze vullen een gat dat nooit door Studio27 of MFH is opgevuld. Eerst maar weer de foto's van de inhoud van de kit.
This time i will start the Ferrari 246 F1 Argentinian version from 1958. This car was driven by Peter Collins. This Ferrari 246 F1 is a kit from the brand Revival International. It is clear by now this is not my most favorite brand. I noticed with this kit i was missing some parts. So i contacted Revival and guess what? I had to pay for the parts. To me this is 'not done' when buying a 158 euro kit. Bad service! Normally everything has a bad fit and i always have doubts weather it is scale 1/20 or not. Often e.g. the tires are far too big. The best example is to compare my Ferrari 156 from Revival with the one from Modelfactory Hiro. A very large difference. But they fill a gap that's never been filled by Studio27 or MFH. First of all the pictures with the content of the kit.
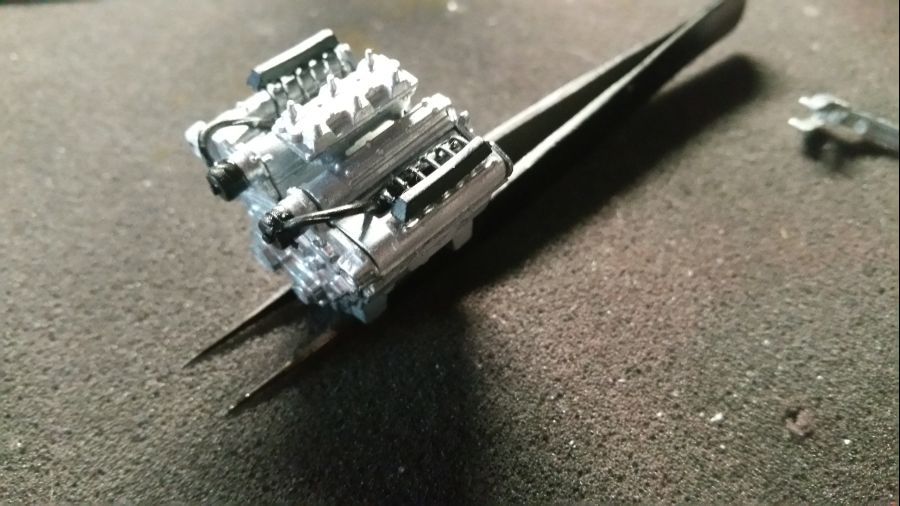
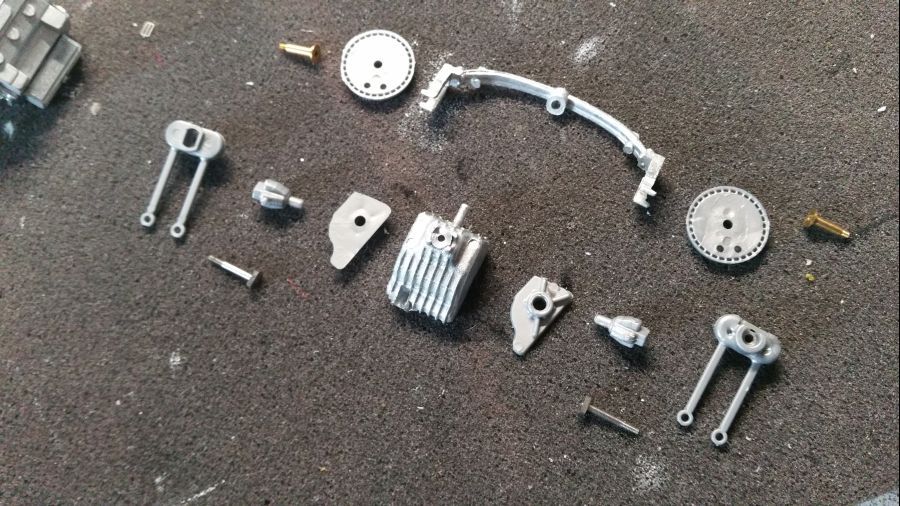
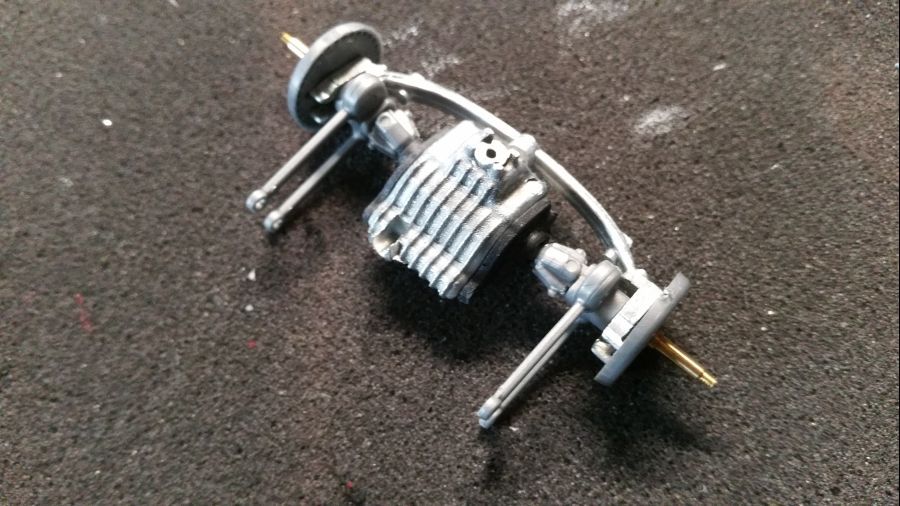
Eerst het werk aan de motor...
First some work to the engine...

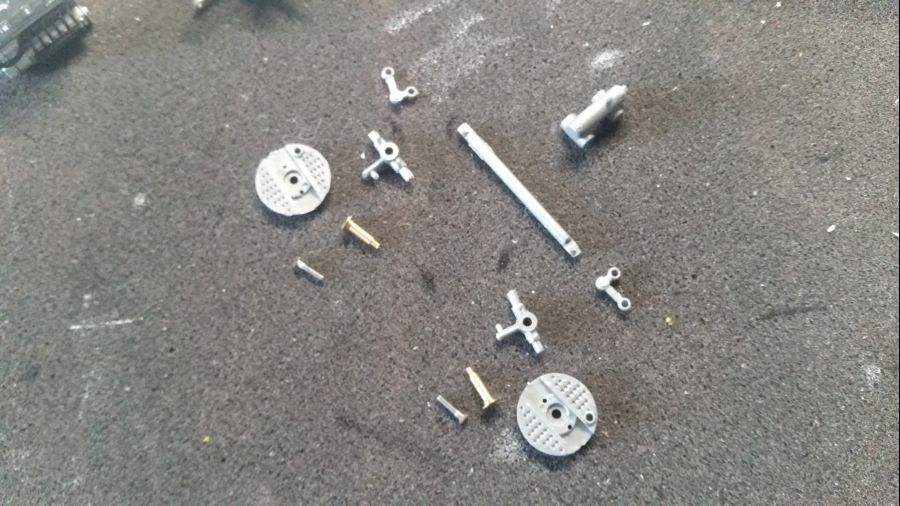
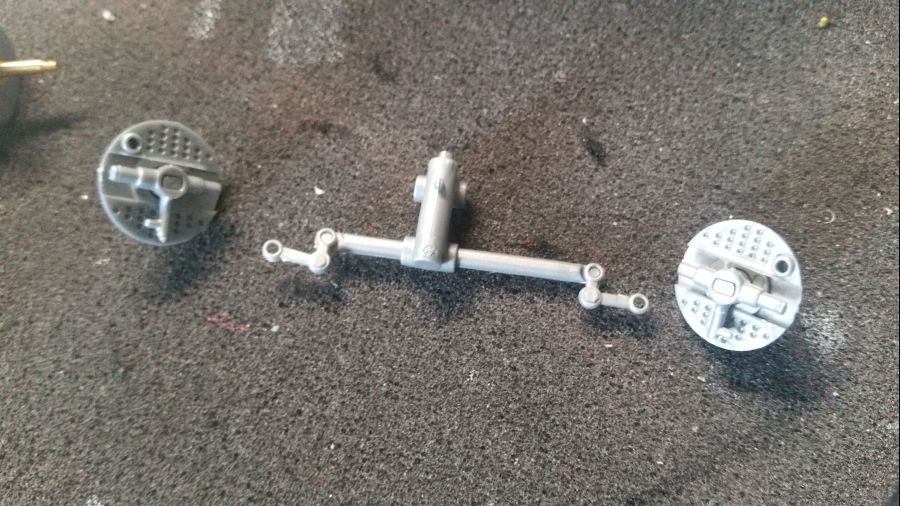
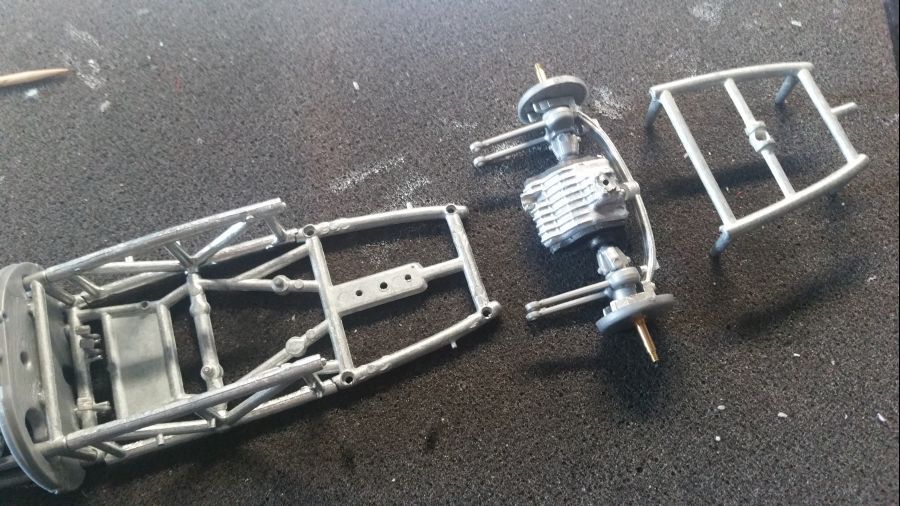
Dan de versnellingsbak met de achterwielophanging..
Next is the gear box and the rear wheel suspension..
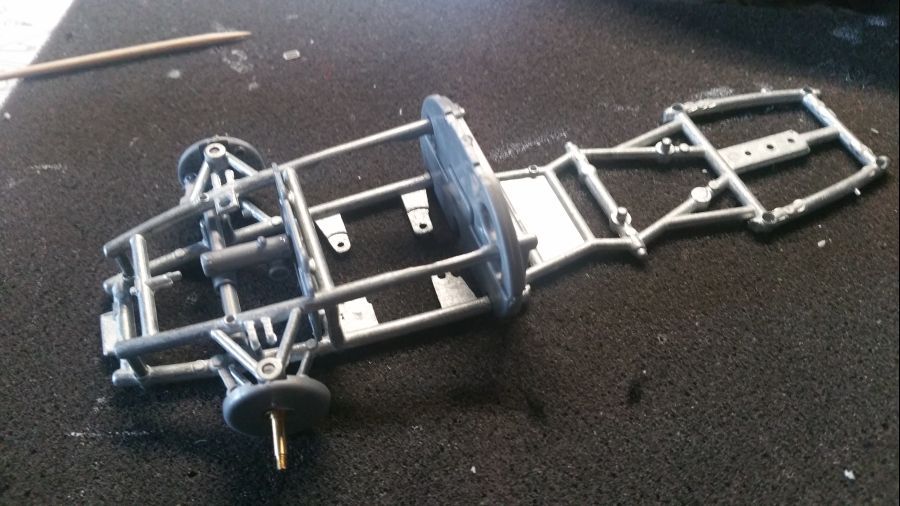
De voorwielophanging...
The front wheel suspension...
De onderdelen van het chassis met de vuurschotten.
The chassis parts with the bulkheads.
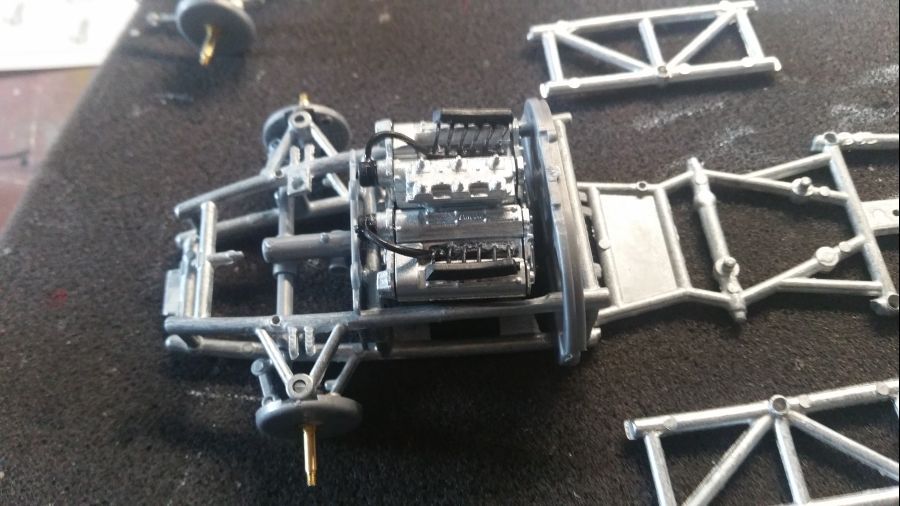
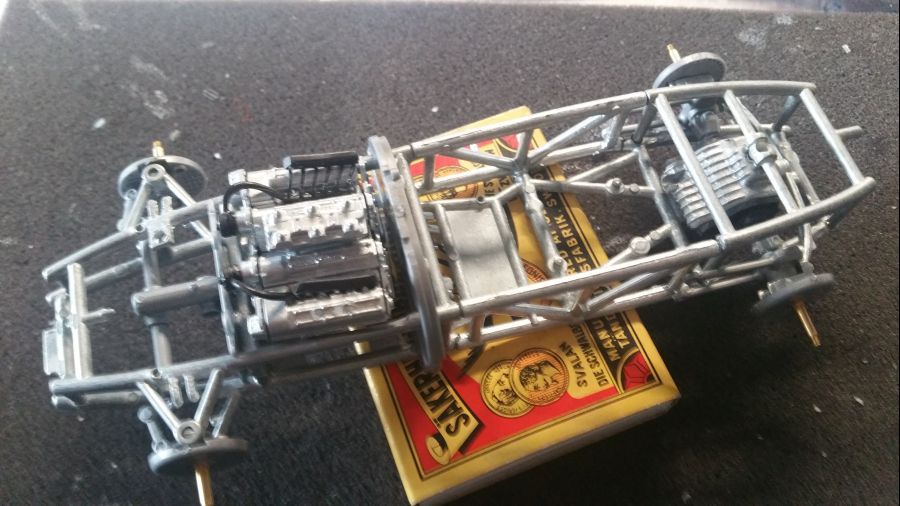
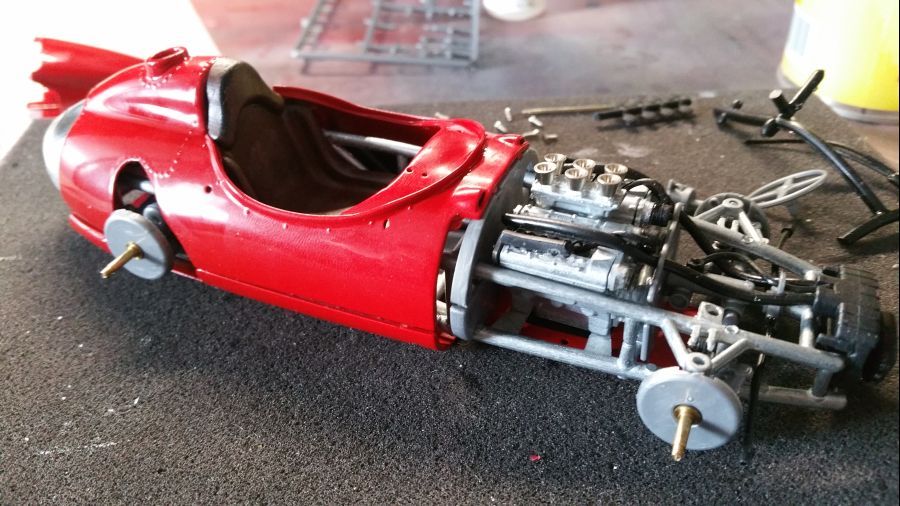
De motor is aan het chassis bevestigd...
The engine has been attached to the chassis...
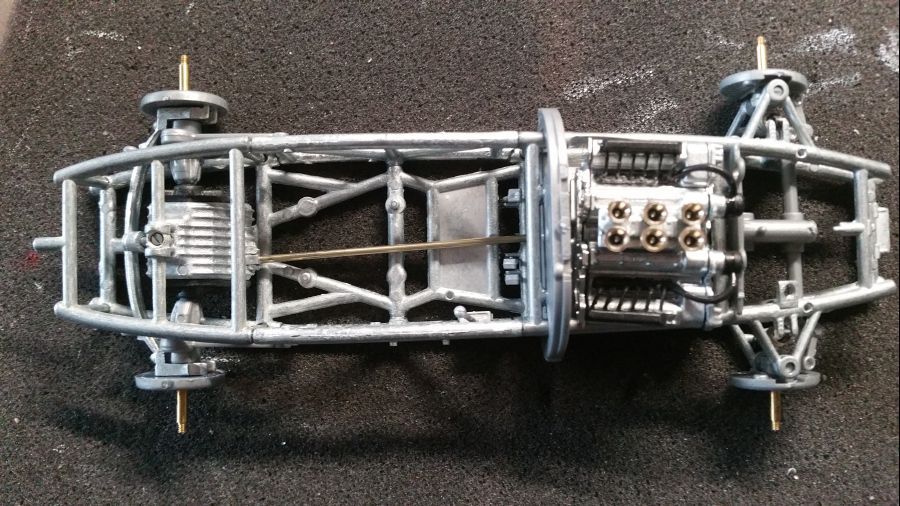
Meer werk aan het chassis..
More work to the chassis..
Meerdere kleine onderdelen zijn geplaatst...
Multiple small parts have been attached...
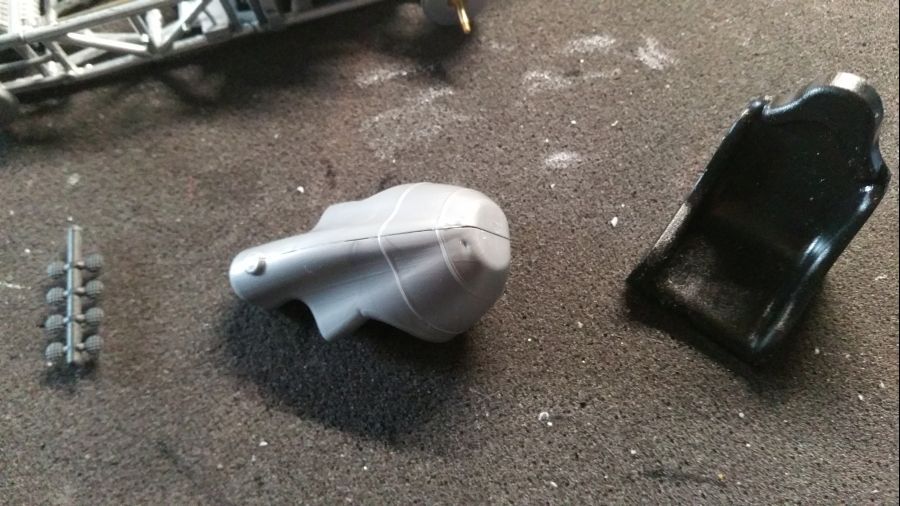
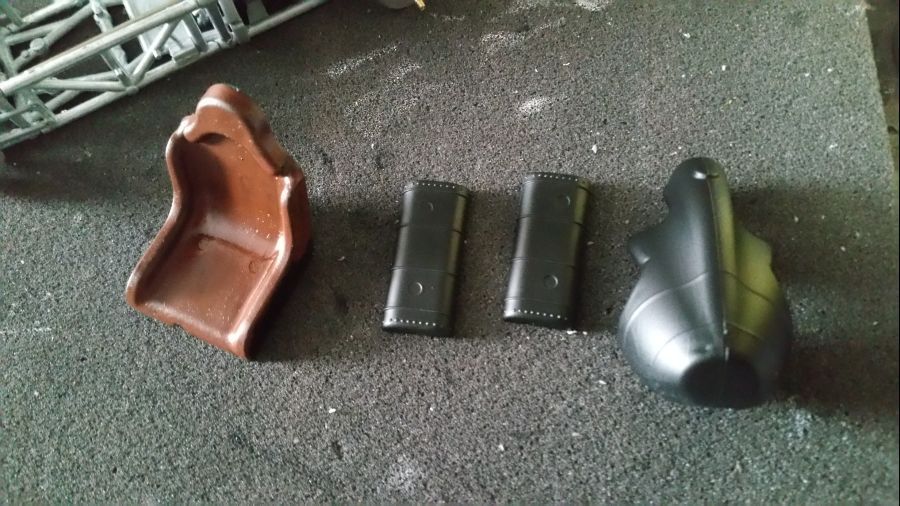
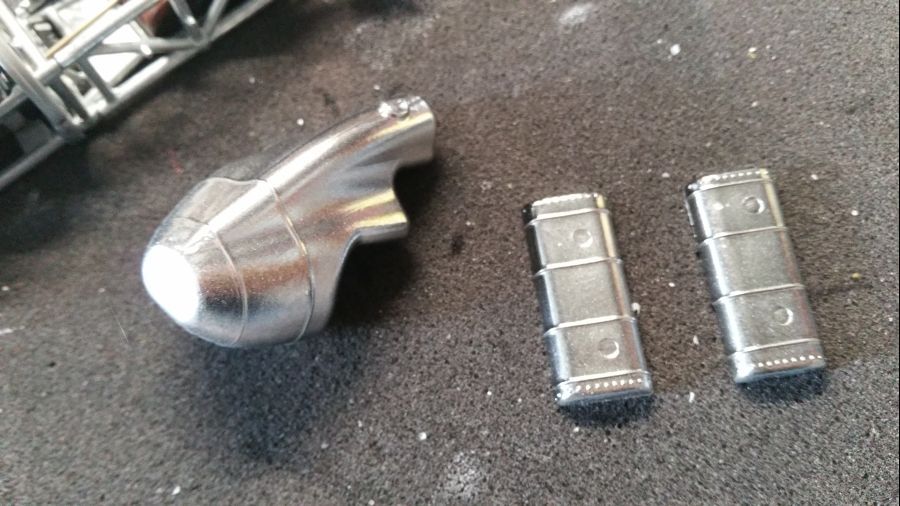
Door met de tank, trompetafdekking (misschien over naar metaal?) en de stoel. De stoel kan nog wel eens een probleem worden. Het rubber voelt enorm vet aan. Ik hoop dat de verf een beetje pakt.
Continuing with the tank, funnel covers (maybe change it into mesh?) and the seat. The seat might be a problem. The rubber feels very very greasy. Hope the paint will stick.

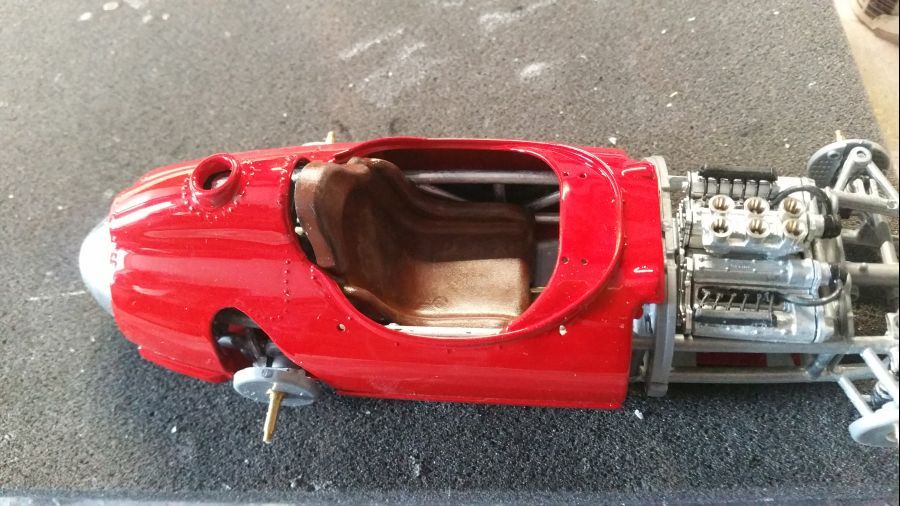
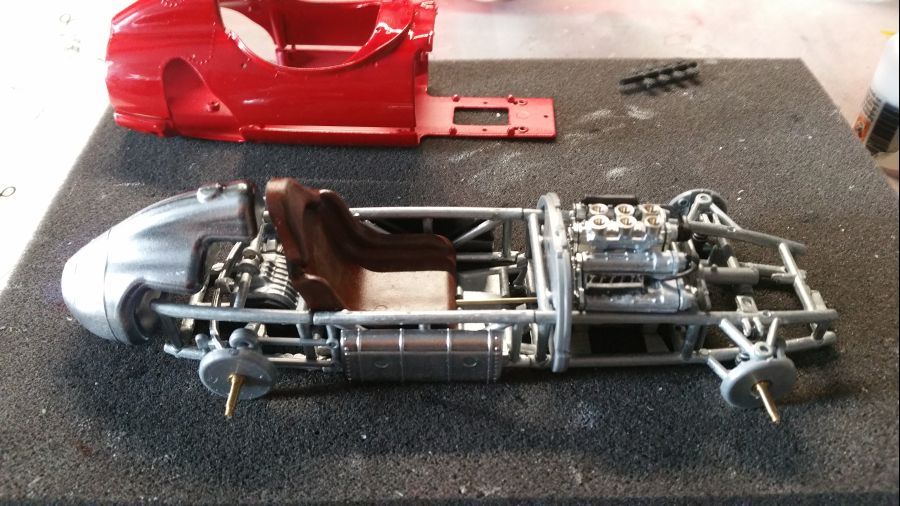
De tanks zijn geplaatst. Ik laat daar zo een foto van zien, maar ik heb nu eerst de vloer en de carrosserie tijdelijk geplaatst om alles goed uit te lijnen.
The tanks are attached. I will show a picture of them, but for now i have attached the floor and the body work to be sure everything gets lined up.
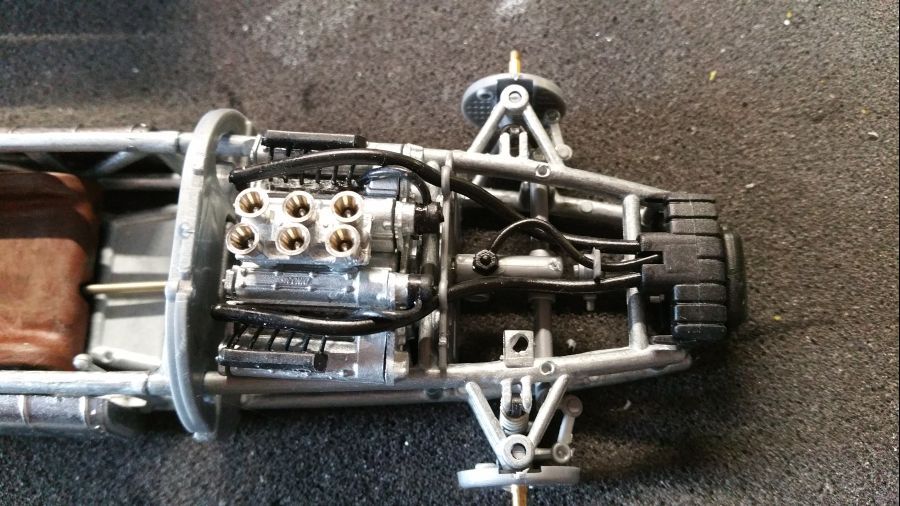
Vervolgens worden de leidingen geplaatst...
Some tubes were added...
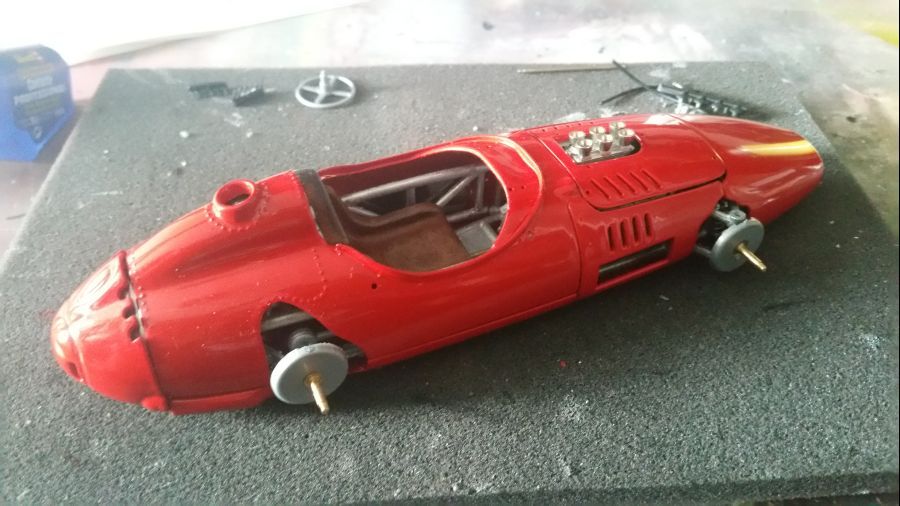
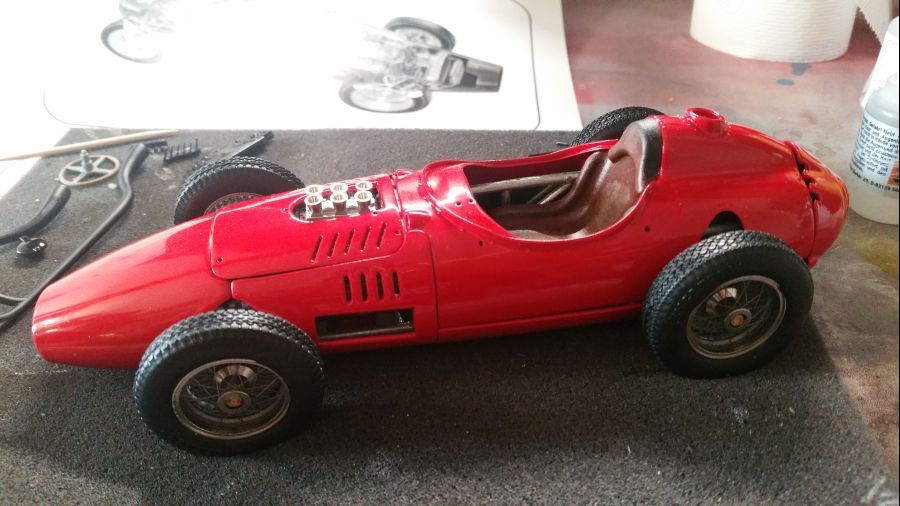
Dan is het tijd voor het definitief sluiten van de wagen. Het bodywerk wordt geplaatst...
Then it's time to close the car. The bodywork is being attached...
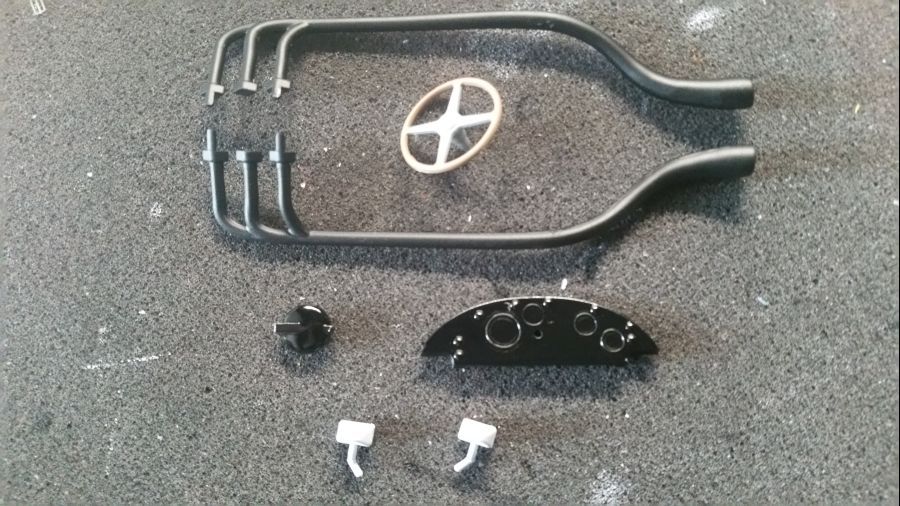
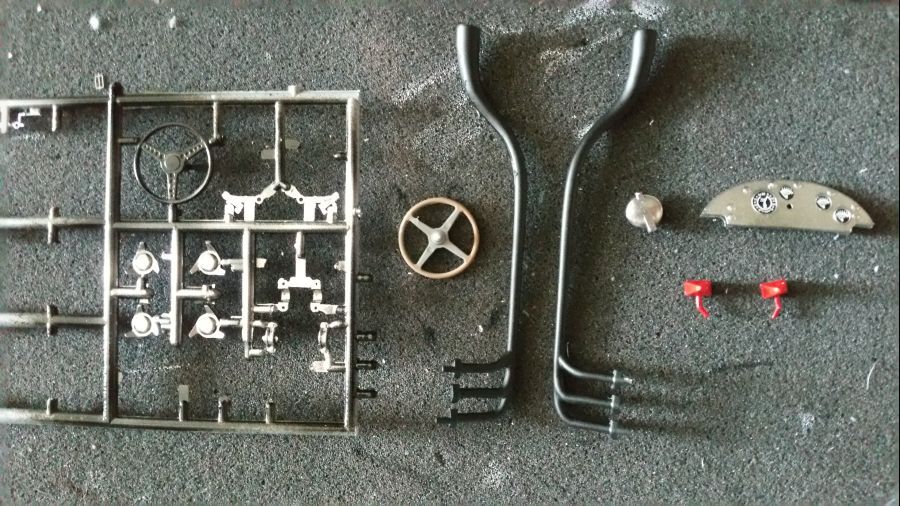
Een paar andere onderdelen worden voorbereid...
Some more parts are being prepared...
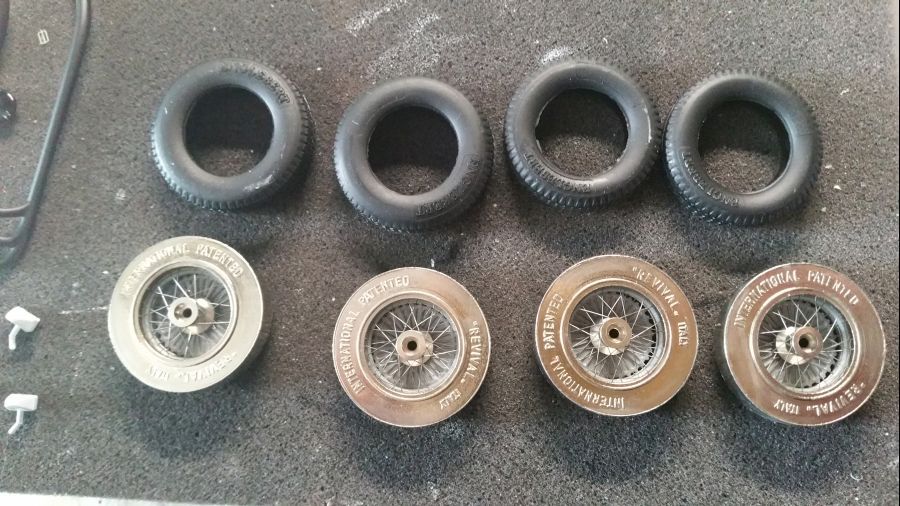
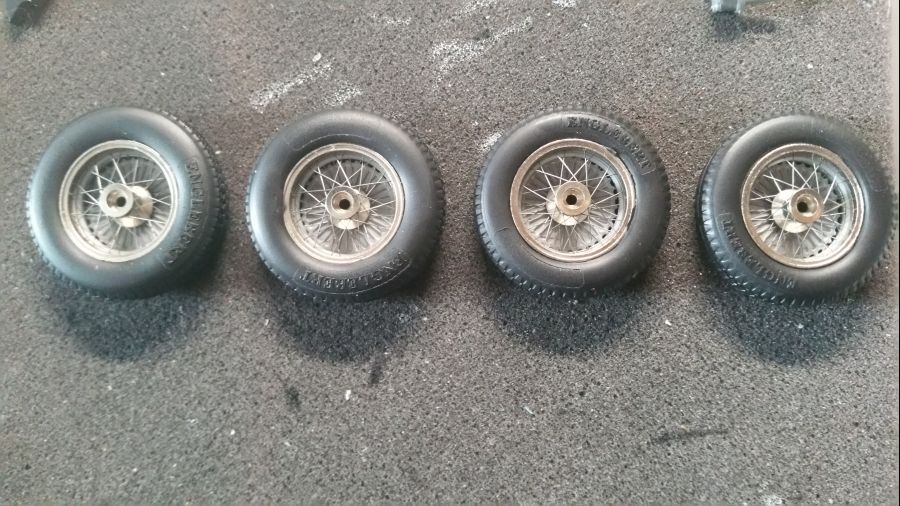
Ondertussen ga ik vast verder met de velgen...
Meanwhile i will continue with the tires...
De kleine onderdelen krijgen de definitieve kleuren..
The small parts get their final colours..
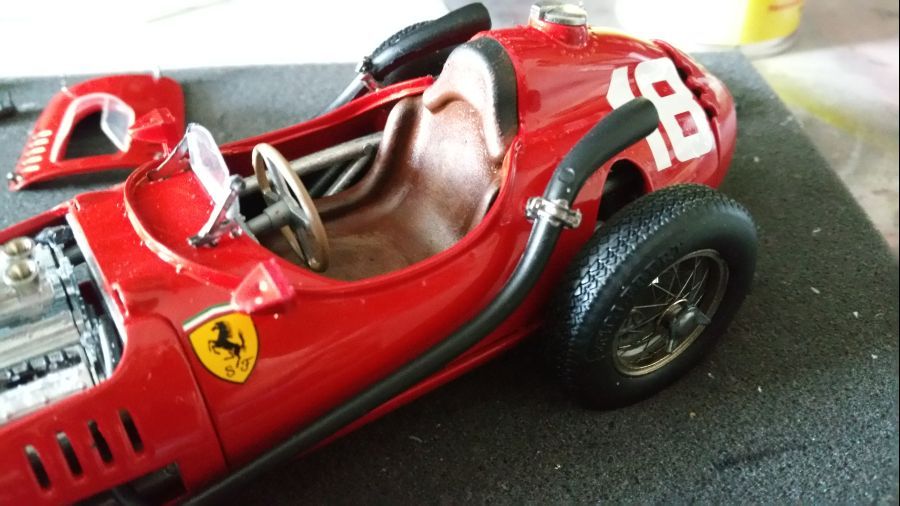
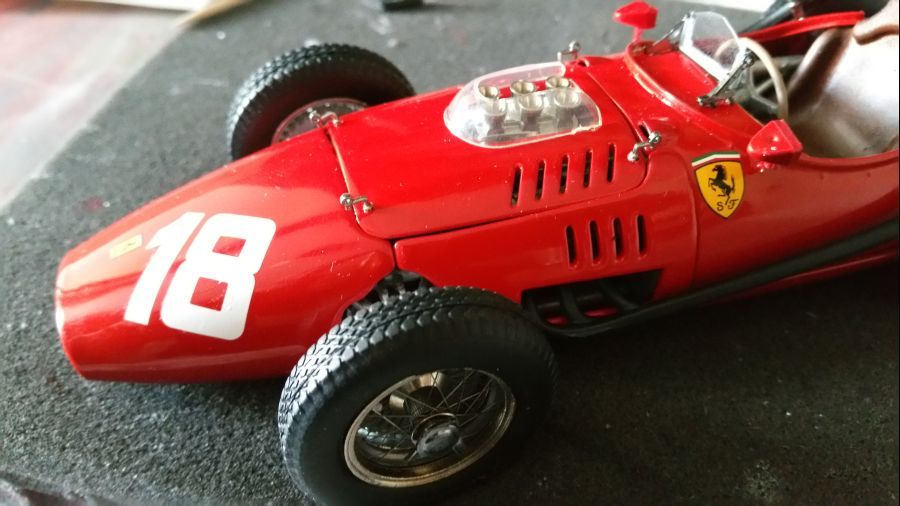
Het dashbord wordt geplaatst en de body krijgt zijn decals...
The dash board gets installed and the body gets it's decals...

Door met de uitlaten..
Then the exhausts..
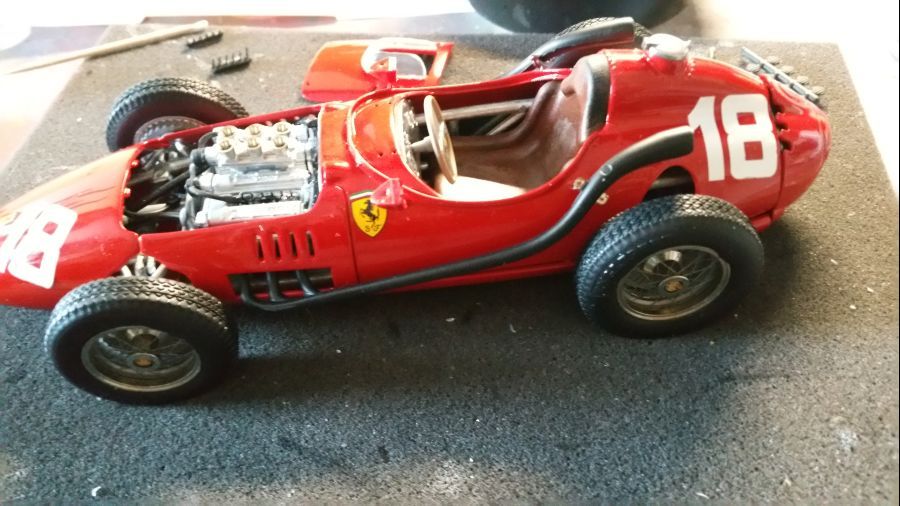
Verschillende onderdelen zijn geplaatst...
Several parts have been applied...
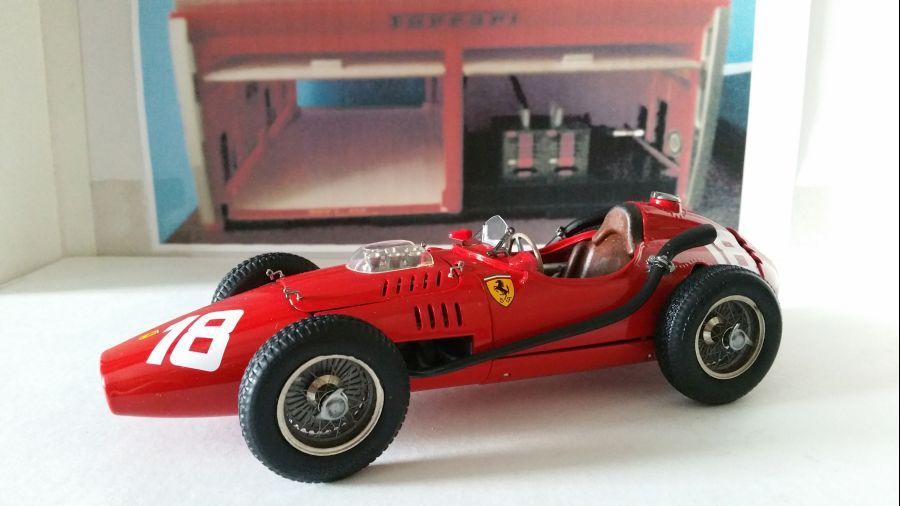
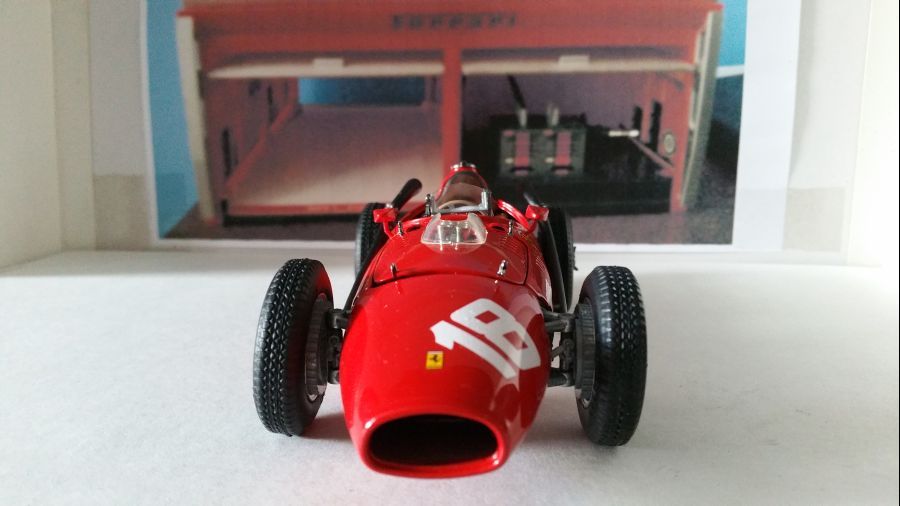
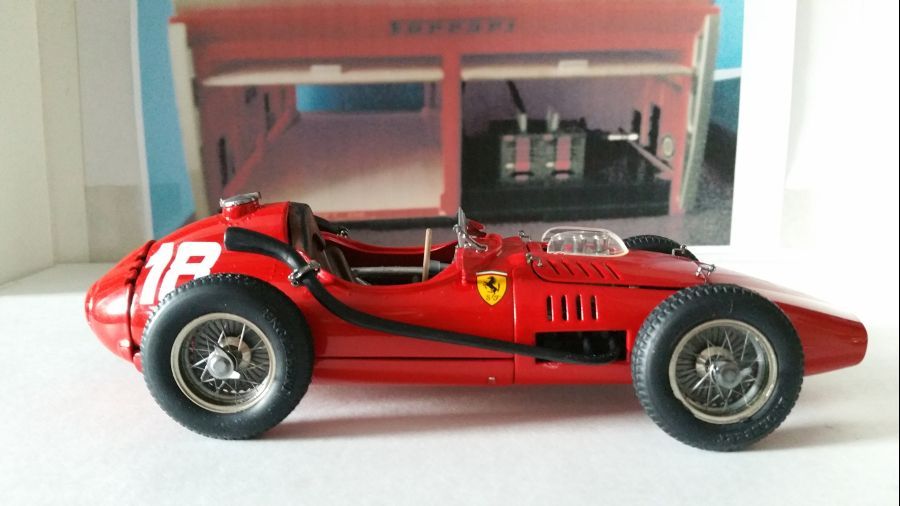
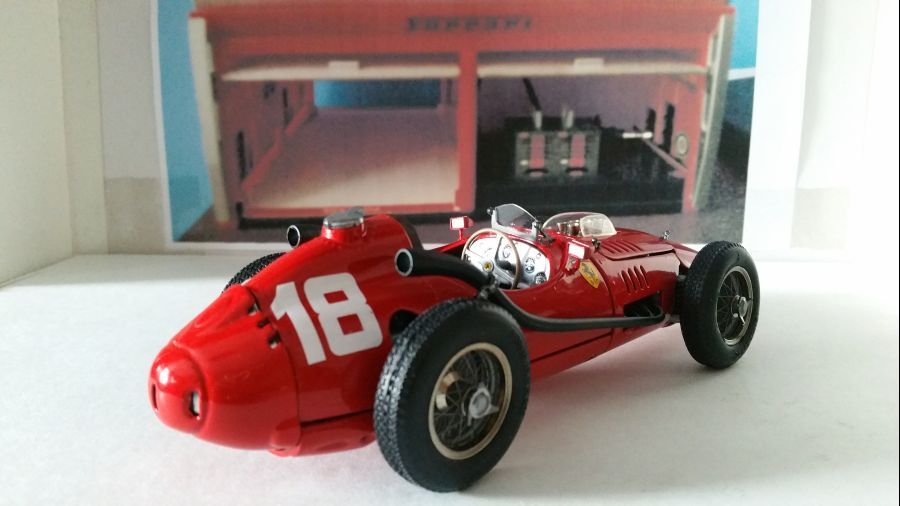
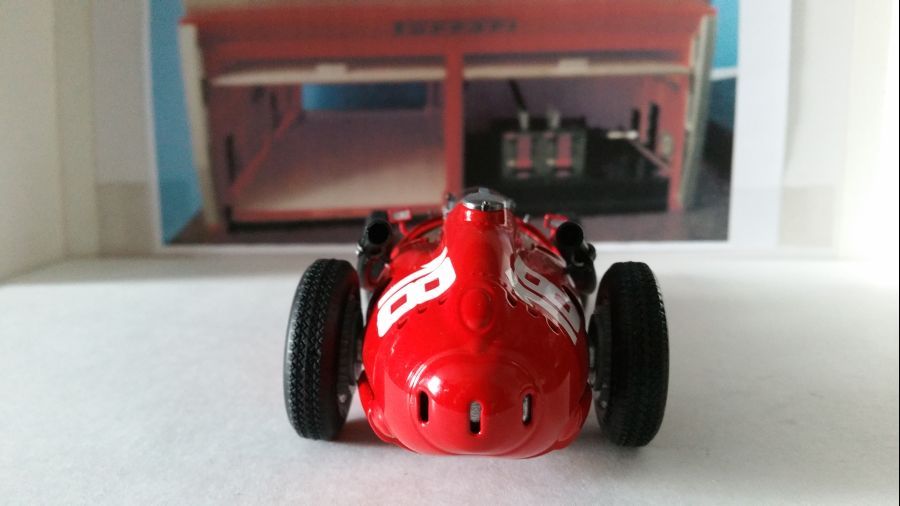
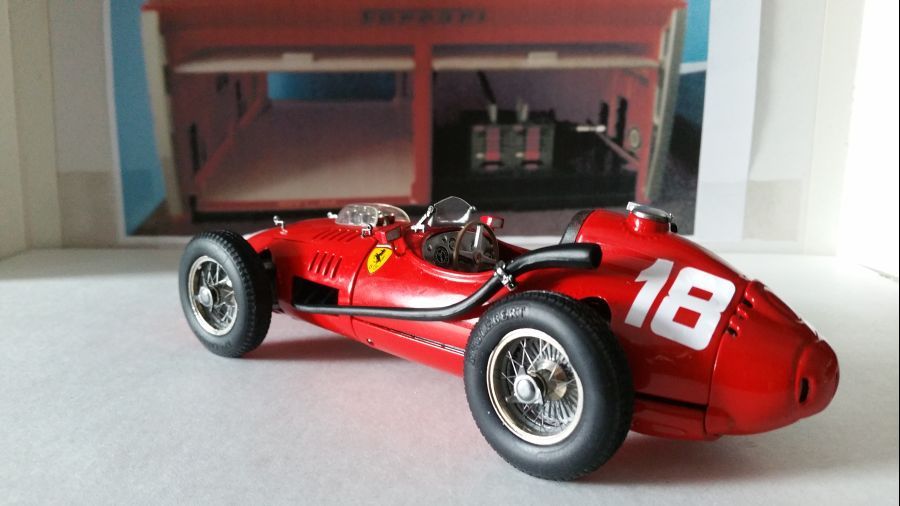
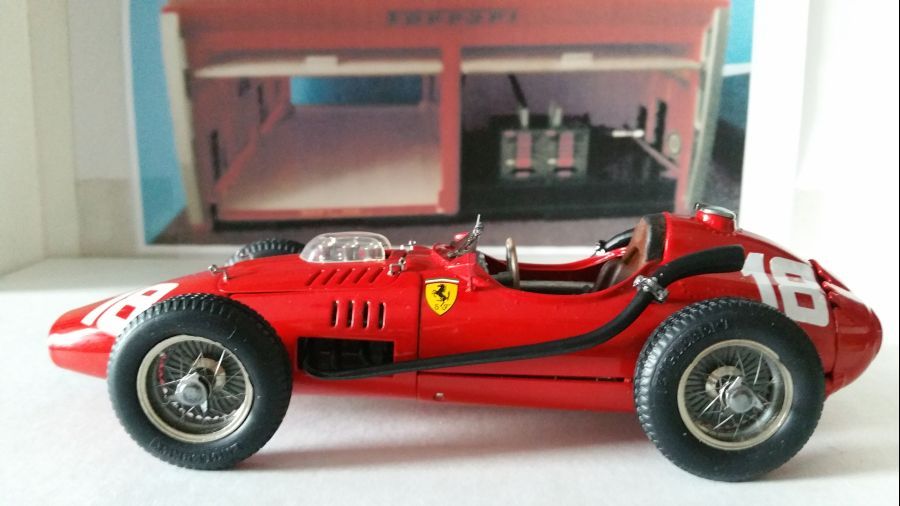
Er is weer een klaar...
Another one finished...