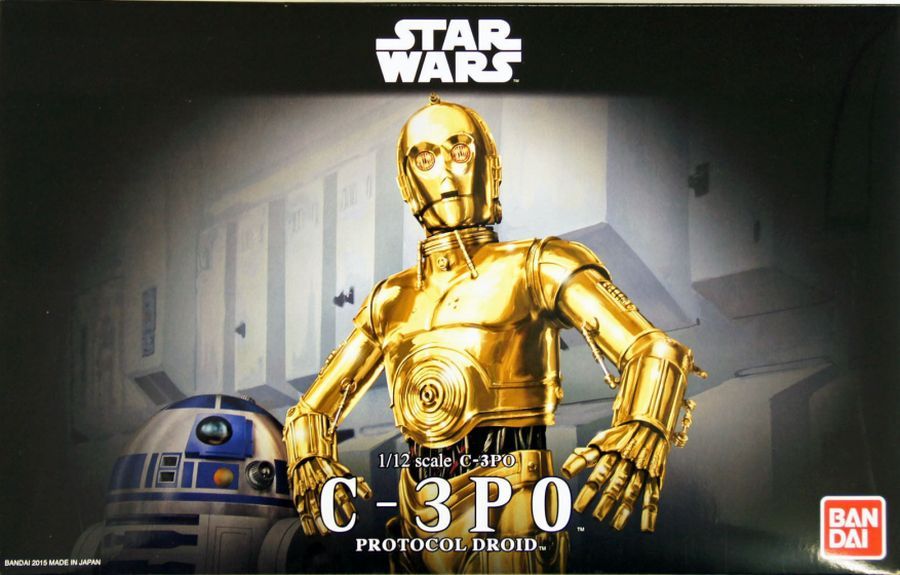
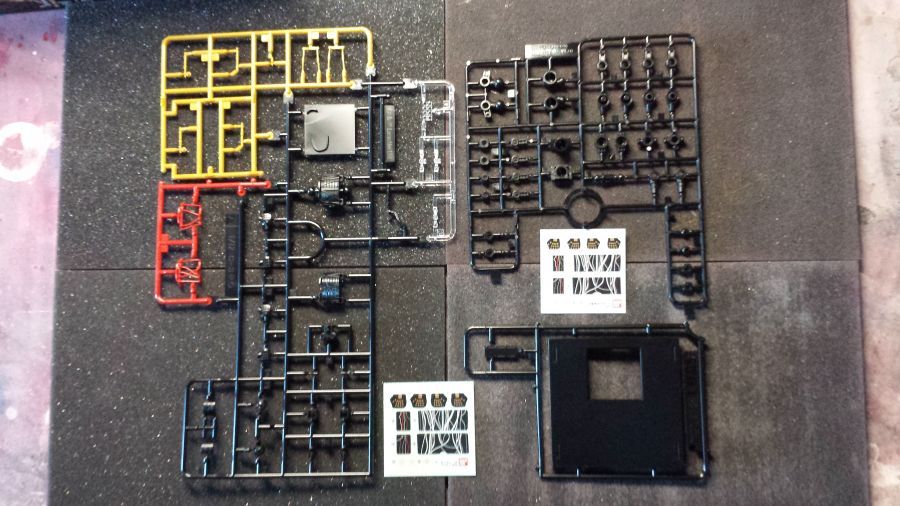
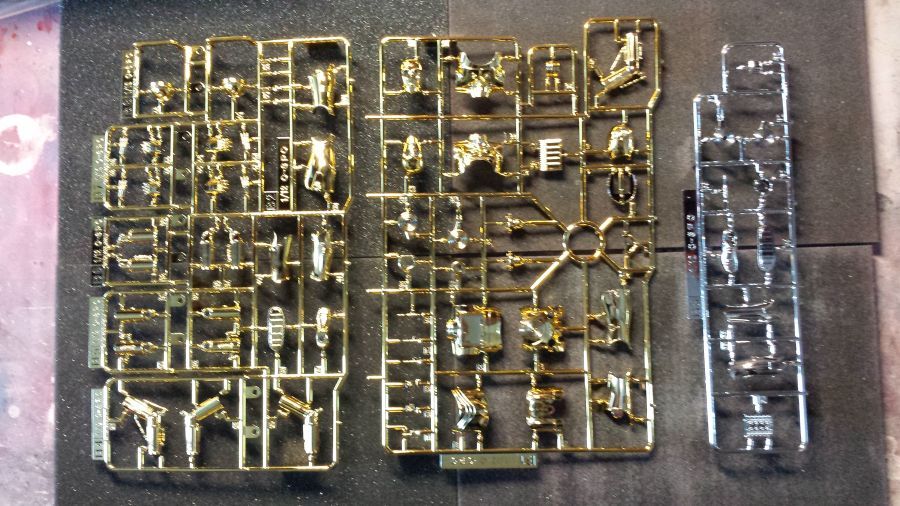
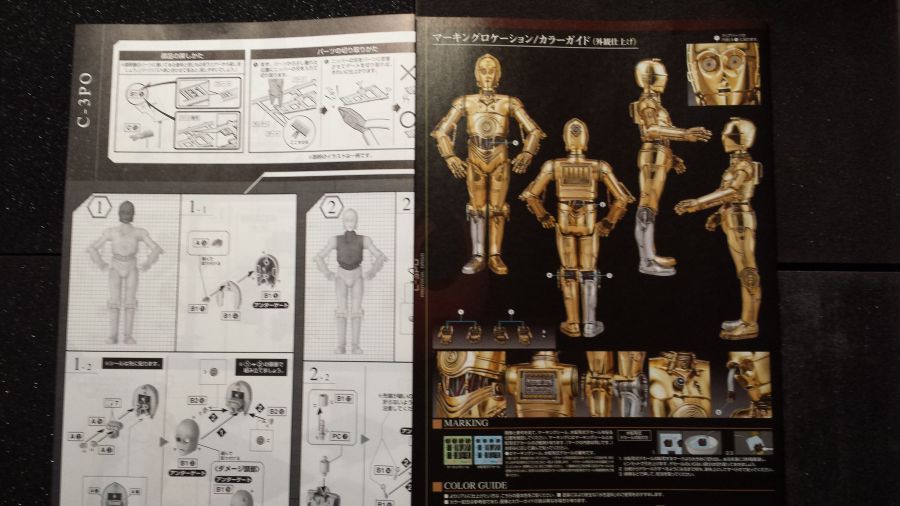
De nieuwe Star Wars film (deel 7) zit er weer aan te komen. Dat maakt Star Wars mogelijk weer extreem hot denk ik. Bandai heeft een hele serie kits uitgebracht met Star Wars als thema. Een unieke gelegenheid om weer wat figuren te bouwen die ik altijd al wilde hebben. Ik moet zeggen, deze bouwdoos van C3PO vind ik zeer indrukwekkend. Vele onderdelen zijn al in de mooie goudkleur en zilverkleur. Van een aantal onderdelen zijn er zelfs 2 om een andere versie te kunnen bouwen. Zo kun je kiezen of je C3PO met een beschadigd of onbeschadigd hoofd wil bouwen. Ook de detaillering lijkt zeer goed. En dat voor een fractie van de prijs die je vroeger moest betalen voor een kit van Fine Molds. Laten we eerst eens naar de doos en de inhoud kijken. De beschrijving is volledig Japans, maar ik denk dat een beetje modelbouwer daar wel uit komt.
The new Star Wars movie (part 7) is about to be seen in the cinema. This will make Star Wars hot again i think. Bandai has published a whole series of Star Wars items. A unique opportunity to build some figures i have always wanted to. I must say, this kit of C3PO is really impressive to me. Many parts have this very nice gold and silver colour. Some parts are even delivered in 2 versions. So you are able to build C3PO with or without a damaged head. Also the details look pretty good to me. And this for only a small price compared to the price you had to pay for a kit from Fine Molds. Lets have a look at the box and the parts first. The instructions come in Japanese only, but i guess a true modeller will have no problems with this.
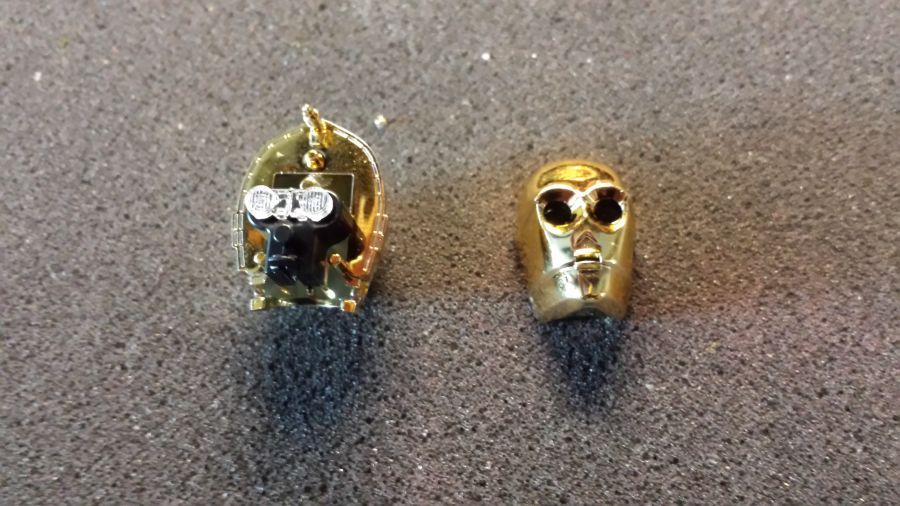
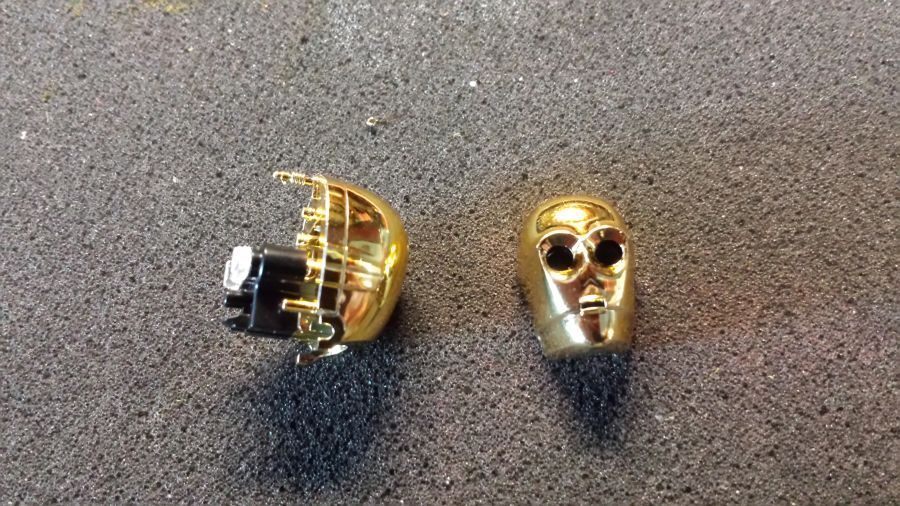
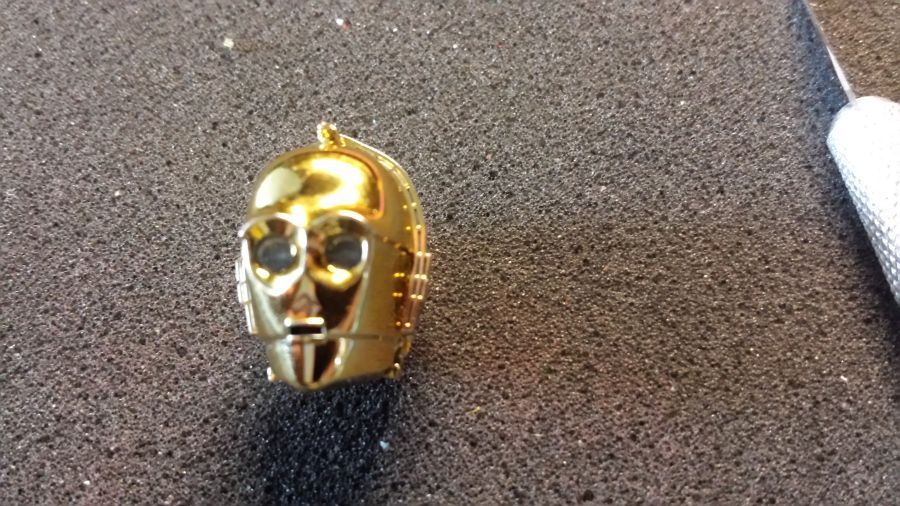
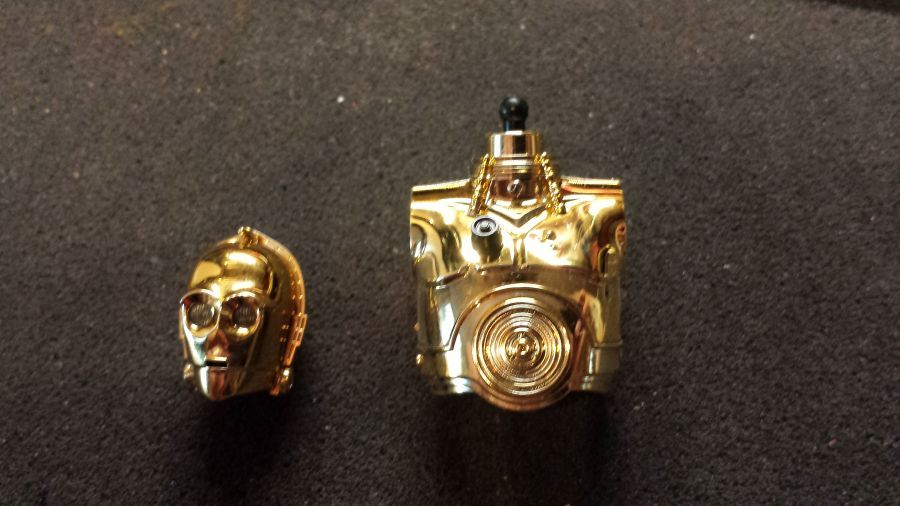
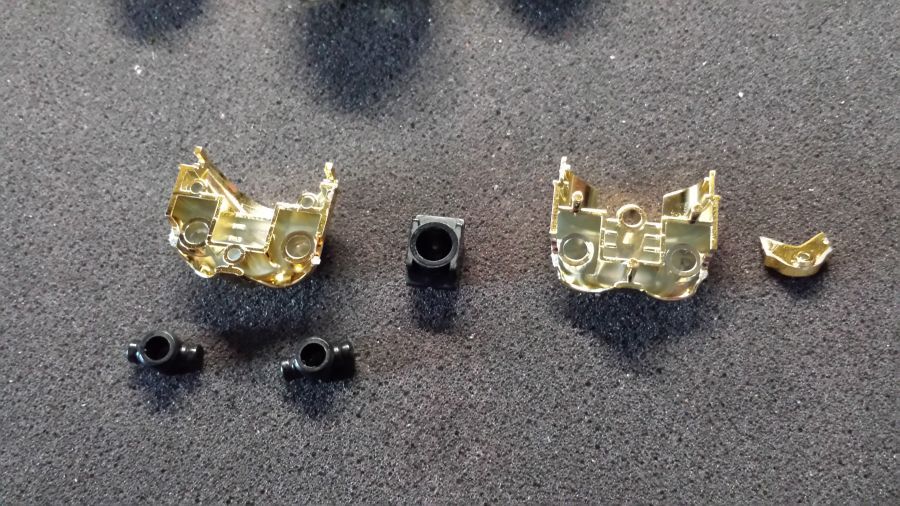
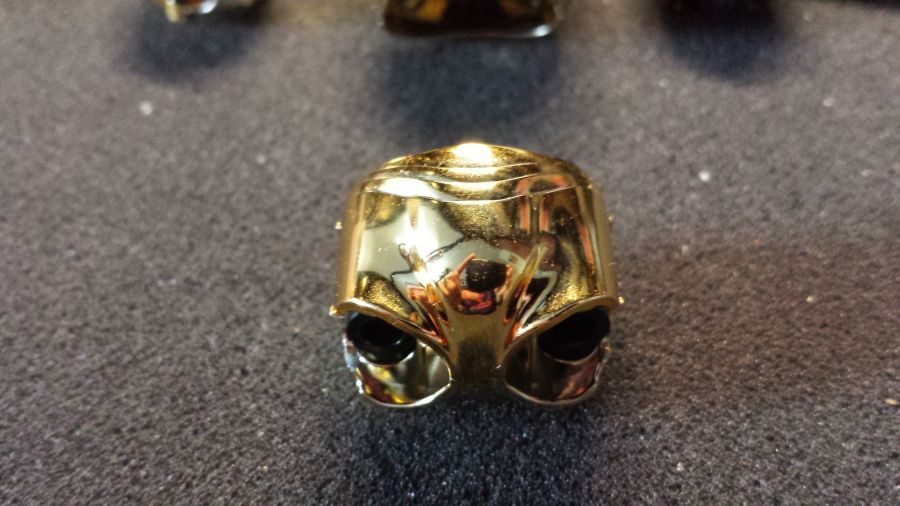
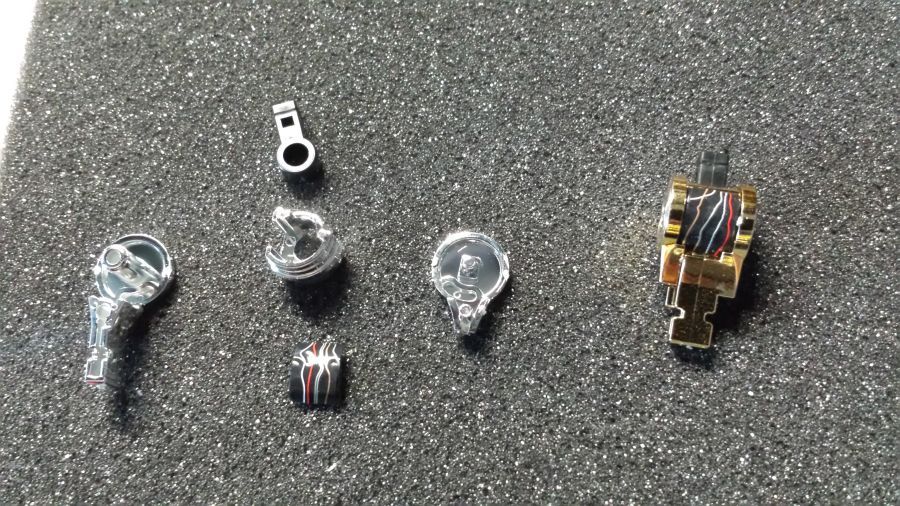
Daar gaat ie. Eerst met het hoofd beginnen. Het is wat lastig om foto's te maken, doordat alles enorm glimt. Maar ik doe mijn best.
There we go. First the head. It's hard to take pictures because everything is very shiny. But i'll do my best.
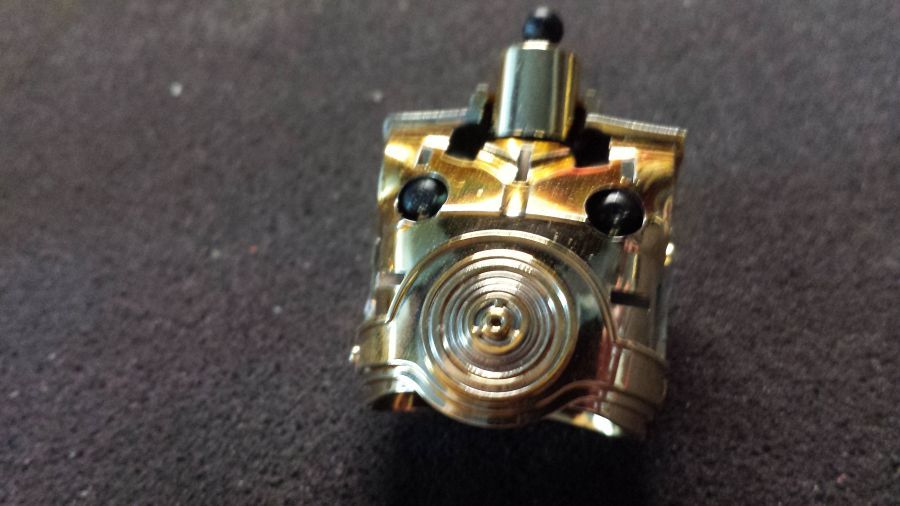
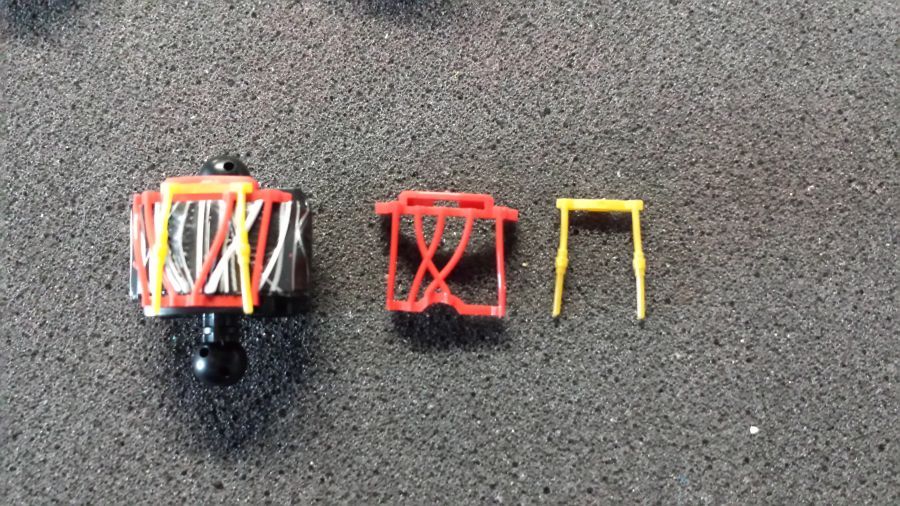
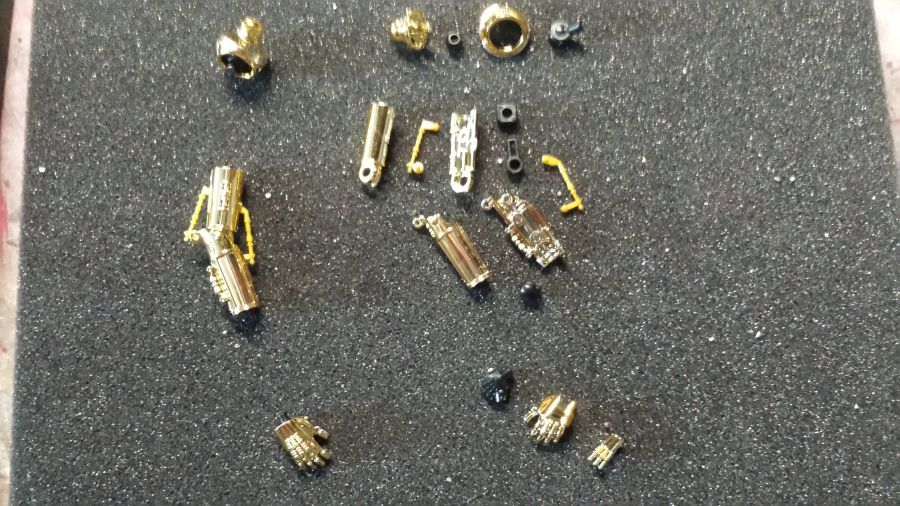
Daarna verder met de borst.
Next is the chest.
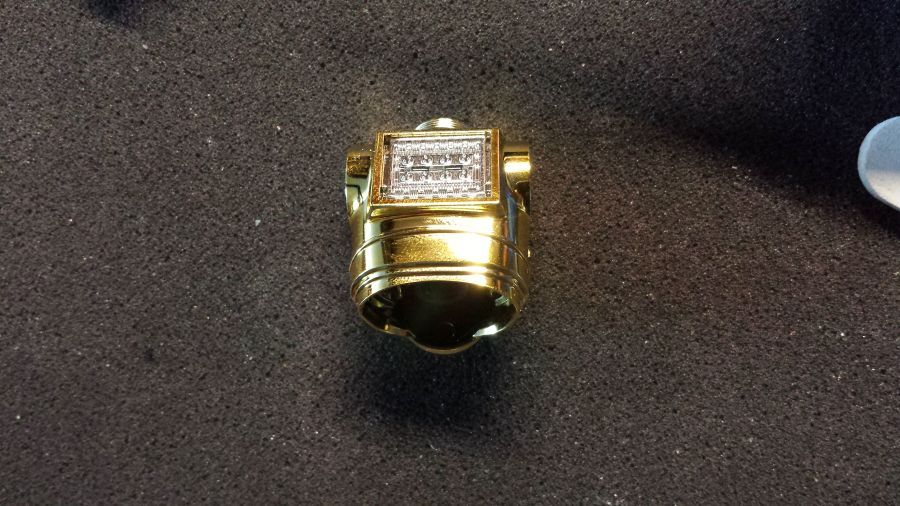
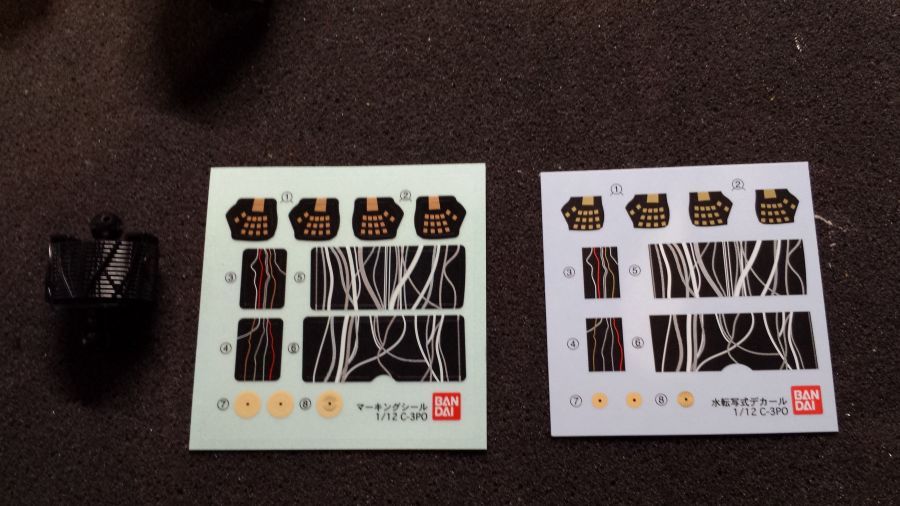
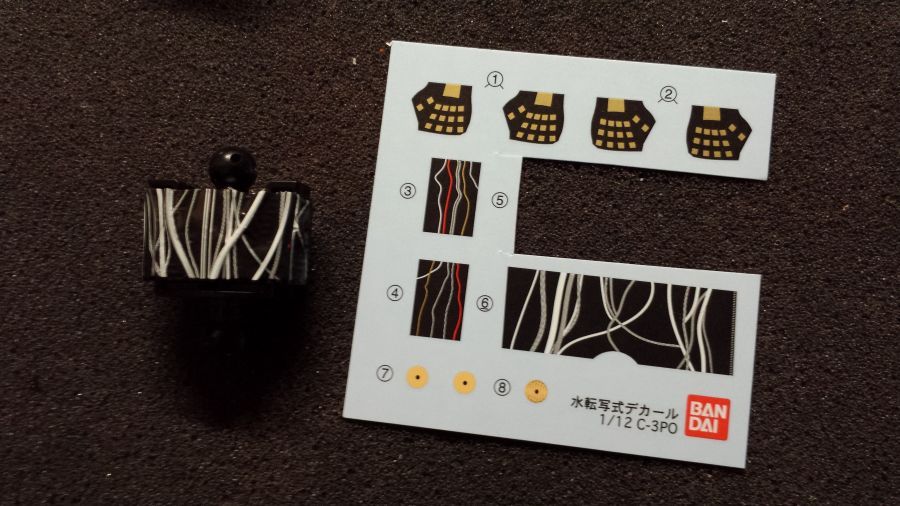
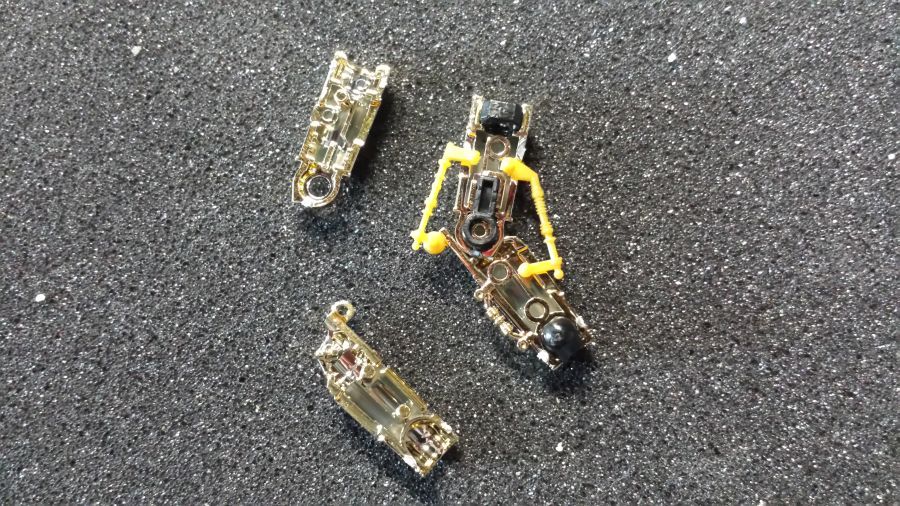
Het middendeel (zeg maar de buik) moet worden voorzien van óf een sticker óf een decal. Ik kies voor de decal.
The middle part (you can say the belly) need either a sticker or a decal applied to it. My choice fell on the decal.
Door naar de heupen.
Next are the hips.
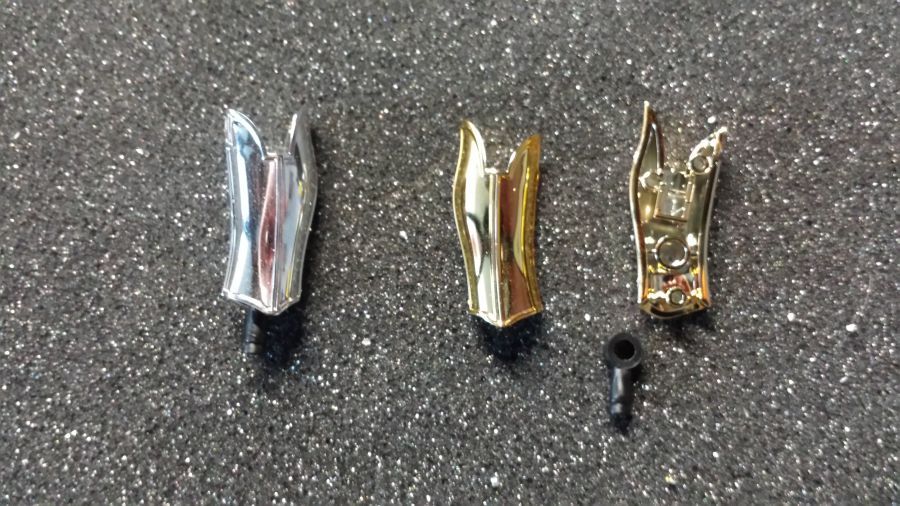
Dan de benen, eerst de knie.
Next to the legs, first the knee.
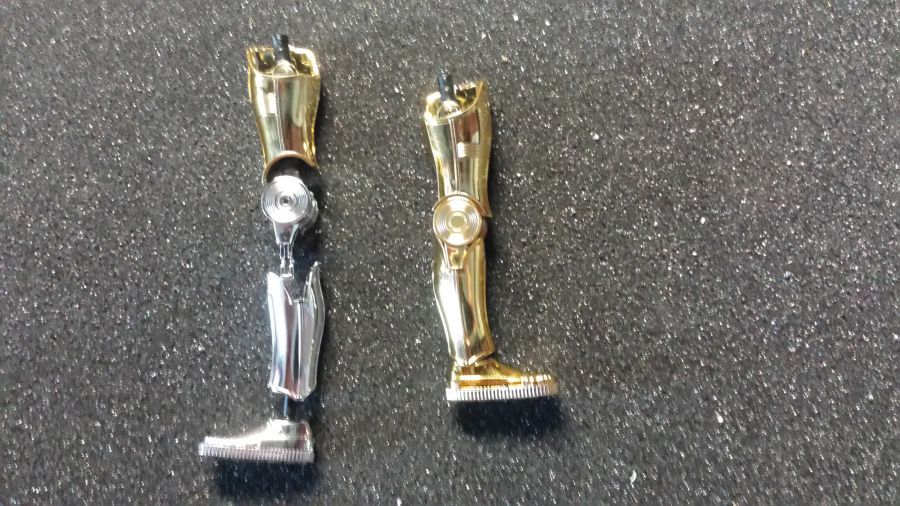
Het bovenbeen.
The upper leg.

Het onderbeen.
The lower leg.
De voet.
The foot.

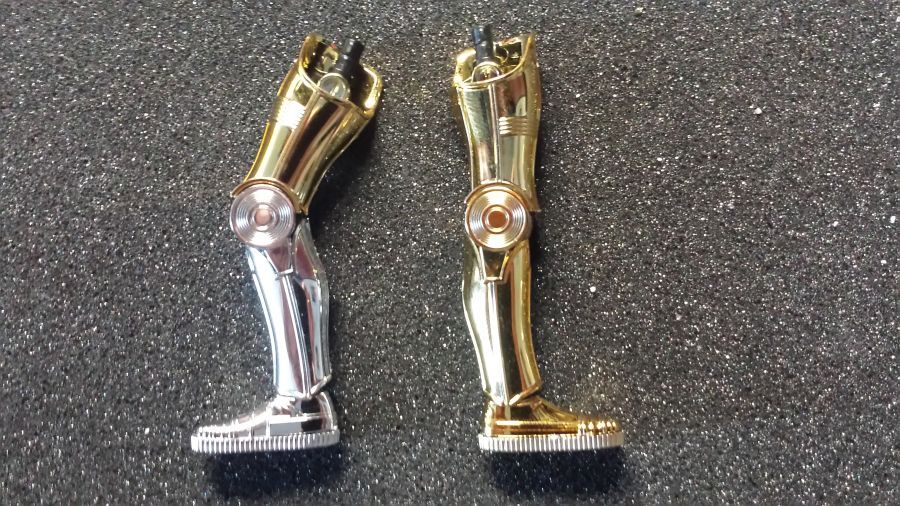
Dan wordt het been in elkaar gezet en zoals je kunt zien, het is vol werkend.
Then the leg is assembled and like you are able to see, it's fully functioning.
Dan de schouder, arm en hand. Je kunt kiezen voor een statische arm of een volledig functionerende. Omdat ik misschien een diorama wil maken, kies ik voor de verstelbare.
Next is the shoulder, arm and hand. You can choose to use a static arm or a fully functional one. Because i might create a diorama, i choose the adjustable one.
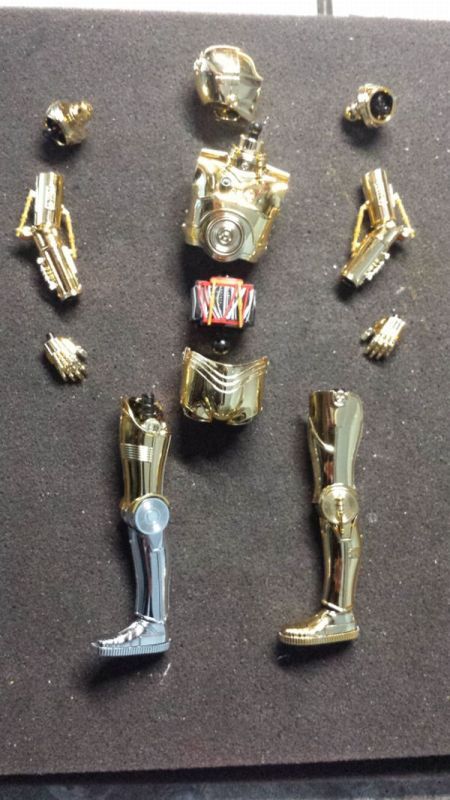
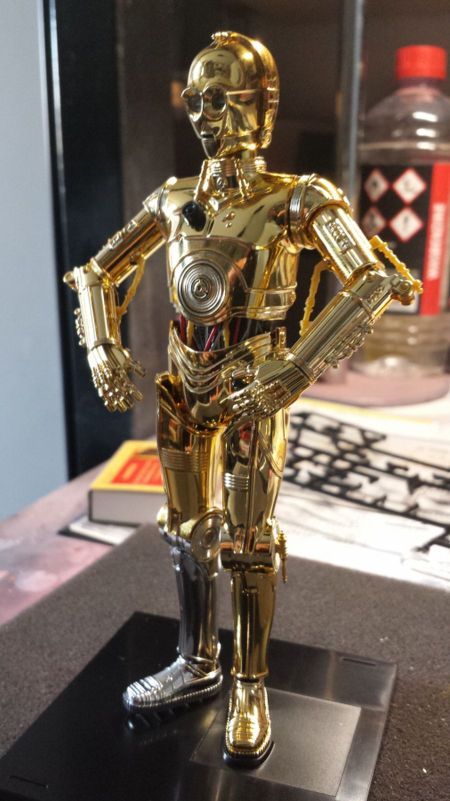
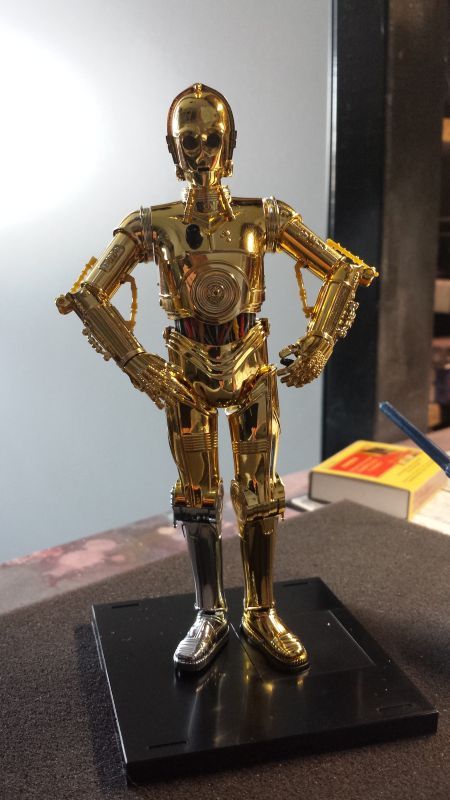
Dan ziijn dit nu alle onderdelen. Daarna is het slechts een kwestie van in elkaar klikken. En klaar.
These are all the parts that were created. Now it's just assembling everything. And done.