Link naar deel 1 / Link to part 1
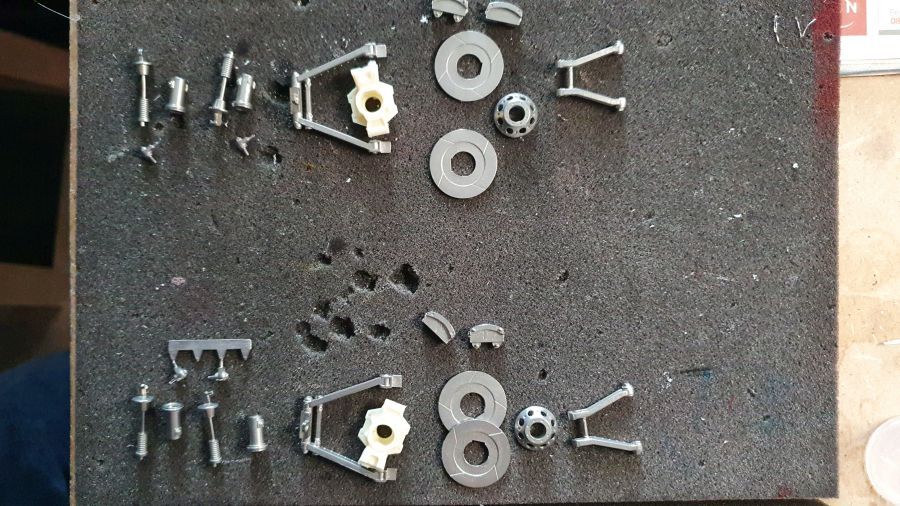
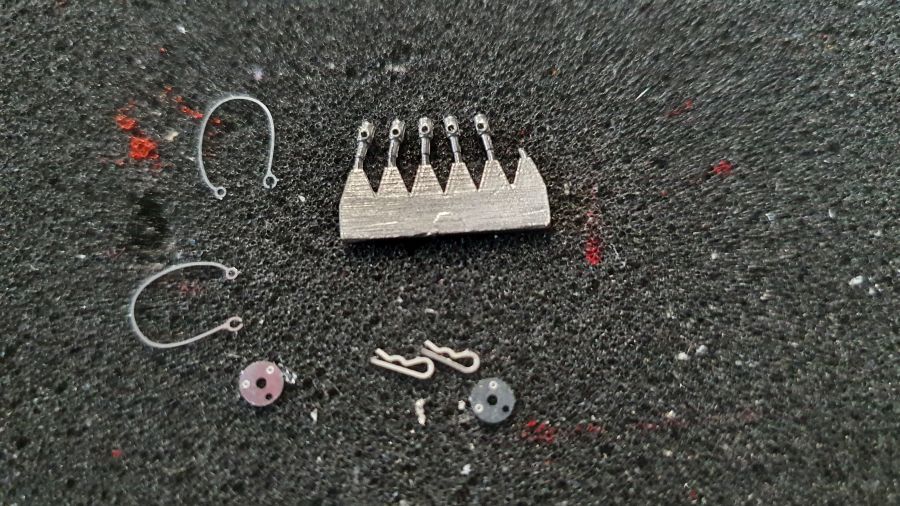
Dan de voorkant alvast voor een deel in elkaar zetten.
Next is assembling the front partially.
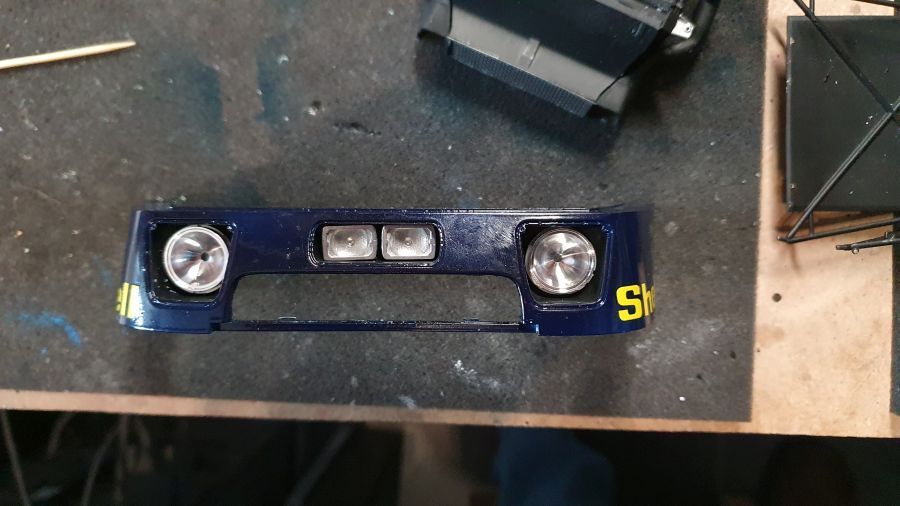
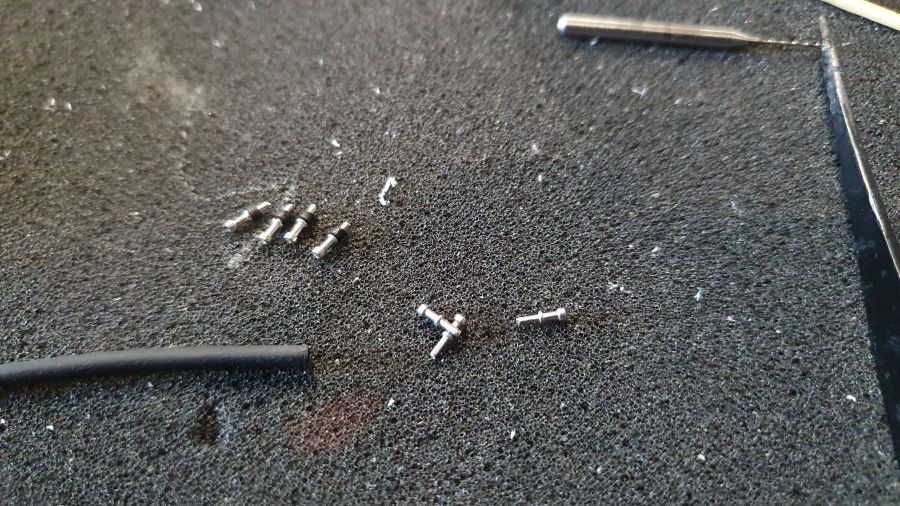
Een 'lampje' schoot door de kamer heen en weg dankzij het 'tapijtmonster'. Ik probeer nieuwe te maken van een drup superlijm.
A 'light bulb' flew through the room and gone thanks to the 'carpet monster'. I am trying to make new ones out of a drop of super glue.
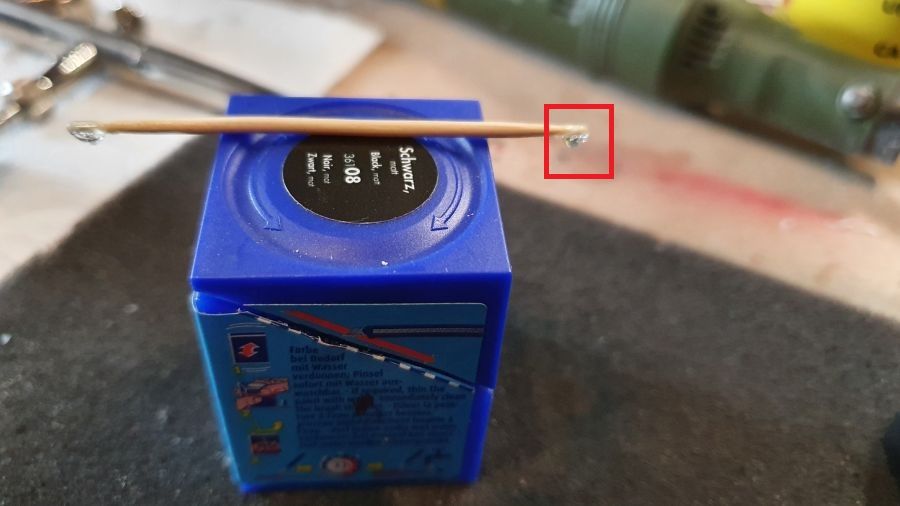
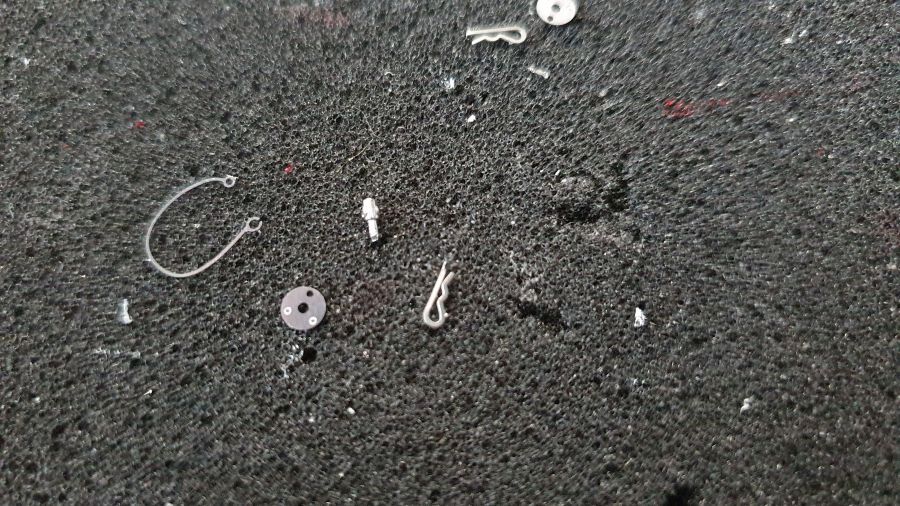
Dat werkte dus niet. Gelukkig kan ik weer een duik in de rommelkist maken... Ik maak de voorkant nog niet helemaal klaar in verband met het poetswerk dat nog gaat komen.
That didn't work. Luckily i can take a dive in my scrap box... I am not finishing the front as there will be some polishing work ahead.
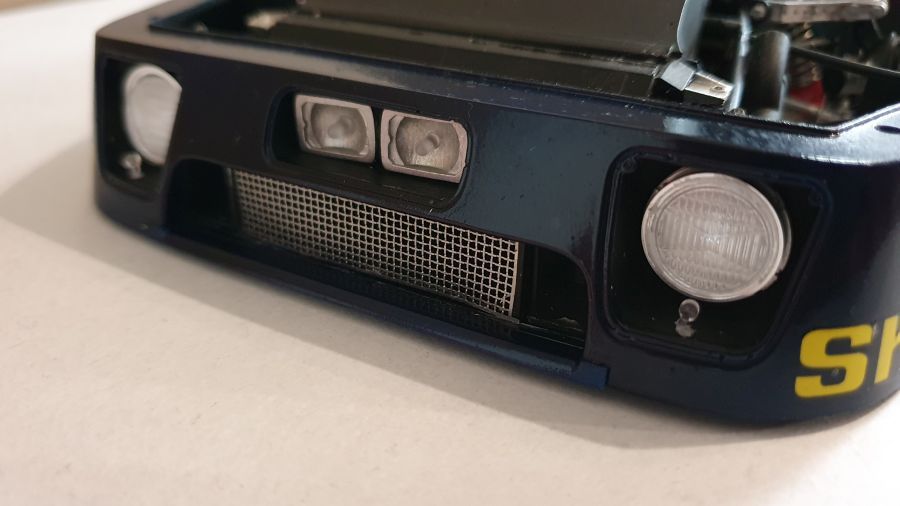
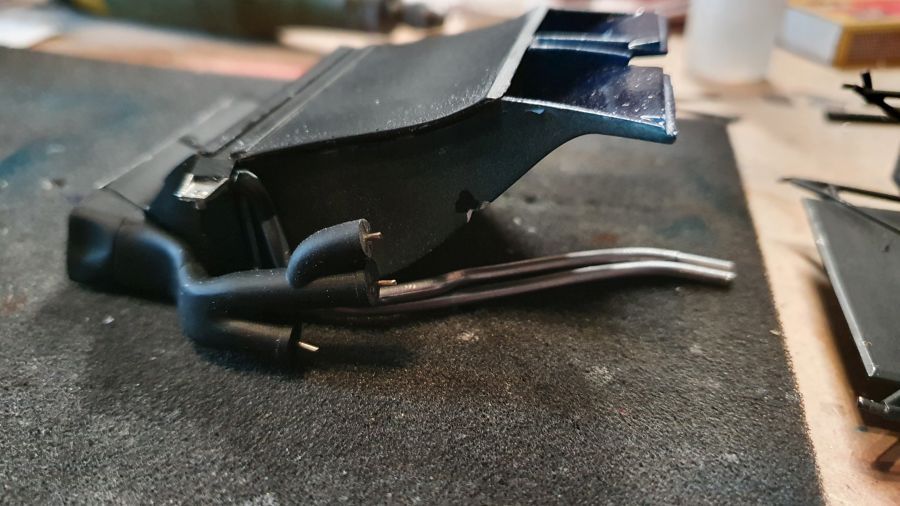
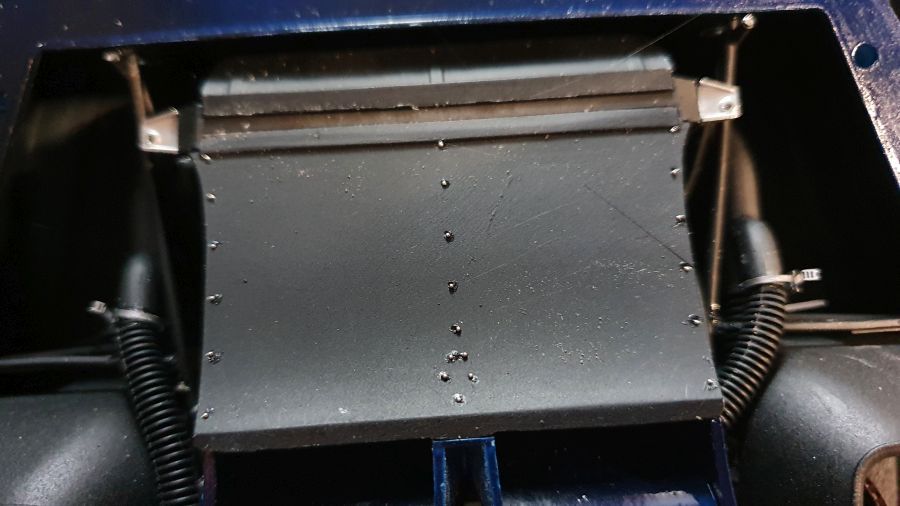
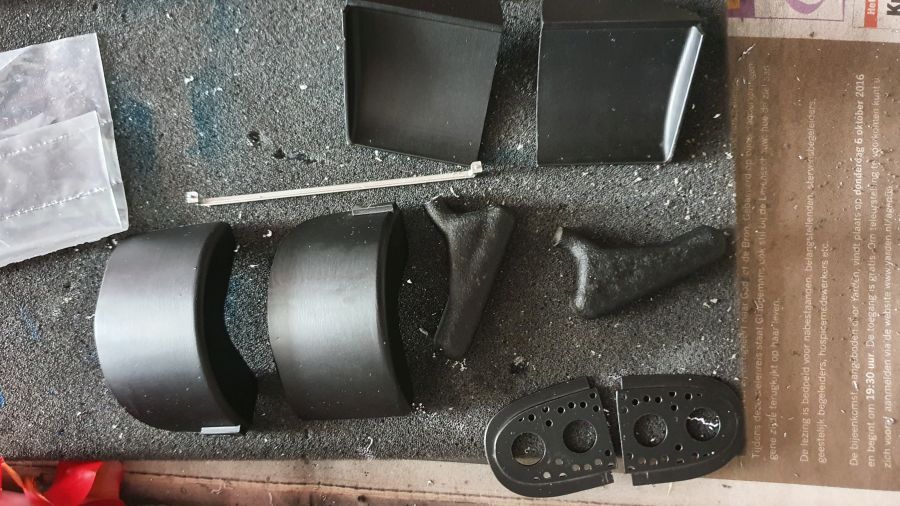
Nu eerst de wielkasten en slangen en dan wat detailwerk aan de voorkant waar MFH niet in voorziet.
Now first of all the wheelhouses and hoses and then some more detailing that MFH didn't provide.
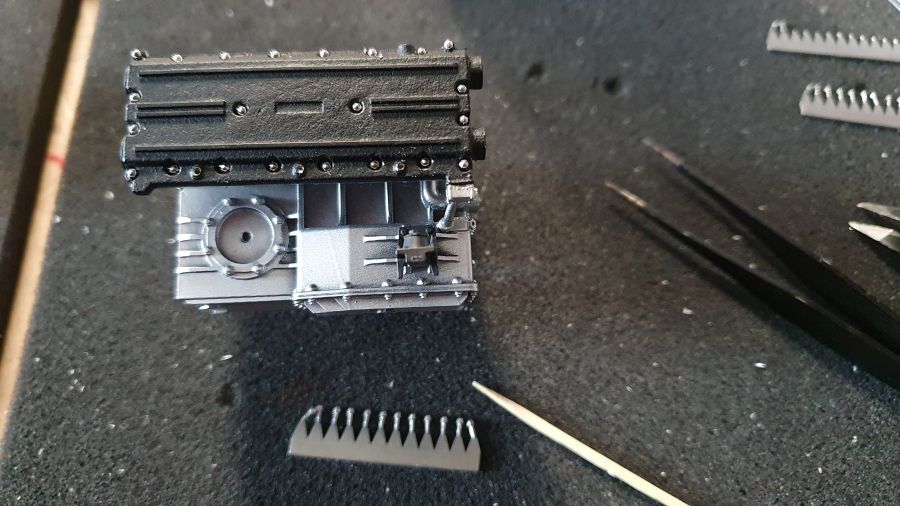
Meer soldeerballetjes geplaatst (0.55).
More solder balls added (0.55).
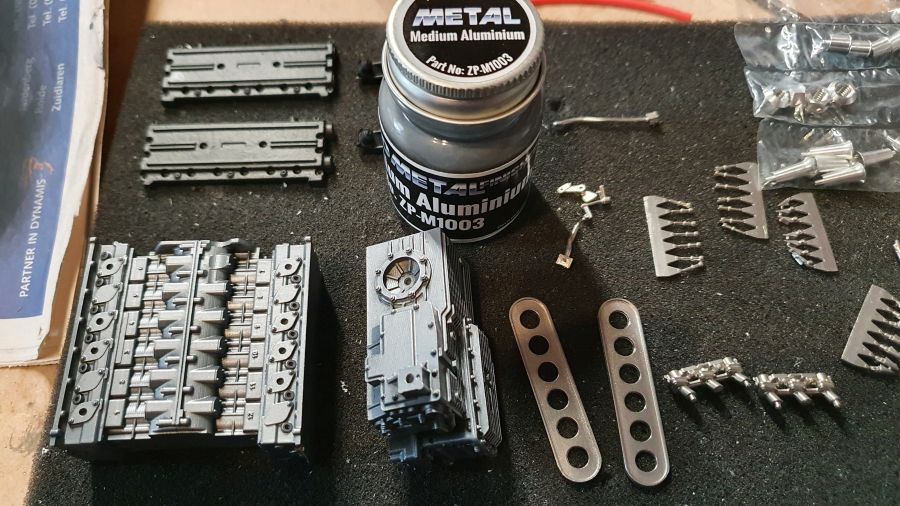
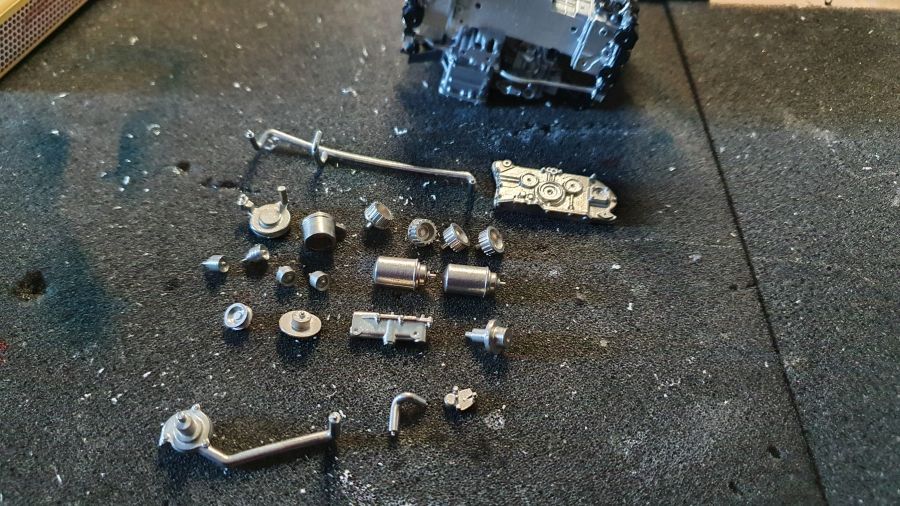
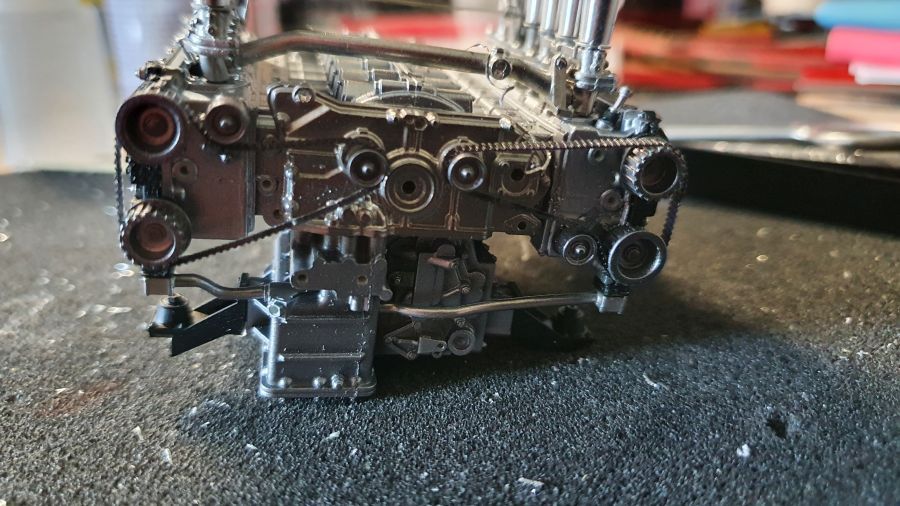
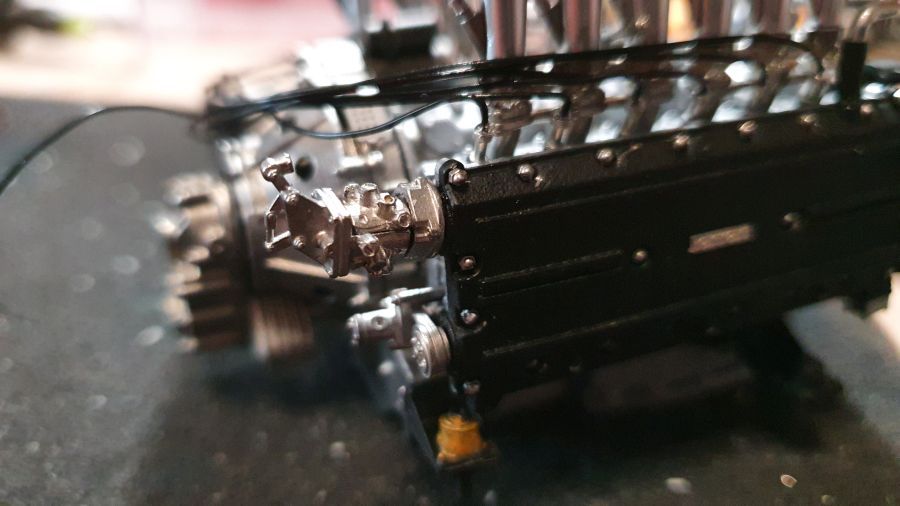
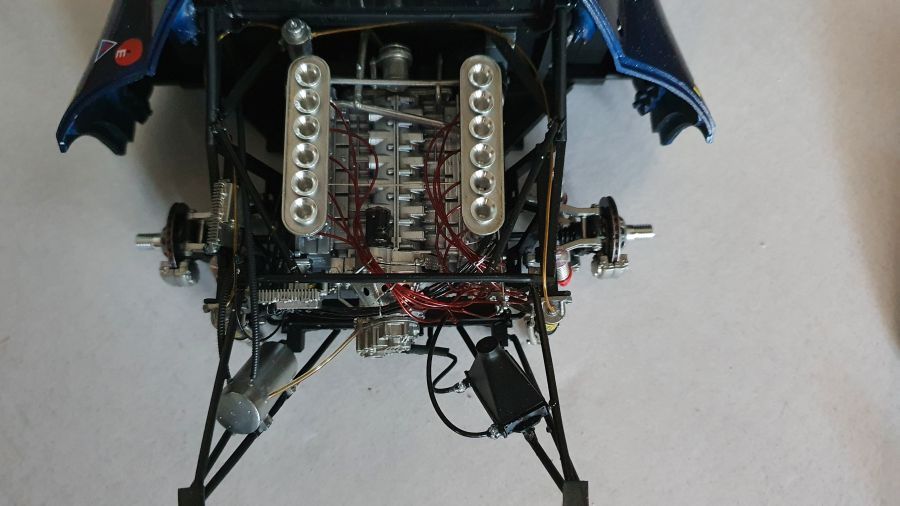
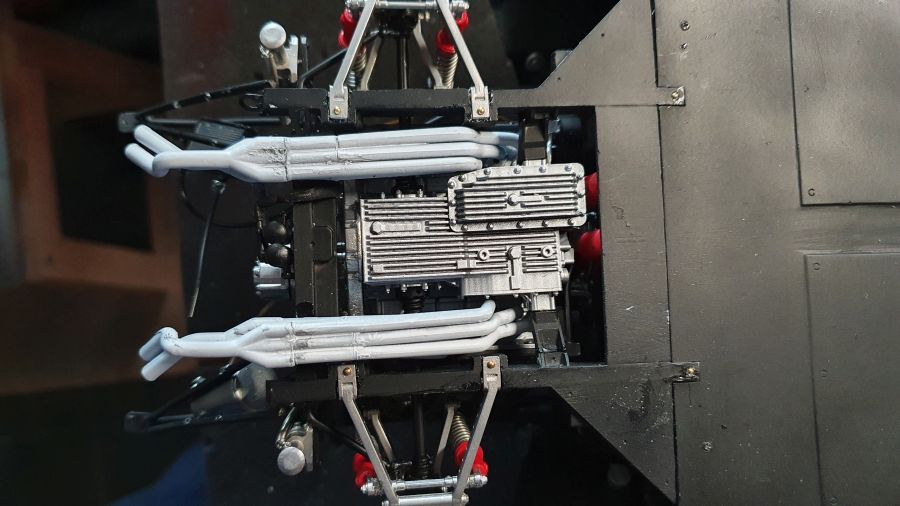
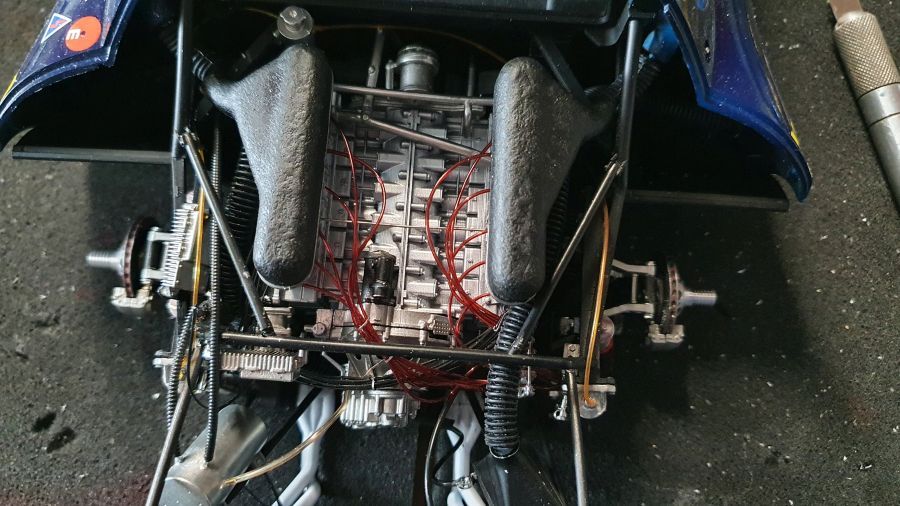
Nu de achterste helft. Verder met de motor...
Now the rear parts. To continue with the engine...
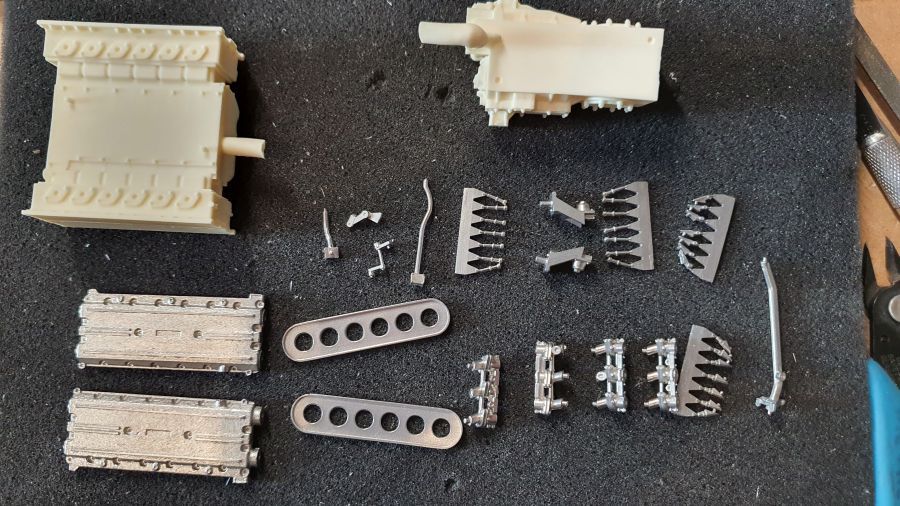
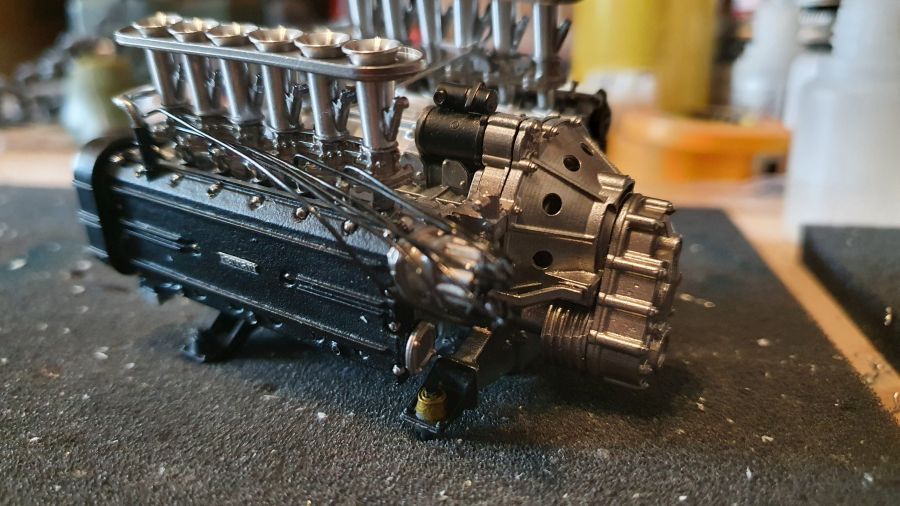
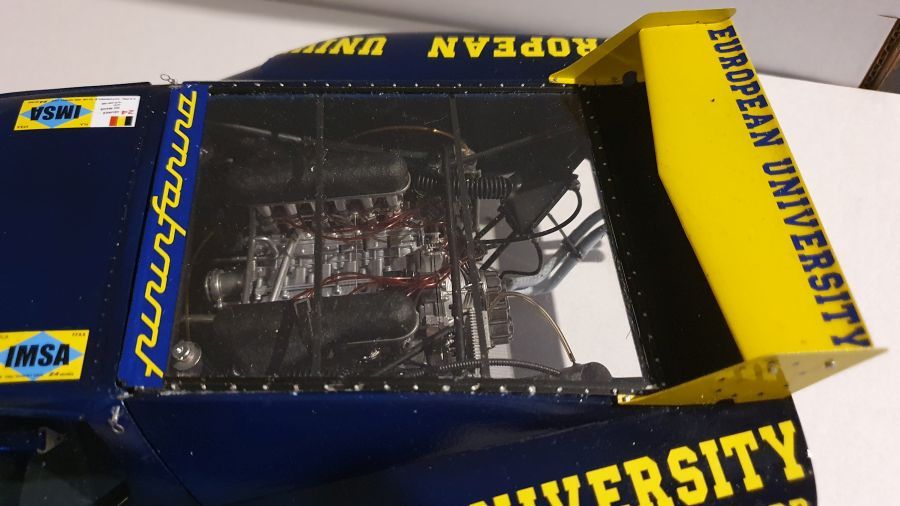
Ik gebruik medium aluminium voor de motor. Zero Paints ZP-M1003. Ik vind het toch te donker. Je kunt het niet goed zien op de foto, maar het is meer grijs.
I am using medium aluminium for the engine. Zero Paints ZP-M1003. I think it's too dark. You can't see it well on the photo, but it's more grey.
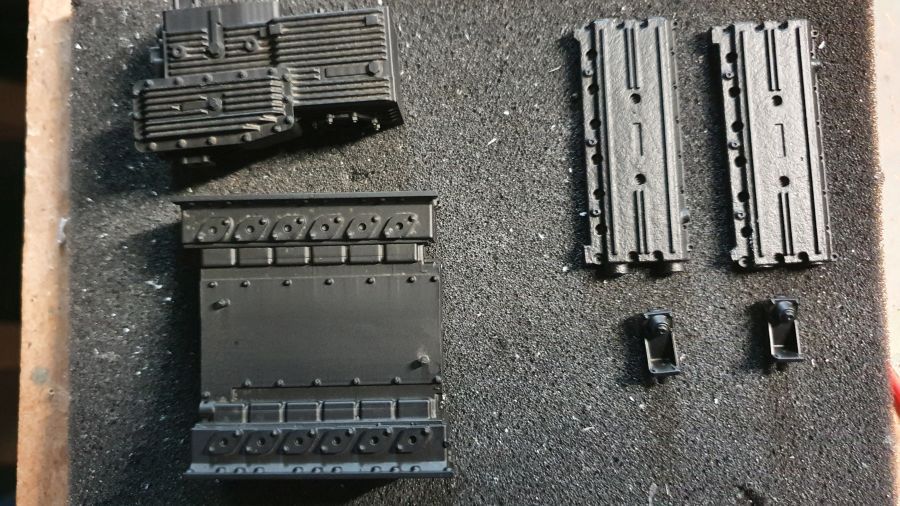
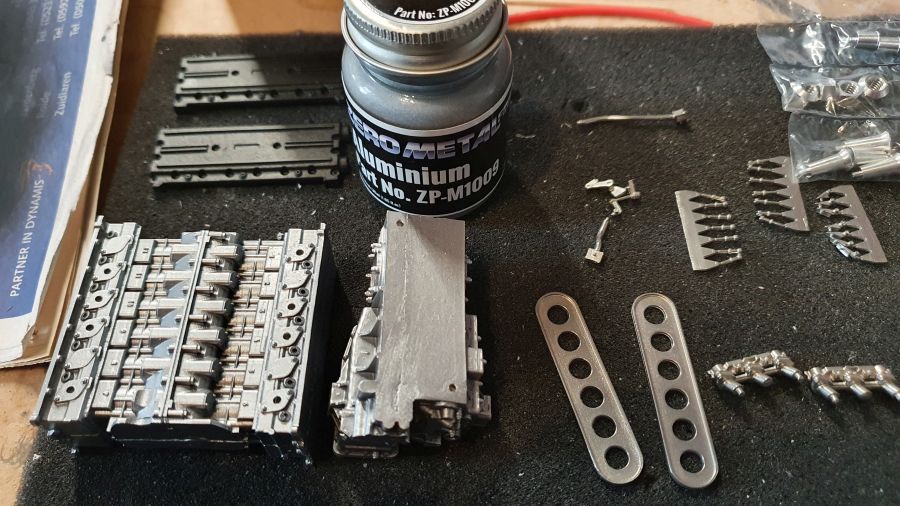
Bij nader inzien dus toch maar aluminium. Zero Paints ZP-M1009. Ik vind het beter.
On 2nd glance i will do aluminium. Zero Paints ZP-M1009. I think it's better.
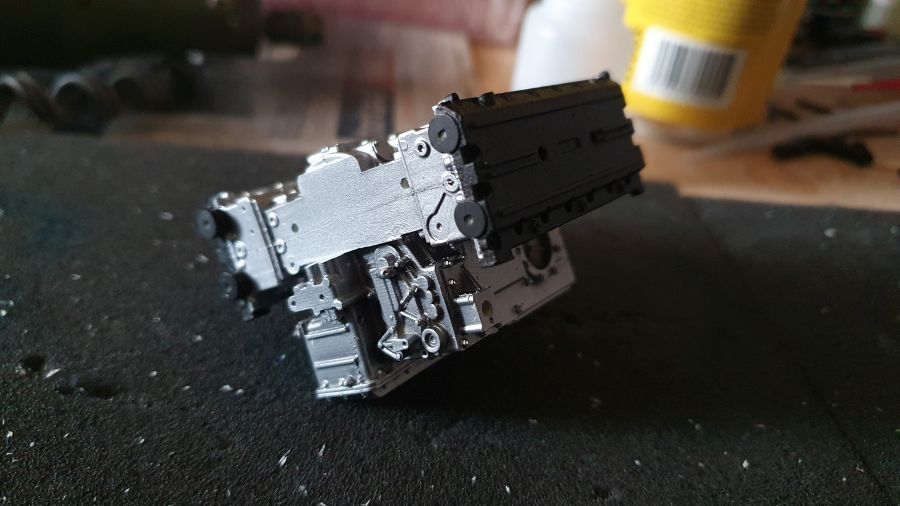
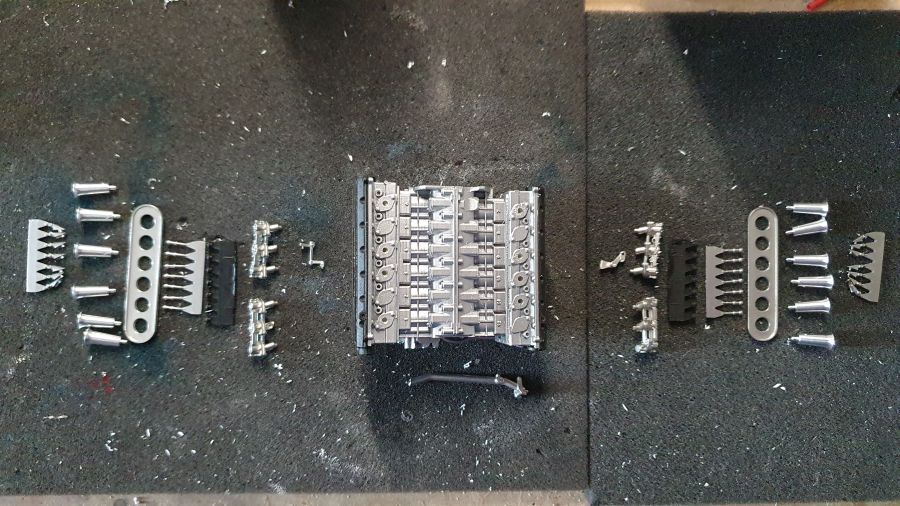
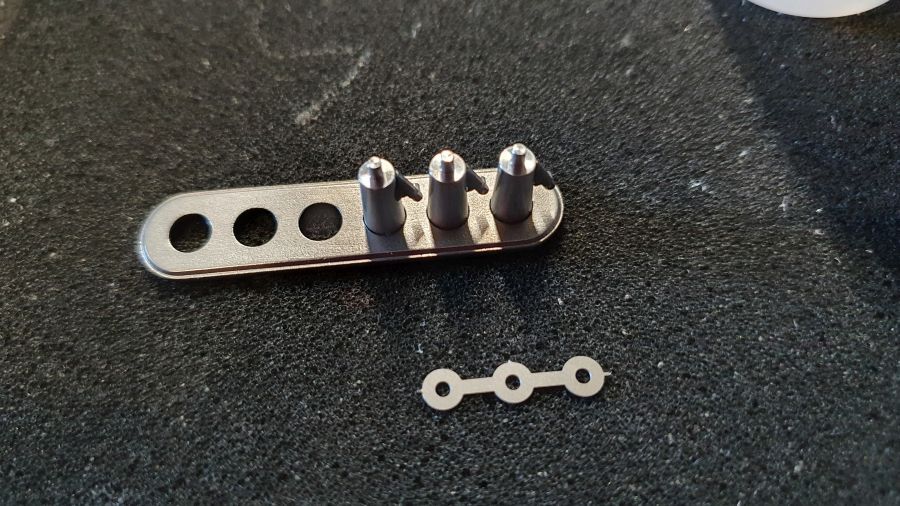
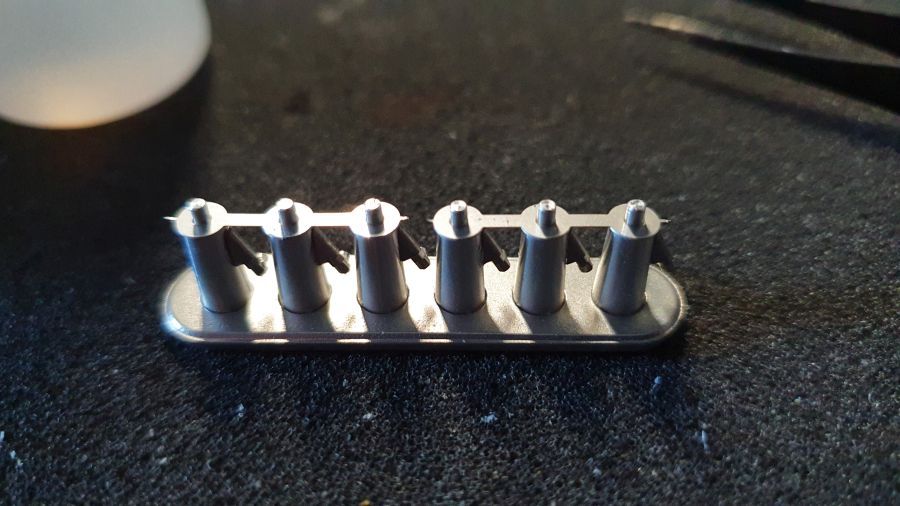
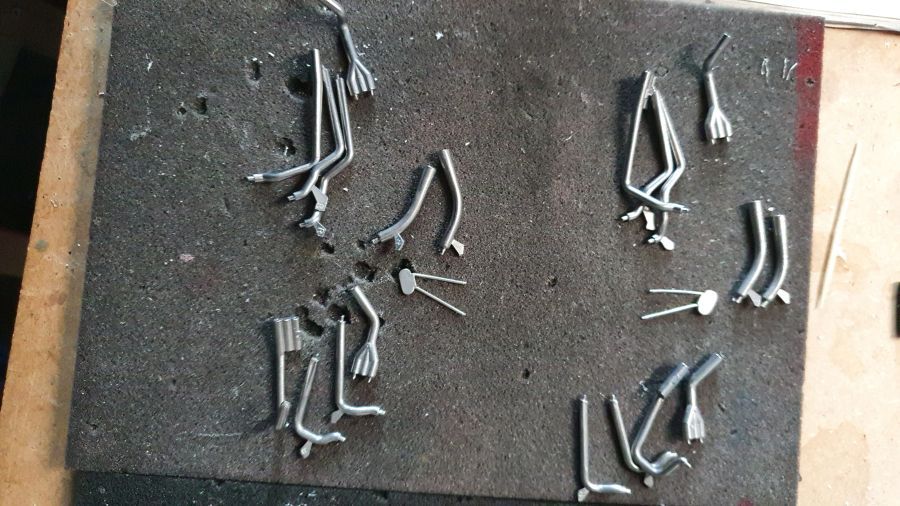
Dan de moeren plaatsen...
Adding the nutters...
Dan de rest...
Then the rest...
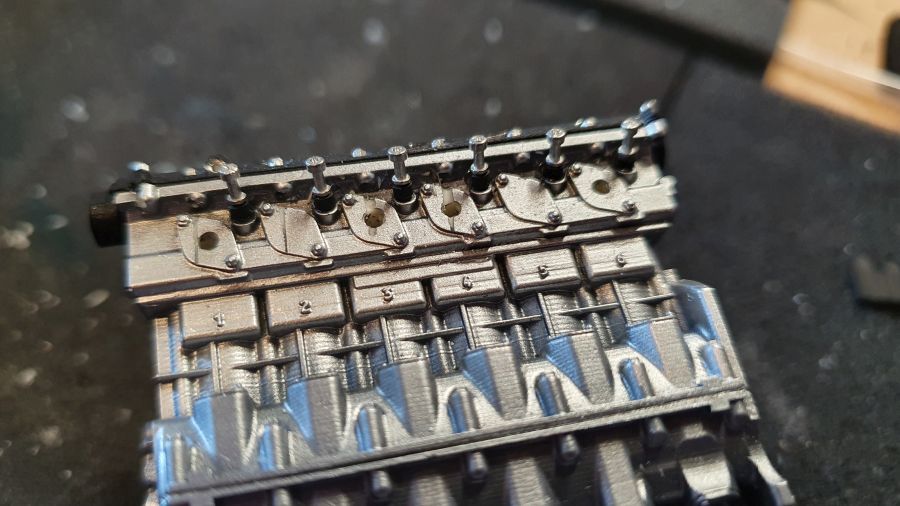
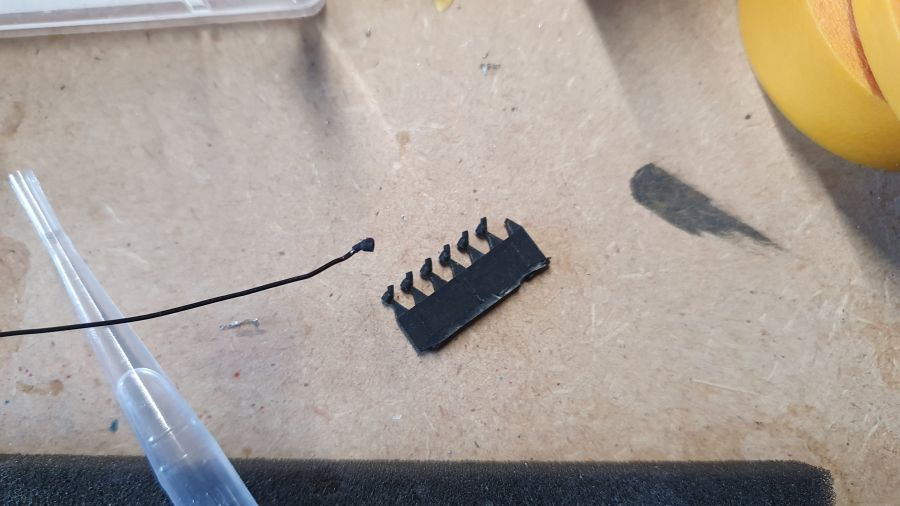
De rubbers moeten om de pinnen. De 1e gaat nog wel, maar daarna slaat het tapijtmonster weer toe.
The rubbers should go around the pins. The 1st is o.k., but then the carpet monster strikes again.

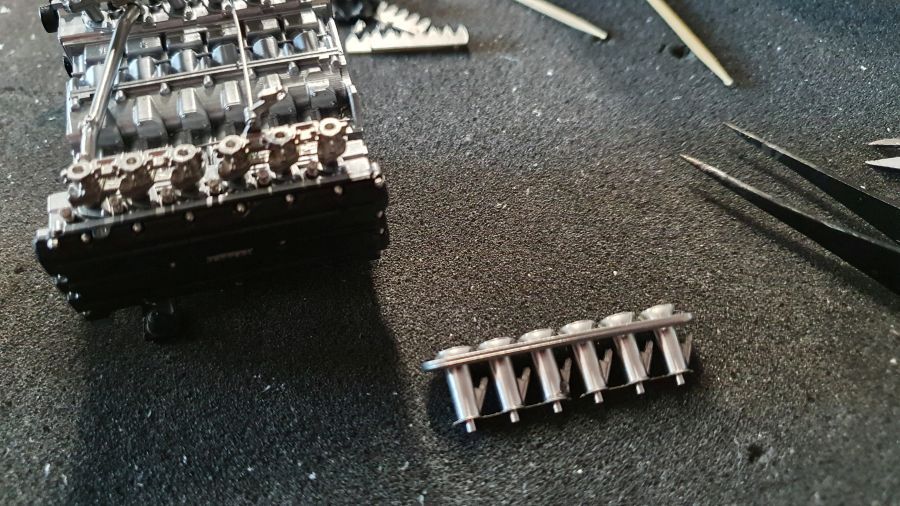
Ik ga het dan maar doen met krimpkous. IK denk dat dat best goed gaat.
I will then try using shrink tube. I think it's pretty o.k..

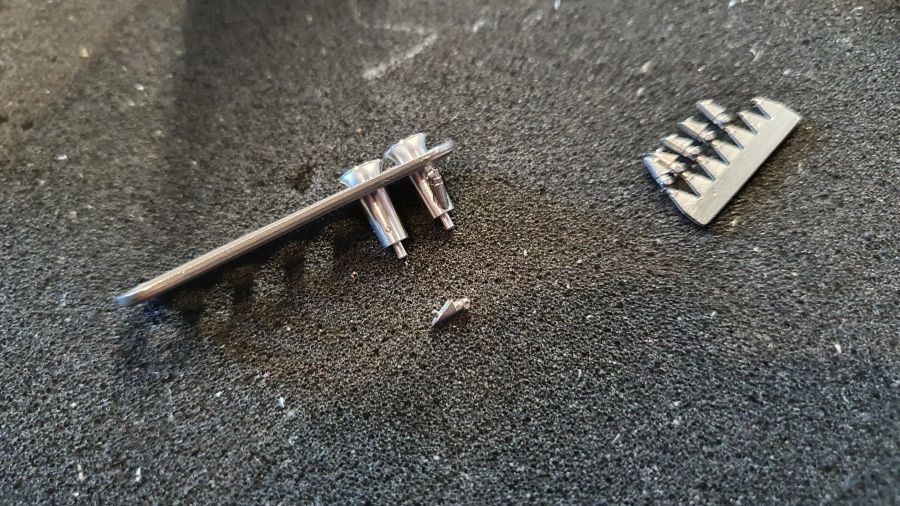
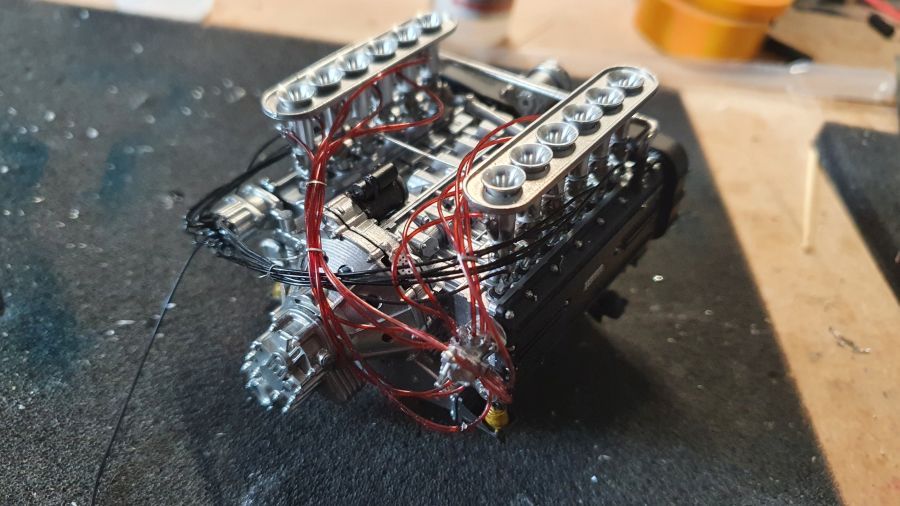
Monteer de injectie nadat de trompet door het gat is gestoken.
Mount the injection after sticking the trumpet through the hole.
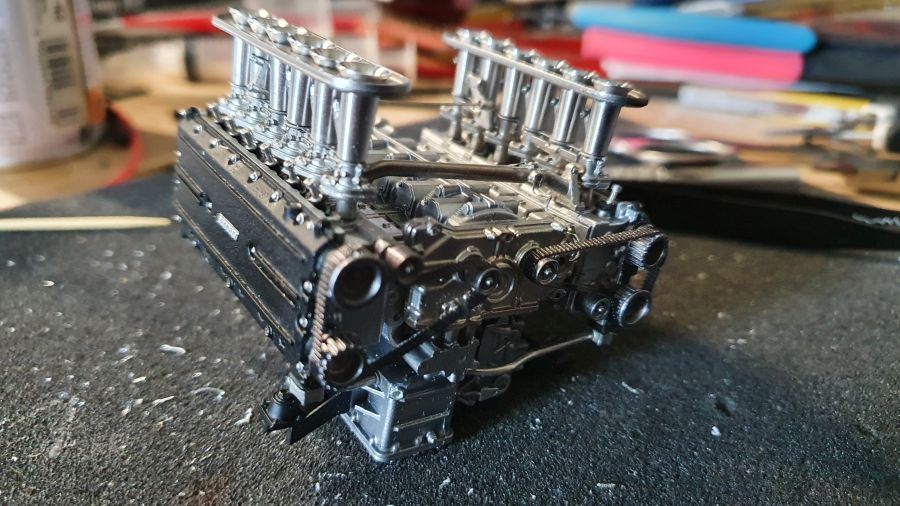


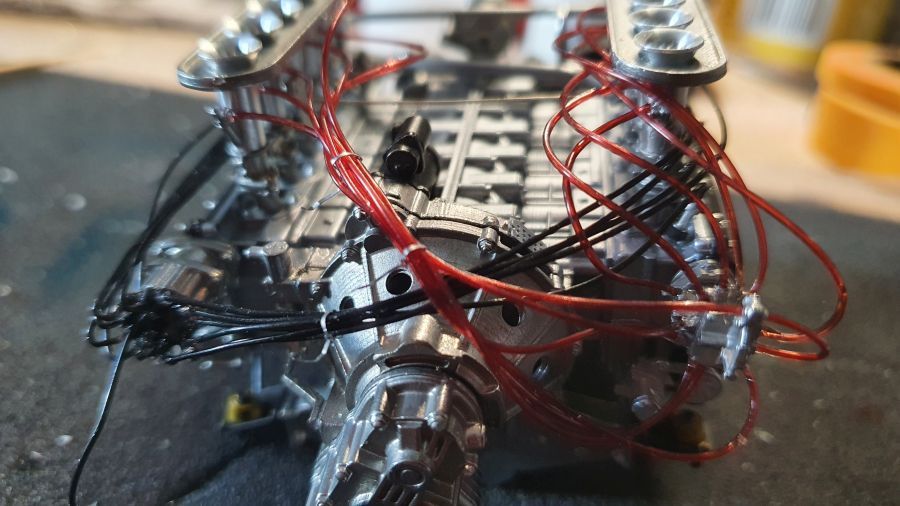
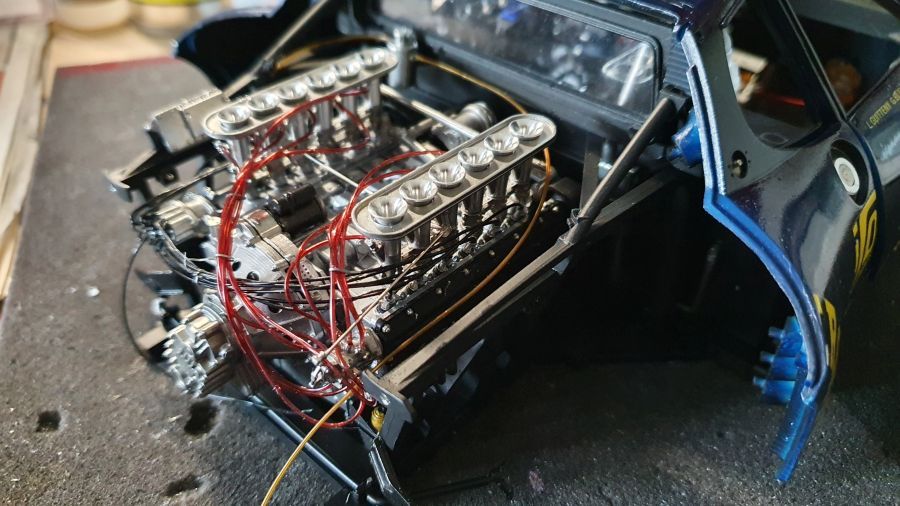
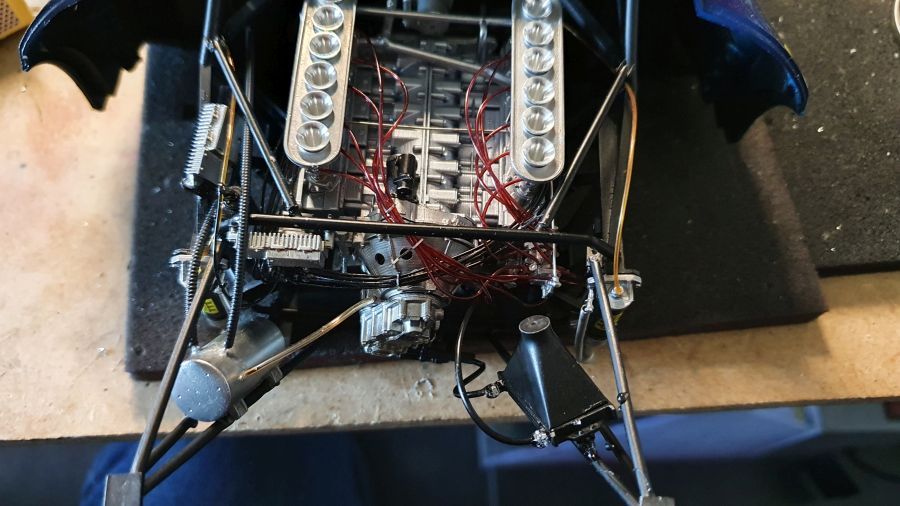
Door met de ontsteking...
On to the ignition...
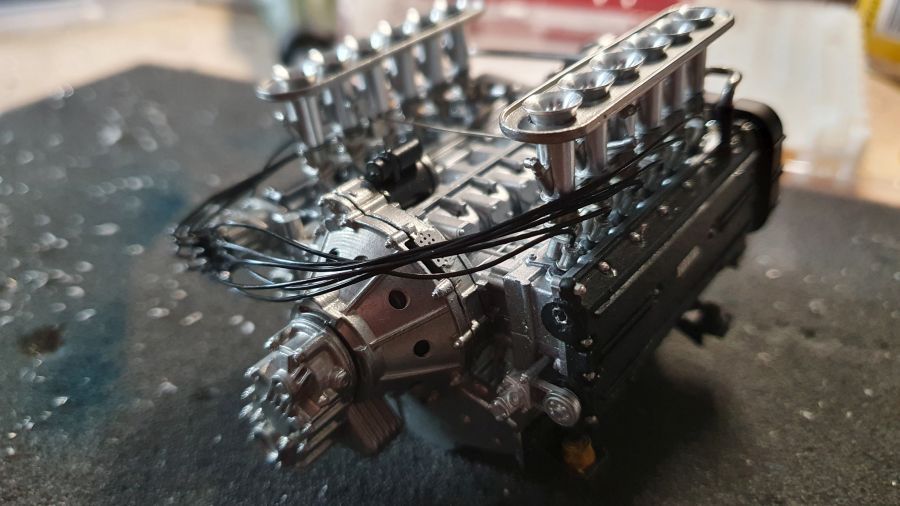
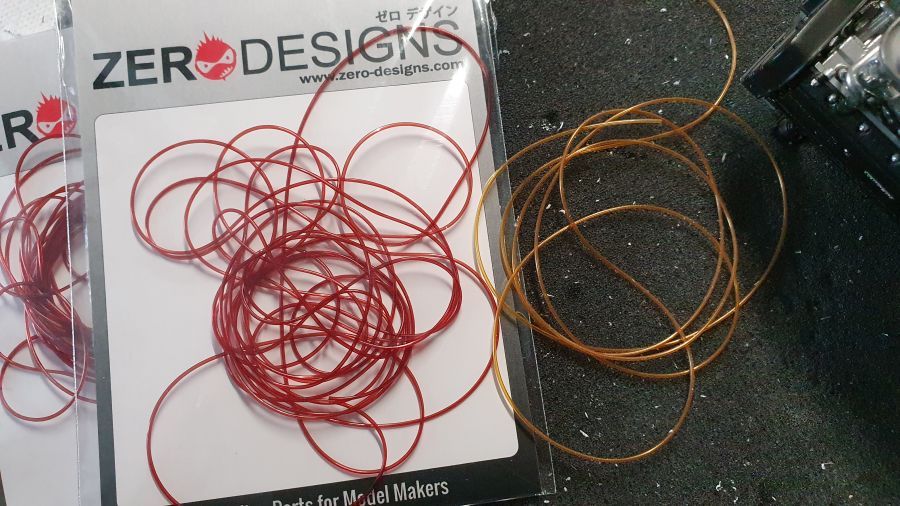
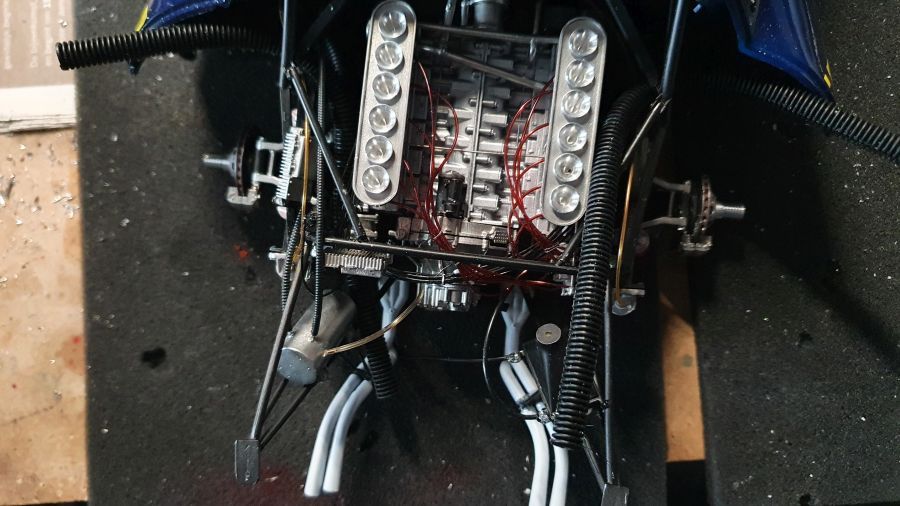
Er was niet genoeg draad voor de ontstekingskabels. Gelukkig had ik zelf nog een rol met dezelfde maat. Ik wil niet dat me dat overkomt met de benzineleiding. Ik vond nog 2 bosjes donkerbruin in mijn voorraad. Dat ga ik dus voor alle zekerheid gebruiken.
There was not enough length of ignition wire in the kit. I was lucky to have a roll of the same size. I don't want this to happen with the fuel lines. I found 2 bunches of dark brown in my stash. I will be using this to be sure.

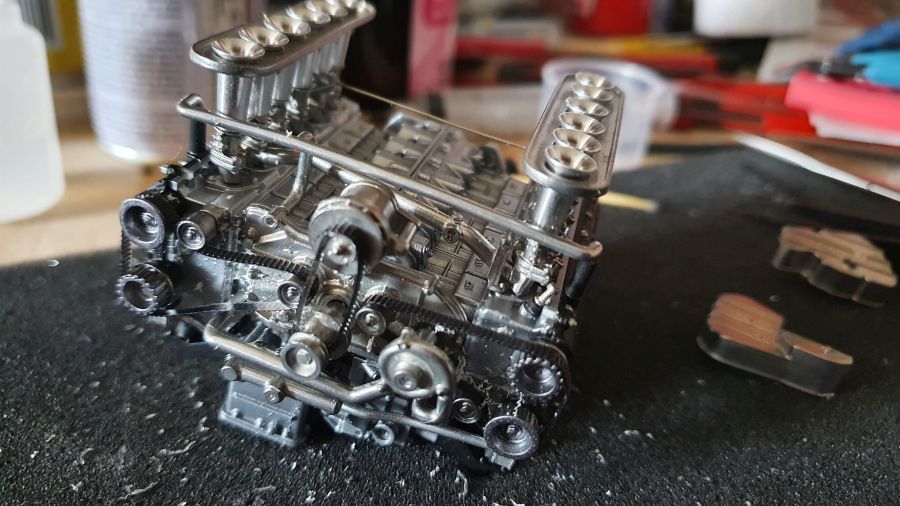
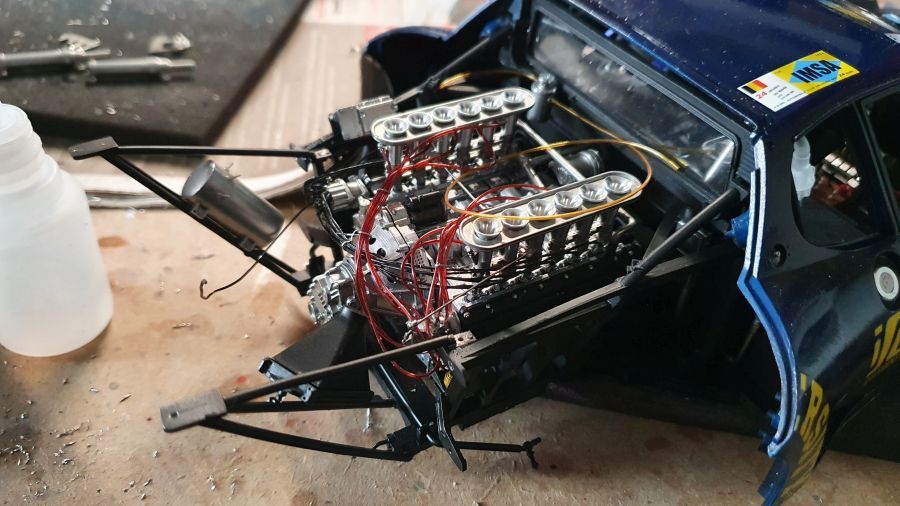
En wat orde in de chaos met een paar tie raps uit de rommeldoos.
And some order in the chaos with a few tie raps from the scrap box.
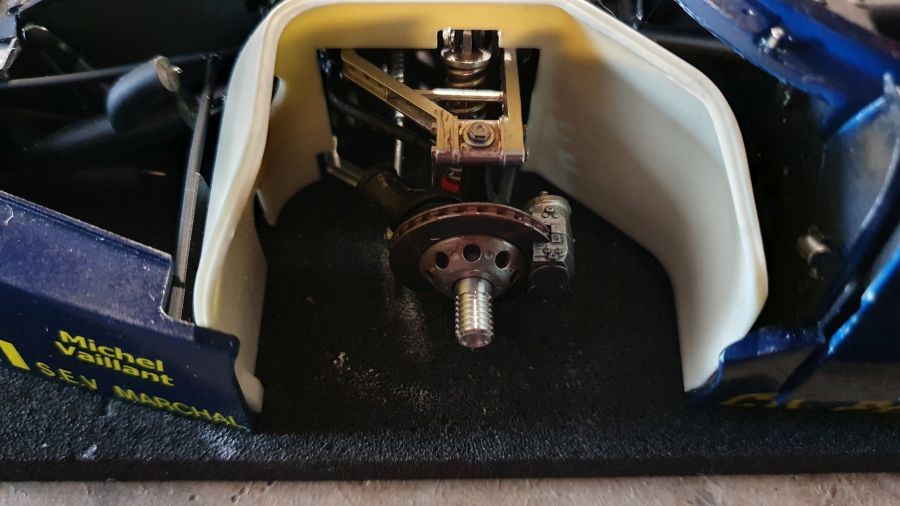
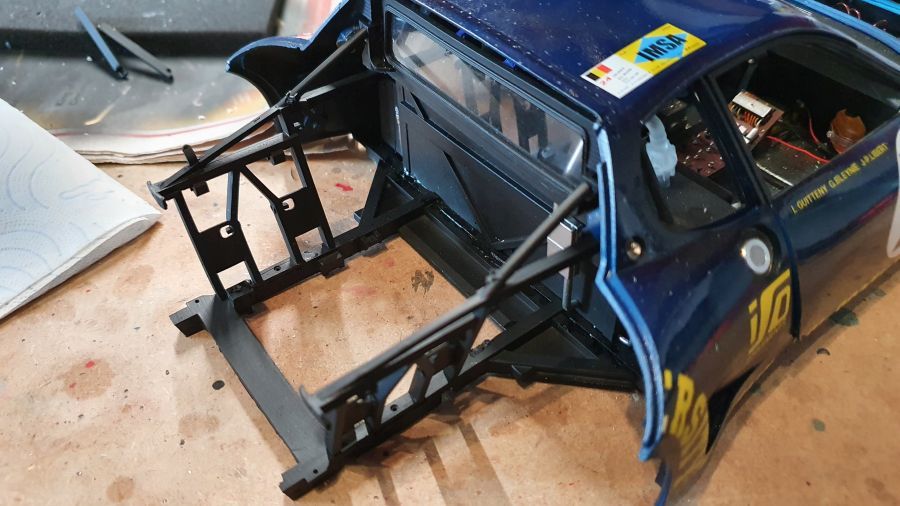
De volgende stap; de motorsteun.
The next step; the engine support.
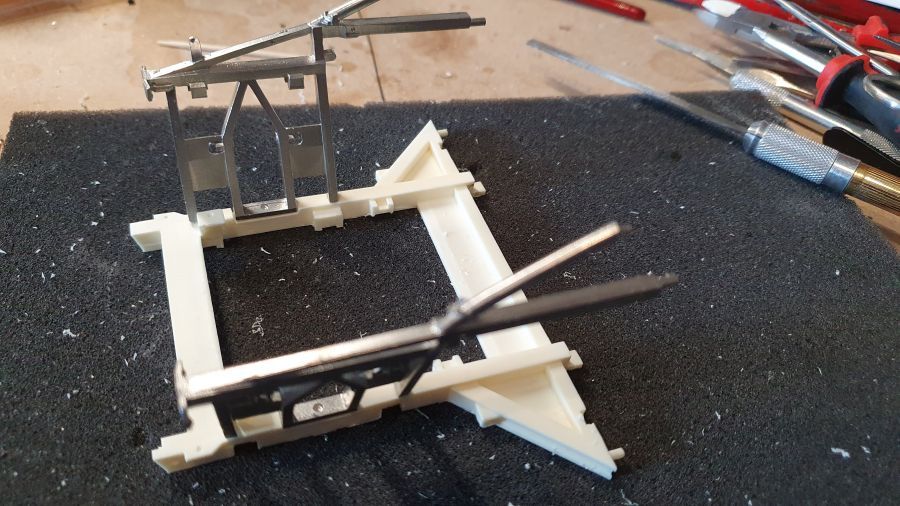
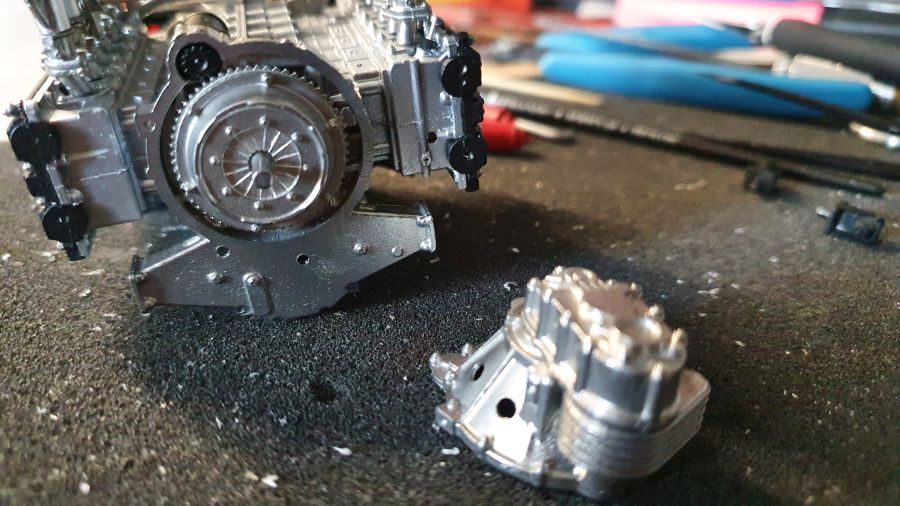
De motor past niet op het frame... Eerst maar aanpassen dus...
The engine doesn't fit the frame... So adjustments first...
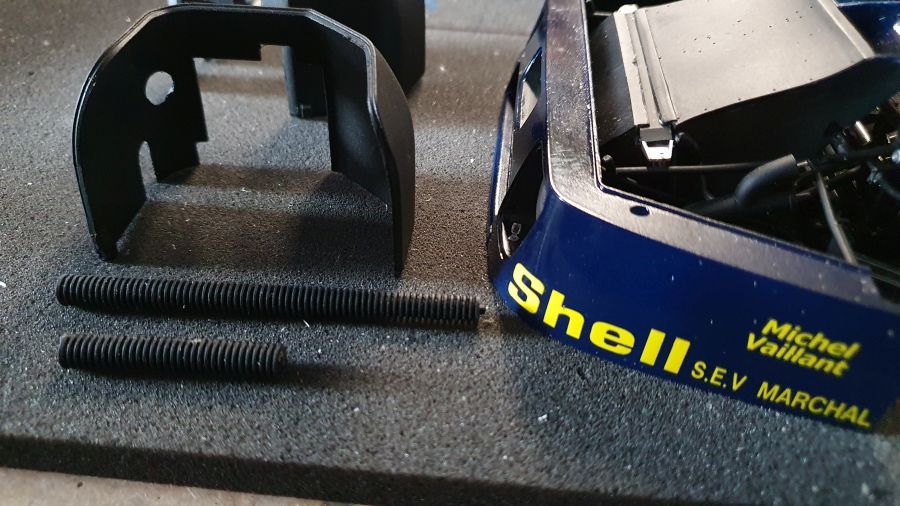
Het past nu, maar om dit aan de rest te monteren, dat gaat niet werken. Ik ga voor aparte bevestiging. Eerst het vloerdeel, dan de zijkanten.
It now fits, but attaching this to the rest, that will not work. So i will do separate mounting. First the floor part, then the sides.
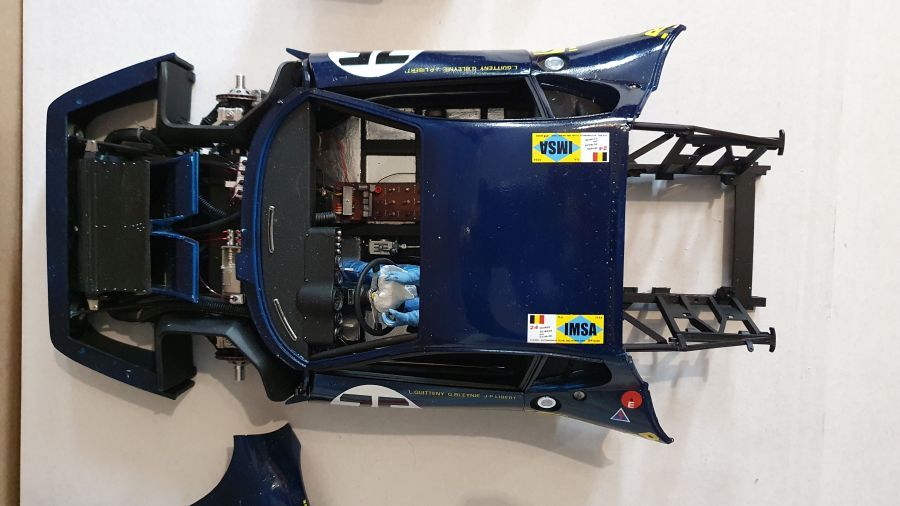
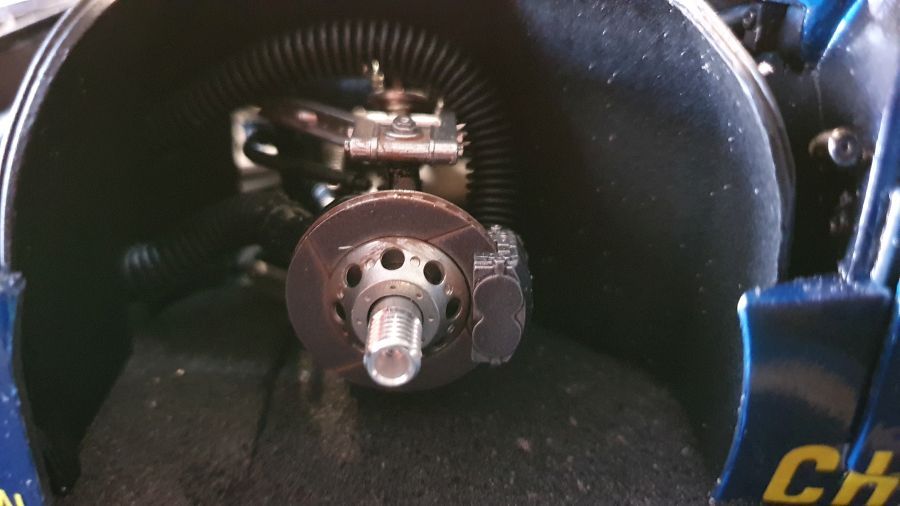
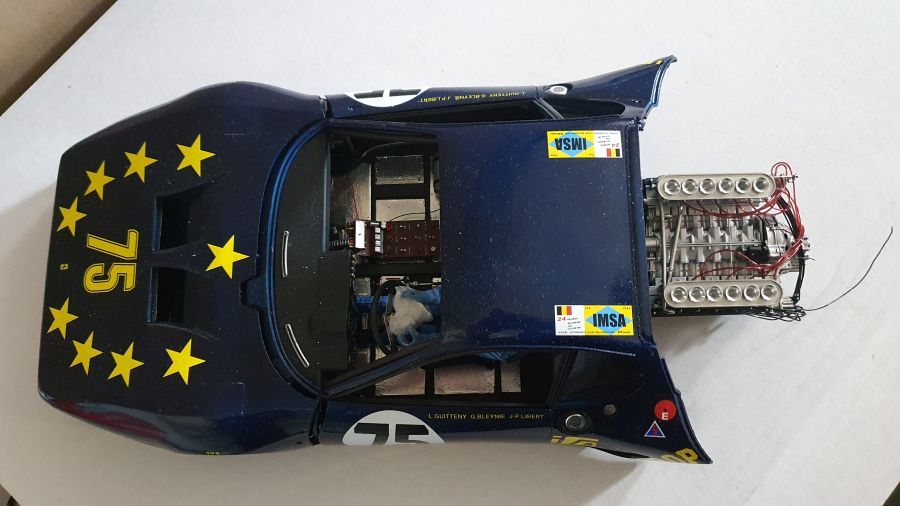
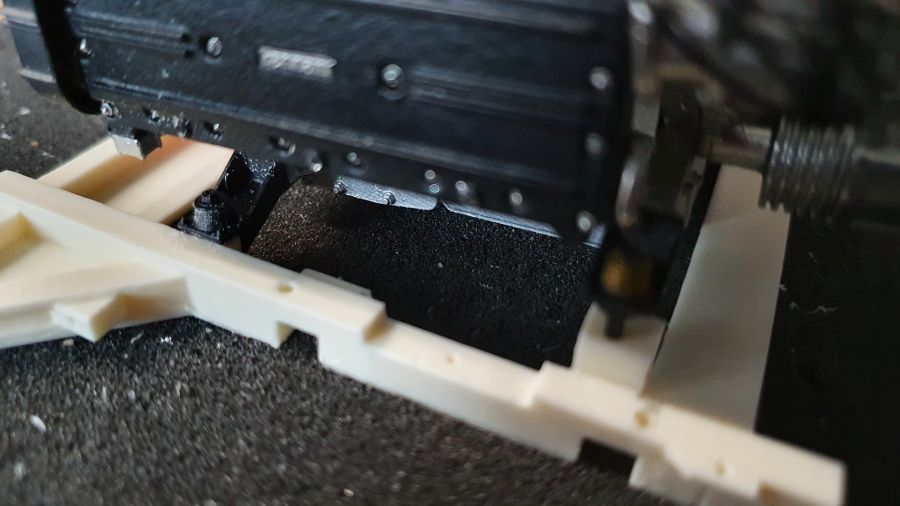
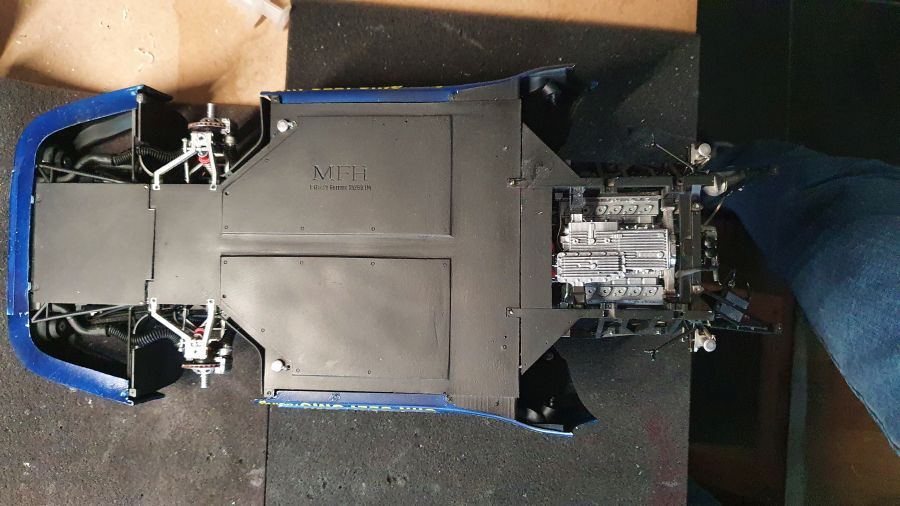
En dan het huwelijk...
And then the marriage...
Dit past totaal niet, zit er mijlen ver naast.
This doesn't fit at all, misses it for miles.
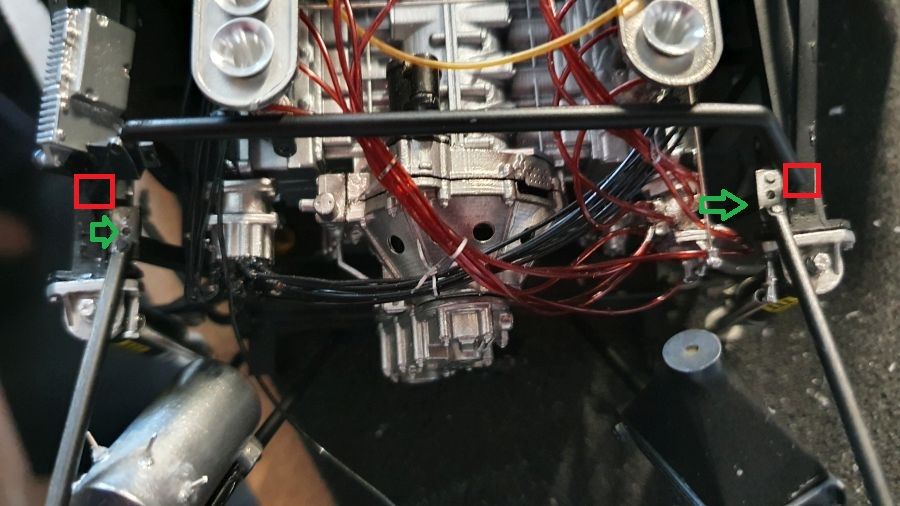
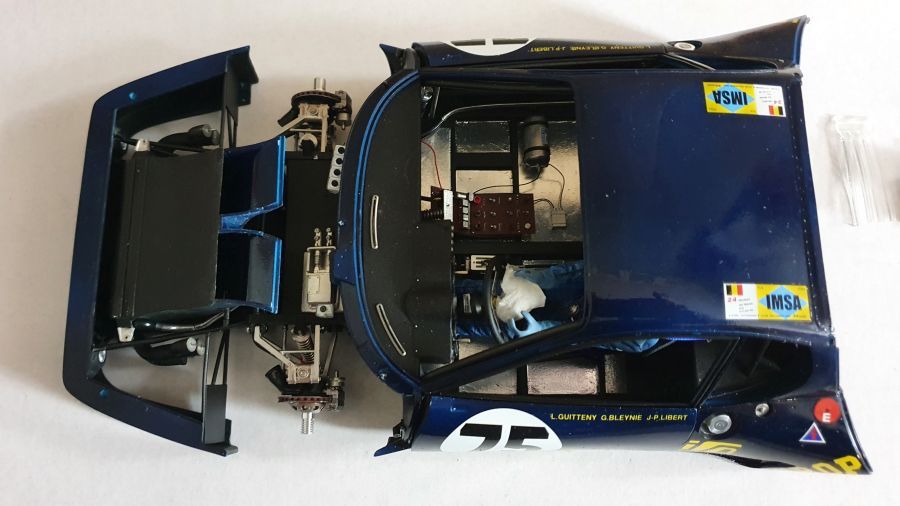
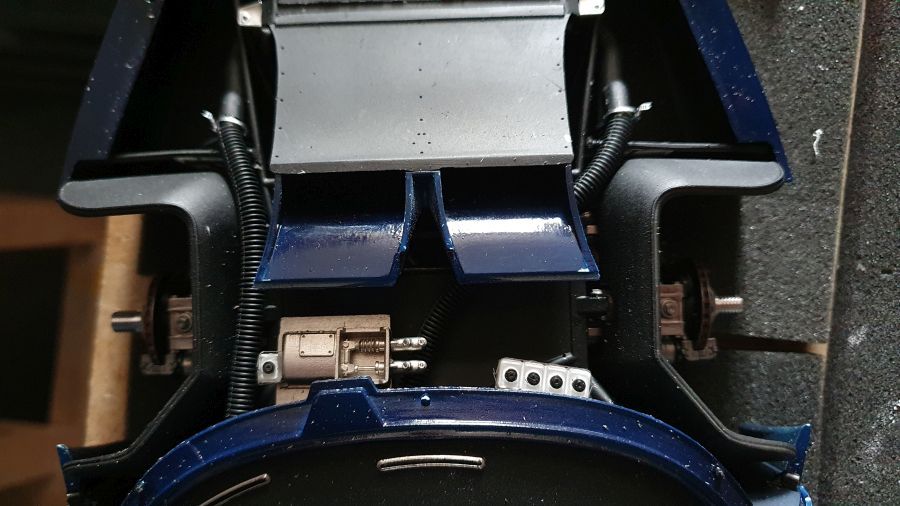
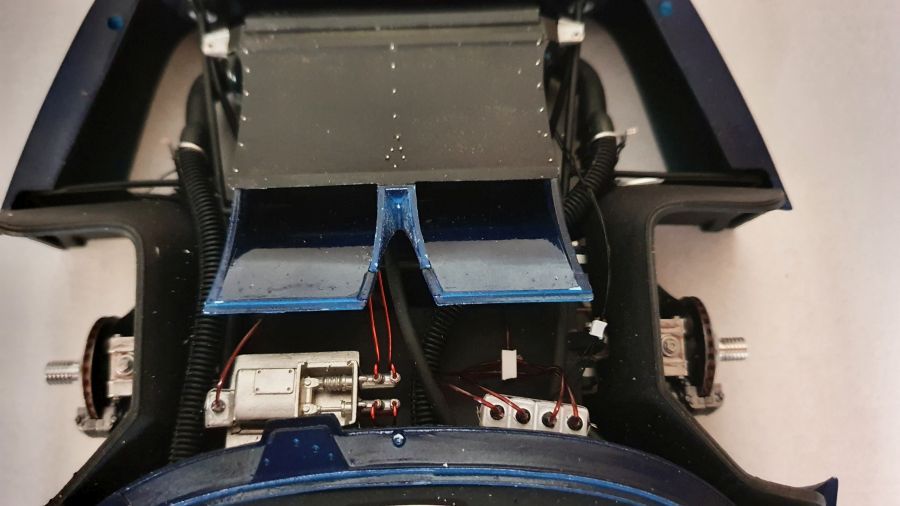
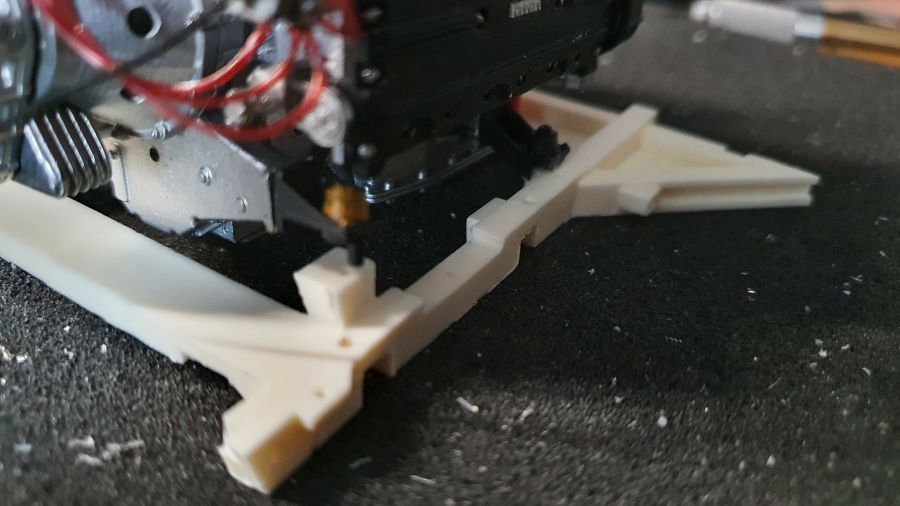
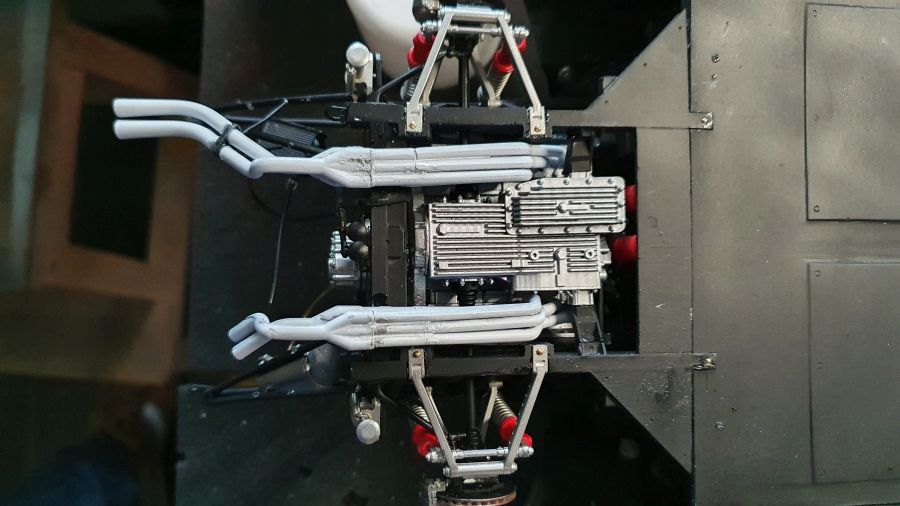
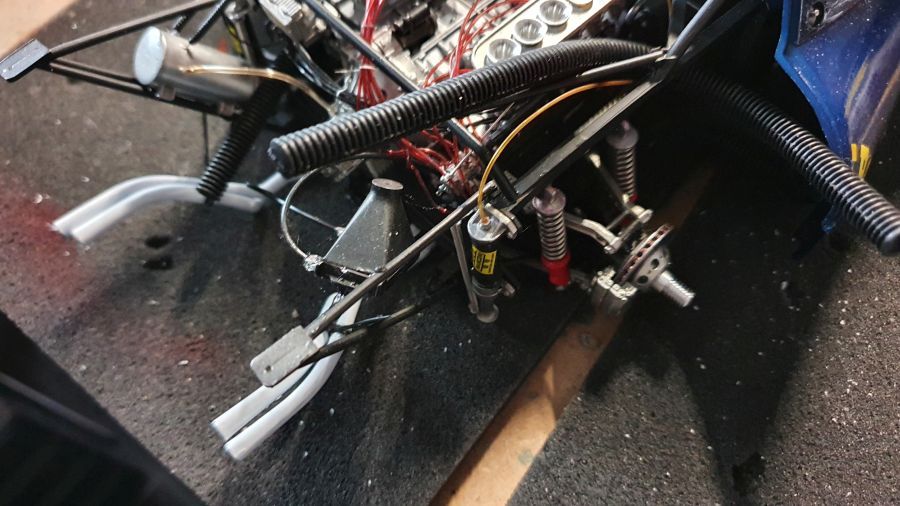
Nu geplaatst met wat improvisatie en meer bedrading toegevoegd.
Now attached with some improvising and more wiring and tubing added.
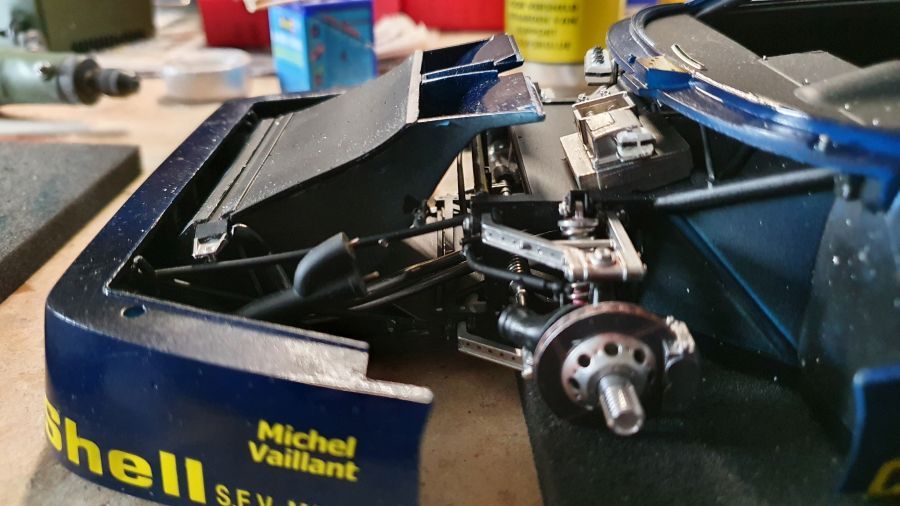
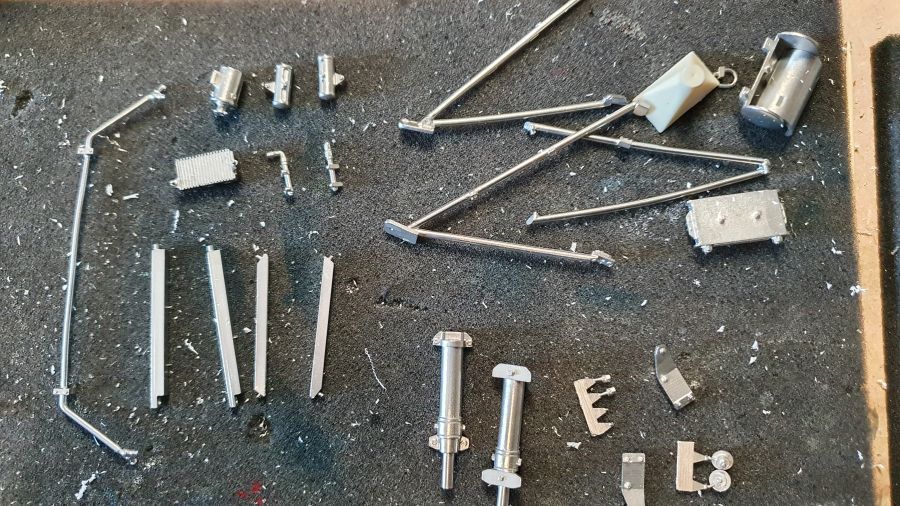
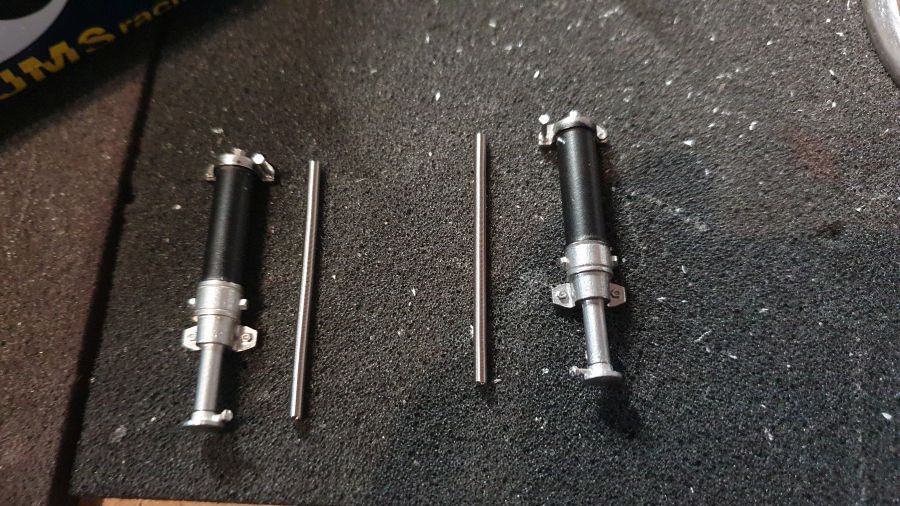
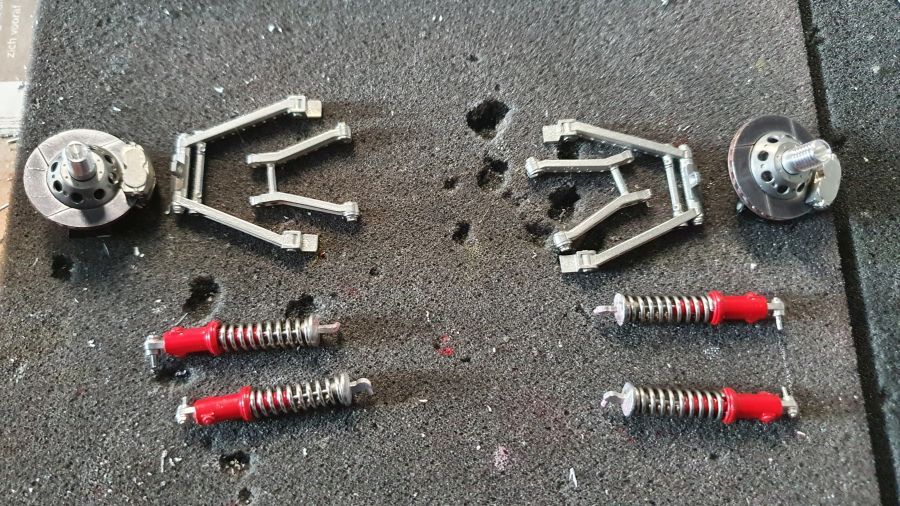
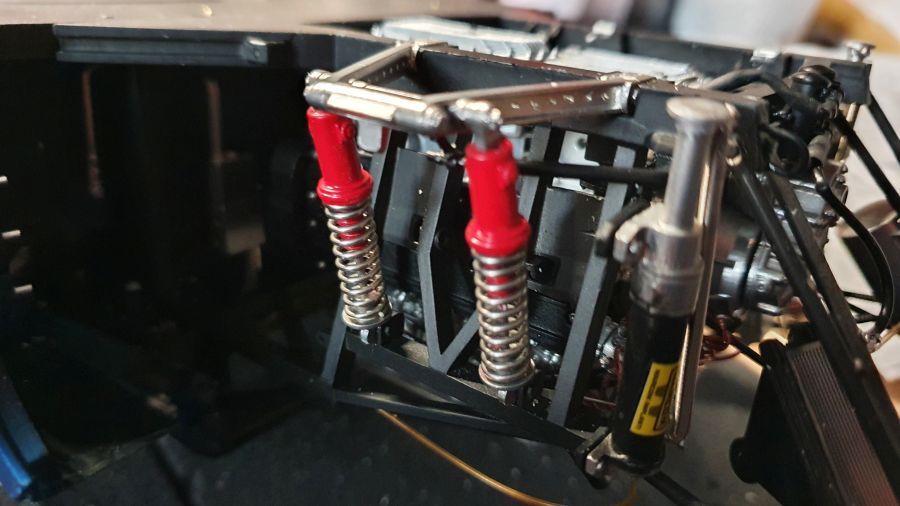
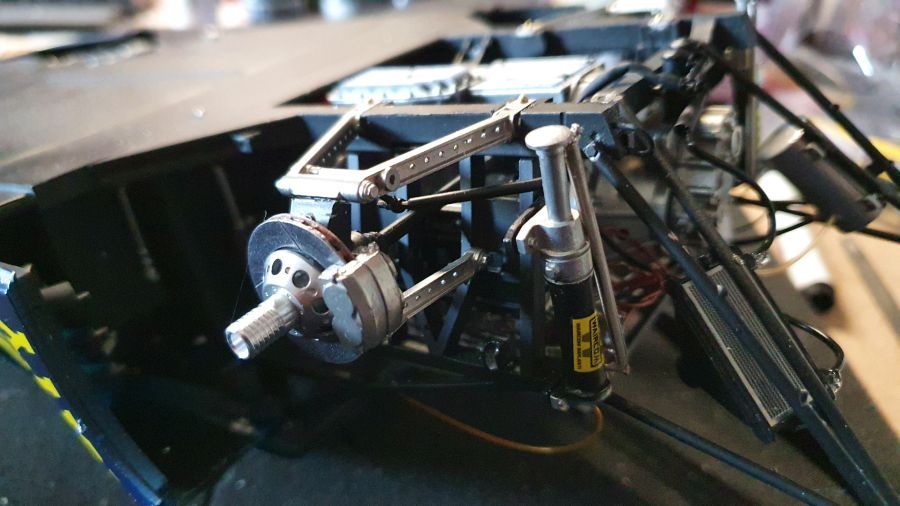
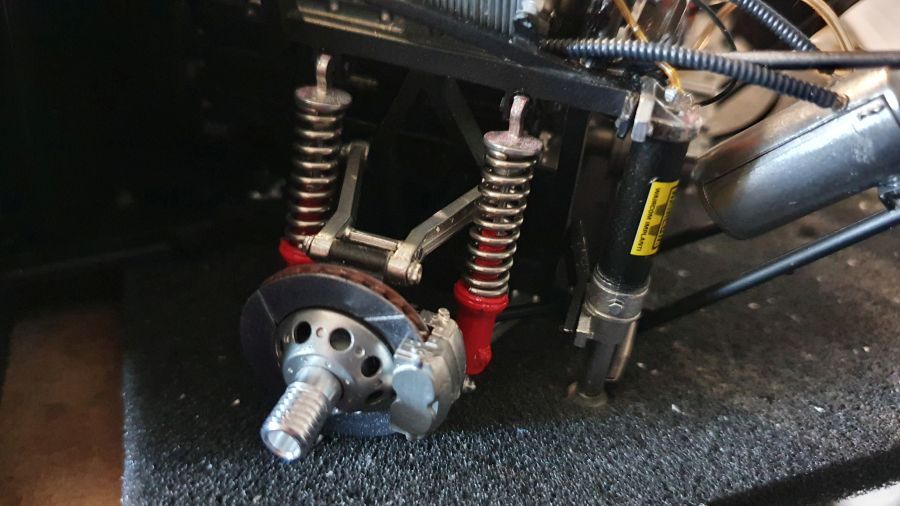
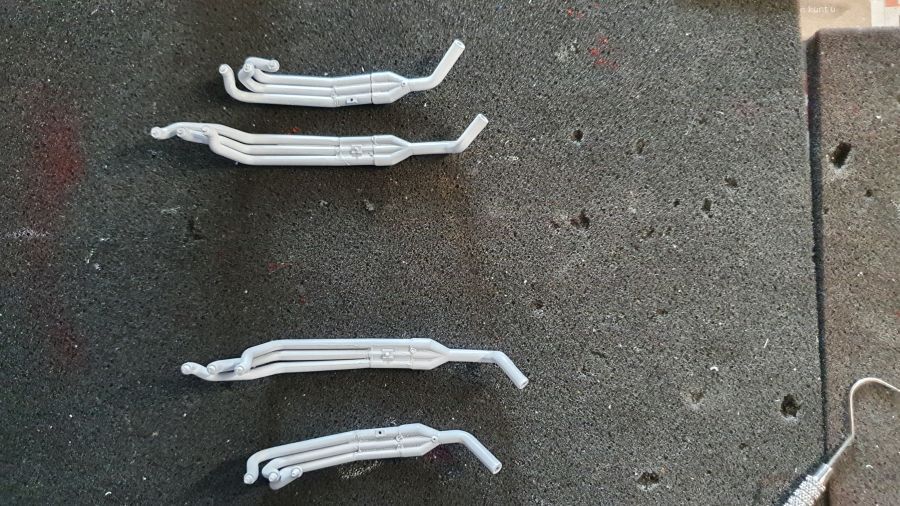
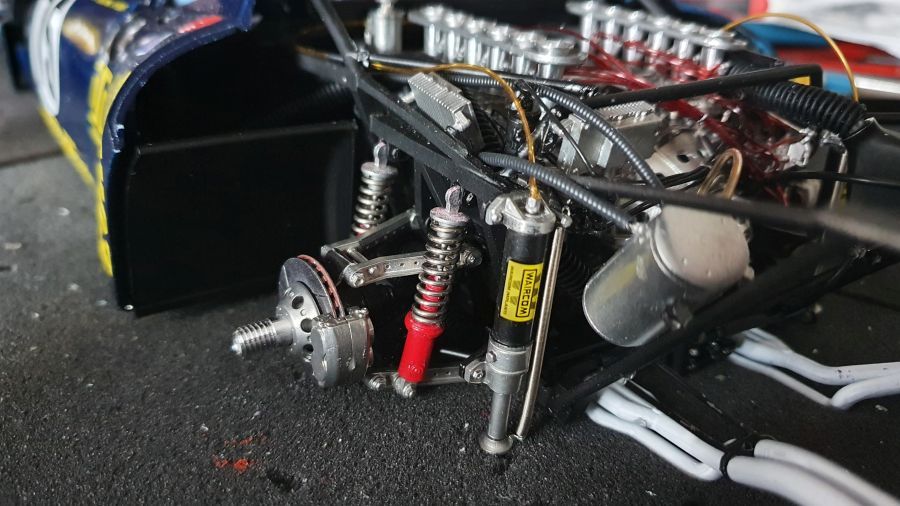
Dan het in elkaar zetten van de uitlaten en de achterwielophanging.
Next is the assembly of the exhausts and the rear wheel suspension.
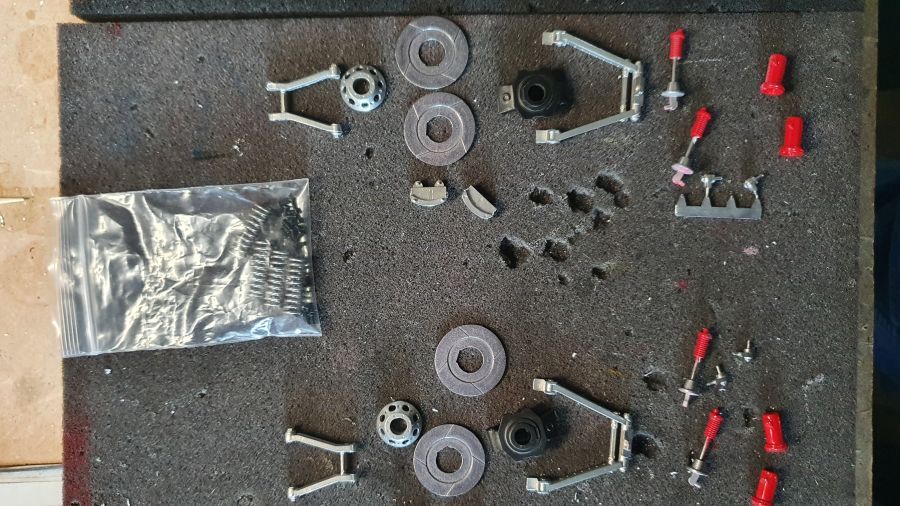
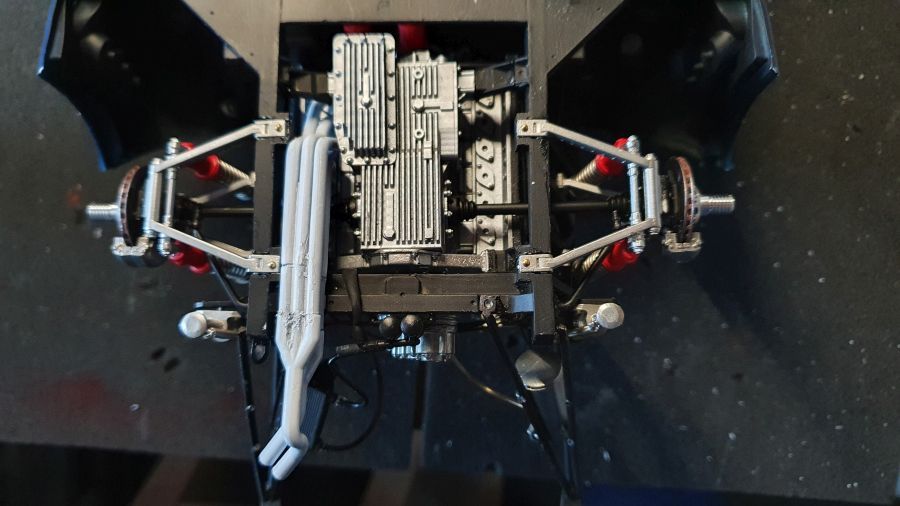
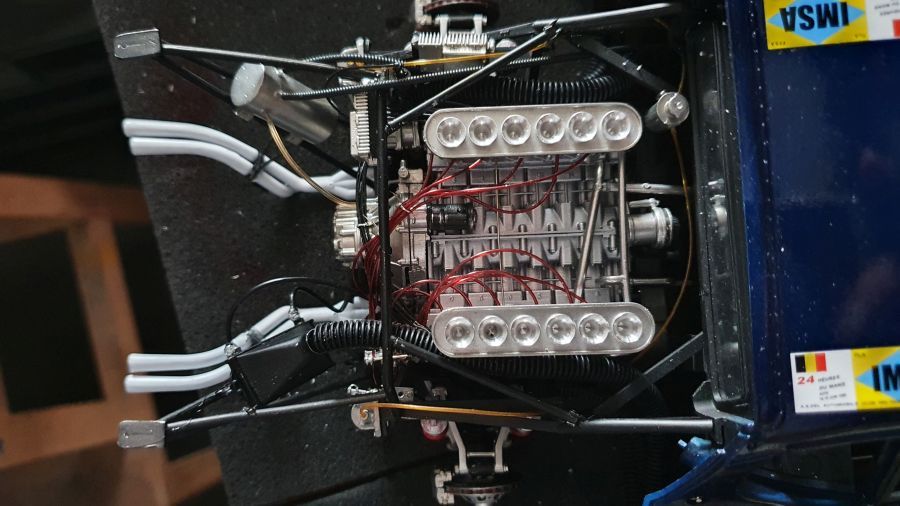
Nu naar de onderkant voor de uitlaten en de wielophanging...
Now to the bottom for the exhausts and the wheel suspension...
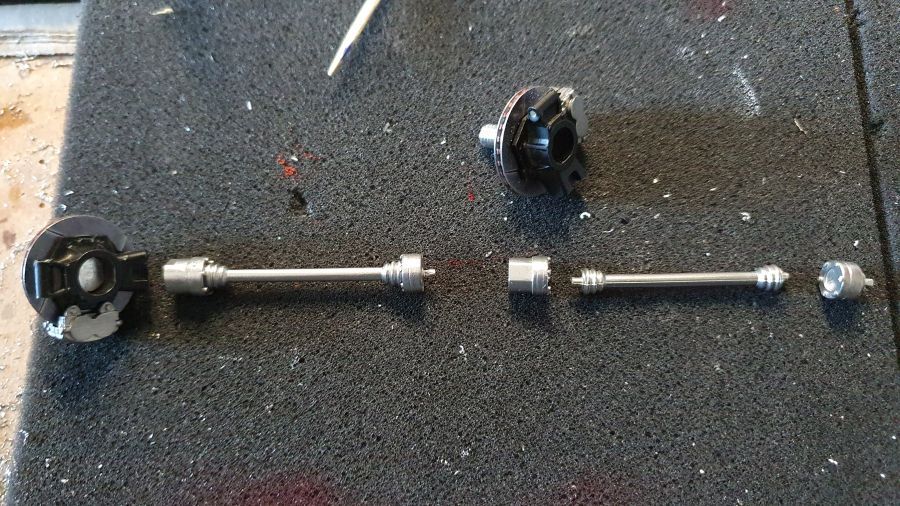
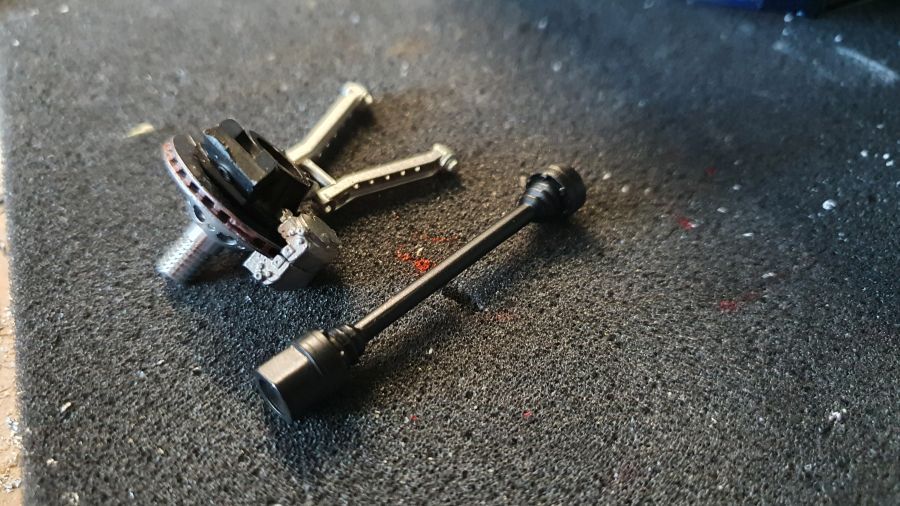
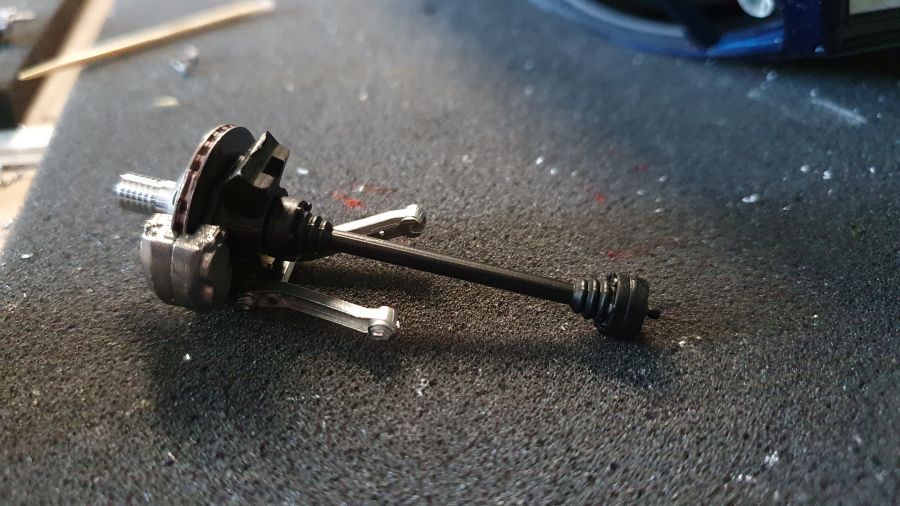
Testen...
Testing...
Door met de uitlaten. Ik heb vergeten de gaten te boren, dom, dus de pinnen wat inkorten. Dat zal wel goed komen.
Next are the exhausts. I forgot to drill the holes, stupid, so shortening the pins a bit. It will be o.k.
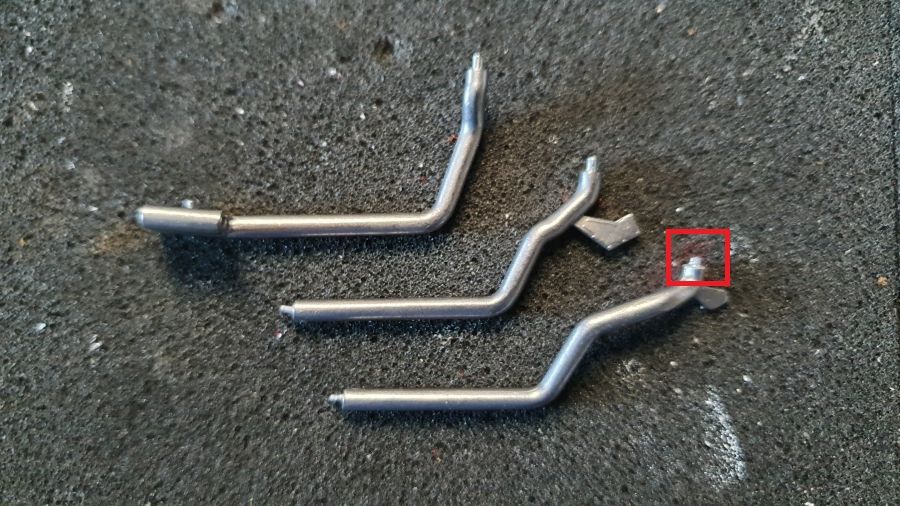

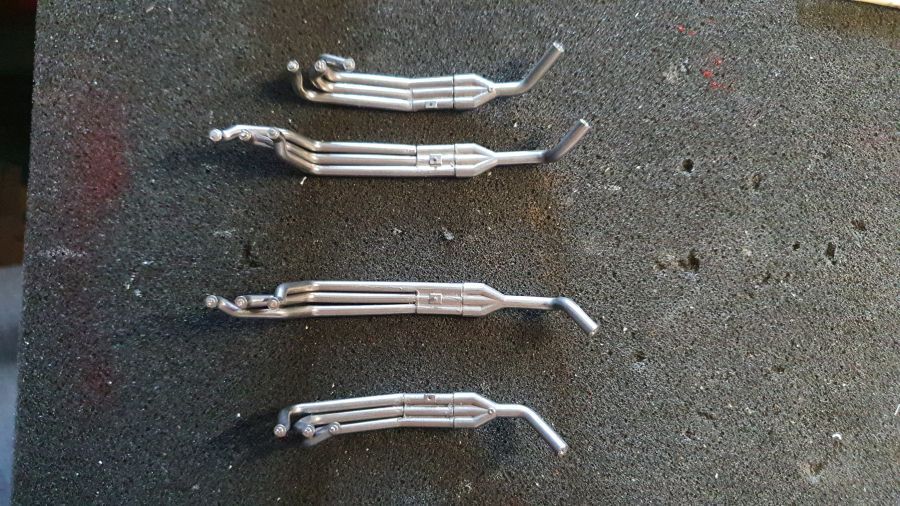
Ik ga de uitlaatdelen niet vooraf met elkaar verbinden. Eén deel moet onder de as door bevestigd, het tweede deel onder een chassisbalk. Ik denk dat het beter is de delen na elkaar te plaatsen.
I will not connect the 2 exhaust parts upfront. One part needs to go under the axle, the second part under a chassis beam. I think it's better to attach them separate.
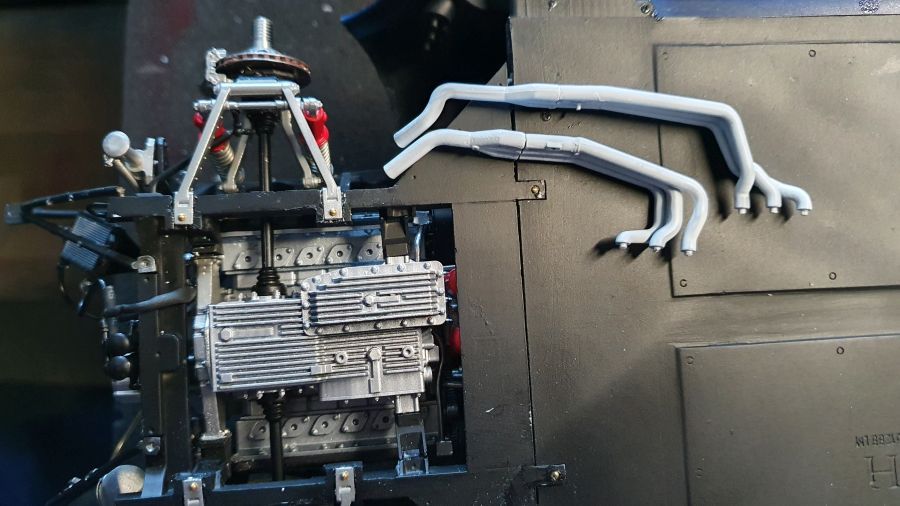
Passen...
Test fit...
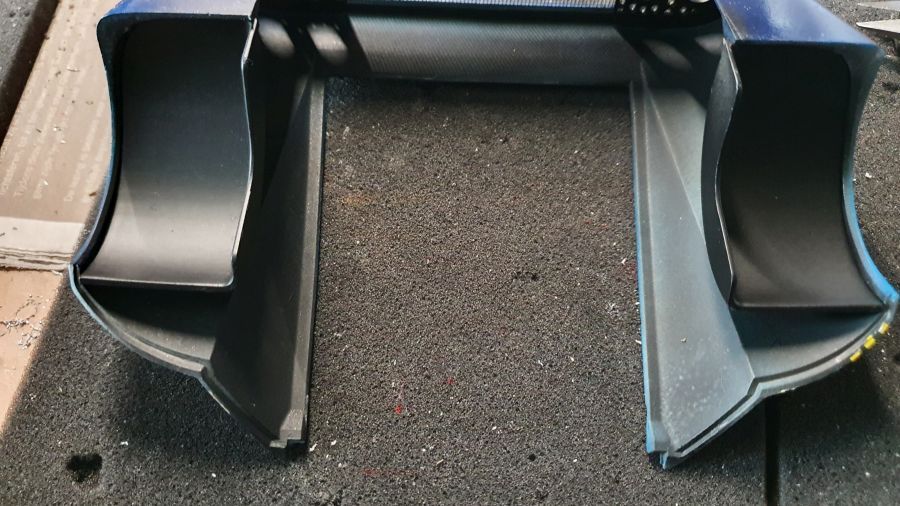
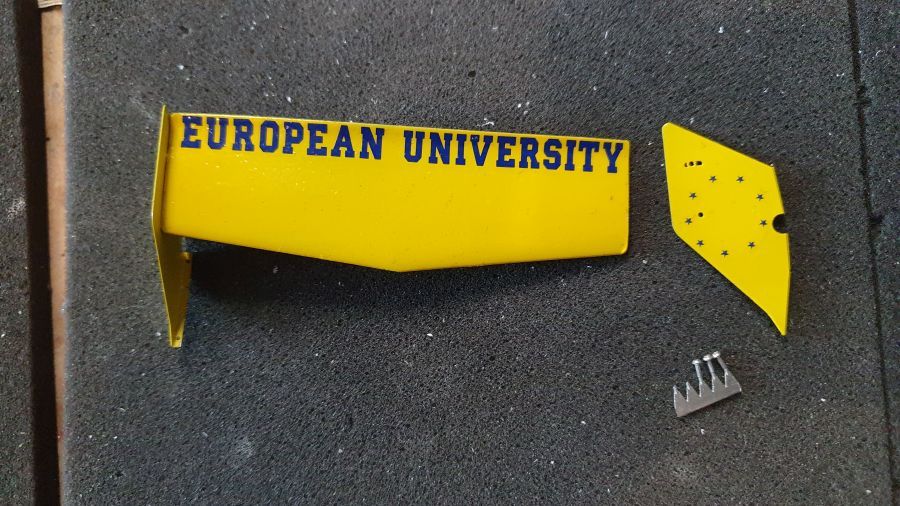
Dan is de rest van de achterkant aan de beurt.
Next is the rest of the back side.

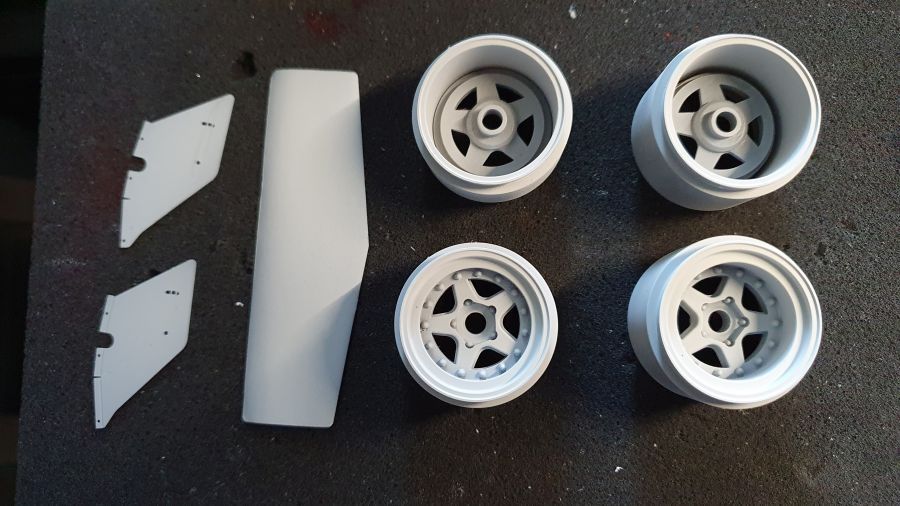
De spatborden zijn geverfd en kunnen geplaatst.
The fenders were painted and can be added.
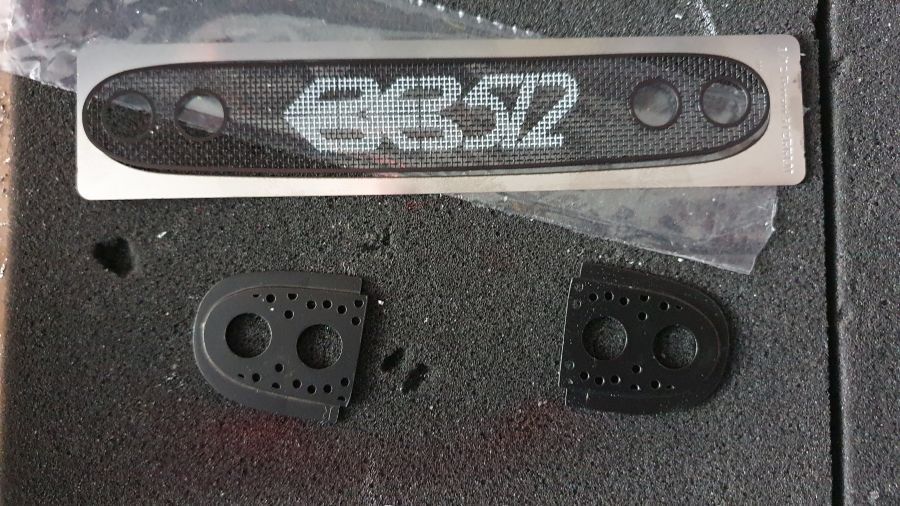
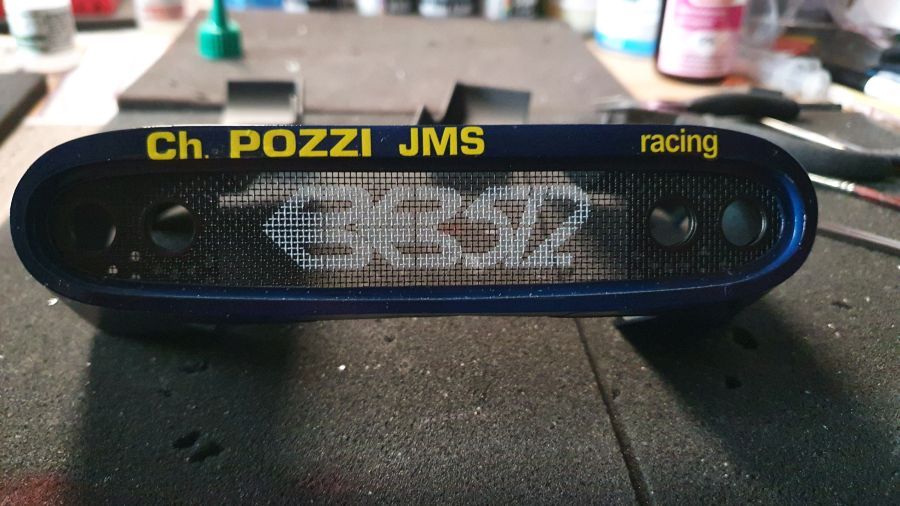
De bedekking op de inlaten.
The covers on the funnels.

Door naar de snelsluitingen. Lastig spul.
On to the fasteners. Tough stuf.
Dan de achterkant.
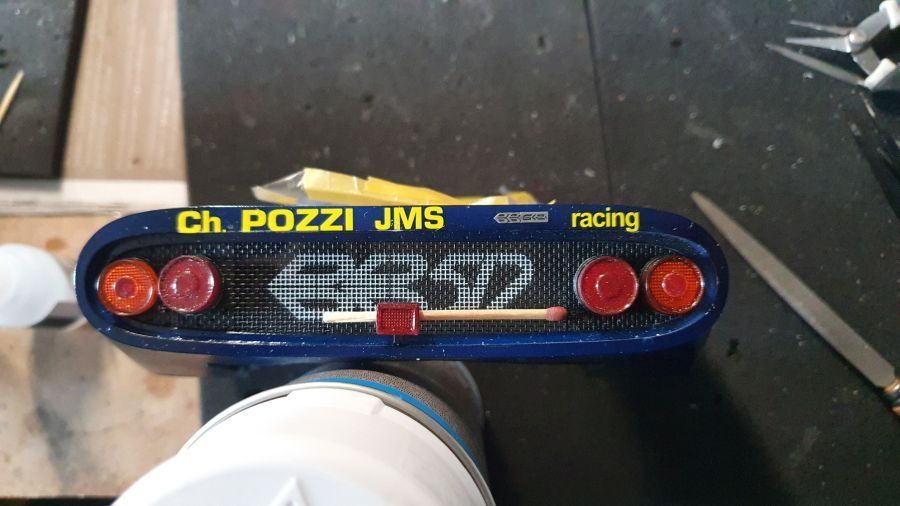
Next is the rear.


Gaatjes boren voor de popnagels.
Drilling holes for the rivets.
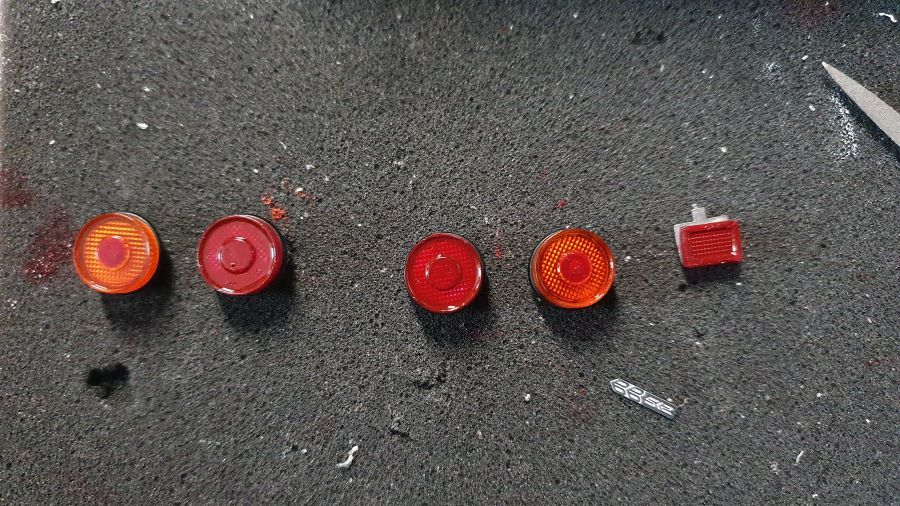
De achterlichten worden geplaatst.
The rear lights were added.
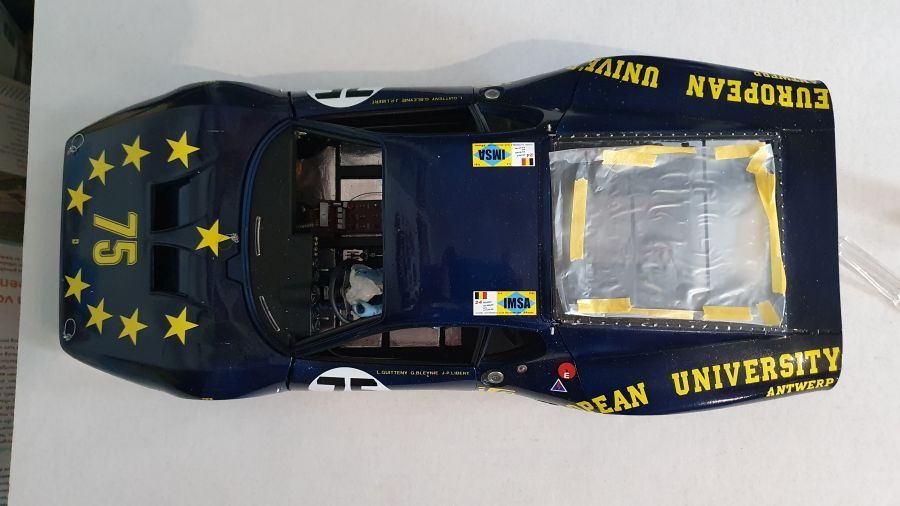
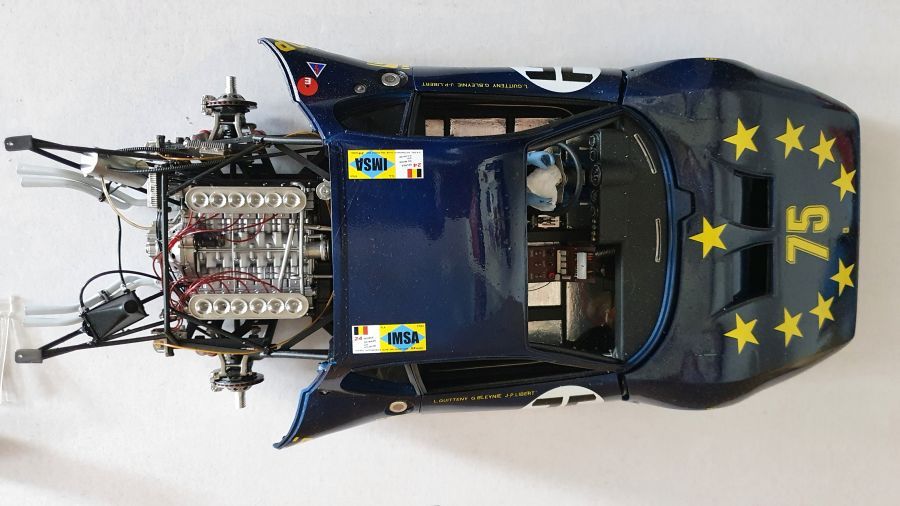
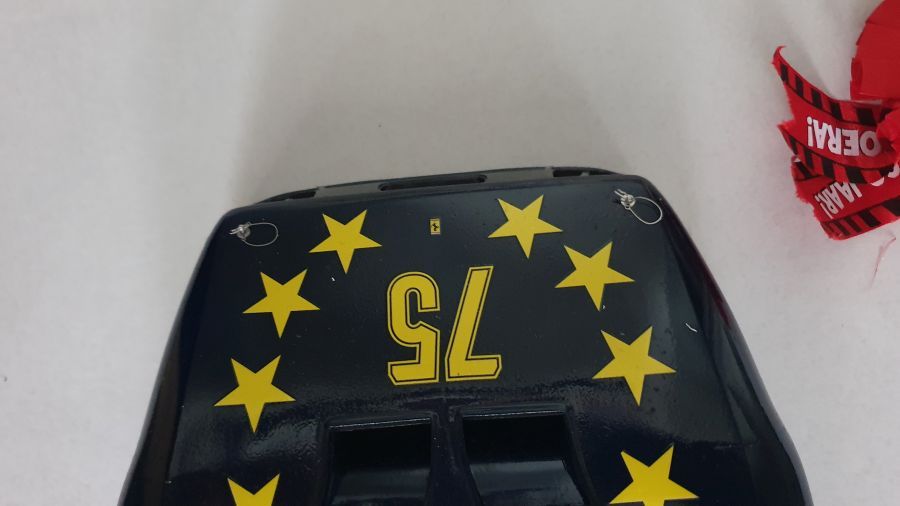
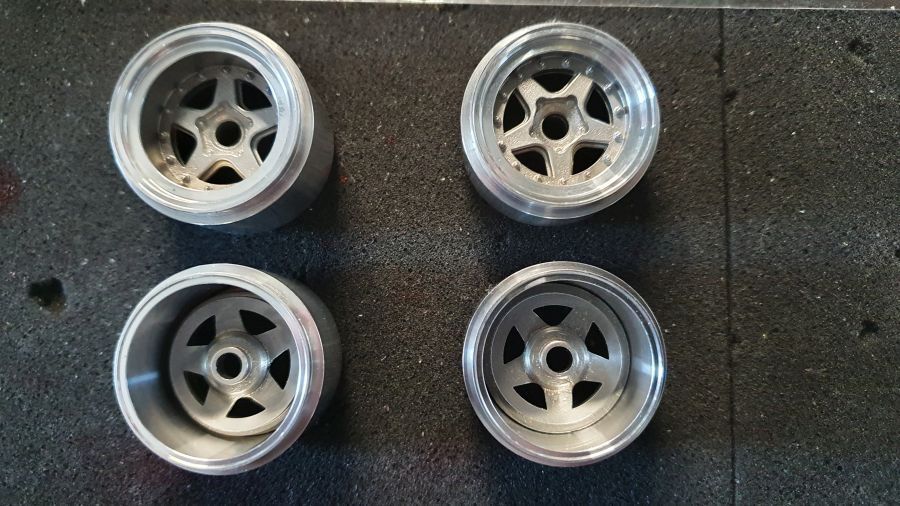
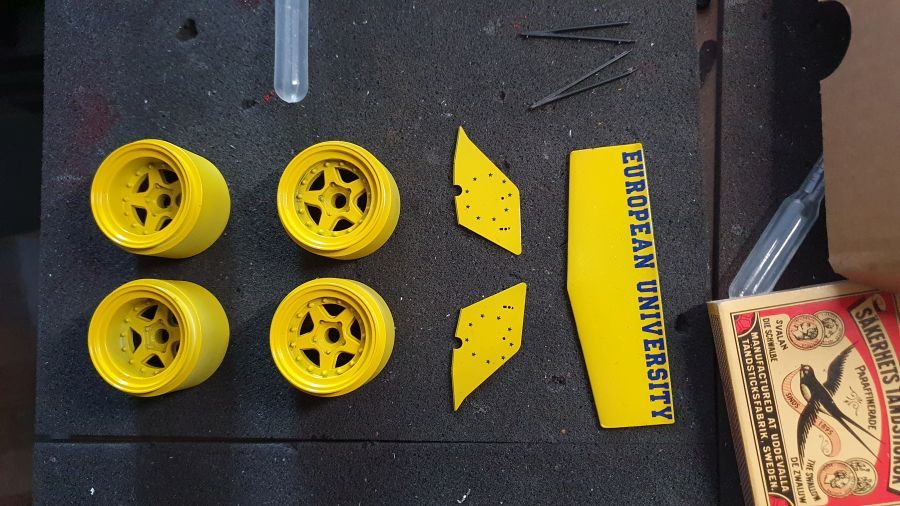
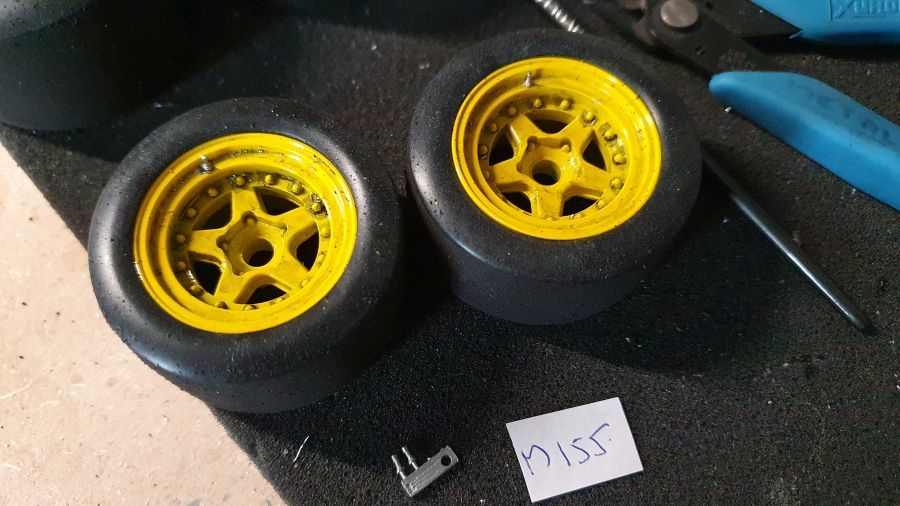
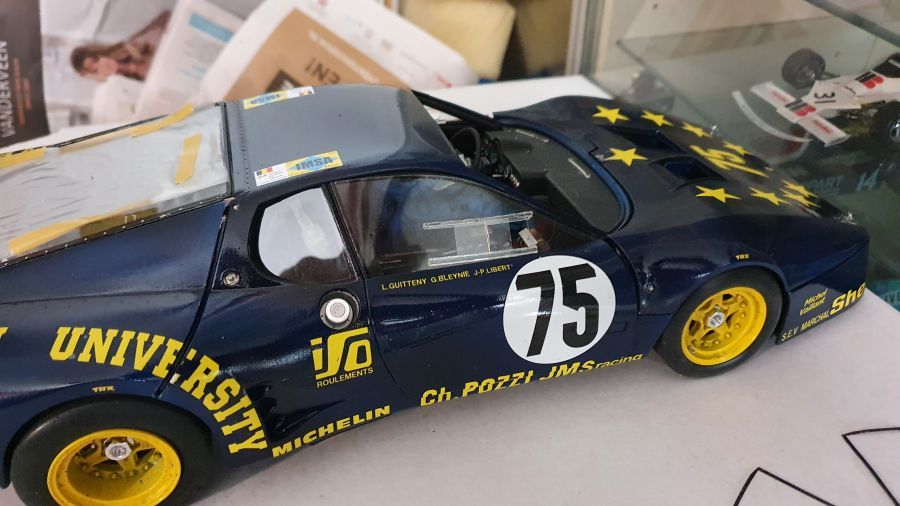
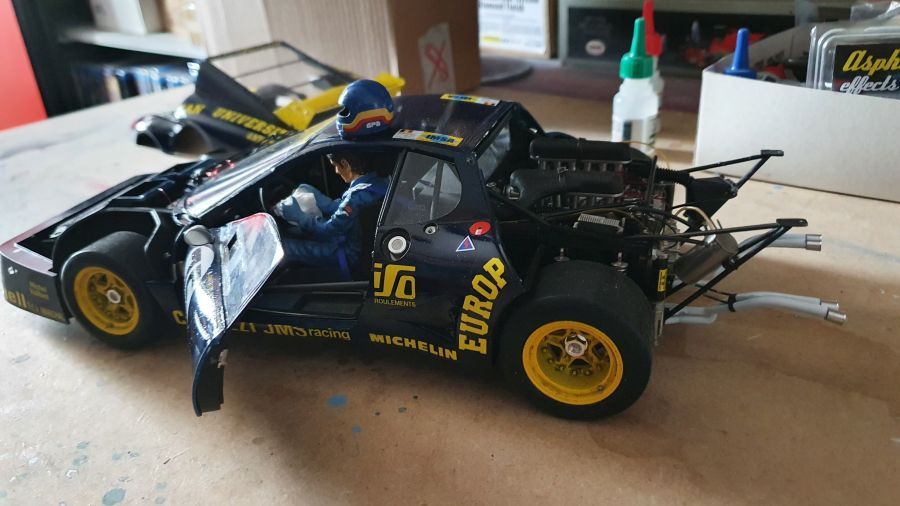
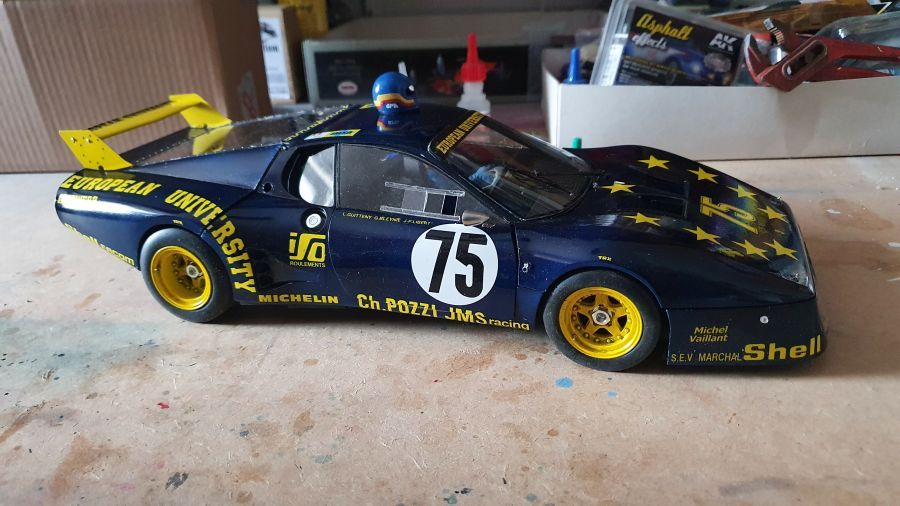
Na een kleine poll op Facebook is iedereen het erover eens. De keuze was zilver of gele velgen. Unaniem vielen de stemmen op de gele velgen.
After a small poll on Facebook everybody agreed. The choice was silver or yellow rims. Unanimous the votes were for the yellow ones.
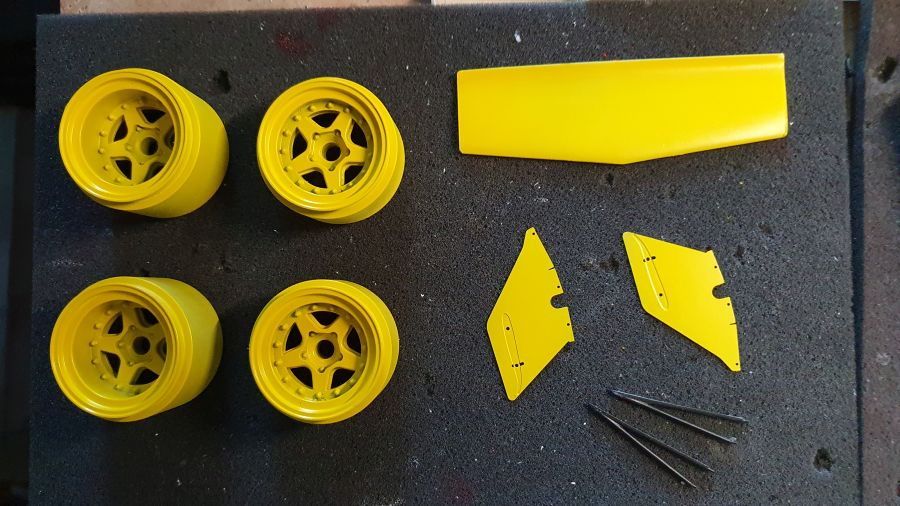
Nu laten drogen voordat de glanzende lak erop gaat.
Now let it dry before applying the clear gloss.
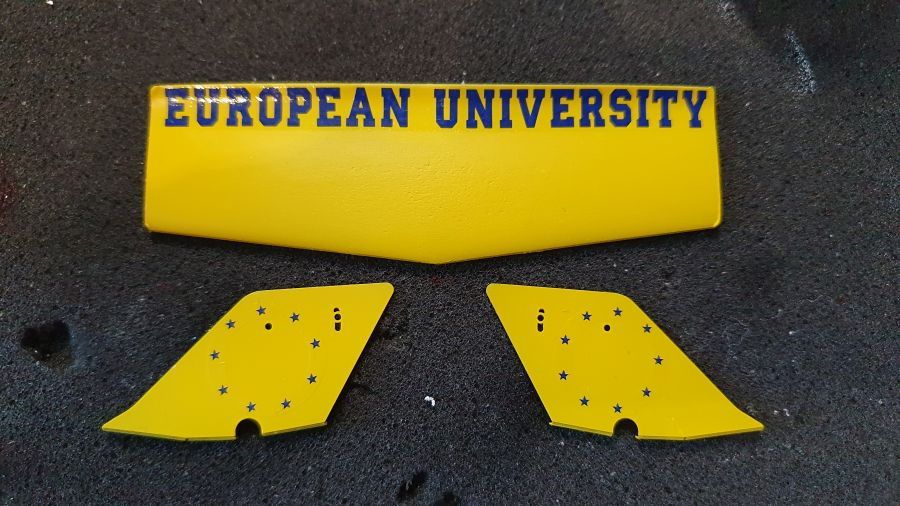
Dan de heldere lak.
Then the clear coat.
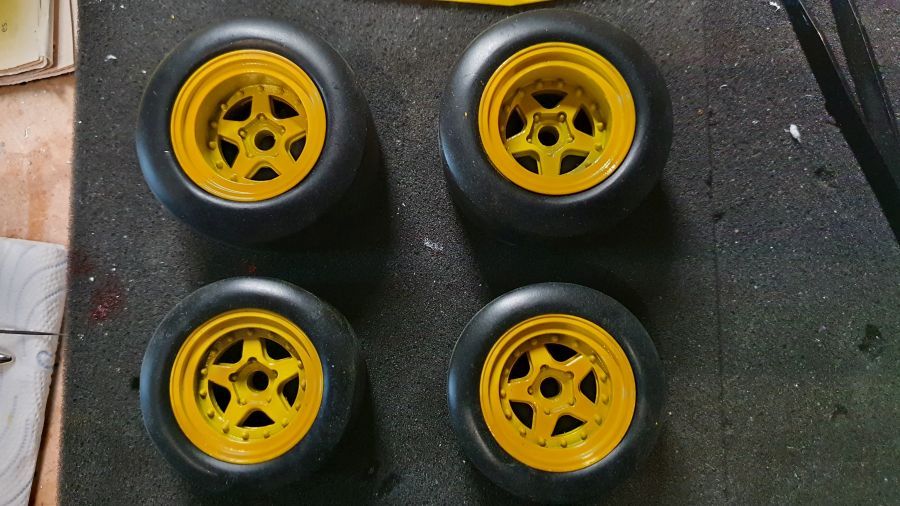
Wat 'vuil' aangebracht.
Added some 'dirt'.
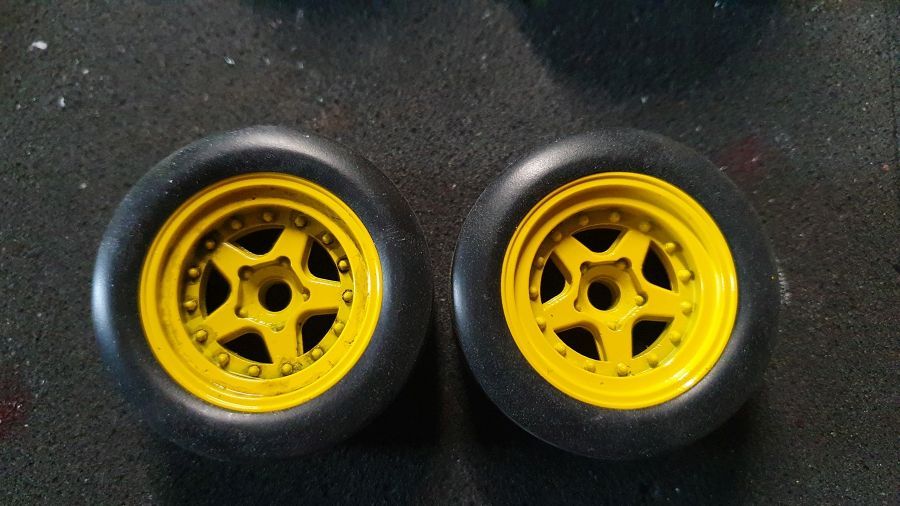
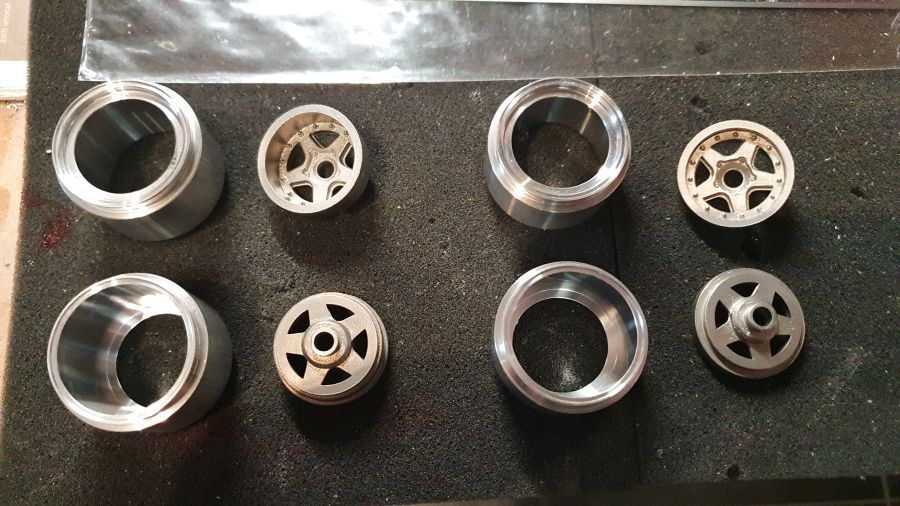
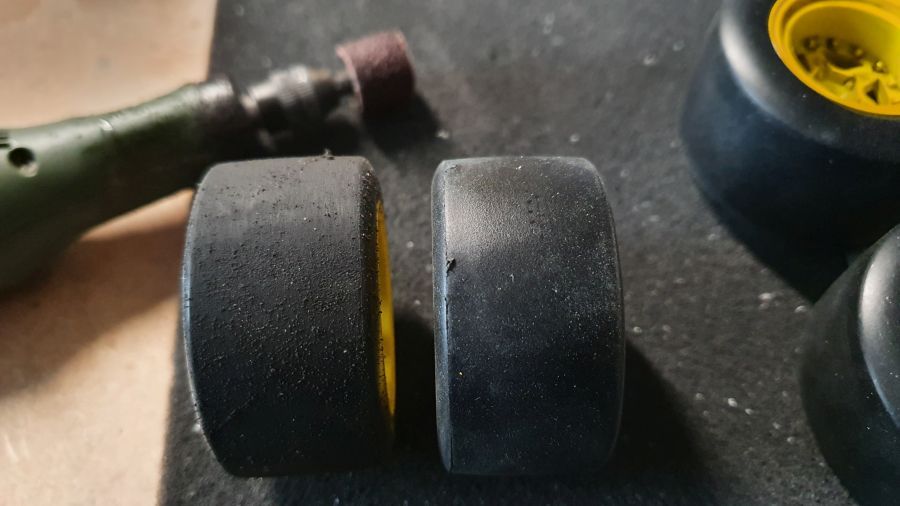
De glans van de banden halen.
Getting rid of the shine on the tires.
De ventielen plaatsen.
Adding the valves.
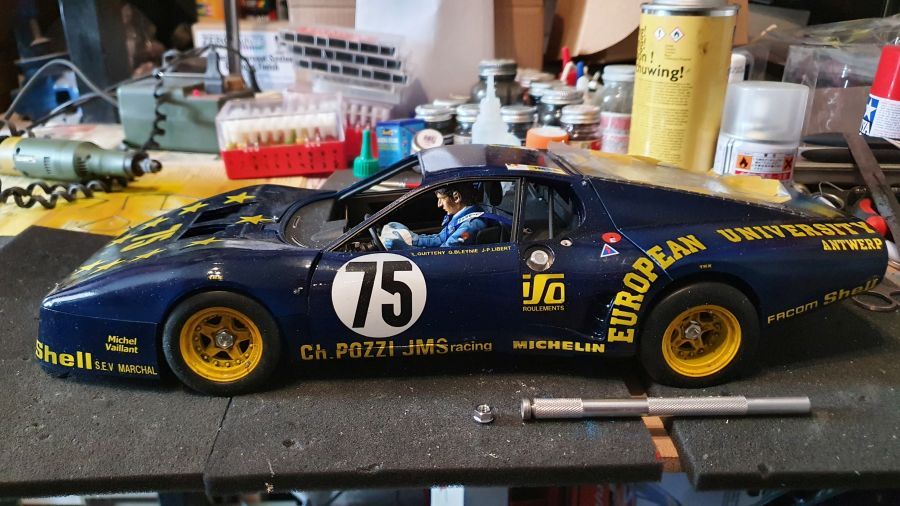
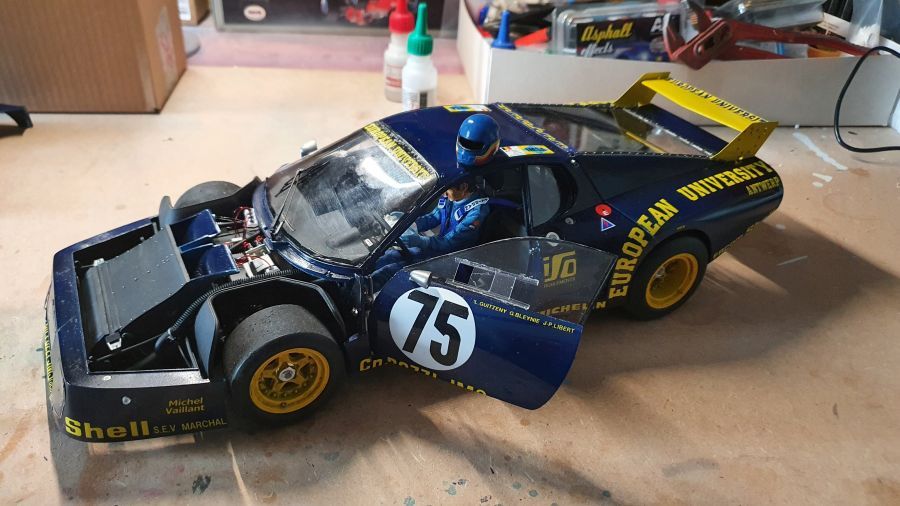
En op de wielen zetten.
And put it on it's wheels.
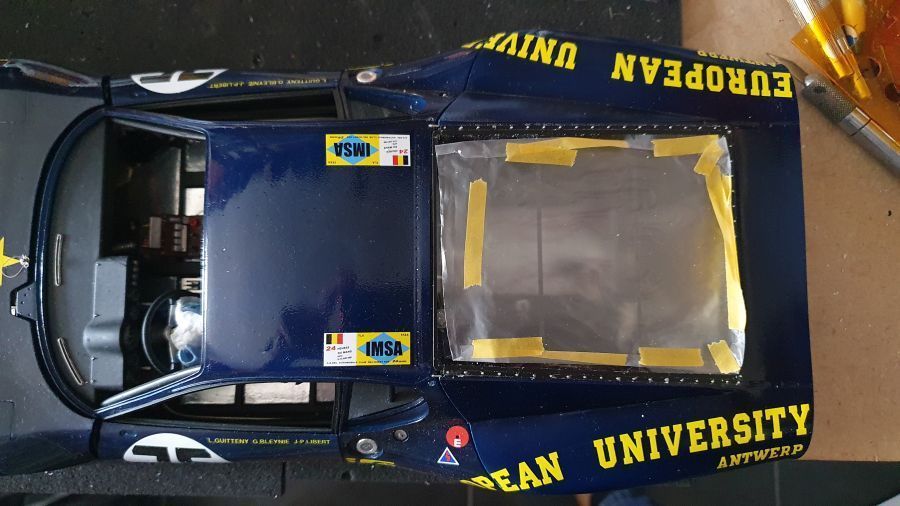
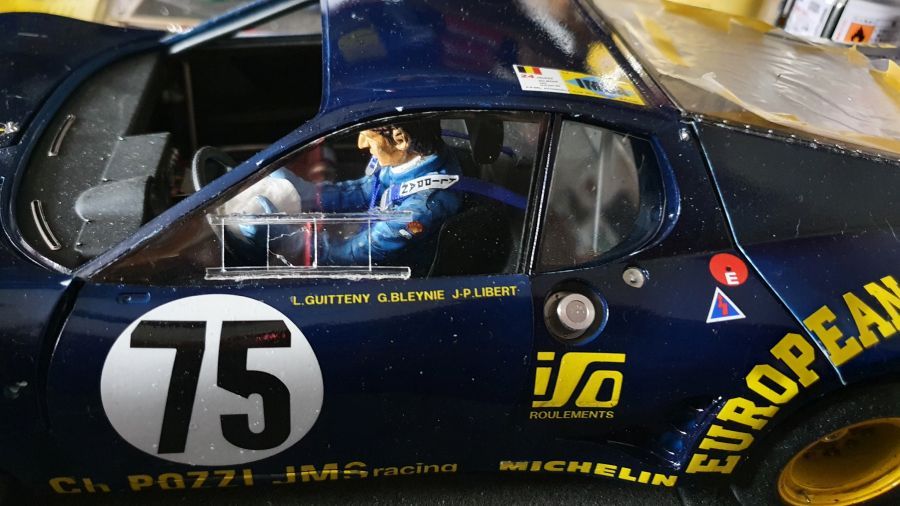
Dan de ramen. Eerst de achterste. Ik heb de raamlijsten gespoten, maar de achterste krijg ik met geen mogelijkheid geplaatst. Blijkbaar ben ik niet de enige, want bij de MFH-proefbouw zie ik ze ook niet.
Next are the windows. I painted the window rims, but i cannot mount the back ones. Probably i am not the only one, as i don't see them either on the MFH test build.
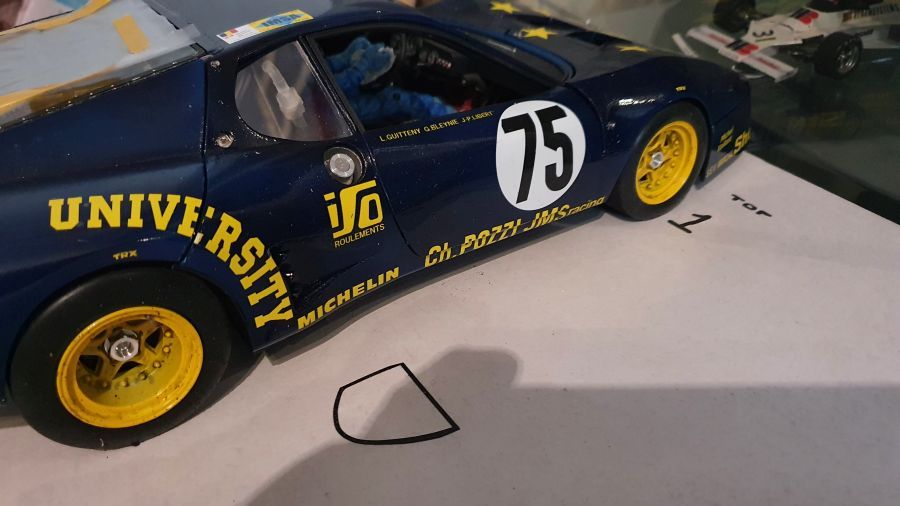
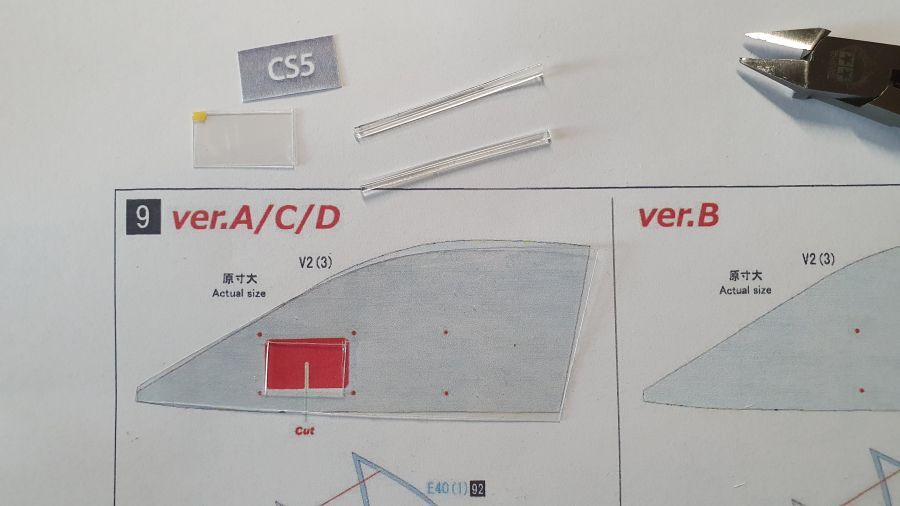
Door met de ramen van de deuren. Dit wordt een lastig karwei. Ik heb al modellen gezien waarbij de 'race ruitjes' maar niet zijn geplaatst.
On to the windows of the doors. This will be a pita. I have seen models where the 'racing windows' were not added.

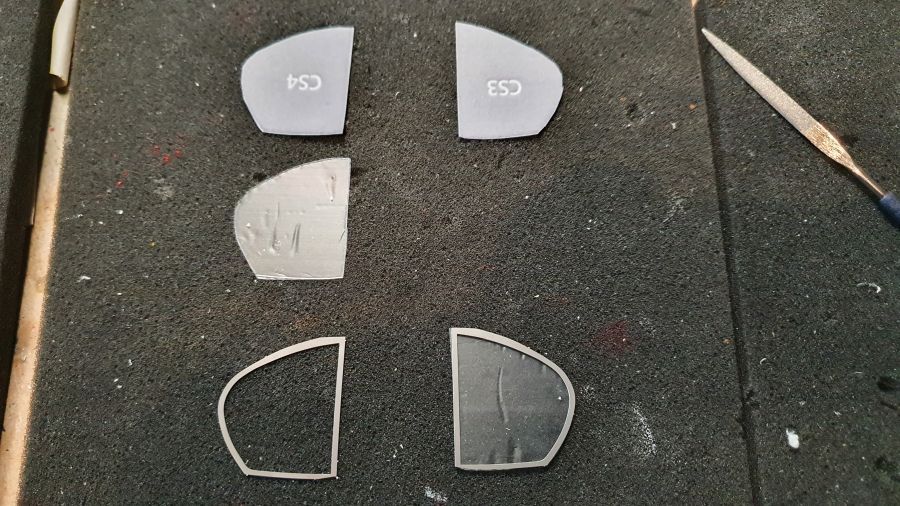
Om een of andere reden zitten er allemaal deukjes in de ramen. Slecht vacuum werk dat bij een controle naar voren had moeten komen. Ik baal er een beetje van. Het is duidelijk te zien bij het passen.
For some reason the windows have dents all over it. Bad vacuum job that should have been noticed during a quality check. I am really disappointed by this. It's very clear to see when doing a test fit.
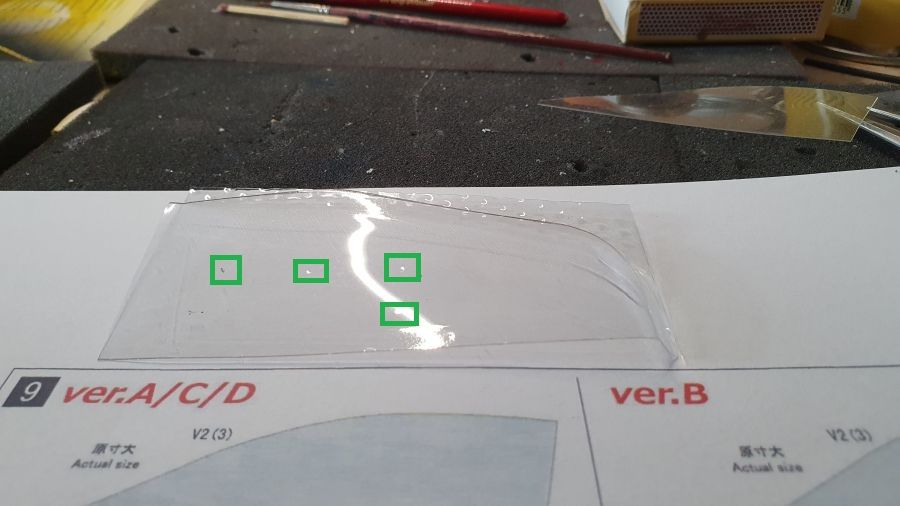
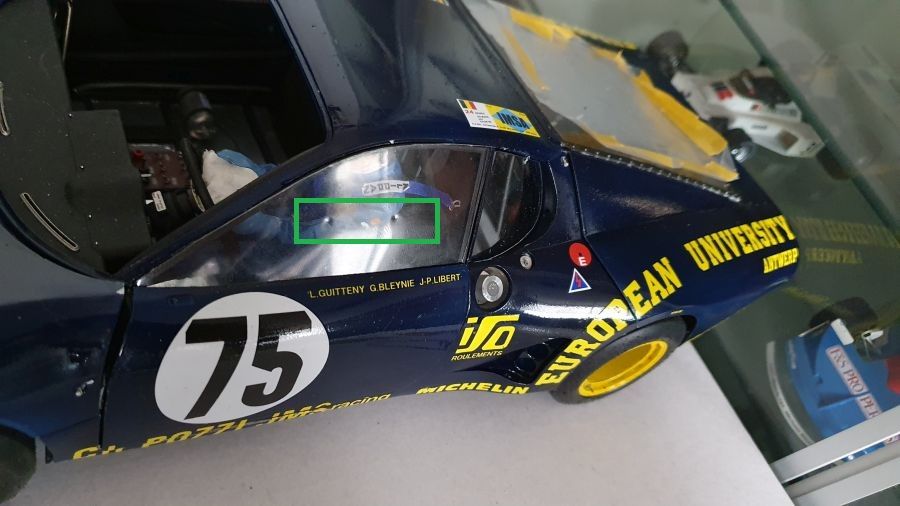
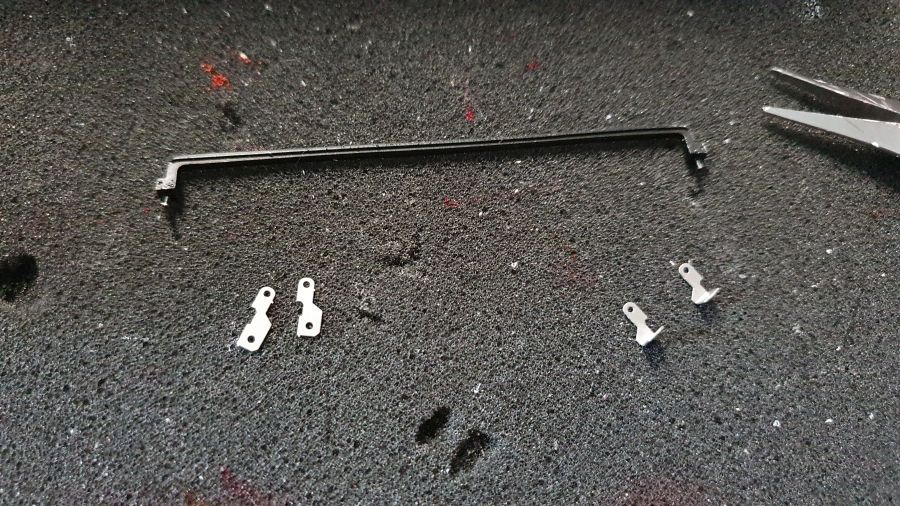
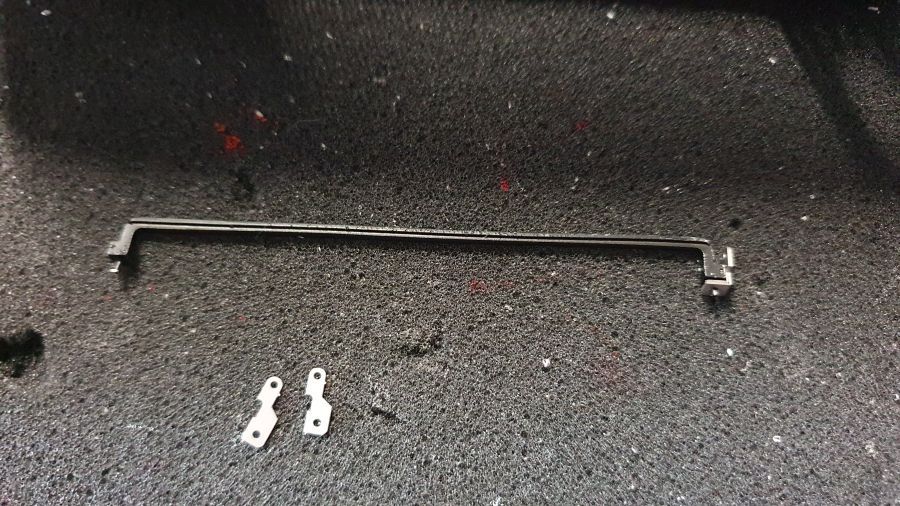
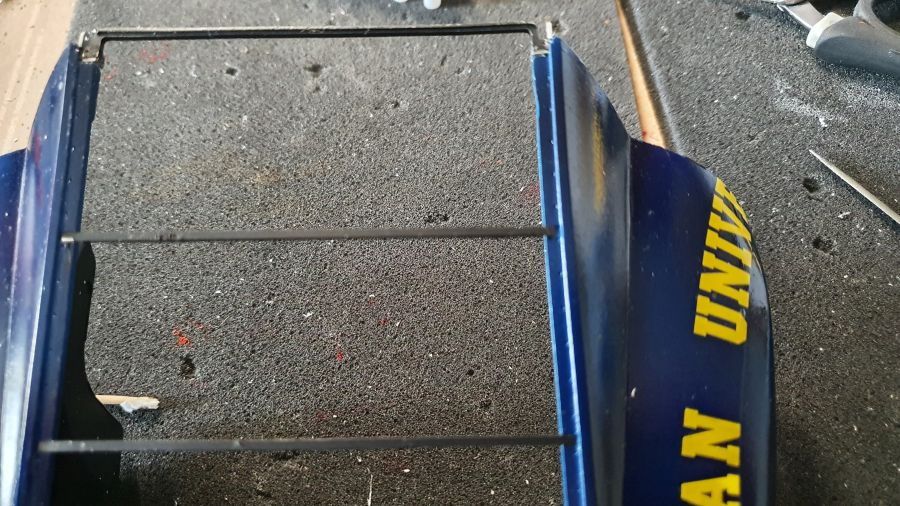
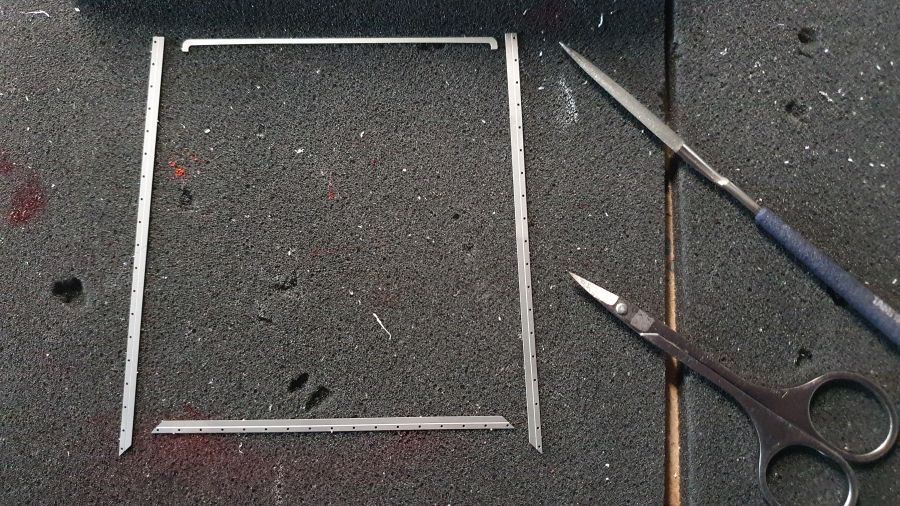
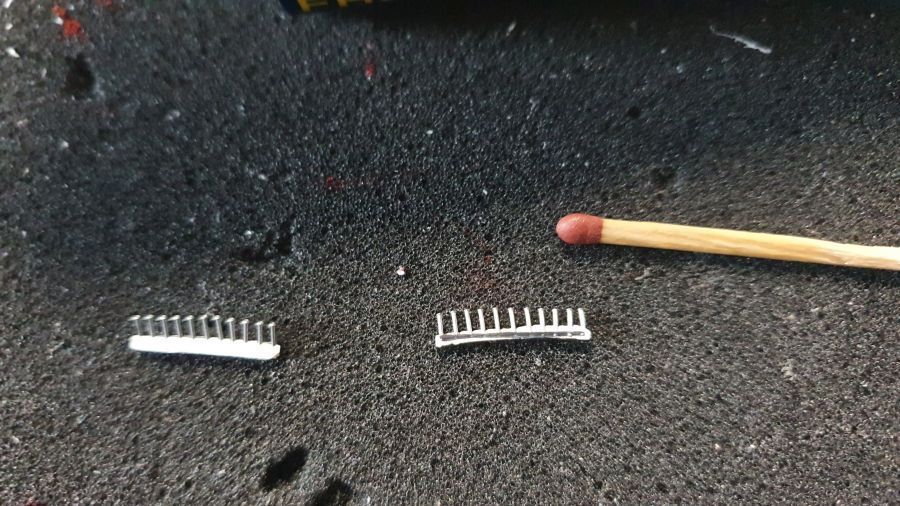
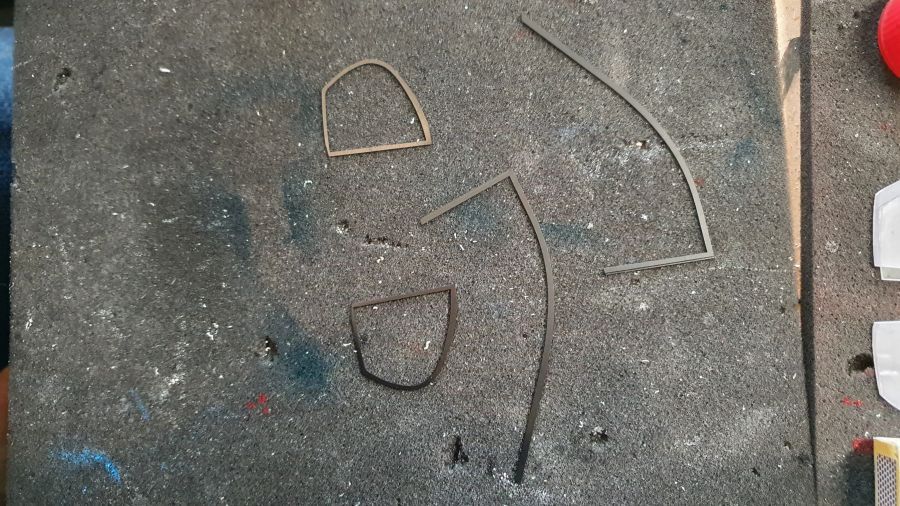
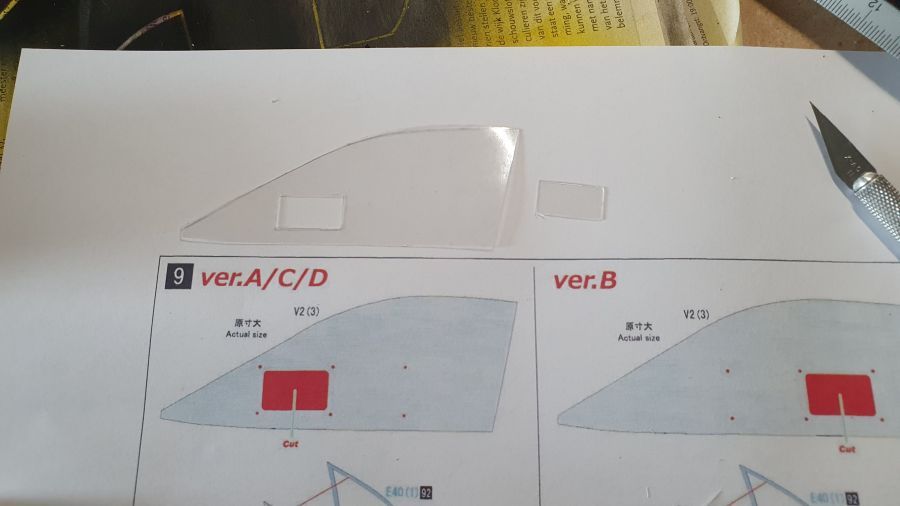
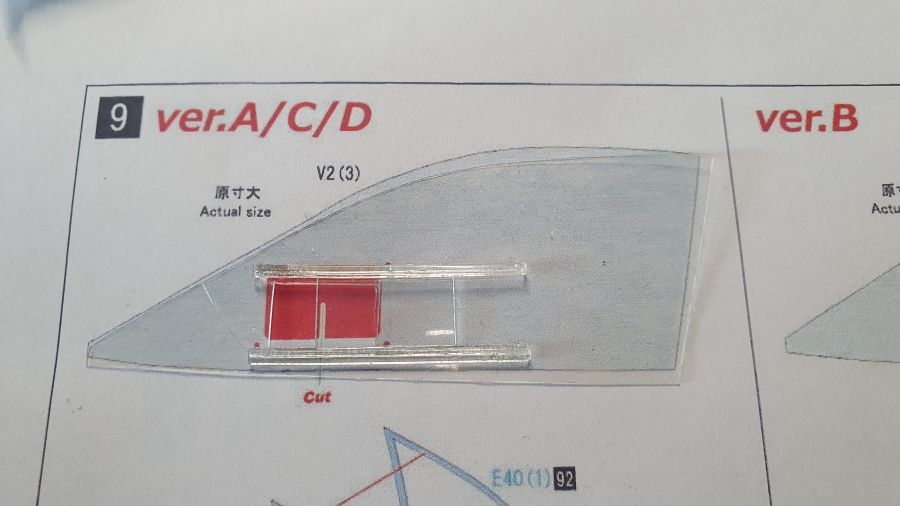
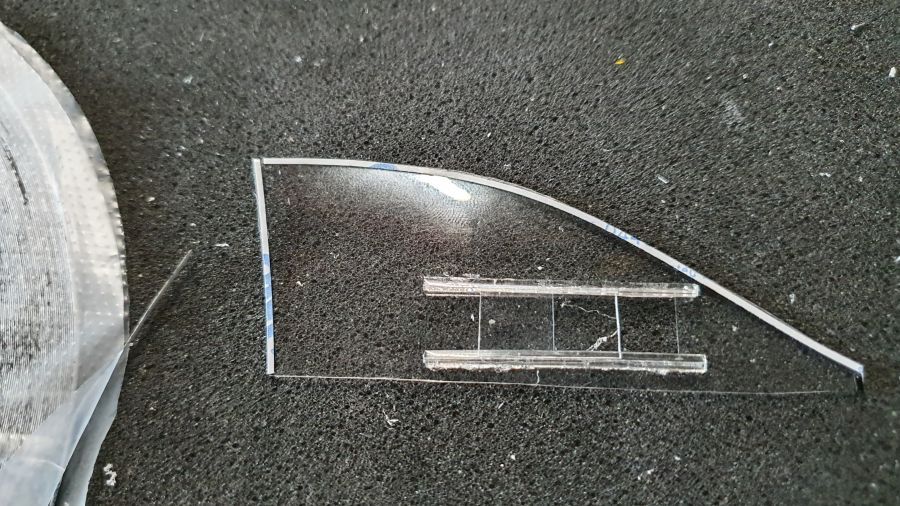
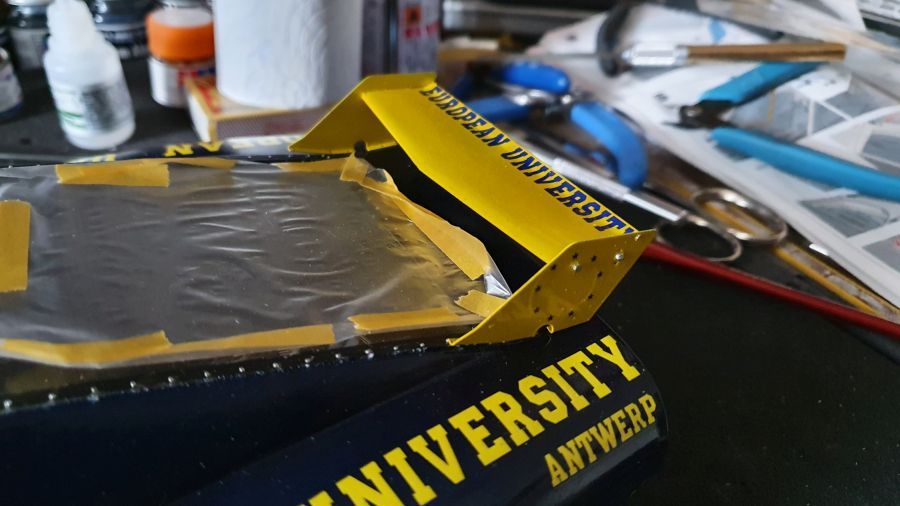
Uitgesneden. Nu een groter stuk glas aanbrengen met de 2 rails. Ik ga de rails lijmen, het lijkt me bijna niet te doen met de popnagels.
Cutting done. Now adding a little larger piece with the 2 supports. I will glue the supports, it looks too tough to use the rivets.
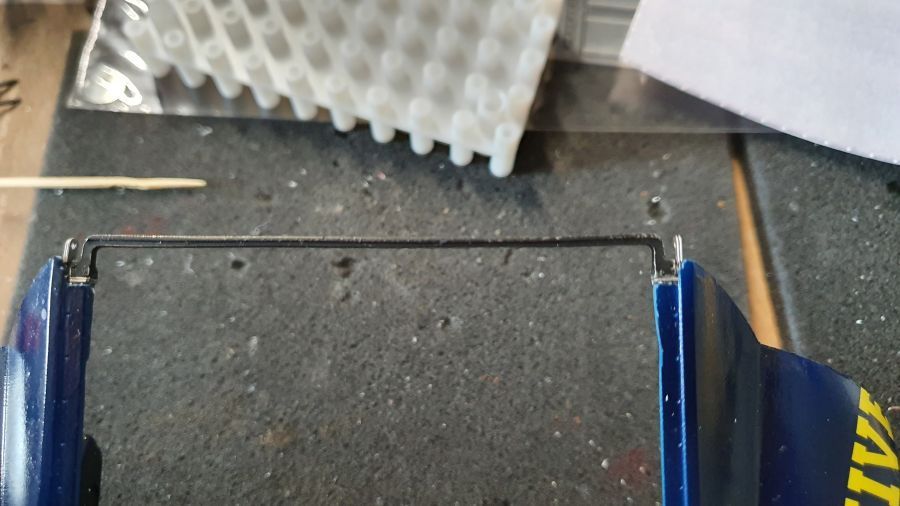
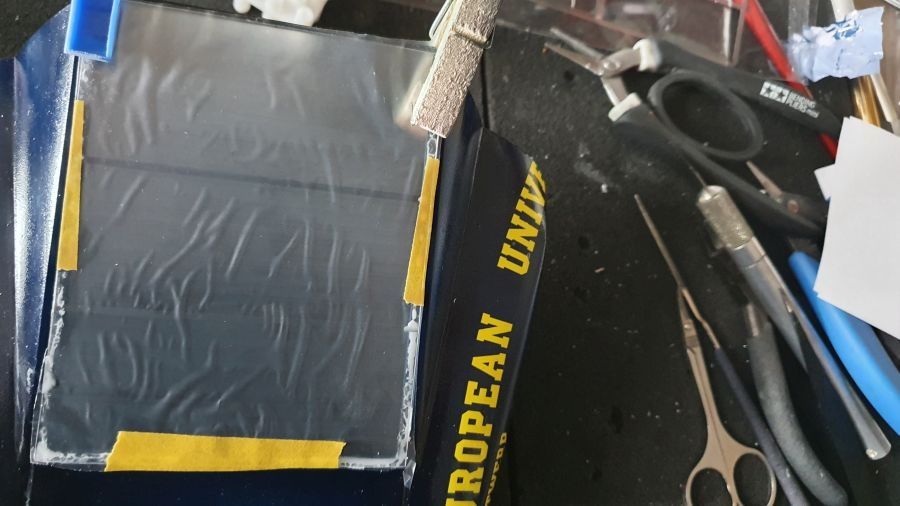
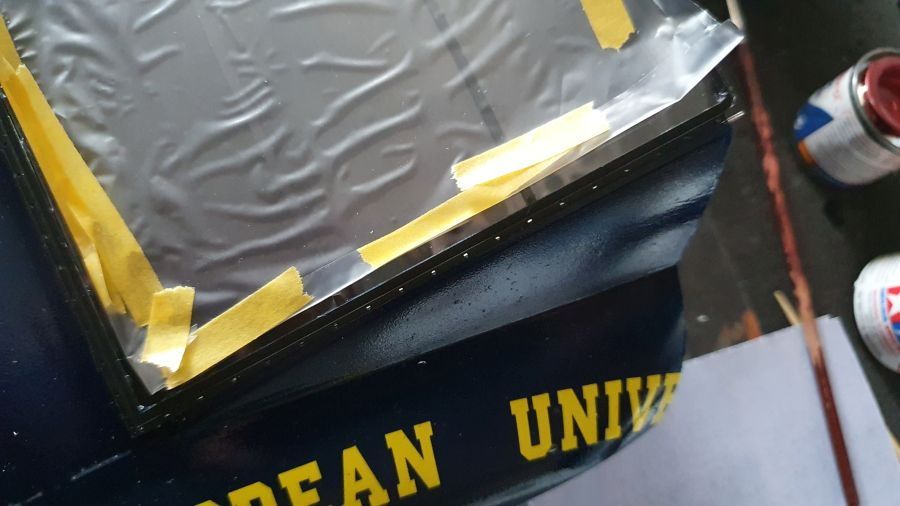
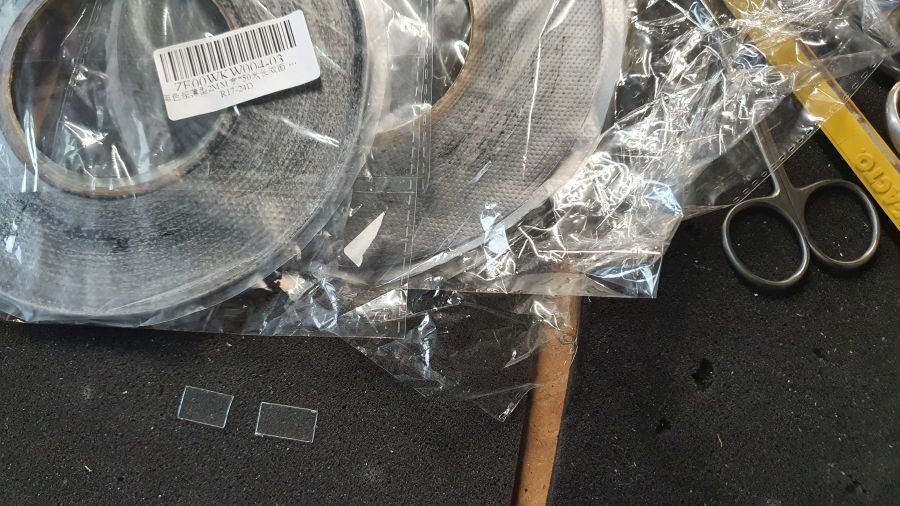
Ik ga de ramen plaatsen met behulp van glastape voor mobiele telefoons. Ik ga het eerst even testen op de 2 afvalstukjes. Daarna even bekijken of ik de 1 mm, 2 mm of 3 mm versie gebruik.
I will mount the windows by using glass tape for cell phones. I will test this on the 2 garbage pieces. Then see if i will use 1 mm, 2 mm or 3 mm tape.
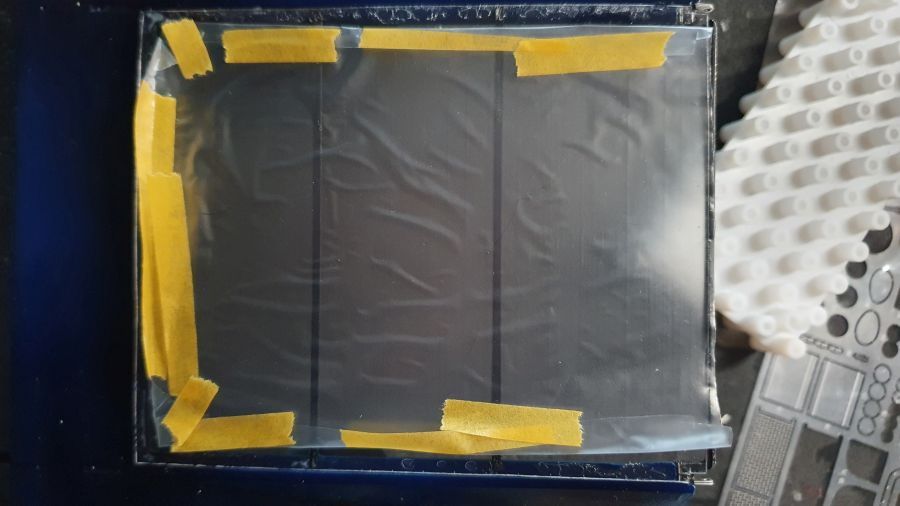
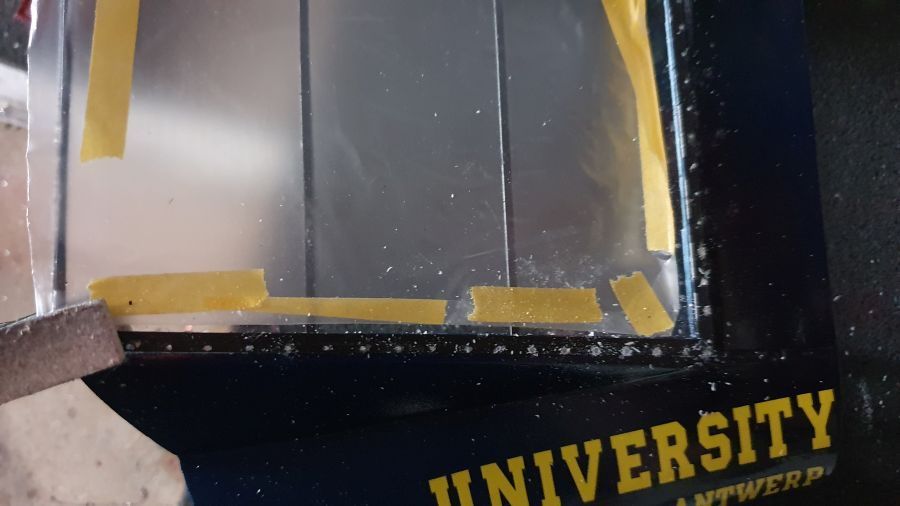
Ik heb uiteindelijk voor de 1 mm tape gekozen. Past mooi op de lijmranden van de body.
Eventually i chose the 1 mm version. It fits very nice on the window trims of the body.
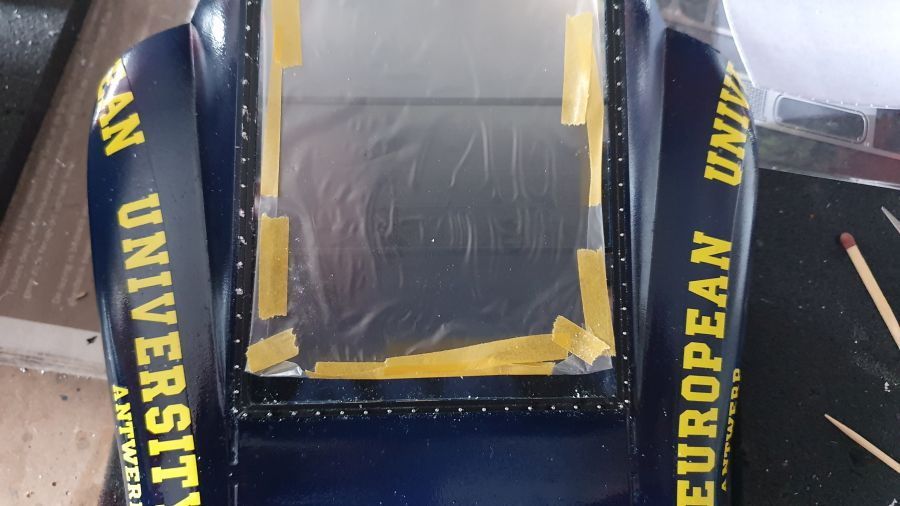
Ook op de voorruit.
To the front windshield too.

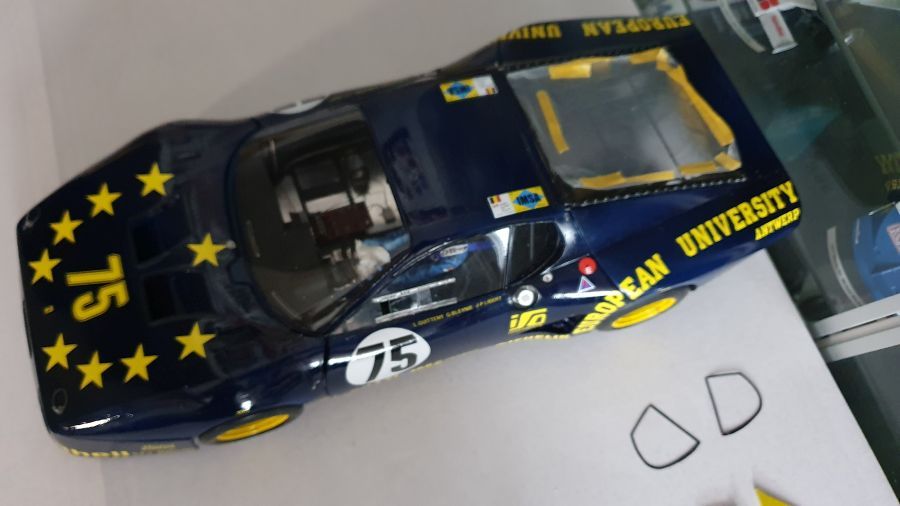
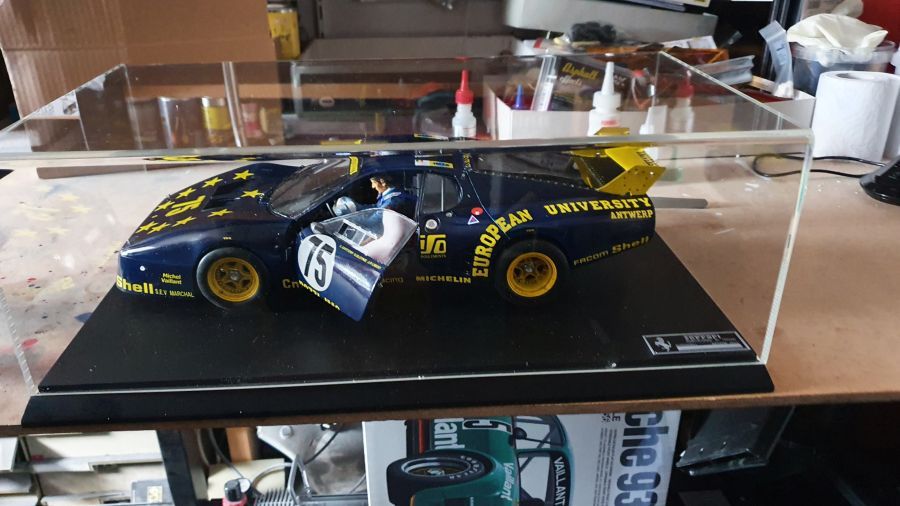
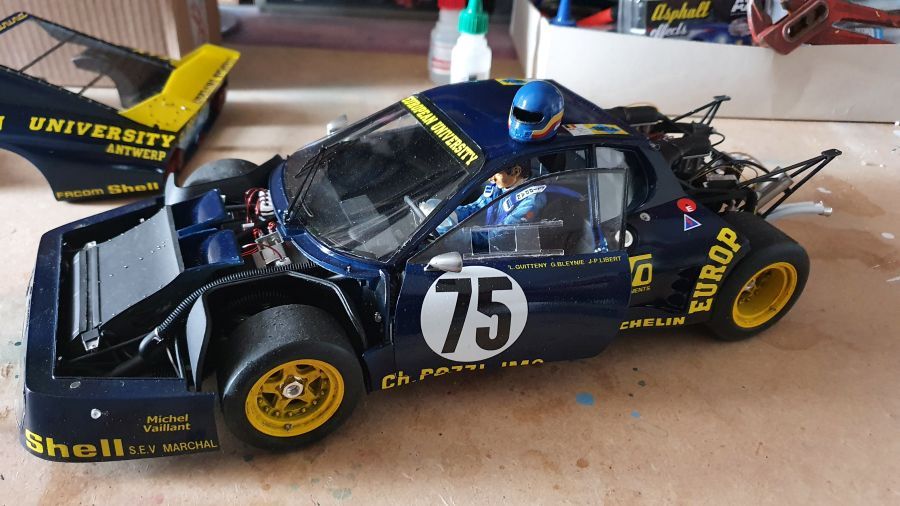
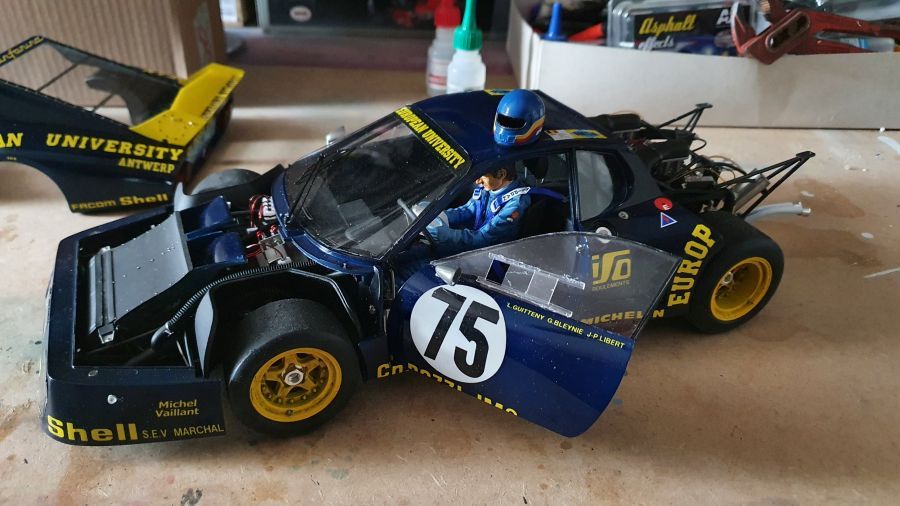
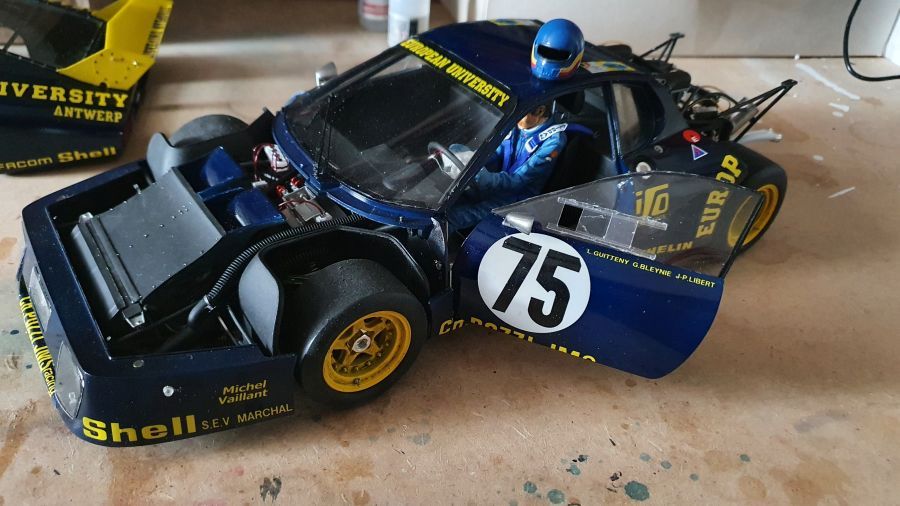
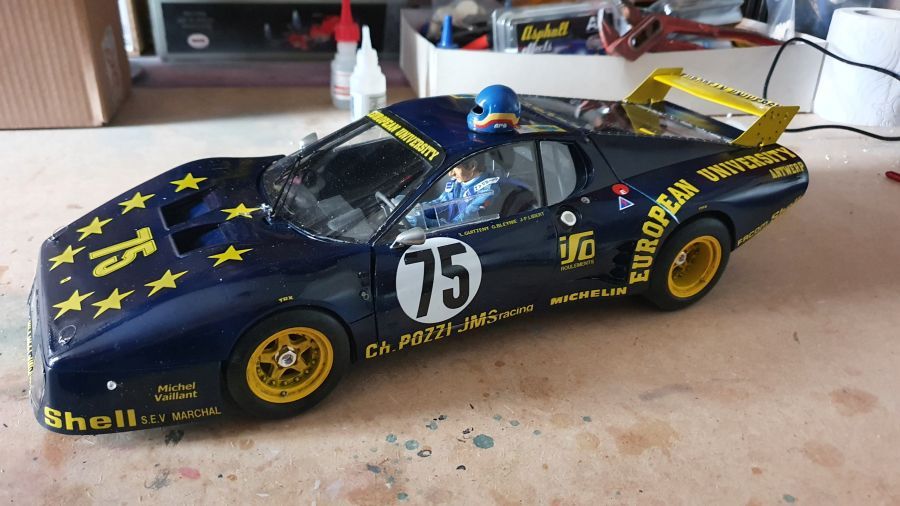
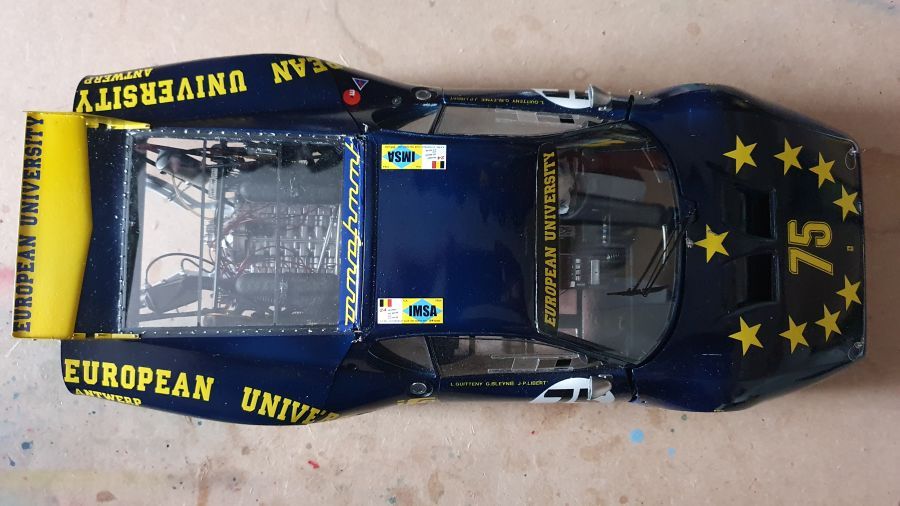
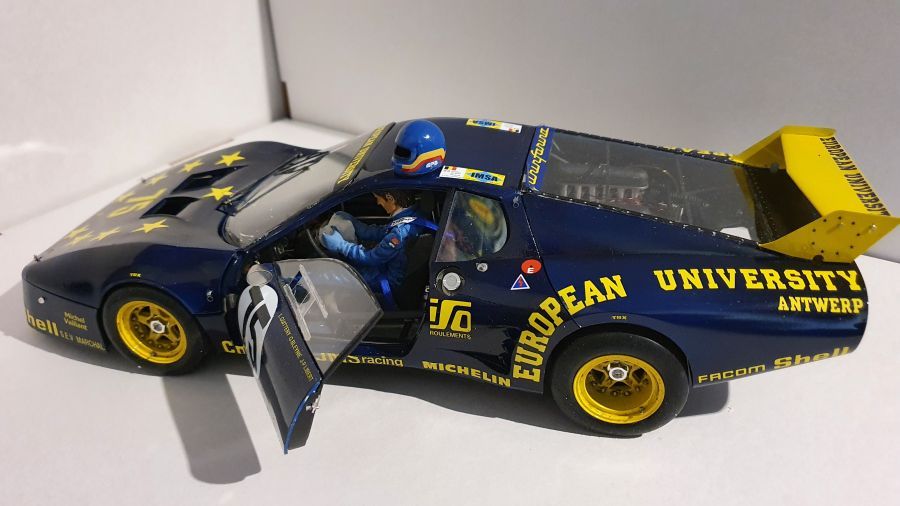
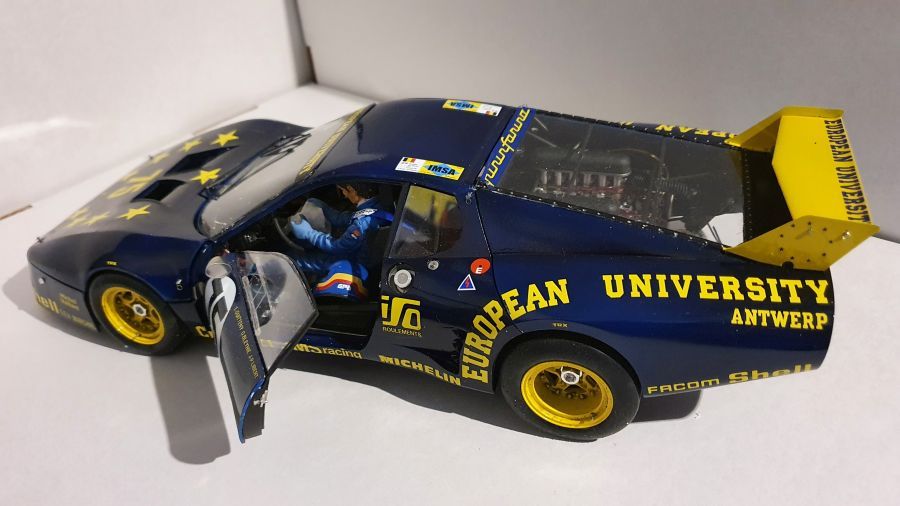
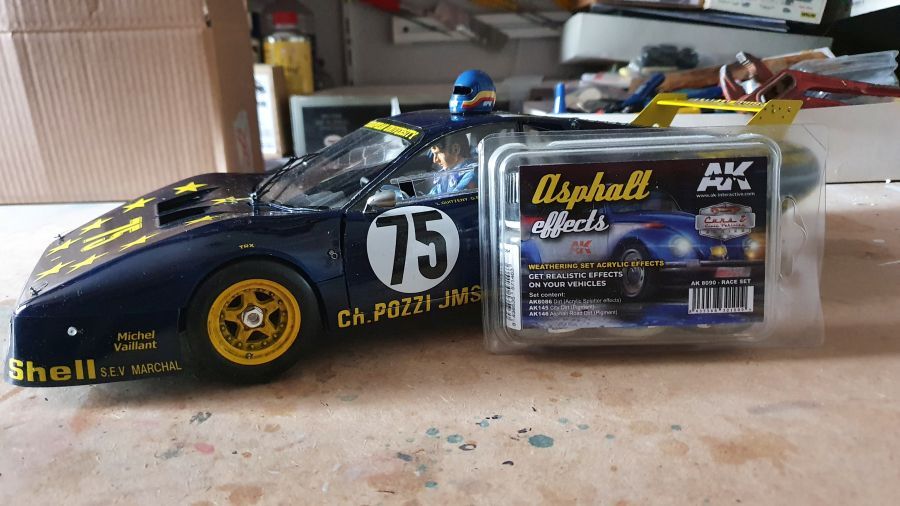
Na nog wat kleine onderdelen, beschouw ik deze voorlopig als klaar. Ik wil nog race-sporen aanbrengen, maar dat moet ik eerst even oefenen met mijn AK-Asfalt-Set.
After some more small parts, i consider this one done for now. I will add some race dust, but first i have to try this with my AK-Asphalt-Set.
En het nieuwe onderkomen...
And the new housing...